

20 Easy Mullet Haircut Ideas For Beginners
Twenty low commitment mullets and the single variable that decides how loud yours is — contrast between the side and the back. Keep the sides long and the whole cut stays reversible; clip them short and there is no way back.
In this article · 27
- The Beginner Mullet Versus the Full One
- How to Ask for Your First One
- The 20 Beginner Mullet Ideas
- 1. The Soft Mullet
- 2. The Tapered Side Mullet
- 3. The Collar Length Mullet
- 4. The Hidden Mullet
- 5. The Number Three Guard Mullet
- 6. The Number Two Guard Mullet
- 7. The Low Fade Mullet
- 8. The Textured Top Mullet
- 9. The Curtain Fringe Mullet
- 10. The Side Part Mullet
- 11. The Comma Fringe Mullet
- 12. The Wavy Beginner Mullet
- 13. The Curly Beginner Mullet
- 14. The Straight Hair Beginner Mullet
- 15. The Fine Hair Beginner Mullet
- 16. The Thick Hair Beginner Mullet
- 17. The Neckline Only Mullet
- 18. The Mullet at Eight Weeks
- 19. The Disconnected Mullet
- 20. The Full Mullet
- Styling and Upkeep
- Mistakes to Avoid
- FAQ
- Final Thoughts
The commonest first mullet mistake is copying the sides from a photograph, because the sides are the part you cannot undo for two months.
Contrast is the only real variable. How short the sides are against how long the back is decides whether the cut whispers or shouts, and everything else is detail.
Start longer than the picture. A first mullet cut with a number three on the sides can be taken shorter next appointment. One cut with a number one cannot be put back.
The Beginner Mullet Versus the Full One
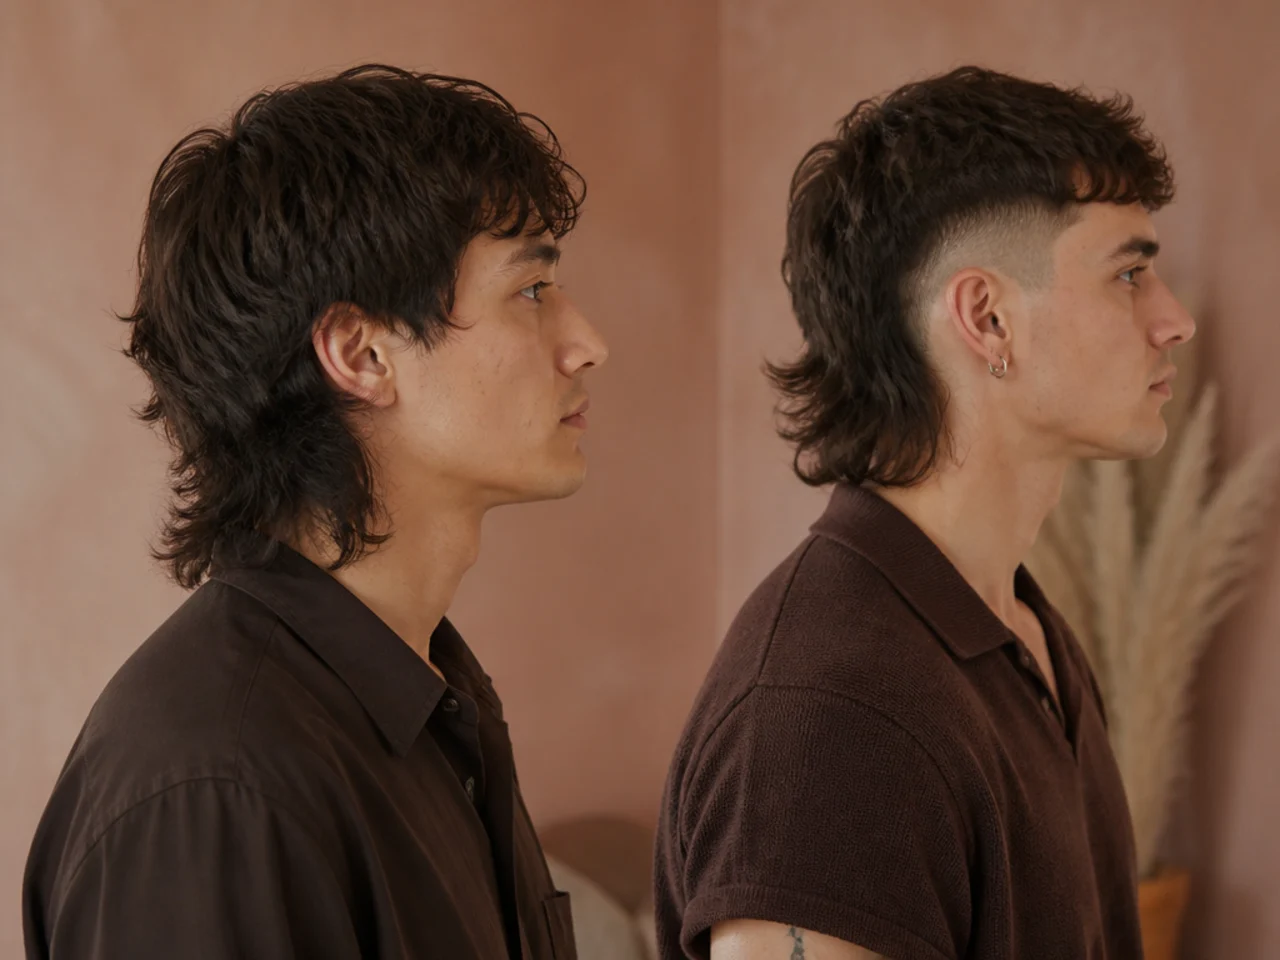
A beginner mullet blends, a full one steps. The soft version graduates from side to back over an inch or two. The full version disconnects, leaving a visible edge where the two meet.
The back length is nearly the same. Both need to clear the collar. What differs is how short the sides go and how abruptly the change happens.
Blended grows out invisibly. A gradient softens as it grows and never reaches a point where it looks wrong. A disconnection closes up unevenly and needs maintaining.
Nobody has to know it is a mullet. Kept at a number three with a blended transition, the cut reads as long at the back rather than as a statement, which is the point of starting here.
How to Ask for Your First One
Name the guard. A number one is three millimetres, a two is six, a three is ten, a four is thirteen. Saying "short" gets you whatever the barber pictures.
Say blended, not disconnected. Those two words describe the entire difference between the versions, and both are used loosely unless you specify.
Ask for the back left alone. Not trimmed, not tidied. The length at the back is the cut, and a tidy up removes exactly the hair that makes it work.
Book the follow up at four weeks. The sides catch up long before the back does, so the second appointment is a side trim, not a haircut.

The 20 Beginner Mullet Ideas
1. The Soft Mullet
Everything graduated, no step anywhere, and the shortest point on the side never dropping below a number three. It is the version that reads as a haircut rather than as a decision, and the soft mullet is where nearly every good first attempt starts.
2. The Tapered Side Mullet
The side shortens gradually and finishes with hair still on the skin, usually around a number one at the very bottom. That leftover length keeps the contrast moderate and lets the cut hold its shape for three to four weeks instead of two.
3. The Collar Length Mullet
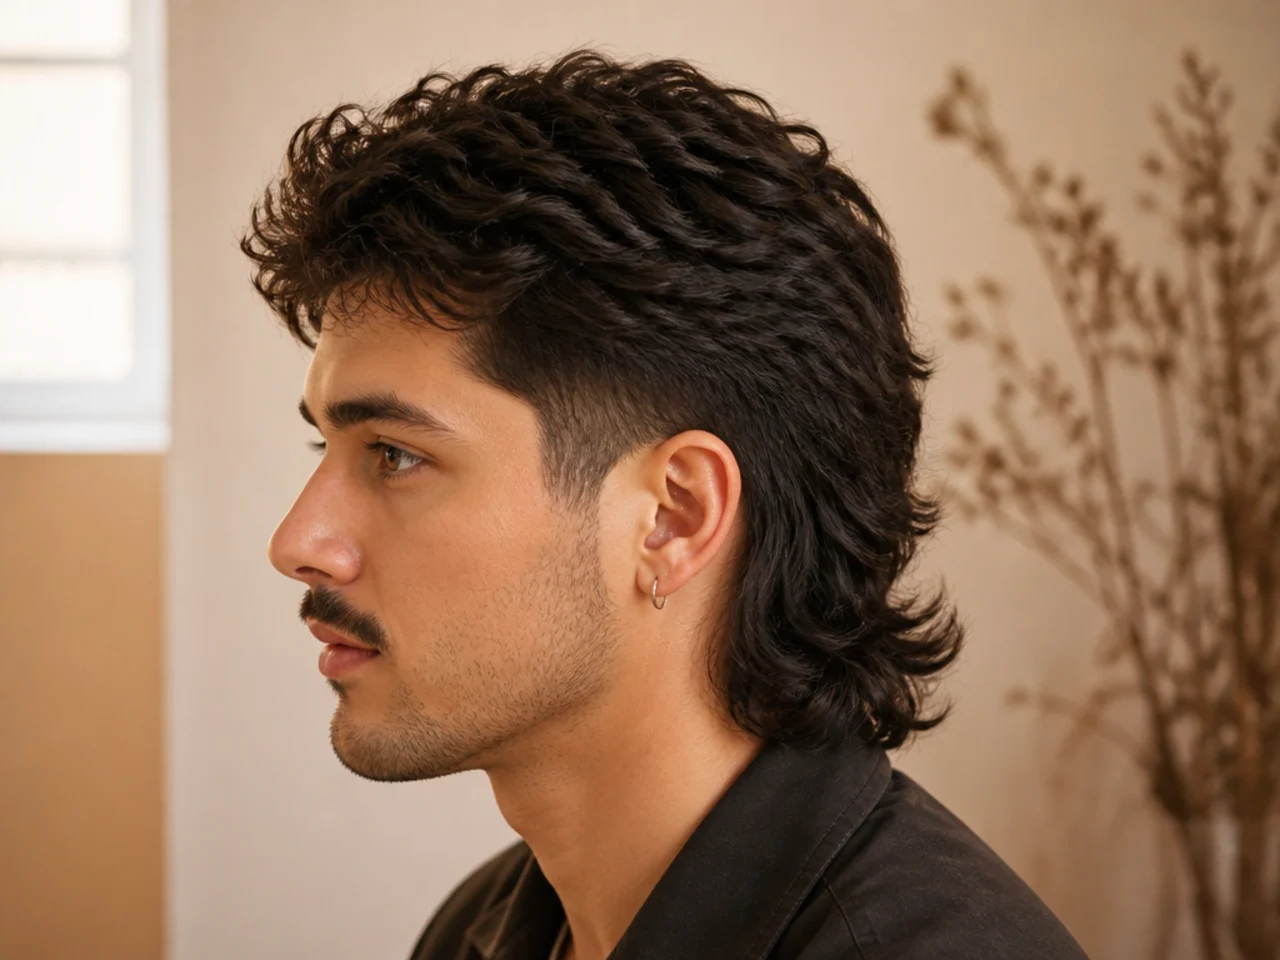
The back stopping exactly at the collar, which is the shortest a mullet can be and still be one. Below the collar and it reads as length; above it and the shape collapses into an ordinary layered cut.

4. The Hidden Mullet
Sides left long enough to cover the transition entirely when hair is worn down, so the mullet only appears when the sides are tucked back. It buys you a cut you can hide at work, at the cost of most of the contrast.
5. The Number Three Guard Mullet
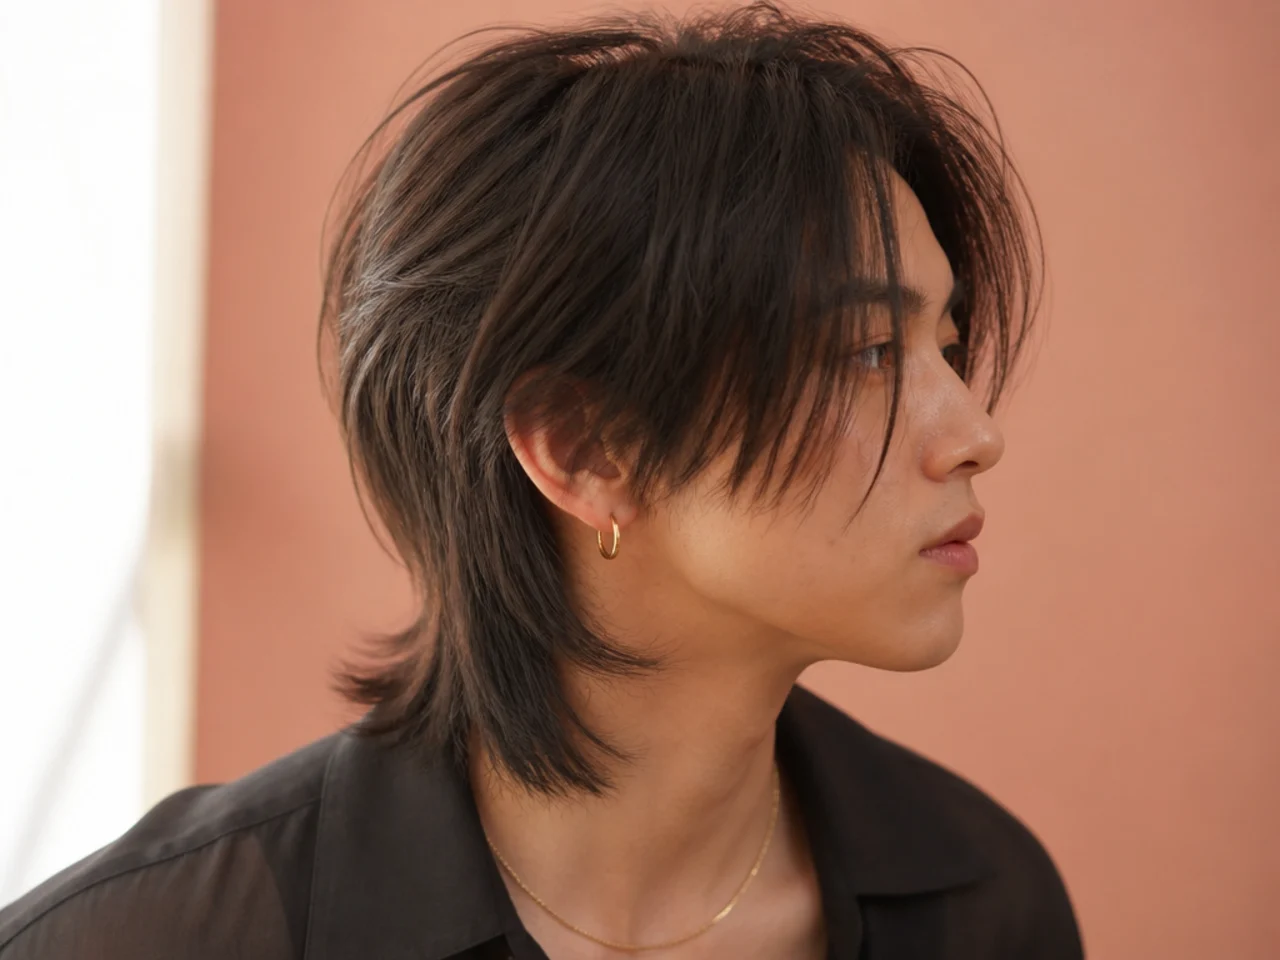
Ten millimetres on the sides is short enough to separate them from the back and long enough that scalp never shows through. On a first mullet it is the safest number, because it can be taken down next visit but not put back.
6. The Number Two Guard Mullet
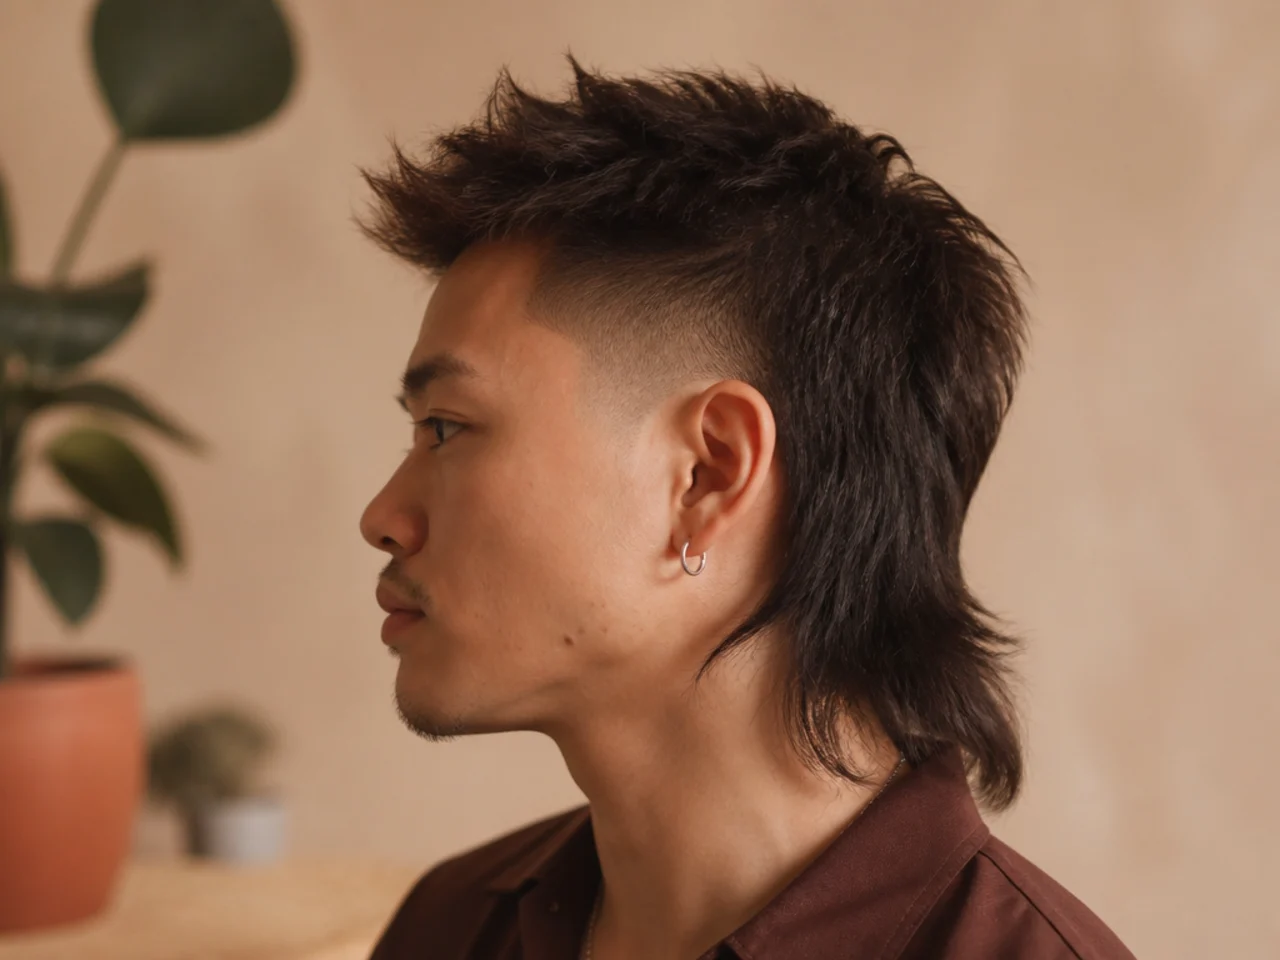
Six millimetres roughly doubles the contrast against the back compared with a three, and starts showing scalp on anyone with fine hair. It is the step to take at the second appointment once you know you like the shape.
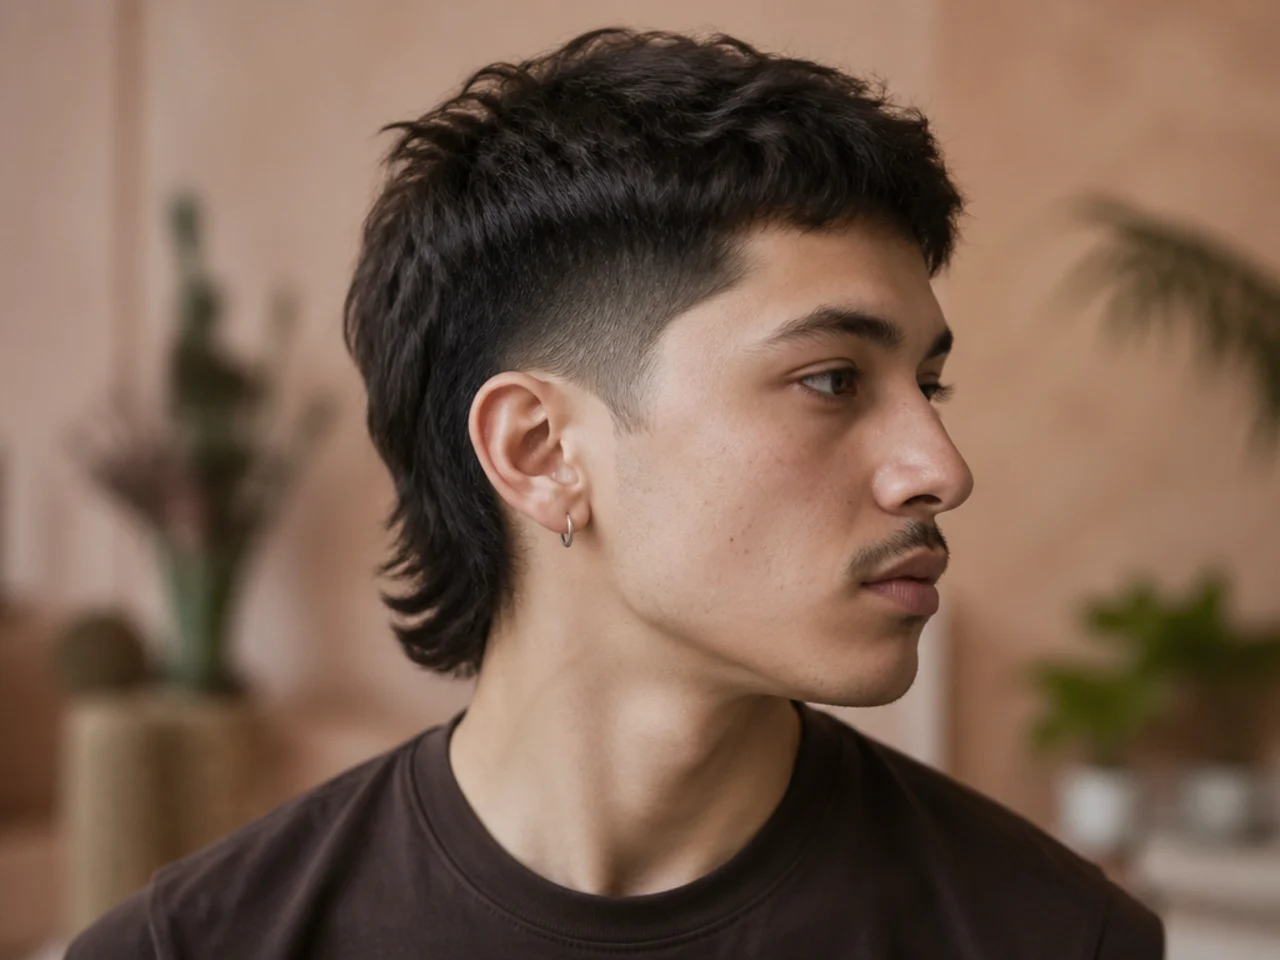
7. The Low Fade Mullet
The fade beginning at the top of the ear and running to skin at the bottom, which keeps most of the side density while sharpening the edge. Bare skin shows stubble inside a fortnight, so this is the first version that ties you to a schedule.
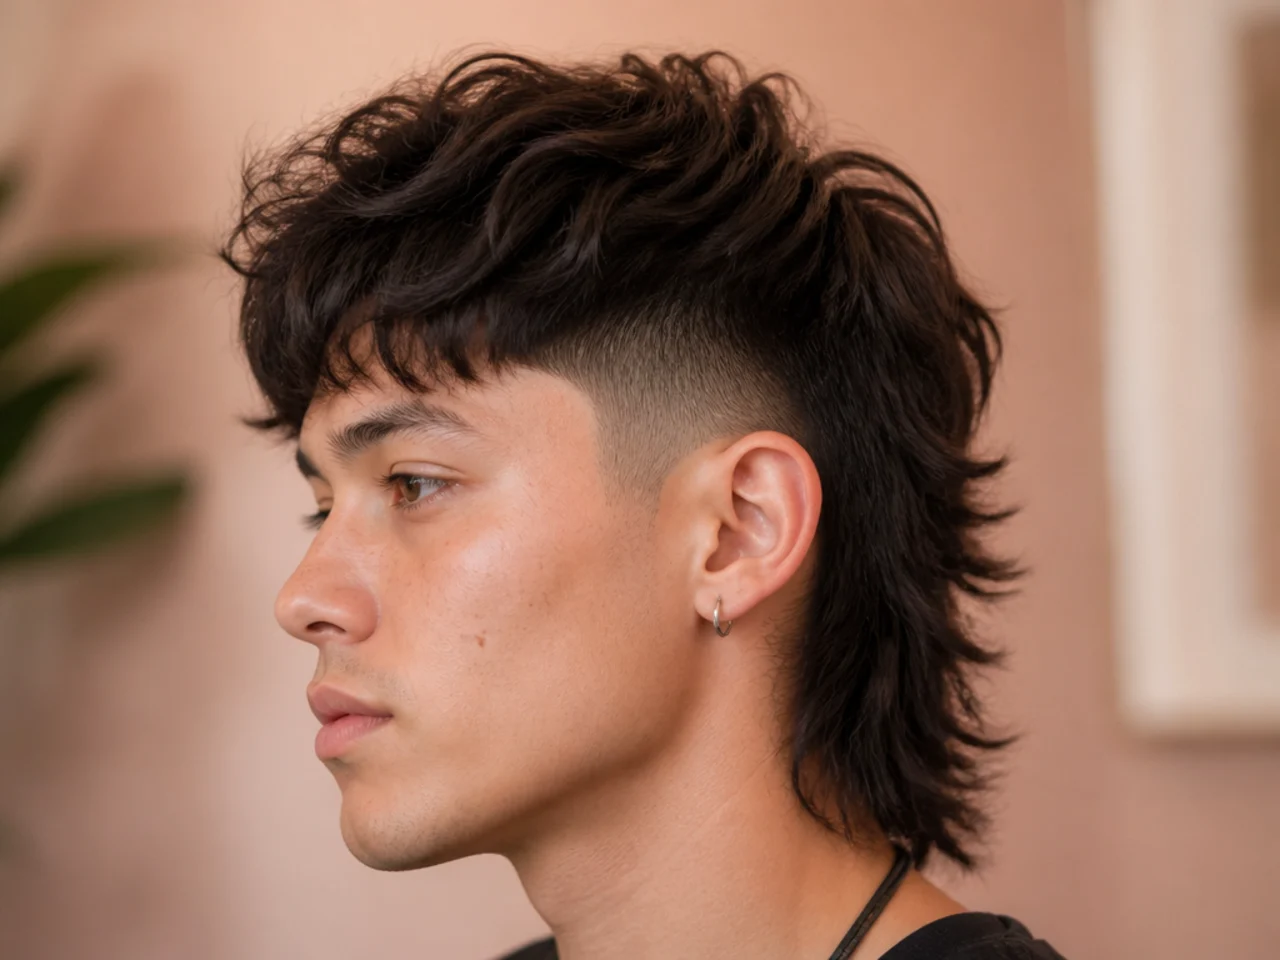
8. The Textured Top Mullet
Weight taken out of the top so it sits in separated pieces rather than as one mass, which gives the front a shape to balance the back. Without it a beginner mullet can look flat from the front and long from behind, as though only half of it was cut.

9. The Curtain Fringe Mullet
The front split into two halves that fall either side of the forehead, which occupies the eye at the front so the back stops being the only event. It needs the fringe long enough to reach the cheekbones or the halves spring apart.

10. The Side Part Mullet
A parting gives the top a direction and a vertical line, which cuts across the horizontal of the transition and stops the shape reading flat. It also disguises a transition placed slightly too high, because the eye follows the parting instead.

11. The Comma Fringe Mullet
The fringe curved forward and inward into a comma, held with a round brush and heat rather than by the cut itself. It is a styling shape, so it drops by the end of a humid day unless the hair has some natural bend to hold it.

12. The Wavy Beginner Mullet
Waves cover a clumsy transition better than any other texture, because the bend scatters light and blurs the line between two lengths. It is the most forgiving hair to attempt a first mullet on.

13. The Curly Beginner Mullet
Curl shrinks once dry, sometimes by half, so the back has to be cut longer than the finished position you want. Ask for it cut dry, because a wet curly cut lands the perimeter somewhere nobody predicted.

14. The Straight Hair Beginner Mullet
Straight hair hangs exactly where it is cut, which makes the length predictable and the transition unforgiving. Ask for extra blending time rather than a shorter guard, since every uneven pass shows along the whole line.

15. The Fine Hair Beginner Mullet
Fine hair shows scalp at short guards, so keep the sides at a three rather than a one or two. Three millimetres of fine hair sits far enough apart to let daylight through, which turns a taper into a bald patch.

16. The Thick Hair Beginner Mullet
Thick hair pushes outwards at the widest part of the head, so the back needs weight removed from inside or it forms a triangle. Take the bulk out internally and leave the perimeter alone, because the outline is what holds the shape.

17. The Neckline Only Mullet
Nothing cut at all except the sides, letting the nape grow while the rest is maintained normally. It is the slowest route in and the only one with no bad stage, since at every point it looks like hair that simply needs a trim.

18. The Mullet at Eight Weeks
The sides have grown roughly two centimetres while the back has grown the same, so the ratio between them has narrowed and the contrast has faded. This is the point the cut either gets a side trim or stops being a mullet.

19. The Disconnected Mullet
A hard step between short side and long back instead of a gradient, which needs density above the line to cast a shadow over it. On thick hair it looks deliberate; on fine hair the same step exposes scalp along the join.

20. The Full Mullet
Short sides, long back, and no attempt to soften the meeting point, which is the shape everything above is a diluted version of. Worth reaching in stages rather than in one appointment, and the full mullet is easier to commit to once the shorter version has already proven itself.

Styling and Upkeep
Trim the sides at four weeks, not the back. The contrast is the cut, and the sides are what erode it. Leaving the back alone is what builds the length.
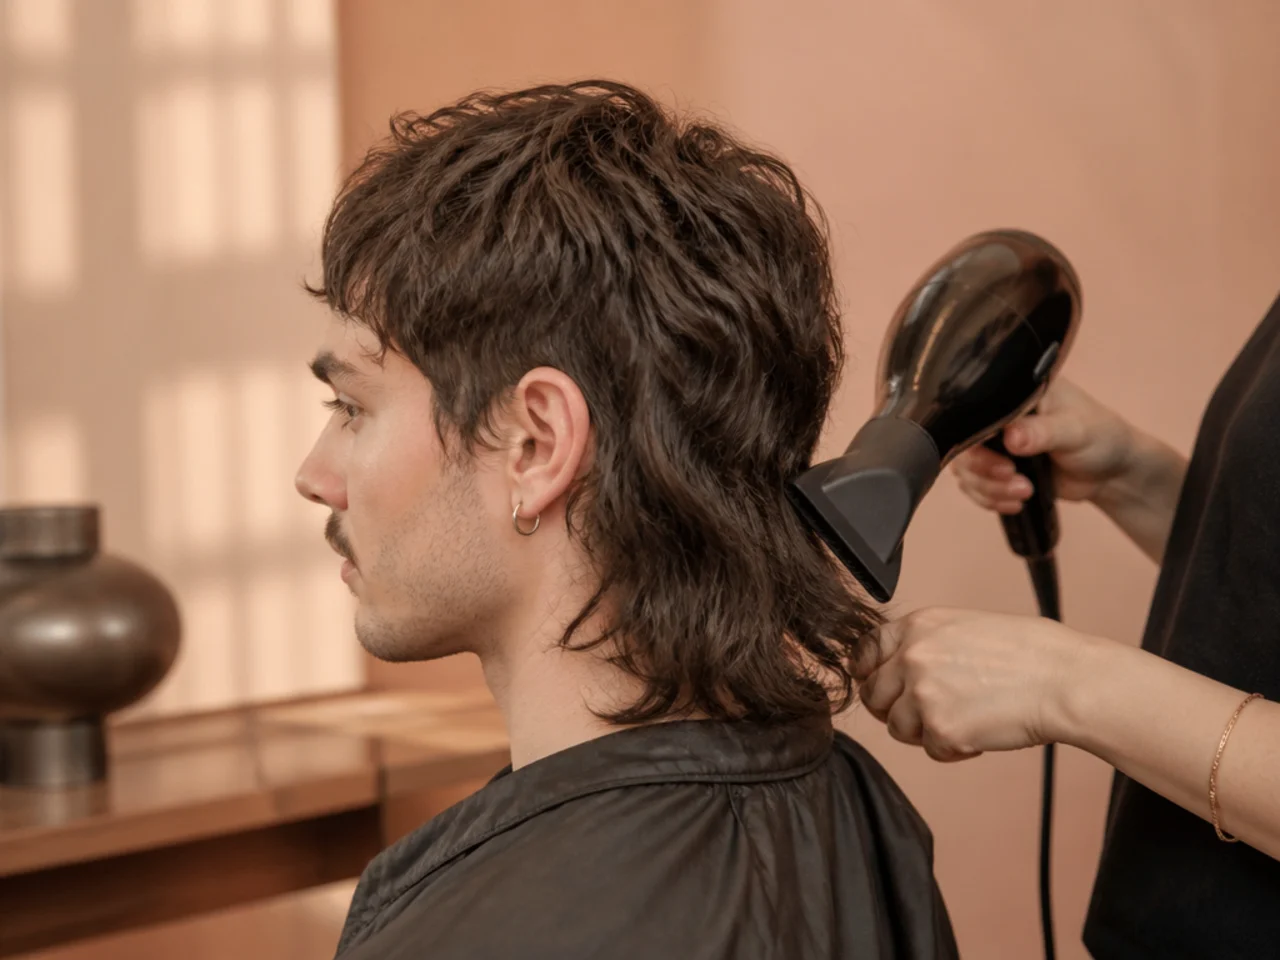
Dry the back downwards. Air directed down the length lays the cuticle flat and keeps the perimeter hanging where it was cut. Drying upwards lifts the root and shortens the visible length.
Use a cream, not a gel, at the back. Gel sets hard and turns the ends stiff, which separates the back from the rest of the cut instead of joining it.
Write down the guard number. It is the one measurement that changes the cut, and it is the one nobody remembers a month later.
Give it a week before deciding. A fresh cut sits high while the ends are blunt and settles noticeably once the hair relaxes.
Mistakes to Avoid
Going straight to a number one. Three millimetres on a first mullet is two months of growing out if you dislike it. Start at a three and work down.
Letting the barber tidy the back. A tidy up takes the length that makes it a mullet. Say the back is not to be touched before the cape goes on.
Asking for a fade when you meant a taper. A taper leaves hair behind; a fade goes to bare skin. The words are used interchangeably and the results are not.
Disconnecting on a first attempt. A step has no gradient to hide a bad placement, so the height has to be right first time. Blend now, disconnect later.
Judging it before the top is styled. The contrast only reads correctly once the front is in position, and a flat top makes any mullet look unbalanced.
FAQ
Which guard first? A number three at ten millimetres, then go shorter later.
Blended or stepped? Blended, until you know you want the step.
How often? Sides every four weeks, back left alone.

Final Thoughts
A first mullet is a decision about the sides. The back only needs leaving alone, and hair does that on its own, so the whole risk sits in a number you can name before the clippers start.
For the range the cut covers once you are past the first attempt see mullet haircuts for men, and for the faded version see the mullet with a fade. More in Mullet & Wolf Cut.



