

30 Gorgeous Mullet Hair Looks For Every Texture
Thirty mullet looks sorted by texture, because texture is what decides the cut. The same length left at the back hangs on straight hair, springs up on curly hair and disappears on coils, so the shape has to be cut to the hair.
In this article · 37
- What Makes a Mullet a Mullet
- Choosing the Version for Your Texture
- The 30 Mullet Looks by Texture
- 1. Blunt Perimeter on Straight Hair
- 2. Point Cut Ends on Straight Hair
- 3. Straight Mullet With a Low Taper
- 4. Straight Mullet With a Skin Fade
- 5. Fully Disconnected Straight Mullet
- 6. Wavy Mullet With Internal Layers
- 7. Wavy Mullet With a Heavy Fringe
- 8. Air Dried Wavy Mullet
- 9. Wavy Mullet at Week Six
- 10. Short Wavy Mullet
- 11. Curly Mullet Cut Dry
- 12. Curly Mullet With a Tapered Side
- 13. Curly Mullet With a Rounded Outline
- 14. Loose Curl Mullet
- 15. Curly Mullet With a Longer Crown
- 16. Coily Mullet With a Sharp Line Up
- 17. Coily Mullet With a Low Fade
- 18. Coily Mullet Left Long at the Back
- 19. Coily Mullet With Twisted Ends
- 20. Fine Hair Mullet With a Graduated Transition
- 21. Fine Hair Mullet With a Blunt Party
- 22. Fine Hair Mullet Kept Above the Collar
- 23. Thick Hair Mullet With Weight Removed Inside
- 24. Thick Hair Mullet With a High Taper
- 25. Thick Hair Mullet With a Razored Perimeter
- 26. The Short Mullet
- 27. The Long Mullet
- 28. The Modern Mullet
- 29. The Comma Mullet
- 30. The Wolf Mullet
- Styling and Upkeep
- Mistakes to Avoid
- FAQ
- Final Thoughts
Most mullets that fail were cut to a picture of somebody else's hair, and the length that hung correctly in that picture springs up two inches on a different texture.
Texture decides the measurement, not the style. The back of a mullet has to finish below the collar, and how much hair that takes changes completely between straight and coily.
The transition is the cut. Where the short side meets the long back, and whether that meeting is a step or a gradient, is what separates a good mullet from a growing out haircut.
What Makes a Mullet a Mullet
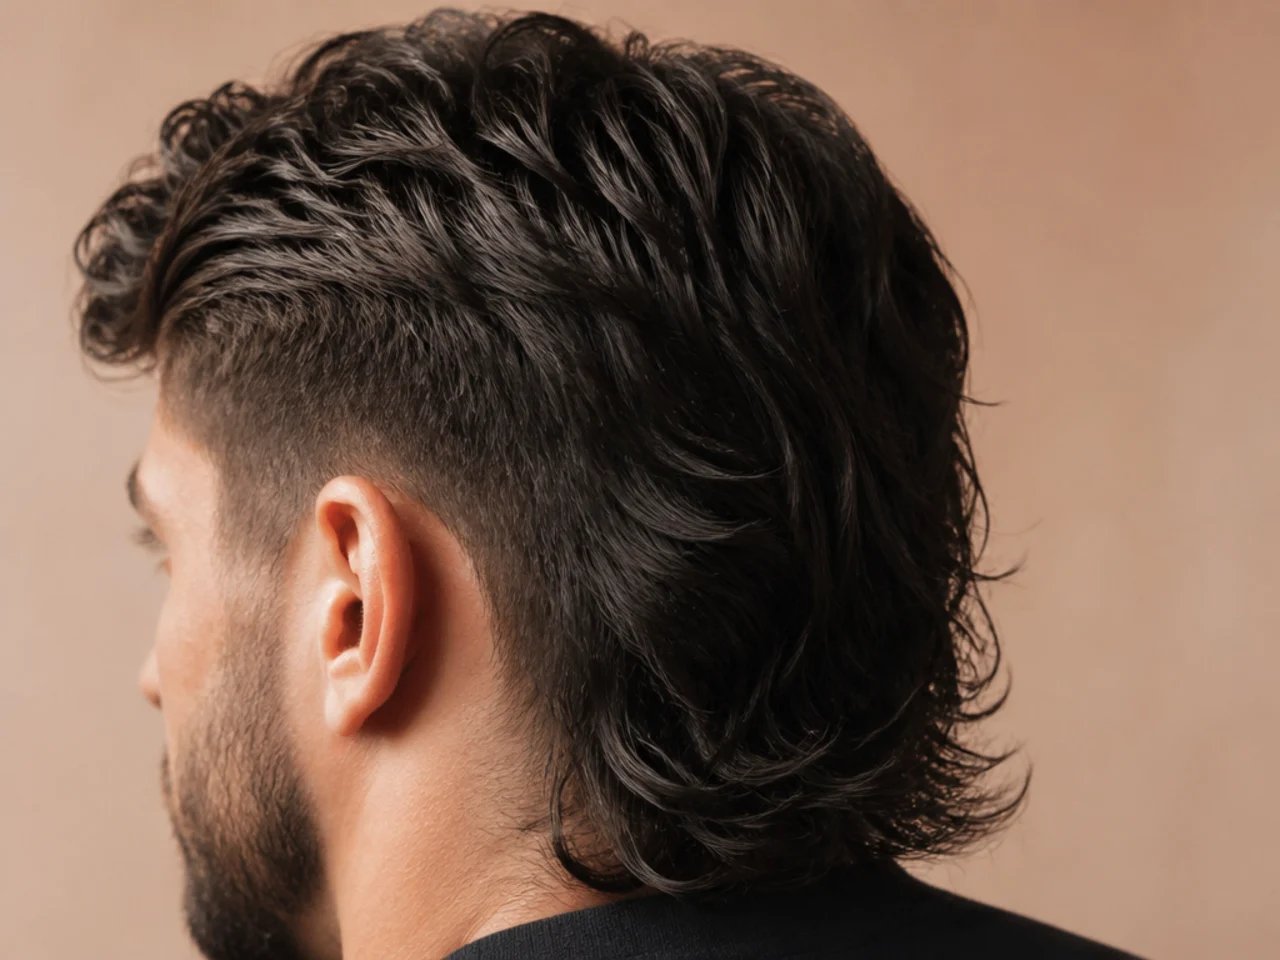
Length below the occipital bone. That is the whole definition. If the back stops above the collar it reads as a shag, no matter how short the sides are.
Weight removed above the ear. Taking bulk out of the sides makes the back look longer without cutting a single extra inch, because the eye reads the difference between the two.
A decision at the transition. Disconnected gives a hard step, graduated gives a gradient. Both are correct, and picking one by accident is what produces a shape nobody can name.
Short on top, long behind. A mullet that layers the whole head has crossed into wolf cut territory, which is a different silhouette from the front even where the back looks identical.
Choosing the Version for Your Texture
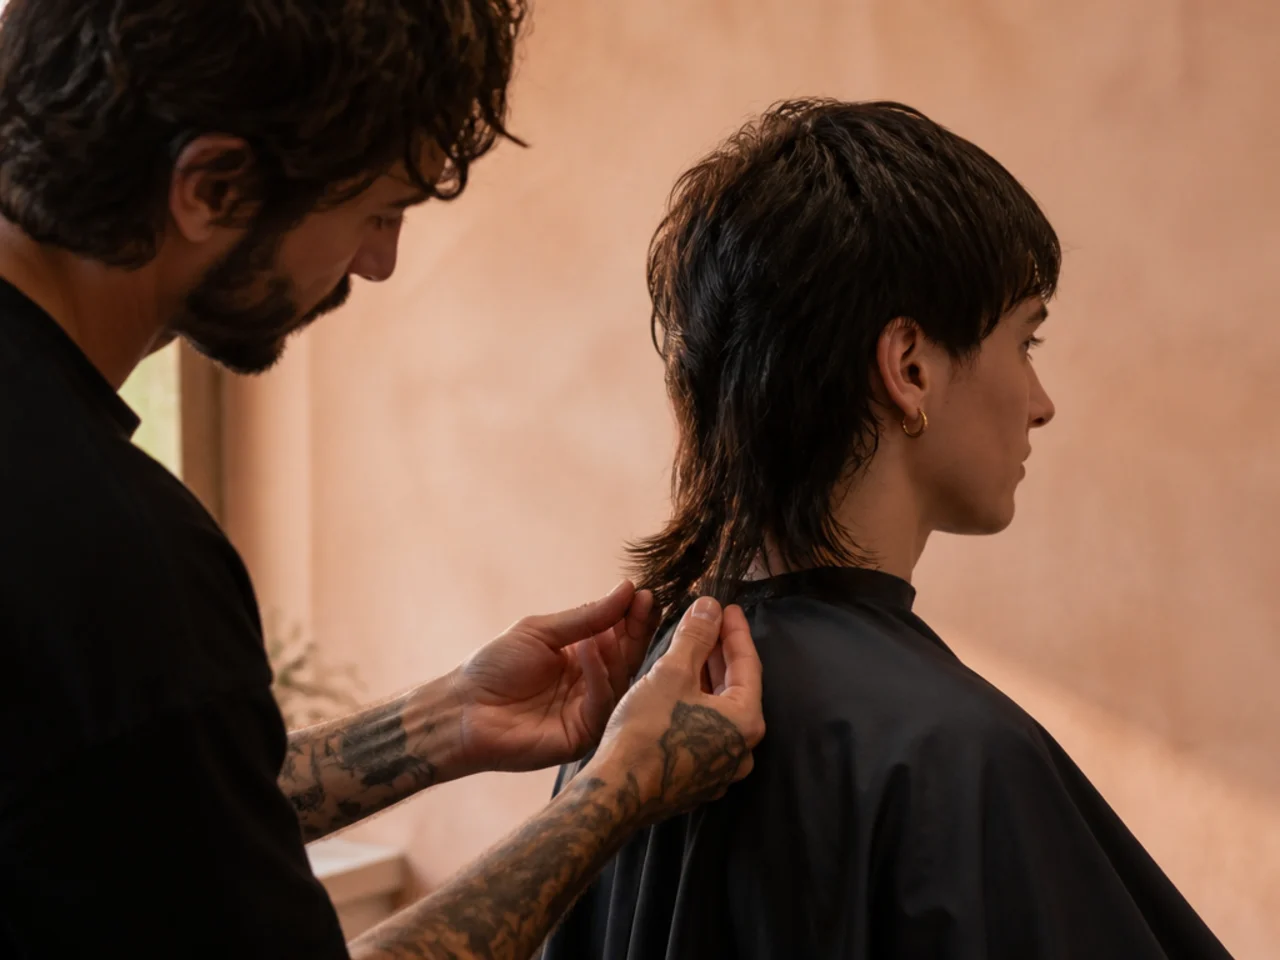
Cut curly and coily hair dry. Wet curl stretches to its full length and springs back once dry, so a wet cut is a guess. Dry cutting shows you the finished position of every piece as you take it.
Match the transition to your density. Coarse and thick hair carries a disconnected step. Fine hair needs the transition graduated, or the join shows scalp through it.
Set the perimeter by how it will be worn. A blunt back edge holds a strong outline and needs trimming every four to five weeks. A point cut edge softens as it grows and stretches that interval.
Decide the side length in guard numbers. A number one is three millimetres, a two is six, a three is ten. Naming the number is how you get the same contrast twice.
The 30 Mullet Looks by Texture
1. Blunt Perimeter on Straight Hair
Straight strands hang in one plane, so the bottom edge is read as a single line and any unevenness in it shows immediately. A blunt perimeter turns that into an advantage, giving the back a hard outline that no other texture can hold this cleanly.
2. Point Cut Ends on Straight Hair
Cutting into the ends vertically removes bulk from the tip without shortening the length, so the perimeter breaks up into pieces instead of sitting as a slab. It also grows out more kindly, because a broken edge has no single line to go crooked.

3. Straight Mullet With a Low Taper
The side shortens gradually and finishes around a number one at three millimetres, so hair remains everywhere. That leftover length keeps the contrast against the back moderate, and it means the cut still reads correctly at three to four weeks.
4. Straight Mullet With a Skin Fade
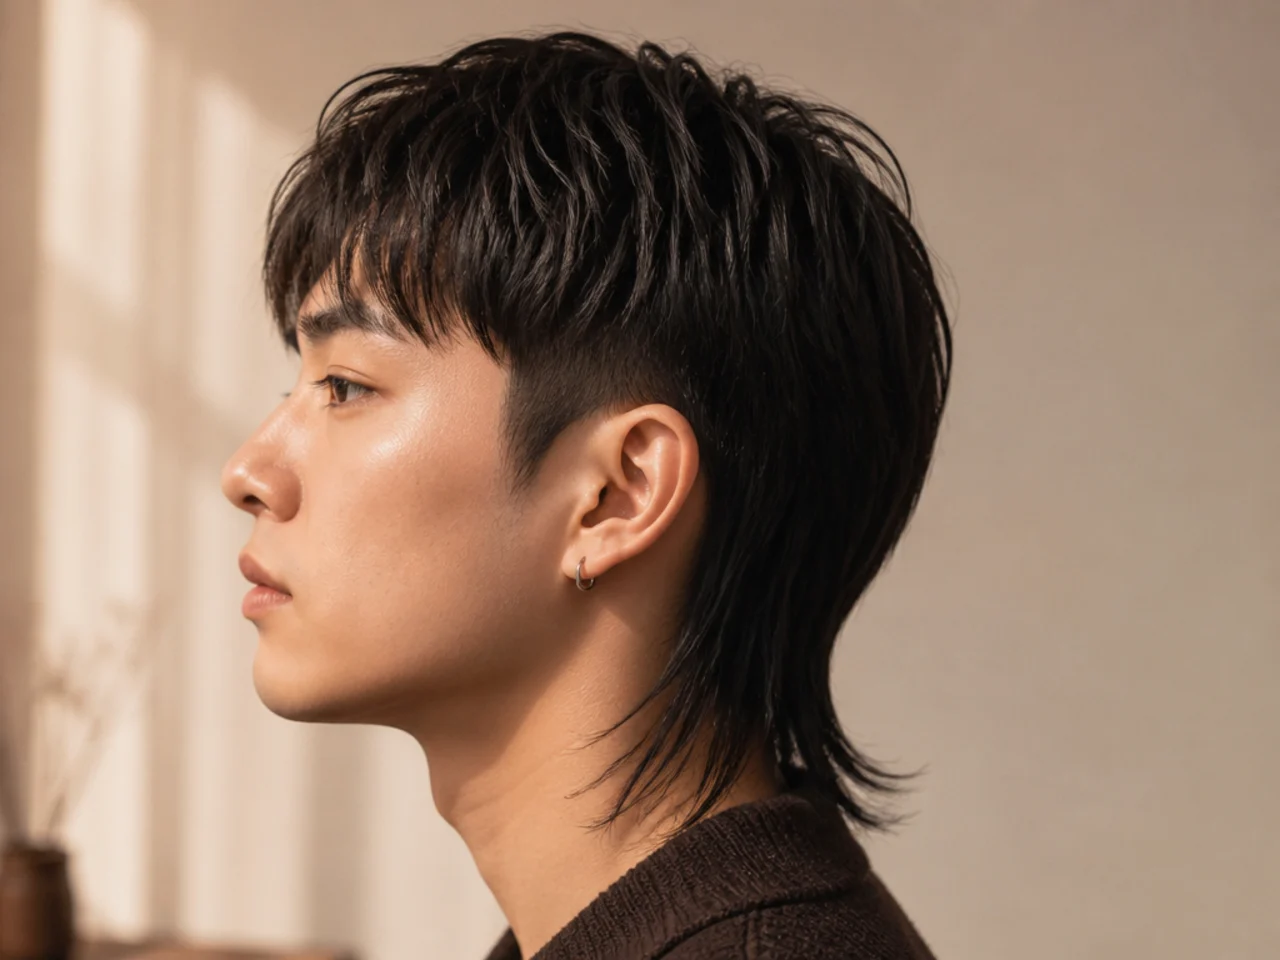
Taking the side to bare skin maximises the contrast, because skin reflects light where hair absorbs it. The cost is the schedule: stubble is visible within one to two weeks, so a skin fade wants a fortnightly appointment where a taper wants a monthly one.
5. Fully Disconnected Straight Mullet
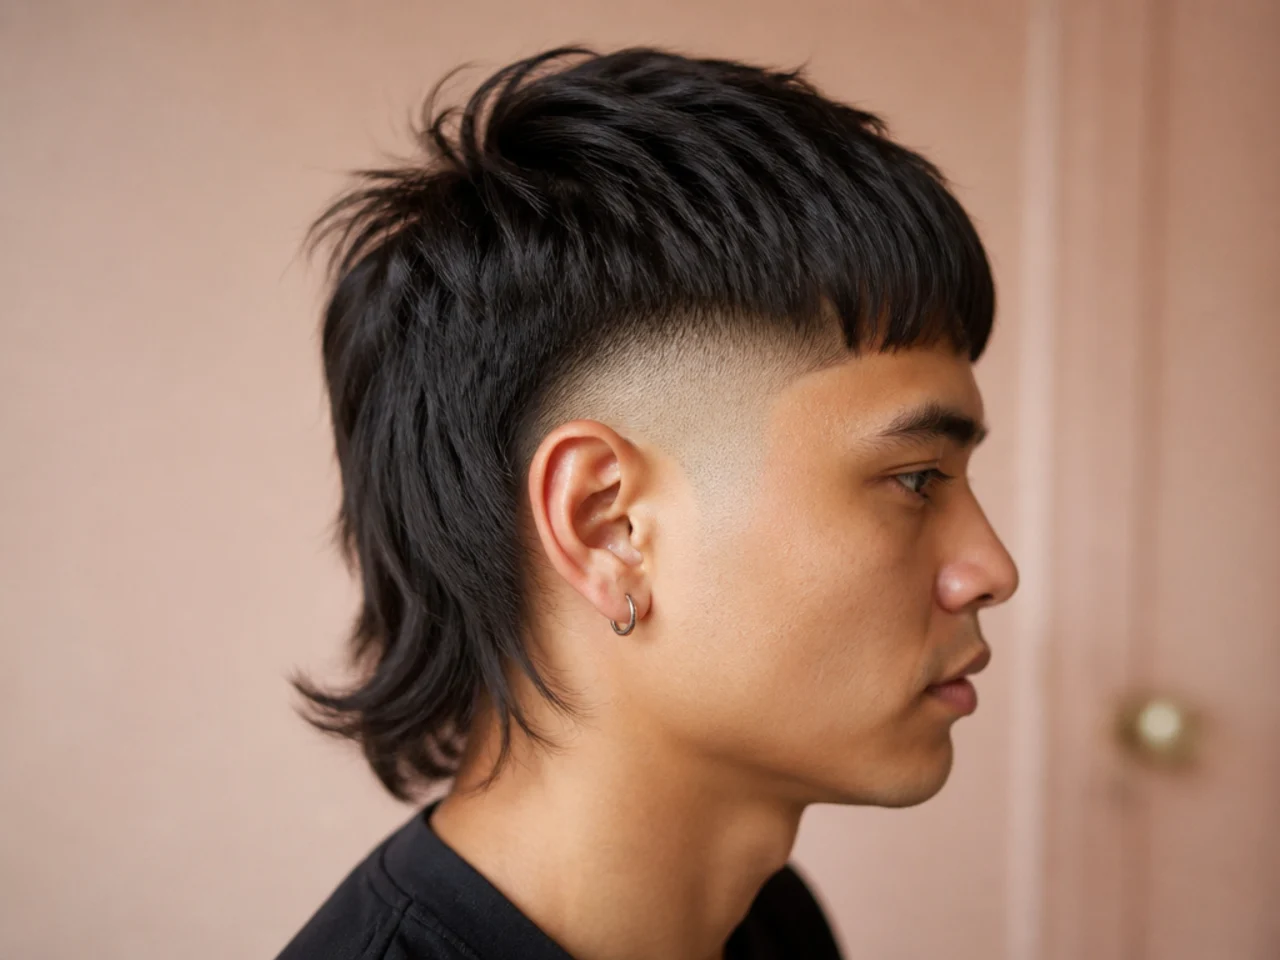
No gradient at all between the short side and the long back, just a step. Straight hair holds that step with total clarity, which is the appeal and also the risk, since there is nothing to soften a step placed at the wrong height.

6. Wavy Mullet With Internal Layers
Waves stack on each other and build width at the sides, so weight taken out from inside lets the back hang down instead of pushing outwards. The layers stay invisible because the wave pattern covers the cut ends.

7. Wavy Mullet With a Heavy Fringe
A dense fringe gives the front the weight the sides have lost, which balances a shape that would otherwise read as all length at the back. Waves hold a fringe off the forehead naturally, so it needs less product than a straight one would.

8. Air Dried Wavy Mullet
Left to dry without heat, waves keep the bend that a dryer would pull out, and the perimeter sits higher than its cut length as a result. Cut it a little longer than the finished position you want, since air drying always takes some length back.

9. Wavy Mullet at Week Six
The sides have caught up while the back has kept growing, so the ratio between them has narrowed. This is the point where the cut either gets a side trim or quietly turns into long hair with an odd outline.

10. Short Wavy Mullet
The back kept just past the collar rather than well below it, which suits waves because less weight means the bend survives further down the length. Long wavy hair straightens under its own weight, so a shorter back holds more texture.

11. Curly Mullet Cut Dry
Curl can shrink to half its stretched length, so a wet cut lands nowhere near where the hair finishes. Cutting dry shows each curl in its resting position, which is the only way to place a perimeter on curly hair with any accuracy.

12. Curly Mullet With a Tapered Side
A taper leaves length everywhere and finishes short rather than bare, which suits curls because it keeps some pattern visible right down the side. Going to skin removes the curl entirely and turns the side into a flat surface against a textured back.
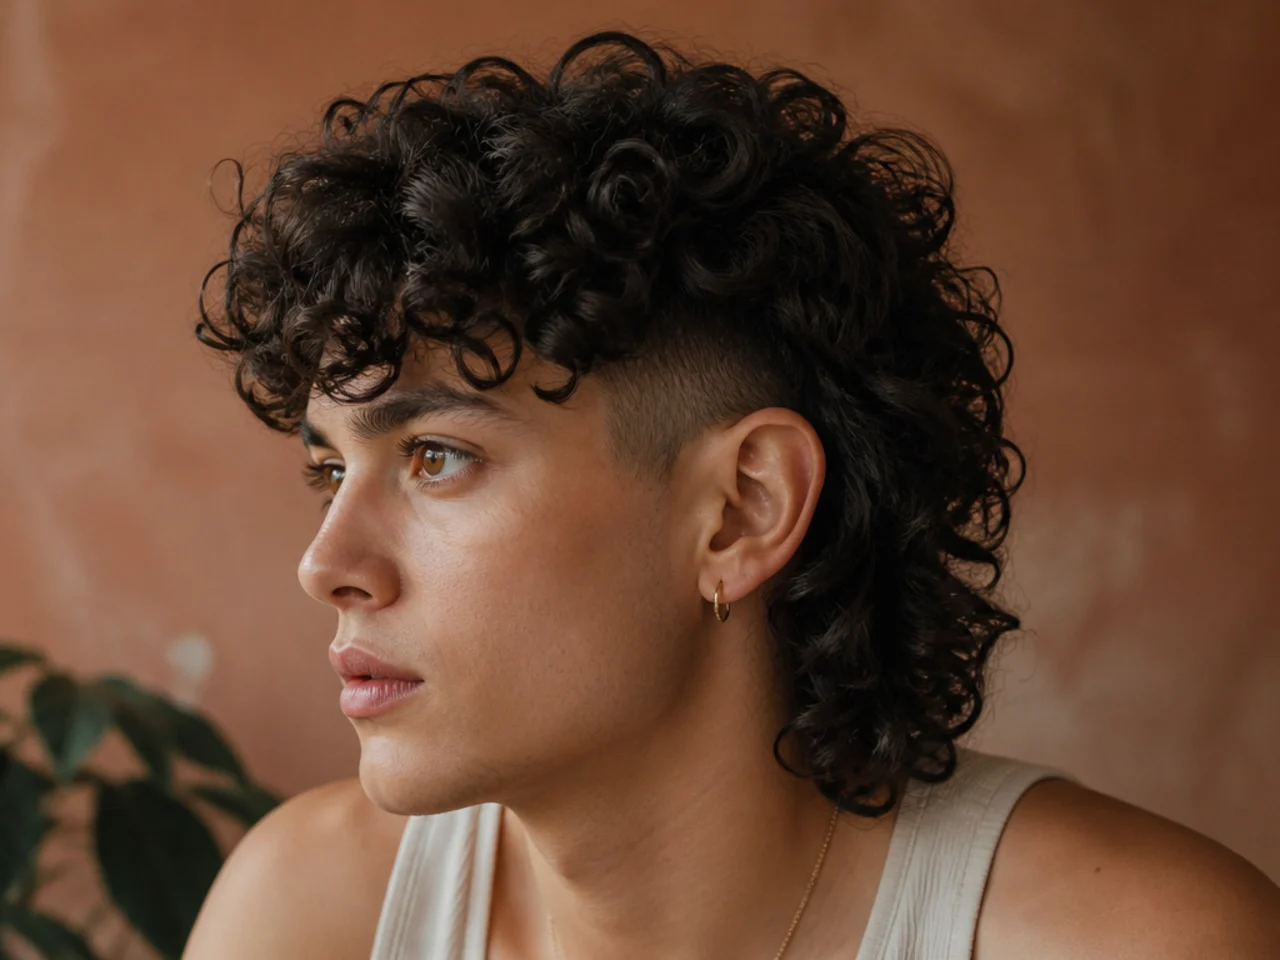
13. Curly Mullet With a Rounded Outline
Curls do not hold a straight line, so a perimeter cut straight across dries into a scatter of different lengths anyway. Cutting the outline rounded from the start puts that scatter under control instead of fighting it.
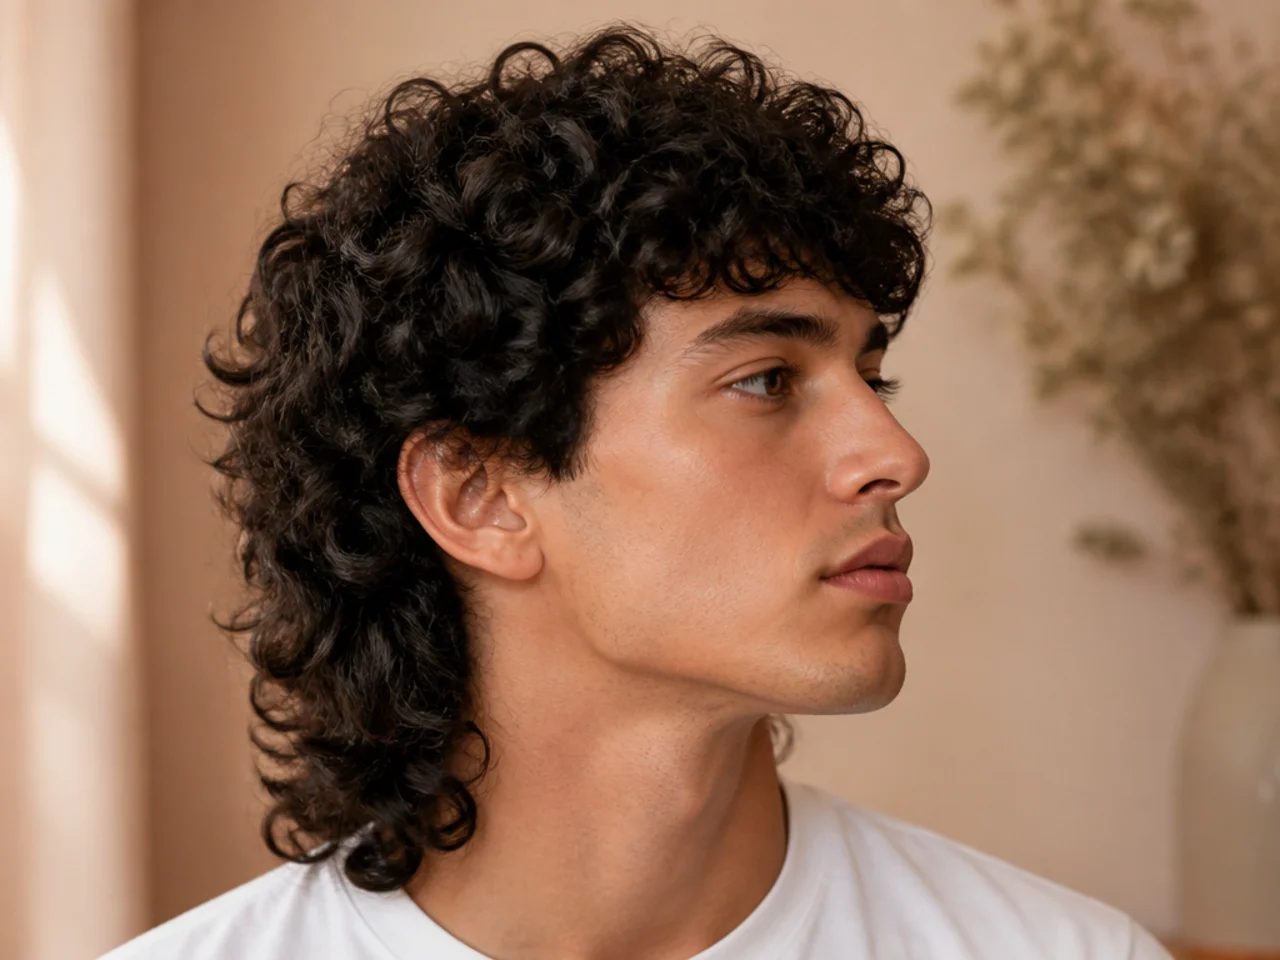
14. Loose Curl Mullet
A looser pattern shrinks less than a tight one, so the back can be cut closer to the length you want it to finish at. Loose curls also drop under weight faster, which means the perimeter needs revisiting sooner than on tight curl.

15. Curly Mullet With a Longer Crown
Extra length at the crown lets the curl there fall backwards and join the back section, closing the gap that short crown curls leave. Cut the crown too short on curly hair and it stands up as a separate shape entirely.

16. Coily Mullet With a Sharp Line Up
A trimmer line along the hairline gives the eye a hard straight edge to read against soft coils, which is what makes the whole shape look deliberate. It also holds for roughly two weeks before the outline blurs and needs redoing.
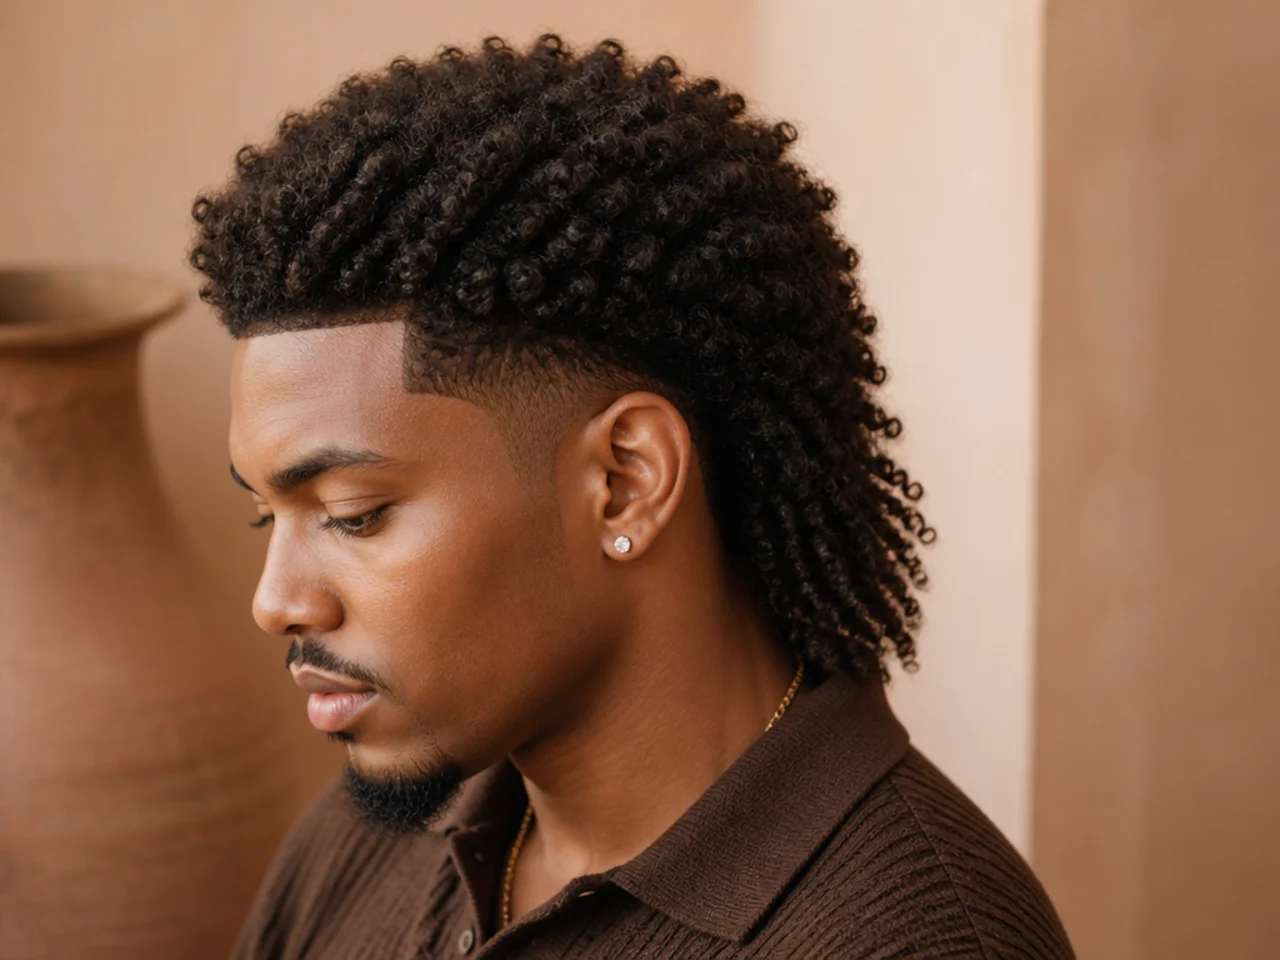
17. Coily Mullet With a Low Fade
Starting the fade low, around the top of the ear, keeps most of the coil density intact while still clearing the side. A high fade on coily hair removes so much visual weight that the back can start looking detached from the head.
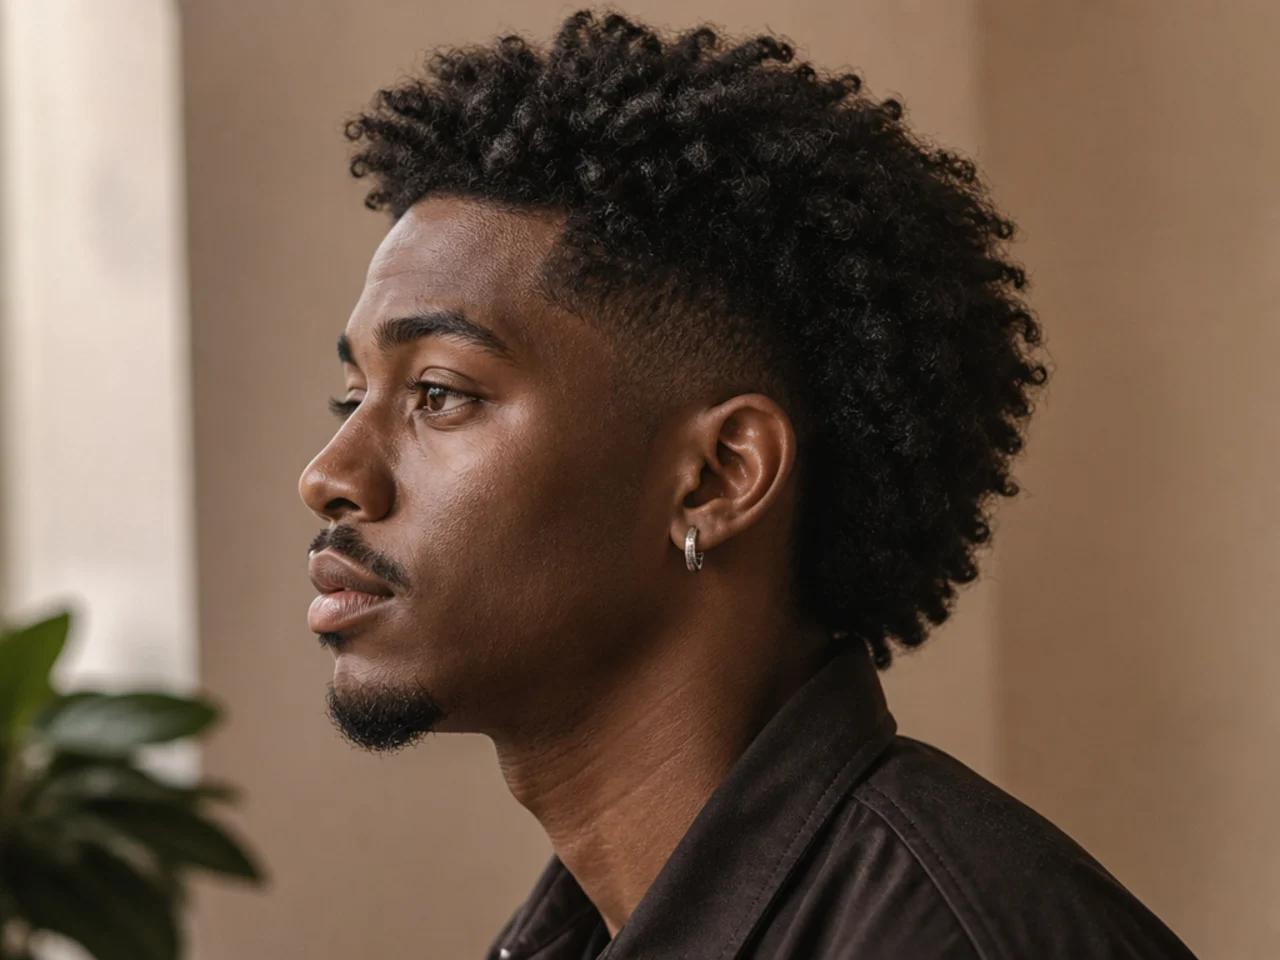
18. Coily Mullet Left Long at the Back
Coils shrink more than any other texture, so the back needs the most length of anything here to finish below the collar. Judge it stretched and cut it dry, then check where it sits once released rather than once combed.
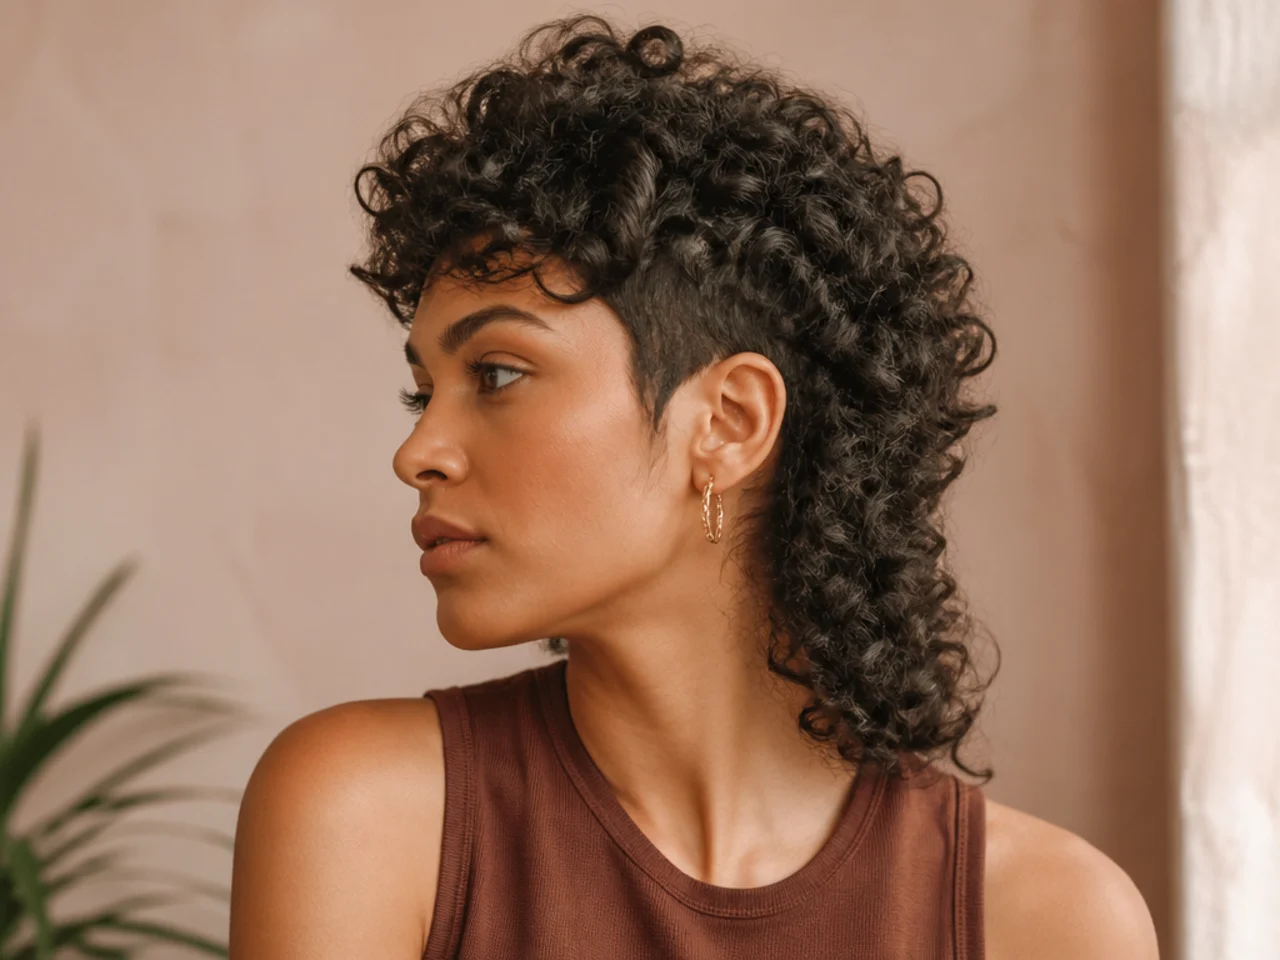
19. Coily Mullet With Twisted Ends
Twisting the back section elongates the coils and holds them in a defined rope, which adds visible length without cutting differently. Untwisted the next morning it keeps a looser wave, so the same cut reads two ways depending on the night before.
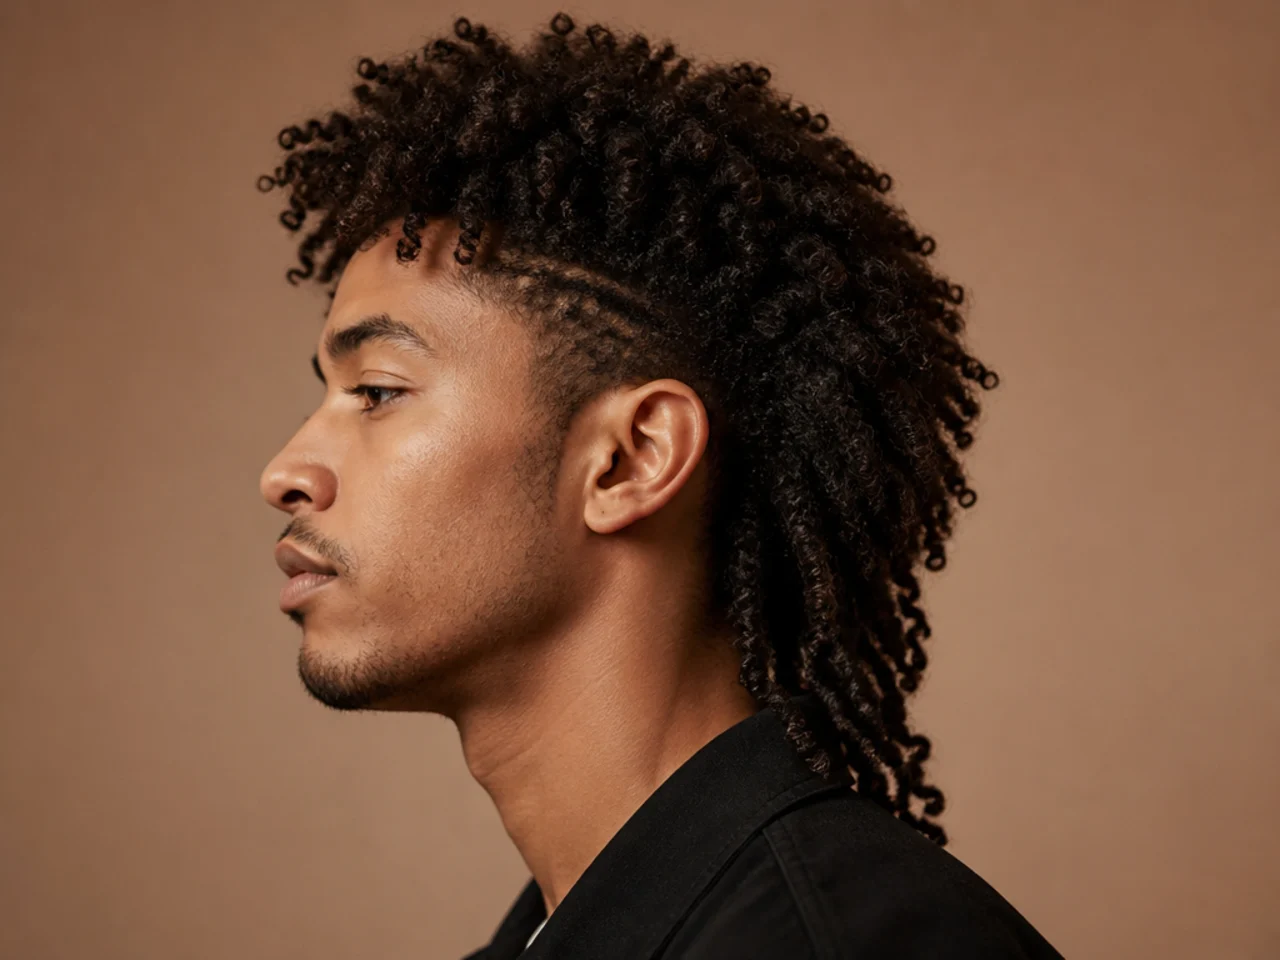
20. Fine Hair Mullet With a Graduated Transition
Fine hair has too little density to shade a hard step, so a disconnection shows scalp along the join. Graduating the transition spreads the change across an inch or two of length, which gives the eye a gradient instead of a gap.
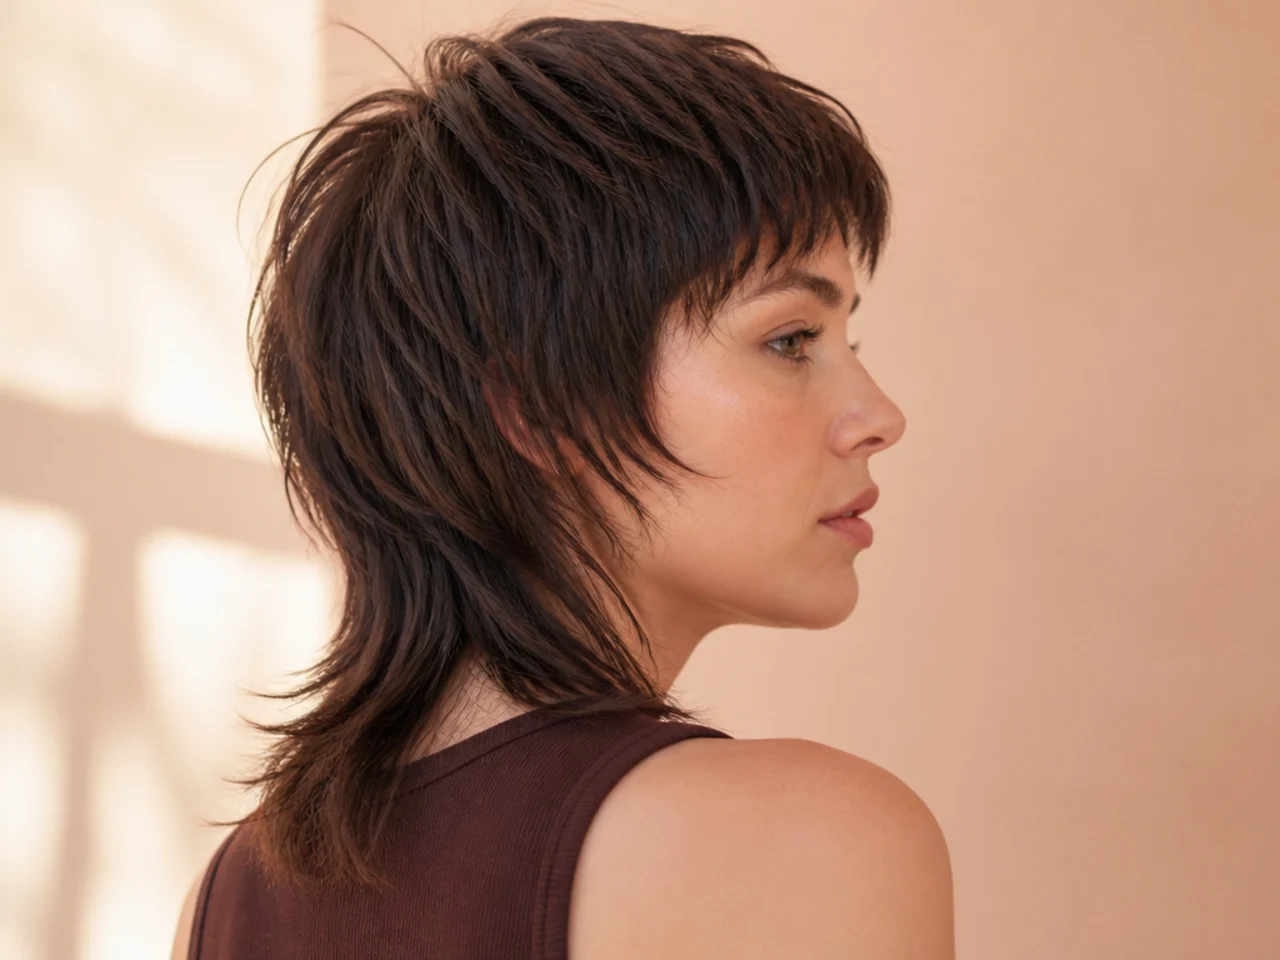
21. Fine Hair Mullet With a Blunt Party
Every strand kept to one length at the back concentrates what density there is at the perimeter, so the ends look thicker than the hair actually is. Layering fine hair at the back does the opposite and thins the edge to nothing.

22. Fine Hair Mullet Kept Above the Collar
Fine hair loses visible density the longer it gets, because the same number of strands spreads over more length. Keeping the back just above the collar holds the shape at the point where it still looks full.

23. Thick Hair Mullet With Weight Removed Inside
Thick hair pushes outwards at the widest part of the head and turns the back into a triangle. Removing weight from inside the section, not from the perimeter, lets the length hang while the outline stays intact.
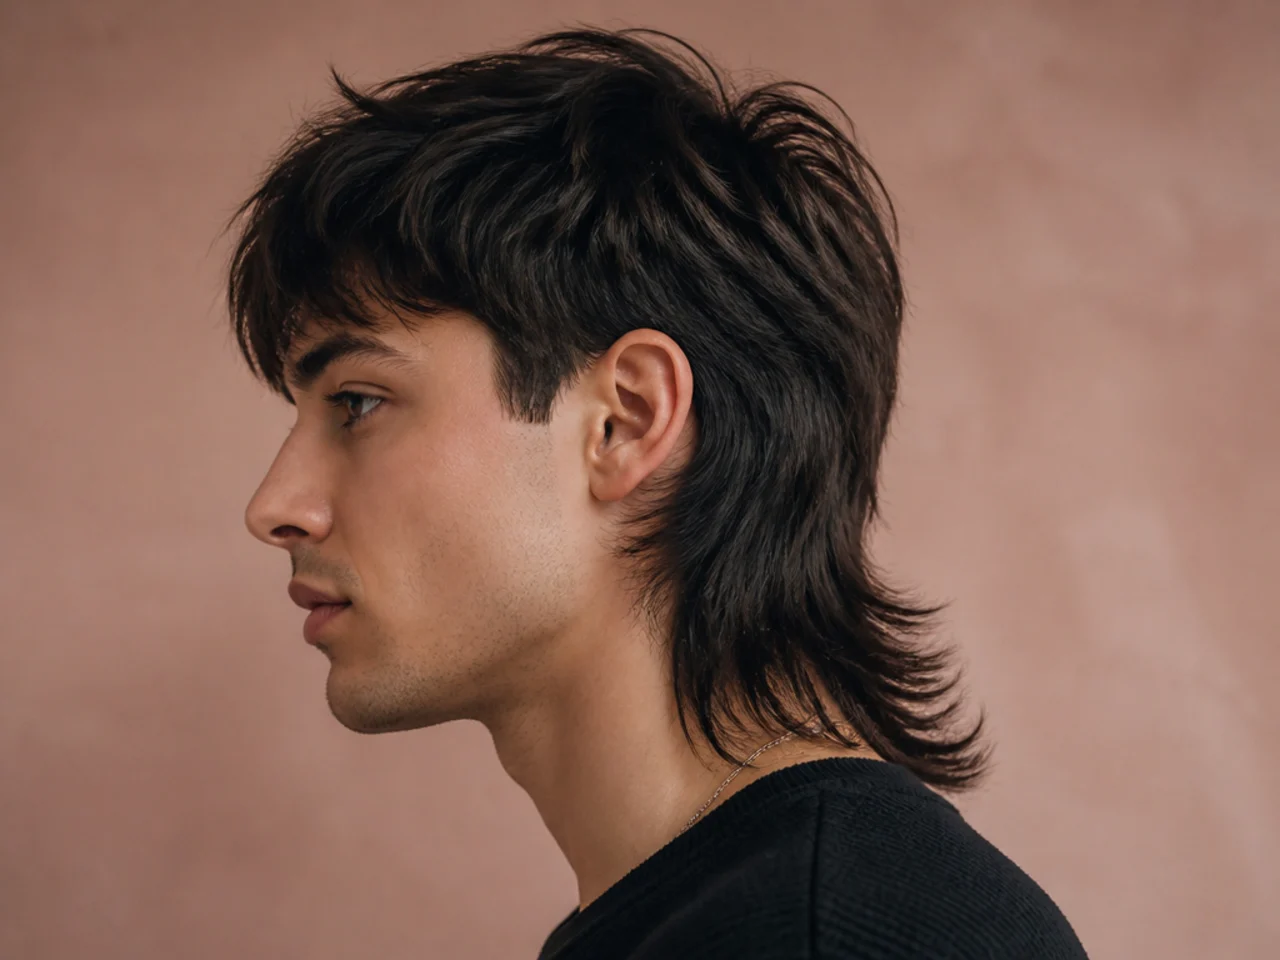
24. Thick Hair Mullet With a High Taper
Thick hair supports a high taper because there is enough density above the line to keep the contrast looking intentional. The higher the taper starts, the further the gradient has to travel, so it takes more passes to keep smooth.
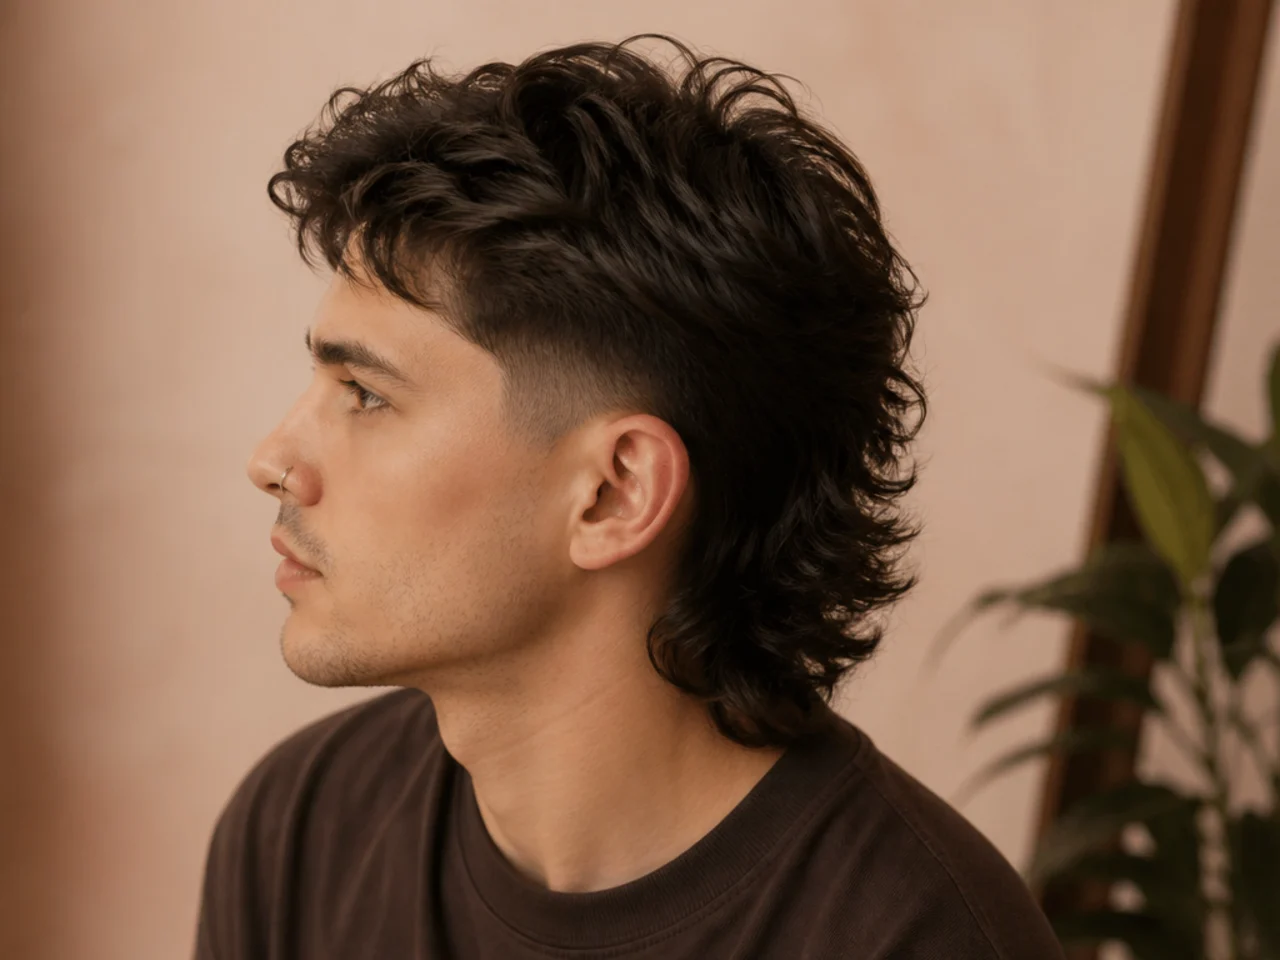
25. Thick Hair Mullet With a Razored Perimeter
A razor removes thickness from the very tip of each strand, tapering the end to a point so the edge sits softer than shears leave it. On coarse hair it can cause frizz at the ends, so it suits thick and smooth hair more than thick and dry.

26. The Short Mullet
The back kept just long enough to break the collar line and no further, which keeps the shape readable while staying inside most dress codes. It also needs trimming more often, because a short back loses the collar break within a few weeks.

27. The Long Mullet
Length well past the shoulder blades, where the back stops being a detail and becomes the silhouette. It needs the sides kept genuinely short to stay a mullet, since long hair everywhere reads as long hair with a trim.

28. The Modern Mullet
Softer transition, more length on top, sides tapered rather than clipped flat. The extra top length is what changes the register, because contrast is the ratio between the two sections and adding on top raises it without touching the sides, as the modern mullet and comma crossover shows.

29. The Comma Mullet
The fringe curved forward into a comma shape while the back keeps its length, giving the front a shape of its own instead of leaving it flat. Getting the curve to hold needs a round brush and heat, since the comma and mullet combination is a styled shape rather than a cut one.

30. The Wolf Mullet
Layers taken through the crown as well as the back, so short pieces sit on top of longer ones and prop them up. That is where the volume comes from, and it is also why this version needs cutting dry on anything with a wave.

Styling and Upkeep
Trim the sides, not the back. The shape lives in the ratio between them, and the sides are what change fastest. A side trim at four weeks resets the cut without losing length.
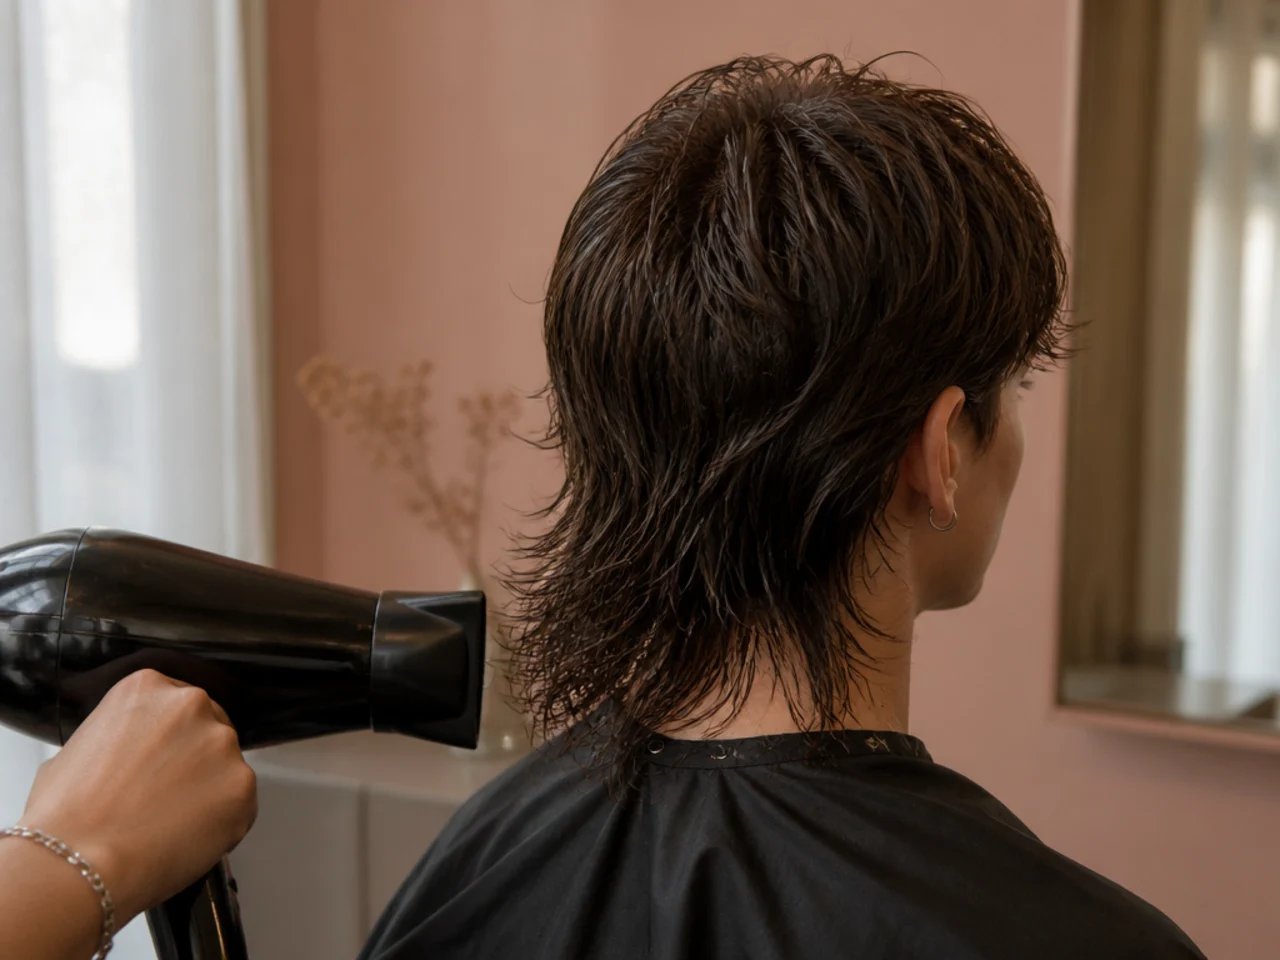
Dry the back downwards. Directing air down the length flattens the cuticle and makes the perimeter hang where it was cut. Drying upwards lifts the root and shortens the visible length.
Use a light cream on curls, not a gel. Gel holds the pattern by setting hard, which on a long back section makes the ends stiff and separates them from the rest.
Photograph the transition height. It is the one measurement that changes the cut, and it is the one nobody remembers by the next appointment.
Leave a week before judging it. A fresh mullet sits high while the cut ends are blunt, and settles by roughly a centimetre once the hair relaxes.
Mistakes to Avoid
Cutting curly hair wet. It stretches to full length and springs back once dry, so the perimeter you cut is not the perimeter you get.
Disconnecting on fine hair. A hard step needs density above it to cast a shadow. Without that density the join reads as a bald line.
Stopping the back above the collar by accident. That is a shag, not a mullet. If the collar break matters, say so before the first cut rather than after.
Thinning the perimeter to reduce bulk. It removes the edge that holds the shape. Take the weight from inside the section and leave the outline alone.
Letting the sides grow with the back. The contrast is the cut. Once both grow together the shape stops existing, whatever the length at the back.
FAQ
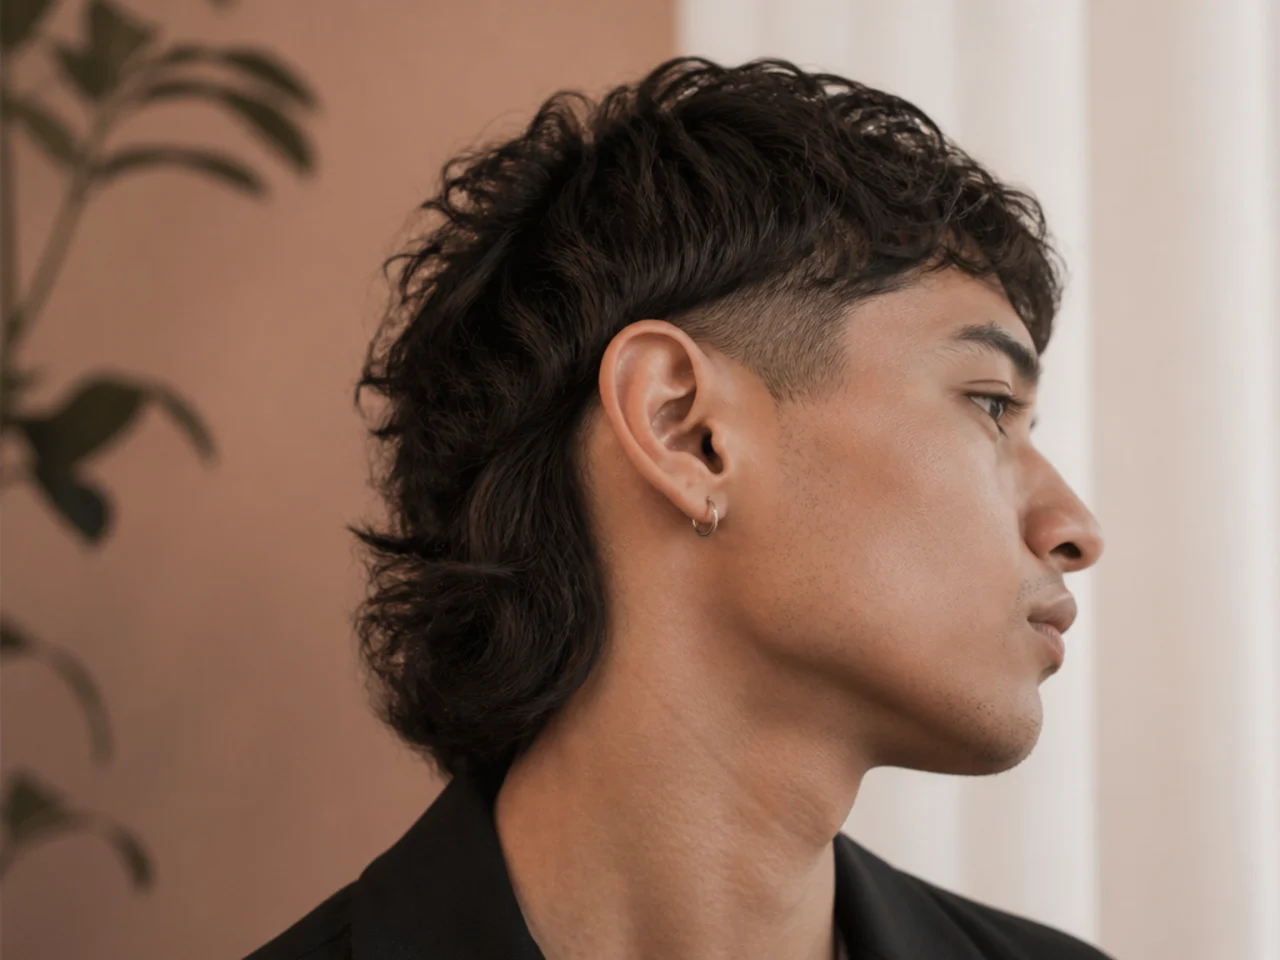
How long at the back? Long enough to clear the collar once dry.
Disconnected or blended? Blended on fine hair, either on thick.
How often trimmed? Sides every four weeks, back far less often.

Final Thoughts
Cut the mullet to the texture rather than to the photograph. Straight hair hangs where you cut it, curly hair rises, and coily hair rises most of all, so the same finished shape needs three different measurements.
For the version built around a shorter back see short mullet hairstyles, and for what curl does to the shape see the curly mullet. More in Mullet & Wolf Cut.



