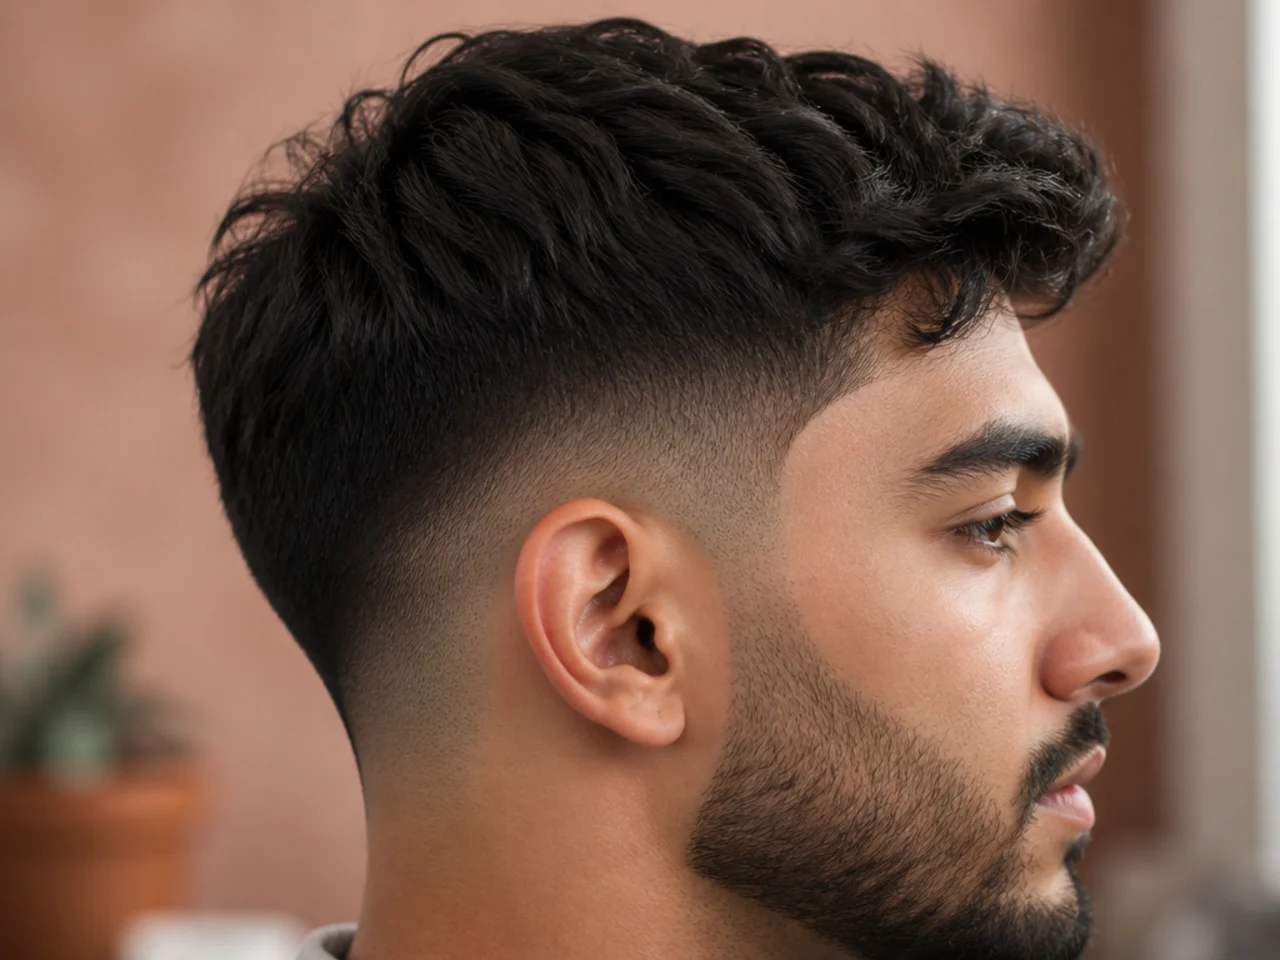
20 Low Fade Haircut Ideas I Saved for Men
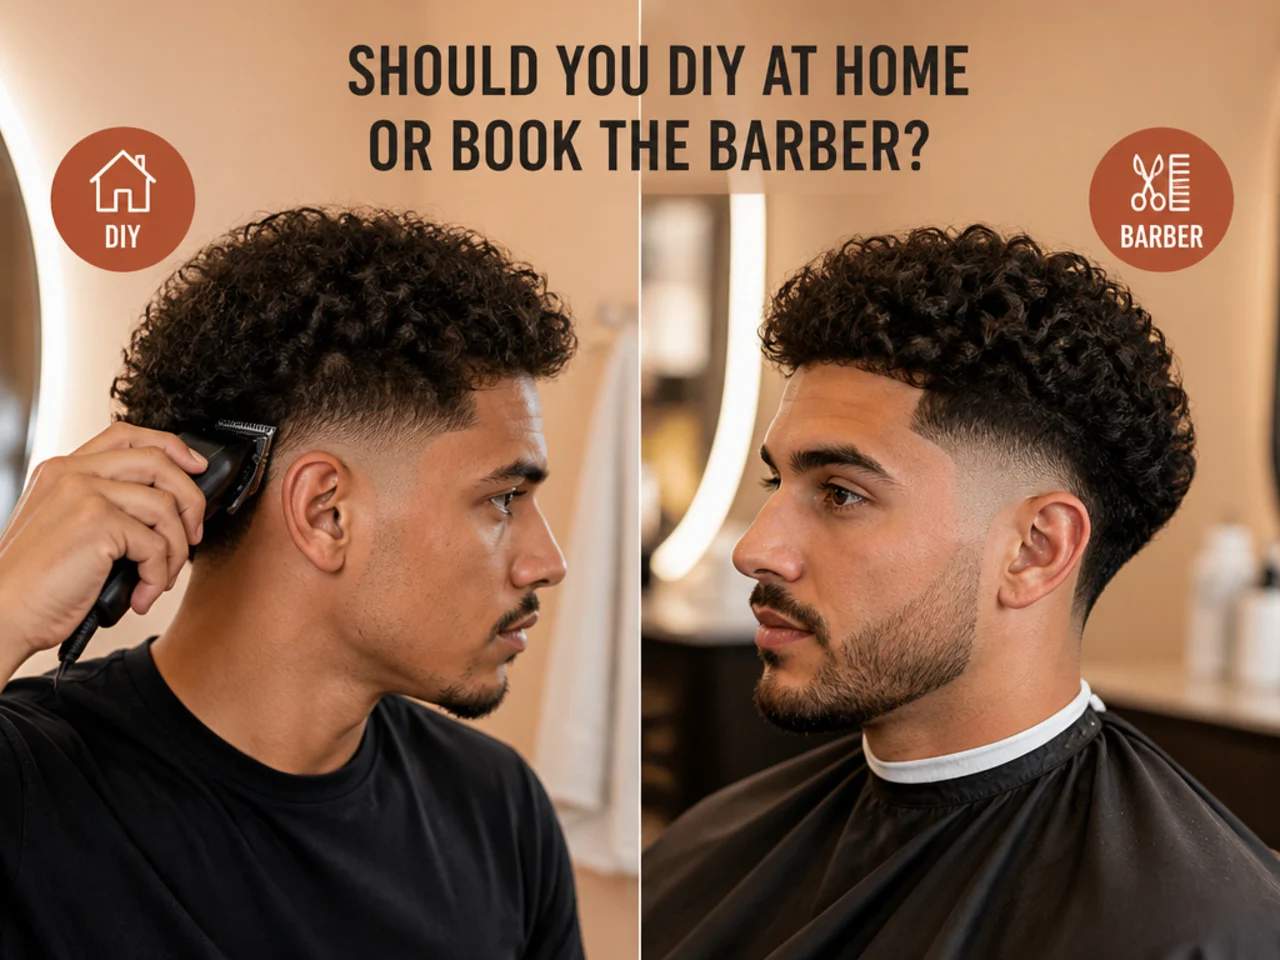
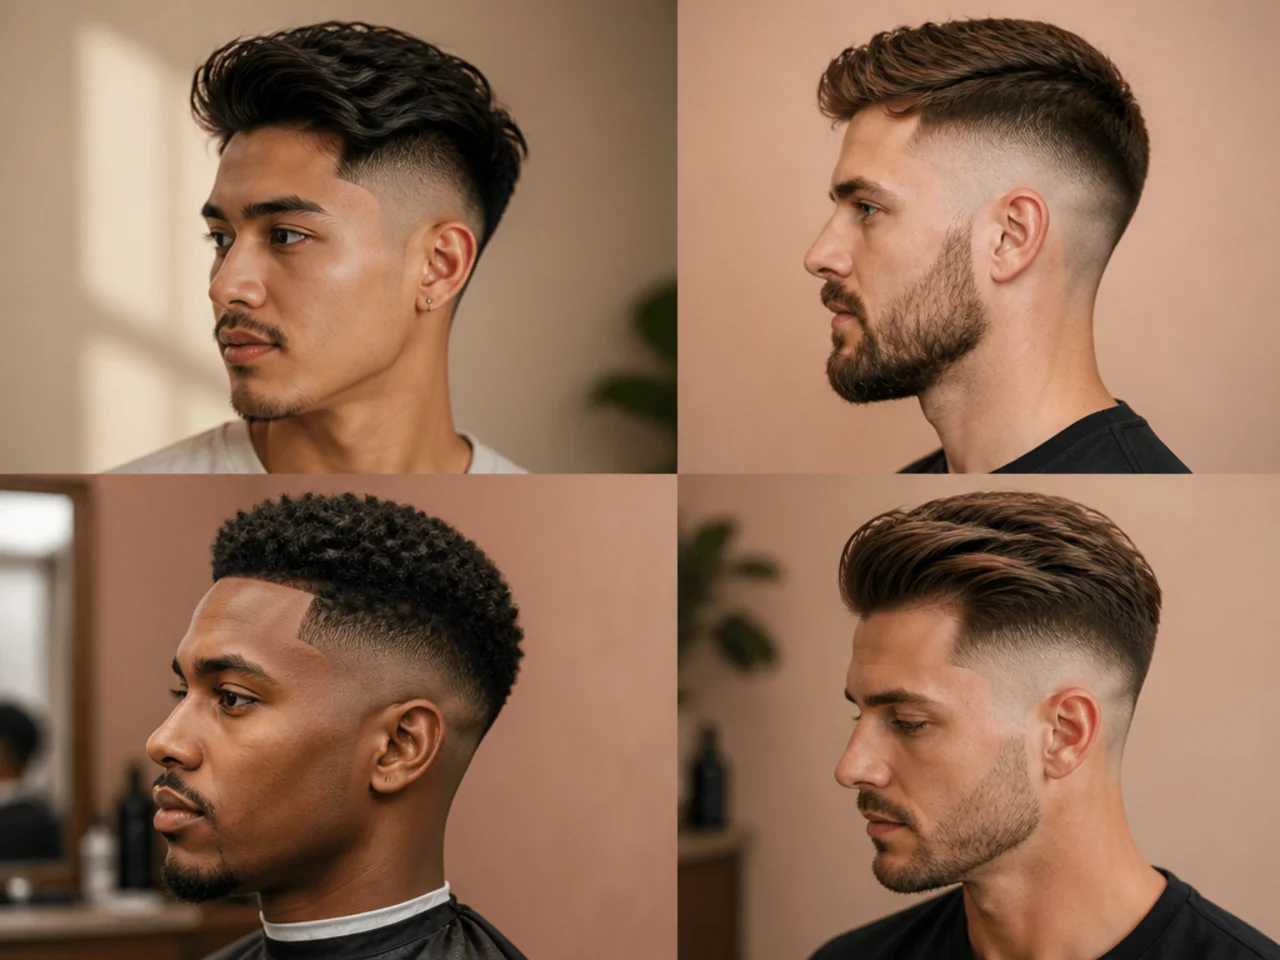
Saved low fades all look like the same haircut, because the fade occupies two or three centimetres and the photograph is mostly of everything else. Working out what actually differs between them is the whole exercise.
In this article · 27
- What Actually Differs
- How to Choose Yours
- The 20 Low Fade Ideas I Saved
- 1. Clean Low Taper, Three Guards
- 2. Low Skin Fade, Week One
- 3. Low Fade With Graduated Sides
- 4. Low Fade With Heavy Sides
- 5. Low Fade With a Tapered Neckline
- 6. Low Fade With a Blocked Neckline
- 7. Low Fade Comb Over
- 8. Low Fade on a Receding Hairline
- 9. Low Fade With a Beard
- 10. Low Fade With 360 Waves
- 11. Low Fade With a Textured Top
- 12. Low Fade With a Long Top
- 13. Low Fade Buzz Cut
- 14. Low Fade With a Line-Up
- 15. Low Drop Fade
- 16. Low Burst Fade
- 17. Low Fade With a Small Design
- 18. Low Fade at Week Three
- 19. Low Fade at Week Five
- 20. The Note I Wrote Under All of Them
- Styling and Upkeep
- Mistakes to Avoid
- FAQ
- Final Thoughts
I saved low fades for months before admitting that I could not tell most of them apart.
The fade is two or three centimetres of the photograph. It sits just above the ear, below the temple, and it is genuinely a small part of the image.
Everything else in the picture is doing the work. Top length, side weight, neckline shape and the guard sequence inside that narrow band, none of which announce themselves.
What Actually Differs
Not the height. A low fade starts at or below the temple and that is nearly fixed by anatomy.
The guard sequence inside the band. Two guards make a step and three make a gradient.
The side graduation above it. Whether the weight the fade left has been thinned or not.
And the neckline. Blocked, rounded or tapered, which decides how the cut ages.
How to Choose Yours
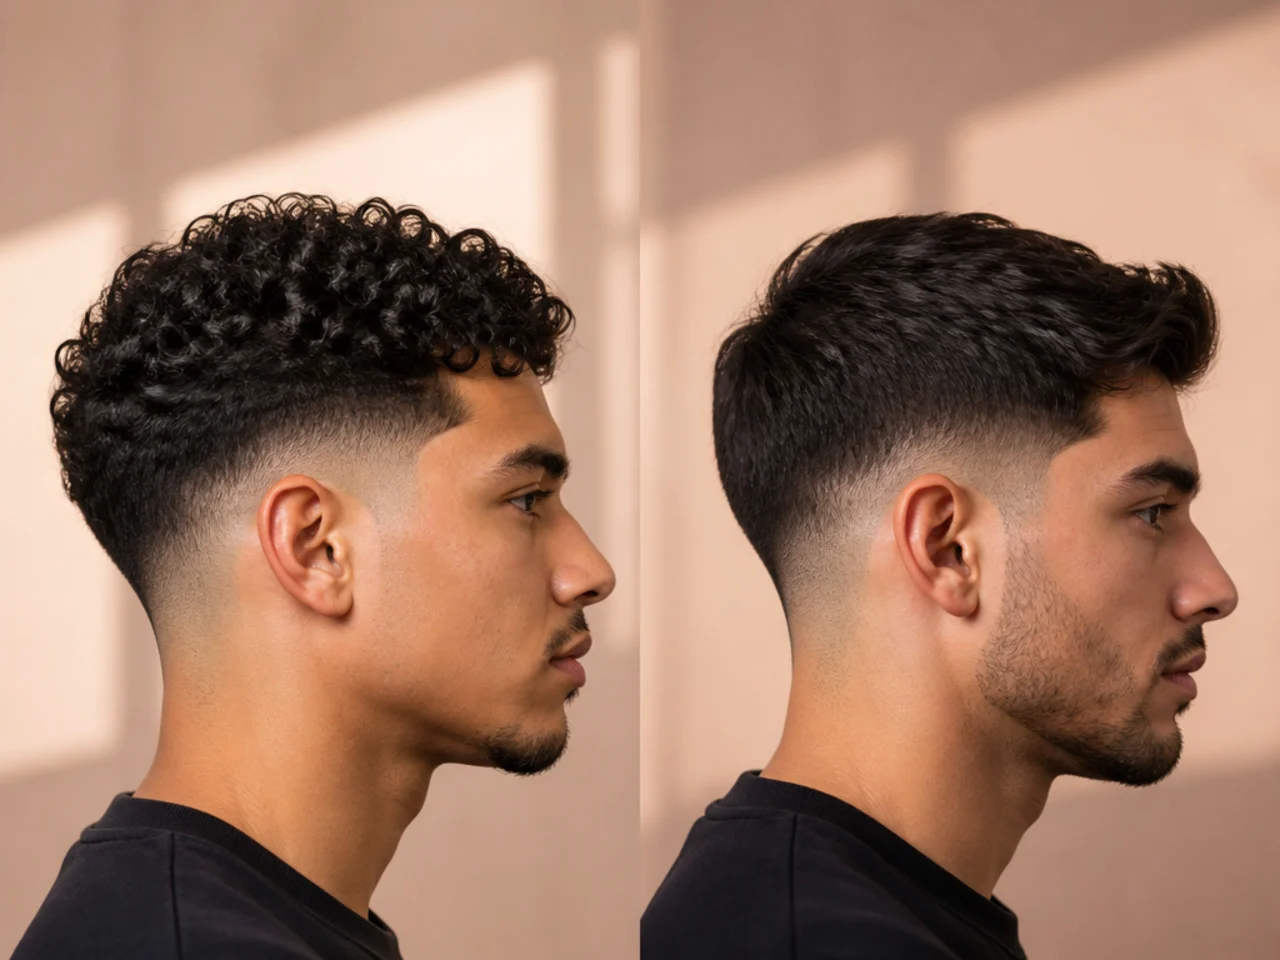
Look above the fade, not at it. The interesting differences are all in the section the fade did not touch.
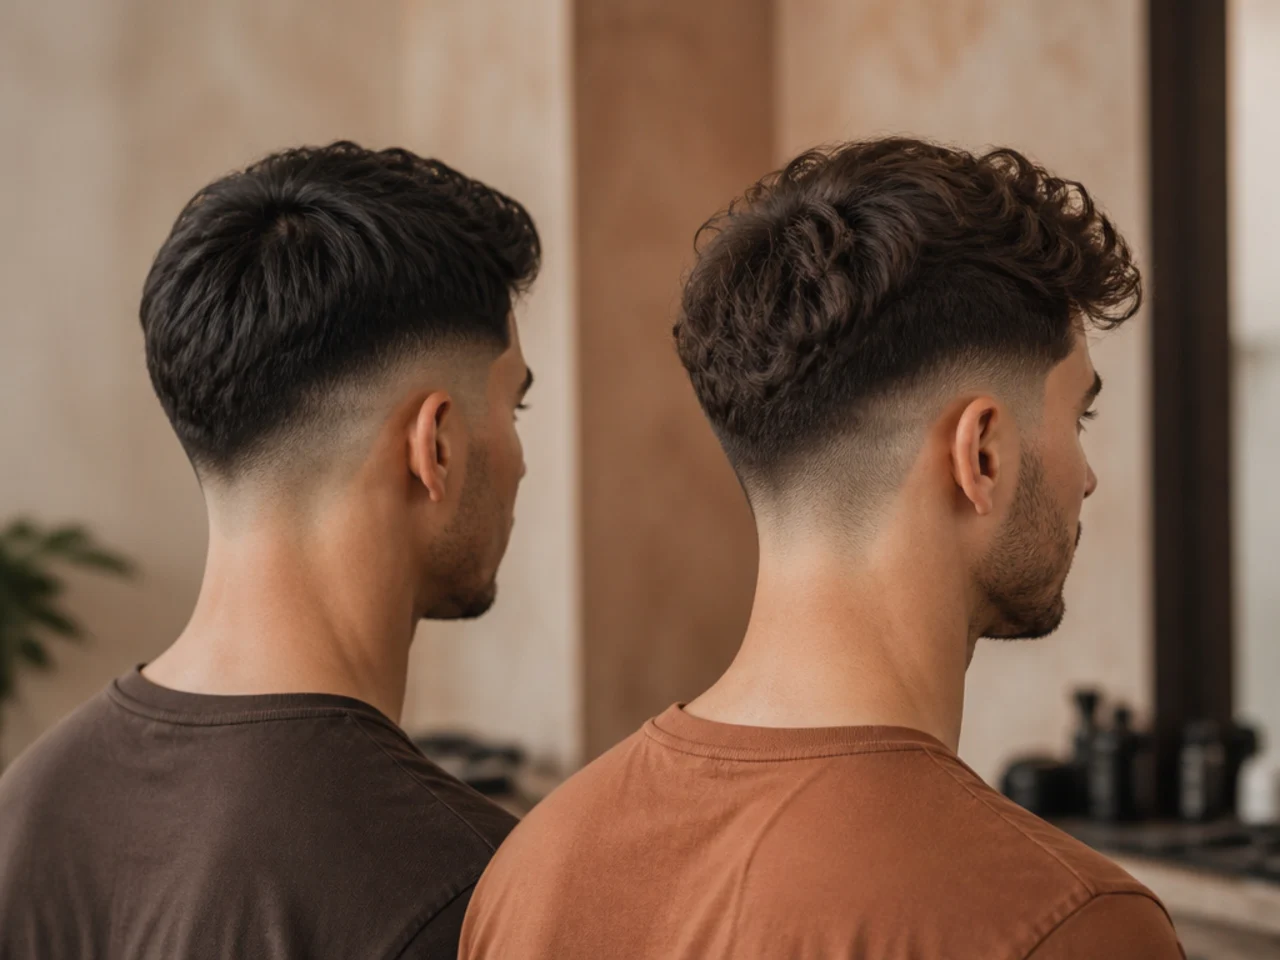
Check the neckline in every photo. It is the detail nobody looks at and the one that decides week four.
Prefer photos where you can see side weight. A graduated side and a heavy side look very different in profile.
Save one photo per idea and note what you liked. Otherwise the folder becomes twenty pictures of the same haircut.
The 20 Low Fade Ideas I Saved
1. Clean Low Taper, Three Guards
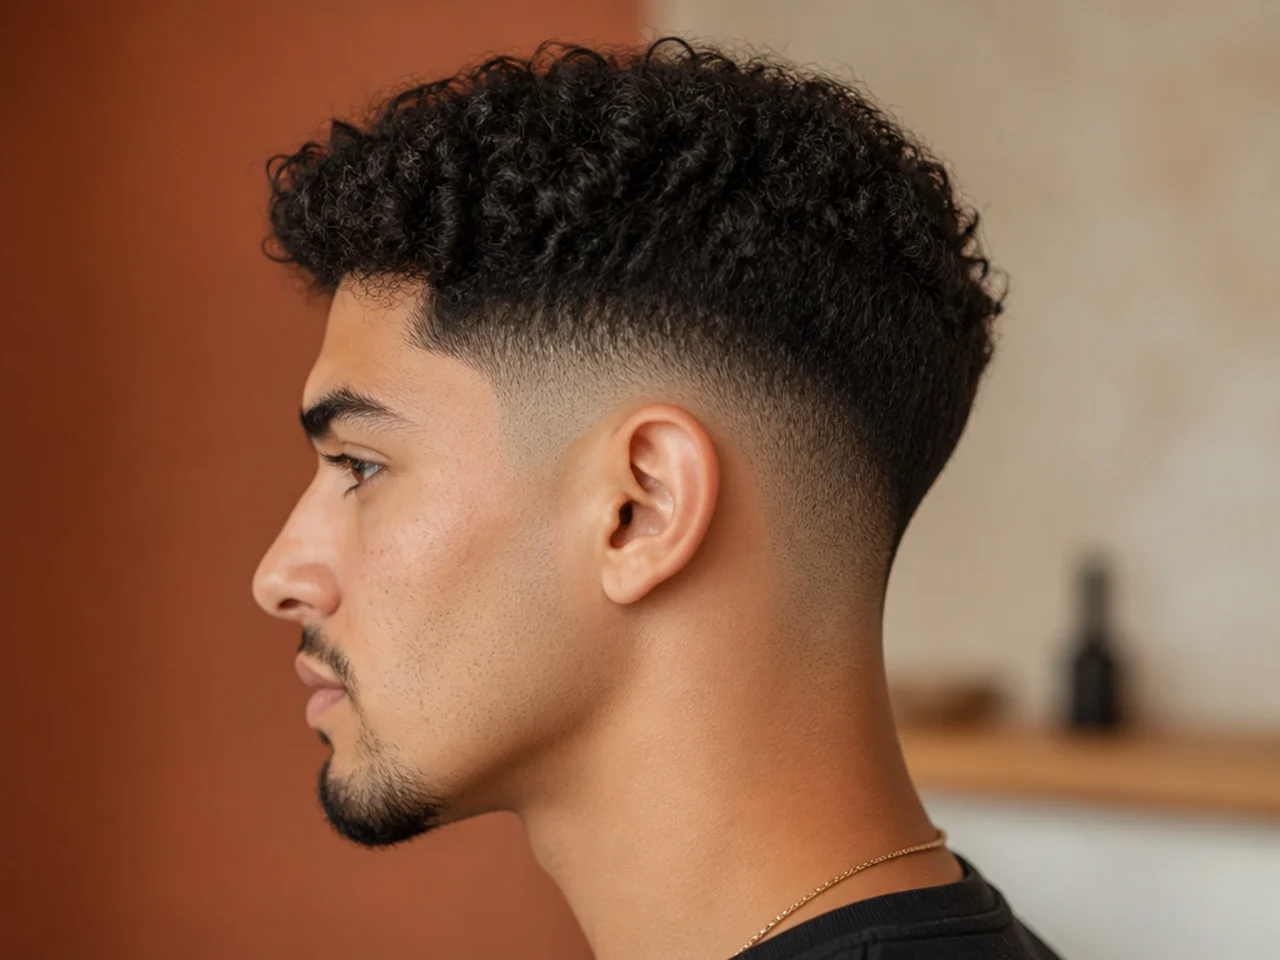
Saved because you can actually see the gradient. Three guards in a two-centimetre band is what separates a blend from a step, and this photo shows it.
2. Low Skin Fade, Week One
Bare skin in the narrow band. Sharp, and worth keeping only as the reminder that this version looks like this for about eight days.
3. Low Fade With Graduated Sides
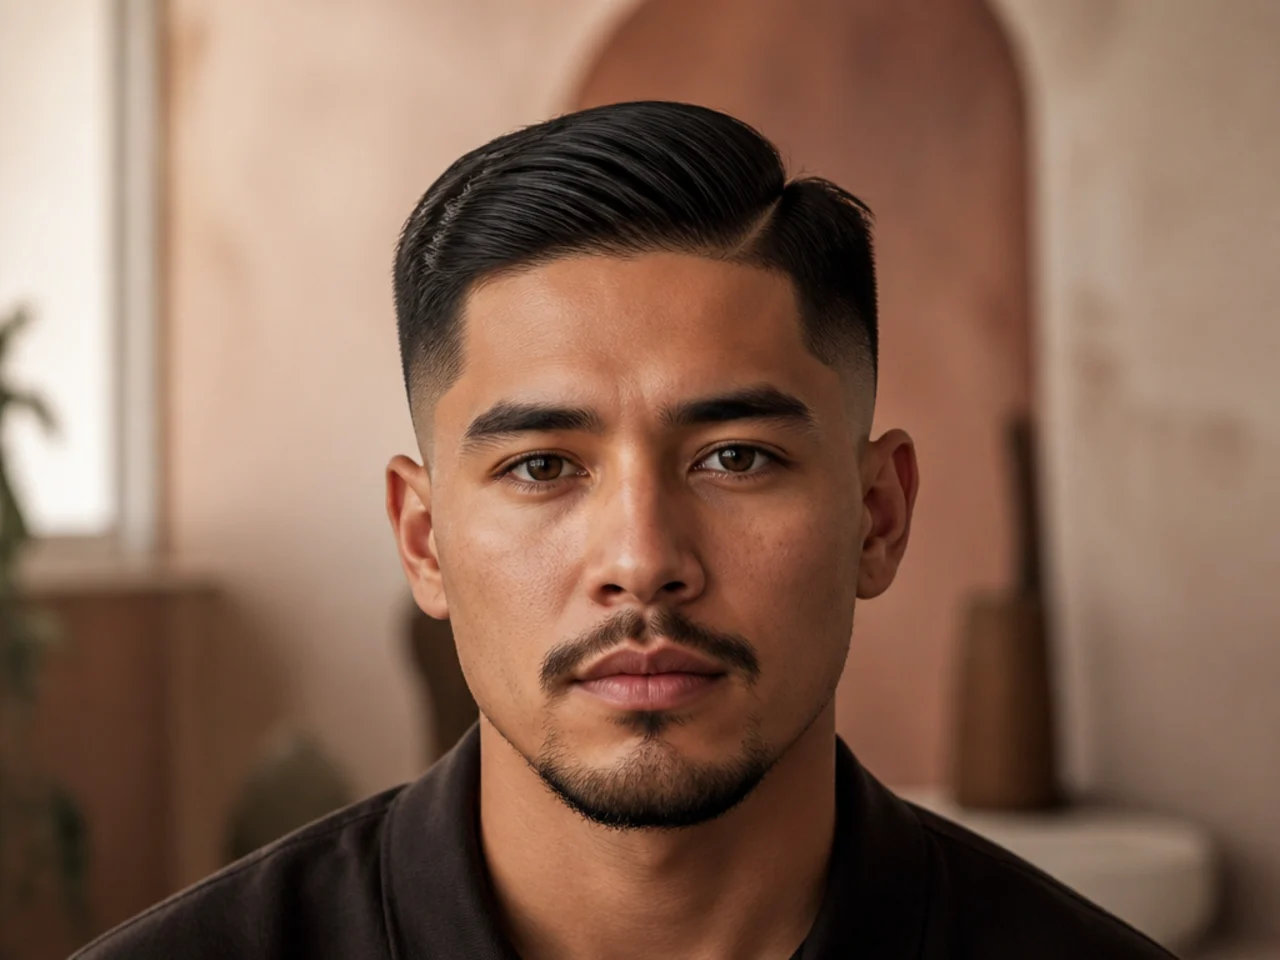
Weight visibly removed above the blend. It is the single most useful detail in the folder and almost nobody photographs it deliberately.
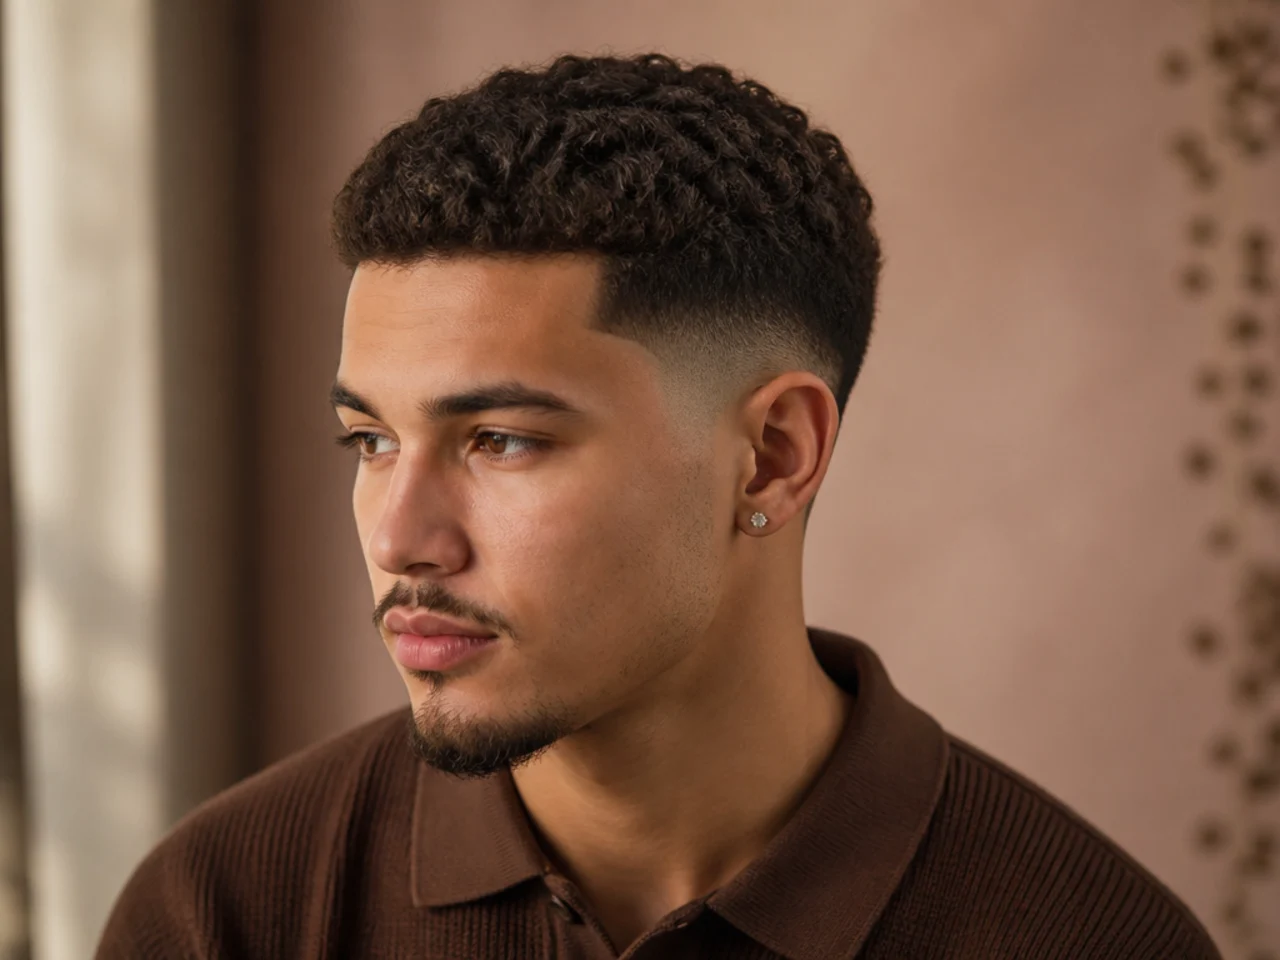
4. Low Fade With Heavy Sides
The same fade with the weight left in. Kept as the direct comparison, because side graduation changes a low fade more than any other variable.
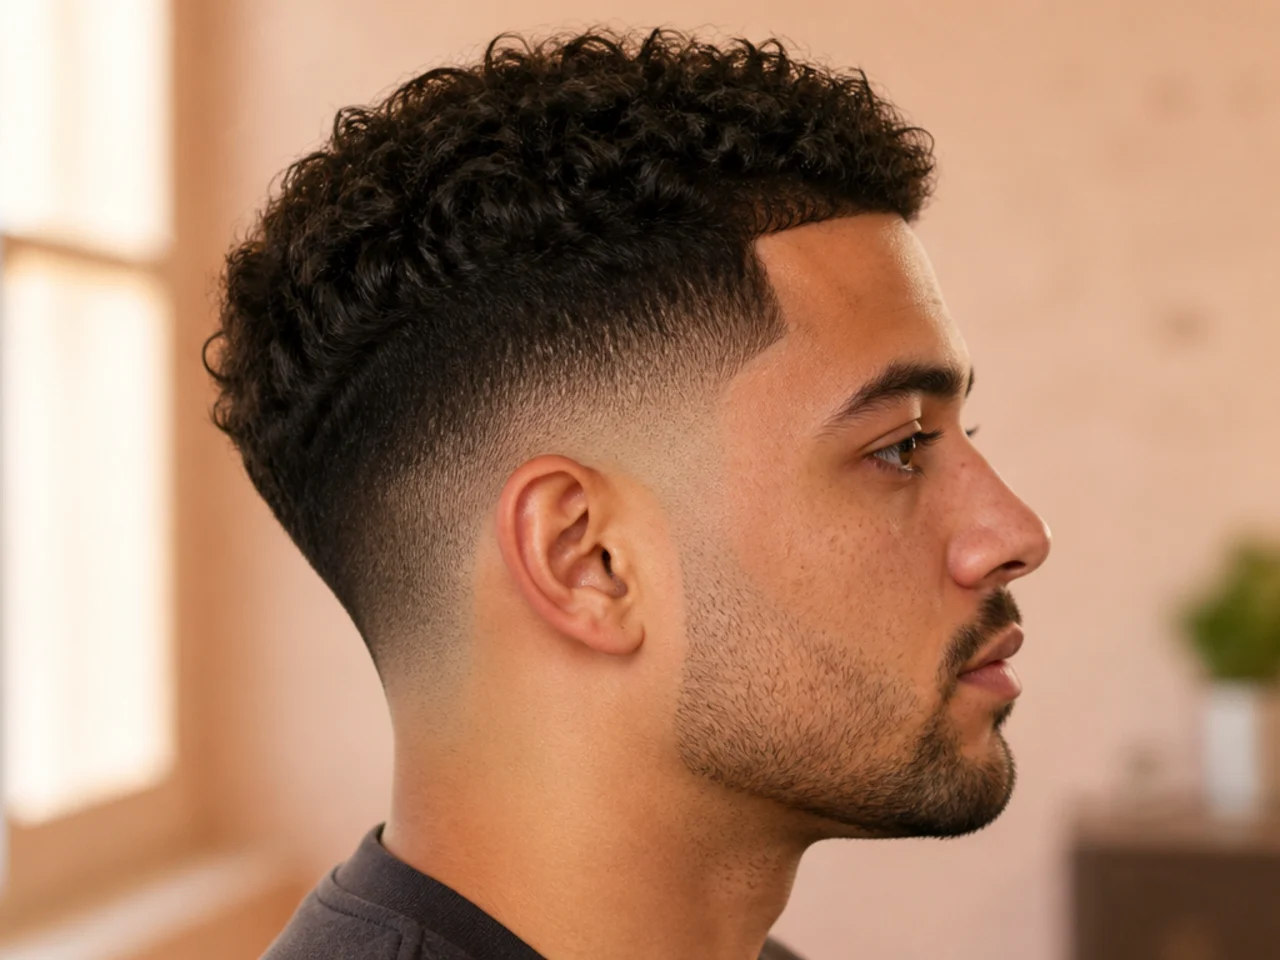
5. Low Fade With a Tapered Neckline
Softened rather than squared at the back. It matches the soft grow-out the rest of the cut is built for. There is no hard bottom edge to grow away from, so week four looks like a slightly fuller version of week one rather than a different haircut.
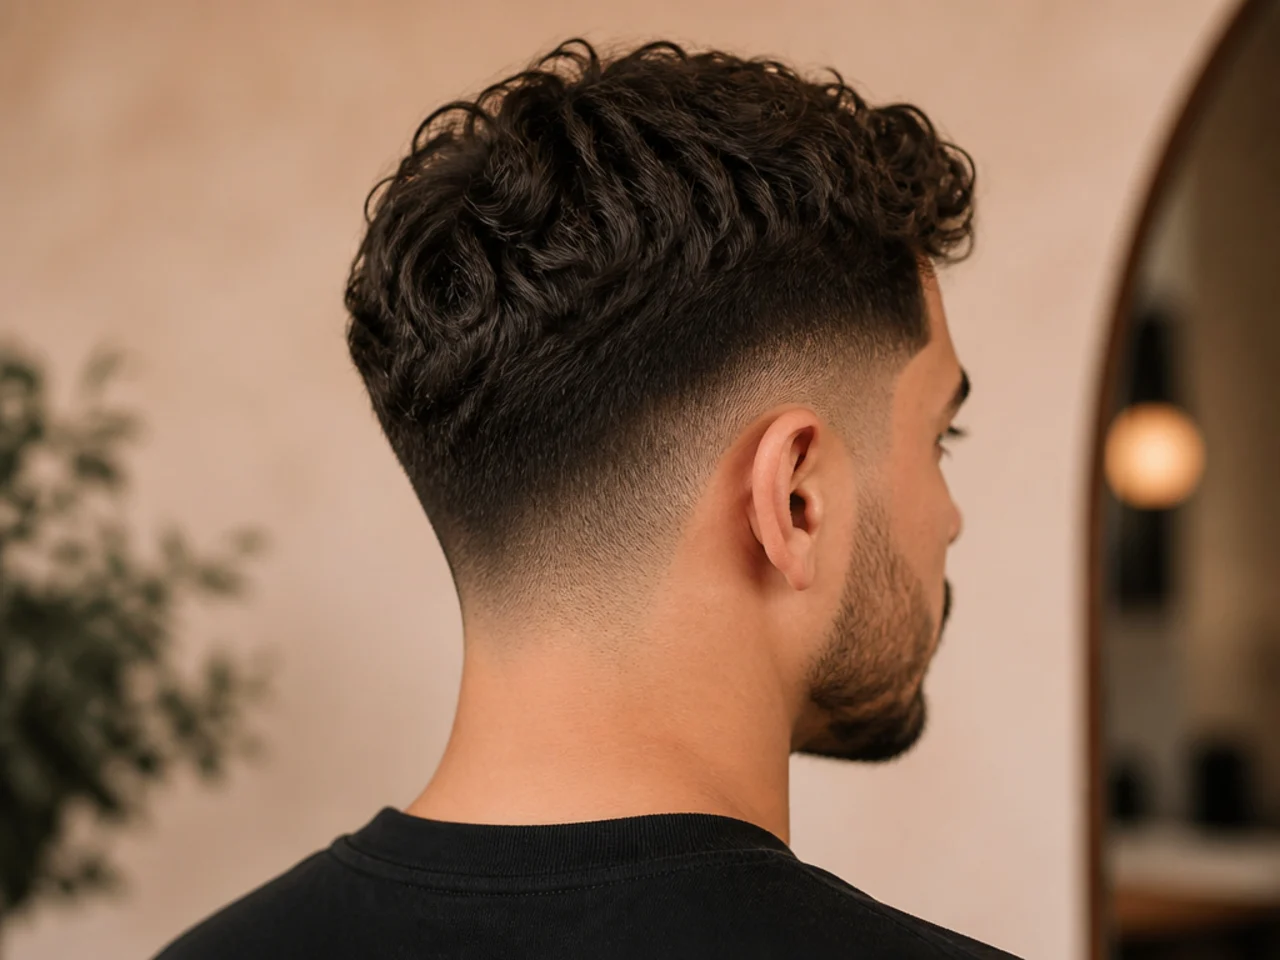
6. Low Fade With a Blocked Neckline
Squared off. Sharper on day one and it grows a visible shelf, which is the trade being made. The shelf appears because the squared line stays where it was cut while everything beneath it keeps growing, and a fortnight is usually enough to see it.
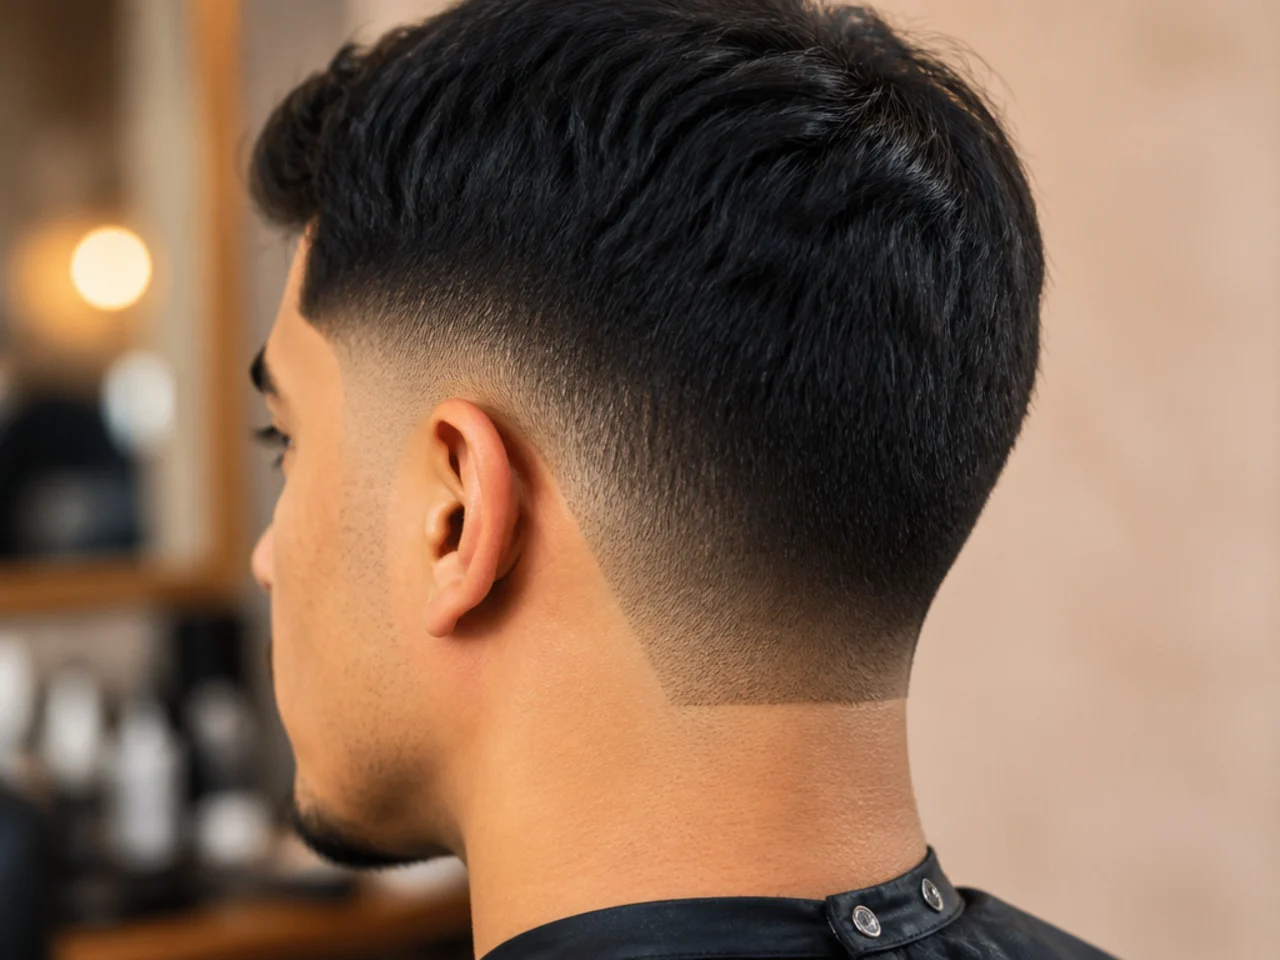
7. Low Fade Comb Over
The sweep travelling across a full side panel, exactly as any comb over needs to. It shows what a low fade's preserved weight is actually for. A sweep has to land in hair on the far side, and this is the only fade height that leaves the temple weight intact to catch it.
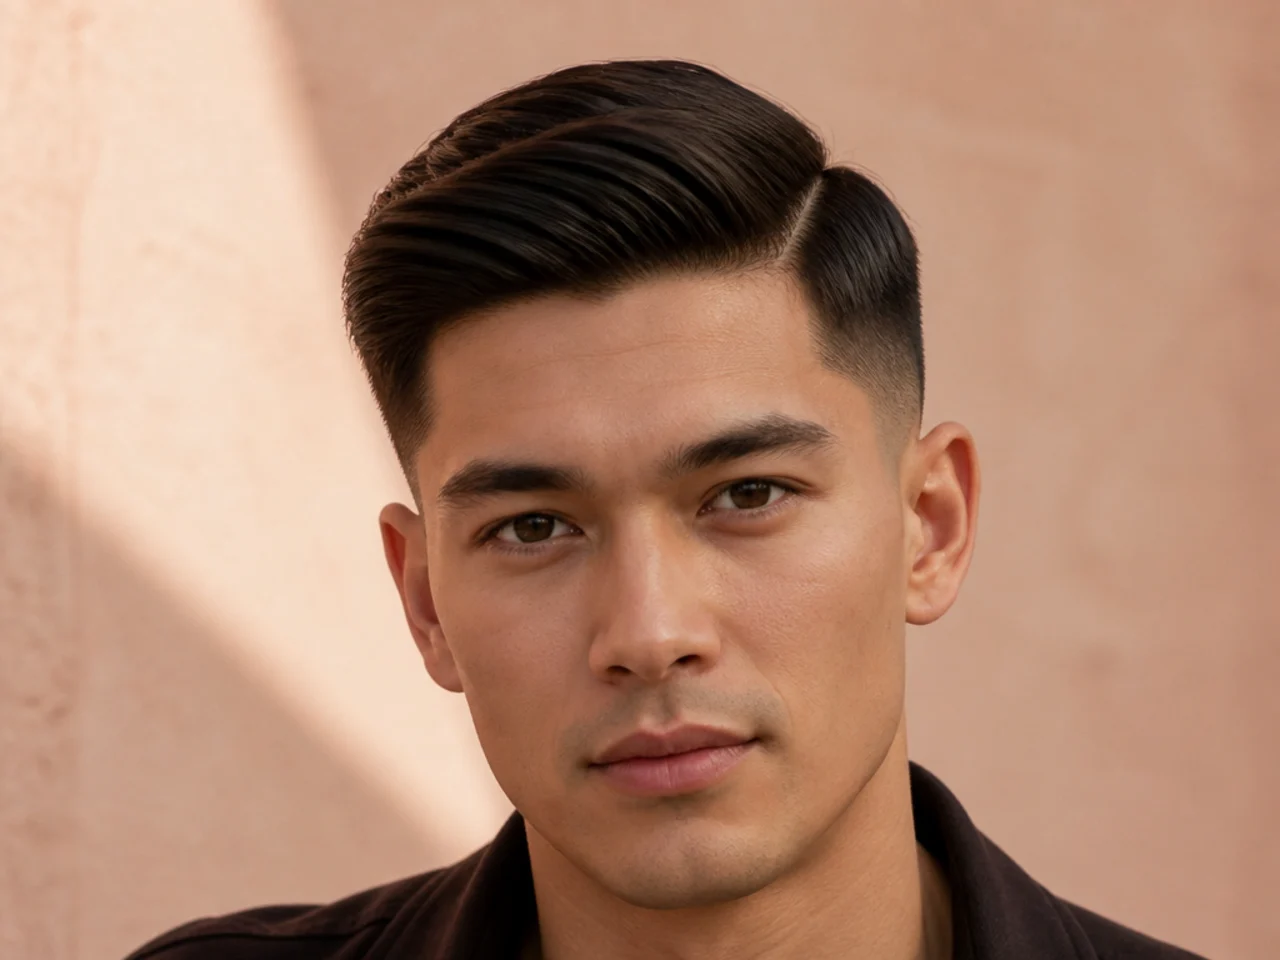
8. Low Fade on a Receding Hairline
Weight kept high at the temples. Saved as the clearest demonstration of why this height exists. Recession shows at the temple corners first, and a fade that begins below them never removes the density that disguises it.
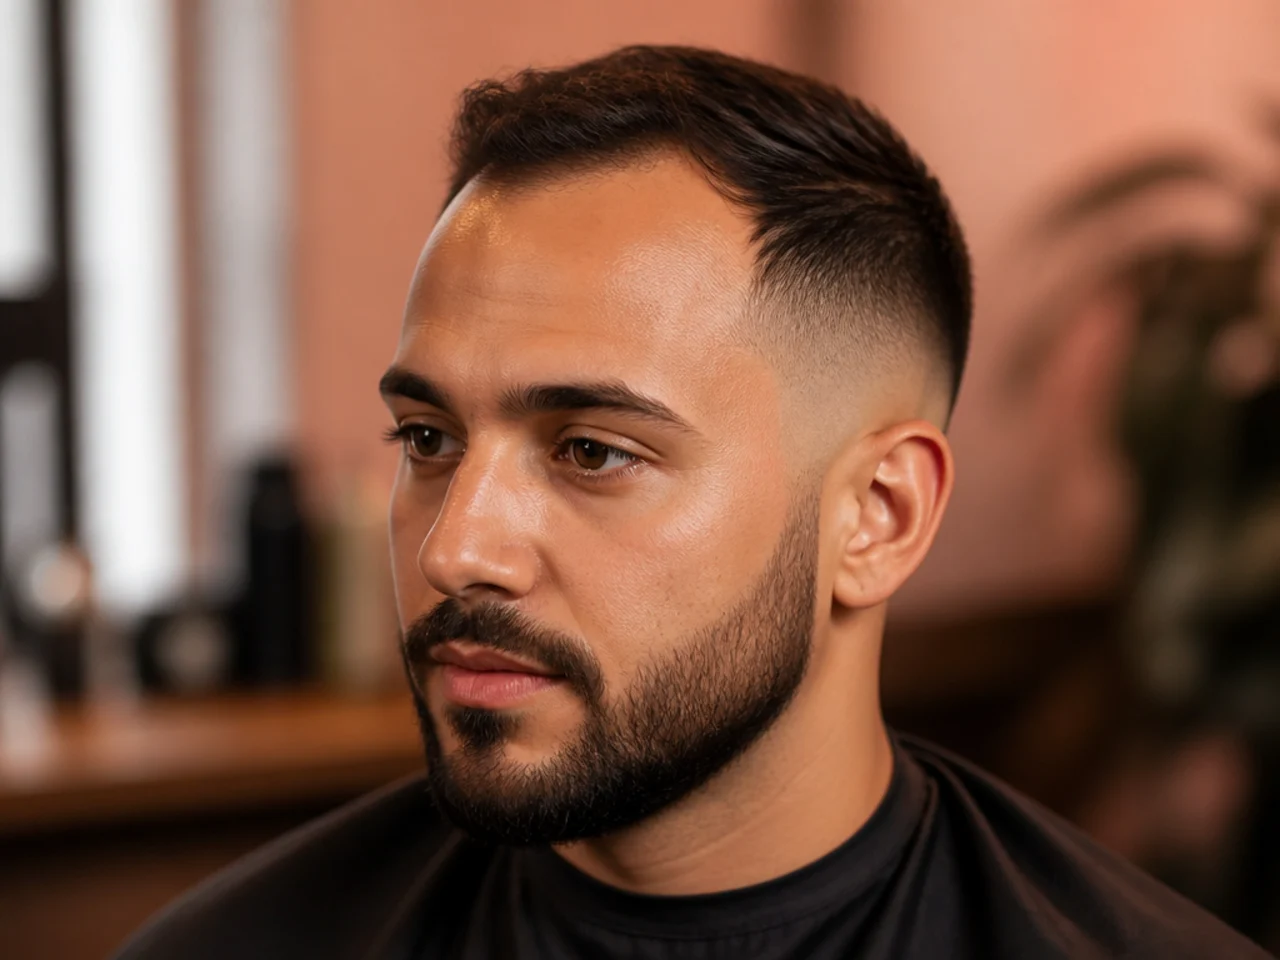
9. Low Fade With a Beard
The fade band and the beard almost touching. There is barely any bare skin between them, which is unique to this height.
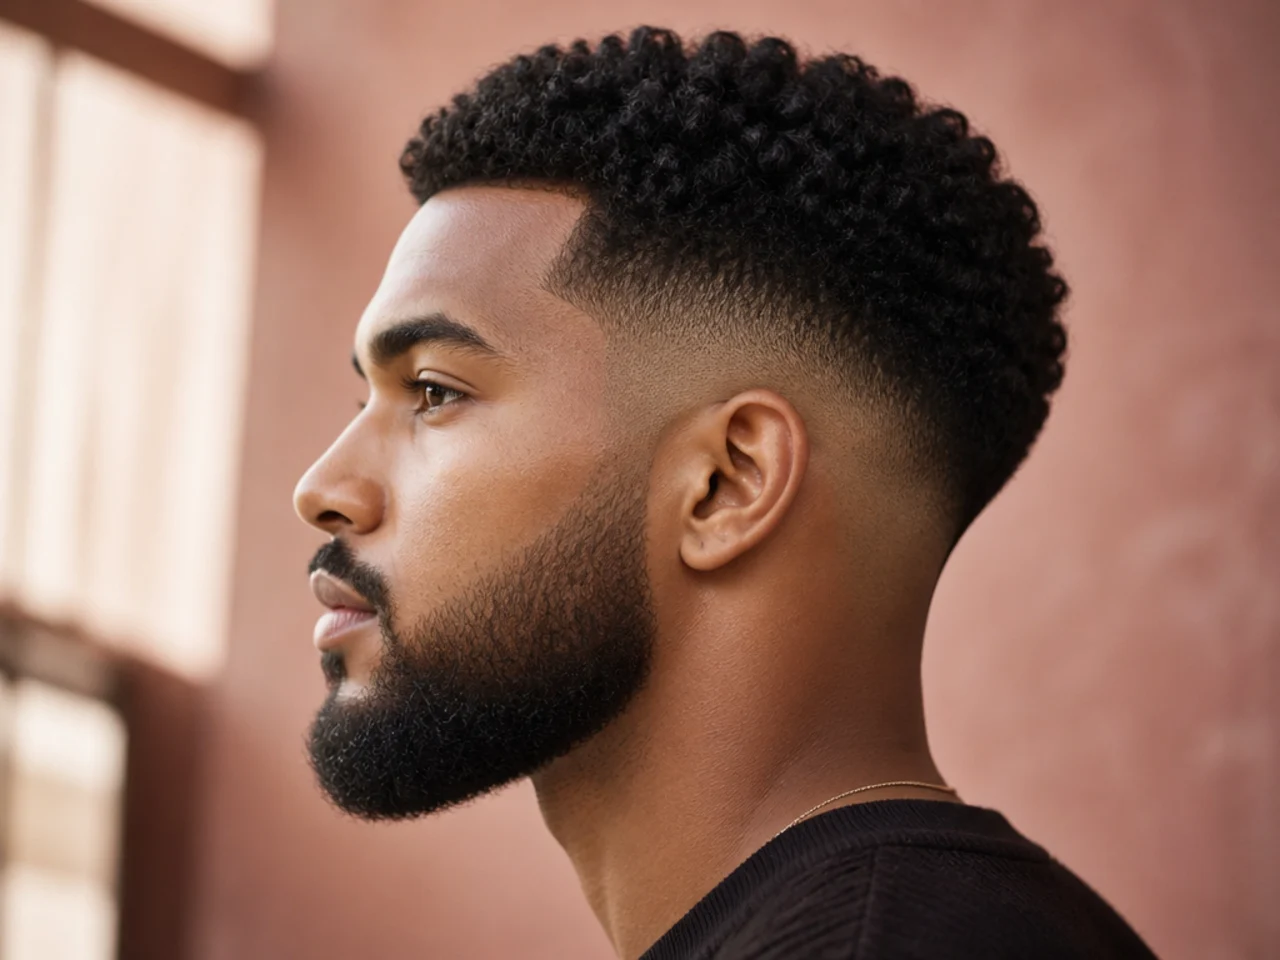
10. Low Fade With 360 Waves
The pattern running right down to the fade band. It is the largest wave field any fade leaves and the photo shows the whole side in rows.
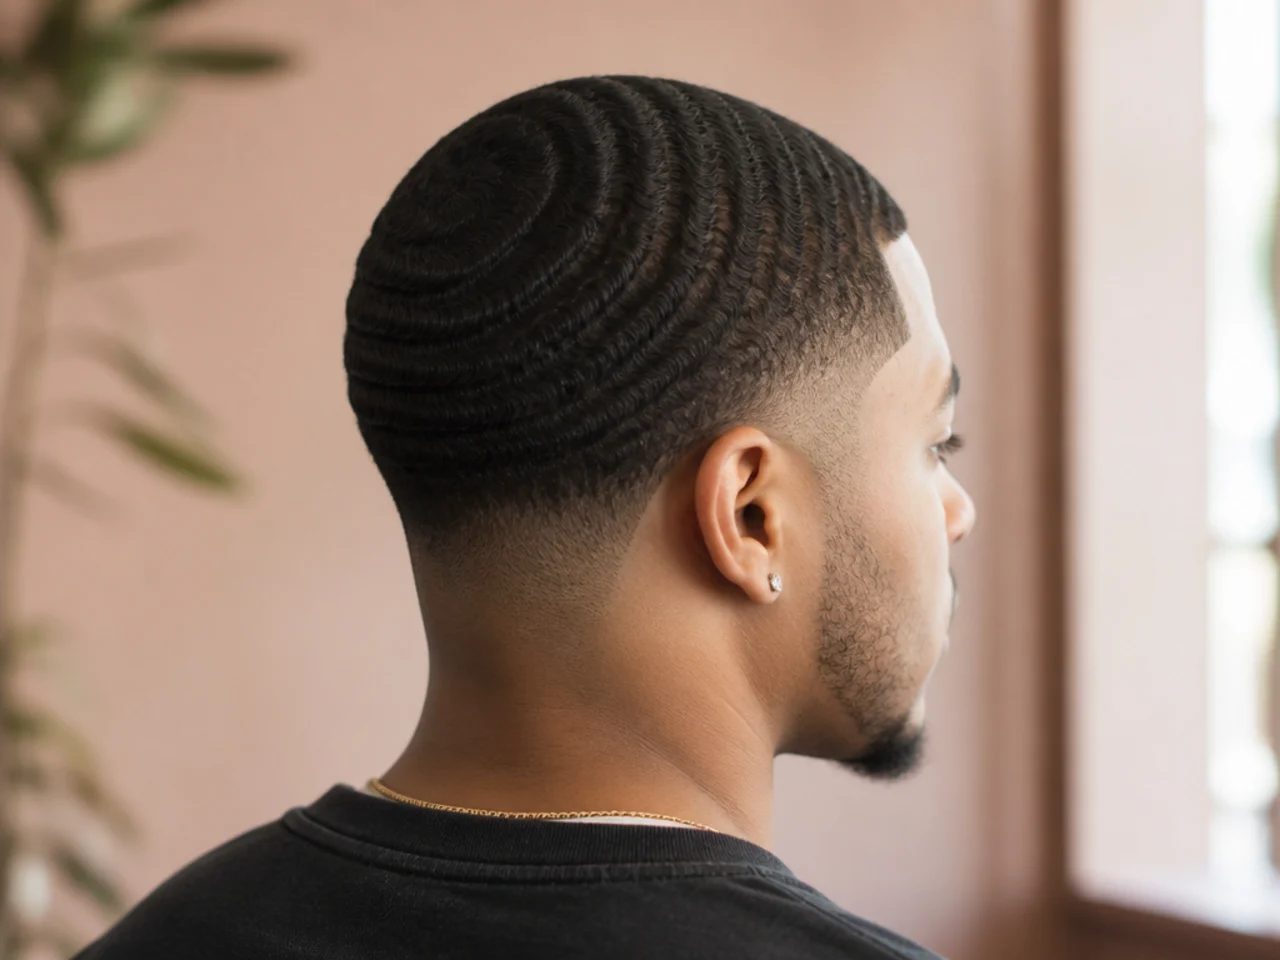
11. Low Fade With a Textured Top
Point-cut ends over an untouched side panel. Saved for how far down the head the textured section reaches. Because the clippers stop at the temple, the scissor work runs from the crown almost to the ear, which is a far larger section than any other height leaves.
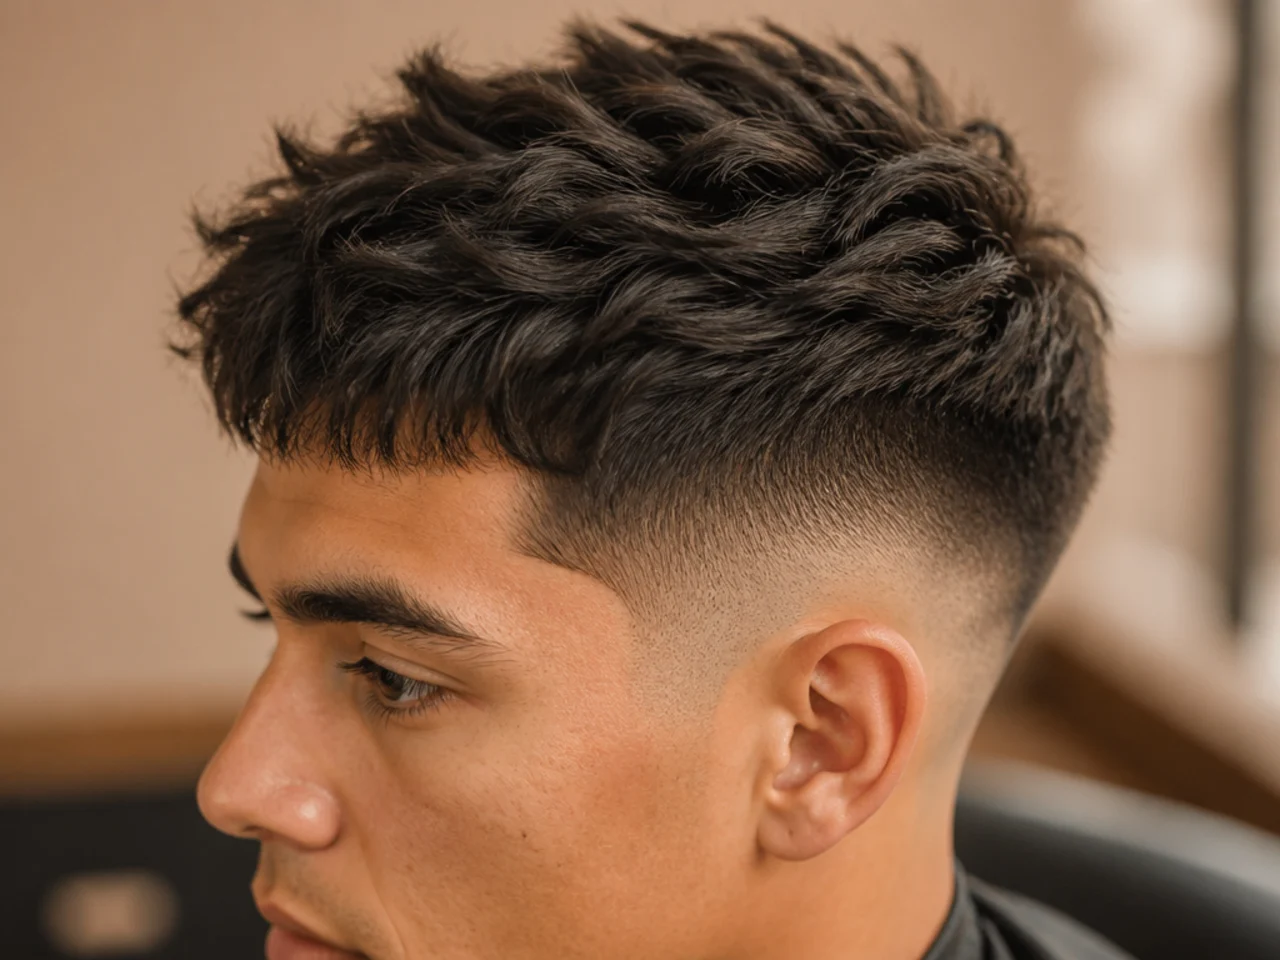
12. Low Fade With a Long Top
Eight centimetres or more above an almost invisible fade. The top is doing all the shaping, which is normal at this height.
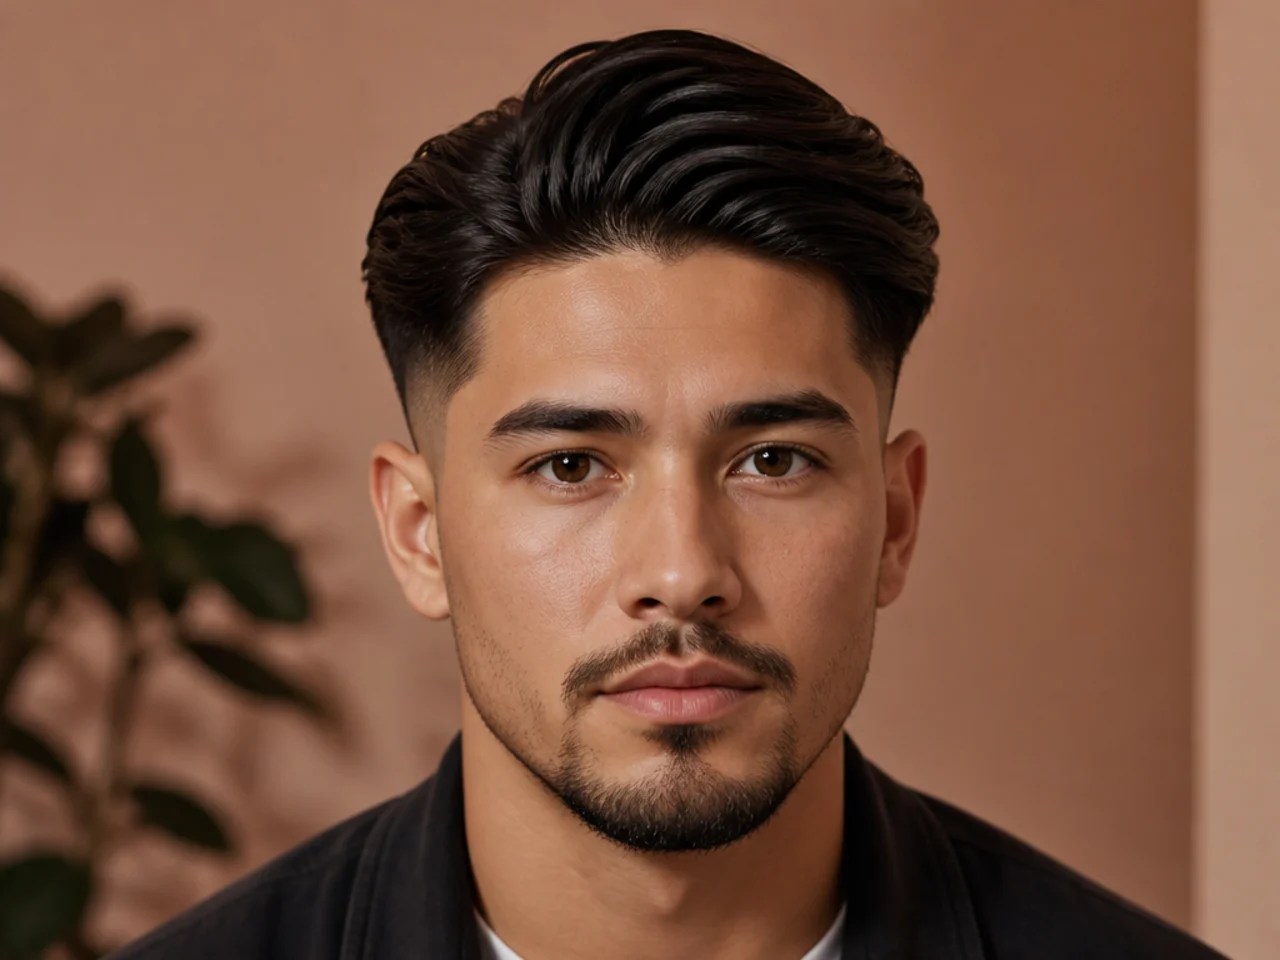
13. Low Fade Buzz Cut
A short top over a narrow blend, essentially a buzz cut with an edge under it. With nothing else in the picture, this is the only photo where the fade itself is the subject.
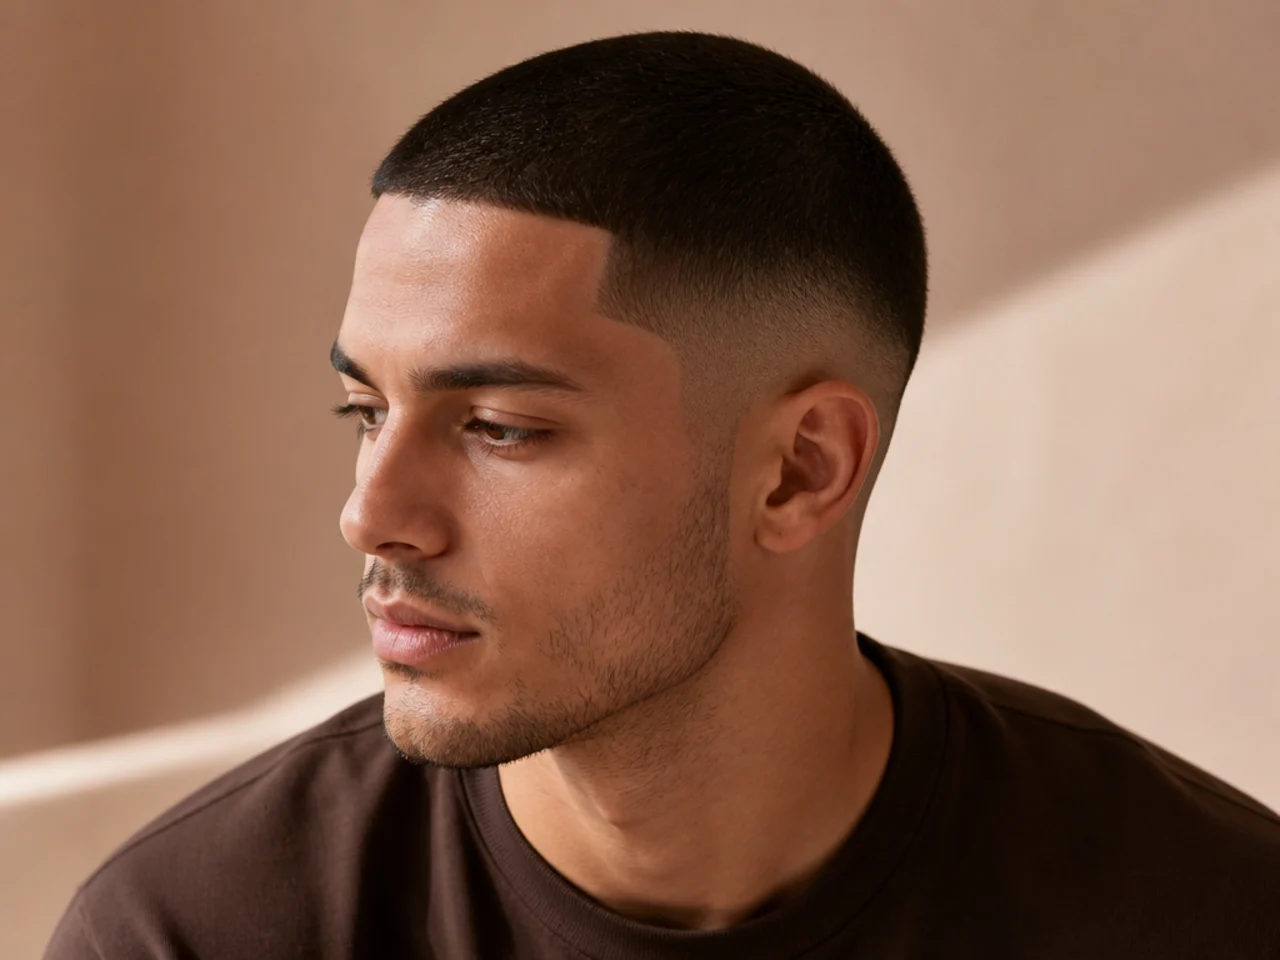
14. Low Fade With a Line-Up
A razored hairline over a soft blend. On a low fade the line-up is usually the sharpest feature in the entire cut.
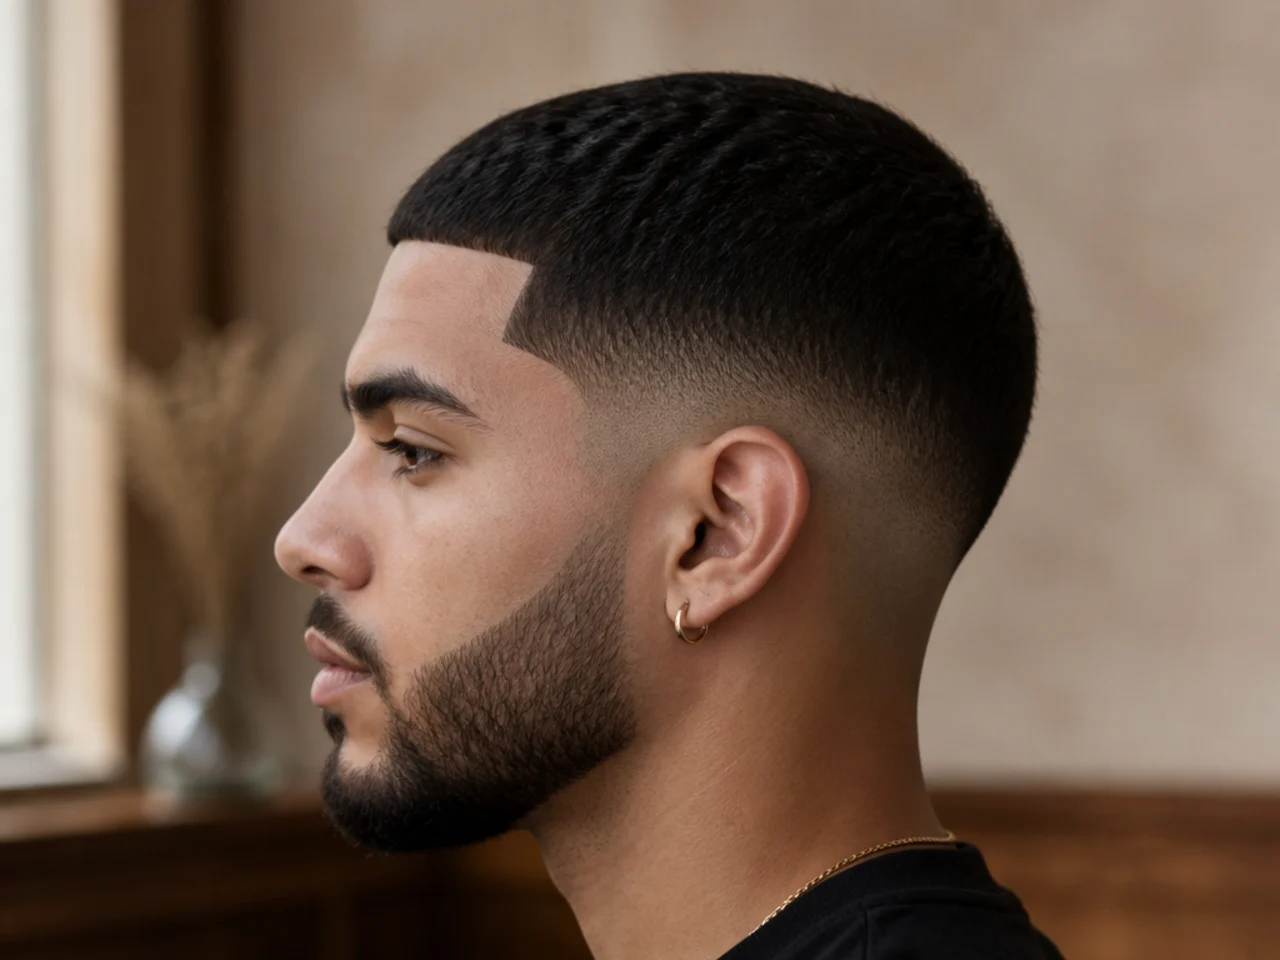
15. Low Drop Fade
The line dropping behind the ear. It is the one variation that visibly changes the shape at this height. Dropping it carries the band two or three centimetres lower at the back, which is a large proportional change in a gradient this shallow.
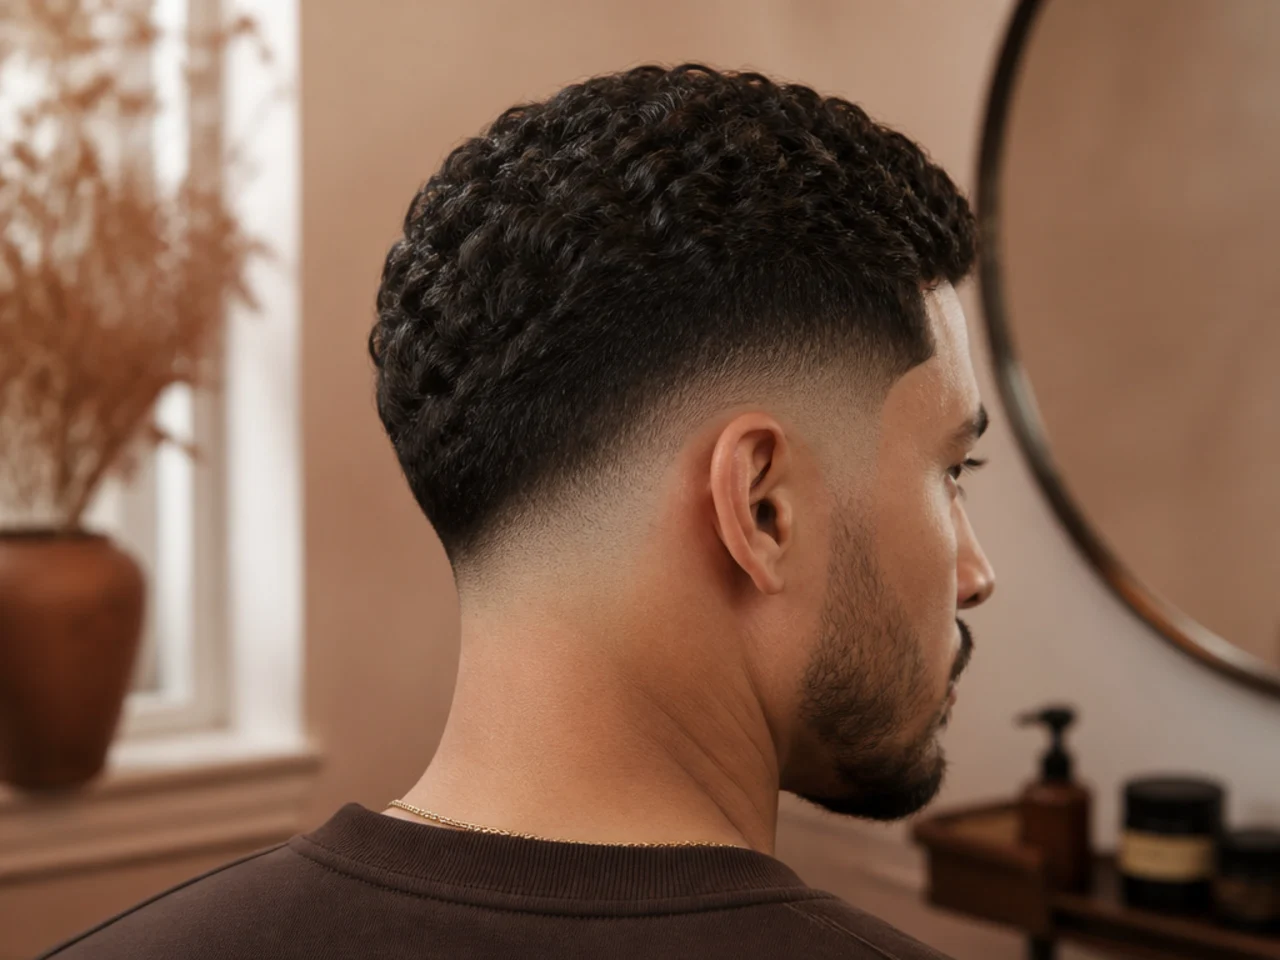
16. Low Burst Fade
The arc around the ear with the back long, cut as a low burst fade. Saved because it is the only genuinely different silhouette in the whole folder.
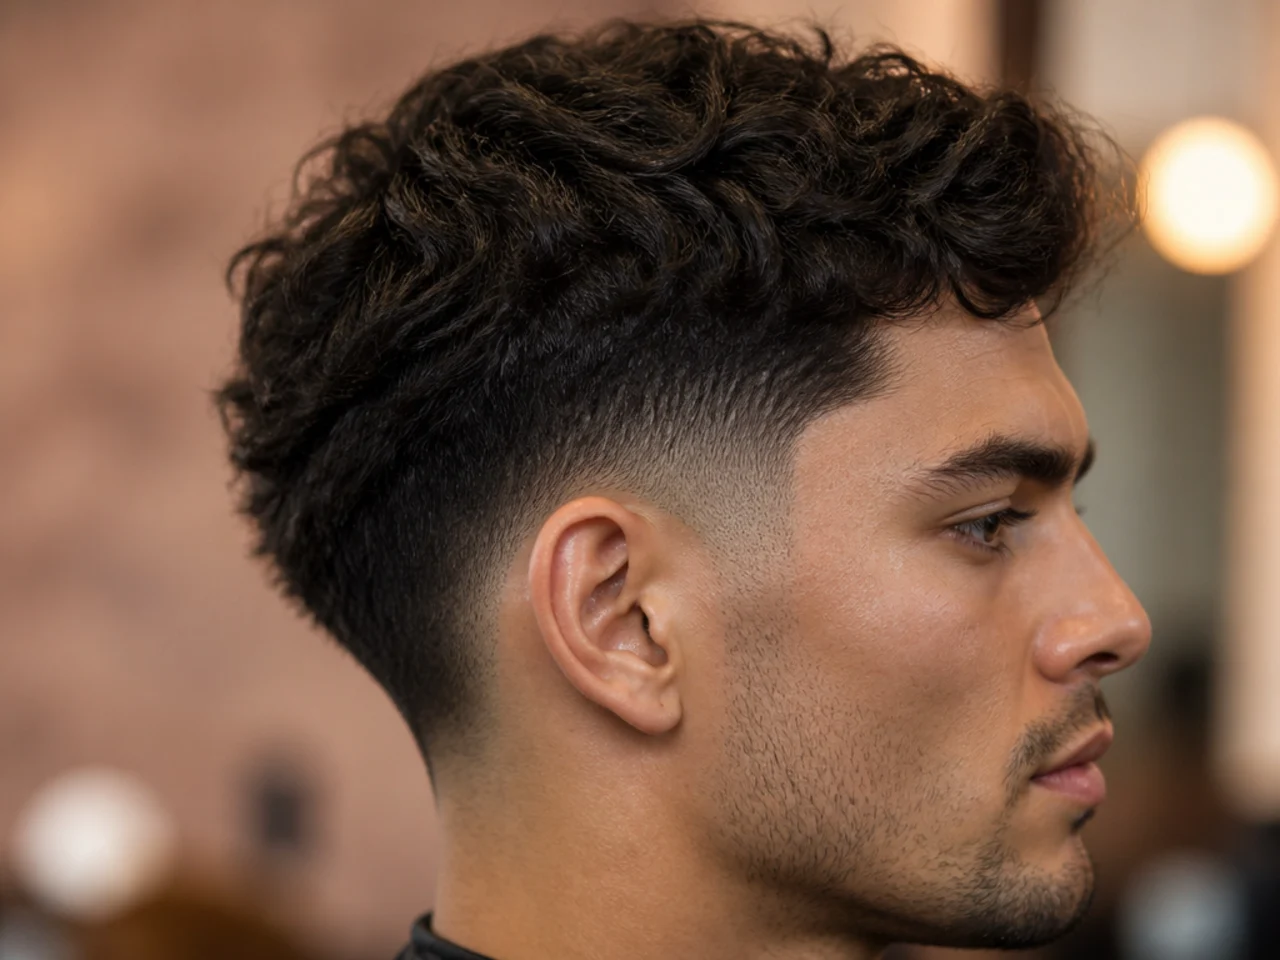
17. Low Fade With a Small Design
A short mark in the narrow panel above the ear. It shows the realistic size, which is smaller than most people picture.
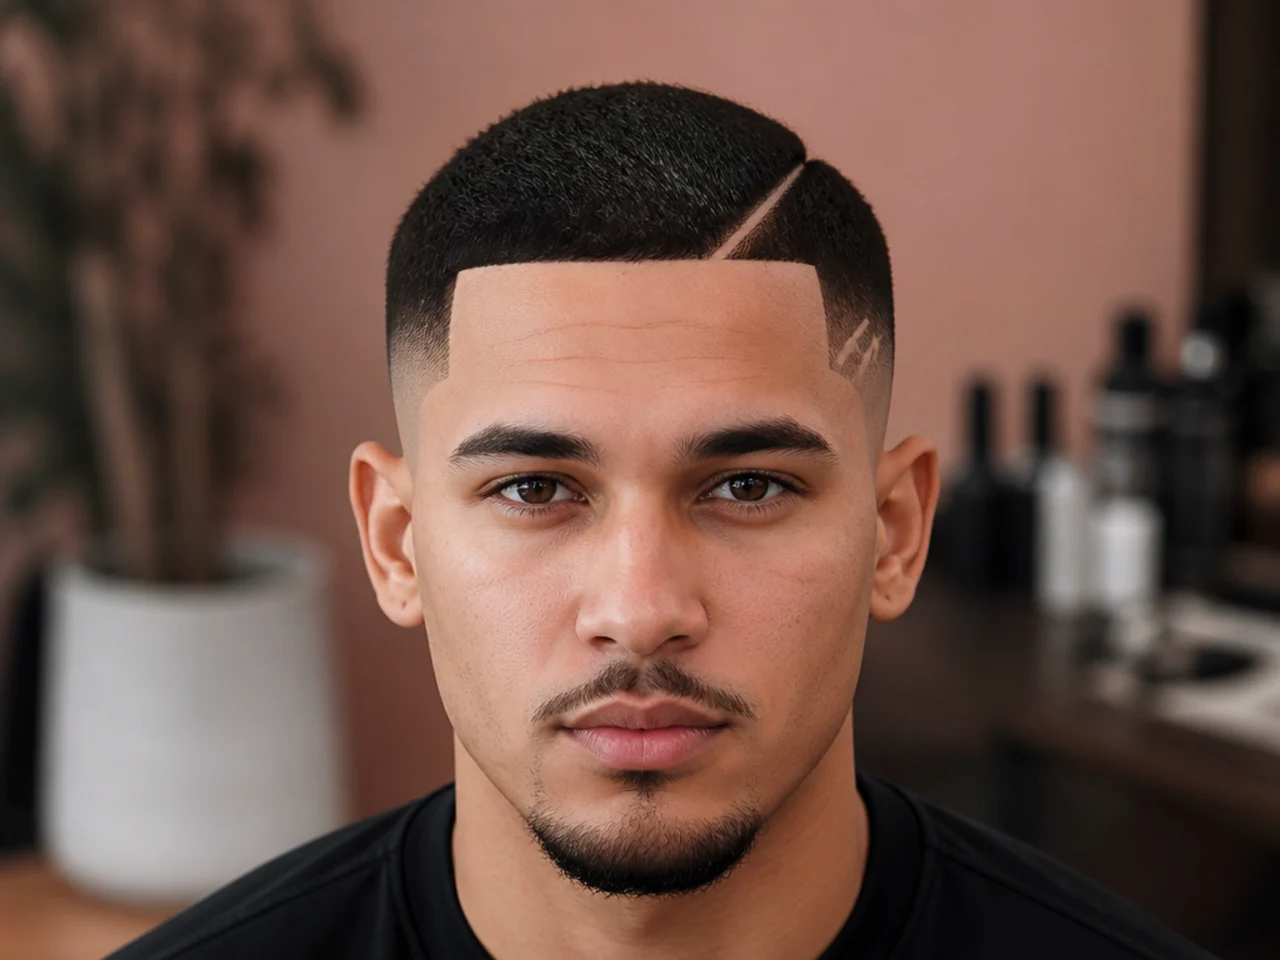
18. Low Fade at Week Three
A grown-out shot. It is the most useful image in the folder, because it shows the state a low fade is in for most of its life.
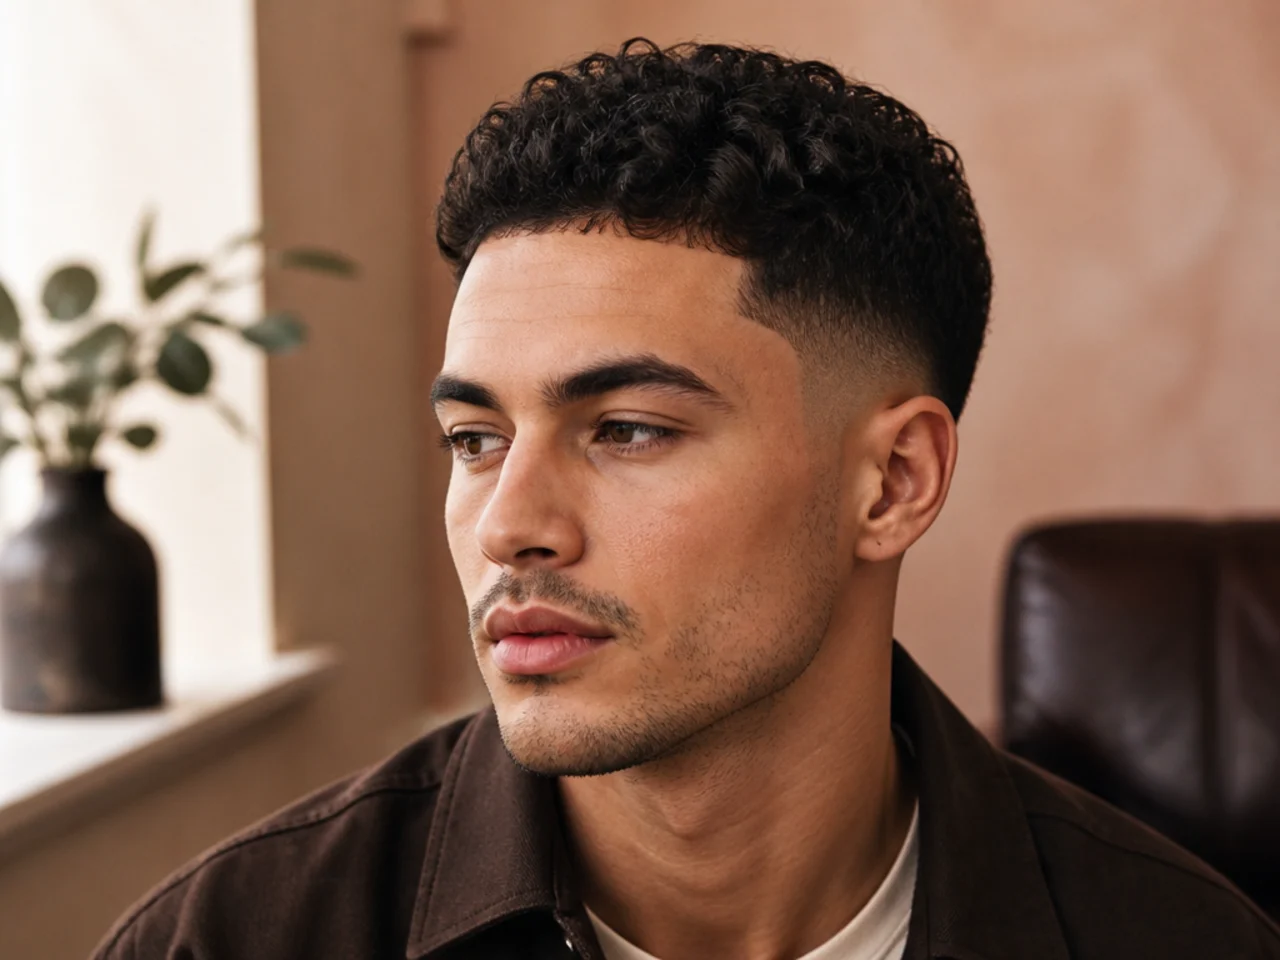
19. Low Fade at Week Five
Softened and still tidy. No other fade height has a week-five photo worth saving. Five weeks adds about a centimetre of growth, and a centimetre closing a two-centimetre band reads as softness rather than as an obvious grow-out.
20. The Note I Wrote Under All of Them
Three guards, graduate the sides, taper the neckline. Twenty photographs eventually reduced to one sentence, which is what a reference folder is for.
Styling and Upkeep
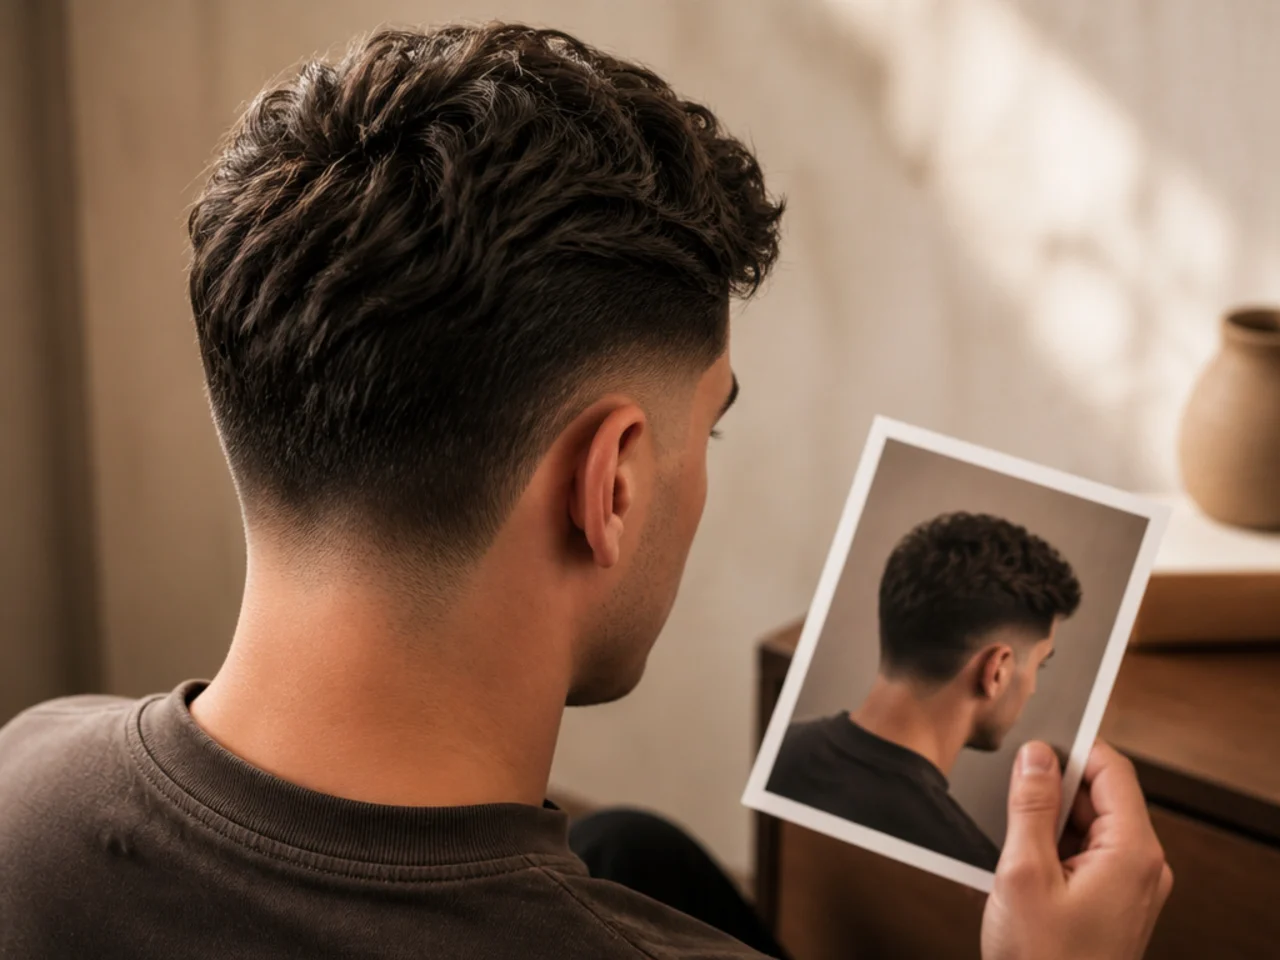
Bring the sentence, not the folder. Guards, graduation and neckline is more useful than twenty images.
Save grown-out photos deliberately. Week three is what you will be wearing most of the time.
Look above the fade when comparing. That is where the differences live.
Rebook by finish. A week-five photo is only ever worth saving on a taper, because a low skin fade has closed at one to two weeks where a low taper is still going at three to four.
Take your own week-three photo. It answers questions no saved image can.
Mistakes to Avoid
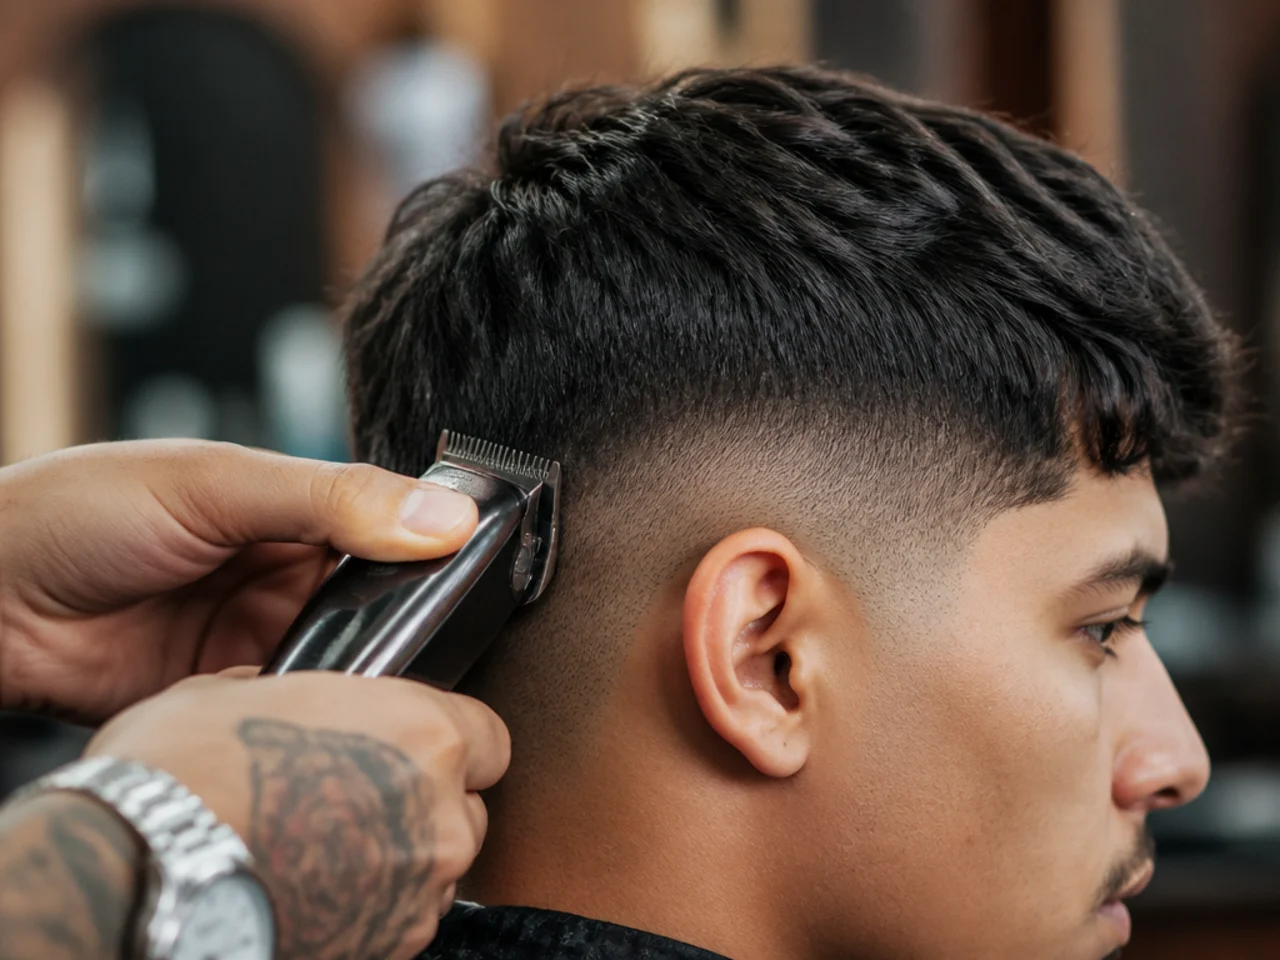
Judging the fade instead of the section above it. The fade is two centimetres of the picture.
Saving twenty week-one photos. They all look the same and none of them show the cut you will wear.
Ignoring the neckline. It is the detail that decides how the whole cut ages.
Expecting a low fade photo to look dramatic. Subtlety is the point of the height.
Bringing a folder rather than a decision. A barber given twenty images will cut their own default.
FAQ
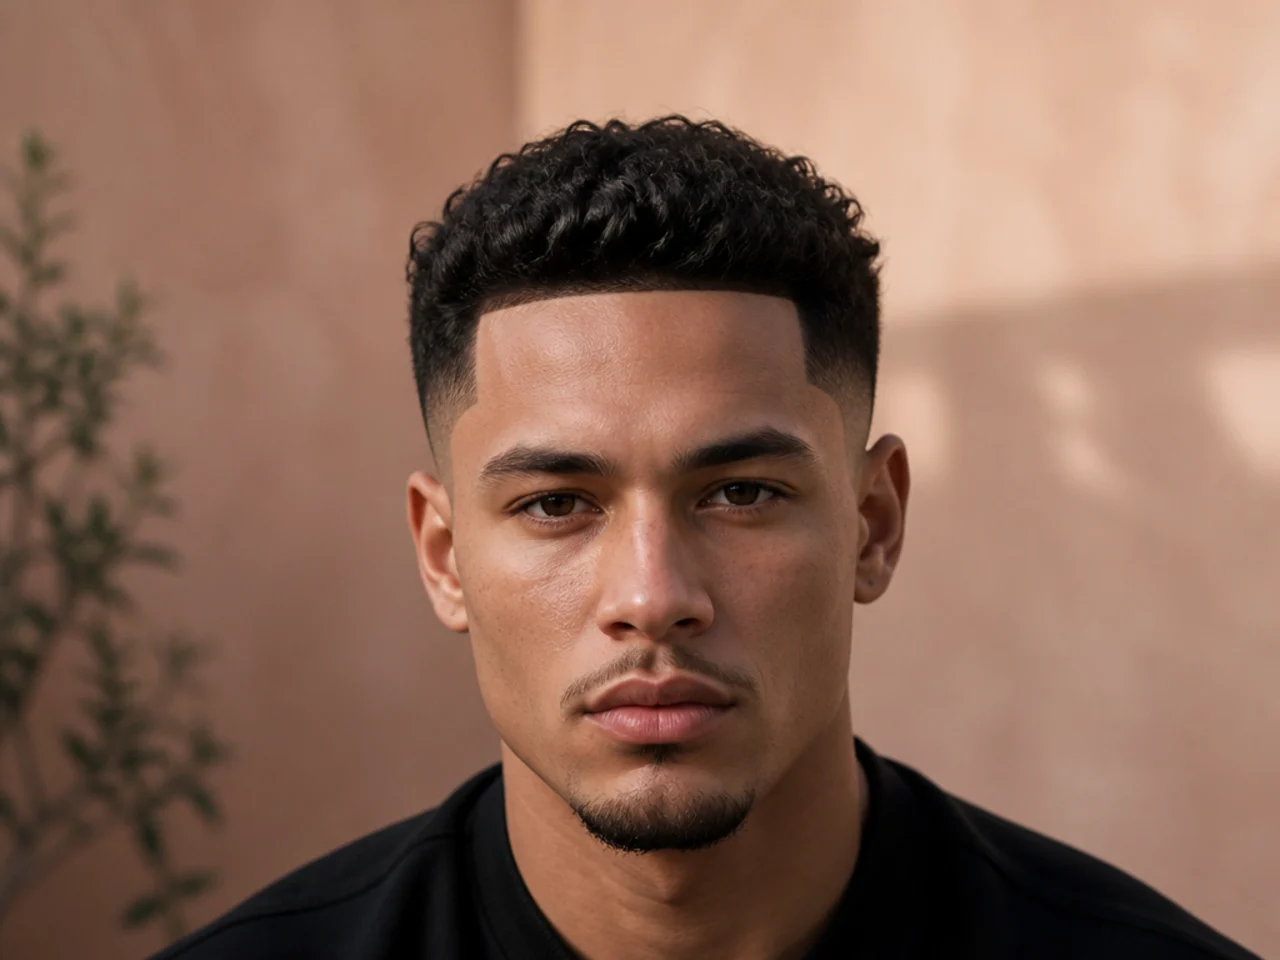
Why do low fade photos look the same? The fade is only two or three centimetres of the image.
What actually differs? The guard sequence, the side graduation and the neckline.
What should I bring to the barber? Those three details rather than the fade height.
Final Thoughts
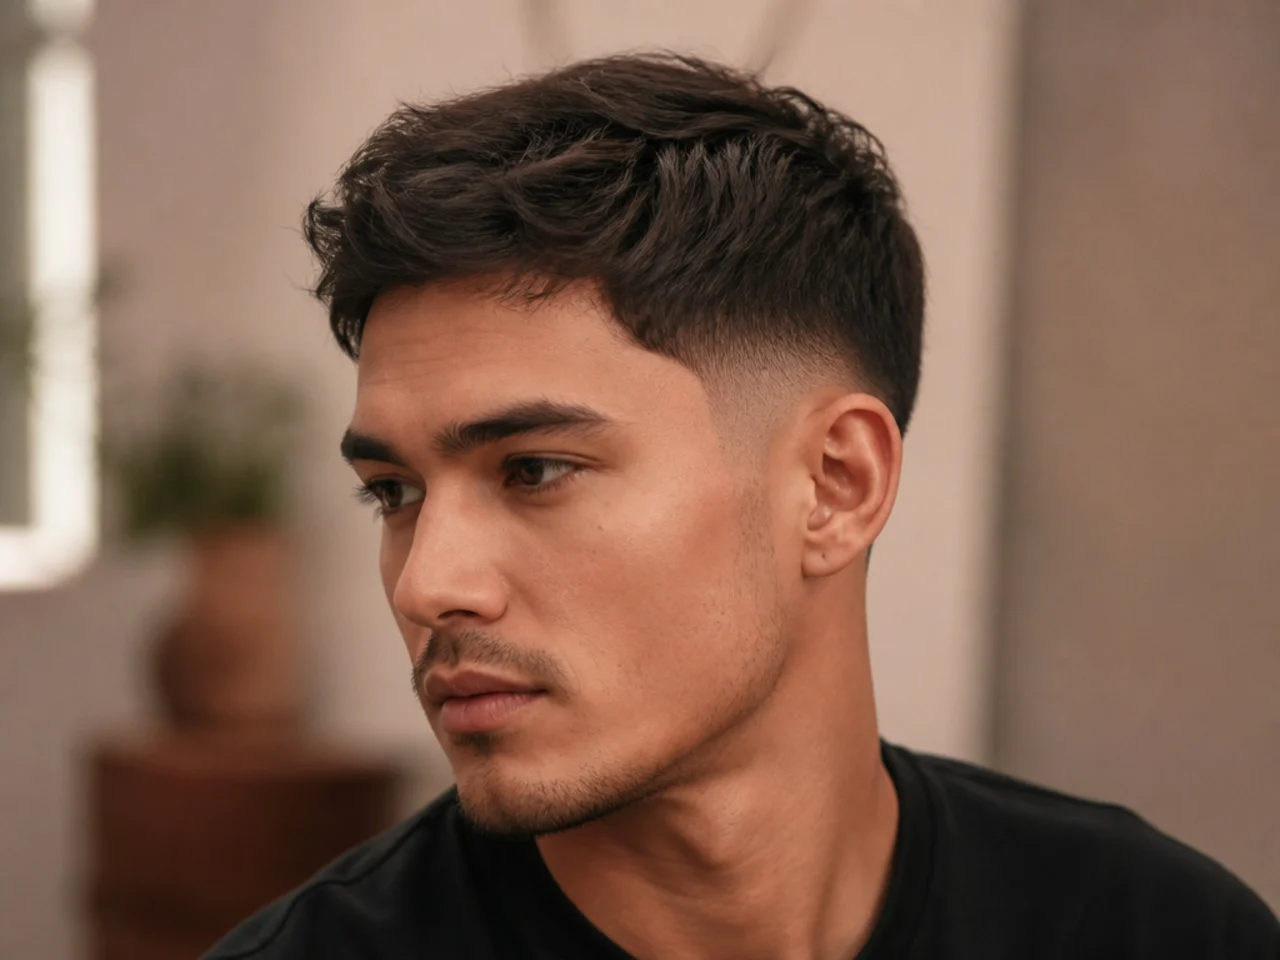
Twenty photographs of low fades will teach you almost nothing until you stop looking at the fade. Compare the side weight, the neckline and how blended the narrow band actually is, and the folder resolves into three or four genuinely different haircuts rather than twenty versions of one.
For the same exercise at a more visible height see 20 mid fade ideas I saved, and for the taper equivalent see 20 taper fade ideas I saved. More in Fade Haircuts.