20 Haircut Ideas for Men I Saved to Try
Twenty saved haircuts, each one read for the specification it is hiding rather than the look it is selling. A photograph shows you a result and conceals the four decisions that produced it, which is why saved cuts so rarely transfer.
In this article · 27
- What a Saved Photo Hides
- How to Choose Yours
- The 20 Saved Cuts, Decoded
- 1. The Textured Crop
- 2. The Mid Skin Fade
- 3. The Low Taper
- 4. The Slick Back
- 5. The Buzz Cut
- 6. The Ivy League
- 7. The Two-Block
- 8. The Modern Mullet
- 9. The Middle Part
- 10. The Curly Top With a Taper
- 11. The Burst Fade
- 12. The French Crop
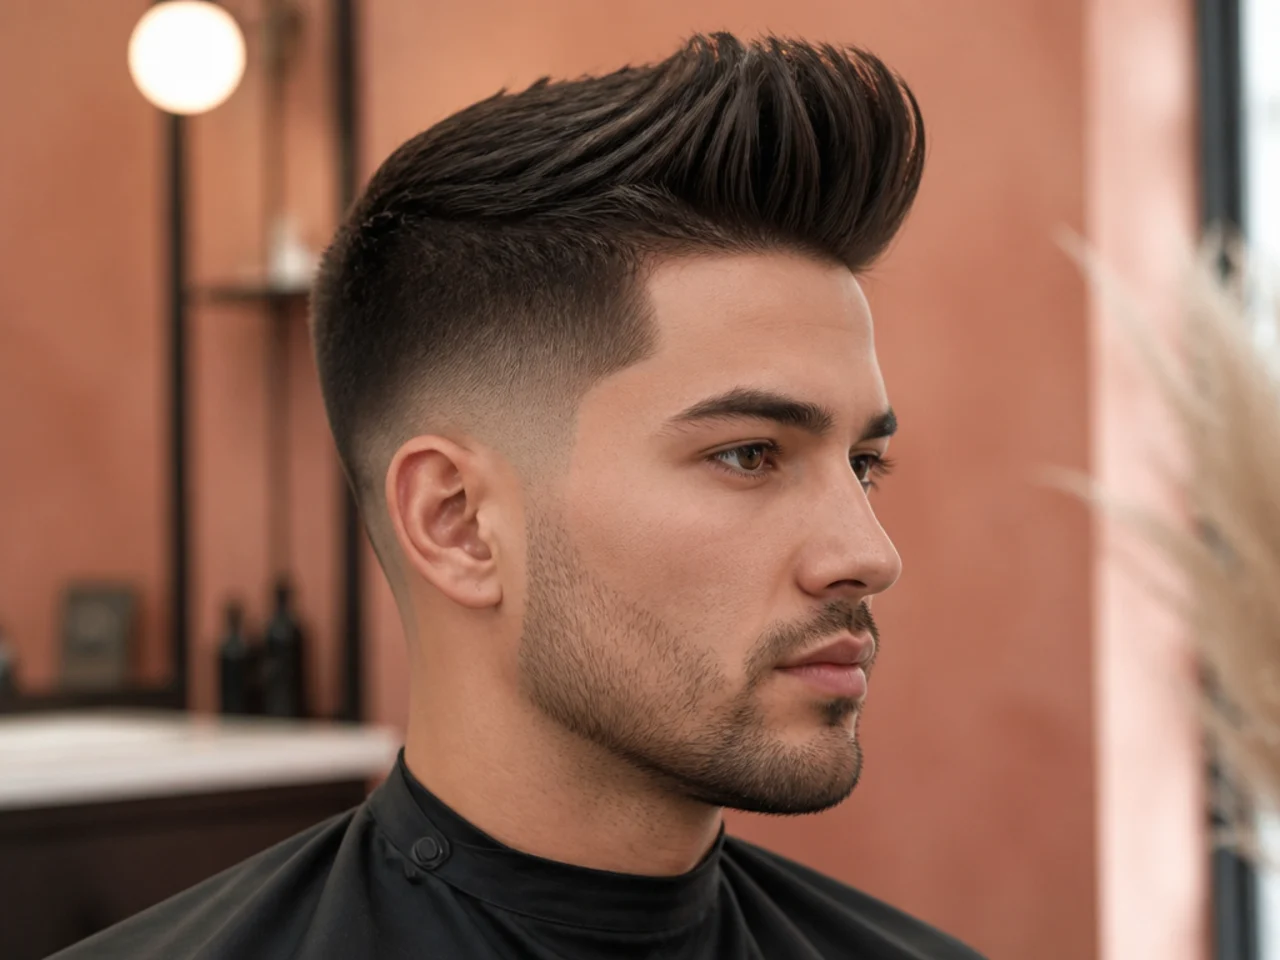
- 13. The Quiff
- 14. The Hard Part
- 15. The Cut With a Beard
- 16. The Cut on a Receding Hairline
- 17. The Blurry Taper
- 18. The Grown-Out Flow
- 19. The Week-Four Photo
- 20. The One You Saved Five Times
- Styling and Upkeep
- Mistakes to Avoid
- FAQ
- Final Thoughts
My saved folder ran to about eighty haircuts before I went through it properly, and the exercise turned out to be more useful than any of the cuts in it.
A photograph shows a result and hides the inputs. Top length, fade height, fade depth and finish — none of those are visible, and all four are what produced the picture.
That is why saved cuts so rarely transfer. You are copying an outcome without any of the decisions that led to it, which is roughly like copying a meal without the recipe.
What a Saved Photo Hides
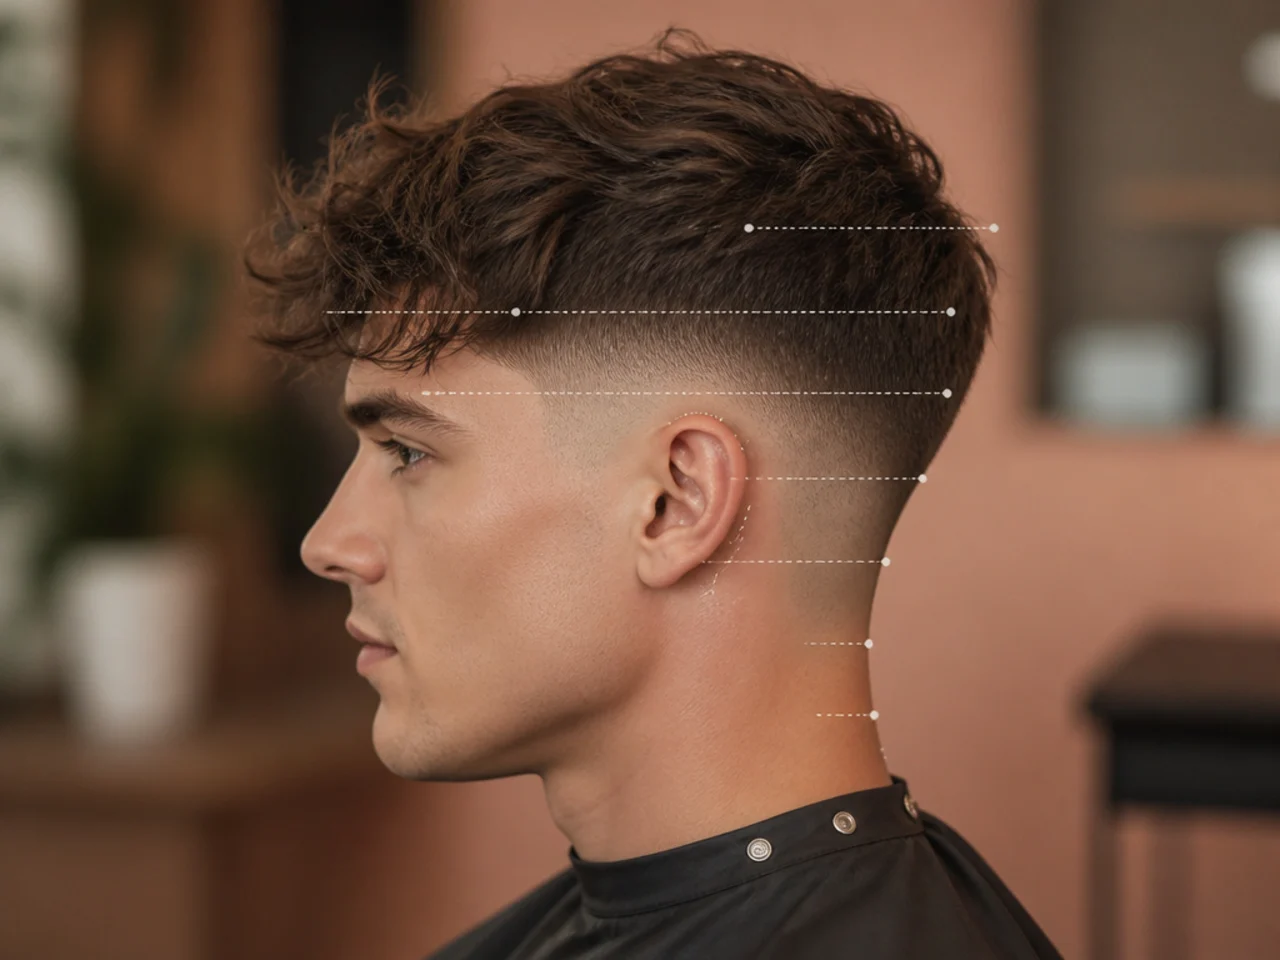
The top length in inches. The single most useful number and the one no photo gives you.
The fade height. Low, mid or high, which decides what happens to the shape of your face.
The fade depth. Whether it goes to a #1 or to skin, which decides how often you are back.
The styling time. Every photograph is a week-one photograph taken after a professional blow-dry.
How to Choose Yours
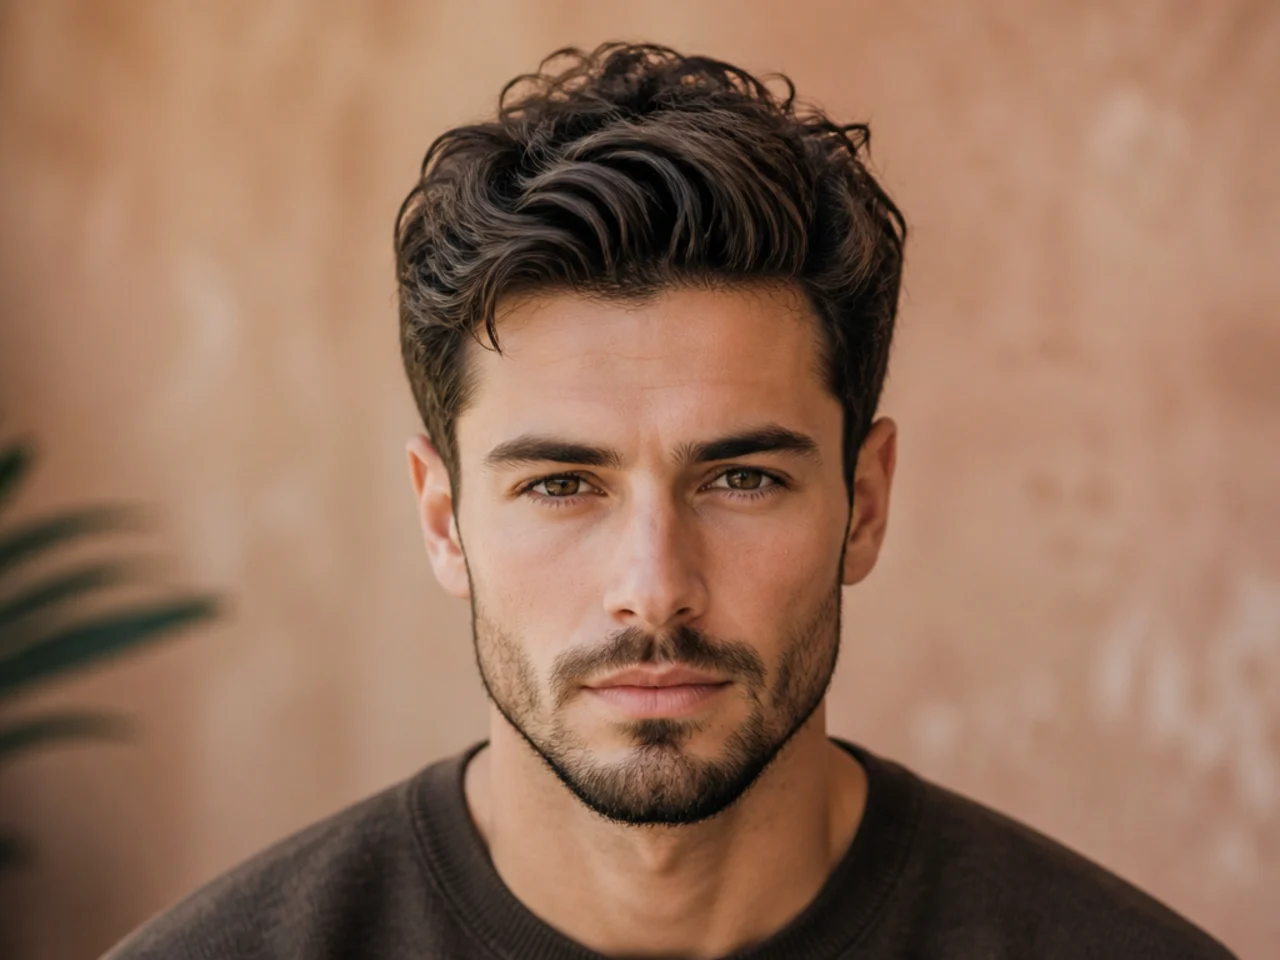
Find the side profile or discard it. The front view hides both fade decisions.
Look for bare skin in the gradient. It is the single detail in a saved photo that halves how long the cut lasts, from a month down to a fortnight.
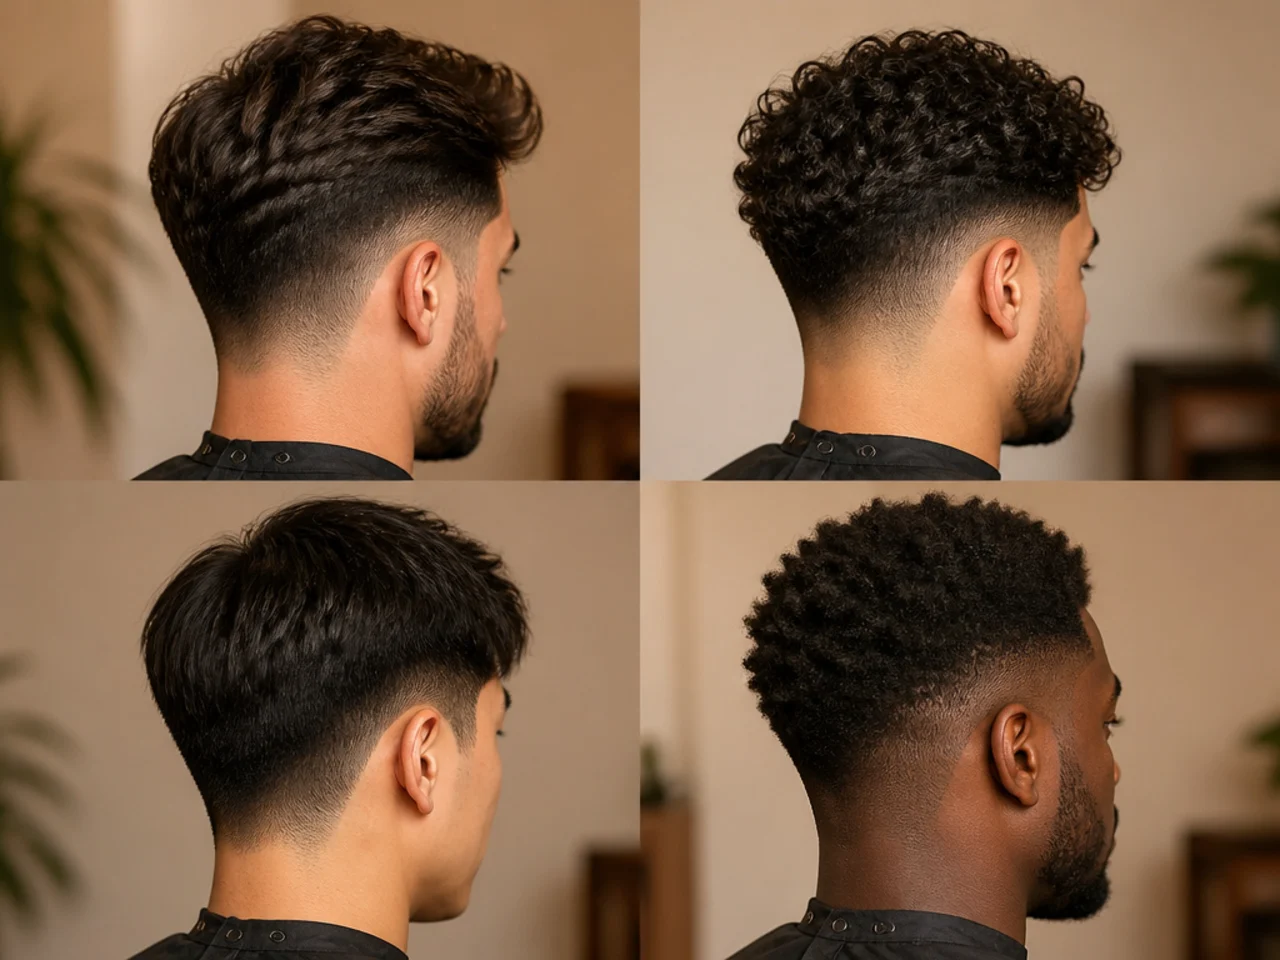
Check the texture matches yours. Curl loses around a third of its length drying and straight hair loses none.
Save three of the same idea. Different angles reveal what a single frame conceals.
The 20 Saved Cuts, Decoded
1. The Textured Crop
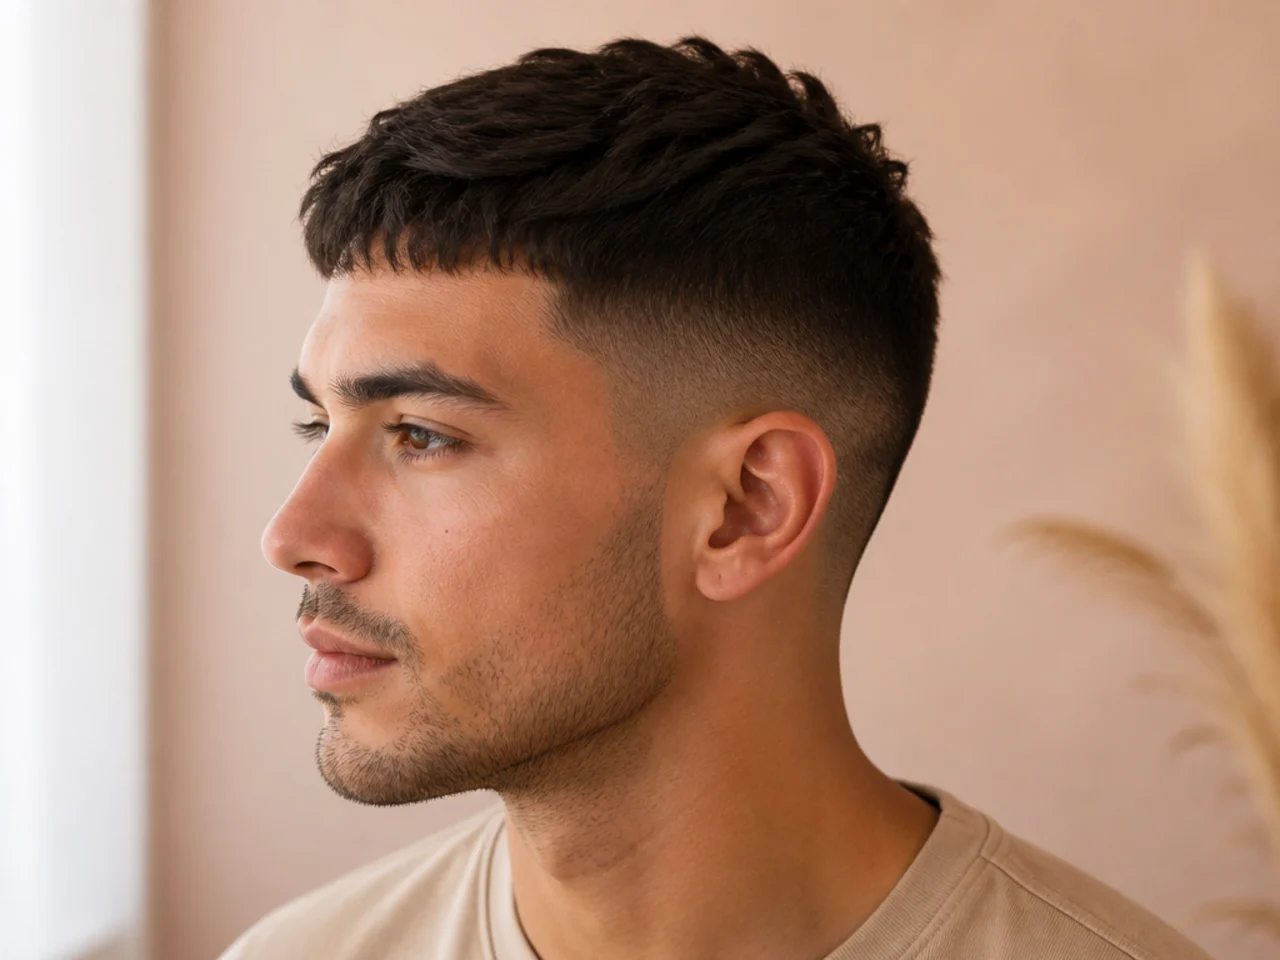
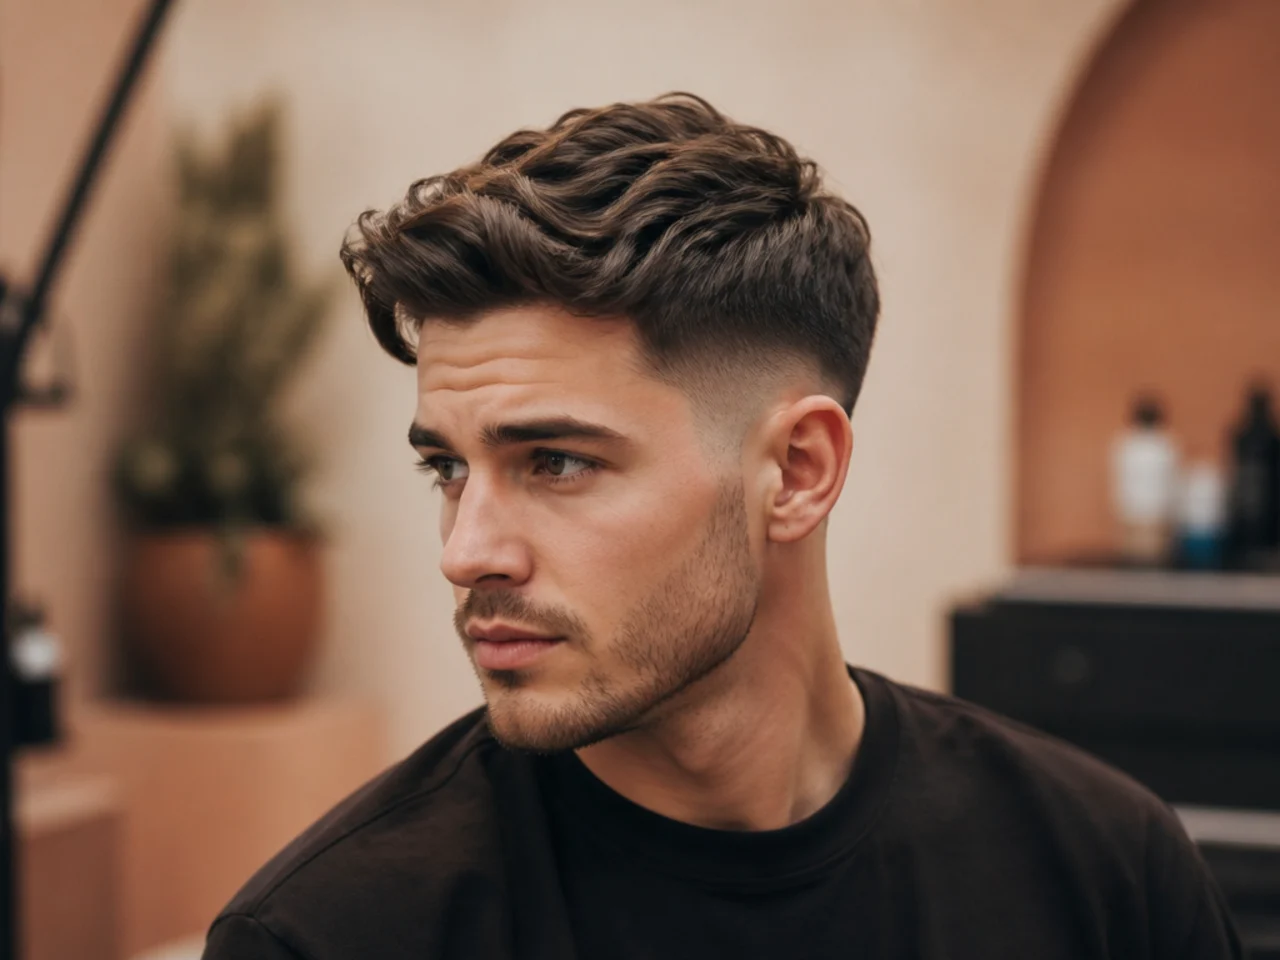
Two inches on top, low fade, taken to a #1, matte finish. It is the most saved cut there is and one of the few where the photograph and the reality match.
2. The Mid Skin Fade
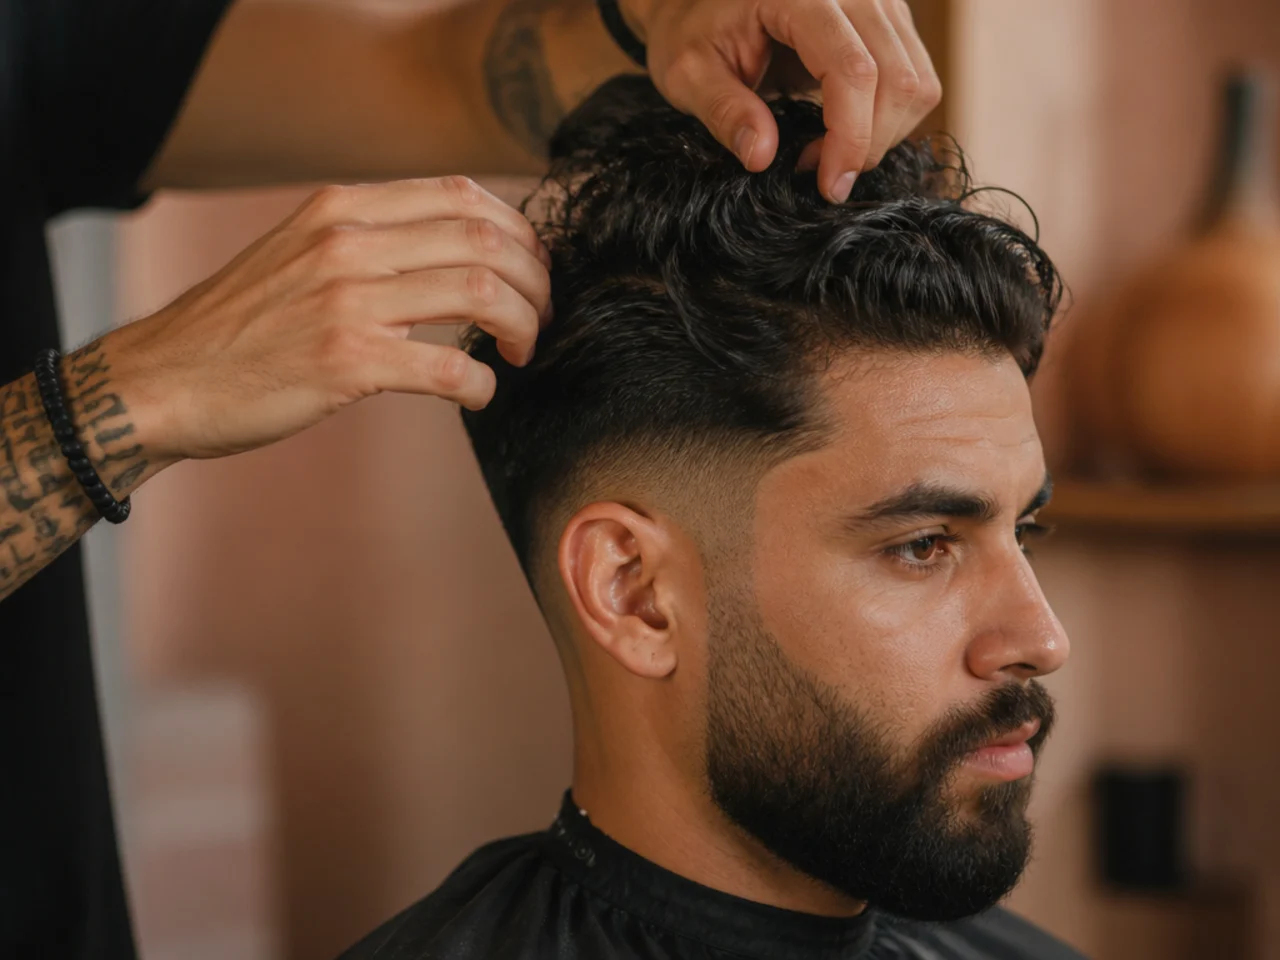
Height between temple and parietal ridge, depth to bare scalp. Save it knowing it blurs in one to two weeks and reads as overdue for most of the month.
3. The Low Taper
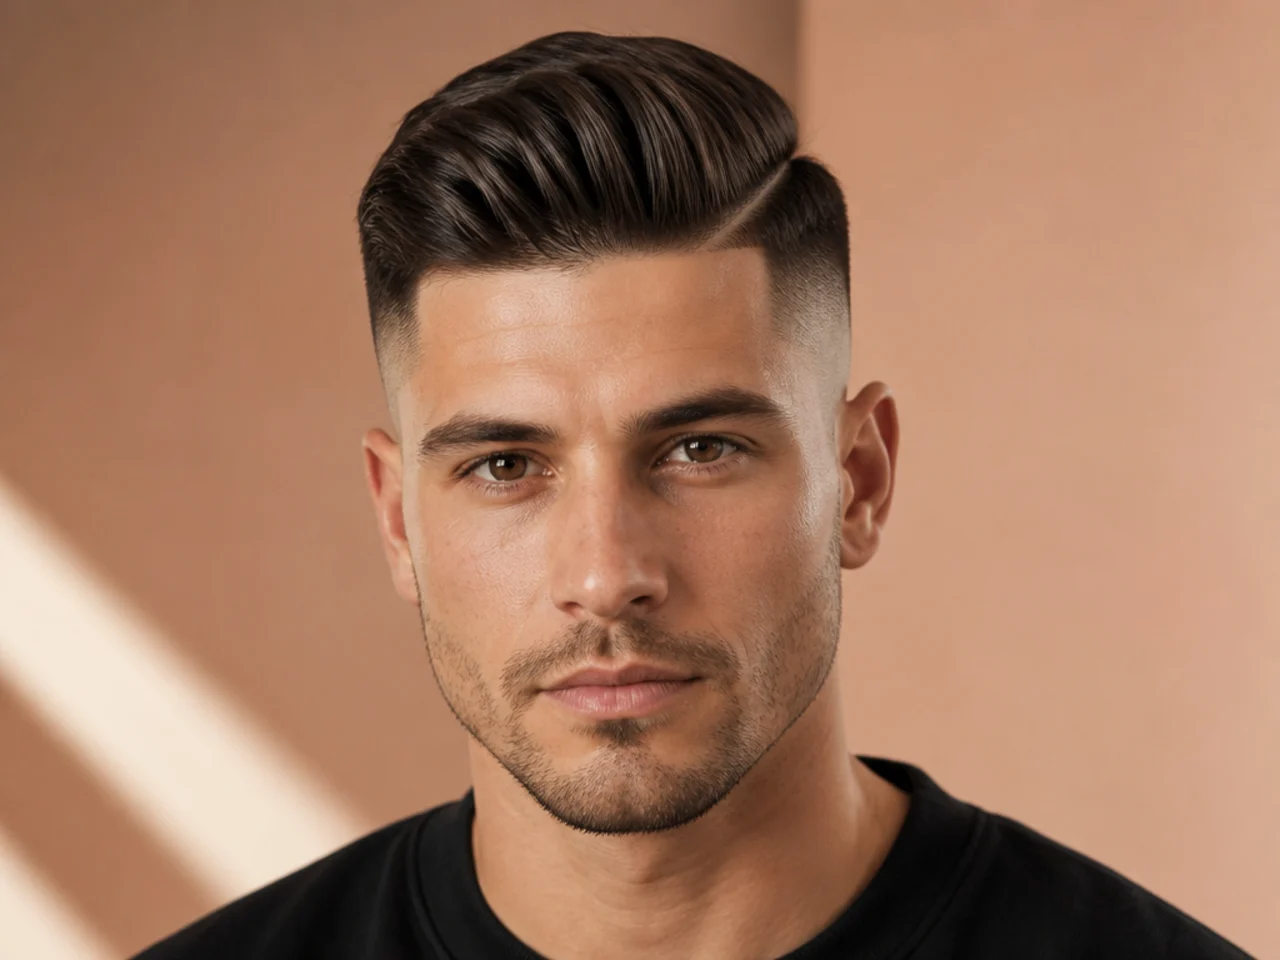
Same silhouette, #1 at the neckline instead of skin. It holds three to four weeks, which is why it is the version most men should actually be saving.

4. The Slick Back
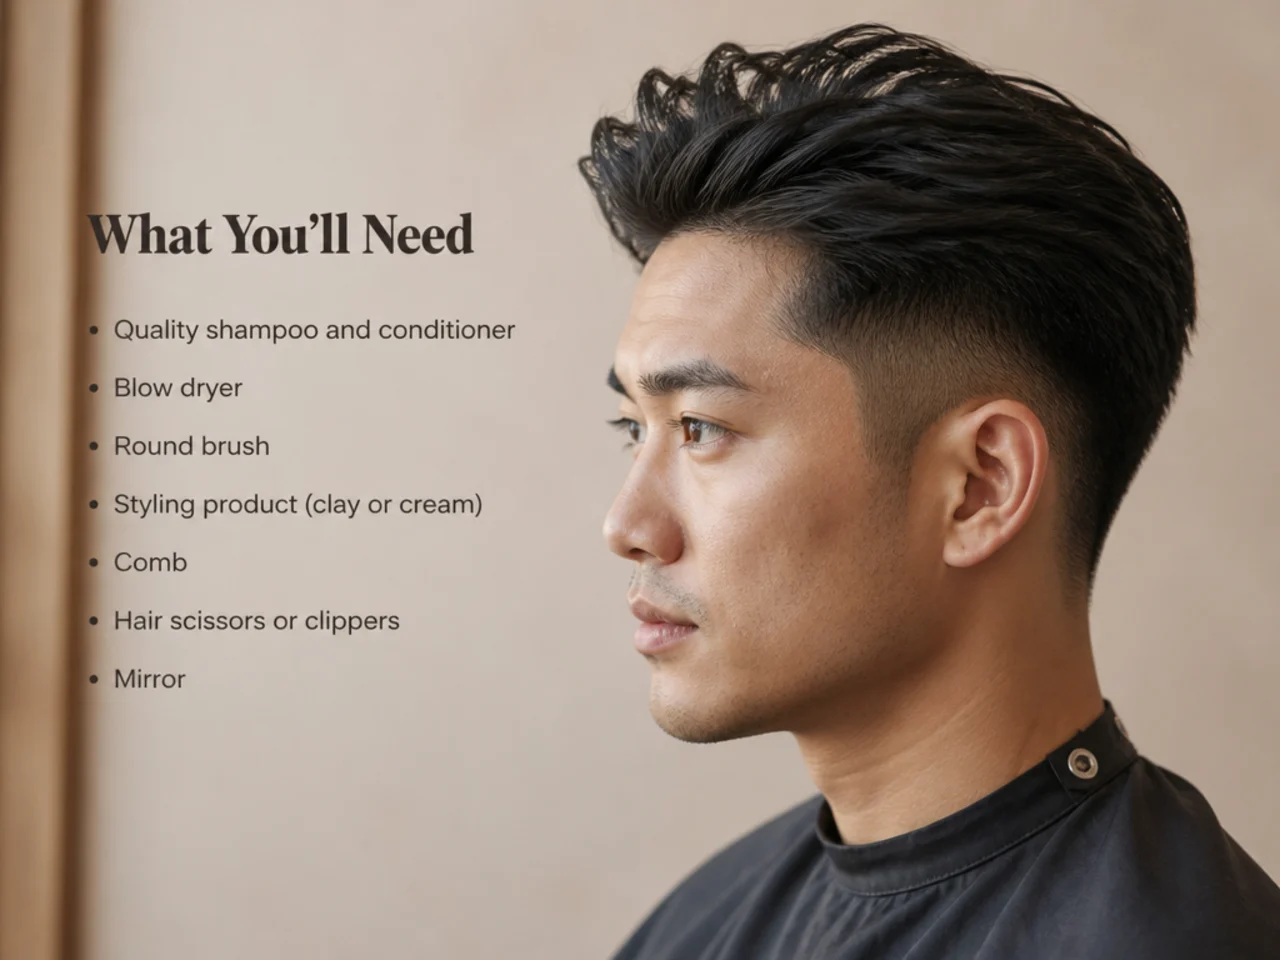
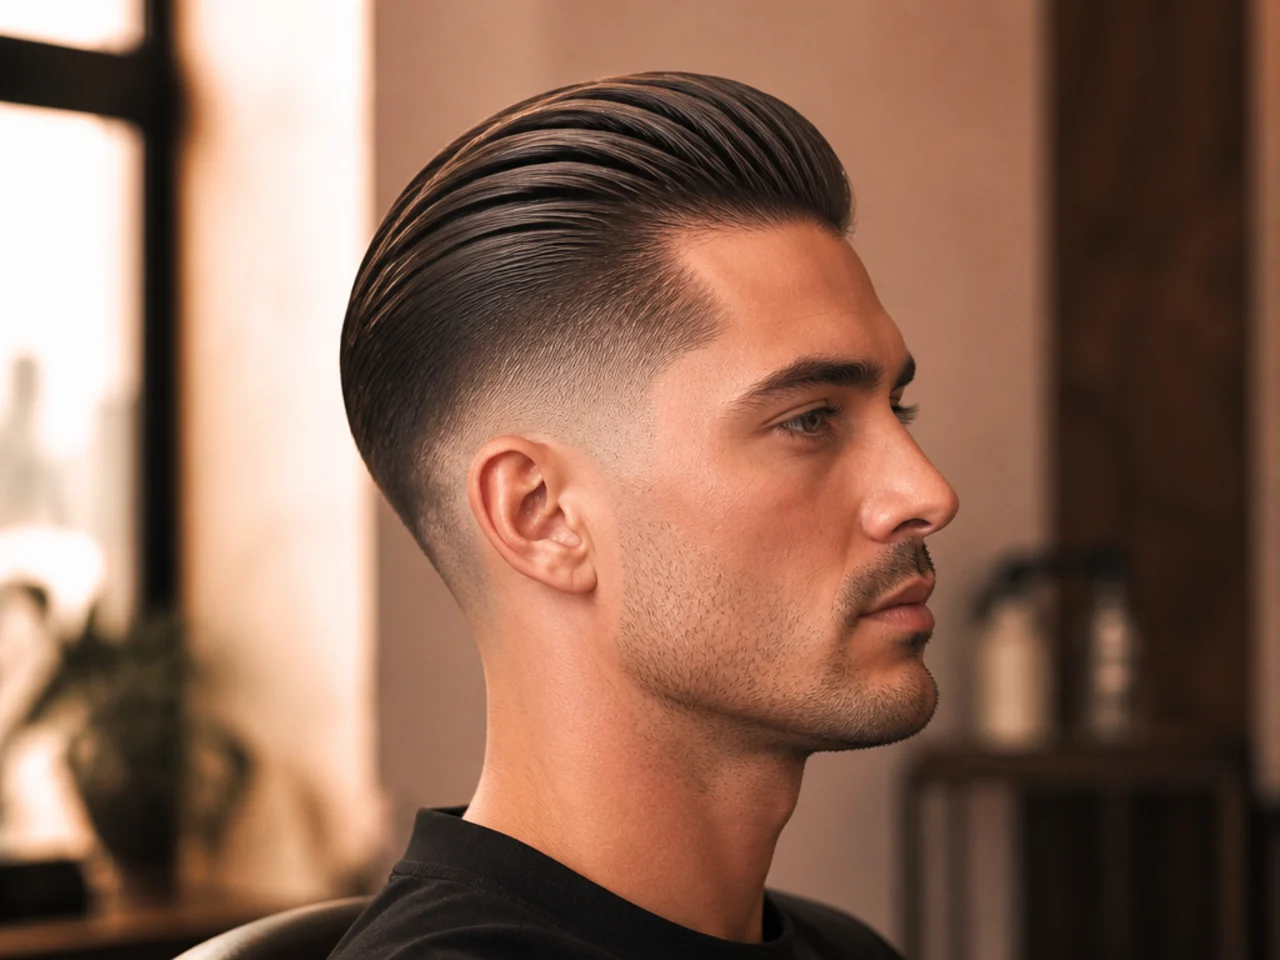
Four inches on top and a full styling routine every morning. The photo is showing you a blow-dry, not a haircut. It also pulls every strand back off the temples, so a slick back puts a receding corner on display rather than covering it.
5. The Buzz Cut
One guard number and nothing else to decide. Check which number, because a #1 at 3mm and a #4 at 13mm look nothing alike in person.
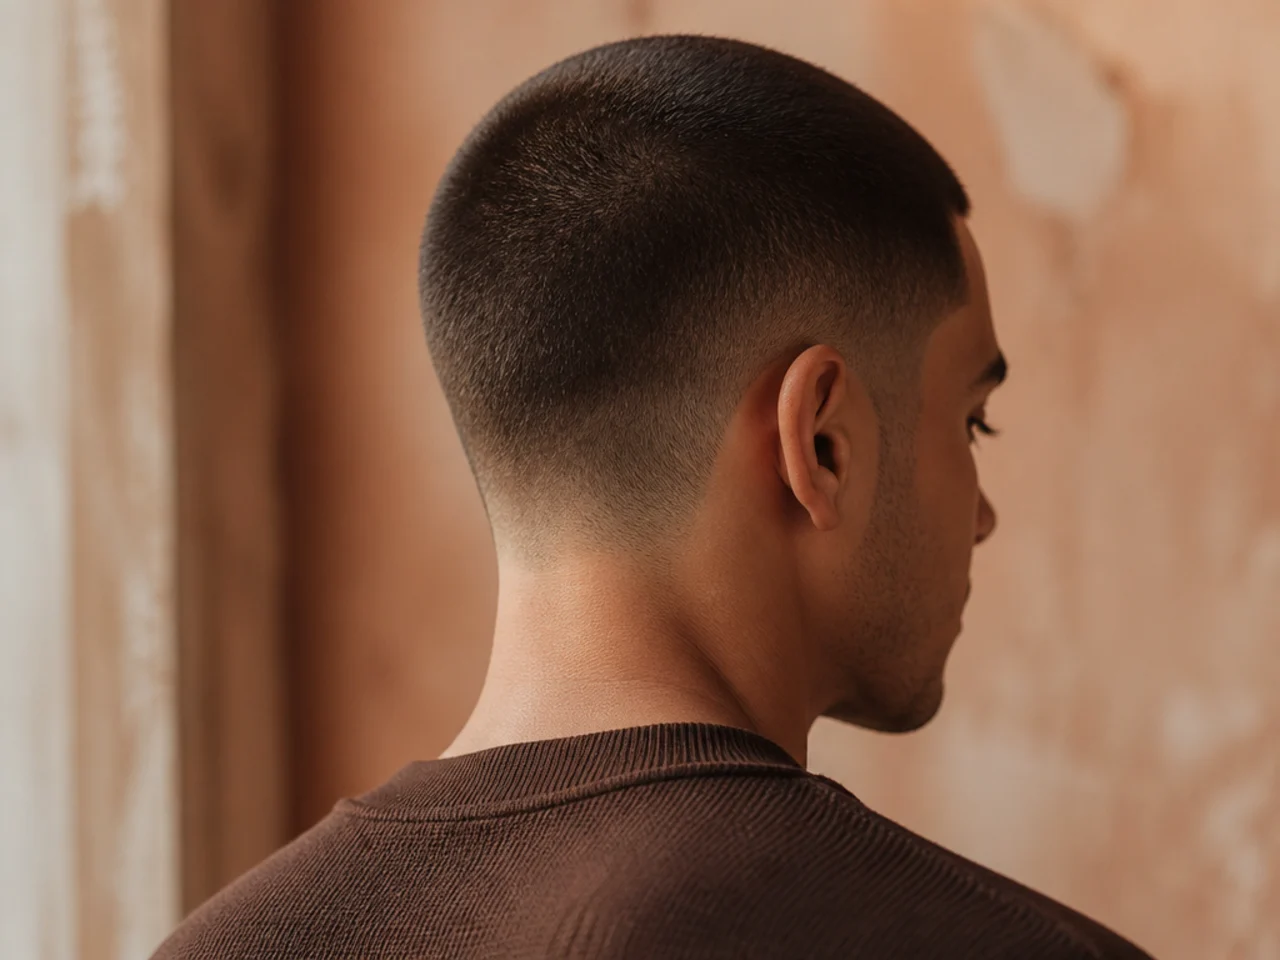
6. The Ivy League
Graduated top, scissor sides, no clipper line anywhere. It is the saved cut most likely to still look right at week four.
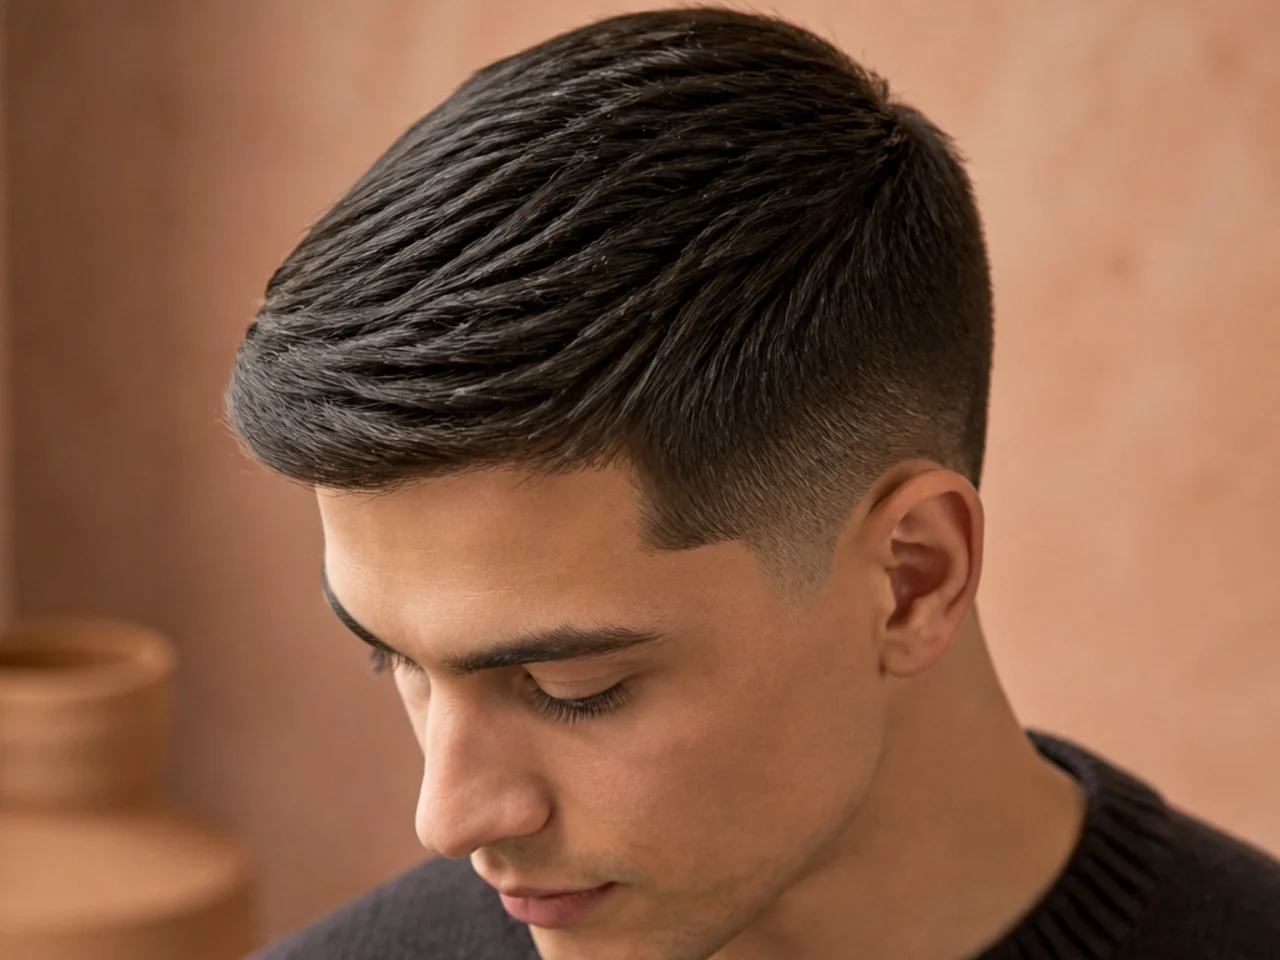
7. The Two-Block
A step rather than a gradient, which is a different service from a fade. Saving it and asking for a fade gets you a shape that will not hold the same top.
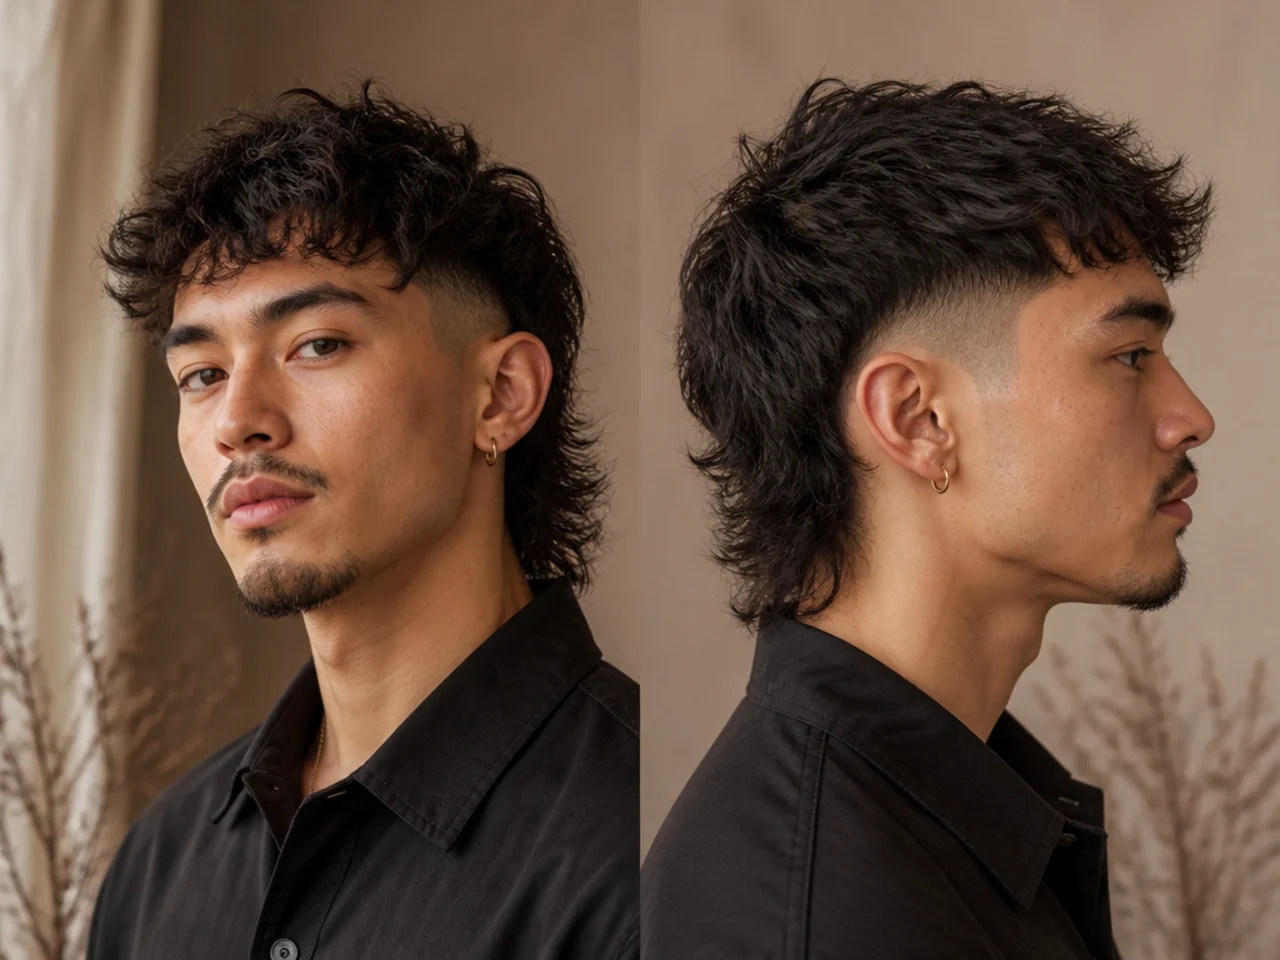
8. The Modern Mullet
Length at the back blended into the sides rather than dropped as a separate shape. Blended is the whole distinction between the current version and the old one.
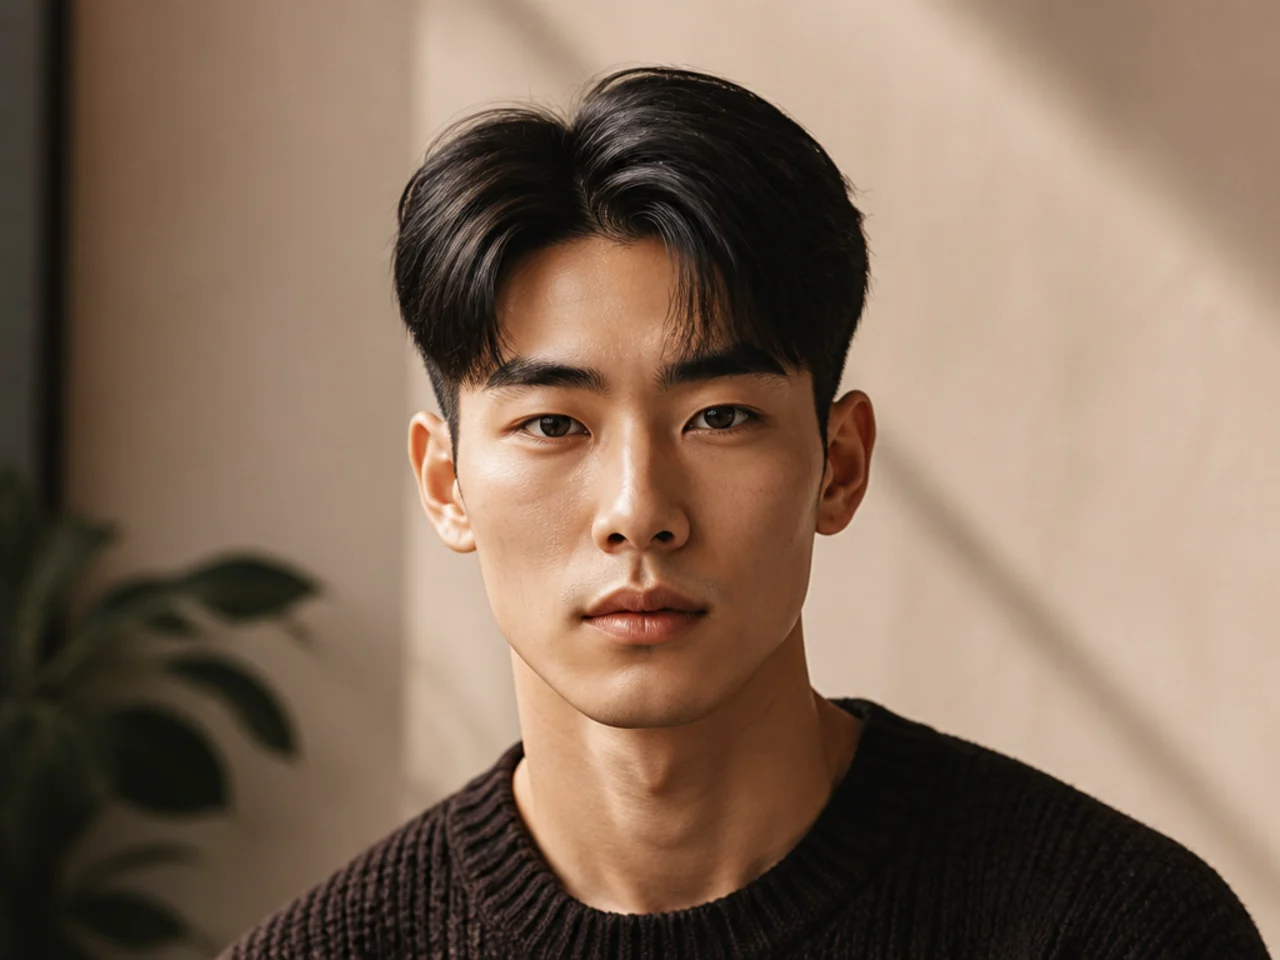
9. The Middle Part
Requires enough length to reach the cheekbone, which is about four months of growing. The photo is the end of a process, not a booking.
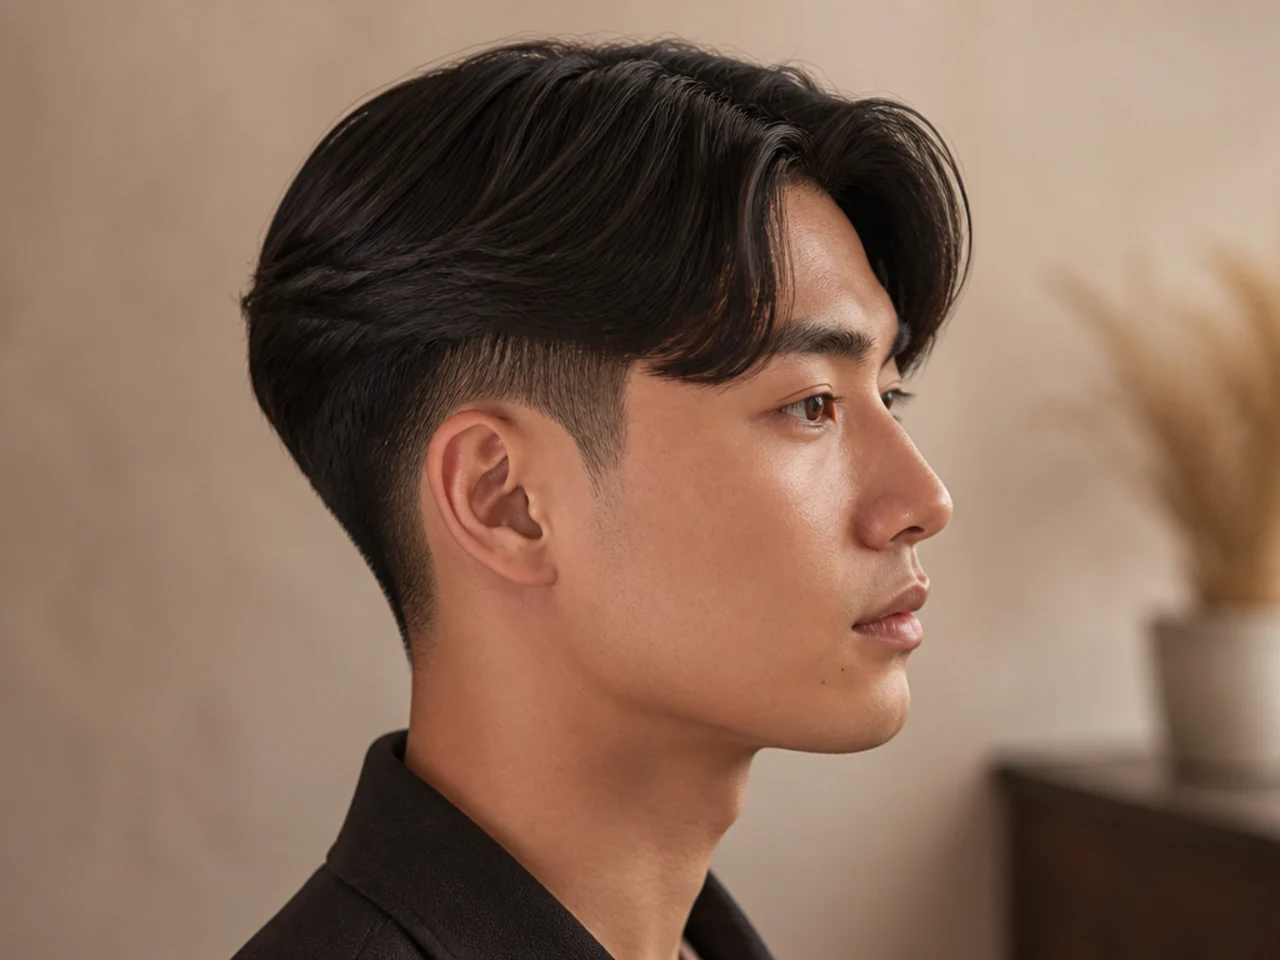
10. The Curly Top With a Taper
Look at the volume and add a third, because that is what was cut before it dried. Curly reference photos always understate the length that was removed.
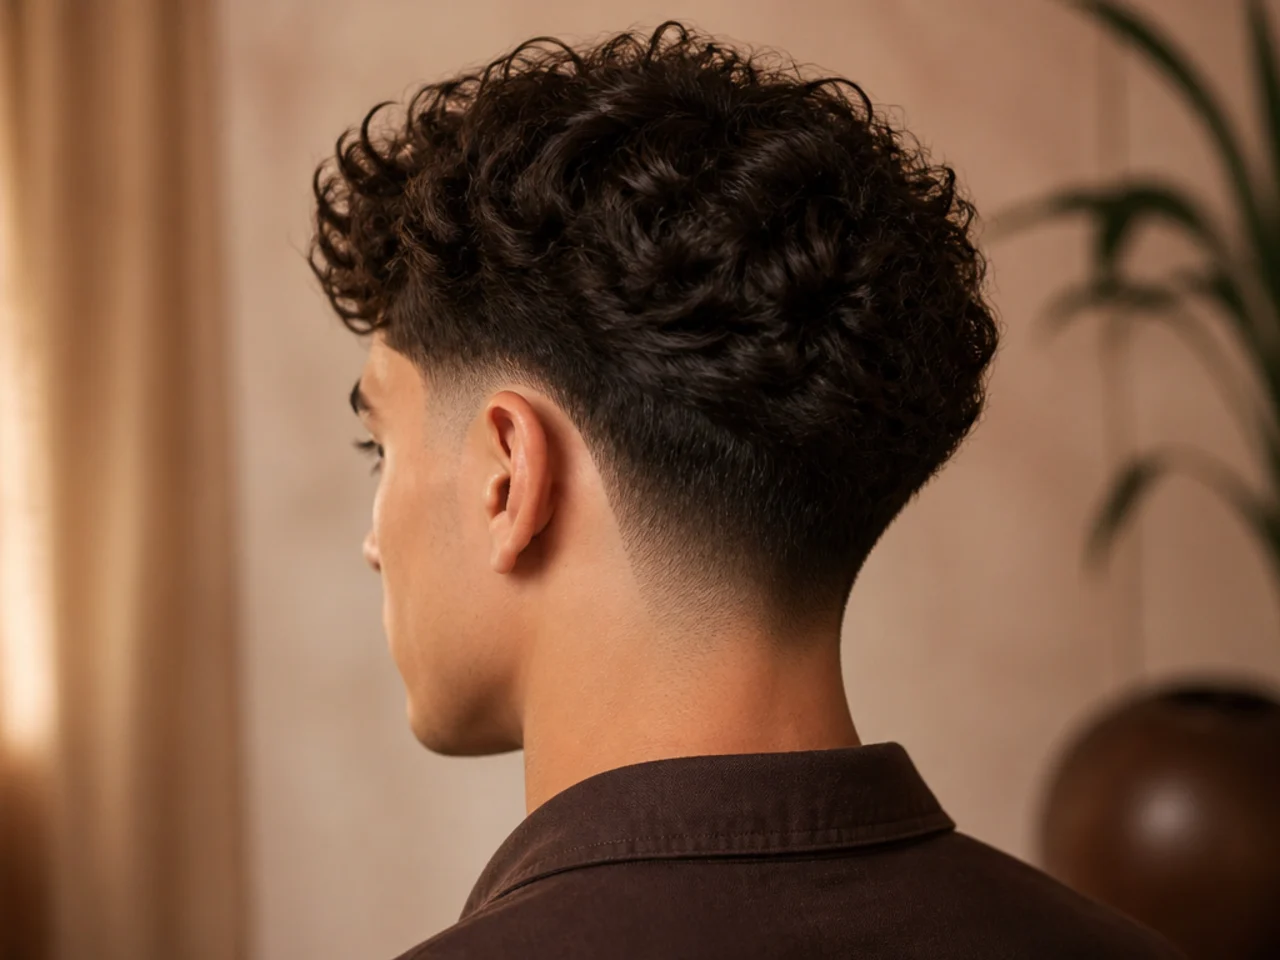
11. The Burst Fade
The gradient arcs around the ear and the back keeps its weight. Saving it without the name is why so many people ask for a low fade and walk out with something else.
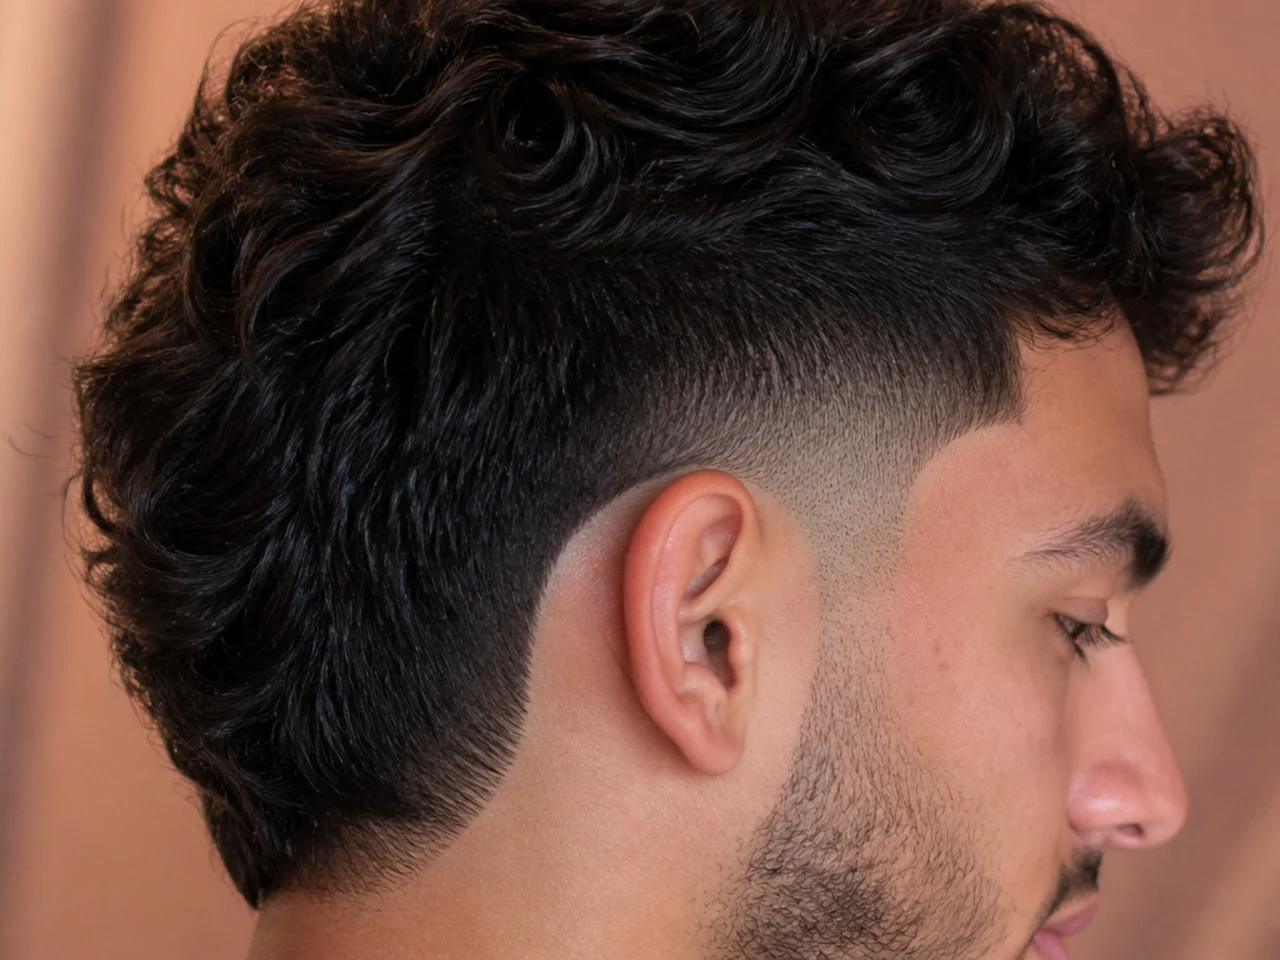
12. The French Crop
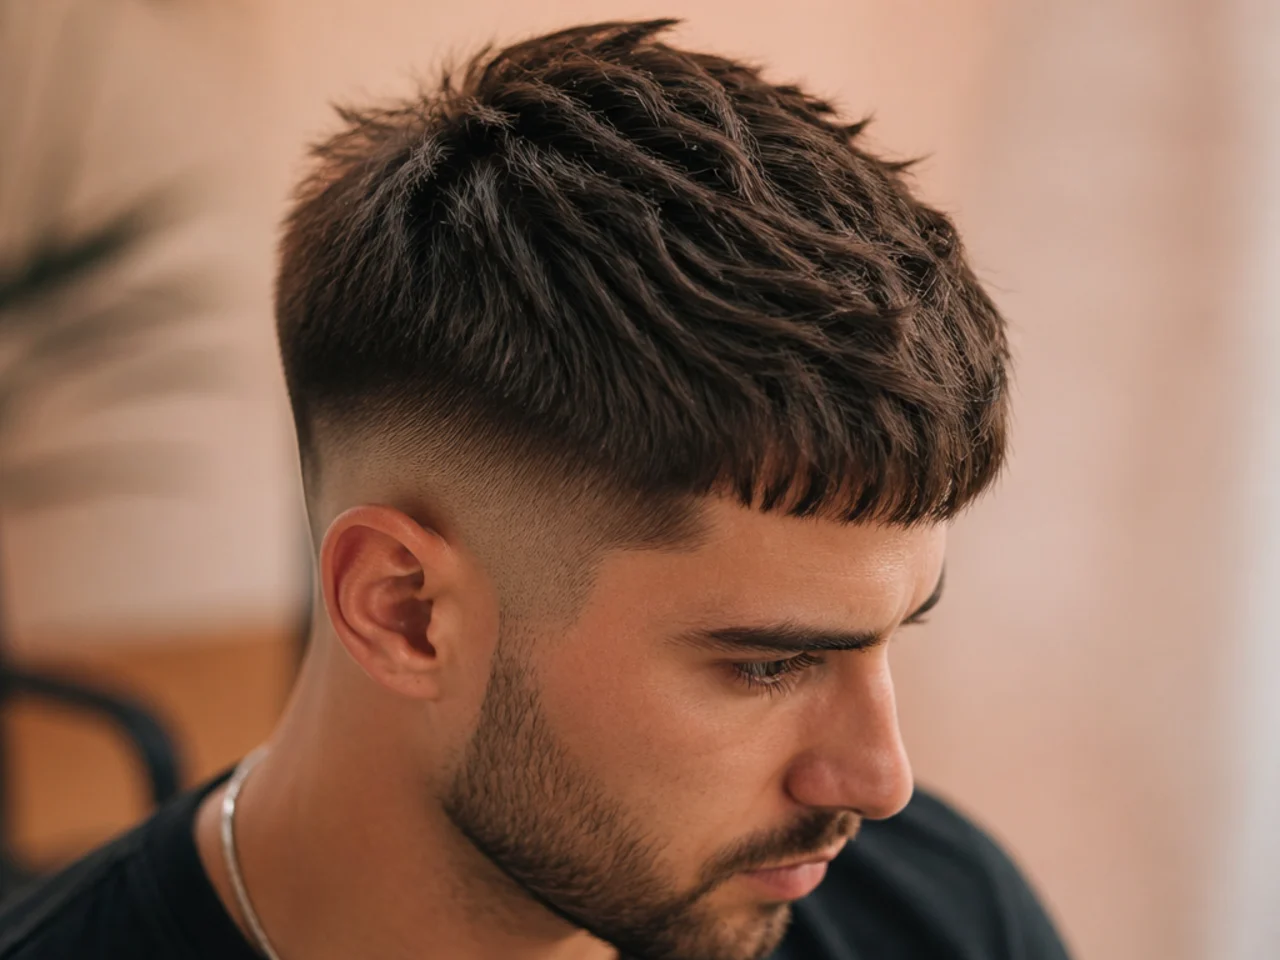
Short forward front, short sides, no styling. It is the lowest-effort cut in most saved folders and rarely the one people book.
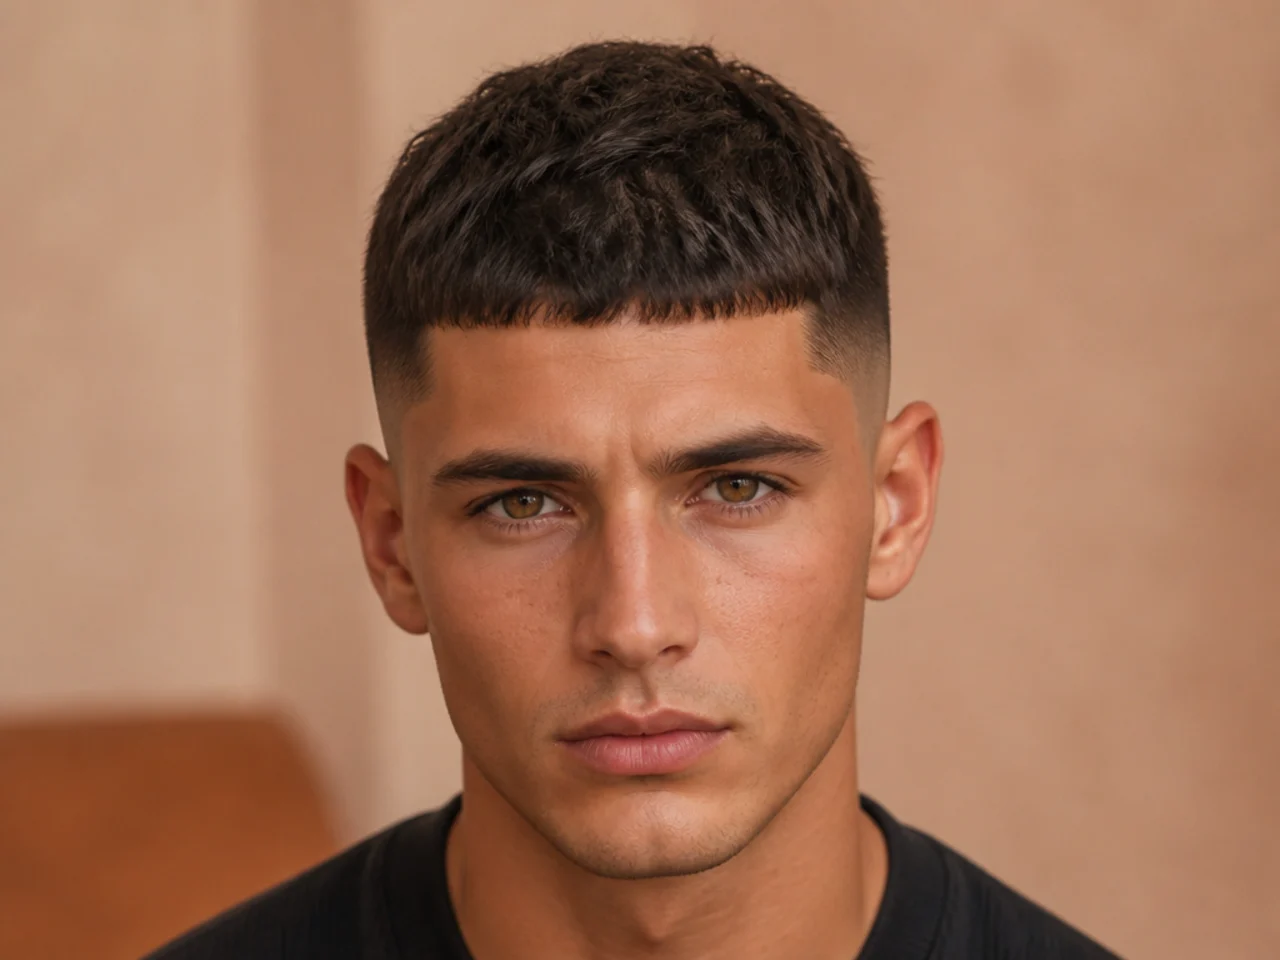
13. The Quiff
All the interest is in the drying, not the cutting. A round brush and four minutes produced that photograph, and the cut underneath is ordinary.
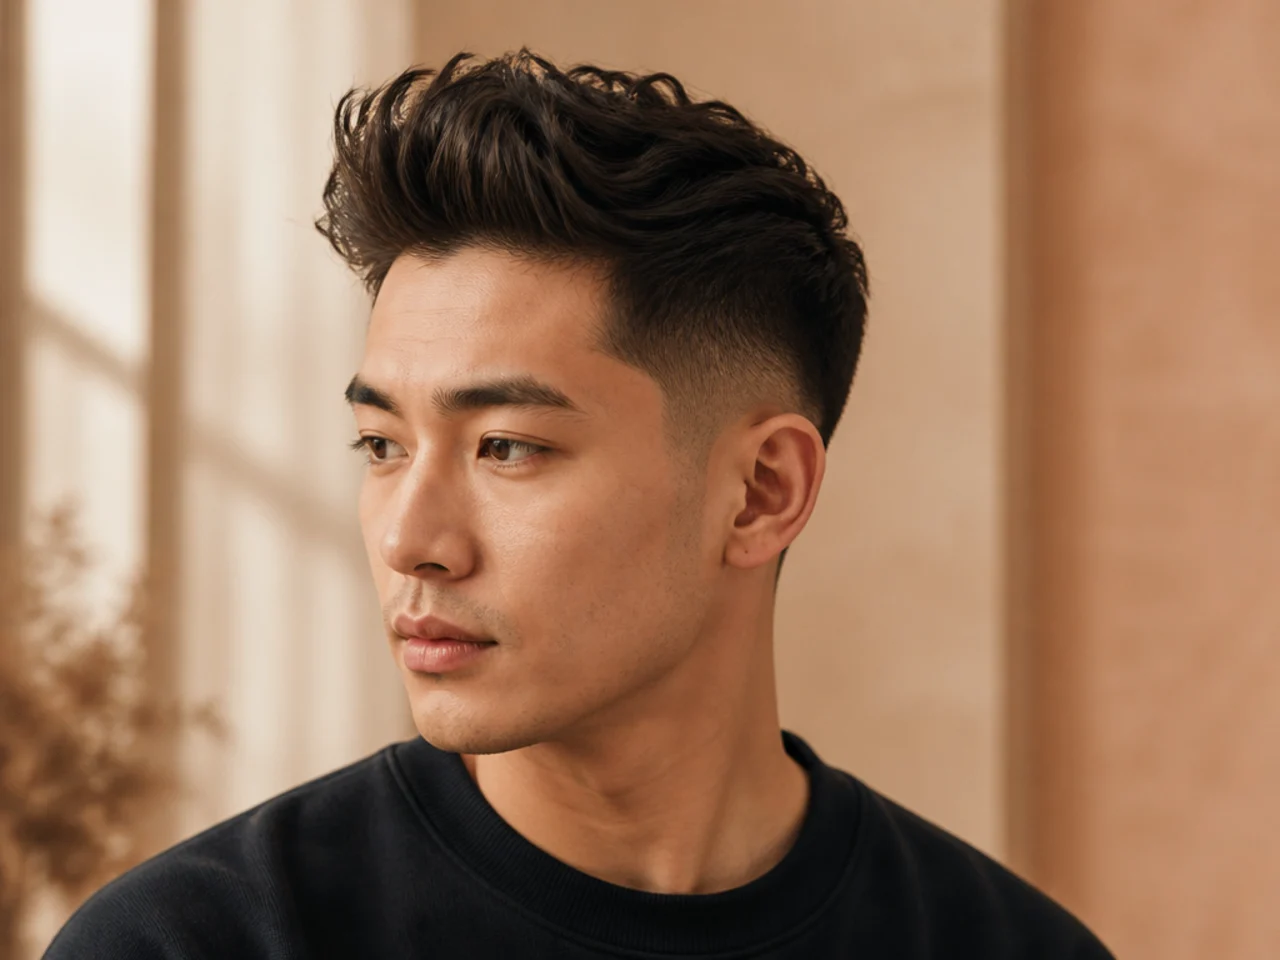
14. The Hard Part
A shaved line that regrows to stubble within about a week. Every photo of it is a day-one photo. The line only reads against dense hair either side of it. Where the scalp already shows, there is no edge to cut.
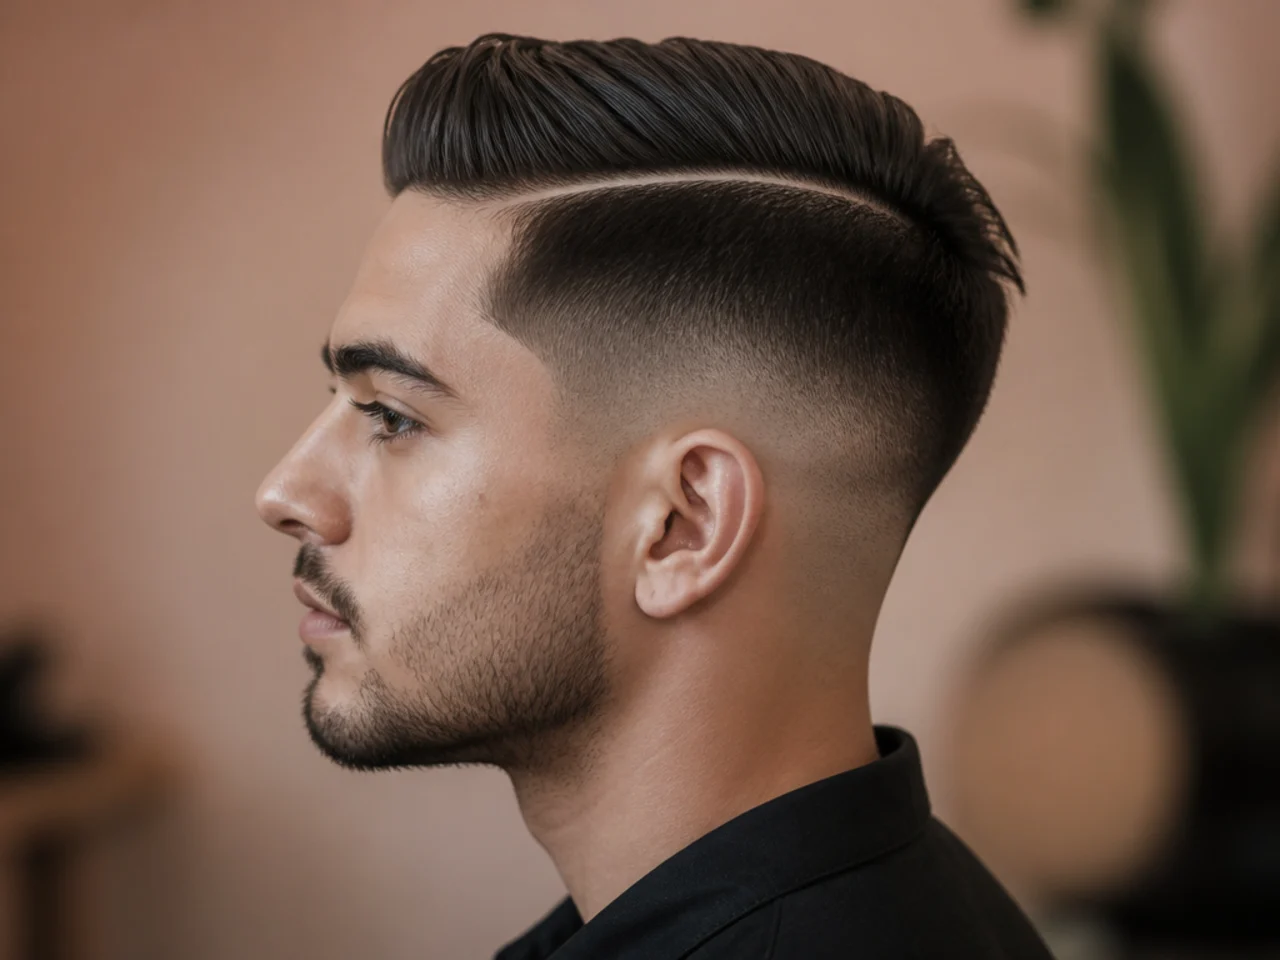
15. The Cut With a Beard
The proportion is doing the work. Weight at the jaw balances weight on top, and that relationship is the reason the photo reads well.
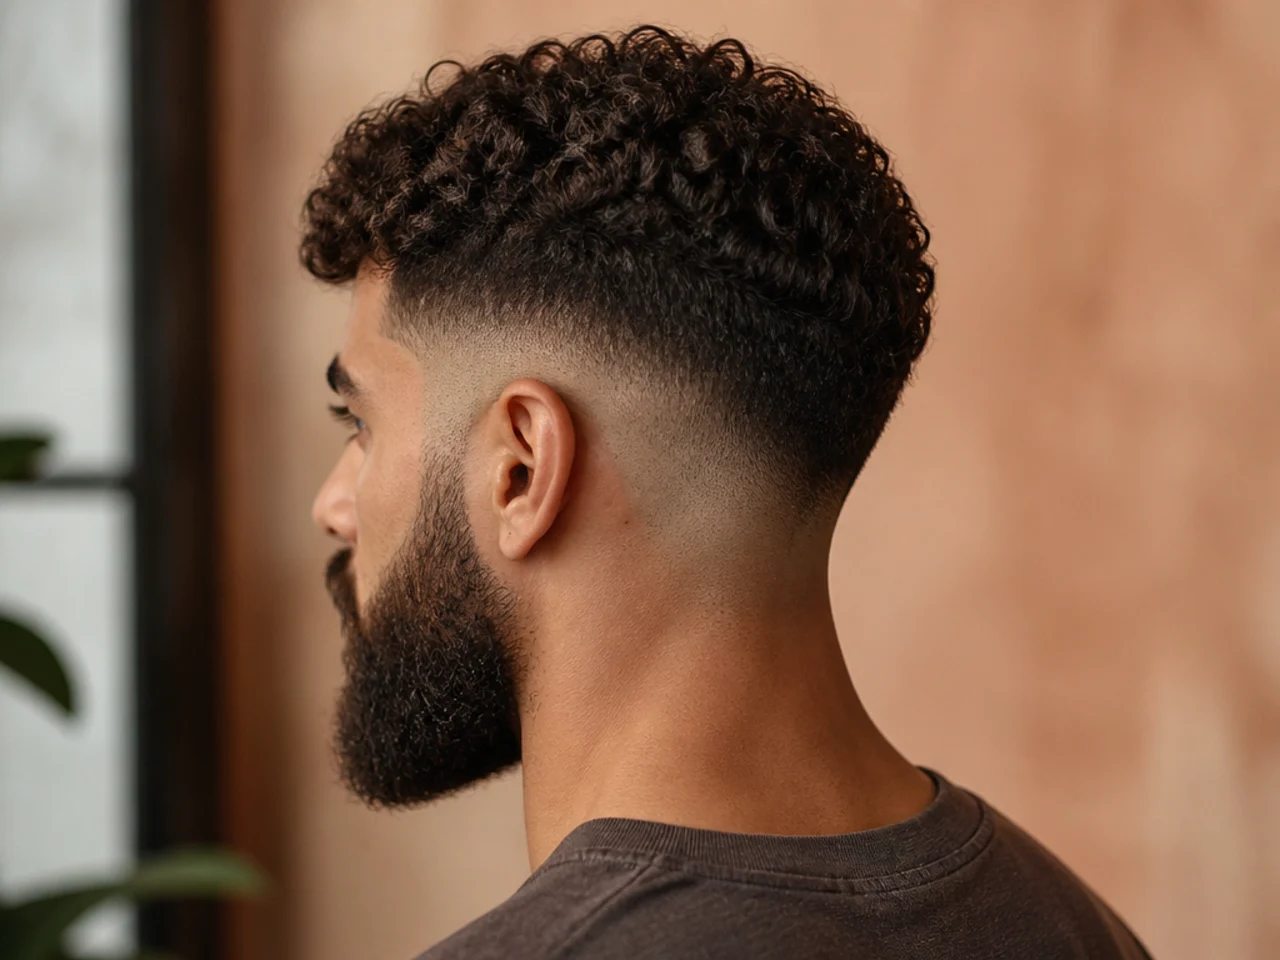
16. The Cut on a Receding Hairline
Look where the weight sits — high on the top, short at the sides. That arrangement reduces the contrast that draws the eye, and it is the reason it works.
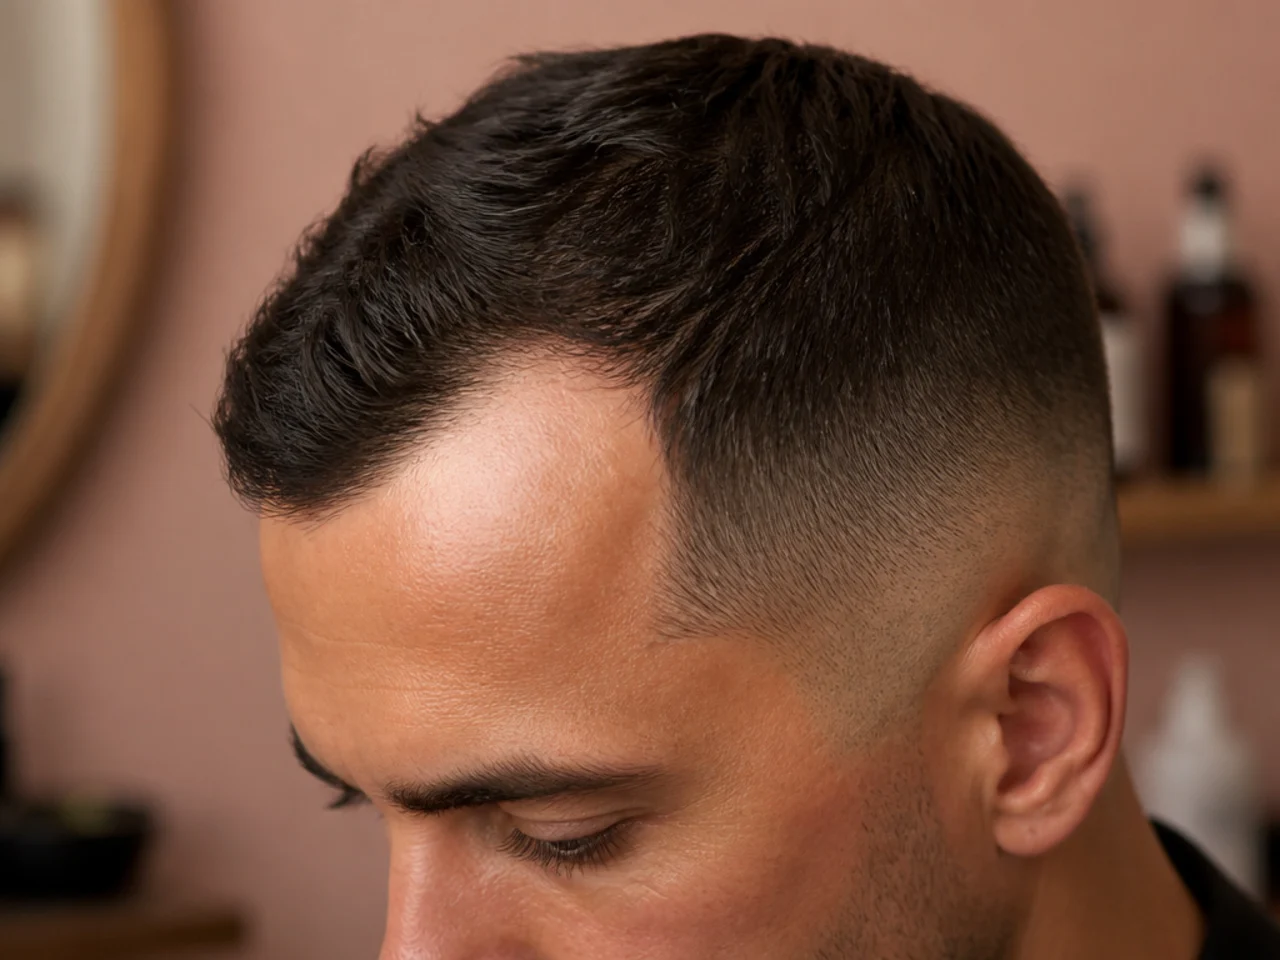
17. The Blurry Taper
No visible start to the gradient anywhere. It costs extra chair time, and that time is the entire product being sold in the photograph.
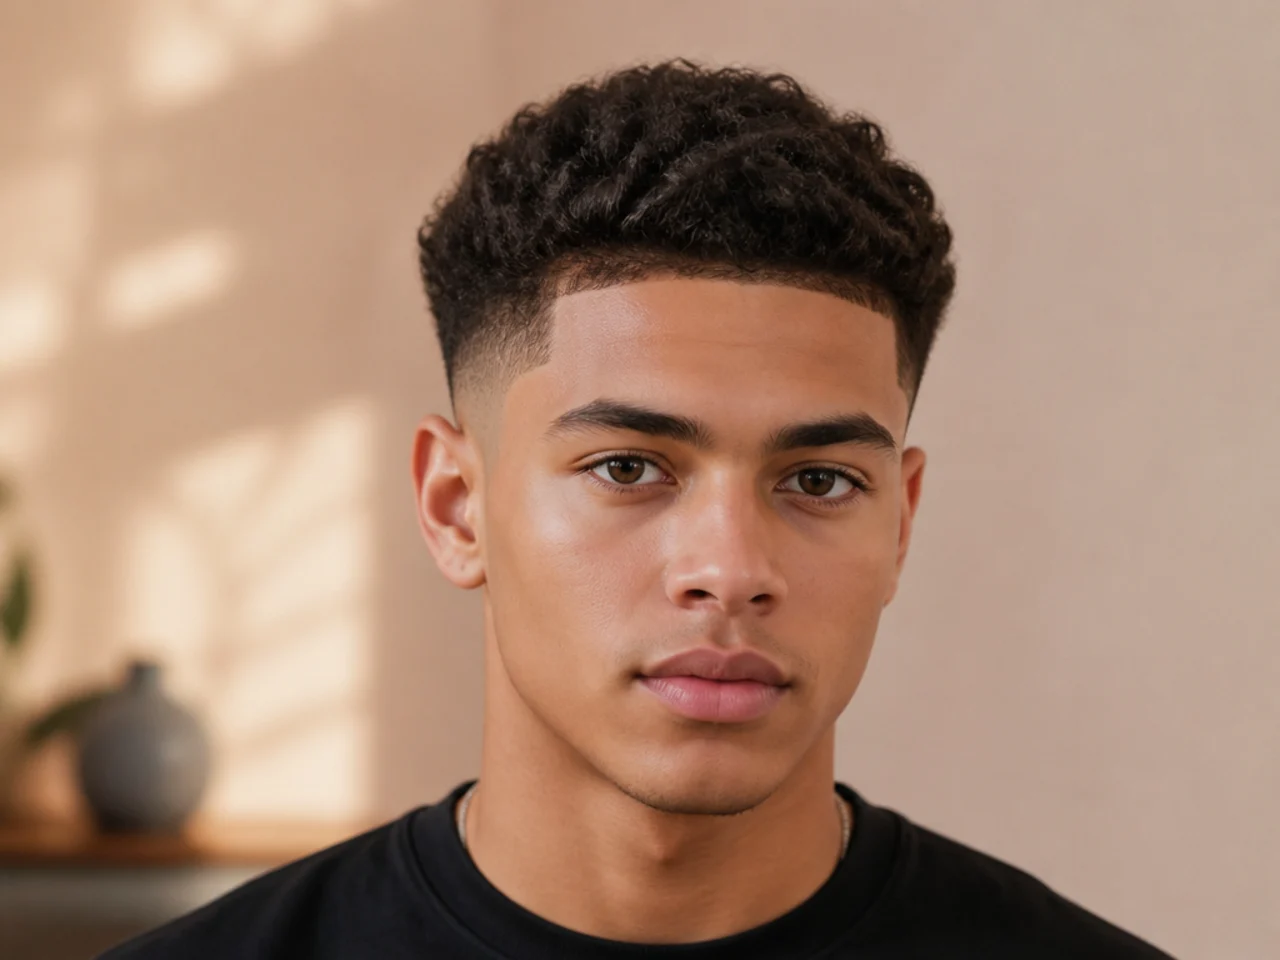
18. The Grown-Out Flow
Six months minimum, and a shape trim partway through. It is a plan rather than an appointment. Hair grows around half an inch a month, so measure to your collar and divide. Growing a flow is arithmetic, not luck.
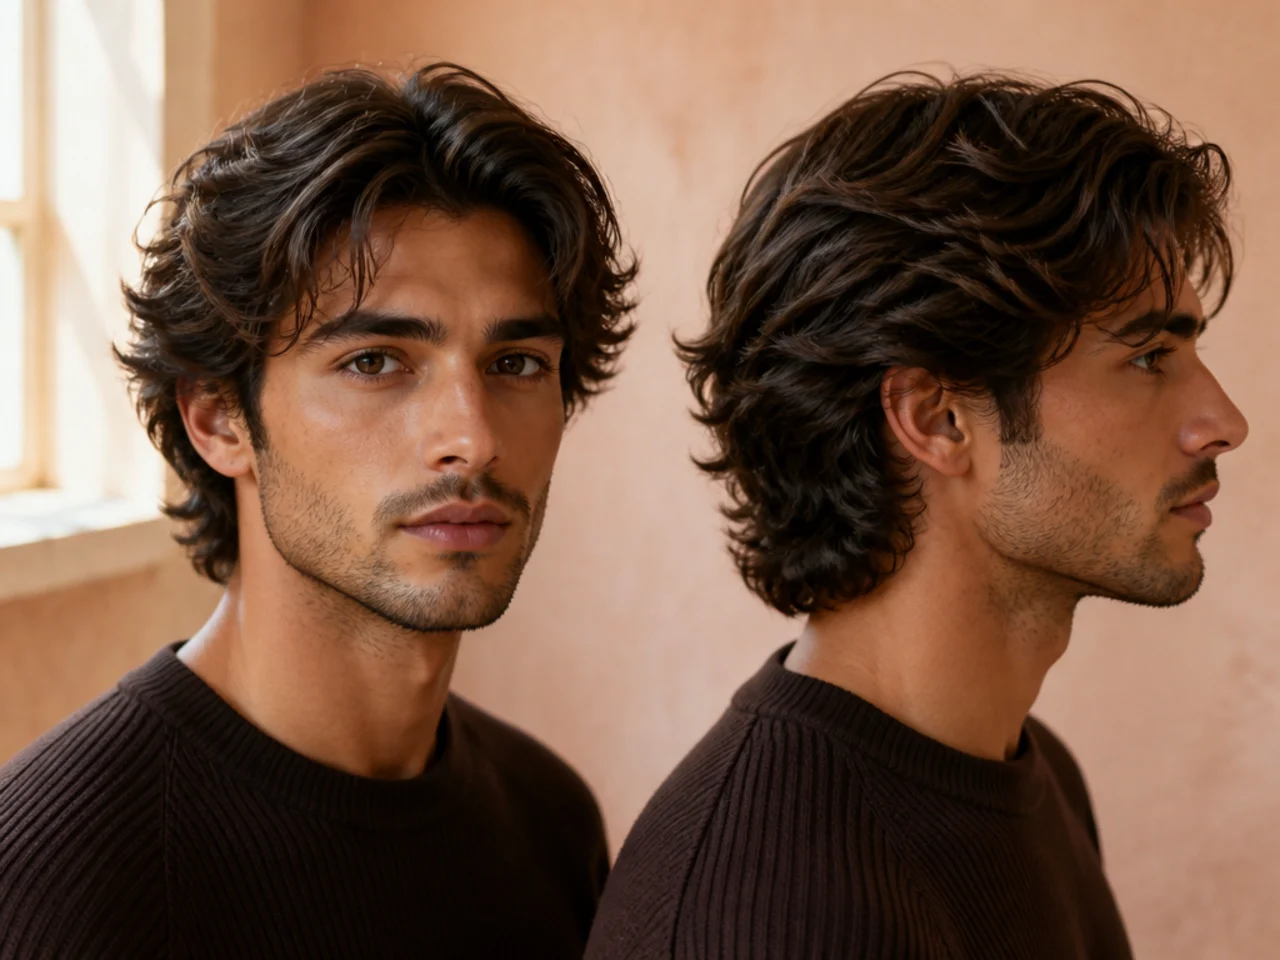
19. The Week-Four Photo
Rare and the most valuable image you can save. It shows what a cut becomes, which is what you are actually buying.
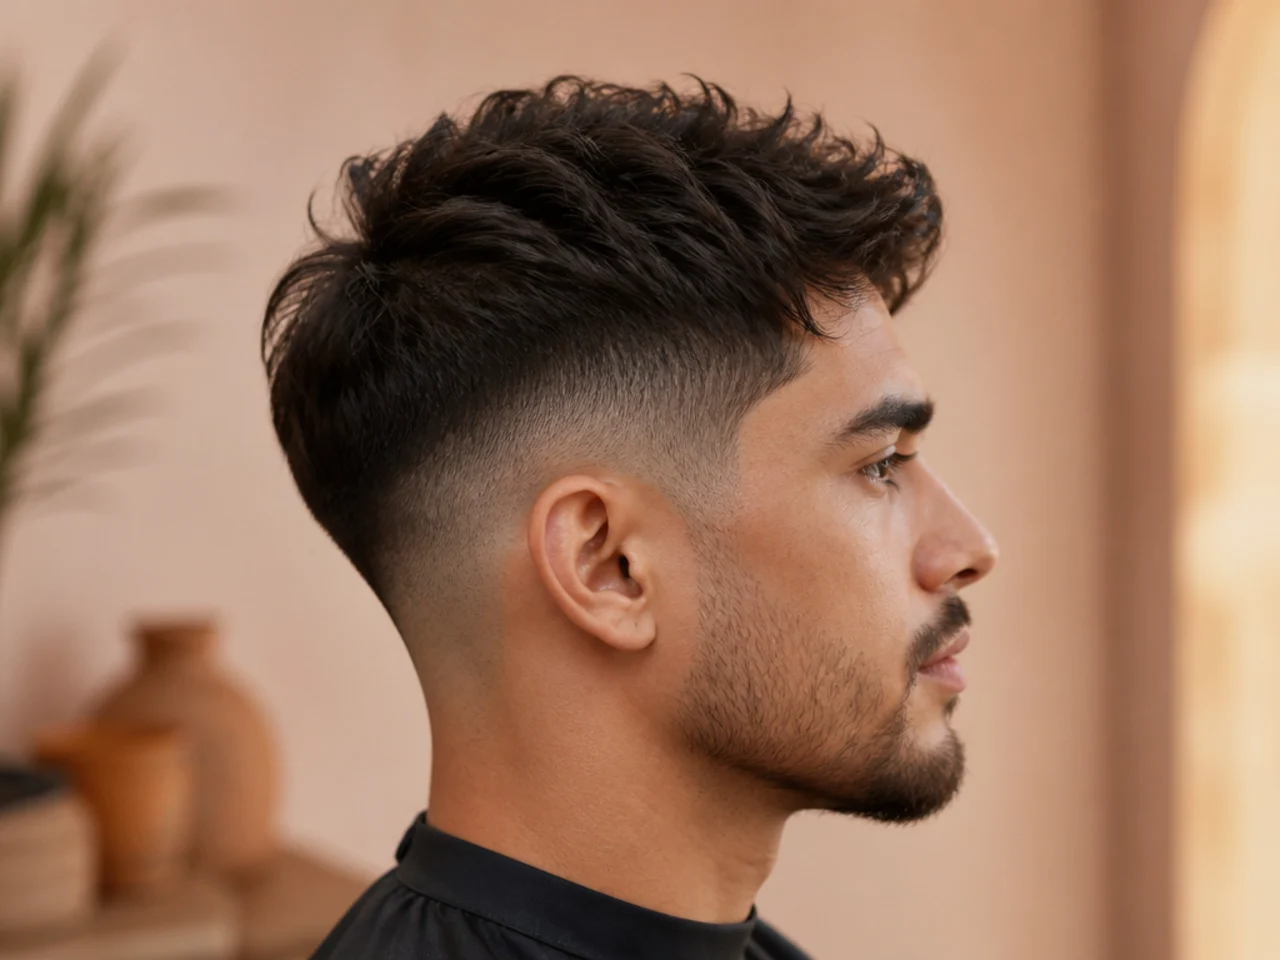
20. The One You Saved Five Times
If the same shape keeps reappearing in your folder, that is your haircut. Everything else in there is a style you admire on somebody else.
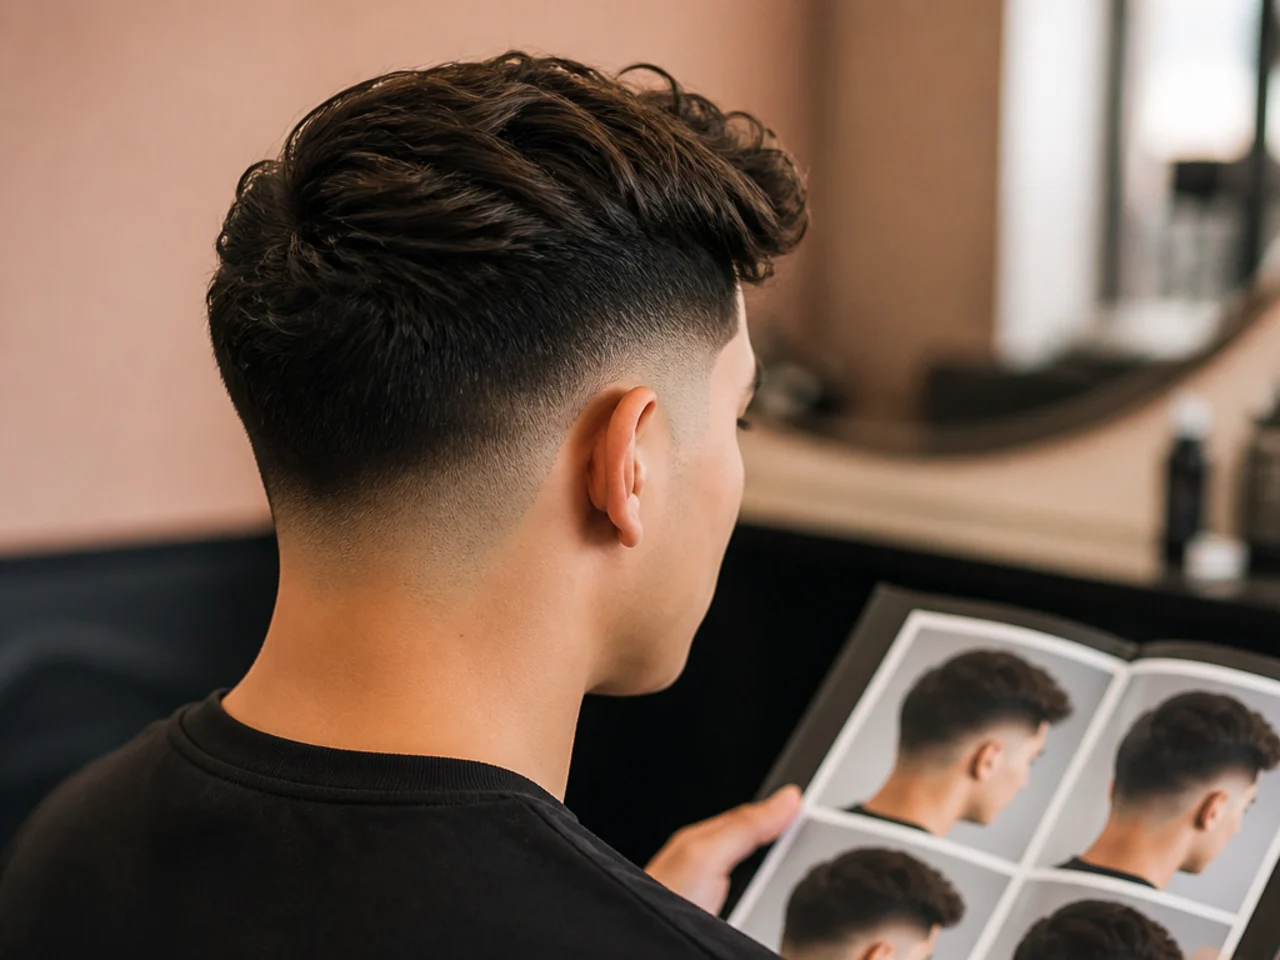
Styling and Upkeep
Convert every saved photo into four specifications. Length, height, depth, finish, written down.
Discard anything with wet-looking hair. Wet is the longest hair will ever appear.
Keep a week-three photo of your own cut. It is the honest counterpart to everything in the folder.
Bring two or three angles, not one. A single frame leaves the two fade decisions to guesswork.
Match the product finish, not just the shape. Matte and gloss produce different photographs of one cut.
Mistakes to Avoid
Saving front-facing shots only. They hide the fade height and the fade depth.
Ignoring the texture in the image. It is doing most of the work you are crediting to the cut.
Assuming every short side is a fade. Half of them are tapers or two-blocks.
Booking a skin fade off a photograph. It blurs within a fortnight whoever cut it.
Bringing a photo without knowing your own numbers. The image cannot tell you what suits you.
FAQ
Why does it never look the same? The photo shows a result and hides the four inputs.
What should I look for? The side profile, the join at the top, and whether there is bare skin.
How many photos to bring? Two or three of the same idea from different angles.
Final Thoughts
Go through your own folder and write four numbers under each picture. Most of them will turn out to be the same cut at different fade heights, and the two or three that are genuinely different are the only real decisions you have left to make.
For the process that turns those numbers into a booking see haircut ideas and styles for men, and for the fade decision itself see low fade vs mid fade vs high fade. More in Men's Haircuts.