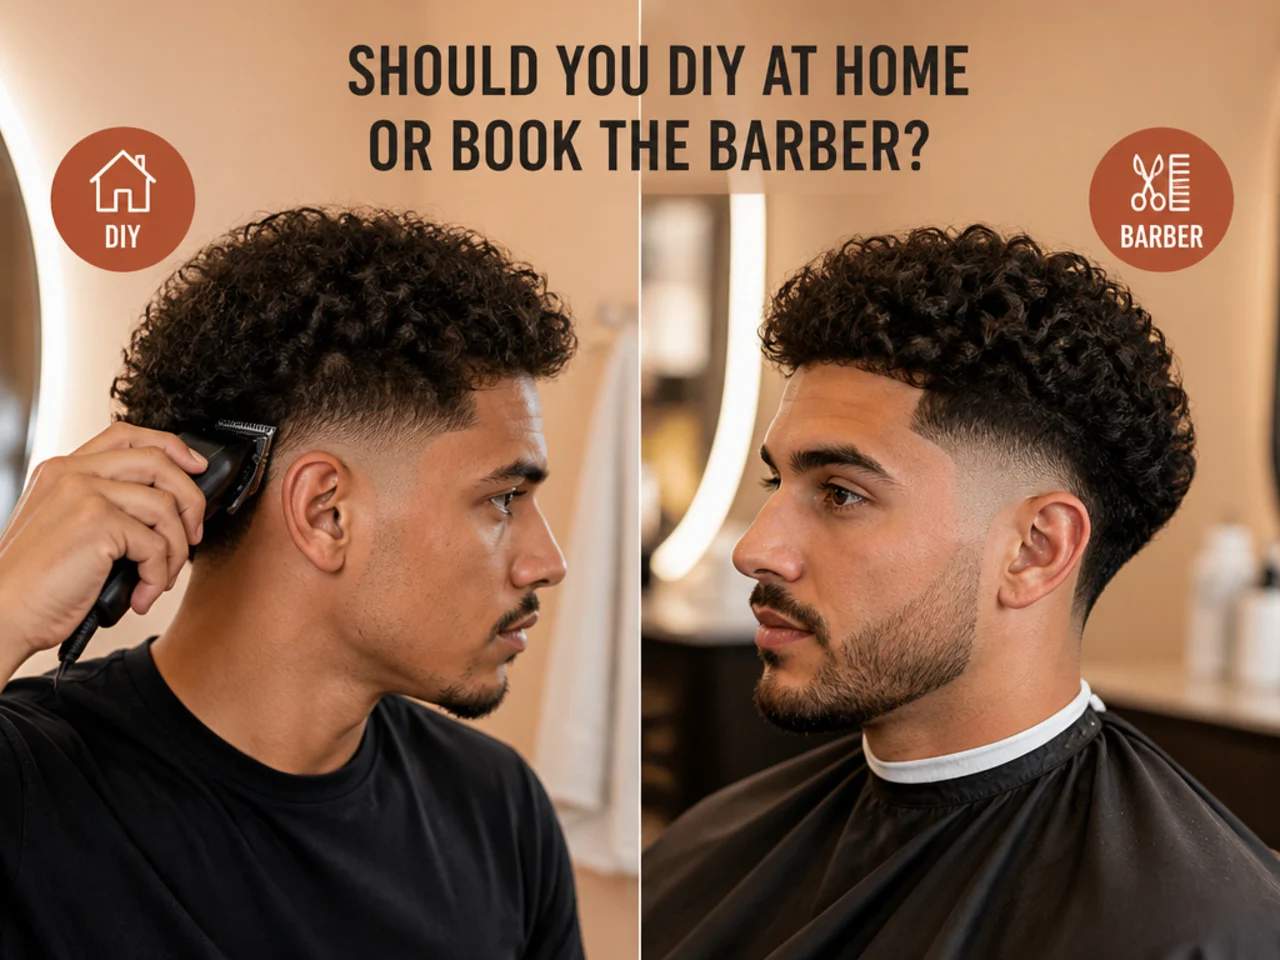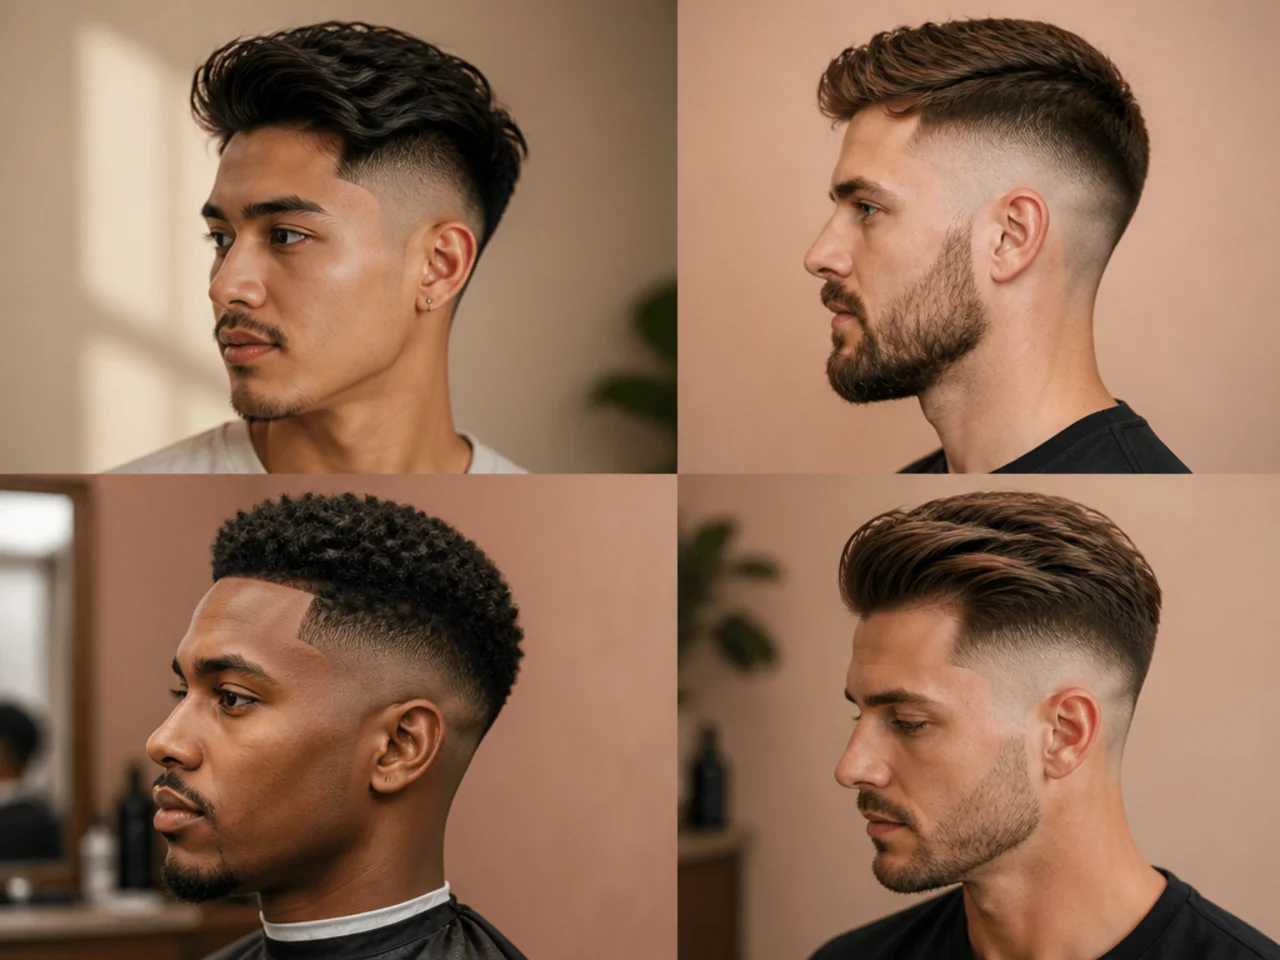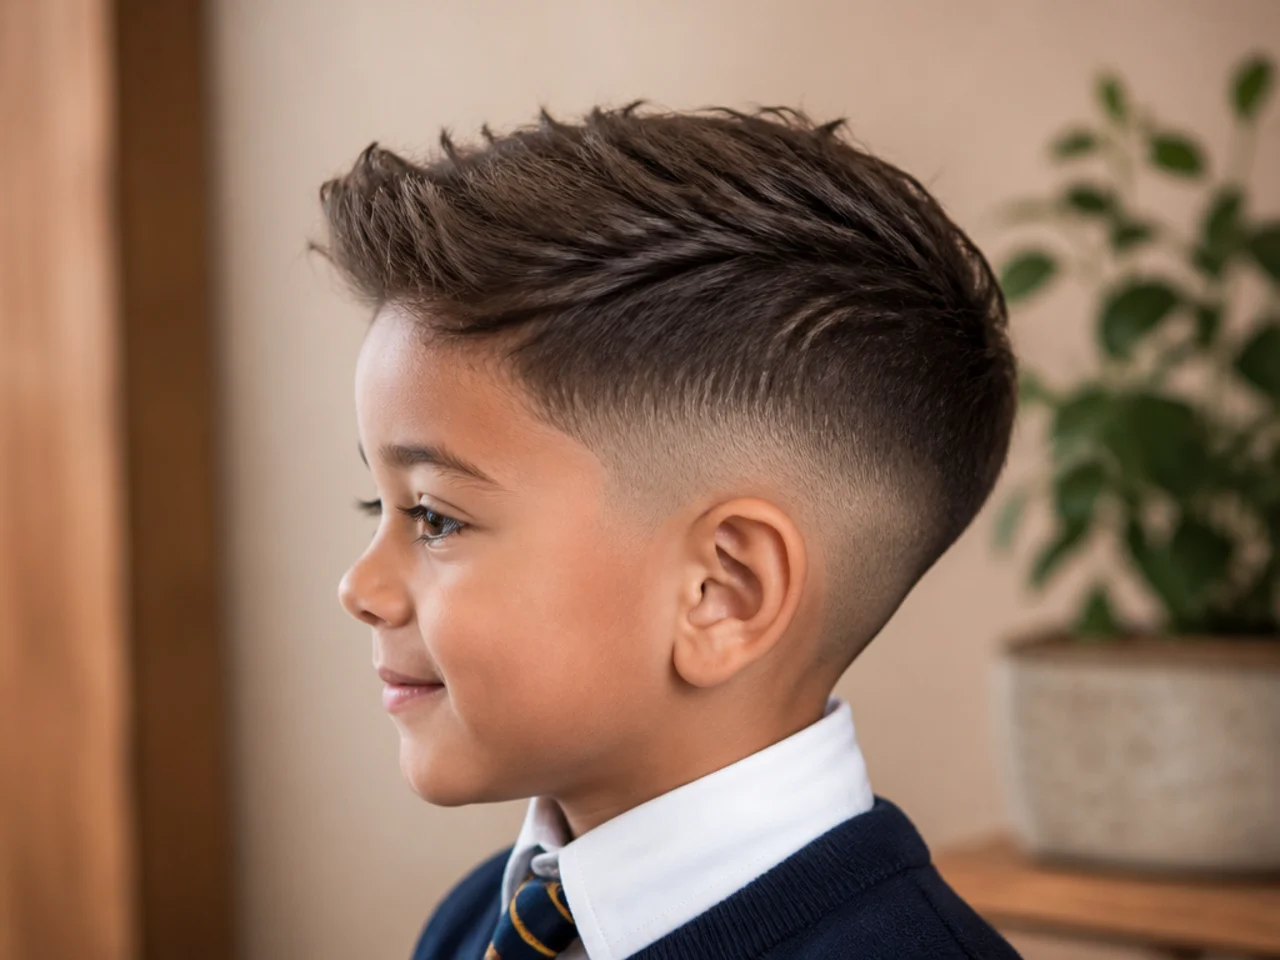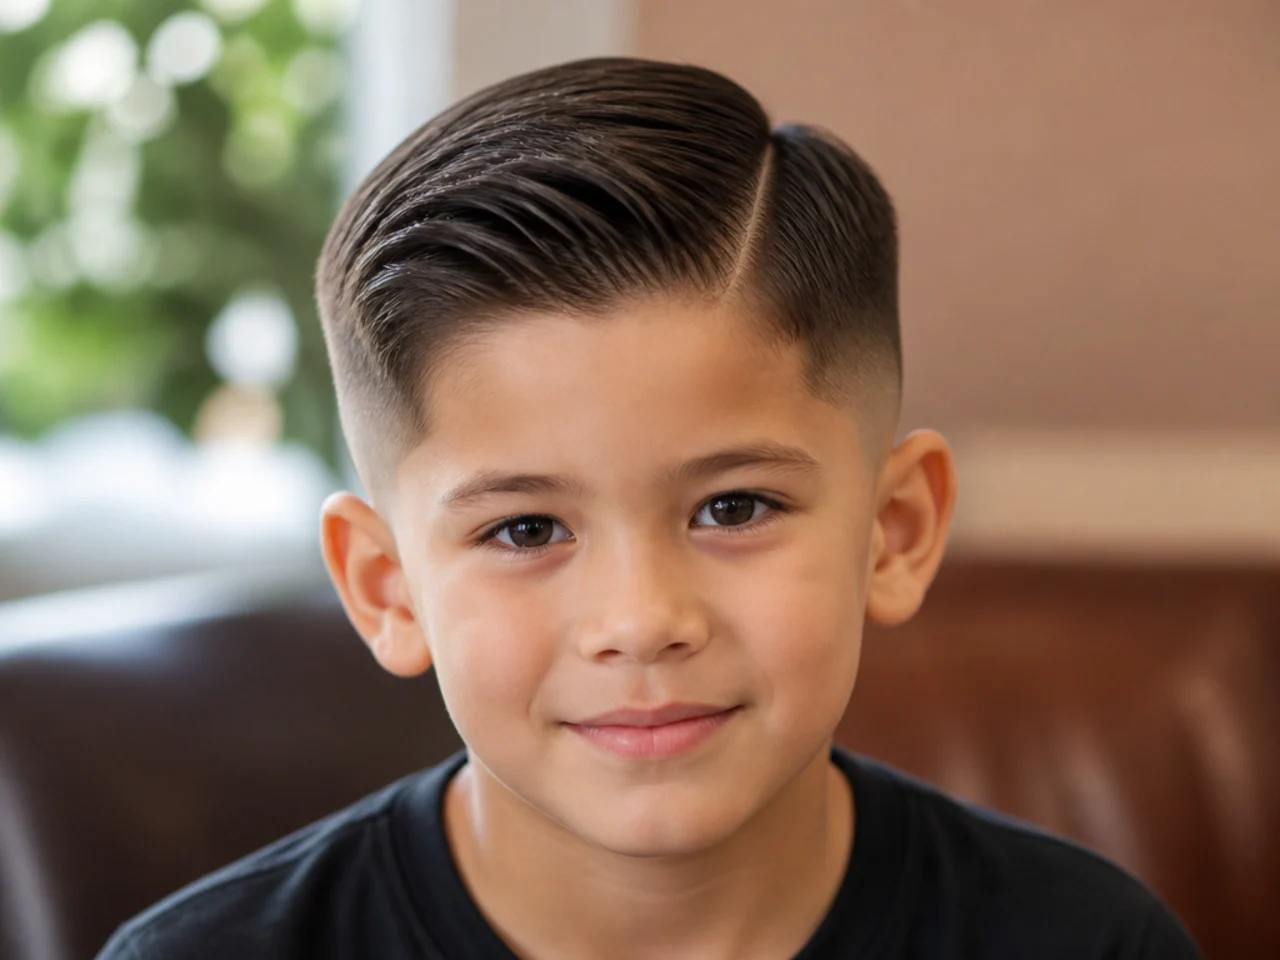
20 Mid Fade Haircut Ideas I Saved for Men
A saved mid fade photo is only worth keeping if you can see where the line starts, and most of them are shot from the front where the ear hides it. These twenty are the ones that survived that test.
In this article · 27
- What Makes a Mid Fade Photo Useful
- How to Choose Yours
- The 20 Mid Fade Ideas I Saved
- 1. Clean Mid Skin Fade, Side View
- 2. Mid Taper With a Textured Top
- 3. Mid Fade With the Line Just Below the Ridge
- 4. Mid Fade With the Line Just Above the Temple
- 5. Mid Fade on Tight Coils
- 6. Mid Fade on Straight Fine Hair
- 7. Mid Fade With a Beard Connected
- 8. Mid Fade With a Deliberate Beard Gap
- 9. Mid Fade Comb Over With a Visible Part
- 10. Mid Fade With 360 Waves
- 11. Mid Fade With a Hard Part
- 12. Mid Drop Fade From Behind
- 13. Mid Burst Fade at Three-Quarter Angle
- 14. Mid Fade With a Design in the Panel
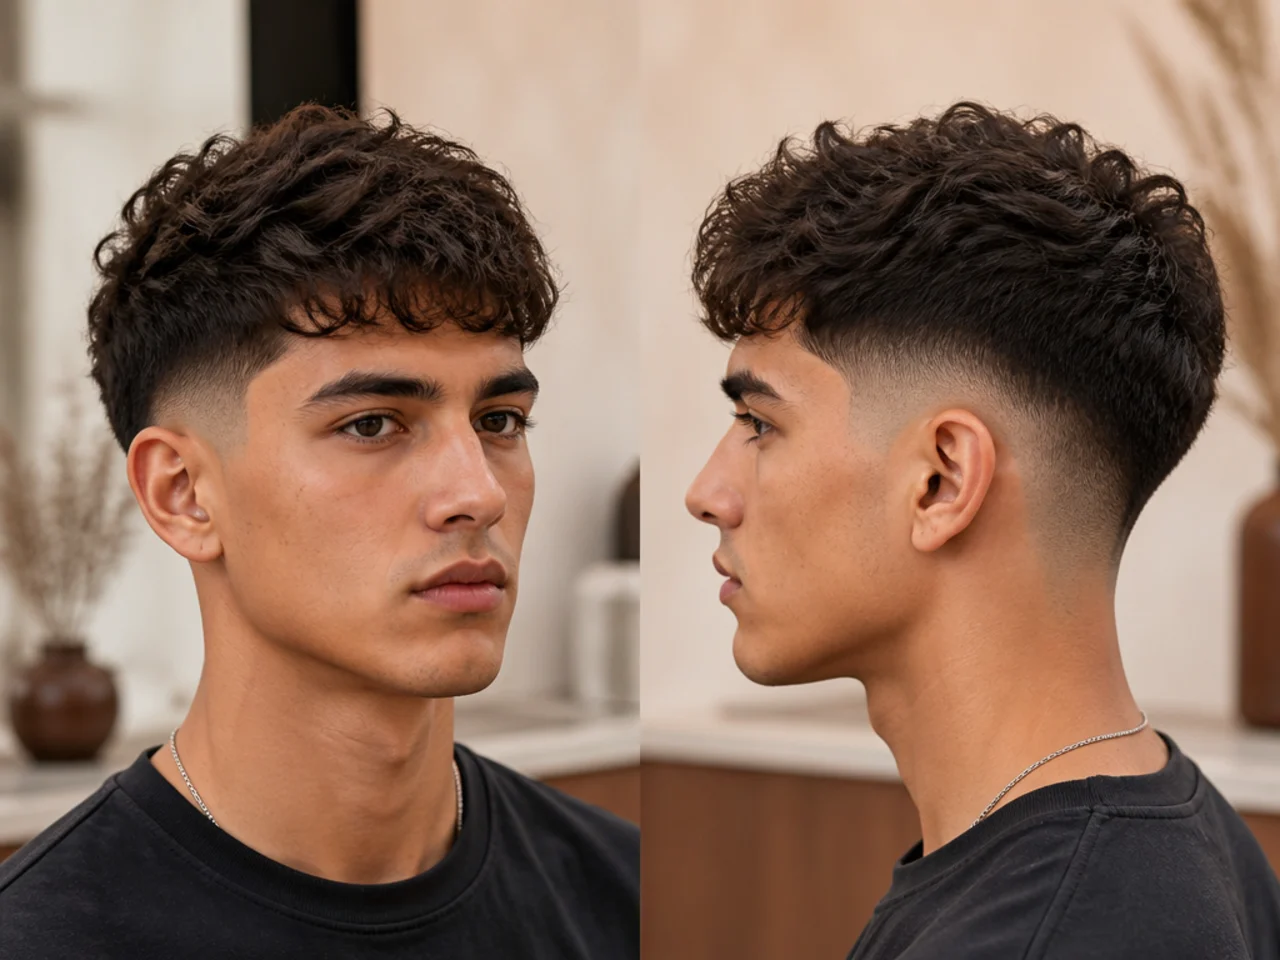
- 15. Mid Fade With a Curly Top
- 16. Mid Fade Buzz Cut
- 17. Mid Fade With a Long Top
- 18. Mid Fade at Week Two
- 19. Mid Fade Shot From Above
- 20. The Photo of My Own Head
- Styling and Upkeep
- Mistakes to Avoid
- FAQ
- Final Thoughts
I have a folder of saved mid fades, and most of the photos in it were useless until I worked out what I was actually looking for.
A mid fade is a start height, and a front-facing photo hides it. The band between the temple and the parietal ridge sits behind the cheekbone from the front, so a straight-on shot proves nothing.
The photos worth keeping show the side of the head at eye level. These twenty all passed that test, and each one is here for something specific it shows.
What Makes a Mid Fade Photo Useful
The line lives on the side of the head. Between the temple and the parietal ridge, which the front view does not show.
Eye level is the right camera height. Shot from above, every fade looks higher than it is.
Hair type changes what the same fade looks like. Dense straight hair and tight coils over an identical line read as two different cuts.
A grown-out photo is more honest than a fresh one. Week one flatters everything.
How to Choose Yours
Save the side view, delete the front one. However good the cut looks head-on, it carries no information you can use.
Check the model's hair type against your own. A photo you cannot physically reproduce is a source of disappointment, not direction.
Look for the top of the blend, not the bottom. Everything fades to skin or a #1, and the start point is what differs.
Keep one photo per idea. A folder of forty is a folder you will not use in the chair.
The 20 Mid Fade Ideas I Saved
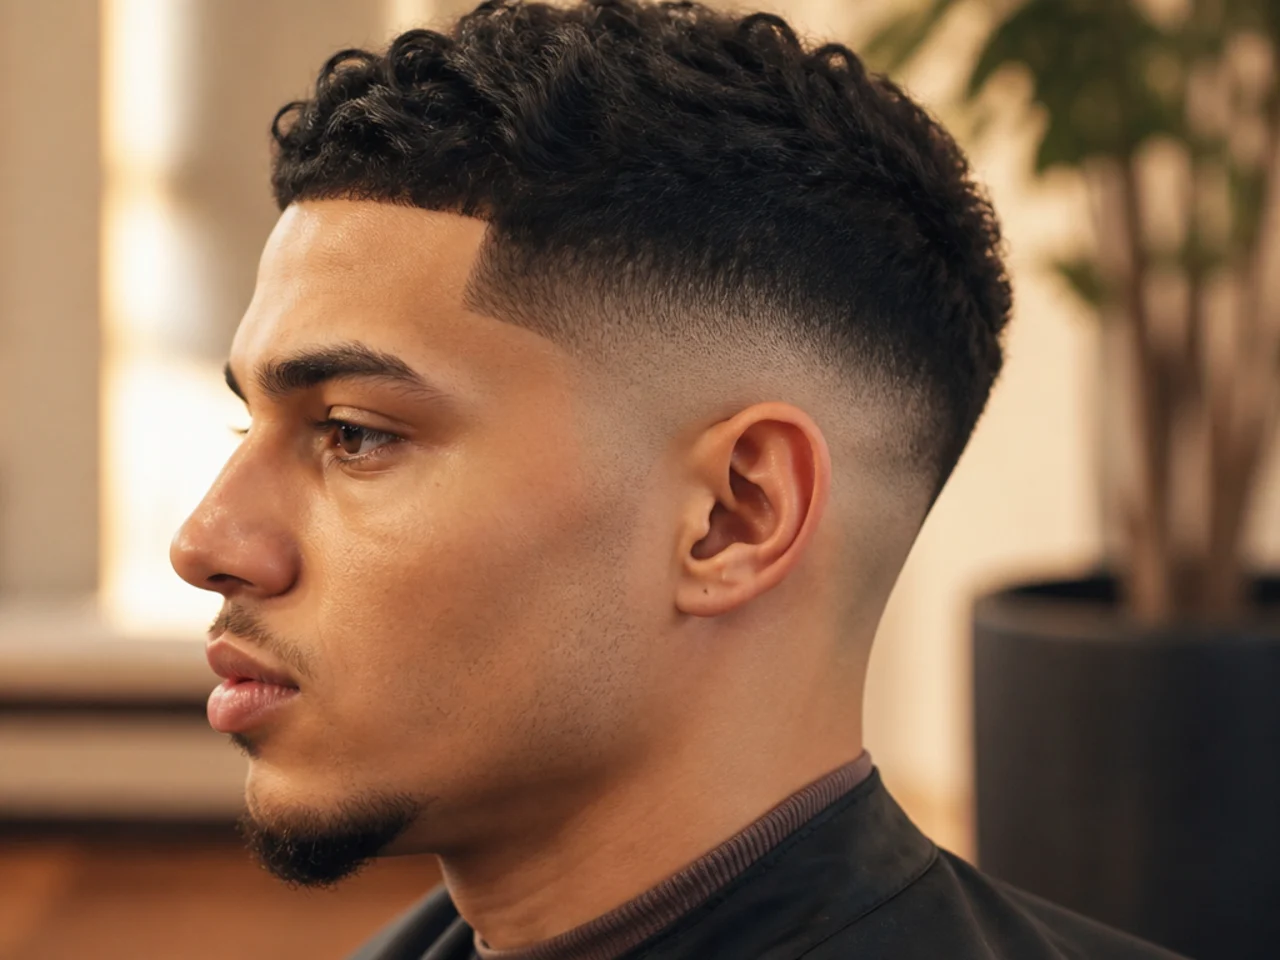
1. Clean Mid Skin Fade, Side View
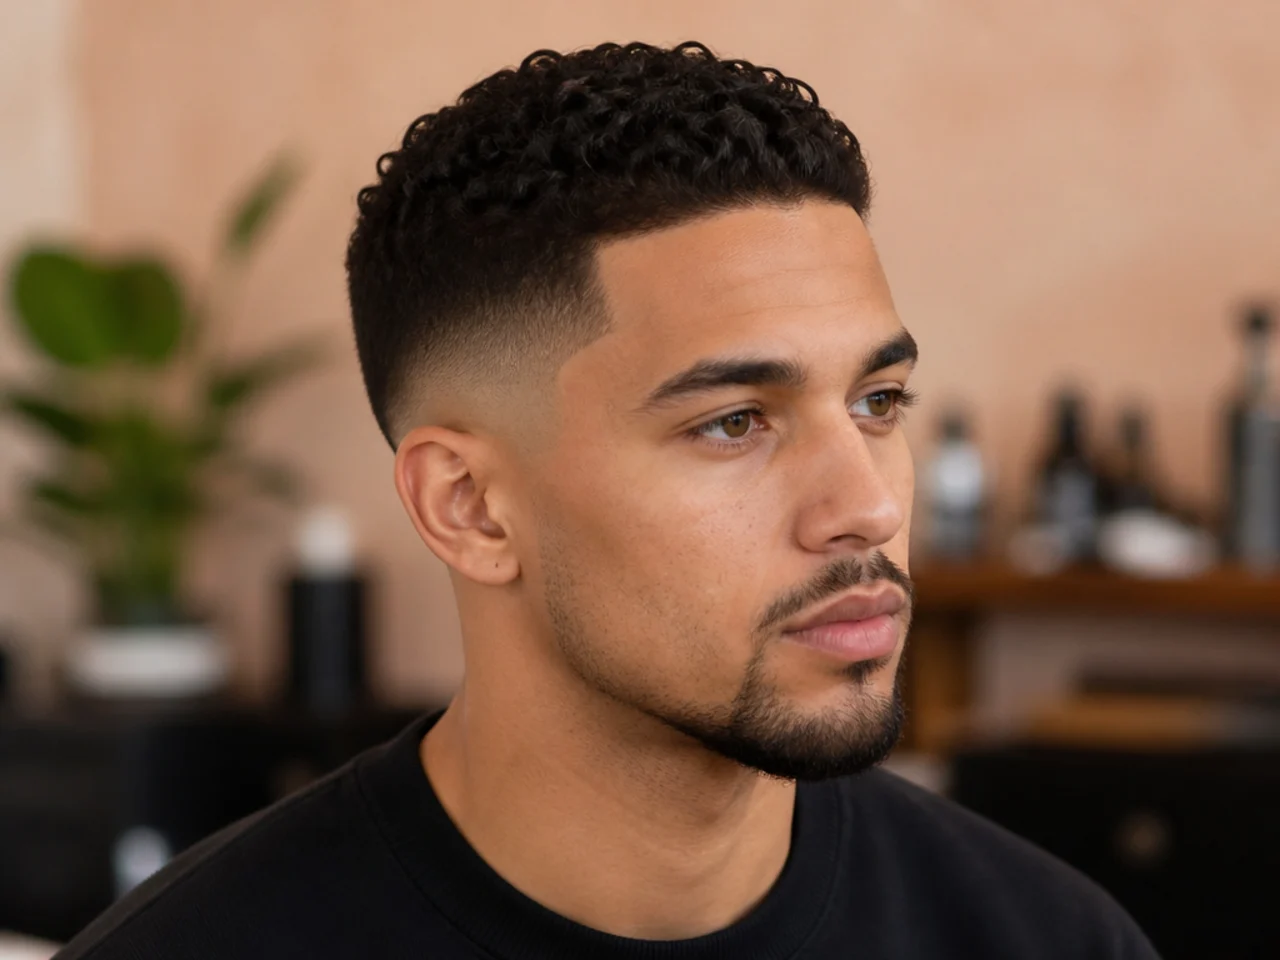
The plainest one in the folder and the most useful. Shot square from the side, so the line's exact position relative to the ear is unmistakable.
2. Mid Taper With a Textured Top
Saved for the top, not the fade. It shows how far a point-cut section overhangs the blend, which is the detail that softens the whole cut.
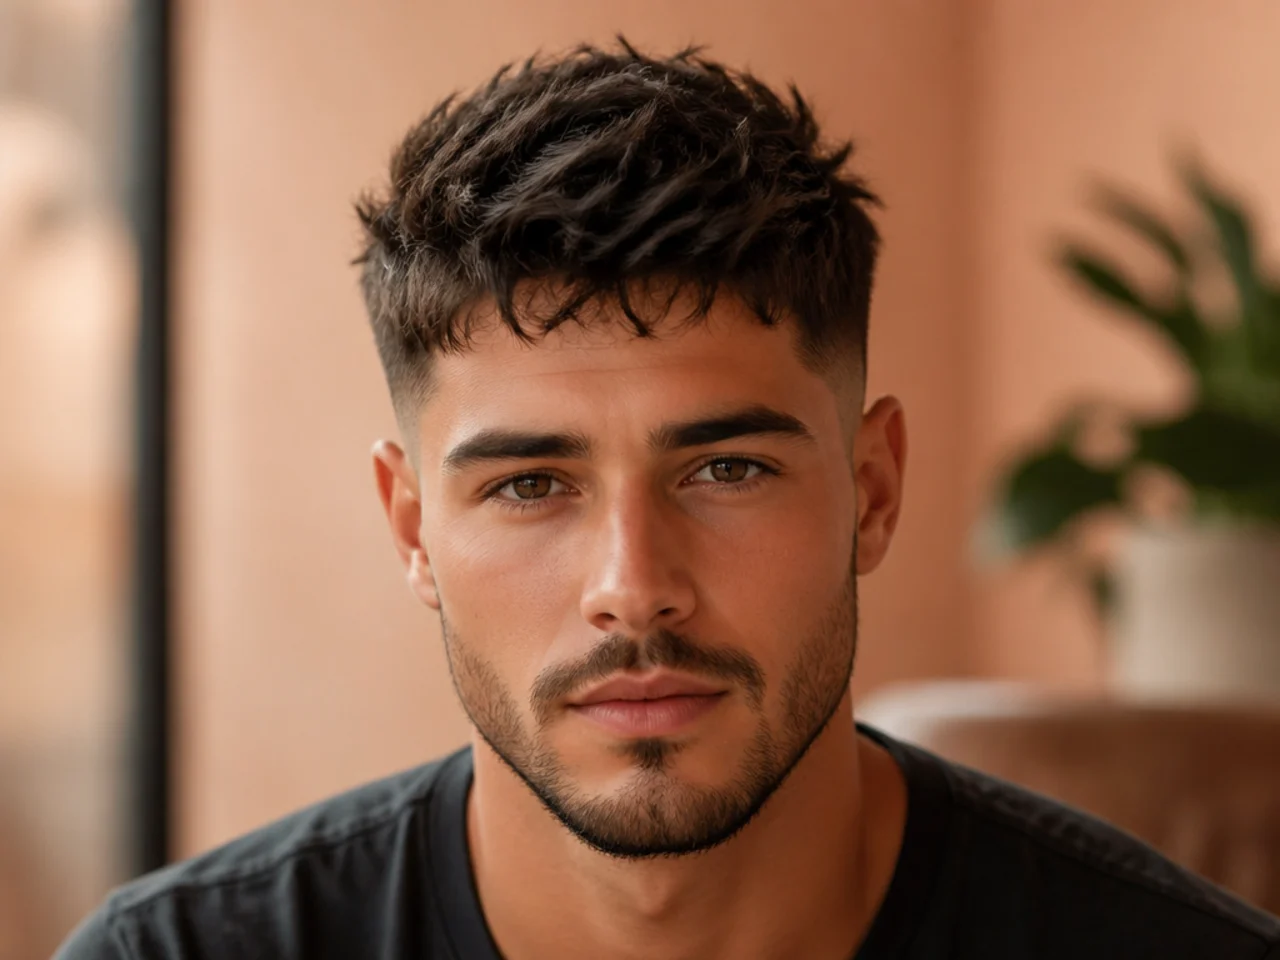
3. Mid Fade With the Line Just Below the Ridge
The height I ended up asking for. Two centimetres under the widest point of the skull, which is as high as mid goes before it starts reading as high.
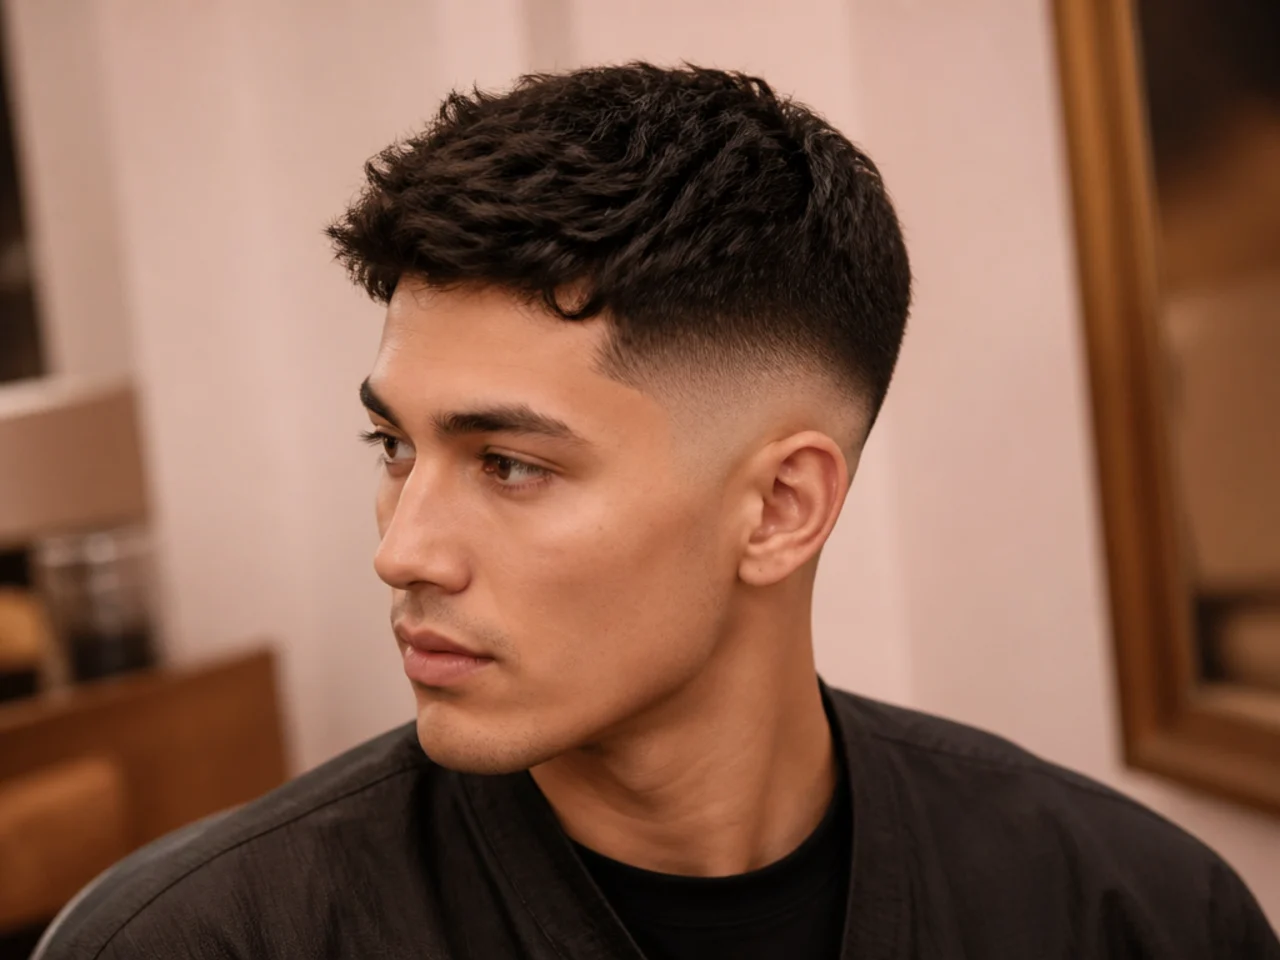
4. Mid Fade With the Line Just Above the Temple
The low end of the same band. Worth saving as a comparison, because seeing both extremes is what makes the middle a real choice.
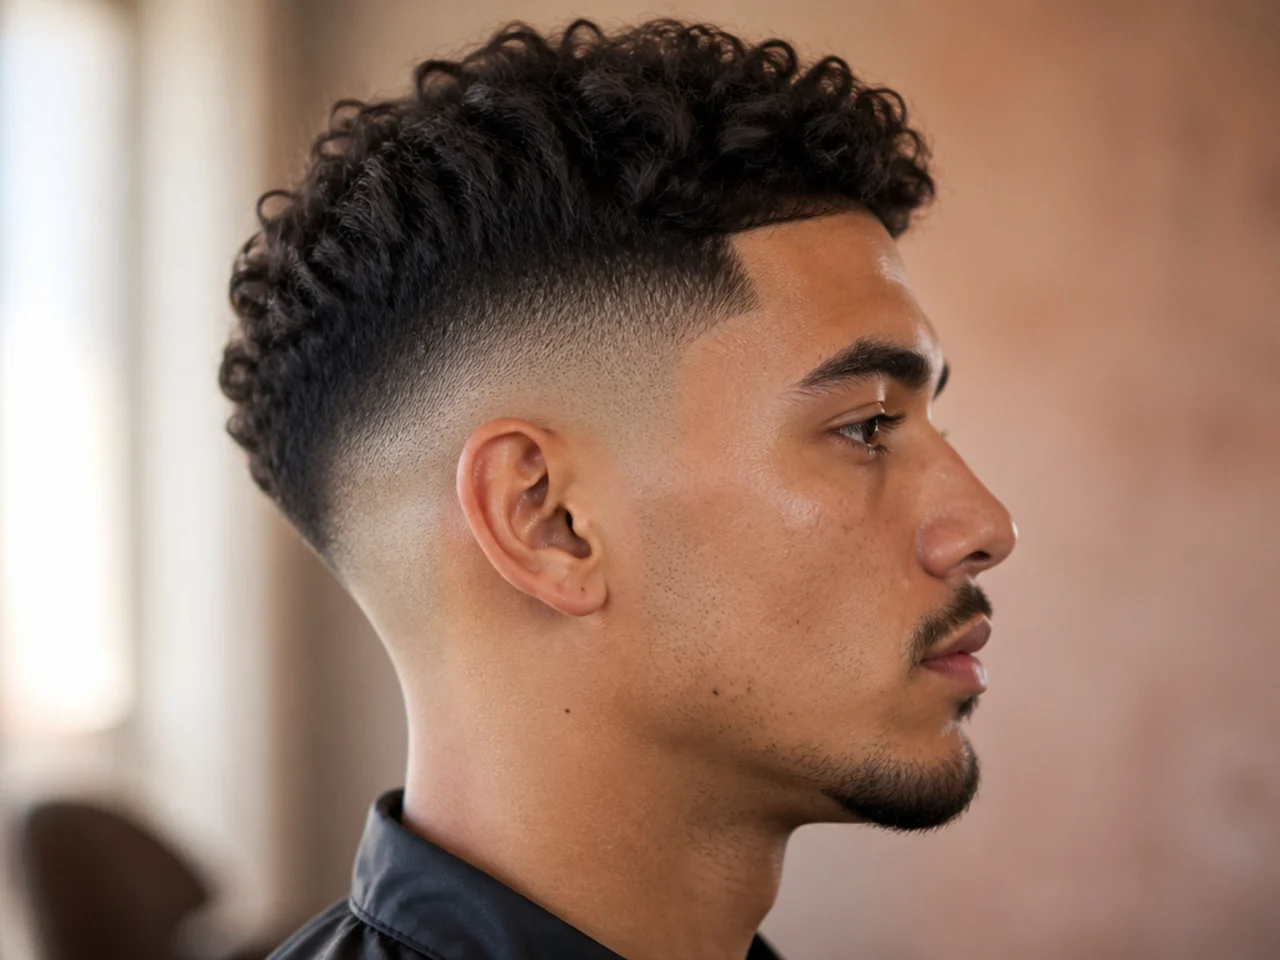
5. Mid Fade on Tight Coils
Same line, entirely different look. Coiled hair shrinks up to half as it dries, so the top in this photo was cut far longer than it appears.
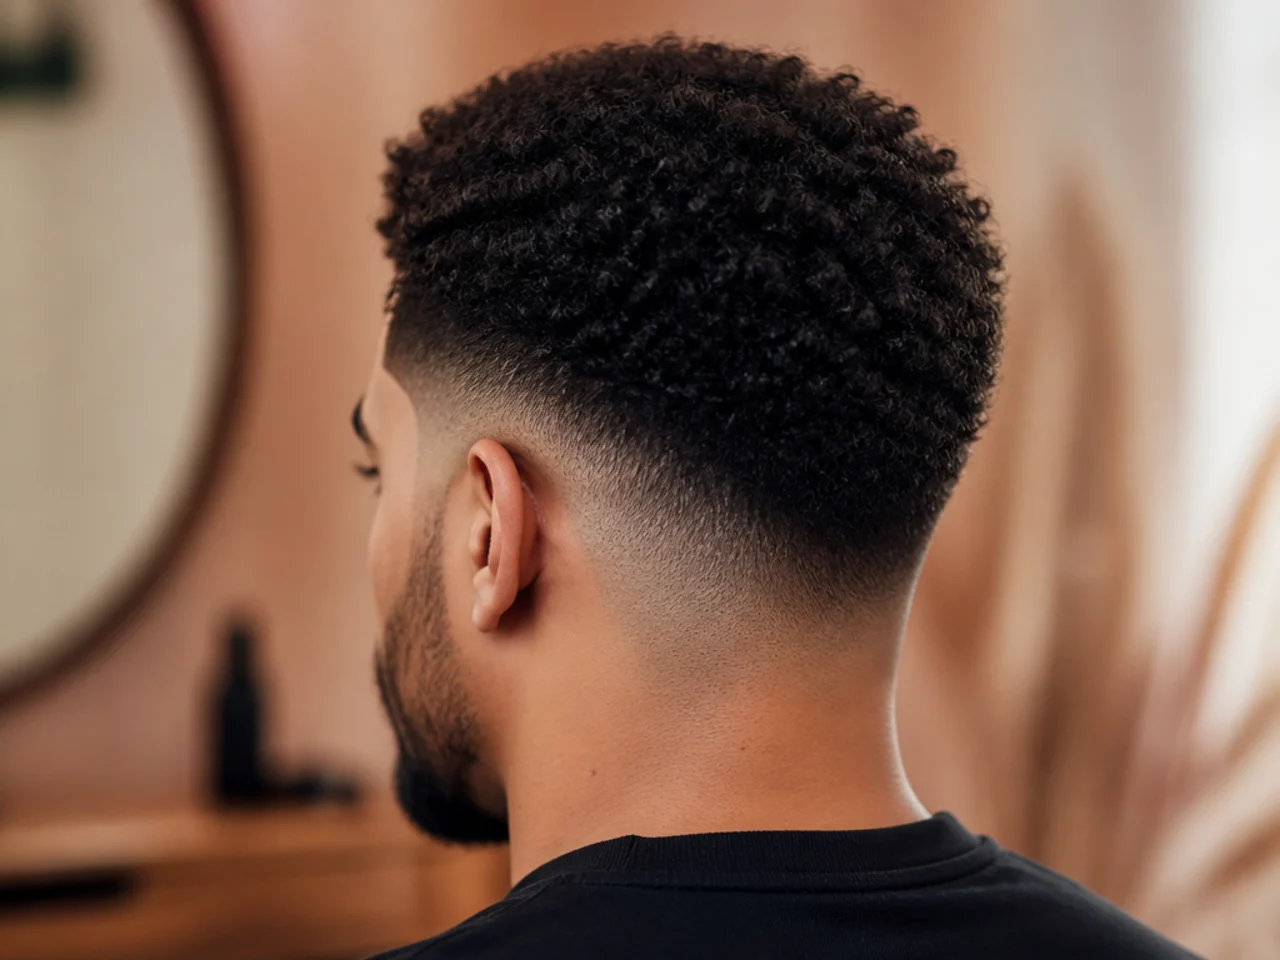
6. Mid Fade on Straight Fine Hair
Saved as a warning. Fine hair over a skin finish shows scalp through the top as well as the sides, which the photo makes clear at full size.
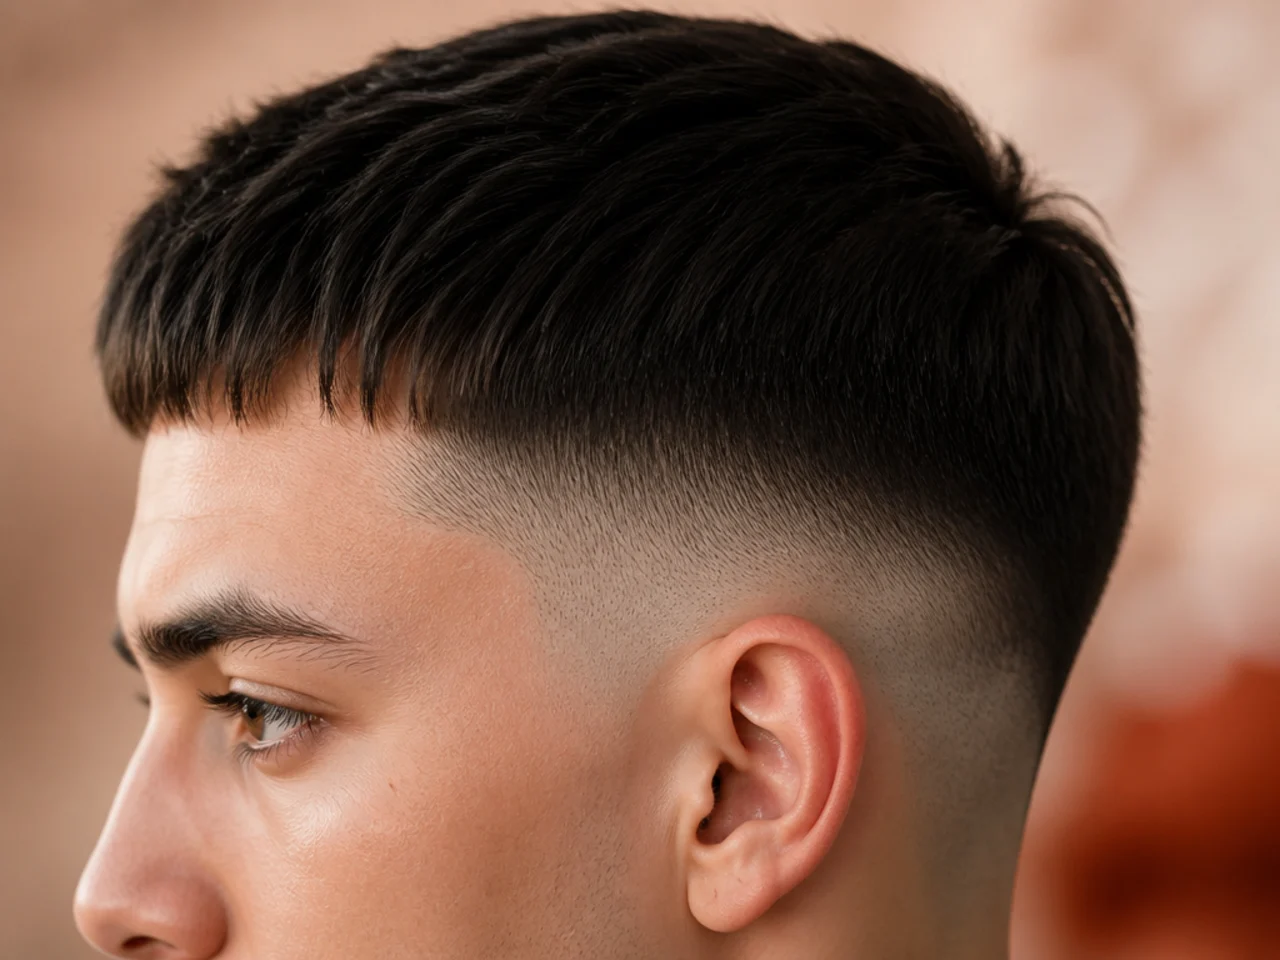
7. Mid Fade With a Beard Connected
The gradient carrying down into the sideburn. About four centimetres of side panel doing the work, which is the whole reason mid connects better than low or high.
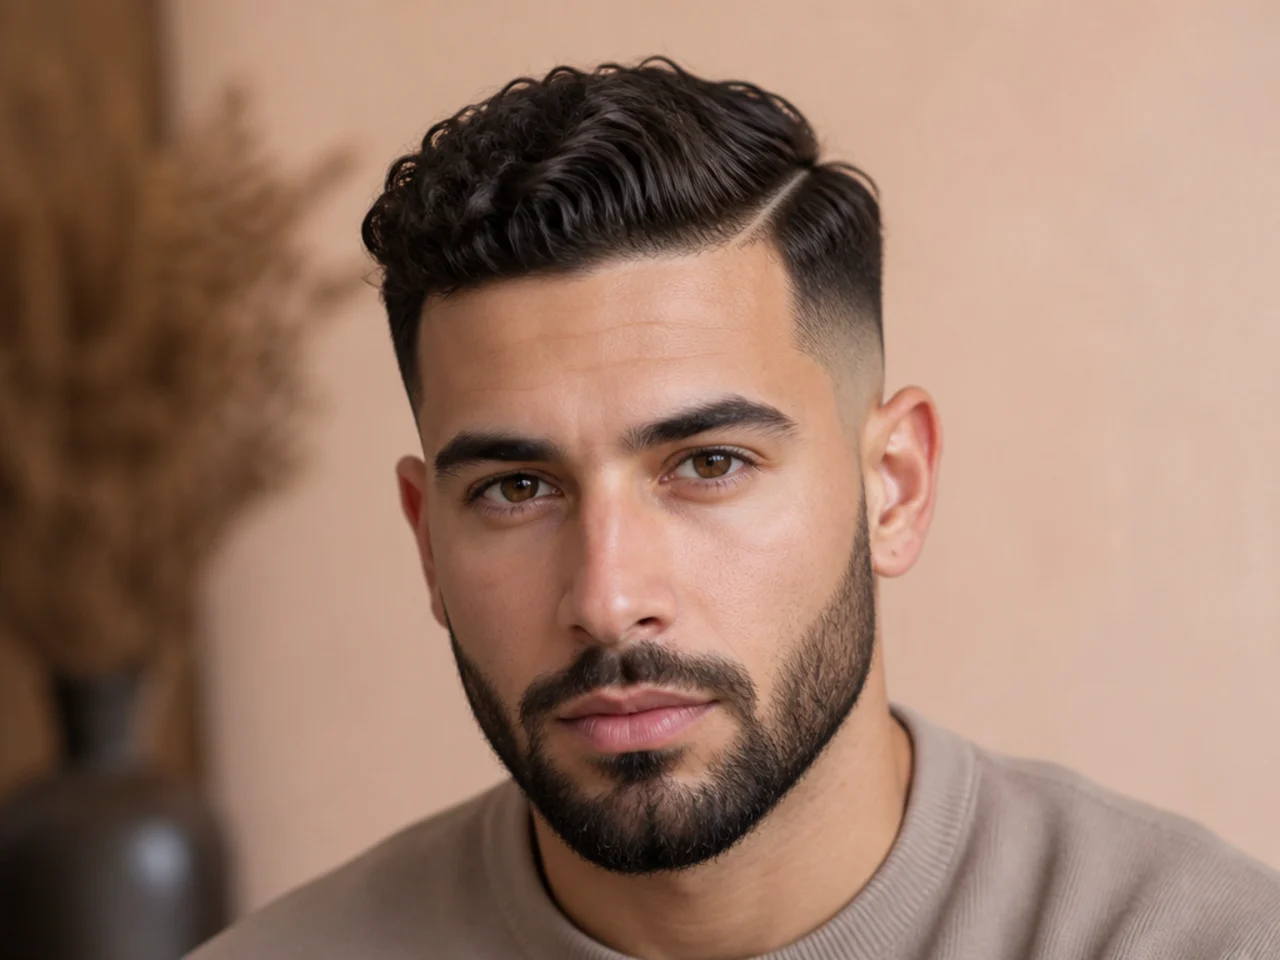
8. Mid Fade With a Deliberate Beard Gap
The opposite decision, cleanly executed. The gap is wide enough to read as a choice, which is the only version of a gap that works.
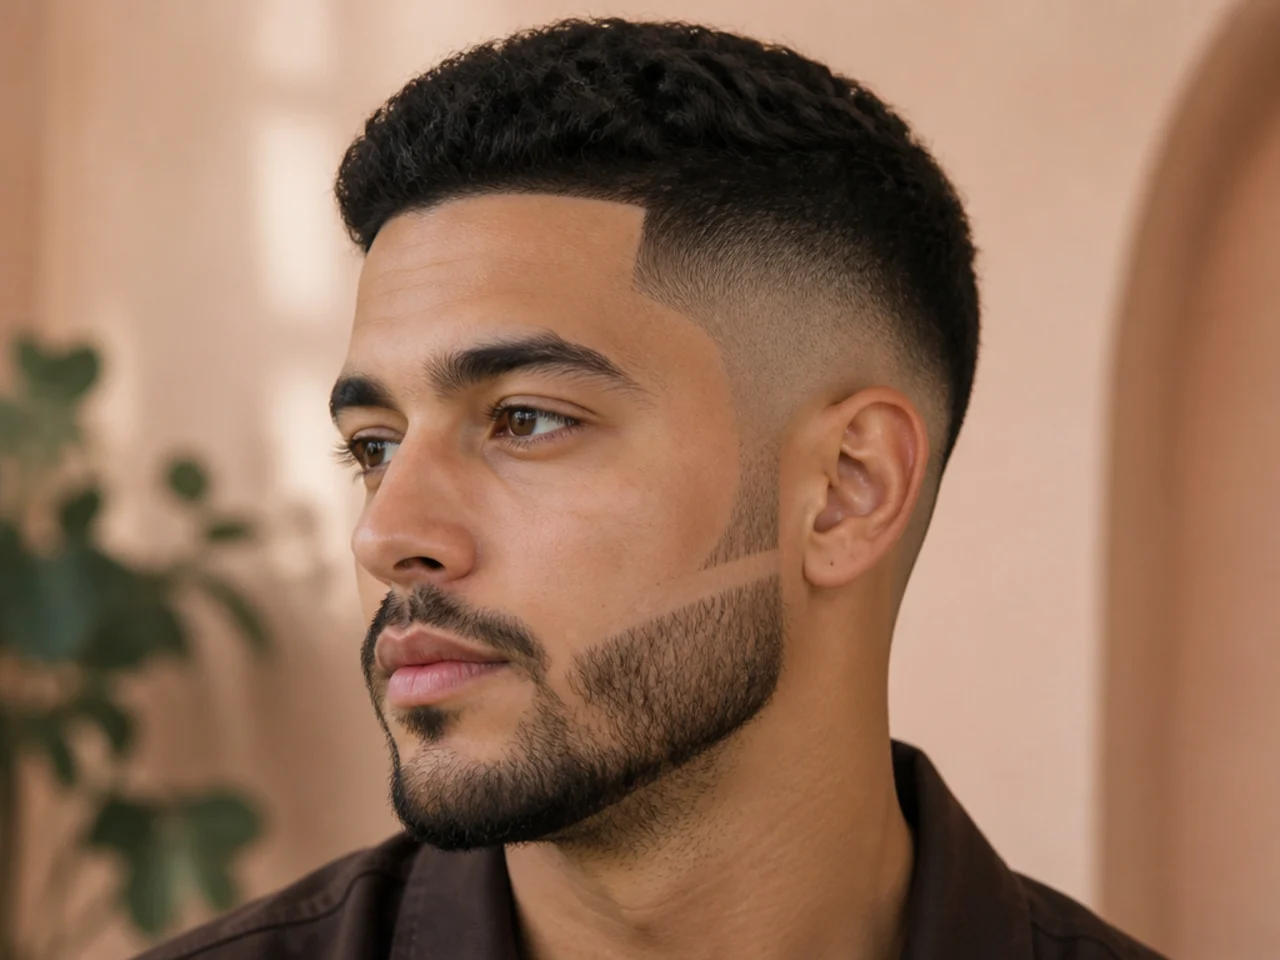
9. Mid Fade Comb Over With a Visible Part
Saved because you can see the unfaded centimetre under the part line. That margin is what stops a comb over disappearing into the blend.
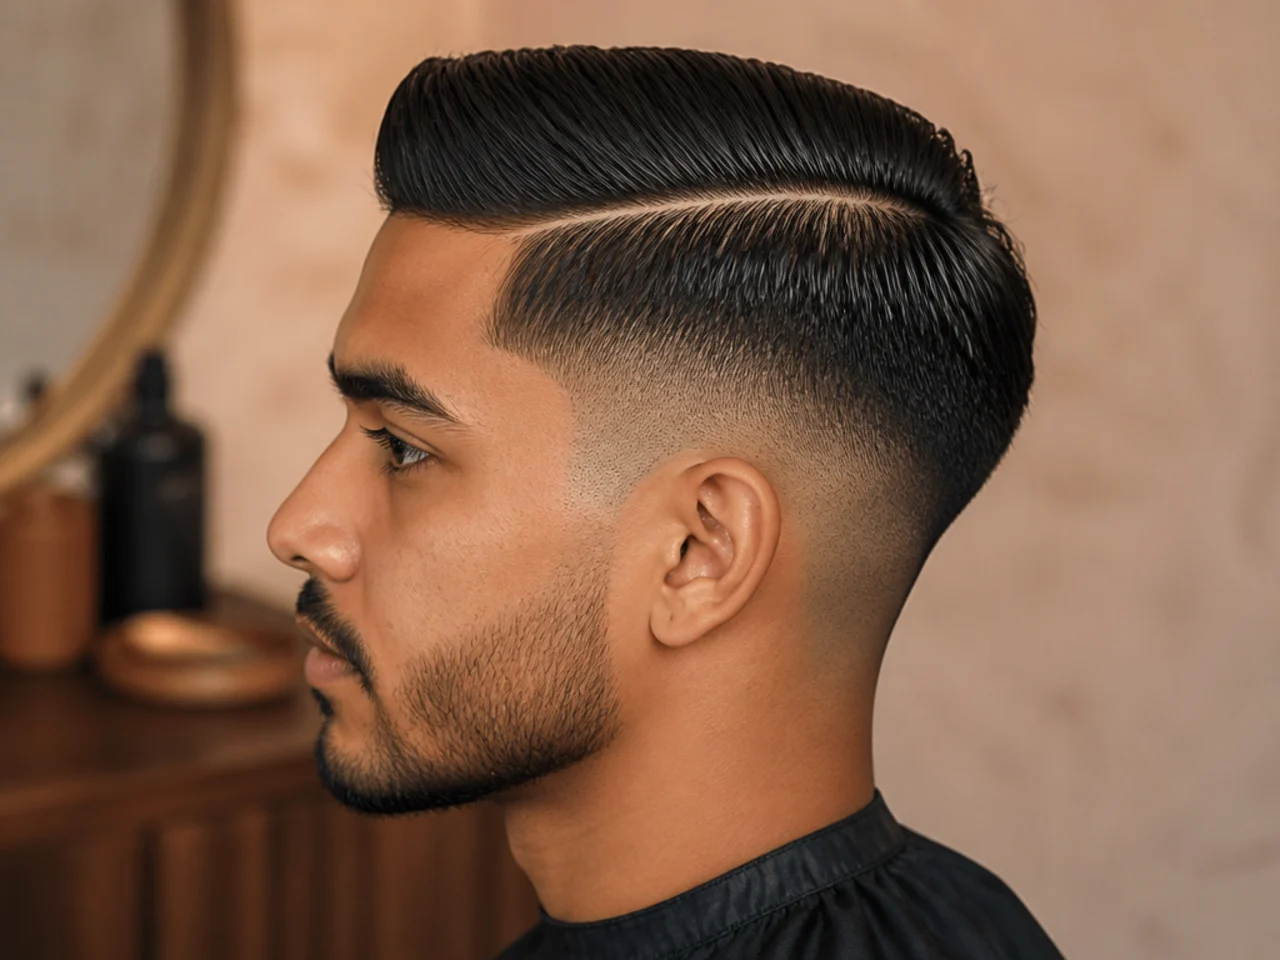
10. Mid Fade With 360 Waves
The wave field ending at the line rather than being chopped by it, the same test applied throughout low fade haircut ideas with waves. It shows the blend starting at 3mm, which is what keeps the last row intact.
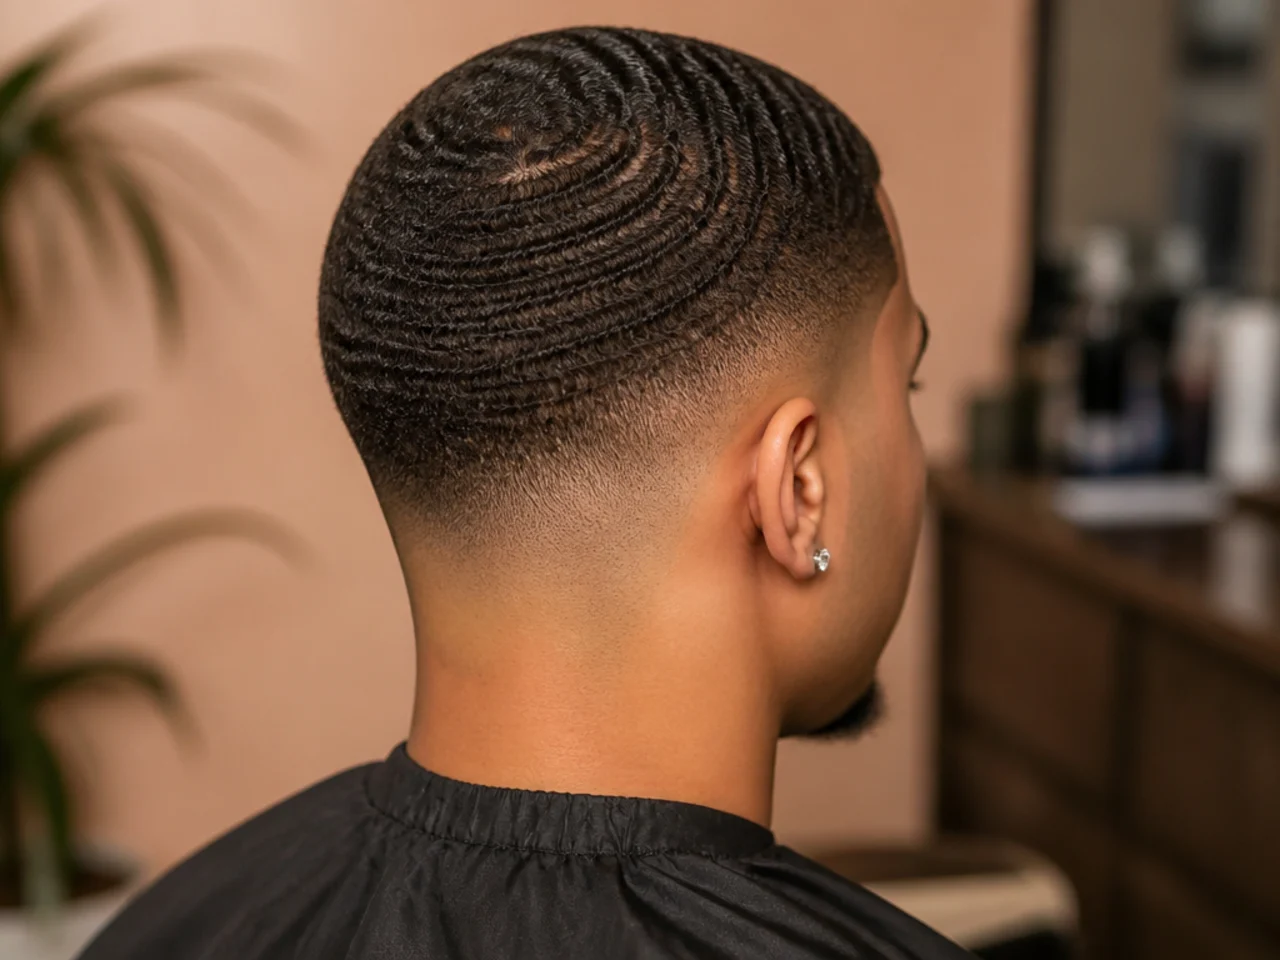
11. Mid Fade With a Hard Part
One vertical crossing two horizontals. Saved for the proportion, since the part in this photo is about six centimetres long and no longer.
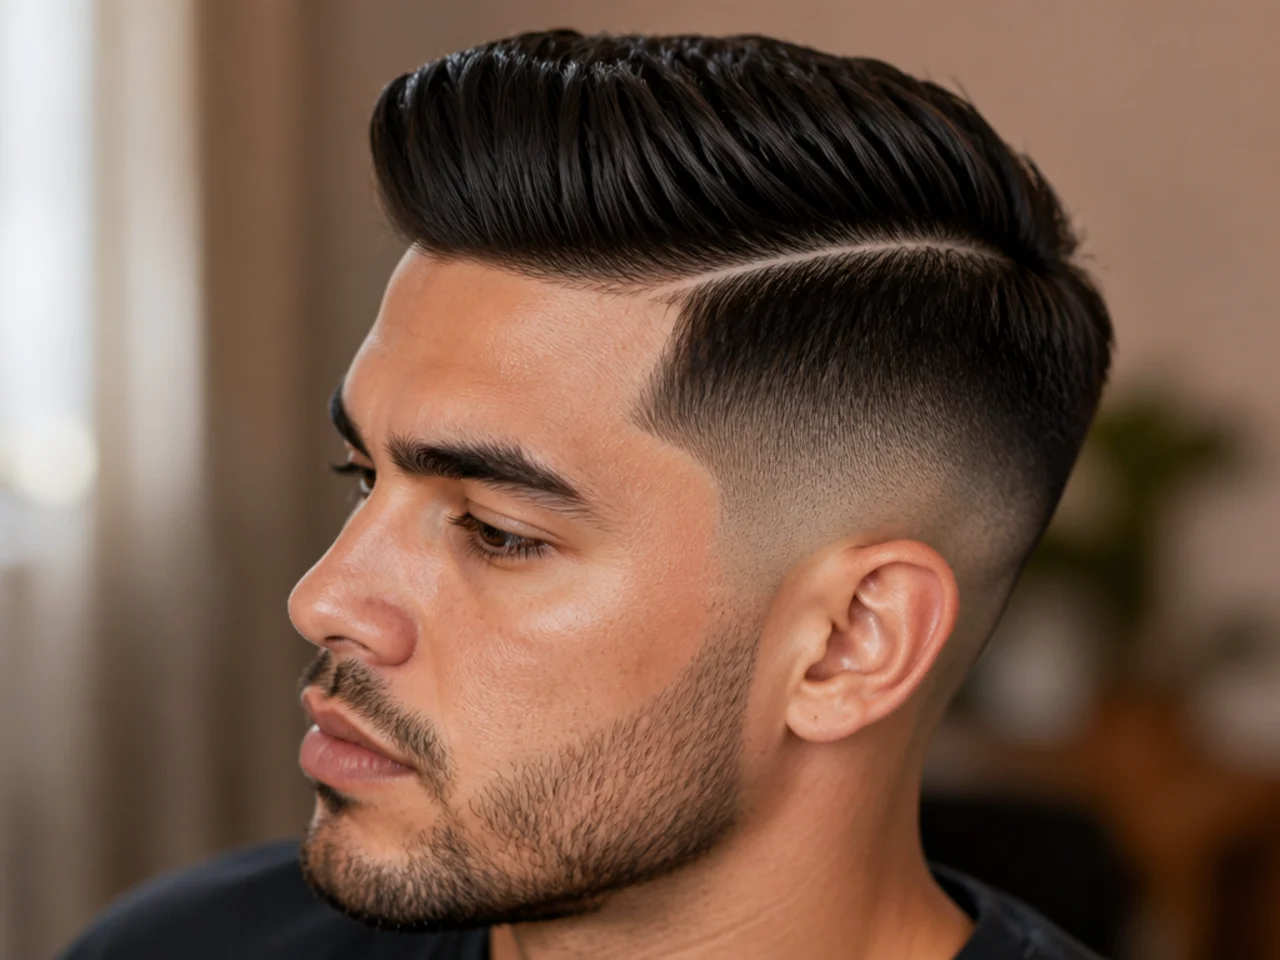
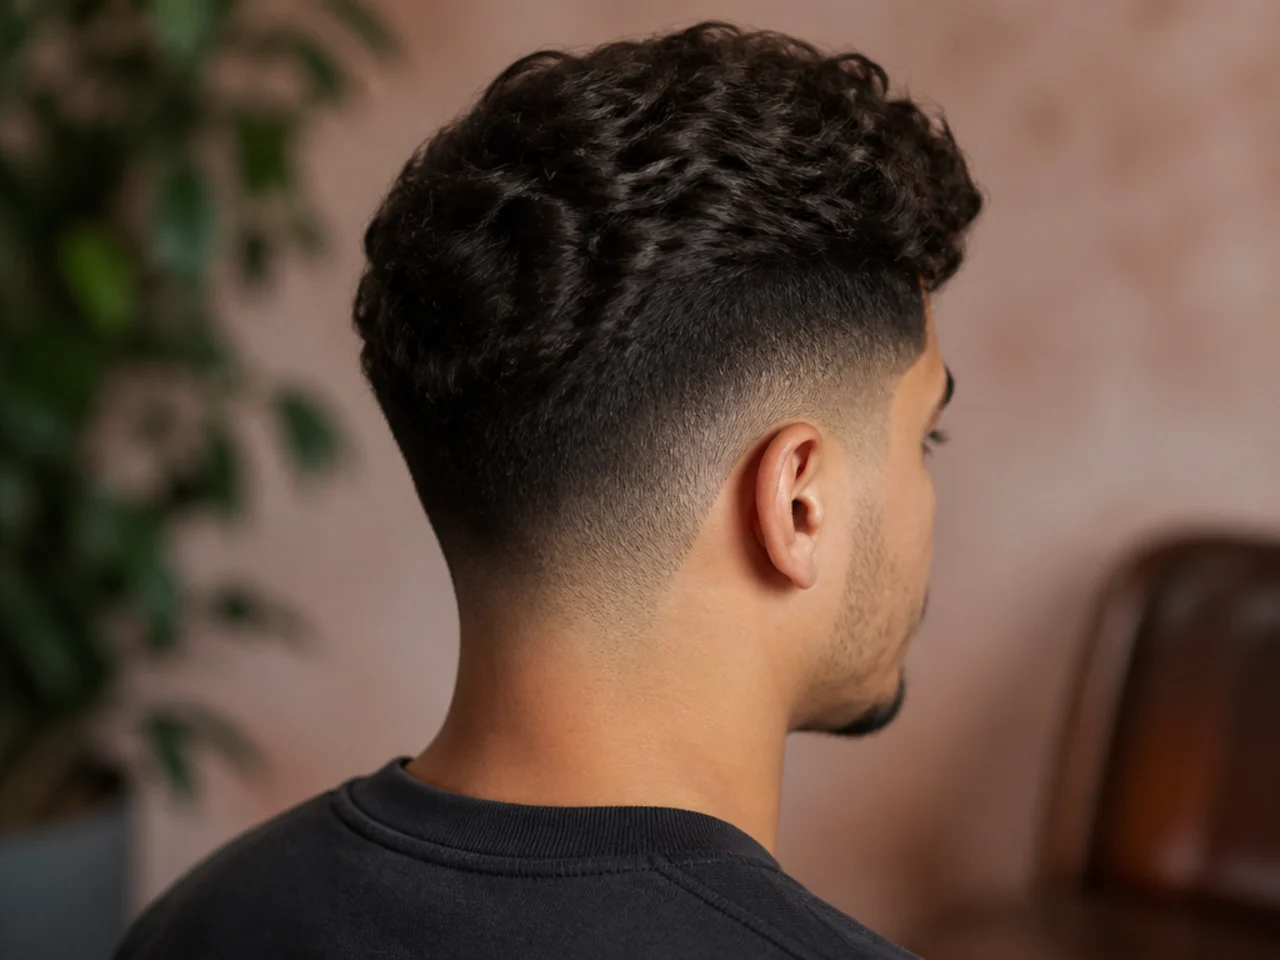
12. Mid Drop Fade From Behind
A rare back view. It shows what a dropped line actually does at the nape, which no side photo can. From behind, the line sits two or three centimetres lower at the centre than it does at either ear, and that dip is the entire variation.
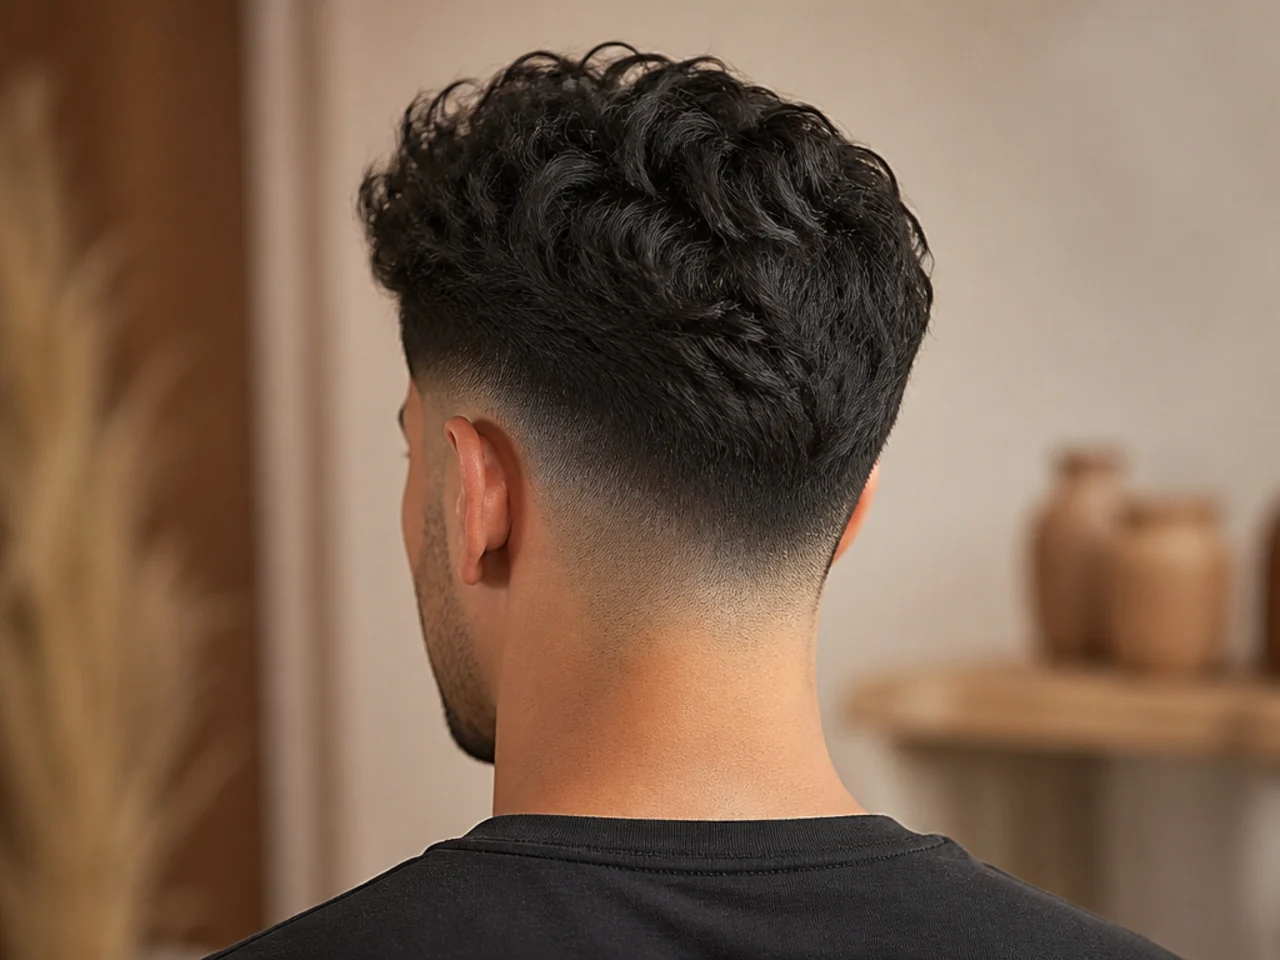
13. Mid Burst Fade at Three-Quarter Angle
The fade curving up and around the ear while the back keeps every centimetre it had. Three-quarter is the only angle where a burst reads correctly, which is why the folder has just one.
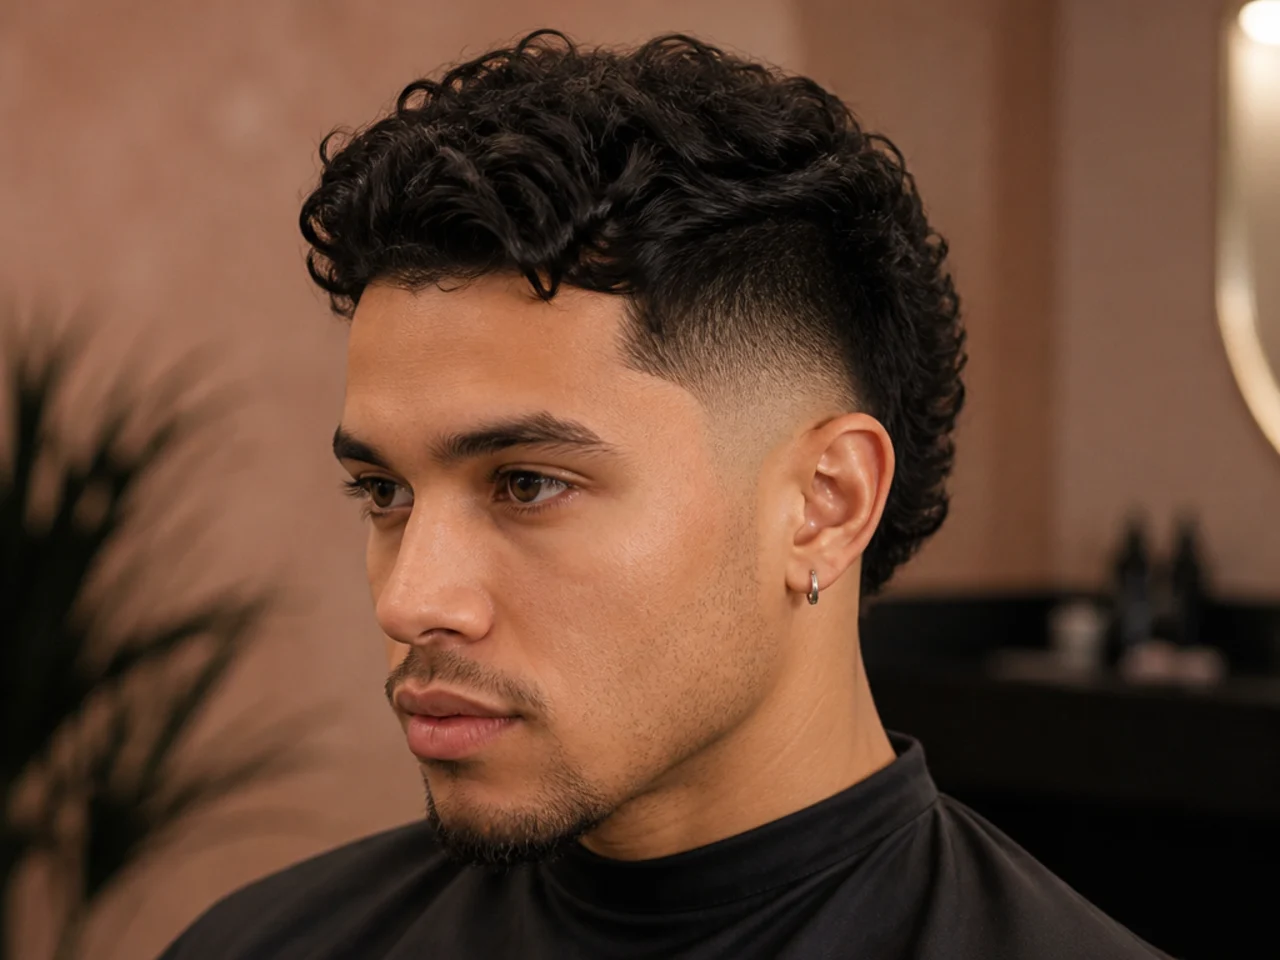
14. Mid Fade With a Design in the Panel
A single line in the strip between the ear and the ridge. Saved to show how small a design has to be to fit that space.
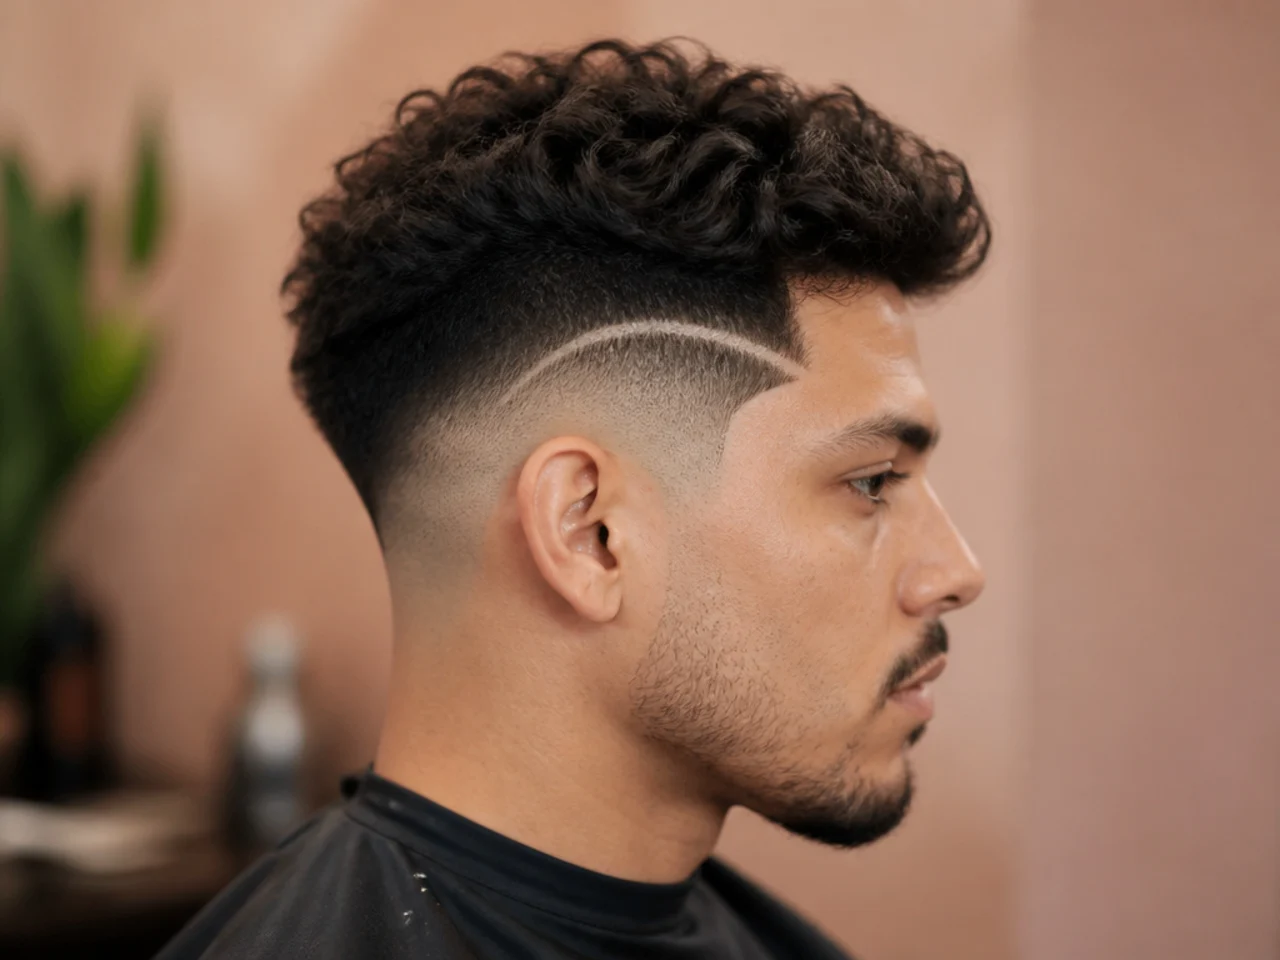
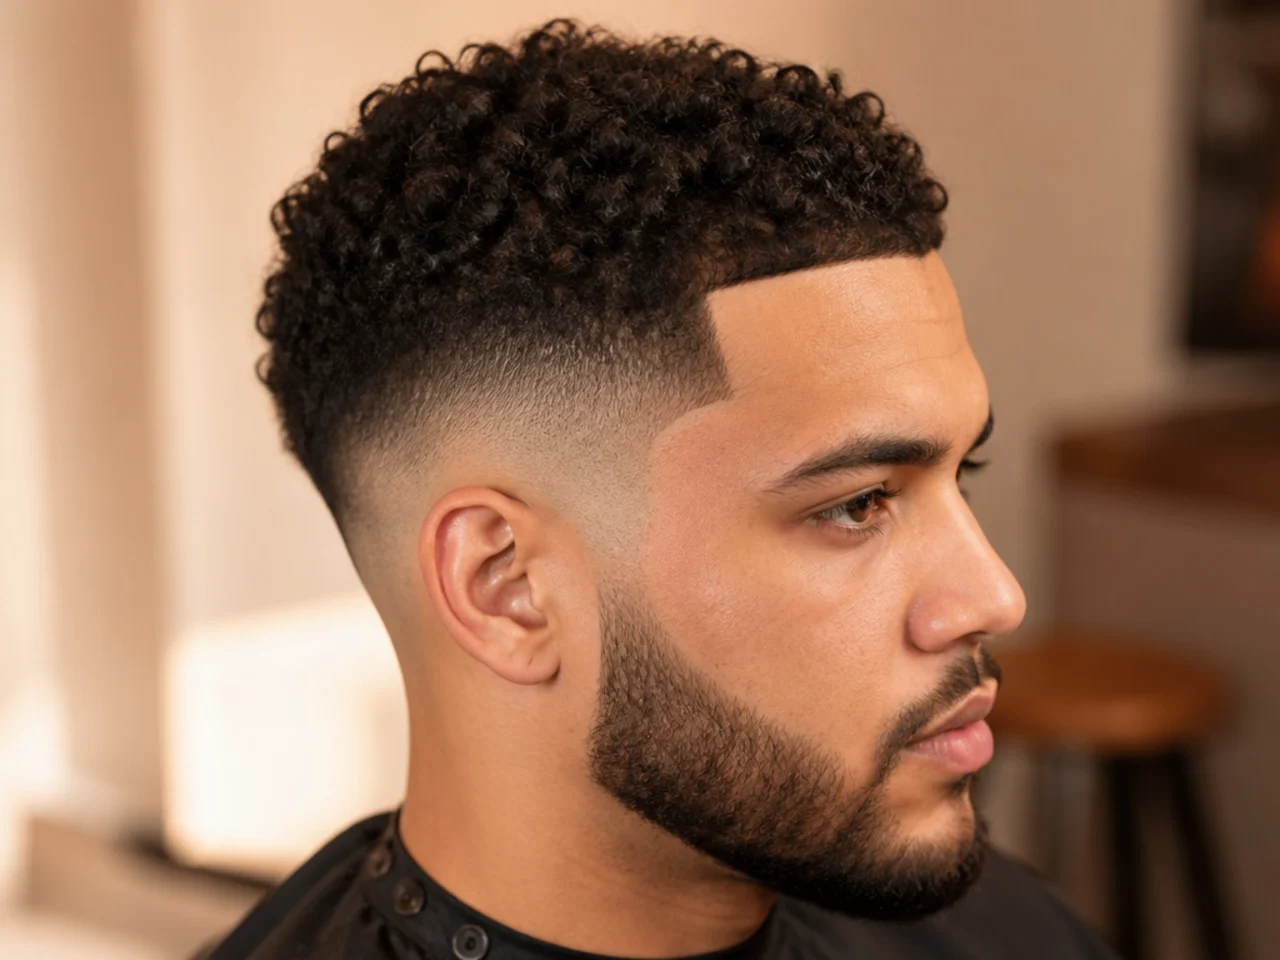
15. Mid Fade With a Curly Top
Curl mass sitting above the blend rather than spilling over it, worth comparing against a low fade on curly hair. It shows the fade cutting in below the parietal ridge, which is what keeps the shape from going triangular.
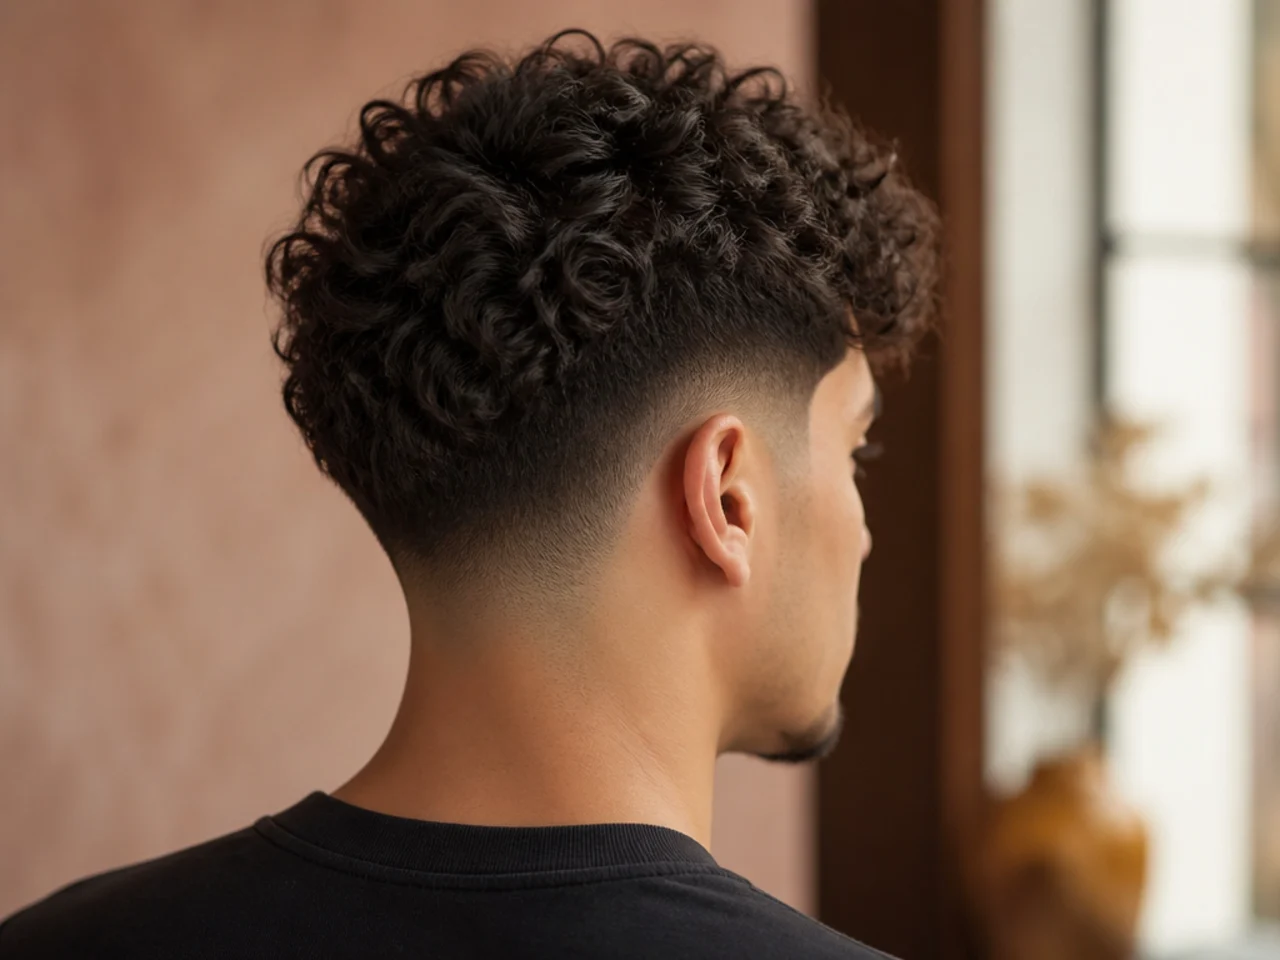
16. Mid Fade Buzz Cut
A #2 top over a mid line, which is where these buzz cuts sorted by face shape are a better reference than any fade folder. With nothing on top to look at, this photo is a pure test of whether the height suits the head shape.
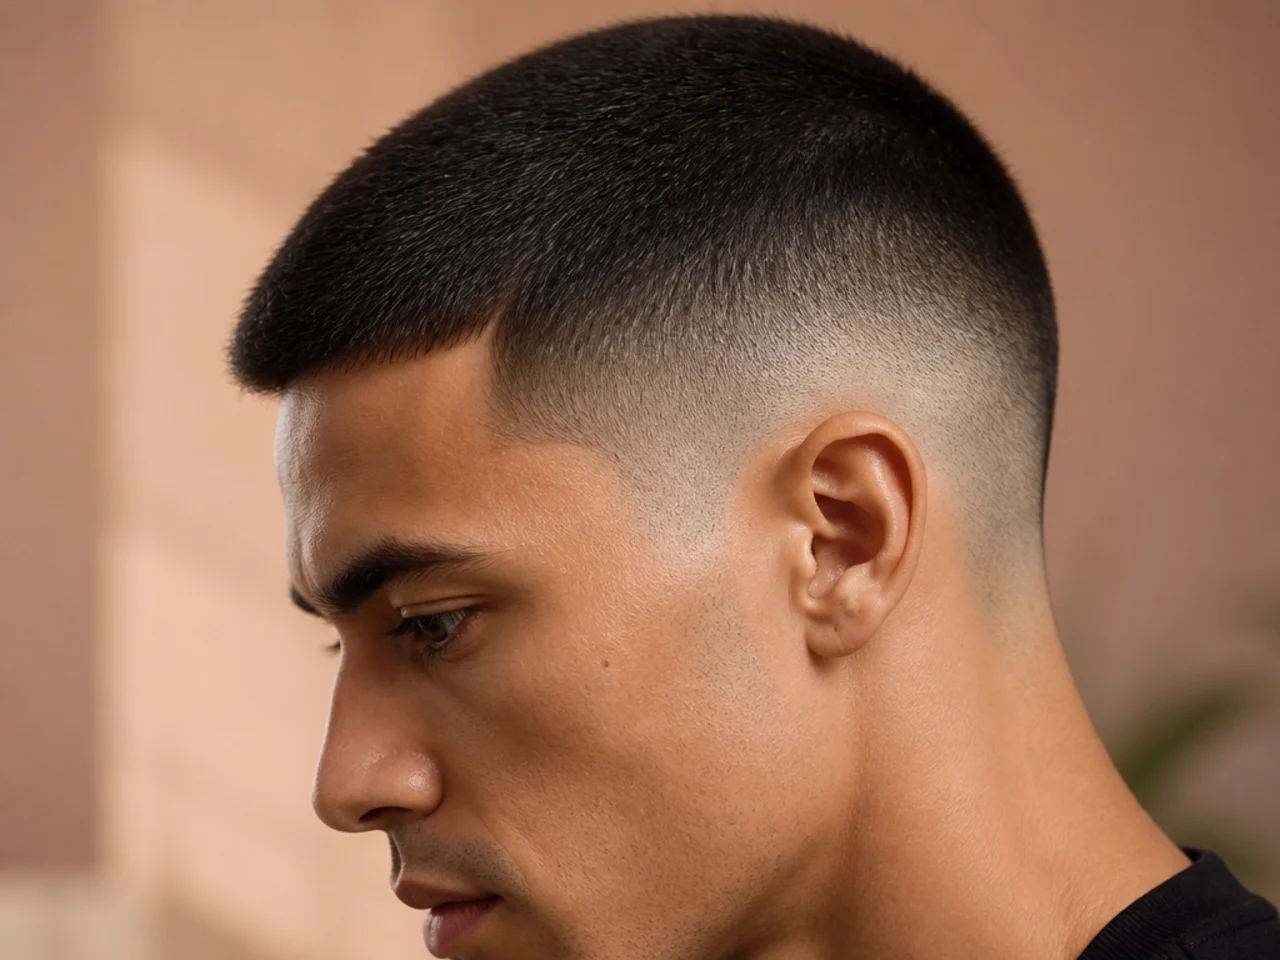
17. Mid Fade With a Long Top
Seven or eight centimetres above the line. Saved because the overhang almost hides the top of the blend, which is a real effect and not a badly cut fade.
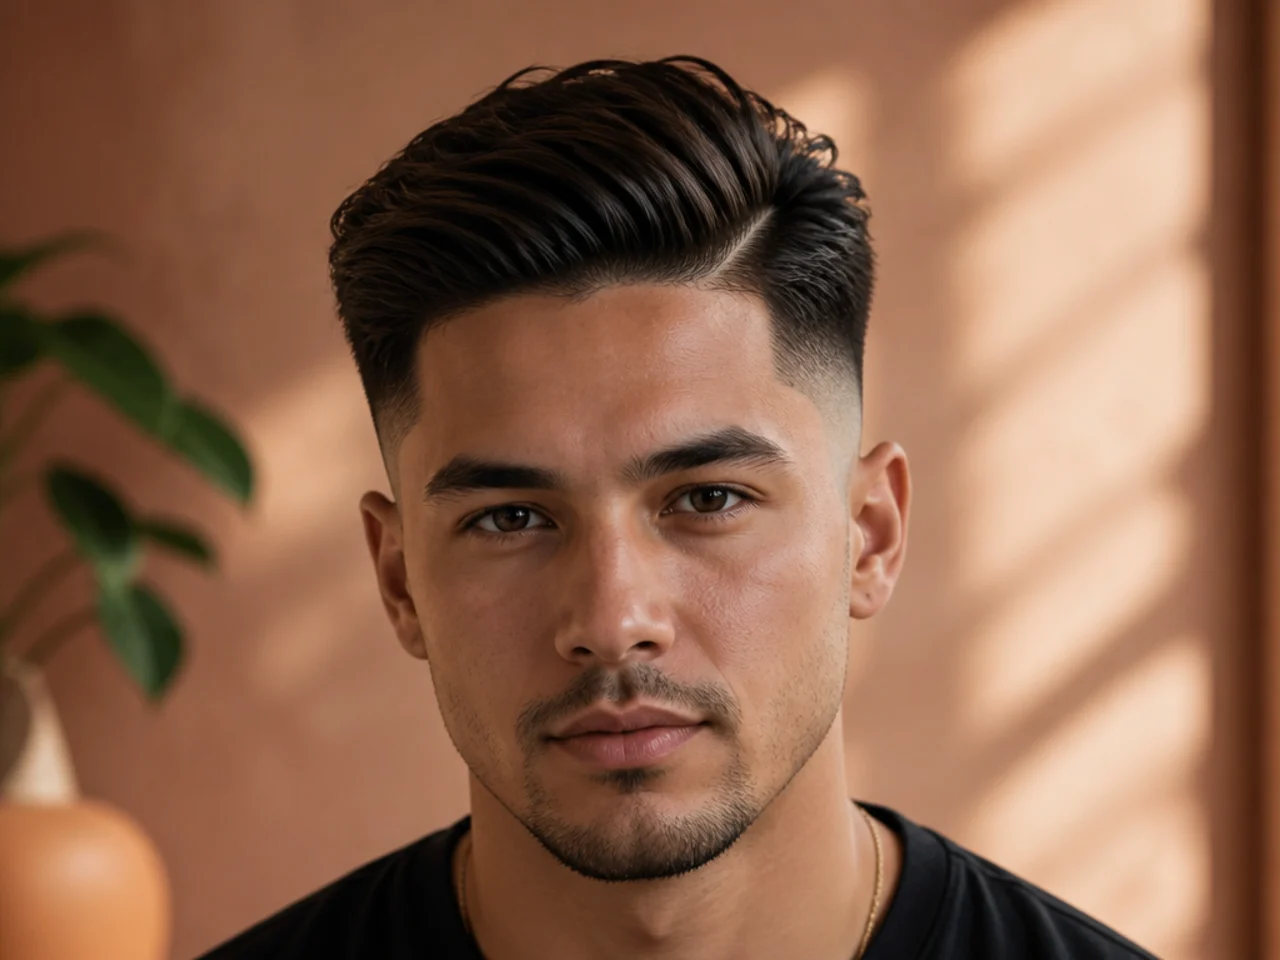
18. Mid Fade at Week Two
A grown-out shot, deliberately. It is the most honest photo in the folder because it shows what the cut looks like for most of its life.
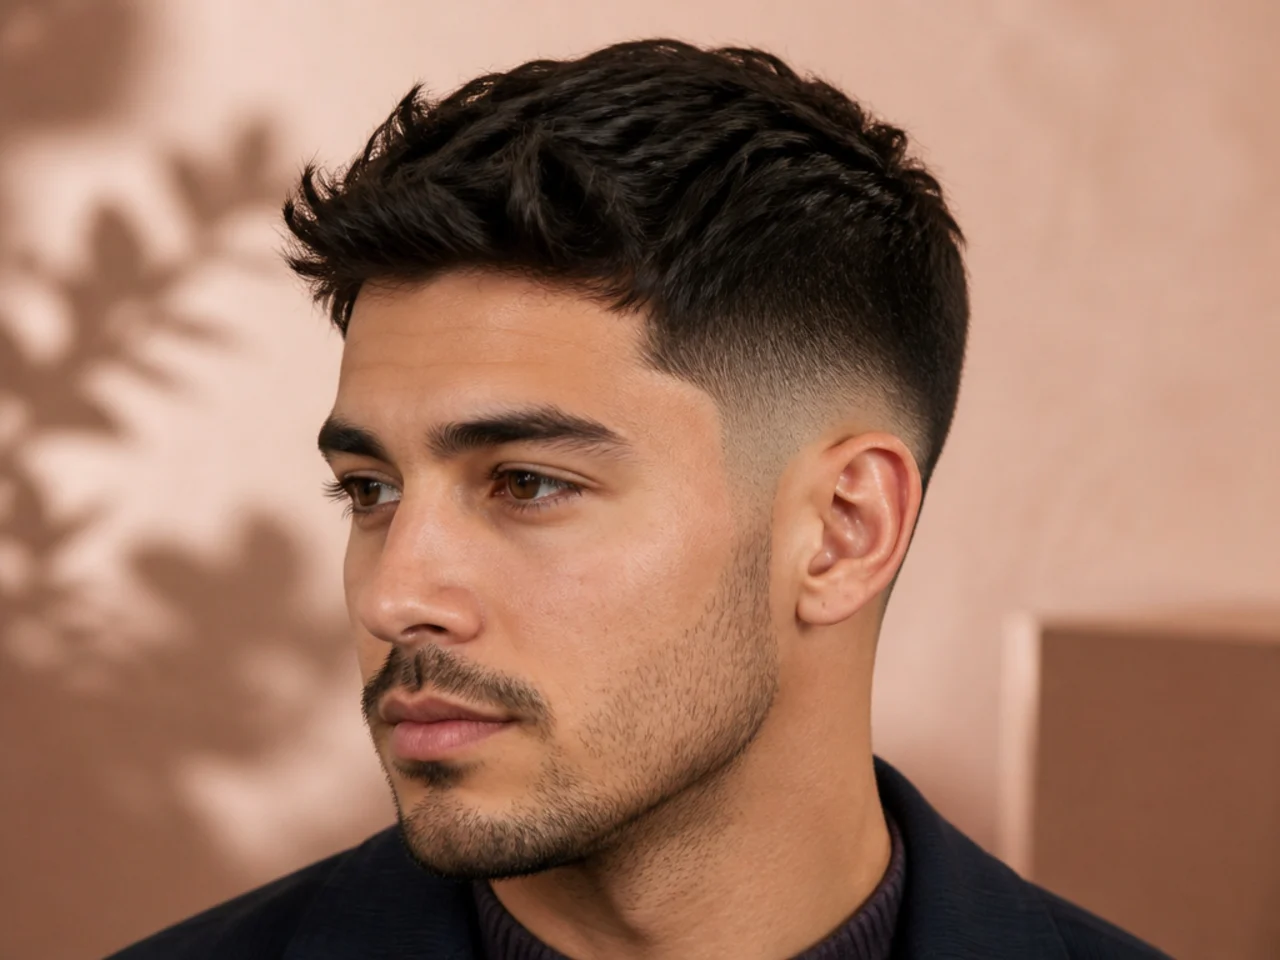
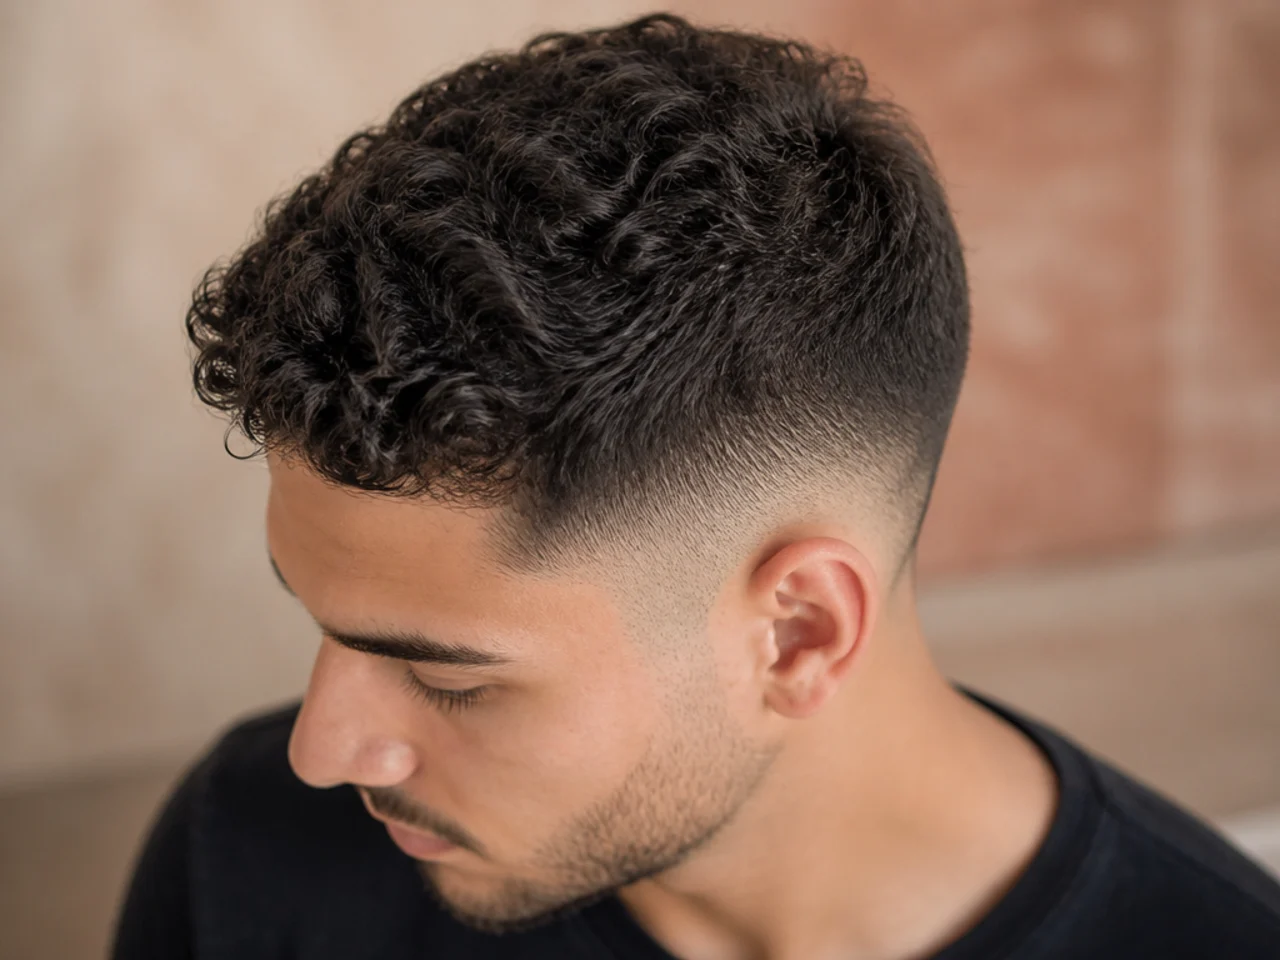
19. Mid Fade Shot From Above
Kept as a reminder of what not to save. From this angle the line looks a full centimetre higher than it is, which is how people end up asking for a high fade by accident.
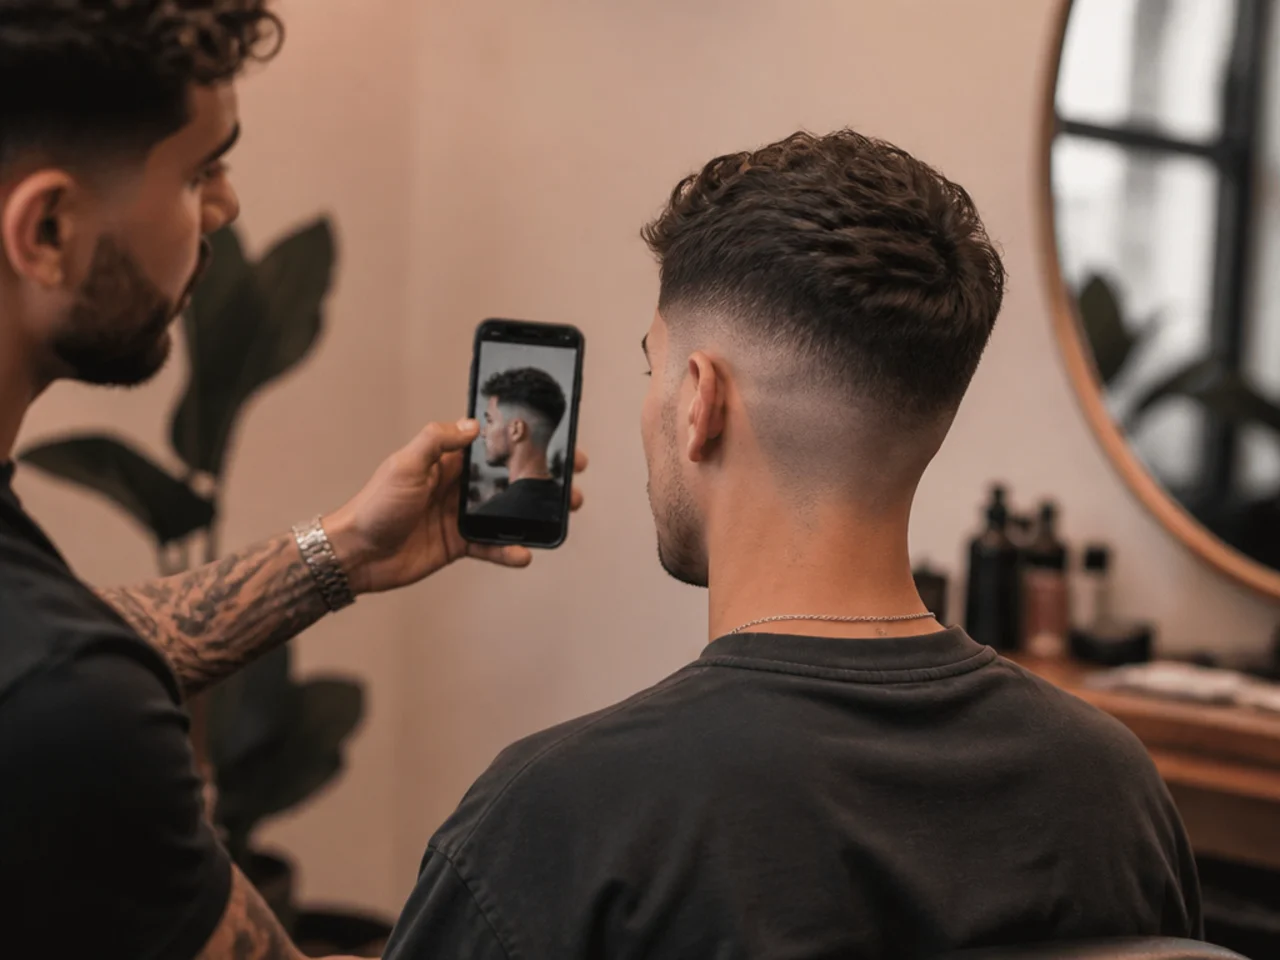
20. The Photo of My Own Head
The last one I saved and the only one that matters now. Both sides, taken in the chair, with the guard numbers written underneath.
Styling and Upkeep
Bring one photo, not a folder. A barber given five heads averages them into a sixth.
Write the guard numbers under the photo. An image shows a result and numbers show a method.
Take your own reference in the chair. It is worth more than any saved photo because it is your head and your barber.
Rebook by finish. Every photo in the folder is a day-one photo, and day one lasts one to two weeks on a mid skin fade and three to four on a mid taper.
Update the reference twice a year. Hairlines move and old photos slowly stop being achievable.
Mistakes to Avoid
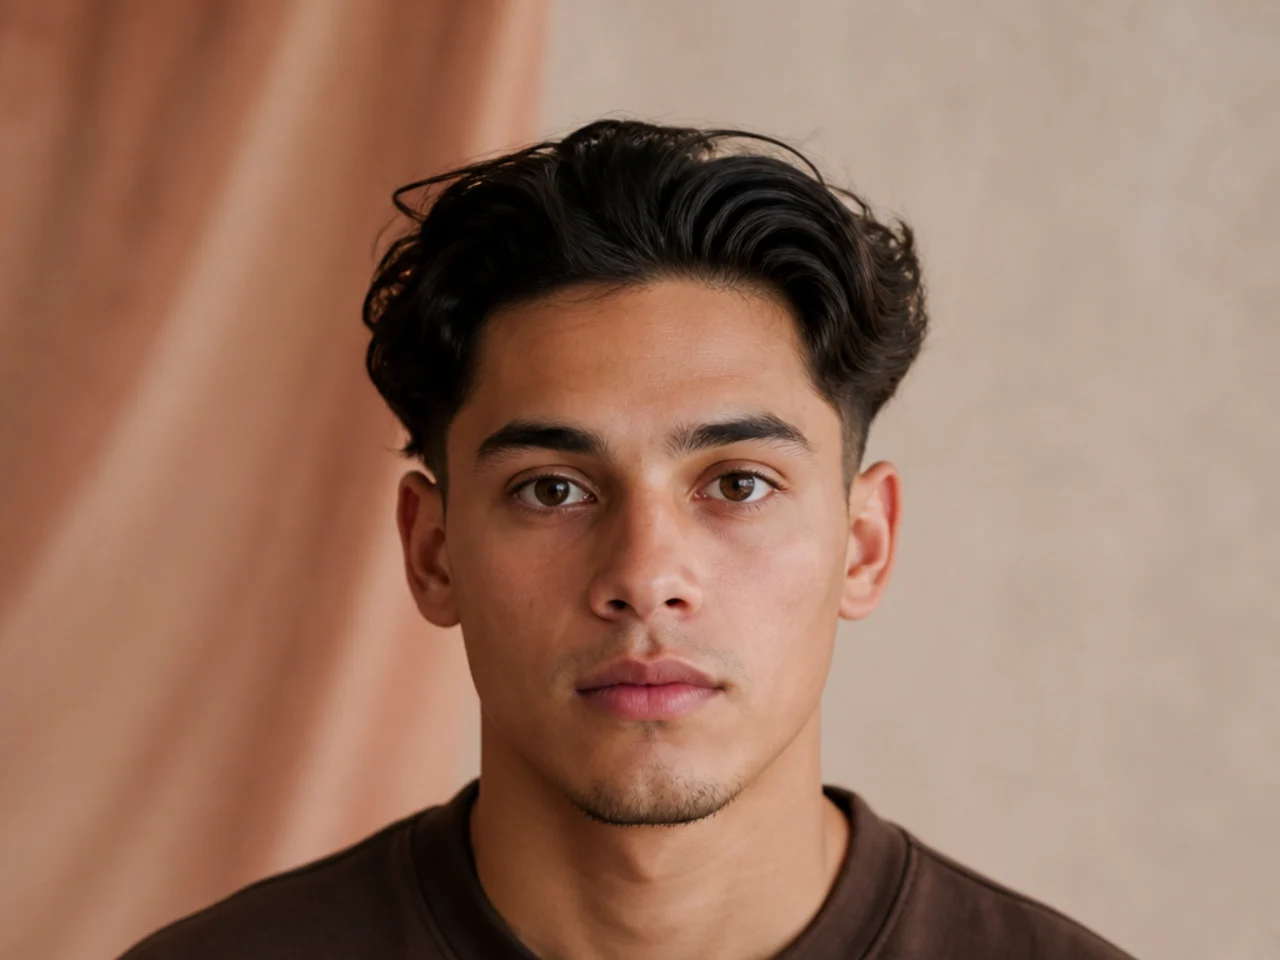
Saving front-facing photos. They hide the entire band the fade height lives in.
Saving photos shot from above. The angle makes every fade look higher than it is.
Ignoring the model's hair type. Coiled hair loses up to half its length drying, and no fade height fixes that difference.
Bringing a photo of a week-one cut only. It sets an expectation for a look that lasts eight days.
Screenshotting at low resolution. Zoomed in on a barber's phone, a soft image shows no line at all.
FAQ
What makes a good reference photo? A side view of the head shot at eye level.
How many should I bring? One, or two angles of the same cut.
Does the model's hair type matter? Yes, more than the fade height does.
Final Thoughts
Saving haircut photos is easy and saving useful ones takes a rule. Mine is that the picture has to show the side of the head at eye level, because that is the only place a mid fade actually exists. Everything else in the folder is a mood board, and a barber cannot cut a mood board.
For the full range of the cut see the mid fade haircut guide, and for the taper equivalent see 20 taper fade ideas I saved. More in Fade Haircuts.