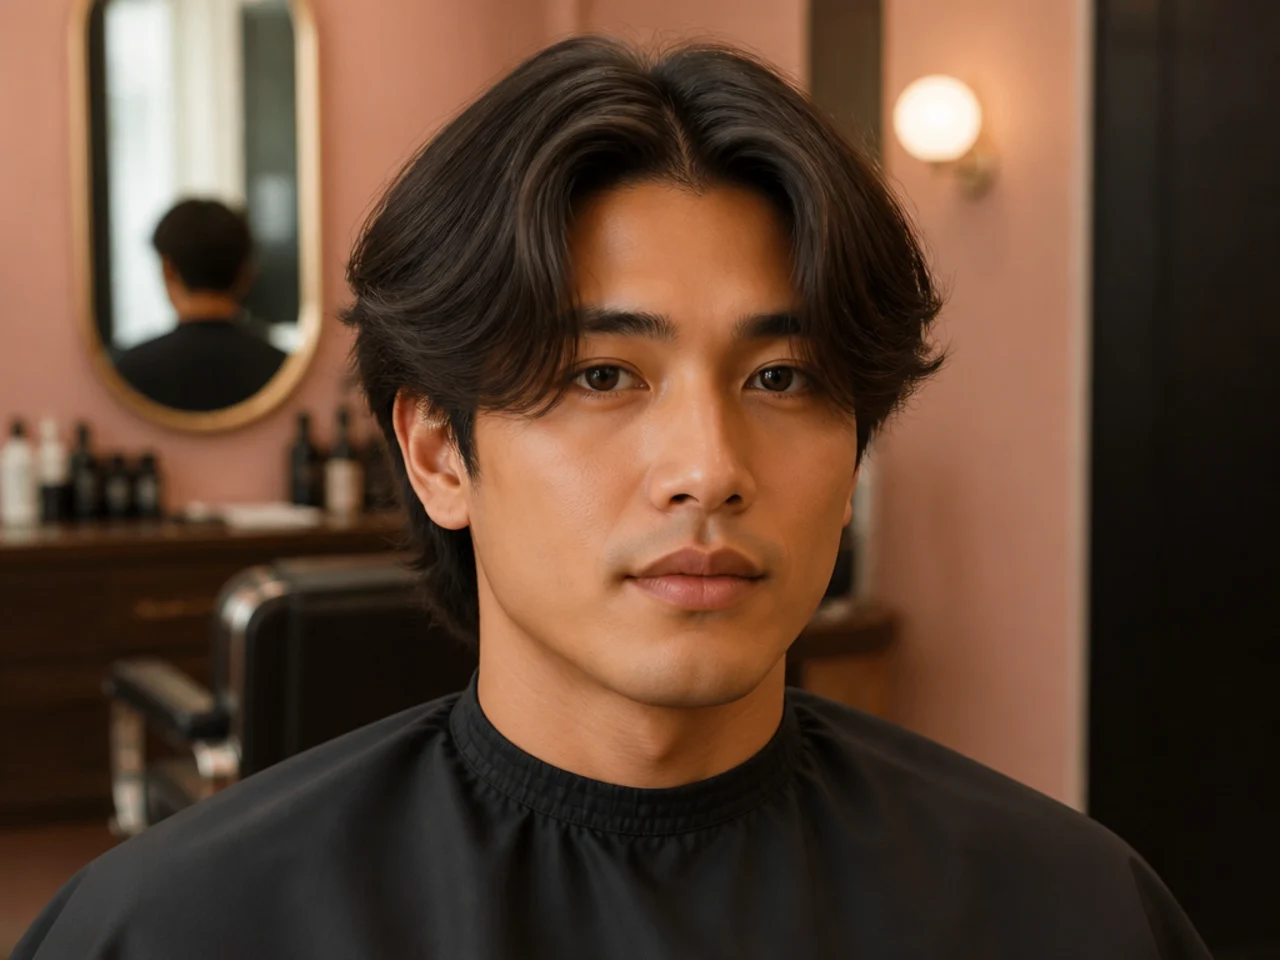
6 Steps to Style a Medium Middle Part
Medium middle part styling in six clean steps — wash, prep, split, blow-dry, and set. The exact routine that makes the curtains fall right at home.
In this article · 18
- Why Medium Middle Part Styling Is a Six-Step Job
- What You'll Need
- Step-by-Step: How to Style a Medium Middle Part
- Step 1: Wash and Condition Properly
- Step 2: Rough-Dry to 70 Percent
- Step 3: Apply Heat Protectant First
- Step 4: Set the Center Split
- Step 5: Blow-Dry Forward With a Nozzle
- Step 6: Set With Matte Clay
- Pro Tips for a Longer-Lasting Middle Part
- Troubleshooting Common Medium Middle Part Fails
- FAQ
- How long does my hair need to be for a medium middle part?
- What product works best for medium middle part styling?
- How long does the routine take once I know it?
- Why does my middle part flip back to a side part after an hour?
- Can I skip the blow-dryer?
- How often should I trim a medium middle part?
A medium middle part looks effortless in every photo, then falls apart the second you try to reproduce it at home. Medium middle part styling is a six-step routine that lives or dies at the blow-dry — split the hair before heat, dry forward, then set. This guide walks the exact order stylists use in the chair, plus the fixes for the three problems that stop most guys at the mirror. If you're still choosing the cut, start with the middle part haircut men guide first.
Why Medium Middle Part Styling Is a Six-Step Job
Every step trains a different part of the drop. Wash and condition sets how the ends move. The rough-dry sets how much water is left to shape with. Heat protectant sets how the strand receives the airflow. The split before the dryer sets where the hair remembers to fall. The blow-dry itself trains the direction. Product locks it. Skip a step and the next one has to work twice as hard, then usually fails.
Most home styling fails at step four. Guys blow-dry first, then try to comb the split in after. It never holds. Hair remembers whichever direction you dried it in, and once the shape is baked, only water resets it. Split wet, dry forward, set with product. Same order every morning. The muscle memory builds fast — by the third week your hands do it without thinking.
Medium length also demands more airflow than short cuts. A 5-inch top has more weight to move, more surface for the air to hit, and more room for the split to wander if you rush the dry. Give the whole routine five to seven minutes once you know it. That's the sweet spot.
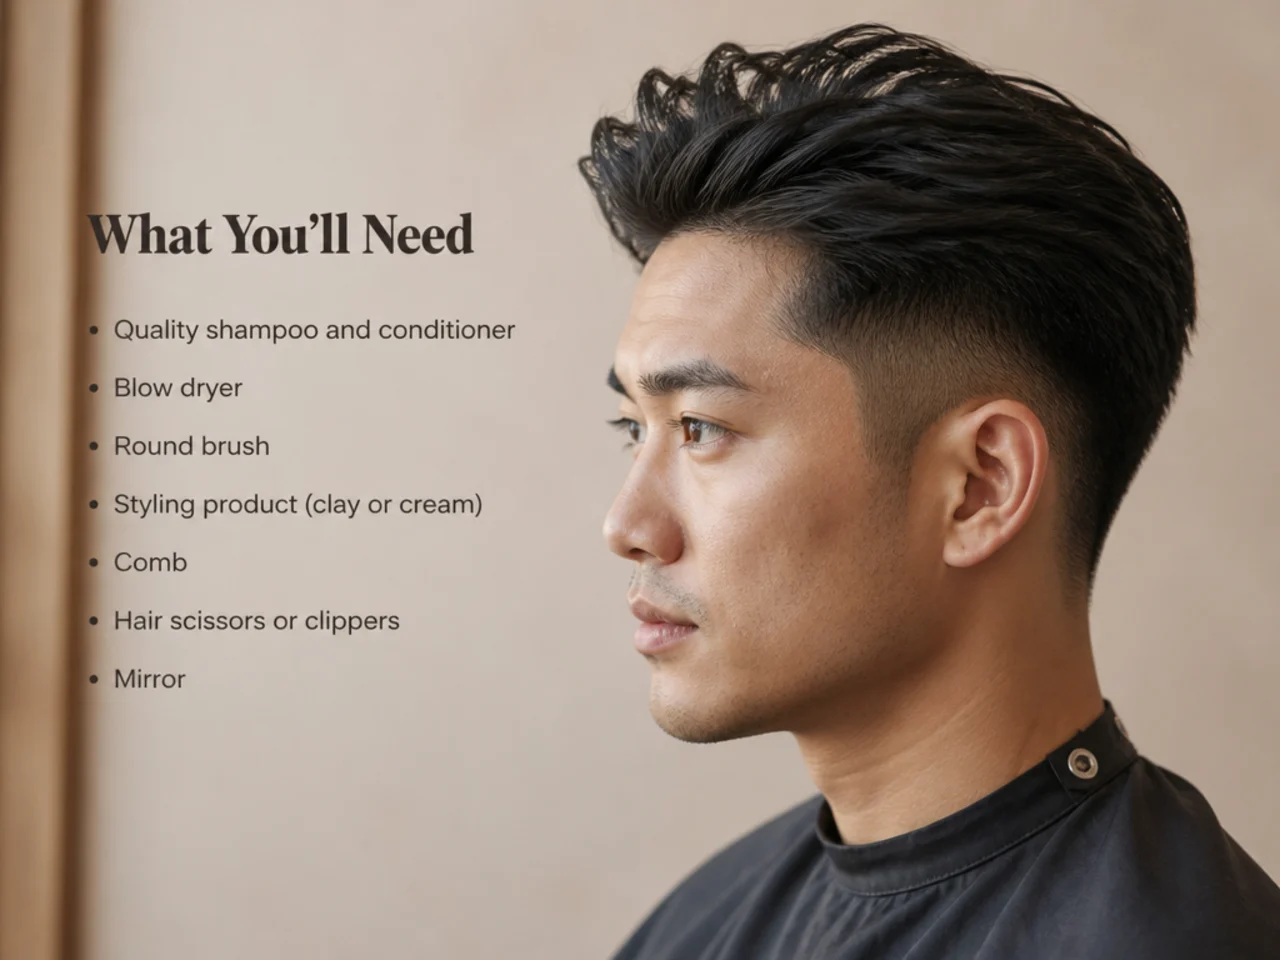
What You'll Need
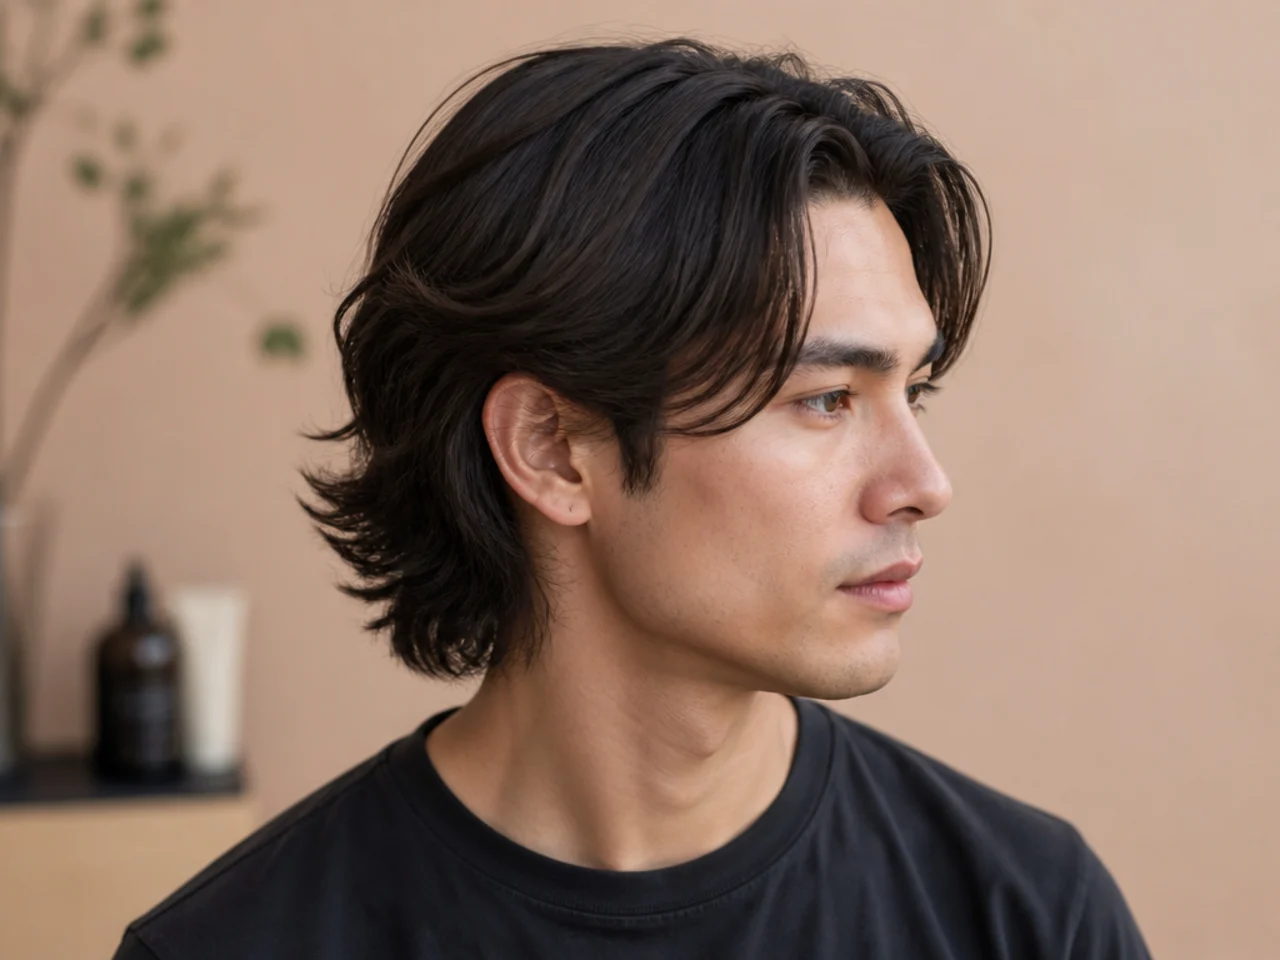
Keep the kit short. Every product below has a job — nothing on this list is optional filler.
- Sulfate-free shampoo. Sulfates dry the hair out, which makes the curtains puff instead of fall. Sulfate-free keeps the shaft flexible.
- A daily conditioner. Every wash. Skip a day and the ends turn brittle enough to fight the shape.
- Microfiber towel or clean cotton t-shirt. Terrycloth roughs the cuticle and cranks up frizz before you even start.
- Wide-tooth comb. For the split. A fine-tooth comb pulls too many strands per pass and drags the part off-center.
- Heat protectant spray. Non-negotiable if you use a dryer. Look for one with dimethicone — it coats the strand without weighing it down.
- Blow-dryer with a nozzle attachment. The nozzle concentrates the air so the direction actually matches your intent. Curly hair swaps in a diffuser here.
- Matte clay or paste with medium-to-strong hold. Glossy pomades kill this look. If you're mid-search for a product, the best wavy hair products roundup covers matte clays that suit the middle part.
- Optional: light-hold texture spray. For extra grit on fine hair, or humidity days.
Step-by-Step: How to Style a Medium Middle Part
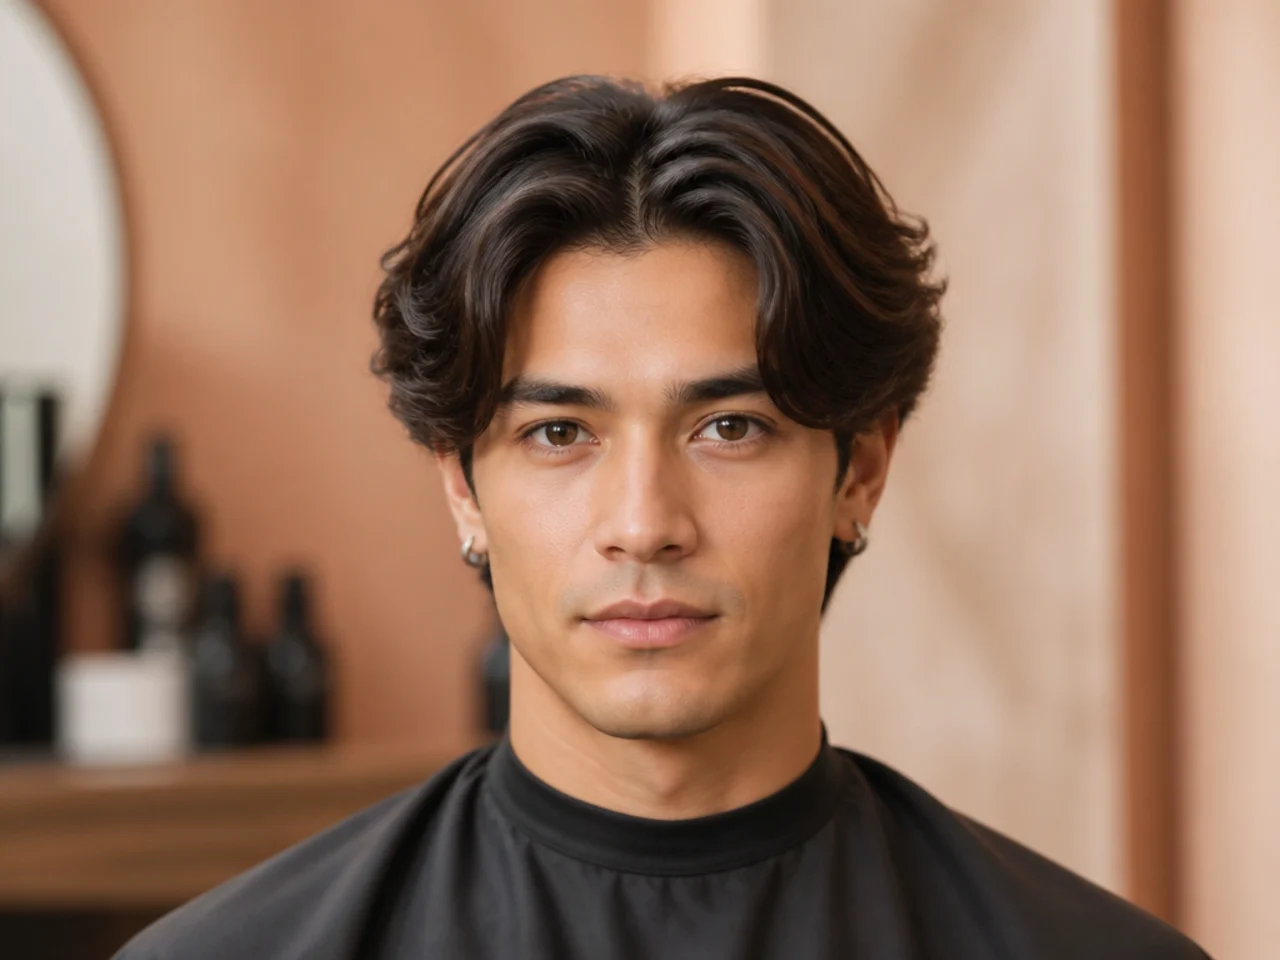
Follow the six steps in order. The order is the point — swap any two and the split won't hold.
Step 1: Wash and Condition Properly
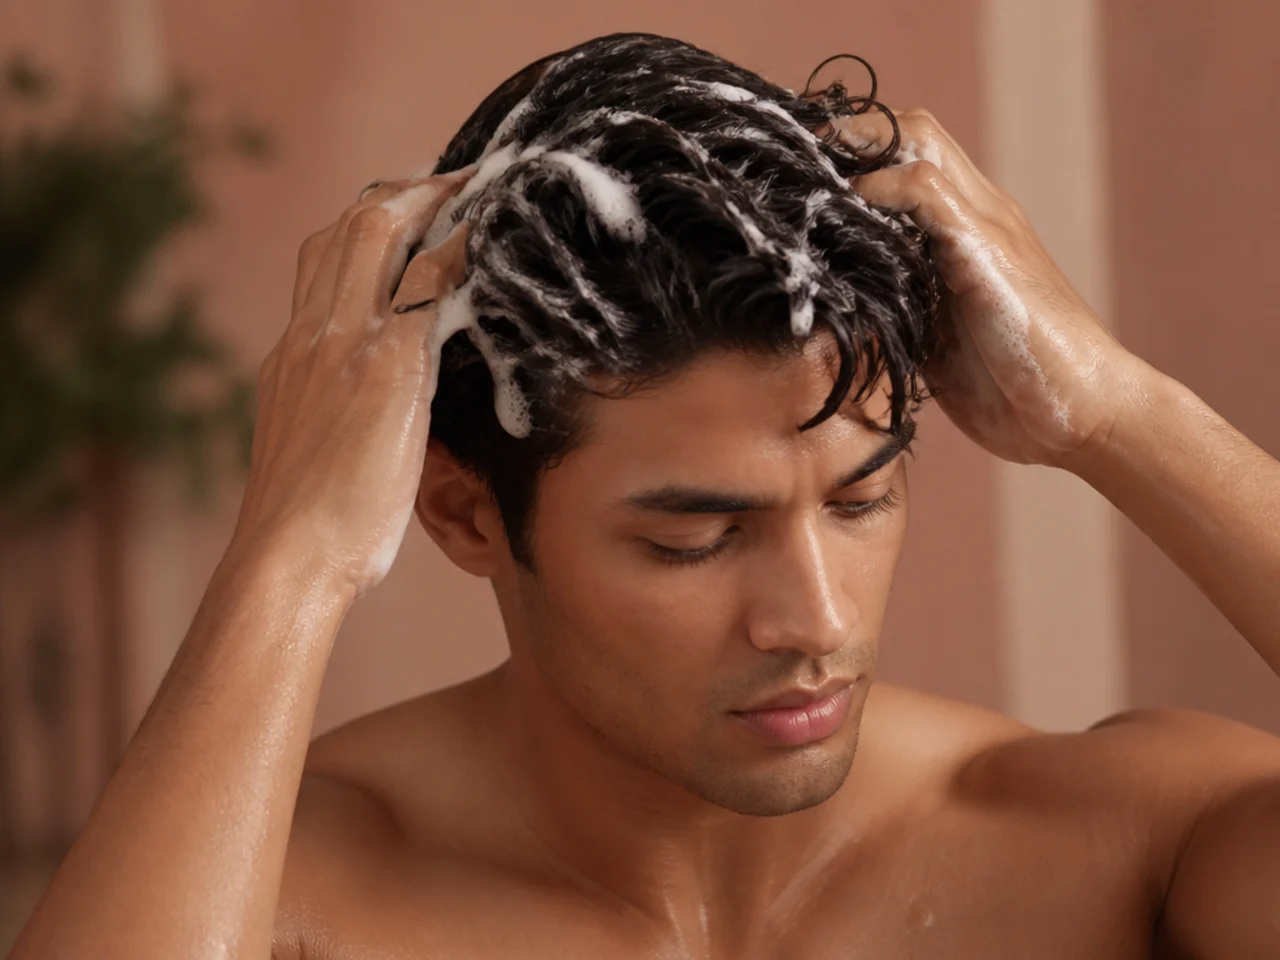
Start every routine on wet hair. Massage a nickel-sized amount of sulfate-free shampoo into the scalp only — don't scrub the ends. The suds that run down the shaft are enough to clean the length without stripping it. Rinse until the water runs clean and slick.
Follow with conditioner from the ears down. Leave it in for two minutes while you finish your shower. Rinse cold at the end. Cold water flattens the cuticle so the curtains sit smoother and reflect a little more light, which reads as healthy hair on camera.
Common mistake: using two-in-one shampoo-conditioner. The conditioner half never sits long enough to actually condition, and the shampoo half dries the shaft. Two separate bottles, always.
Step 2: Rough-Dry to 70 Percent
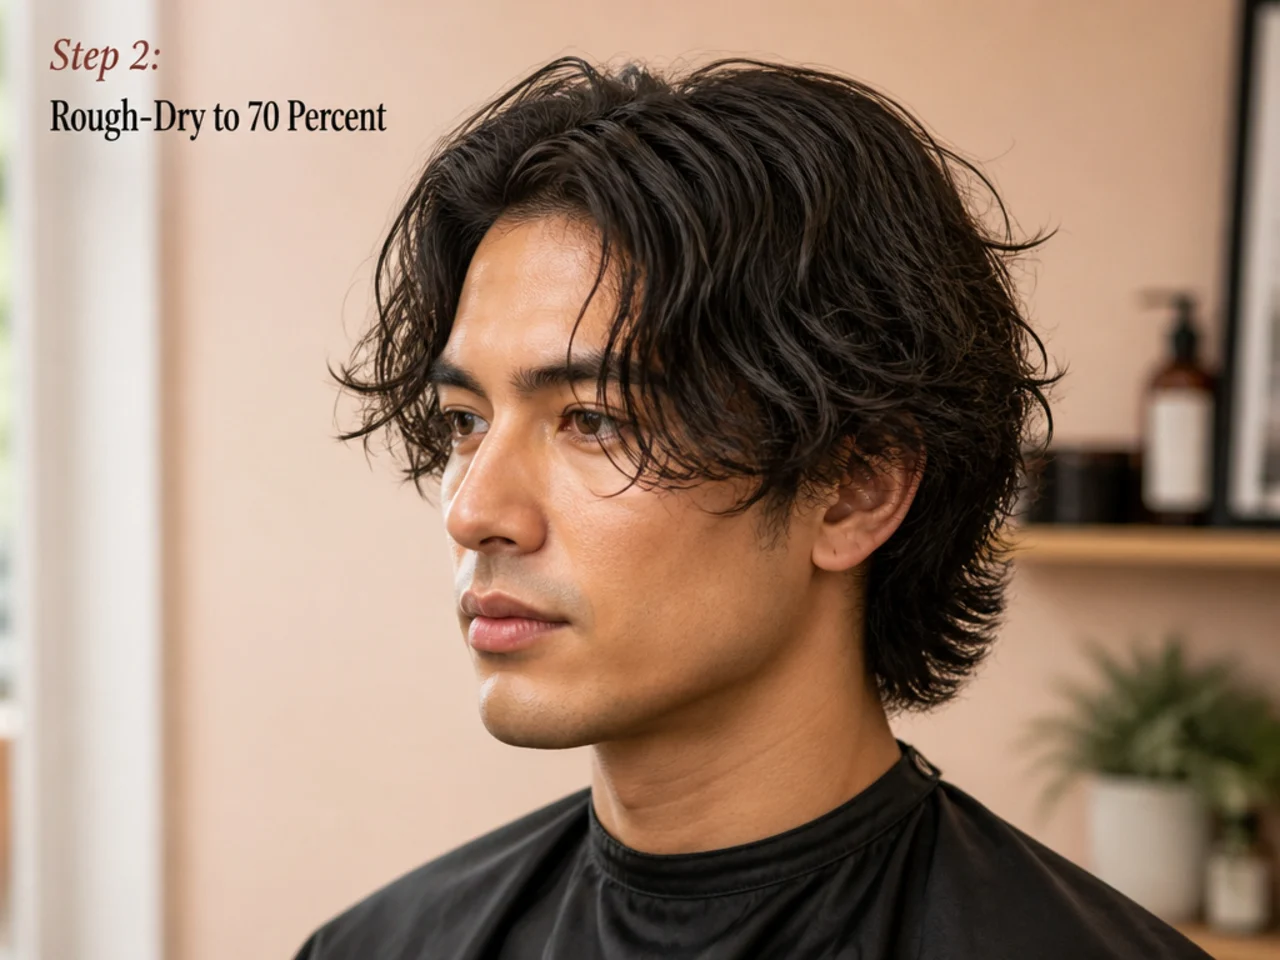
Dripping-wet hair is too heavy to shape and bone-dry hair is too stiff. You want damp — around 70 percent dry, still cool to the touch but not pouring water down your neck. Wrap the microfiber towel around your head for two minutes while you brush your teeth, then take it off.
If you're using a t-shirt instead, scrunch the ends gently — never rub. Rubbing lifts the cuticle and the whole shape frizzes out. Pat the roots, squeeze the length. Set the towel aside and check the hair; it should feel cool and damp, not wet.
Common mistake: starting the blow-dry too wet. Wet hair takes forever to shape and the middle part drifts every time you lift the dryer to reposition. Damp hair holds direction the first pass.
Step 3: Apply Heat Protectant First
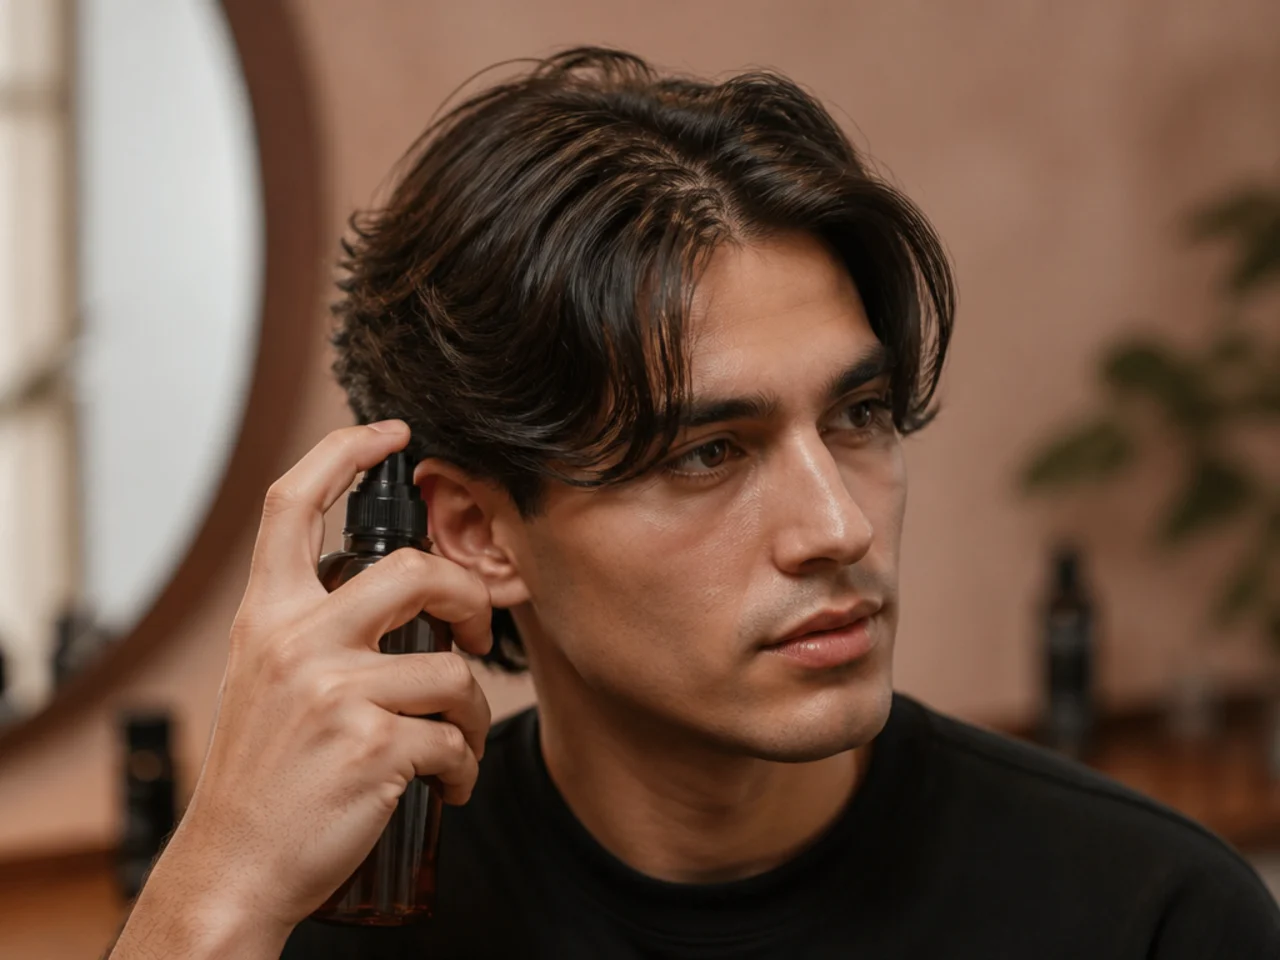
Spray the heat protectant across the top and mid-lengths — six to eight sprays, evenly distributed. Never at the roots; oil buildup from the scalp already coats those, and adding more product weighs them down and kills the lift you need for a natural-looking part.
Rake it through with your fingers, front to back and side to side. Coverage matters more than volume. If your hair is fine, cut the amount in half — fine hair coats faster and over-application flattens the shape before you even reach the dryer.
Common mistake: skipping the spray because "it's just one dry a day." One dry a day for a year is 365 heat exposures on the same strand. Heat damage is cumulative — the split ends show up around month four whether you protected or not, and it's cheaper to spray than to cut them off.
Step 4: Set the Center Split

This is the step everyone skips. Take the wide-tooth comb and drag it from the front hairline straight back to the crown. Line the split up with the middle of your nose in the mirror. Look head-on — a split that runs even a half-inch off center reads wrong in every photo.
Push the hair on each side outward with the comb, so the two curtains sit apart. If your natural part fights it, drag the comb harder and press down at the split with your thumb for five seconds. Cowlicks at the crown will try to spin the hair the wrong way — comb through them twice.
Curly hair skips the comb and uses fingers instead. A comb wrecks the natural pattern and adds frizz you'll never dry out. Use your fingertips to open the split and part around the cowlick, not through it.
Common mistake: trying to split after the blow-dry. Wet hair takes the shape you comb into it and dry hair rejects it. Split first, dry second — always.
Step 5: Blow-Dry Forward With a Nozzle
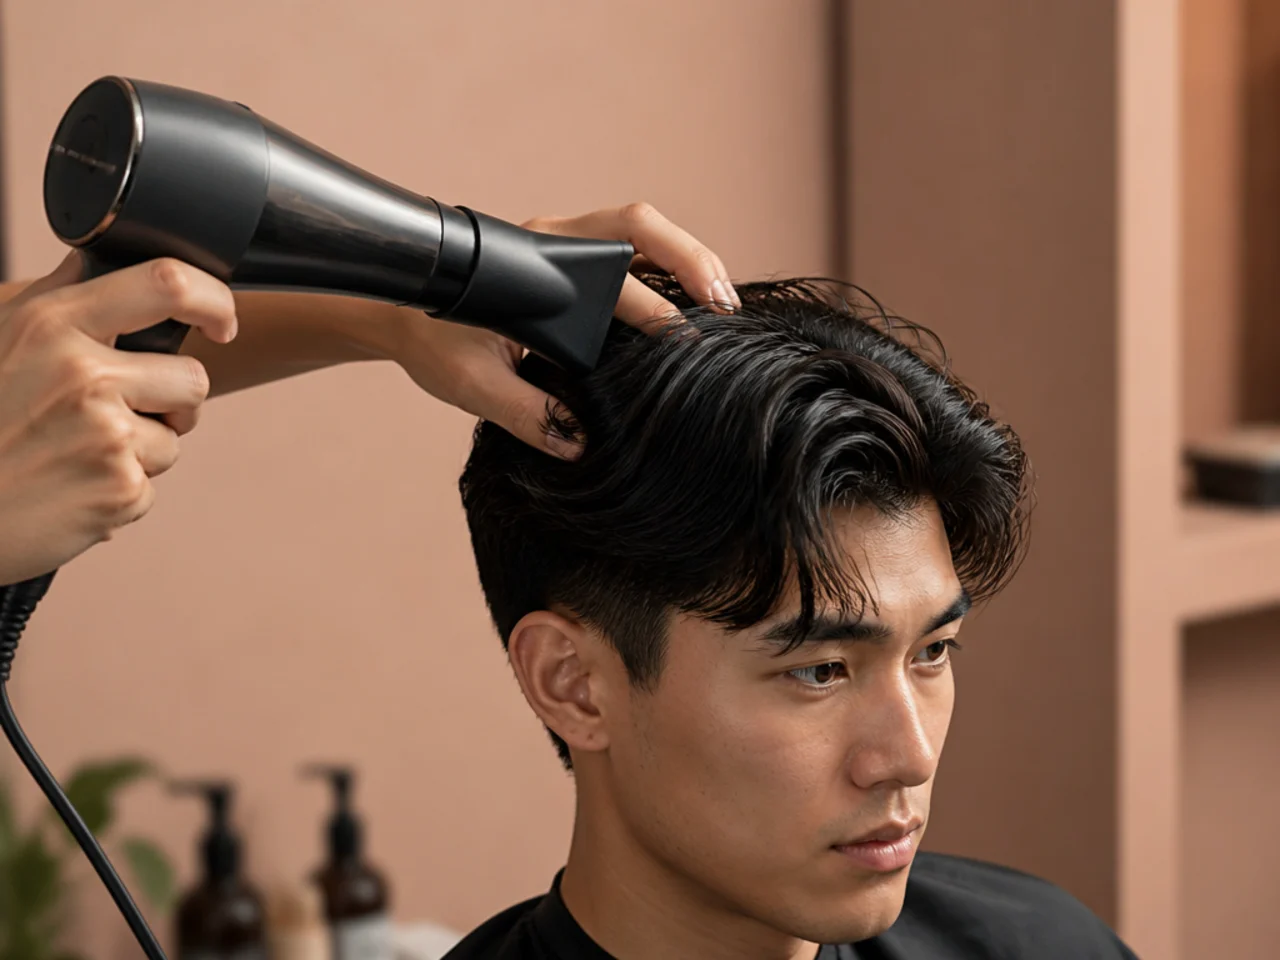
Clip the nozzle onto the dryer. Set the temperature to medium and the speed to high — high heat blasts moisture out too fast, but high airflow is what actually trains the fall. Tip your head slightly forward and aim the nozzle down the shaft from root to tip, angled toward your face.
Work in three sections: back first, sides second, top and front last. Back and sides get 30 seconds each. The front takes about a minute — this is where the curtains have to lock. Point the nozzle down each side of the split, pushing the hair outward and slightly forward. Do not blast air up from underneath; that inflates the roots and puffs the top out of shape.
If you have a cool-shot button, hit it for five seconds on each side of the finished split. Cool air locks the shape while it's still holding the direction you dried it in. Skip this and the curtains soften an hour later.
Curly hair swaps the nozzle for a diffuser on low. Cup the diffuser upward against the ends and hold — don't move it around. Movement disrupts the curl clumps and adds frizz. For curl-specific styling, the curl types guide breaks down how different patterns respond to airflow.
Common mistake: using a paddle brush during the dry. The brush drags the split off-center every time you lift it. Fingers and airflow only. Save the brush for a side part.
Step 6: Set With Matte Clay
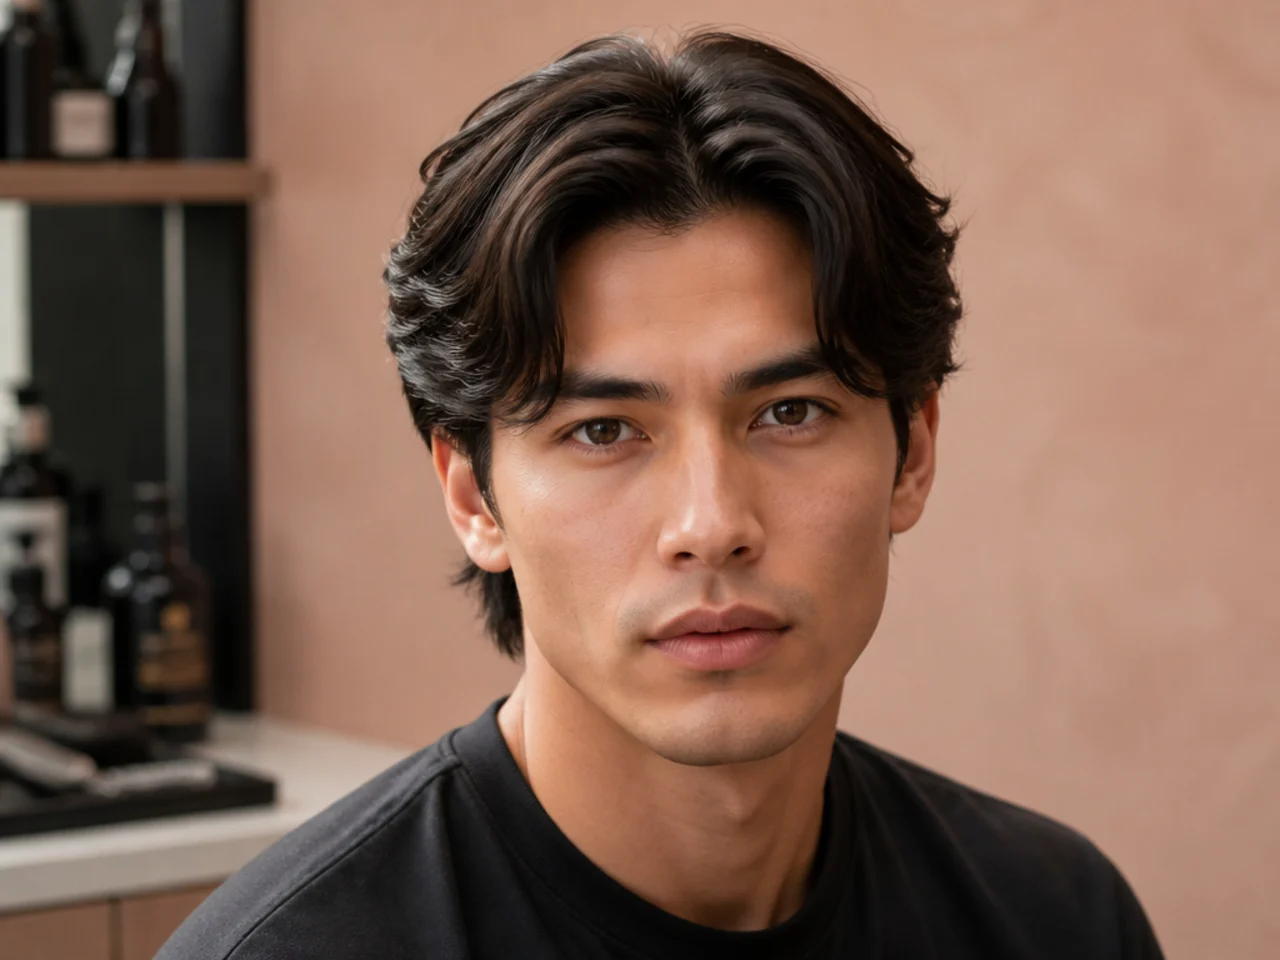
Scoop a pea-sized amount of matte clay. Warm it between your palms for ten seconds until it turns from opaque to almost clear — that's the emulsion point, and it's when the clay actually coats hair instead of clumping on it.
Work the clay through the top and mids only. Skip the roots. Push each curtain out and away from the face with your fingers, retracing the split you set earlier. Do not comb after applying product; a comb pulls the pieces back together and kills the movement you just built.
If the shape needs extra hold — humidity day, wedding, first date — finish with two mists of light-hold texture spray from 12 inches away. Any closer and the spray beads into wet dots that stiffen visibly. Farther is fine. Never use hairspray on a middle part; the shine turns the whole look plastic.
Common mistake: using too much product. More clay makes the curtains heavier, which drags the split flatter and eventually collapses it. Start with less than you think you need. If the shape gives up by mid-day, use less next time — not more.
Pro Tips for a Longer-Lasting Middle Part
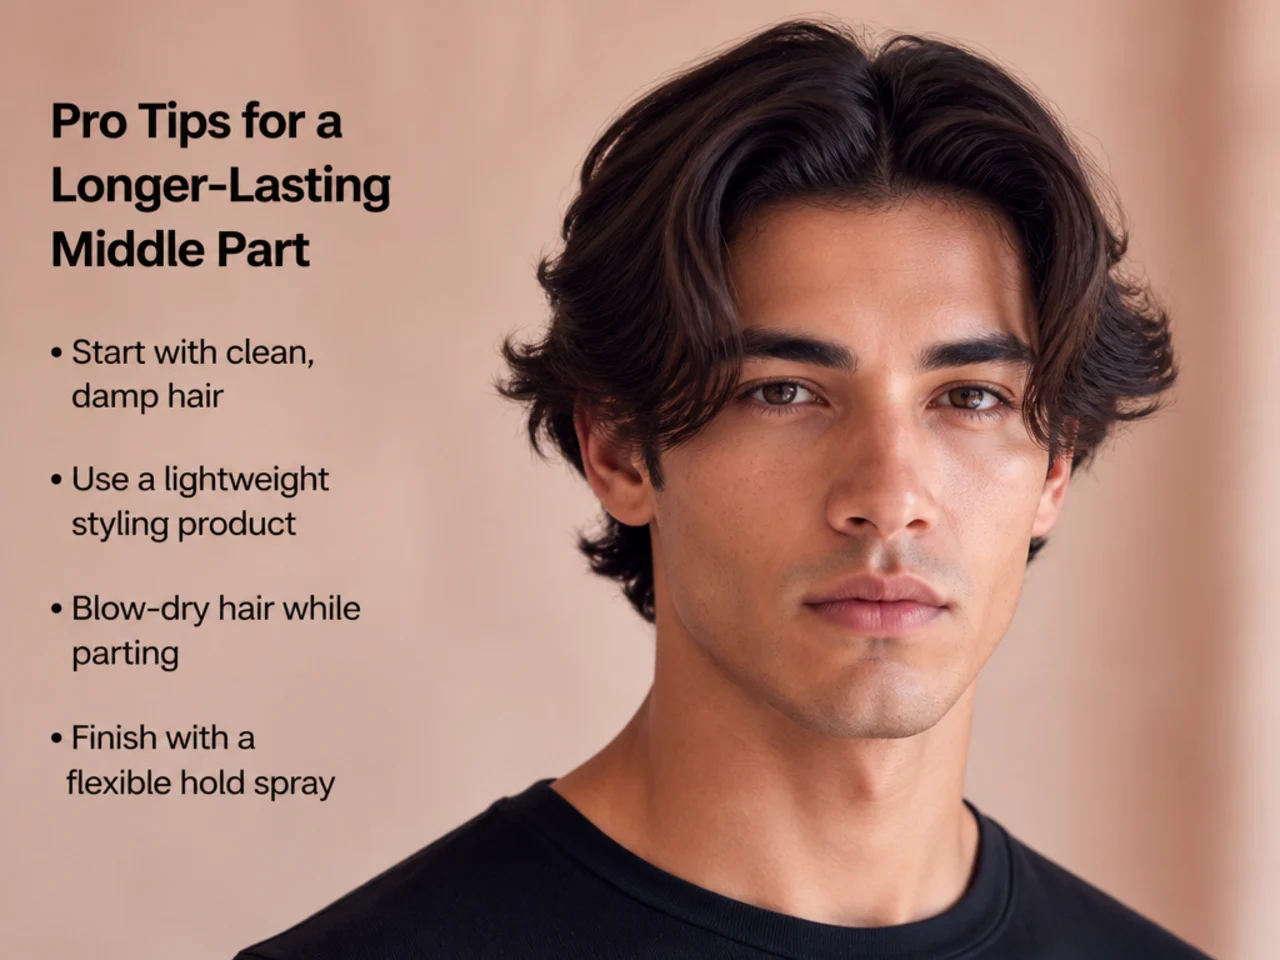
Silk pillowcases matter more than any product. Cotton pillowcases drag the hair sideways as you sleep and undo the training you built with the blow-dryer. A silk case lets the strands slide instead of grip, and the split sits closer to where you left it when you wake up. Same reason the Korean haircuts for men styling routine leans on silk — they know the pillow undoes the work.
Second-day hair holds a middle part better than freshly-washed hair. Slight scalp oil weighs the roots down enough to hold the split without flattening the top. Aim to wash every second or third day, not daily. On off-days, hit the top with dry shampoo at the roots only — never at the ends, or the split turns chalky.
Trim every 5 to 6 weeks. The moment the layer weight softens, the curtains lose their forward pull and the part drifts back to whichever side you sleep on. If the cut is paired with a fade or low taper fade, book on the shorter end — the taper blurs before the top does. For the styling variations behind the cut itself, the medium length hairstyles men guide covers every layered structure that supports a middle part.
If you sweat a lot at the gym, wrap a thin cotton band across the forehead before your workout. The band absorbs the sweat before it hits the hairline, which is where the split usually gives up. Rinse the band, air-dry, reuse.
Troubleshooting Common Medium Middle Part Fails
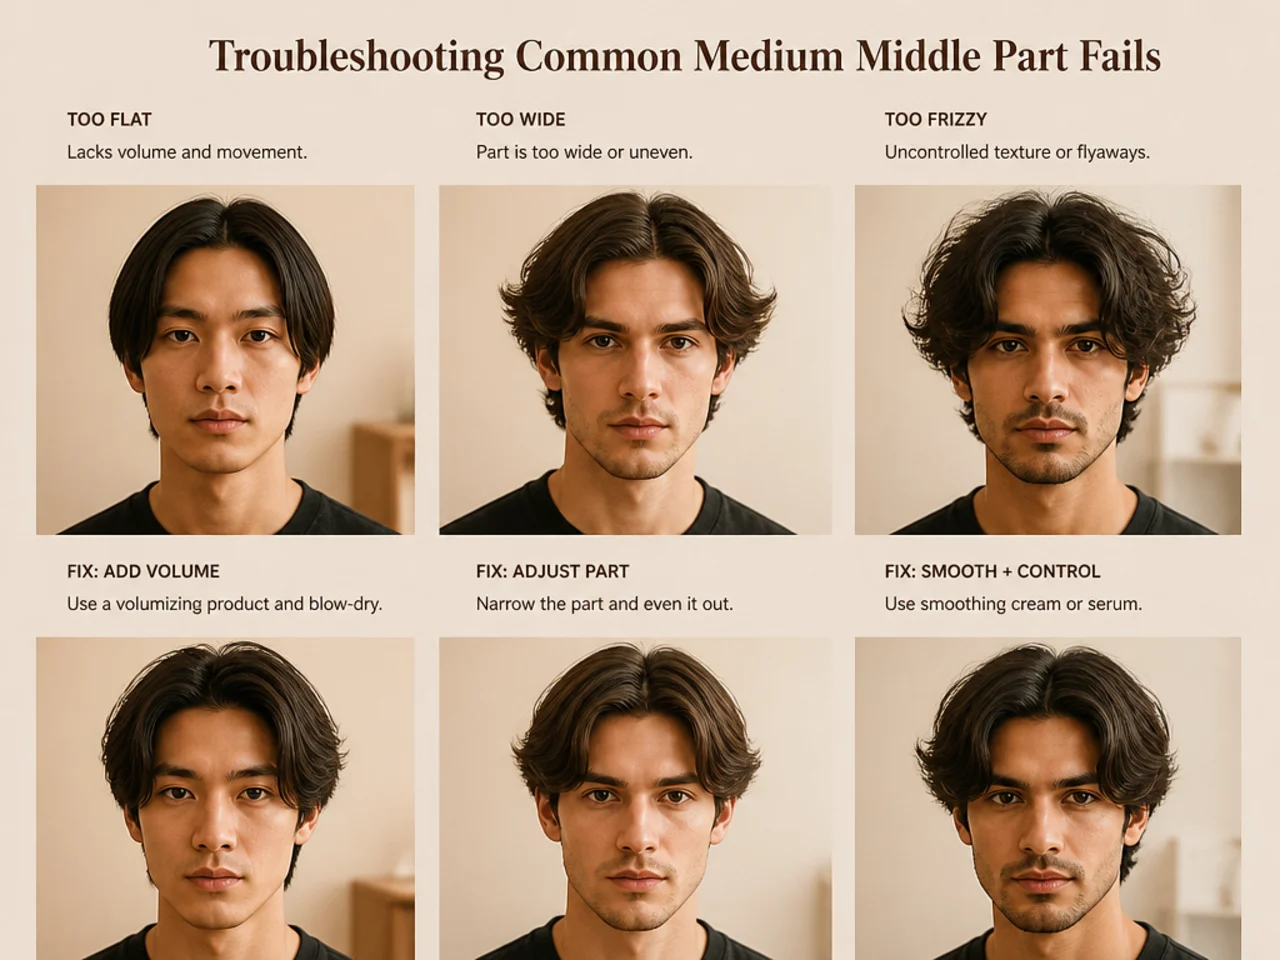
Every middle part has a failure mode. The fix is almost always one blow-dry angle or one product amount away.
- Split keeps drifting left or right: your dominant cowlick is winning. Split wet, dry a full minute on the side that keeps losing, hit it with cool-shot for five seconds, then re-split with the comb before adding product.
- Curtains puff instead of falling forward: the airflow is pointing up. Angle the nozzle down the shaft, from root to tip, and tip your head forward while you dry the front. Gravity is your friend here.
- Roots look greasy by lunchtime: you're using product at the roots. Keep clay on the top-and-mids only. Dry shampoo the roots after styling if you already have oil buildup, then re-split with fingers.
- Ends look stringy and shine wrong: you're using pomade or gel, not matte clay. Switch products. Matte lets each strand catch light naturally; shine products glue them into flat sheets.
- The whole shape collapses by 3 p.m.: you skipped cool-shot at the end of the blow-dry. Cool air is what freezes the shape while it's still holding. Add it in tomorrow — 5 seconds per side, after the main dry. This one fix buys you four extra hours of hold.
- Cowlick at the crown spins the split: part around it, not through it. Let the crown swirl naturally, then set the split just in front of it. Trying to comb across a strong cowlick never wins.
Every fix above is a single-step correction. Rebuilding the whole routine is almost never the answer — one variable at a time, always.
FAQ
How long does my hair need to be for a medium middle part?
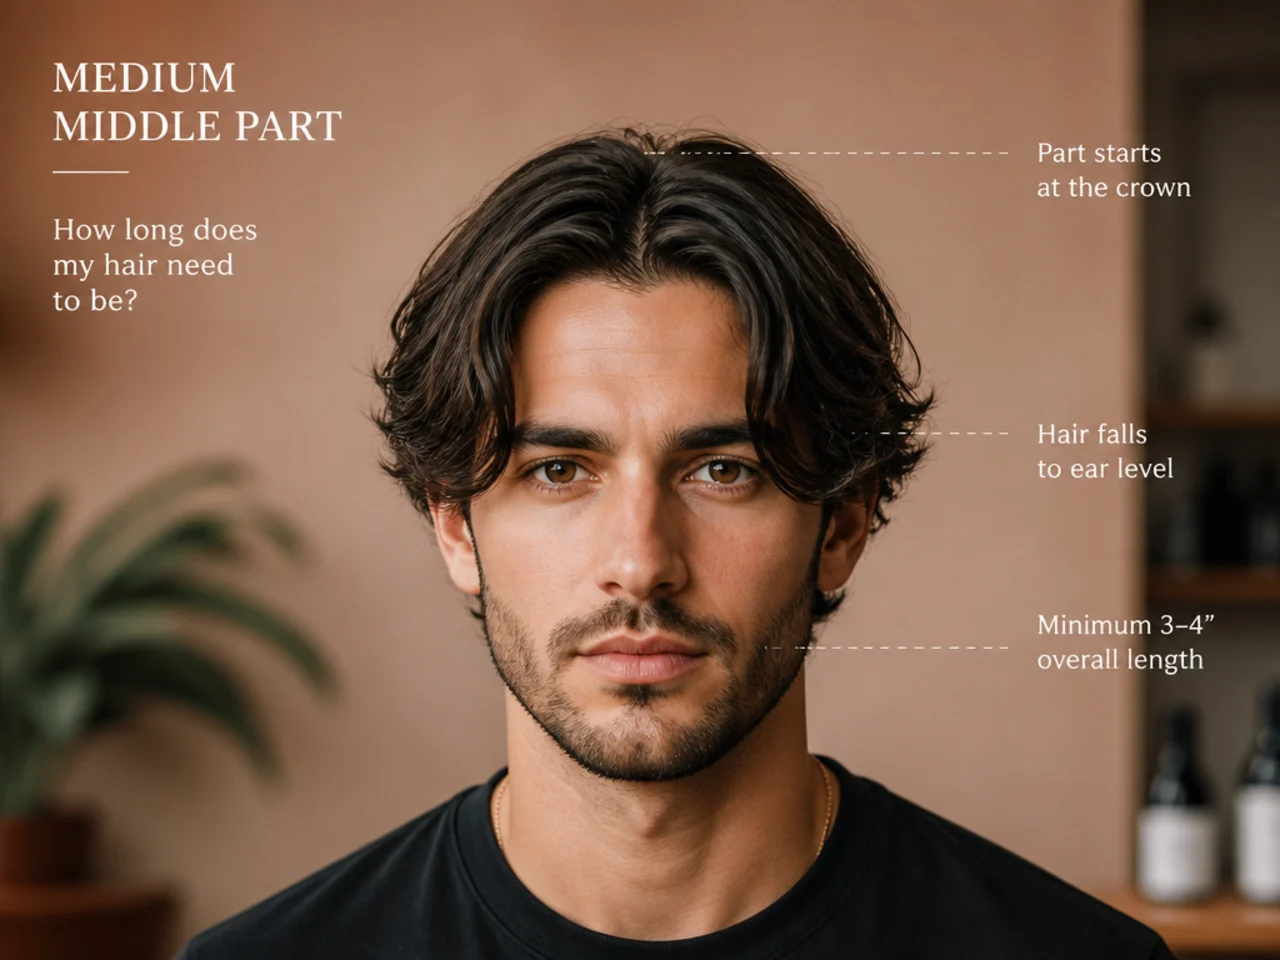
At least 4 inches on top, ideally 4 to 6 inches. Anything shorter can't hold a clean split — the ends fall wherever the shortest layer sends them, and the curtains never actually form. Measure by pulling a strand straight up from the crown to the tip. If it clears the top of your ear, you're in range. If it's shorter, wait another 6 to 8 weeks before starting the routine.
What product works best for medium middle part styling?
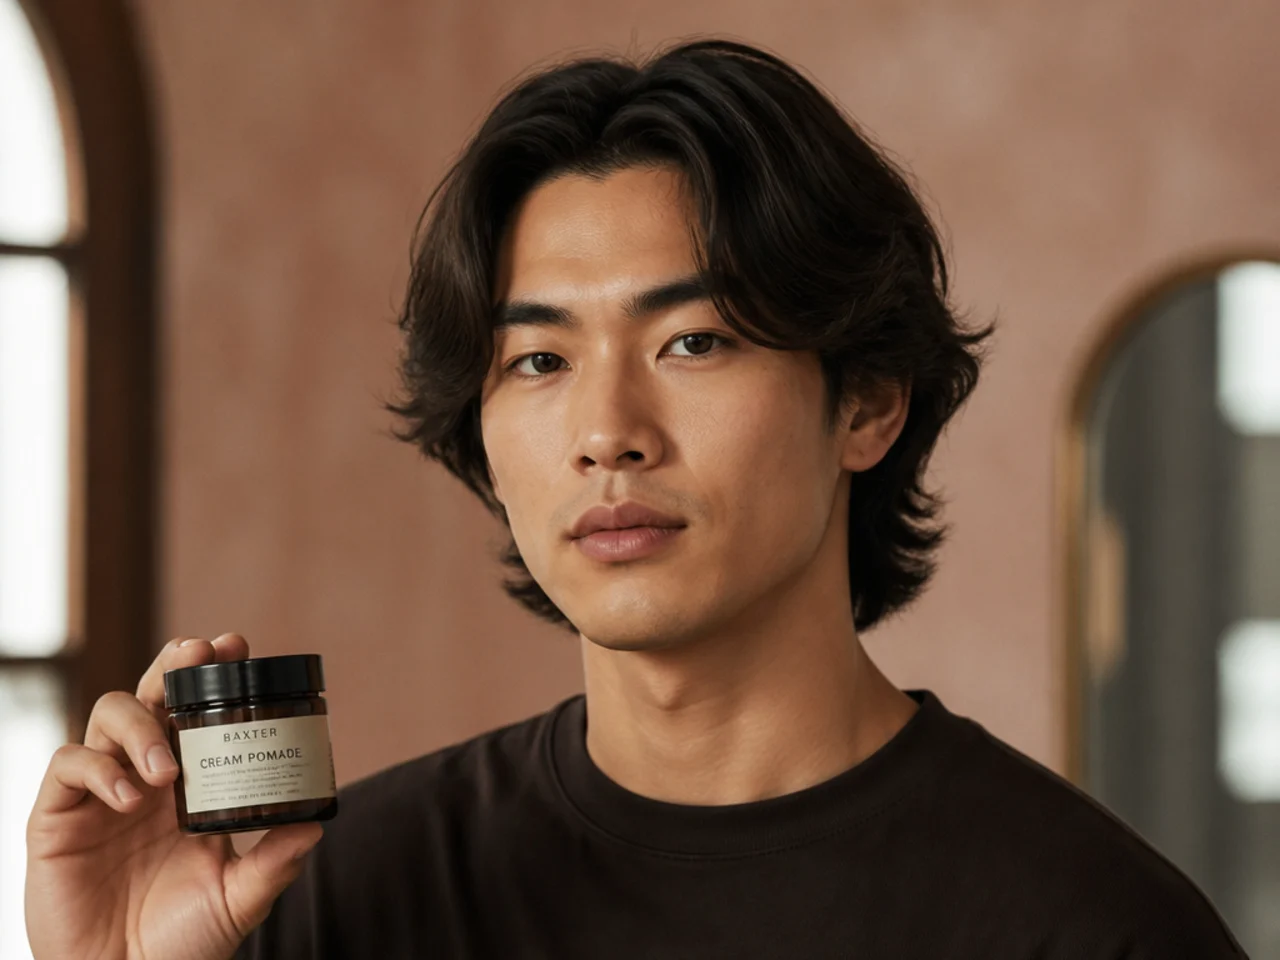
A matte clay or paste with medium-to-strong hold. Glossy pomades weigh the curtains down and turn the split shiny — natural is the whole point of the look. Match strength to hair type: thick hair takes stronger holds without going stiff, fine hair needs a softer clay so it doesn't flatten. One pea-sized amount is almost always enough. If the shape needs extra hold in humidity, follow with two mists of light-hold texture spray from 12 inches away.
How long does the routine take once I know it?

Five to seven minutes total, once the muscle memory locks in. The first week takes 10 to 15 minutes per morning while you learn the airflow angle and the right product amount. By week three, you'll do it without thinking. The rough-dry, split, and cool-shot become one motion. The dry itself is under three minutes with a decent nozzle.
Why does my middle part flip back to a side part after an hour?
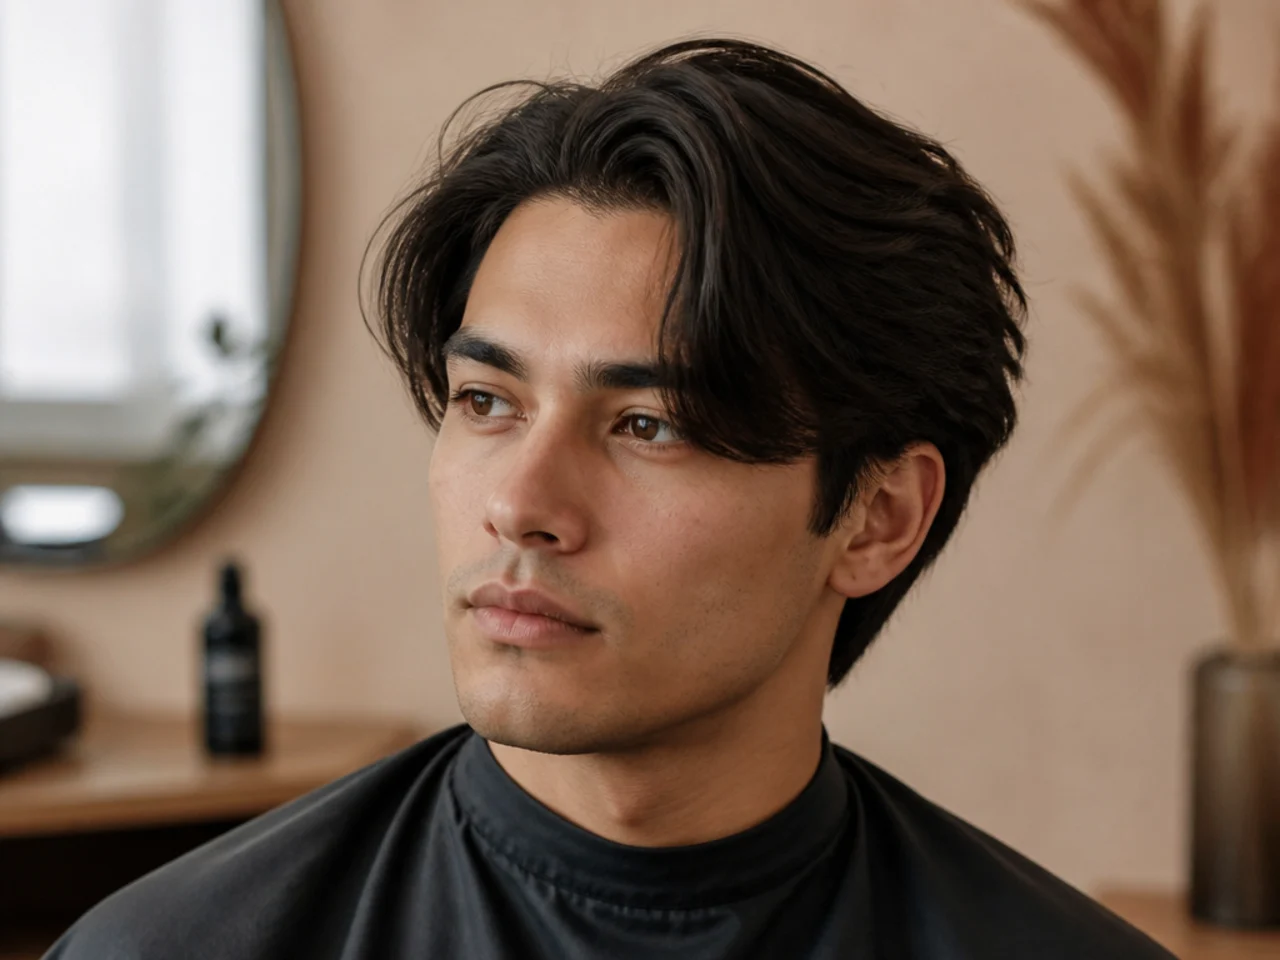
Your hair is memory-trained to the wrong side. Fix it with two weeks of consistent center splits — wet, dry, style, sleep — until the follicles reset. A silk pillowcase and skipping side-flops when you nap help the training stick. If your natural cowlick pulls one way, split just in front of it rather than trying to force the comb across it. The hair around a cowlick will fall the direction the whorl runs; work with it, not against.
Can I skip the blow-dryer?

No — the nozzle is what trains the fall. Air-drying lets each strand go where gravity and cowlicks send it, and cowlicks always win. Medium straight or wavy hair needs a nozzle blow-dry to set the curtain drop the first time; after two weeks of training, some guys can air-dry and finger-style. Curly hair can shortcut with a diffuser on low, but never no-heat. The layered haircuts for men guide explains why layered cuts specifically need heat direction to fall right.
How often should I trim a medium middle part?
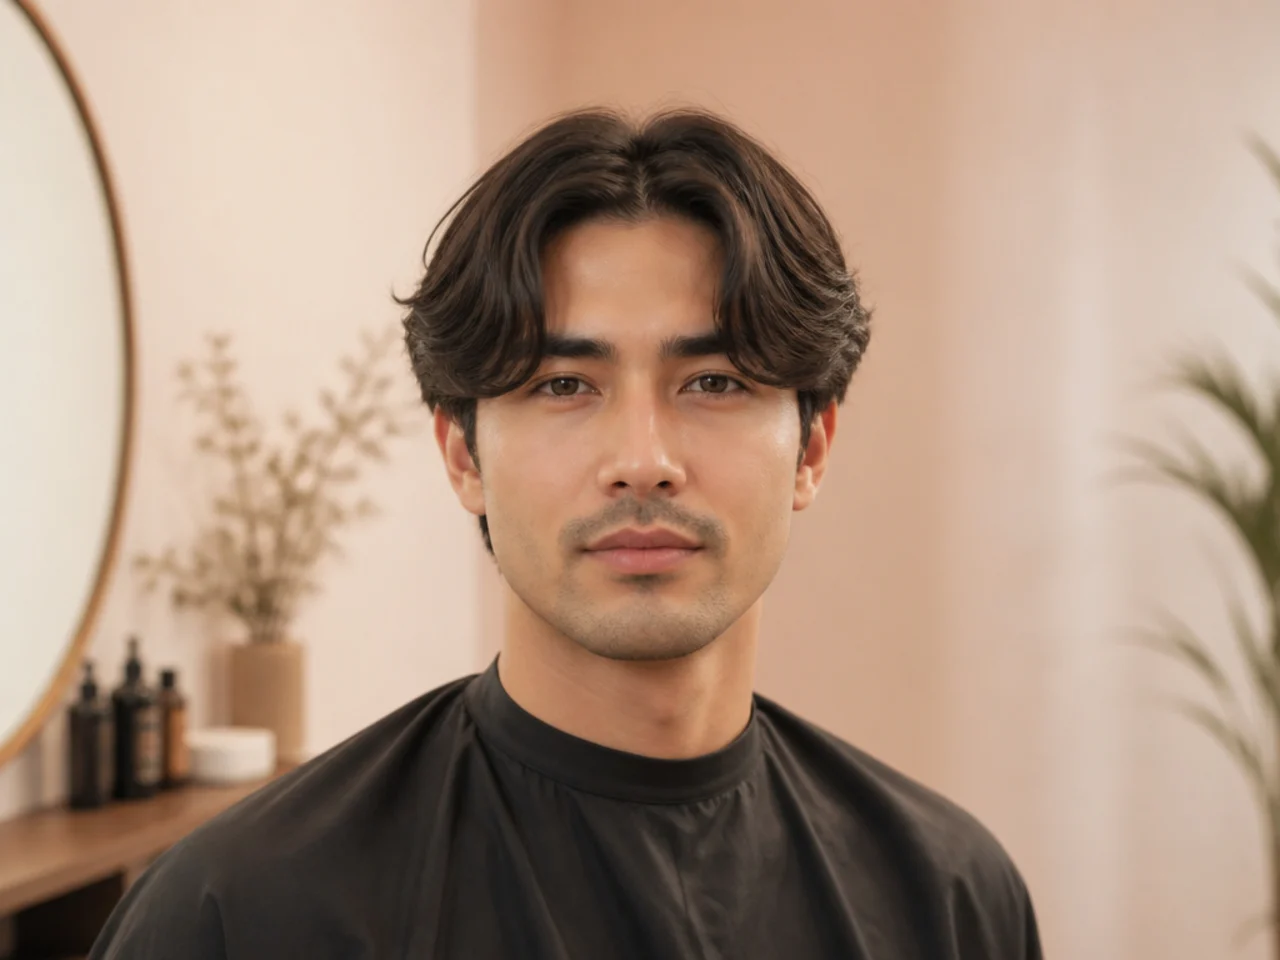
Every 5 to 6 weeks. Wait longer and the layer weight collapses — the curtains lose their forward pull and the part drifts back to whichever side you sleep on. Book earlier, around week 4, if you're pairing the top with a low taper fade or a two block haircut side treatment — those fade lines blur faster than the top softens, and re-crisp trims keep the whole silhouette in shape.