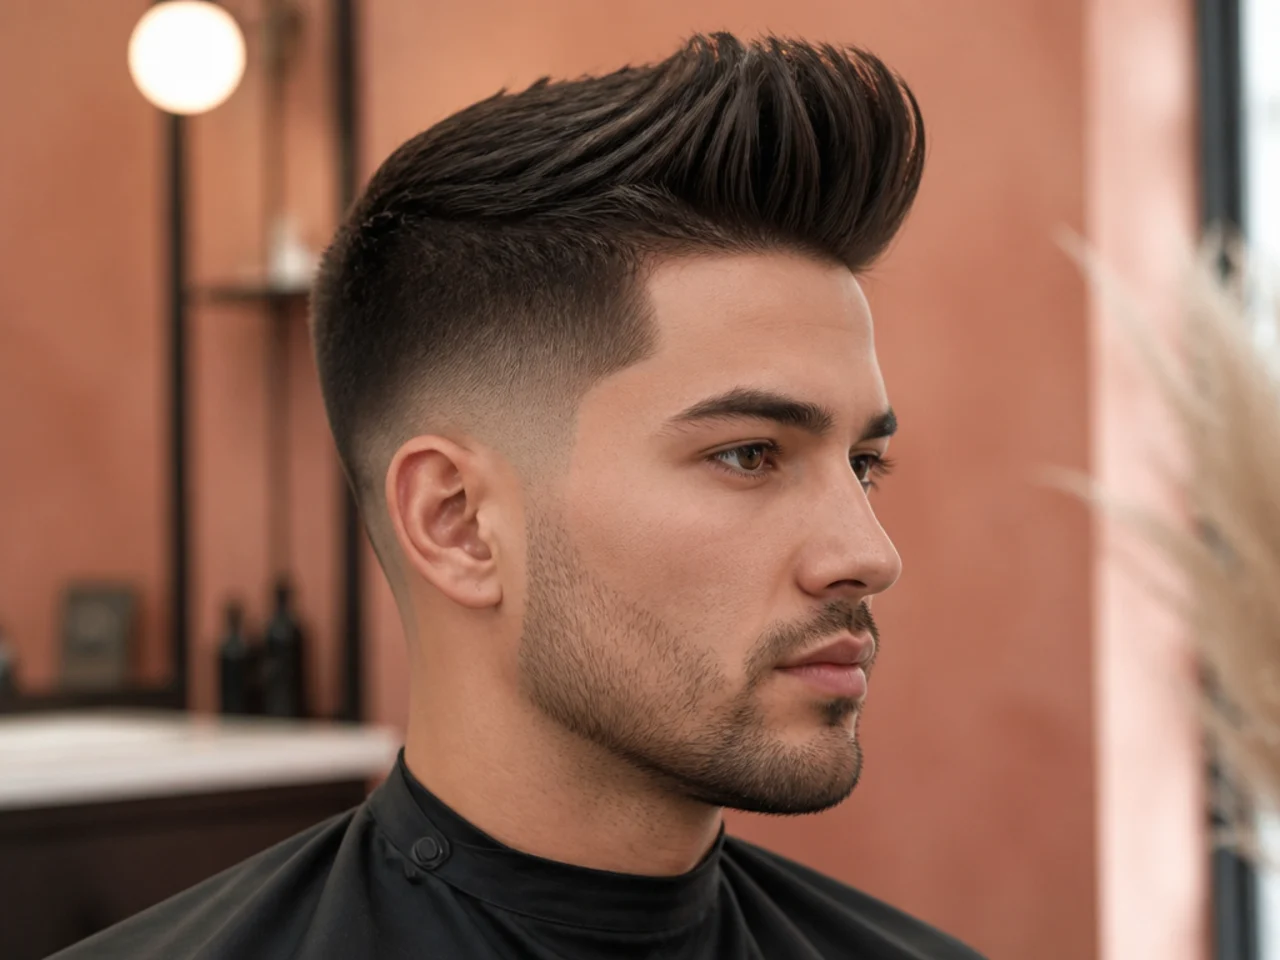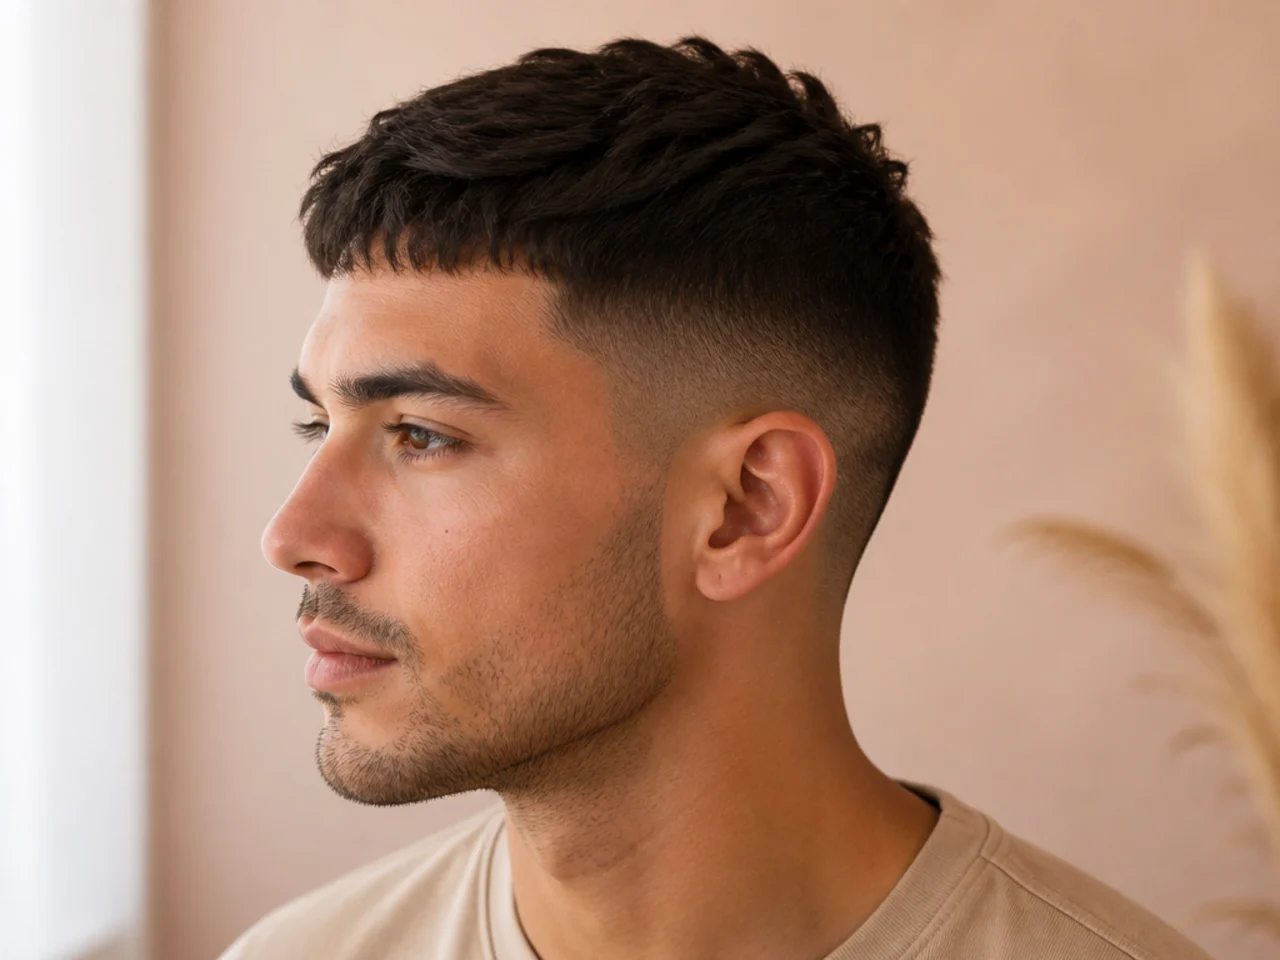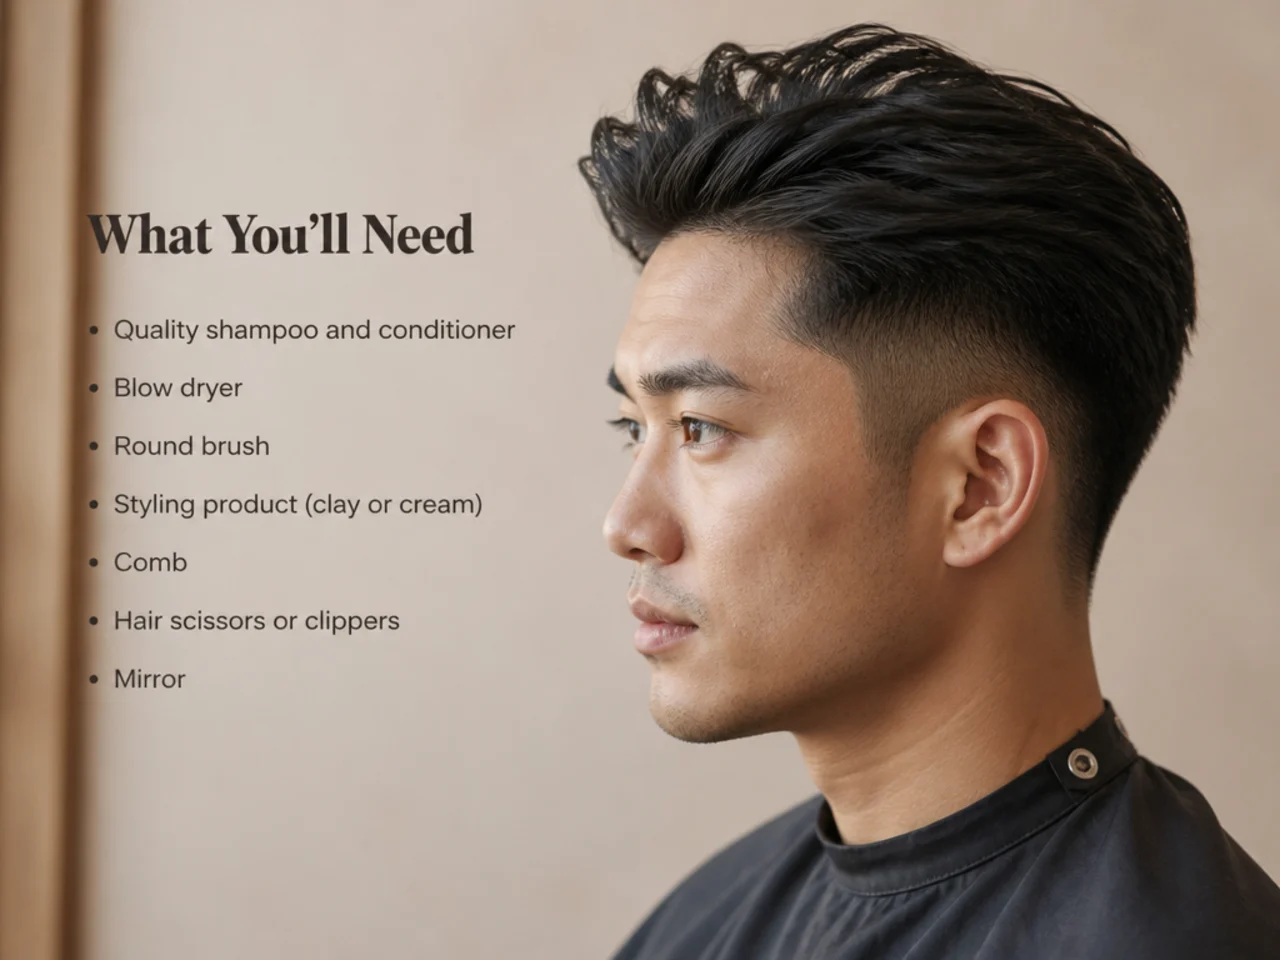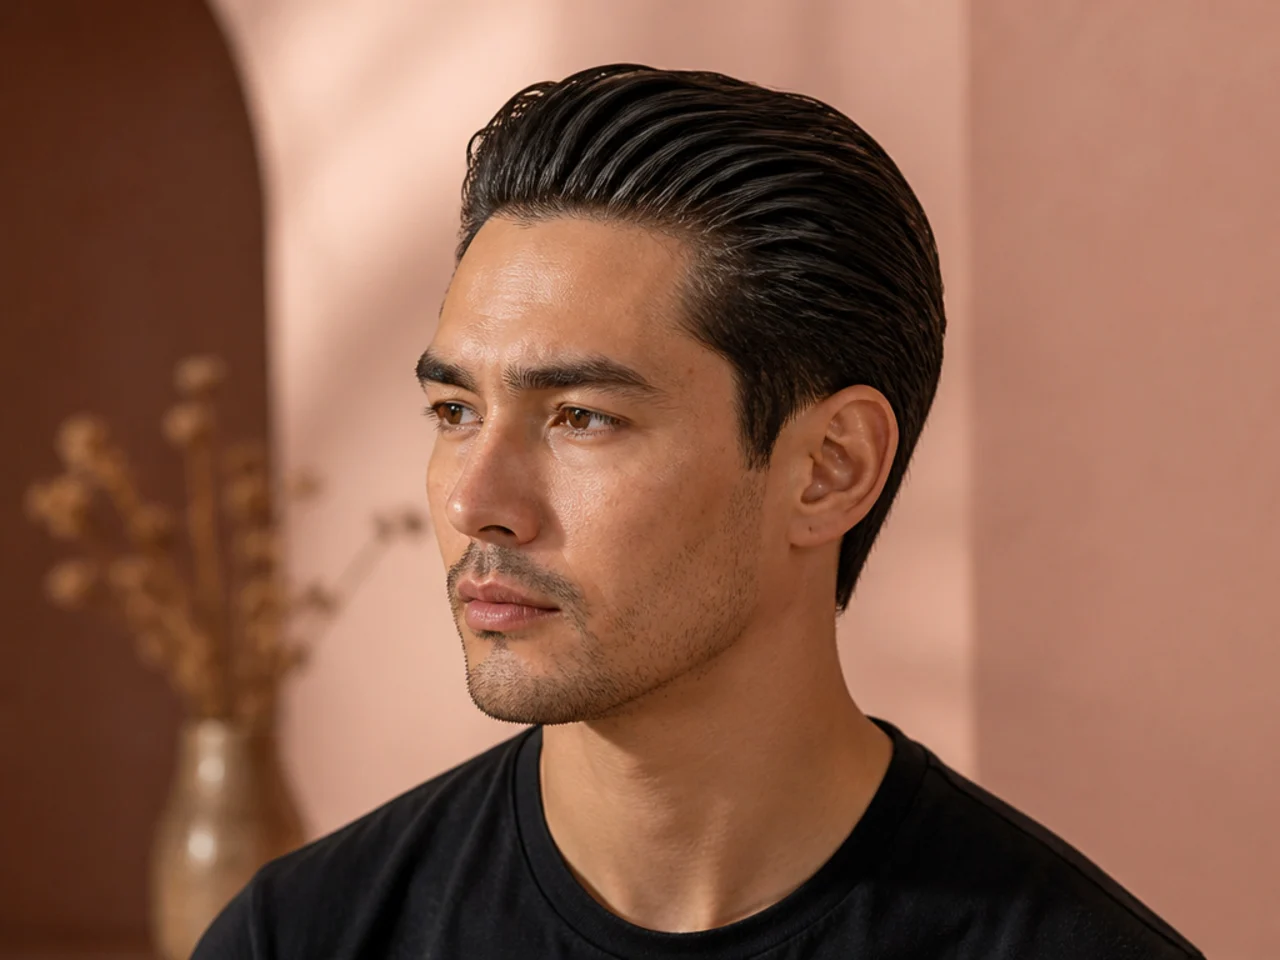
15 Ways to Style a Fringe Haircut for Men
Styling a fringe is not a product decision, it is a root direction decision, and root direction can only be set while the hair is damp. Once the water has gone, the fringe is doing whatever it dried into for the rest of the day.
In this article · 22
- Why Damp Is the Only Window
- How to Choose Yours
- The 15 Ways to Style a Fringe
- 1. The Ninety-Second Finger Dry
- 2. Air-Dry With Clay
- 3. The Forward Push
- 4. The Side Sweep
- 5. The Centre Split
- 6. Round-Brush Root Lift
- 7. Salt Spray for Lift
- 8. The Piece-Out Finish
- 9. Cream for a Falling Fringe
- 10. The Cool-Shot Set
- 11. Diffusing a Curly Fringe
- 12. Styling Against a Cowlick
- 13. The Damp-Cap Reset
- 14. Powder for Fine Hair
- 15. The No-Product Day
- Styling and Upkeep
- Mistakes to Avoid
- FAQ
- Final Thoughts
Most men treat fringe styling as a product problem, buy a third tub of clay, and get the same result they got with the first two.
Styling a fringe is a root direction decision. The first two centimetres out of the scalp determine where the whole section goes, and everything past that is just following.
Root direction can only be set while the hair is damp. Once the water has left, the fringe is doing whatever it dried into until the next wash.
Why Damp Is the Only Window
Hair sets its shape as water leaves it. The hydrogen bonds that hold a direction reform during drying and not afterwards.
Product on dry hair coats, it does not move. The strand has already chosen its direction by then.
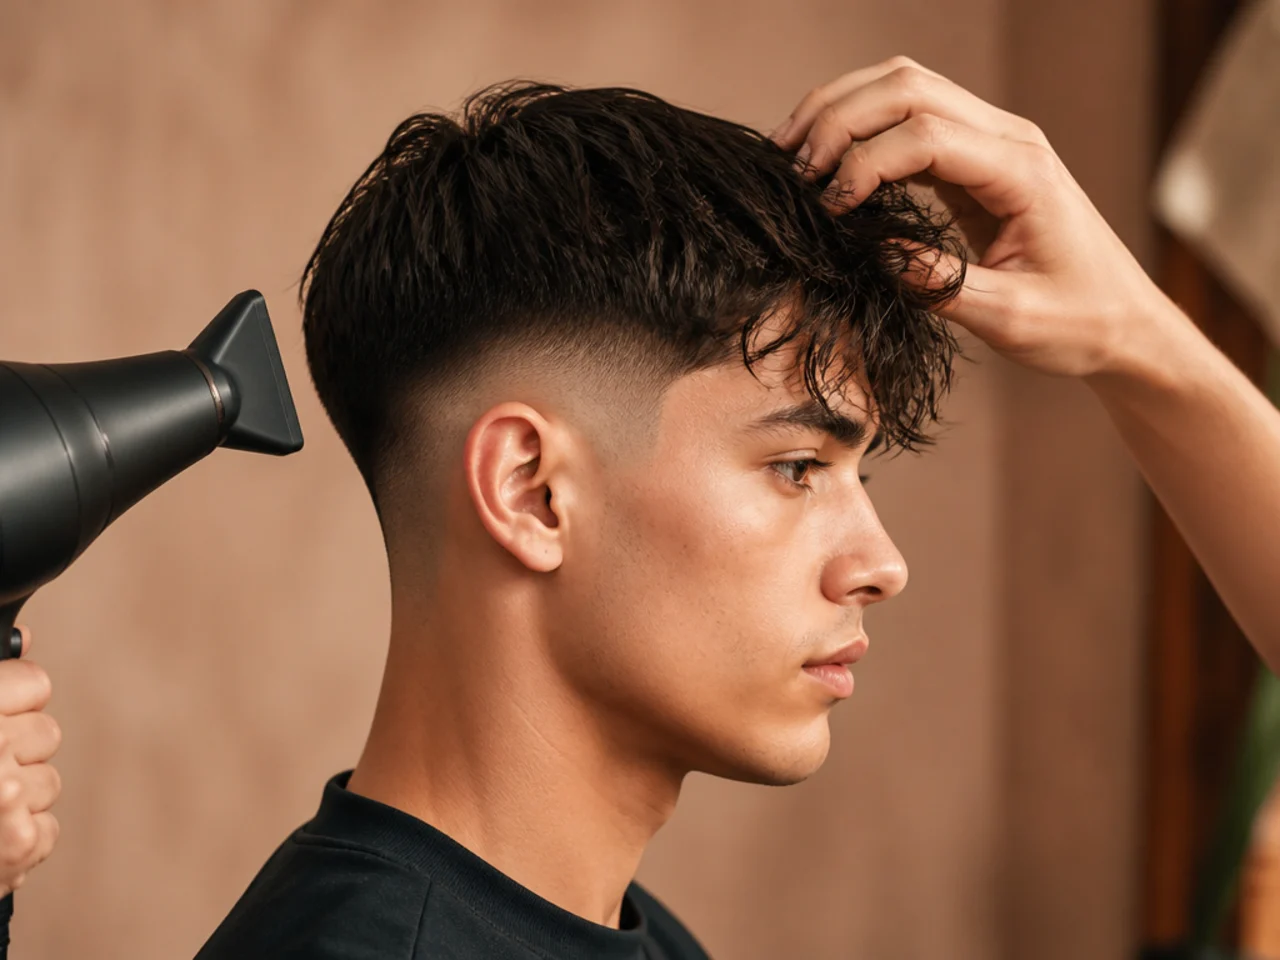
Cool air locks the set. The bonds stop moving the instant the temperature drops, so whichever way the fringe is pointing at that moment is where it stays.
Heat without direction does nothing useful. A dryer aimed at an undirected fringe just dries it faster in the wrong place.
How to Choose Yours
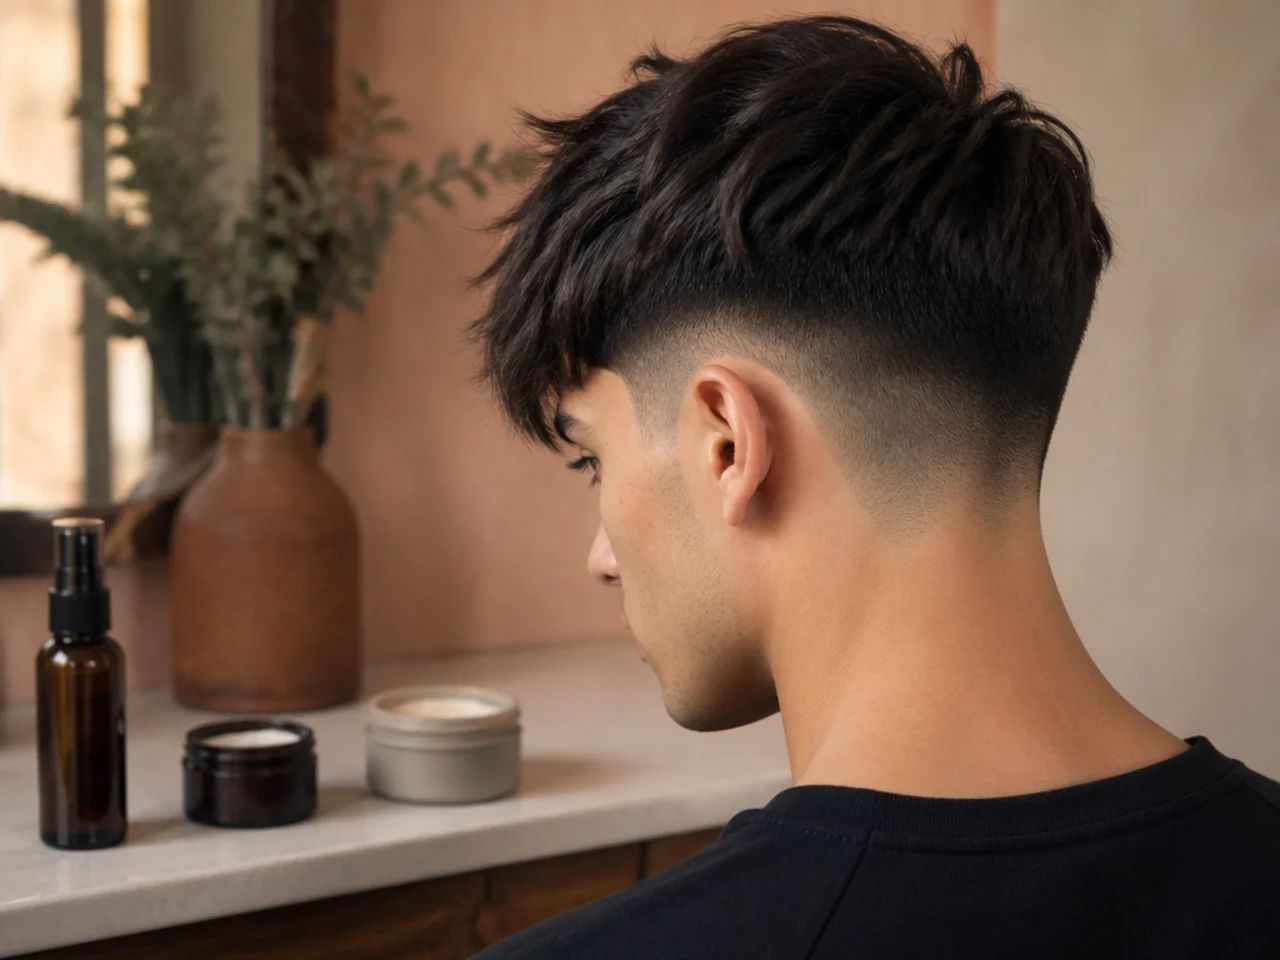
Match the product to the finish you want. A fringe that should break into pieces wants clay, one that should hang flat wants cream, and a limp one wants salt spray at the roots.
Match the method to your texture. Straight hair needs breaking up, wavy hair needs directing, curly hair needs leaving alone.
Budget the time you actually have. Some of these take ninety seconds and some take eight minutes.
Decide forward, swept or split first. It is one choice and it changes every step that follows.
The 15 Ways to Style a Fringe
1. The Ninety-Second Finger Dry
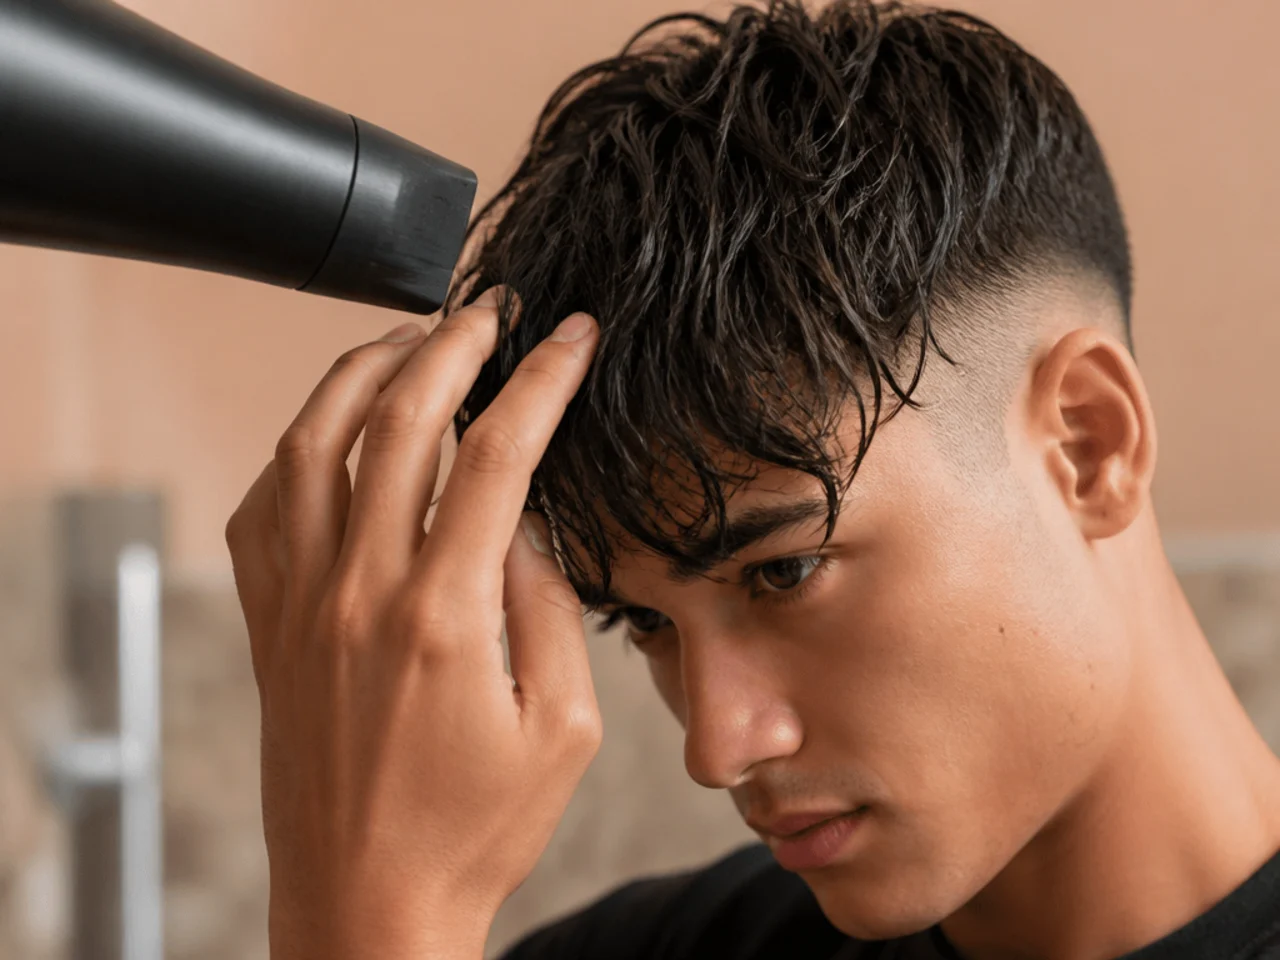
Towel to damp, a pea of clay through the roots, then push the fringe forward with your fingers while the dryer runs on medium. It is the baseline method and it covers most textured fringes, because the fingers break the section into pieces at the same moment the heat is fixing their direction.
2. Air-Dry With Clay
Clay through damp roots and then nothing at all. Air-drying leaves the root direction irregular, which is what makes a fringe look uncut rather than styled.

3. The Forward Push
Both hands flat on the sides of the head, pushing the whole top section toward the forehead while it dries. It commits the entire top to one direction rather than only the front centimetre, which is what stops the fringe separating from the hair behind it by mid-morning.

4. The Side Sweep
Dry the front across the forehead on a diagonal, starting at the heavier side. A diagonal covers more forehead per centimetre of hair than a forward fringe does.
5. The Centre Split
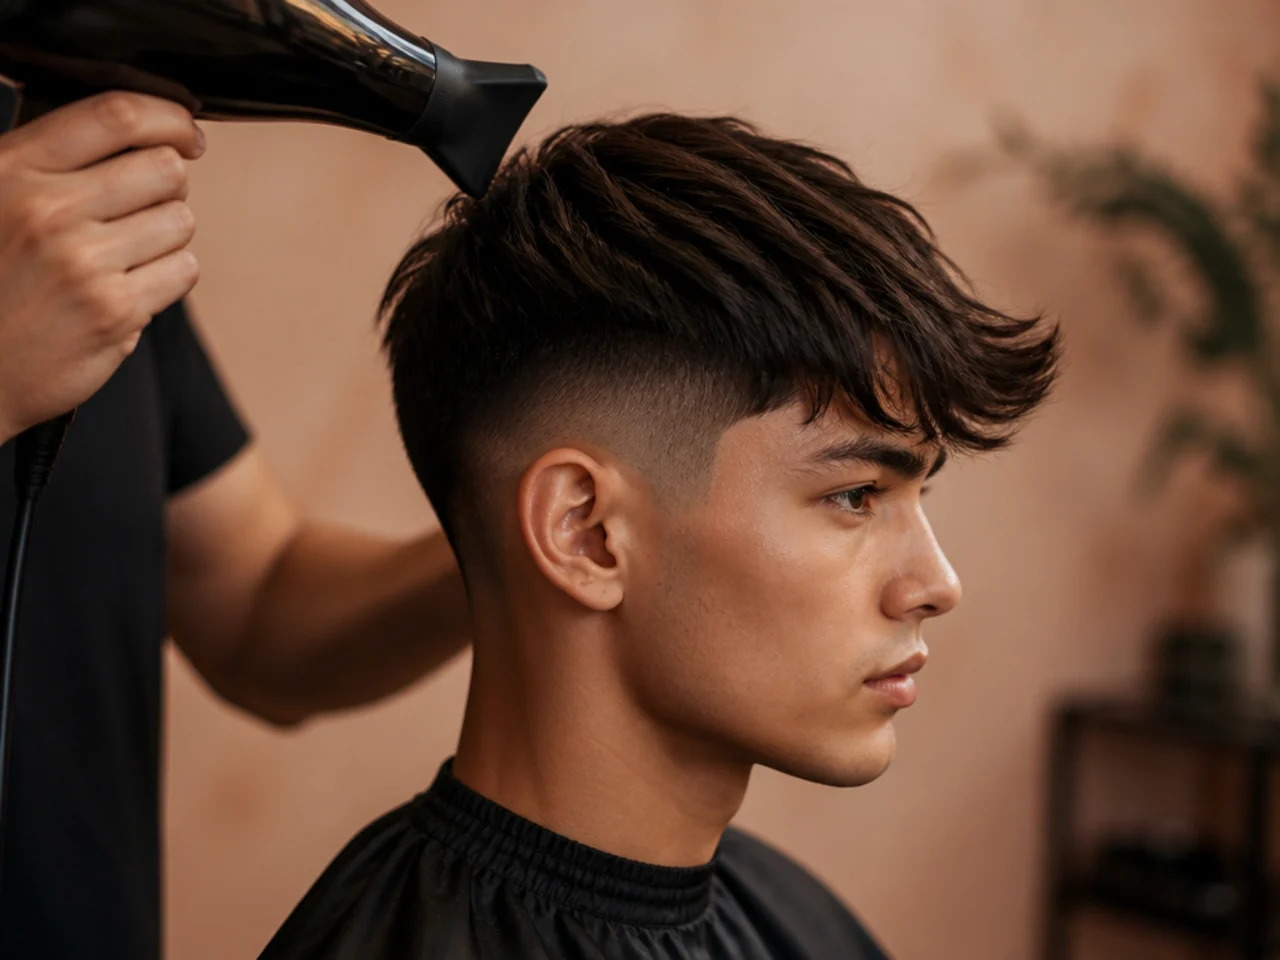
Part the damp fringe with a finger, dry each half outward, then finish cool. The cool shot matters here more than anywhere else, because a split relaxes back the moment it warms. Worn longer the same split becomes a middle part, and it needs the identical cooling step to hold.
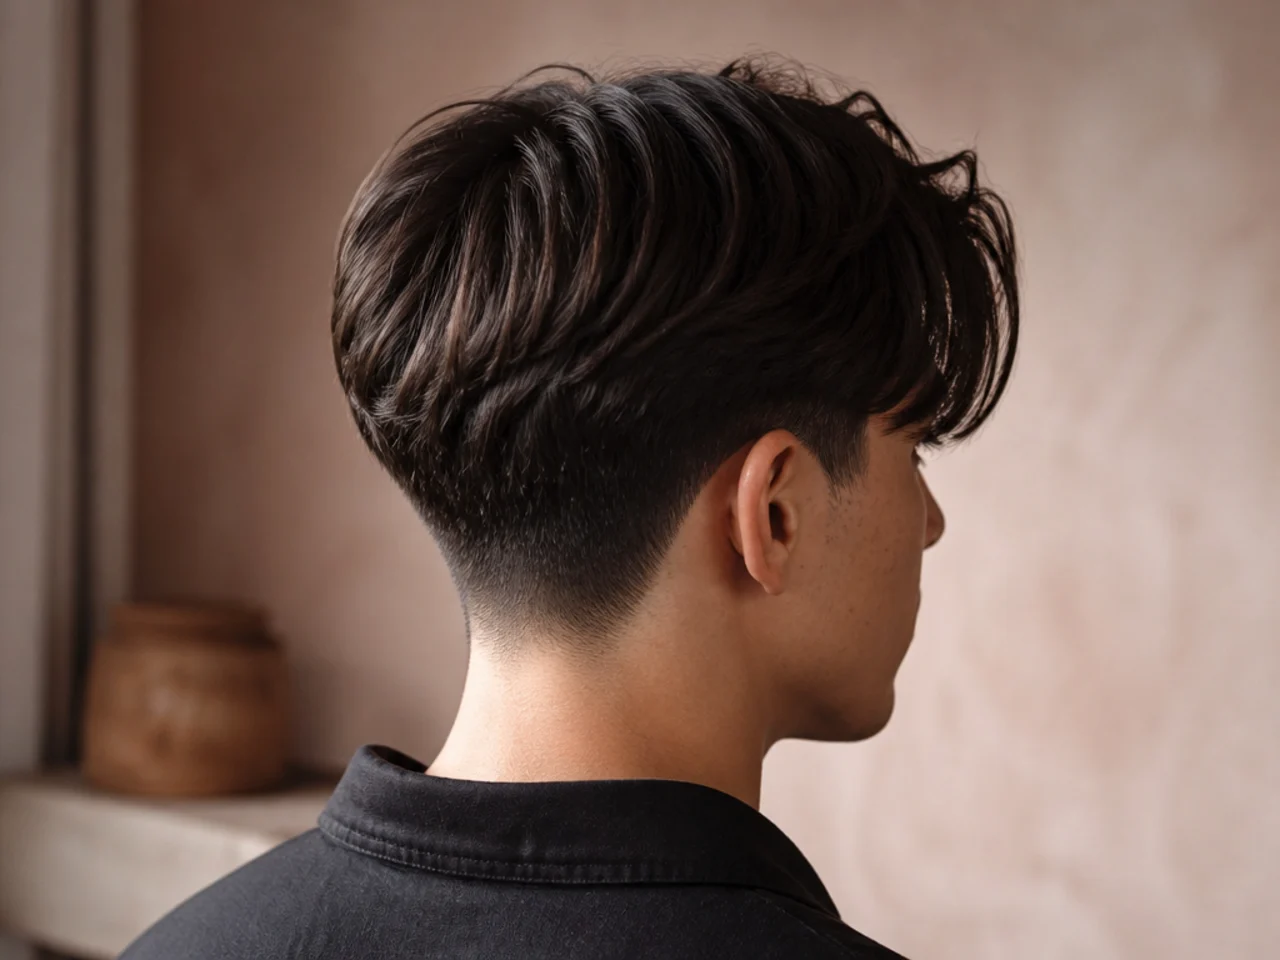
6. Round-Brush Root Lift
A small round brush at the root, rotating away from the forehead, then a burst of cool air. It is how a comma or curtain shape is built, and it takes about four minutes because each half of the fringe has to be lifted and cooled separately. It is also the core move behind Korean haircut styling.
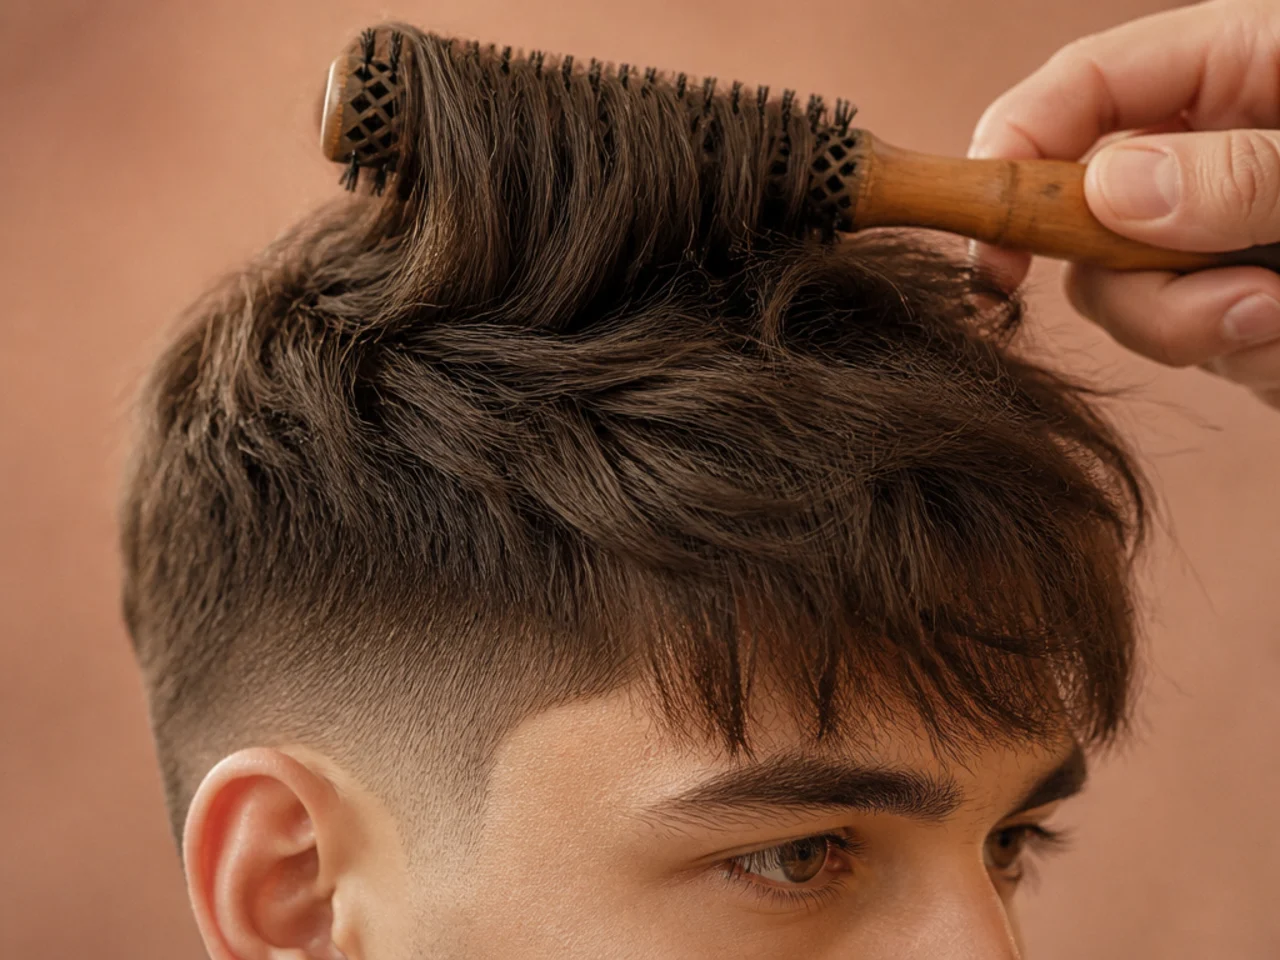
7. Salt Spray for Lift
Spray at the roots of a damp fringe and scrunch upward. Salt roughens the cuticle so strands grip each other, which creates volume without any weight at all.
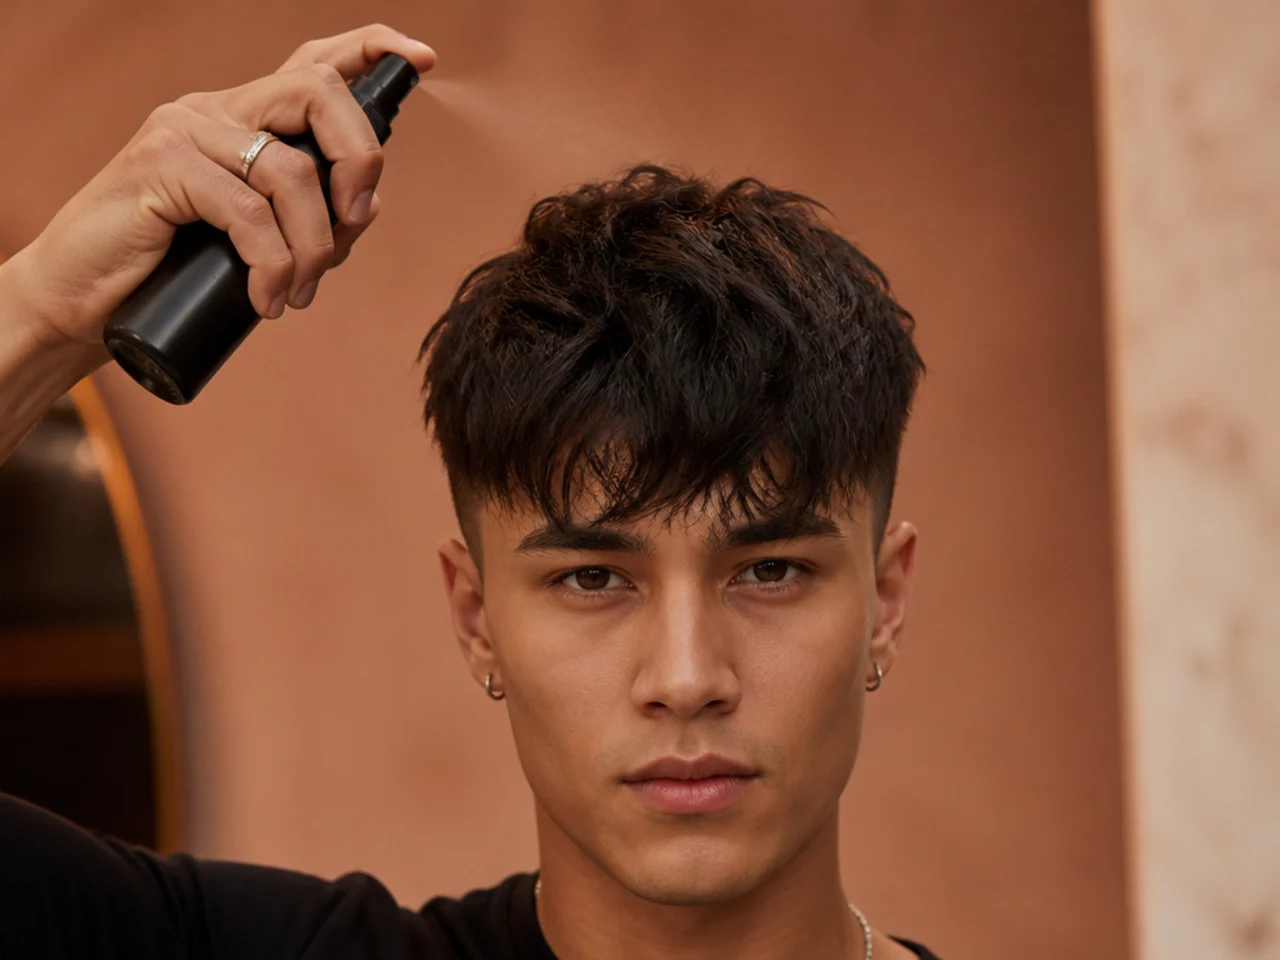
8. The Piece-Out Finish
Rub a small amount of clay between dry palms and pinch through the tips only. This is the one step that belongs on dry hair, because it separates ends rather than moving roots.

9. Cream for a Falling Fringe
A light cream through damp mid-lengths adds enough weight for the fringe to hang instead of lift. It is the correct product for anyone whose fringe stands when they want it flat.
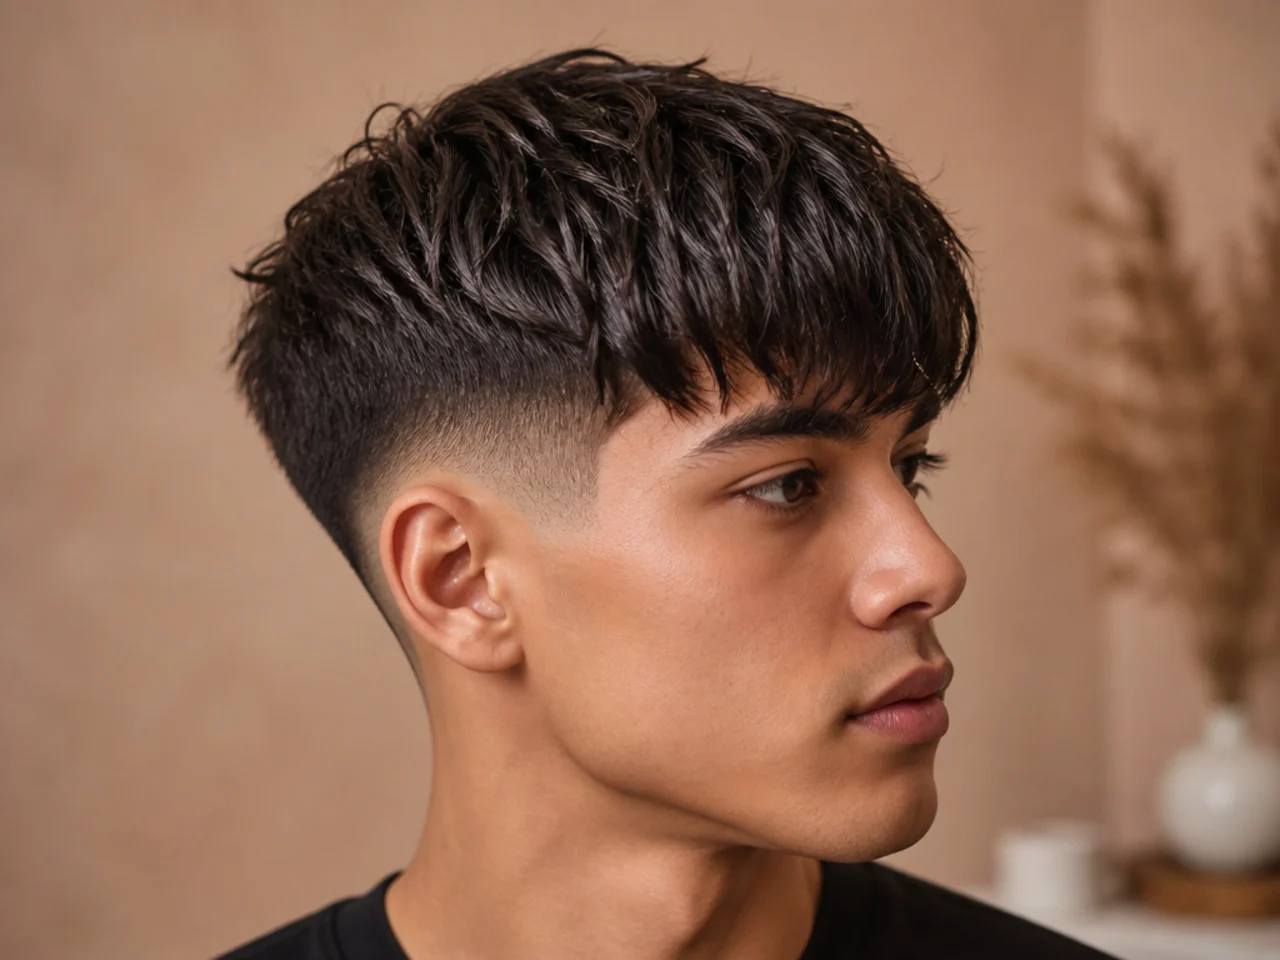
10. The Cool-Shot Set
Half a minute on the cold setting, aimed down the length of the fringe, closes every dry. Hair holds the shape it is in when it cools, so this is the cheapest hold available and it costs nothing.
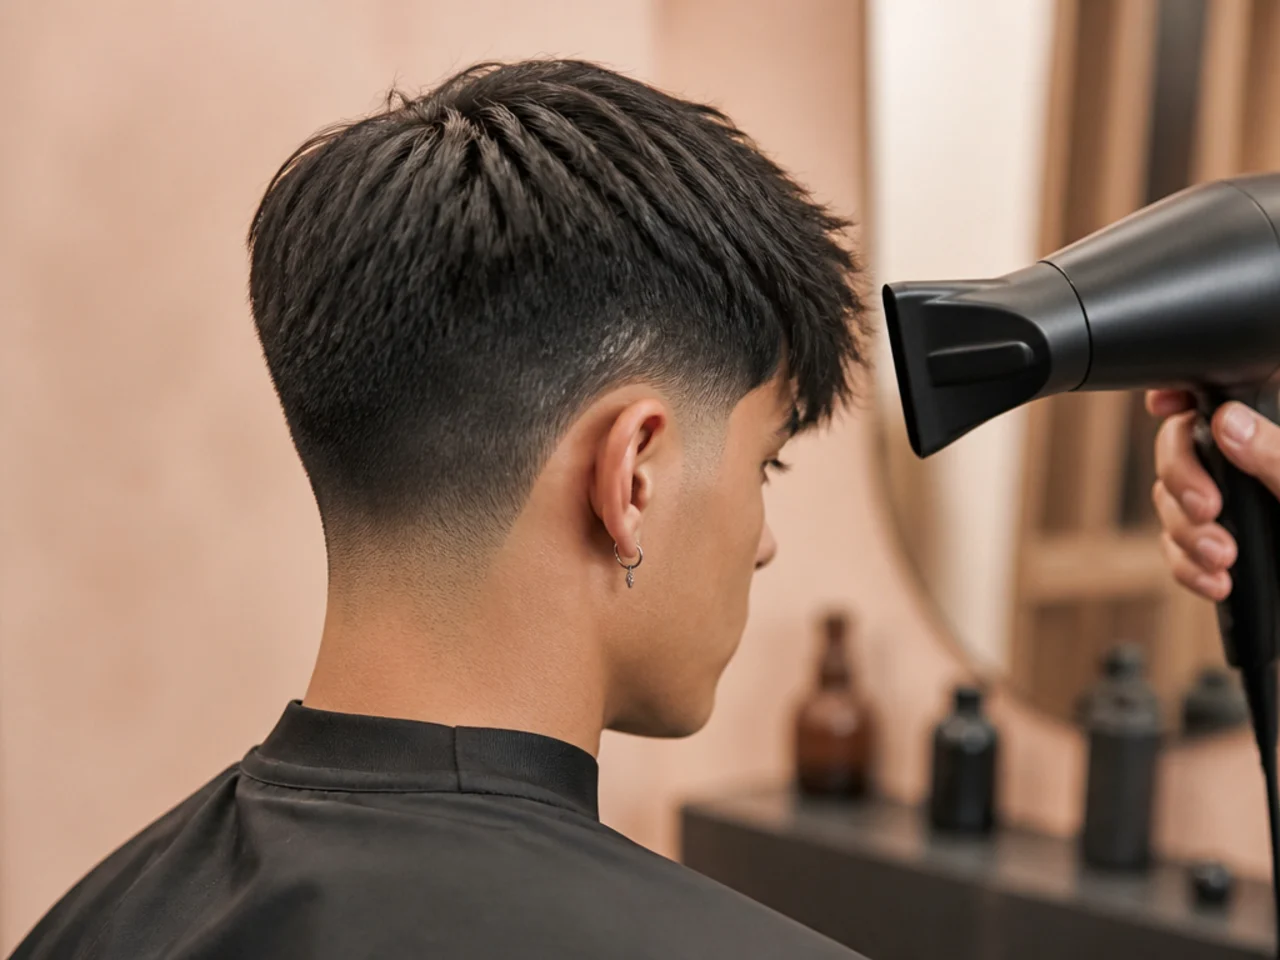
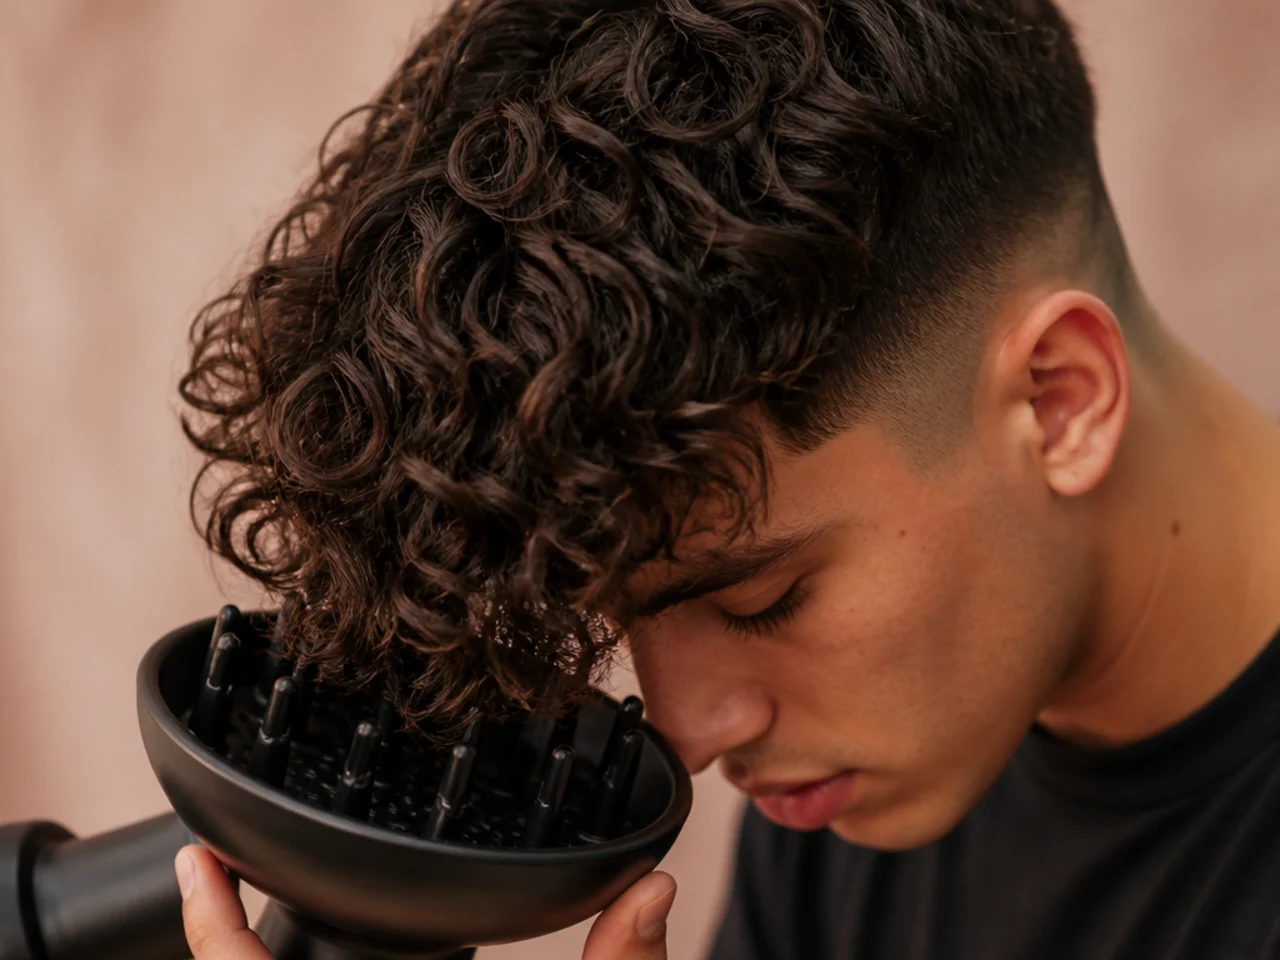
11. Diffusing a Curly Fringe
Low heat, low speed, diffuser cupped under the front. High airflow blows curl clumps apart before they have set, which is the single most common cause of a frizzy curly fringe. Everything else in a curly routine for men obeys the same low-heat rule.
12. Styling Against a Cowlick
Dry the fringe in the opposite direction to the cowlick first, then bring it back to where you want it. Attacking it directly never works, because the root has to be overshot before it will settle.
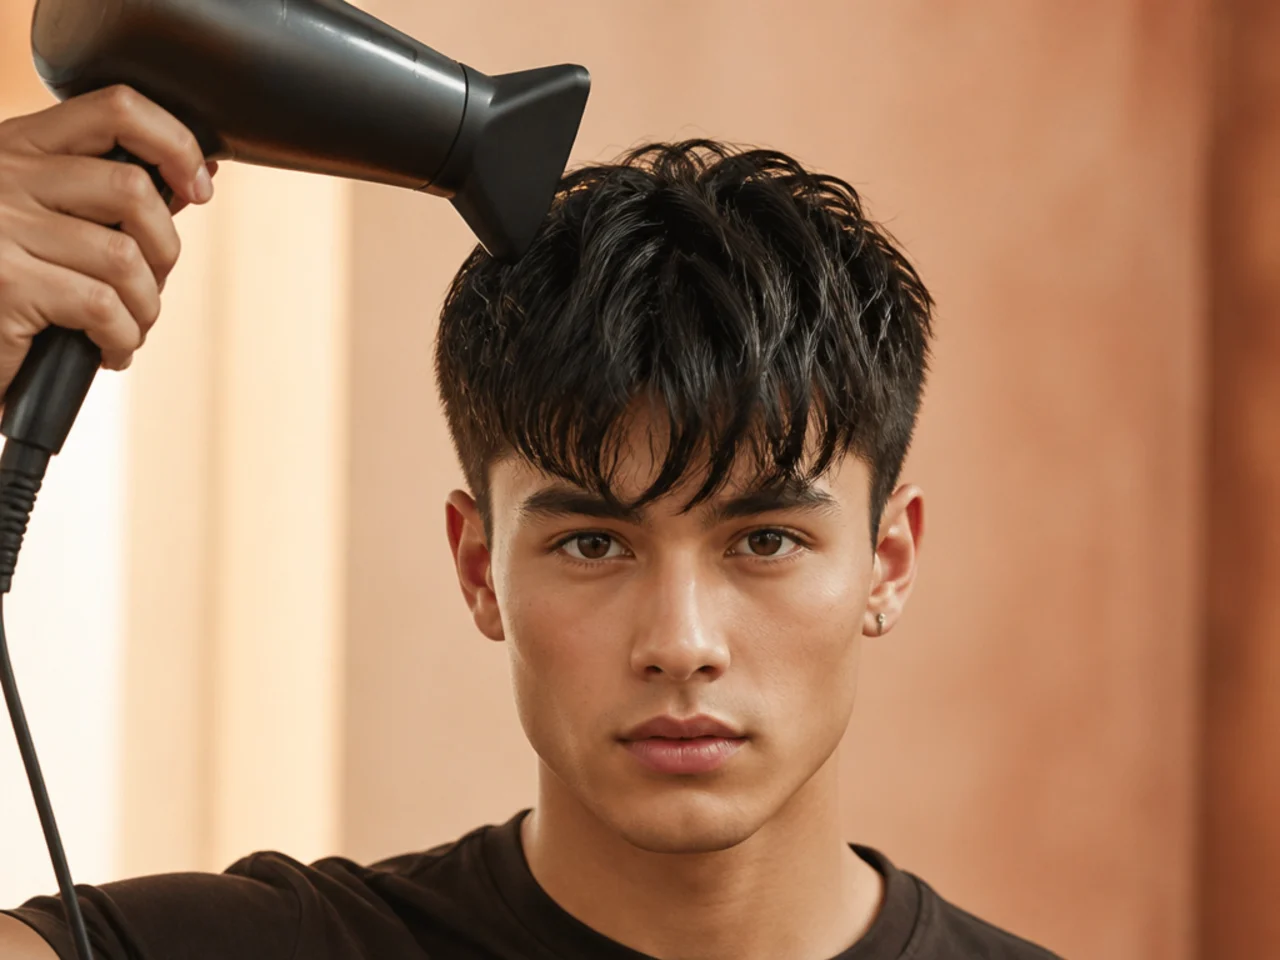
13. The Damp-Cap Reset
Wet only the fringe under the tap rather than washing the whole head. It resets the root direction in twenty seconds and is how to fix a fringe at lunchtime, since water is the only thing that releases a set direction and lets you choose a new one.

14. Powder for Fine Hair
Texture powder at the roots of a fine fringe adds grip where there is no natural weight to work with. Use a fraction of what looks right, because powder builds up quickly.
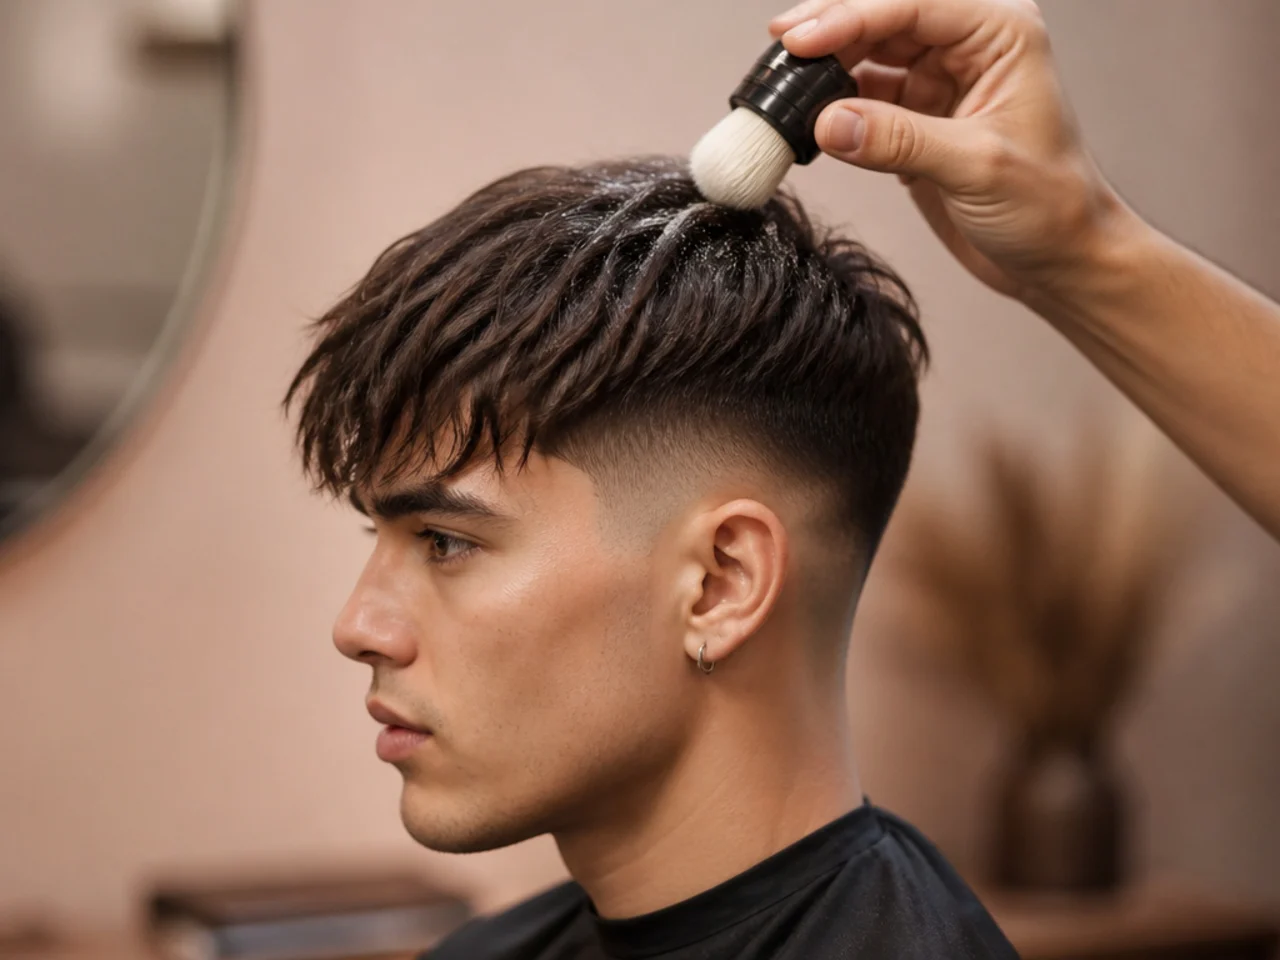
15. The No-Product Day
Damp fringe, fingers, cool air, nothing else. It is worth doing once a week to see what your cut actually does on its own, because that is the fringe you should be asking your barber for.
Styling and Upkeep
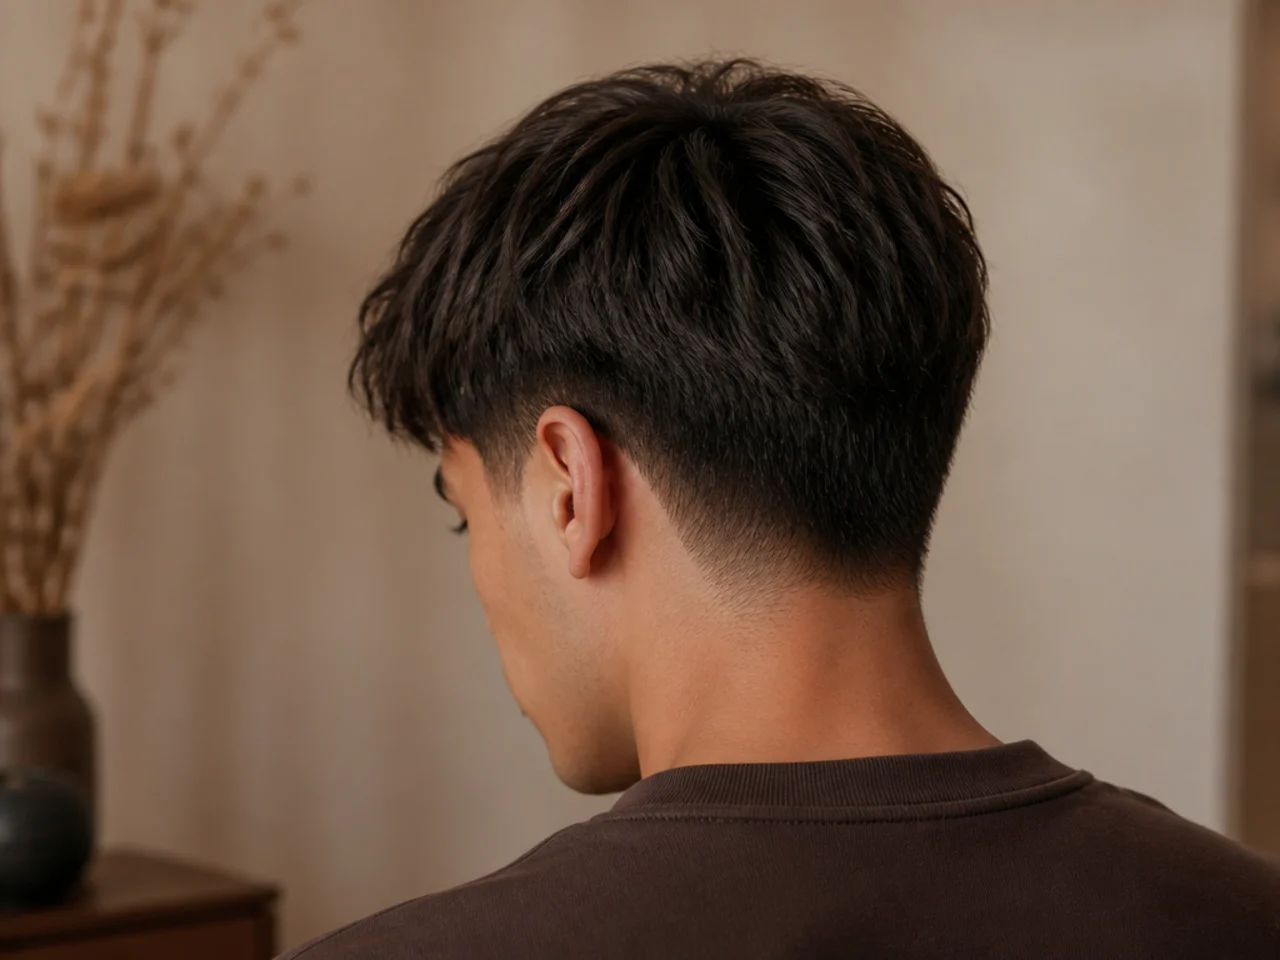
Buy one clay and one cream and stop. They cover lift and fall, and everything else is a variation.
Apply to roots, finish at the tips. Two different stages with two different amounts of product.
Wash the fringe more than the rest. It sits against the forehead and picks up oil the sides never do.
Clean your brush weekly. Product build-up on the bristles transfers straight back into the front section.
Re-wet rather than re-apply. Adding product to a fringe that has already fallen only makes it heavier.
Mistakes to Avoid
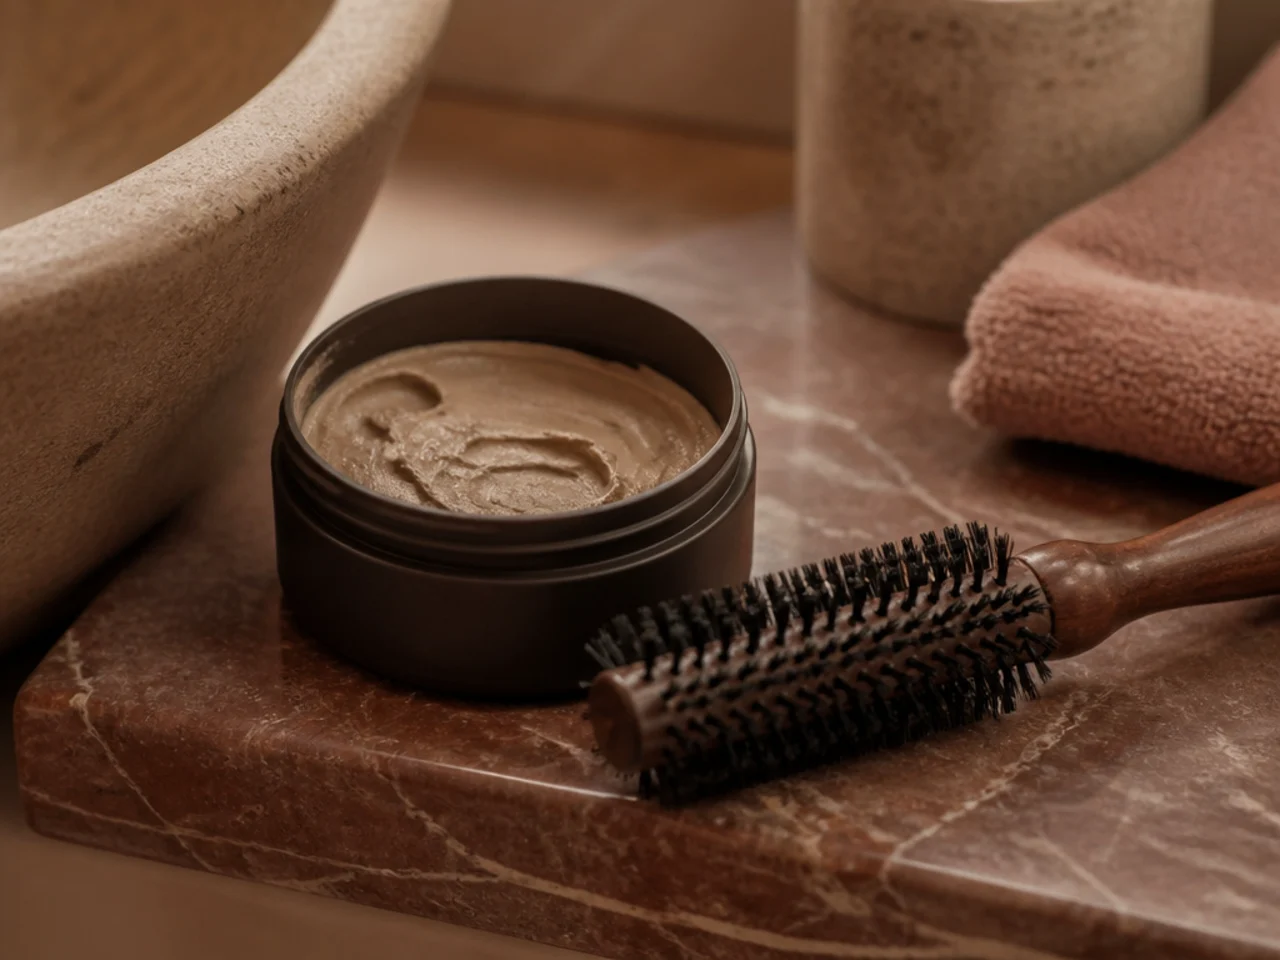
Applying product to dry hair. By then the fringe has already chosen its direction, and clay on the mid-lengths cannot re-aim a root that has set.
Using shine pomade on a textured fringe. Gloss clumps the pieces the cut worked to separate.
Combing after styling. A comb resets every strand to one angle, so a fringe built from several directions collapses into a single curtain.
Skipping the cool shot. Without it the shape relaxes within an hour.
Drying the ends before the roots. The direction is set at the scalp and nowhere else.
FAQ
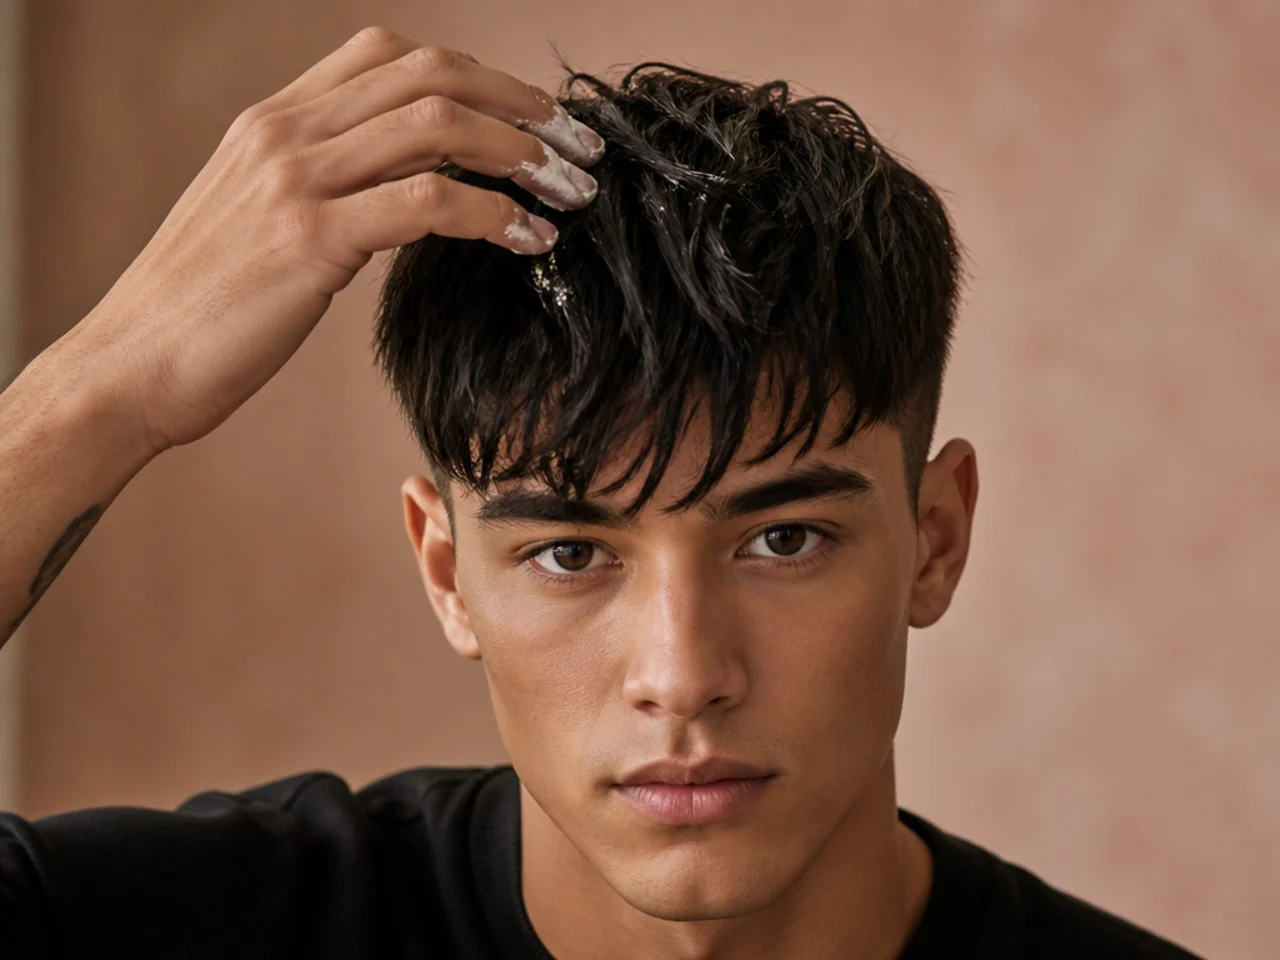
When do I apply product? While the hair is still damp, at the roots.
Which product? Clay if the front should separate, cream if it should sit flat on the forehead, salt spray if it needs lifting off the skin first.
How do I stop a centre split? Dry against it while damp, then set it with cool air.
Final Thoughts
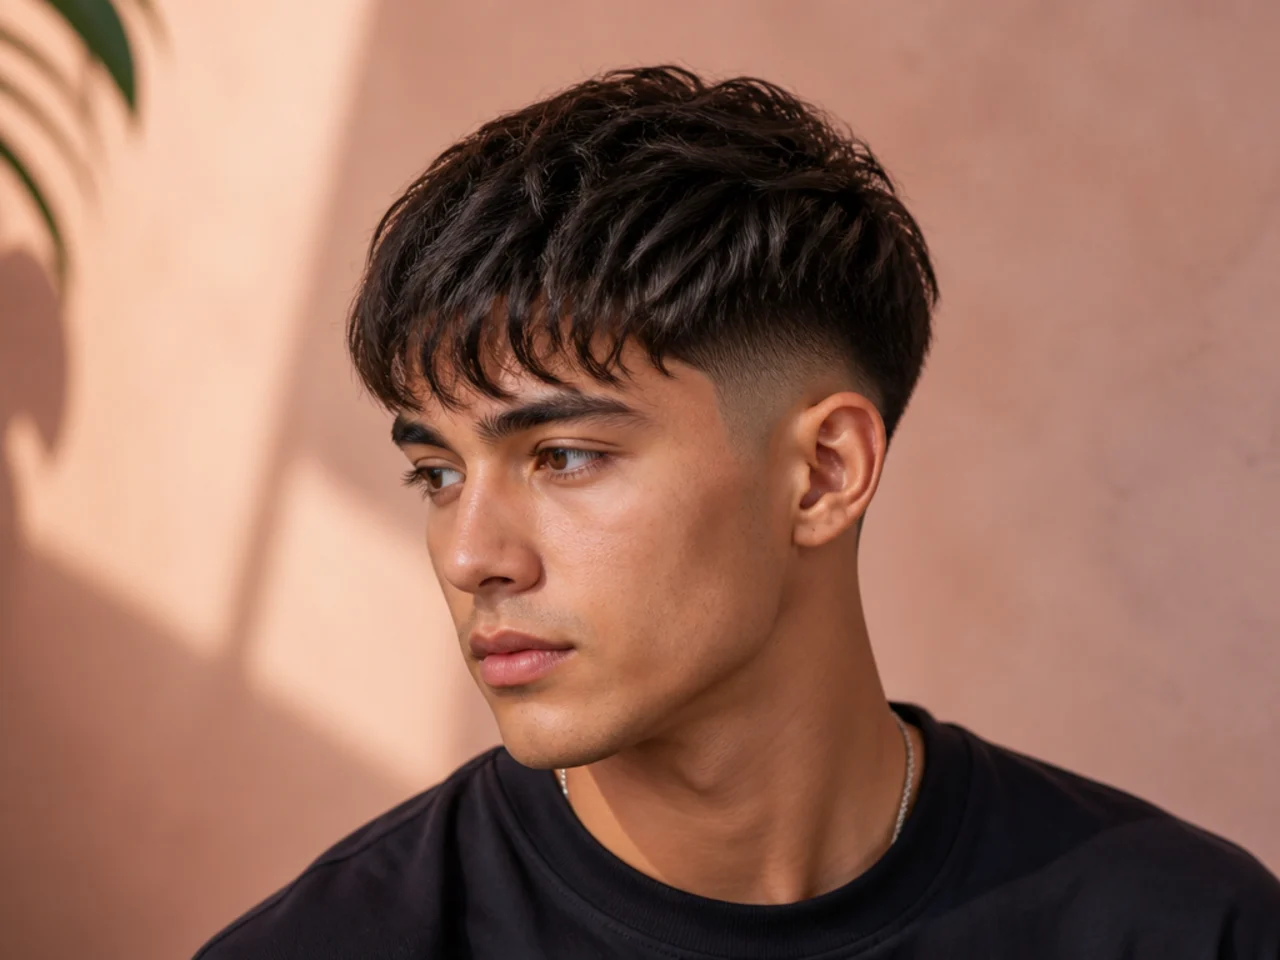
Every method here is the same idea applied differently — get the roots damp, aim them somewhere, then cool them in place. Once that sequence is automatic, the product tub you happen to own stops mattering nearly as much as you thought it did.
For the cuts these methods are built for see fringe haircuts for men, and for the most-styled version of all see the messy fringe haircut. More in Men's Haircuts.