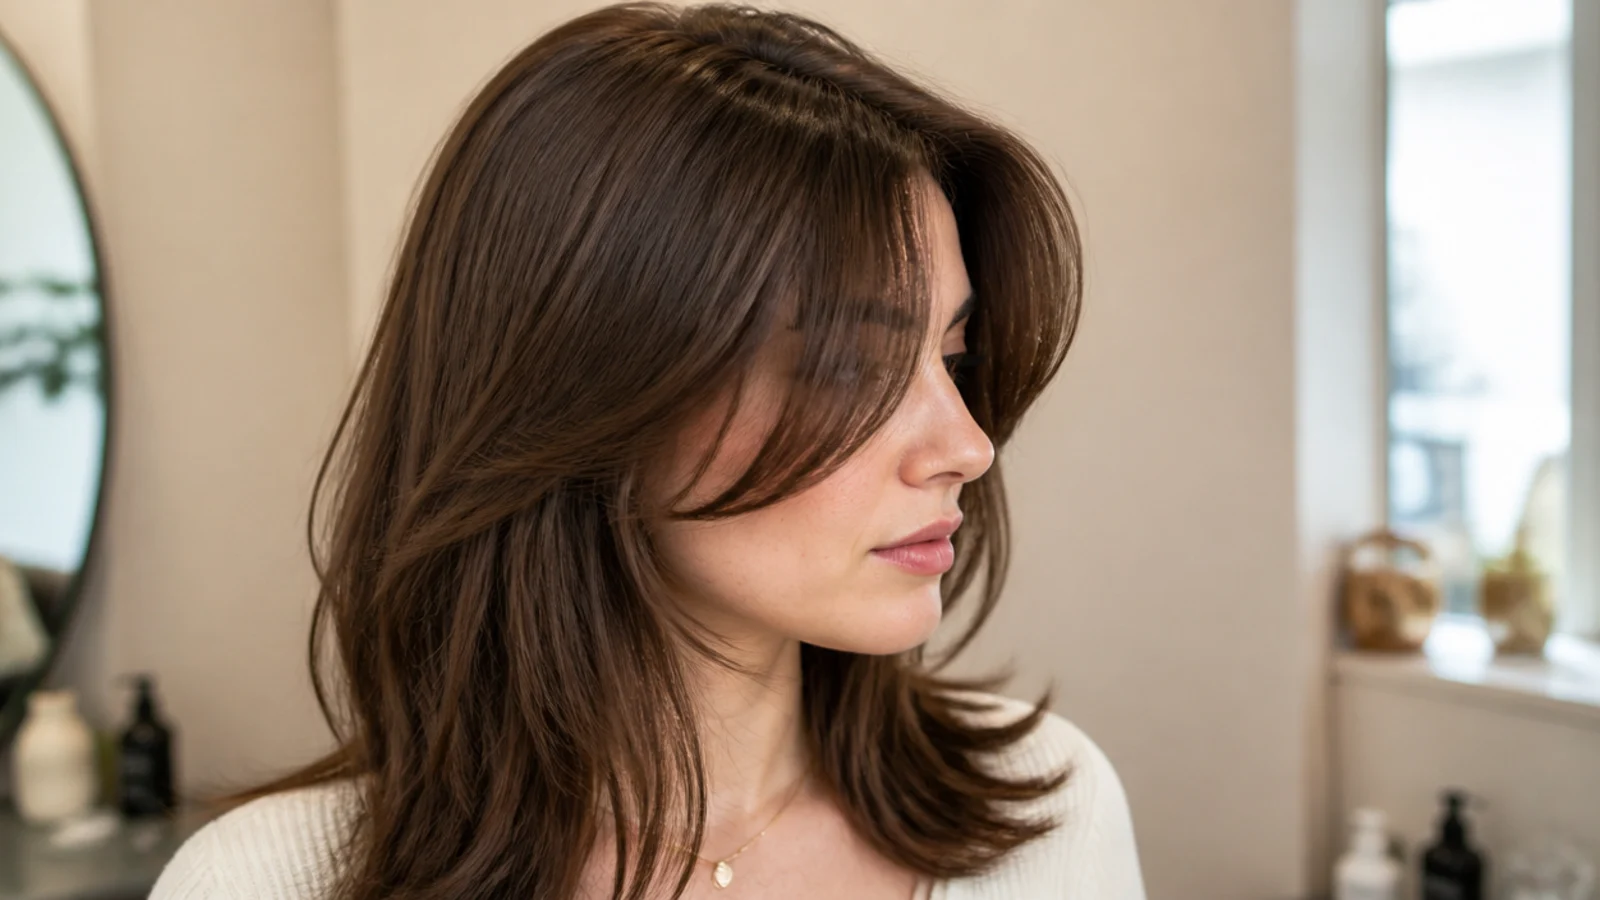
15 Steps To Style Long Curtain Bangs Every Morning
A fifteen step morning routine for long curtain bangs on straight hair, built around the one thing that decides the result. Straight hair only takes a new shape as it dries, so the bend has to be set at the root while the fringe is wet.
In this article · 22
- Why Straight Curtain Bangs Fall Flat
- Choosing Your Tools
- The 15 Steps
- 1. Wet the Fringe Even if You Skip the Wash
- 2. Blot the Fringe Almost Dry
- 3. Comb It Down and Find the Natural Split
- 4. Work a Pea of Mousse Into the Roots Only
- 5. Rough Dry the Root Against the Growth
- 6. Dry the Whole Fringe Forward Over the Face
- 7. Split the Fringe Into Two Even Panels
- 8. Set the Round Brush Behind the Root
- 9. Roll Each Panel Away From the Face
- 10. Point the Dryer Down the Brush From Above
- 11. Cool the Section on the Brush Before Releasing
- 12. Unwind the Brush Downward Instead of Pulling
- 13. Blend the Ends Into the Length
- 14. Reset the Split With Your Fingers
- 15. Finish With a Light Spray From Arms Length
- Styling and Upkeep
- Mistakes to Avoid
- FAQ
- Final Thoughts
Long curtain bangs on straight hair drop for one reason, and it is not the product or the cut.
Straight hair only takes a shape as it dries. Heat applied to an already dry fringe reheats the shape it is in and cannot replace it, which is why an evening restyle never works.
The bend belongs at the root, not the end. A curled end has nothing holding it up and the weight of the fringe pulls it straight, usually inside two hours.
Why Straight Curtain Bangs Fall Flat
A straight strand has no structure to hold a curve. There is no bend in the hair itself, so every bit of shape it has was put there by drying and can be removed by moisture.
The root sets the direction and the ends only follow. Lift the root away from the scalp as it dries and the whole length has to travel over that lift.
Weight works against you all day. A long fringe is heavier than a short one, so the same amount of bend gives you less visible sweep and holds it for less time.
Product at the ends makes it worse. Anything applied below the root adds weight exactly where the fringe is already struggling to stay up.

Choosing Your Tools
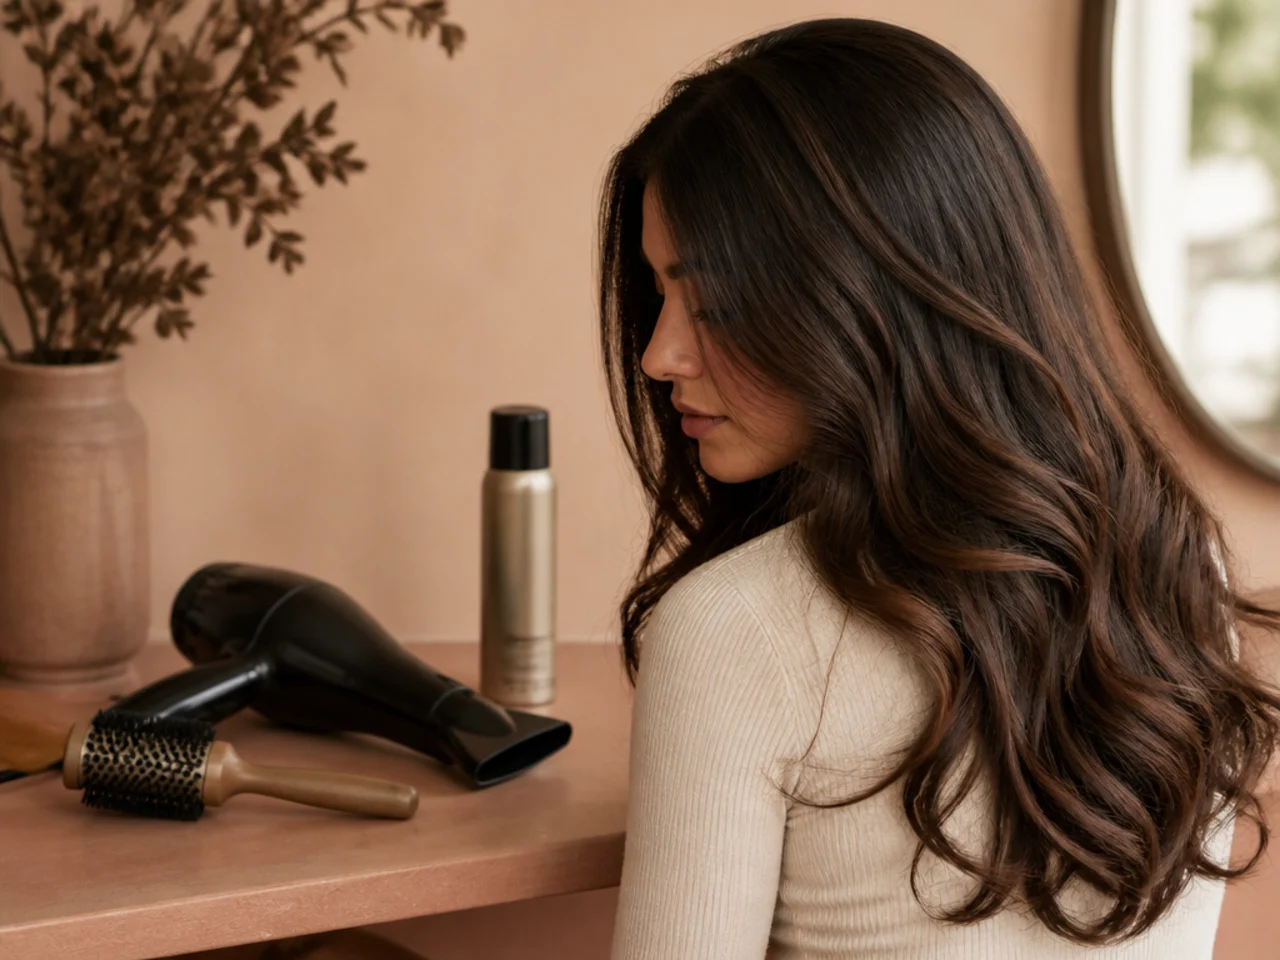
A round brush with about a two inch barrel. The barrel diameter is the radius of the bend, so this size gives a sweep rather than a ringlet on a long fringe.
A dryer with a narrow nozzle. Without one the air spreads and lifts the surrounding hair as much as the fringe, which undoes the split you are trying to keep.
Medium heat and a cool shot. Heat makes the hair take the shape; the cool shot is what fixes it before the brush comes out.
A light mousse or root spray, nothing heavier. You are adding grip at the root only, and every gram of product below that costs you sweep.
The 15 Steps
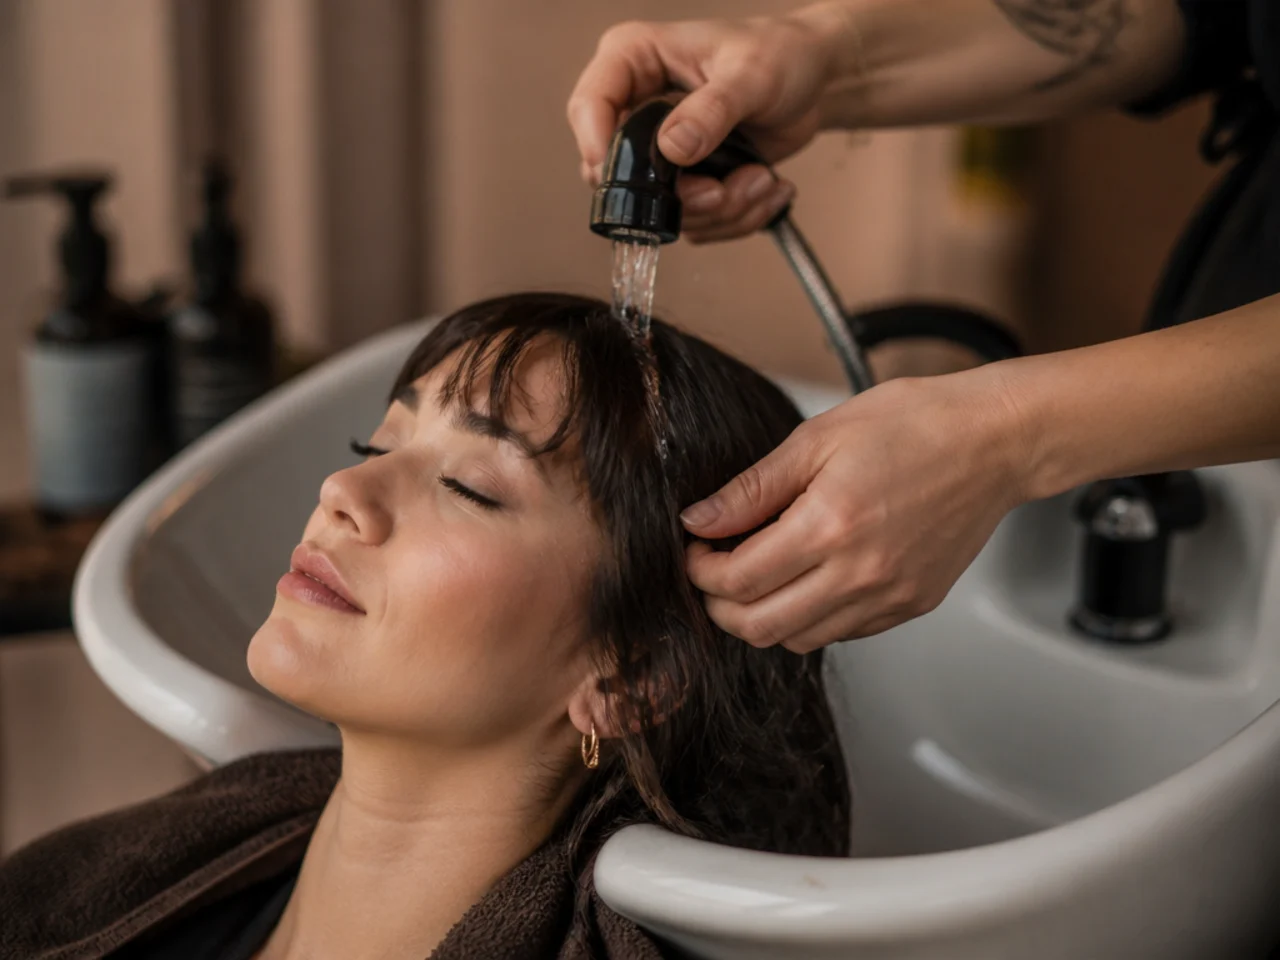
1. Wet the Fringe Even if You Skip the Wash
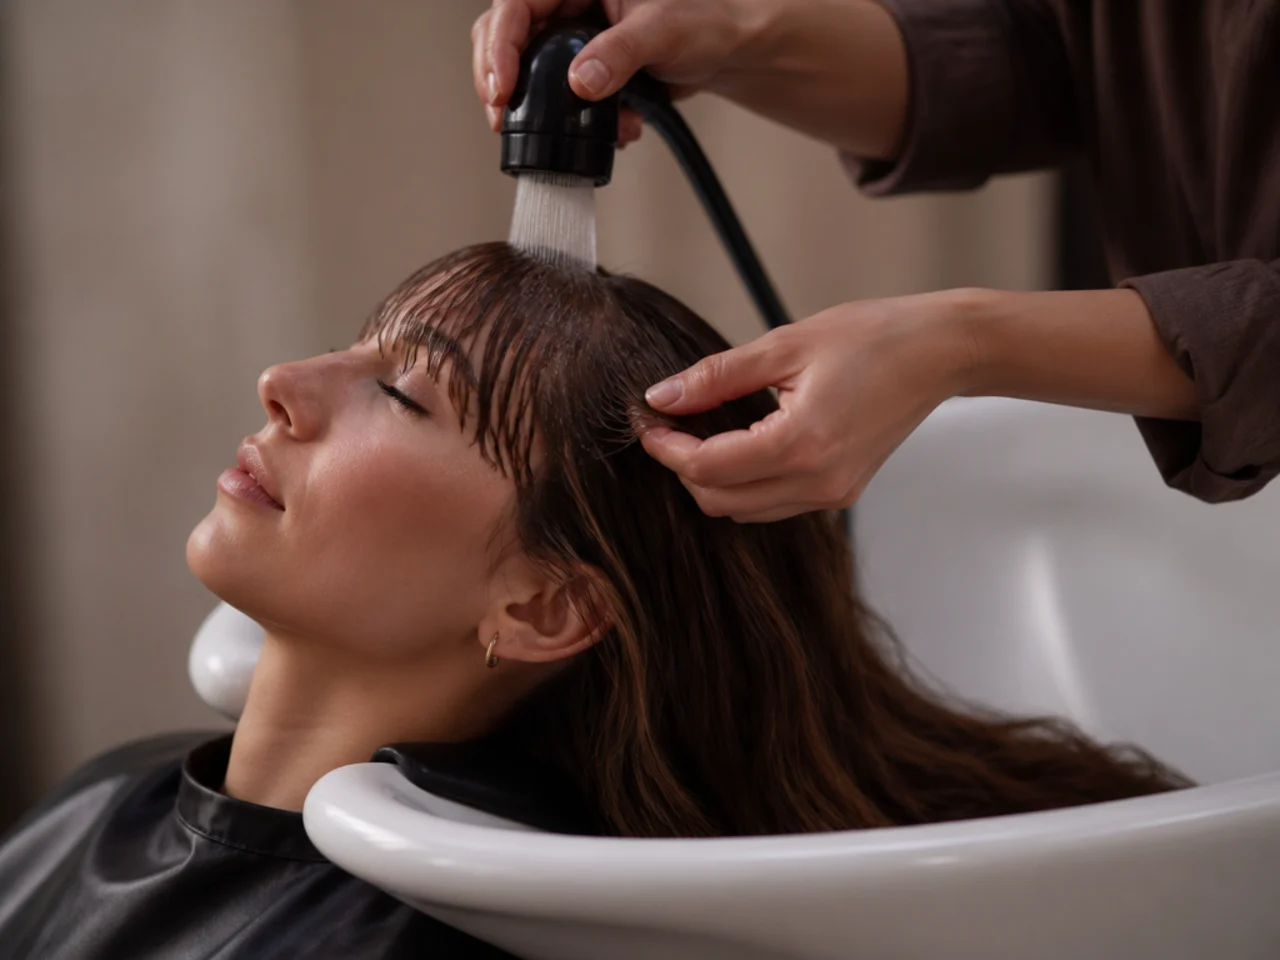
Take the fringe section to the basin and damp it through to the root. Skip this and you are heating an already set shape, which reheats what is there and changes nothing, no matter how long you spend on it.
2. Blot the Fringe Almost Dry
Squeeze it through a towel until it is damp rather than dripping. Working on soaking hair means the first two minutes of drying do nothing but remove water, and the brush slides through without gripping anything.

3. Comb It Down and Find the Natural Split
Comb the whole fringe straight down over the face and let it separate on its own. Forcing a split where the hair does not want one gives you a parting that reopens sideways by mid morning.

4. Work a Pea of Mousse Into the Roots Only
Rub it between your fingertips and press it into the first inch from the scalp. Any product that reaches the ends adds weight to the part of the fringe that is already being pulled down by gravity.

5. Rough Dry the Root Against the Growth
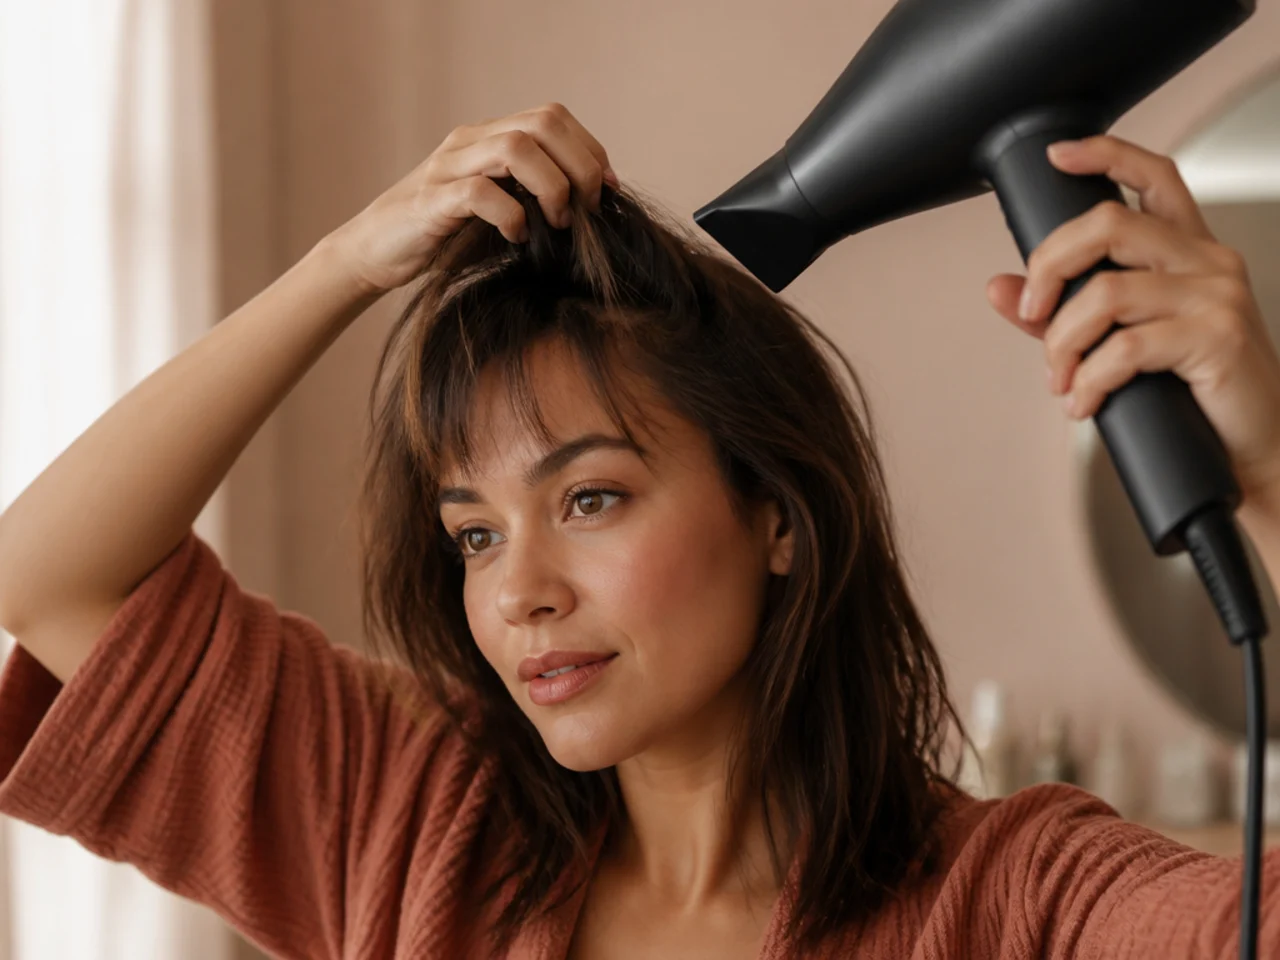
Push the fringe roots the wrong way with your fingers and dry them for twenty seconds. Roots dried in their growth direction lie flat against the scalp, and no amount of brushwork afterwards will lift them back up.
6. Dry the Whole Fringe Forward Over the Face
Point the nozzle down from above and take the fringe from damp to nearly dry hanging forward. Drying it to the sides at this stage sets the length in two separate directions and the split will never sit centrally.

7. Split the Fringe Into Two Even Panels
Divide it at the point you found in step three and hold one side out of the way. Uneven panels mean one side carries more weight than the other and drops first, which is what makes a fringe look lopsided by afternoon.

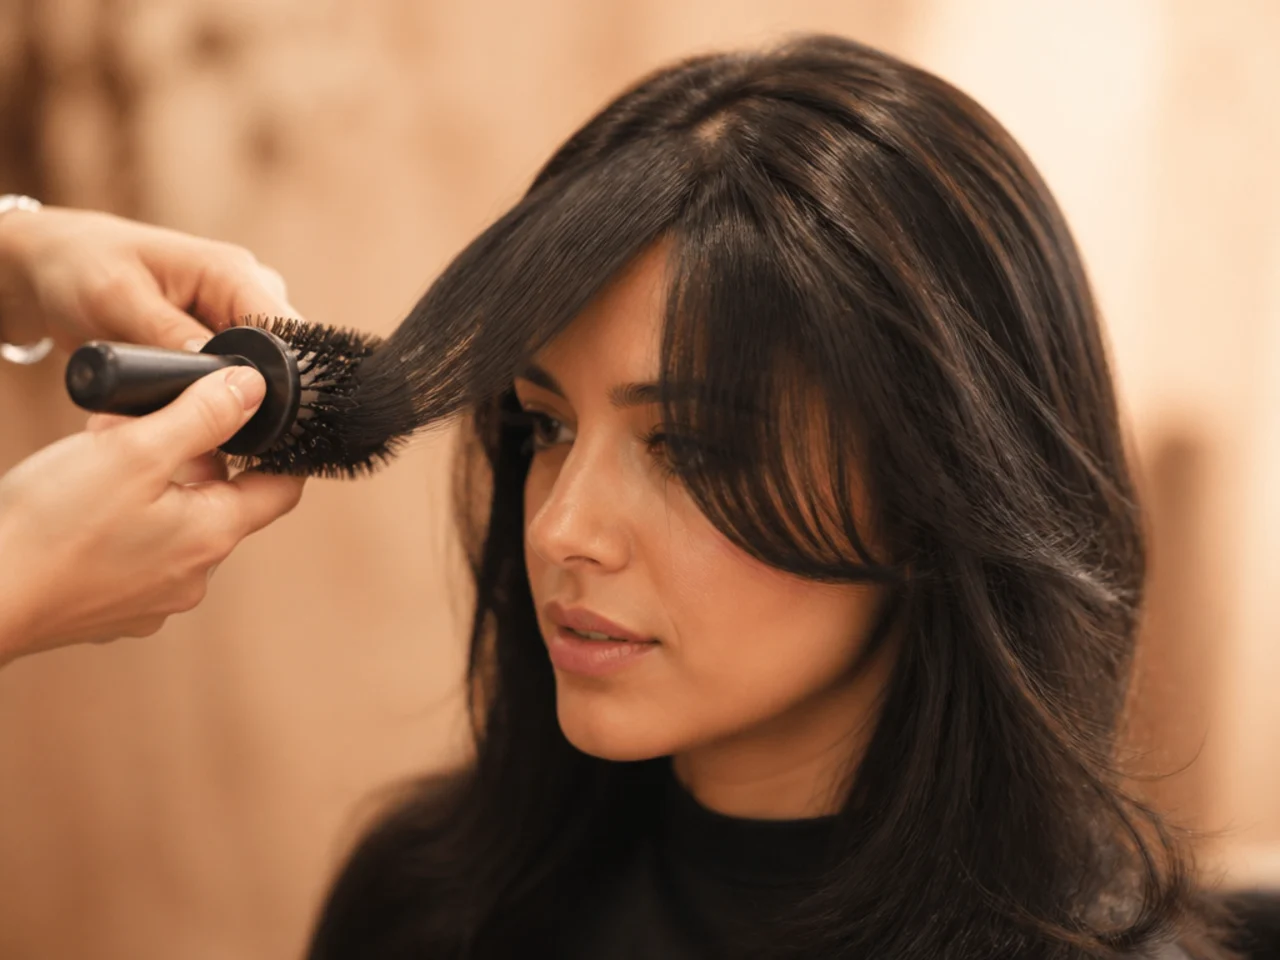
8. Set the Round Brush Behind the Root
Place the brush behind the panel right at the scalp and lift, so the root stands up before you begin rolling. Starting the brush halfway down the length leaves the root flat and gives you a bend that begins in mid air.
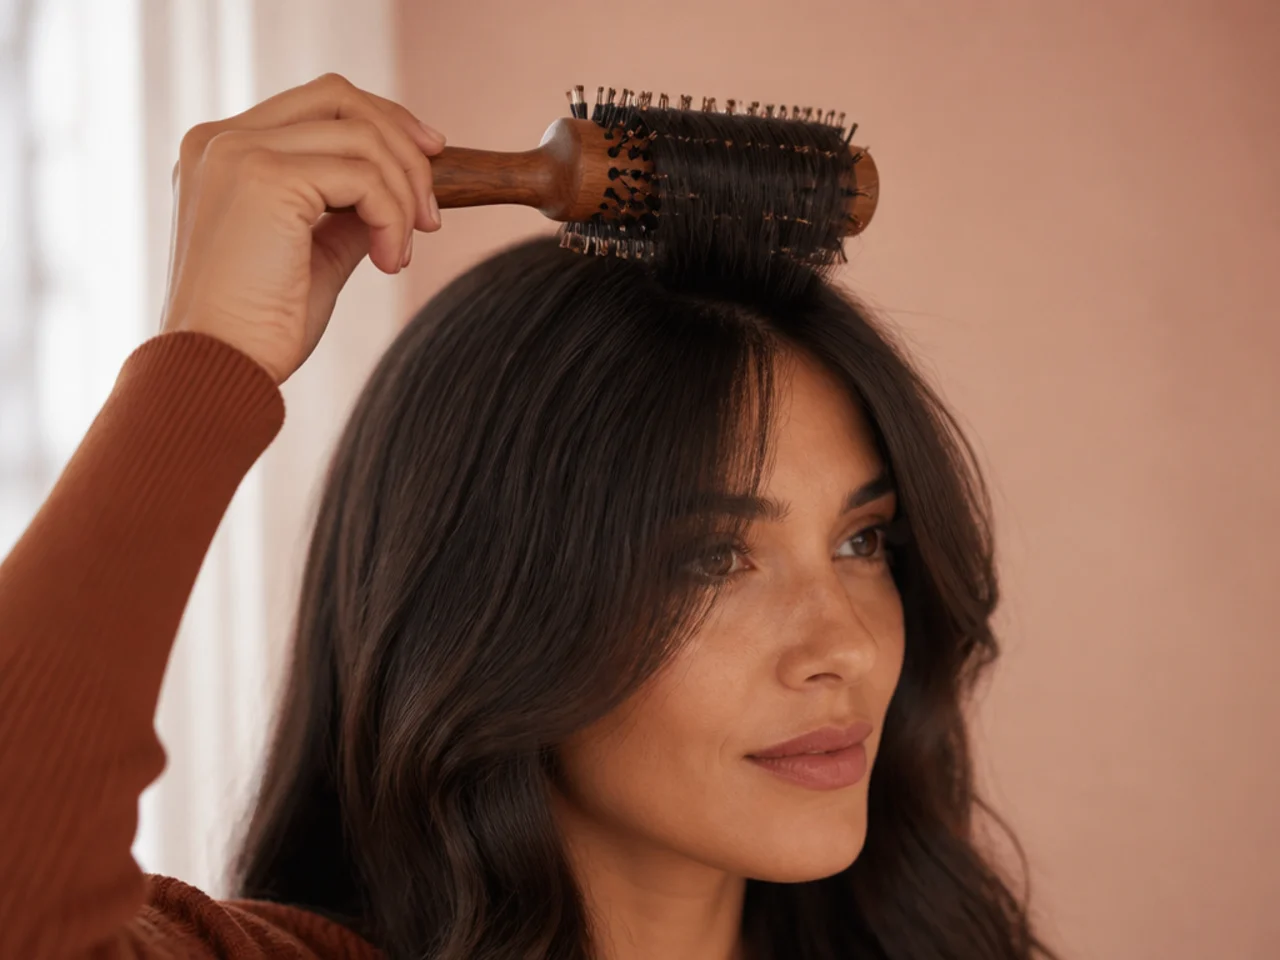
9. Roll Each Panel Away From the Face
Turn the brush outward, so the hair wraps over the top of the barrel and away. Rolling inward puts the bend the wrong way and produces a fringe that closes over the face instead of opening off it.
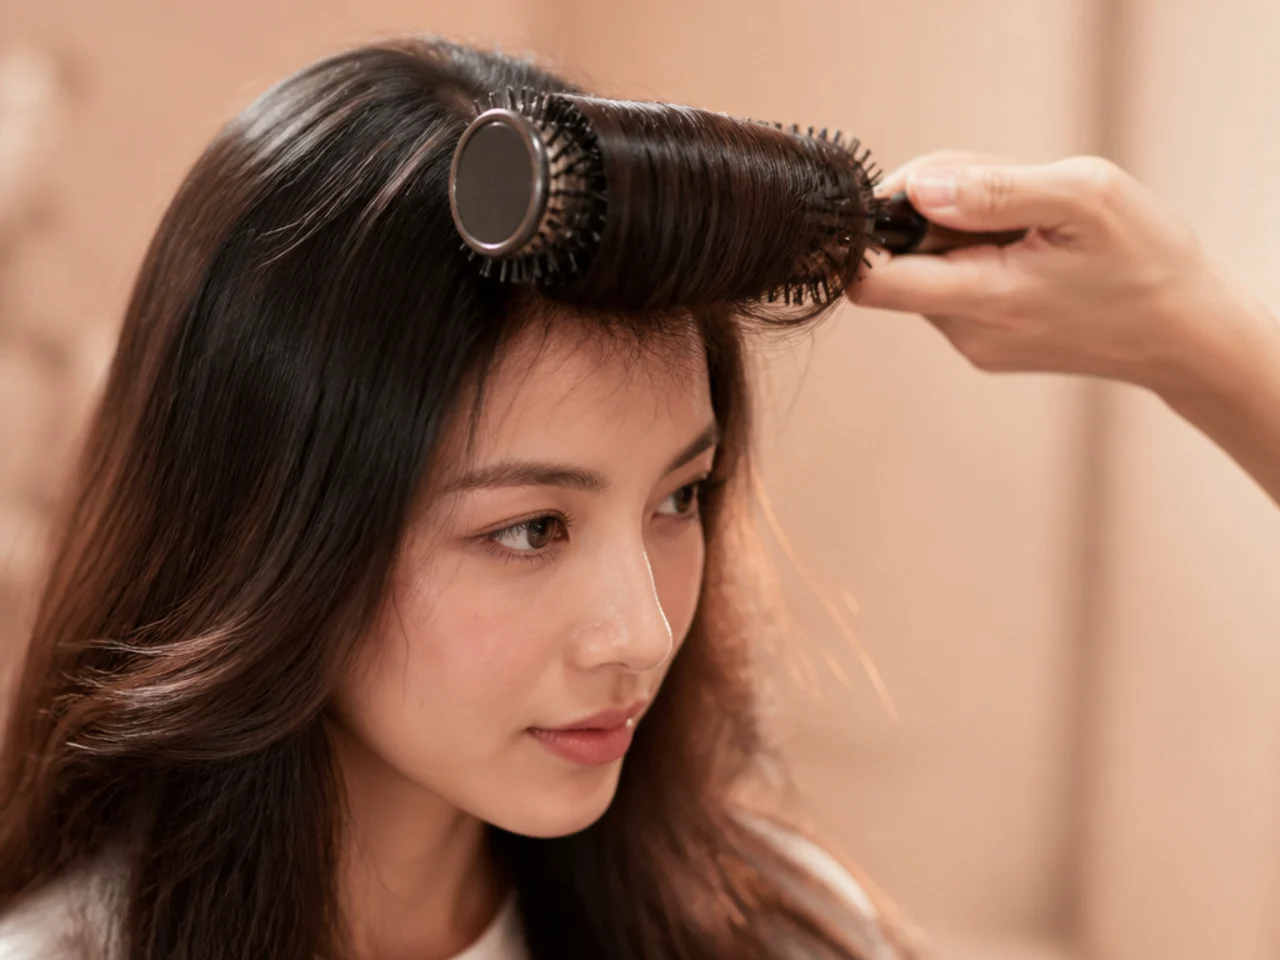
10. Point the Dryer Down the Brush From Above
Aim the nozzle along the hair from root to end, following the cuticle. Blowing upward against it roughens the surface, and roughened straight hair reads as frizz rather than as texture.
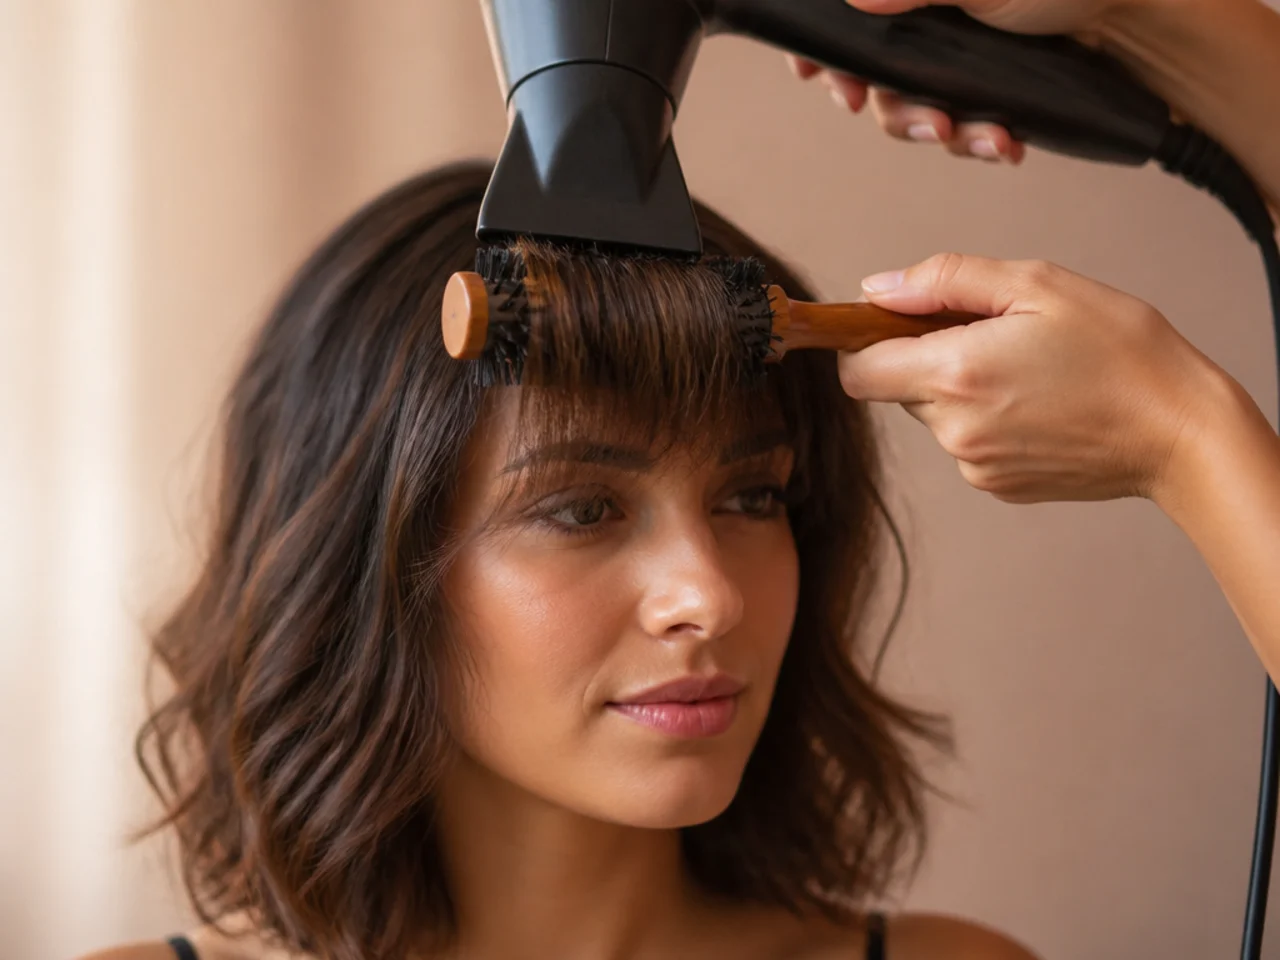
11. Cool the Section on the Brush Before Releasing
Switch to cool for five seconds with the hair still wrapped. Heat lets the hair take the shape and cooling is what fixes it, so releasing it warm means the bend relaxes as it cools in the air instead.
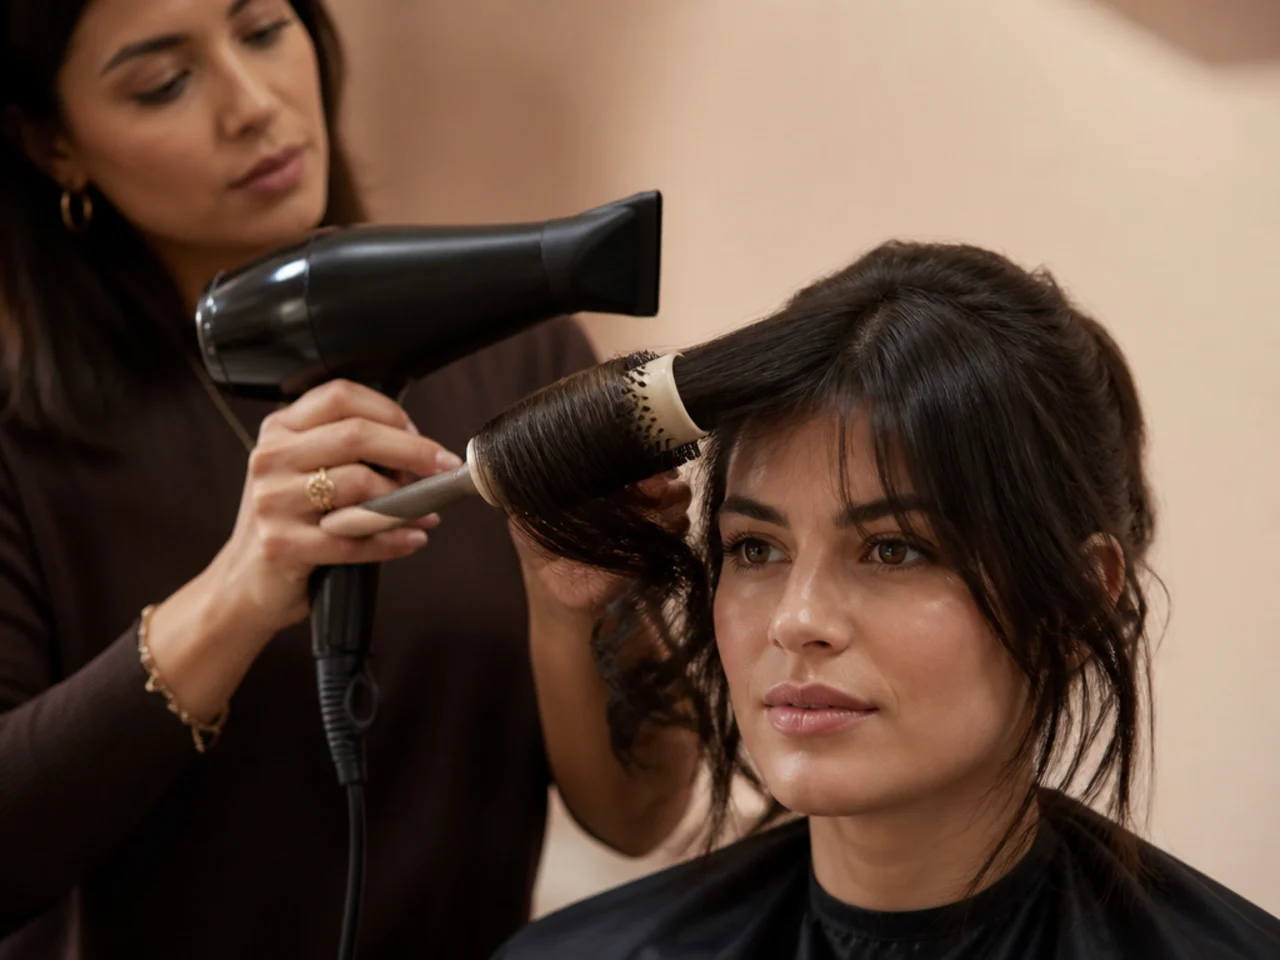
12. Unwind the Brush Downward Instead of Pulling
Rotate the barrel to let the hair off rather than dragging the brush out. Pulling straight out stretches the bend you just set and takes a noticeable share of it back out again.
13. Blend the Ends Into the Length
Run a flat iron through the last two inches with the plates barely closed, curving outward. A hard line where the fringe meets the length is what makes curtain bangs read as a separate piece stuck on the front.

14. Reset the Split With Your Fingers
Push the split back to where you want it and leave it. Combing it at this stage flattens the root lift you spent four steps building, and the fringe drops immediately.

15. Finish With a Light Spray From Arms Length
Hold the can far enough away that the mist lands dry. Sprayed close, the fringe is briefly wet again, and a fringe that gets wet after being set will dry back into whatever shape gravity put it in.

Styling and Upkeep
Only ever restyle from wet. The whole routine depends on the fringe going from damp to dry, and there is no shortcut around it.
Wash the fringe separately between washes. It picks up oil from the forehead faster than the rest of the head, and oil at the root is what kills the lift.
Keep dry shampoo at the root, not the length. It works by absorbing oil where the oil is, and sprayed down the length it only dulls the surface.
Trim it every four to six weeks. The sweep depends on the front pieces being shorter than what sits behind them, and that difference closes as it grows.
Sleep with it pushed to one side. A fringe crushed flat under your head overnight has to be fully rewet in the morning.
Mistakes to Avoid
Styling a dry fringe. Straight hair takes shape only as it dries. Heat on dry hair sets nothing new.
Product below the root. It adds weight where gravity is already winning, and the sweep drops within the hour.
Rolling the brush inward. The bend then closes over the face, which is the opposite of what curtain bangs are.
Releasing the brush while the hair is warm. The bend relaxes as it cools loose. Five seconds of cool air on the barrel is the whole difference.
Combing after drying. It pulls the root flat and the fringe goes with it. Fingers only from step fourteen onward.

FAQ
Why does it drop? The bend was set in the ends, not the root.
Do I have to wet it? Yes. Straight hair only re-sets going from damp to dry.
Brush size? About a two inch barrel, which gives a sweep rather than a ringlet.

Final Thoughts
The routine above is really one instruction repeated fifteen times: put the shape in at the root while the hair is wet, and fix it with cool air before you let go. Everything else is tidying.
For the cut itself and where the front pieces should land see curtain bangs on long hair, and for the shorter, denser version of the same fringe see long french bangs. If your length is what needs work rather than the fringe, start at hairstyles for long straight hair. More in Bangs and Fringe.