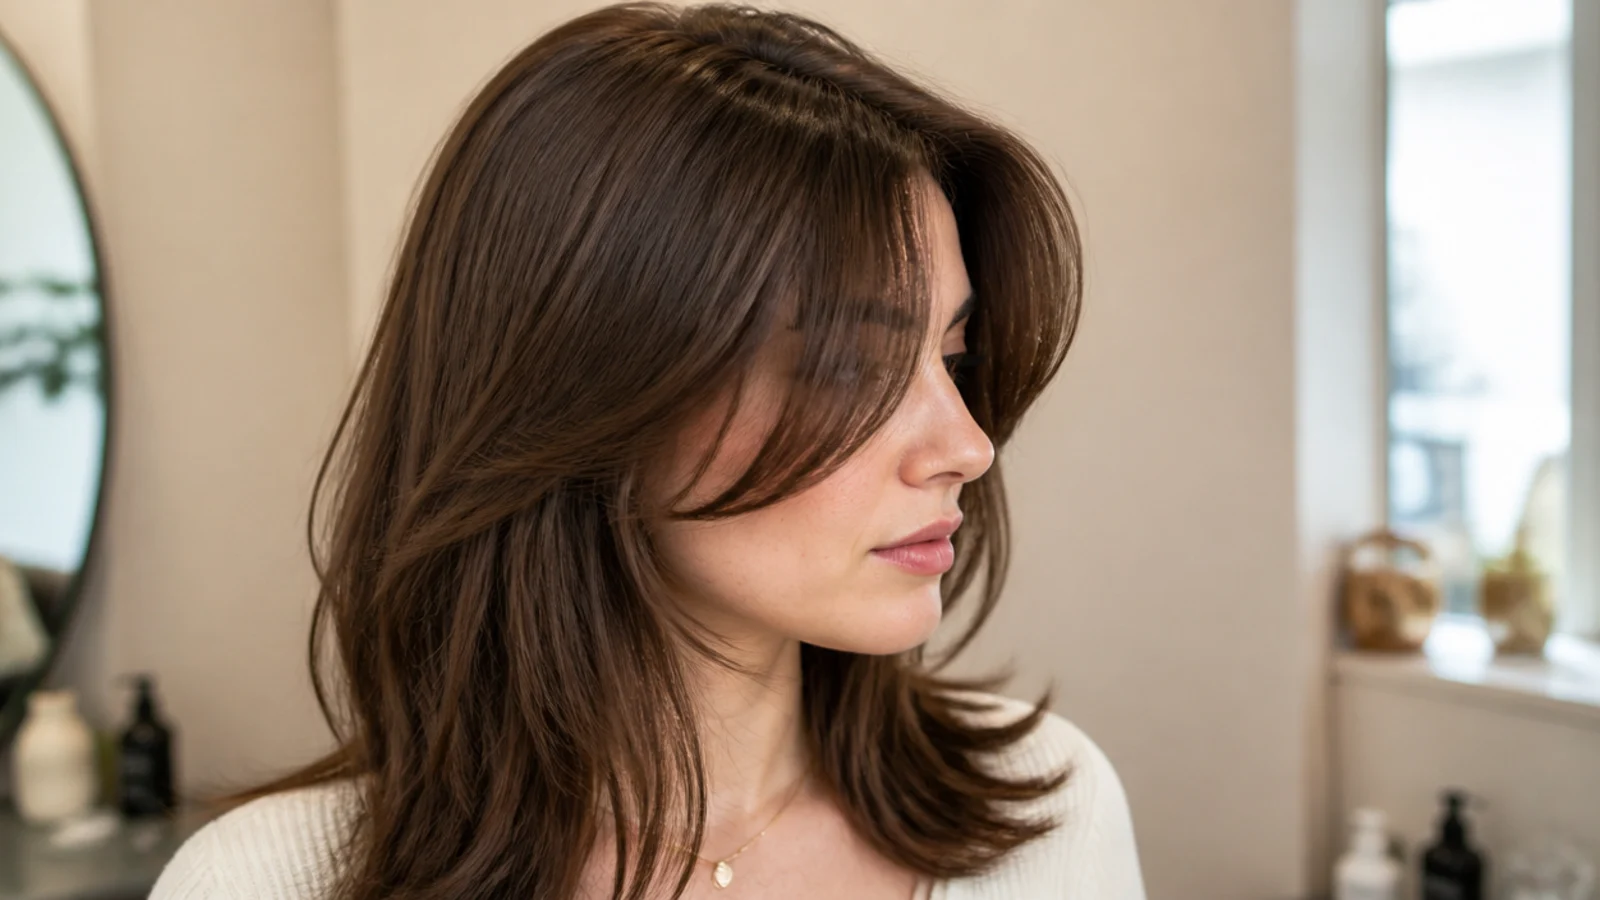
15 Simple Steps To Style Short Curtain Bangs Daily
Fifteen steps for styling short curtain bangs, in order, with what goes wrong at each one. The shape is set at the root and fixed by cooling, which is why most morning fringe routines fail before the brush is even picked up.
In this article · 22
- How Short Curtain Bangs Actually Hold
- Choosing Your Brush and Split
- The 15 Steps to Style Short Curtain Bangs
- 1. Section the Fringe Before Anything Else
- 2. Wet the Roots Only
- 3. Towel the Section to Damp
- 4. Apply Product at the Root
- 5. Break the Natural Part
- 6. Rough Dry the Roots Flat
- 7. Split the Fringe Down the Middle
- 8. Overdirect the First Side Forward
- 9. Sweep the Same Section Back Across
- 10. Half Turn the Ends Under
- 11. Repeat on the Second Side
- 12. Hit It With the Cool Shot
- 13. Separate the Curtain With Your Fingers
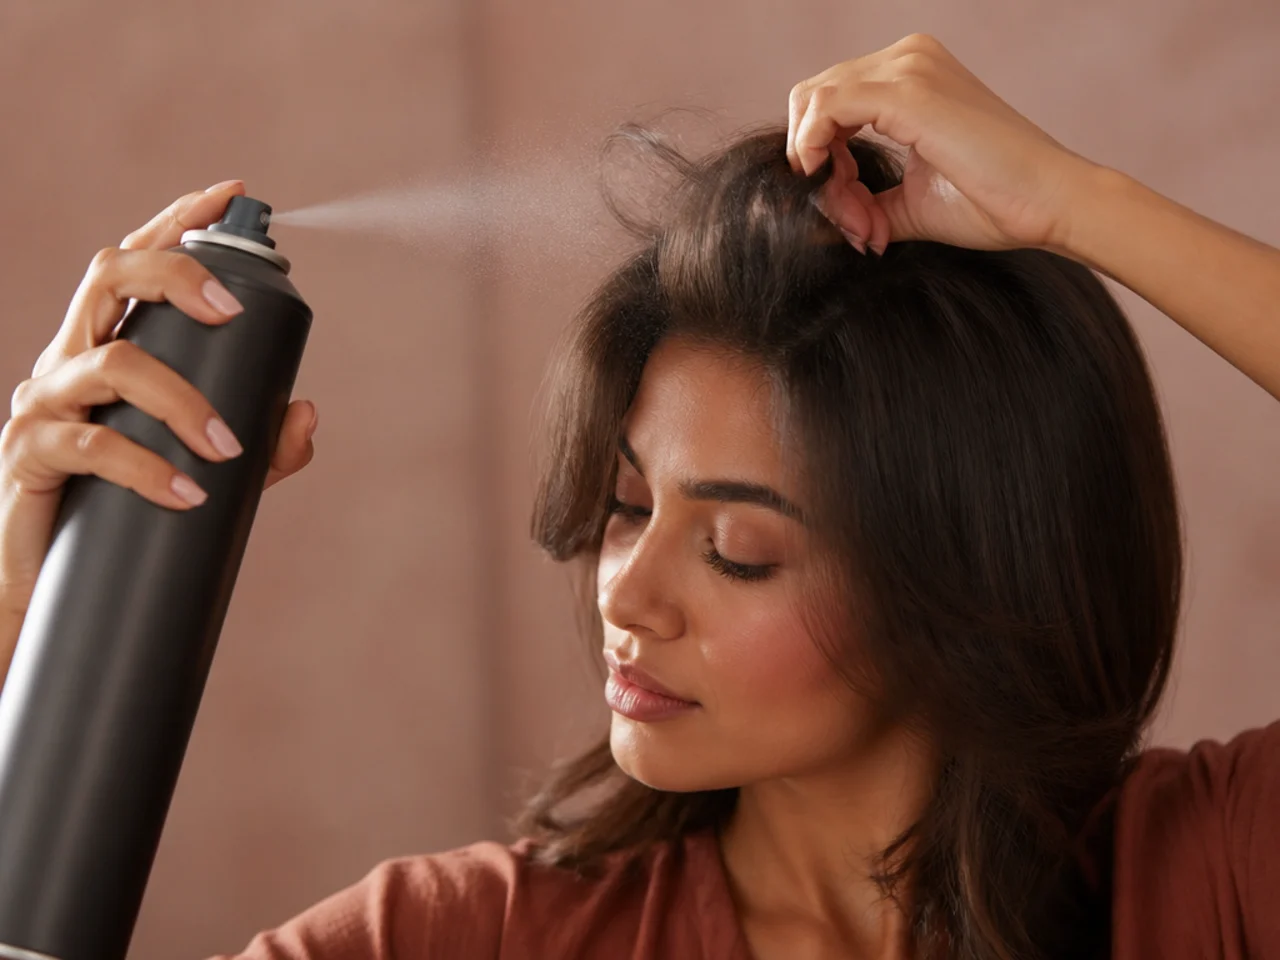
- 14. Set With a Light Spray From Underneath
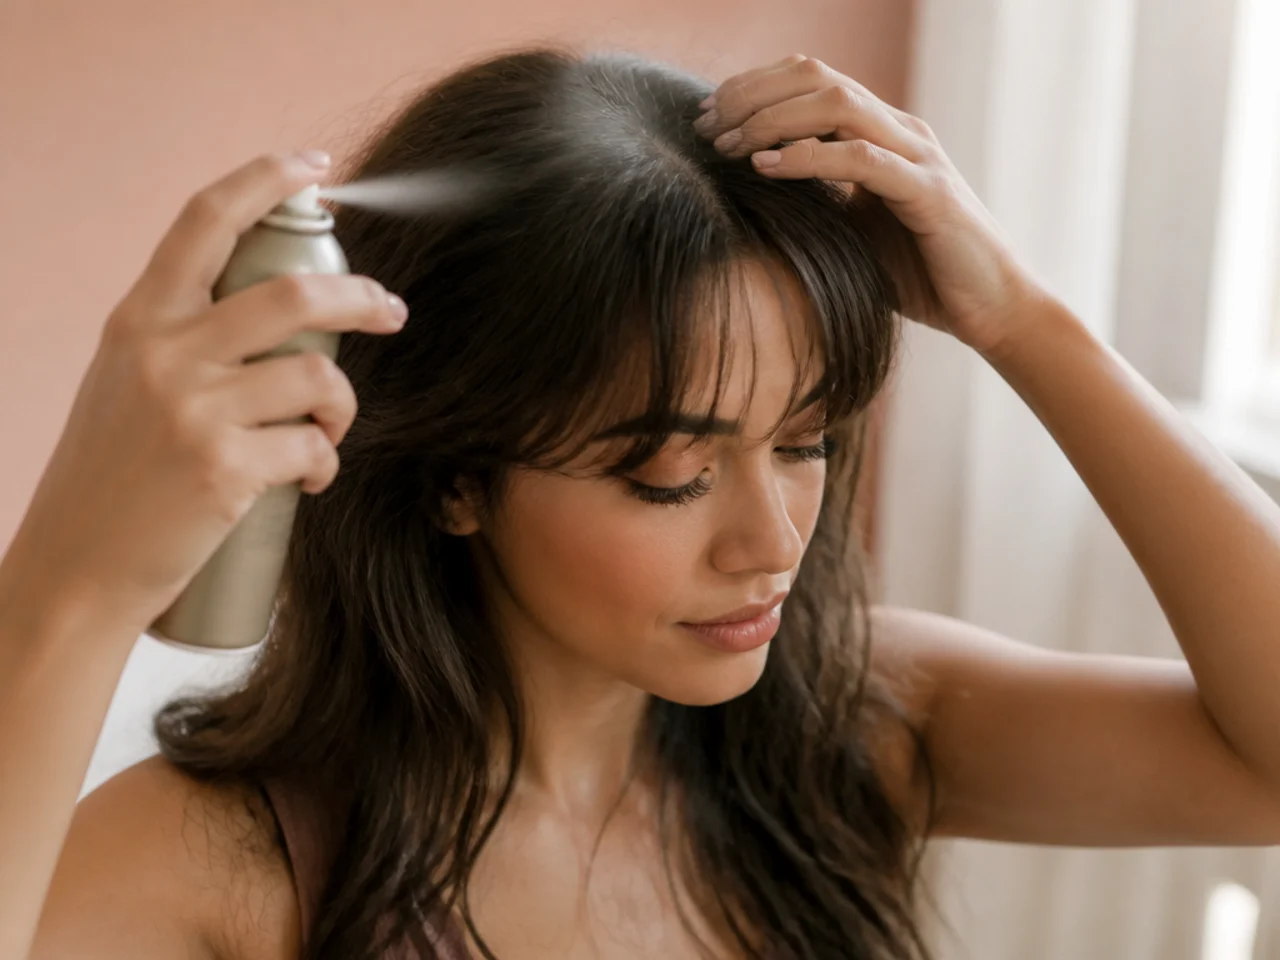
- 15. Refresh at the Root Later in the Day
- Styling and Upkeep
- Mistakes to Avoid
- FAQ
- Final Thoughts
Most curtain bang routines fail at the sectioning, long before anyone picks up a round brush.
The bend is set at the root. Hair holds the direction it dried in from the scalp outward, so nothing you do to the ends changes where the fringe travels.
The shape is fixed by cooling, not heating. Release a section while it is still warm and the bend drops inside an hour no matter how long you held the dryer on it.
How Short Curtain Bangs Actually Hold
The root decides the direction. The first two centimetres out of the scalp set the fall of the entire section.
Cooling sets the shape. Warm hair is pliable and cold hair is fixed, which is why the cool shot does more than an extra minute of heat.
Weight decides how far it sweeps. Short bangs have almost none, so they need a bend built in rather than borrowed from length.
Oil at the root is what kills it. As soon as the roots go slick they lose grip on each other and the whole fringe drops flat against the forehead.
Choosing Your Brush and Split
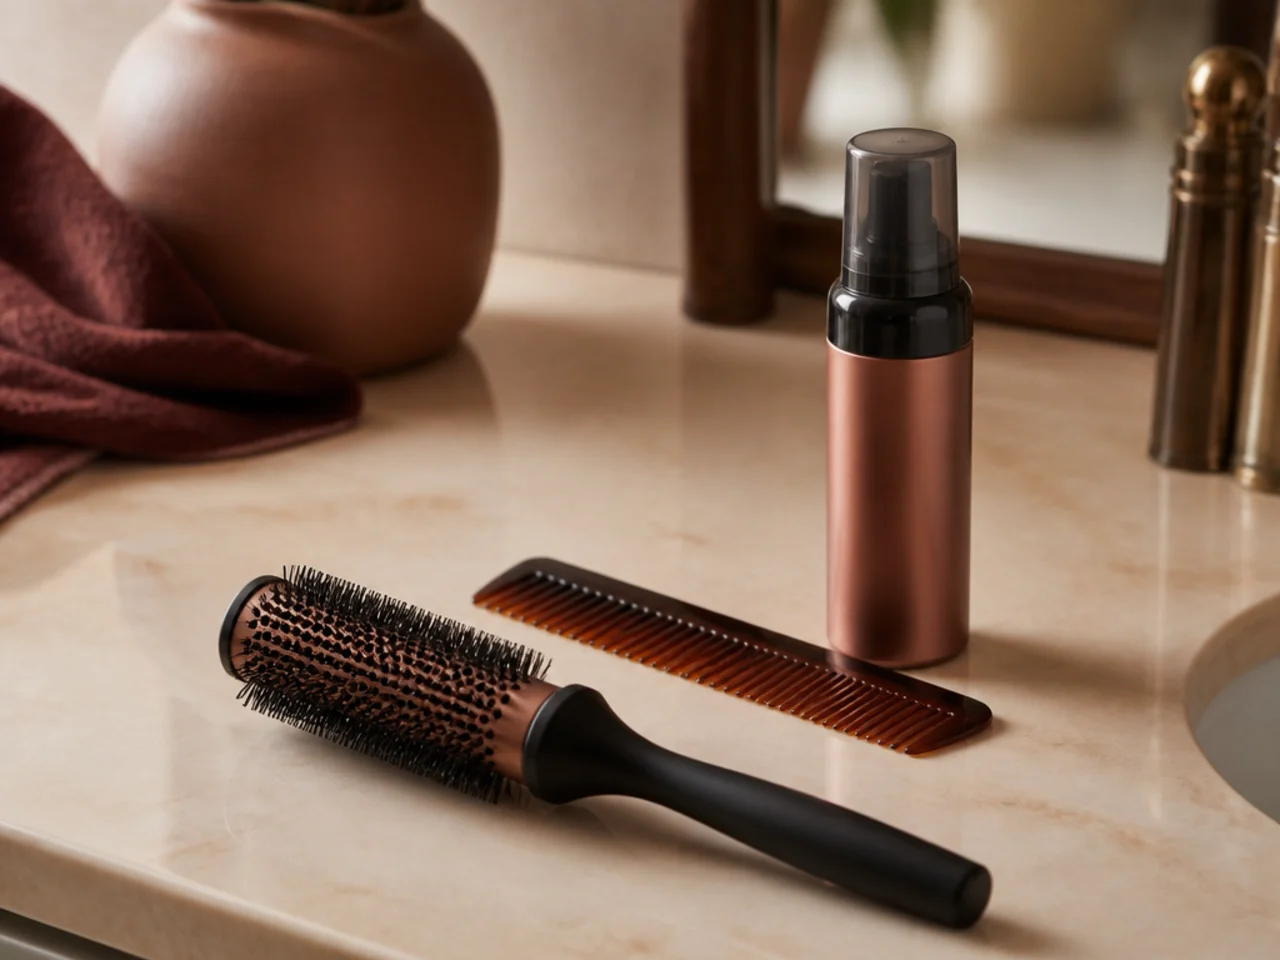
A small round brush for short bangs. A large barrel cannot complete a turn in a short section, so the ends come off the brush half shaped.
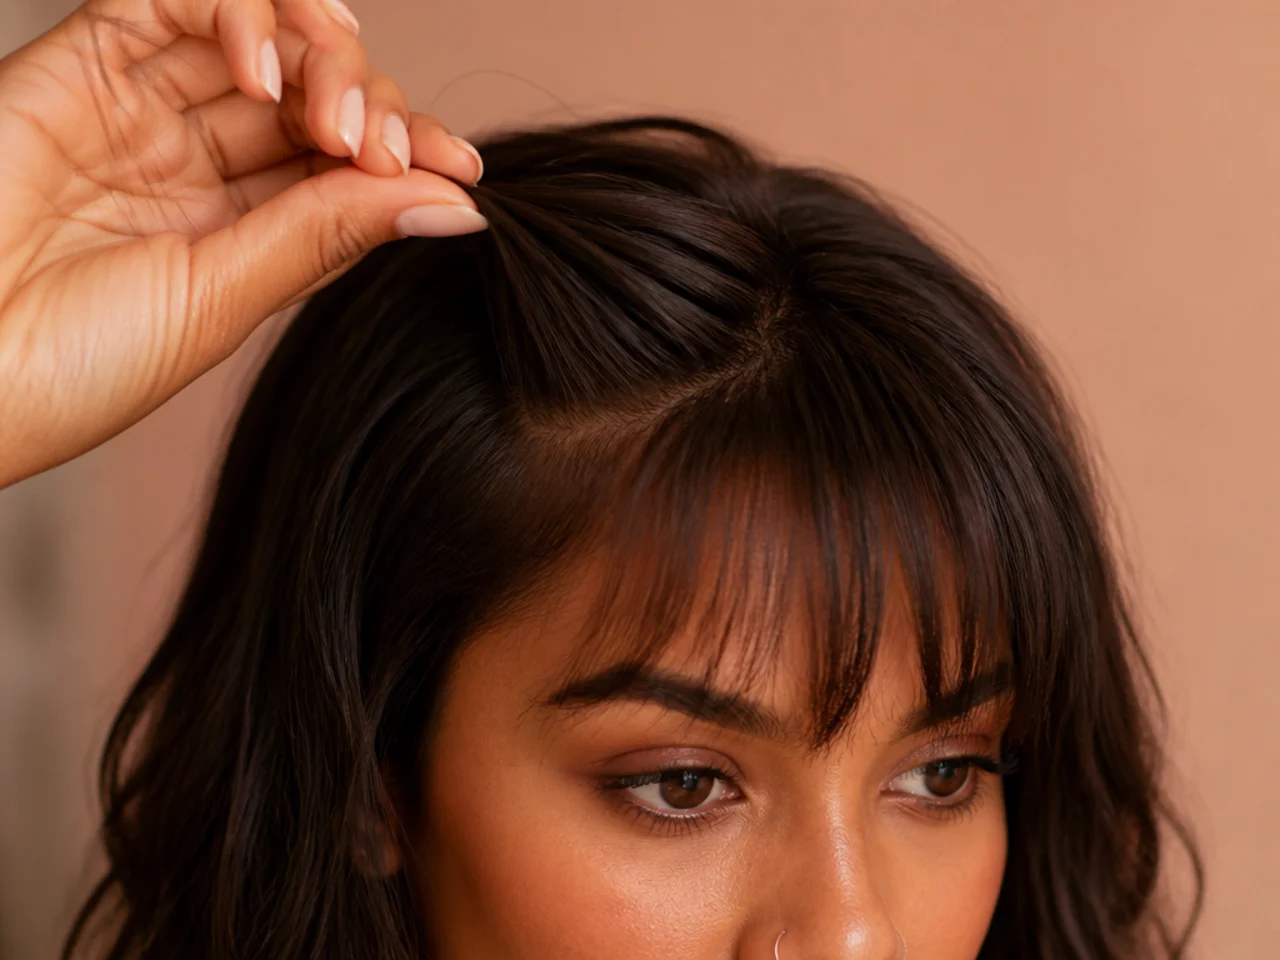
A centre split for length. Two near vertical lines either side of the nose pull the eye up and down instead of across.
An off centre split for softness. The heavier half falls diagonally, which breaks the horizontal line across the brows.
Mousse or a root spray, nothing heavier. Creams and oils have enough weight to cancel the lift the whole routine depends on.
The 15 Steps to Style Short Curtain Bangs
1. Section the Fringe Before Anything Else
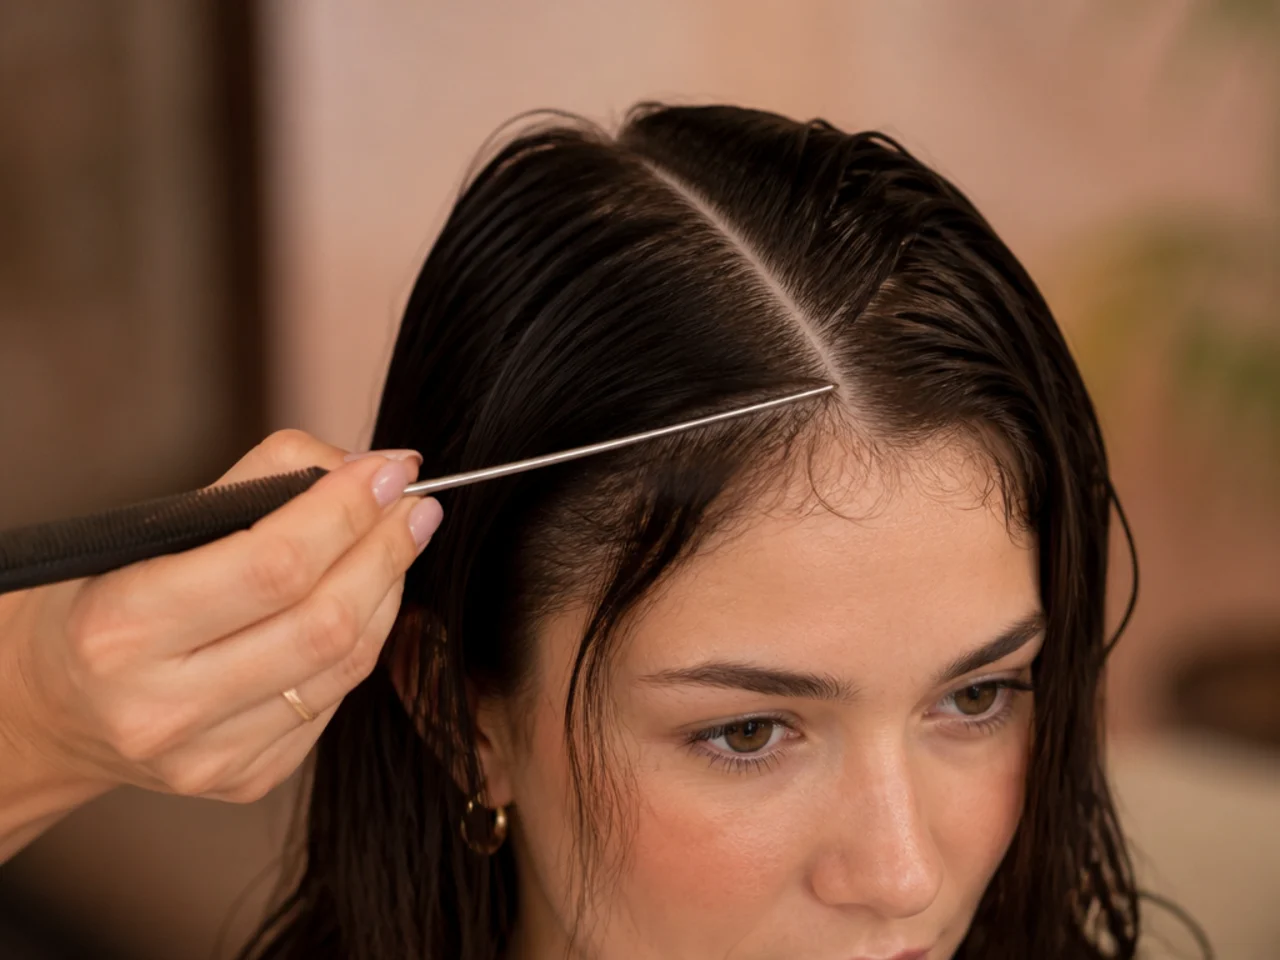
Take a shallow triangle from the parting back about two centimetres, no wider than the outer corner of each eyebrow. Go wider and you drag hair out of the sides, which dries in the fringe's direction and leaves a visible gap where the side sections should be.
2. Wet the Roots Only
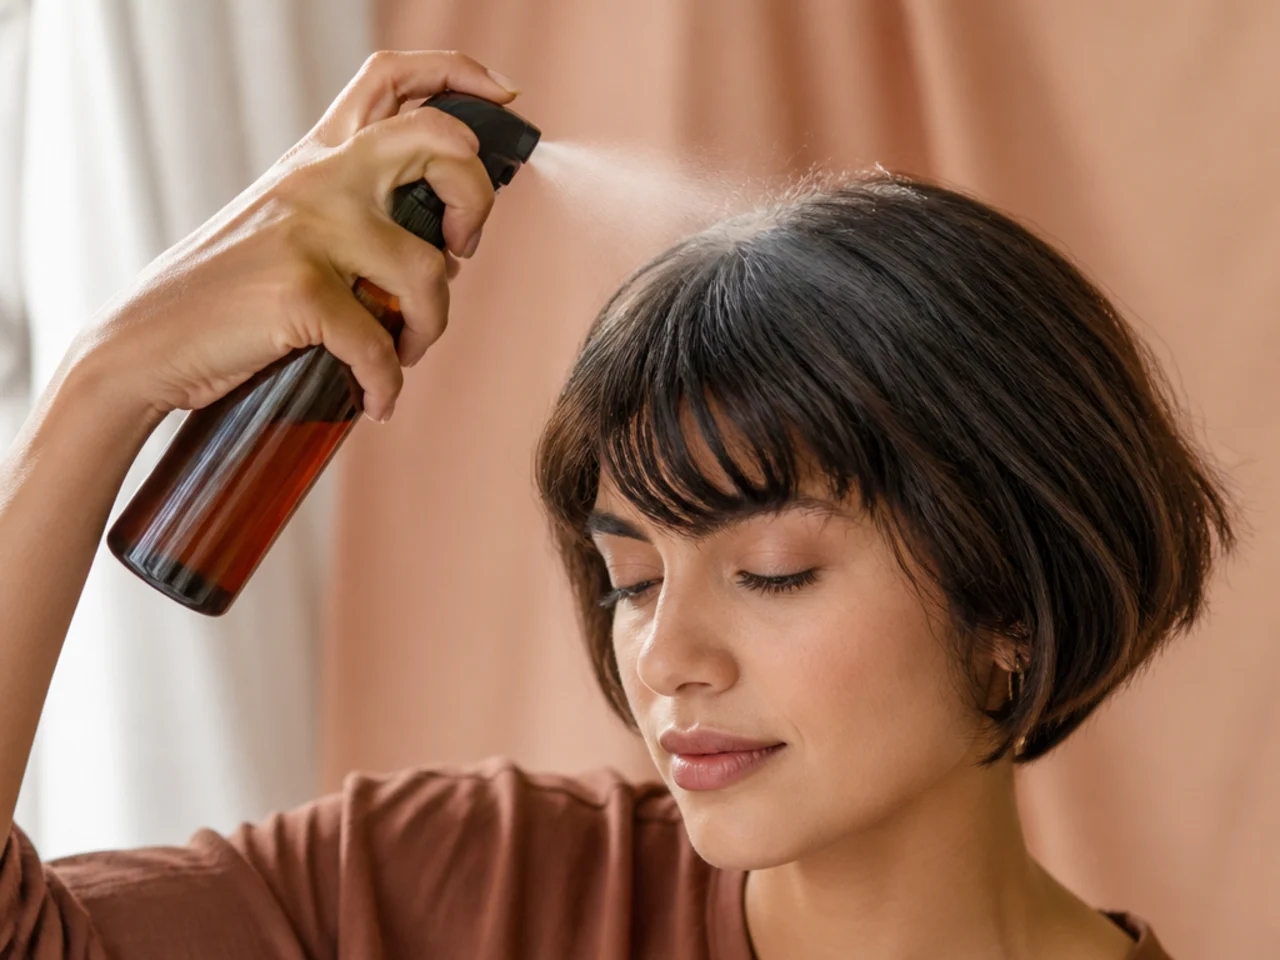
Aim a spray bottle at the scalp until the first couple of centimetres are properly wet, and leave the ends alone. Wetting the whole fringe just adds drying time to the part that was never controlling the shape in the first place.
3. Towel the Section to Damp
Squeeze the fringe in a towel until it is damp rather than dripping. Soaking hair takes so long under a dryer that the roots finish last, which is backwards, because the roots are the part you are trying to shape.

4. Apply Product at the Root
A pea of mousse or two pumps of root spray, worked in at the scalp with fingertips and nowhere else. Product on the mid lengths of a short fringe is precisely what makes it separate into strings and look greasy well before the end of the day.

5. Break the Natural Part
Push the roots from side to side with your fingers under warm air before you commit to a split. A cowlick that has not been broken reasserts itself as the hair cools and drags the parting off centre by mid morning.
6. Rough Dry the Roots Flat
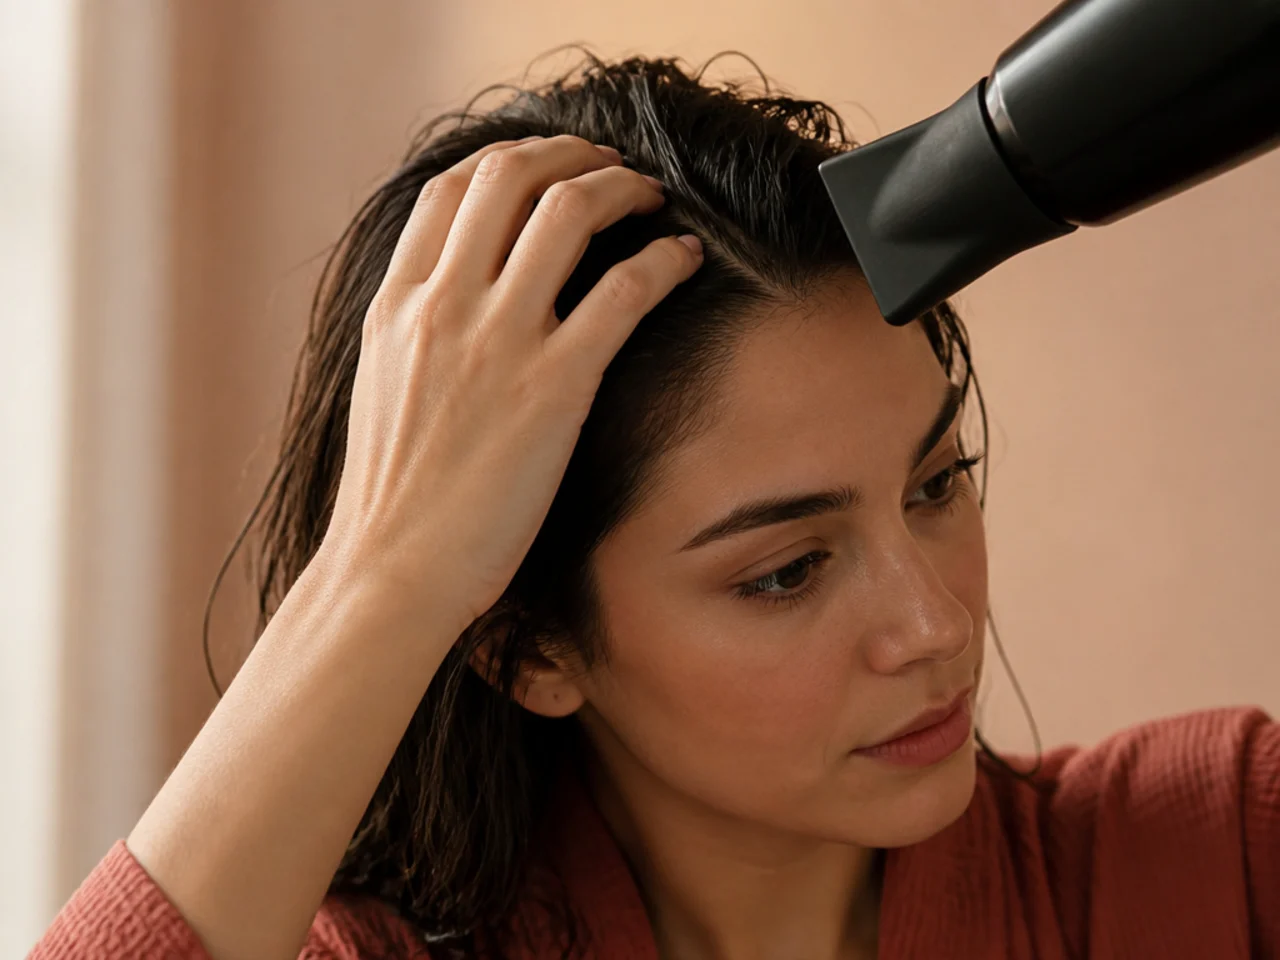
Dry the roots with your fingers, moving the section left and right rather than holding it in one direction. Dry them one way only and they set that way permanently, which gives you a fringe that hangs down instead of sweeping outward.
7. Split the Fringe Down the Middle
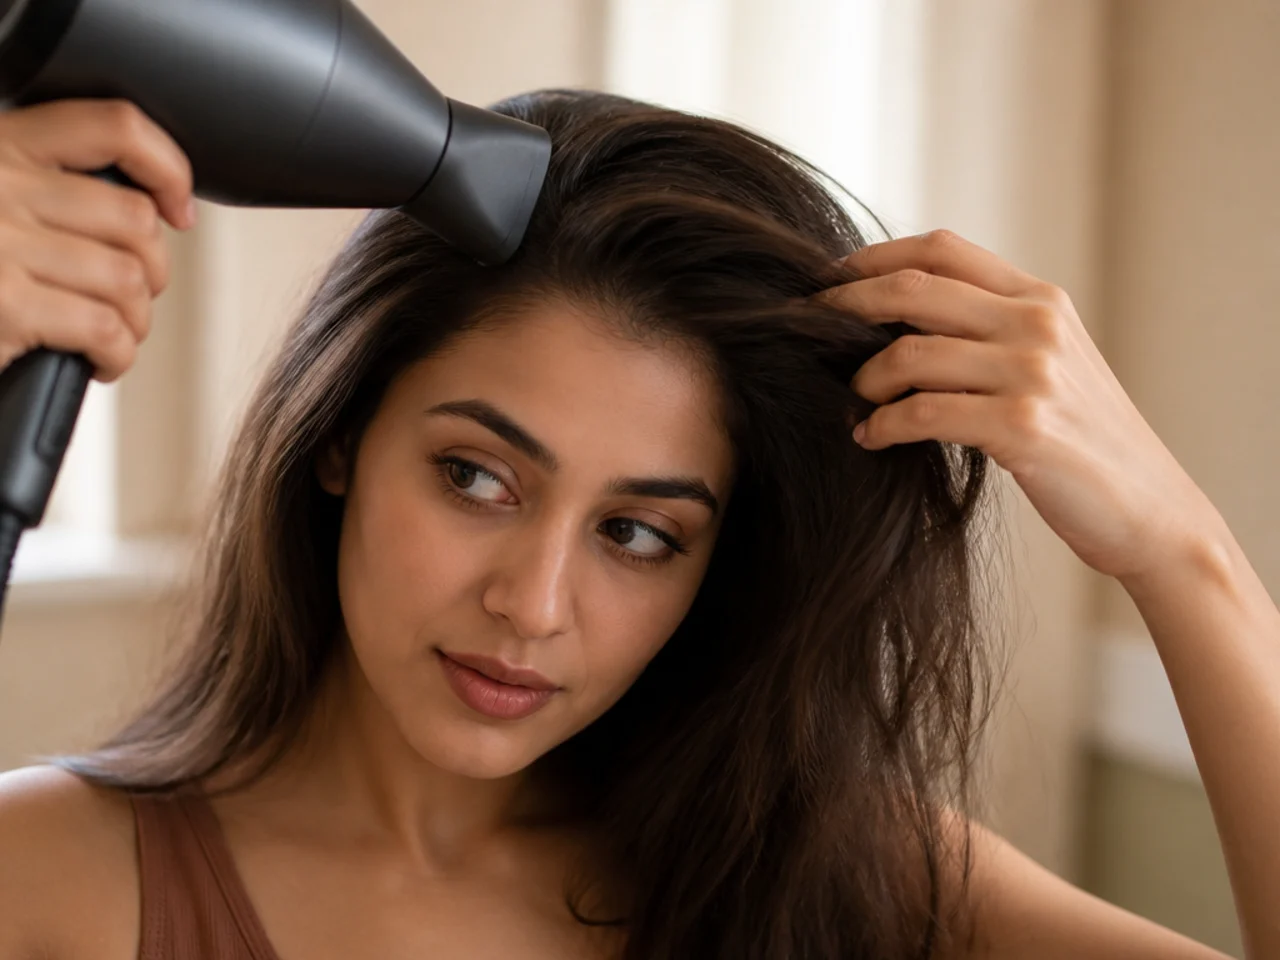
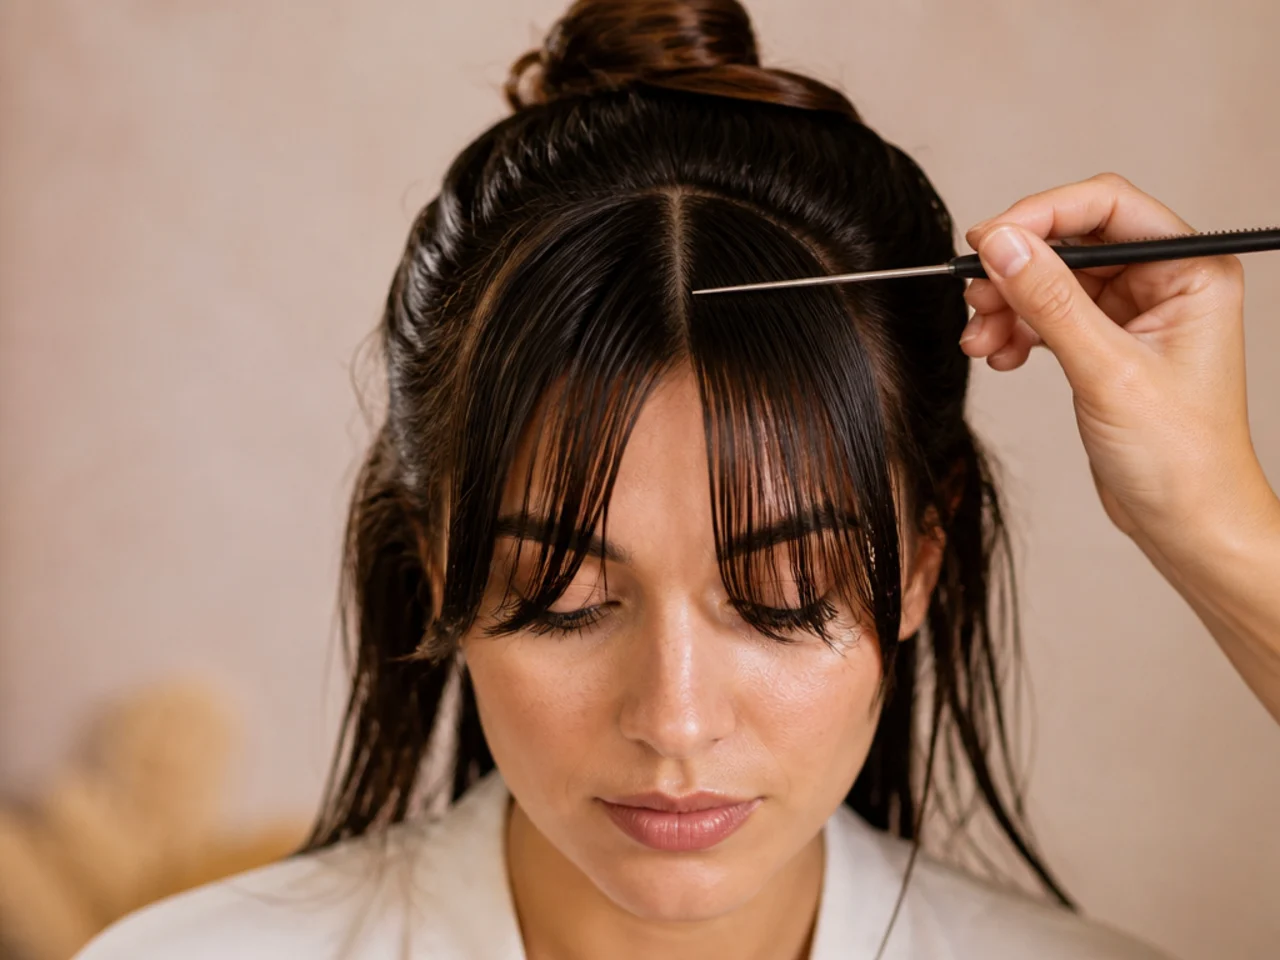
Divide it once the roots are dry but the ends are still damp, using a comb tail or a fingertip. Split it while soaking and the line moves as it dries; split it once everything is dry and it will not hold at all.
8. Overdirect the First Side Forward
Pull one half straight forward over the forehead on the round brush and dry it in that position for a few seconds. Skip this and the fringe has no distance to travel back from, so the sweep sits flat against the face.
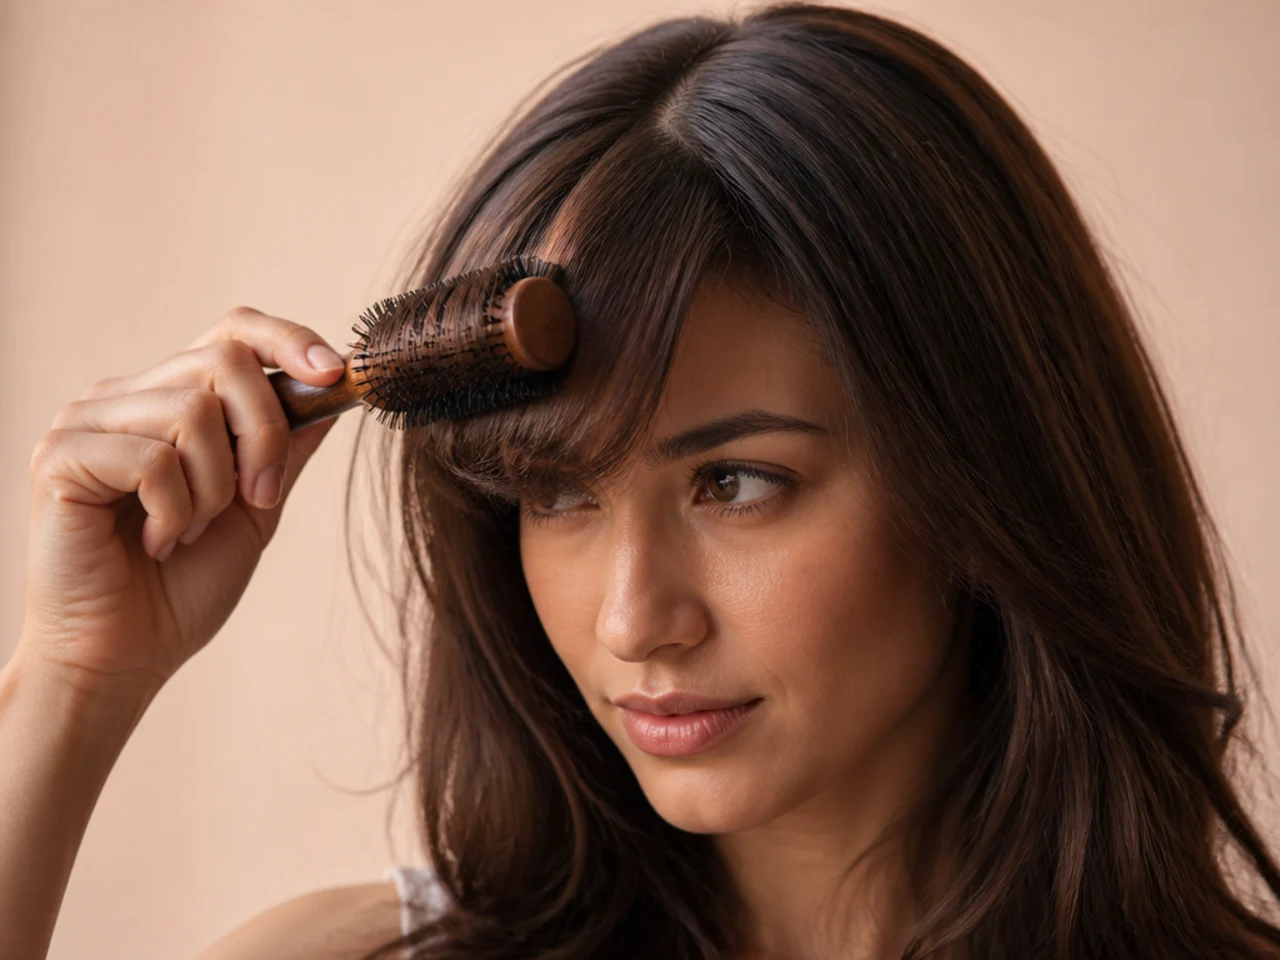
9. Sweep the Same Section Back Across
Rotate the brush and carry that section back and away from the face, keeping tension the whole way. Lose the tension and the hair slips off the barrel half dried, which sets a kink exactly where the bend was supposed to be smooth.
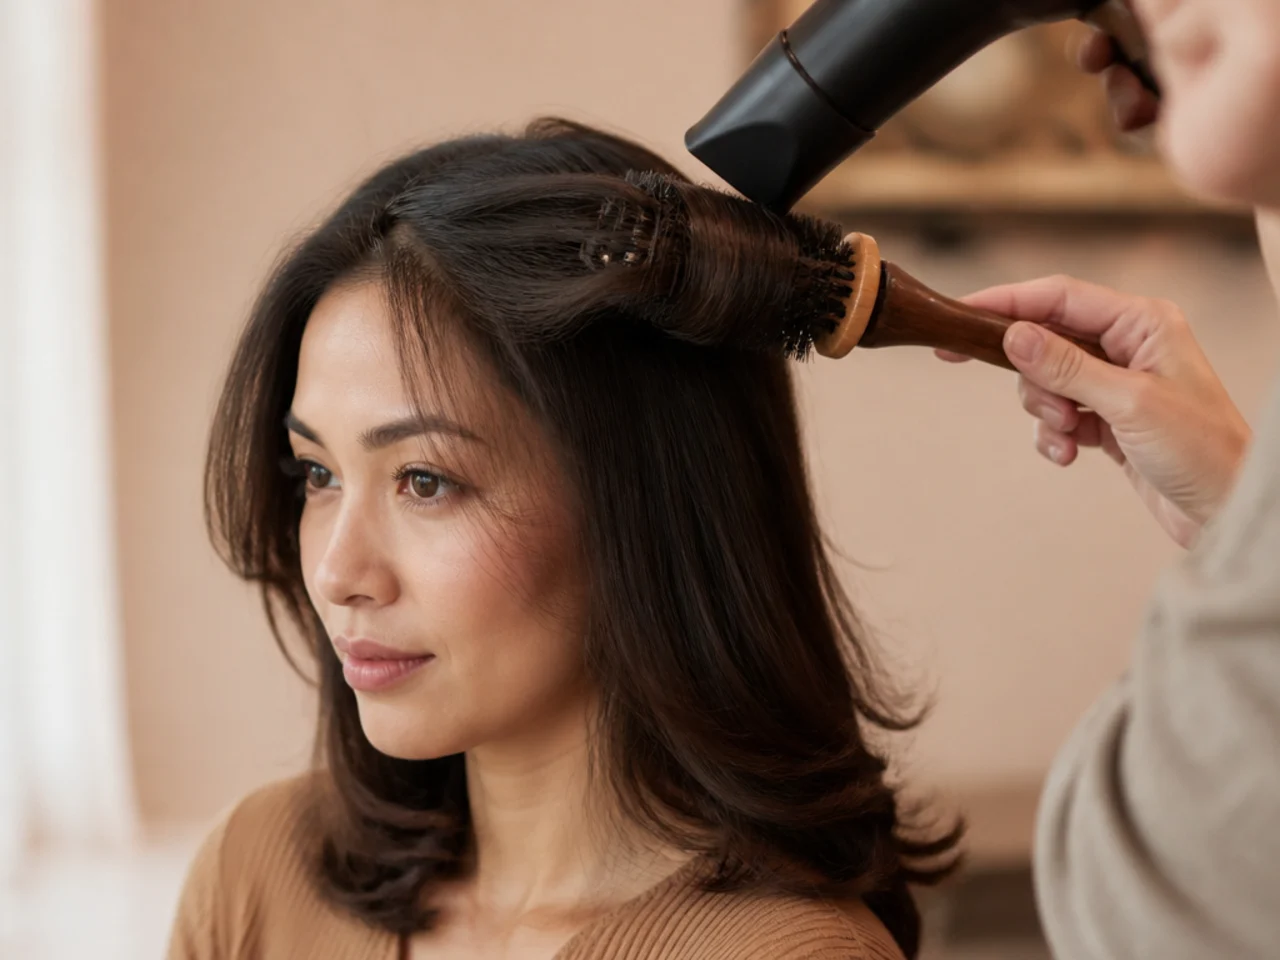
10. Half Turn the Ends Under
Finish with half a rotation rather than a full one. A full turn tucks the tips underneath and hooks them into the cheek, while a half turn leaves the end pointing away, which is what makes a curtain read as open.

11. Repeat on the Second Side
Mirror the first side exactly, same brush, same number of turns, same amount of time. Two halves dried differently is the single most common reason a curtain looks lopsided when the cut itself is fine.
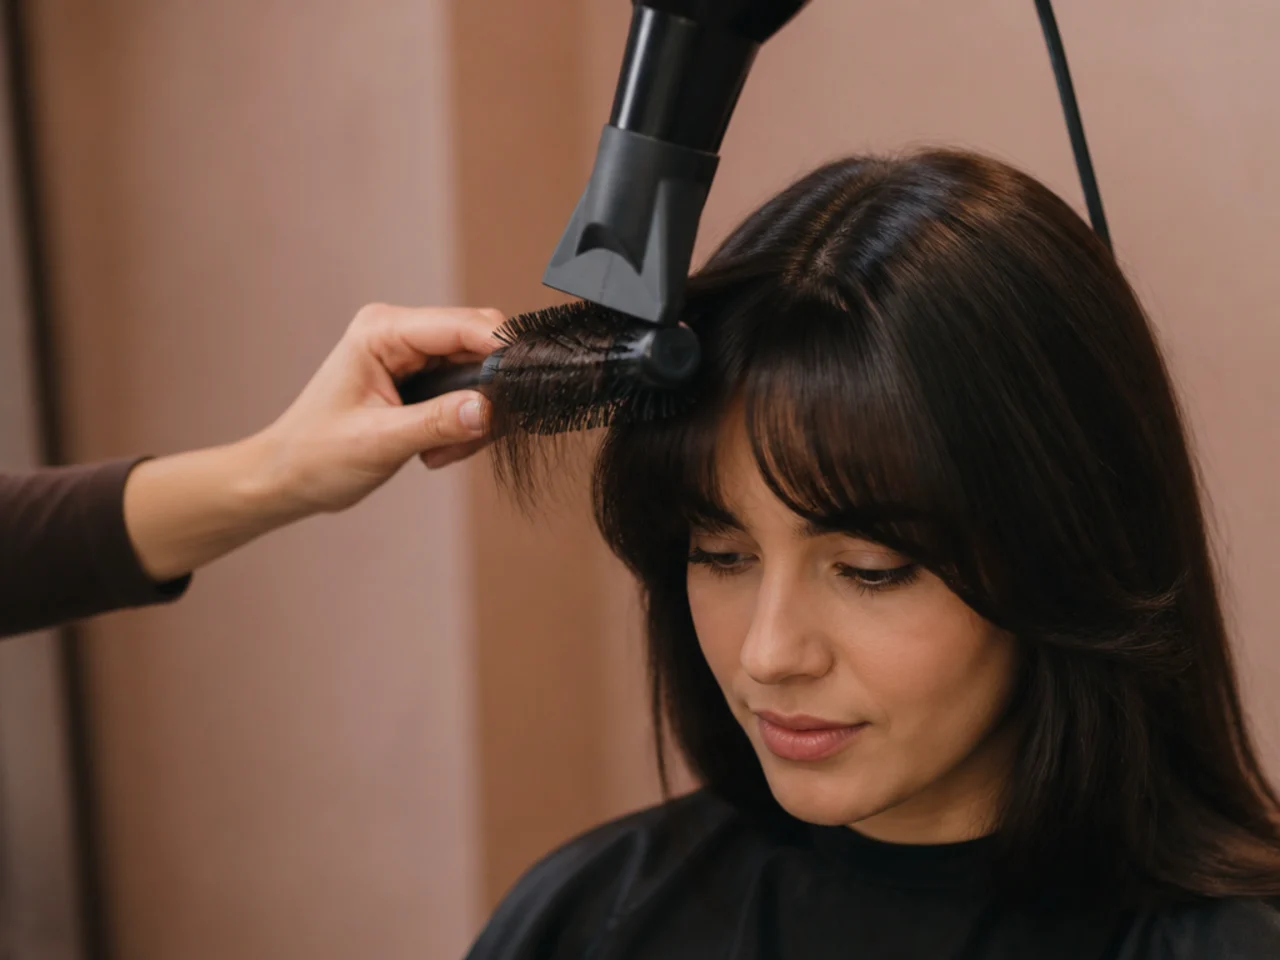
12. Hit It With the Cool Shot
Hold the brush in place and run cold air over the section for five seconds before releasing. Hair takes its form as it cools, so a section let go while warm loses its bend within the hour whatever you did to it beforehand.
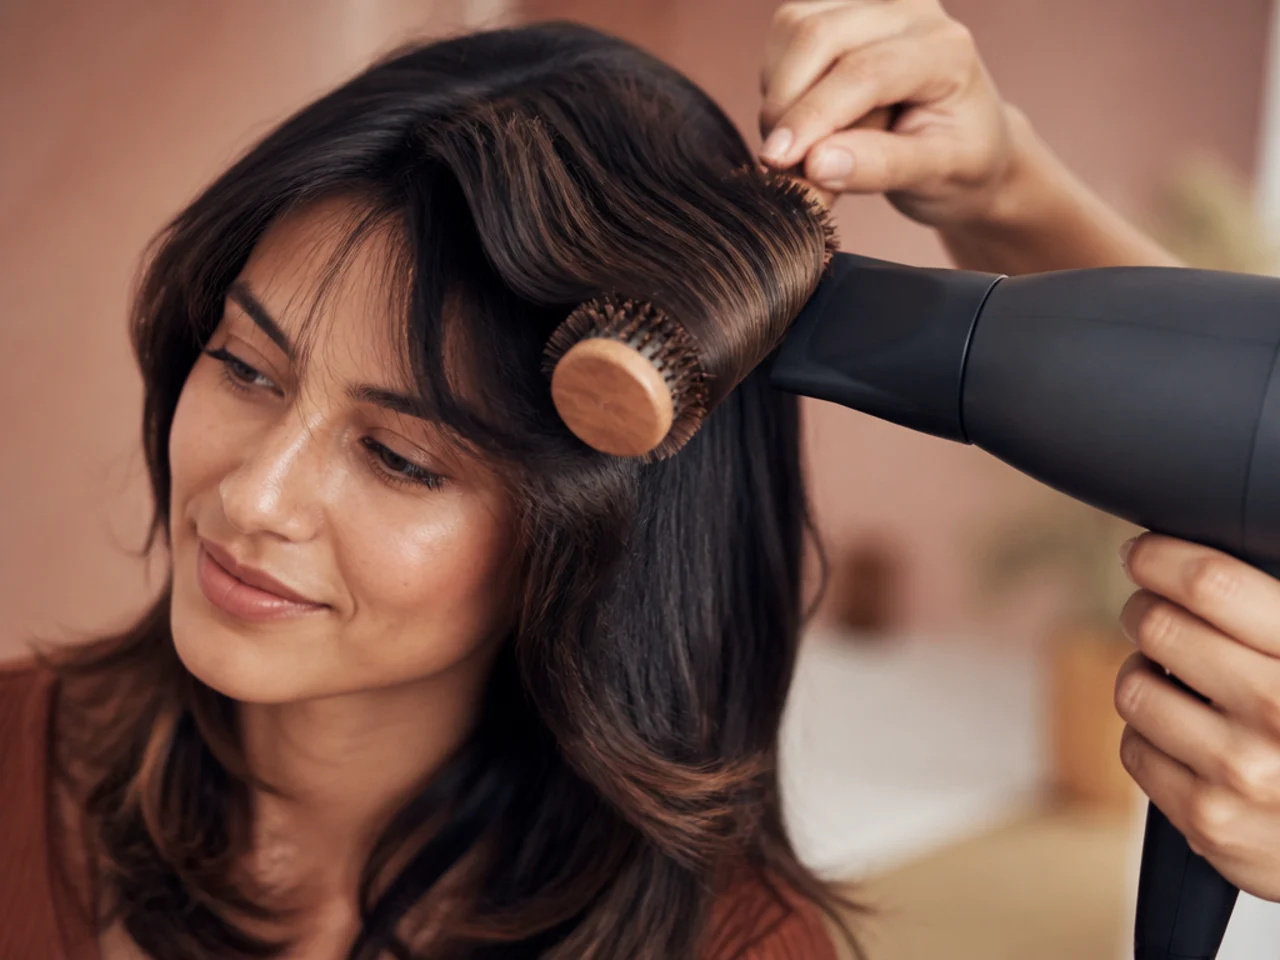
13. Separate the Curtain With Your Fingers
Shake the two halves apart with fingertips at the root. Run a brush through a finished fringe and you remove the separation between the halves entirely, flattening the shape into one solid sheet.

14. Set With a Light Spray From Underneath
Hold the can well back and spray upward into the underside of each half. Spraying the top surface coats the hair you can see and leaves it dull and crisp, where spraying underneath props the shape up without showing.
15. Refresh at the Root Later in the Day
A small amount of dry shampoo at the roots restores the grip the shape depends on. Wait until the fringe has visibly dropped and it is already too late, because the oil that flattened it is sitting at the scalp where the lift was.
Styling and Upkeep
Restyle the fringe alone. Wetting the roots of one small section takes two minutes and saves washing a whole head.
Keep the brush small. A short section cannot complete a turn around a large barrel.
Cool everything before you release it. This one step is the difference between a fringe that lasts an hour and one that lasts a day.
Trim every six to eight weeks. Short curtain bangs change character as soon as the shortest point drops past the cheekbone.
Clip the fringe back on wash days. Sleeping on a fringe resets the roots, and a fringe with reset roots has to be dried again from scratch.

Mistakes to Avoid
Taking the section too wide. It steals hair from the sides and leaves the shape thin behind the fringe.
Putting product on the ends. Weight at the tips is what makes short bangs separate into strings.
Drying the roots in one direction. They set that way, and the fringe then hangs instead of sweeping.
Releasing the brush while the hair is warm. The bend has not been set yet and it will drop.
Brushing the fringe once it is finished. It merges the two halves into a single flat sheet.

FAQ
Why does it drop? The section was released warm instead of cooled on the brush.
Do I wash the whole head? No, wet the roots of the fringe only.
How wide is the section? No wider than the outer corner of each eyebrow.

Final Thoughts
Everything that matters happens in the first two centimetres out of the scalp and in the five seconds of cold air at the end. Get those two right and the rest of the routine is just tidying.
For the same fringe on longer hair see curtain bangs on long hair, and for how it differs from the other soft fringe see side swept versus curtain bangs. More in Bangs and Fringe.