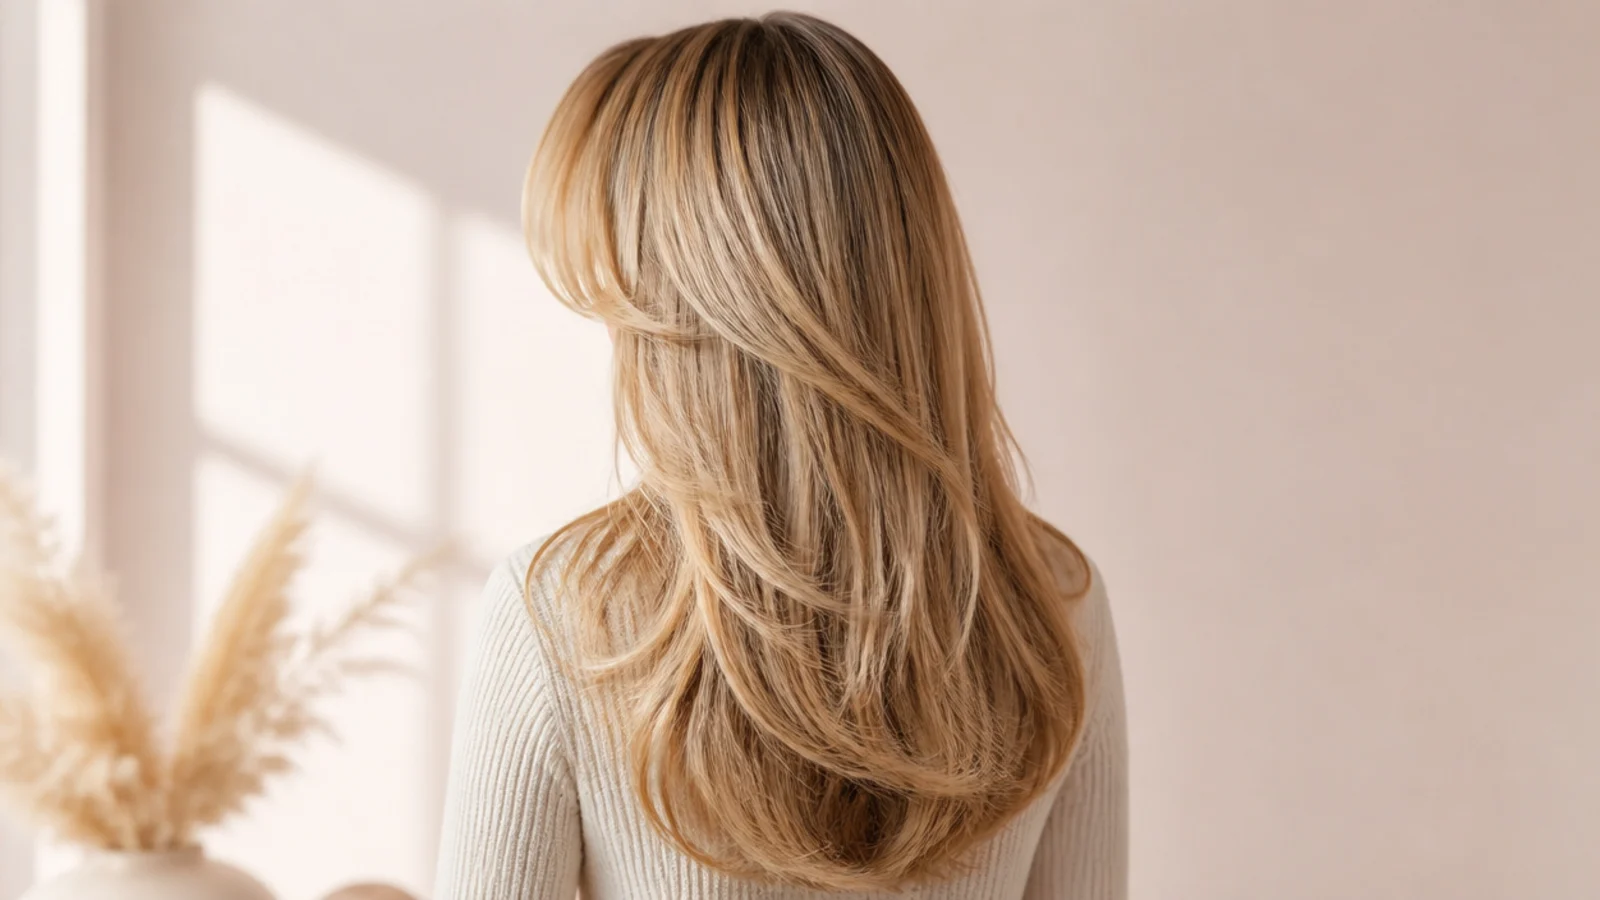
15 Sabrina Carpenter Hair Tutorials for Every Hair Type
Fifteen routes to the same blow dry, plus the eight step method underneath all of them. The step people skip is the cool shot, and it is the only one that decides whether the shape is still there at lunchtime.
In this article · 31
- The Signature Look Breakdown
- Cuts and Layers
- Hair Colors and What to Ask a Colorist
- Which Tutorial Suits Your Hair Type
- Shorter and Curlier Hair
- The 15 Tutorials
- 1. Round Brush Blowout
- 2. Heatless Overnight
- 3. Curtain Bang Blowdry
- 4. Second Day Refresh
- 5. Fine Hair Rollers
- 6. Thick Hair Done Fast
- 7. Sleek Straight
- 8. The Curly Adaptation
- 9. The Bob Version
- 10. Half Up Bouffant
- 11. Overnight Bangs
- 12. Gloss Refresh
- 13. No Multistyler Needed
- 14. Humidity Proof Finish
- 15. Off Duty Ponytail
- How to Blow Dry the Signature Look
- Step 1. Rough Dry
- Step 2. Sectioning
- Step 3. Fringe First
- Step 4. Back Sections
- Step 5. Overdirect the Crown
- Step 6. Cool Shot
- Step 7. Soft Waves
- Step 8. Finish and Overnight
- Final Thoughts
The blow dry in every tutorial for this look takes twenty minutes, and most of them fall out in one.
Heat does not set hair. Cooling does. Water breaks the hydrogen bonds inside the strand and they reform as it dries, so whatever shape it holds while it goes cold is the shape it keeps.
Every version below is the same eight steps. What changes is the tool and the order, chosen by how much hair you have and how fast it drops.
The Signature Look Breakdown
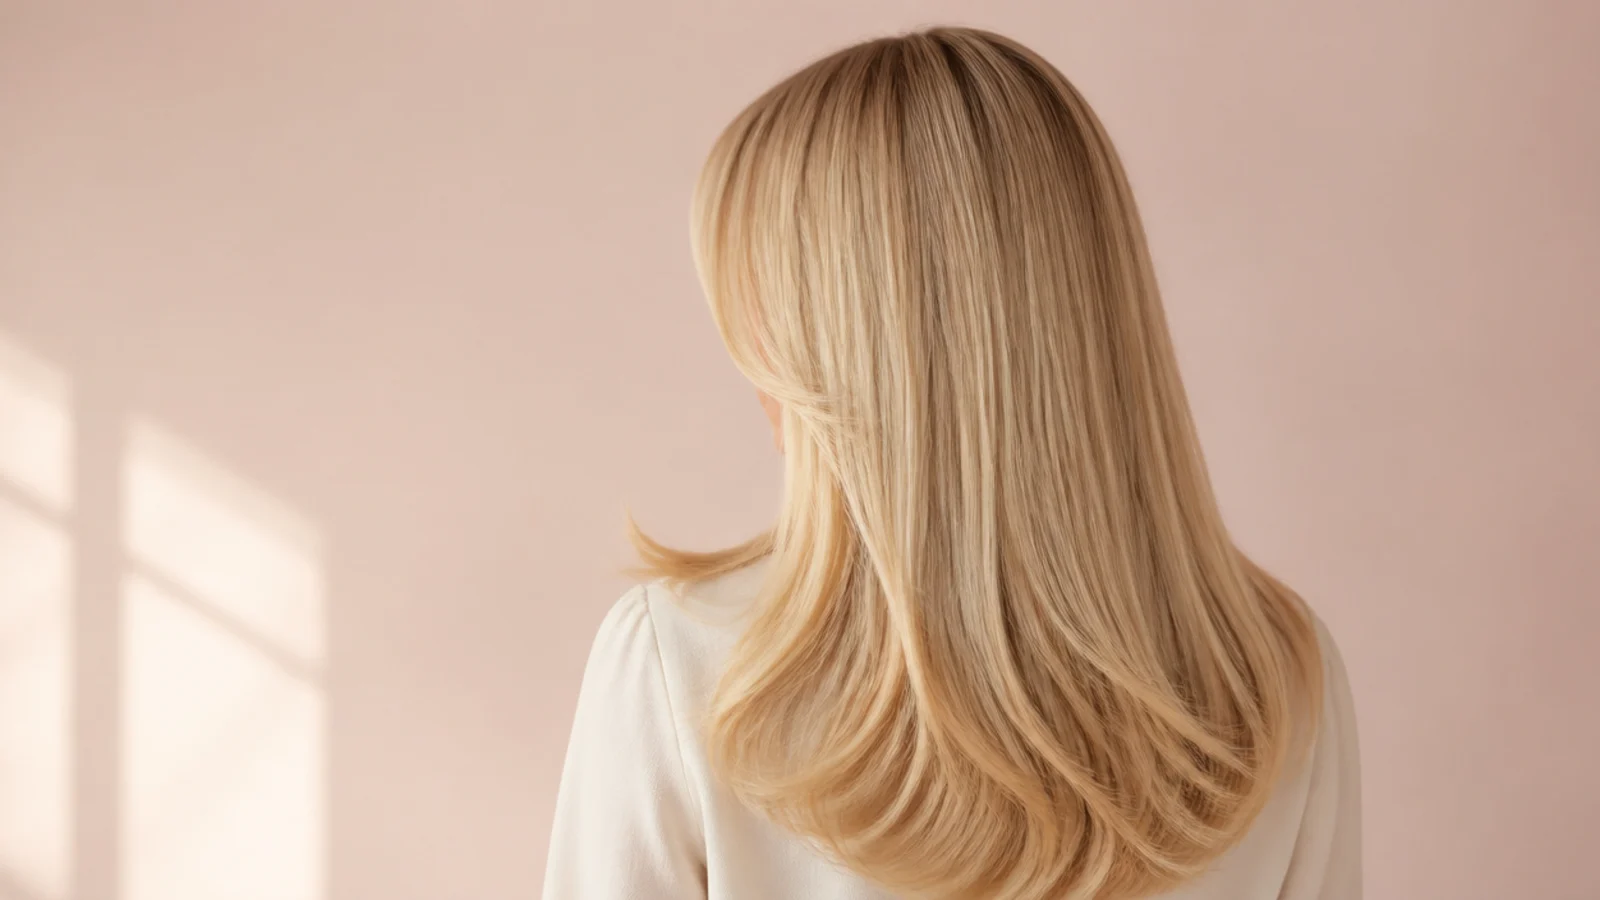
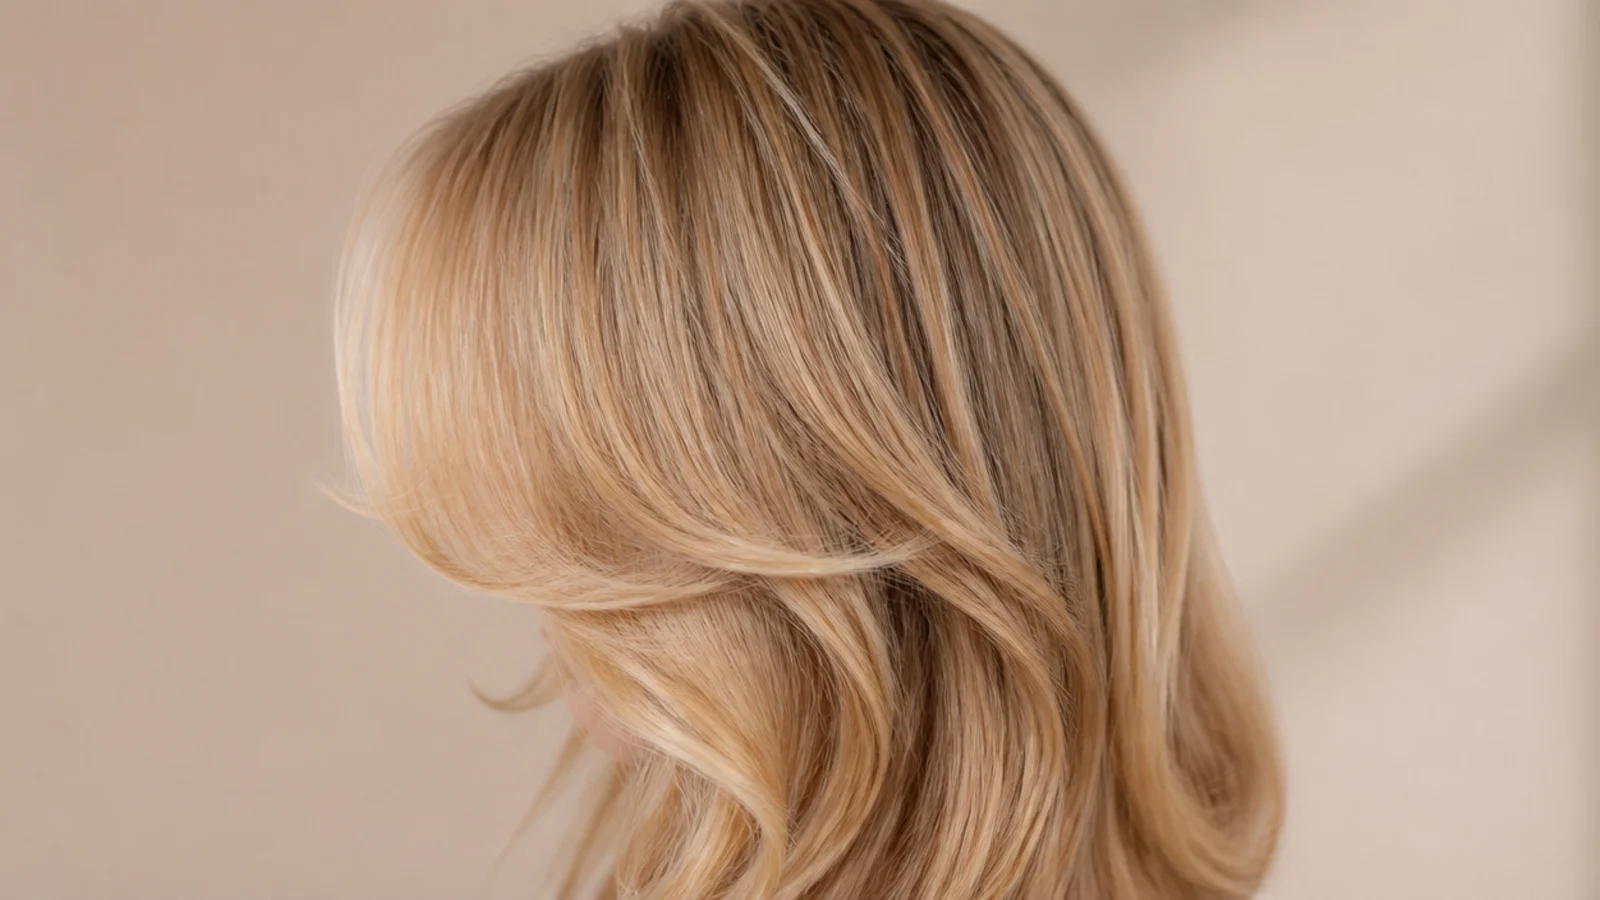
Volume in the top two inches only. Below the crown the hair is smooth. That contrast between a lifted root and a flat length is what reads as a blow dry rather than as backcombing.
A fringe that moves away from the face. Dried in that direction from damp, then left alone. It is the first section to dry and the only one that cannot be corrected later.
Ends turned under, not curled. One rotation of a large round brush at the very bottom. Anything more and the shape moves from blown out to set.
Shine along the whole length. Tension from the brush lays the cuticle flat, and a flat cuticle reflects light in one direction instead of scattering it.
Cuts and Layers
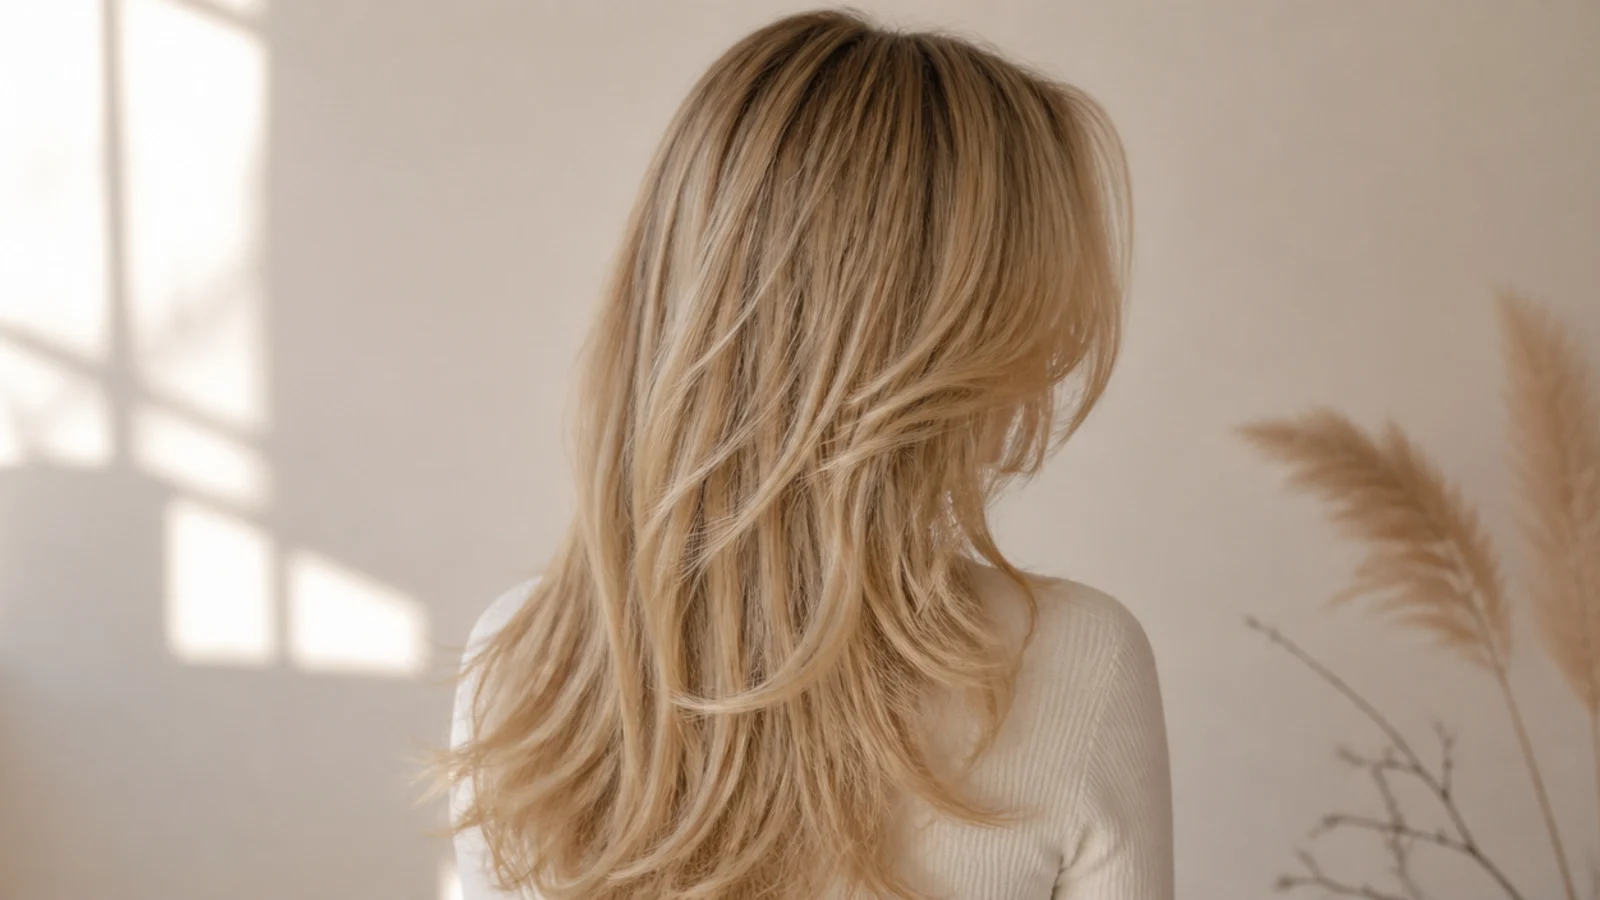
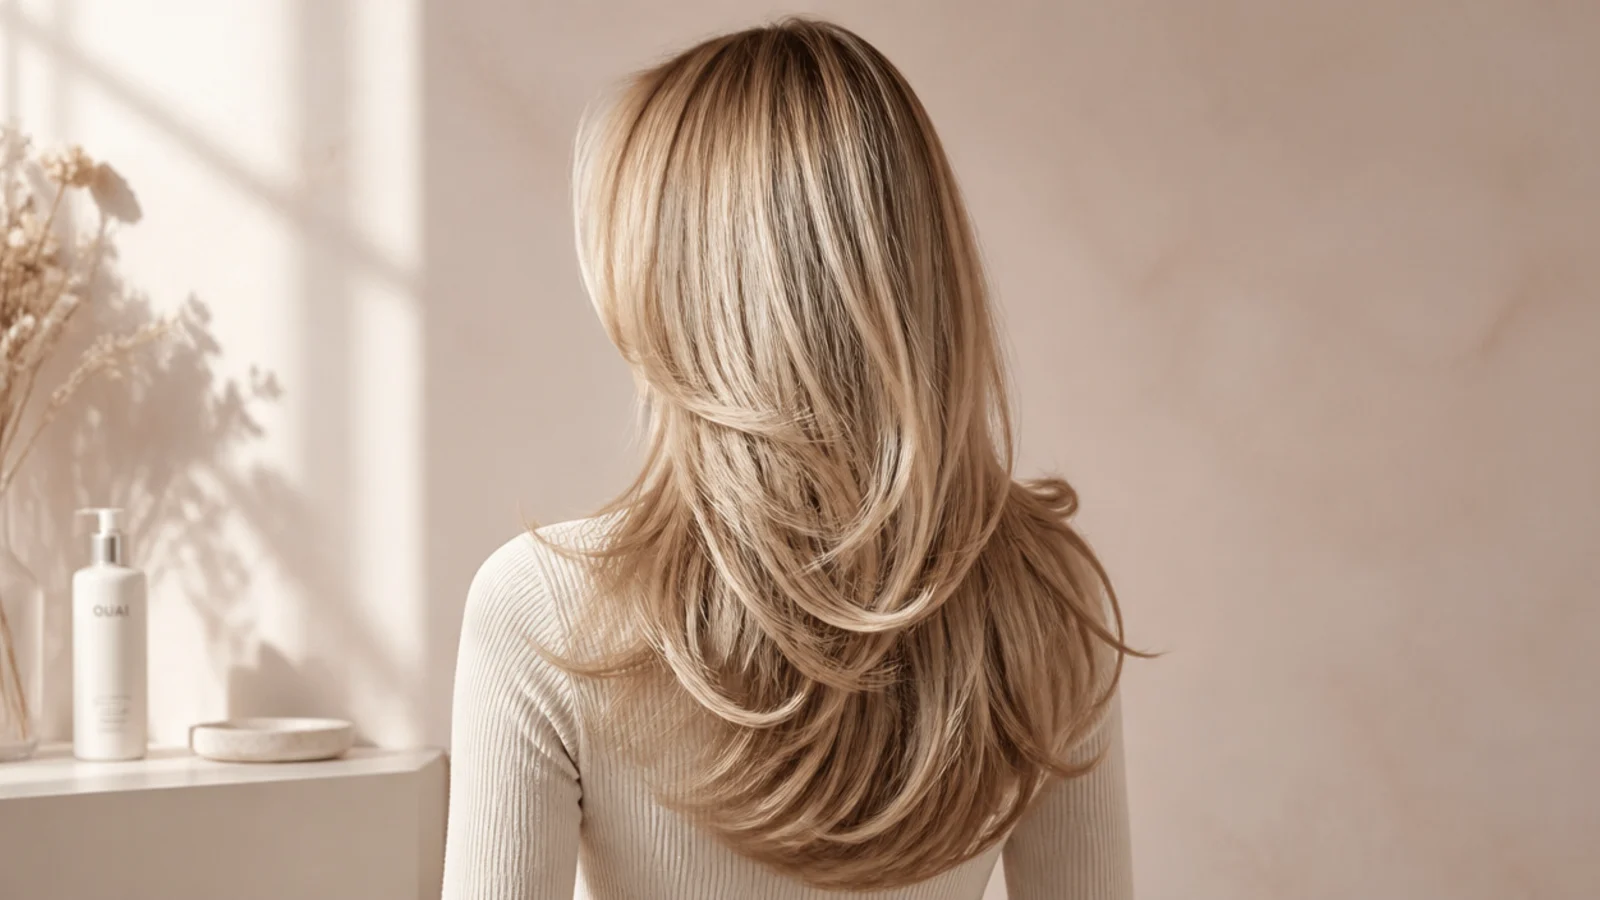
The cut is doing half the work. Long layers with the shortest interior piece below the chin give the brush something to turn. On one blunt length there is nothing for the ends to do.
Face framing starts at the cheekbone. It lengthens outward until it merges into the front layers, which is why it dries away from the face on its own rather than needing to be forced.
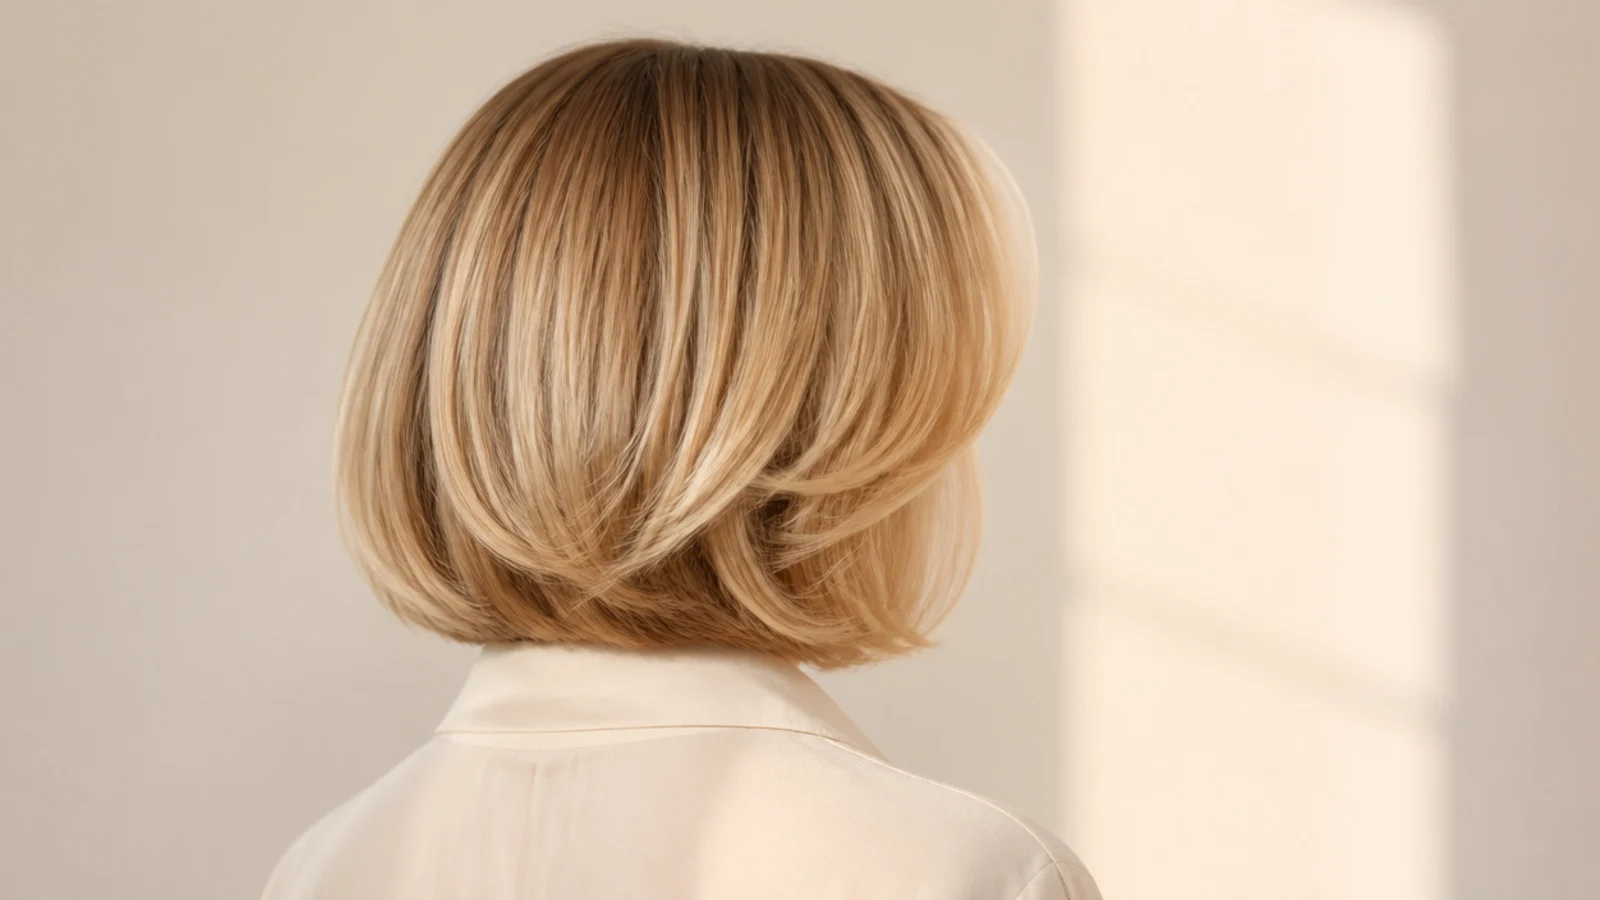
Rounded layers hold a turn under. Each end sits slightly shorter than the piece beneath it, so the curve is already in the cut and the brush only follows it.
A heavy perimeter is the anchor. Thinned ends cannot hold a shape, and no amount of technique compensates for an outline that has been point cut to nothing.
Hair Colors and What to Ask a Colorist
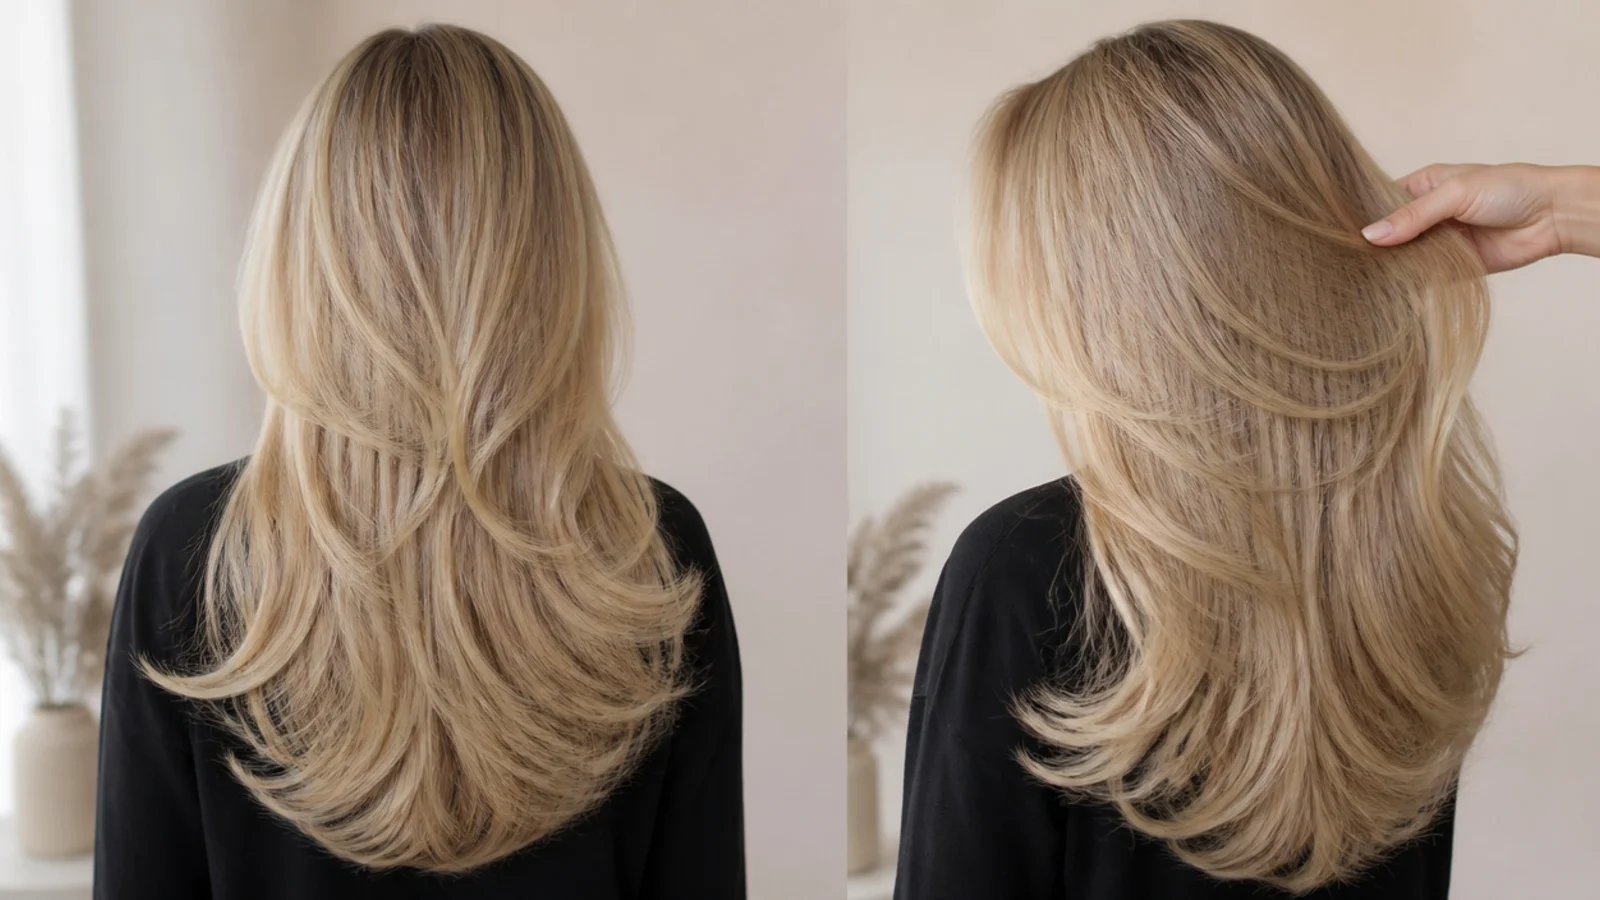
Ask for a shadow root. A base one to two levels deeper than the length, blended down a few inches, means the regrowth has no line to meet and the appointment schedule stretches by months.
Keep the contrast low. Fine weaves and a small gap between lightened and base hair read as depth within one colour rather than as stripes, which is what makes a blow dry look expensive.
Separate lift from tone when you ask. Lift is how light the hair goes and tone is the colour that lightness reads as. Merged into one request, one of them gets guessed.
Gloss the ends, not the roots. Blow dried ends are the most porous hair on the head, and a demi permanent gloss evens that porosity so the whole length reflects together.
Which Tutorial Suits Your Hair Type
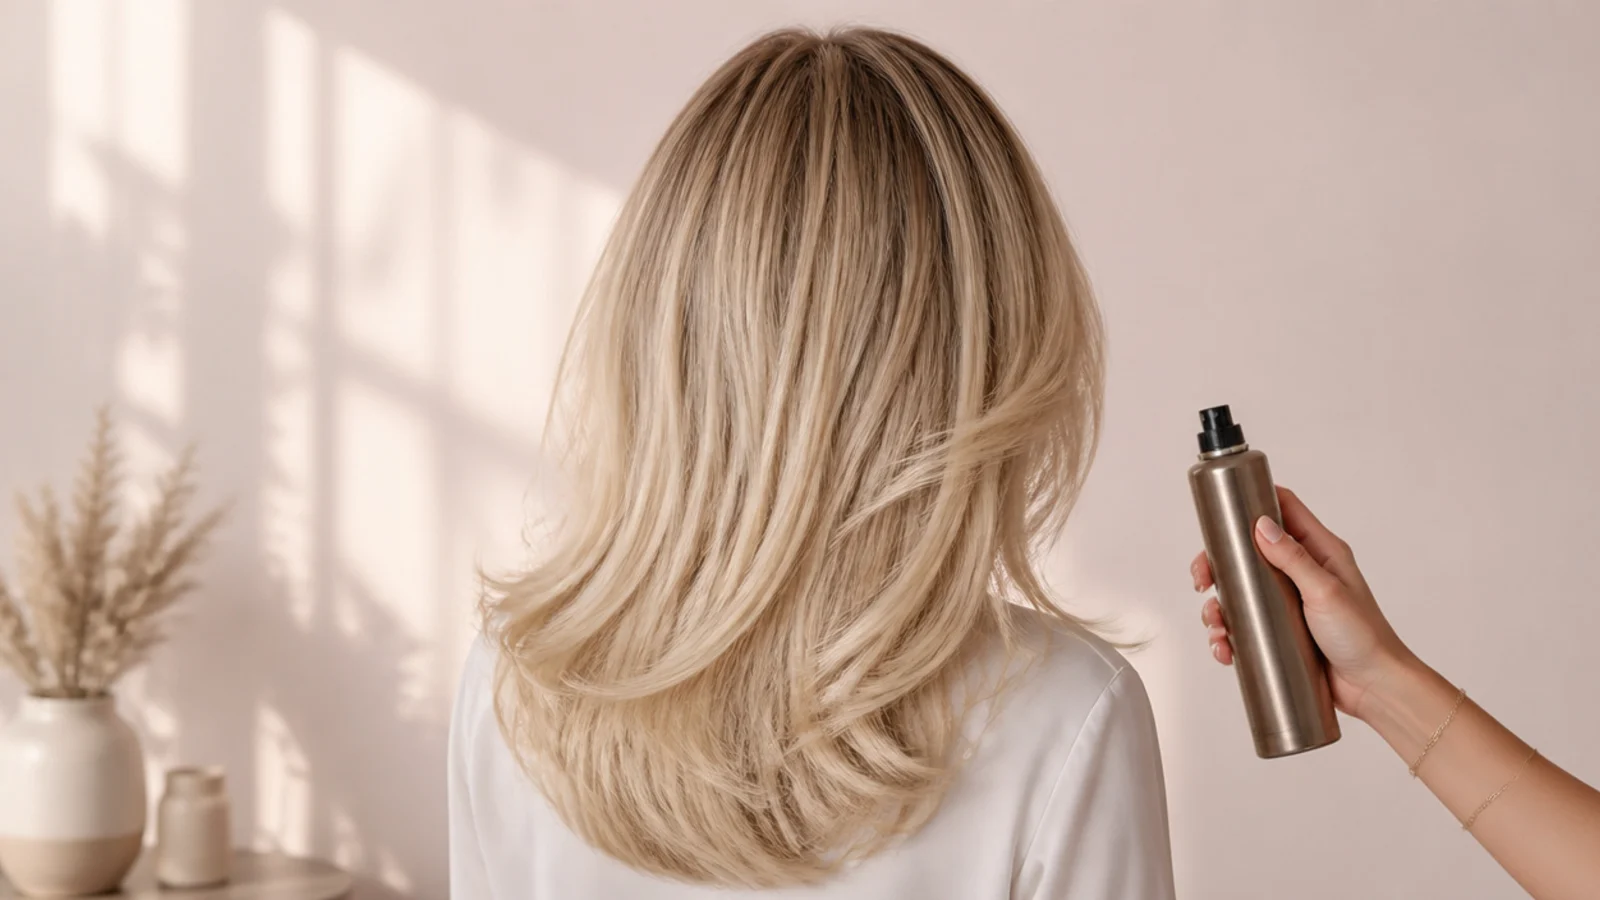
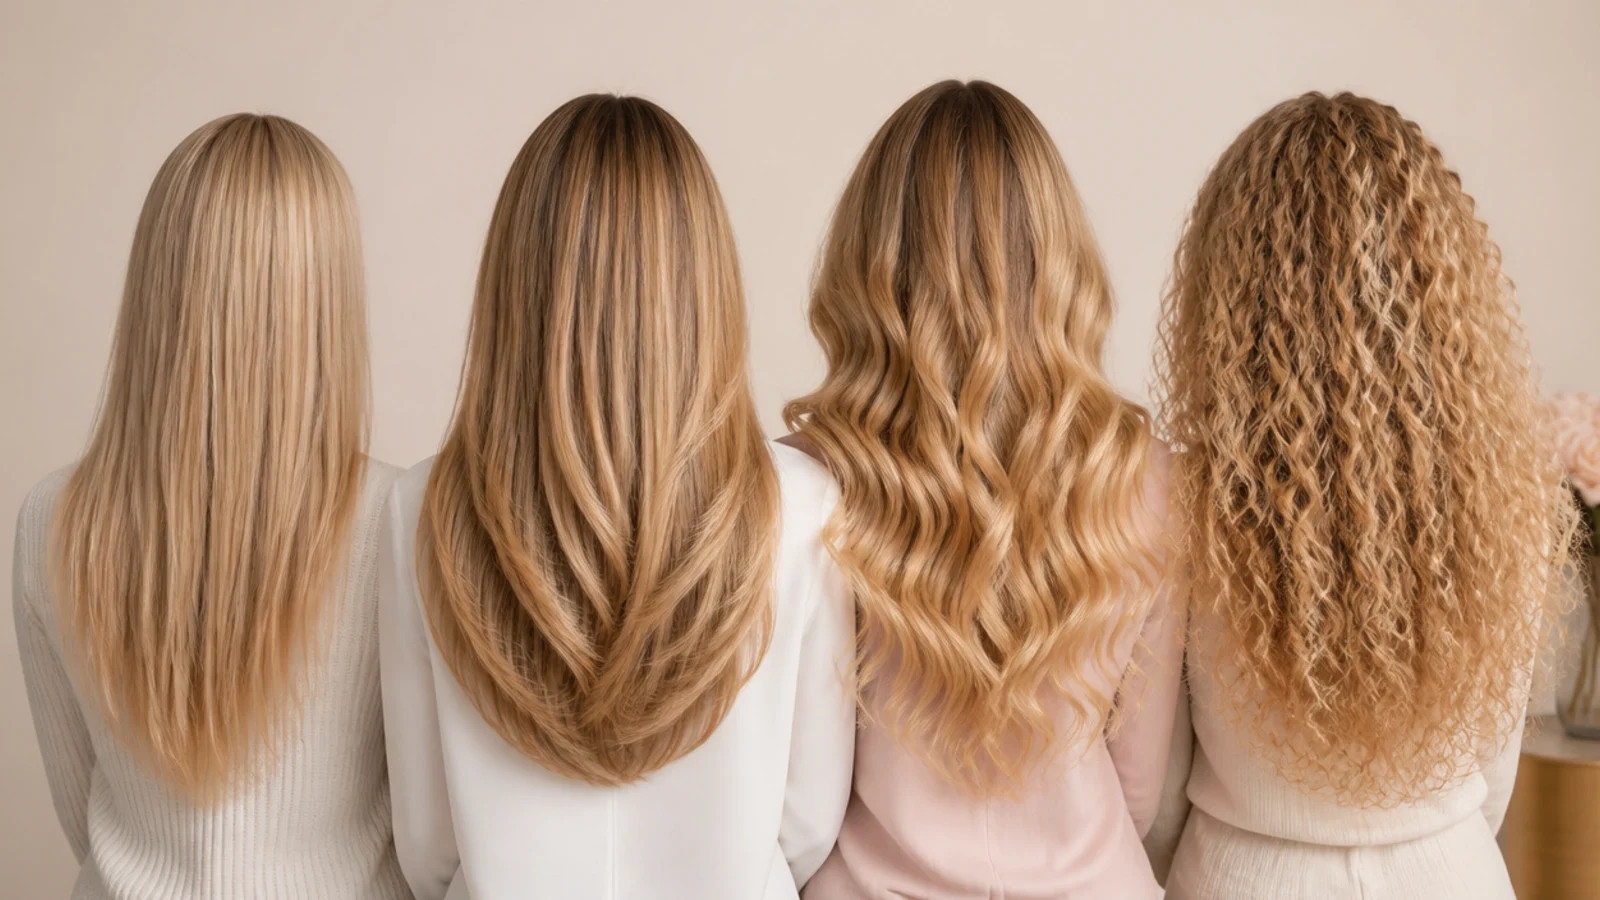
Fine hair sets fast and drops fast. Less mass means less to hold in place, so rollers left in until stone cold beat any amount of extra heat.
Thick hair needs sectioning above everything. The failure mode is the underneath still being wet when the top is done, and no product fixes a section that never dried.
Wavy hair should be rough dried, not fought. Two thirds of the shape is already there. Smoothing only the top layer and the fringe gets most of the result in a third of the time.
Curly hair wants a diffuser and no brush. Direct airflow blows a curl pattern apart, so the tool has to spread the air rather than aim it.
Shorter and Curlier Hair
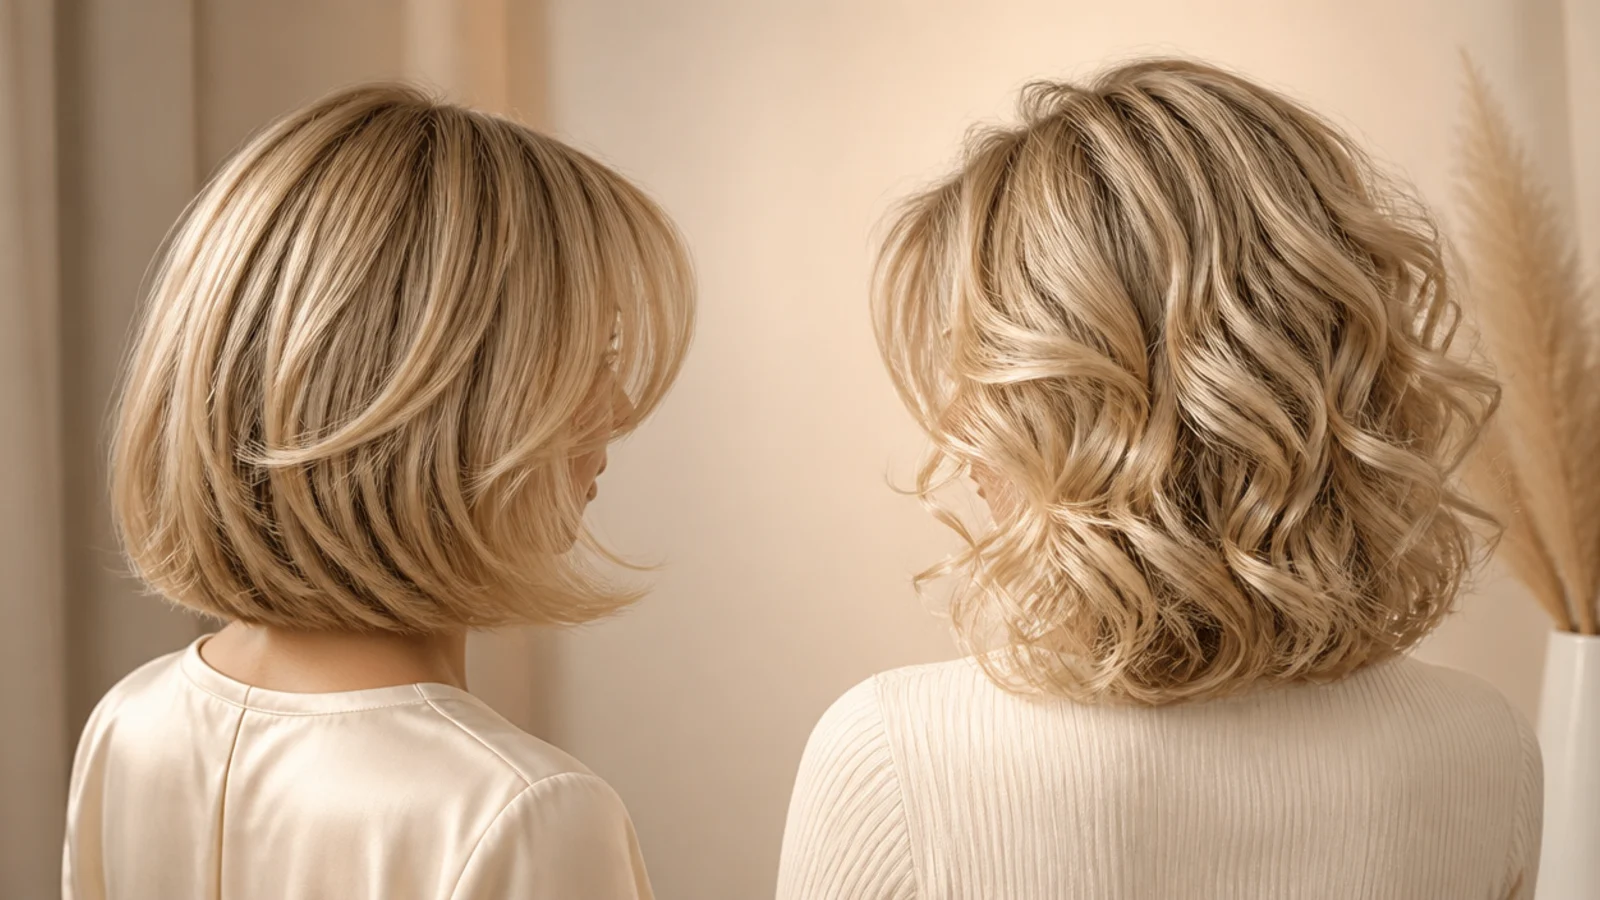
Short hair holds a blow dry longer. There is less weight below the root pulling the lift down, so a bob keeps a turn under for a day or two where long hair loses it by evening.
Cut a fringe on curly hair dry. A 2C or 3A curl can spring up an inch as it dries, so the shortest point has to be judged where it already sits rather than measured under water.
Diffuse on low speed and high heat. Speed is what disturbs the pattern, not temperature. High airflow separates the clumps a curl formed as it dried.
On tighter patterns, style damp and stop touching it. Every contact while a curl is drying breaks the clump, and once it is broken the only fix is water and starting again.
The 15 Tutorials
1. Round Brush Blowout
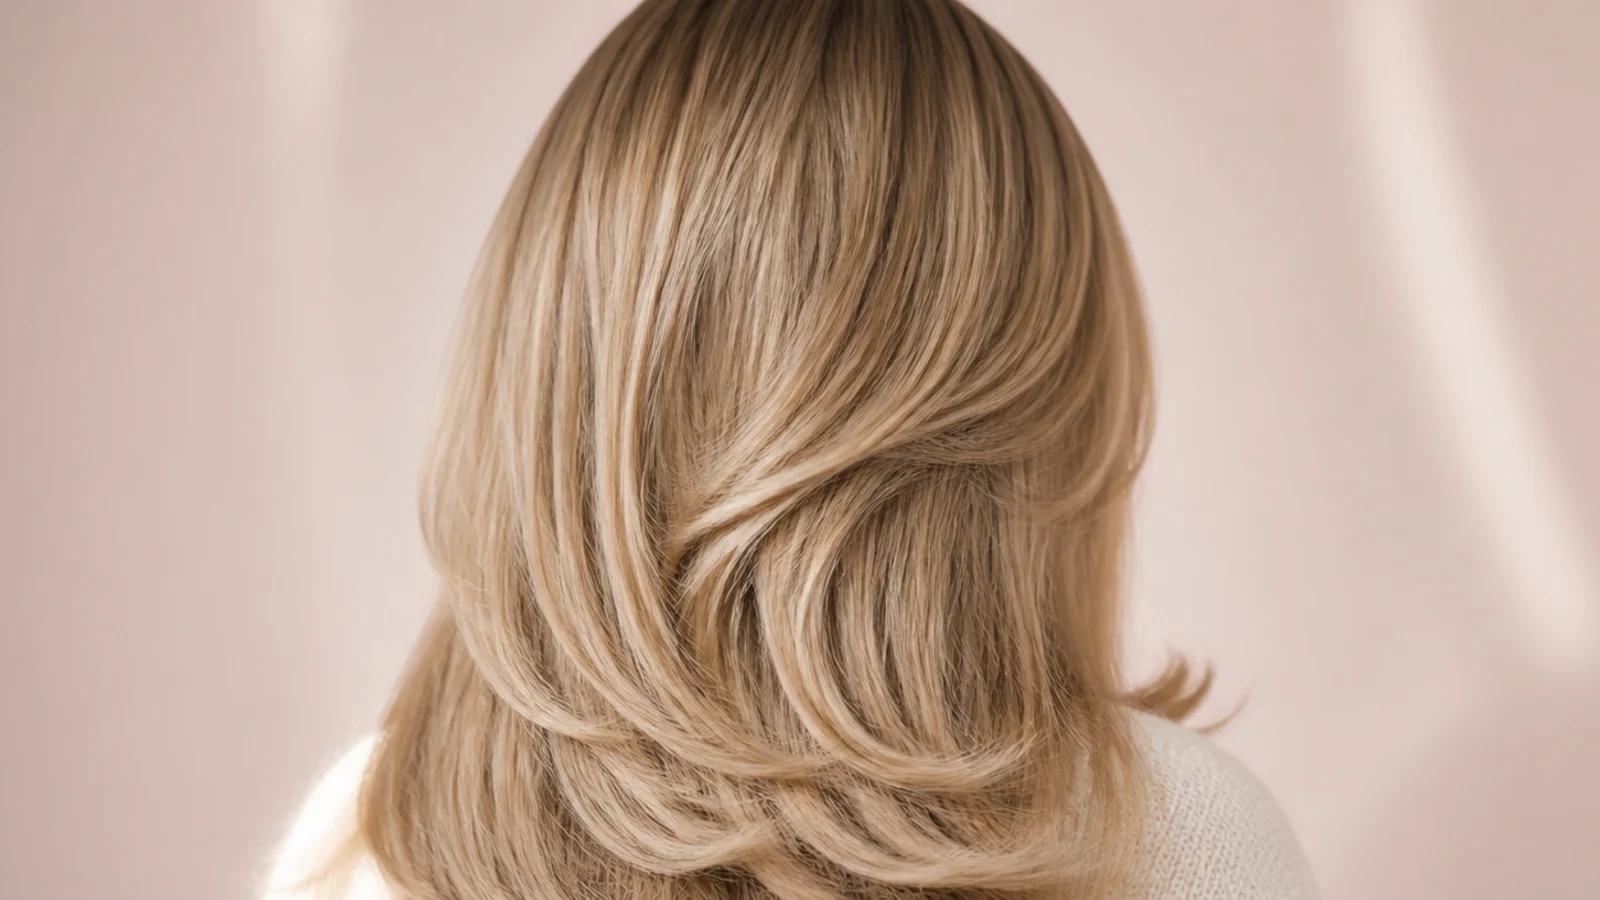
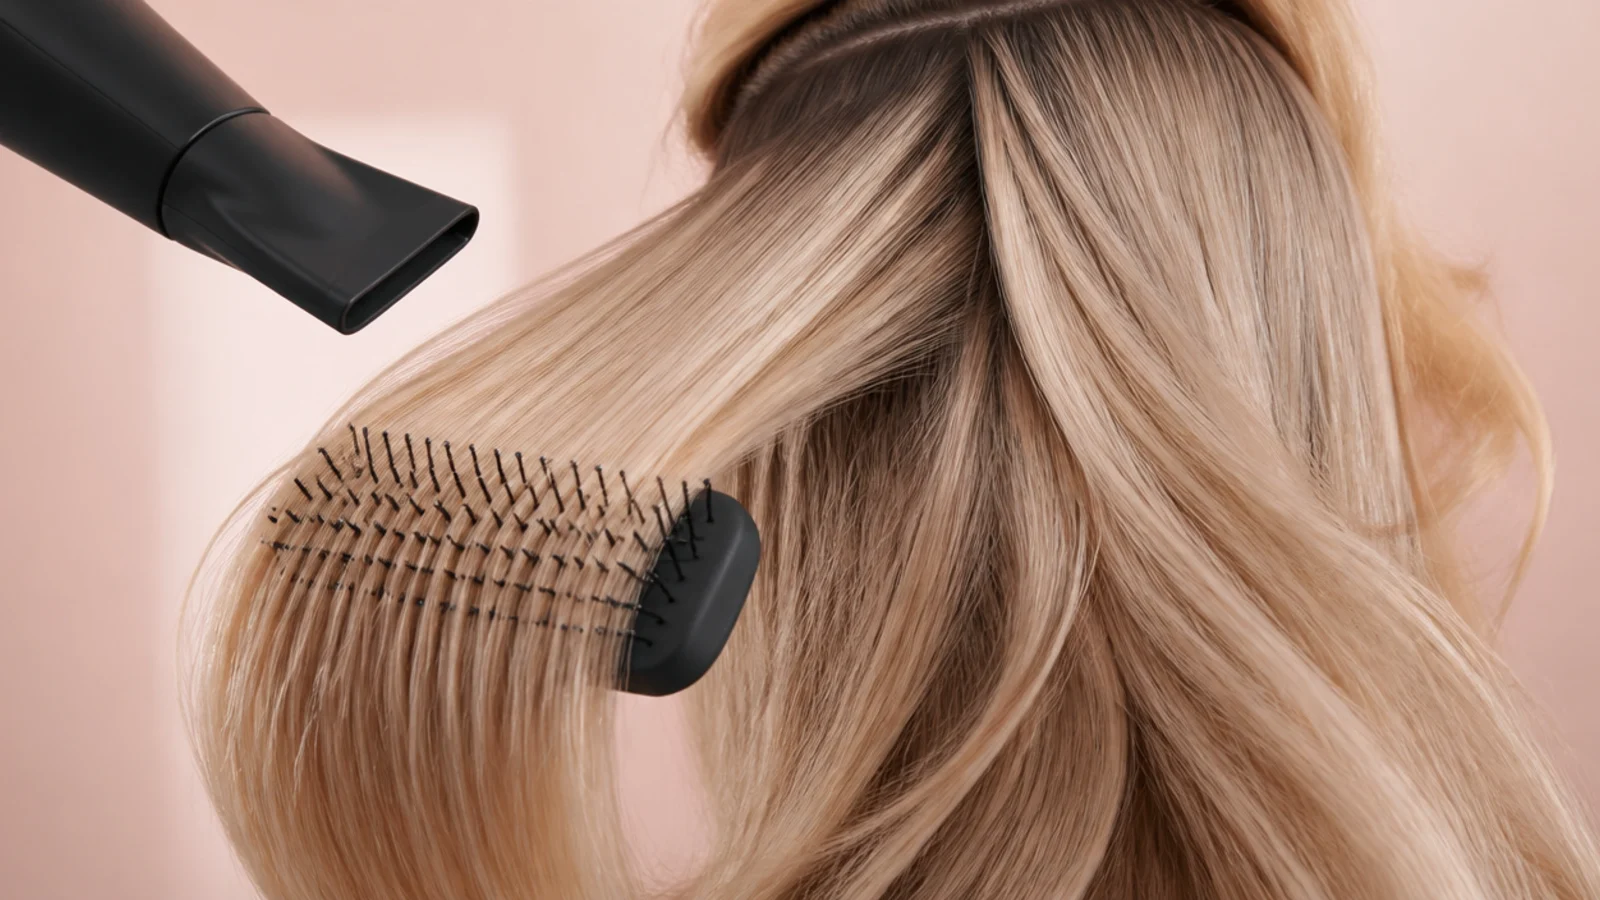
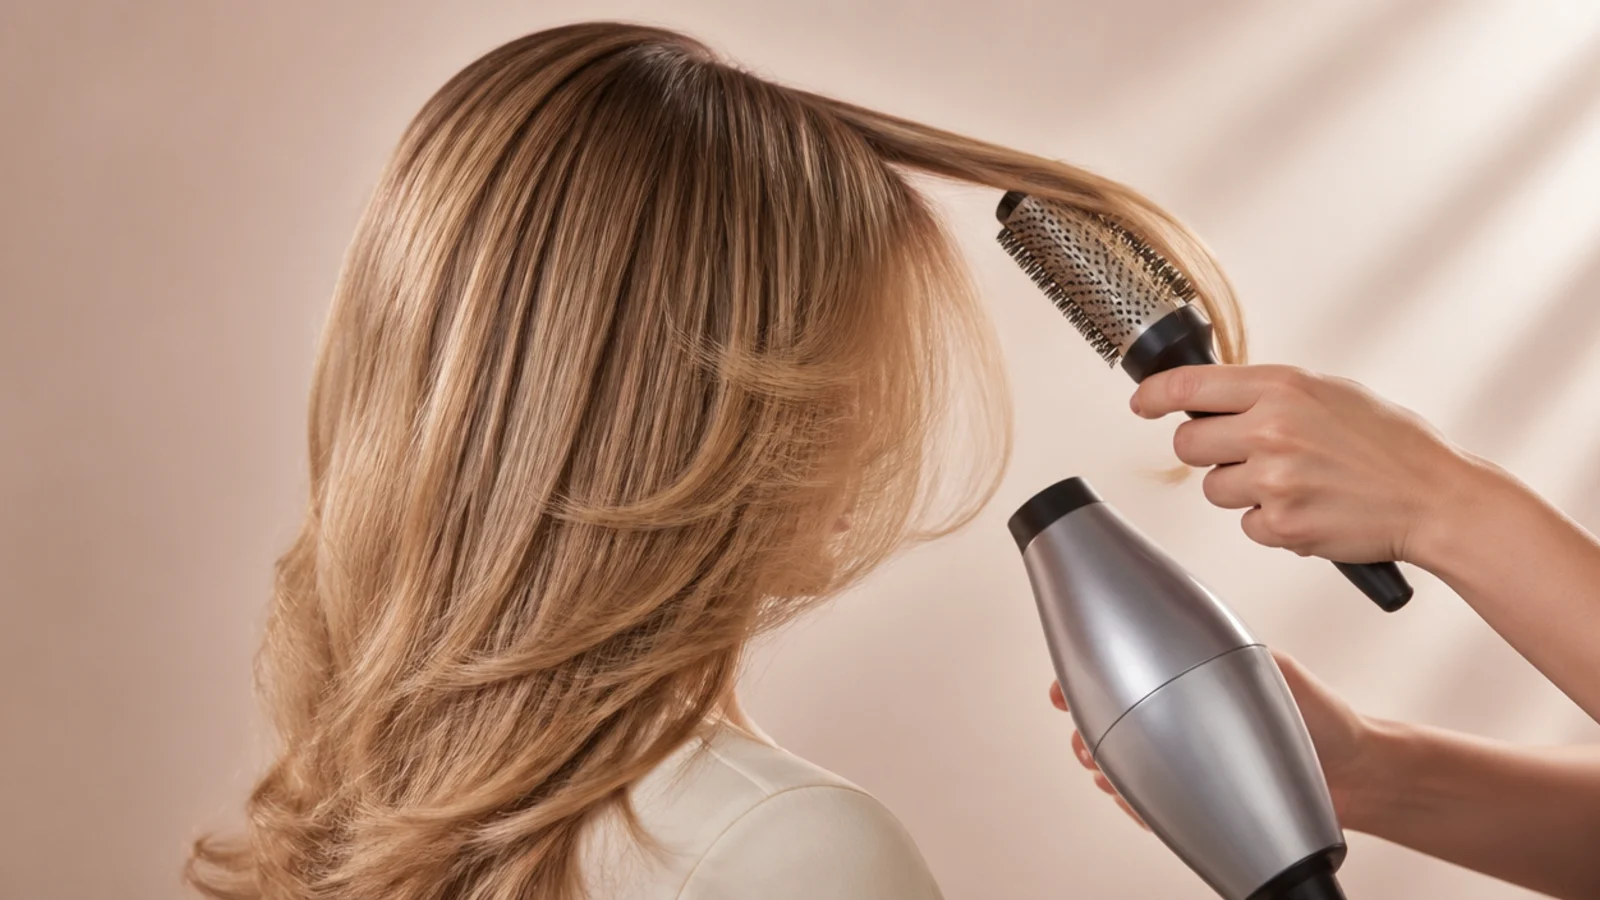
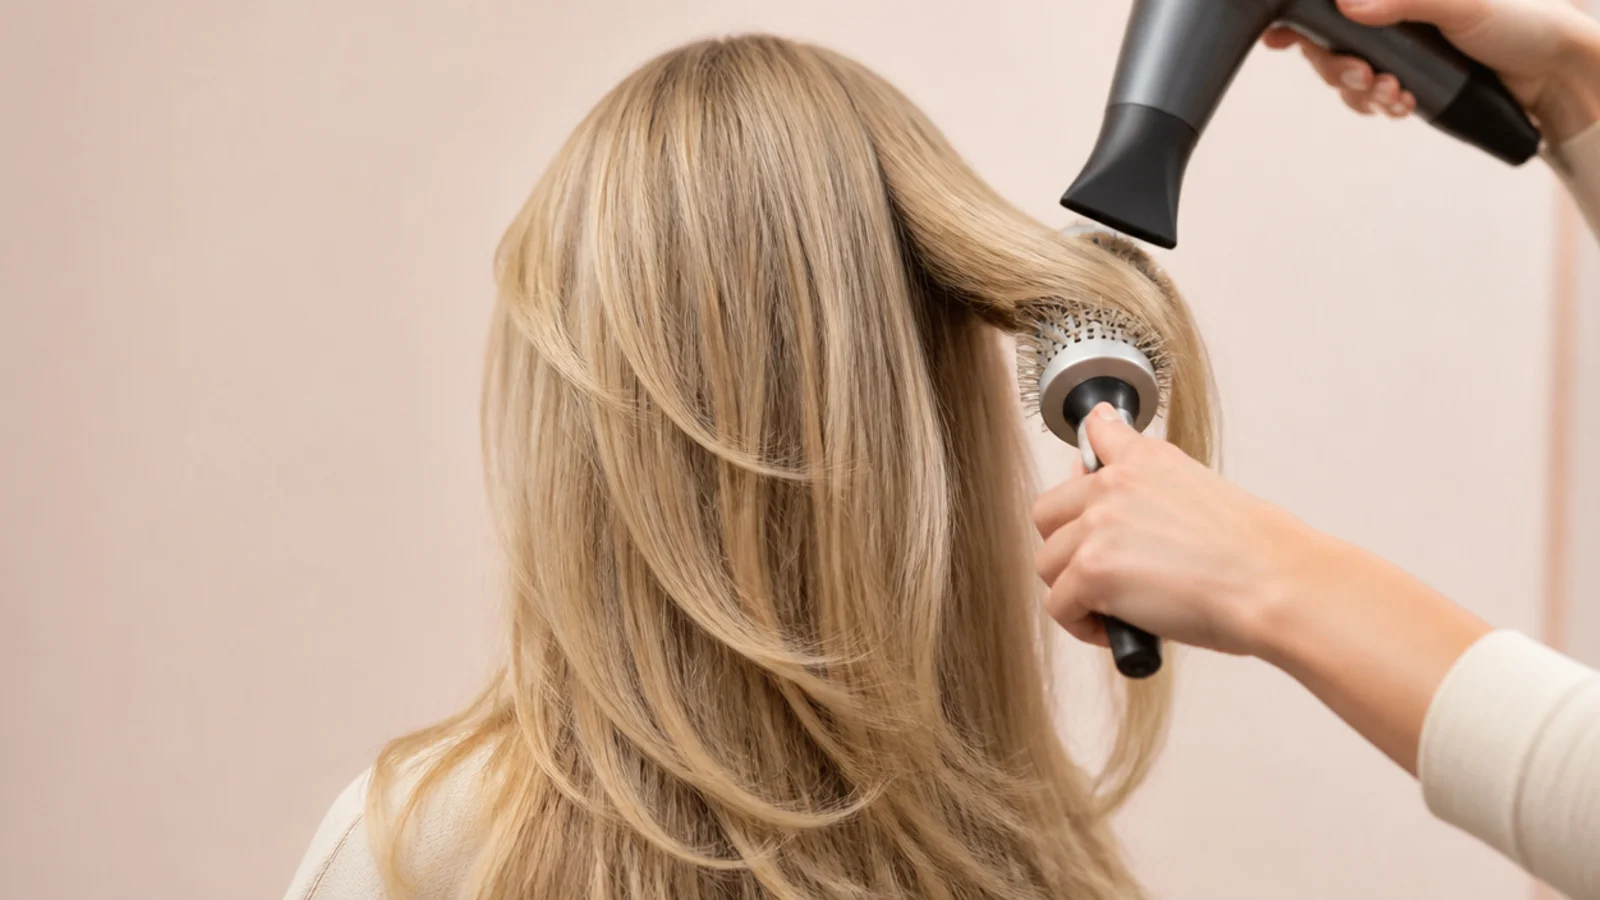
The full version and the one every other tutorial is a shortcut from. A large barrel keeps the bend shallow while the tension flattens the cuticle, so the shine and the shape come from the same pass rather than needing a separate smoothing step.
2. Heatless Overnight
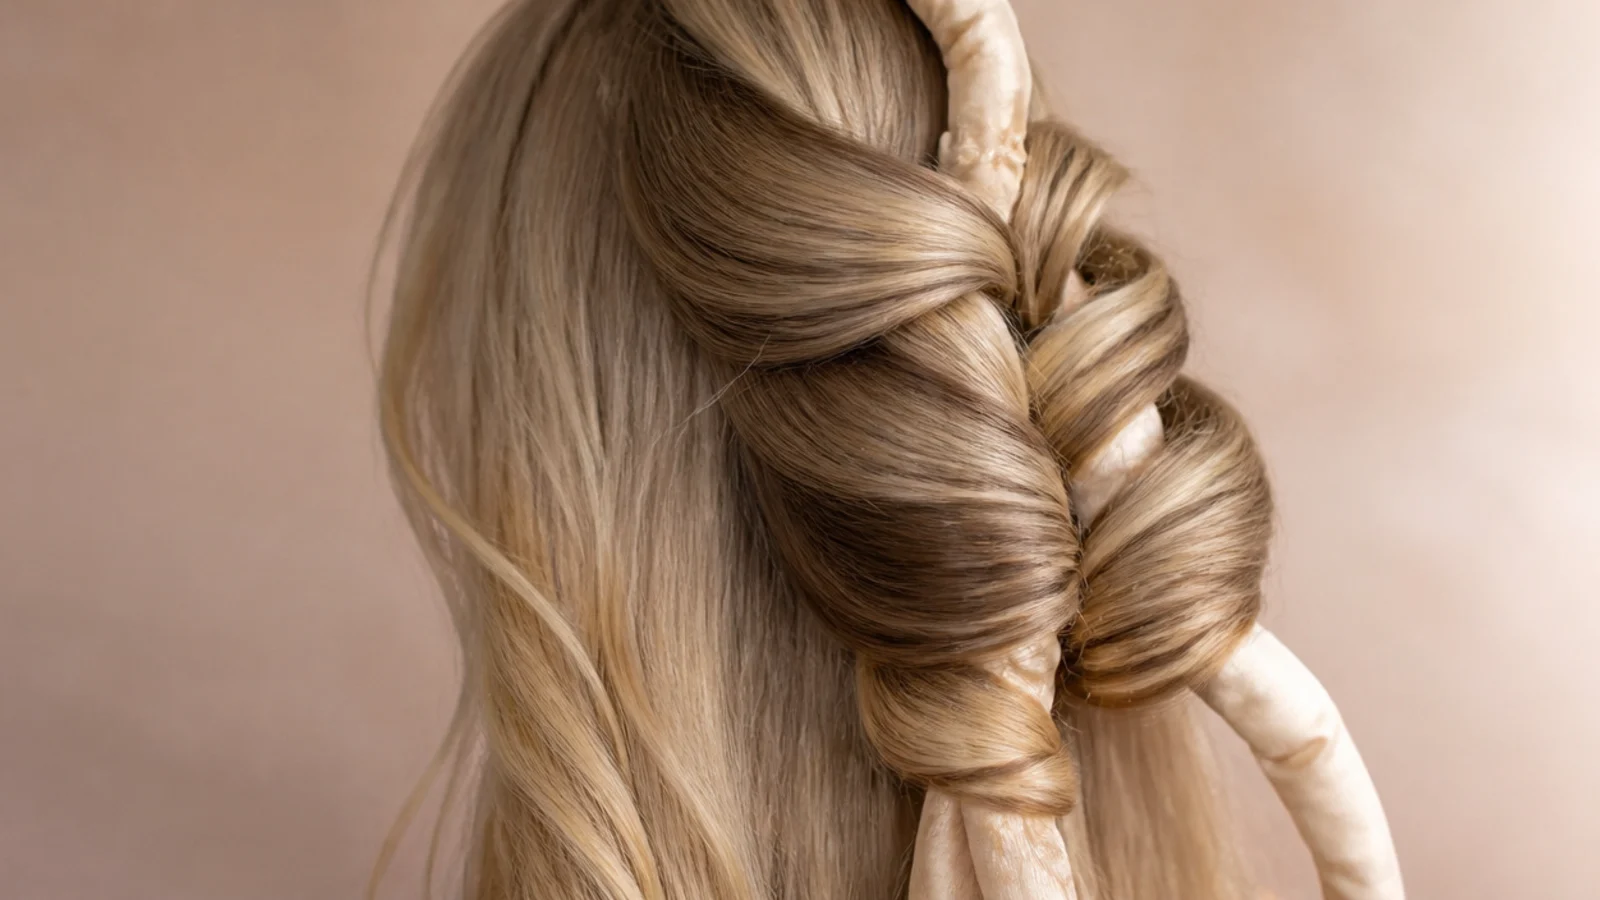
Damp hair wrapped around a fabric rod and slept on. The hair dries in whatever shape it is held in, so the set costs nothing in heat damage, and the only real variable is whether the hair was still slightly damp when you went to bed.
3. Curtain Bang Blowdry
Two minutes on the fringe alone. Split it at the parting, dry each half backwards over a small round brush, and cool it in place, because the fringe dries first and sets in whatever direction it happened to fall while you were doing the rest.
4. Second Day Refresh
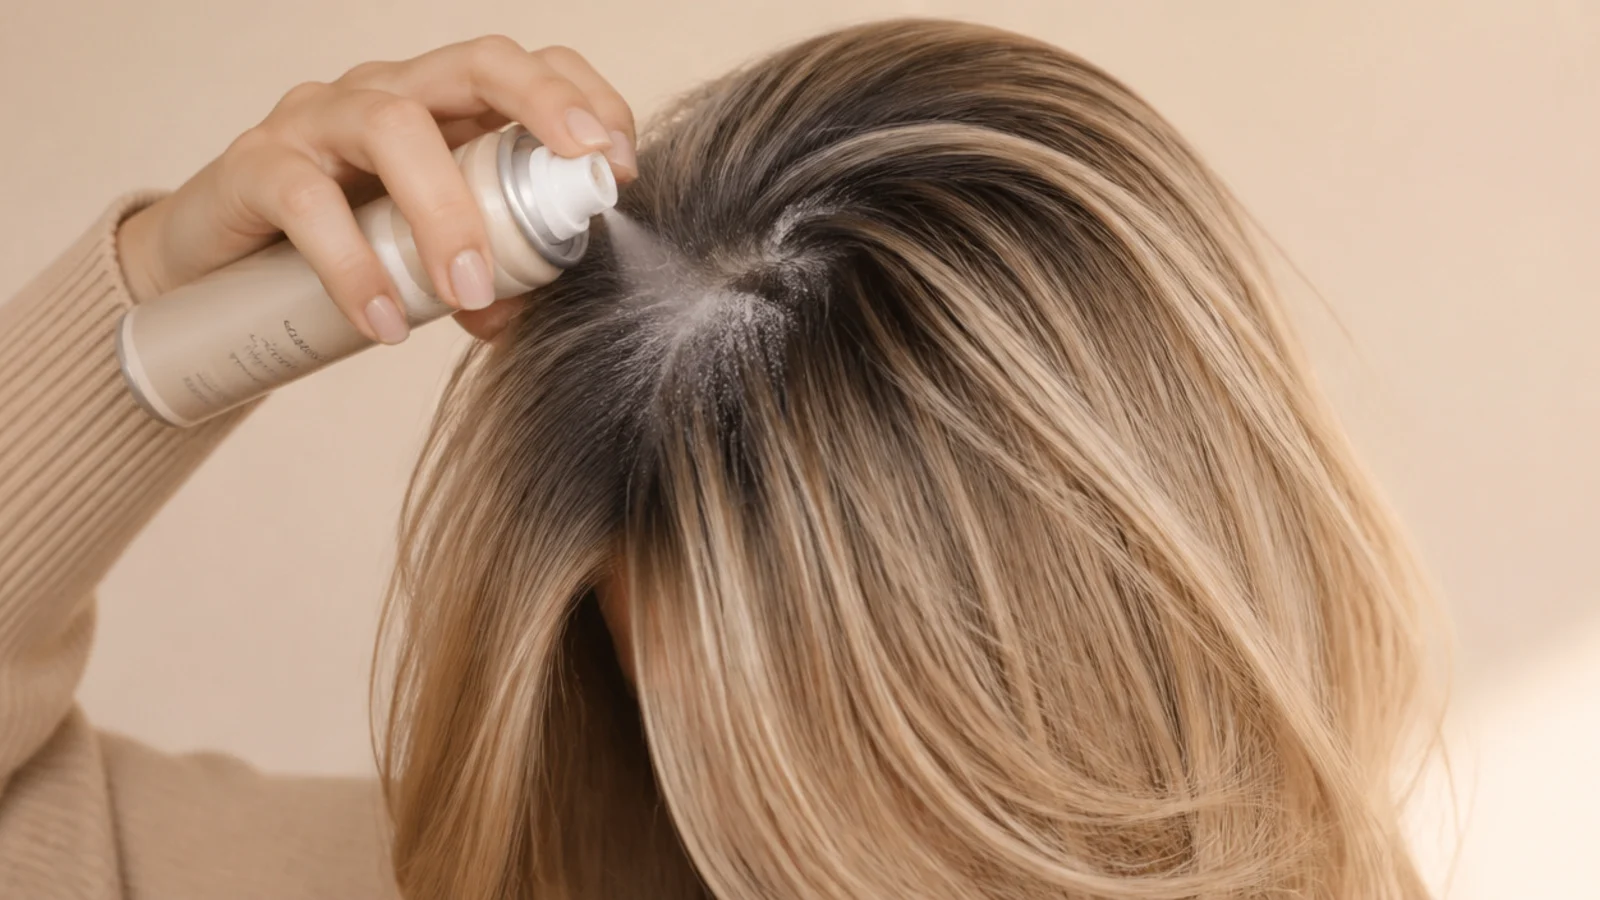
Dry shampoo at the root, left a minute, then brushed through. Oil travelling down from the scalp is what weighs a root flat, so absorbing it restores the lift the blow dry built instead of trying to build a new one.
5. Fine Hair Rollers
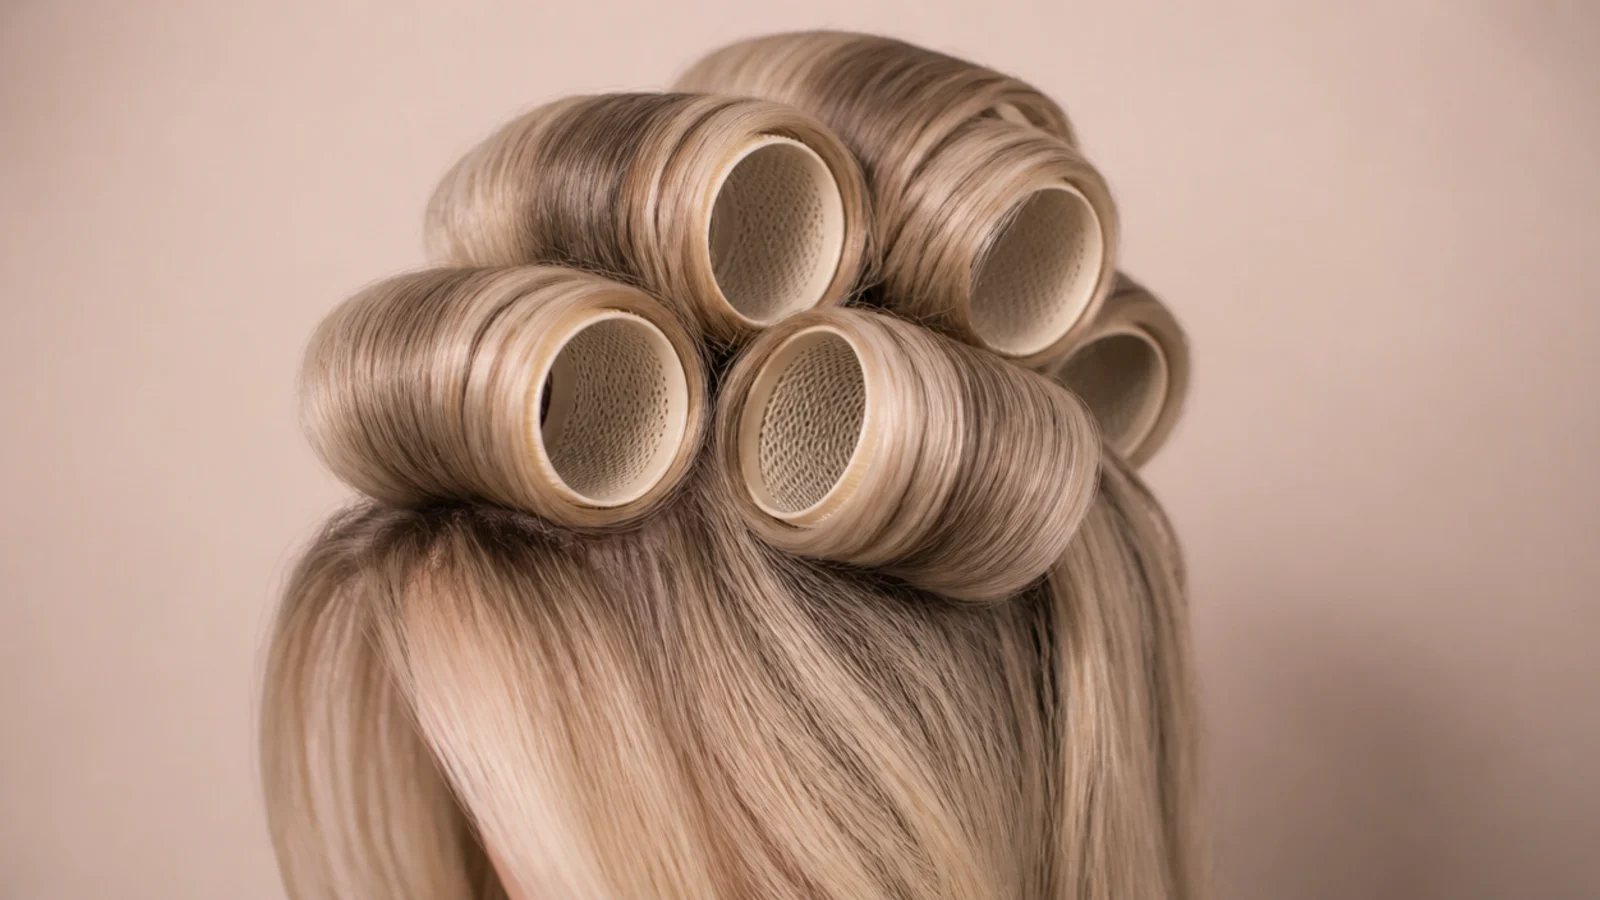
Blow dry as normal, then set velcro rollers into the crown and leave them until the hair is completely cold. Fine hair has little mass to hold a shape, so the entire result depends on how long it stays wound rather than on heat.
6. Thick Hair Done Fast
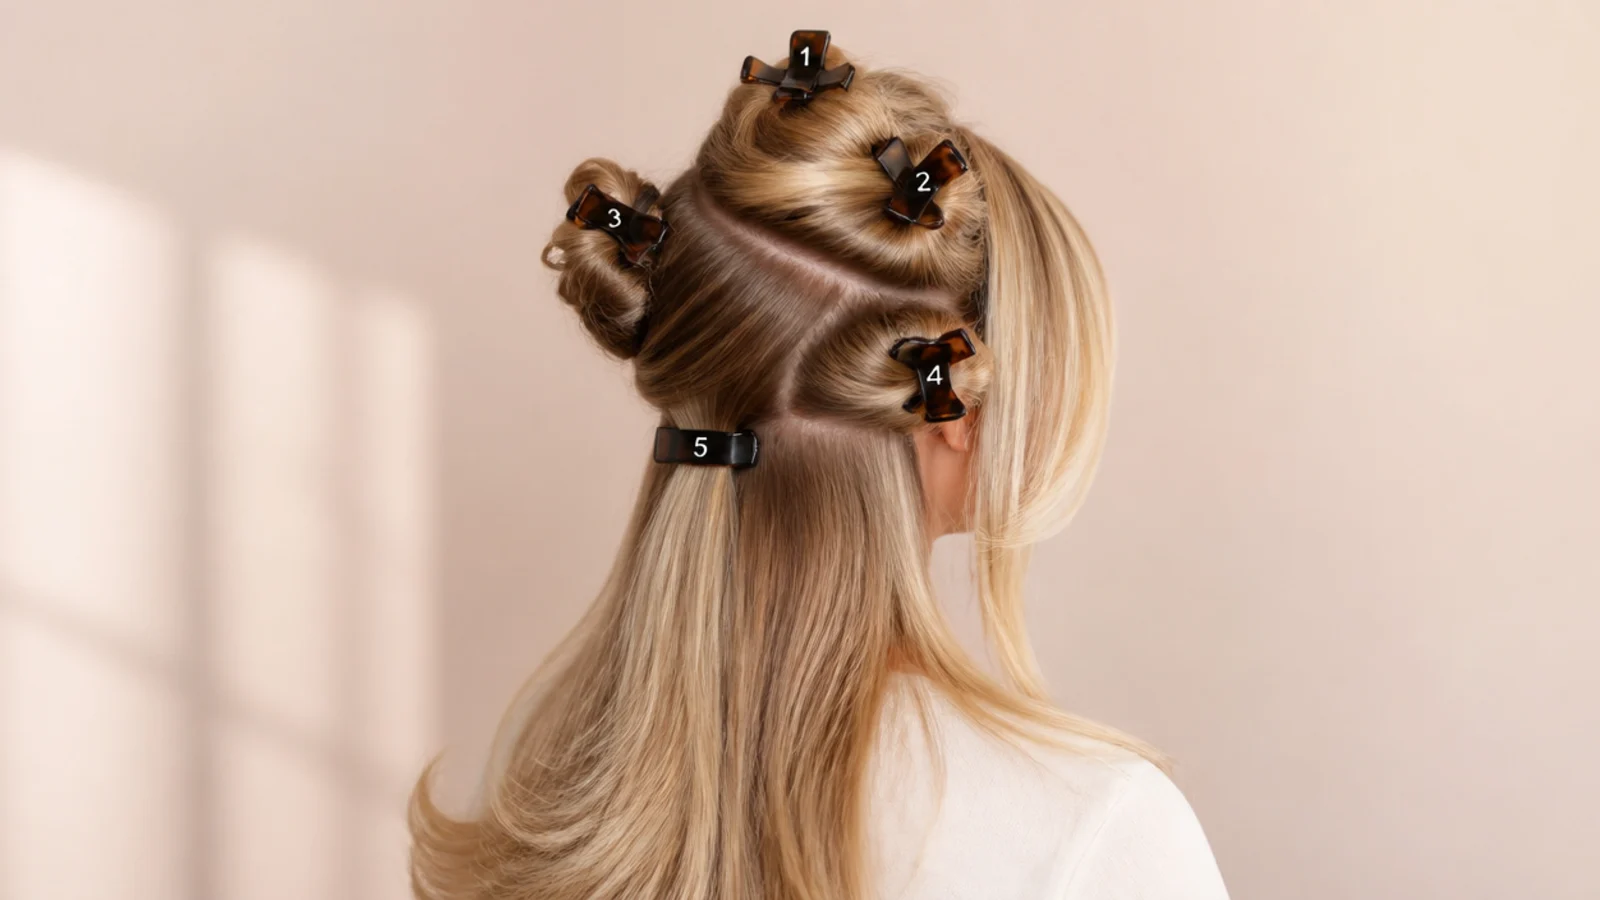
Clip into four sections and rough dry each one to eighty percent before any brush touches it. Thick hair fails because the underneath is still wet when the top is finished, and a section that dried without shape has to be rewet to fix.
7. Sleek Straight
A flat iron in one slow pass rather than several fast ones. Repeated passes reheat hair that is already set and add nothing, while a single pass at a moderate temperature is what actually flattens the cuticle into one continuous reflective surface.
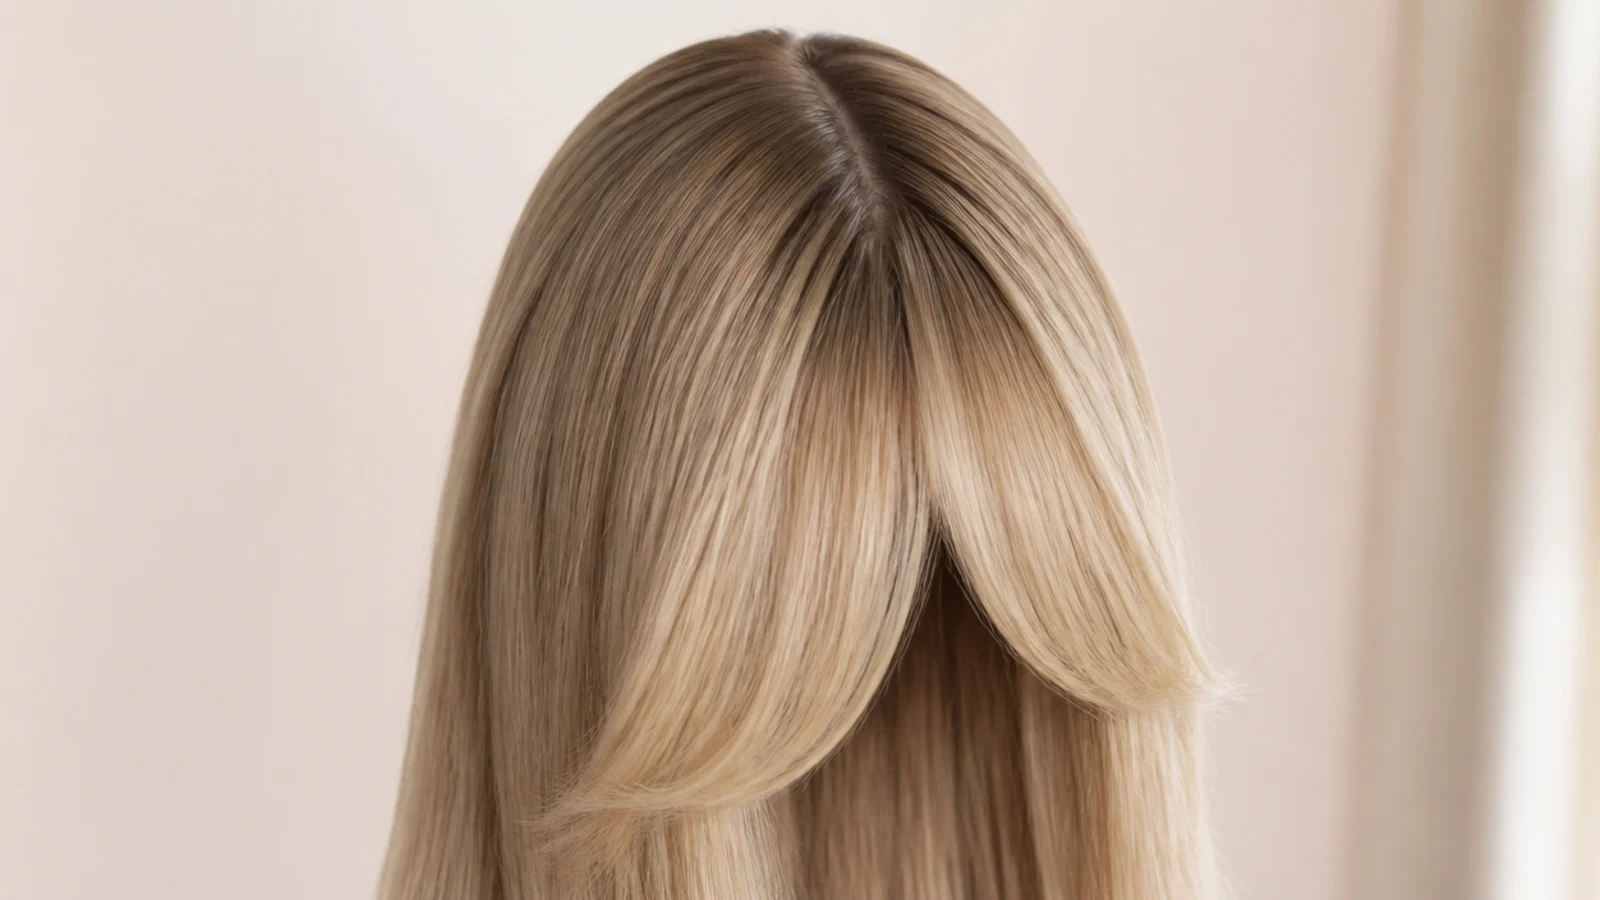
8. The Curly Adaptation
Product on soaking wet hair, then a diffuser on low speed and high heat until it is dry. Airflow speed is what breaks a curl clump apart, so slow air and patience gives definition where a fast setting gives volume and frizz.
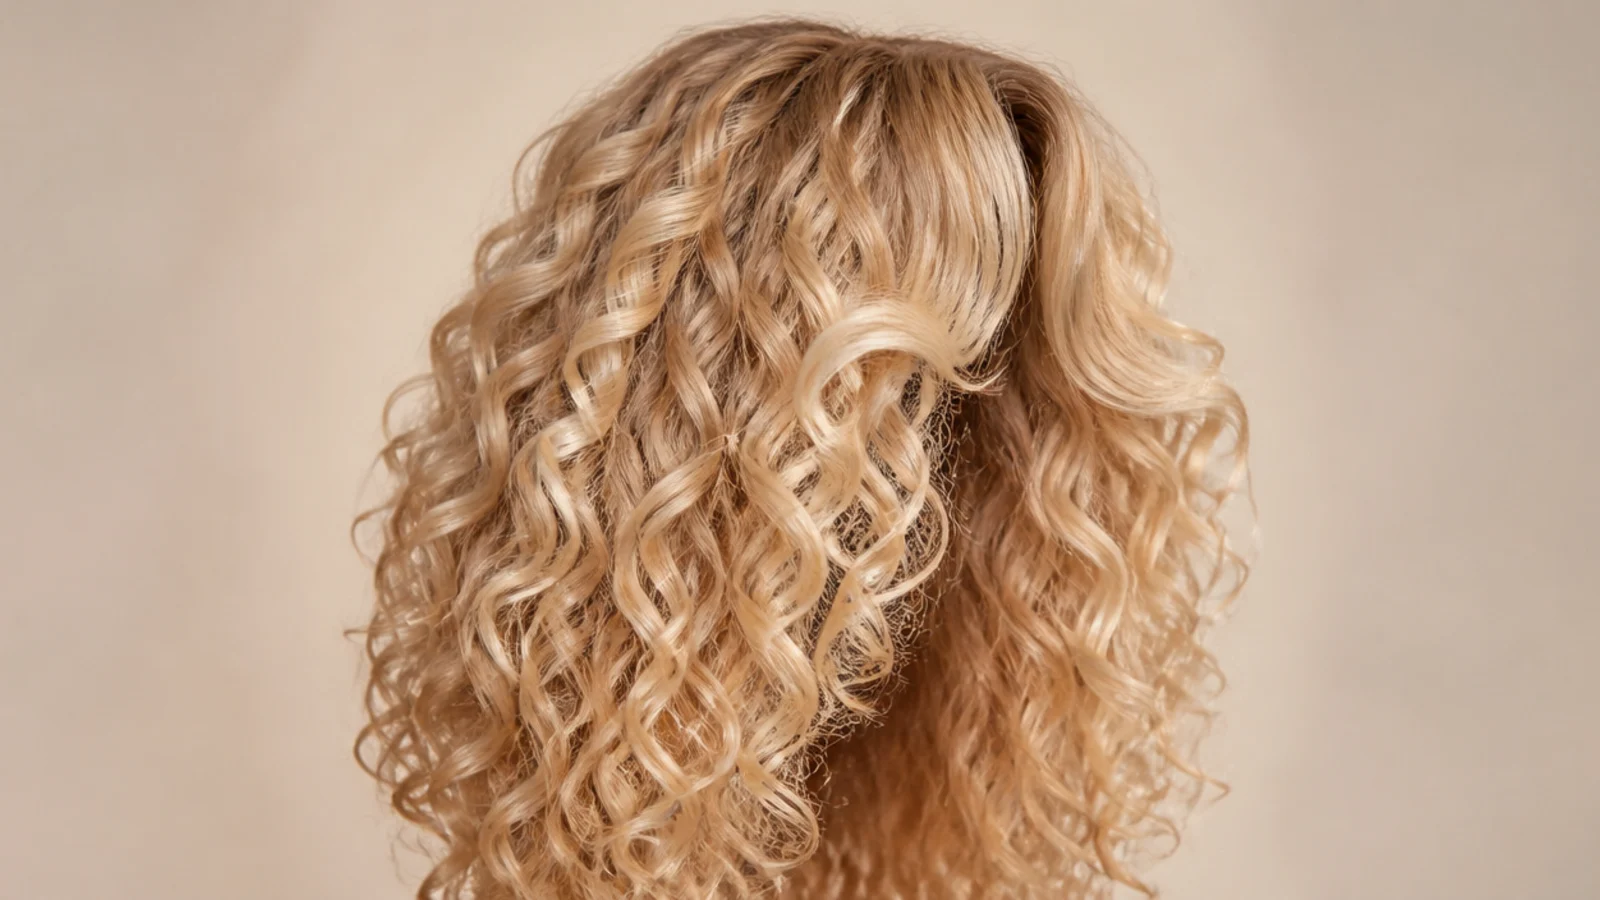
9. The Bob Version
The same method on a shorter cut with a smaller barrel. A bob carries far less weight below the root, so the lift holds for a day or two rather than an afternoon, and the ends need only half a rotation to turn under.
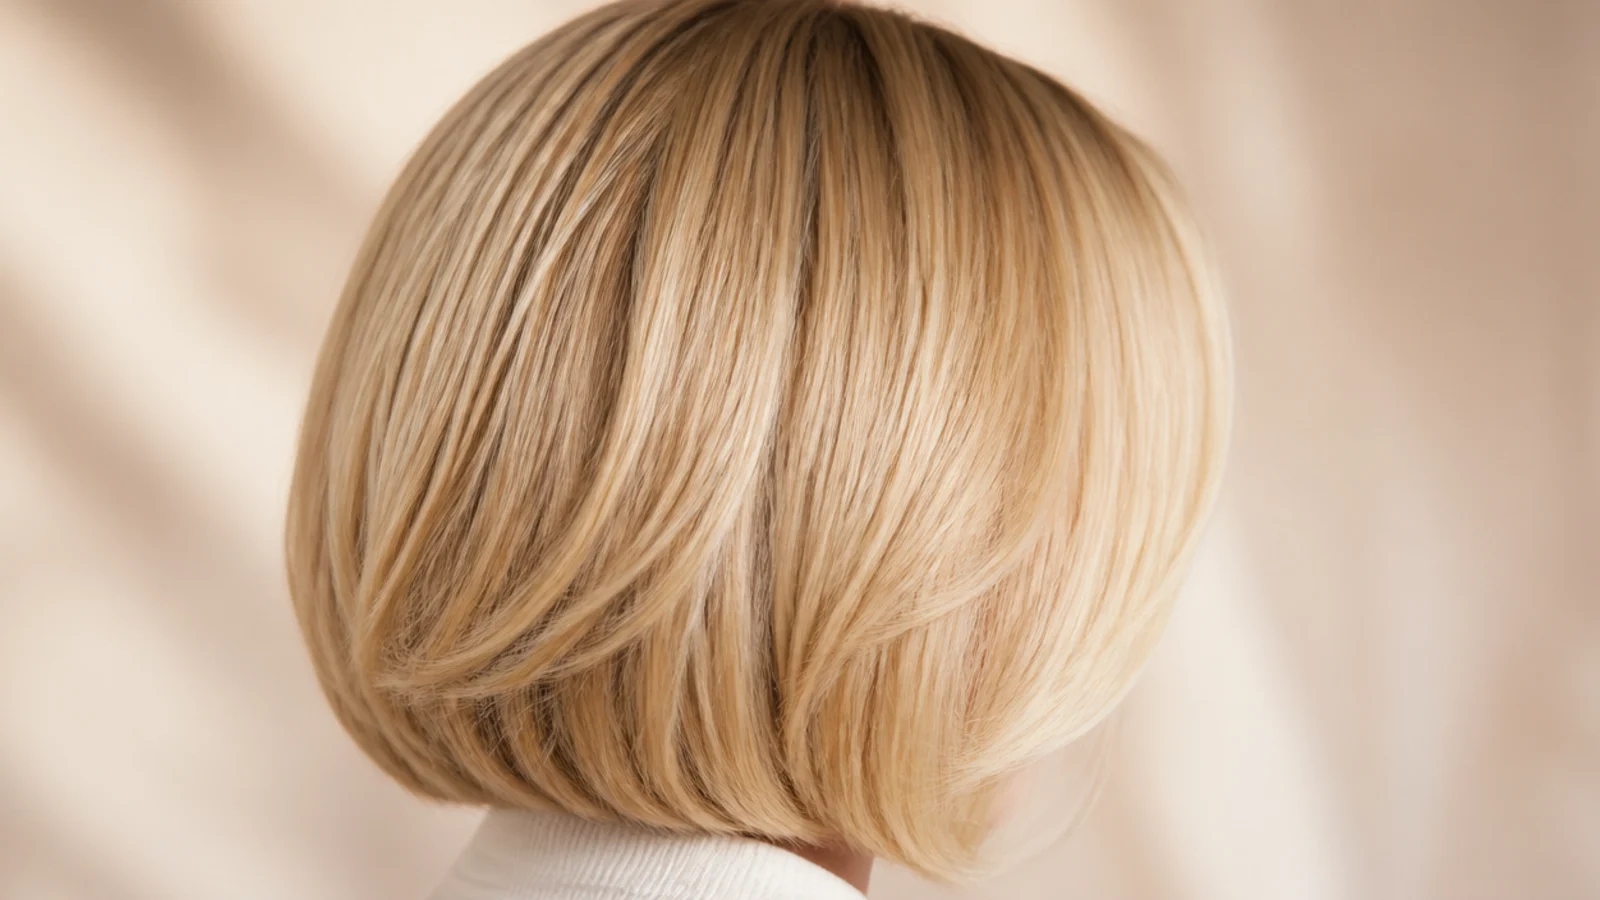
10. Half Up Bouffant
Lift the crown section, tease lightly at the base only, then smooth the top layer over it before pinning. The teasing creates a cushion of tangled hair underneath while the untouched surface layer hides it entirely.
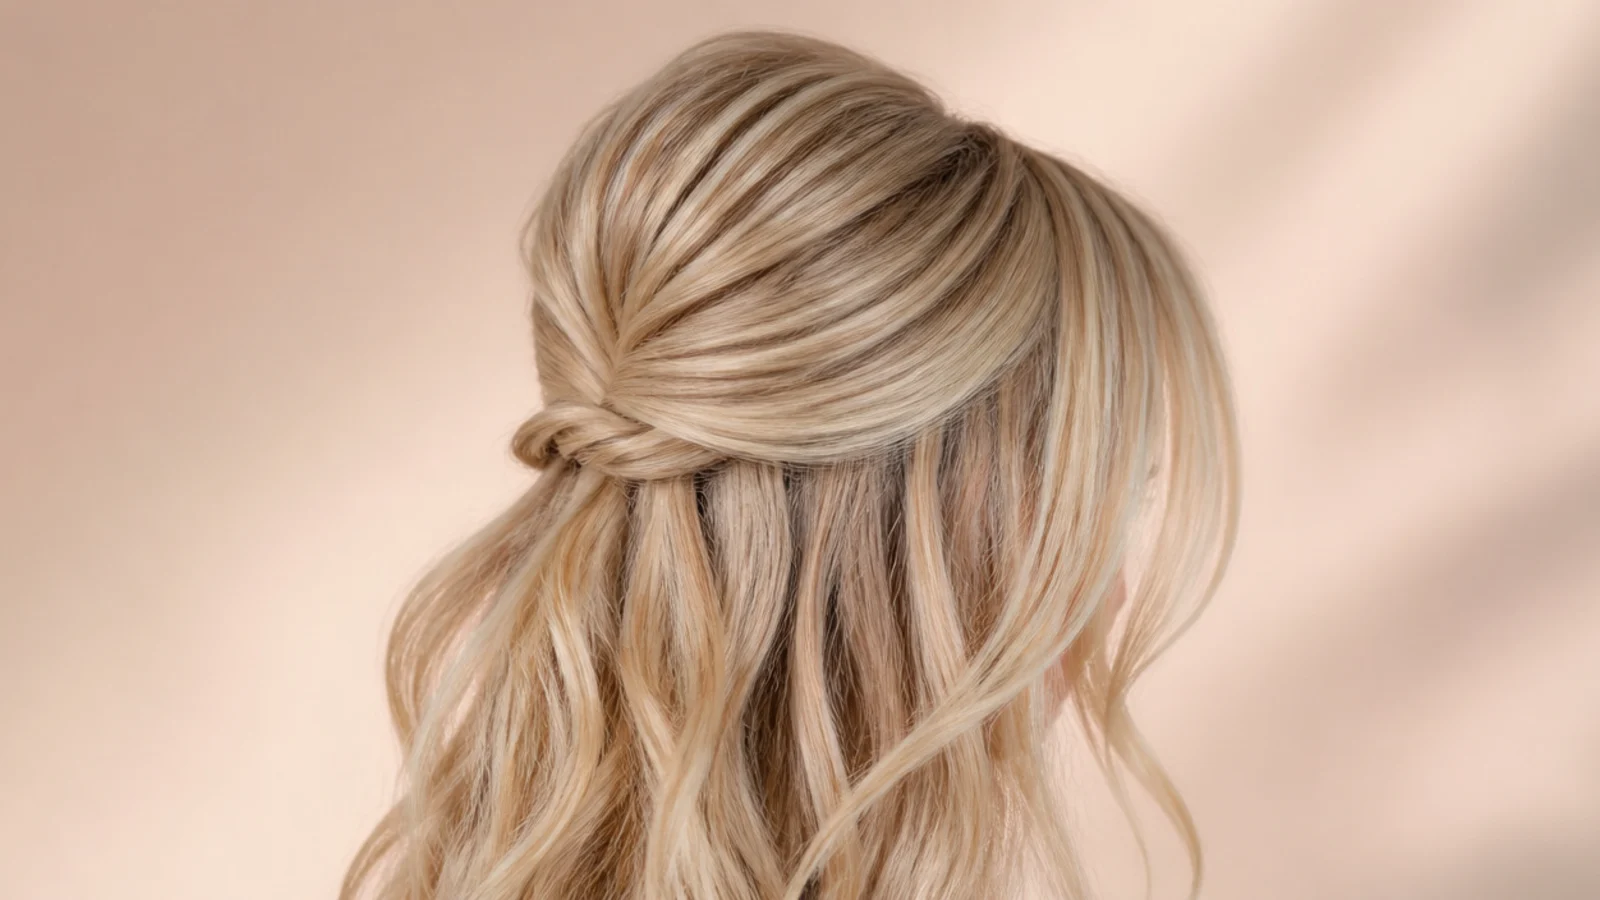
11. Overnight Bangs
The fringe alone pinned flat across the forehead before bed. It is the section most likely to dry into a crease overnight, and holding it in the direction you want costs one clip and saves a full rewetting in the morning.
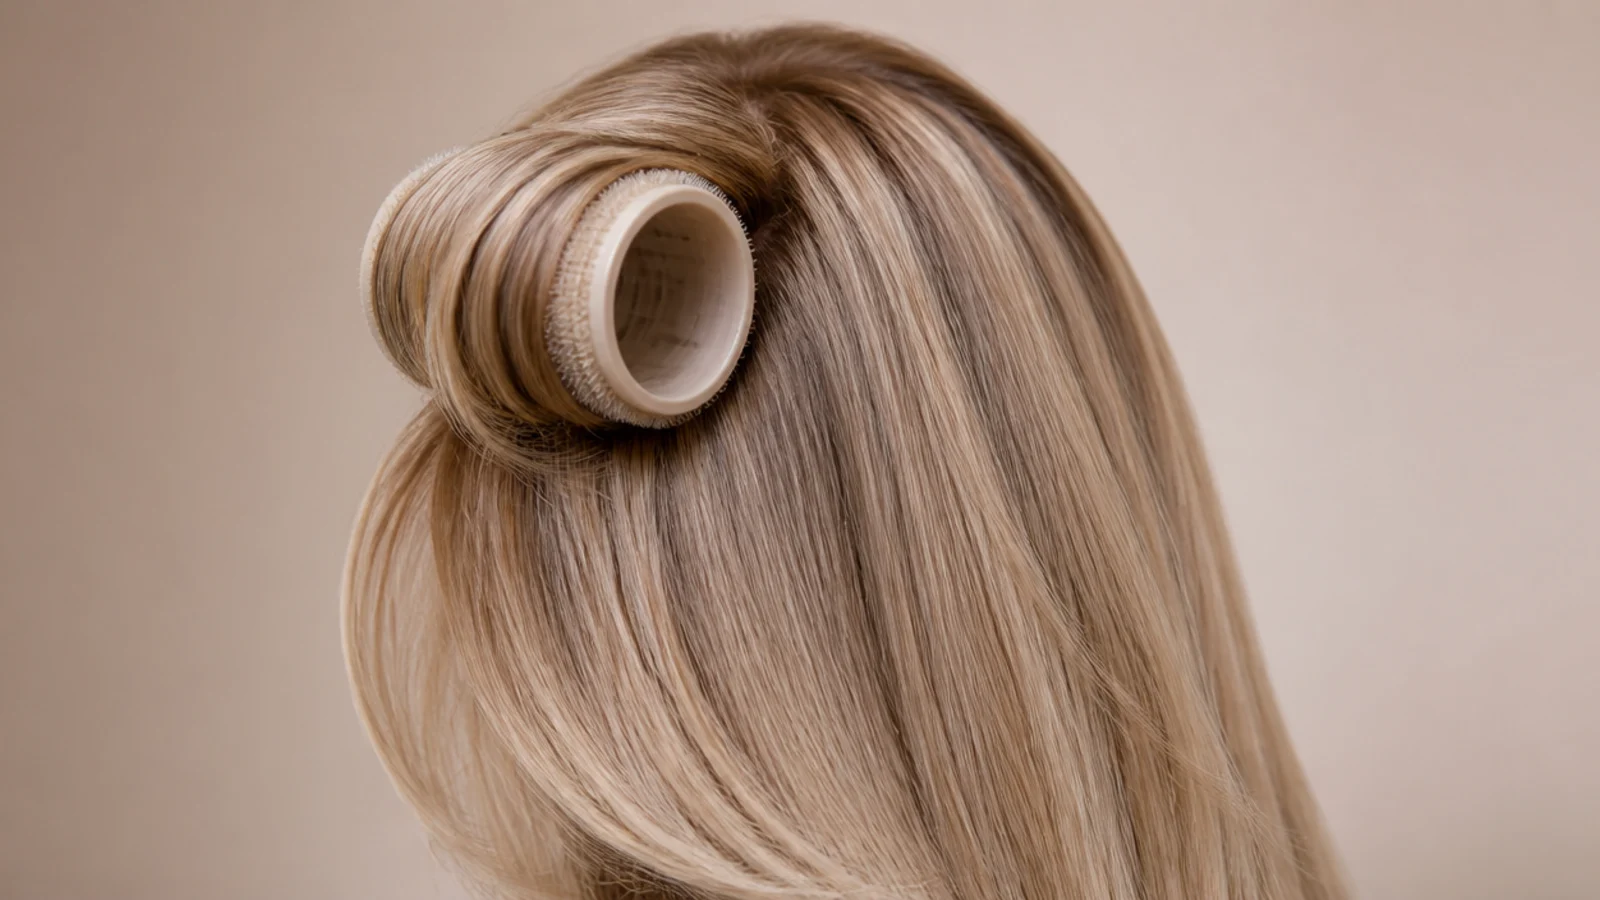
12. Gloss Refresh
An at home demi permanent gloss deposits tone and smooths the cuticle without lifting anything. Porous sections absorb more pigment than healthy ones, so it evens out the patchiness that develops along blow dried ends between salon appointments.
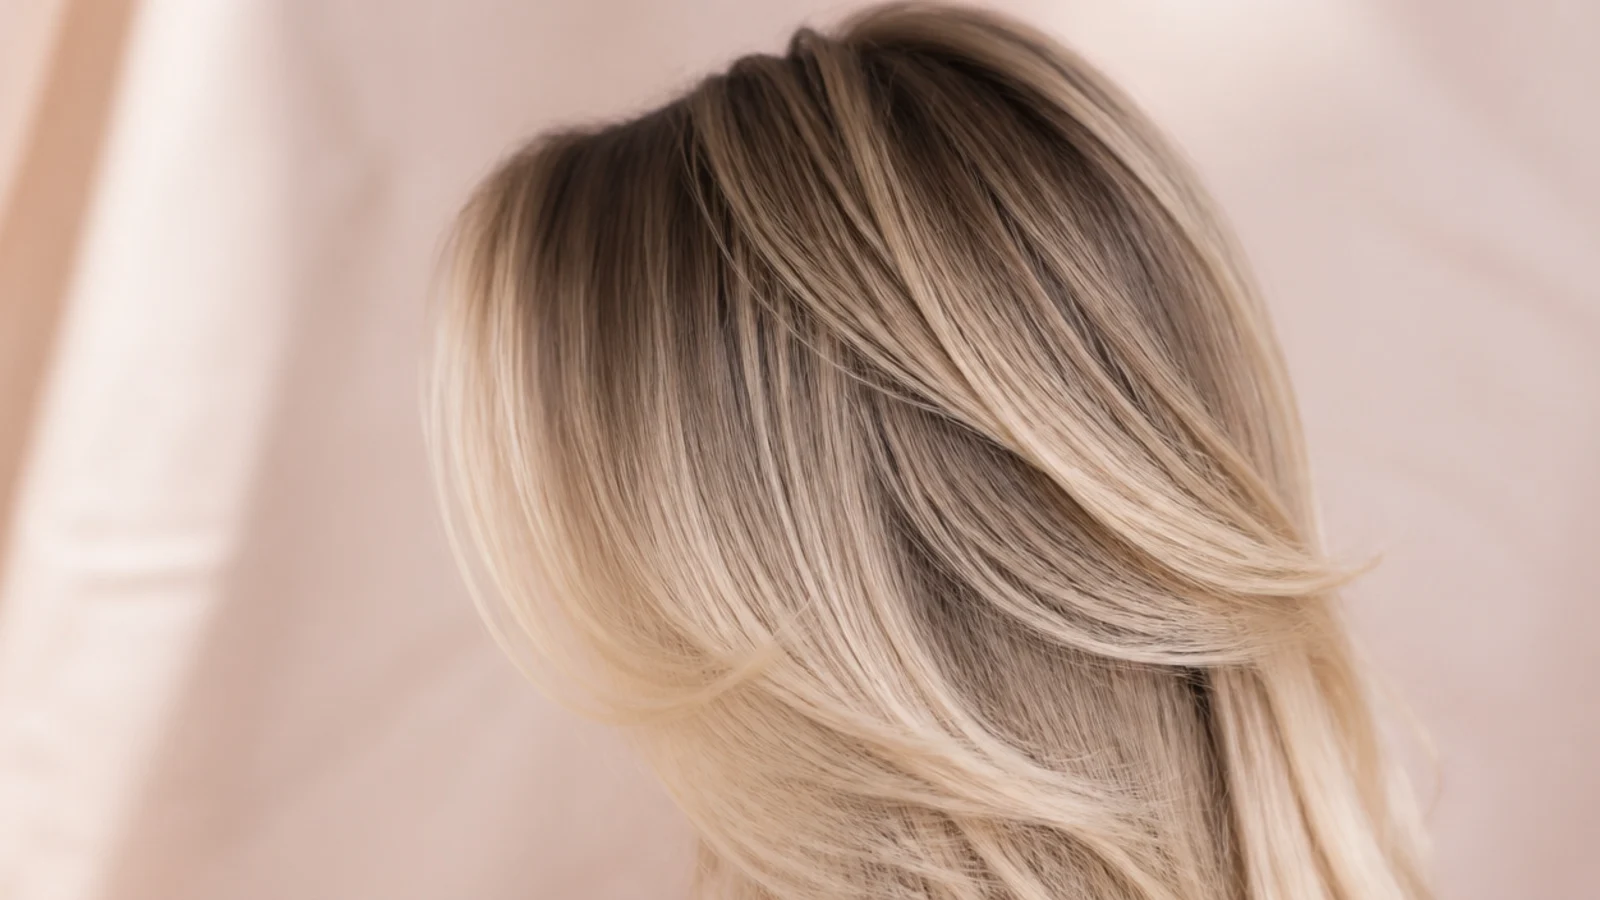
13. No Multistyler Needed
An airflow styler wraps the hair around a barrel by pulling it in with a fast air stream. Convenient, but a round brush applies the same tension by hand, so the tool changes how long it takes rather than what the result can be.
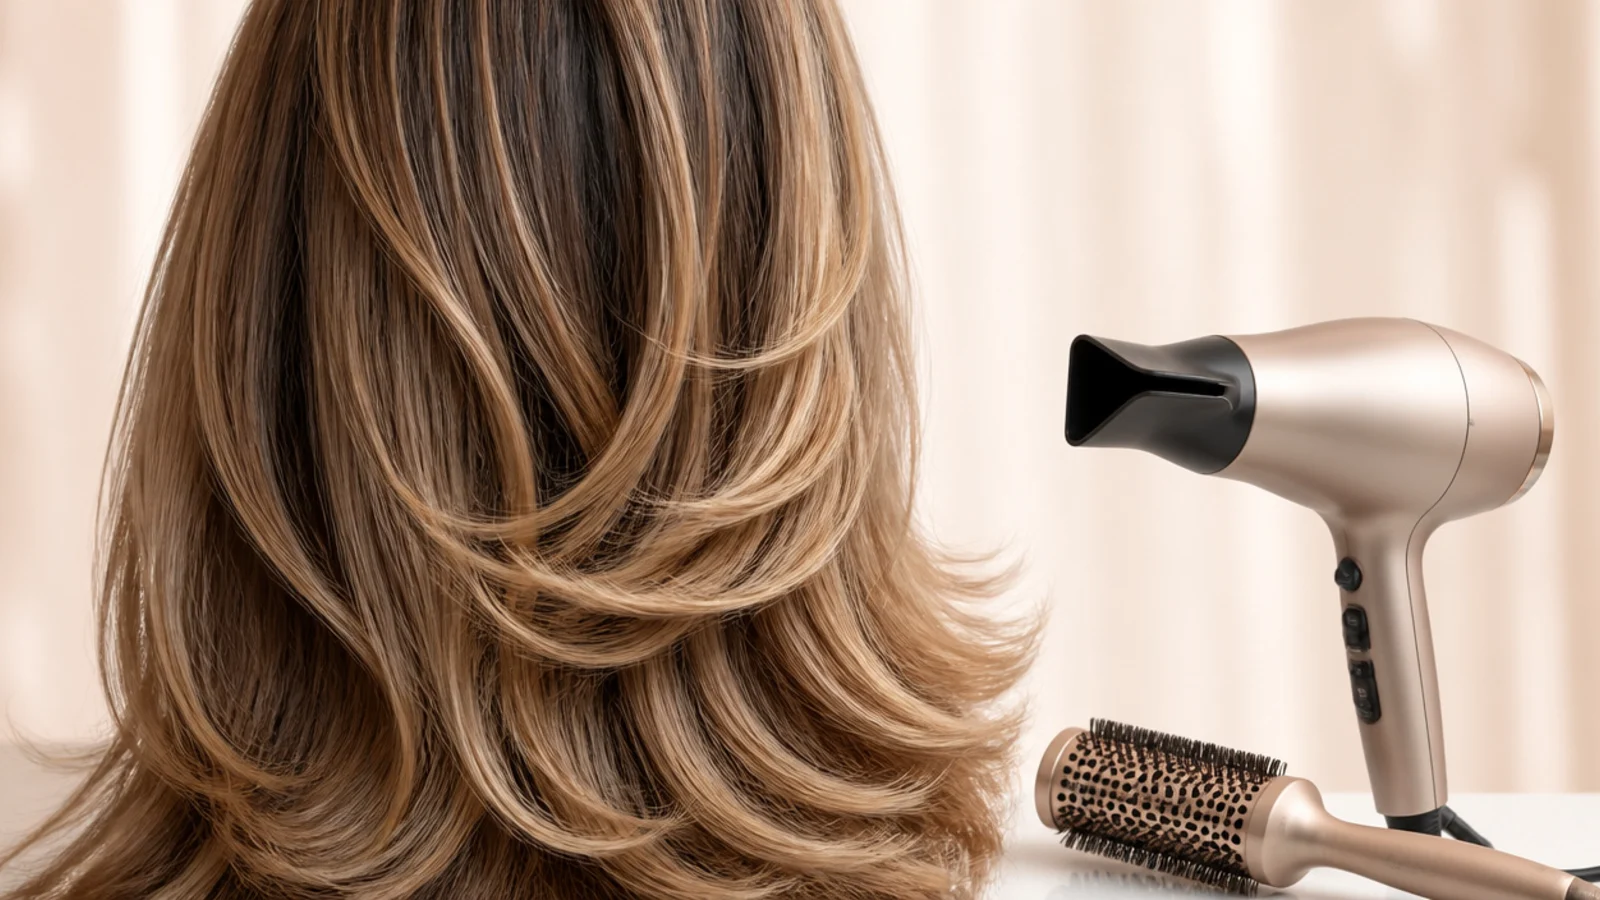
14. Humidity Proof Finish
Skip glycerin heavy leave ins on a damp day, because humectants pull water out of the air and into the strand, which is exactly what breaks the set. Finish instead with a film forming spray that slows how quickly moisture reaches the hair.
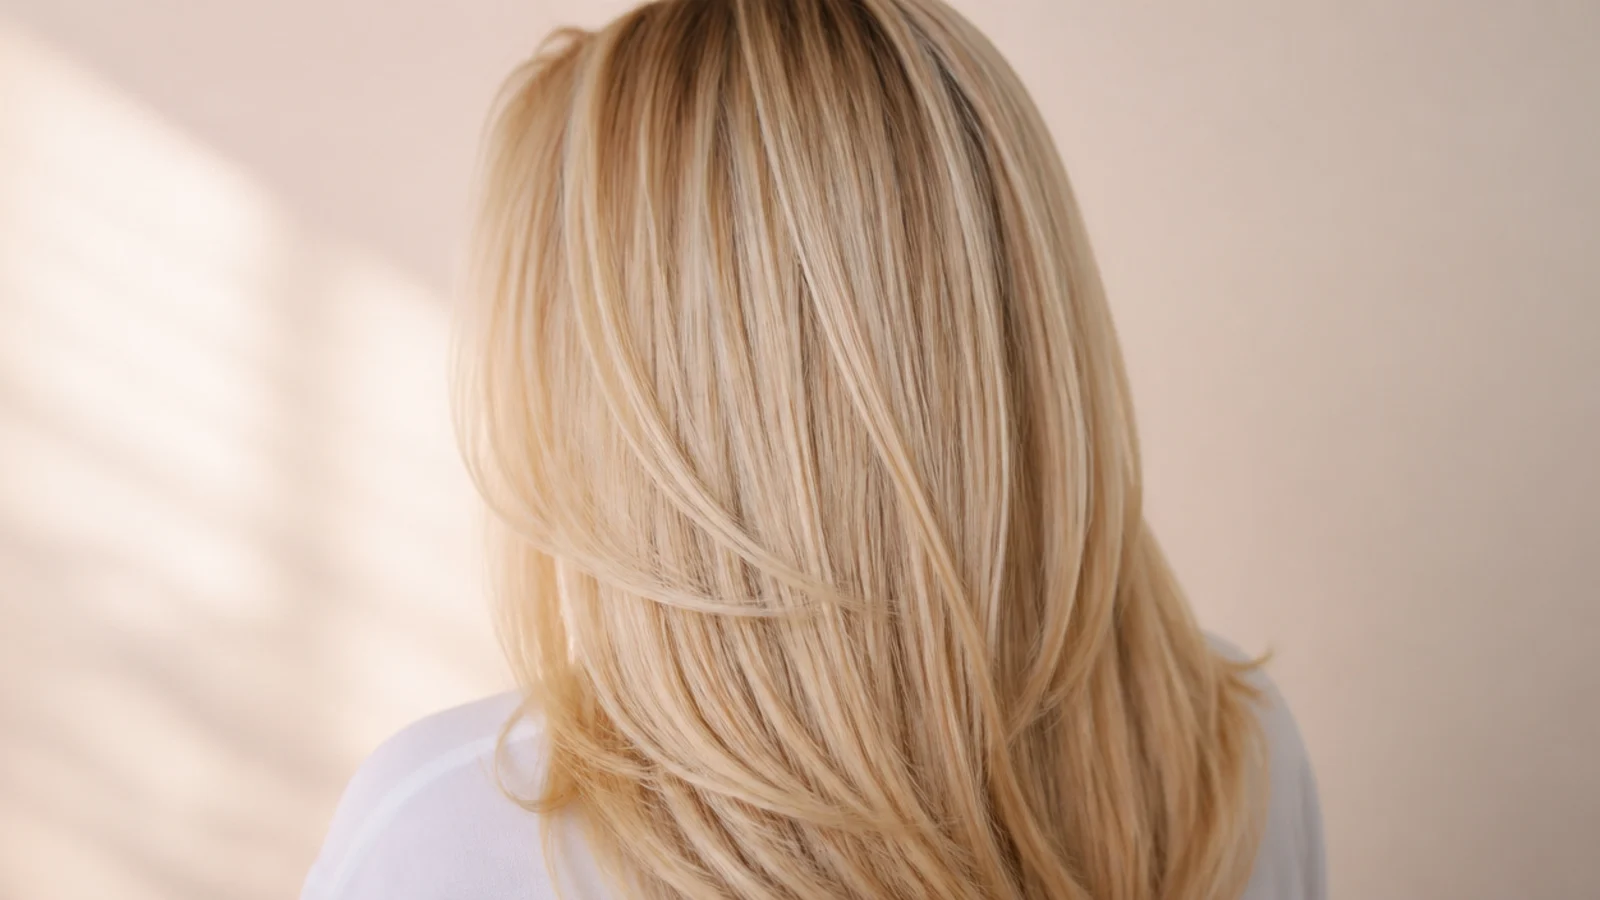
15. Off Duty Ponytail
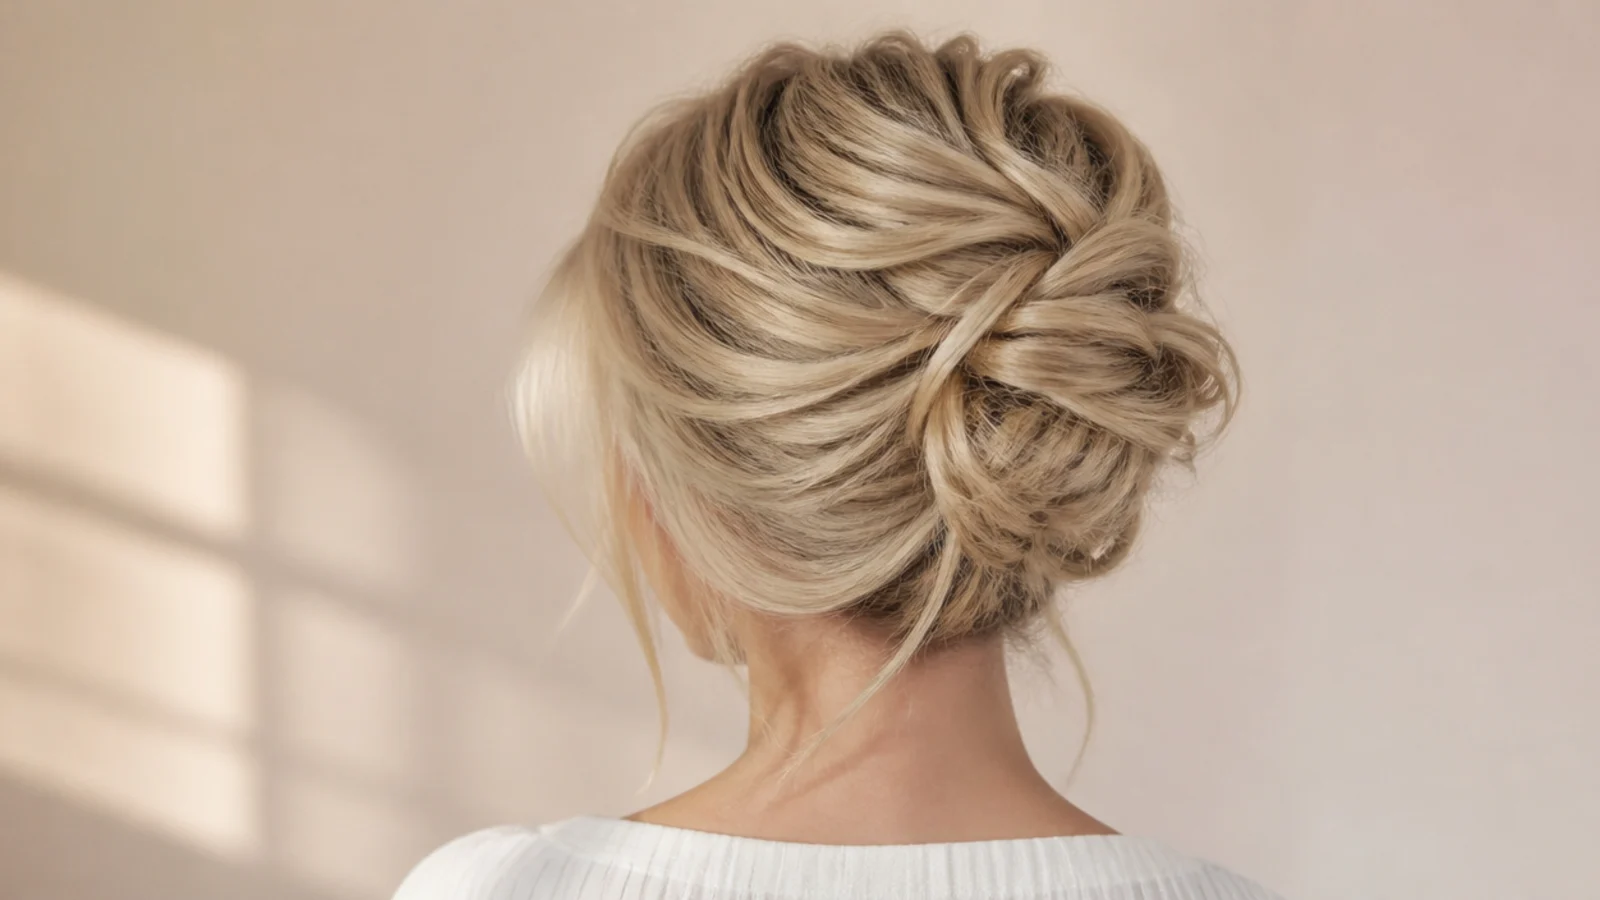
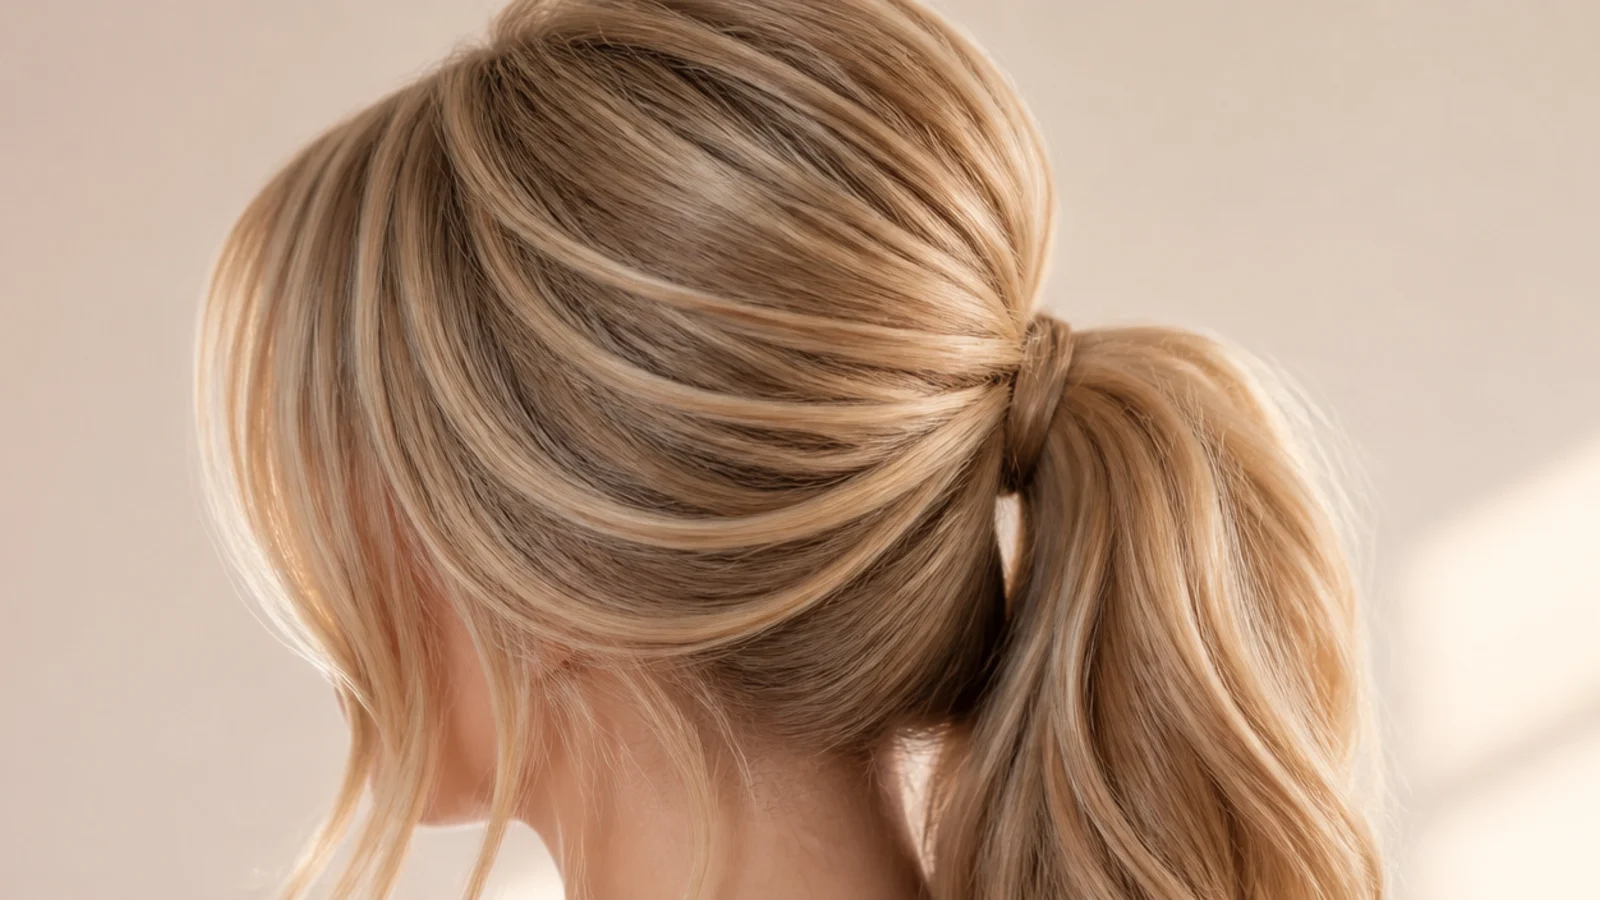
Gathered low with the face framing pulled out at the temples. Leaving those two pieces loose puts something soft in front of the hard line an elastic draws across the hairline, which is what stops a ponytail flattening the whole cut.
How to Blow Dry the Signature Look
Step 1. Rough Dry
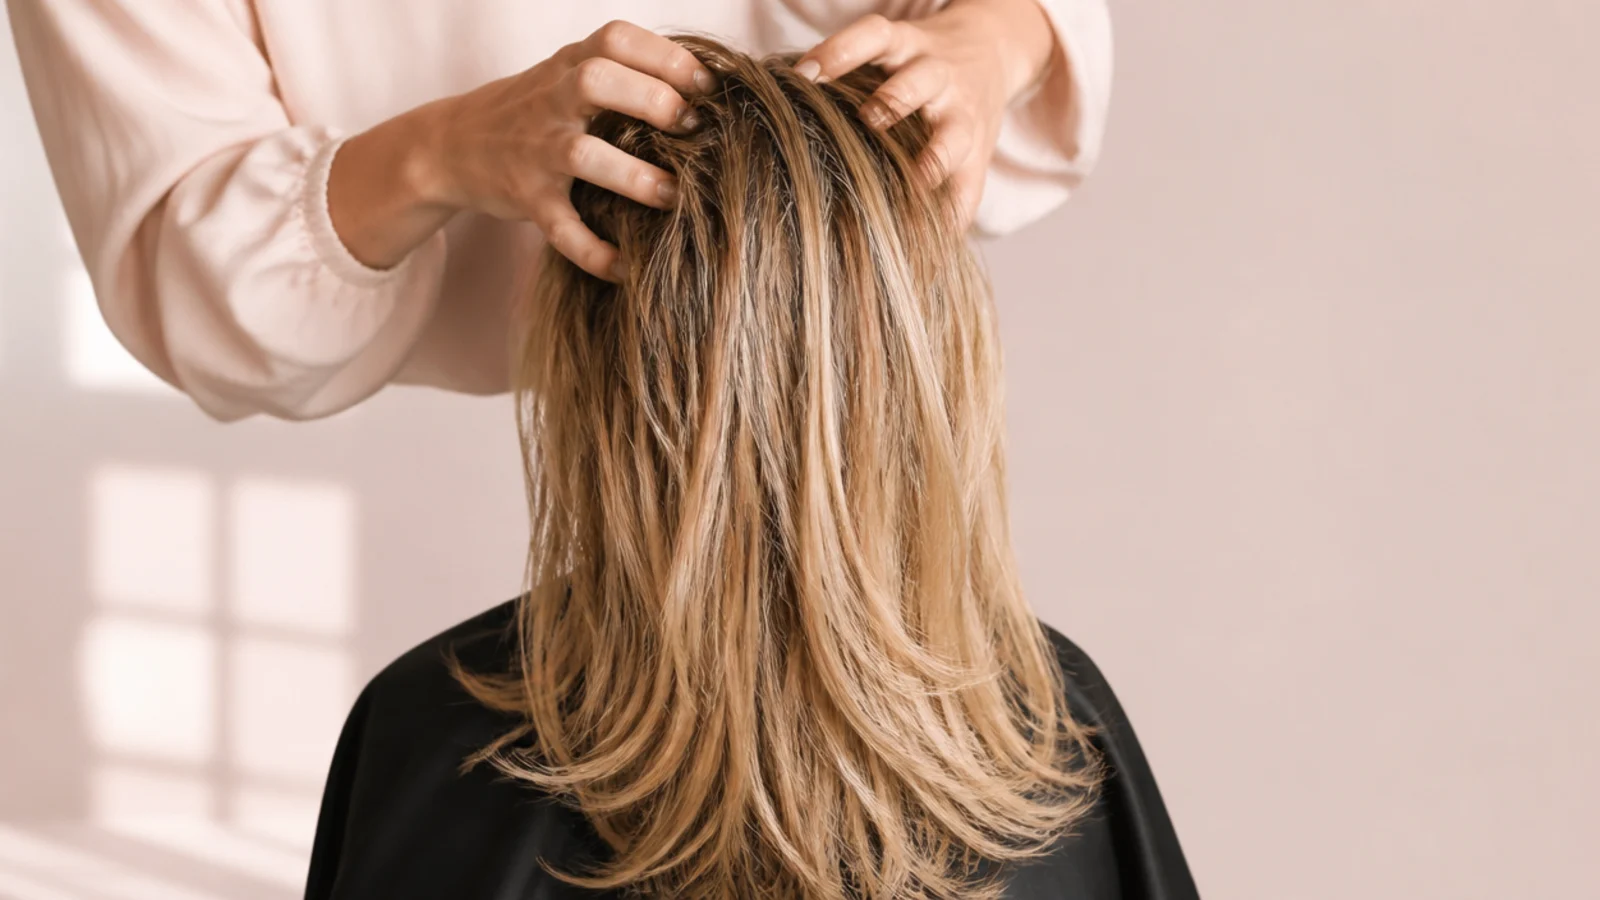
Get to about eighty percent dry with the nozzle off and your fingers doing the work. A round brush has nothing to grip on soaking hair, and every second spent brushing wet hair is heat spent evaporating water rather than shaping anything.
Step 2. Sectioning
Four clipped sections, two at the back and two at the sides, with the crown left free. Sectioning is not tidiness — it is the only way to guarantee the underneath dries with shape instead of drying flat while you work on the top.
Step 3. Fringe First
Split the fringe at the parting and dry each half backwards over a small brush while the rest is still damp. It is the finest and fastest drying hair on the head, and once it has set in the wrong direction only water will move it.
Step 4. Back Sections
Work from the nape upward in horizontal slices, nozzle pointing down the shaft. Airflow travelling with the cuticle lays it flat; airflow blowing up against it lifts every scale, which is where most of the frizz in a home blow dry comes from.
Step 5. Overdirect the Crown
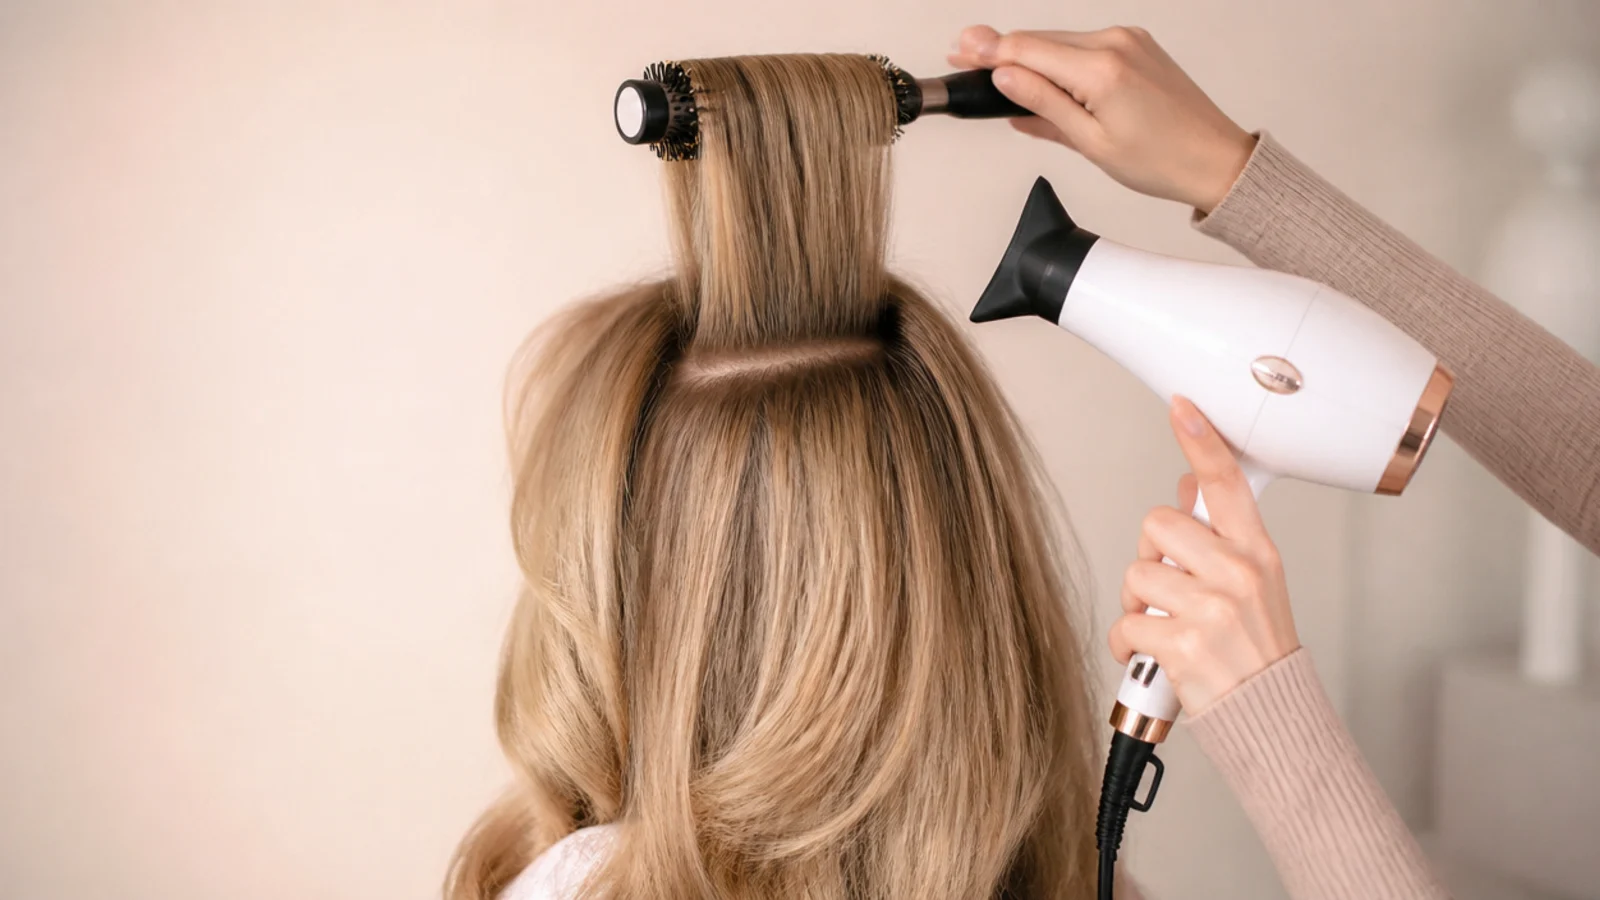
Pull each crown section forward past vertical and dry it there. When it falls back it lands higher than it grew out, and that displacement is the entire mechanism behind root lift rather than anything the product is doing.
Step 6. Cool Shot
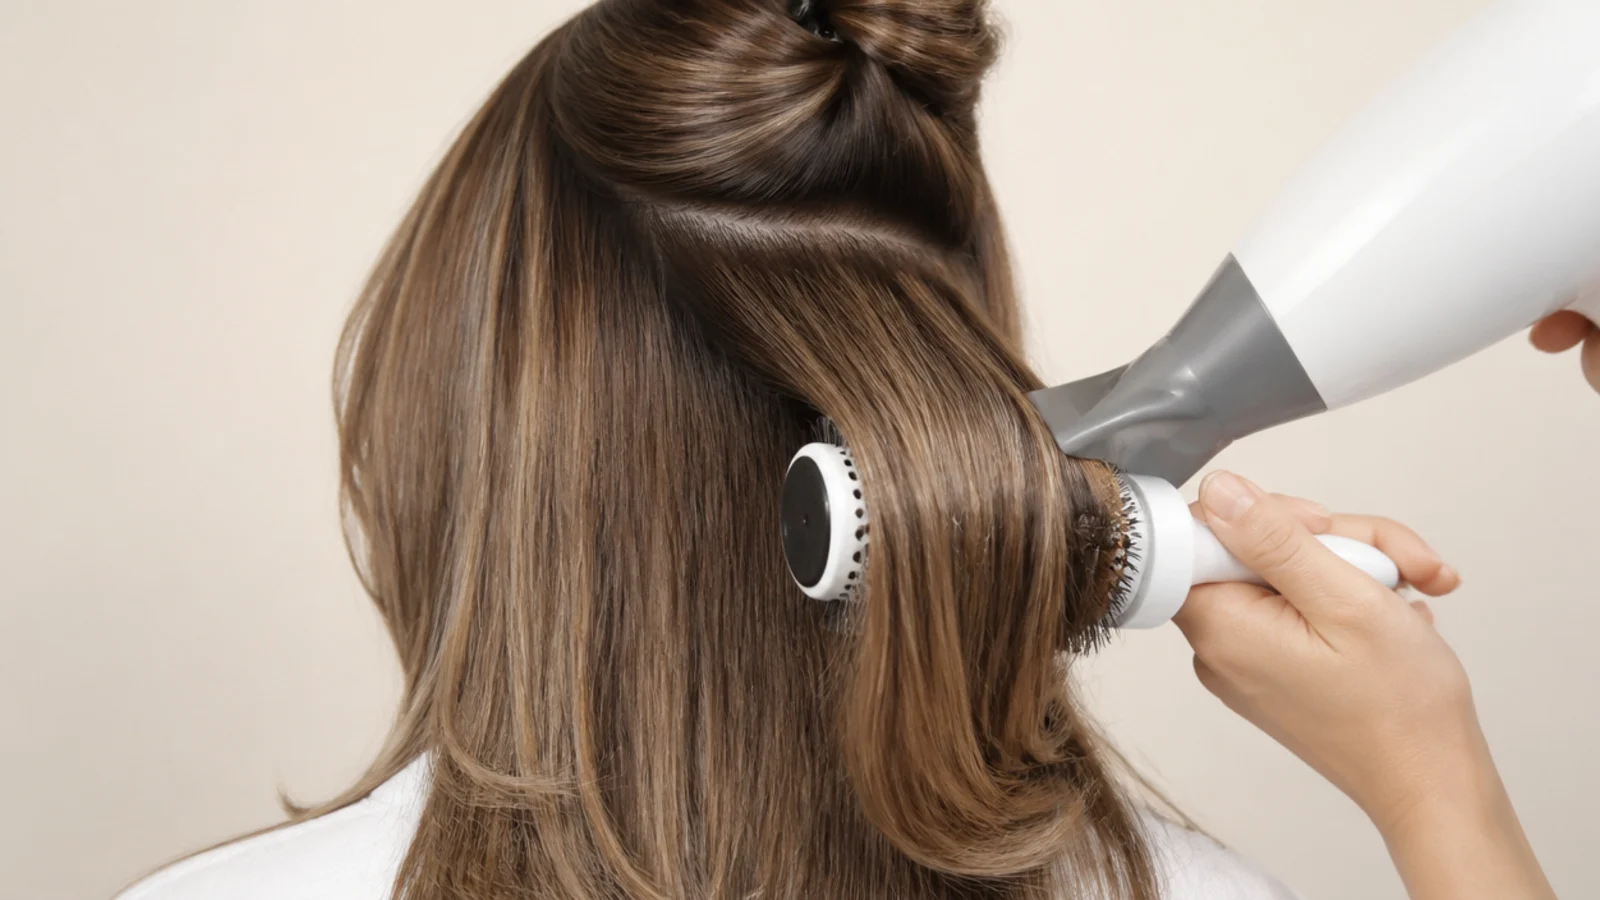
Hold every section on the brush and hit it with cold air until it is cold to the touch. Hydrogen bonds reform as the hair cools, so this is the step that fixes the shape, and skipping it is why a blow dry drops before lunch.
Step 7. Soft Waves
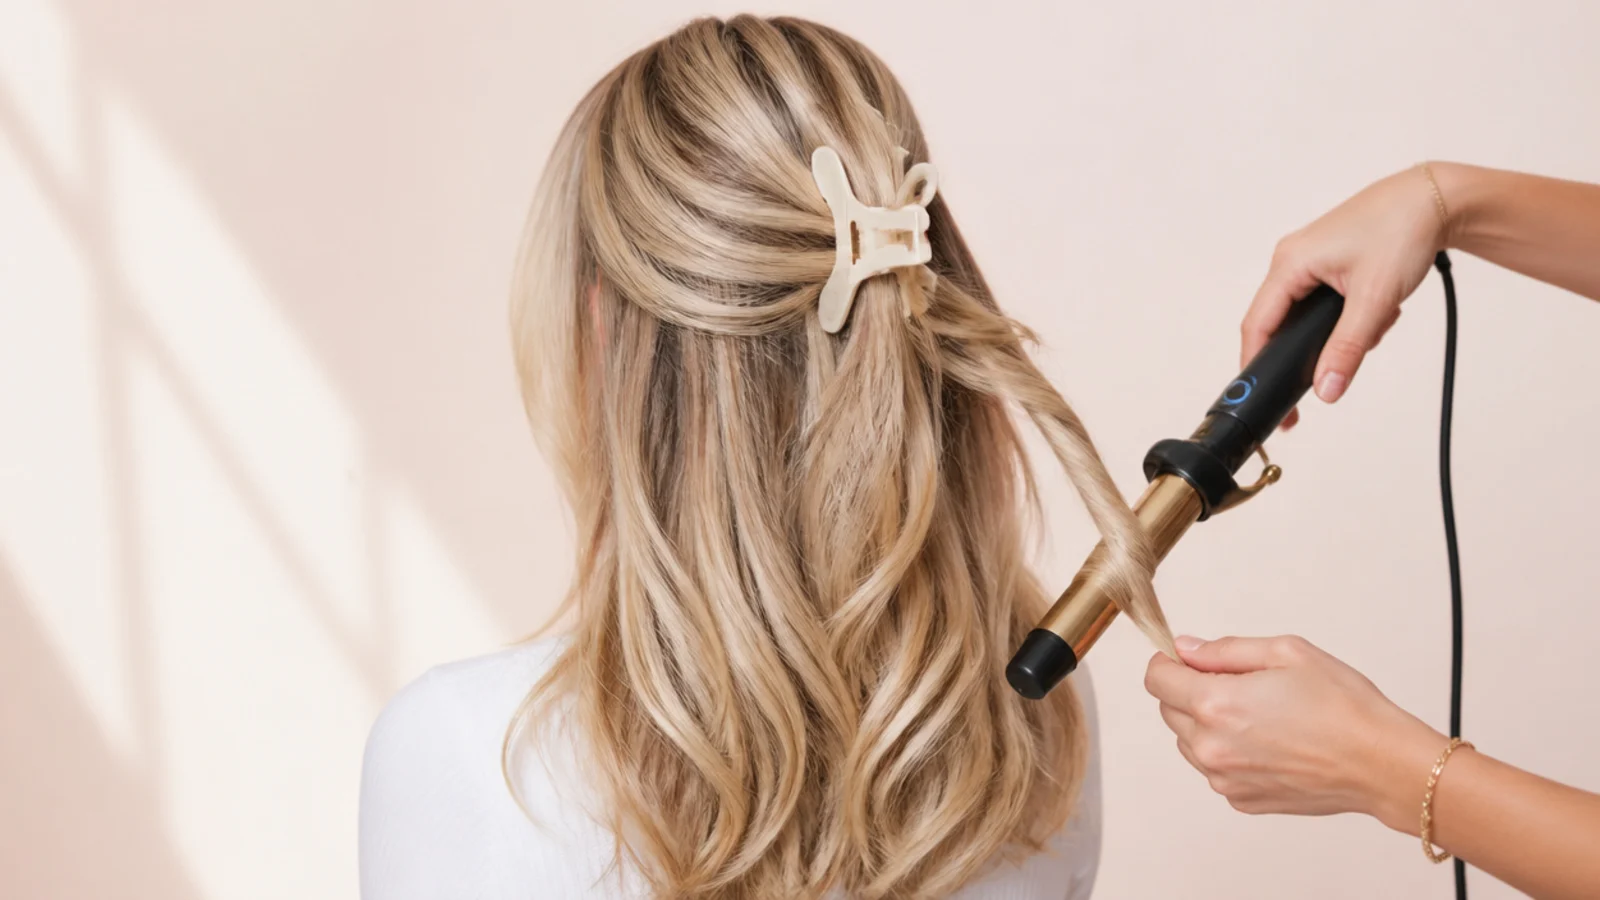
One bend halfway down with a large barrel, all in the same direction, ends left straight. Curling the ends turns the shape into a set, whereas a bend that stops above the last two inches keeps it reading as a blow dry.
Step 8. Finish and Overnight
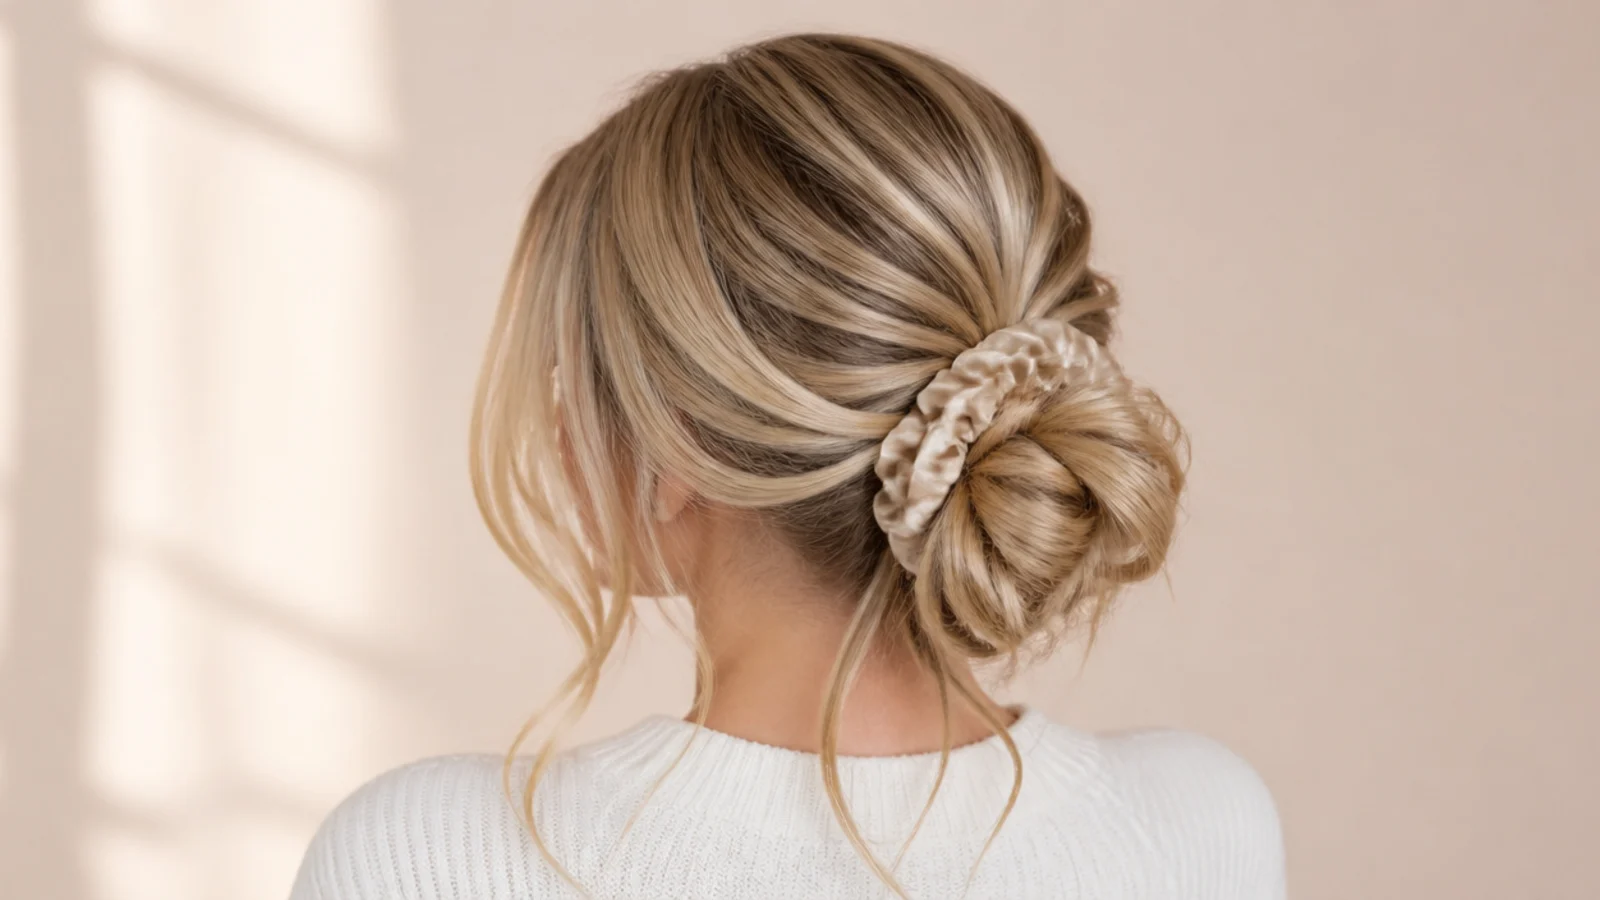
A light mist at the crown and nowhere else, then a loose silk scrunchie at the top of the head before bed. Friction against a pillow is what flattens a set overnight, and lifting the hair off the pillow removes most of it.
Final Thoughts
If you change one thing, make it the cool shot. Everything else in these fifteen routines is a preference — barrel size, roller or brush, heat or overnight — but the cooling is the physics, and no product compensates for a section released while it was still warm.
After that, section more than feels necessary. Almost every home blow dry that goes wrong went wrong because part of the head dried without ever being shaped, and by then the only fix is water. For a gathered version of the same hair see the hair bun tutorial, and for the long hair method see the bun tutorial for long hair. More in Celebrity Hair.