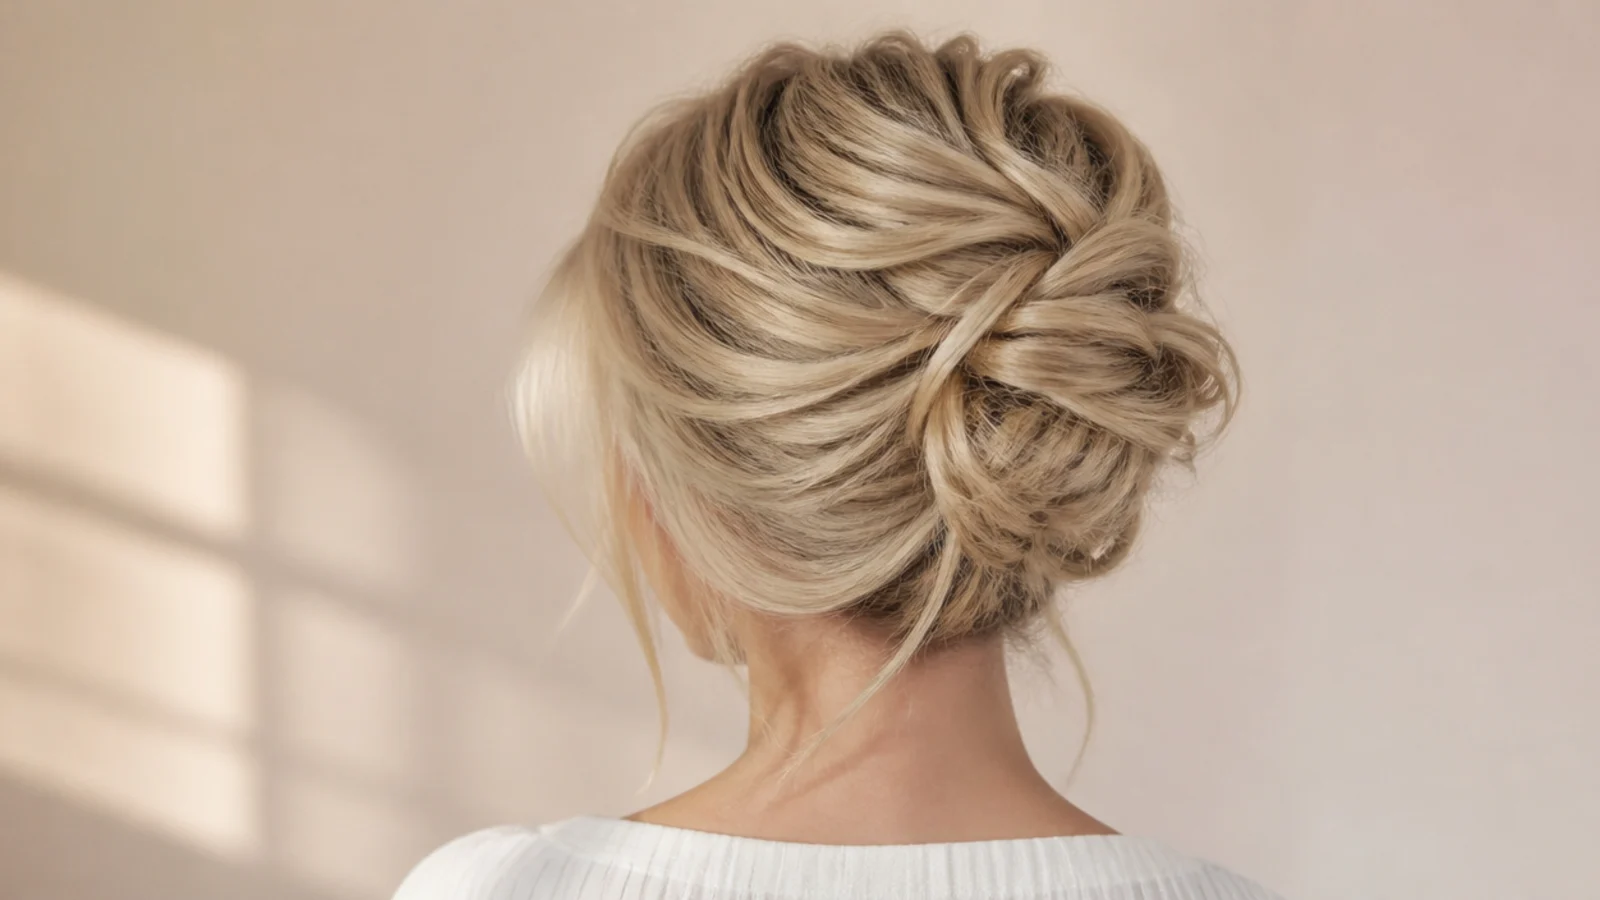
15 Sabrina Carpenter Hair Up Ideas That Hold
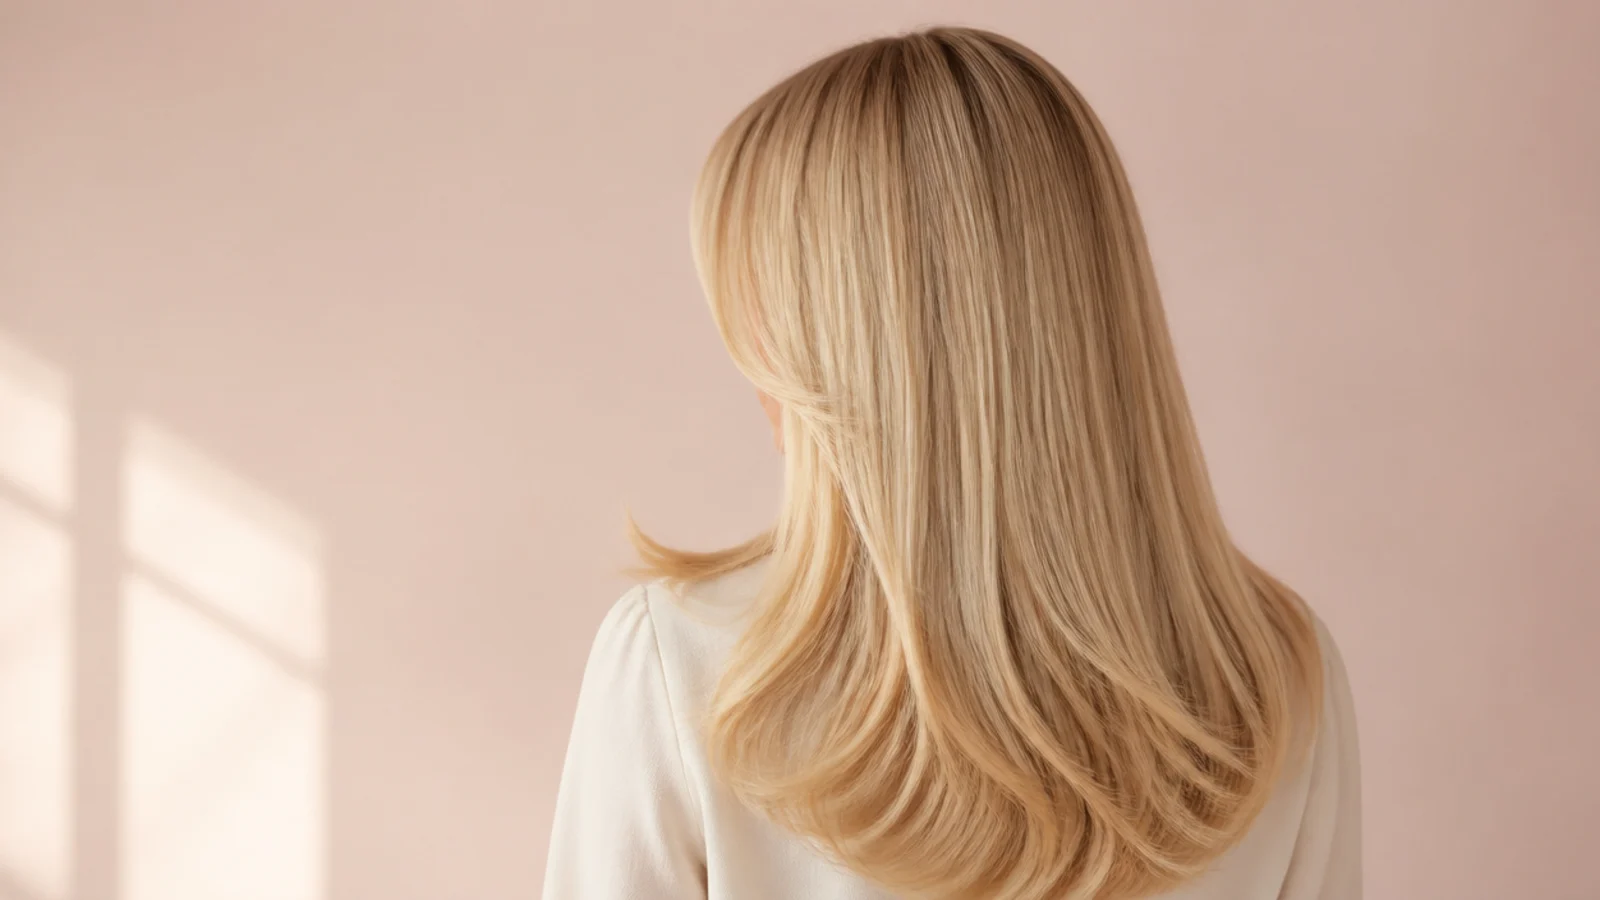
Fifteen ways to wear this look gathered, plus the seven step base underneath all of them. The detail that keeps every one of them recognisable is the fringe staying out, because that is the piece doing the work from the front.
In this article · 31
- The Signature Look Broken Down
- Which Updo Suits You
- Cuts and Layers
- The Blowout at Home
- Hair Colors and What to Ask a Colorist
- Shorter and Curlier Hair
- The 15 Hair Up Ideas
- 1. Faux Bob
- 2. High Bun
- 3. Low Bun
- 4. Half Up
- 5. Claw Clip
- 6. Bow Ponytail
- 7. Curly Updo
- 8. Messy Bun
- 9. Bubble Ponytail
- 10. Low Ponytail
- 11. Twisted Crown
- 12. Top Knot
- 13. Double Buns
- 14. Side Chignon
- 15. Short Updo
- How to Build the Base Updo
- Step 1. Prep
- Step 2. Fringe Out
- Step 3. Crown Volume
- Step 4. Curl
- Step 5. Anchor
- Step 6. Pin
- Step 7. Finish
- Final Thoughts
An updo in this register lives or dies on one detail, and it is not the bun.
The fringe never goes in. It is clipped out before anything is gathered and put back last, because from the front it is doing almost all of the work.
Clean hair is the enemy of a hold. Friction between strands is what lets a twist grip itself, and a freshly washed head has almost none of it.
The Signature Look Broken Down
Face framing left down, always. Two soft pieces at the temples, pulled out after the base is finished rather than left out while you work.
Volume kept at the crown. The top of the head stays lifted even when everything else is gathered, which is what stops an updo reading as scraped back.
Soft edges, not slick ones. The base is smooth but not wet looking. A hard glassy finish belongs to a different aesthetic entirely.
The bun sits small. Whether it is high or low, the knot itself is compact and the interest lives in the volume above it.
Which Updo Suits You
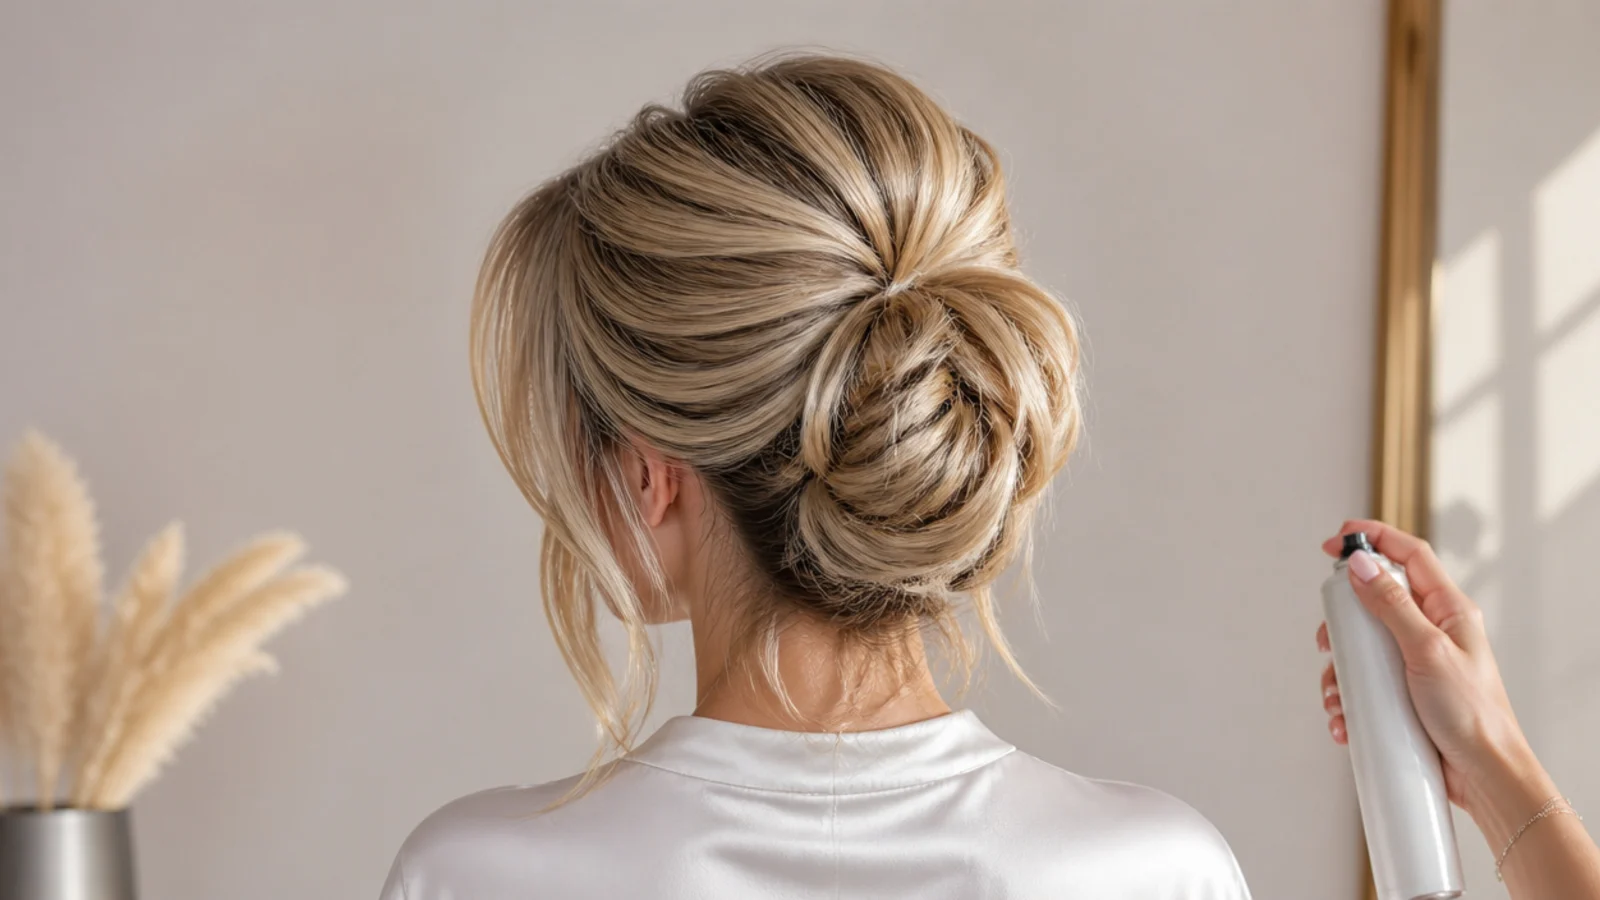
Fine hair wants a low bun with a padded base. Less hair makes a smaller knot, so teasing the section before gathering it gives the bun something to be built around.
Thick hair wants two anchors rather than one. A single elastic carrying a heavy mass rotates under the weight, and the whole style tips within an hour.
A round face wants height rather than width. A high bun or a top knot lengthens the visible head, whereas a low side chignon adds width at the level of the cheeks.
A long face wants the volume low and the fringe fuller. Bulk at the crown extends the line the face already has, so a nape level knot balances better.
Cuts and Layers
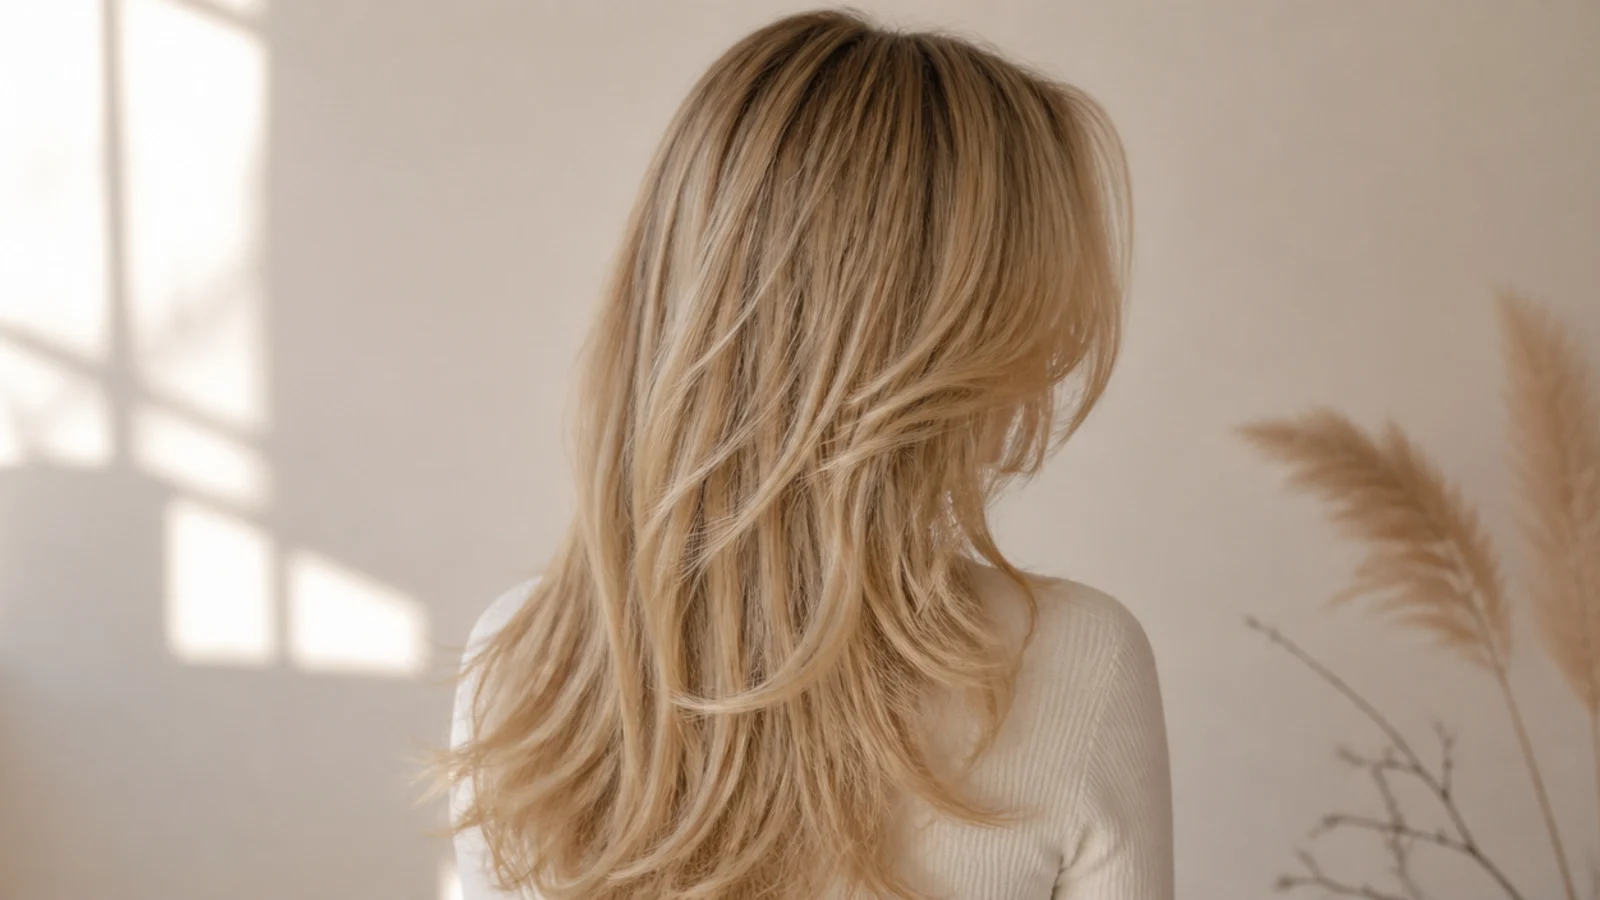
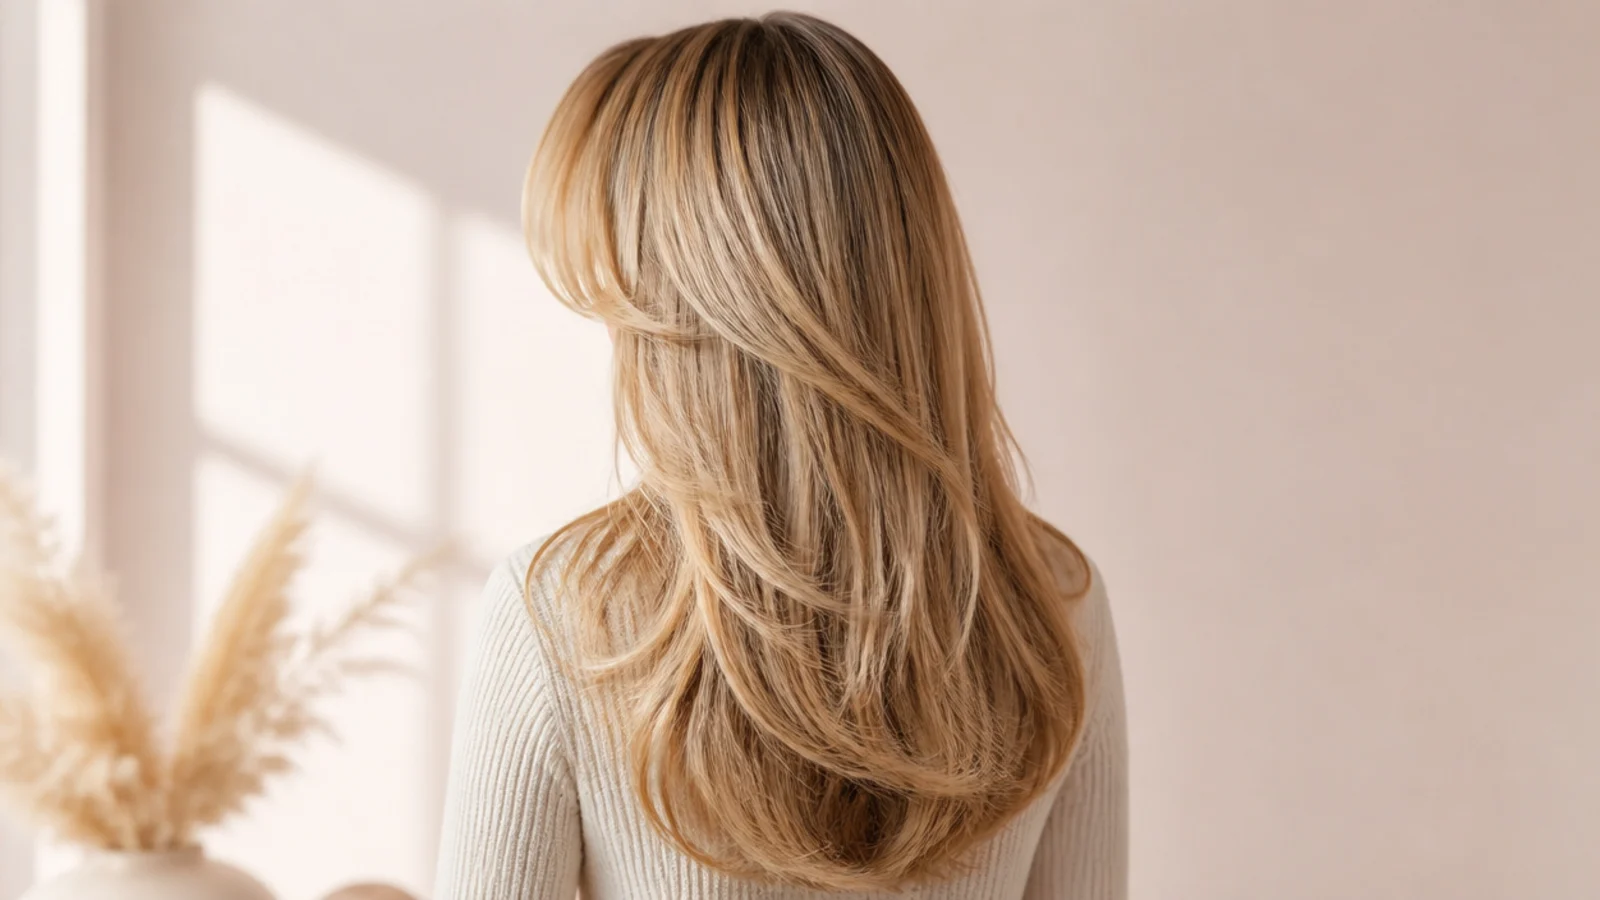
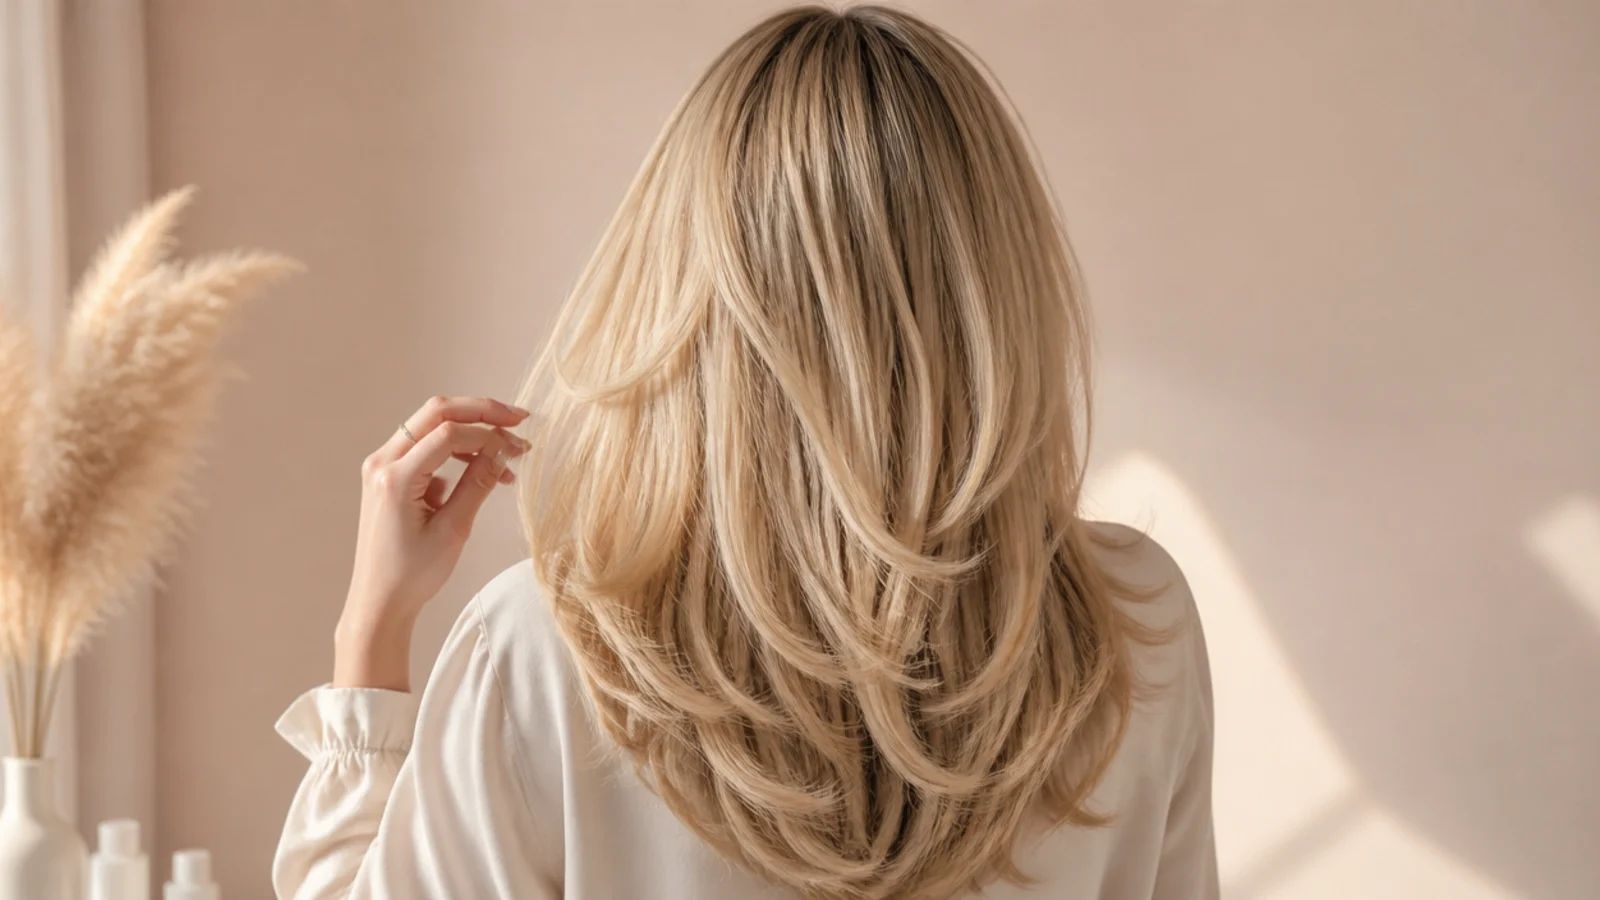
Layers are why the pieces fall softly. Long layers give you shorter strands near the face that come loose on their own, which is the difference between deliberate softness and stray hairs.
A curtain fringe is the whole front of every style here. Cheekbone at its shortest, lengthening outward, so it sits over the join between gathered and loose hair.
A heavy perimeter makes a denser knot. Point cut ends taper away to nothing inside a bun, so a blunter outline gives a fuller looking knot from the same amount of hair.
Very short layers fight an updo. Anything cut above the ear pops out of a gathered base no matter how it is pinned, so crown layers want to stay long enough to reach the elastic.
The Blowout at Home
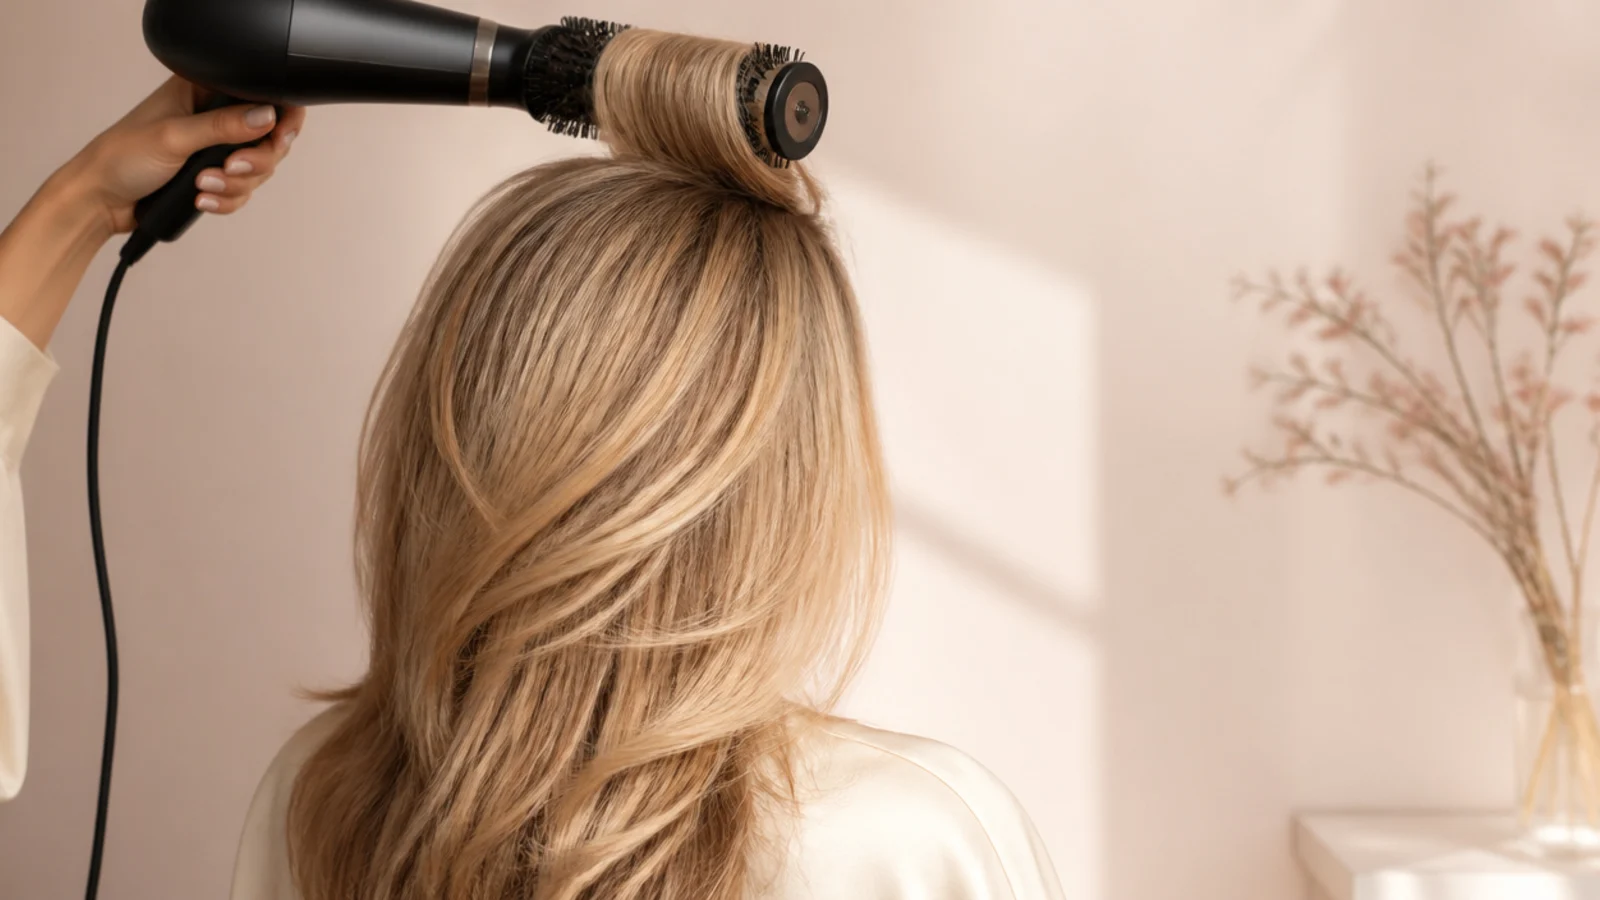
Blow dry before you pin, not after. A smooth surface is far easier to gather cleanly, and every bump you leave in the dry stage is still there under the elastic.
Overdirect the crown forward as it dries. Pulling the section past vertical means it falls back higher than it grew, which builds the root lift the finished updo depends on.
Cool each section before releasing it. Hydrogen bonds reform as hair cools, so a warm release has not set and the volume is gone before you start pinning.
Leave the ends slightly rough. Perfectly smooth ends slide out of a twist. A little texture at the bottom third is what gives the knot something to hold.
Hair Colors and What to Ask a Colorist
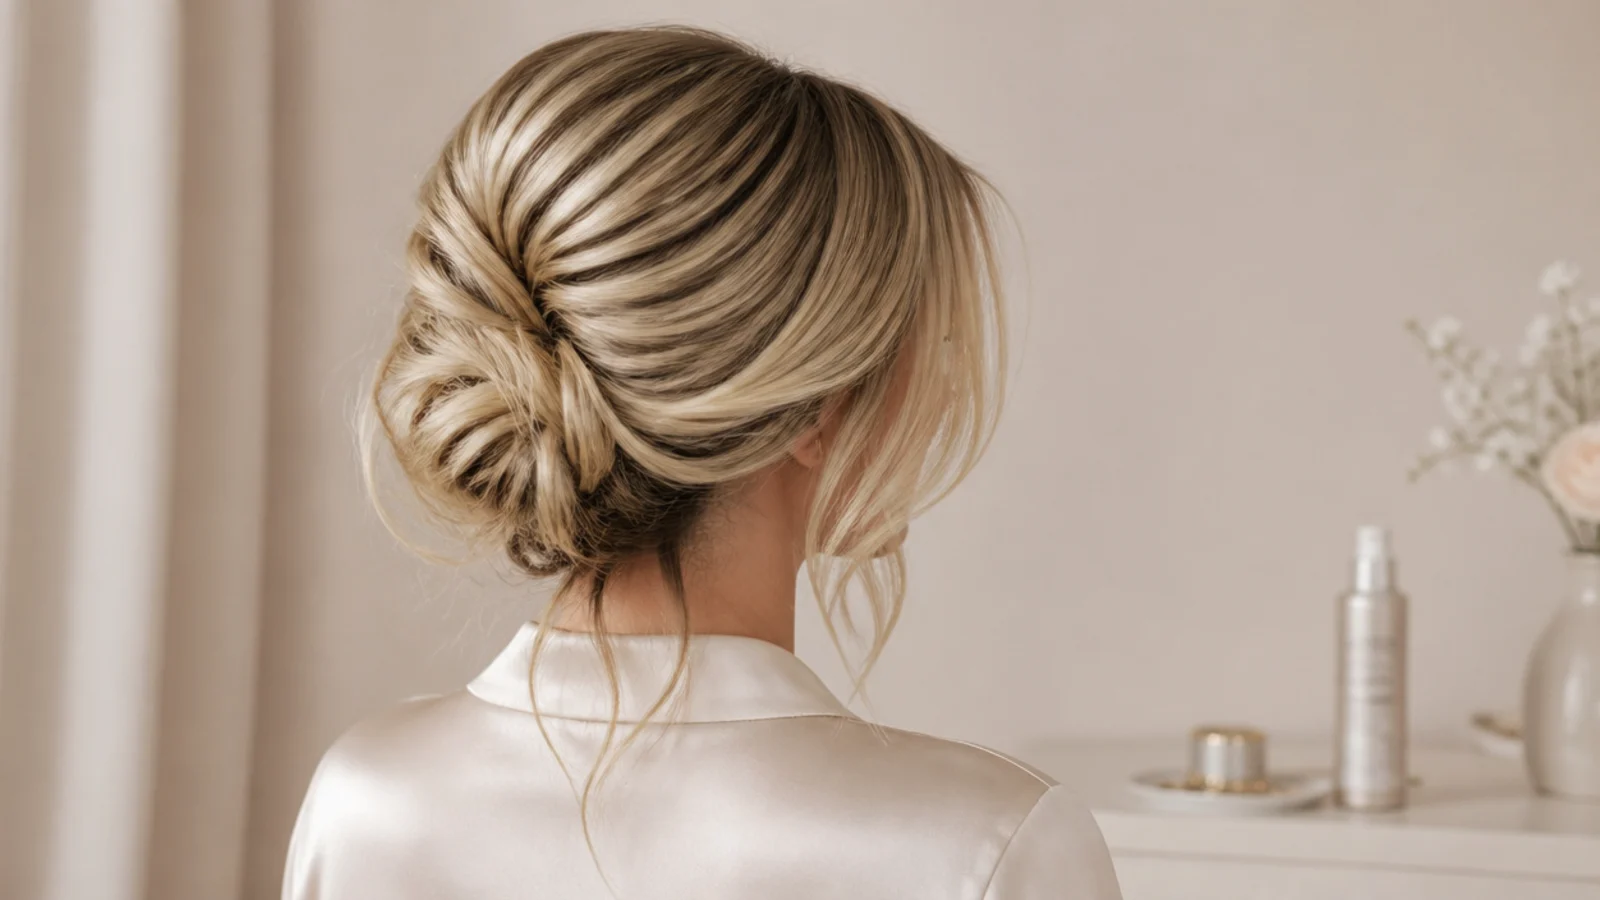
Updos expose the root more than anything else. Hair pulled back puts the base of every strand on show, so a shadow root matters more here than it does on a loose blow dry.
Ask for depth at the nape. Colour that is uniformly light all the way to the scalp flattens a bun, because a knot needs a difference in tone to read as a shape rather than a mass.
Money piece brightness sits well with hair up. The lightest pieces end up beside the face when everything else is gathered, which is exactly where they were placed to be.
Gloss before an event, not on the day. A demi permanent gloss evens porosity so the whole length reflects together, and it wants a wash cycle to settle before it is styled.
Shorter and Curlier Hair
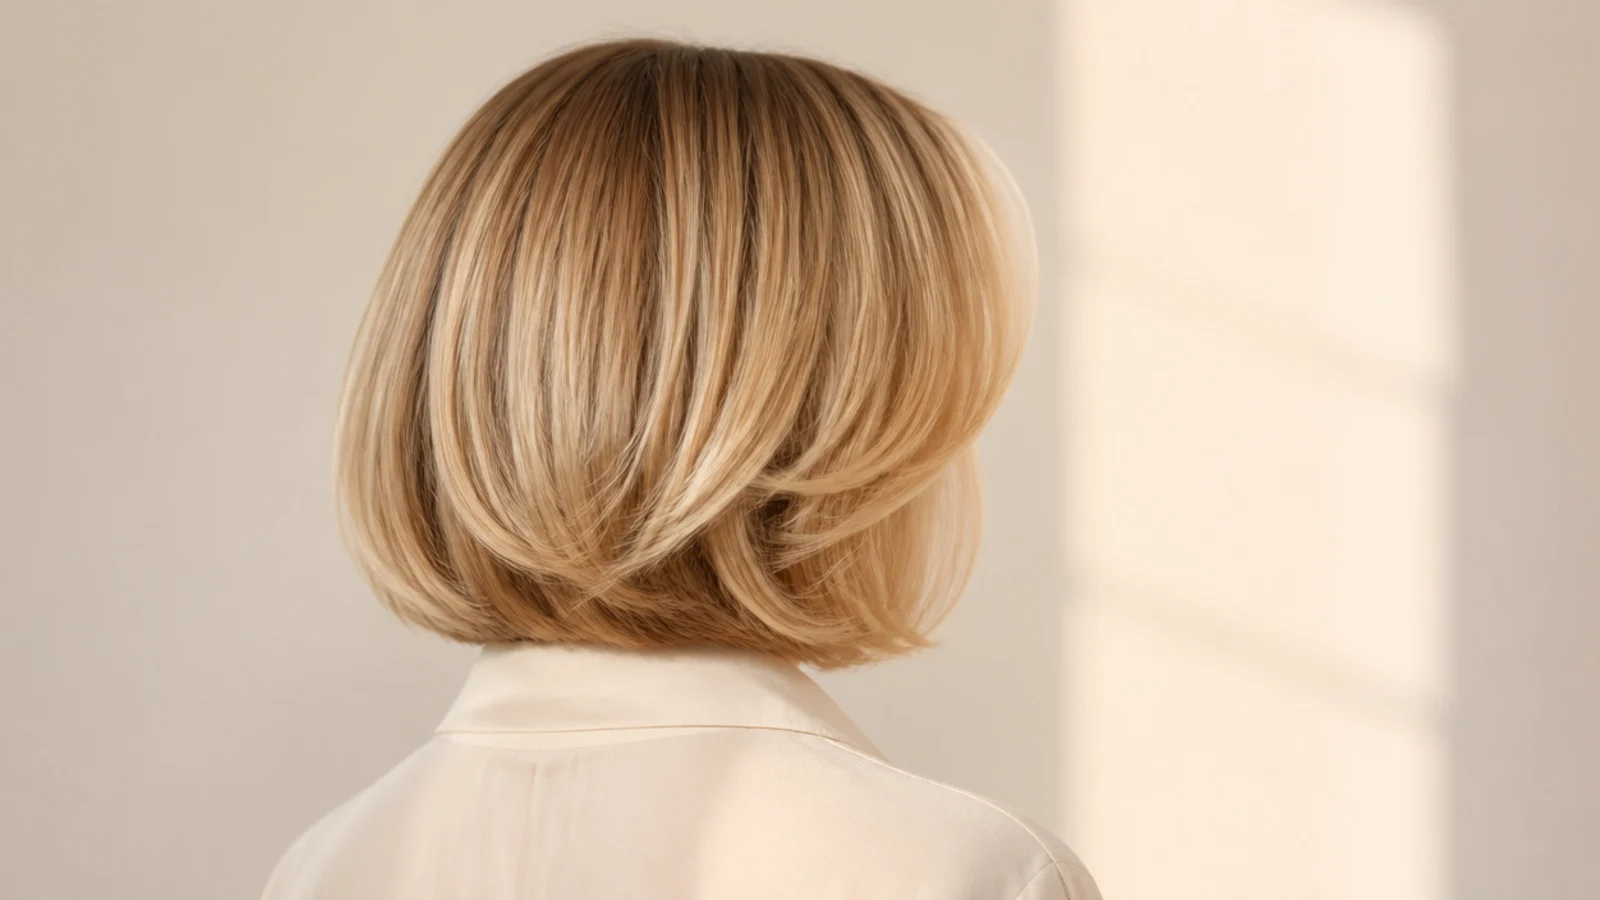
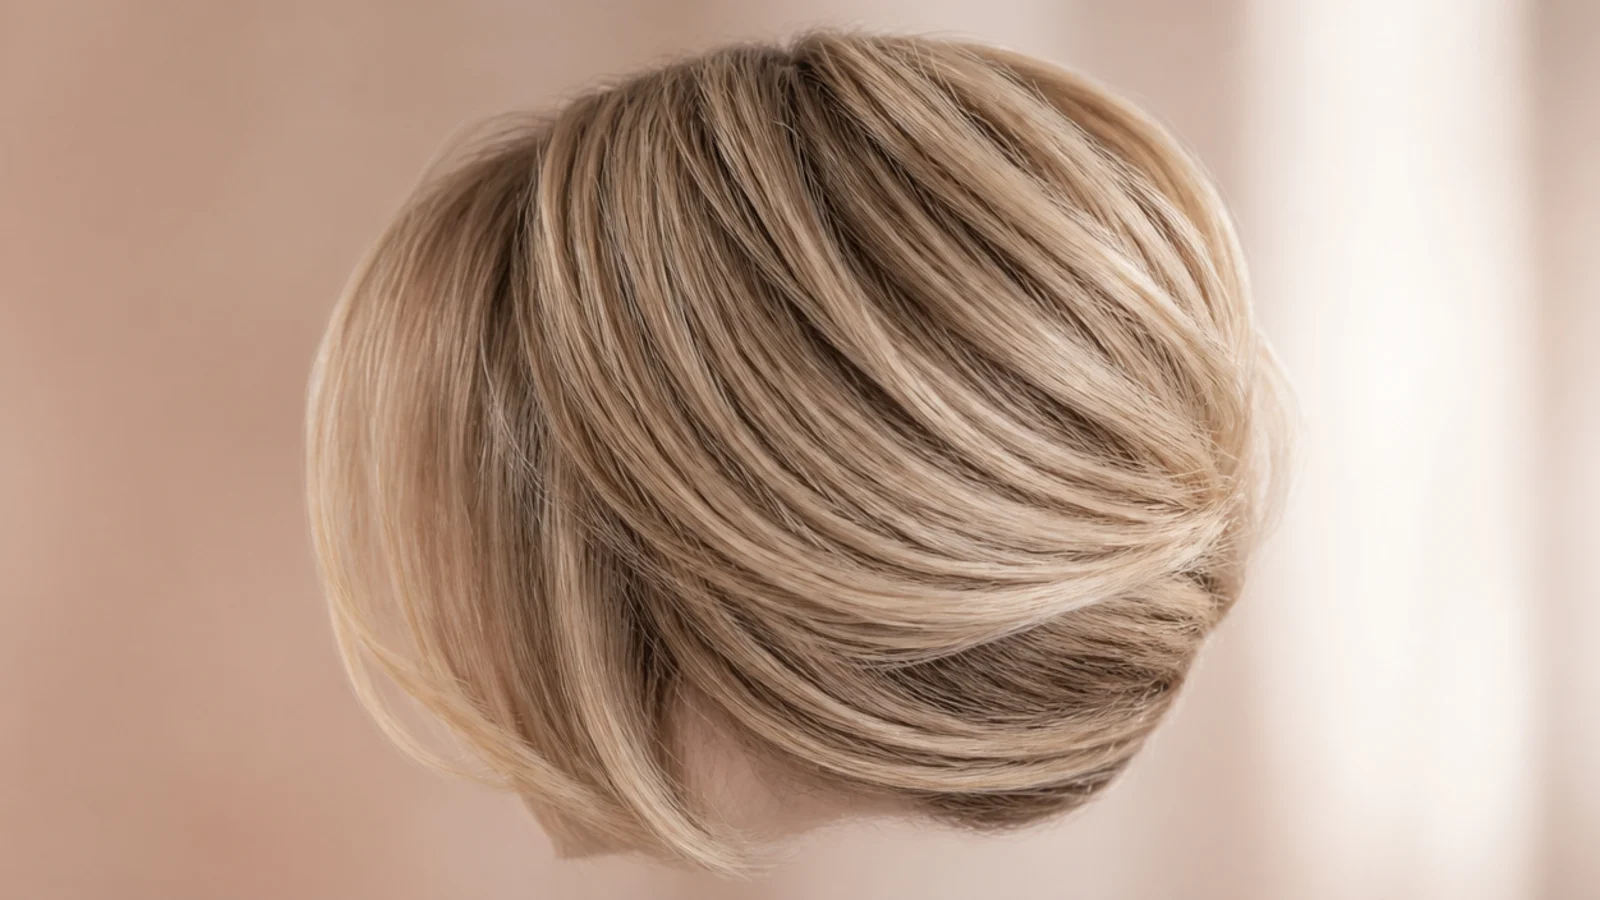
Short hair can still go up as a faux bob. Tucking and pinning the ends under gives the outline of a bob with none of the length actually cut off.
Curls need less pinning than they look like they do. A curl pattern grips itself, so a gathered curly updo holds with a fraction of the hardware a straight head requires.
Do not brush curls into an updo. Brushing separates every clump, and once the pattern is broken the volume becomes frizz that no pin can tidy.
Below the shoulder is not the requirement people think. Most of these styles work from the chin down, because a small anchor and a few pins hold a short section as well as a long one.
The 15 Hair Up Ideas
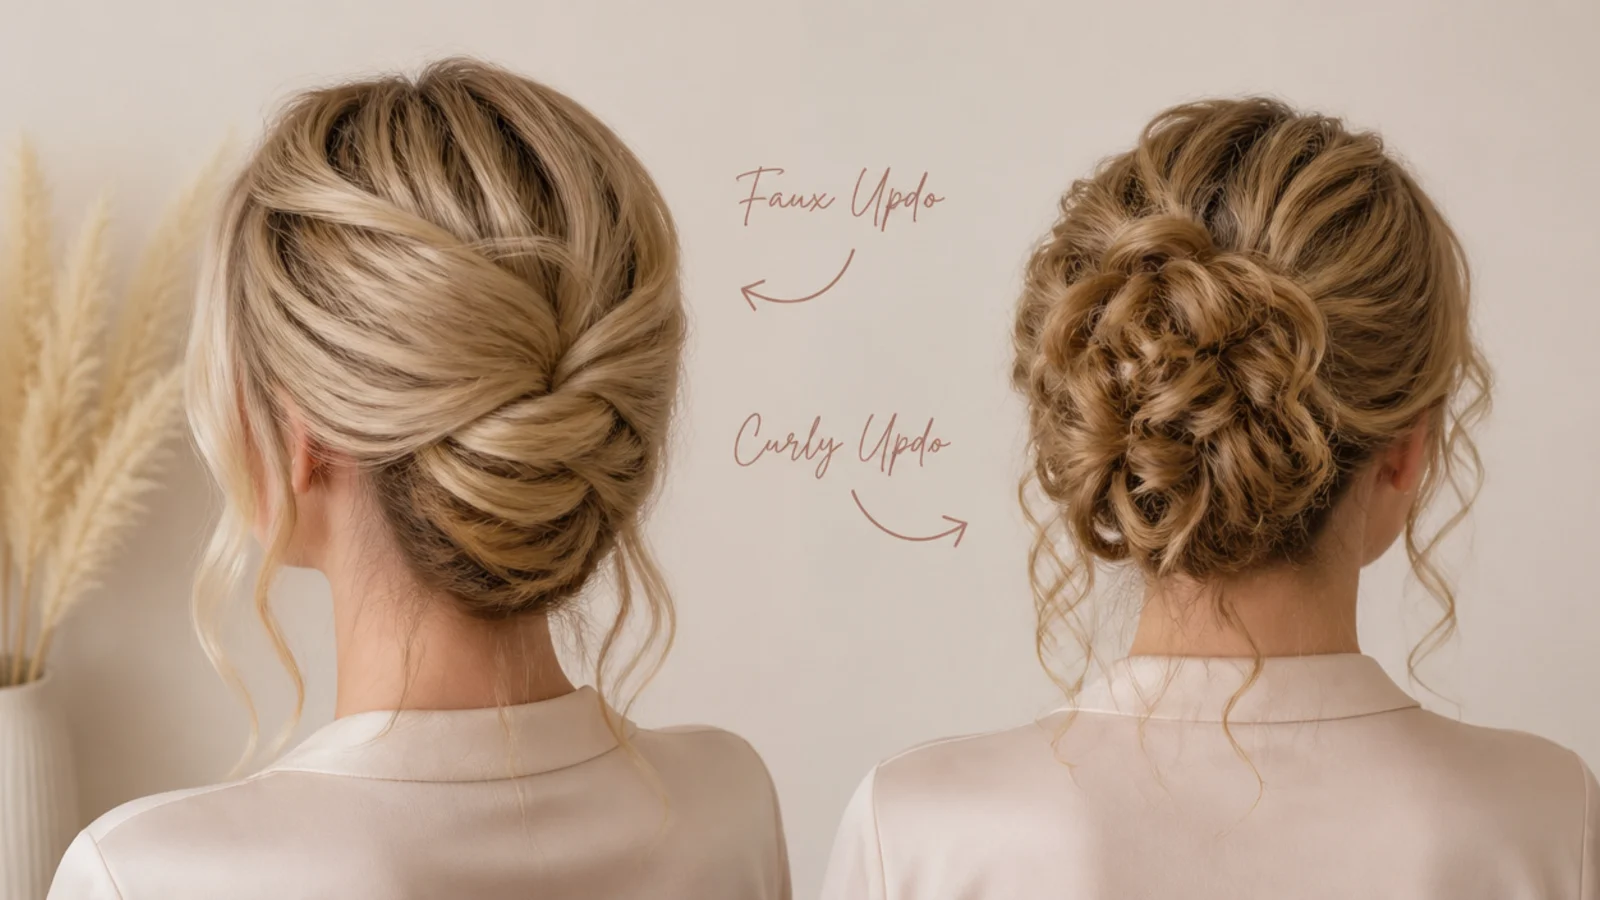
1. Faux Bob
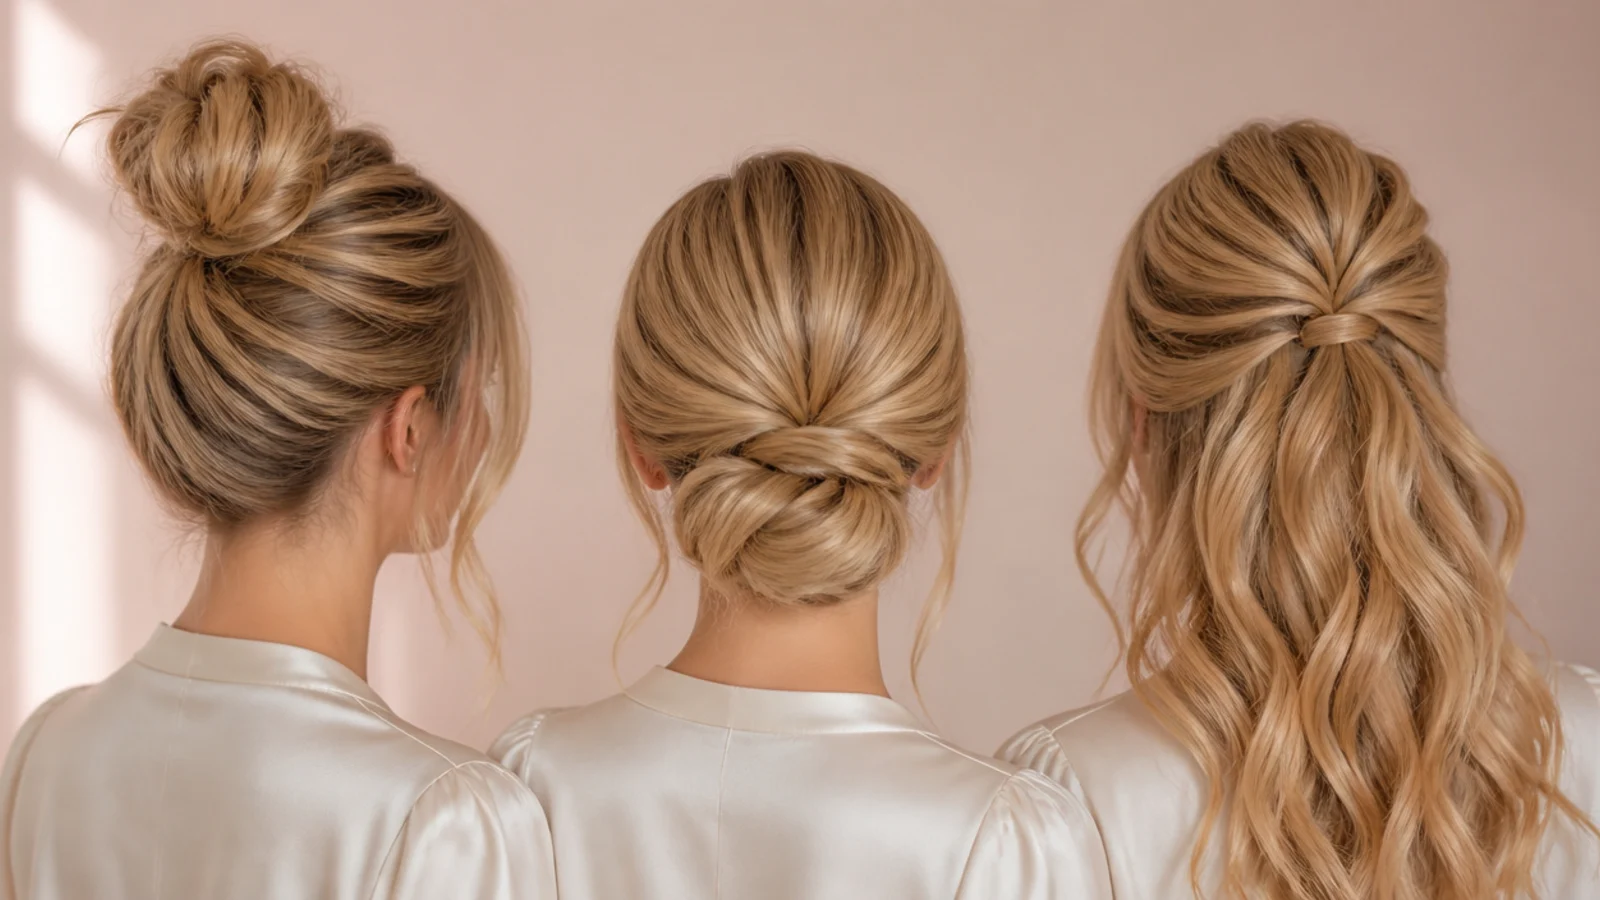
Long hair rolled under and pinned along the nape so the outline reads as a bob. The ends are tucked into the roll rather than gathered, which keeps the bottom edge looking like a cut line instead of a knot.
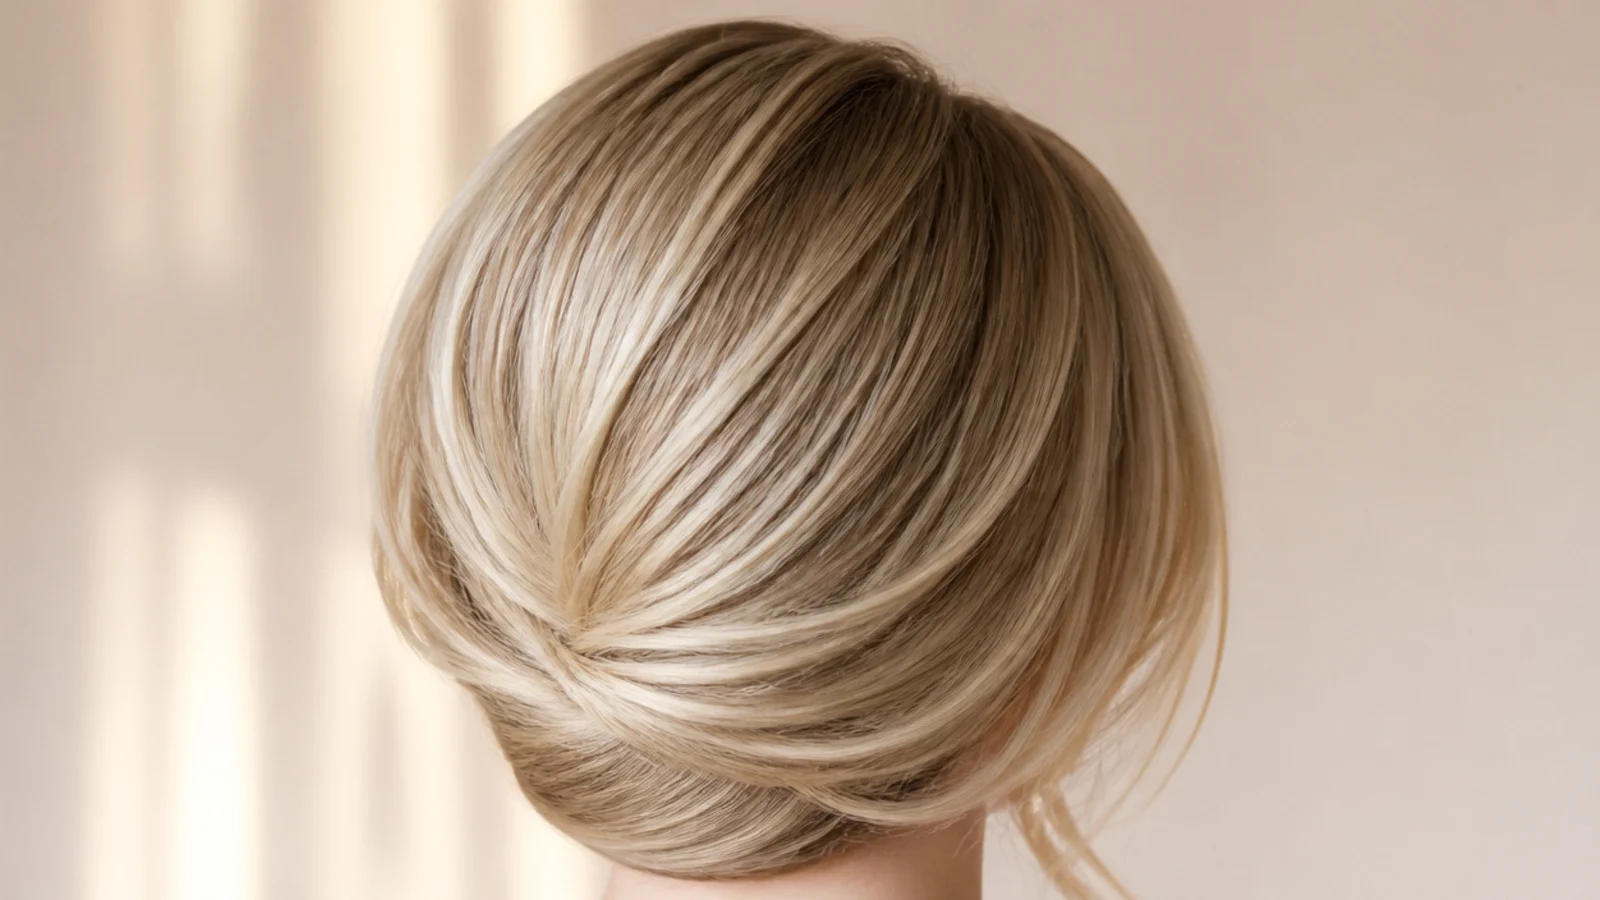
2. High Bun
Gathered at the crown so the knot sits above the widest part of the head. Placed there it draws the eye upward and lengthens the face visually, which is the opposite of what the same bun does at the nape.
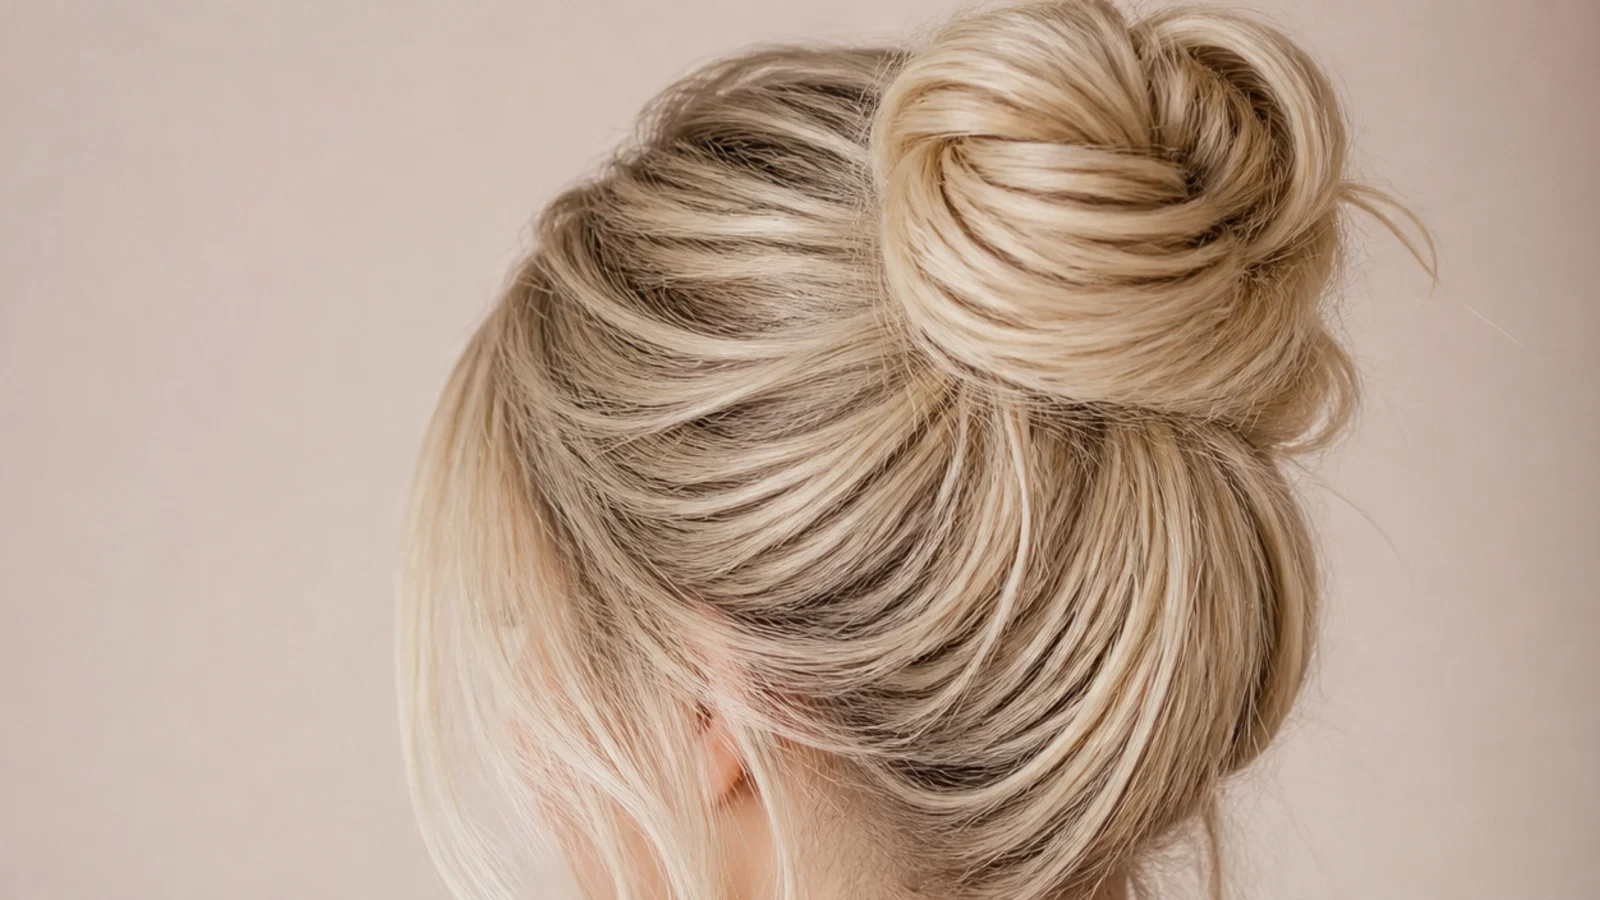
3. Low Bun
Sitting at the nape with the crown volume left intact above it. Because the weight hangs below the anchor rather than balancing on top of it, this is the version that survives a whole day without needing to be reset.
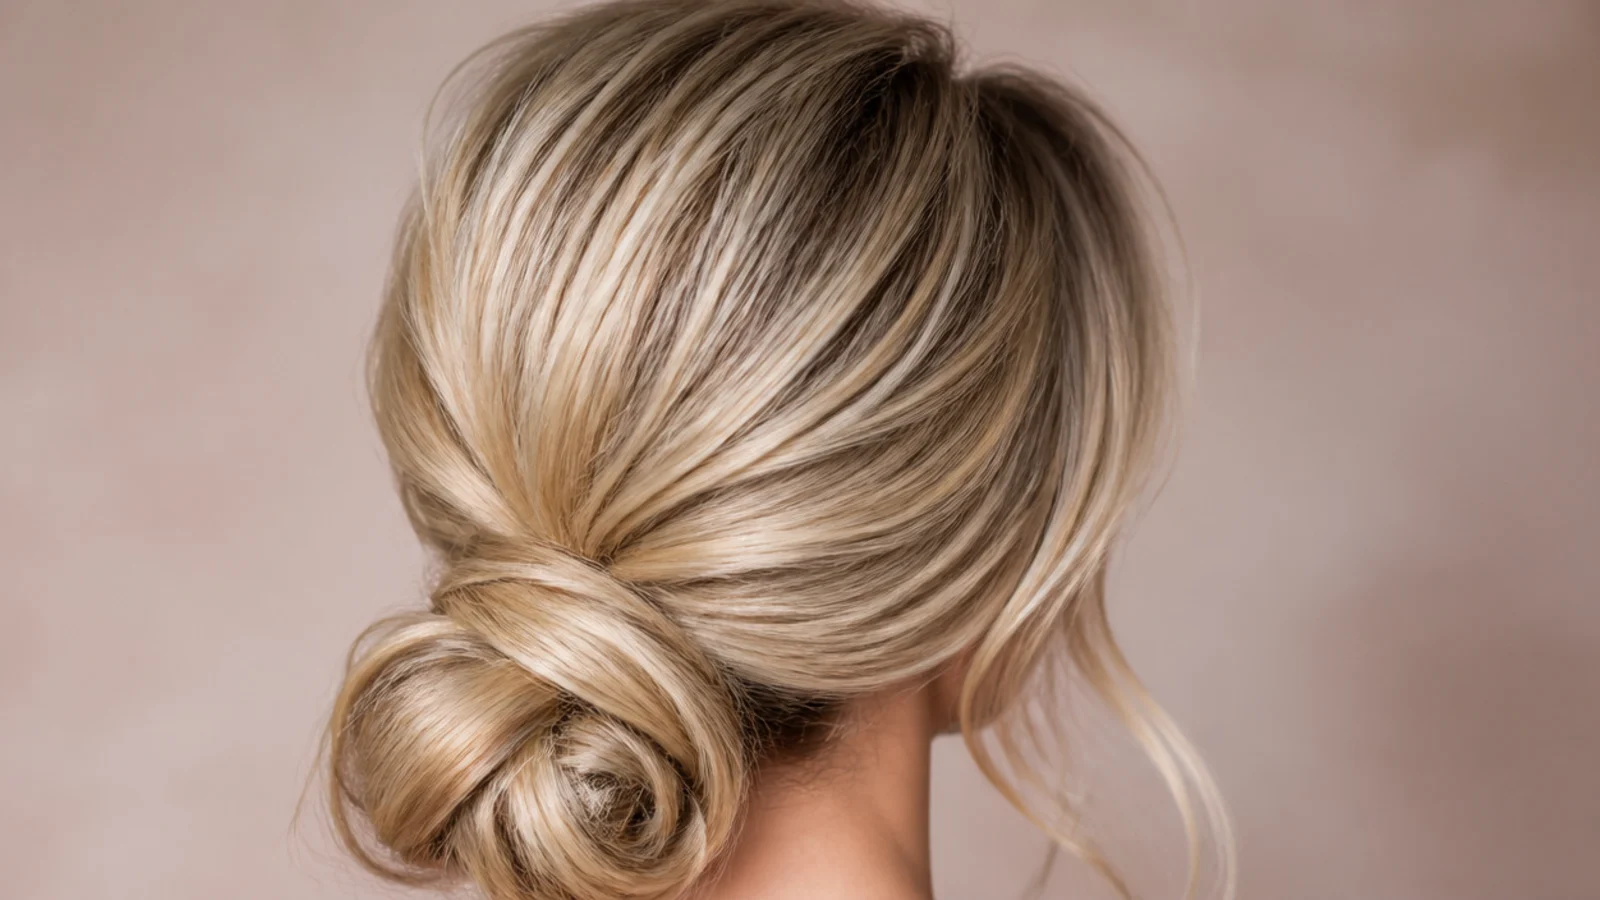
4. Half Up
Only the crown section is taken back and the rest hangs loose. From the front the cut is completely unchanged, so it keeps the shape of the layers while getting the hair off the face, which is why it photographs better than a full updo.
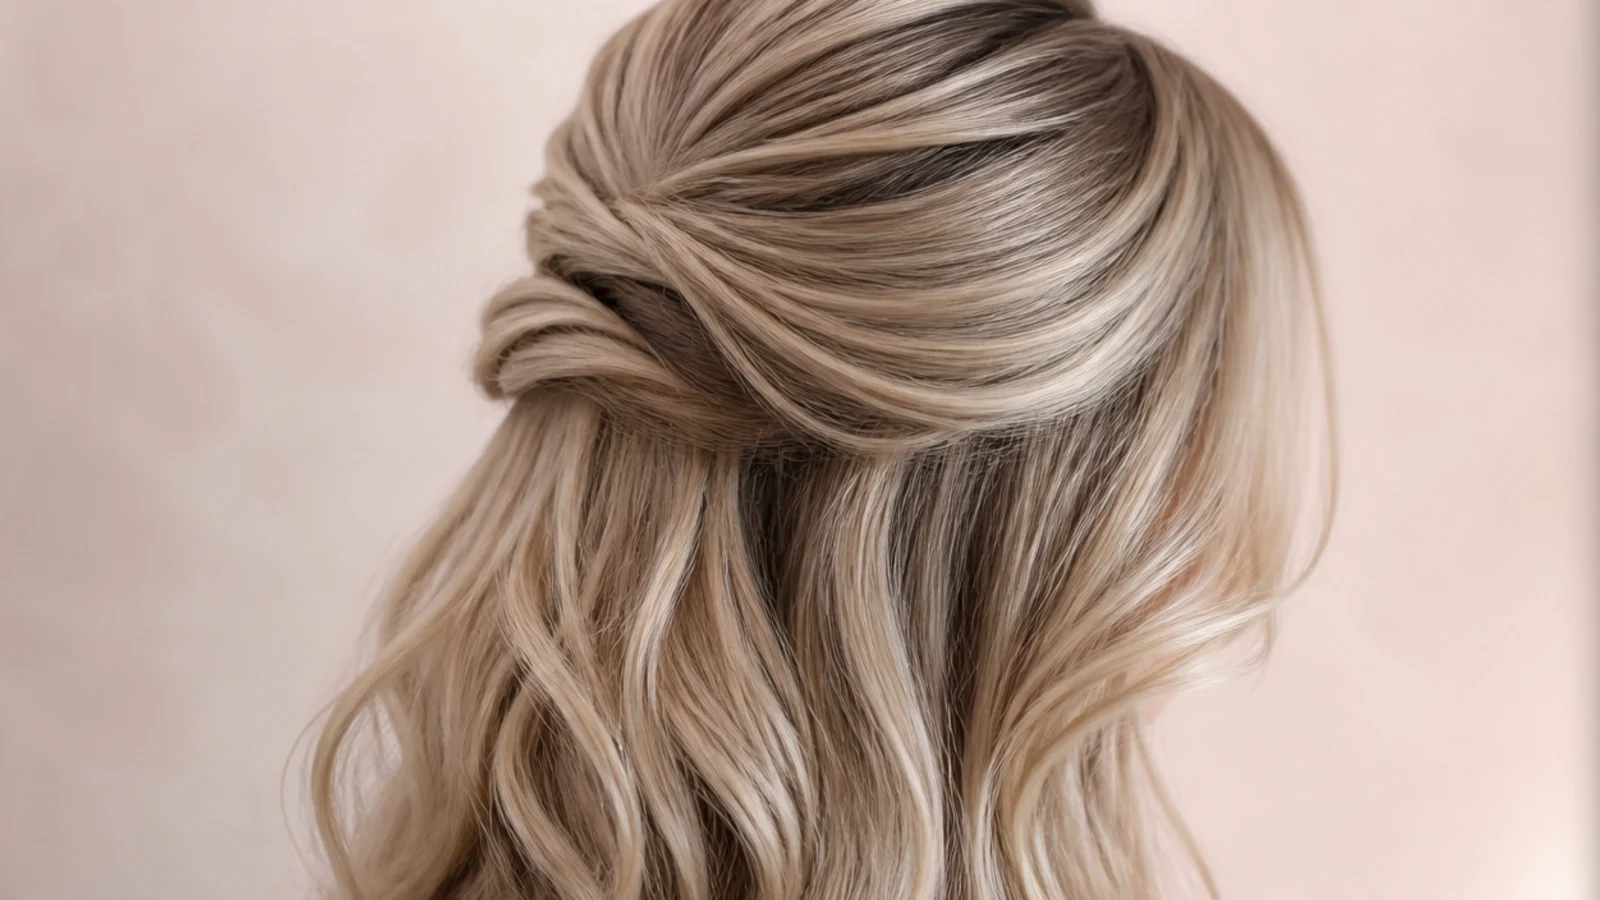
5. Claw Clip
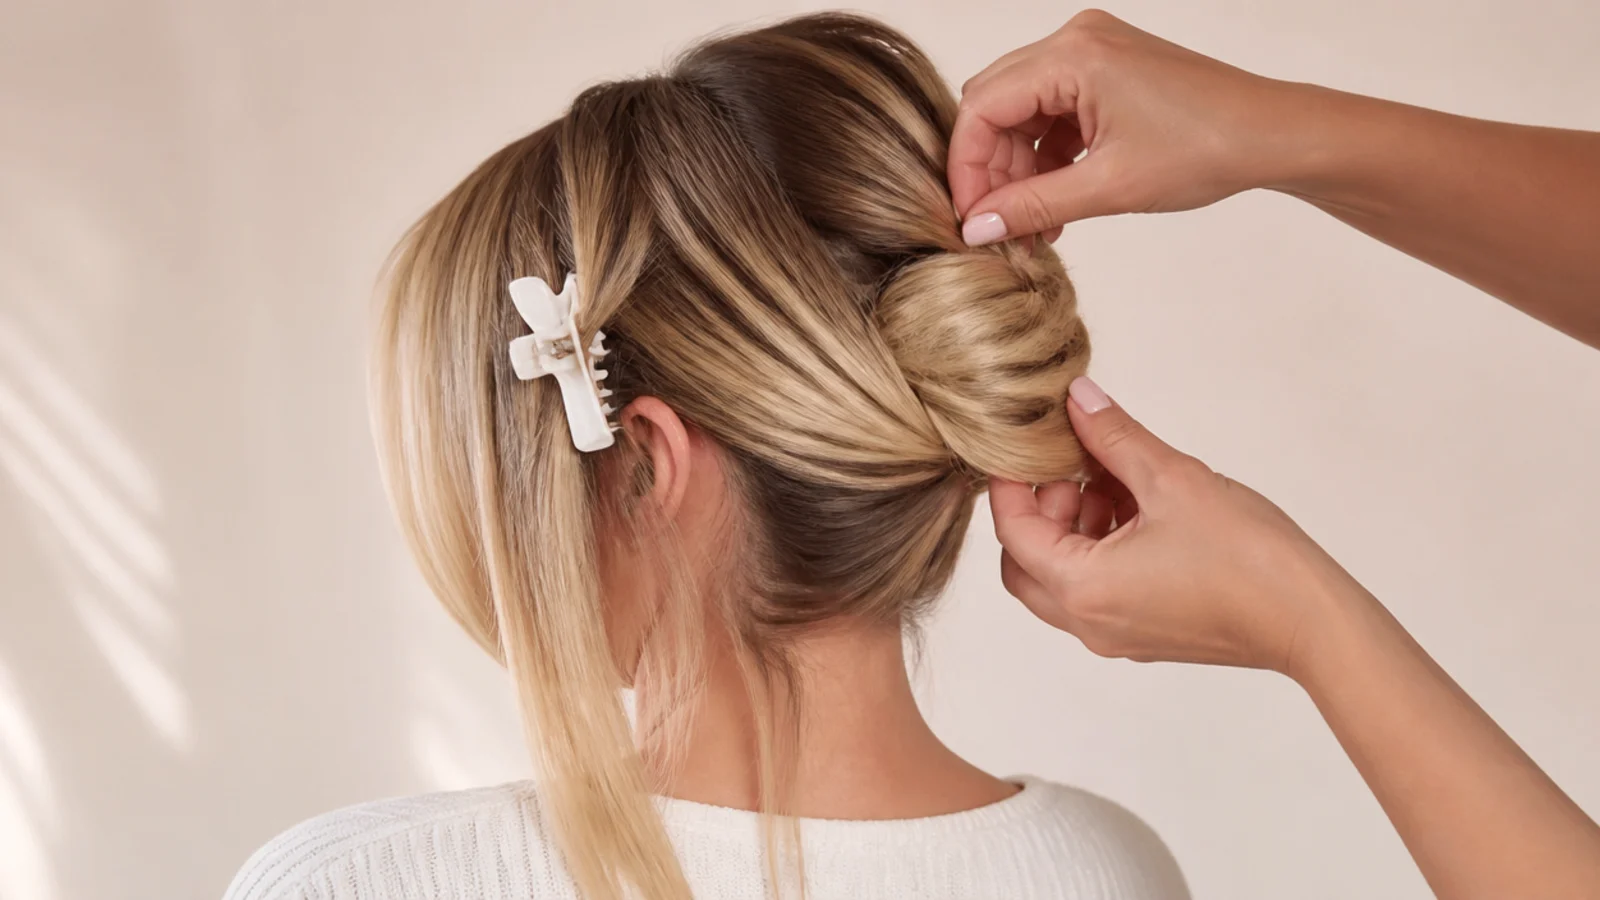
A twist folded up and held by the clip teeth alone. The clip works by pressure across a twisted column, so the trick is twisting until the hair is firm before folding rather than clamping a loose handful.
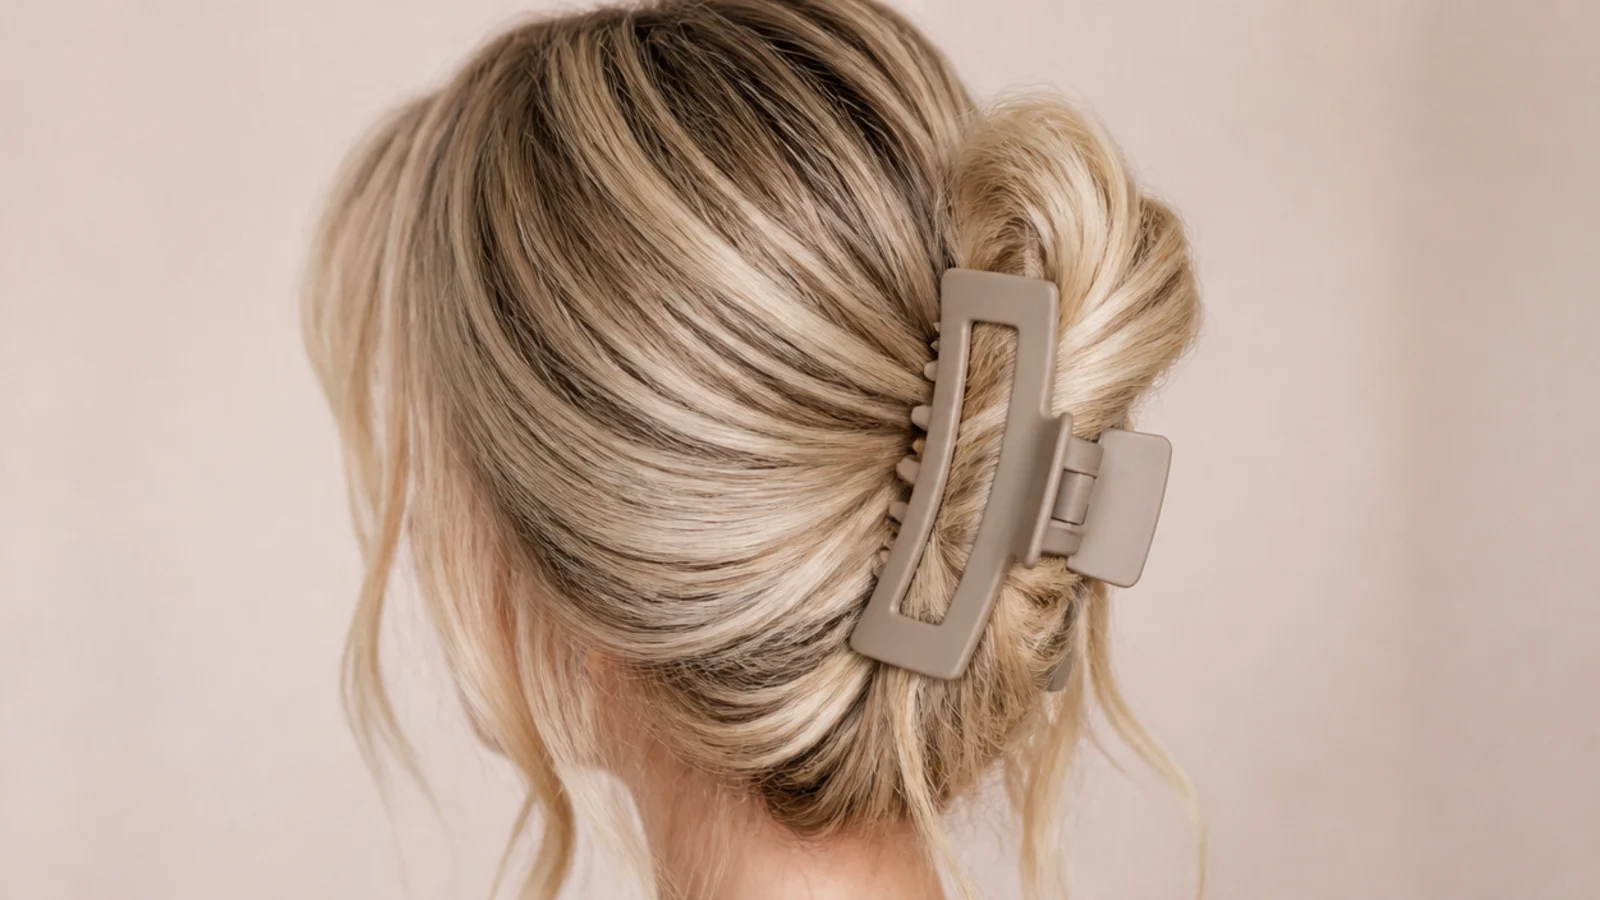
6. Bow Ponytail
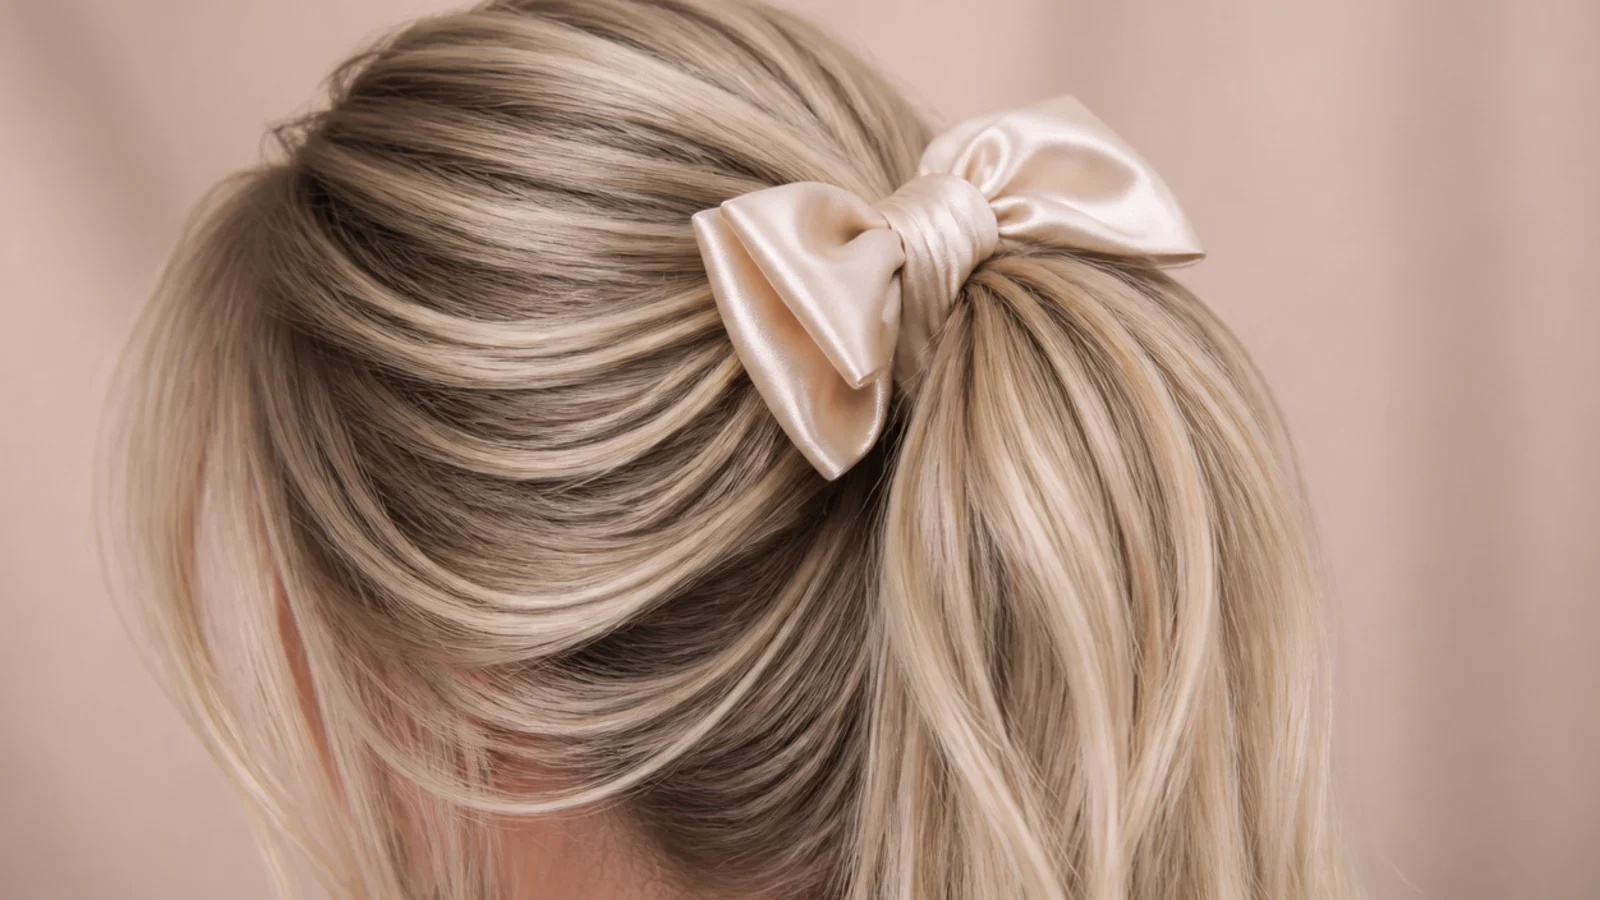
A ribbon tied over the elastic rather than instead of it. The bow covers the hard horizontal line the band creates and adds a second shape at the join, which is what stops a plain ponytail looking unfinished.
7. Curly Updo
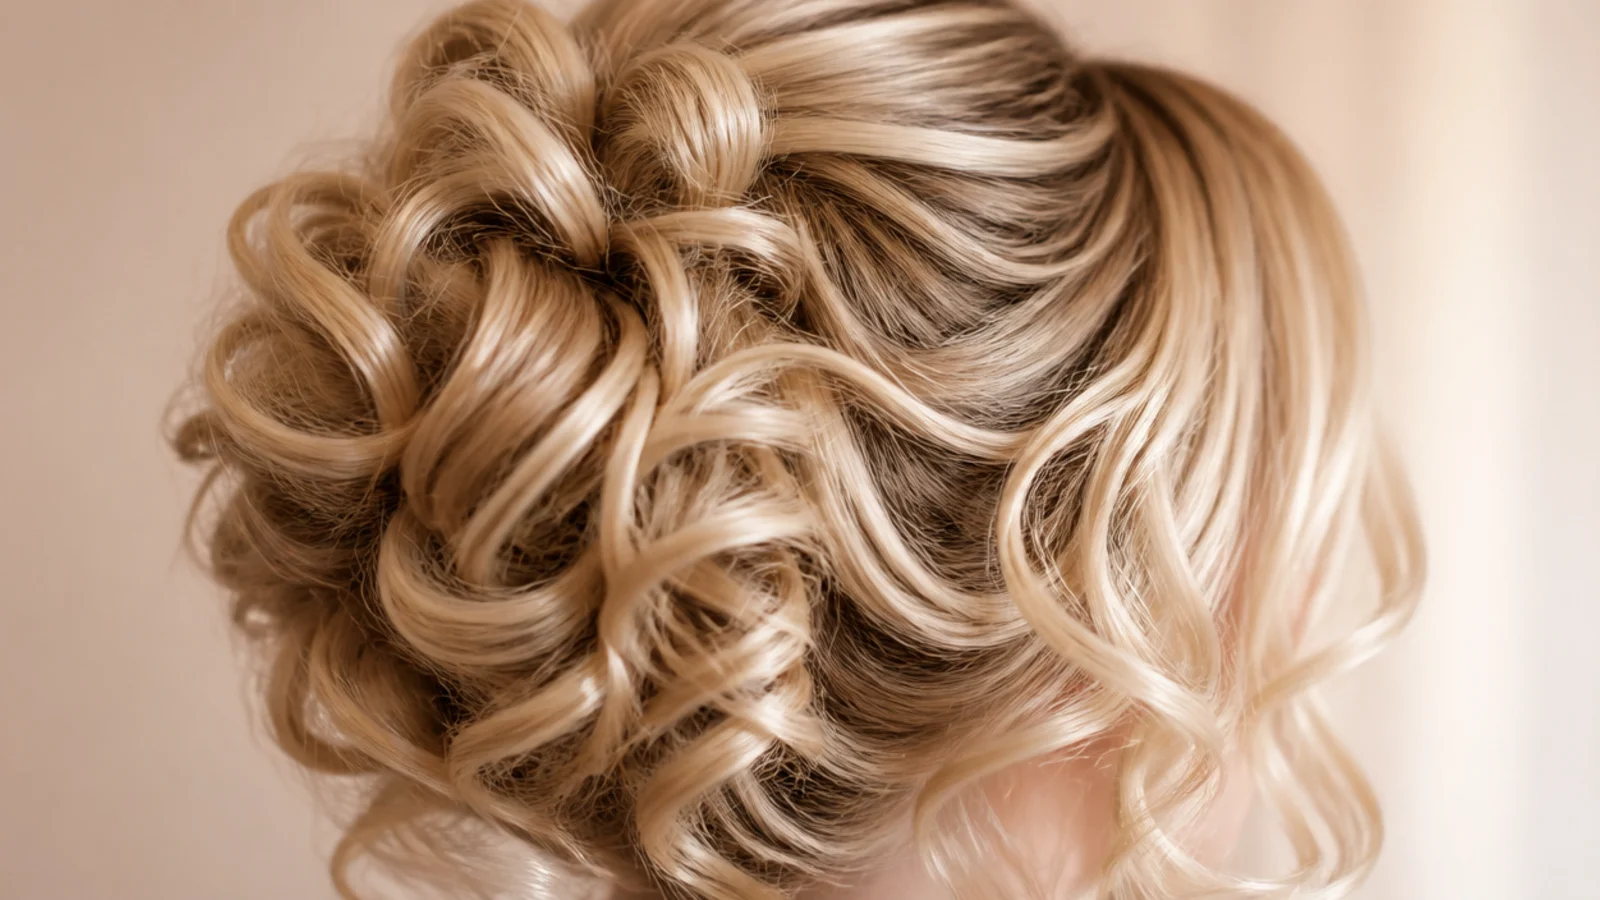
Curls gathered without a brush anywhere near them. The pattern grips itself, so a loose elastic and three pins hold what would take a dozen on straight hair, and every clump left intact is volume you did not have to build.
8. Messy Bun
Built tight and then loosened deliberately, in that order. Pulling small pieces out of a firm base gives softness with a structure underneath, whereas starting loose gives a bun that keeps sliding for the rest of the evening.

9. Bubble Ponytail
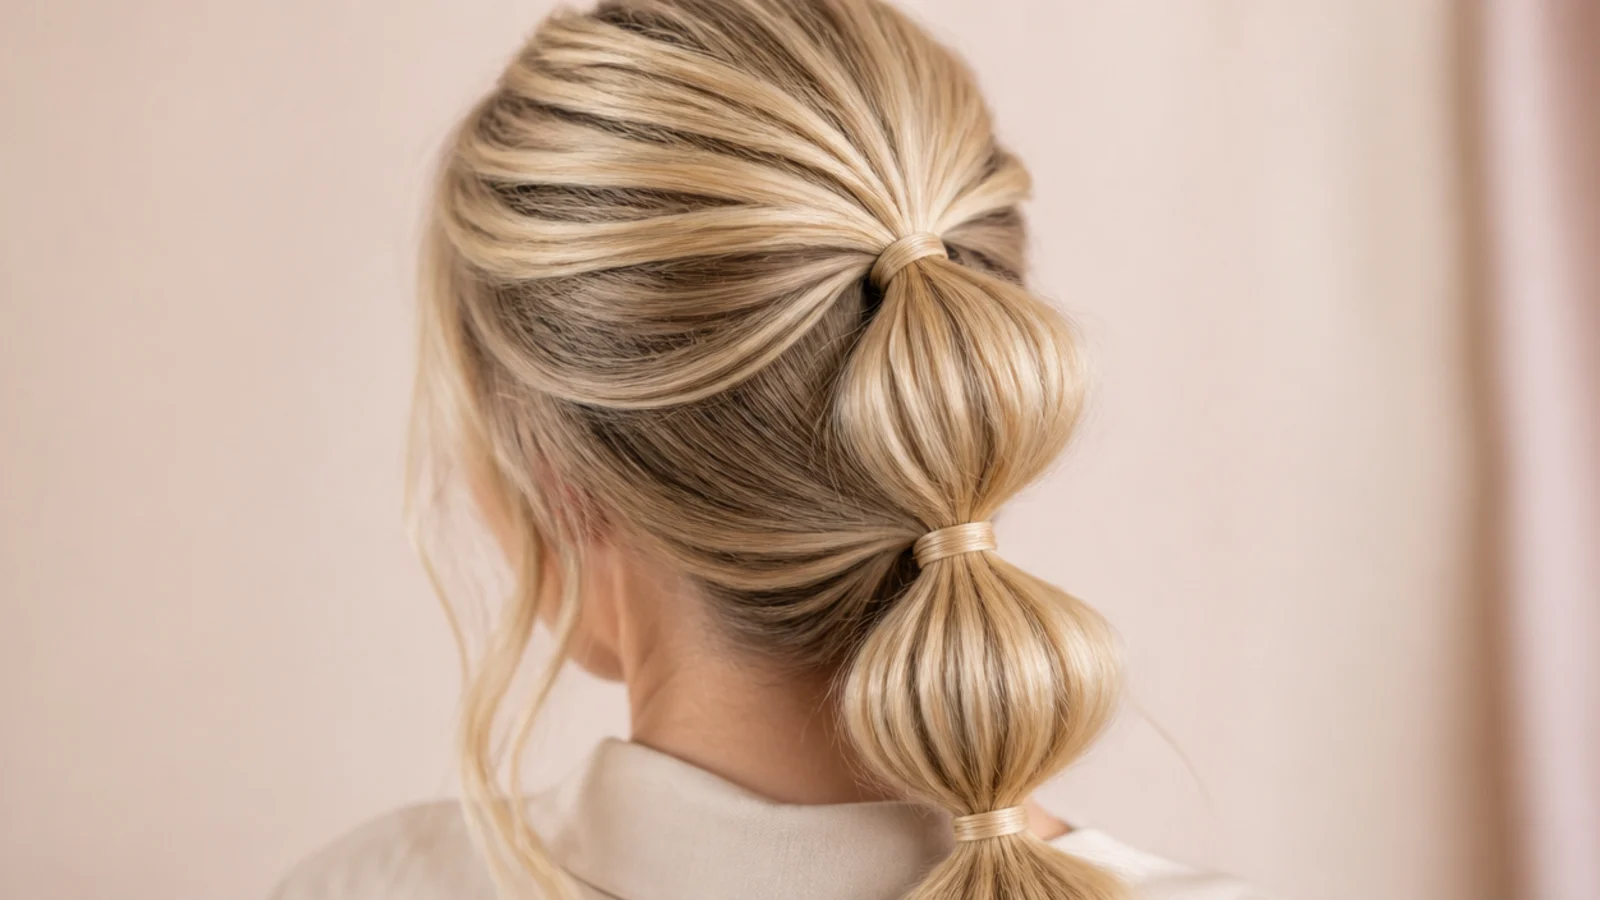
Elastics spaced evenly down the tail with the hair pulled out between each one. The width of each bubble is set by how far apart the bands sit, so even spacing matters more than how hard anything is tied.
10. Low Ponytail
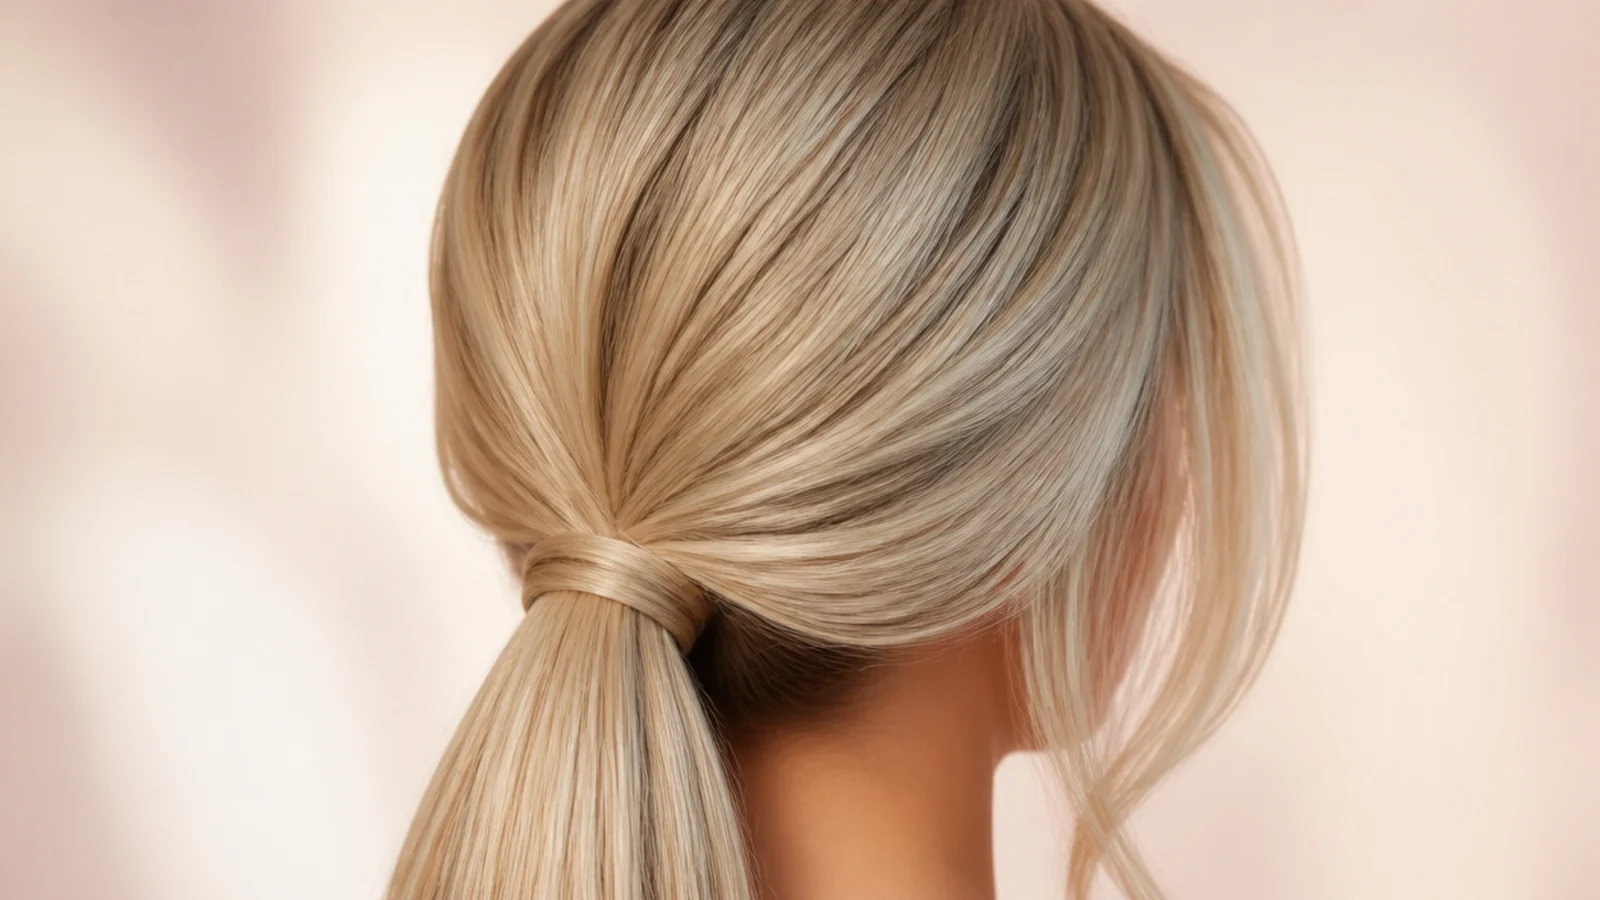
Gathered at the nape with the face framing released afterwards. A low elastic keeps the crown volume undisturbed, which is why this reads as styled while a mid height ponytail flattens the top of the head.
11. Twisted Crown
Two sections twisted back from the temples and joined behind. Each twist tightens as it is pulled backward, so the tension holds itself along the whole length and only the join at the back needs pinning.
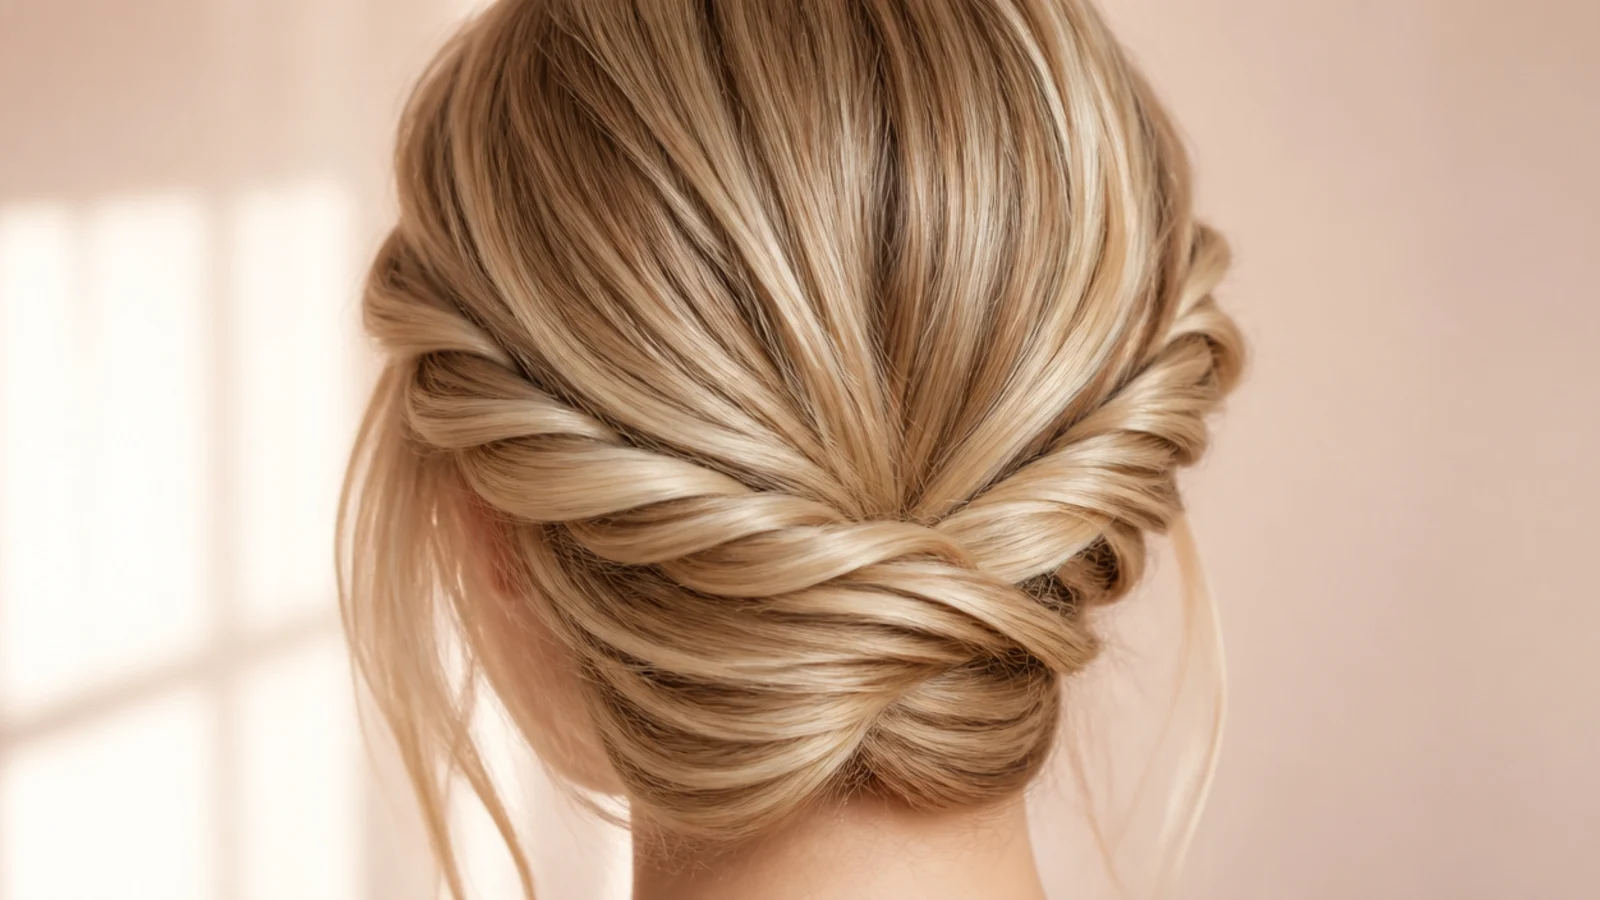
12. Top Knot
The highest version, sitting on top of the head rather than at the crown. All the weight is above the anchor, so it needs a firm elastic and pins driven into that anchor or the knot rotates forward over the course of an evening.
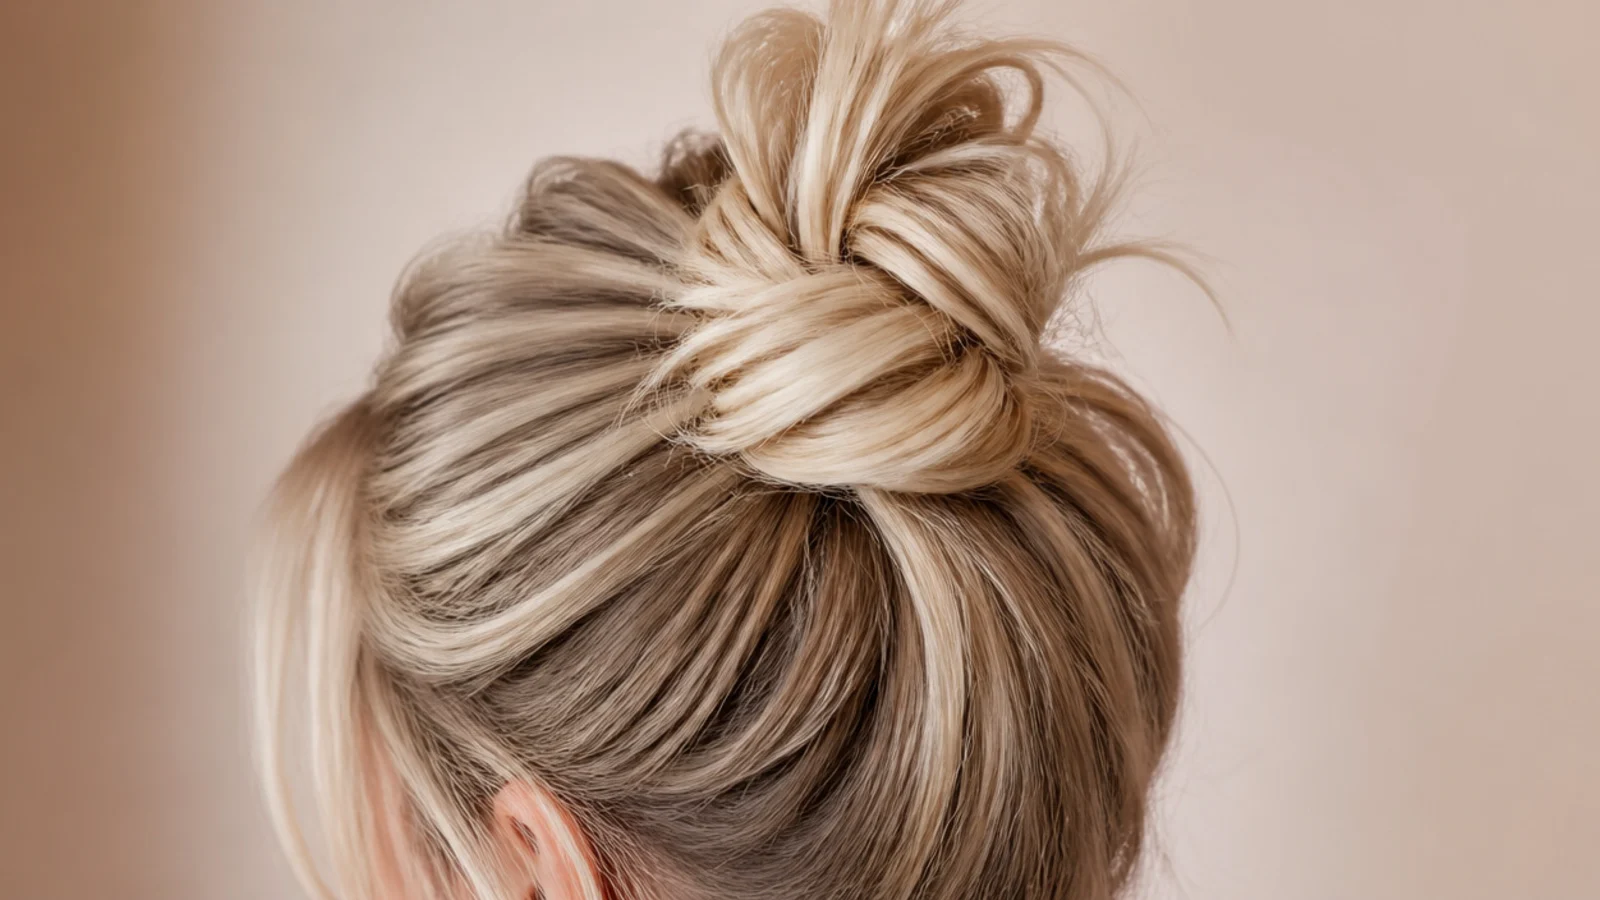
13. Double Buns
Two knots set symmetrically either side of a centre parting. Splitting the hair halves the mass in each one, which means both buns sit smaller and flatter and hold far more easily than a single bun of the same total volume.
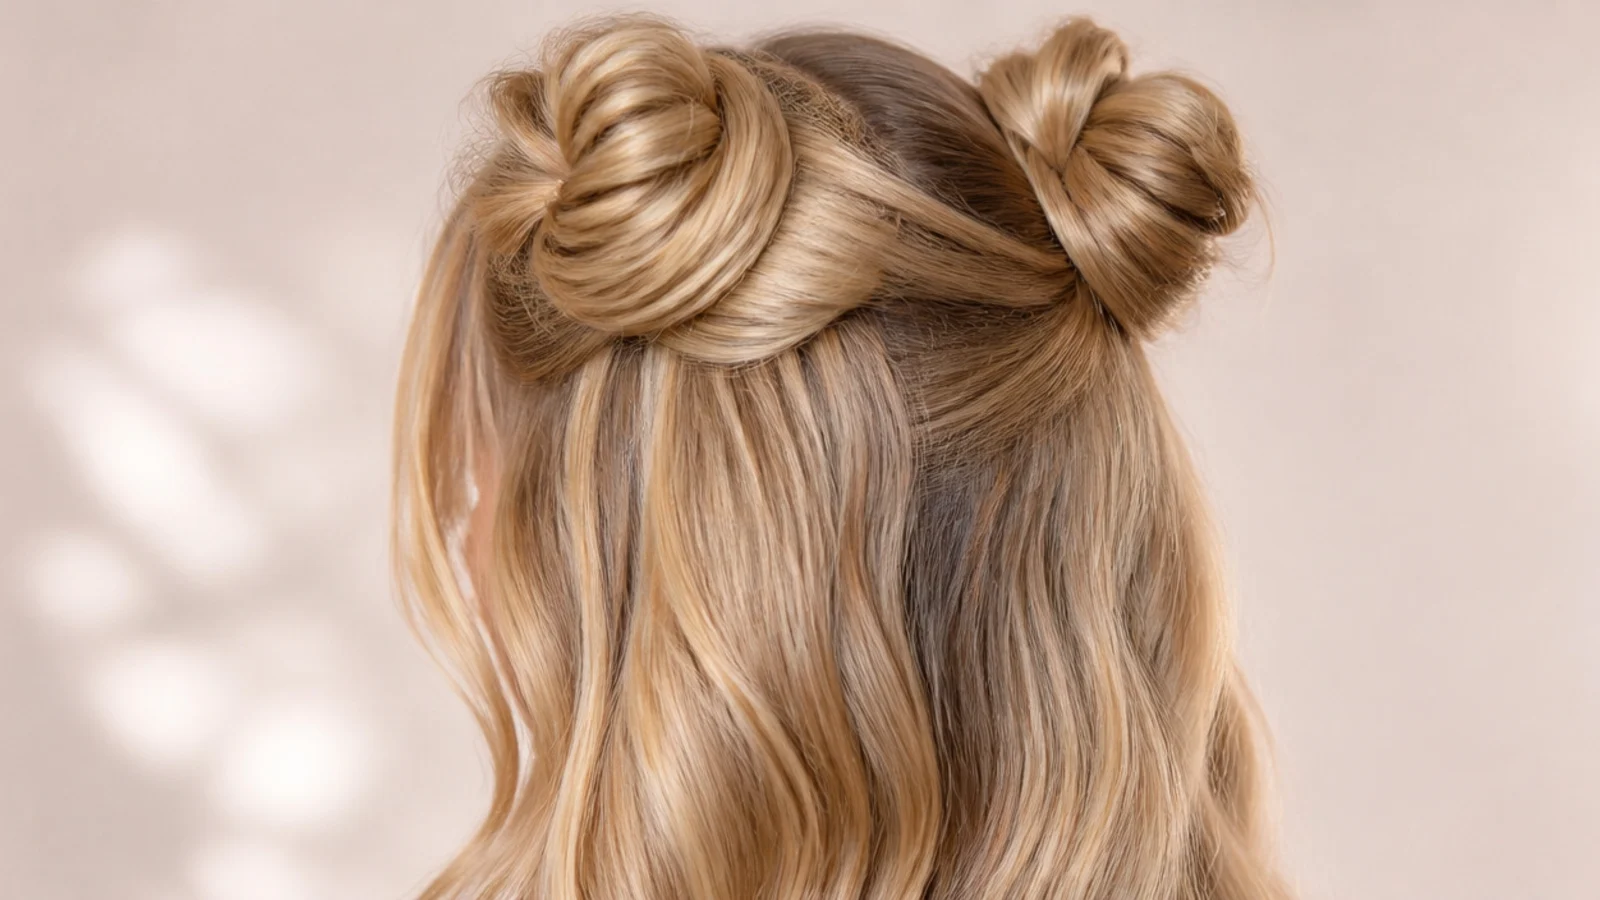
14. Side Chignon
Gathered low and off to one side, behind the ear. The asymmetry adds width at cheek level, so it suits a longer face and works against a round one, and the ear gives the pins something solid to sit behind.
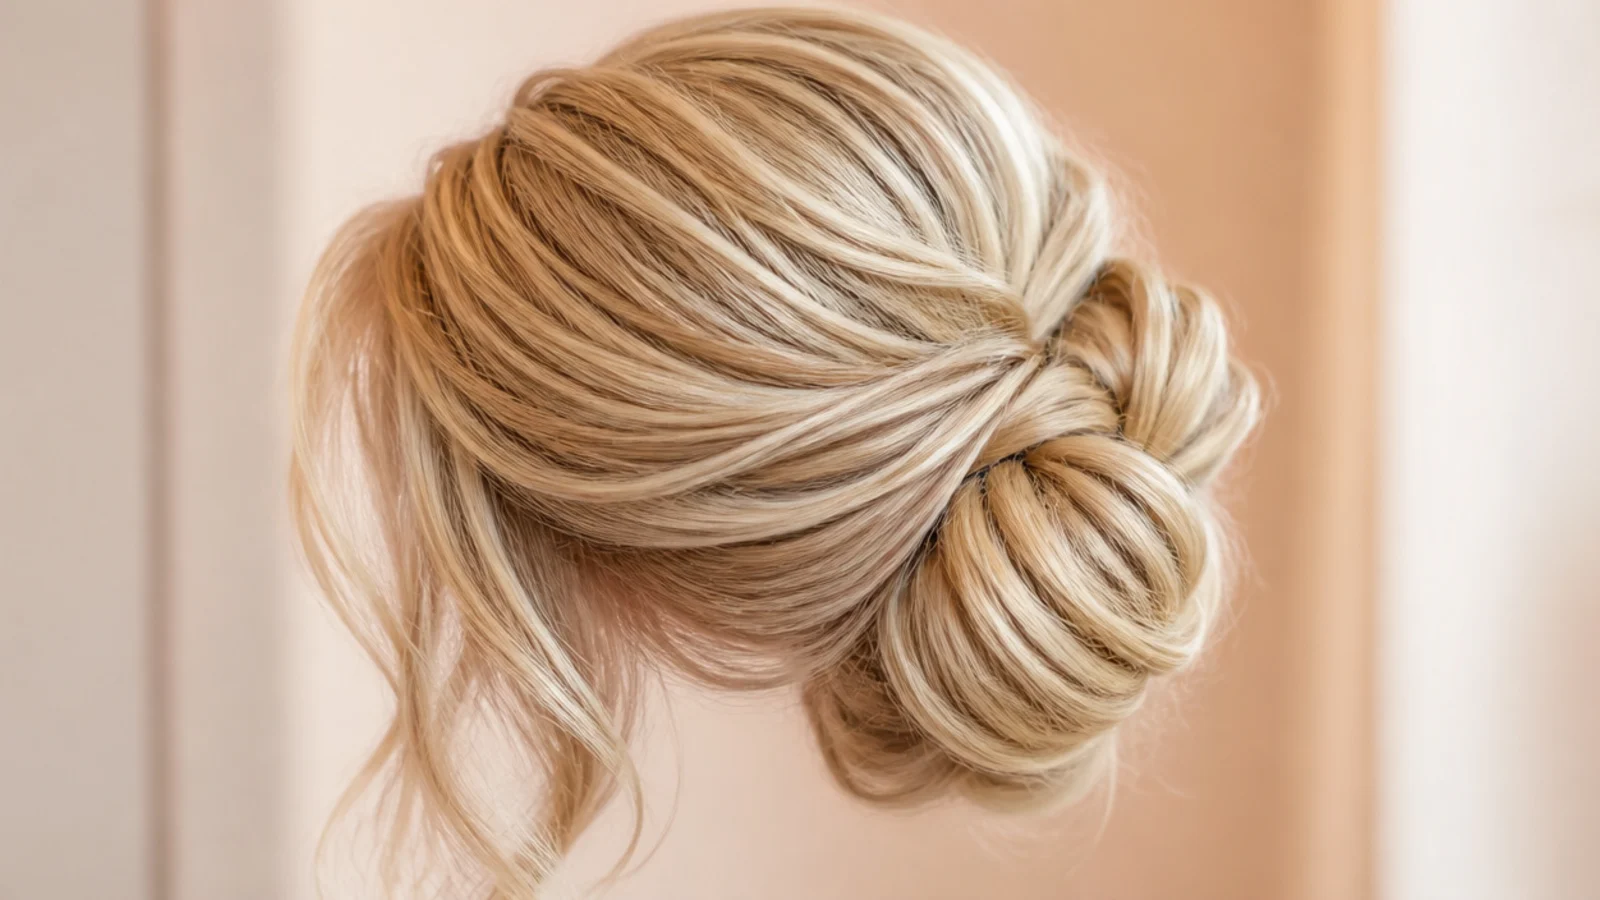
15. Short Updo
Bob length hair pinned up in two halves rather than one. Short sections cannot reach a single anchor, so the bottom half is pinned first and the top half is pinned over it, hiding the join and doubling the grip.
How to Build the Base Updo
Step 1. Prep
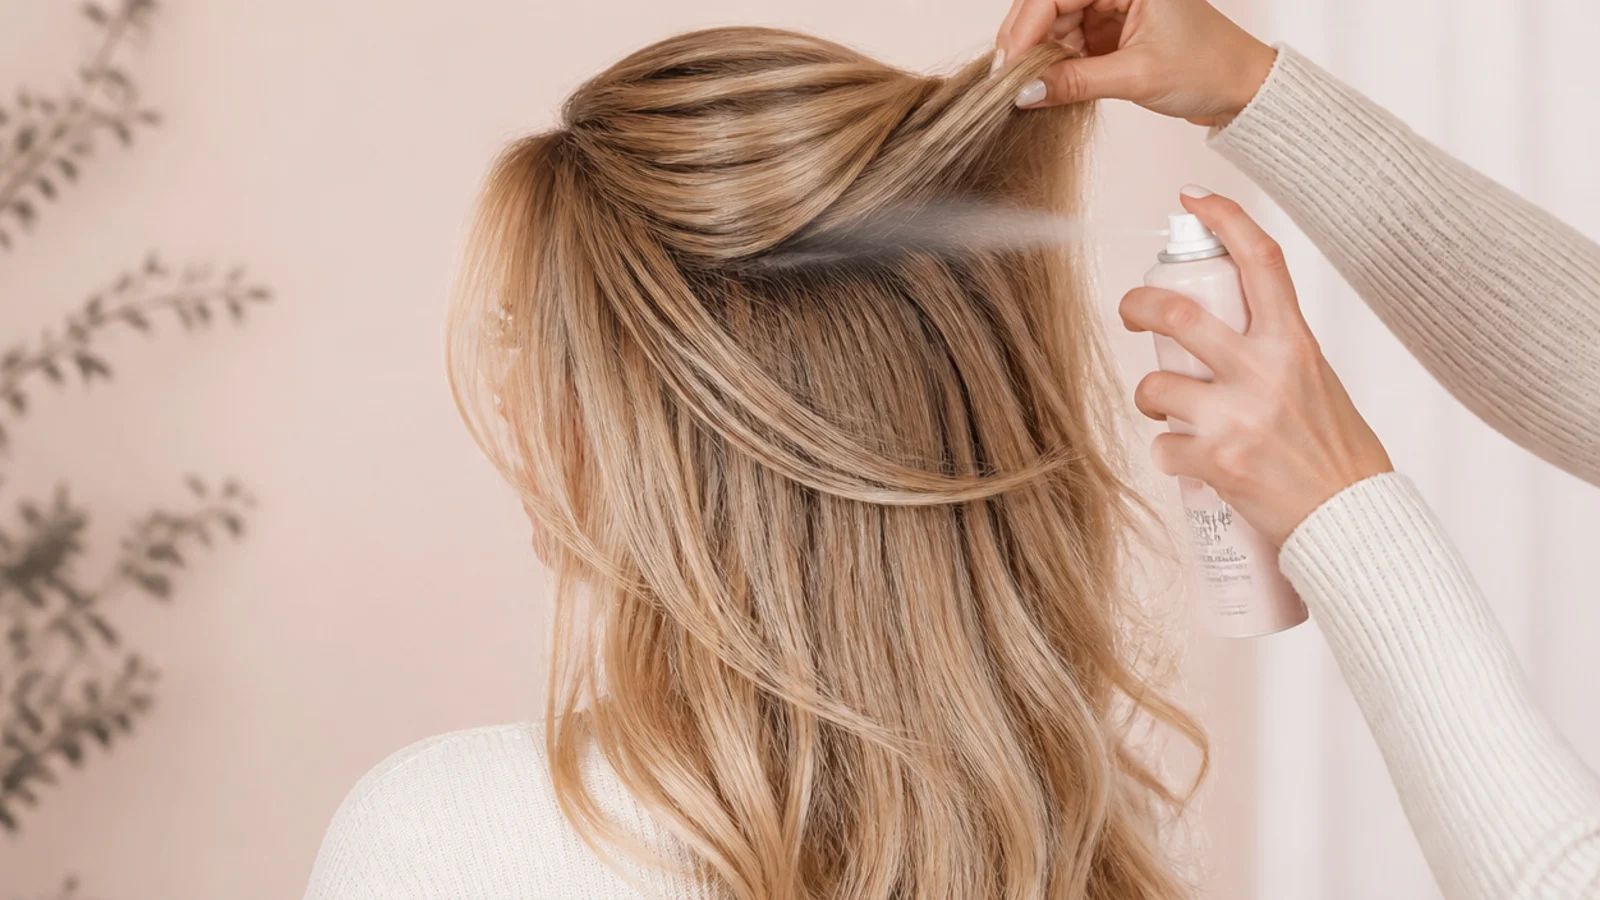
Work on day old hair, or add a light texture spray to clean hair first. Friction between strands is what lets a twist hold itself, and freshly washed hair has almost none, which is why more pins never fix a slippery base.
Step 2. Fringe Out
Clip the fringe and the front sections away before you touch anything else. Once they have been gathered into the base they cannot be released cleanly, and the front is the part that makes the finished style recognisable.
Step 3. Crown Volume
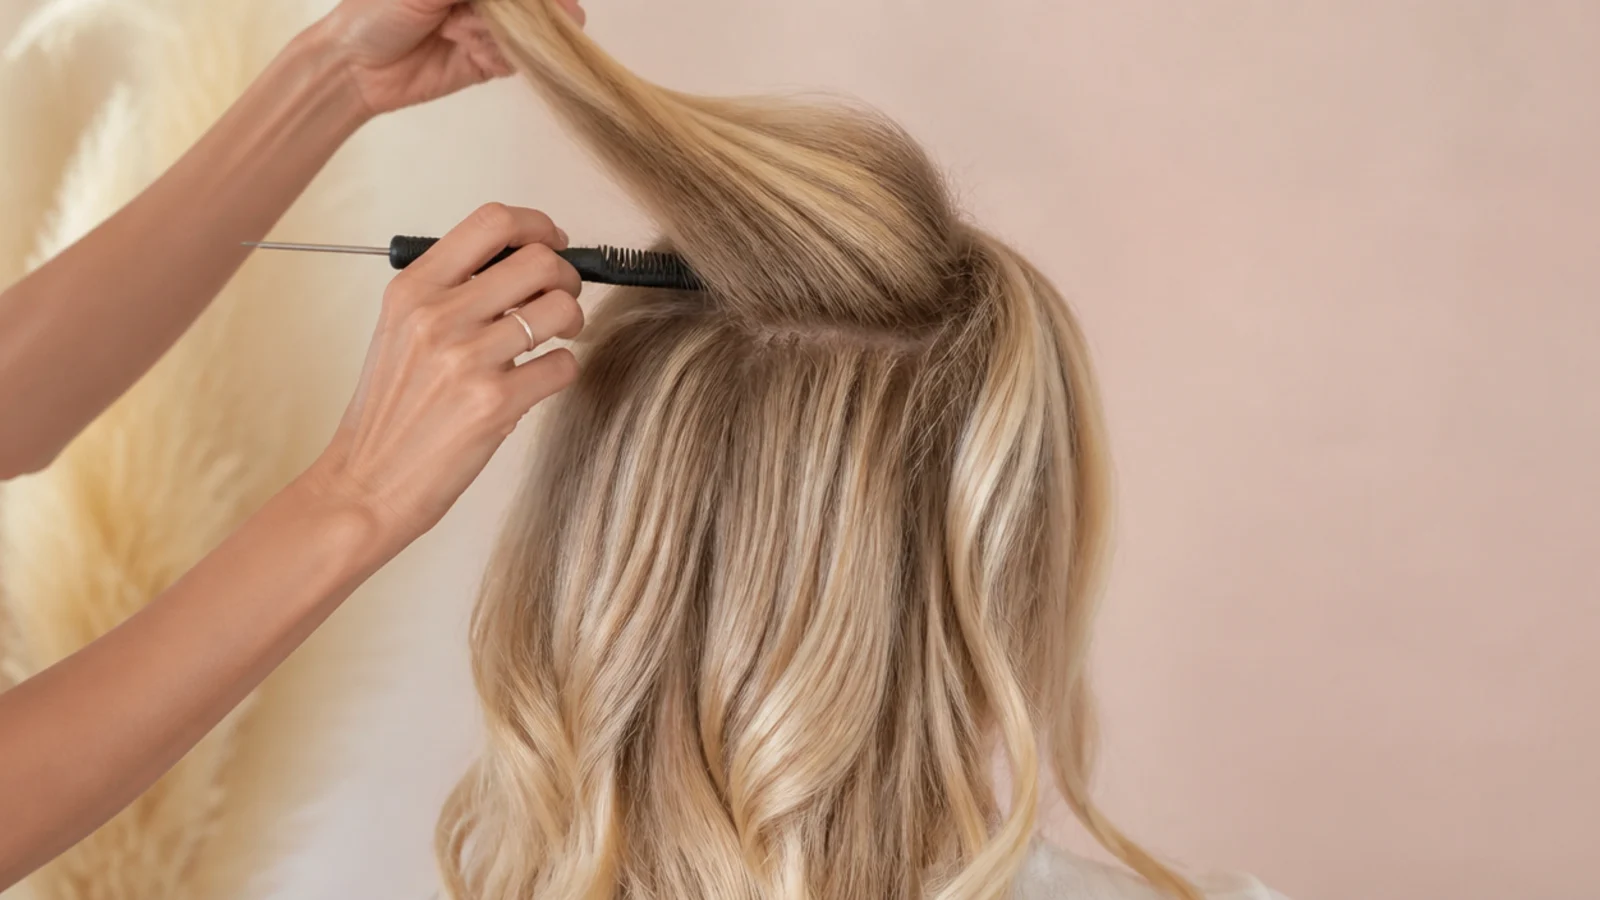
Tease at the base of the crown section only, then smooth the surface layer back over it. The teasing pushes cuticles against each other so the strands lock together, while the untouched top layer hides all of it.
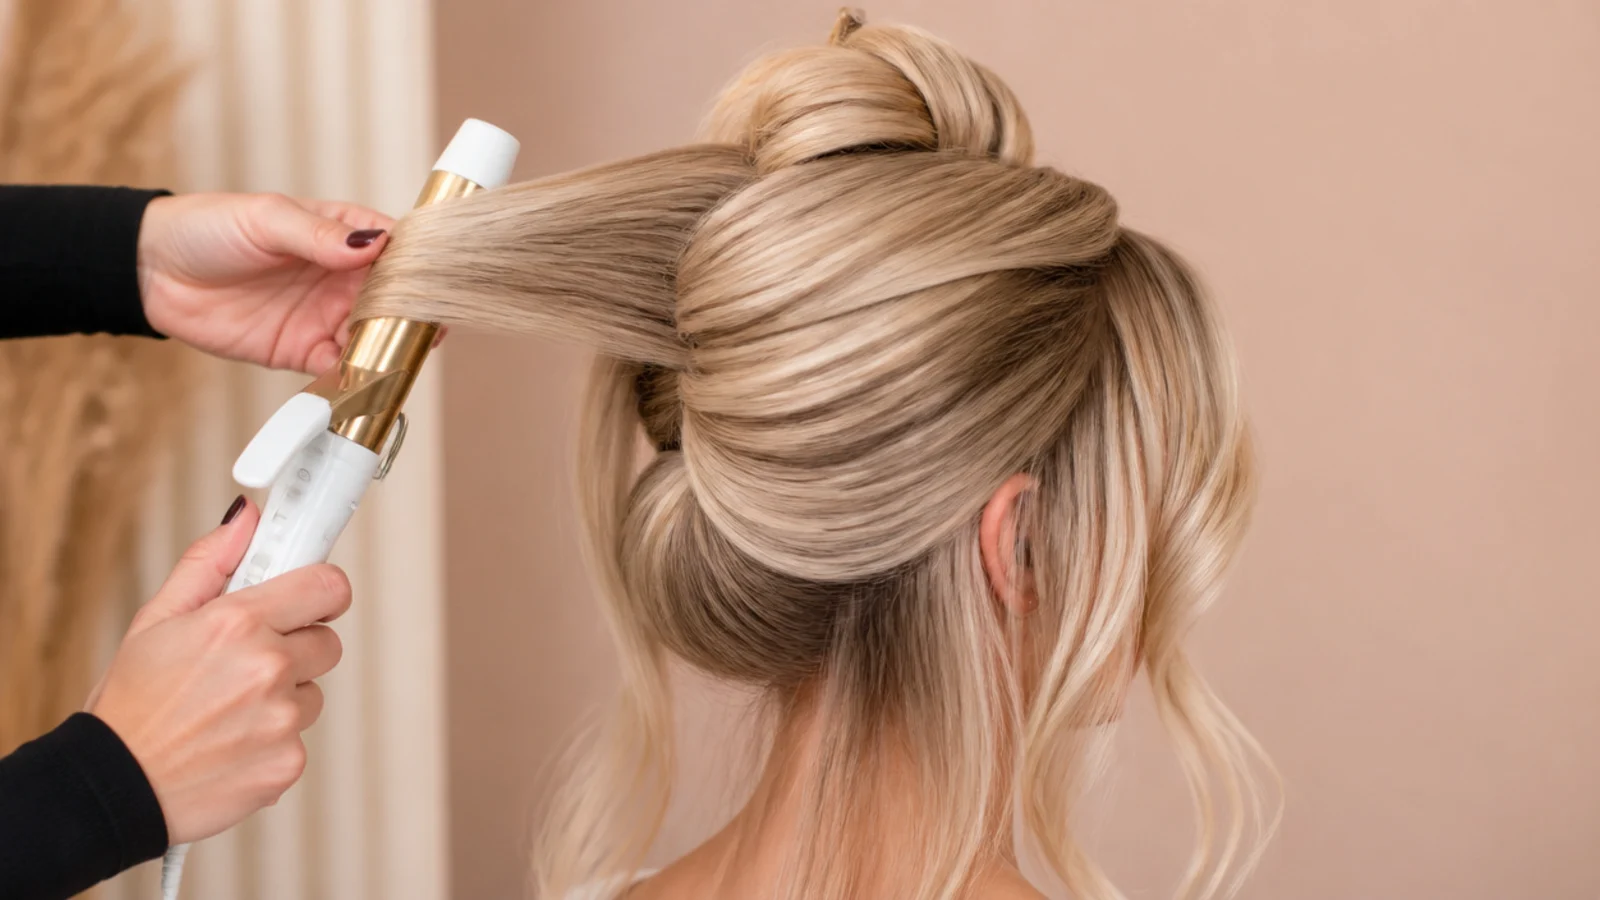
Step 4. Curl
Put a bend through the lengths before anything is gathered. A curled section occupies more space and grips itself when it is folded, so the same amount of hair makes a fuller knot and slides out far less readily.
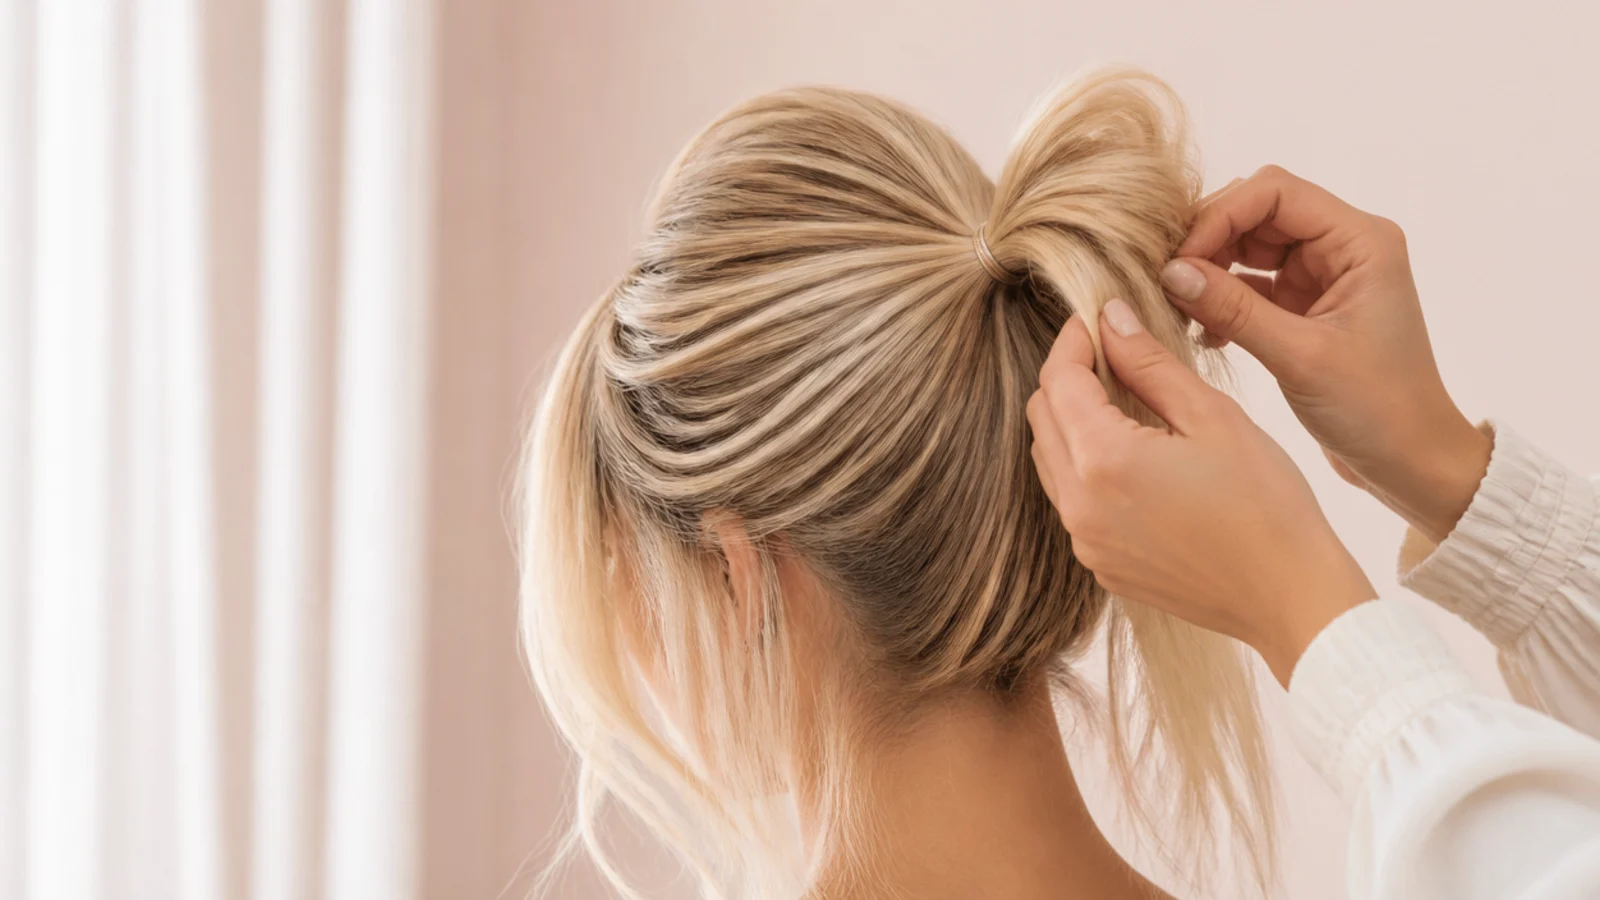
Step 5. Anchor
Set one strong elastic, or cross two pins into an X at the base. Everything that follows pins into that fixed point, and an updo without an anchor is a collection of pins each holding only the hair immediately around it.
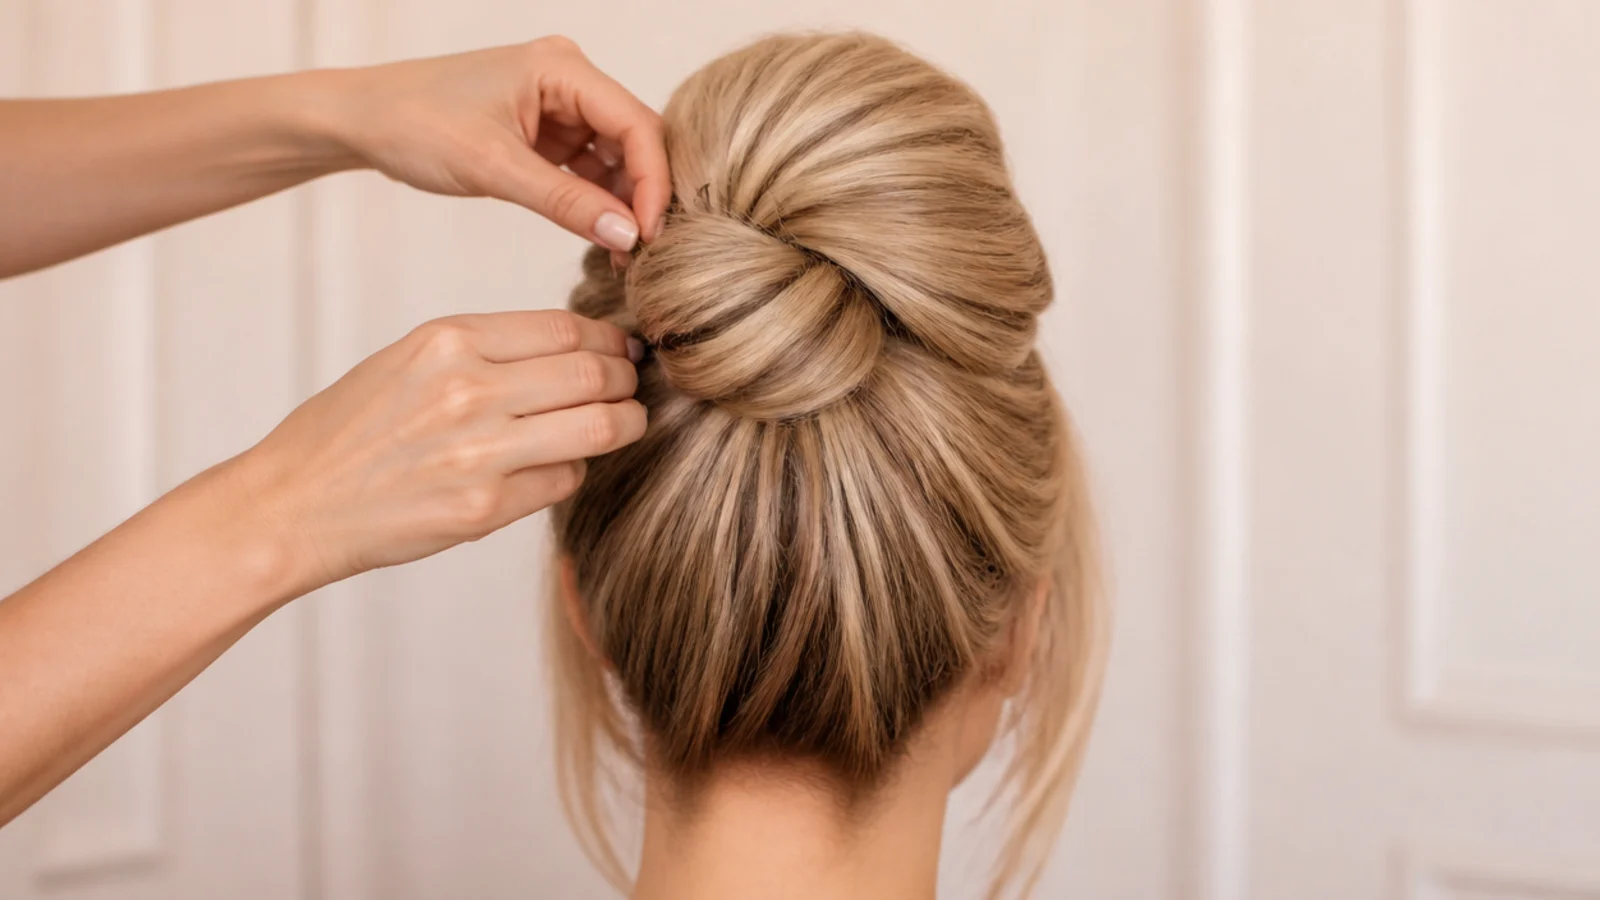
Step 6. Pin
Ridged side against the scalp, open end pointing into the mass. Scoop a small amount of hair, then push the pin in towards the anchor rather than laying it on the surface, because a pin that has not caught anything simply travels back out.
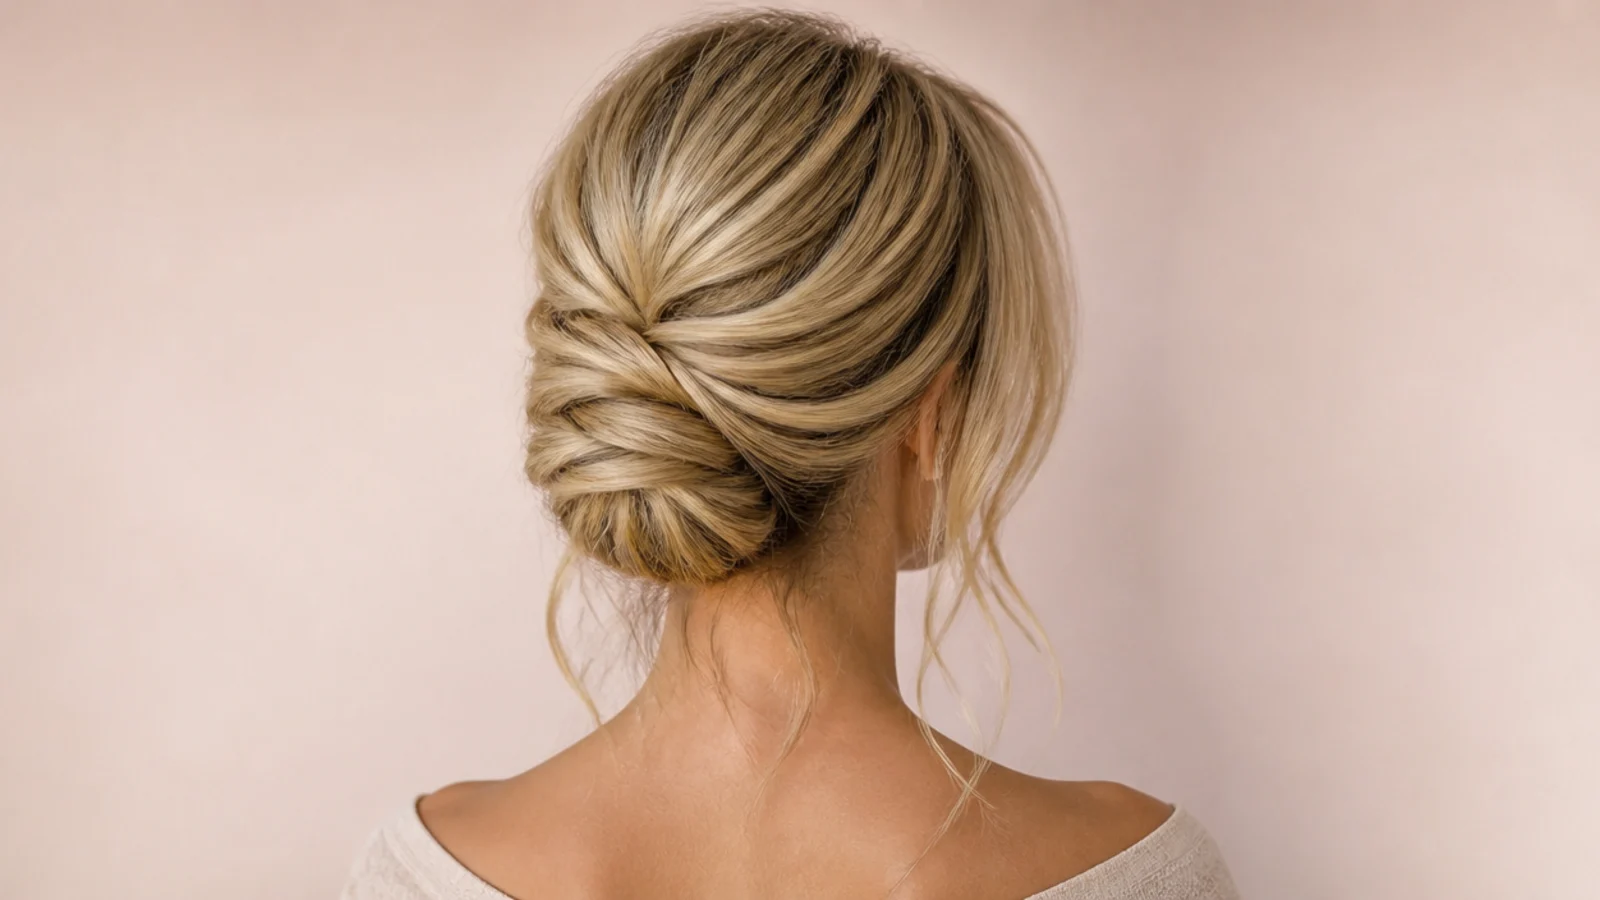
Step 7. Finish
Spray a brush and sweep it over the surface rather than misting the whole head. That puts hold on the flyaways only, so the style stays soft to the touch instead of setting into a shell, then release the fringe last.
Final Thoughts
Anchor first and pin second. Almost every updo that collapses does so because a dozen pins were each holding a small handful of loose hair with nothing fixed to push against, and one elastic or one crossed pair at the base fixes it permanently.
Then put the fringe back. Everything gathered behind it can be plain, and the two soft pieces at the temples are still what carry the look from the front. For an event version that keeps the length visible see the half half down hoco version. More in Celebrity Hair. See also the black version of this look.