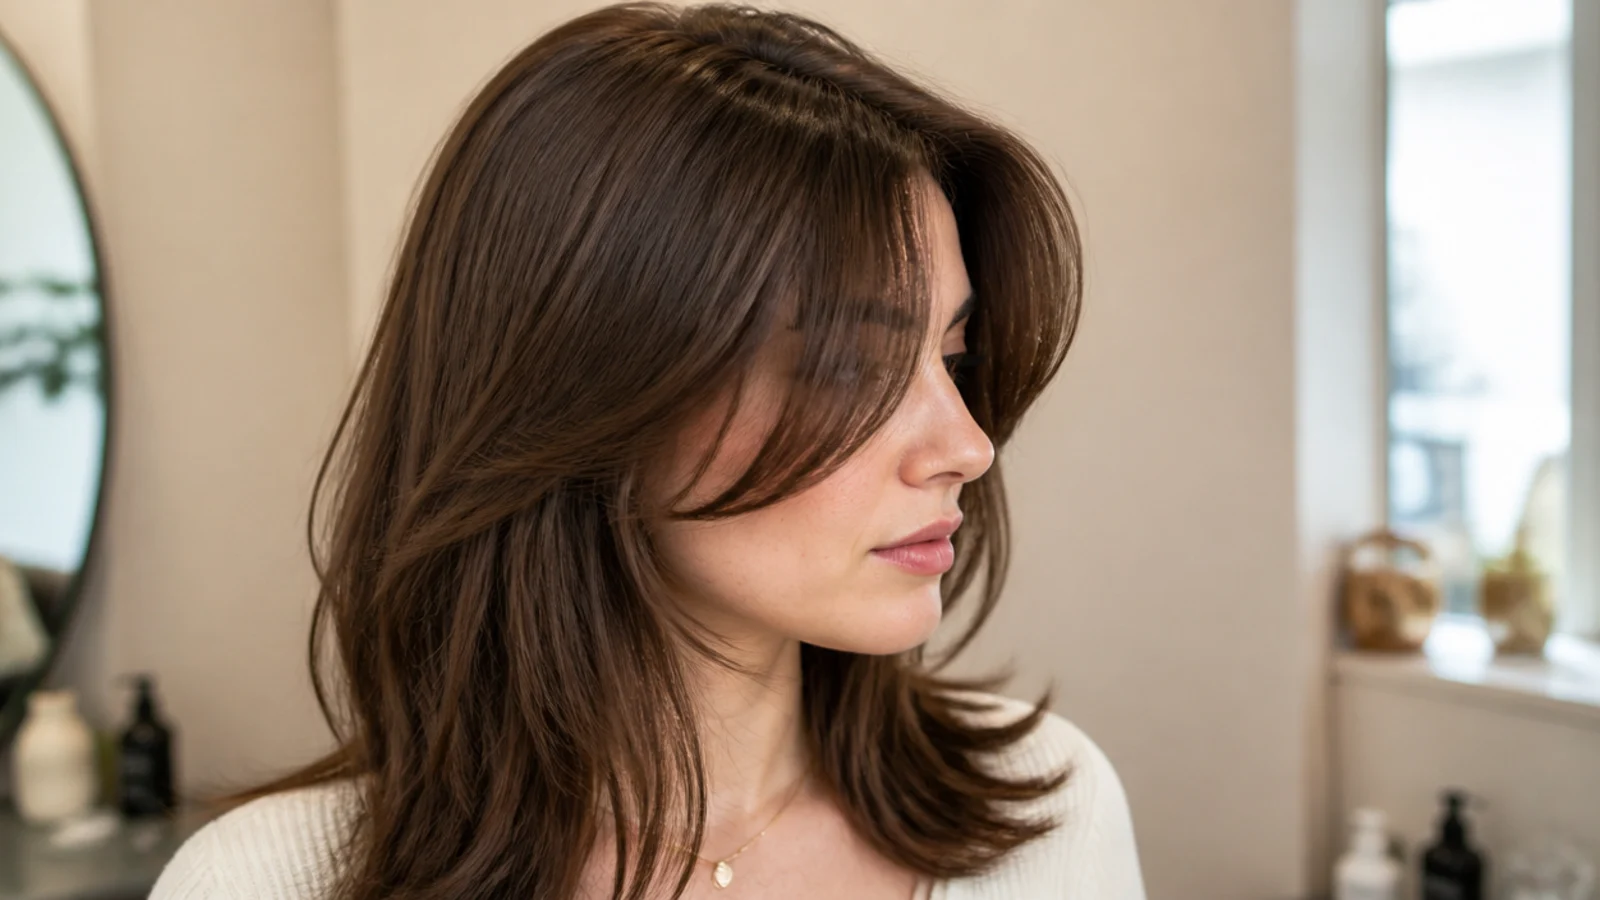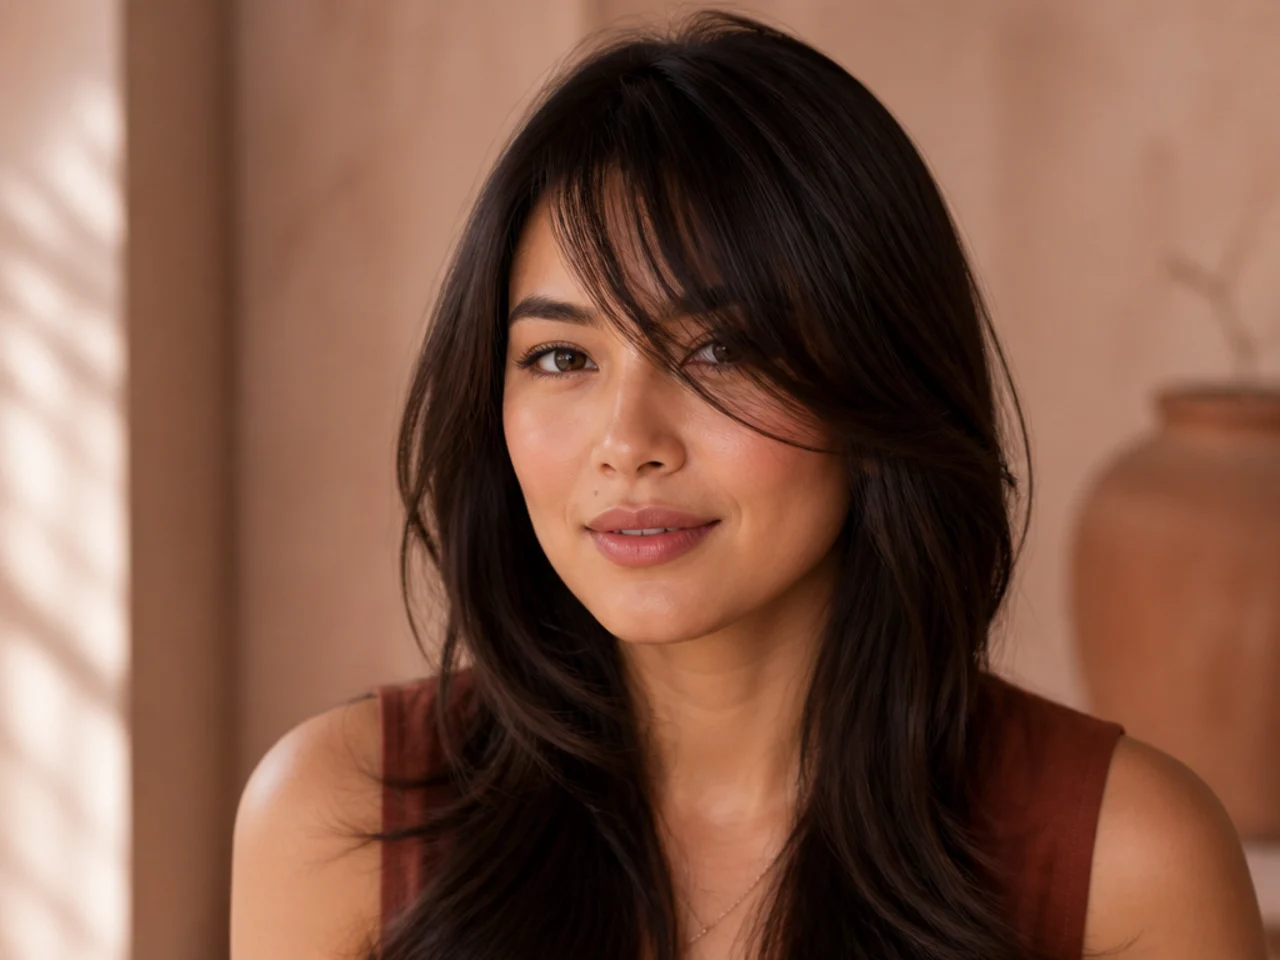
25 Long Layered Cuts With Soft Curtain Bangs
Twenty five long layered cuts with curtain bangs, and the measurement almost nobody asks for. A curtain bang is defined by its shortest point at the inner edge, and on long hair it only reads as a curtain if the interior layers reach up to meet it.
In this article · 32
- Where Curtain Bangs Sit on Long Hair
- Choosing Your Split and Length
- The 25 Long Layered Cuts
- 1. Cheekbone Curtain Bangs
- 2. Nose Length Curtain Bangs
- 3. Chin Length Curtain Bangs
- 4. Lip Length Curtain Bangs
- 5. Bottleneck Curtain Bangs
- 6. Curtain Bangs With a Centre Split
- 7. Curtain Bangs With an Off Centre Split
- 8. Butterfly Layers With Curtain Bangs
- 9. U Shaped Layers With Curtain Bangs
- 10. V Shaped Layers With Curtain Bangs
- 11. Face Framing Layers Only
- 12. Long Shag With Curtain Bangs
- 13. Straight Long Hair With Curtain Bangs
- 14. Wavy Long Hair With Curtain Bangs
- 15. Curly Curtain Bangs
- 16. Coily Curtain Bangs
- 17. Curtain Bangs on Fine Hair
- 18. Curtain Bangs on Thick Hair
- 19. Curtain Bangs Over a Cowlick
- 20. Curtain Bangs With a Money Piece
- 21. Long Layers With a Blunt Perimeter
- 22. Long Layers With a Feathered Perimeter
- 23. Curtain Bangs Swept to One Side
- 24. Old Bangs Cut Into Curtains
- 25. Grown Out Curtain Bangs
- Styling and Upkeep
- Mistakes to Avoid
- FAQ
- Final Thoughts
Curtain bangs go wrong on long hair for one structural reason: the fringe gets cut and the length behind it does not, so it sits on the hair instead of in it.
A curtain bang is defined by its shortest point. The inner edge sets the whole shape, and the length climbs outward from there to meet the face framing.
On long hair the layers have to reach up to it. Without a connecting layer at cheekbone height there is a visible shelf where the fringe stops and the length starts.
Where Curtain Bangs Sit on Long Hair
The split is the design. Curtain bangs part in the middle and sweep outward in two halves. Where that split falls decides how much forehead shows and how open the face reads.
The inner edge is the measurement. Brow to cheekbone for most people. It is the number to give a stylist, because everything else in the fringe is cut relative to it.
The outer edge should meet a layer. It joins the face framing rather than ending in mid air, which is what makes a curtain grow out cleanly instead of leaving a stub.
Curtain bangs and a full fringe are different cuts. A full fringe is one solid weight line across the brow. A curtain is two halves that move apart, which is why one hides the forehead and the other frames it. The distinction is drawn out in french bangs versus curtain bangs.

Choosing Your Split and Length
Choose the split by your cowlick. A cowlick at the front hairline pushes hair one way regardless of where you part it, so set the split just off centre in the direction it already grows.
Choose the inner length by your forehead. A short inner edge at brow height covers more forehead. A cheekbone inner edge opens it and lengthens the face.
Choose by texture shrinkage. Wave shortens a little as it dries, curl by a third or more. Both should be cut dry or cut long deliberately.
Choose by how often you will trim. The inner edge drops half an inch a month. If a salon visit every six weeks is unrealistic, start at cheekbone rather than brow.

The 25 Long Layered Cuts
1. Cheekbone Curtain Bangs
The inner edge finishes at the cheekbone, the highest and widest point of the face. Ending the fringe there pushes the eye outward across the face rather than downward, which is why it suits longer and narrower shapes best.
2. Nose Length Curtain Bangs
The shortest point lands level with the tip of the nose, which is roughly the midpoint of the face. It is the most forgiving version, because the fringe is long enough to tuck behind an ear on a bad day and short enough to still read as a curtain.
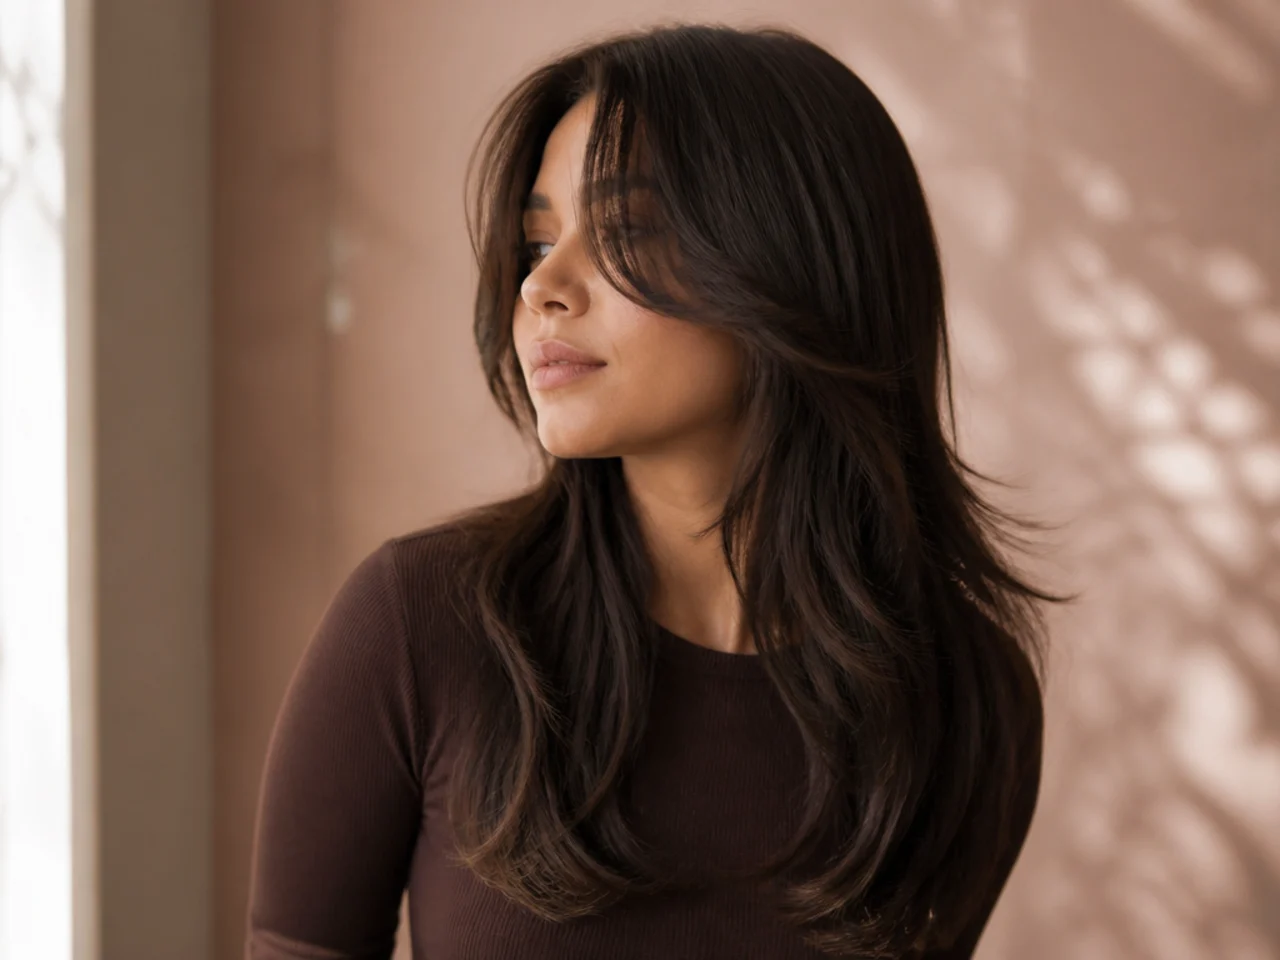
3. Chin Length Curtain Bangs
A long curtain that barely separates from the face framing. There is very little visible step, so the shape stays soft, and it is the version that grows out with nothing to correct at any stage.

4. Lip Length Curtain Bangs
The inner edge sits between chin and nose, which puts the shortest point right beside the mouth. That places the widest part of the fringe at the jaw, so it narrows a wider lower face rather than framing the eyes.

5. Bottleneck Curtain Bangs
Shorter and rounded in the centre, then dropping steeply at the sides, so the outline narrows like a bottle neck. The steep drop is what gives it more shape than a standard curtain, and it needs a heavier fringe section to hold that curve.

6. Curtain Bangs With a Centre Split
The two halves fall evenly from a middle parting, which draws a symmetrical frame around the face. It only holds on a hairline with no strong growth direction, since any cowlick will pull one half across the split within an hour.

7. Curtain Bangs With an Off Centre Split
Moving the split an inch to one side makes one half heavier than the other. The heavier side has more weight to hold its sweep, so it stays in place through the day where a symmetrical split slips.

8. Butterfly Layers With Curtain Bangs
Two layer lengths that read as one: a short set around the face and a much longer set through the back, with nothing in between. The gap is deliberate, and it is what gives the front the illusion of a shorter cut while the length stays untouched.

9. U Shaped Layers With Curtain Bangs
The perimeter is cut into a shallow curve so the back sits slightly longer than the sides. The curve keeps weight at the centre back, which stops long layers from separating into two panels either side of the shoulders.

10. V Shaped Layers With Curtain Bangs
The perimeter comes to a point at the centre back. It removes weight from the outer edges, which makes thick hair look narrower, and it also makes any unevenness in the ends far more visible than a U would.
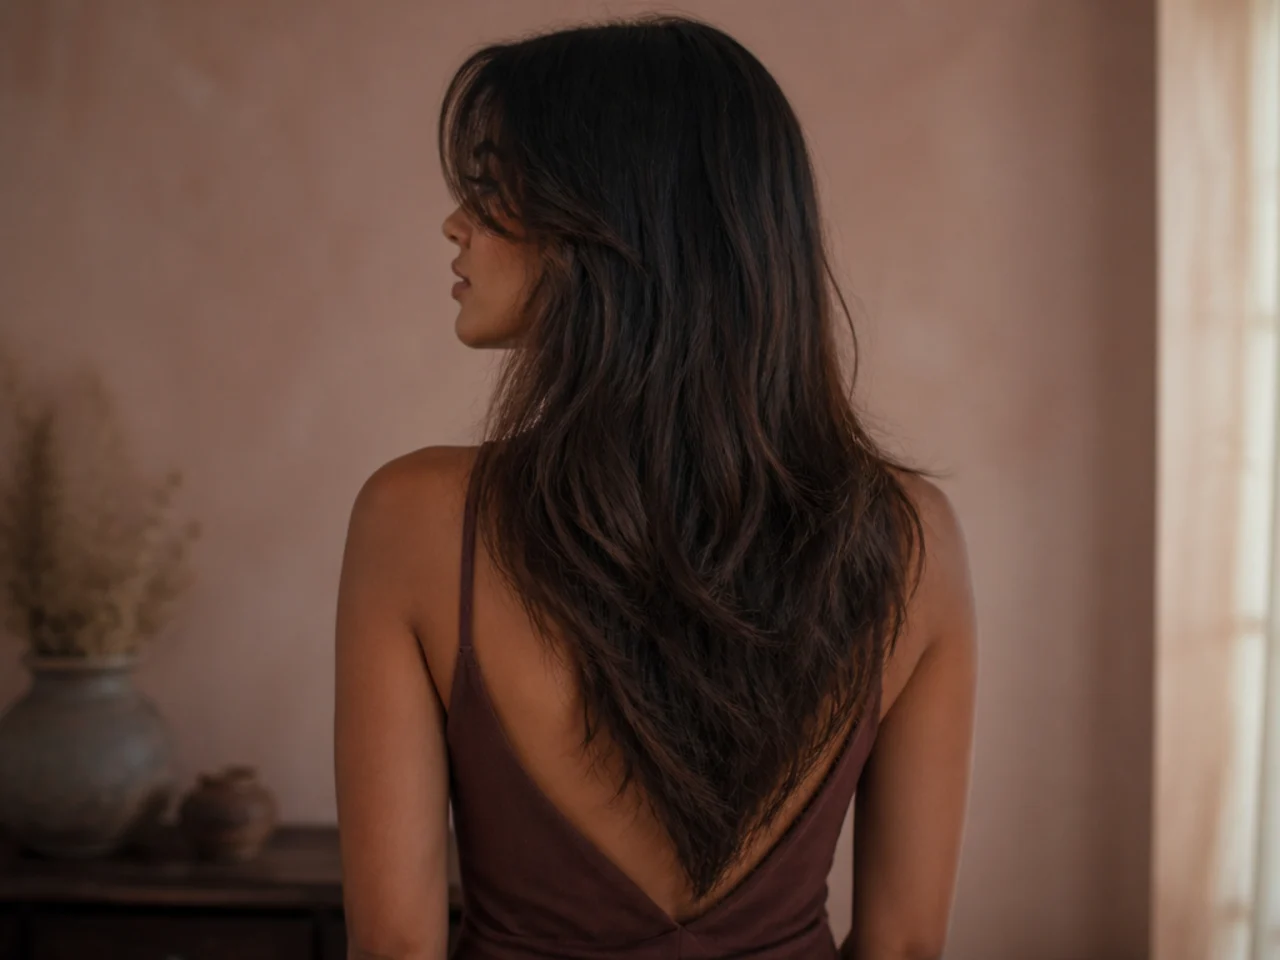
11. Face Framing Layers Only
No interior layering at all, just the fringe and the pieces immediately behind it. Fine or thinning hair keeps its full density this way, since interior layers on a sparse head remove exactly the weight that was holding the outline together.

12. Long Shag With Curtain Bangs
Stacked layers through the crown with the fringe cut as part of the same line. The shag layers already climb toward the face, so the curtain has somewhere to connect and the usual shelf never forms. The longer version is covered in long wolf cut hair.

13. Straight Long Hair With Curtain Bangs
Straight hair shows every line in the fringe, so the inner to outer climb has to be graded rather than stepped. It also means the split holds precisely, which is why straight hair suits the shortest inner edges best.

14. Wavy Long Hair With Curtain Bangs
A wave in the fringe bends outward on its own, which does half the sweeping for you. Cut it about half an inch longer than looks right when wet, because the bend lifts the ends as it dries.

15. Curly Curtain Bangs
Cut dry, curl by curl, in the clump each one forms naturally. A curl loses a third to a half of its stretched length as it dries, so a fringe cut wet to the cheekbone lands somewhere near the eyebrow.

16. Coily Curtain Bangs
Tight coils shrink furthest of any texture, so the fringe is cut long and released in stages while the stylist watches where it settles. Cutting to a target length in one pass on coily hair is guesswork, because the shrinkage varies across the hairline.
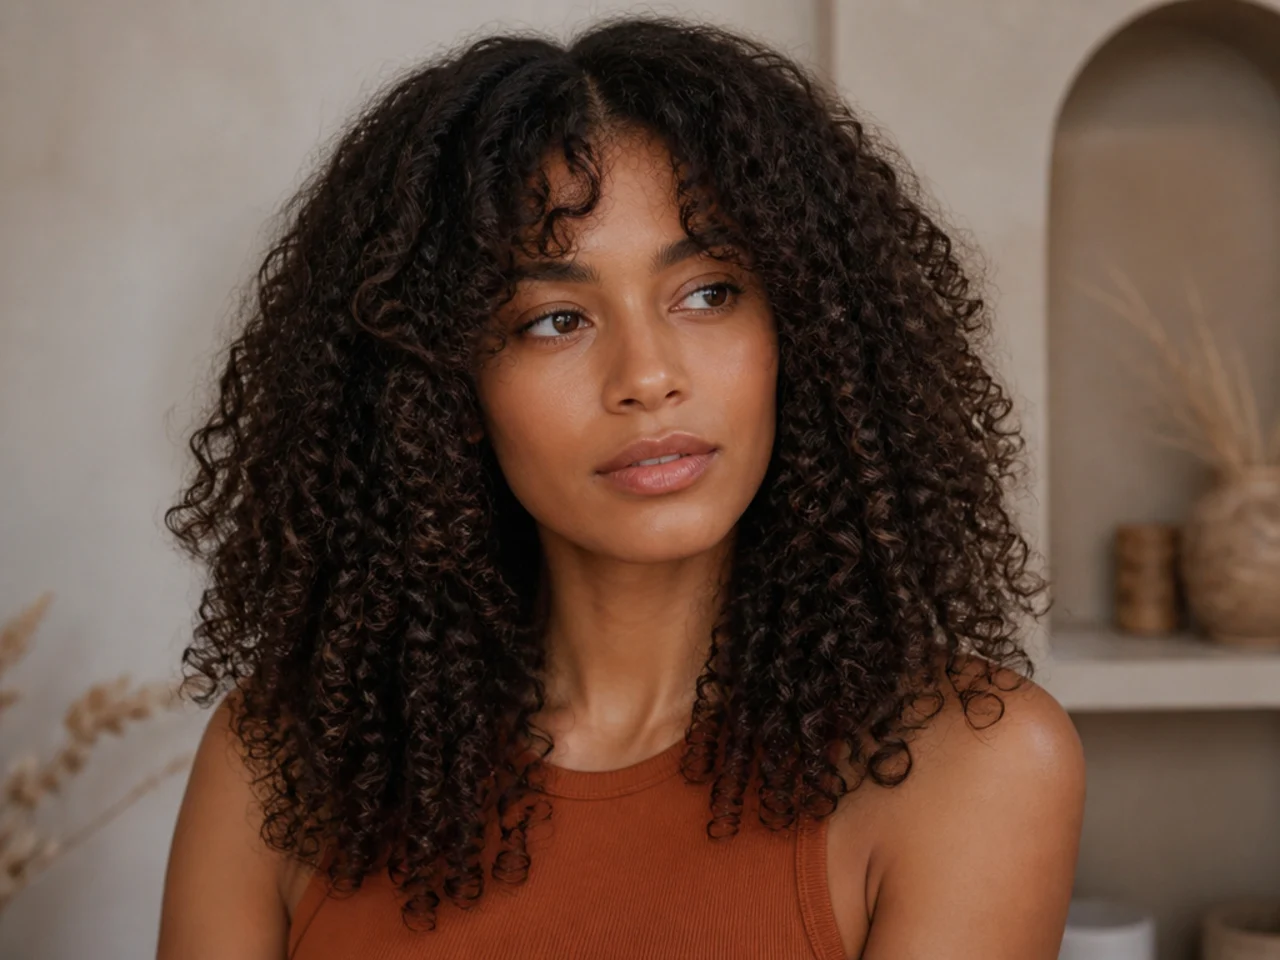
17. Curtain Bangs on Fine Hair
Take the fringe section shallow, from the front hairline back no more than an inch. A deep section on fine hair leaves the crown behind it visibly thinner, and the fringe itself ends up too sparse to hold a split.
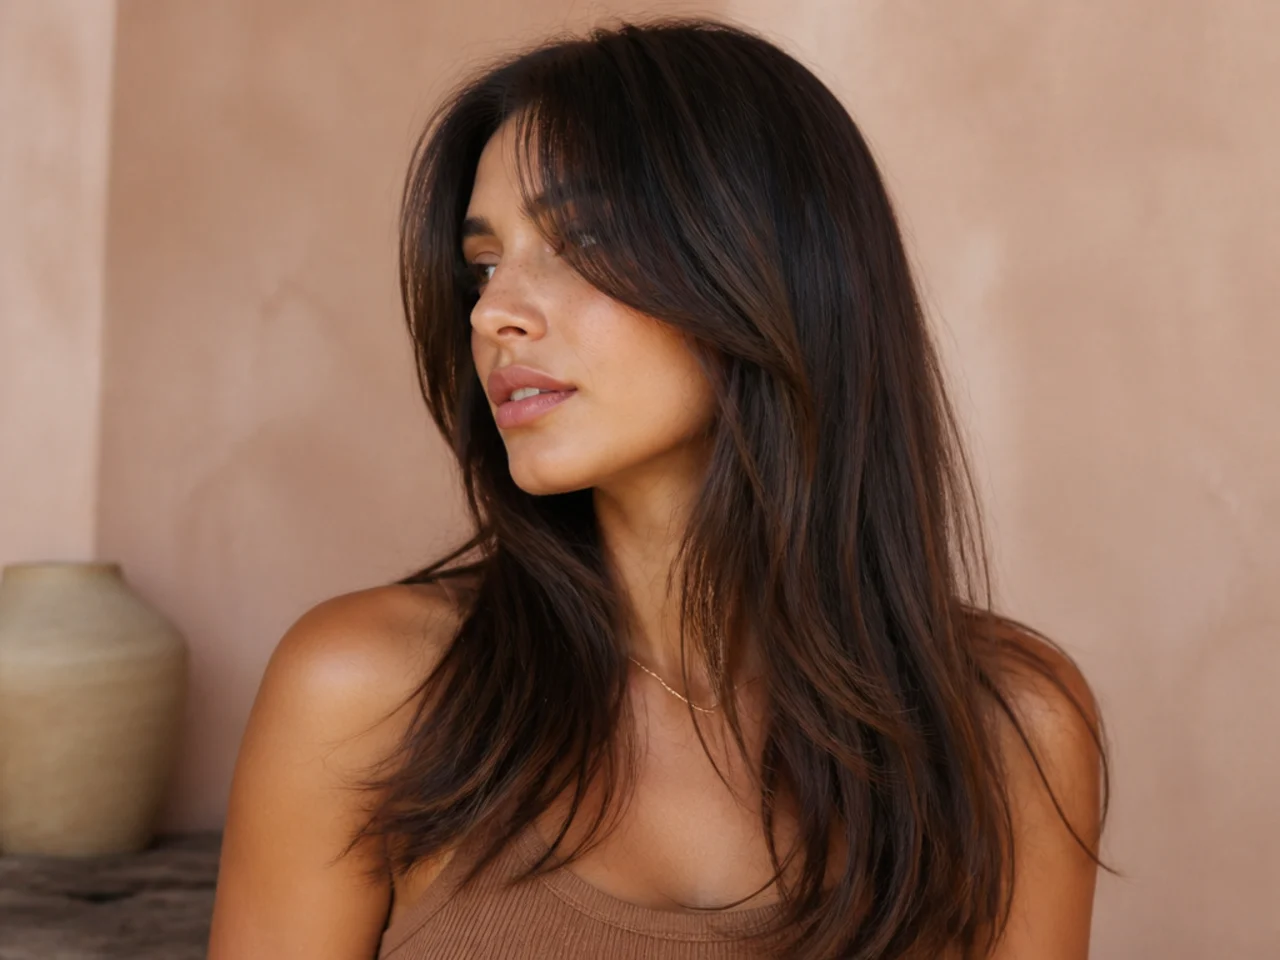
18. Curtain Bangs on Thick Hair
The section is taken deeper and then thinned from underneath rather than at the ends. Removing weight under the fringe lets it lie against the forehead; removing it from the ends makes the same hair flick away from the face.

19. Curtain Bangs Over a Cowlick
The split is placed where the cowlick already sends the hair, and the fringe is cut longer on that side to give the lift somewhere to go. Fighting a cowlick with a shorter cut makes it stand up more, because there is less weight holding it down.

20. Curtain Bangs With a Money Piece
The two fringe halves lightened a shade or two above the base. Lighter hair reflects more light, so the fringe reads forward of the length behind it and the split looks deliberate even on a day it has not been styled.
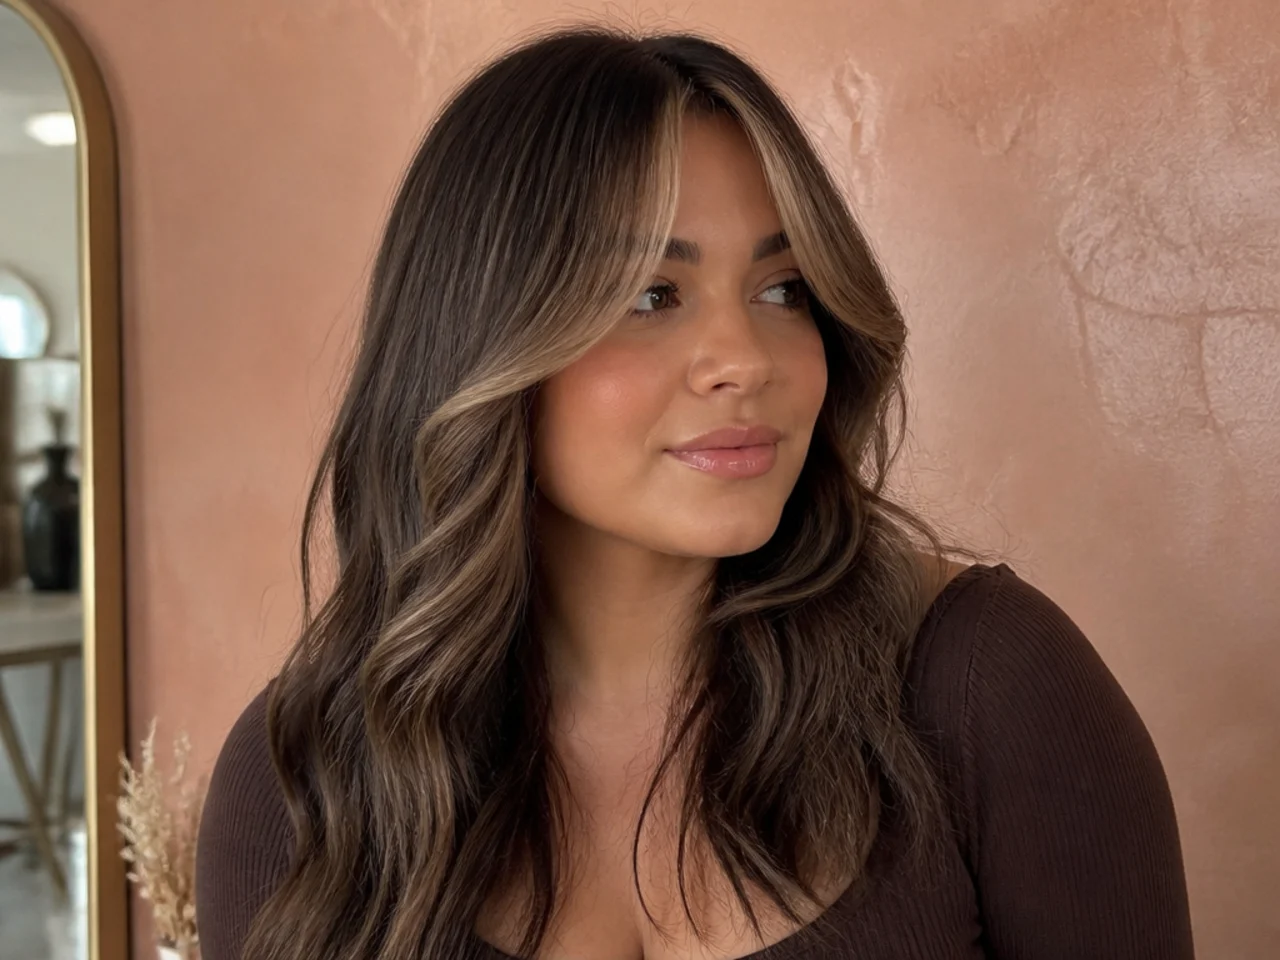
21. Long Layers With a Blunt Perimeter
Layered through the interior but left as one solid line at the bottom. That line is what keeps long hair from tapering to a wispy point, and it also makes the layers above it look denser by comparison.

22. Long Layers With a Feathered Perimeter
The ends point cut so no single line reads across the bottom. Thick hair loses its heavy block outline this way, though the same technique on fine hair removes the density that was holding the shape.
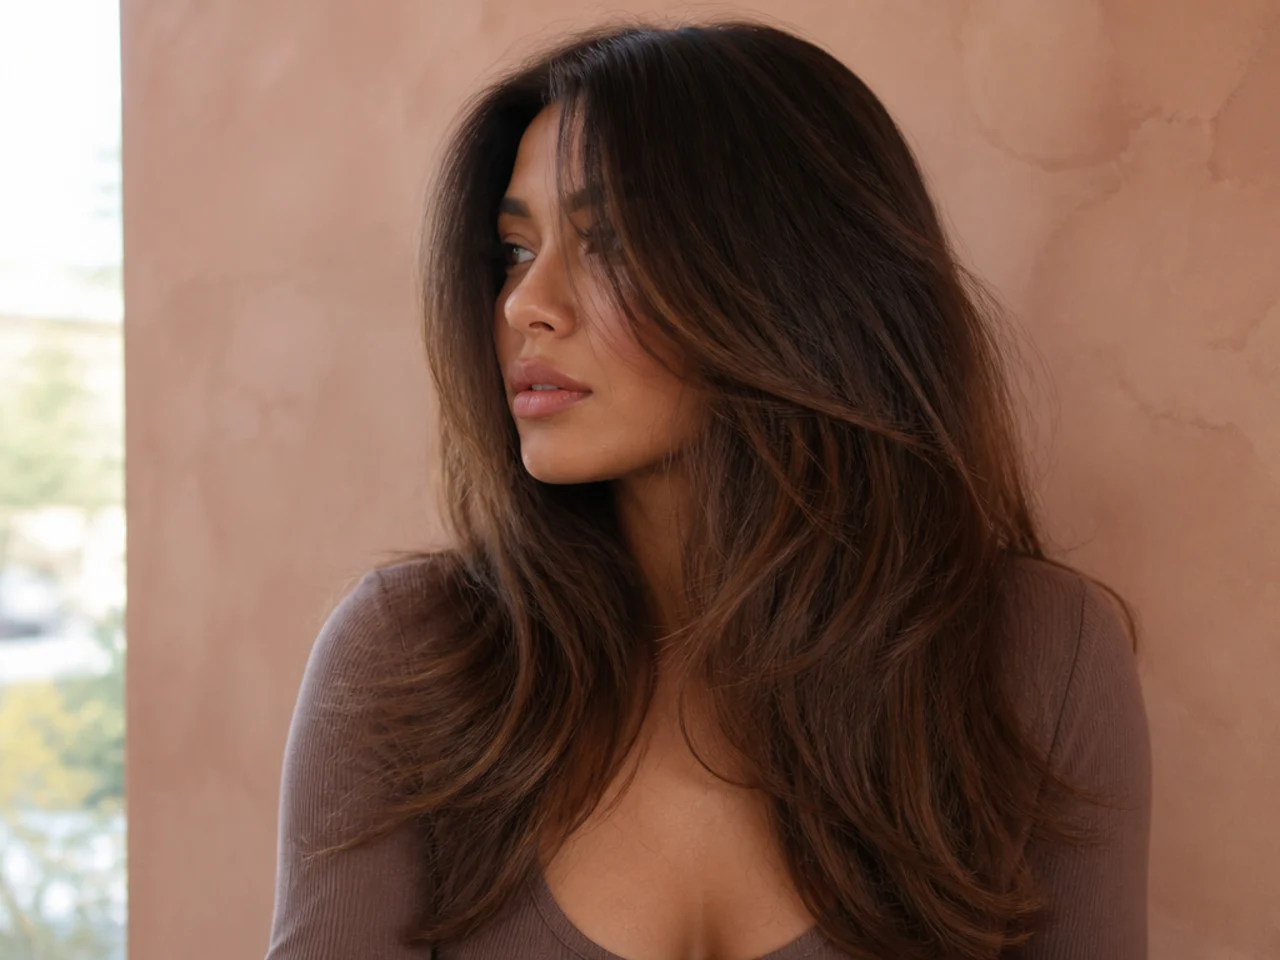
23. Curtain Bangs Swept to One Side
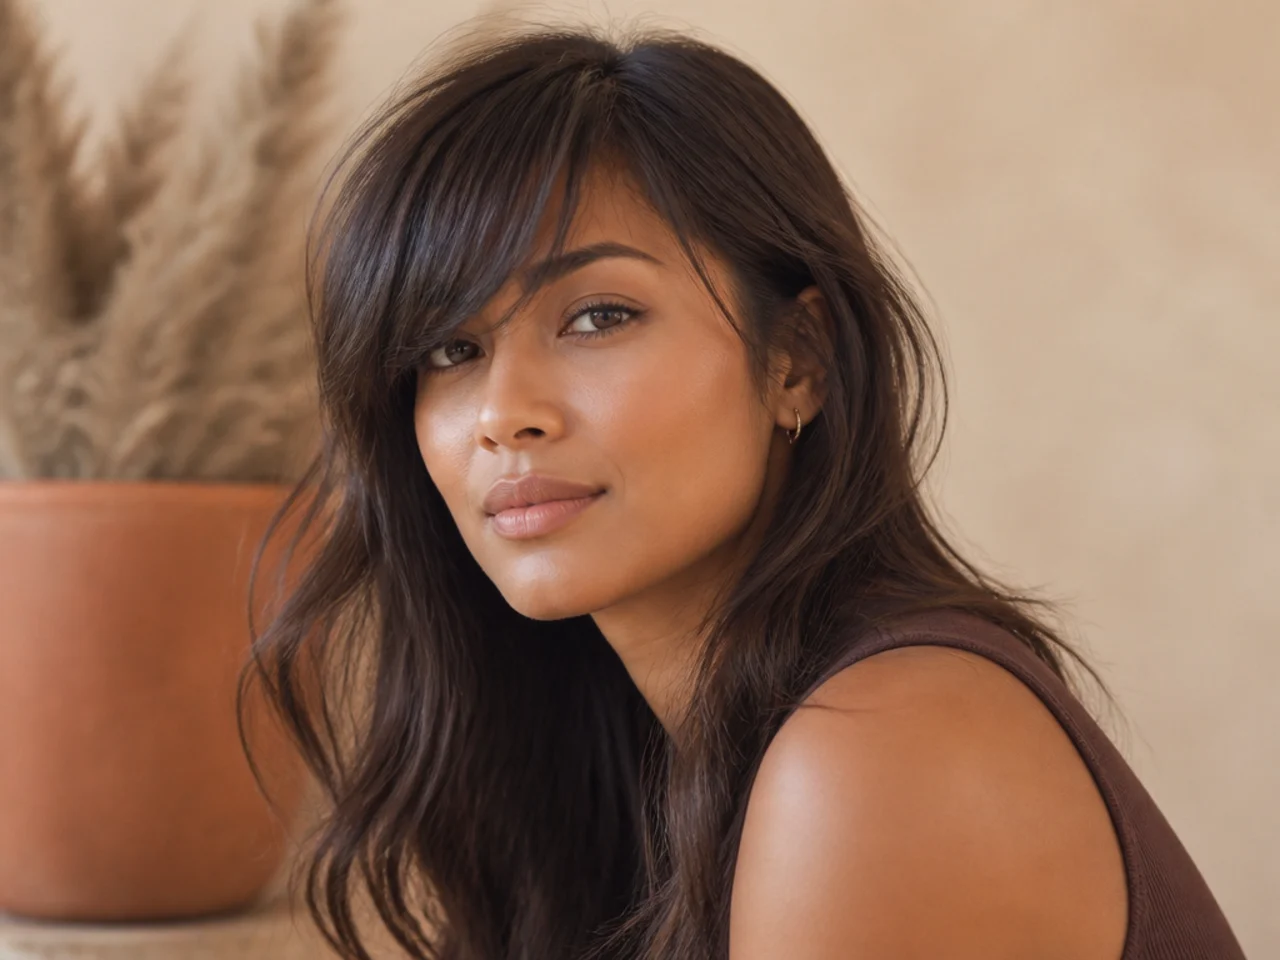
Both halves styled in one direction so the fringe crosses the forehead rather than parting over it. Directing it while damp sets the root the same way, which is the only thing that keeps it from falling back to the split by midday. Longer versions in long side swept bangs.
24. Old Bangs Cut Into Curtains
A blunt fringe grown to cheekbone length can be split and graded outward in one appointment. The existing weight line becomes the new inner edge, so nothing needs to grow further before the shape works.

25. Grown Out Curtain Bangs
At three months the inner edge has dropped roughly an inch and a half and the fringe now reads as face framing. That is a usable stage rather than a failure, and the shape can be held there indefinitely with a trim only at the perimeter.

Styling and Upkeep
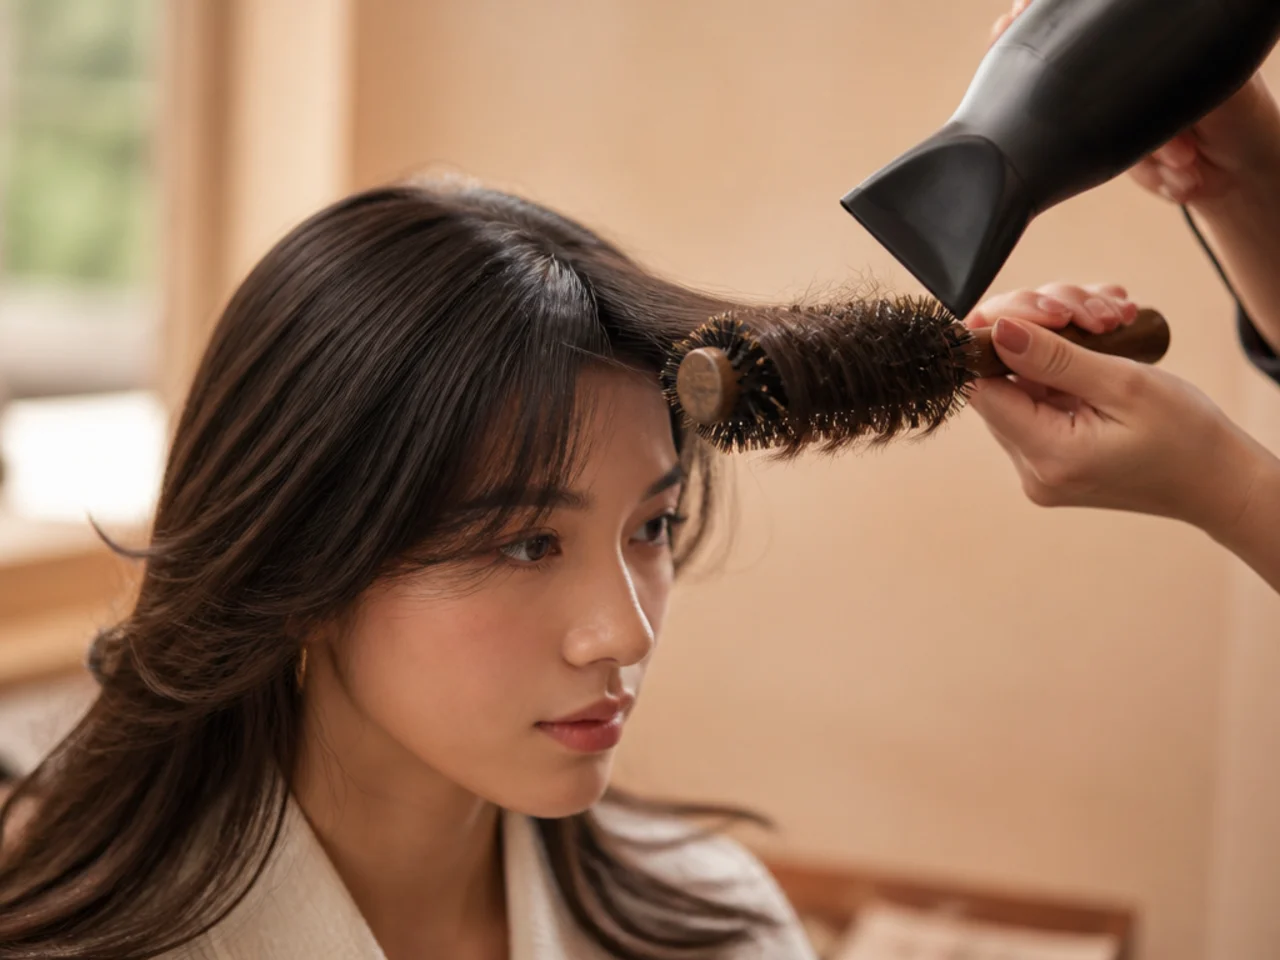
Dry the fringe first, while it is wettest. Root direction sets in the first minute of drying. Once the roots dry in the wrong direction, nothing later in the routine corrects them.
Point the airflow across the split, not down it. Drying downward flattens both halves onto the forehead. Drying outward from the centre builds the sweep the cut is designed around.
Use a round brush at the root only. The bend belongs at the top of the fringe. Taken to the ends it curls them under toward the face.
Trim the fringe alone every six to eight weeks. The inner edge drops half an inch a month and takes the shape with it. The length behind it does not need touching.
Wash the fringe more often than the length. It sits on skin all day and goes limp faster than the rest, and a limp fringe loses the split before it loses its shape.
Mistakes to Avoid
Cutting the fringe without touching the layers. With no layer reaching up behind it, the bang sits on the length as a visible shelf instead of joining it.
Cutting curl or wave wet. Both shorten as they dry. A cheekbone target cut wet on curly hair lands at the eyebrow.
Taking the fringe section too deep on fine hair. It thins the crown behind the fringe and leaves the fringe itself too sparse to hold a split.
Splitting against a cowlick. The hair returns to its growth direction within the hour, and the shorter you cut it, the harder it stands up.
Waiting for a full haircut to trim it. Twelve weeks of growth turns a curtain into face framing. A ten minute fringe trim is a different appointment.

FAQ
How short at the centre? Brow to cheekbone, and that number sets the whole fringe.
Do the layers matter? Yes. Without one reaching up behind it the fringe sits on a shelf.
How often trimmed? Every six to eight weeks, fringe only.

Final Thoughts
Give a stylist two numbers rather than a photograph: where the inner edge finishes, and where the shortest connecting layer sits behind it. A curtain that has somewhere to join grows out into face framing on its own, which is why the cut has a reputation for being easy to live with.
For more of the same shape see curtain bangs for long hair, and for the softer cut alternative long french bangs. More in Bangs and Fringe.