20 Curly Hair Men Ideas With a Fade
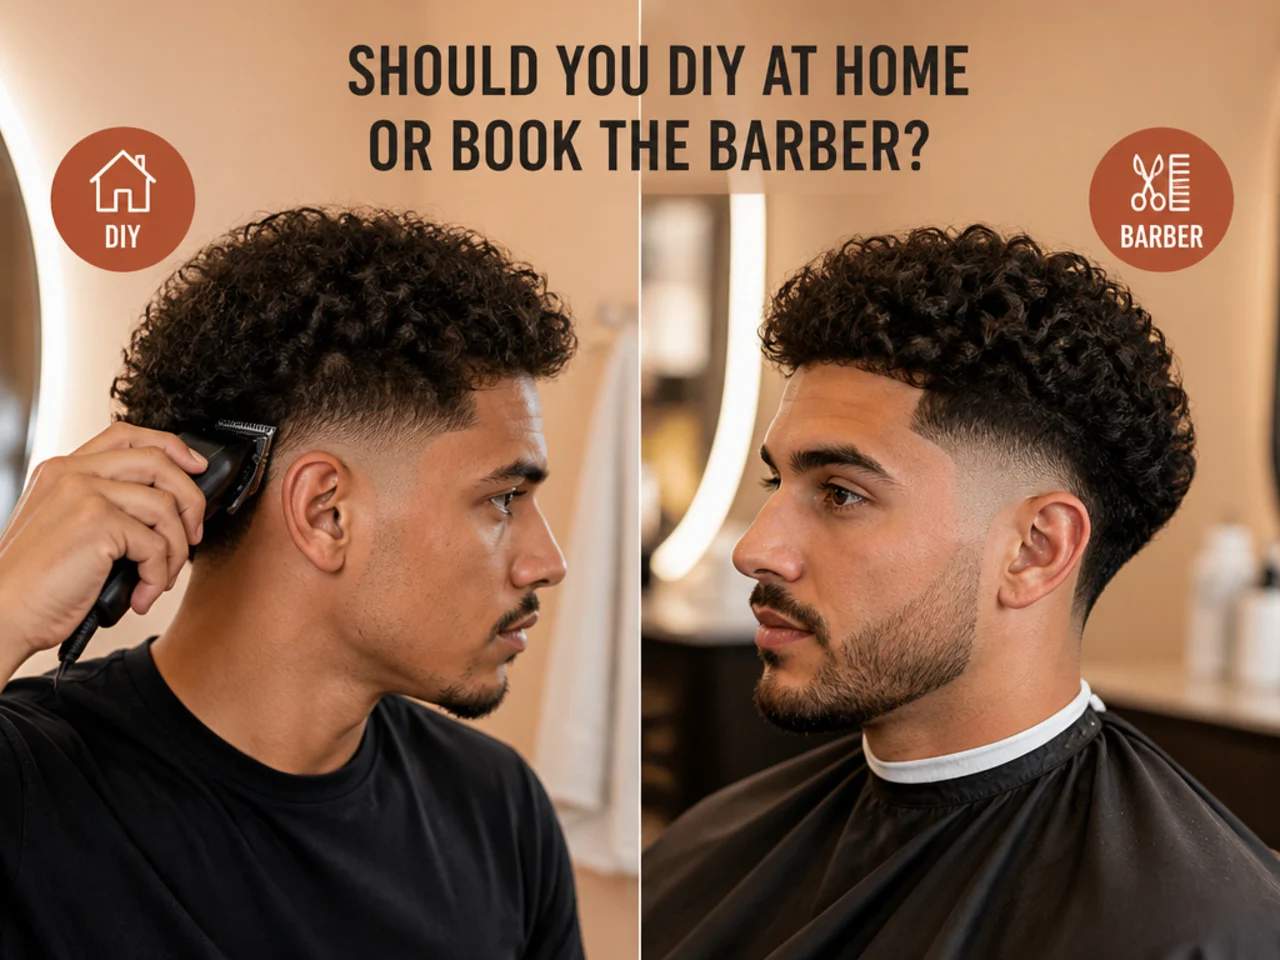
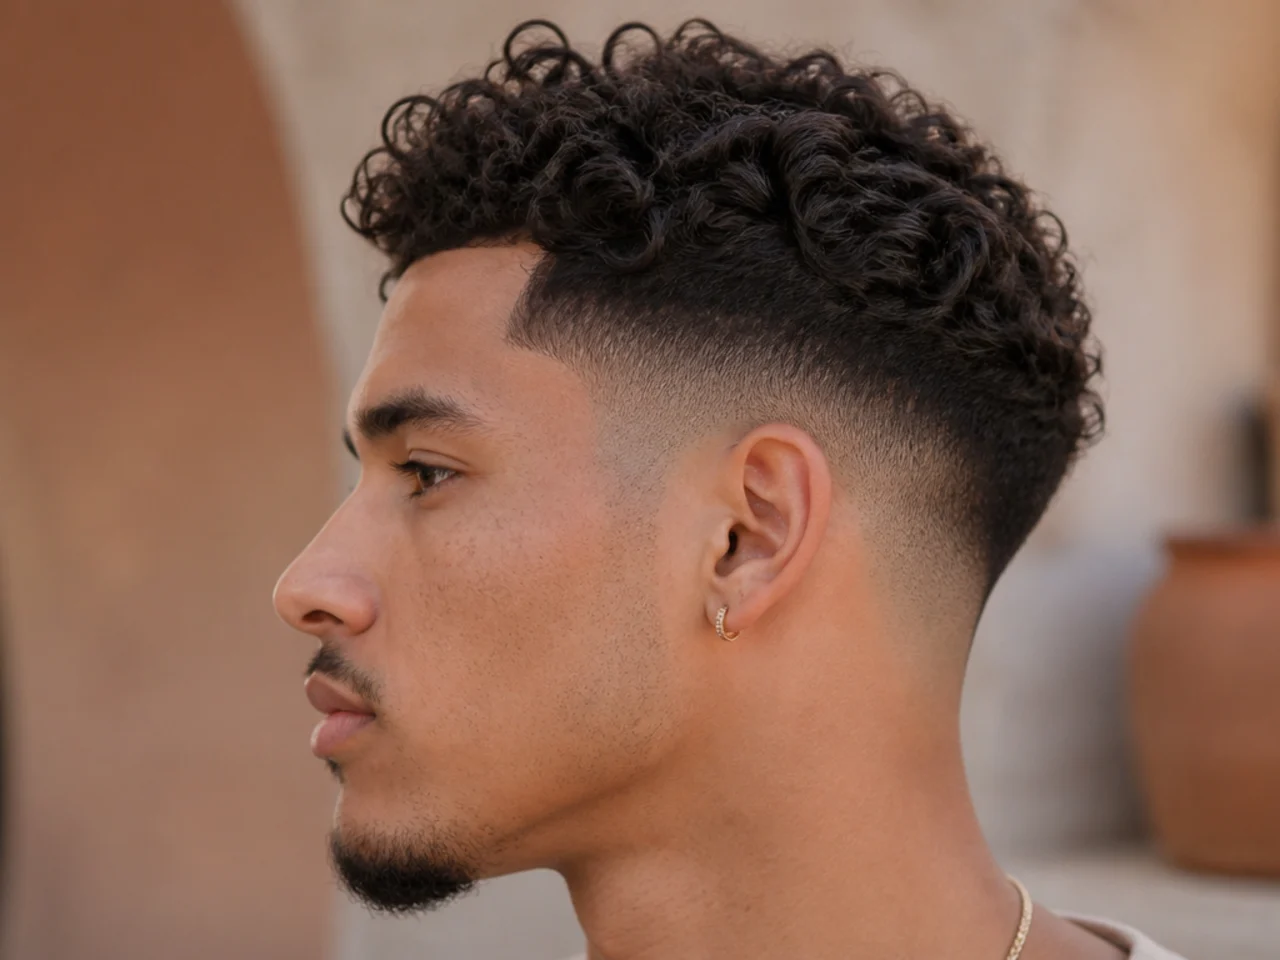
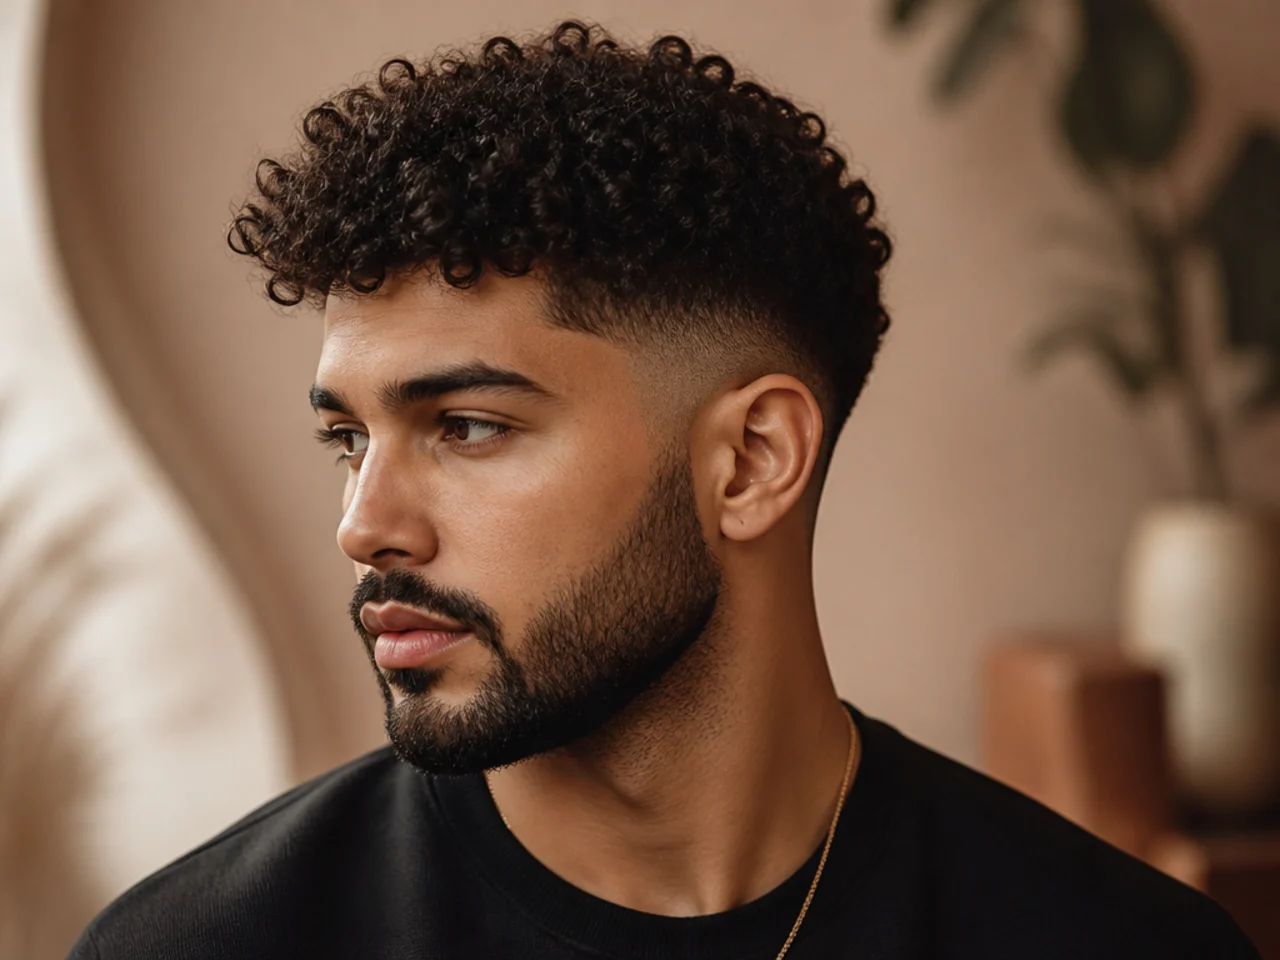
A fade is measured in millimetres and curl is measured in centimetres, so the only line that really decides the haircut is the top edge where one becomes the other. Everything below it is a gradient nobody looks at twice.
In this article · 27
- The Only Line That Matters Is the Top of the Fade
- How to Choose Yours
- The 20 Curly Fade Ideas
- 1. Low Fade With a Blurred Transition
- 2. Low Fade With a Deliberate Weight Line
- 3. Mid Fade Under Curl Volume
- 4. High Fade With a Curly Crown
- 5. Skin Fade Against Full Curl
- 6. The Taper Fade
- 7. The Burst Fade
- 8. The Drop Fade
- 9. Fade With a Hard Part
- 10. Fade With the Fringe Left Forward
- 11. Fade With a Curly Quiff
- 12. Fade With a Curly Pompadour
- 13. Temple Fade Only
- 14. Fade Connected Into a Beard
- 15. Fade on Loose Waves
- 16. Fade on Springy Mid Curl
- 17. Fade on Tight Coils
- 18. Fade With a Line-Up
- 19. Week Two Against Week Four
- 20. The Scissor-Blended Top Edge
- Styling and Upkeep
- Mistakes to Avoid
- FAQ
- Final Thoughts
Everyone books a fade by its height and then judges it by something else entirely.
The decision that matters is the top edge. That is where three millimetres of clipper work meets several centimetres of curl, and it is the only part of the cut anyone actually reads.
Curl and clipper are different units. A gradient measured in millimetres cannot blend smoothly into a spiral measured in centimetres unless somebody deliberately softens the join.
The Only Line That Matters Is the Top of the Fade
Guards are fixed reference points. A #1 is 3mm, a #2 is 6mm, a #3 is 10mm and a #4 is 13mm, and a fade is just the range it travels.
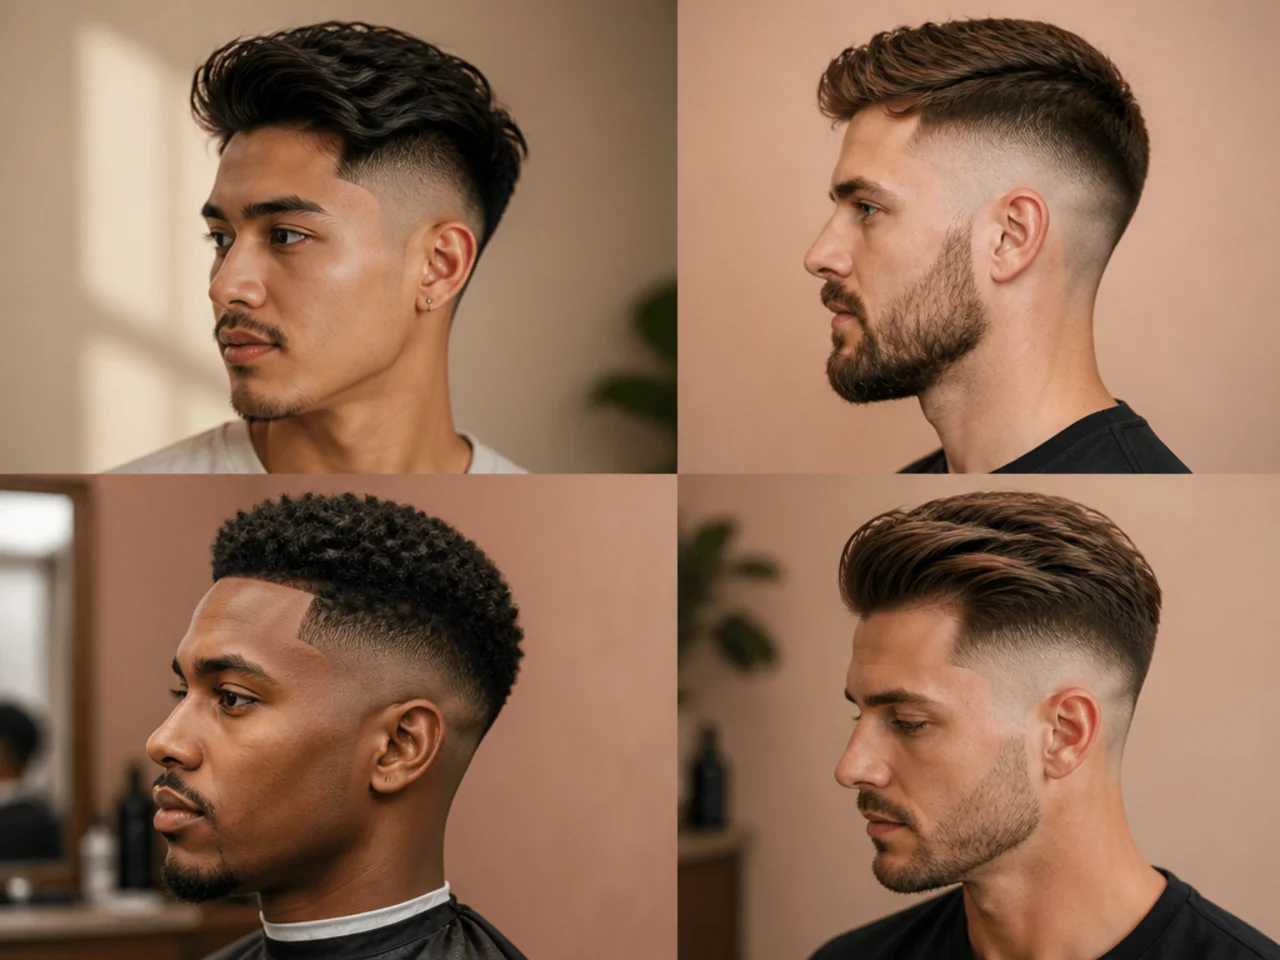
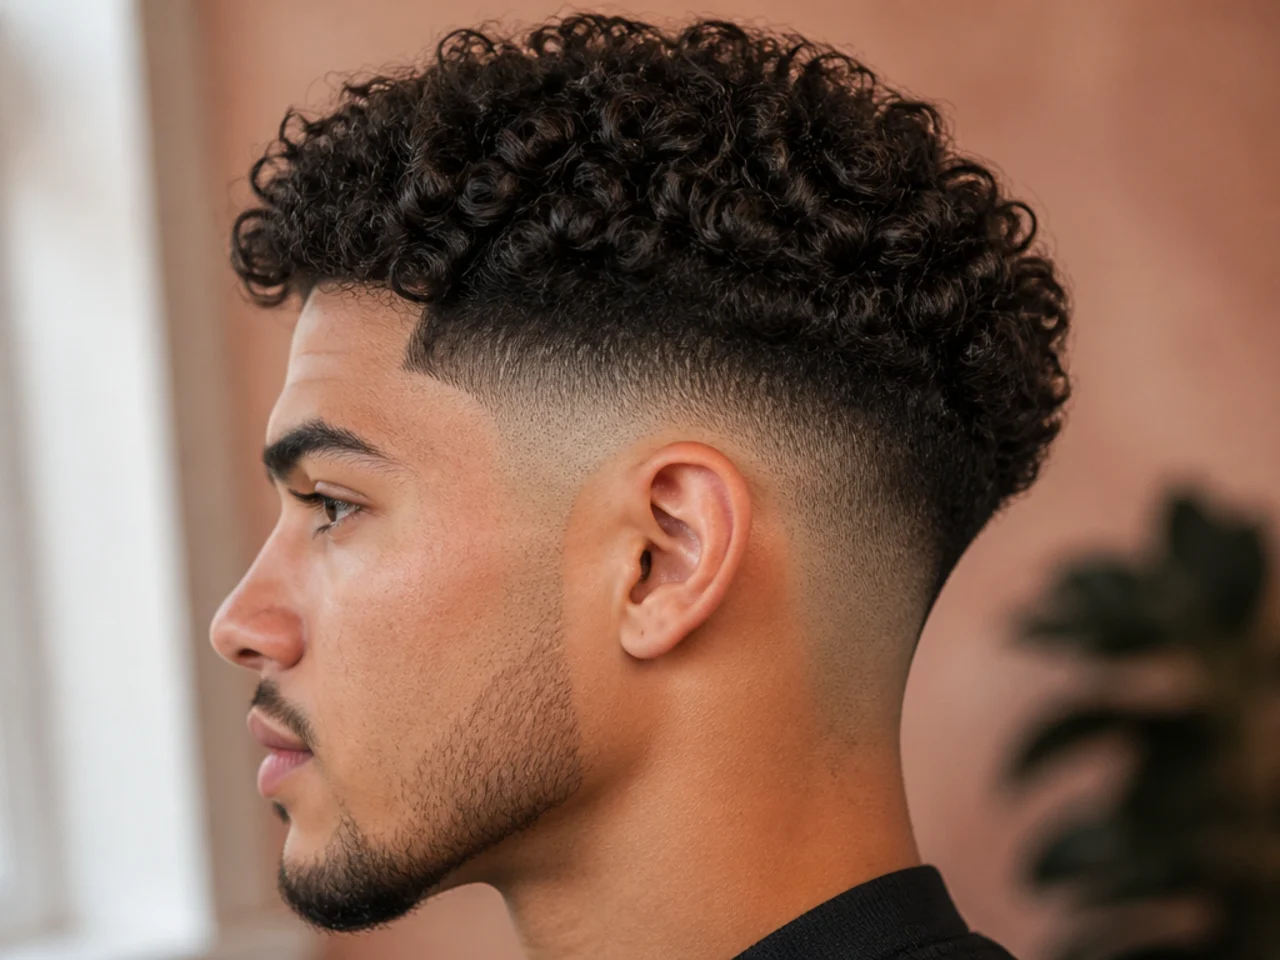
Height sets the proportion. The two landmarks are the temple and the parietal ridge: at or below the temple is low, between the two is mid, at or above the ridge is high. The ridge is the widest point of the skull, so any line drawn above it strips width off the head where it is broadest and stretches the whole silhouette vertically — which is why the same fade flatters a round face and lengthens an already long one further. Worth reading against what your face shape actually wants before you pick a number.
The top edge is where it goes wrong. Finished with a clipper it reads as a shelf, and blended with scissors it reads as one continuous shape.
Shrinkage moves the join. Curl draws up around a third as it dries, so a transition set on wet hair ends up lower than intended.
How to Choose Yours
Pick the height for your head, not the trend. Curl already adds width on top, so a high fade can leave the skull looking narrow underneath it.
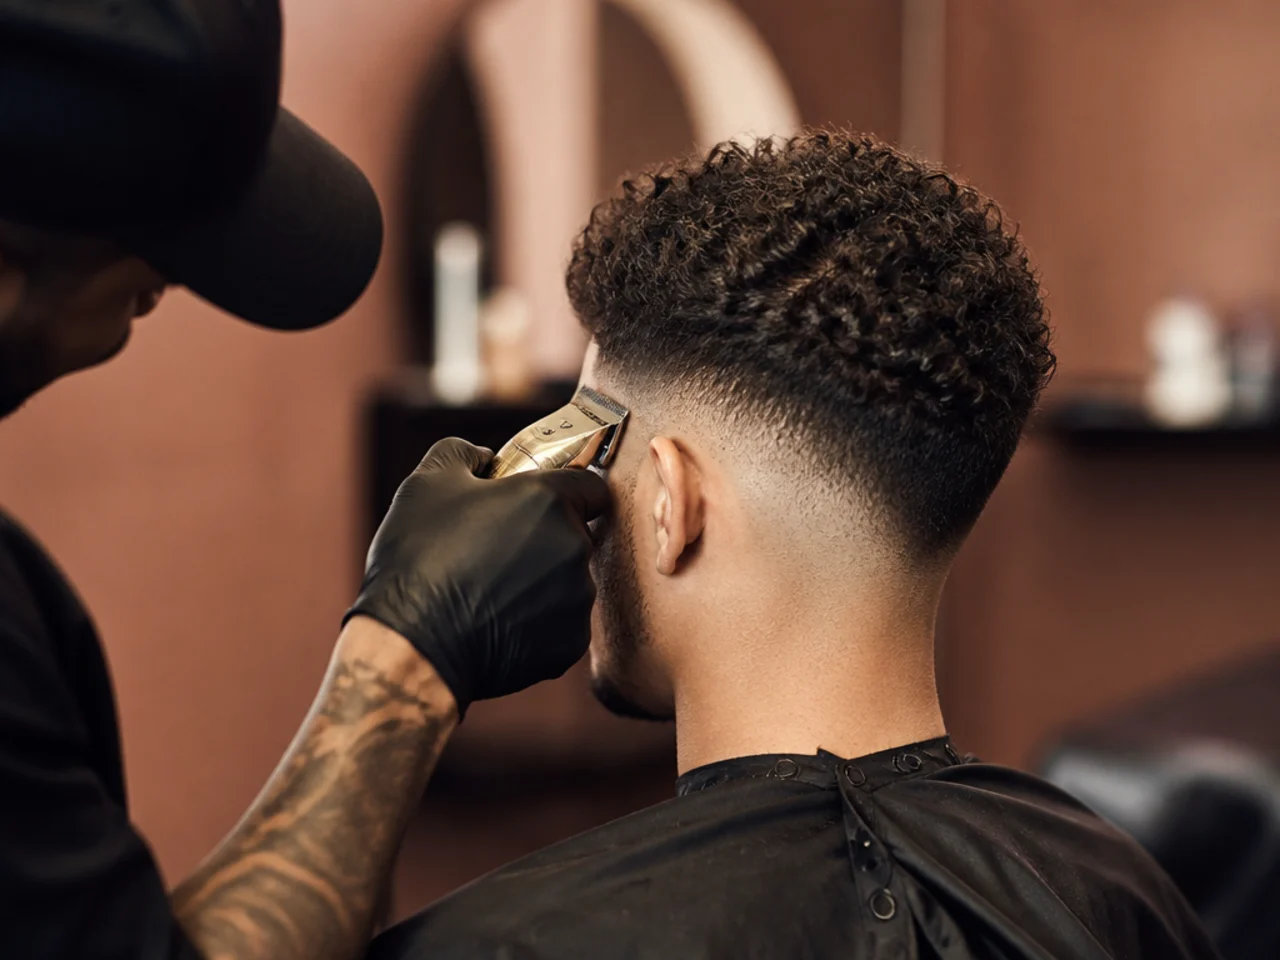
Ask for the top edge to be scissor-blended. It is one sentence and it is the difference between a shelf and a gradient.
Decide skin or guard. Skin blurs in one to two weeks and a fade bottoming out at a #1 holds three to four.
Have the top cut dry, after the fade. The join can only be placed correctly once the curl is sitting where it will sit.
The 20 Curly Fade Ideas
1. Low Fade With a Blurred Transition
The gradient kept below the temple and the top edge softened with scissors. It is the most forgiving version here because the curl has plenty of length to fall over the join and hide it entirely.
2. Low Fade With a Deliberate Weight Line
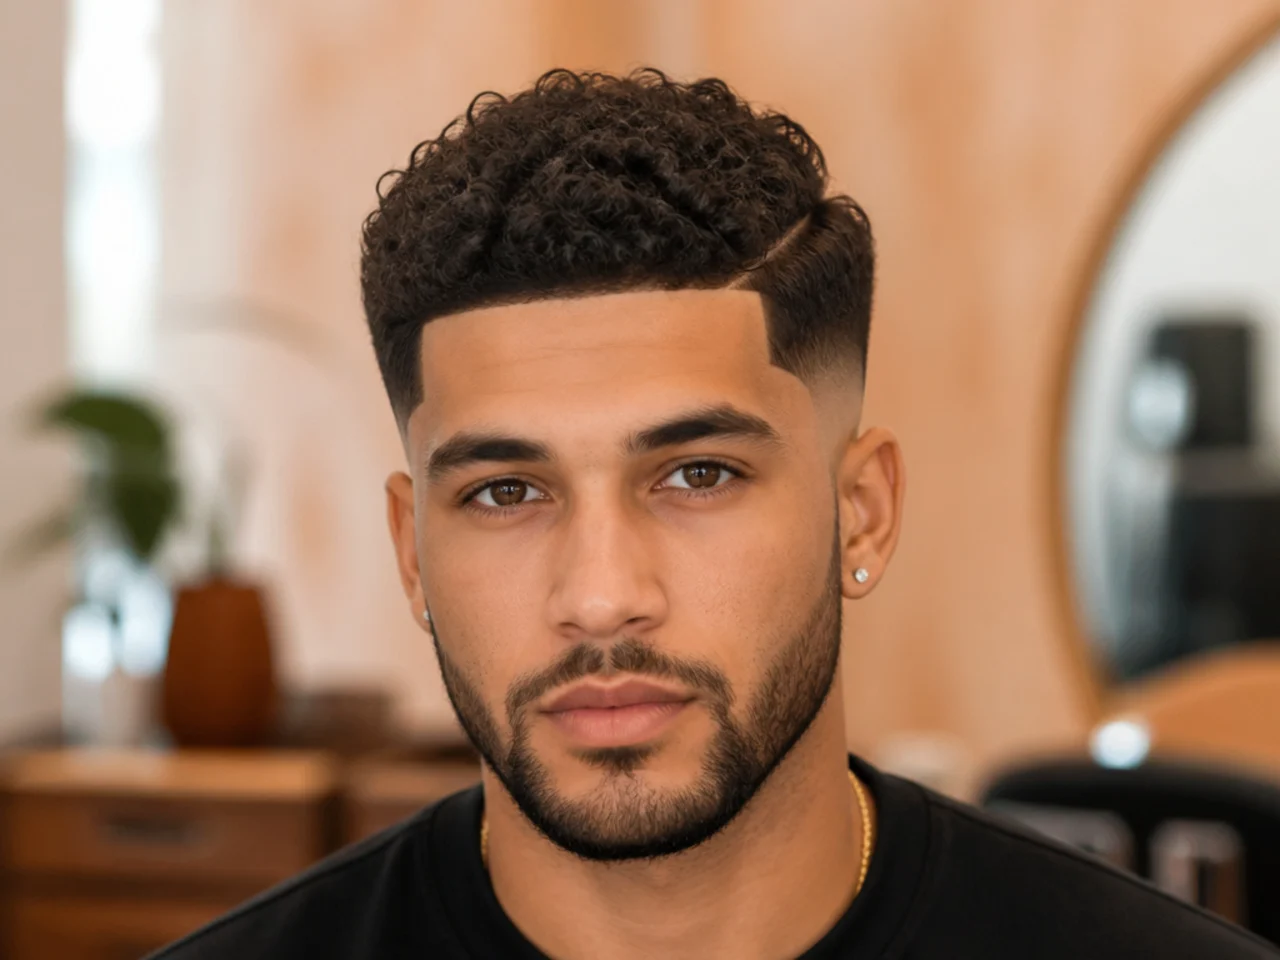
The same fade with a visible horizontal where the curl begins. It only works when the line is obviously intentional, because a half-blurred edge reads as an unfinished blend rather than a choice.
3. Mid Fade Under Curl Volume
The gradient starting between the temple and the parietal ridge, which places the join right where the curl volume begins. That alignment is why a mid fade sits more naturally on curls than on straight hair.
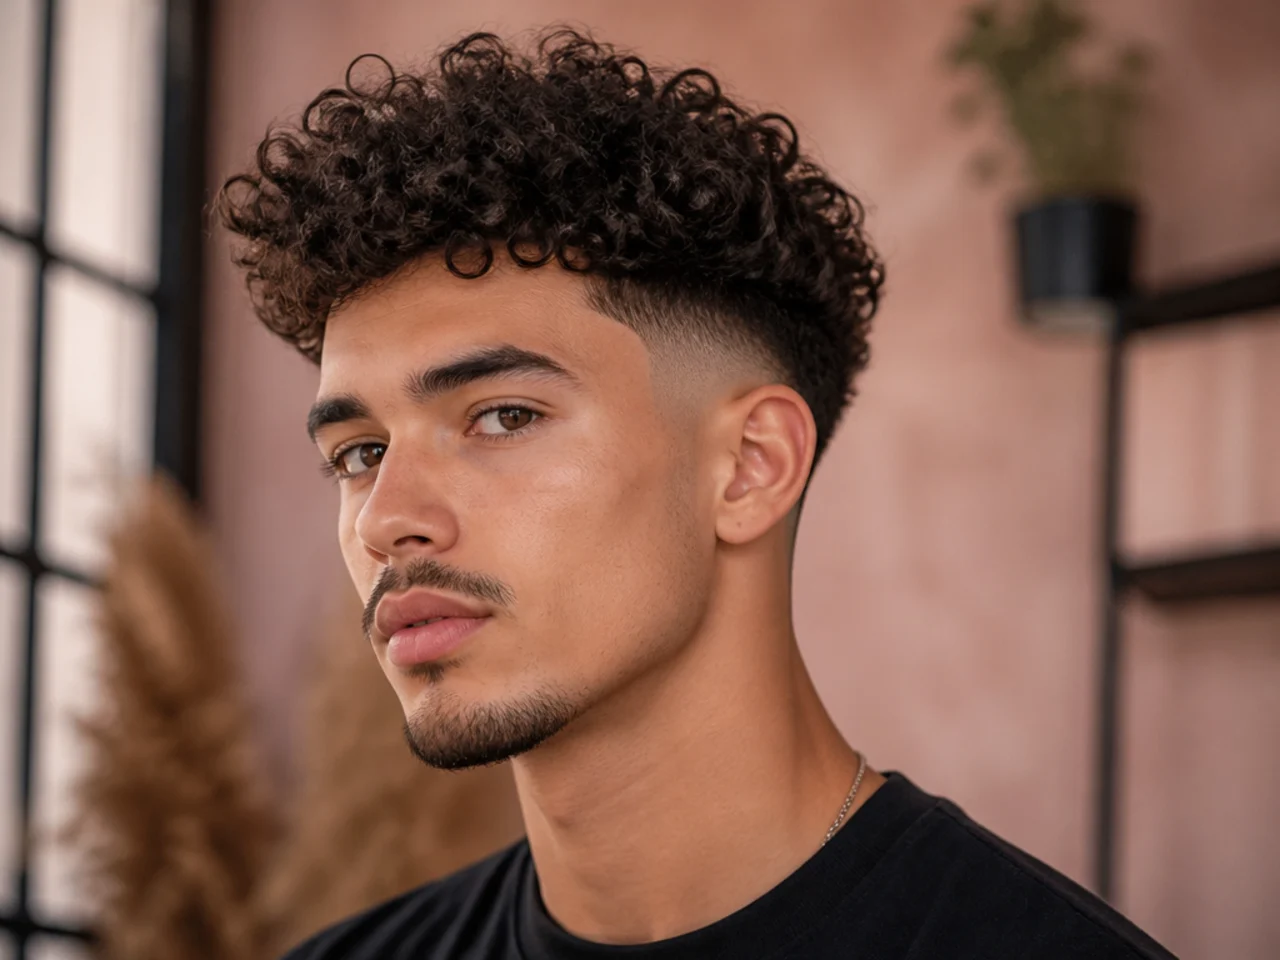
4. High Fade With a Curly Crown
Everything above the parietal ridge left and everything below it taken down. It is the most dramatic contrast available and it needs a fuller head shape to carry the narrowness it creates.
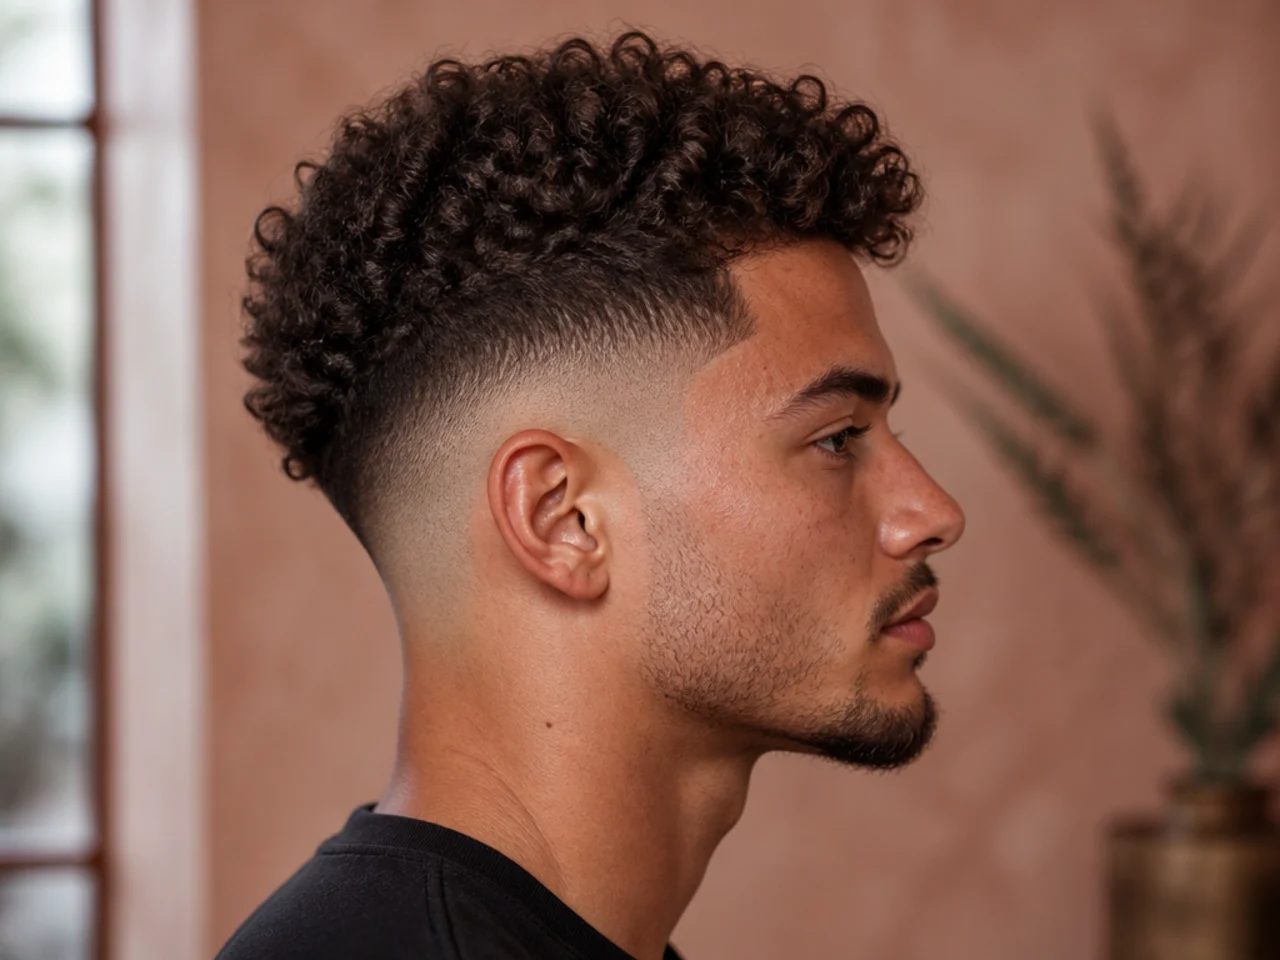
5. Skin Fade Against Full Curl
Bare scalp meeting dense curl with nothing in between. It is the sharpest look on this page and the shortest lived, since skin blurs within one to two weeks.
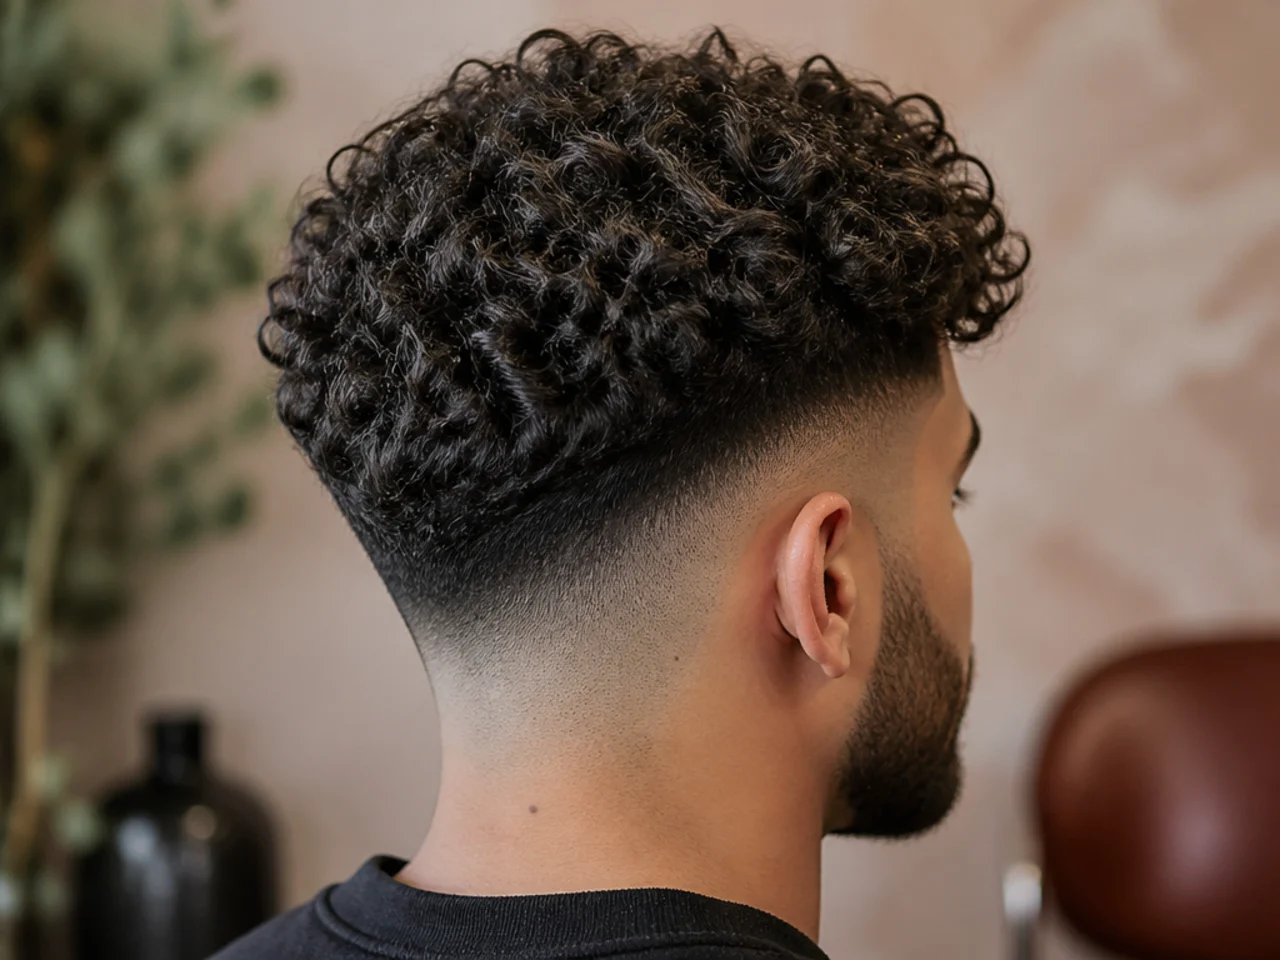
6. The Taper Fade
A gradient that bottoms out at a #1 rather than at skin. Three millimetres at the shortest point buys three to four weeks instead of one to two, which is the whole argument for it.
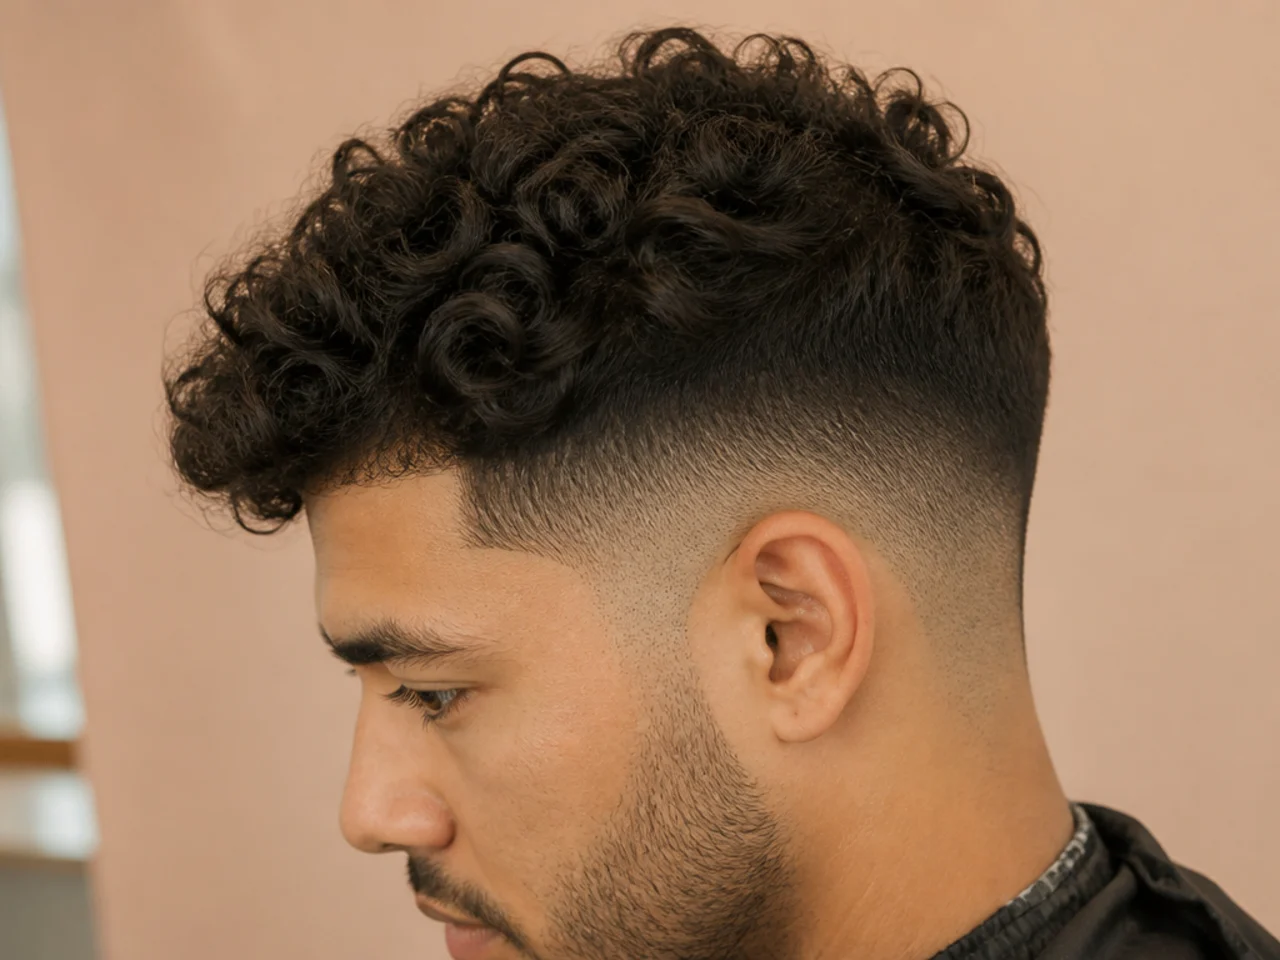
7. The Burst Fade
The gradient radiating outward from behind the ear rather than running level. There is no straight line anywhere in it, so growth blurs it evenly and it never develops a visible edge.
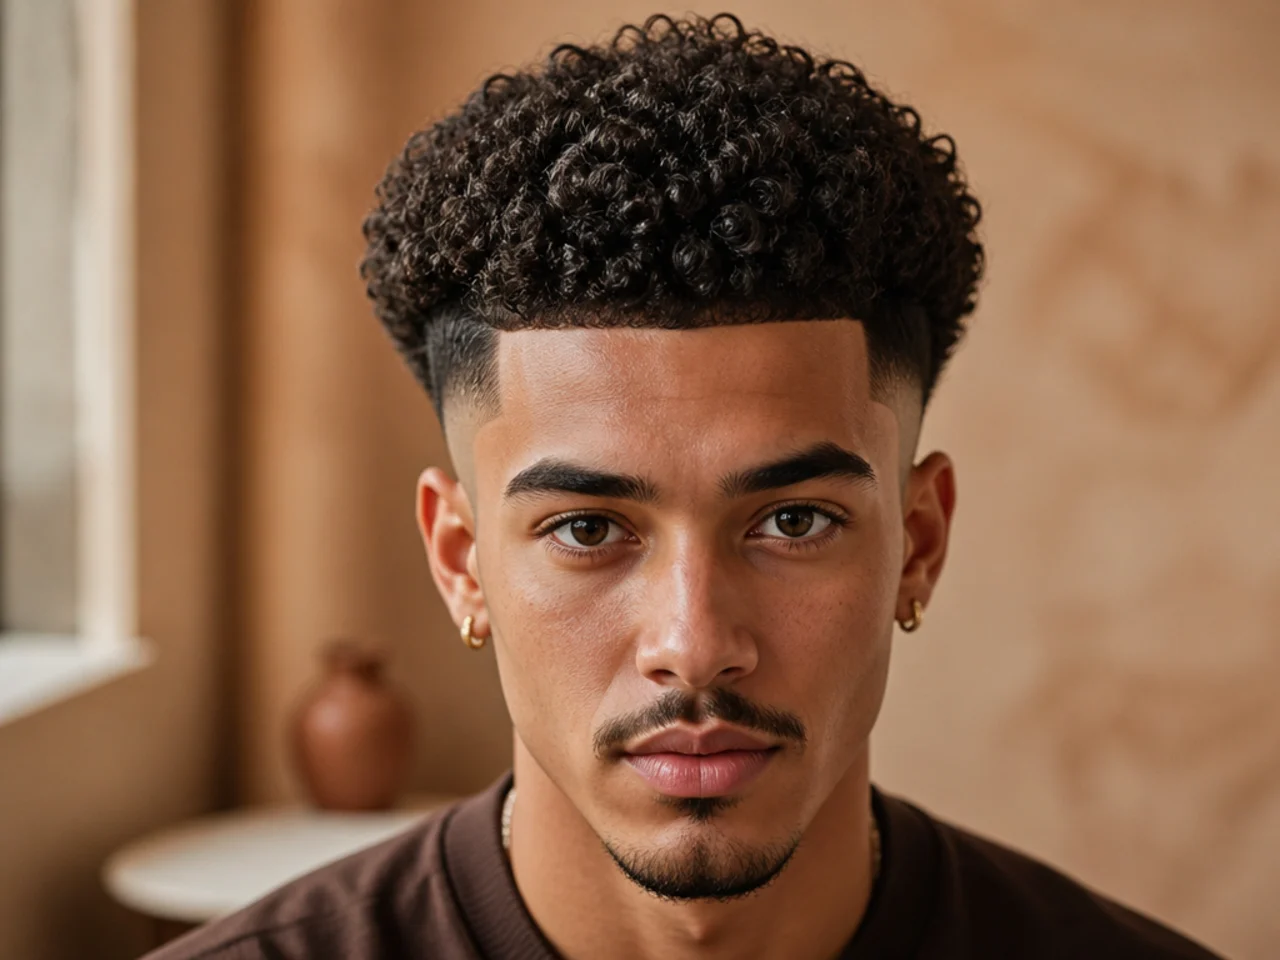
8. The Drop Fade
The line curving down behind the ear instead of staying horizontal. Following the skull rather than cutting across it flatters a flatter back of the head considerably.
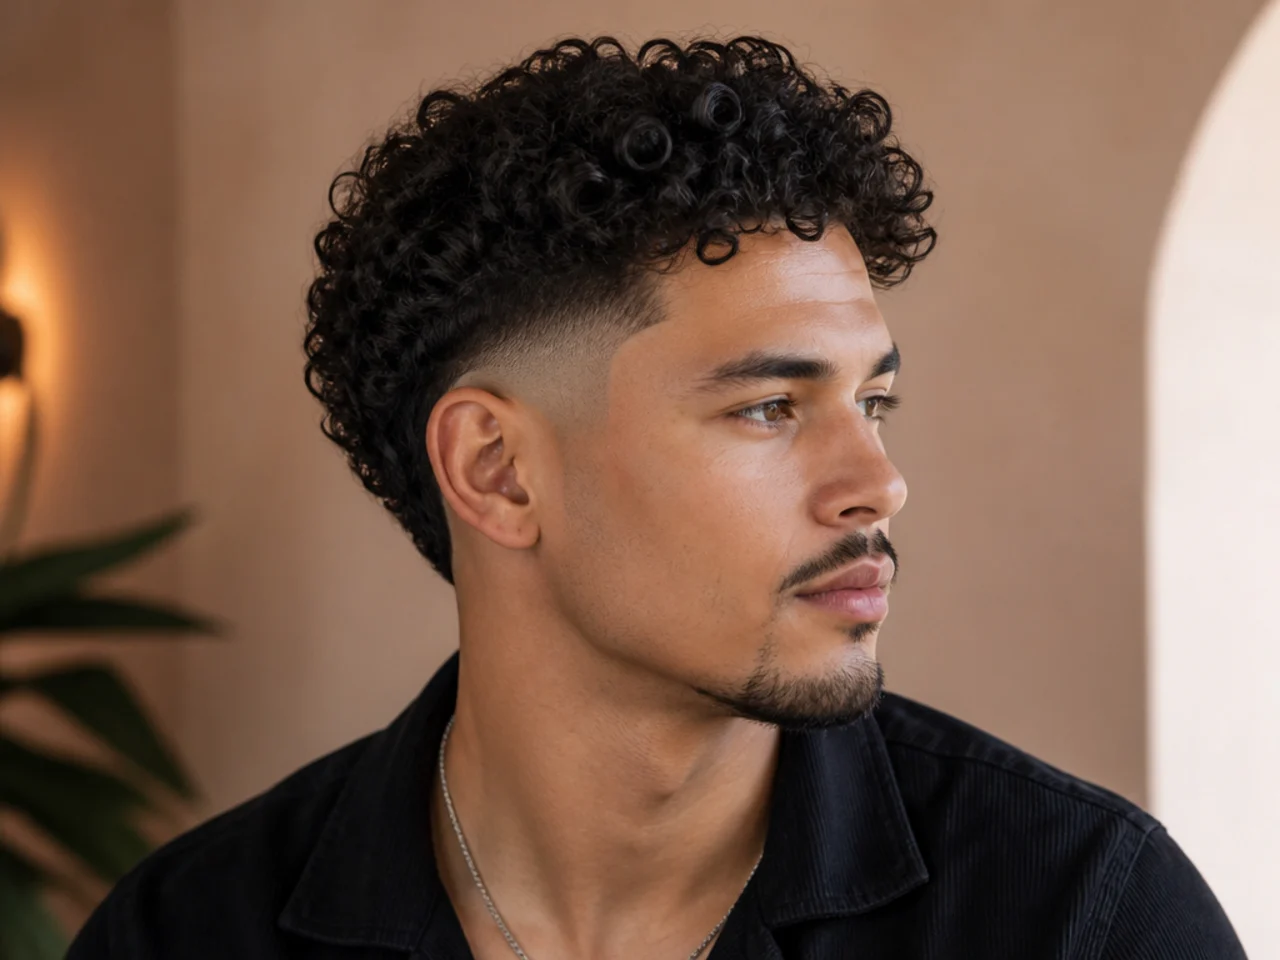
9. Fade With a Hard Part
An etched line sitting just above the fade. It adds a vertical to a head that otherwise reads as one horizontal gradient, which is exactly what keeps the shape from looking flat.
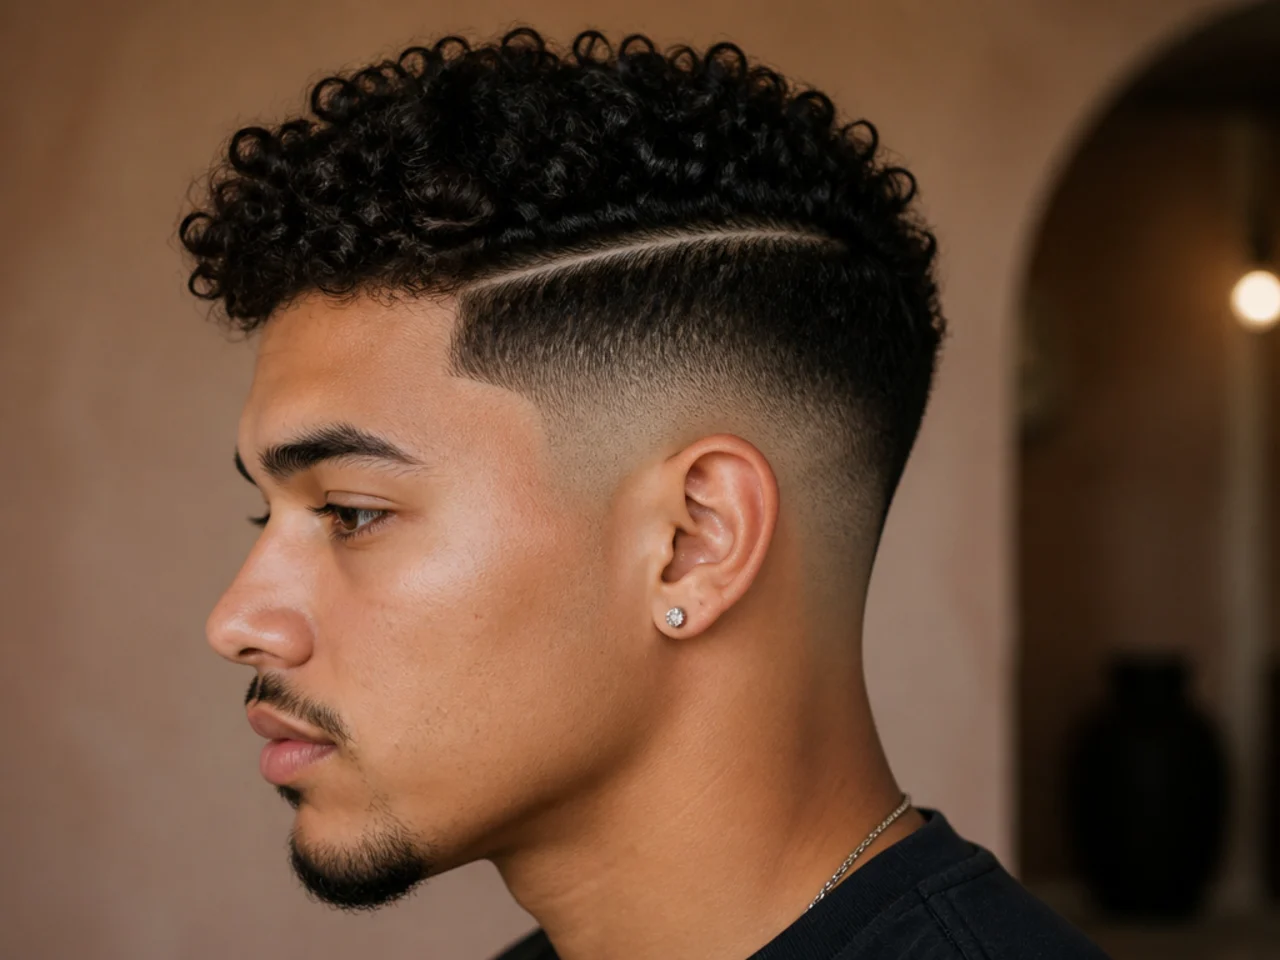
10. Fade With the Fringe Left Forward
Sides taken down, front curls left long over the forehead. Forward weight softens a fade considerably and it is the version that suits a receding hairline best.
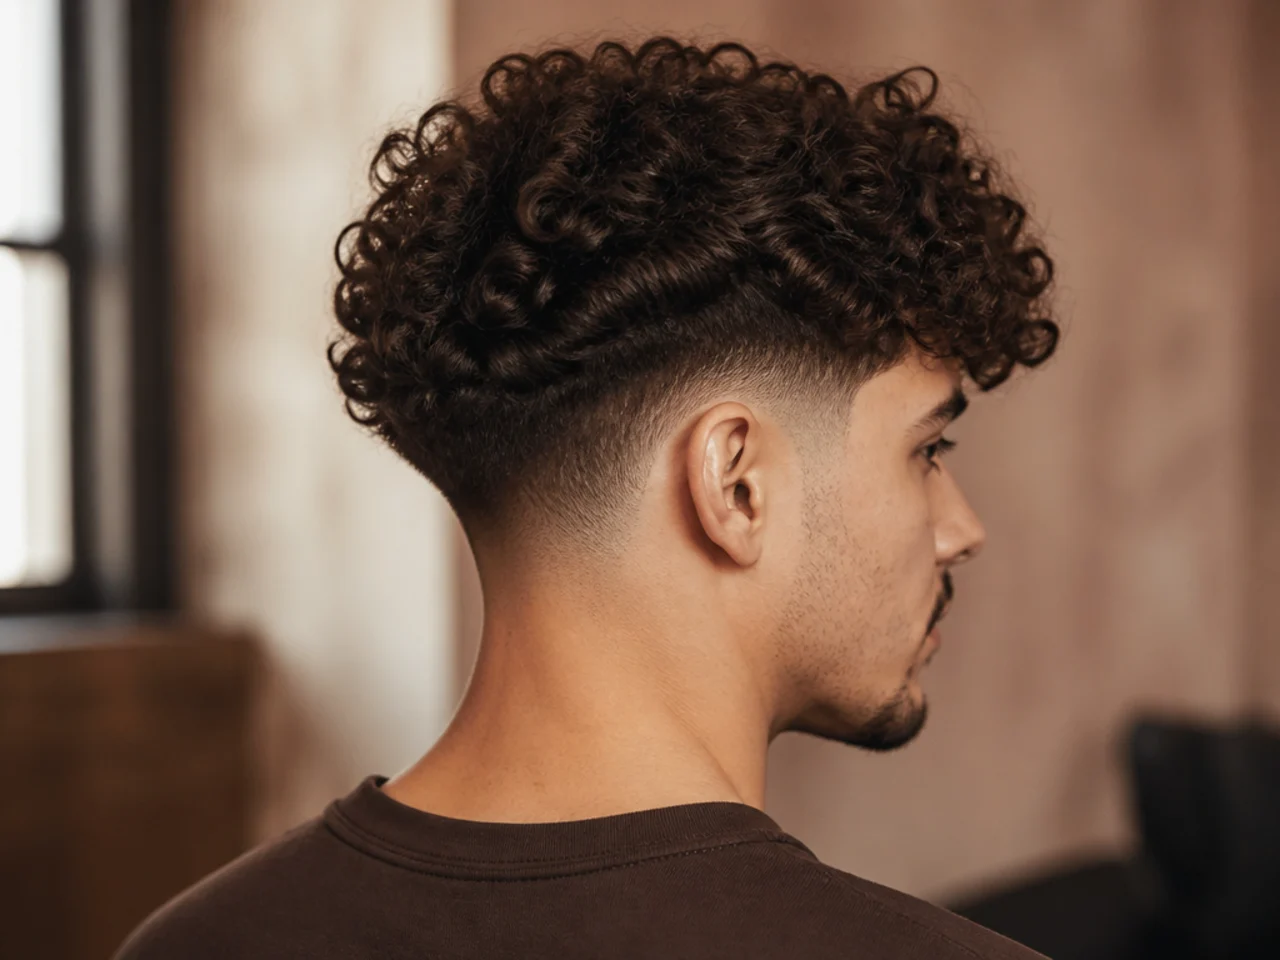
11. Fade With a Curly Quiff
Height at the front over short sides, built the same way as any other quiff on curly hair. To wear five centimetres of quiff you need about seven and a half cut, because a third of it disappears as the hair dries.
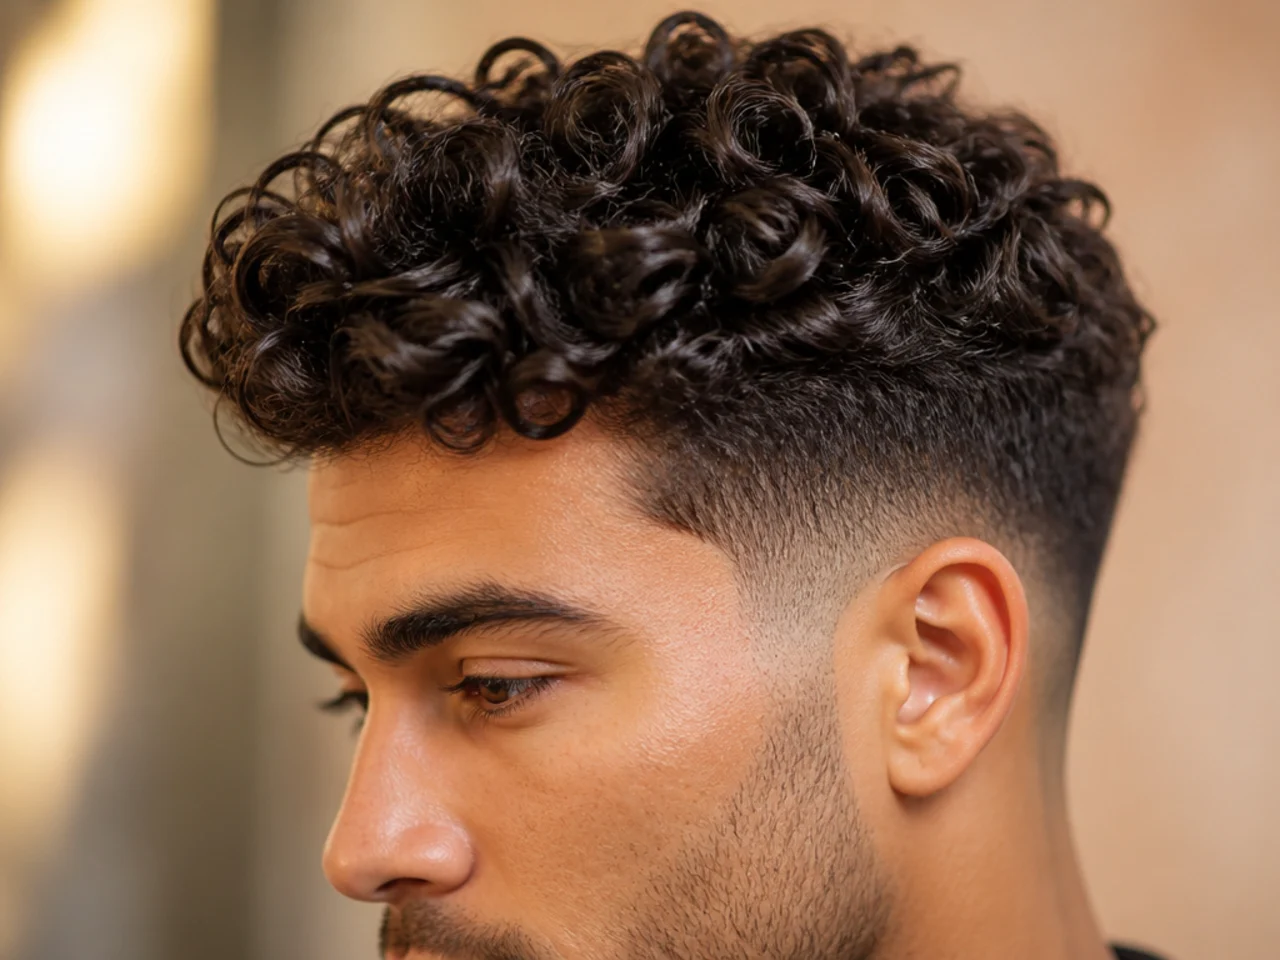
12. Fade With a Curly Pompadour
More height again, swept back rather than forward. It needs both length and a genuine morning routine, which makes it the highest-effort item on this page.
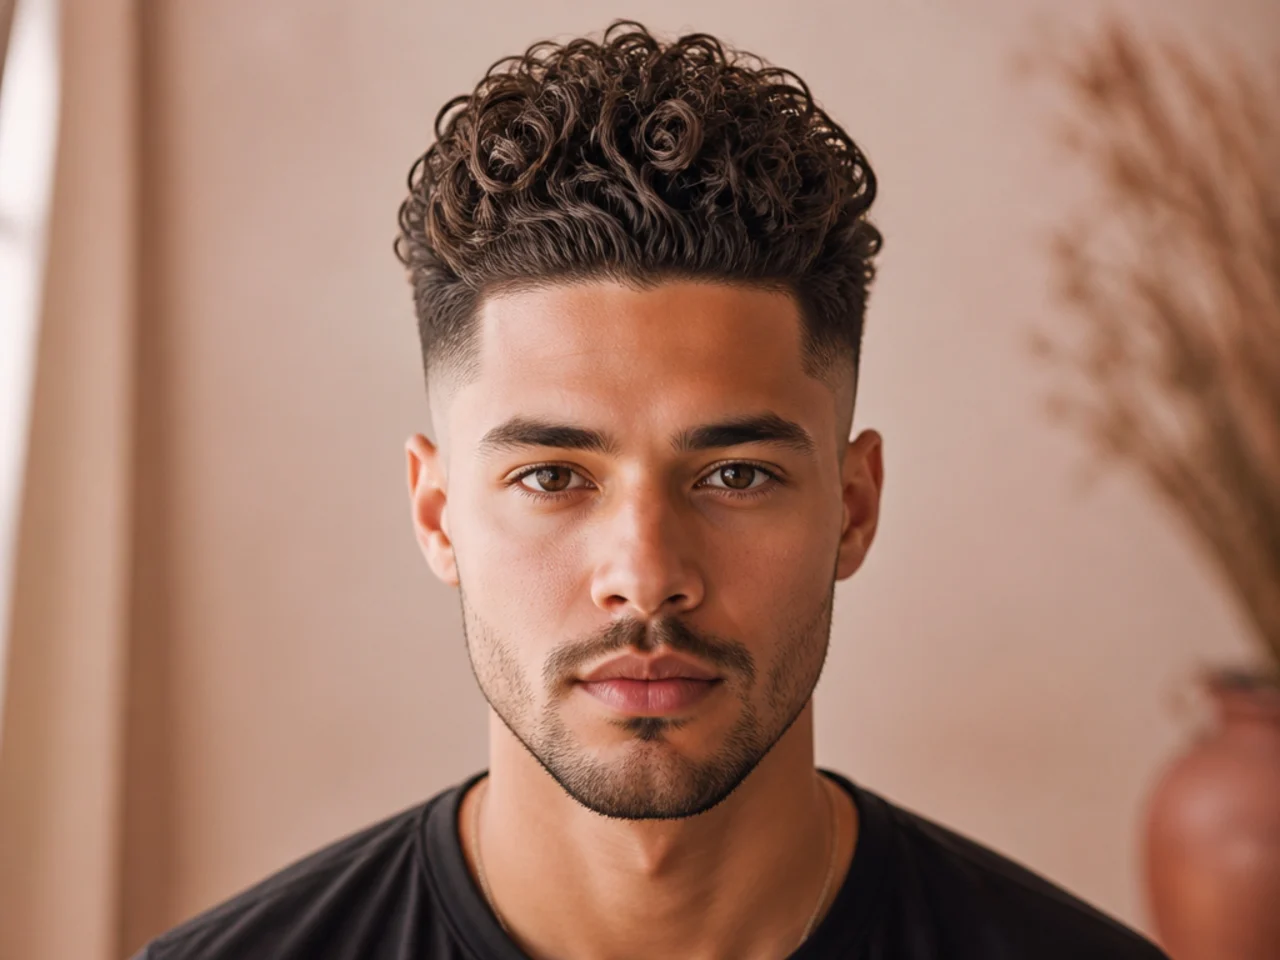
13. Temple Fade Only
Just the corners at the temples taken down with everything else untouched. It is the smallest amount of clipper work that still visibly sharpens a full curly head.
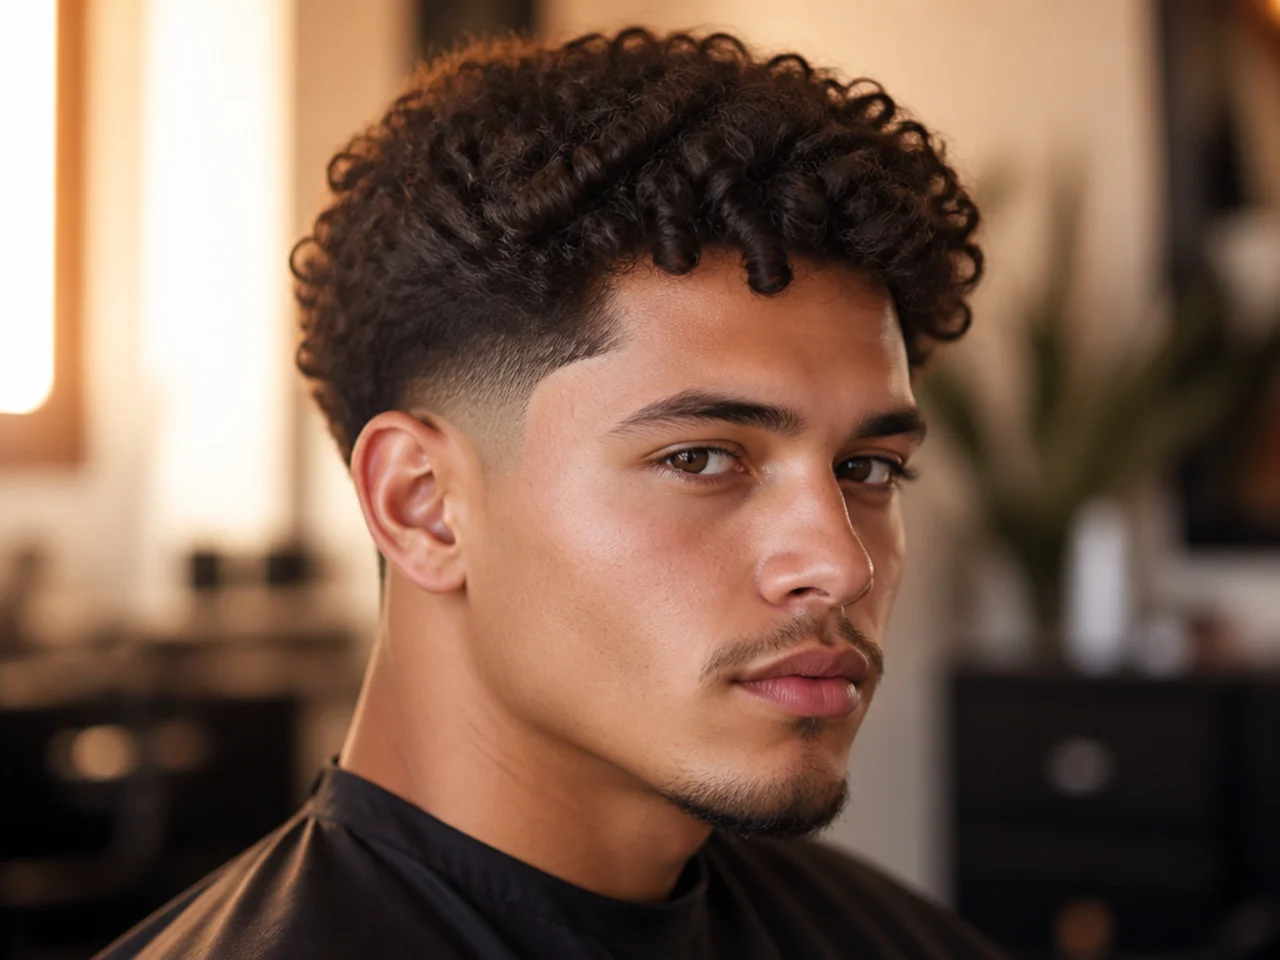
14. Fade Connected Into a Beard
The gradient carried down into the beard so there is one continuous shape from crown to jaw, which is the taper-into-beard join done over curl. It needs real beard density to land in, because a fade blended into stubble has nothing to blend into.
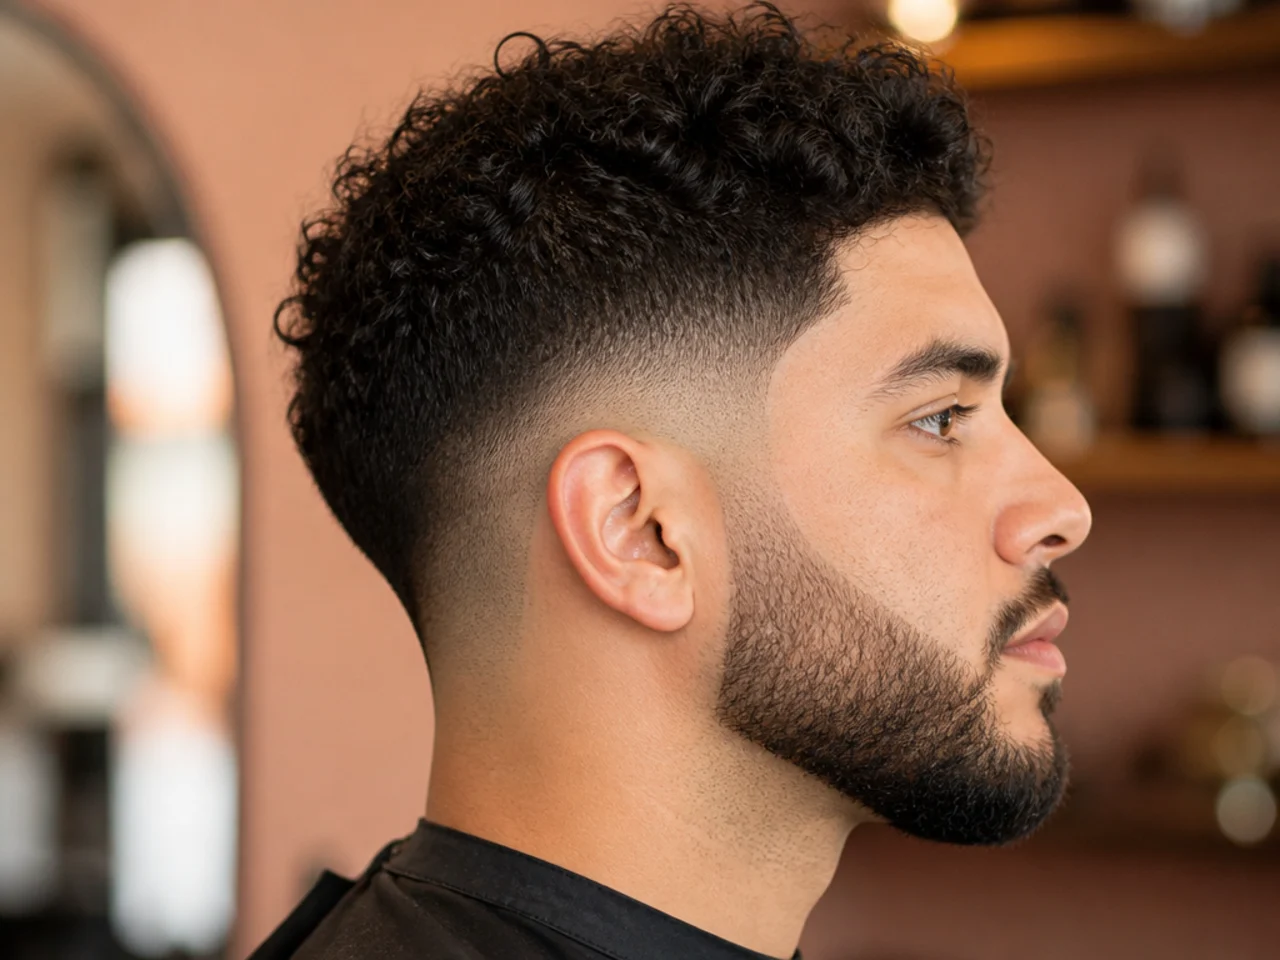
15. Fade on Loose Waves
Wave has no strong edge, so it blurs into the top of a fade rather than contrasting with it. Keep the fade low here, because the effect depends on shape rather than on contrast.
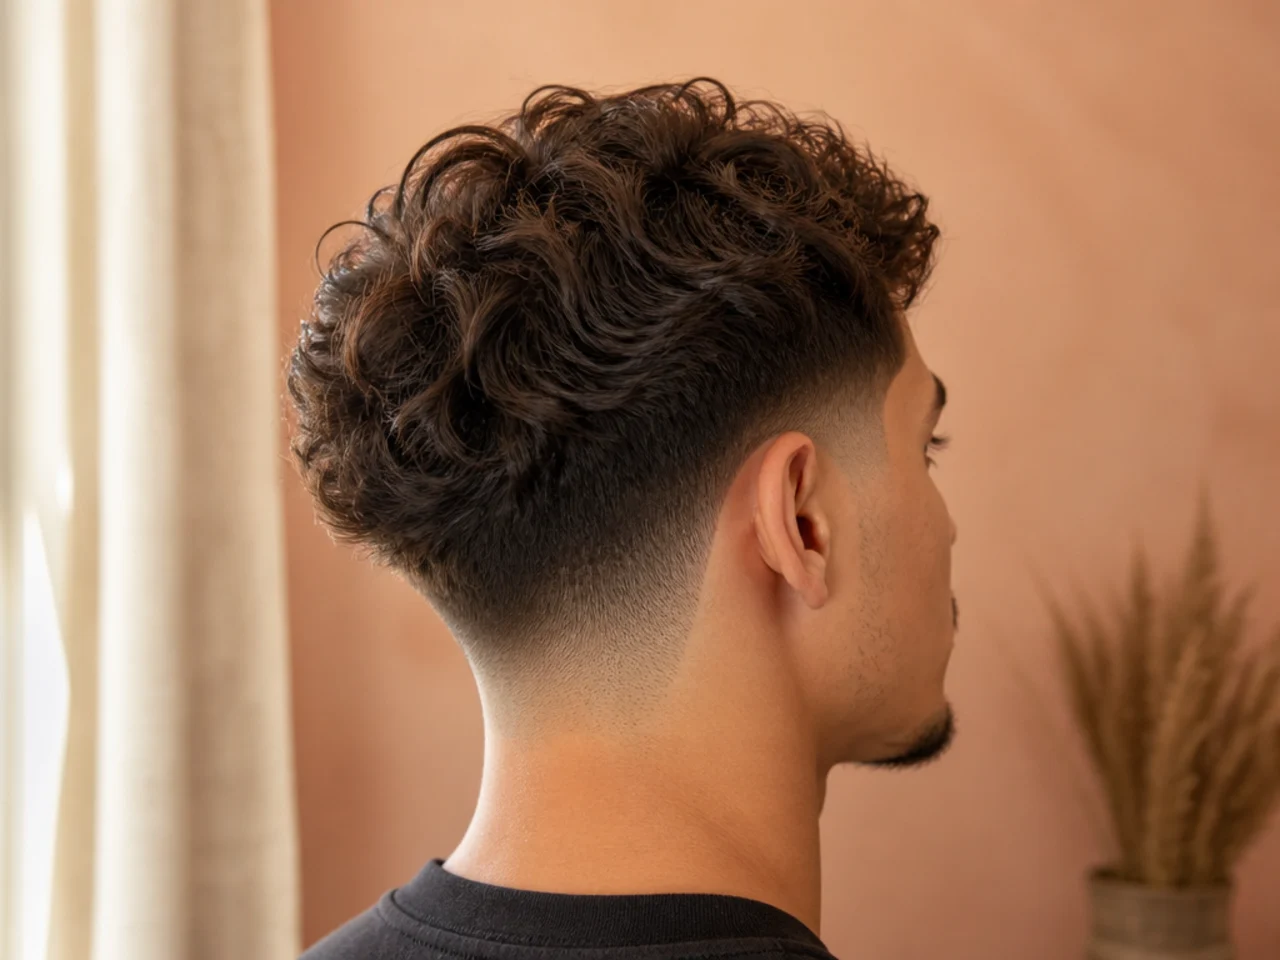
16. Fade on Springy Mid Curl
The pattern that fades best, because the curl clumps sit clearly above the gradient. The transition can be left slightly harder here without reading as a mistake.
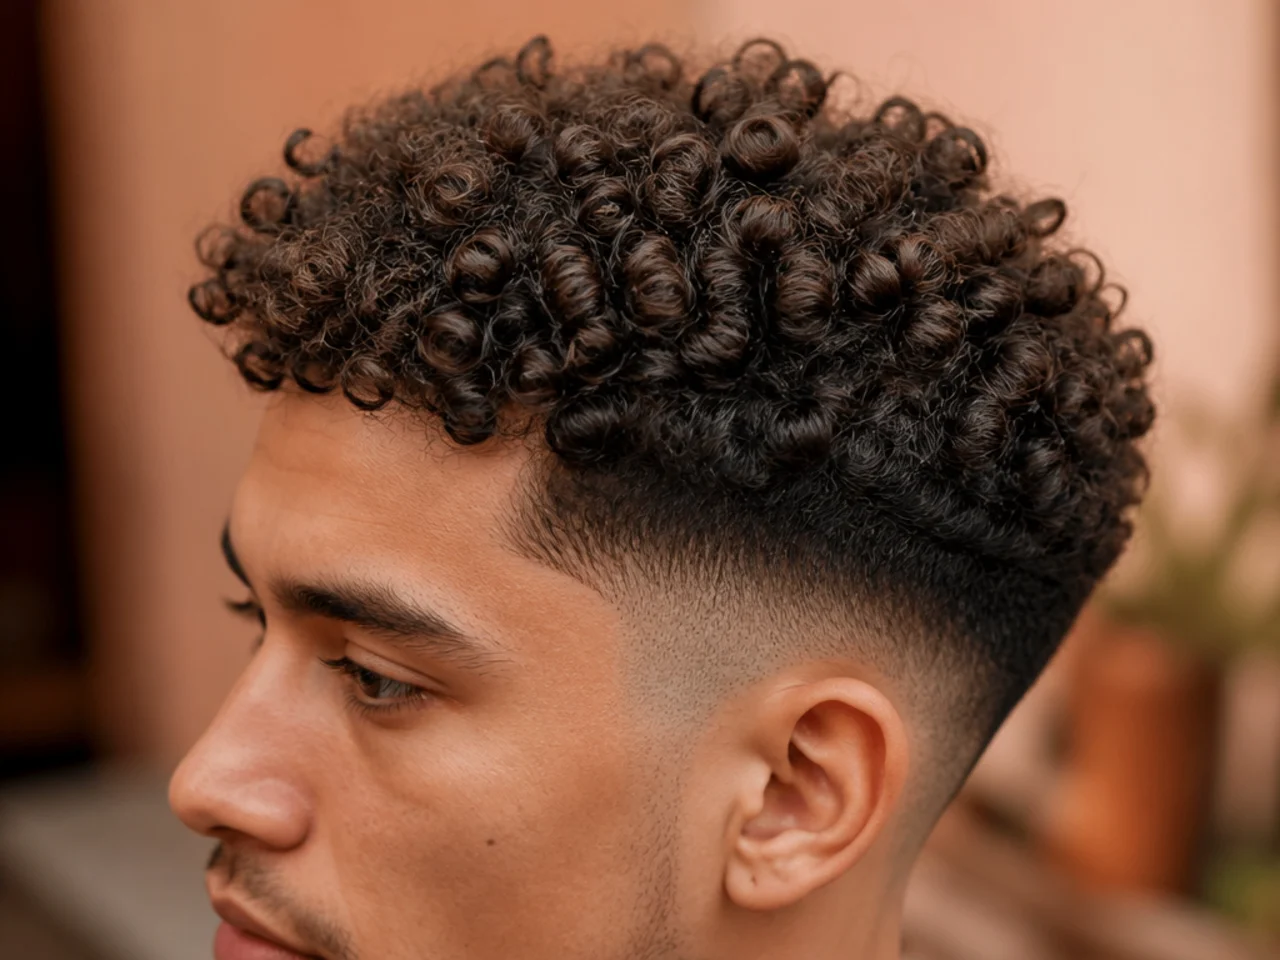
17. Fade on Tight Coils
Coils hold their volume against the scalp, which gives the strongest possible contrast at the join. Expect the top to read much shorter than it measures, since tight coils lose up to half their length to shrinkage.
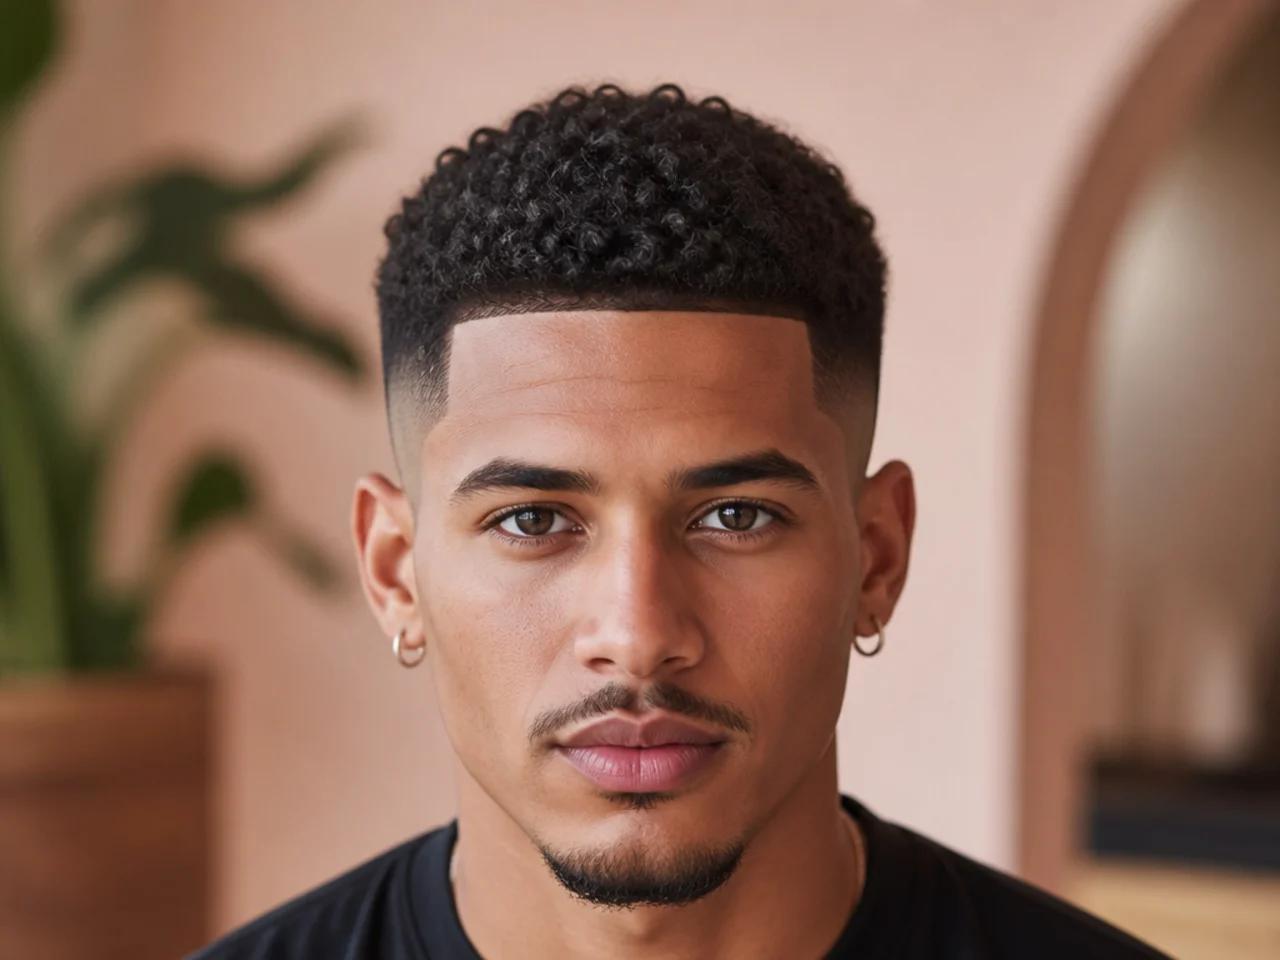
18. Fade With a Line-Up
A squared front hairline against a curved fade. The straight edge is what makes the curl above read as deliberate rather than as growth, and it needs redoing roughly every ten days.
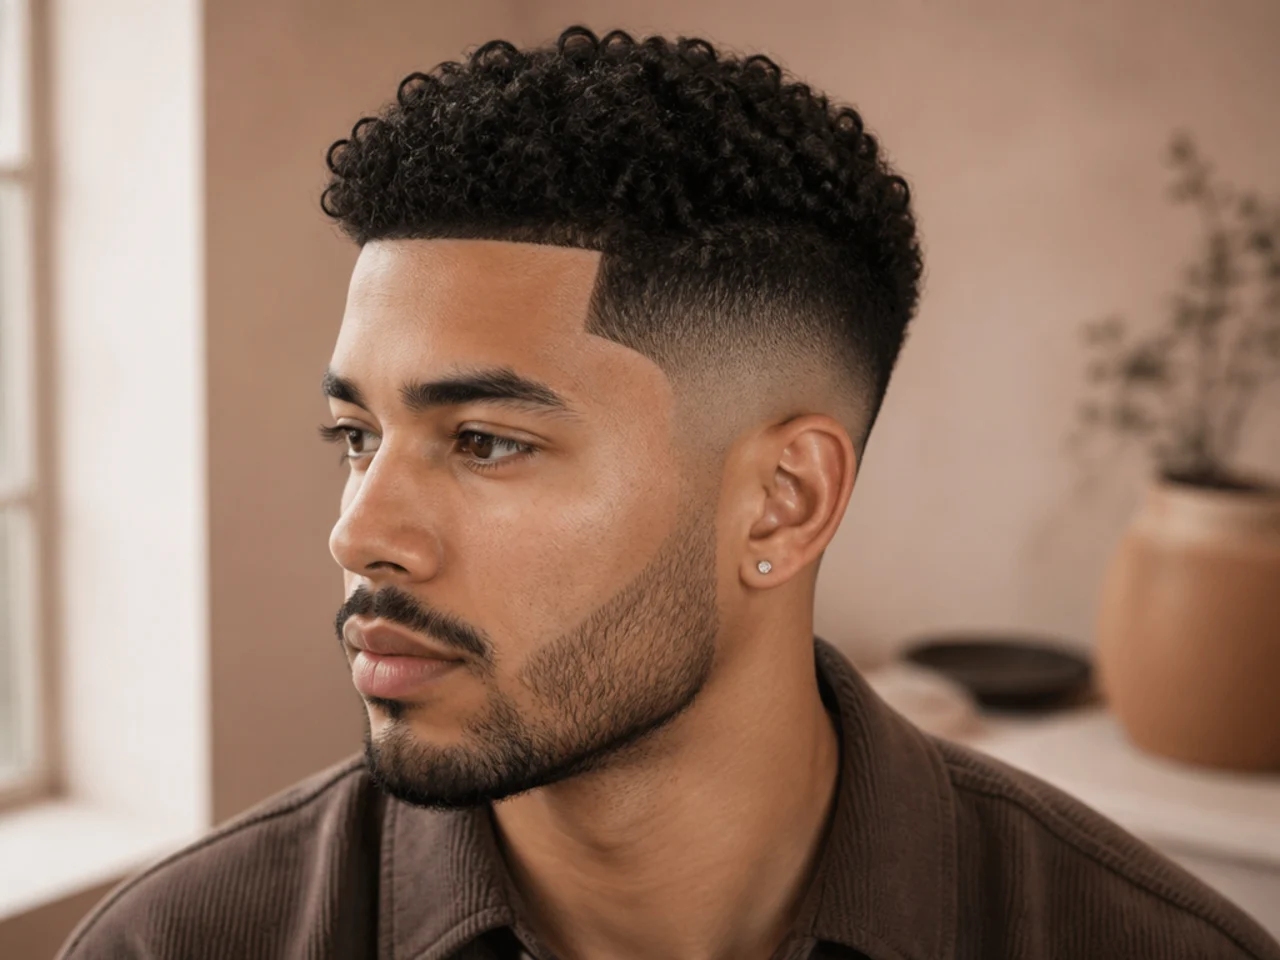
19. Week Two Against Week Four
At two weeks the gradient is soft and at four the top edge has thickened into a line. Knowing which stage you prefer tells you exactly how often to book.
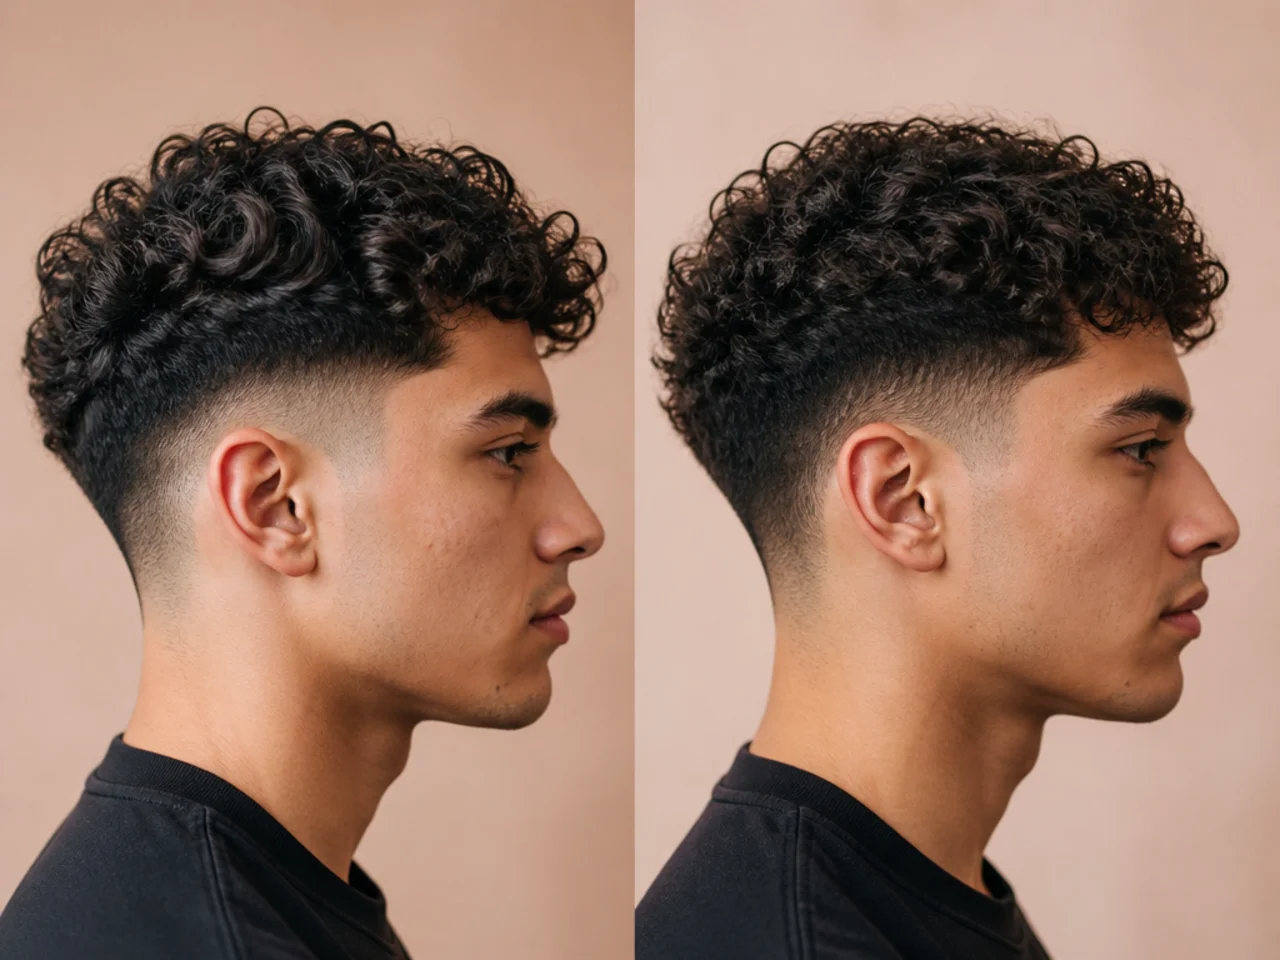
20. The Scissor-Blended Top Edge
The single upgrade worth asking for on any fade on this page. Softening the top edge by hand is what makes clipper work and curl read as one haircut rather than two.
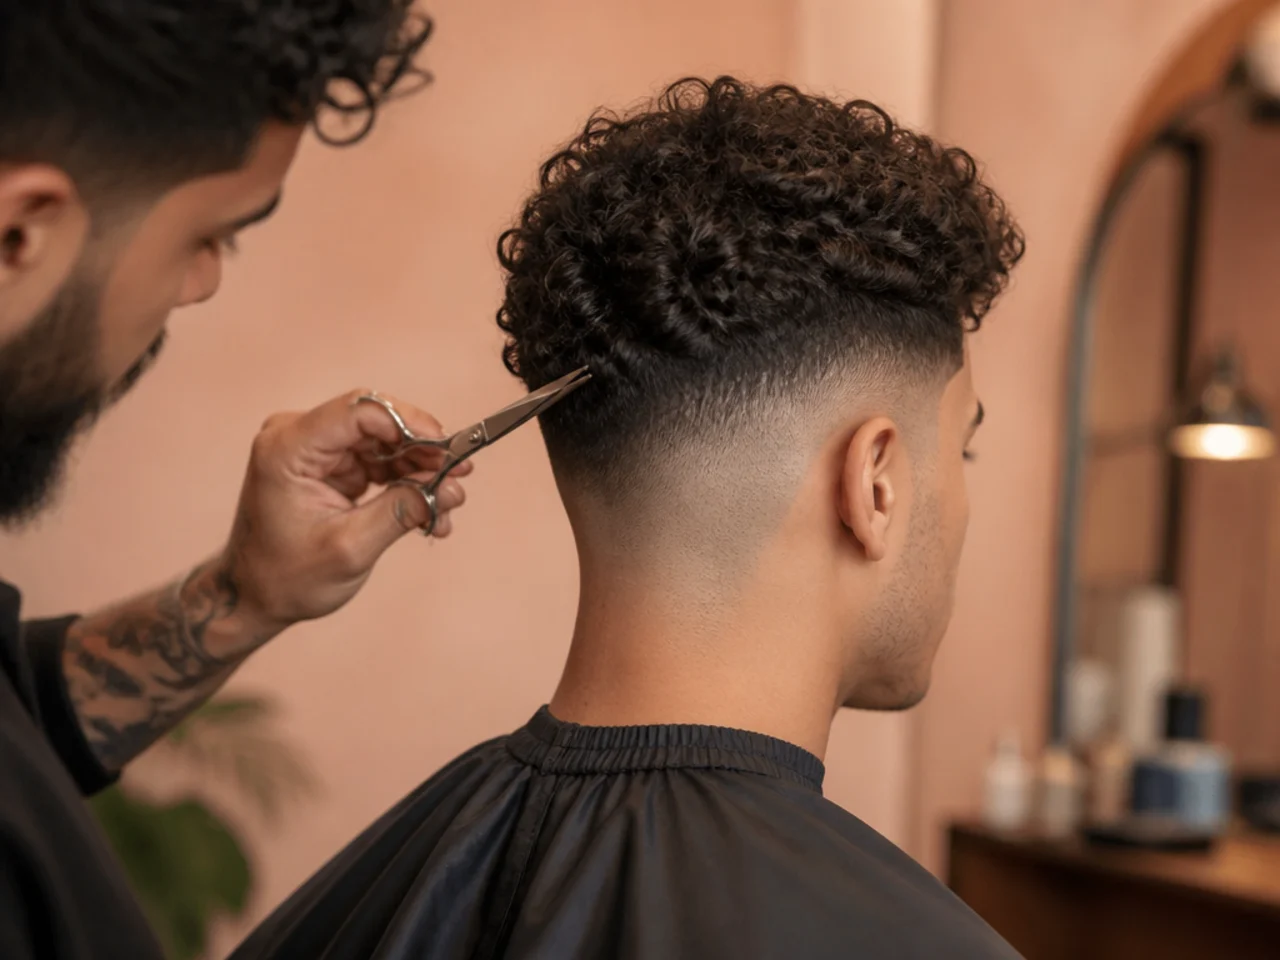
Styling and Upkeep
Leave the faded sections alone. Between three and ten millimetres there is no length for a cream to travel down, so the whole dose stays where your fingers put it and dries as a film on the scalp.
Water and fingers on the top. Ten seconds reforms the clumps that flattened overnight.
Watch the top edge, not the bottom. It thickens first and it is the honest signal that the cut is due.
Book by fade type. One to two weeks for skin, three to four for anything ending at a guard.
Photograph the join in week one. It sits at the side of your head where you cannot see it, and it is what the next barber needs.
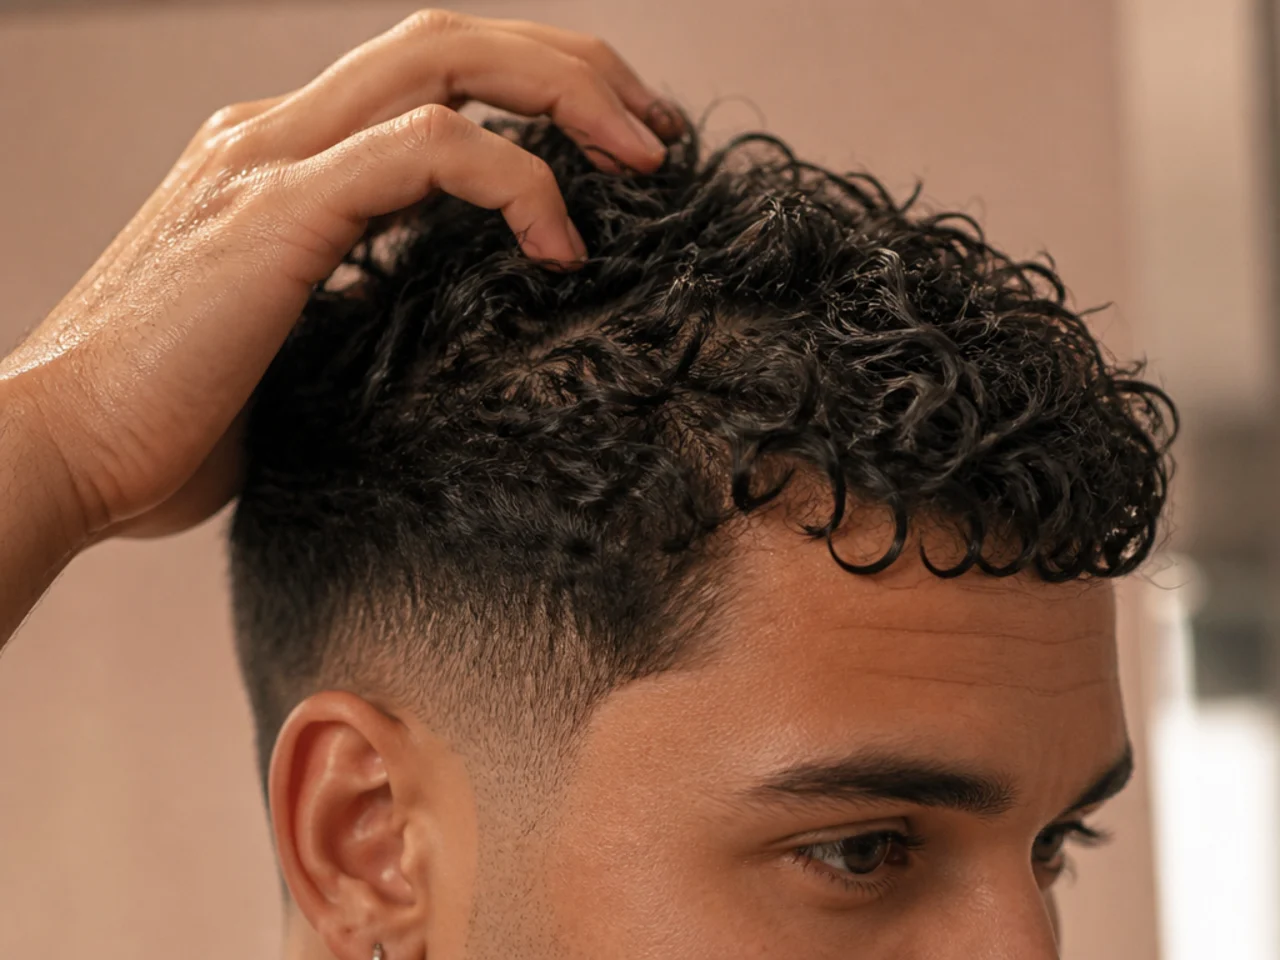
Mistakes to Avoid
Finishing the top edge with a clipper. It creates a shelf where the two textures meet.
Setting the transition on wet hair. Curl draws up a third as it dries and the join ends up too low.
Choosing a high fade to look sharper. On curl it removes so much width from the sides that the head reads narrow.
Fading into stubble. A gradient needs beard density to land in, and stubble gives it nothing.
Brushing the top after a fade. Brushing dry curls separates the clumps and undoes the volume the contrast depends on.
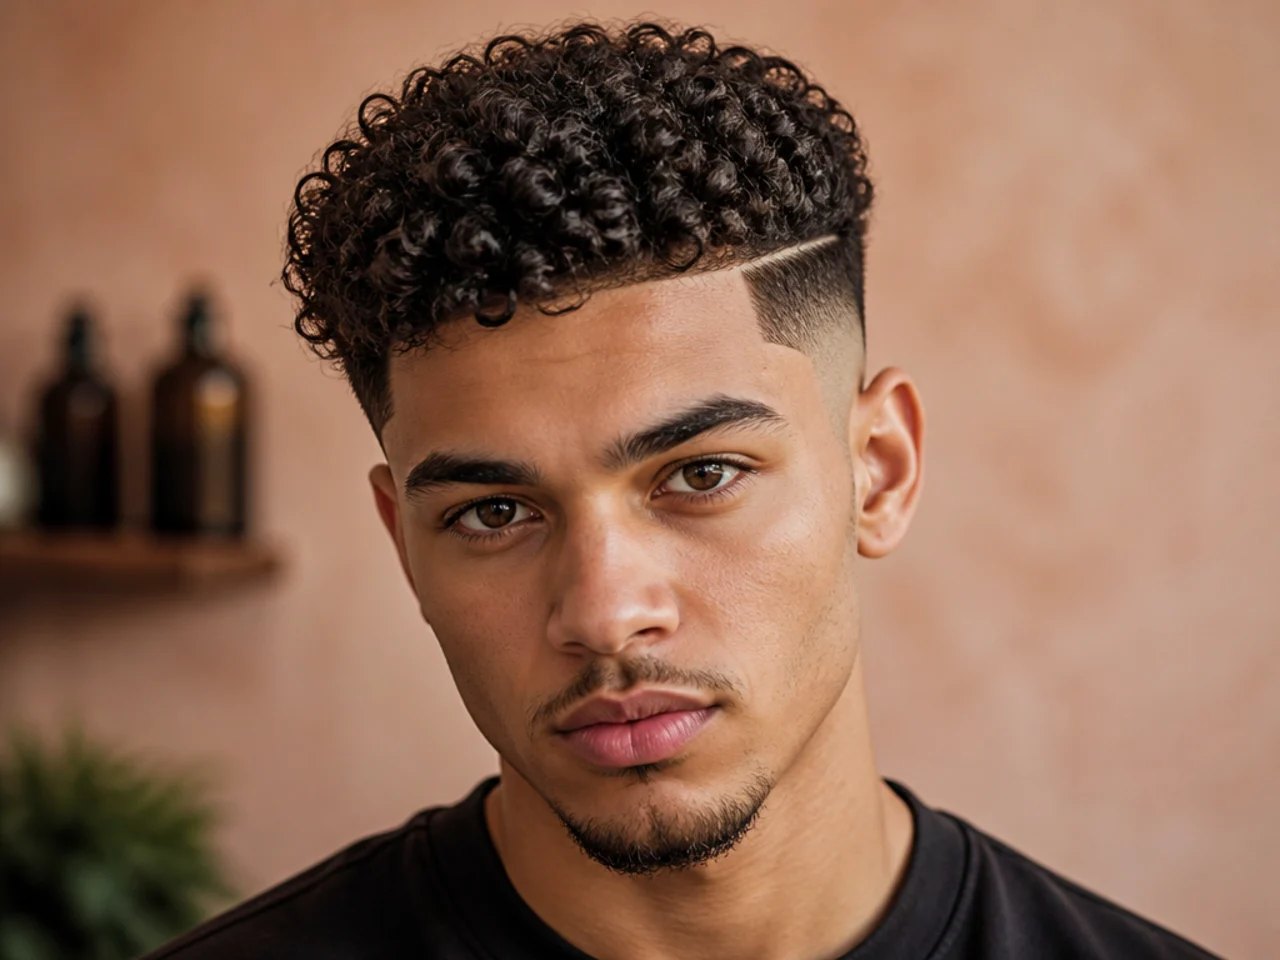
FAQ
Where should the fade stop? Where the curl can fall over it, with the top edge blended by scissors.
Which height suits curls? Low or mid in most cases, because curl already adds width on top.
Top before or after the fade? After, and dry, so the join lands where the curl actually falls.
Final Thoughts
Ask for a low or mid fade with the top edge blended by hand and you have made the only two decisions that actually change the result. Everything else on this page is a variation on where clipper work stops being clipper work.
For the softest version of that join see the burst fade for curly hair, and for the longest-lasting one read the curly taper fade haircut. More in Fade Haircuts.