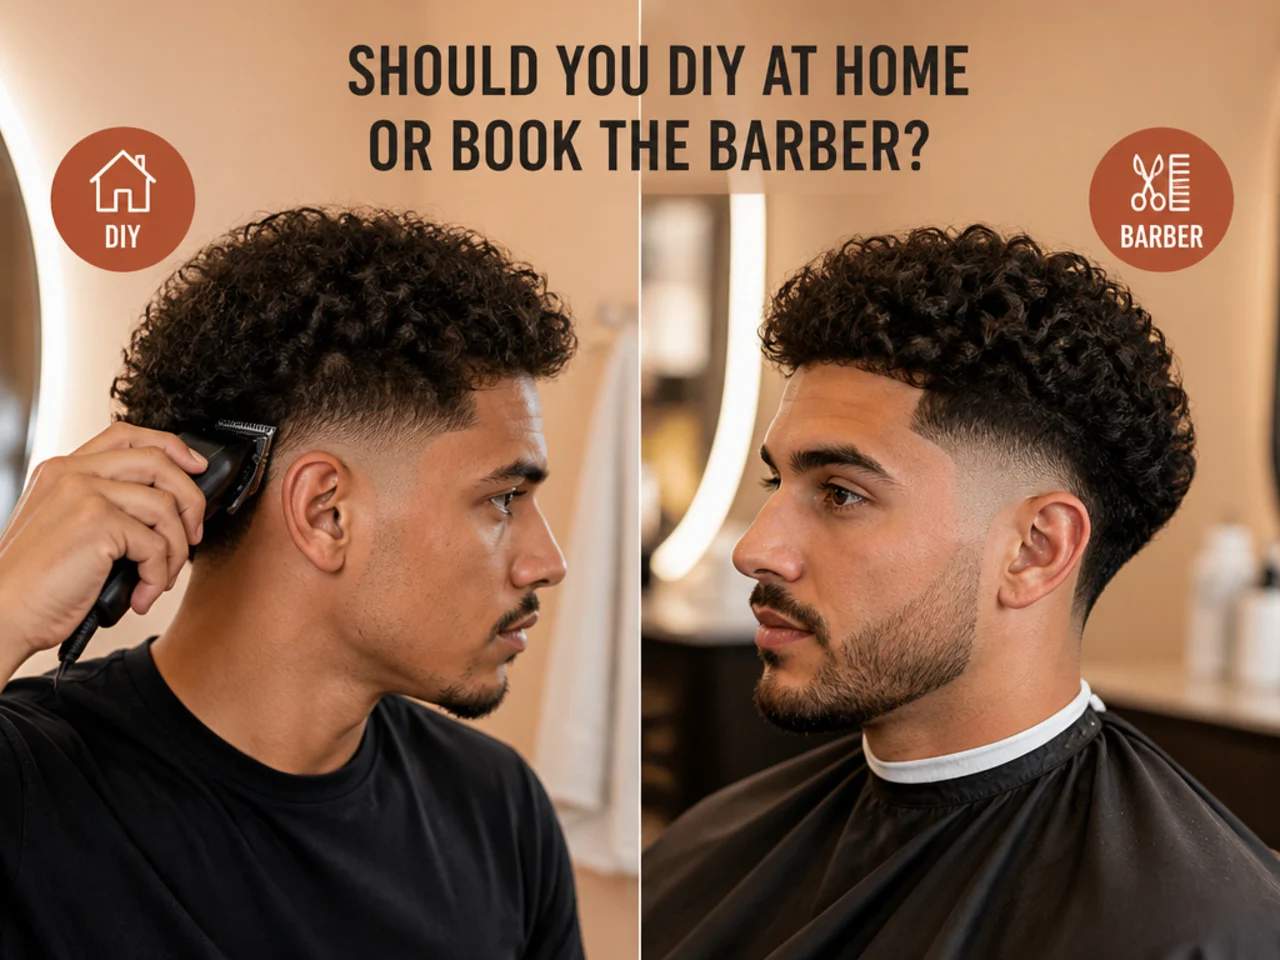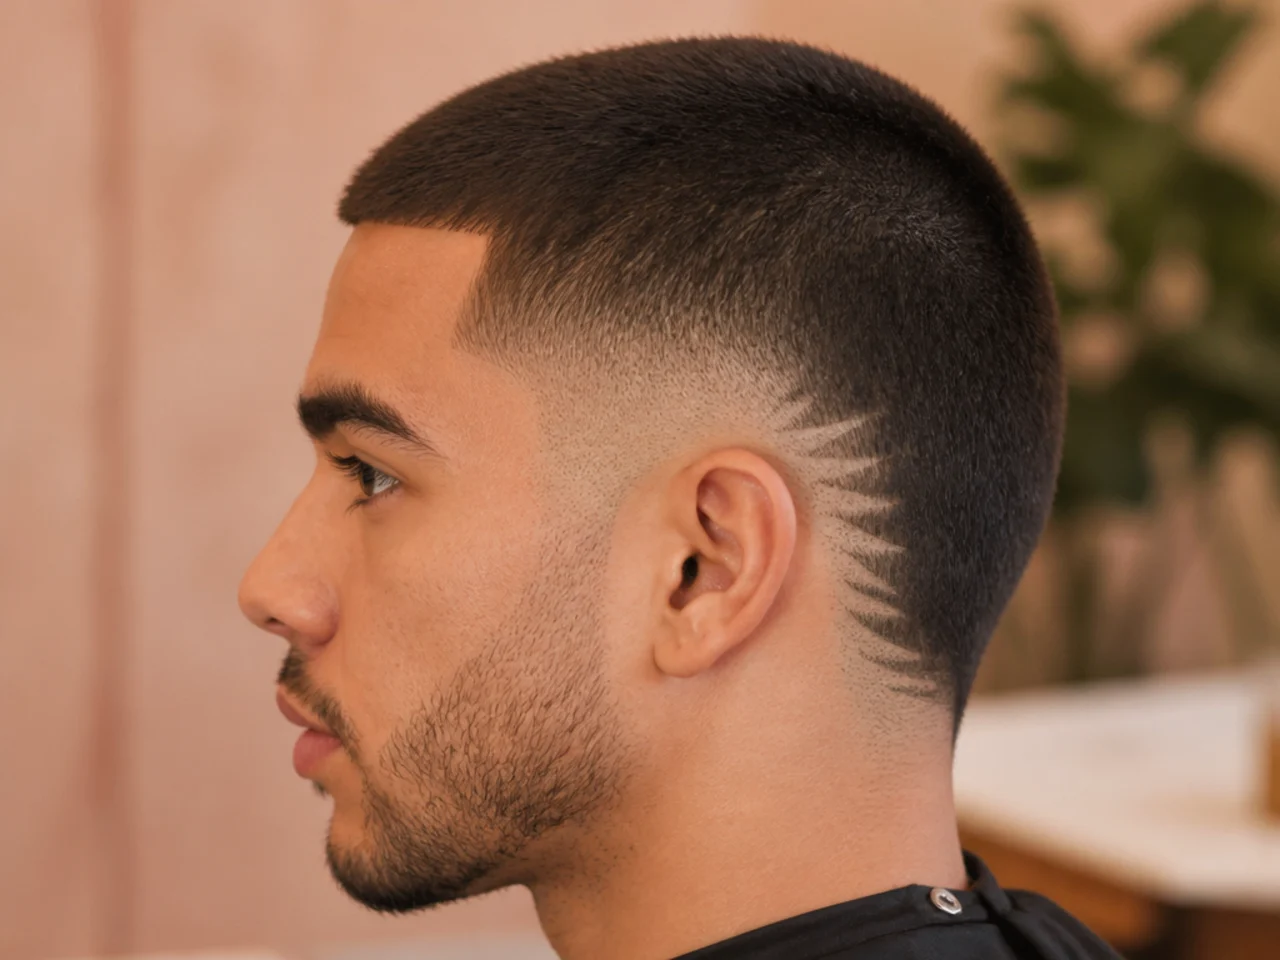
5 Steps to a Clean Burst Fade Buzz Cut
Cut a clean burst fade buzz cut at home in five steps — guard numbers, the arc behind the ear, the blend, the edges, and the two-week maintenance rhythm.
In this article · 13
- What Is a Burst Fade Buzz Cut?
- What You'll Need
- Step 1 — Set the Length on Top
- Step 2 — Map the Burst Arc
- Step 3 — Blend the Burst
- Step 4 — Sharpen the Nape and Edges
- Step 5 — Style and Maintain
- Troubleshooting: Common Burst Fade Buzz Cut Mistakes
- FAQs
- How long does a burst fade buzz cut take to cut at home?
- How is a burst fade buzz cut different from a regular buzz cut?
- Can I cut a burst fade buzz cut at home if I've never done a fade before?
- Do I need trimmers as well as clippers?
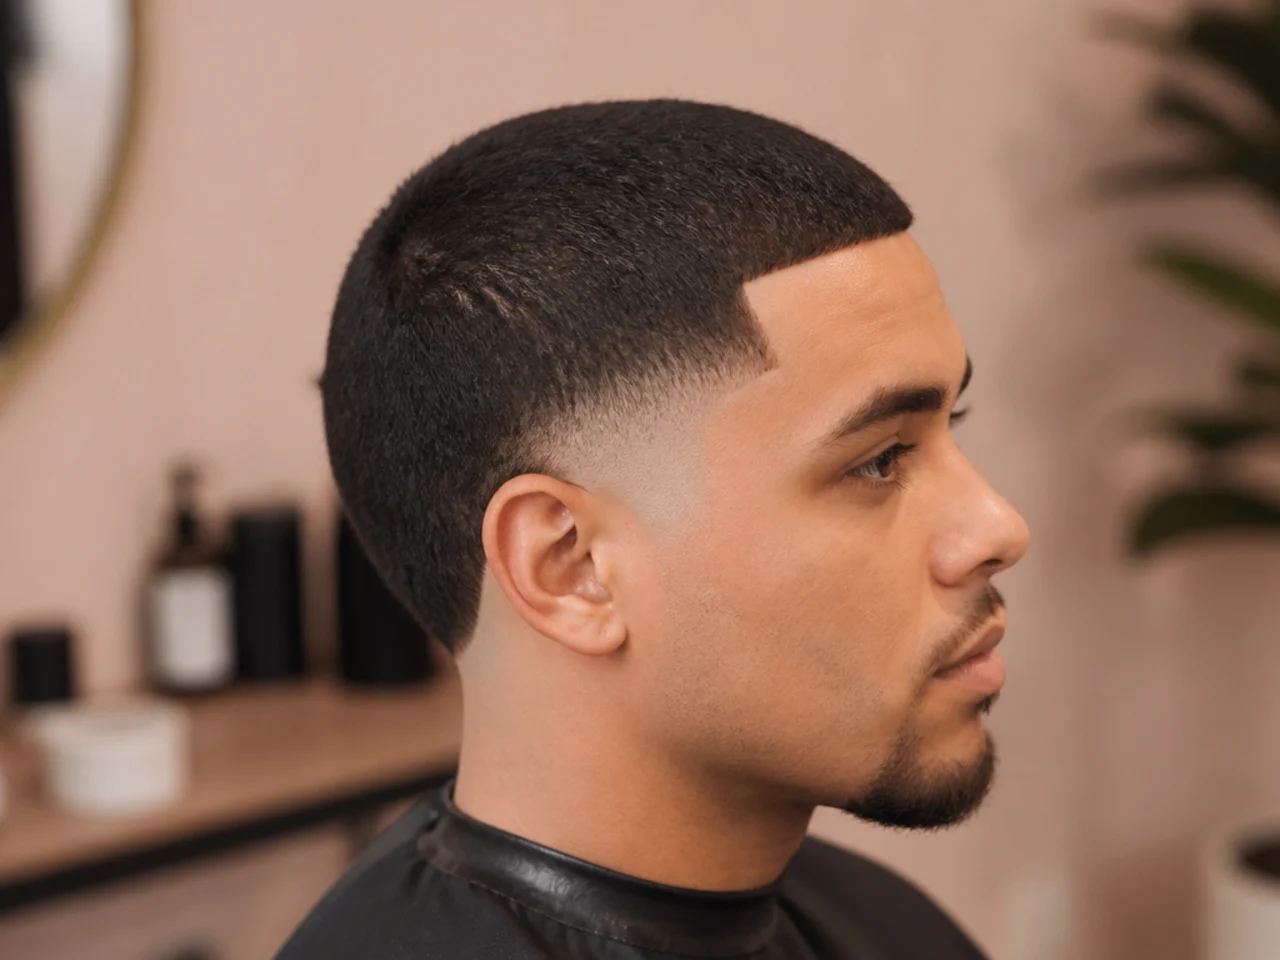
A burst fade buzz cut is the burst family's low-maintenance setting — the same short guard across the top, the signature semicircle wrapping the ear, and almost zero styling on the finish. It photographs sharp, holds its shape for two weeks, and takes under thirty minutes from the first pass to the last edge. Below is the exact five-step sequence to build one at home, plus the mistake to avoid at each step.
What Is a Burst Fade Buzz Cut?
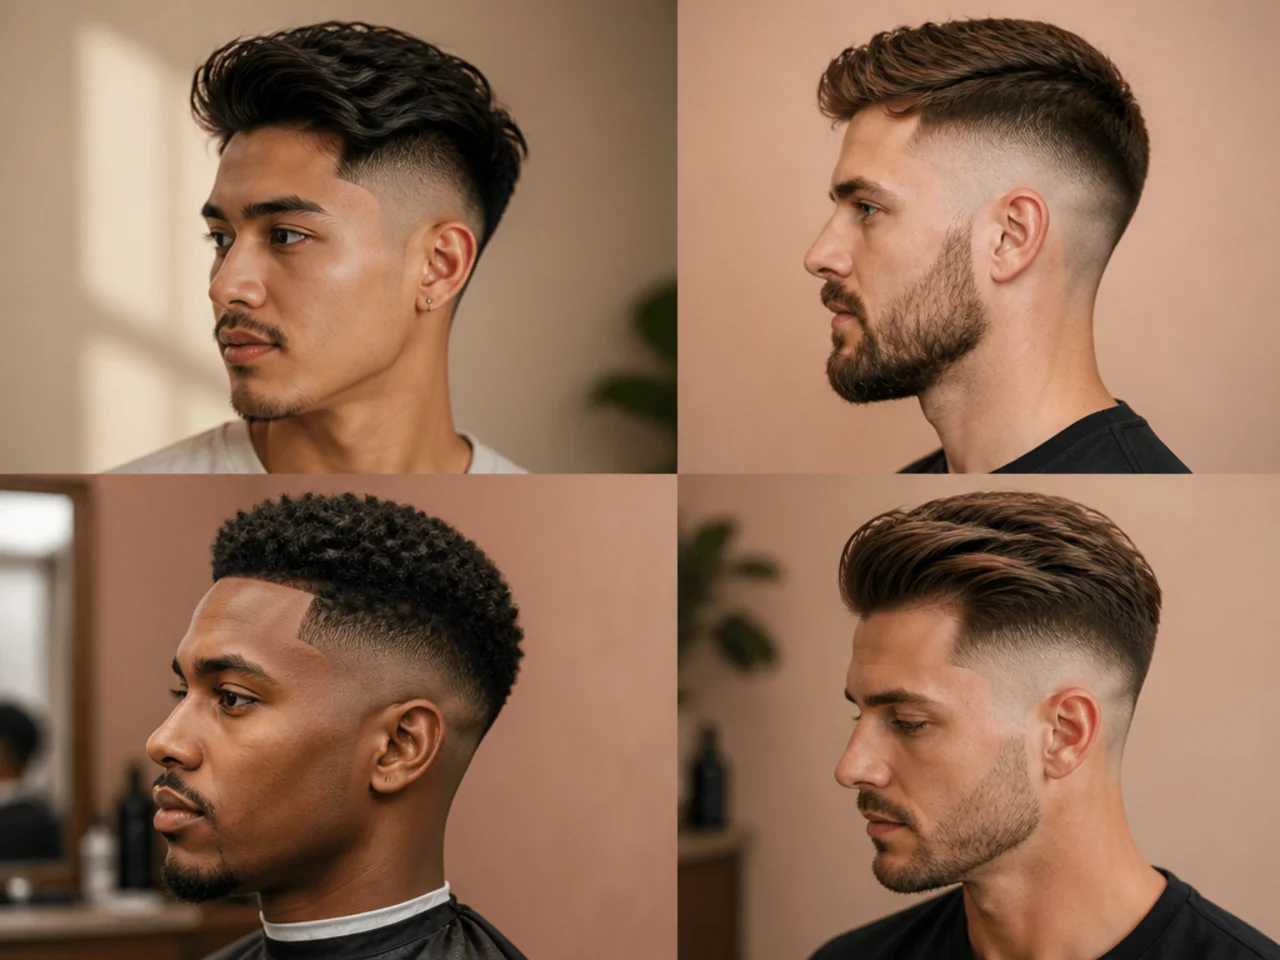
A burst fade buzz cut is a short, uniform buzz on top paired with a burst fade around the ear. The arc curves in a semicircle from just above the sideburn, wraps behind the earlobe, and dies out at the nape. Everything above the arc sits at the same guard number — usually a 2, 3, or 4 — so the top reads as one clean plane instead of a styled shape.
Two design decisions do all the work. The top guard sets the finish: shorter reads sharper, longer reads softer. The shortest point inside the arc sets the contrast: skin behind the ear reads bold, a 1 reads office-friendly, a 2 reads barely-there. Change either number and you have a different version of the same cut.
Where it differs from a plain buzz cut is the curve. A plain buzz keeps the same guard all the way down. This one drops through three or four guards inside the arc, then blends smoothly back up to meet the top. The top length never changes — the shape does.
What You'll Need
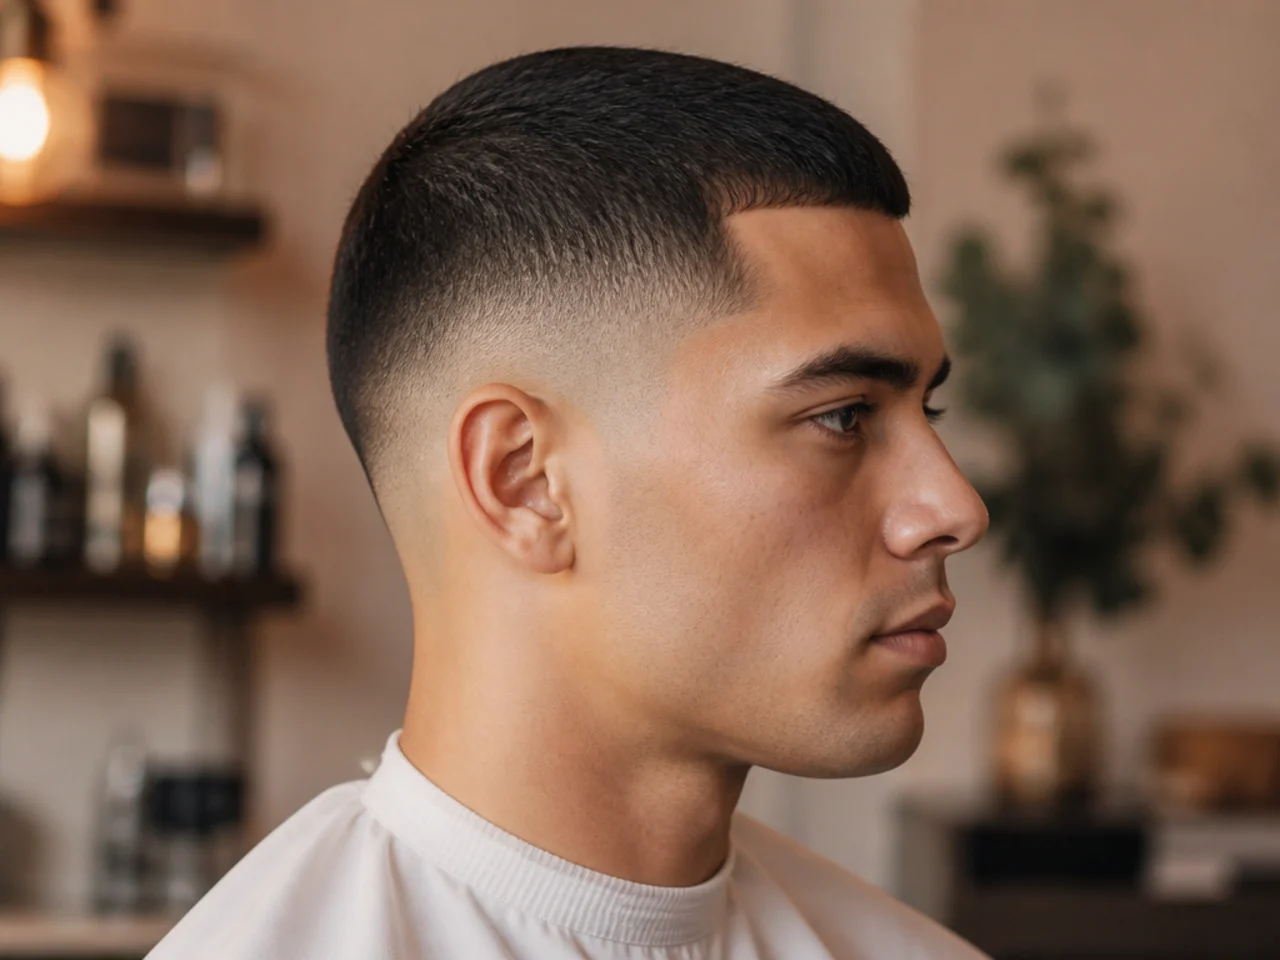
Every tool below matters. Skip one and the cut shows it.
- A quality set of clippers with guards #0.5 through #4. The clippers do the top length and the main blend. Cheap clippers stall on thick hair and drag the blend. If you cut your own hair even once a month, invest in a proper set — see our best hair clippers for men roundup for models that don't die by month three.
- A T-liner trimmer or dedicated line trimmer. Trimmers cut closer than clippers and turn on a dime. You'll use them to outline the burst arc, sharpen the sideburn, and cut the neckline.
- An edger or bevel razor. Optional if you're going for a soft finish. Non-negotiable if you want the neckline and sideburn to read carved rather than trimmed.
- A hand mirror plus a wall mirror. The burst arc lives behind your ear where you can't see it directly. A hand mirror held over your shoulder into the wall mirror lets you check both sides. If you don't own a hand mirror, borrow one — this is the tool that separates a clean home cut from a bad one.
- A mist bottle of clean water. Damp hair blends more smoothly than dry hair. Mist the sides before you start the fade and again between guard changes.
- A cape or old towel plus a soft brush. Hair down the shirt is uncomfortable. A brush knocks stray clippings off your ears and neck between passes.
Step 1 — Set the Length on Top
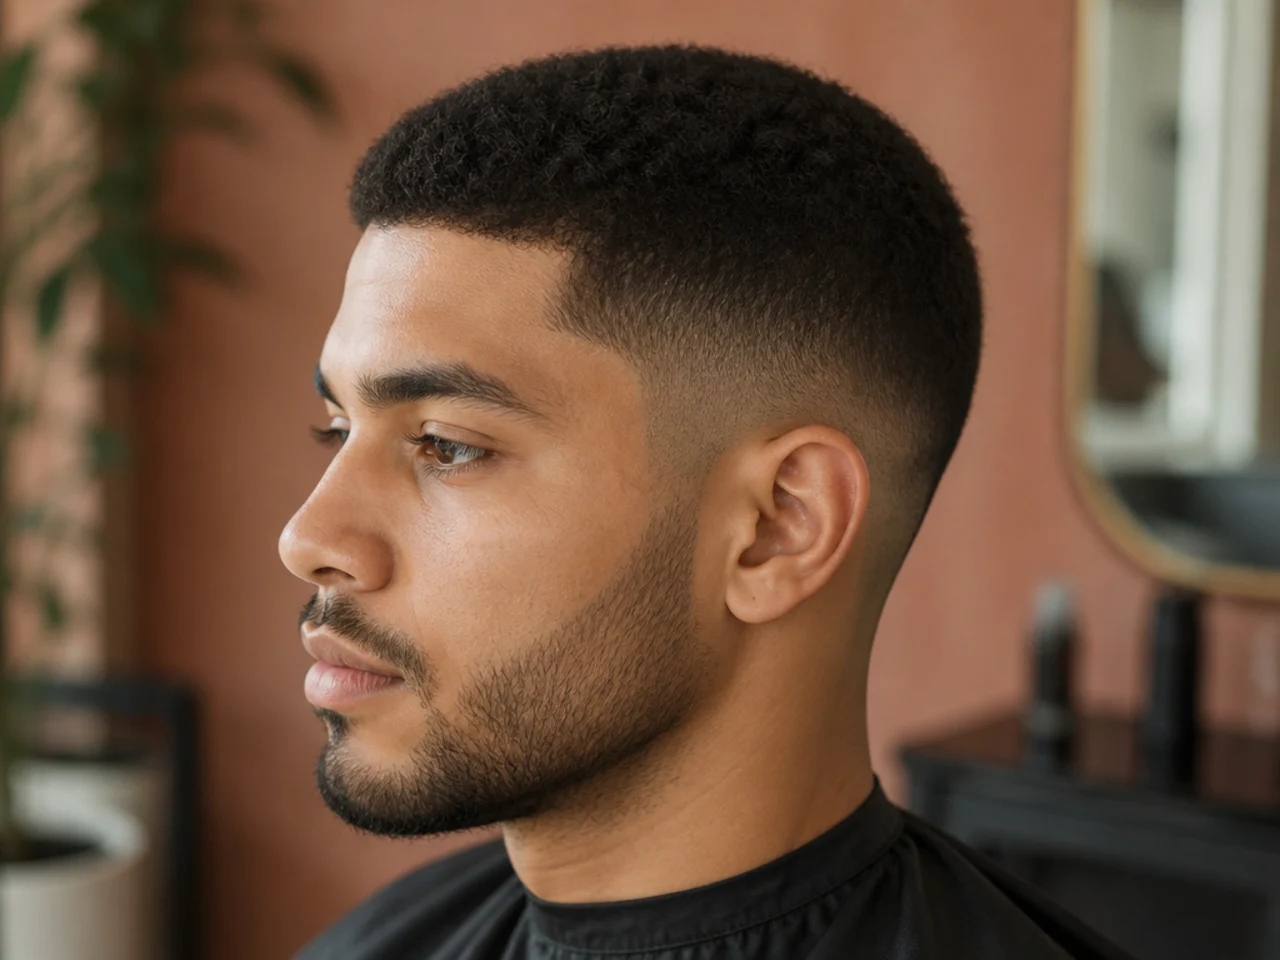
Start with dry hair, freshly washed and combed straight down. Pick your top guard first — this is the most important number in the whole cut. A 2 leaves roughly a quarter inch and reads almost military. A 3 leaves three-eighths and feels soft under the palm. A 4 pushes into short crew-cut territory. Choose based on face shape: narrower and longer faces suit a 2 or 3 to avoid stretching the profile; rounder faces balance better with a 3 or 4 for a touch of height.
Clip the top edge-first, running the clippers against the grain — from the nape toward the crown, from the temples toward the crown, and from the forehead back. Against-the-grain lifts the hair into the blade and gives a more consistent finish than a grain-following pass, which tends to skate over cowlicks.
Work in overlapping passes. Each pass should cover about a third of the previous pass's width. Don't rush the crown — hair swirls there and can leave a bald patch if you push too hard against a cowlick.
Once you've clipped the entire top with the primary guard, run a second pass with the same guard from the opposite direction to catch anything the first pass missed. Brush hair off your ears and shoulders and check the crown in the hand mirror.
Common mistake: picking a top guard that's too short for the burst you want. If your burst inside the arc is a 1, and your top is a 2, the contrast is barely visible — the whole point of the burst gets lost. Keep at least two guard sizes between the top and the shortest point inside the arc.
Step 2 — Map the Burst Arc
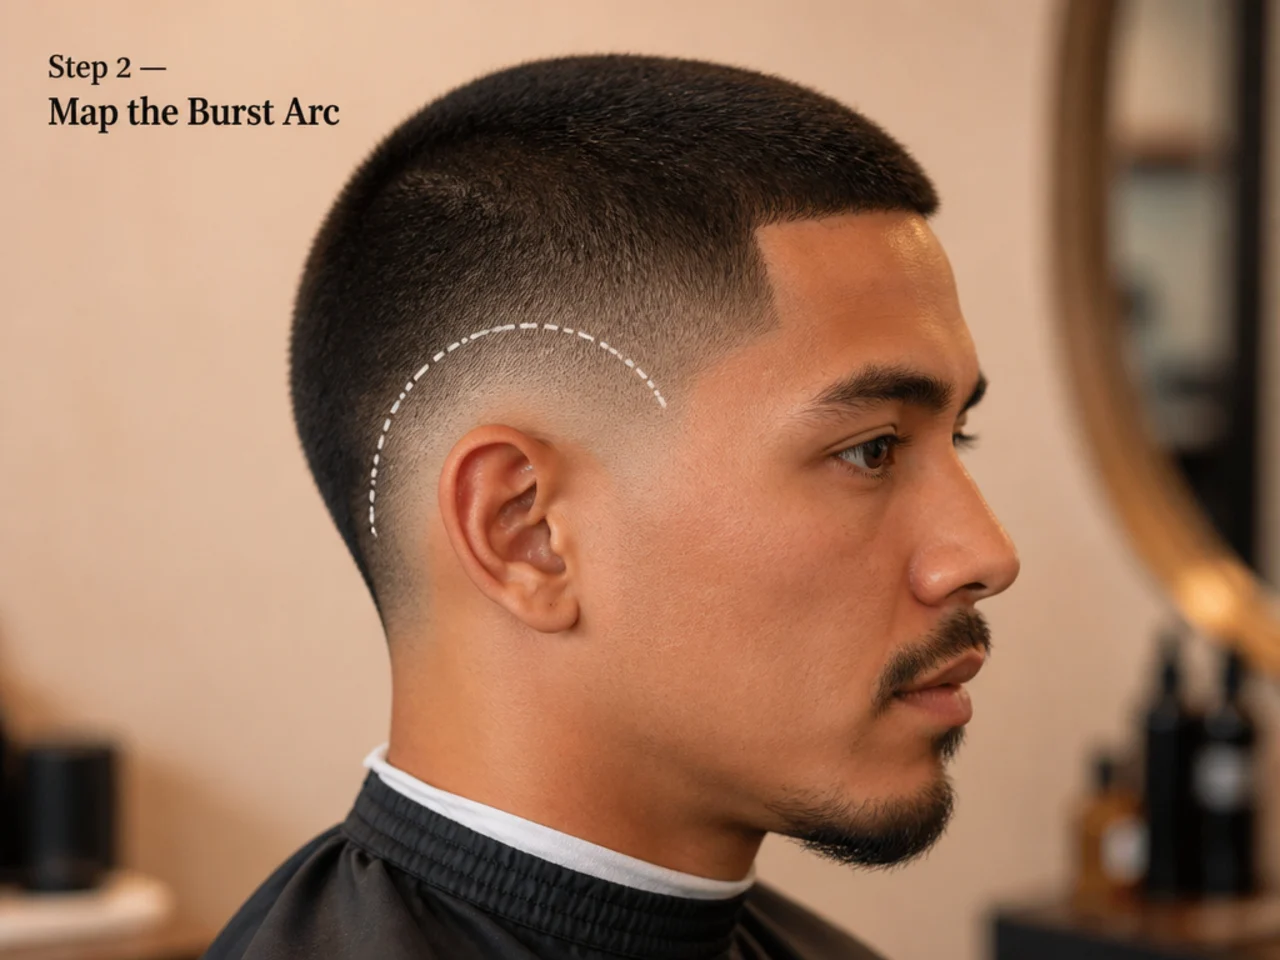
Before you drop a single guard, map the shape. The burst arc is a semicircle, and the widest point sits directly behind the earlobe — not above it, not below it, directly behind. That single dot is what your whole blend curves around.
Use a trimmer with no guard to trace the outline. Start at the sideburn just above the ear, curve up and back so the top of the arc lands roughly at the level of the outer corner of your eyebrow, then swing down behind the ear and end at the base of your hairline at the nape. What you should see is a soft, upside-down U wrapping the ear.
Then do the second side. Match the height by measuring from a fixed reference: the top of the ear, the corner of the eyebrow, or the base of the sideburn. Both arcs need to be within a quarter inch of each other or the cut reads lopsided from the front.
Common mistake: placing the arc too high on the first try. If the top of the arc climbs above the temple, you're closer to a high burst fade than a clean burst buzz cut. For the buzz-cut version, keep the top of the arc at or below the outer corner of your eyebrow. You can always take it higher on the next cut — you can't put length back.
Step 3 — Blend the Burst
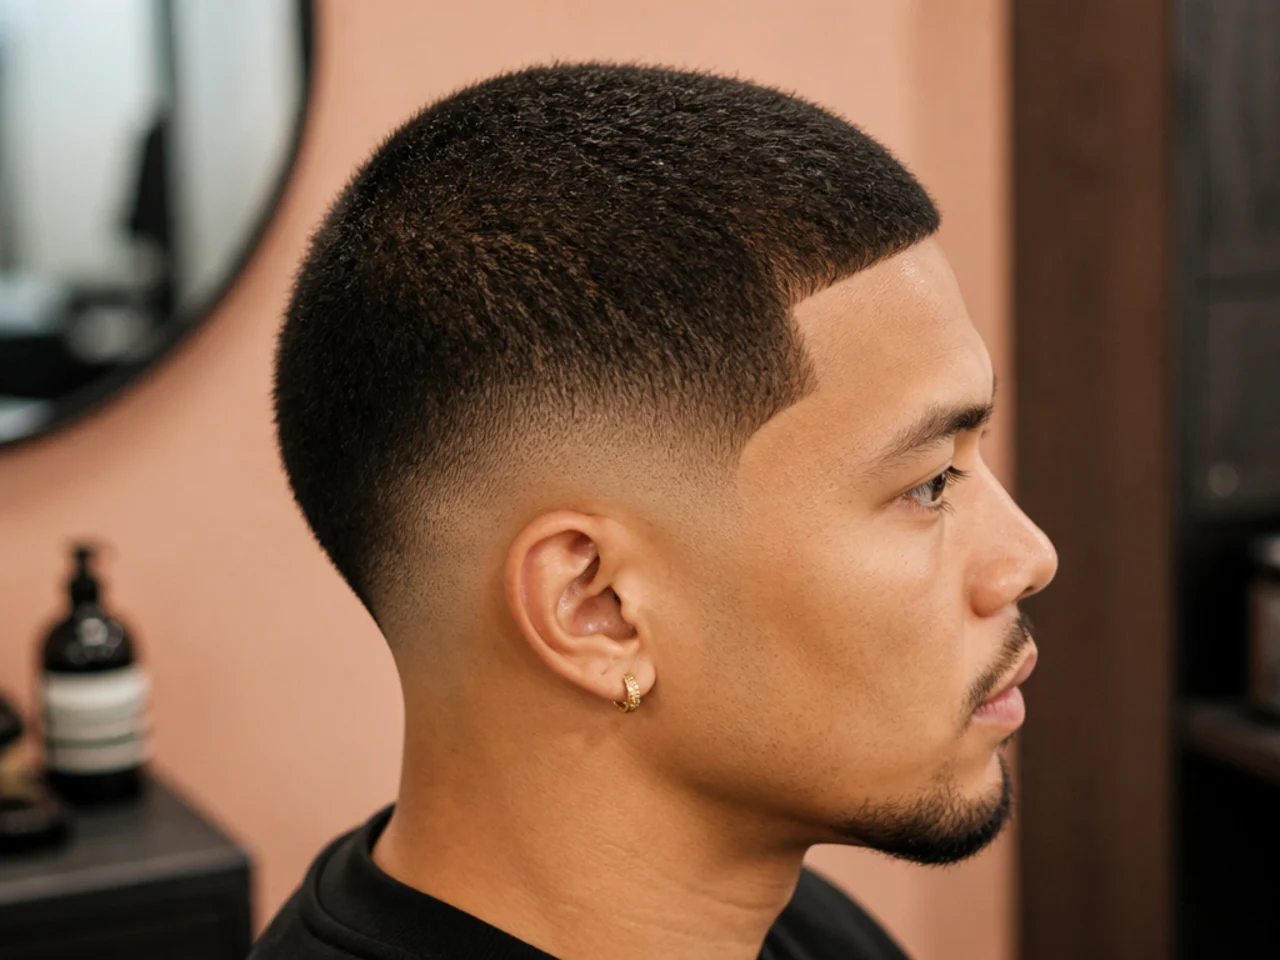
This is the step that separates a clean burst from a fuzzy one. You're going to work through three or four guard numbers, each one covering a shrinking area, all pointed at the mark you made in step 2.
Start with your shortest guard — a 0.5 or 1 for a subtle burst, no guard (skin) for maximum contrast. Run the clippers into the arc from below, following the curve, staying within a half-inch radius of your mark. Angle the clippers outward as they exit the shape — this is the "flick." A straight cut leaves a hard line; a flick leaves a soft transition.
Change to the next guard up (usually a 1 if you started with 0.5, or a 1.5 if you started with 1). Run the same flick technique, but let the pass extend a half-inch further from the mark than the previous guard did. You're widening the circle each time.
Repeat with your next guard, and again with the guard immediately below your top length. So a top of 3 might blend 0.5 → 1 → 1.5 → 2 → 3 across the arc.
Rotate the clippers as you work rather than sweeping in one direction — the burst is a circle, not a line, and rotating keeps the blend curved. Mist the area with water between guards to keep the hair grabbing the blade.
Check the blend in the hand mirror after every guard change. If you see a stripe where two guards meet, the transition isn't smooth yet — go back over that seam with the higher guard using the flick technique until the stripe disappears.
Step 4 — Sharpen the Nape and Edges
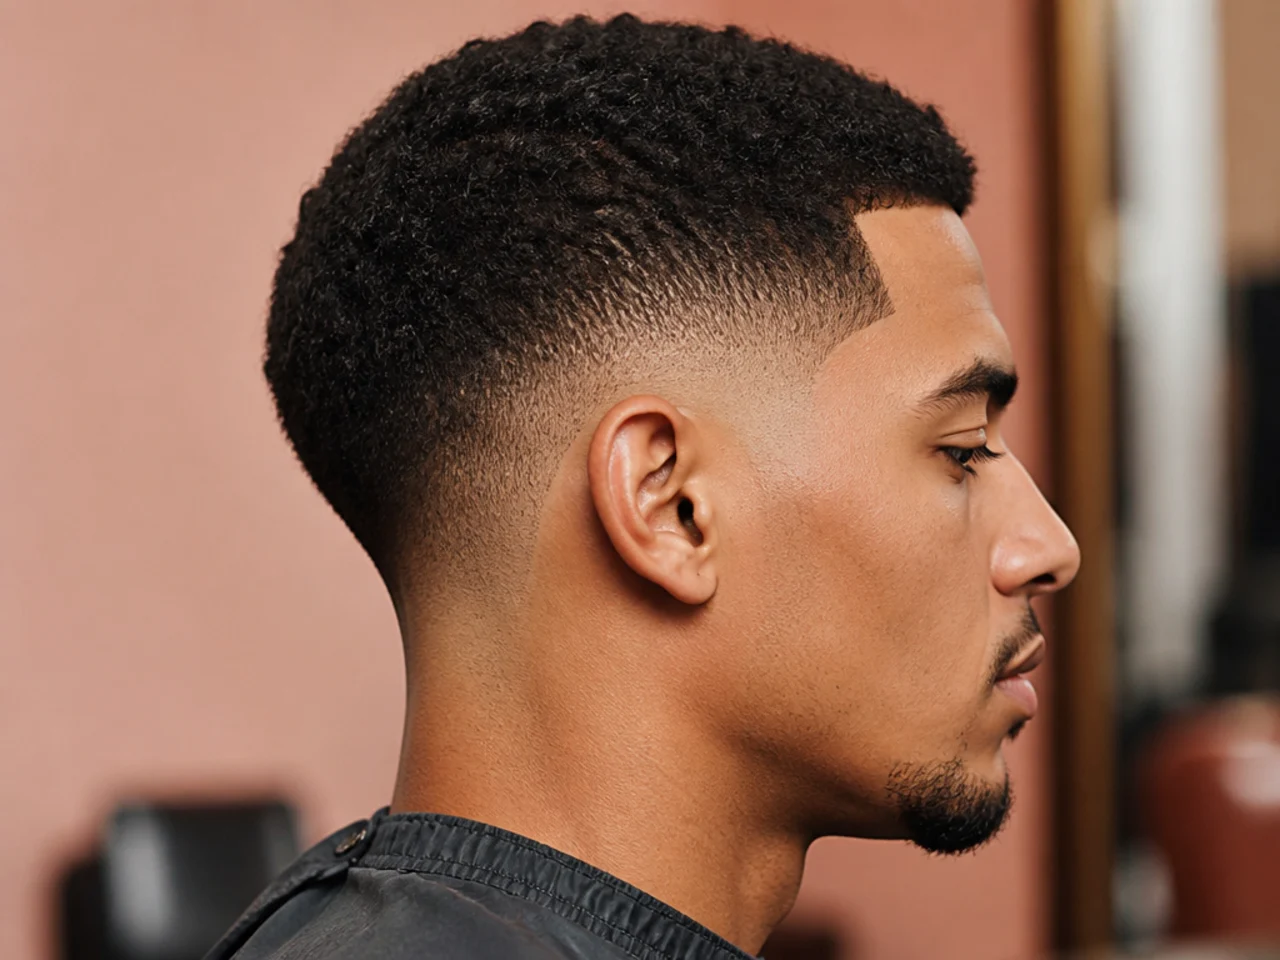
Edges last, always. Cutting the neckline before the fade means you're setting a hard reference the burst has to match — and if the burst drifts, the whole shape looks off. Fade first, edges second.
Start at the nape. Choose your finish: a tapered nape dies out into your natural hairline with a soft trimmer pass, no hard line; a blocked nape cuts a straight horizontal line across the back of your neck for a sharper finish. For a burst fade buzz cut, tapered is the safer choice — it echoes the softness of the burst arc. Blocked reads sharp but grows out into a visible line within a week.
Run a trimmer with no guard along your natural nape hairline, following the curve of your neck. Take off the peach fuzz on either side of the hairline so the nape reads clean. Don't invent a new line higher than your natural growth — that's how homemade cuts start looking like helmets three weeks later.
Move to the sideburns. Line up the bottom of the sideburn with the top of your tragus (the small flap at the front of your ear canal) for a classic length. If your face is longer or you want a modern look, take it a quarter-inch shorter. Cut a straight horizontal line at that height on both sides.
Finish around the ear. Use the trimmer to clean any stray hairs on the top of the ear and just behind it — where the burst arc dies out. This is your last chance to correct the arc's shape; if one side is a hair higher than the other, a light trimmer pass now brings them level.
Common mistake: using the edger or trimmer with pressure. The blade cuts closer than clippers by design — no pressure needed. Let the tool ride the surface of the skin, moving in slow, controlled strokes. Pressing down gives you a nick and a shaving rash within an hour.
Step 5 — Style and Maintain
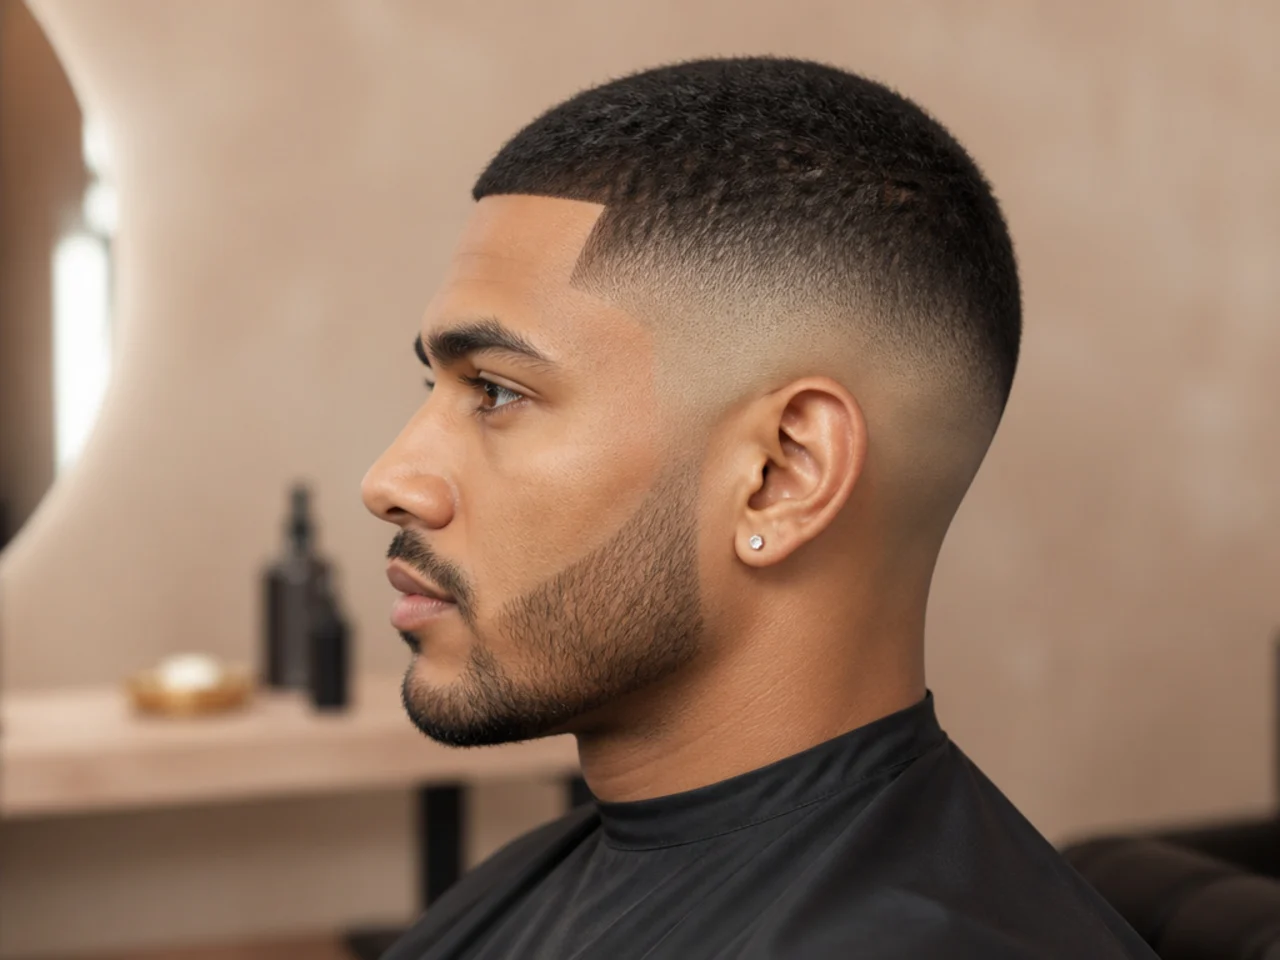
The best thing about a burst fade buzz cut is what happens after the cut. Which is almost nothing.
For most guys, a rinse in the shower and a towel-dry is the whole routine. If your hair has any texture — a soft wave, a light curl — a pea-sized amount of matte cream rubbed through with your palms adds definition without weighing the buzz down. Skip pomade, gel, and paste. Everything sticky reads greasy on a length this short.
For a matte, no-shine finish, use a mattifying styling cream. For a slightly softer look on a longer top guard (a 3 or 4), a texture spray gives grip without stiffness. Neither is required — most days you'll leave the house with damp hair and it'll dry into shape on the walk.
Cadence. Book the next cut in two to three weeks. The buzz on top forgives an extra day or two because it grows uniformly, but the burst arc blurs by day fourteen. If you cut at home, put a reminder in your phone for day twelve and re-do just the fade — the top can wait another cycle.
Between cuts. Wash three or four times a week with a mild shampoo. Every day strips oil from the scalp and the exposed skin inside the arc starts flaking within a week. Condition every wash, even though there's barely any hair to condition — the scalp benefits. Sleep on a cotton pillowcase or a satin one, doesn't matter at this length. Rub sunscreen on your ears and the exposed skin above them in summer; the burst arc has zero coverage.
Shape-up between cuts. Two minutes with a trimmer on the sideburns and nape line, every four or five days, keeps the cut looking like day one. This is the trick barbers use themselves. Anyone who wears a buzz owns a trimmer for this reason.
For adjacent short-hair options that pair with a similar maintenance rhythm, see our men's haircuts for short hair guide. If you want to keep the top short but swap the arc for a subtler shape, a low burst fade is the closest neighbour — same technique, less exposed skin. Pair the same arc with a mullet in back for a burst fade mullet, a mohawk strip up top for a burst fade mohawk, or a tapered nape instead of a hard fade line for a burst fade taper.
Troubleshooting: Common Burst Fade Buzz Cut Mistakes
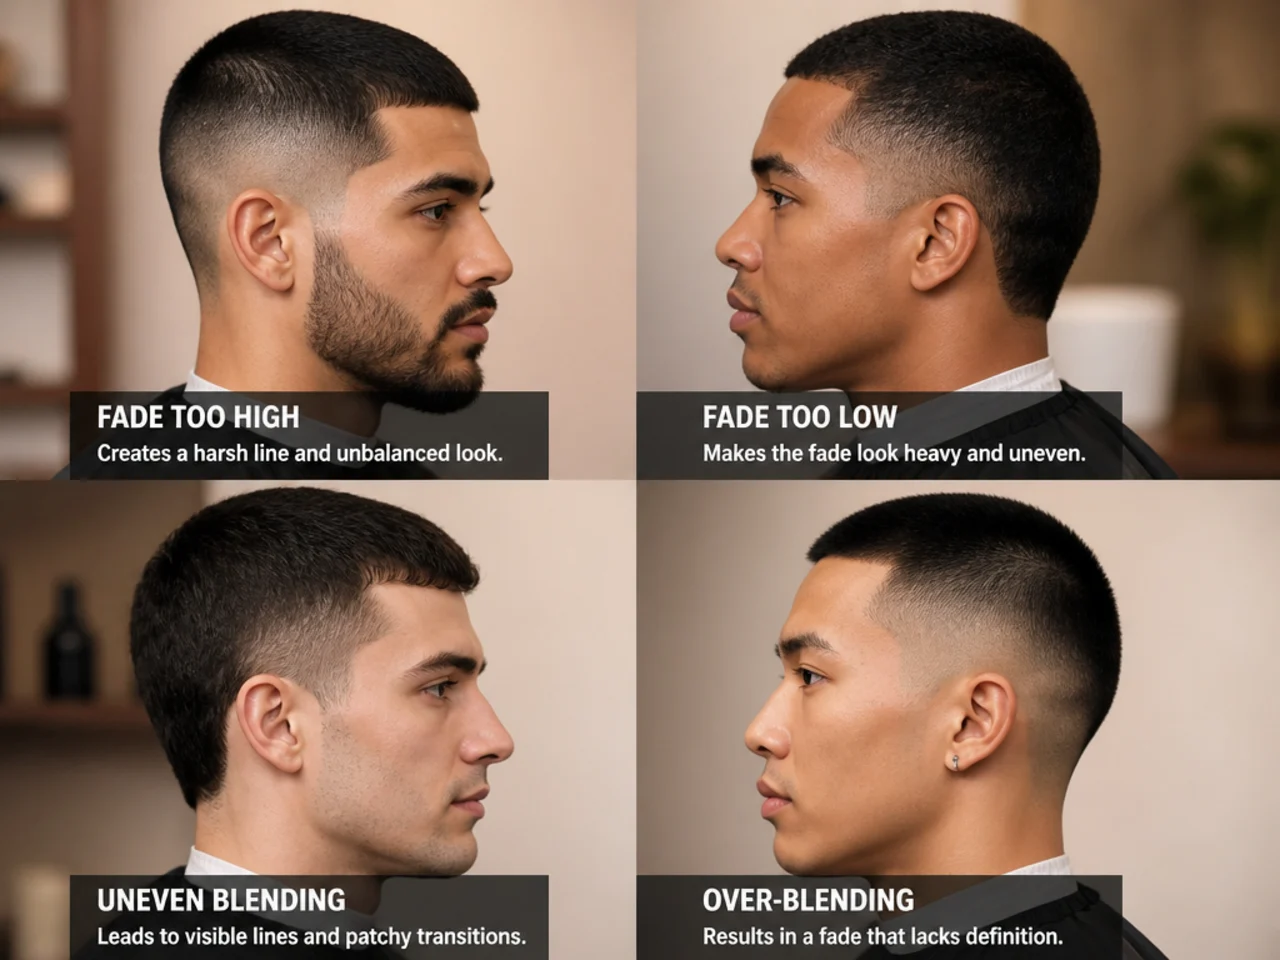
Every burst fade buzz cut fails the same way. Read the fixes below so you know what to do mid-cut rather than starting over.
- Harsh line at the ear. You clipped without flicking outward as the clippers exited the arc. Go back over the seam with the next guard up, angling the clippers away from the ear. The line dissolves in two passes.
- Uneven curve, one side higher than the other. Your marks in step 2 weren't symmetrical. Re-outline both sides from a fixed reference like the corner of the eyebrow, then re-fade the shorter side up to match — you can lengthen an arc, but you can't shorten one once the hair's off.
- Over-fading up into the top length. You let the blend climb past the top of the arc. Buzz the whole top again with your primary guard to reset, and next time keep every guard change contained inside the arc you outlined.
- Ridge between guards. You changed guards without overlapping the previous pass. Go back over the ridge with a guard between the two — a half-size guard or a lighter pass with the shorter one.
- Unintended stripe of scalp inside the arc. You pressed too hard or held the clippers at the wrong angle. This one takes a week to grow back before you can re-fade. Wear the shortest guard a size longer next time so the base of the arc is a 1 rather than skin.
- Buzz looks patchy the day after. Cowlicks weren't clipped against the grain hard enough. Re-clip the crown against the grain twice, misting with water between passes.
If two mistakes overlap and the whole cut looks off, don't chase the fix at midnight. Sleep on it, take a look in daylight, and either even everything up with a shorter guard or book a barber to correct.
FAQs
How long does a burst fade buzz cut take to cut at home?
Twenty to thirty minutes end to end on your first attempt, closer to fifteen once the sequence is muscle memory. The buzz on top runs in five minutes; the arc, the blend, and the edges take the rest.
How is a burst fade buzz cut different from a regular buzz cut?
A regular buzz keeps the same guard from crown to ears. This one adds a semicircle of shorter length wrapping the ear — the sides taper from your top guard down to a 1, 0.5, or skin as they curve behind the ear.
Can I cut a burst fade buzz cut at home if I've never done a fade before?
The buzz on top is easy. The burst arc behind the ear is not — it lives in your blind spot and depends on precise transitions between guards. For your first attempt, run the top yourself, then book a barber to set the burst. Watch how they map the arc, then try it solo next time.
Do I need trimmers as well as clippers?
Yes. Clippers do the top and the main blend; trimmers or an edger handle the burst arc's outline, the sideburn, and the nape line. Running the whole cut with clippers alone leaves the arc soft and the edges fuzzy.