

20 Steps To Cut A Short Wolf Cut At Home Safely
Twenty steps for cutting a short wolf cut at home, built around the one technique the shape depends on — a stationary crown guide with everything behind it over directed forward. That is what leaves the back long while the top stays short, and it is what nobody explains.
In this article · 27
- What Makes a Cut a Wolf Cut
- Choosing Your Crown Length
- The 20 Steps
- 1. Cut It Dry and Styled
- 2. Work in Even Light
- 3. Skip the Thinning Shears
- 4. Comb Everything Into Its Natural Fall
- 5. Set the Perimeter Length First
- 6. Cut the Back Perimeter With Two Mirrors
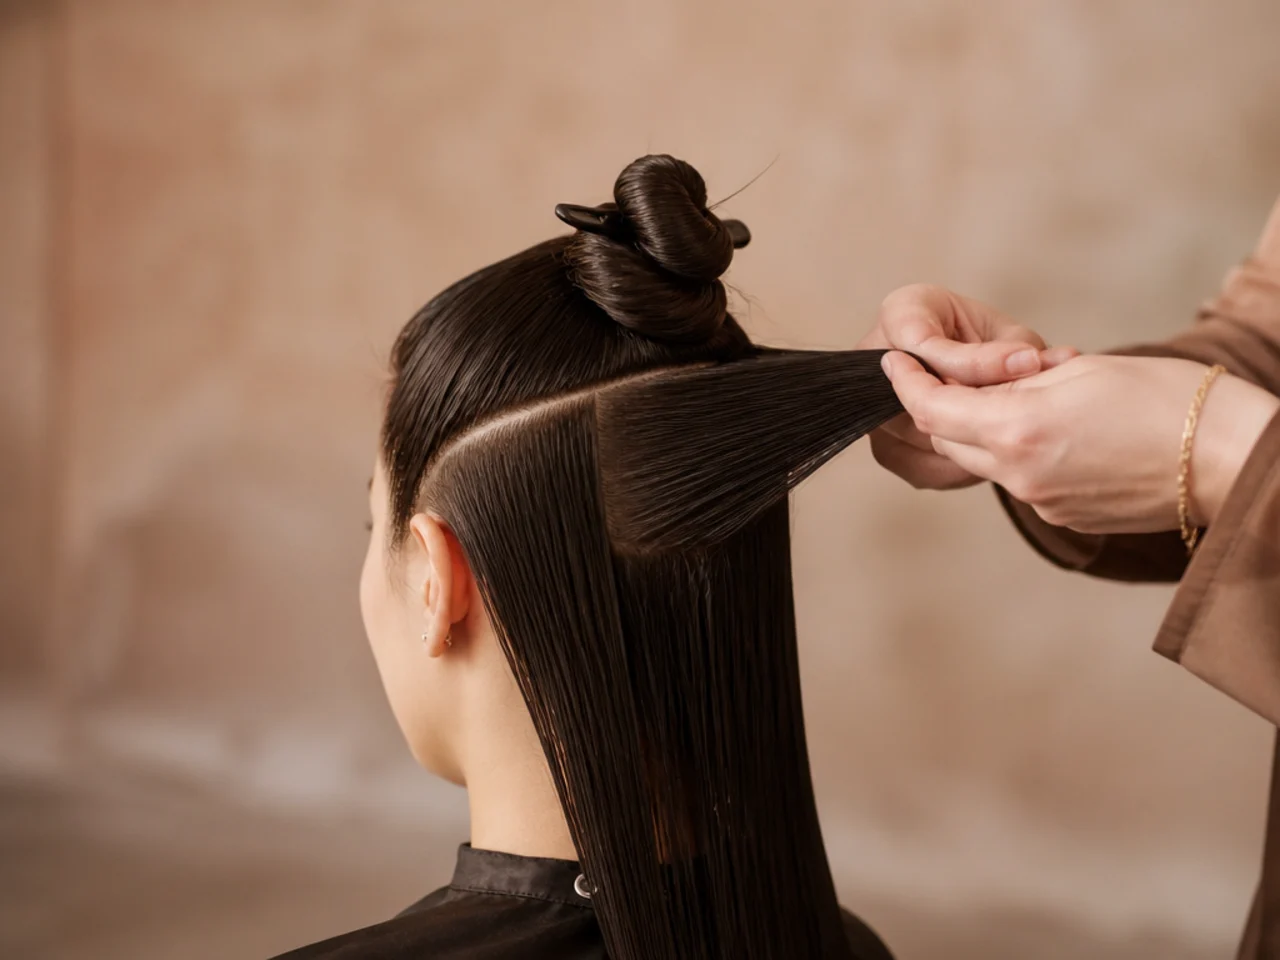
- 7. Part the Head Into Four Quadrants
- 8. Take a Central Section at the Front Hairline
- 9. Cut the Crown Guide at 90 Degrees
- 10. Travel Back Along the Centre
- 11. Over Direct the Back to the Crown Guide
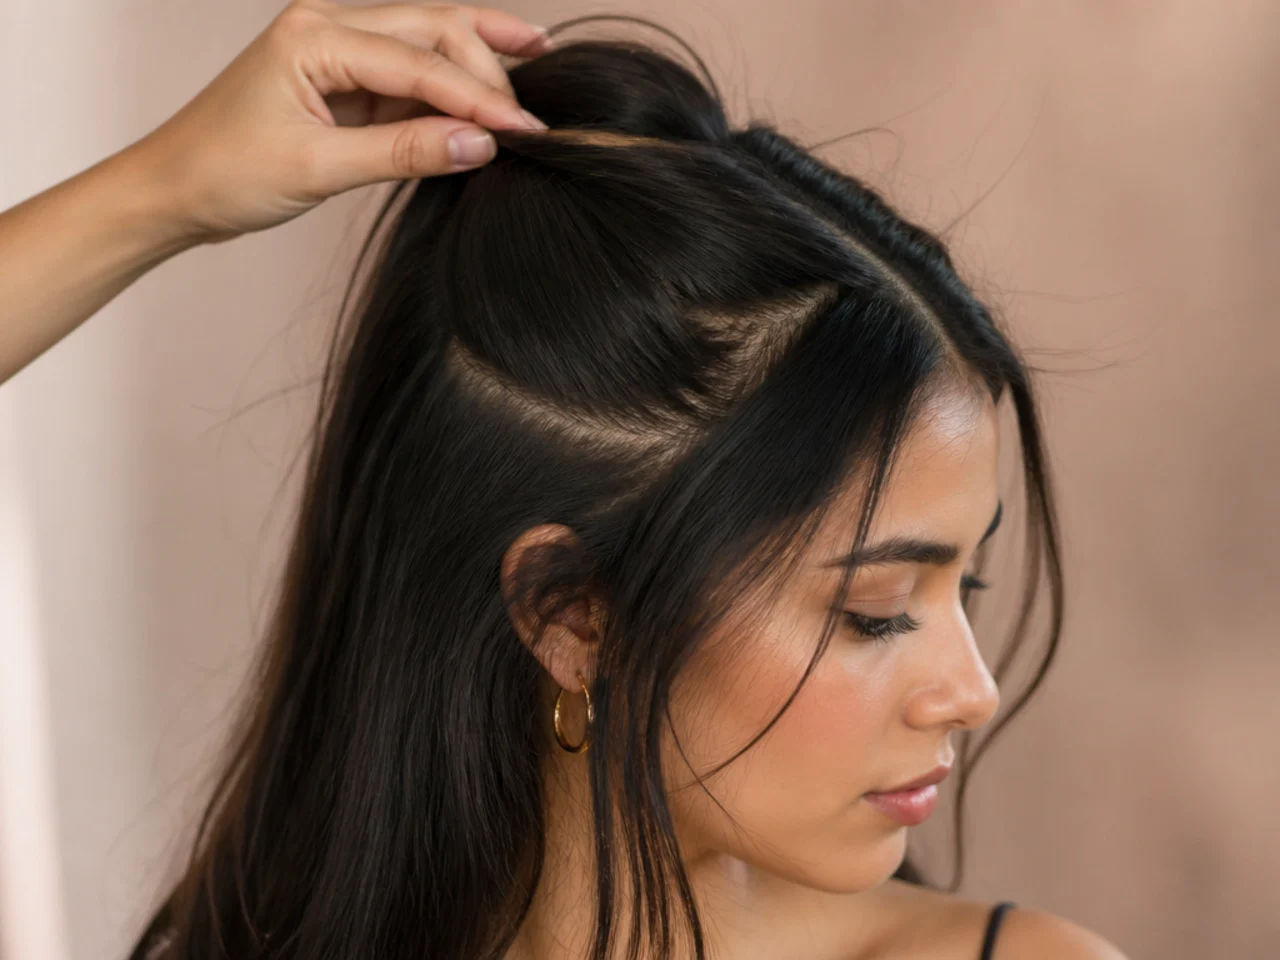
- 12. Bring the Sides Forward to the Same Guide
- 13. Cut the Face Framing Last
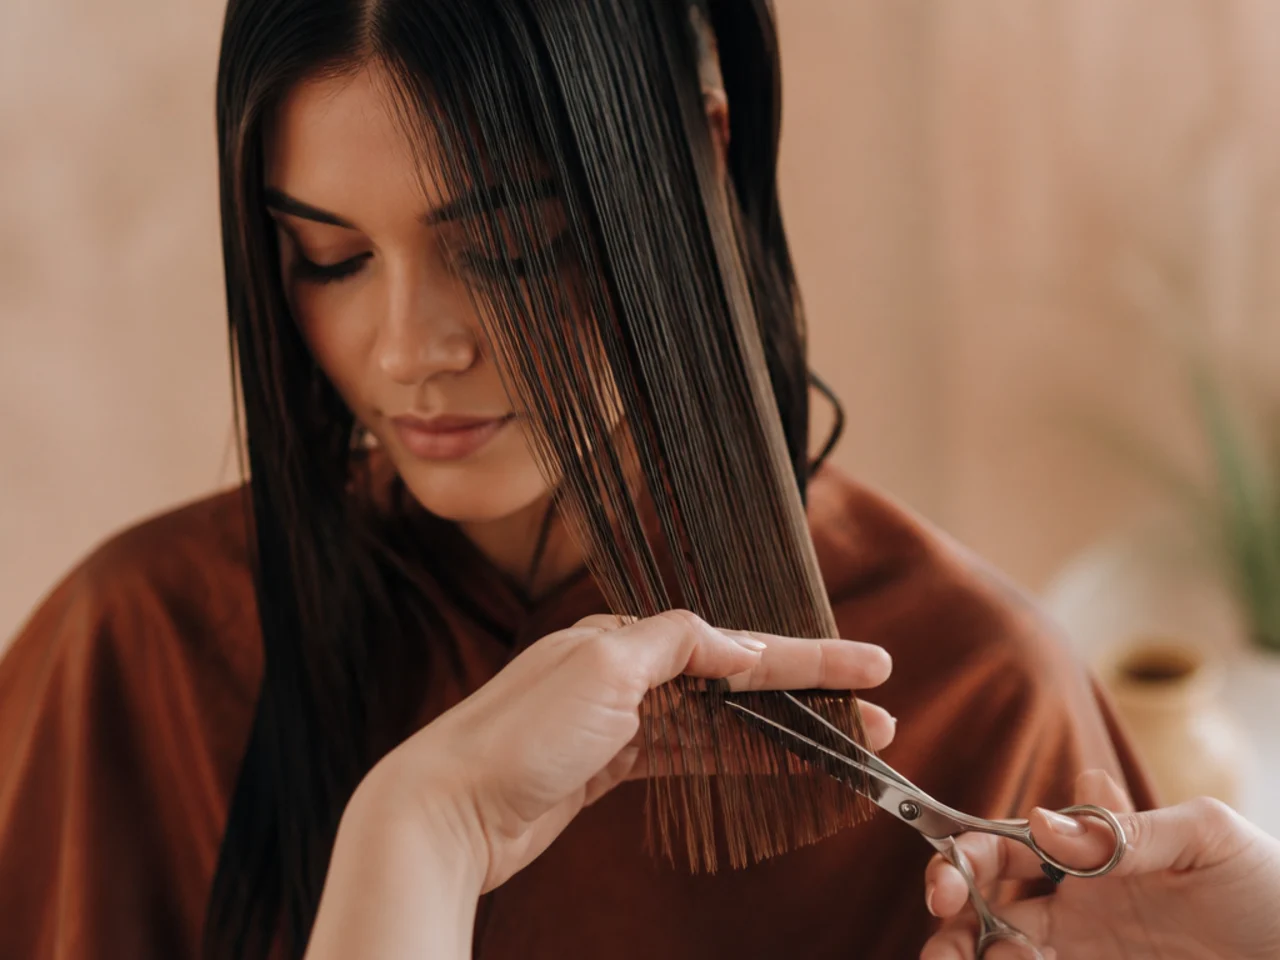
- 14. Point Cut Every End
- 15. Check the Crown for Flat Spots
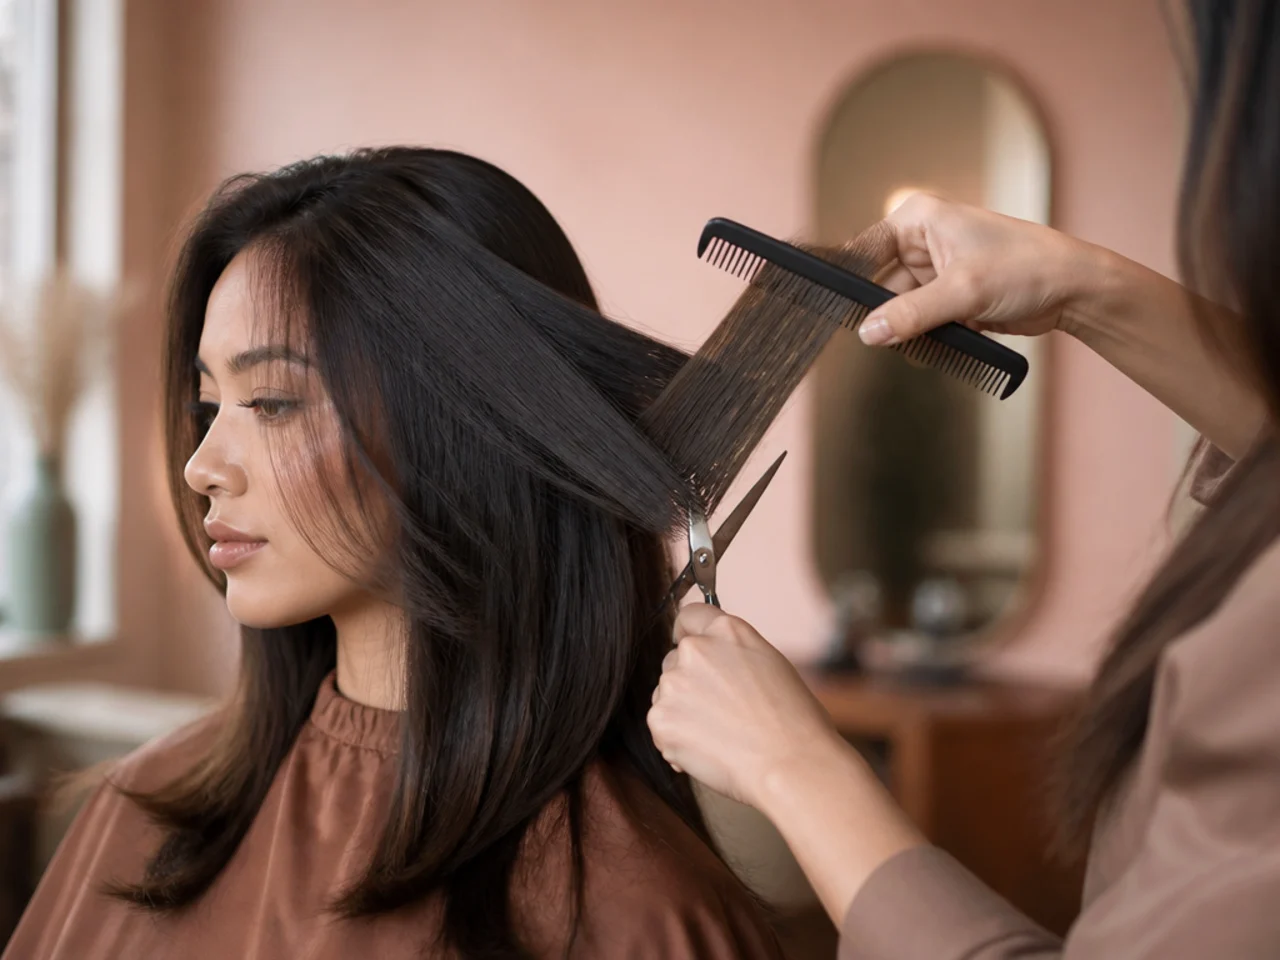
- 16. Cross Check the Layers Horizontally
- 17. Balance the Two Sides at the Chin
- 18. Texturize the Fringe
- 19. Dry It and Look for Shelves
- 20. Wait a Week Before Correcting
- Styling and Upkeep
- Mistakes to Avoid
- FAQ
- Final Thoughts
A home wolf cut usually fails at the crown, where the guide gets lost after three sections and the layers stop relating to anything.
A wolf cut is short on top and long at the back. Shag layering through the crown, mullet weight at the nape, and a deliberate difference between them.
That difference comes from over direction, not from cutting the back short. Every section behind the crown is pulled forward to the same guide, so the further back it starts, the longer it finishes.
What Makes a Cut a Wolf Cut
Short layers concentrated at the crown. They sit on top of the longer ones underneath and prop them up, which is where the lift comes from rather than from any product.
Weight left at the nape. The back keeps its length while the top is cut away, and that contrast is the mullet half of the cut.
Heavy face framing. The front sections are the shortest hair on the head after the crown, cut on a diagonal that runs from cheekbone toward jaw.
Ends that are never blunt. Every perimeter is point cut, because a straight edge under short crown layers reads as a bad bob rather than as a wolf cut.

Choosing Your Crown Length
Four inches is the safe short. Enough to stand up on its own and enough to correct if a section goes wrong, which is the only forgiveness a home cut offers.
Three inches is the committed short. It gives maximum lift and maximum contrast against the back, and it takes three months to grow out of.
Fine hair wants the longer end. Short crown layers on fine hair expose scalp at the parting, because there is nothing beneath them wide enough to cover it.
Coarse hair wants the shorter end. Coarse hair supports its own weight, so a longer crown layer just sits flat and none of the lift the cut exists for ever appears.

The 20 Steps
1. Cut It Dry and Styled
Wash, dry and style the hair as you normally wear it before touching it. Wet hair hangs at its stretched length, so wet layers land short, and at the crown an inch of error is the whole cut.
2. Work in Even Light
Put a lamp behind you as well as in front. A single light source throws the back of the head into shadow, which is exactly where the steps between sections hide until somebody photographs you.

3. Skip the Thinning Shears
Use ordinary shears only. Thinning shears remove strands from inside the section, and two passes in the same place hollow out the interior so the ends collapse into see through wisps that take a year to replace.

4. Comb Everything Into Its Natural Fall
Let the hair sit where it wants to before you plan anything. Cowlicks at the crown and a hairline that swings one way decide where your guide can go, and fighting them shows the day after the cut.

5. Set the Perimeter Length First
Decide where the back is going to finish, and remember it is the one length you cannot get back. Cutting the layers first means the perimeter has to be matched to them, which nearly always means going shorter.
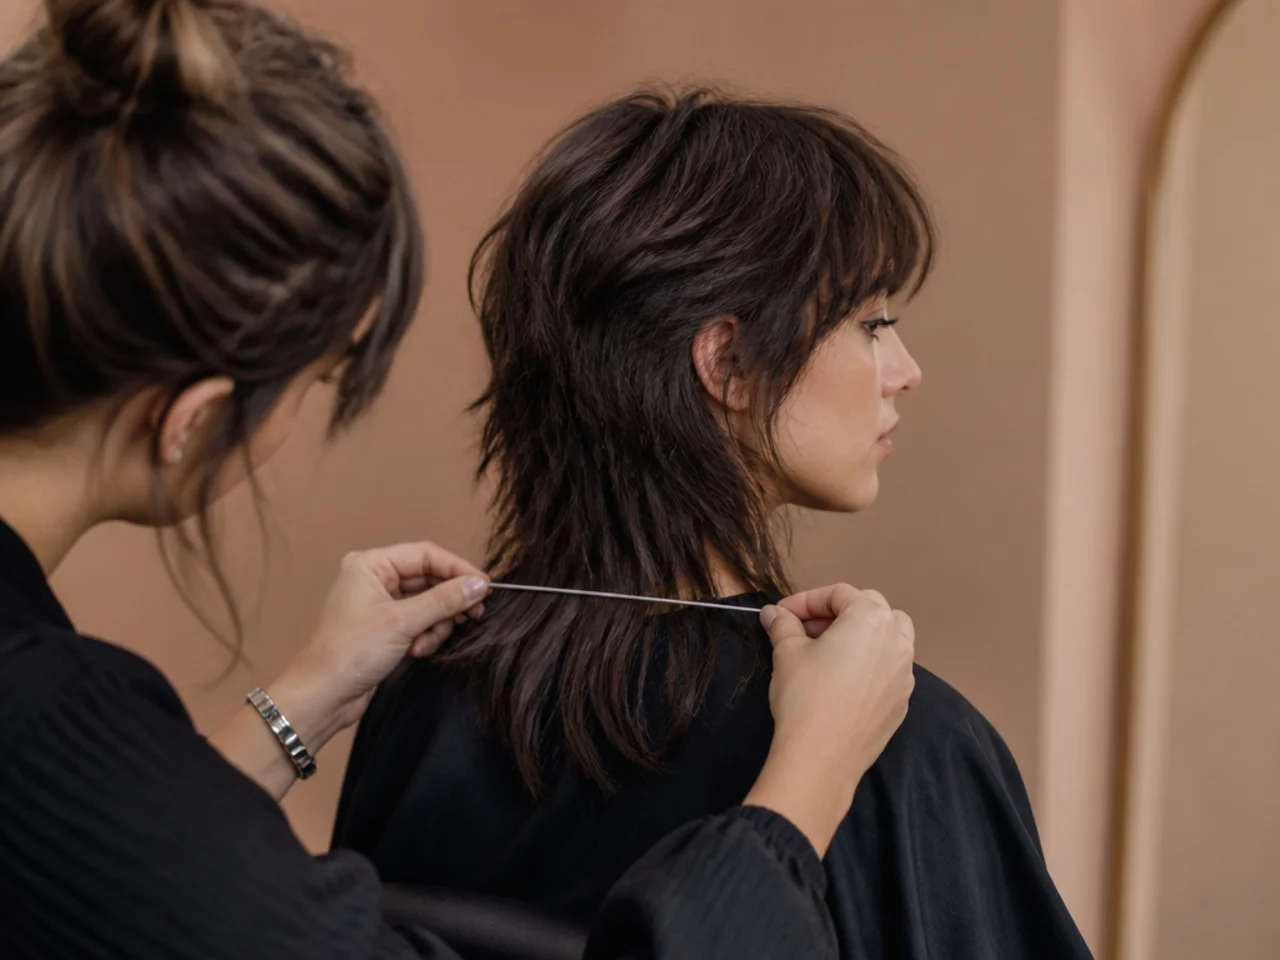
6. Cut the Back Perimeter With Two Mirrors
Use a hand mirror against a wall mirror so you see the back directly rather than reversed. Cutting by feel is how one side finishes half an inch higher, and a sloped perimeter under layers cannot be hidden.

7. Part the Head Into Four Quadrants
A centre parting from hairline to nape, crossed by an ear to ear parting over the top. Working without sections means each cut is judged against whatever happens to be next to it rather than against a plan.
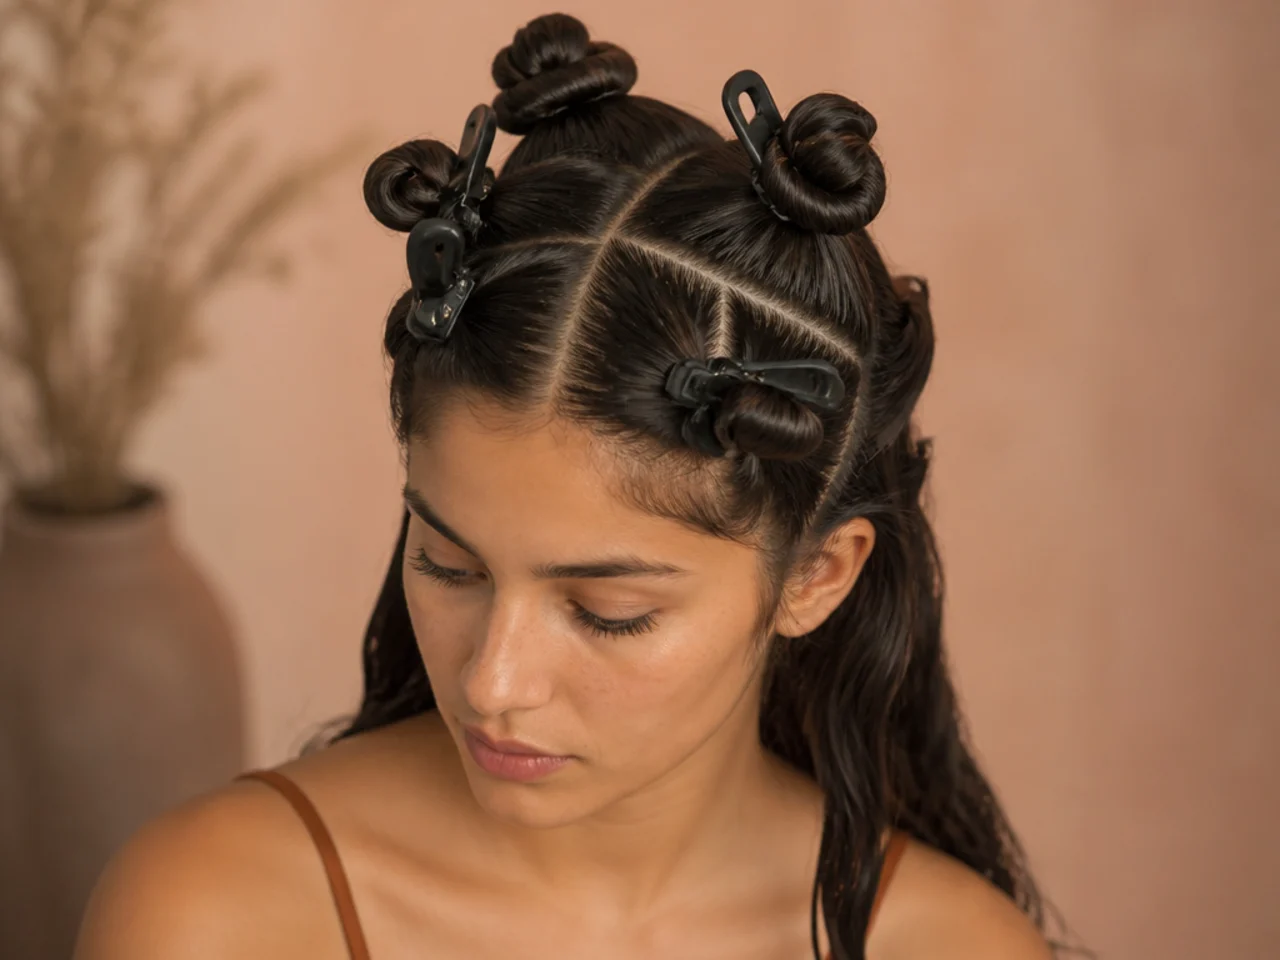
8. Take a Central Section at the Front Hairline
Lift a narrow section from the middle of the front hairline, about an inch wide. Everything on the head is going to be measured against this one piece, so take it from the centre where the head is symmetrical.
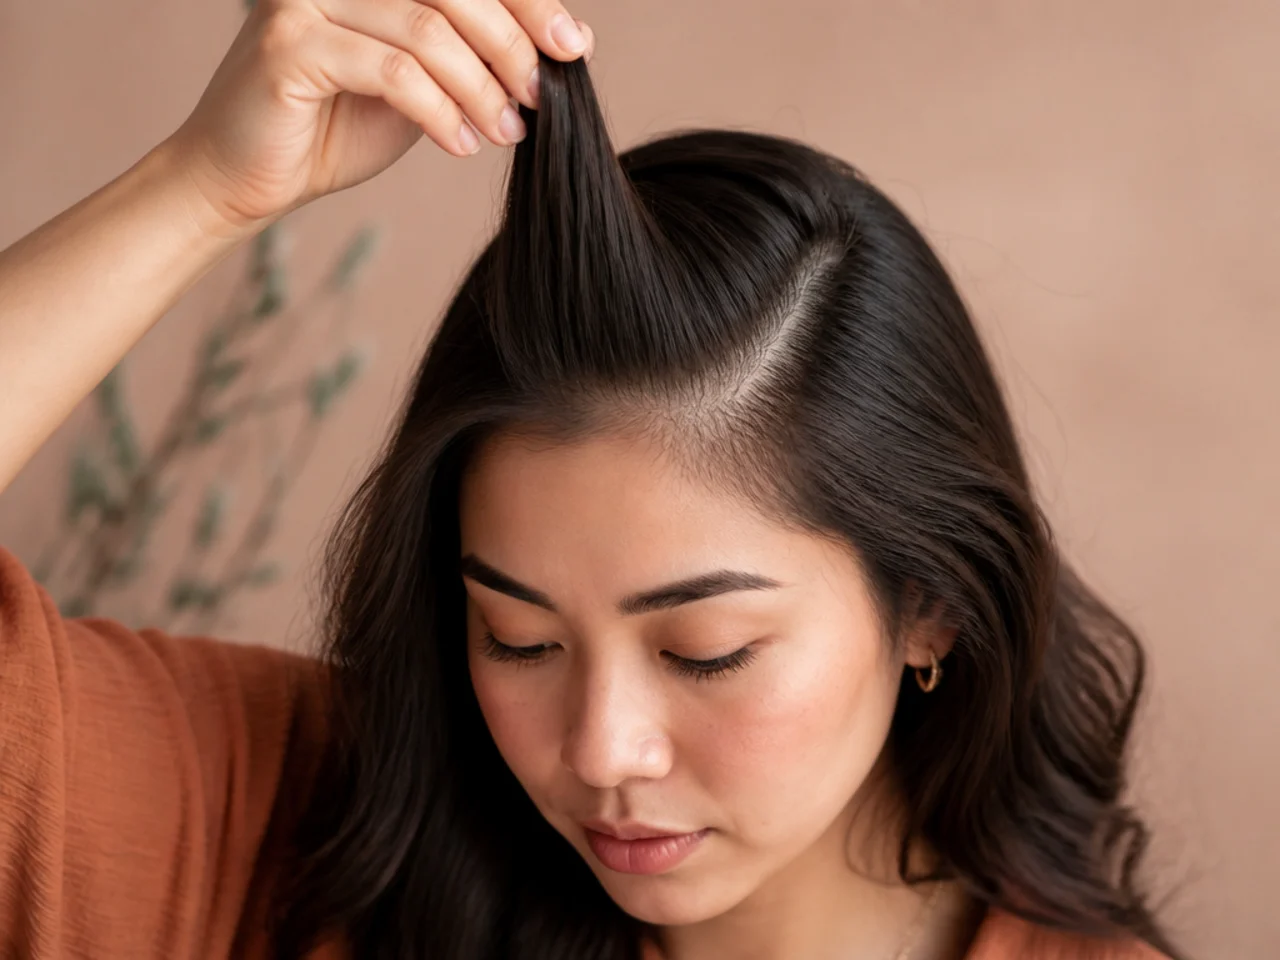
9. Cut the Crown Guide at 90 Degrees
Hold that section straight up, perpendicular to the scalp, and cut it to your chosen crown length. Any angle other than straight up changes the length of every section that follows, because they all get matched to this one.
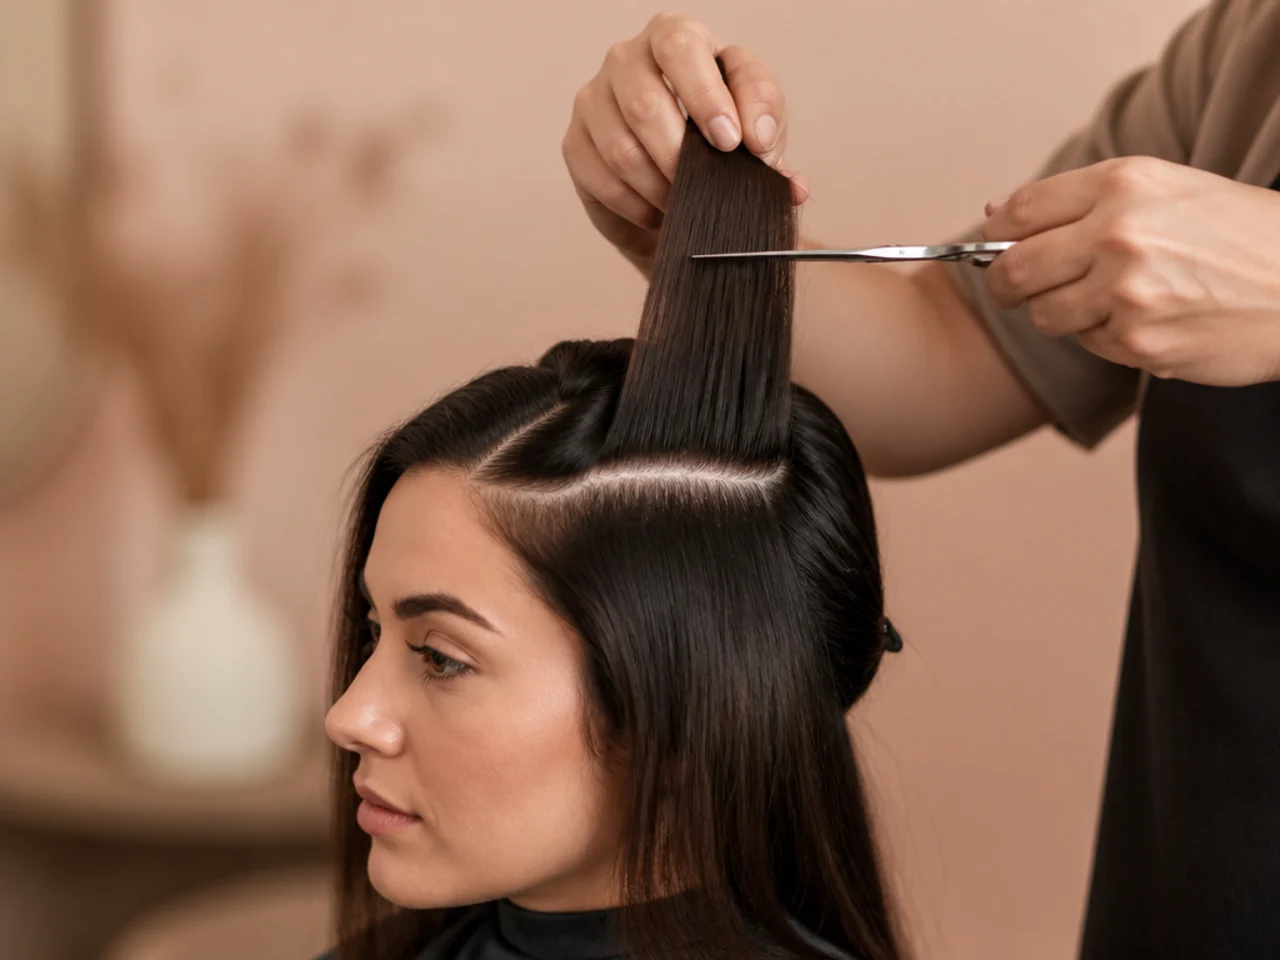
10. Travel Back Along the Centre
Take the next section behind the guide, include a little of the already cut hair in your fingers, and cut level with it. Losing sight of the previous length is what leaves a shelf across the top of the head.

11. Over Direct the Back to the Crown Guide
From the ear to ear parting backward, stop travelling and bring every section forward to the crown guide instead. Each one starts further away, so each finishes longer, and that gradient is the mullet weight at the nape.
12. Bring the Sides Forward to the Same Guide
Treat the side quadrants exactly the same way, pulling each section up and forward to the crown length. Cutting the sides to their own guide leaves two separate haircuts that meet in a visible line above the ear.
13. Cut the Face Framing Last
Take the front triangle, comb it forward and cut a diagonal running from cheekbone down to jaw. Cutting it before the layers means you have no idea how much length the over direction has already removed from it.

14. Point Cut Every End
Go back over each perimeter with the shears held vertically and cut up into the ends. A blunt edge beneath short crown layers stacks the weight at the bottom and drops the lift you just spent an hour building.
15. Check the Crown for Flat Spots
Lift sections around the crown and look for anything longer than its neighbours. A missed section there reads as a dent rather than as length, because the hair around it has nothing to lean on and collapses into the gap.

16. Cross Check the Layers Horizontally
Re-take the sections at right angles to the way you cut them. Anything uneven that was invisible along the cutting direction shows immediately across it, which is the only reliable way to find your own mistakes.
17. Balance the Two Sides at the Chin
Pull the front sections from both sides together under the chin and compare. Judging each side separately in a mirror hides a difference of half an inch that everyone standing in front of you will see.

18. Texturize the Fringe
Slide the shears into the fringe ends at a shallow angle rather than cutting across. A softer, less structured result is the Korean wolf cut reading of the same shape, and it is the more forgiving one at home.

19. Dry It and Look for Shelves
Blow it out roughly and see where the hair stacks instead of falling. A shelf means two sections met at different lengths, and the fix is removing the corner of the longer one, not re-cutting the whole area.

20. Wait a Week Before Correcting
Live with it through two washes. Hair settles into its cut shape over several days, and most of the faults people rush to fix on the first night have disappeared by the third.

Styling and Upkeep
Dry the crown against its fall. Pushing the roots the wrong way while they dry is what makes short crown layers stand rather than lie, and it lasts until the next wash.
Use nothing heavy above the ears. Cream and oil on short crown layers glue them flat, and flat crown layers turn a wolf cut into a long shapeless shag.
Texture spray at the mid lengths only. The ends need separation and the roots need lift, and spraying the roots gets you neither.
Trim the fringe and face framing at six weeks. Those are the pieces doing the visual work, and refreshing them buys another six weeks on the rest.
Recut the layers at twelve weeks. The crown grows past the point where it can prop up the length beneath it, and that is when the lift disappears rather than when the length looks wrong.

Mistakes to Avoid
Cutting wet. Every layer lands shorter than planned, and the crown is where you can least afford it.
Letting go of the guide. Once a section is cut against nothing, everything after it is guesswork and the shelf is already made.
Cutting the back short. The back gets its length from over direction. Cutting it directly gives you a bowl shape with a fringe.
Thinning shears at the ends. They hollow the perimeter into wisps, and there is no correction except waiting for it to grow.
Chasing symmetry at midnight. Every correction pass costs length. Stop, sleep, and look again after a wash before touching it.

FAQ
Wet or dry? Dry and styled, so you cut the length you actually see.
Why does the back stay long? Because it is over directed forward to a fixed crown guide.
Thinning shears? No — point cut instead and keep the density.

Final Thoughts
The whole cut is one decision repeated. Pick a crown length, cut one guide section at ninety degrees, and bring everything else to it. The layers, the lift and the long back all fall out of that single measurement without ever being cut separately.
For what the finished shape should look like before you start see the short wolf cut. More in Mullet and Wolf Cut.



