
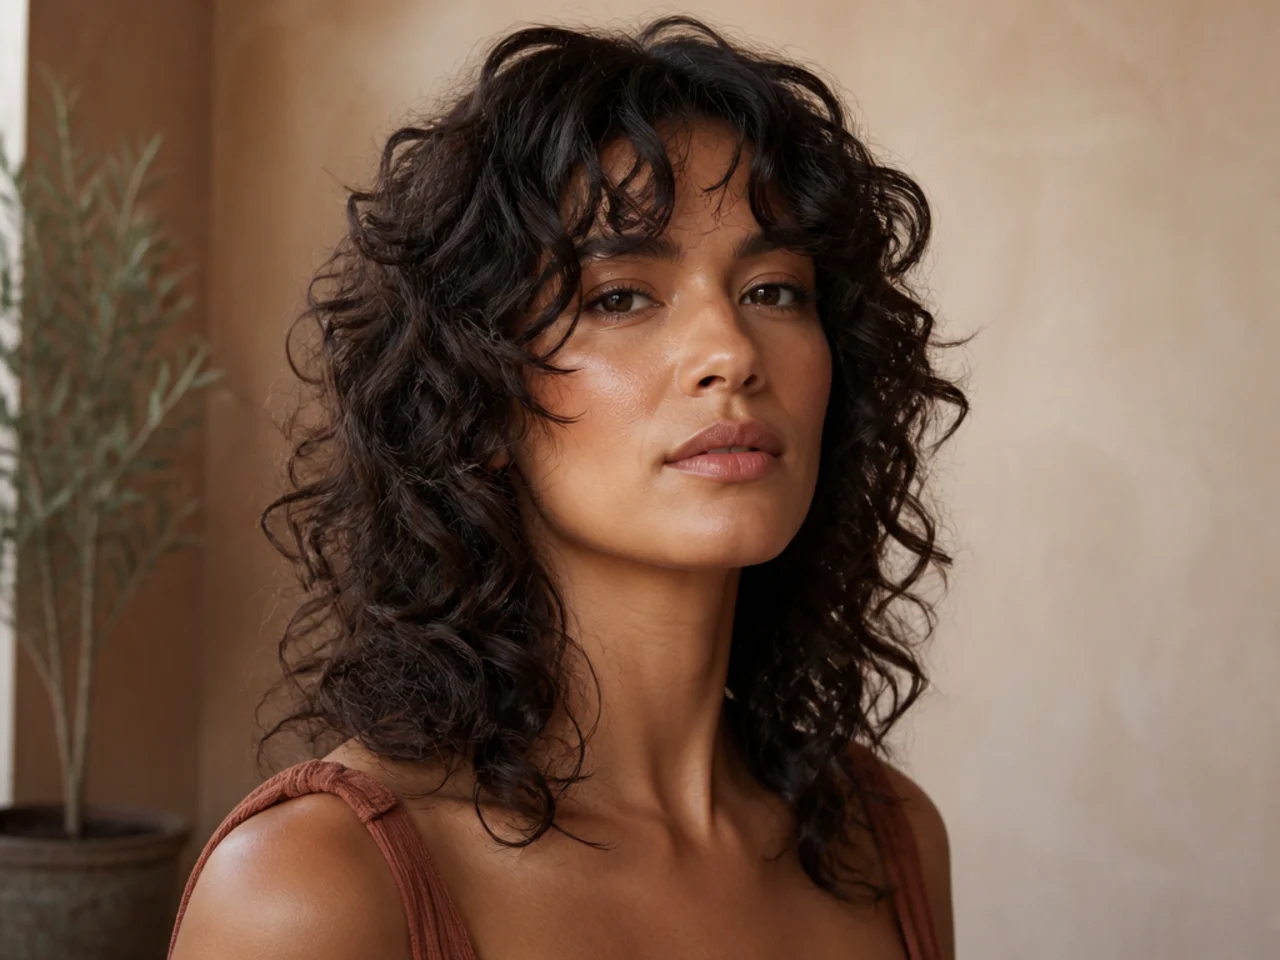
25 Shag Haircuts Without Bangs For A Softer Look
Twenty five shags cut without a fringe, and the decision that replaces it — with no bangs, the shortest face framing piece becomes the top of the frame, so where it starts decides the whole shape.
In this article · 32
- What Changes When the Fringe Goes
- Choosing Where the Face Frame Starts
- The 25 Shag Haircuts Without Bangs
- 1. The Curly Shag Without Bangs
- 2. The Wavy Shag Without Bangs
- 3. The Straight Shag Without Bangs
- 4. The Coily Shag Without Bangs
- 5. The Cheekbone Frame Shag
- 6. The Jawline Frame Shag
- 7. The Collarbone Frame Shag
- 8. The Short Shag Without Bangs
- 9. The Shoulder Length Shag
- 10. The Long Shag Without Bangs
- 11. The Shag Bob
- 12. The Middle Part Shag
- 13. The Deep Side Part Shag
- 14. The Heavy Perimeter Shag
- 15. The Feathered Perimeter Shag
- 16. The Razor Cut Shag
- 17. The Point Cut Shag
- 18. The Invisible Layer Shag
- 19. The Fine Hair Shag
- 20. The Thick Hair Shag
- 21. The Grown Out Fringe Shag
- 22. The Tucked Behind the Ear Shag
- 23. The Shadow Root Shag
- 24. The High Layer Shag
- 25. The Shag at Week Eight
- Styling and Upkeep
- Mistakes to Avoid
- FAQ
- Final Thoughts
A shag without a fringe fails when nobody decides what replaces the fringe, and the cut quietly becomes long layers.
The fringe was doing structural work. It broke the vertical drop of hair on either side of the face. Remove it and the shortest face framing piece has to take that job on.
Where that piece starts is the whole decision. Cheekbone, jaw or collarbone changes the cut more than length, texture or parting do.
What Changes When the Fringe Goes
The forehead stays visible, so the face reads longer. A fringe shortens the face by covering the top third of it. Without one, the layers have to add width at the cheek to keep the proportions balanced.
The shortest layer moves down and back. It is no longer sitting on the brow, so it has to start somewhere on the side of the face instead, which is a different cut entirely from a fringe grown out.
Upkeep drops sharply. A fringe needs a trim every three to four weeks because the shortest point moves fastest. Face framing layers on a longer strand shift proportionally less, so ten weeks is realistic.
The parting becomes load bearing. With no fringe covering it, the parting is the first thing anyone sees, and a centre part on a shag exposes both frames evenly while a side part loads one side.
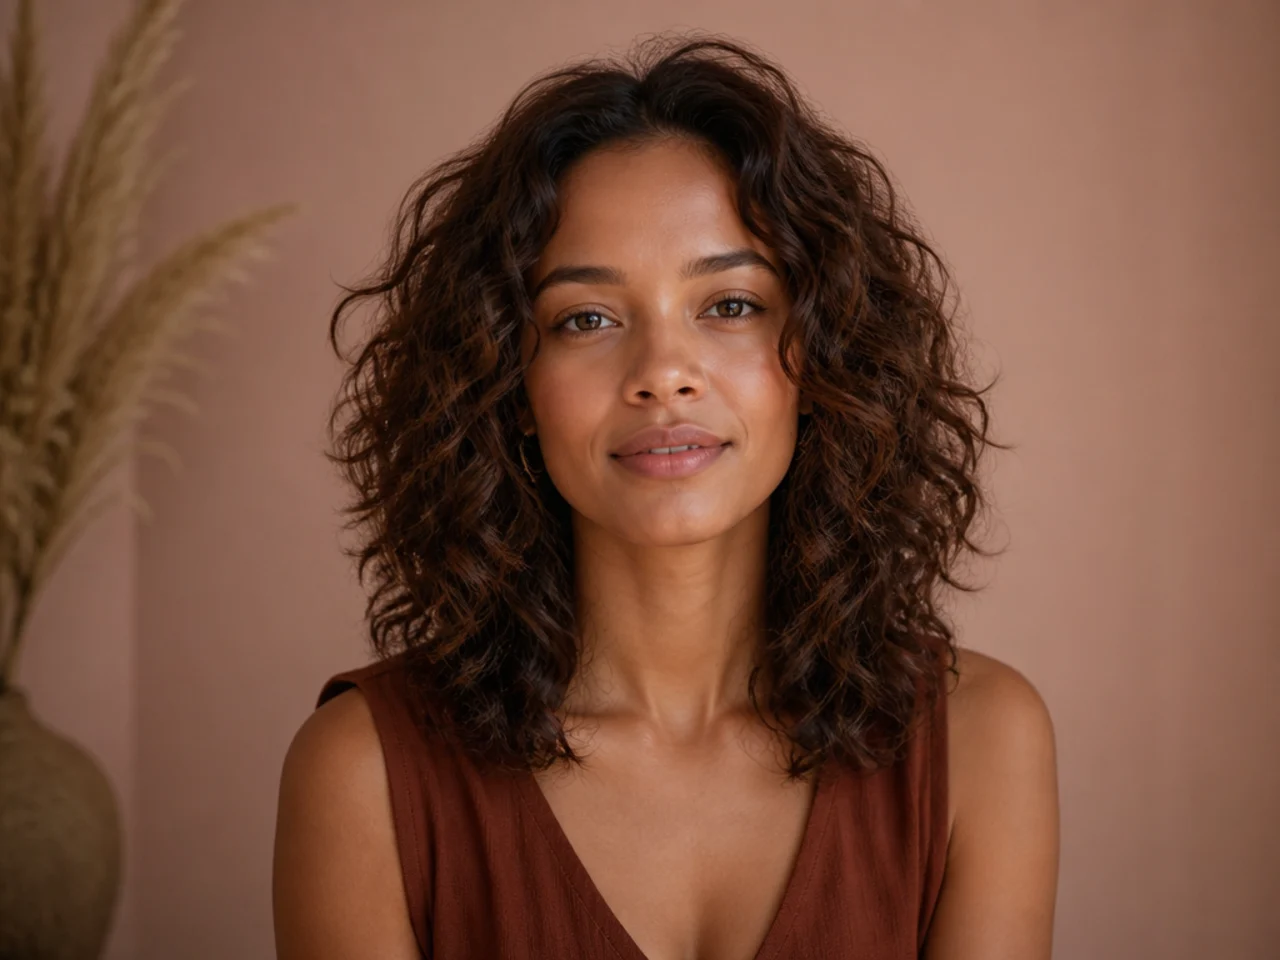
Choosing Where the Face Frame Starts
Cheekbone for the most shape. The frame is fully visible from the front and gives the cut the softness a fringe used to provide, at the cost of a piece you cannot tuck away.
Jaw for the safest version. Long enough to sit behind the ear, short enough to still register as a frame rather than as part of the length.
Collarbone for the subtle one. The layers read as movement rather than as a deliberate frame, which suits fine hair that cannot afford density at the front.
Match the start point to your shrinkage. On curls the frame springs up, so a piece cut at the jaw will finish nearer the cheekbone once dry. Cut it a full curl longer than the target.
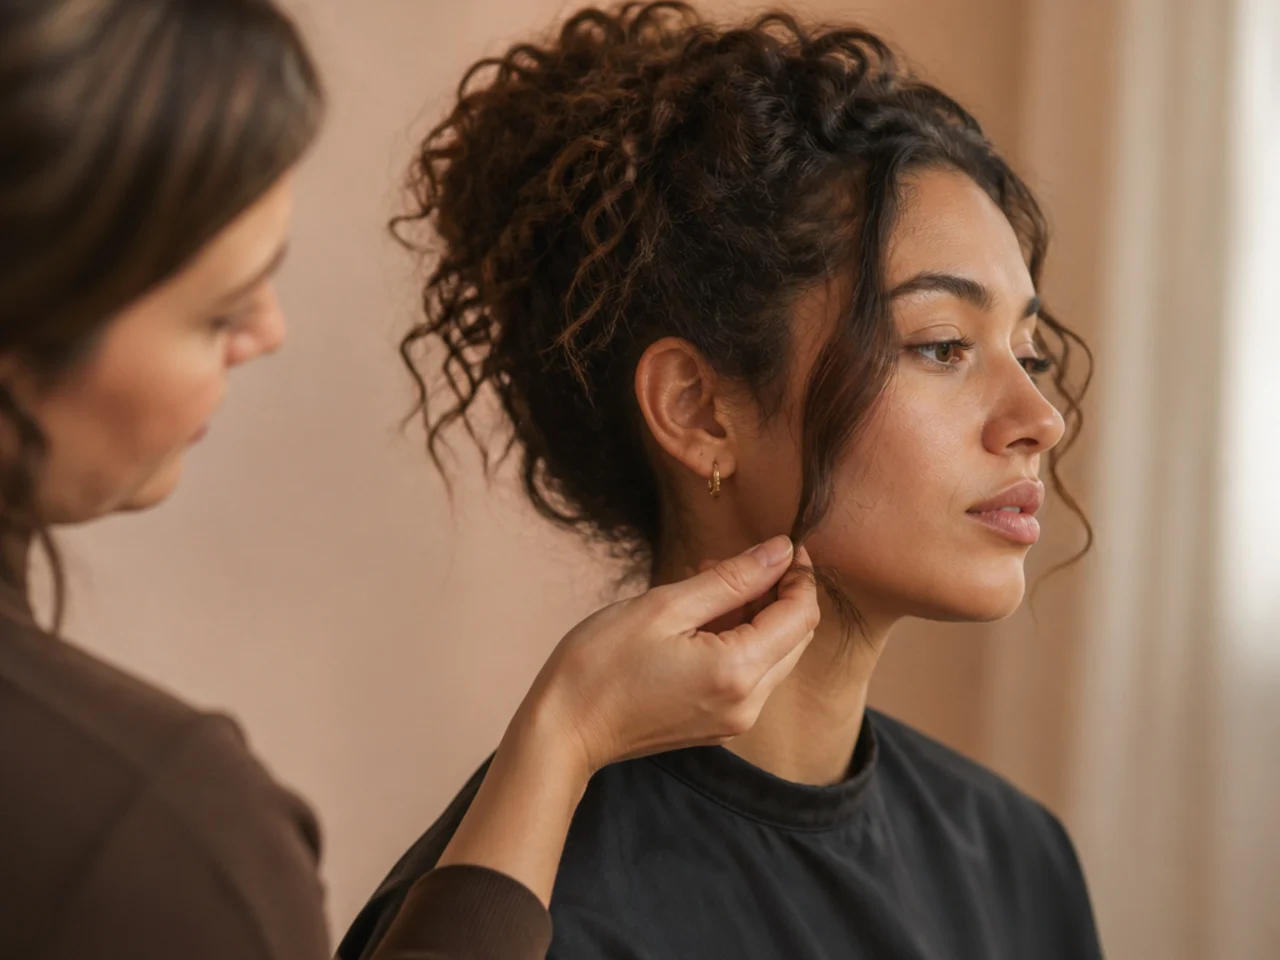
The 25 Shag Haircuts Without Bangs
1. The Curly Shag Without Bangs
Curl gives the front pieces their own bend, which does the softening a fringe would have done. Cut dry so the frame lands where you can see it, because a wet curly face frame settles a good deal higher once it springs back.
2. The Wavy Shag Without Bangs
An S-bend in the front sections breaks the vertical line without any help from a fringe. Waves also hide slightly uneven layer spacing, since the bend scatters light along the length and softens the boundary between one layer and the next.

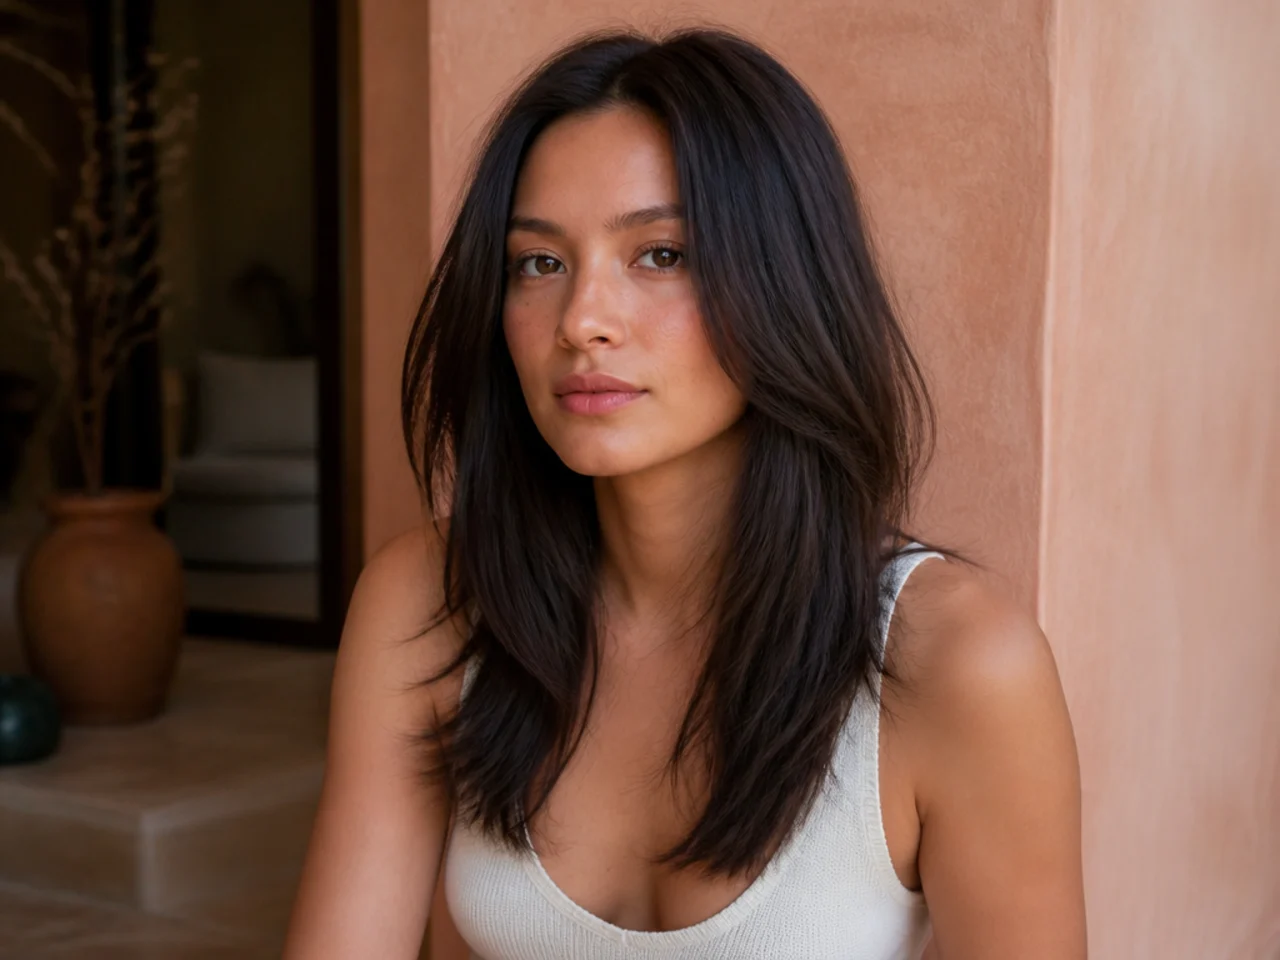
3. The Straight Shag Without Bangs
Straight hair shows every layer edge exactly where it was cut, so this version needs the most precise spacing of the lot. It is also the version where the missing fringe is most obvious, which makes the face frame start point critical.
4. The Coily Shag Without Bangs
On tight coils the density itself creates the shape, so the layers exist to release weight rather than to add movement. Space them further apart than you would on a wave, because coils occupy more vertical height and close layers vanish into each other.

5. The Cheekbone Frame Shag
The shortest face piece lands level with the top of the cheekbone. High enough to be fully visible from the front, which is what makes this the closest a fringeless shag gets to the original silhouette.

6. The Jawline Frame Shag
The frame begins at the jaw, which is long enough to tuck behind the ear on a bad day. It gives the face a vertical rather than a horizontal emphasis, so it lengthens a rounder face instead of widening it.

7. The Collarbone Frame Shag
The shortest front piece sits at the collarbone, so the frame reads as movement rather than structure. This is the version for anyone who wants a shag they can also wear pulled back without short pieces escaping.

8. The Short Shag Without Bangs
Above the shoulder there is little vertical room for the layer stack, so the layers have to sit close together and the crown does most of the work. Compress them wrongly and the shape goes triangular rather than shaggy.

9. The Shoulder Length Shag
The shoulder is where the perimeter starts to flick outward, because the hair meets an obstacle and bends. That flick is free movement in a shag, but it also means the ends will never hang straight down at exactly this length.

10. The Long Shag Without Bangs
Length below the shoulder blade gives the layer stack plenty of vertical room, so the steps between layers can be gentle and still read. The trade is weight: long hair pulls the crown flat, so the crown layers need cutting shorter than feels comfortable.

11. The Shag Bob
A shag cut to bob length keeps the layered interior but squares the perimeter. The blunt bottom line supplies the weight a bob needs while the internal layers keep it from sitting as a solid helmet.

12. The Middle Part Shag
A centre parting splits the frame evenly, so both sides carry the same amount of hair and the face reads symmetrical. It also exposes the most forehead, which makes the cheekbone frame the better partner for it.

13. The Deep Side Part Shag
Sweeping the parting well over loads one side with most of the hair. Concentrated density reads as fuller than the same hair spread evenly, which is why this is the standard fix for a shag that looks thin at the front.

14. The Heavy Perimeter Shag
The ends are left blunt and full while all the movement is cut internally. The solid bottom line anchors the shape, which is what stops a fine haired shag from tapering away into wisps at the ends.

15. The Feathered Perimeter Shag
The opposite approach: the ends are point cut so they taper. It removes weight from the bottom, which lets the layers above spring up, and it is the right choice on thick hair that would otherwise sit as a block.

16. The Razor Cut Shag
A razor cuts each strand at an angle, so the end is a taper rather than a blunt stop and the hair separates into pieces on its own. It also weakens the end of every strand, which is why it belongs on coarse hair and not on fine.

17. The Point Cut Shag
Scissors held vertically into the ends remove length in a broken line rather than a straight one. The result is softer than a blunt edge but keeps more weight than a razor, which makes it the safe middle option on most textures.

18. The Invisible Layer Shag
The layers are cut long and deep inside the hair, so no step is visible from outside and only the movement shows. It suits anyone who wants shag behaviour without a shag silhouette, and it grows out with nothing to correct.

19. The Fine Hair Shag
Fine hair has few strands to give away, so every layer removed from the perimeter is visible at the ends. Keep the layers few, long and low, and let the parting rather than the cutting do the volume work.

20. The Thick Hair Shag
Thick hair needs weight removed from underneath or it sits as a triangle with a flat crown. Take it internally at the mid lengths rather than at the ends, since cutting the perimeter only raises the widest point of the shape.

21. The Grown Out Fringe Shag
An old fringe now sitting at the cheekbone, blended into the frame instead of trimmed back. This is how most fringeless shags actually begin, and it works because the frame is exactly where a grown out fringe naturally lands.

22. The Tucked Behind the Ear Shag
Cut so the front frame is just long enough to stay put behind the ear. That single centimetre of extra length is the difference between a cut you can put away and one that escapes all day.

23. The Shadow Root Shag
Leaving the root deliberately darker puts contrast at the scalp, which makes the roots read as denser than they are and gives the layers a visible starting point. It also removes the hard regrowth line from the maintenance schedule.

24. The High Layer Shag
The shortest crown layer is cut well above the ear, which pushes the top of the shape up and moves the cut toward wolf territory. More volume, but a longer awkward stage if you decide to grow it out.

25. The Shag at Week Eight
Layer spacing holds far longer than a fringe does, because the layers grow down together and stay roughly proportional. What softens first is the face frame, which drops past its start point and stops reading as a frame at all.

Styling and Upkeep
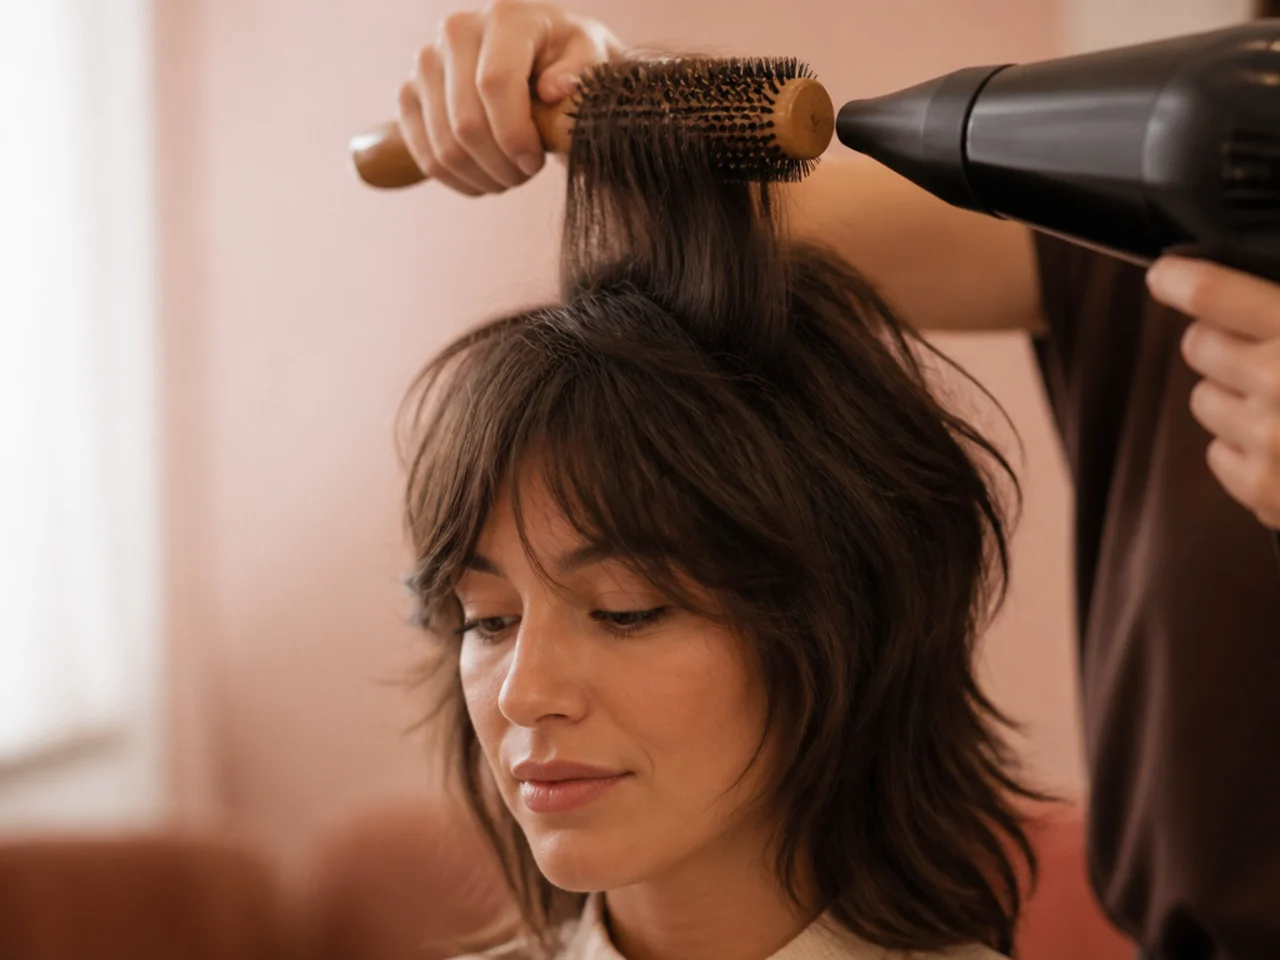
Dry the crown before anything else. A shag is a top heavy shape and the crown sets its direction in the first minutes of drying. Once it dries flat, only rewetting will lift it.
Style the frame away from the face. Drying the front pieces back and then letting them fall forward creates the bend that a fringe used to provide.
Use a light hold, not a heavy one. Layers need to separate to read as layers, and a firm hold glues them into a single mass that looks like an ordinary long cut.
Trim every ten weeks, not every four. Without a fringe there is no fast moving shortest point, so the cut holds much longer than the fringe version.
Ask for the frame start point in words. Say cheekbone or jaw rather than showing a photograph, because that one measurement is the cut.
Mistakes to Avoid
Leaving the face frame too long. Below the collarbone it stops registering as a frame and the cut becomes long layers with a shag name.
Blending the layers away completely. The visible step between lengths is the shag. Smooth it out and you have removed the only feature the cut has.
Cutting curls wet. The frame springs up as it dries, so a wet cut at the jaw finishes near the cheekbone and the balance is gone before you leave.
Removing weight at the ends to fix width. The widest point simply moves higher up the head. Take the weight internally, from underneath, instead.
Copying a shag photo from a different texture. Spacing that reads as clean separation on straight hair collapses into one mass on a curl pattern.

FAQ
Does it still count as a shag? Yes, if the internal layers still step visibly. That, not the fringe, is the cut.
Where should the frame start? Cheekbone for shape, jaw for safety, collarbone for subtlety.
How often is a trim? Ten weeks, roughly triple the schedule a fringe demands.

Final Thoughts
Cutting a shag without bangs is not a subtraction, it is a substitution. The face frame does the fringe's job, and naming its start point is the only instruction the appointment really needs.
If you decide you want a fringe after all, the least committal route is a sparse one — see Korean haircuts with bangs for how little hair that takes. See also shag haircut with bangs. More in Mullet and Wolf Cut.



