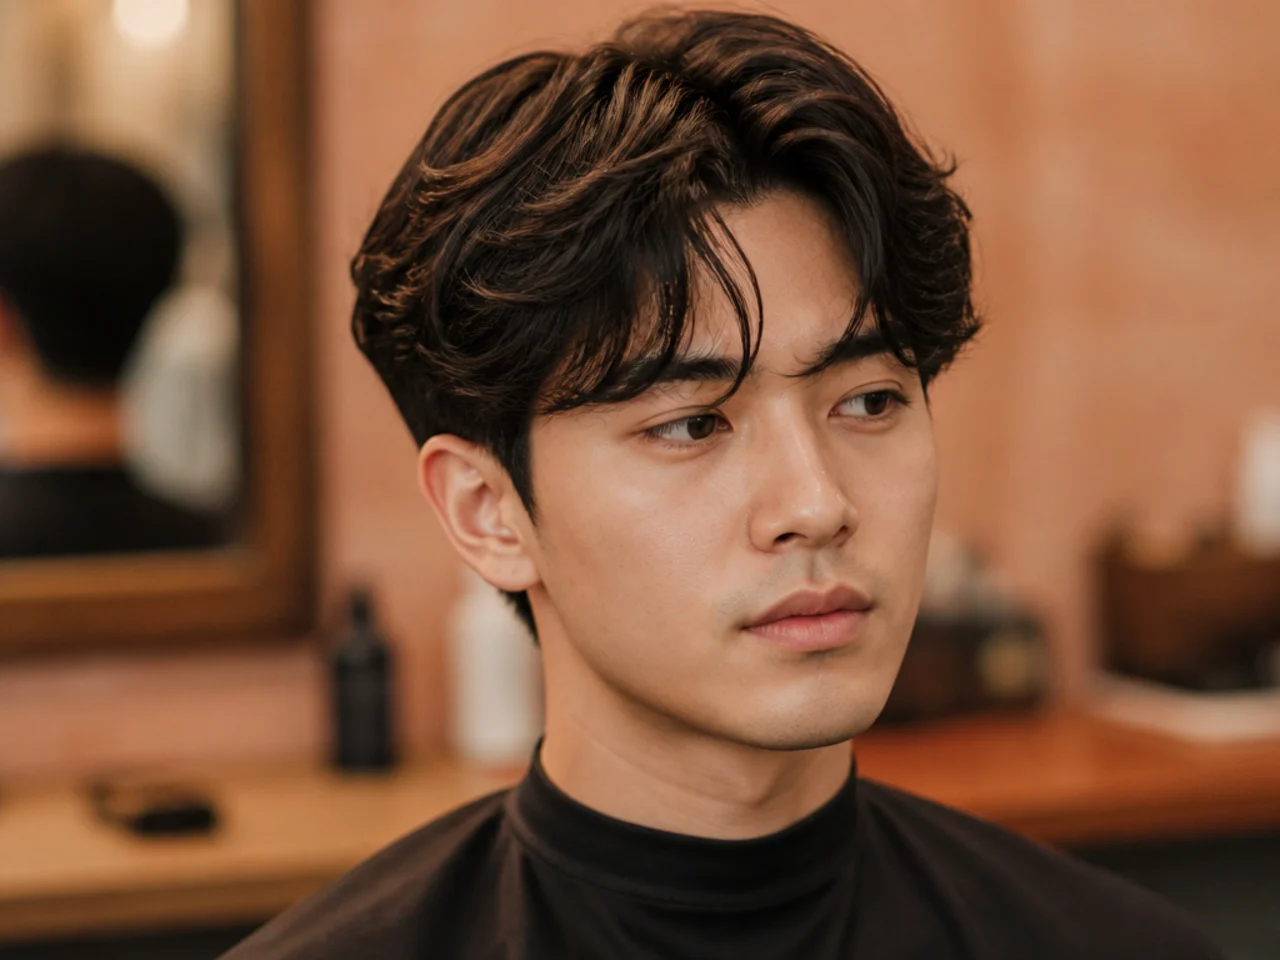
7 Steps to Style Comma Hair at Home
Style comma hair at home in seven steps — the exact round brush, blow-dry, and cream routine that holds the K-style curl from morning to evening.
In this article · 13
- What Is Comma Hair?
- What You'll Need to Style Comma Hair at Home
- Step 1: Start With Damp, Freshly Washed Hair
- Step 2: Prime the Front Section
- Step 3: Rough-Dry to 70 Percent
- Step 4: Part and Section the Top
- Step 5: Build the Comma With a Round Brush
- Step 6: Lock the Shape With Cool Air
- Step 7: Finish With Cream and Hairspray
- Troubleshooting
- The curl drops within an hour
- The comma turns into a fringe
- One side won't hold
The comma hair style at home isn't a barber-only look — it's a two-minute morning routine. Your barber leaves you with the cut and length. You form the curl yourself with a round brush, medium heat, and a dime of cream. Skip that routine and the front lock flattens by mid-morning. This guide walks the seven steps that turn wet hair into a clean comma from a dead-cold start, plus troubleshooting for the three problems most guys hit.
What Is Comma Hair?
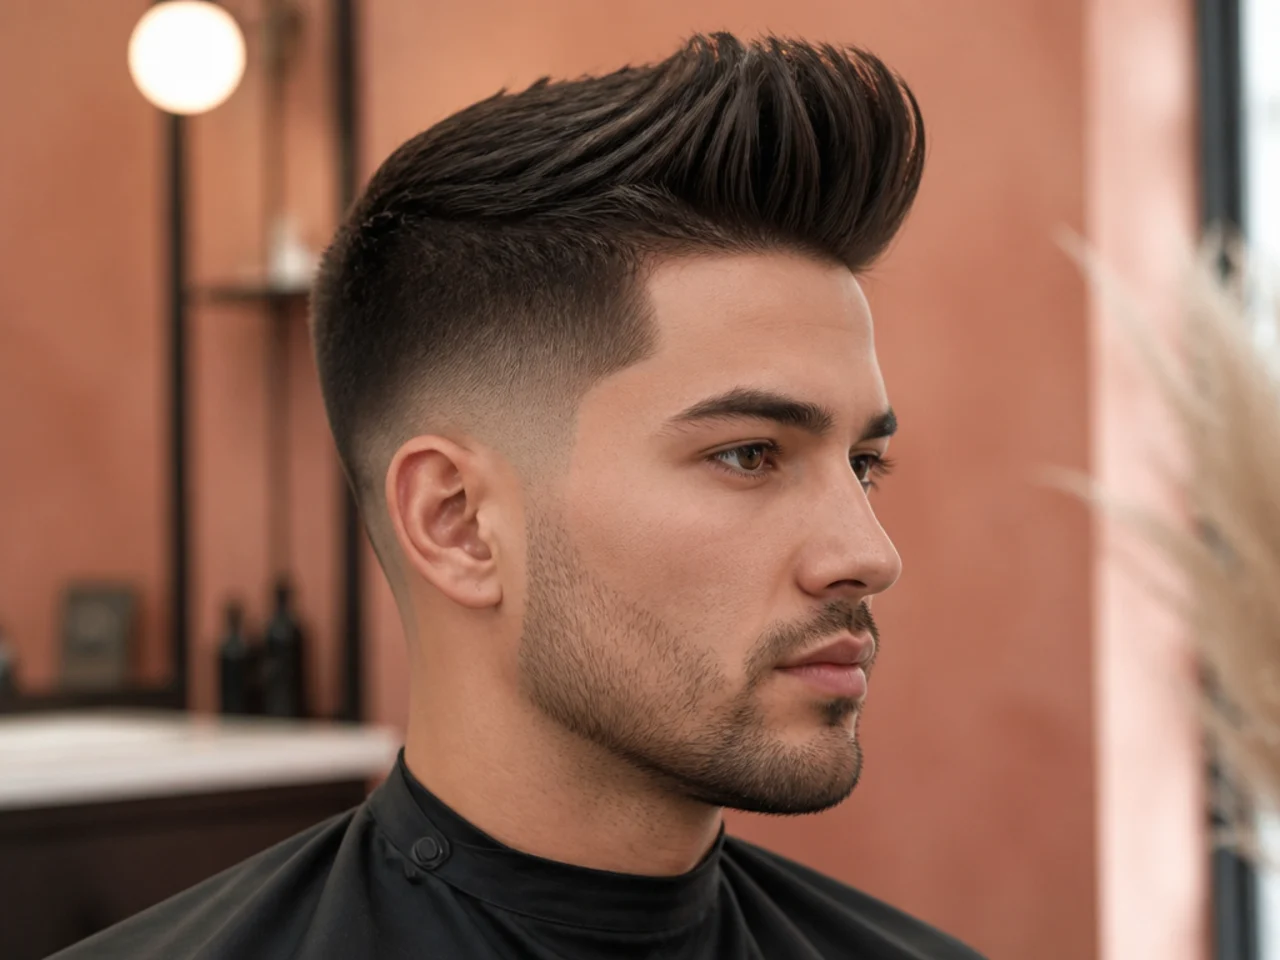
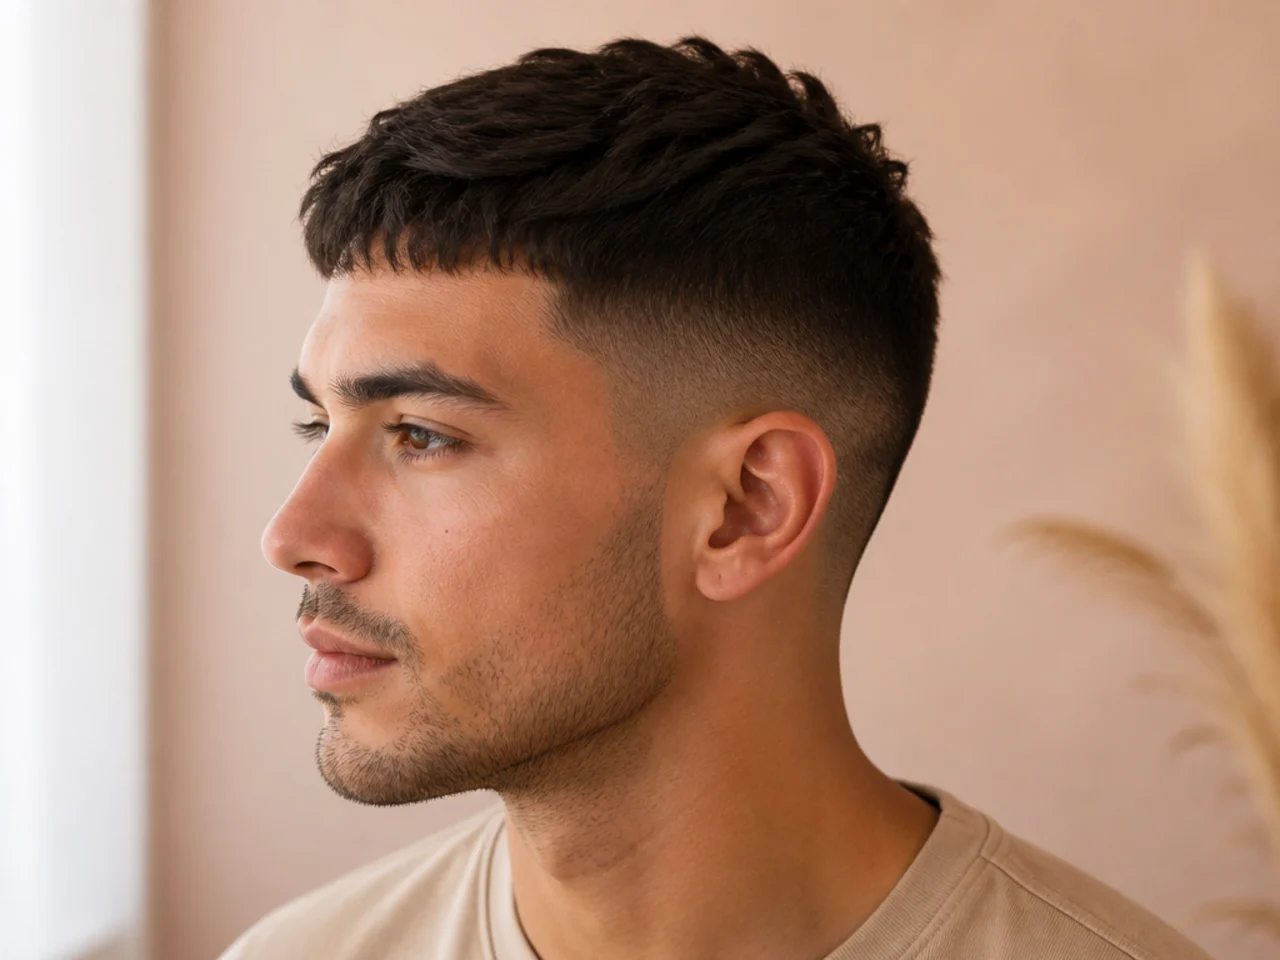
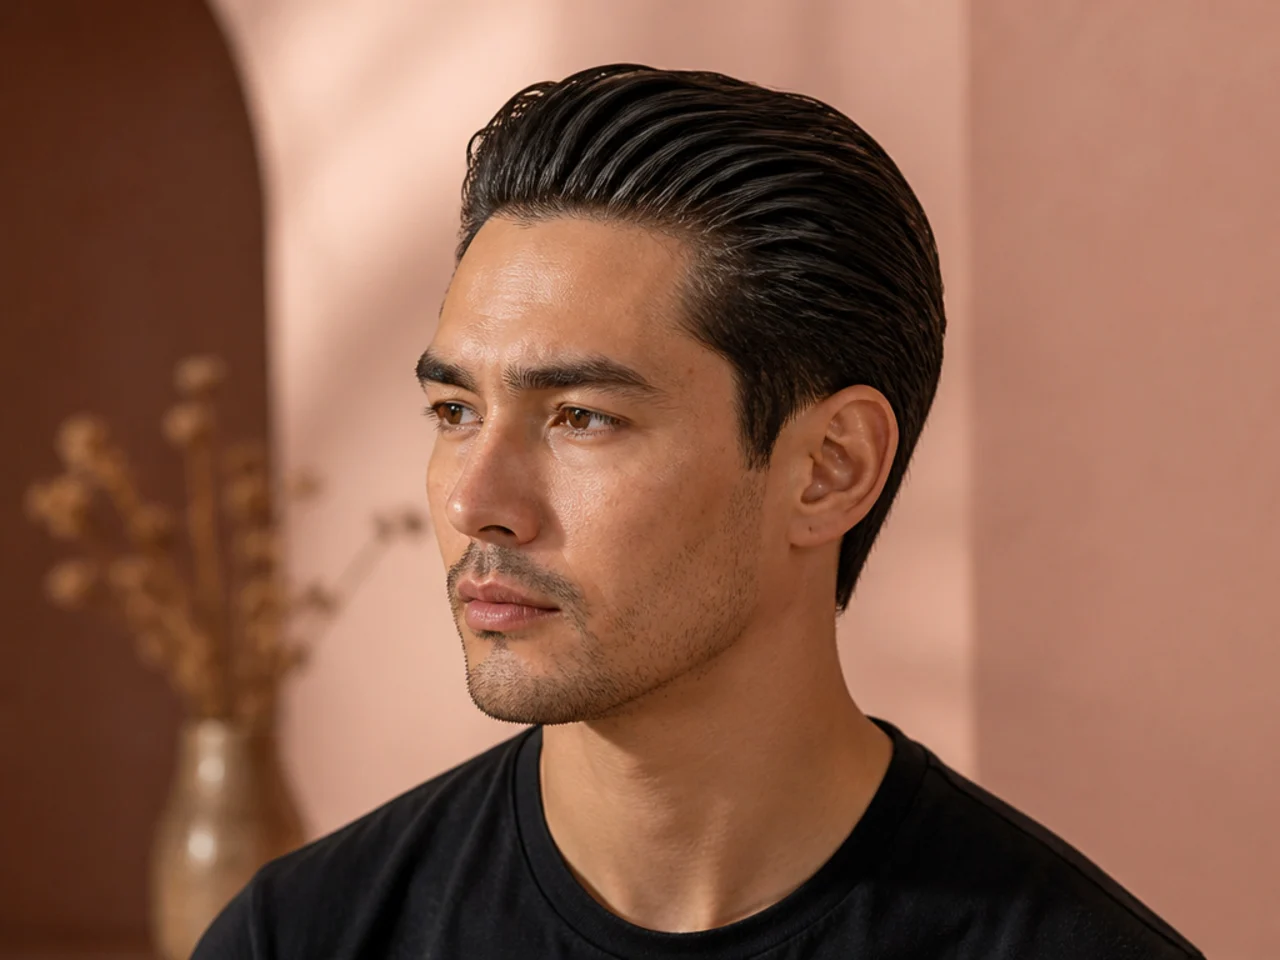
Comma hair is the K-pop cousin of the modern curtain haircut — a men's cut where the front section brushes forward and inward to form the shape of a comma against your forehead. Top length runs three to five inches, enough weight to hold the curve. Sides sit short: taper, low fade, or a hard two block haircut ledge. The comma itself is a styling move, not something the scissors leave behind.
Two variations dominate. The single comma sits as one bold hook curled toward your dominant eye — bolder, more editorial. The twin comma mirrors two hooks either side of a middle part — softer, more everyday. Both use the same seven-step process. The difference is where you point the brush.
The look reads soft, current, and unmistakably K-style. It sits naturally on straight-to-wavy hair (patterns 1A through 2C). Tighter curls hook shorter, so 3A and 3B textures pass with a longer front. Coily hair typically wants a light front-section relaxer or a Korean magic straight to hold the shape without daily heat work. It's part of the broader family of Korean haircuts for men that has dominated Pinterest search since 2022, and see the comma haircuts roundup for the twenty-five variations men are actually walking into barber shops with in 2026.
What You'll Need to Style Comma Hair at Home
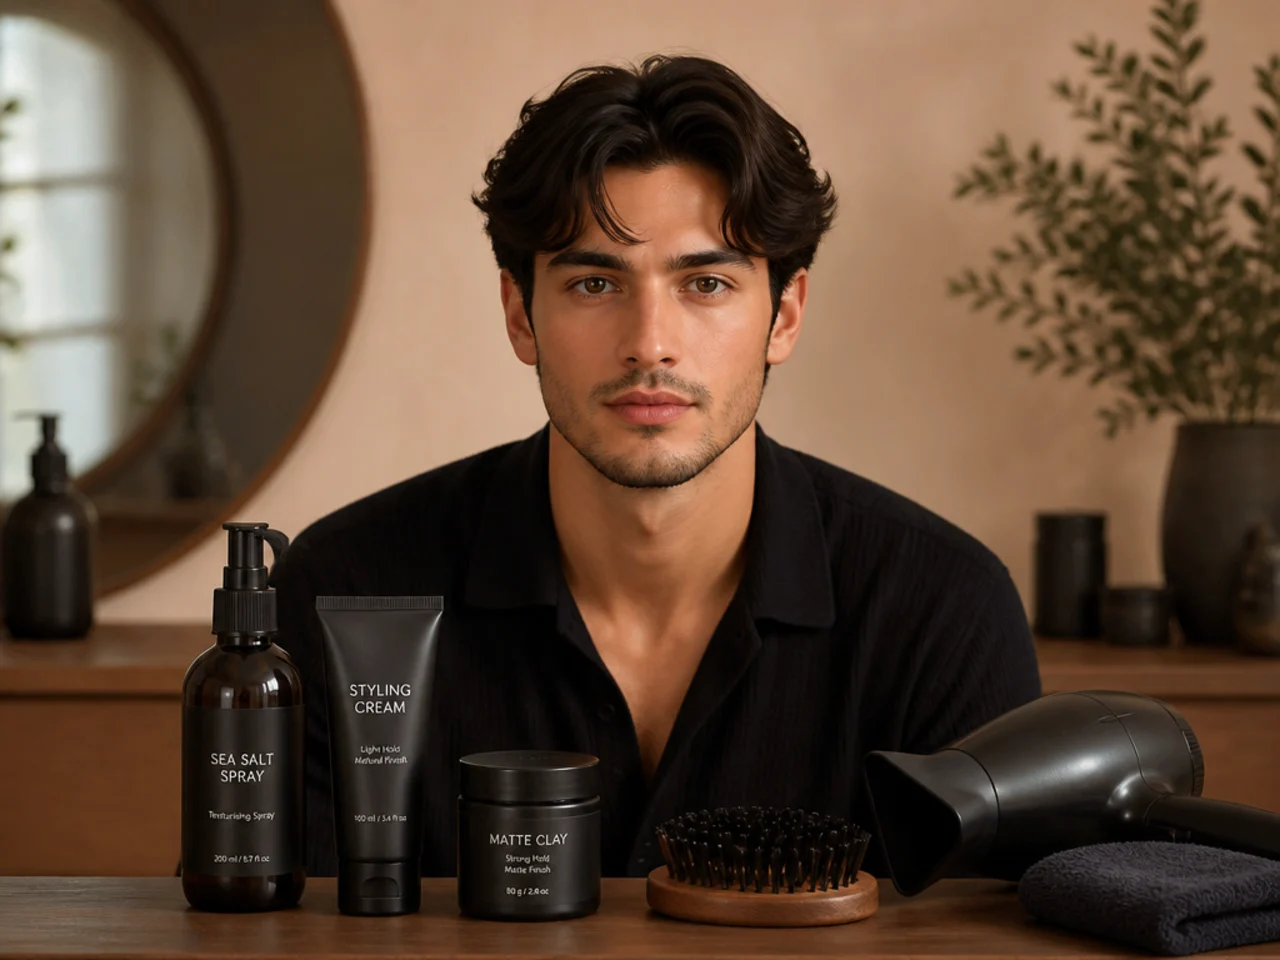
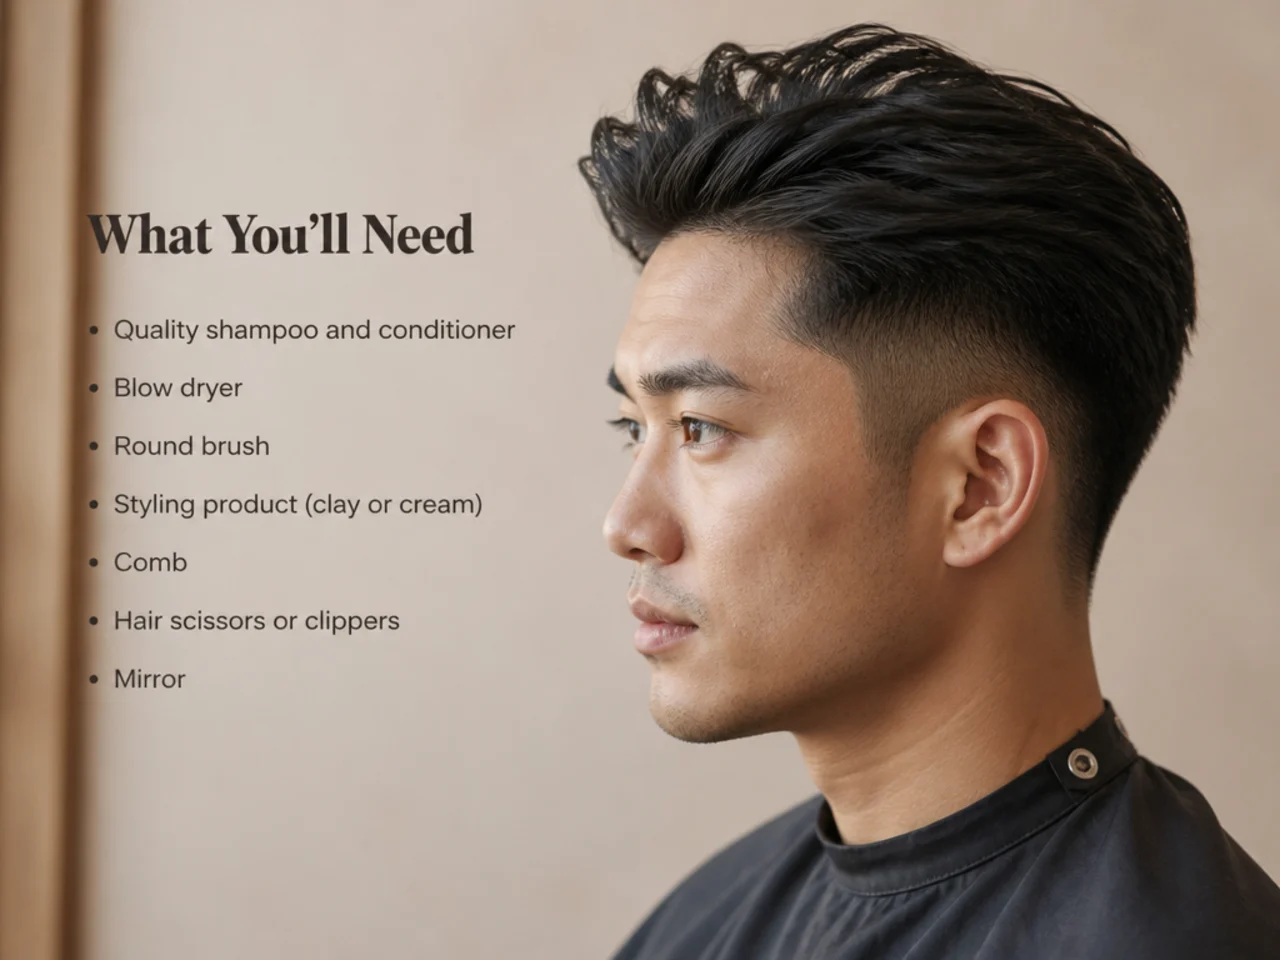
Every product on this list runs under twenty dollars. Total kit cost — dryer included — sits under sixty. You'll re-use most of it for any medium-length hairstyle for men that isn't fully air-dried.
Tools
- A 1500 to 1875-watt hair dryer with a concentrator nozzle. Wattage matters — a weak dryer takes twice as long and leaves the shape half-set.
- A 1-inch or 1.25-inch ceramic round brush. Boar-bristle wraps the hair cleanly; nylon pulls too hard on wet strands.
- A wide-tooth comb for parting.
- A microfiber towel or an old cotton T-shirt for rough-drying. Terrycloth roughs up the cuticle and adds frizz you'll spend the rest of styling fighting.
Products
- A heat protectant spray. Non-negotiable. You're using a 300°F-plus dryer inches from your scalp — skip it and the front lock burns dry within a month.
- A lightweight curl cream or matte styling cream. A dime for short hair, a nickel for medium. See the best products for wavy hair roundup for the cream categories that hold a comma without weighing it down.
- A light-hold hairspray for finish. Optional if you have naturally weighty hair; essential on fine or fresh-cut hair.
Step 1: Start With Damp, Freshly Washed Hair
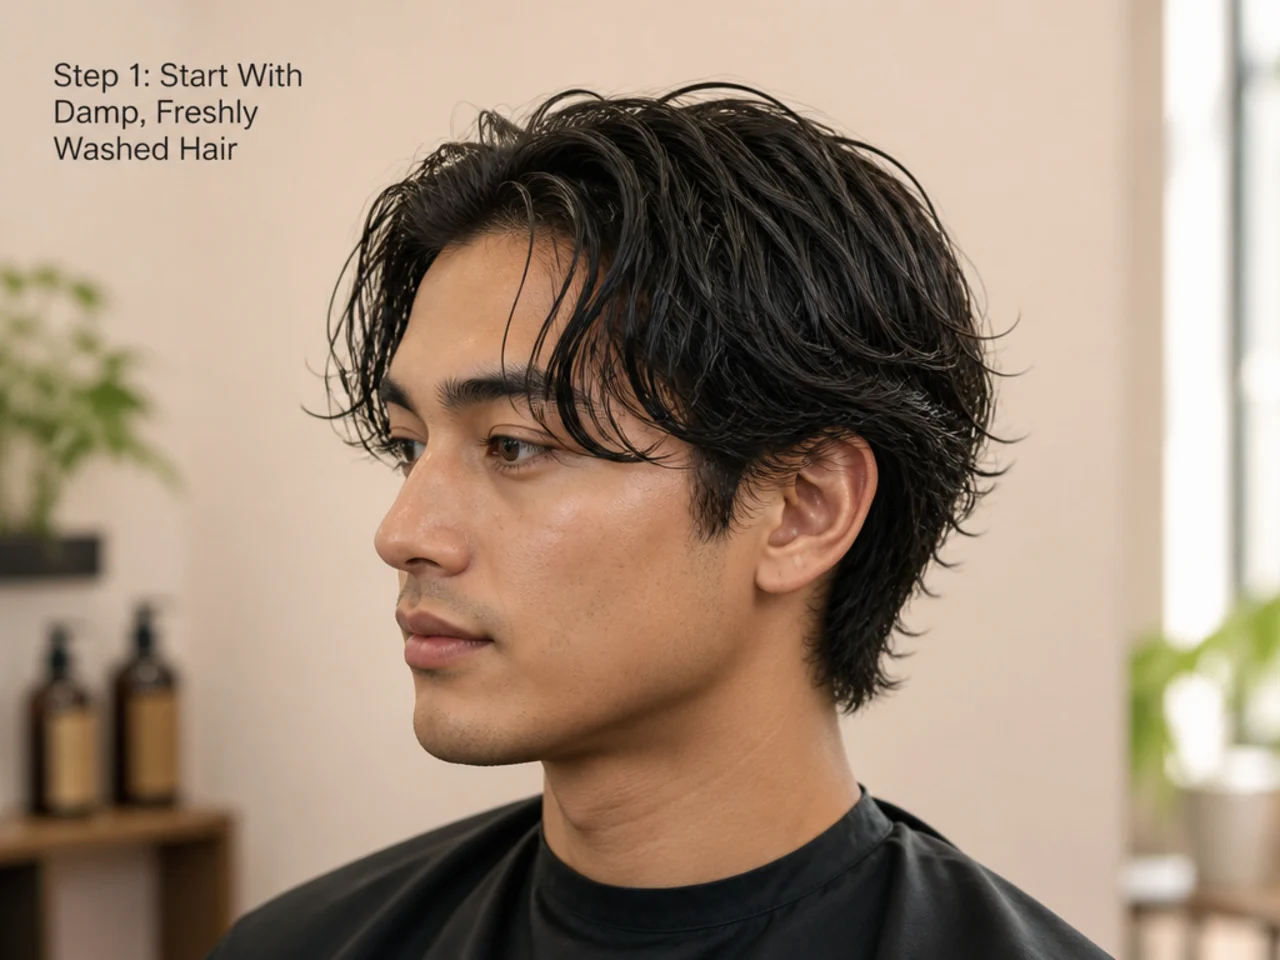
Wet-to-styled beats day-two-restyled every time. Wash with a sulfate-free shampoo, condition mid-lengths and ends only (conditioning the roots kills the lift you need up front), and rinse with cool water to seal the cuticle. Towel-blot with the microfiber — press, don't rub. You want hair damp, not dripping. Wet enough that a strand still curves under its own weight is the target.
Why this matters. The comma is a heat-set shape. Heat only sets what water can reshape. Bone-dry hair fights the round brush. Soaking-wet hair takes forever to dry and the shape drops as the last moisture evaporates. Damp is the window where the cuticle is open, mobile, and ready to lock into a new memory.
Common mistake. Styling on day-two hair. The scalp oils that build up overnight weigh down the front lock, and the cuticle is already sealed shut from the previous day's shape. A quick rinse at the sink won't cut it — you need the scrub and cool-rinse cycle to reset the strand. If time is short, do a full re-wet in the shower without shampoo.
Step 2: Prime the Front Section

Spray heat protectant across the top and front — three even pulls, focusing on the front three inches where you'll build the curl. Comb through with the wide-tooth comb to distribute. Then rub a pea-sized dot of curl cream between your palms until it disappears, and press — don't drag — into the front section, root to tip.
Why this matters. Priming does two jobs. The heat protectant creates a barrier between your strand and the dryer, and the pre-styling cream gives the brush something to grip. Without it, the wet hair slips over the bristles and you lose the tension that builds the curl.
Common mistake. Loading too much product. If you can see the cream on your hair before you dry, you've used at least double. The finished cream should be invisible — you're feeling for shape, not shine. Excess product also cooks under the dryer and leaves a dull crust that reads flat by the time you're at the door.
Step 3: Rough-Dry to 70 Percent
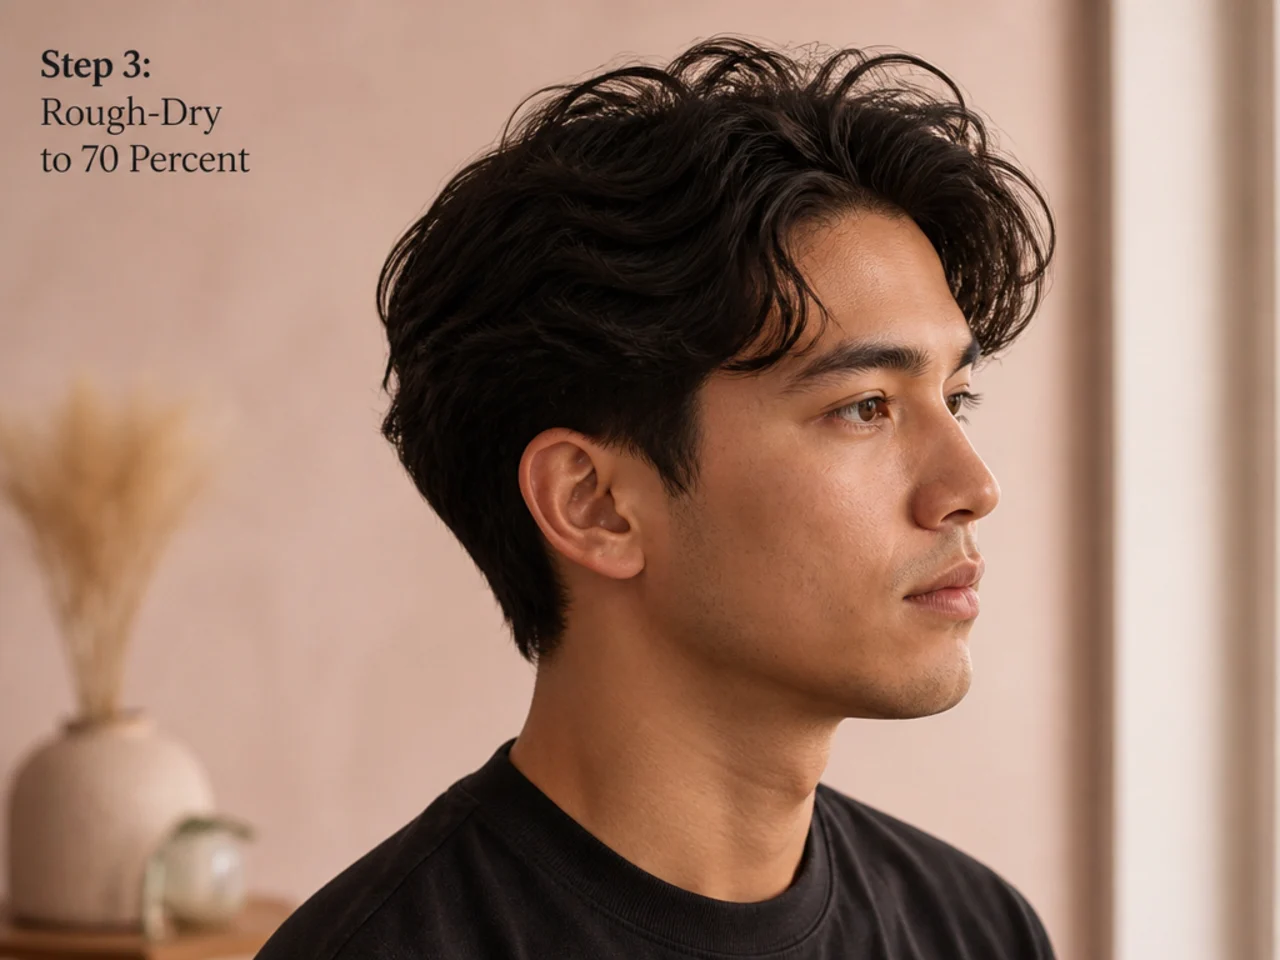
Set the dryer to medium heat and high airflow. Point the nozzle at the roots and use your fingers to lift and separate — no brush yet. Move constantly. You're building volume at the base, not drying the length. Stop when the hair feels cool-damp instead of cold-wet. Roughly 70% dry.
Why this matters. Trying to build the comma on 100% wet hair is a losing game. The strand is too heavy, the brush drags, and you spend eight minutes on what should take two. Rough-drying to 70% loads the base with volume and gets the front section to the exact moisture window where the round brush can grip and shape it.
Common mistake. Skipping this step and going straight to the round brush. It works — for guys with fine, short hair. On anyone with medium or thicker hair, you'll finish with a flat, cream-heavy front lock and a puffed-out crown. Two-stage drying beats one-stage every time on this cut.
Step 4: Part and Section the Top
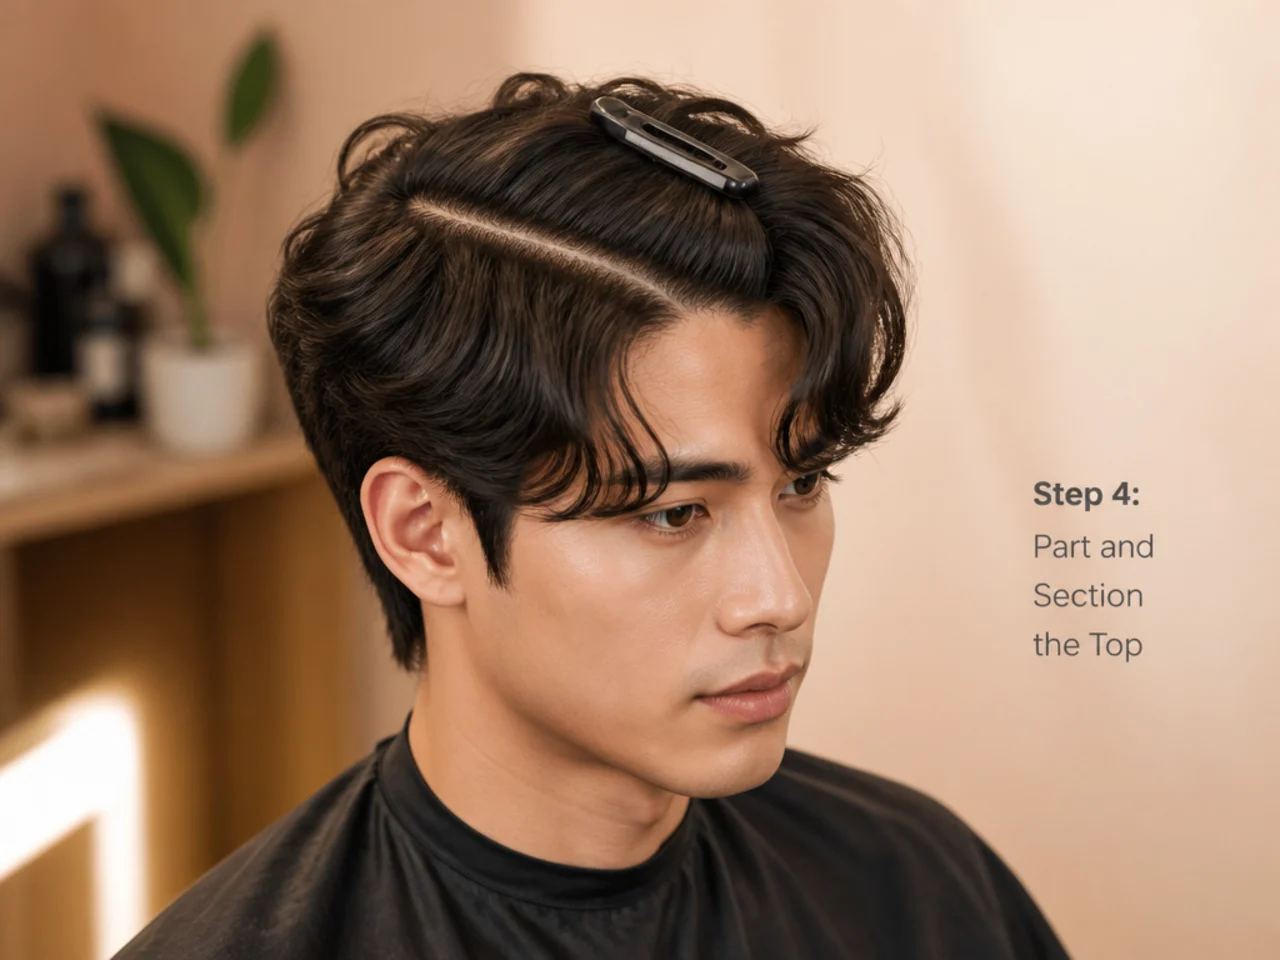
Comb the top forward from crown to hairline. Find your natural part — press a finger to the crown and pull straight down; where the hair falls apart is your line. For twin commas, run the wide-tooth comb from crown to forehead down that line. For a single comma, part slightly off-center toward your non-dominant side so the curl sweeps across your forehead.
Clip the back and sides out of the way if you have length there. On a two-block or short-sided cut, skip the clip — the sides are short enough to stay out of your way.
Why this matters. The comma follows the part. Get the part wrong and you'll spend the next three steps fighting the direction the hair wants to fall. Guys with cowlicks or a strong swirl at the crown need to dry against the cowlick for a few seconds before parting — otherwise the swirl reasserts itself the second you release the brush.
Common mistake. Parting when the hair is bone-dry. The part sets deeper on damp hair. Do it now and the line stays clean through the rest of the styling. See the middle part haircut for men guide for the deeper breakdown on parting technique.
Step 5: Build the Comma With a Round Brush
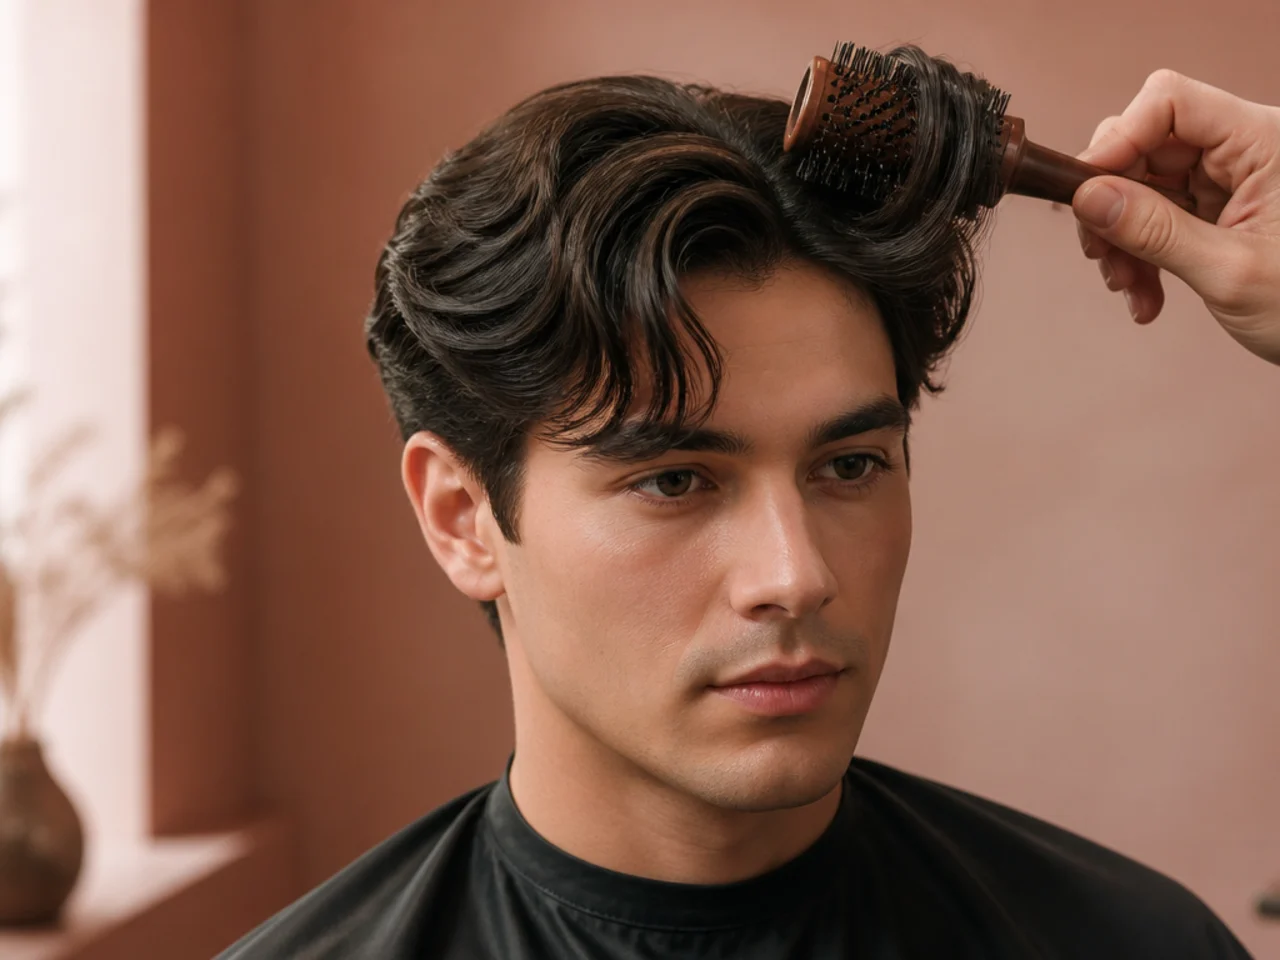
Take the round brush and load the front section onto it — brush under the hair from root to tip in one smooth motion, then rotate the brush 180 degrees so the hair wraps around the barrel. Point the dryer at the wrapped section from above, nozzle two inches from the barrel. Hold for eight seconds. Rotate the brush a quarter-turn outward as you pull it slowly down and away from your face. That outward rotation is the comma.
For twin commas, repeat on the opposite side, rotating the brush in the mirrored direction — outward again, but now away from the other eye. For a single comma, do only one side and let the other fall naturally.
Why this matters. The comma is a directional curl. You're not just adding volume — you're teaching the strand a specific curve. Tension from the brush, plus heat, plus rotation is the exact combination that locks that curve into place. Skip the rotation and you get volume without shape. Skip the tension and the curl drops within an hour.
Common mistake. Rotating the brush toward your face instead of away. Toward-face rotation curls the front into your eyes — a fringe, not a comma. Always rotate outward, then pull down and away.
Step 6: Lock the Shape With Cool Air
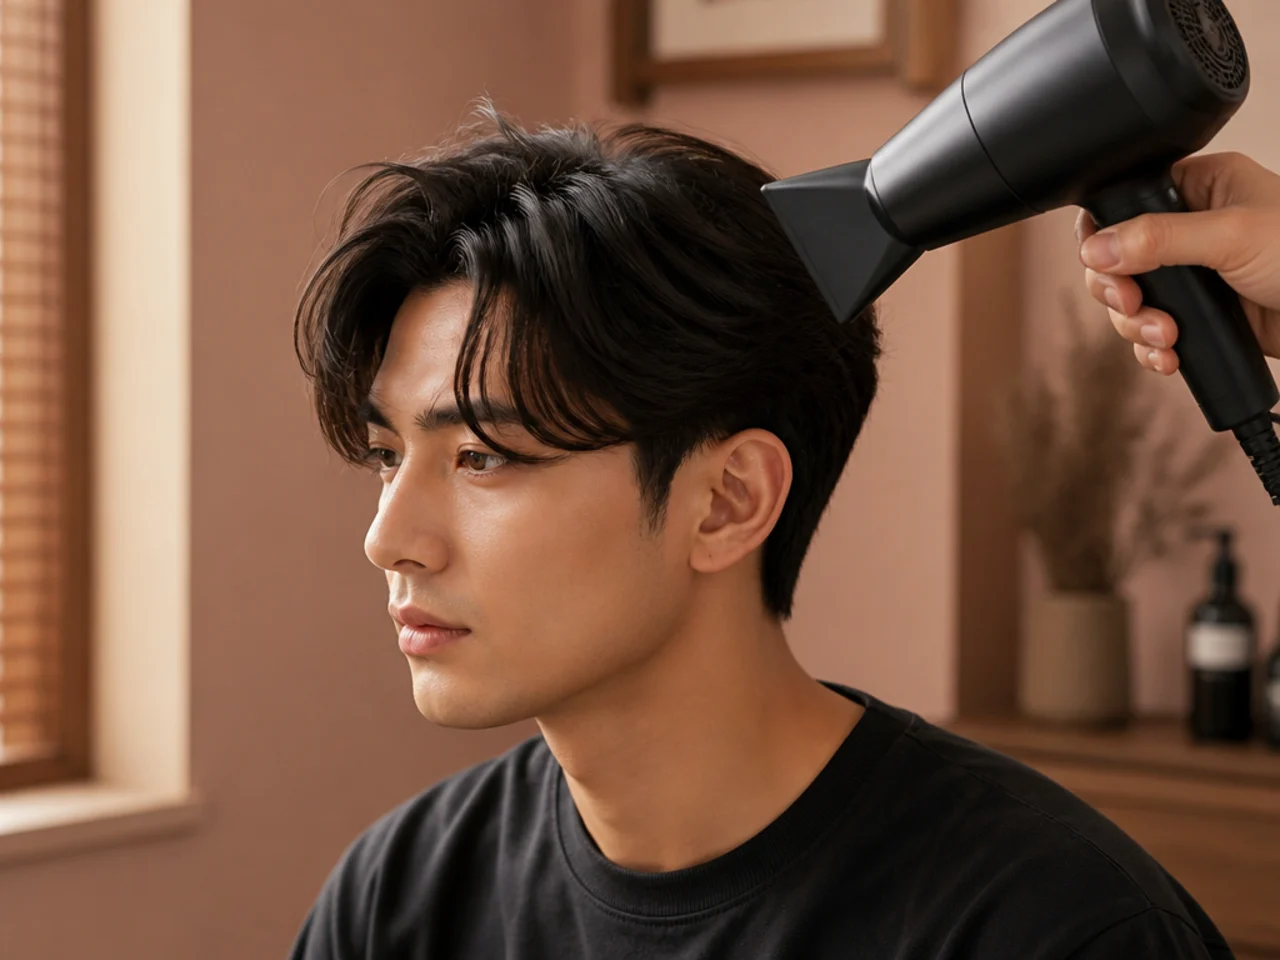
Flip the dryer to the cool shot button (or the coldest setting your dryer has). Keep the brush wrapped in the same position and hit the section with a ten-second blast of cold air. Then release the brush.
Why this matters. Heat opens the cuticle so the strand can be reshaped. Cool air closes it back down around the new shape. Skip this step and you're relying on cream and hairspray alone to hold the curl — which they can't do without the cuticle setting first. Ten seconds of cool air is the difference between a comma that lasts two hours and one that lasts twelve.
Common mistake. Pulling the brush out before the cool shot finishes. The curl is at its softest the moment you stop applying heat; it needs to cool while still wrapped or it relaxes on the way out.
Step 7: Finish With Cream and Hairspray
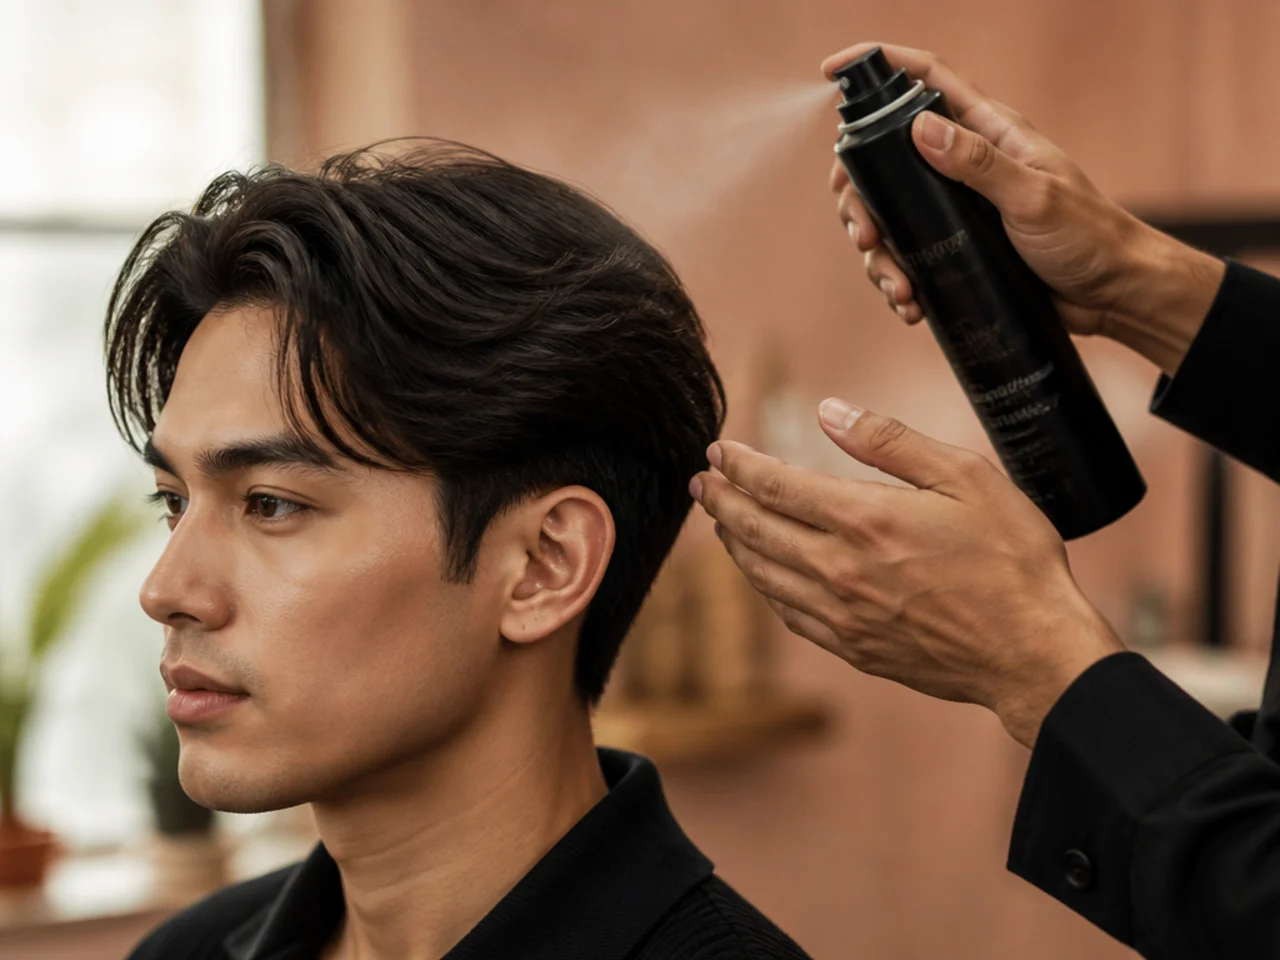
Rub a pea-sized amount of matte styling cream between your palms and press into the top — focus on the ends of the front lock to define the curve. Do not comb it in. Combing at this stage undoes the shape you just built. Use your fingers to sculpt only.
If you want longer hold, mist a light-hold hairspray from twelve inches away — one pass across the front, one across the top. Any more and you'll build a helmet.
Why this matters. The heat set gives you the shape. The cream gives you texture and finish. Hairspray gives you the ability to walk through wind. Product before the heat step primes the shape; product after the heat step preserves it. Both matter.
Common mistake. Reaching for gel or a heavy pomade at this stage. Both are too dense for the comma — they flatten the lift you spent six steps building. Stay with cream or paste, and stay light-handed.
Troubleshooting
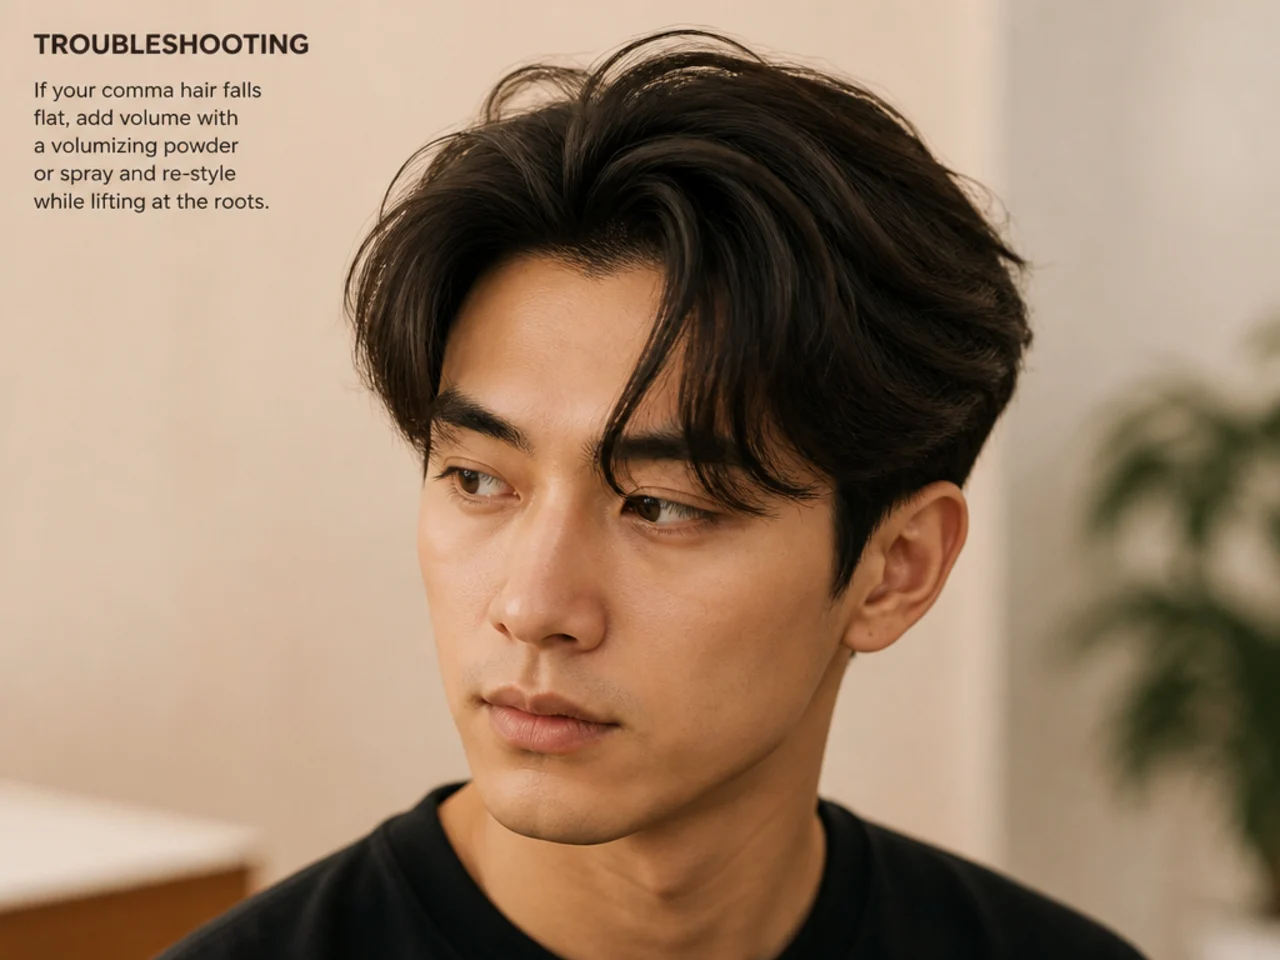
Three problems account for the vast majority of comma styling fails. Fix these and the curl holds from morning coffee to evening walk-out.
The curl drops within an hour
The cause is almost always temperature-related. Either you skipped the cool shot in Step 6, or you didn't hold the brush long enough on the heat pass in Step 5. The fix: extend the heat hold to a full ten seconds, then hold the cool shot for another ten with the brush still wrapped. If it still drops, your cream is too water-heavy — swap to a wax-based paste or a light styling clay.
Fine and thin hair struggles here more than any other texture. If that's you, add one extra hold cycle — heat, cool, release, then re-wrap and repeat once. Two heat sets lock fine hair for the full day where one set won't.
The comma turns into a fringe
The curl is going the wrong direction — inward toward your face instead of outward. This is a Step 5 problem. Reset by re-wetting the front two inches with a spray bottle and running through the sequence again. Consciously rotate the brush away from your face on the pull-down. If your dominant hand keeps rotating inward on autopilot, try switching to your non-dominant hand for the brush hold. Awkward for a week, then automatic.
One side won't hold
Cowlicks and asymmetric growth patterns are usually to blame — one side of your crown grows counter to the direction you're trying to build. The fix: dry that side against the growth pattern for fifteen seconds before you build the curl, then work as normal. The heat forces the roots into the correct direction and the curl locks over the top. For a persistent cowlick that resists heat, ask your barber to point-cut a quarter-inch off the offending section next visit — less weight, less pull, easier to shape.
For hair types that resist all seven steps — coarse coily 3C-plus, or hair that's been recently color-treated and gone porous — see the curly hair haircuts guide for cut shapes that work with your natural pattern instead of against it. Some hair types read better with a comma variation styled looser, or with a low fade haircut that carries the shape without needing the top curl to do all the work.