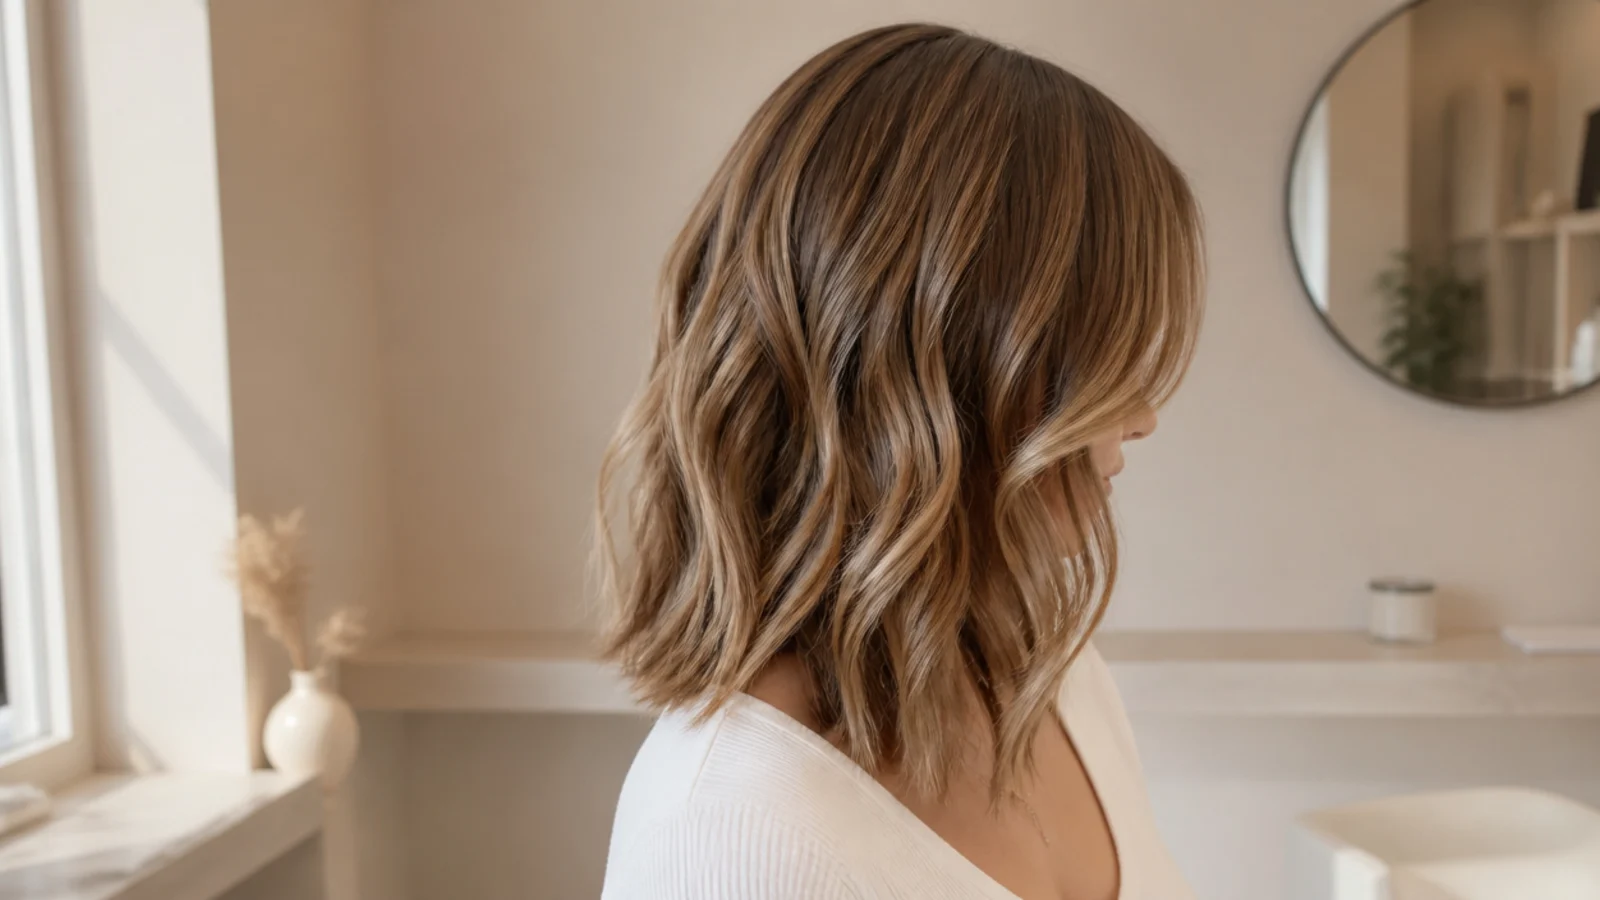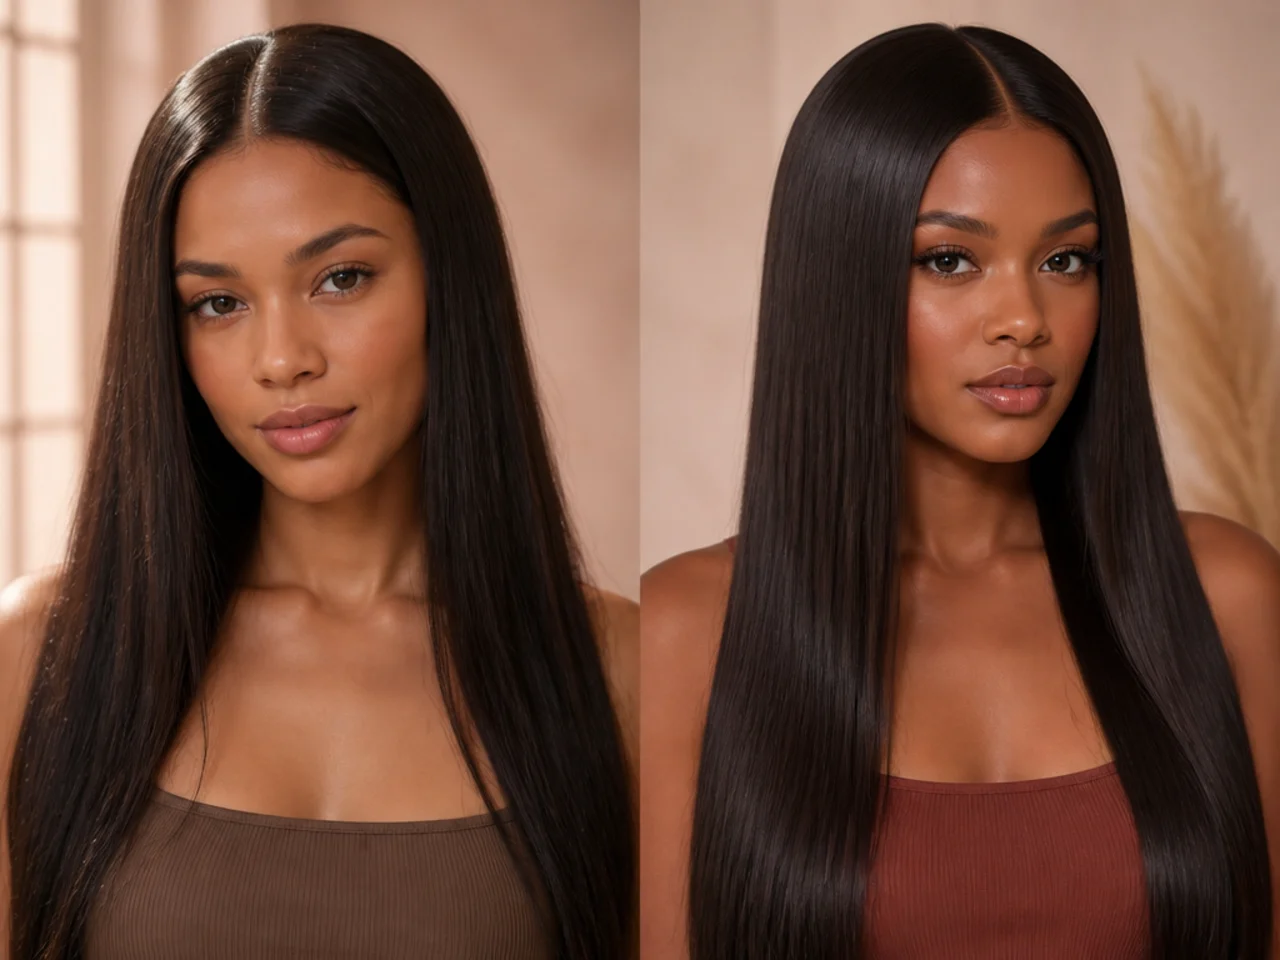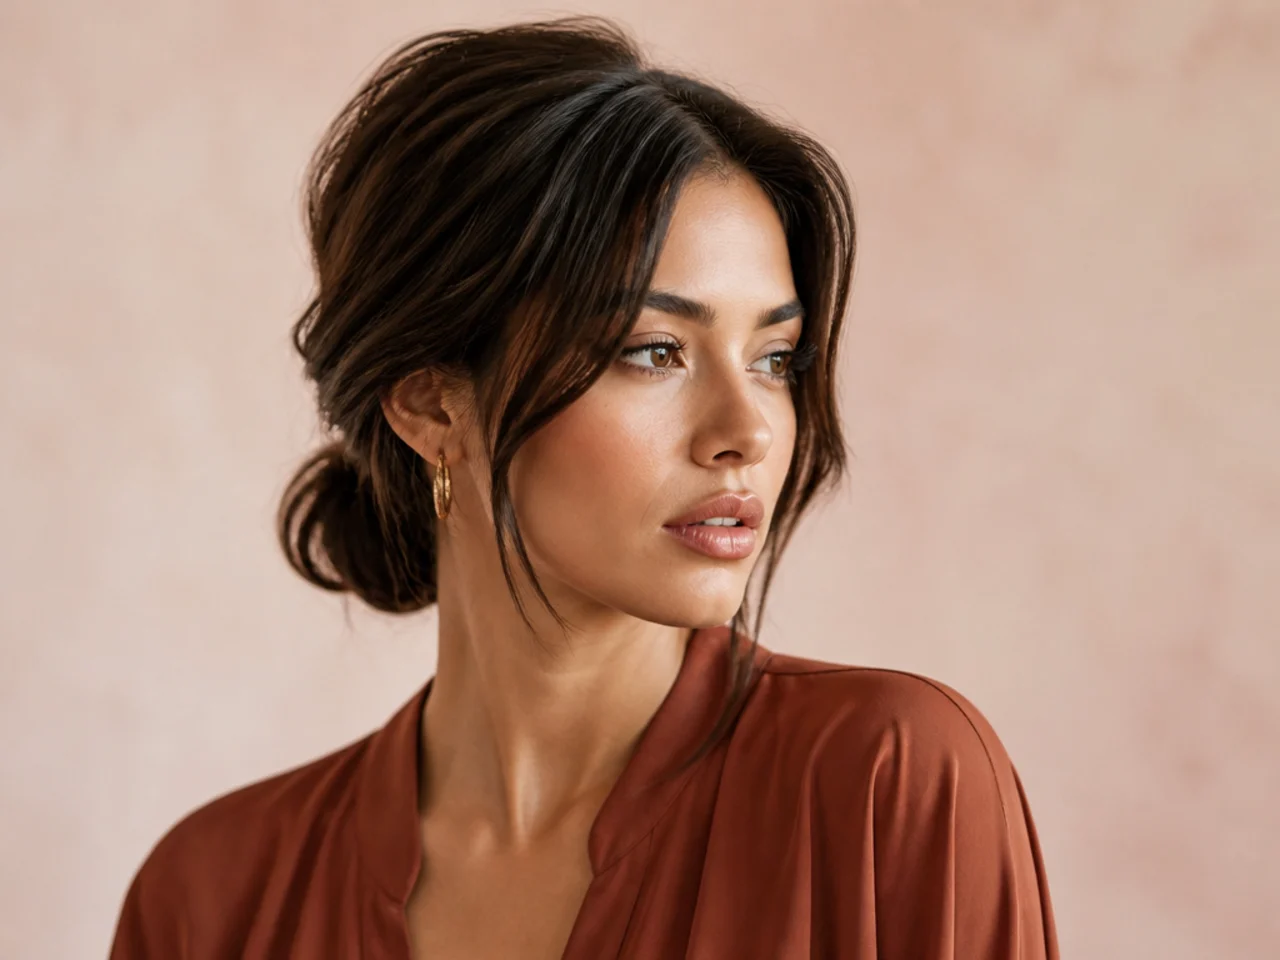
15 Mid Length Haircuts I Tried This Year
Fifteen cuts in a year, all of them mid length, and the only variable that reliably changed the outcome was where the ends landed relative to my shoulder. Everything else turned out to be a detail on top of that one decision.
In this article · 23
- What Counts as Mid Length
- Mid Length by Face Shape
- Fine Thick and Curly at Mid Length
- What to Ask Your Stylist
- Daily Styling at Mid Length
- Growing Out Mid Length
- The 15 Mid Length Cuts I Tried
- 1. Collarbone Blunt Lob
- 2. Long Invisible Layers
- 3. Face Framing at the Jaw
- 4. Curtain Bangs at Mid Length
- 5. Butterfly Cut at the Collarbone
- 6. Shoulder Grazing Shag
- 7. U Shape for Thick Hair
- 8. Wolf Cut at Mid Length
- 9. Curly Lob Cut Dry
- 10. Over Layered Fine Hair
- 11. Money Piece at Mid Length
- 12. Angled A Line Lob
- 13. Deep Side Part
- 14. Wavy Collarbone Weight
- 15. Growing Out Below the Shoulder
- Final Thoughts
Fifteen haircuts over a year, every one of them somewhere between the collarbone and just past the shoulder, and only one thing separated the good ones from the ones I regretted.
The perimeter height decided everything. An inch above the shoulder or two inches below it behaved. Landing exactly on the shoulder never did, no matter how the rest of the cut was shaped.
Layers were the variable I overspent on. Every time I asked for more than I needed, I lost density at the outline and then spent two months waiting to get it back.
What Counts as Mid Length
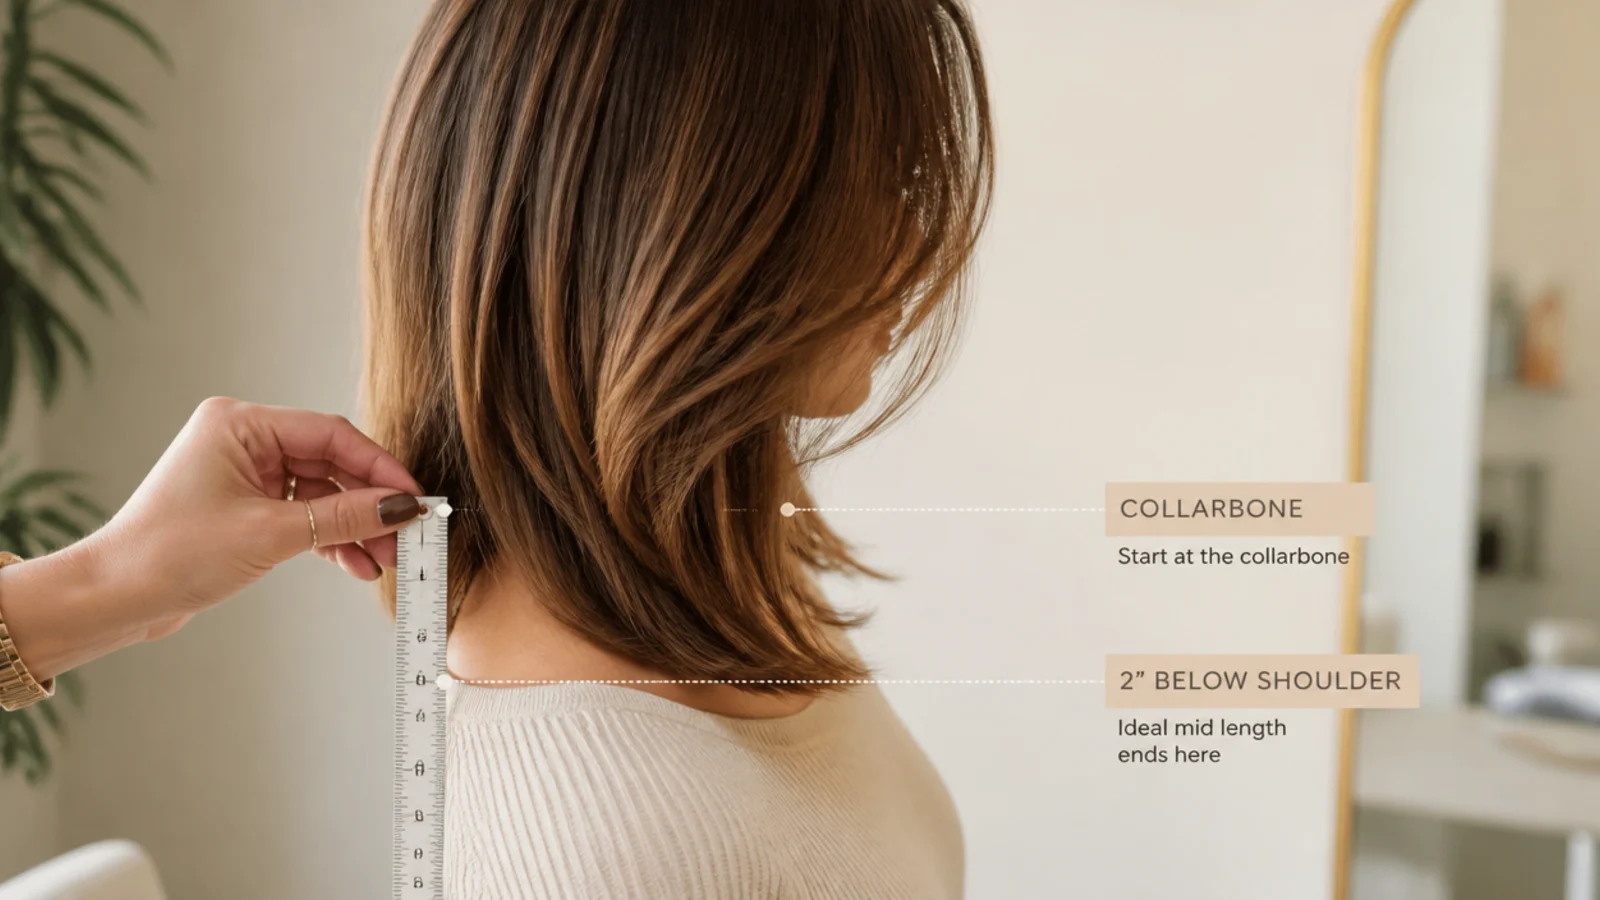
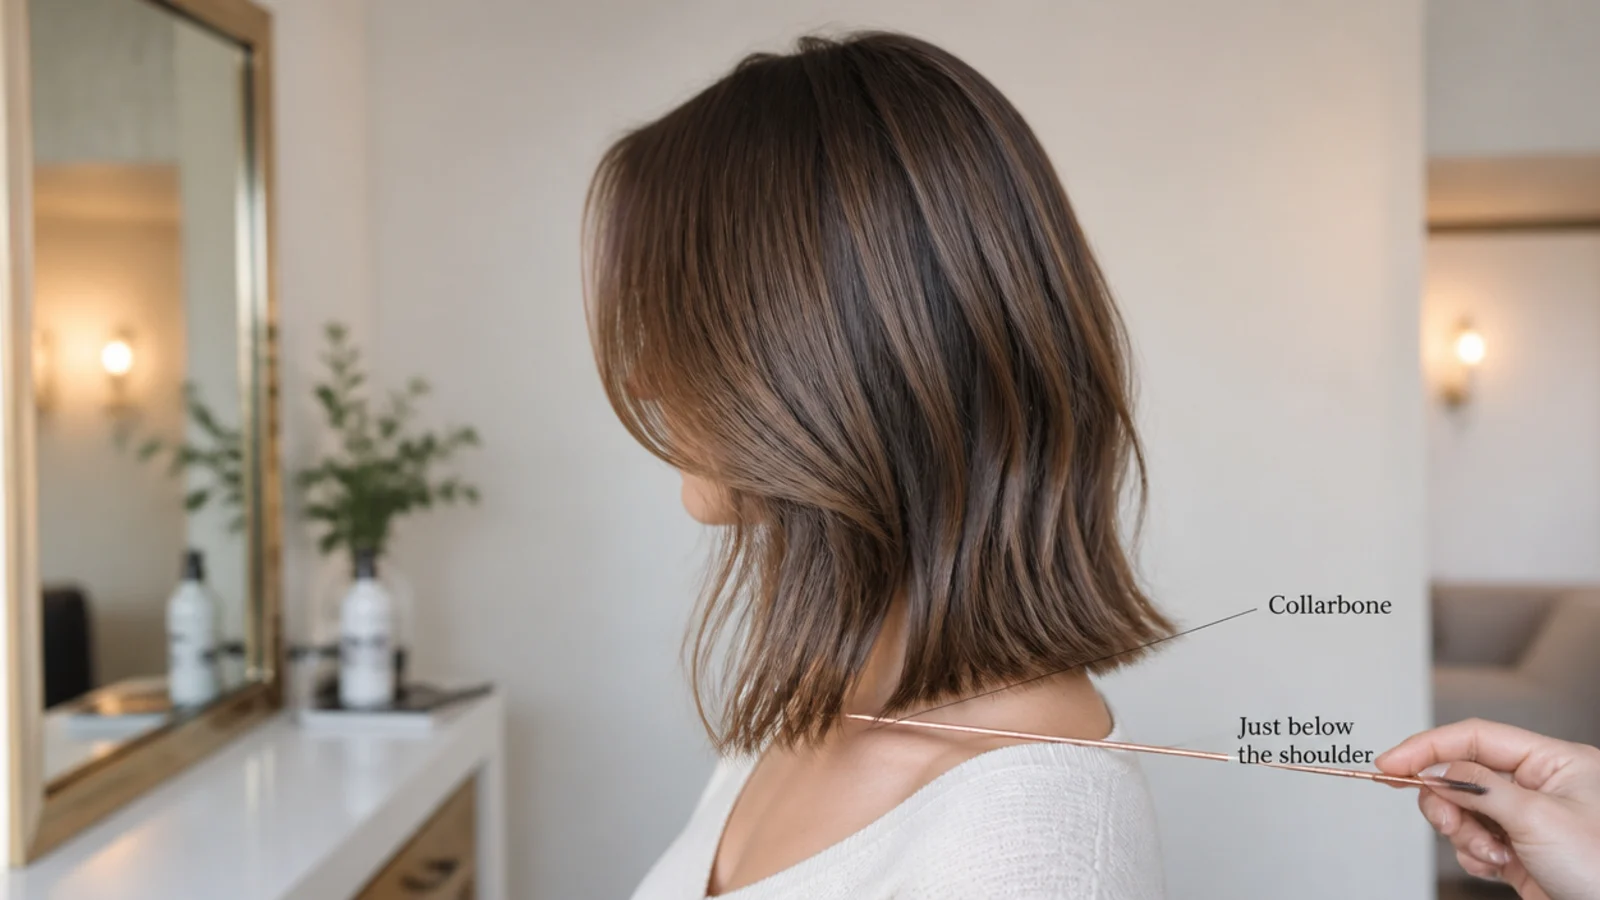
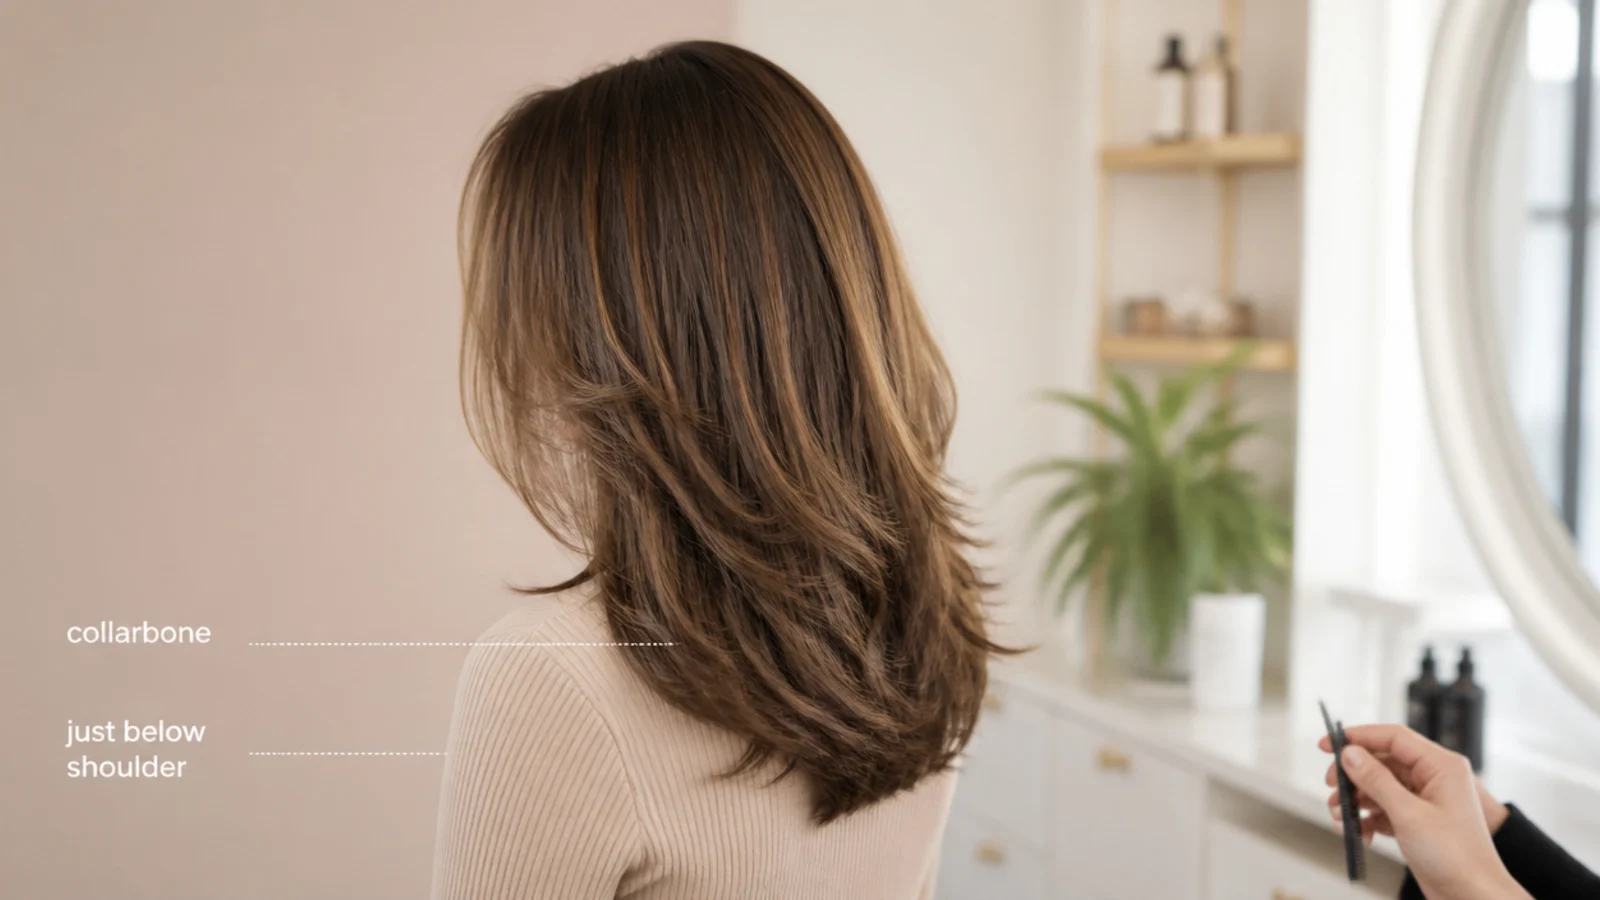
Collarbone to a couple of inches below the shoulder. That was the whole range I worked in, and it is about four inches of travel from top to bottom.
The shoulder is not a length, it is a hazard. Ends resting on it are pushed back up all day and flick outward, which is a styling problem the cut cannot solve.
Four inches sounds small and is not. At half an inch of growth a month, moving from the top of that band to the bottom is eight months of waiting.
Weight lives at the perimeter. Wherever the outline sits, that is where the mass of the cut is concentrated, and everything above it is lifted by it.
Measure standing with the chin level. I dropped almost an inch on one cut by tipping my head forward to look at the ends in the mirror.
Mid Length by Face Shape
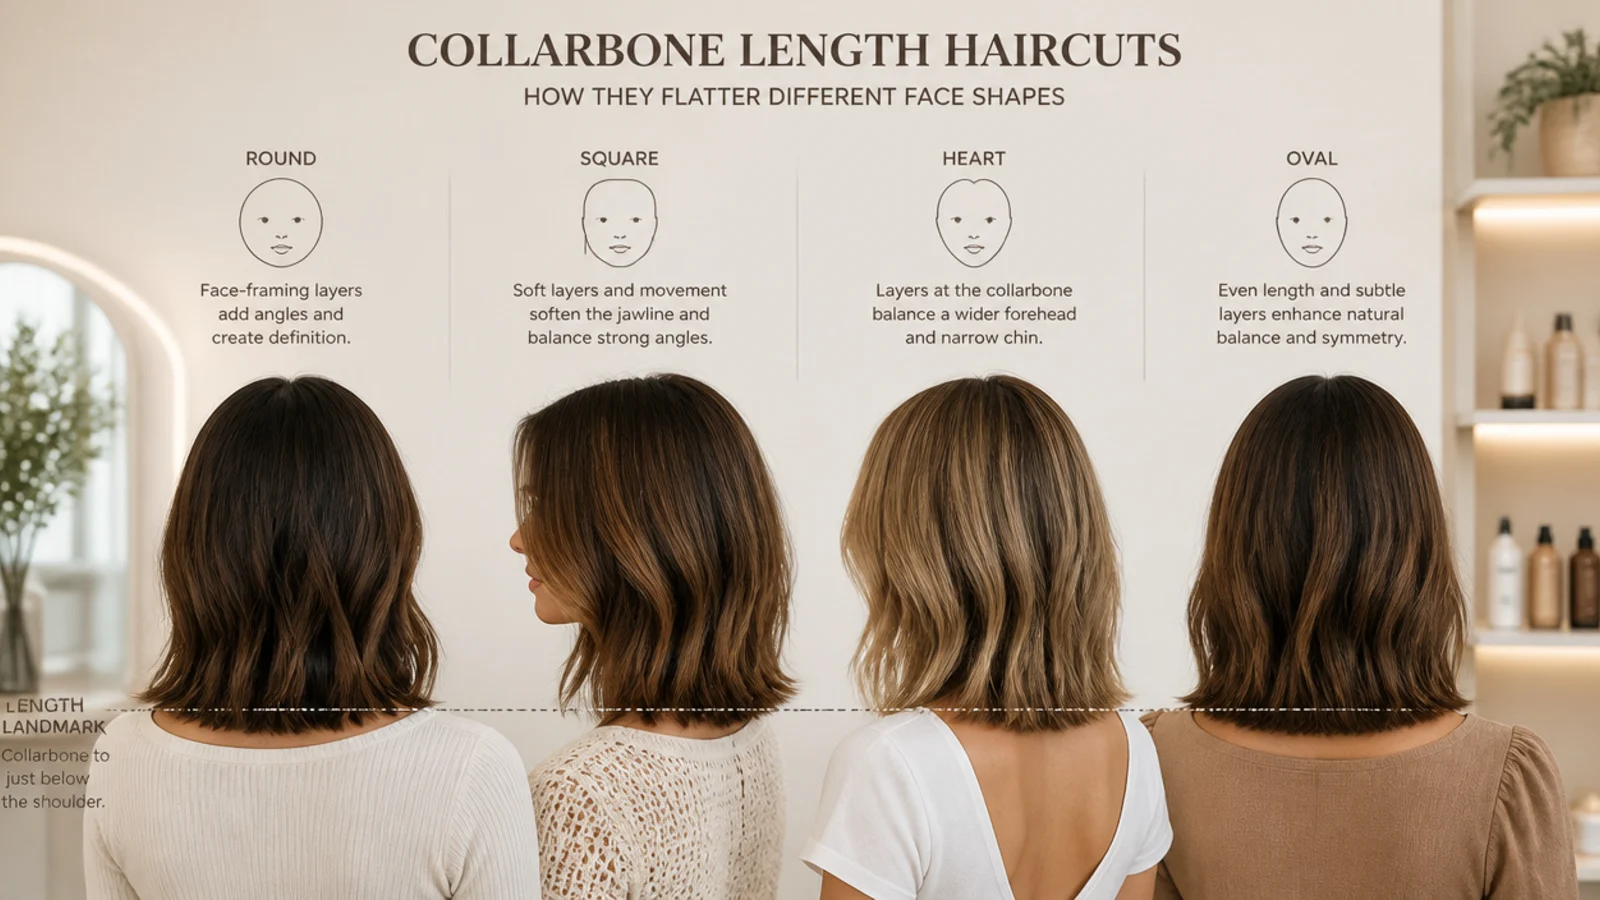
A round face wanted the line below the jaw. A perimeter landing at the widest point of my face just repeated that width back at me.
A long face wants it higher, which was the opposite of my instinct. A shorter horizontal line visually shortens whatever it crosses, and dropping the length adds vertical.
A square jaw wants softness at the front and a hard line behind. The diagonal of a face framing piece runs against the horizontal of the jaw and takes the corner off it.
A heart shape wants the fullest part around chin height. Width low balances a narrow chin against a wider forehead.
Neck length changed more than face shape did. A shorter neck reads better with the weight kept off it, whatever else is going on.
Fine Thick and Curly at Mid Length
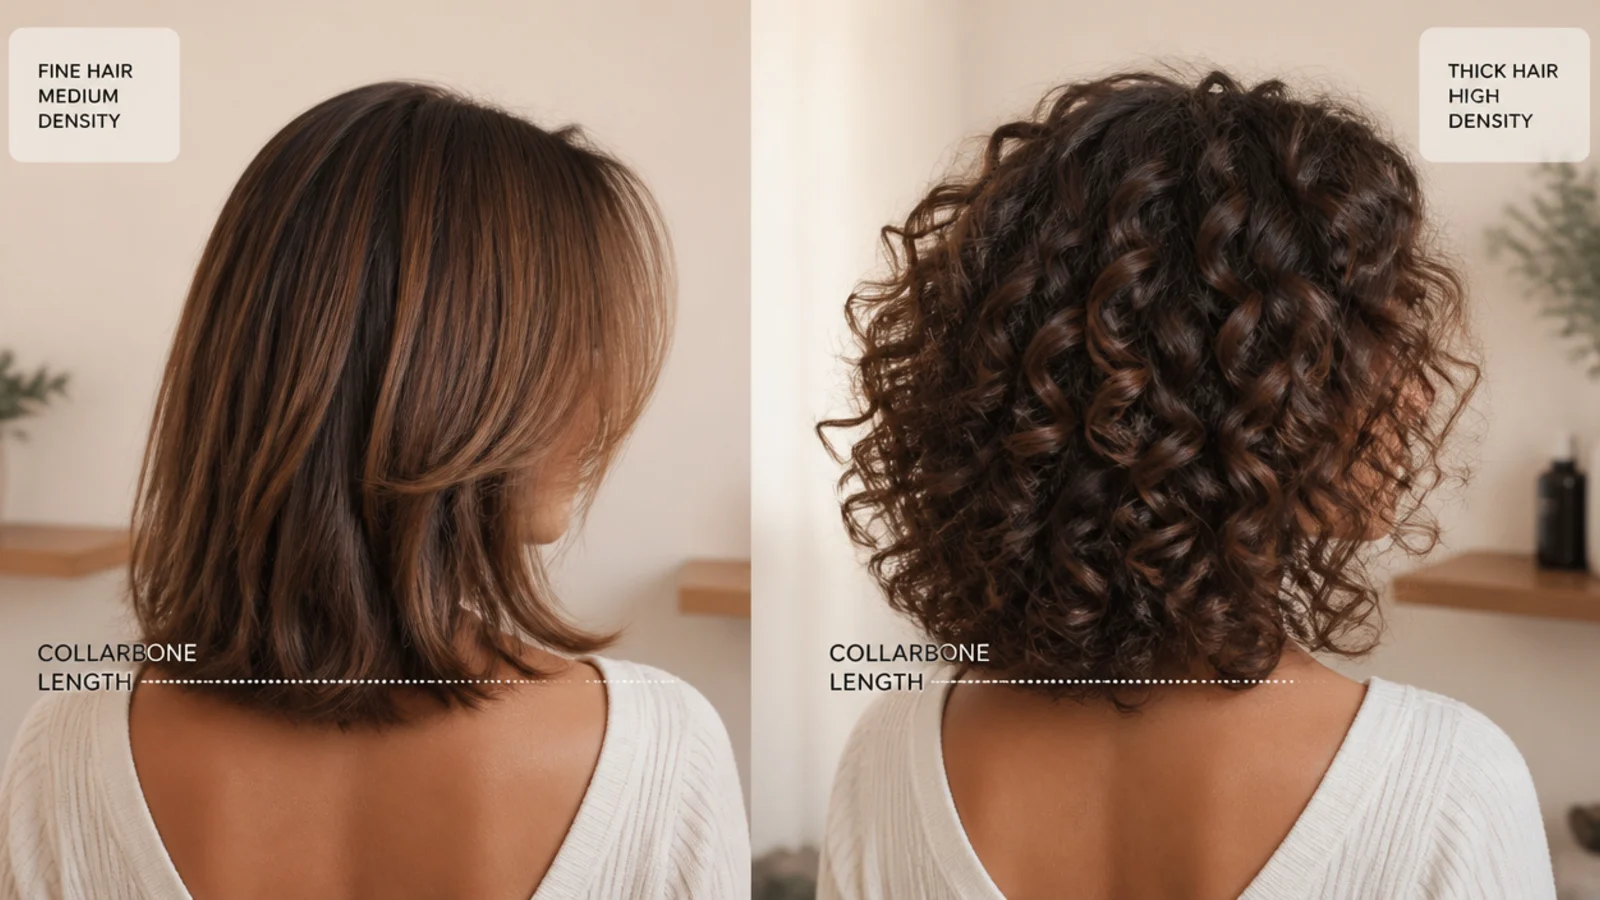
Fine hair wanted a blunt line and internal layers only. Every strand taken off the outline is subtracted from the density the eye reads there.
Thick hair wanted weight removed from underneath. Taking it from the surface leaves short pieces that stand up as they grow back, which is how a smooth head becomes a fuzzy one.
Curly hair had to be cut dry. A stretched wet curl can dry back a third shorter, and I learned that on a cut that came out two inches above where I asked for it.
Wavy hair needed exactly enough weight removed for the bend to form. Too much mass pulls a wave flat and too little leaves it nothing to hang from.
Coily hair shows shrinkage more than any other texture. The finished length always reads shorter than the number that was cut.
What to Ask Your Stylist
Name the perimeter by landmark. Collarbone, an inch above the shoulder, two inches below it. Inches on their own land differently on every body.
Name where the shortest layer starts, separately. Those are two decisions and merging them into the word layers hands both of them to somebody else.
Say connected or disconnected. Connected blends the layer into the length. Disconnected leaves a deliberate step, and the difference is enormous.
Say how blunt you want the ends. Stylists soften a perimeter by habit because it flatters most hair, and blunt has to be asked for explicitly.
Ask for a check on dry hair before the finish. Wet hair hangs lower under the water it holds, so a line that looked correct wet can sit an inch high.
Daily Styling at Mid Length
Volume is a root behaviour. It comes from the direction the first inch leaves the scalp, and nothing done to the ends is a substitute.
Move the part off its natural fall. Roots forced to stand against their growth direction hold height for most of a day with no product involved.
Let sets cool before releasing them. Hair fixes its shape as it cools, which is why a curl dropped out of the iron warm is gone by the afternoon.
Second day hair holds better than clean hair. Styles rely on friction between strands, and freshly washed hair slides.
Style the front and the top first. They are the only sections anyone sees from the front, and on the mornings I ran out of time they were the ones that mattered.

Growing Out Mid Length
Half an inch a month is the entire budget. Every trim is spent against it and there is no faster rate available.
Dust an eighth of an inch every eight weeks. That still nets over an inch a quarter, and it stops splits climbing further up the shaft.
Do not level the perimeter to fix an uneven layer. Cutting everything down to meet the shortest piece restarts the clock from a shorter place.
The shoulder stage passes in about two months. Curling the last inch under gets you through it without cutting anything.
Photograph the back after every appointment. It is the only view of the cut I never get to see in real time, and it made every conversation with a stylist shorter.
The 15 Mid Length Cuts I Tried
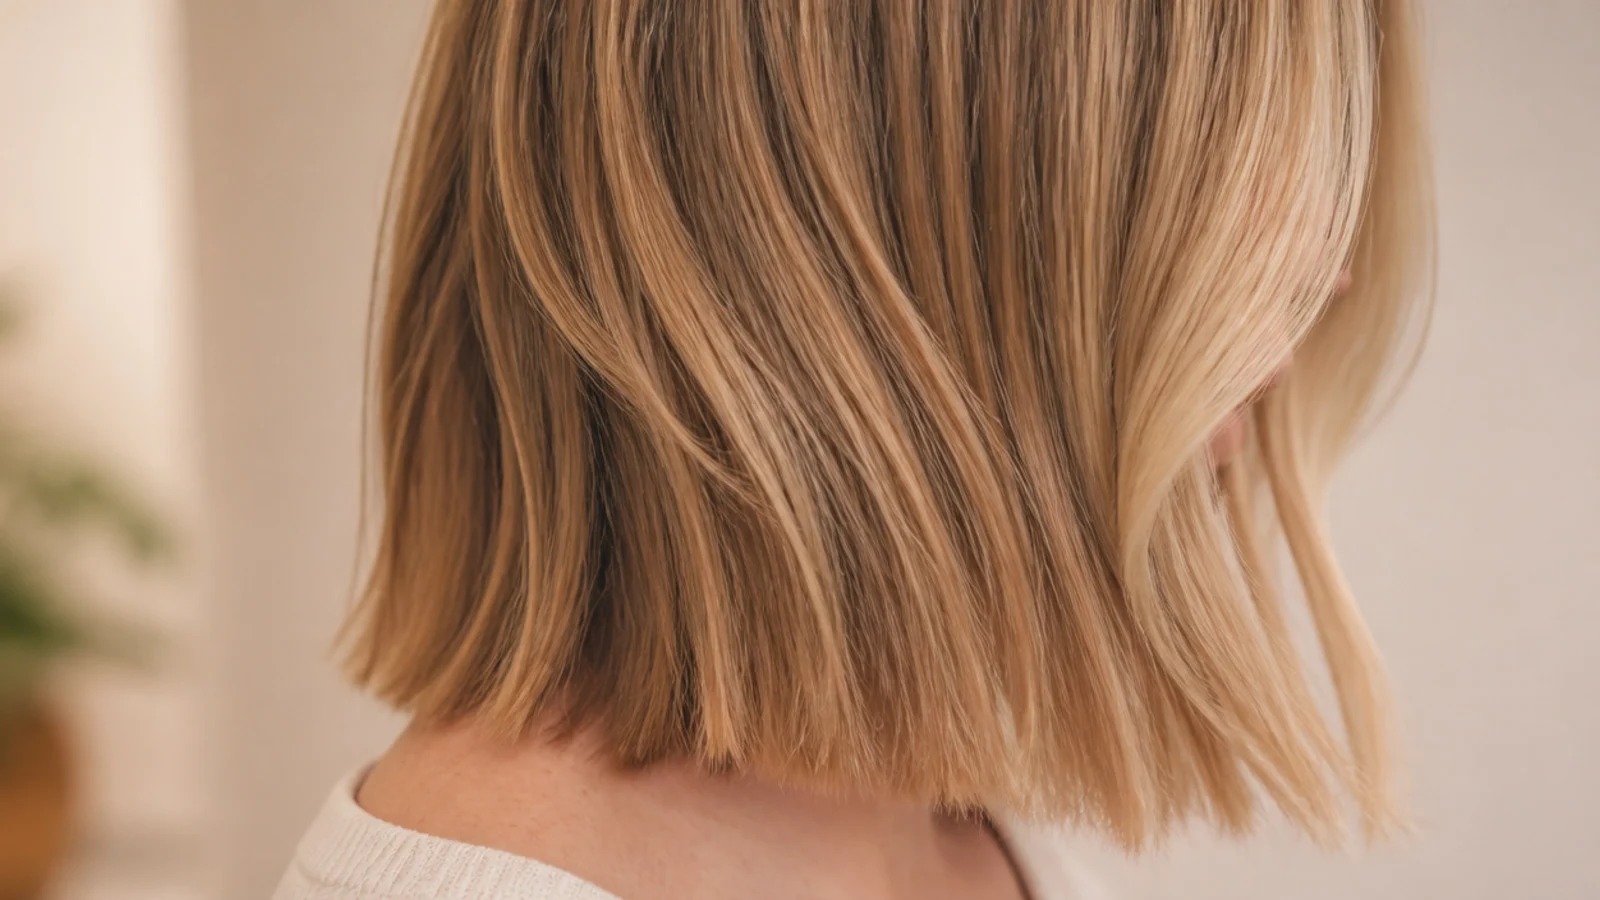
1. Collarbone Blunt Lob
The one I keep coming back to. A blunt line ends every strand at the same point so the perimeter stacks into a single visible edge, and at collarbone height it clears the shoulder completely, which removes the flicking problem before it starts.
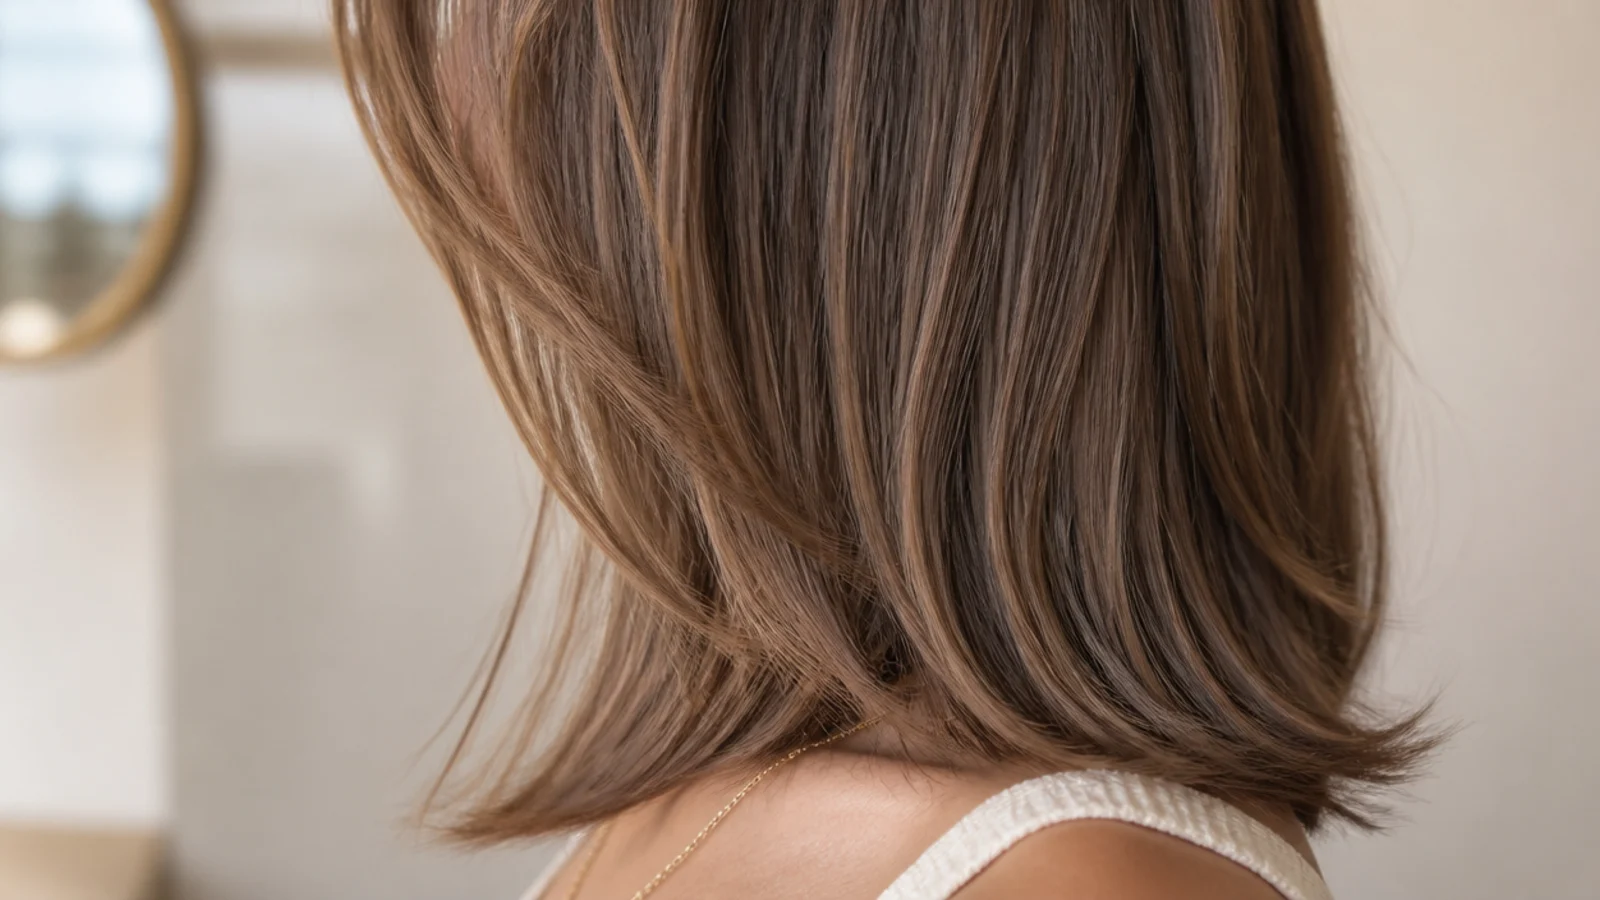
2. Long Invisible Layers
Cut inside the shape and over directed so nothing shorter surfaced anywhere on the outside. I got movement through the middle without losing a strand from the outline, which is the only layering that never once cost me density.
3. Face Framing at the Jaw
One shorter piece each side starting level with the jaw and angling back into the length. Jaw height was the version I could actually live with, because it is short enough to read as a frame and long enough to tuck behind an ear on the days I wanted it out of the way.

4. Curtain Bangs at Mid Length
The fringe cut on an angle from a short inside edge out to the length, rather than to one level. That angle is why growth slid them down the same line instead of dropping them into my eyes, and it is the difference between growing bangs out and enduring them.
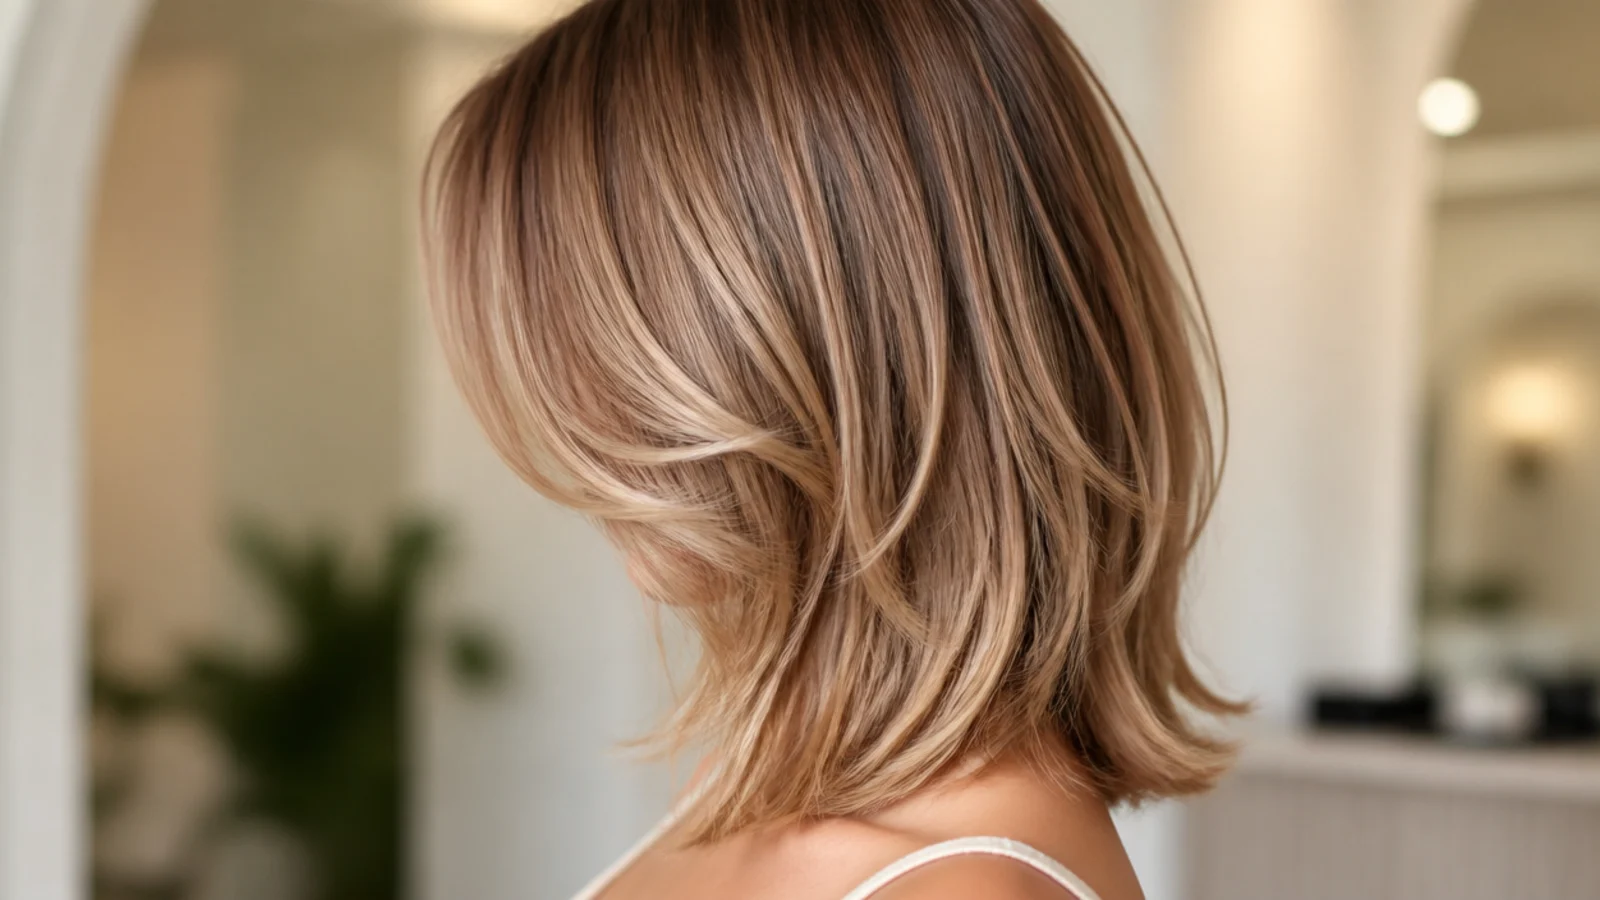
5. Butterfly Cut at the Collarbone
A short chin length layer left deliberately apart from a long perimeter, so the eye reads two lengths instead of a gradient. The step at the cheek is the entire point, and asking for it to be blended is asking for a different haircut.

6. Shoulder Grazing Shag
Layers distributed all the way through with the ends textured heavily. The texture was doing half the work, because separated ends catch against each other instead of lying flat, and it is what stopped the shape collapsing by the middle of the day.
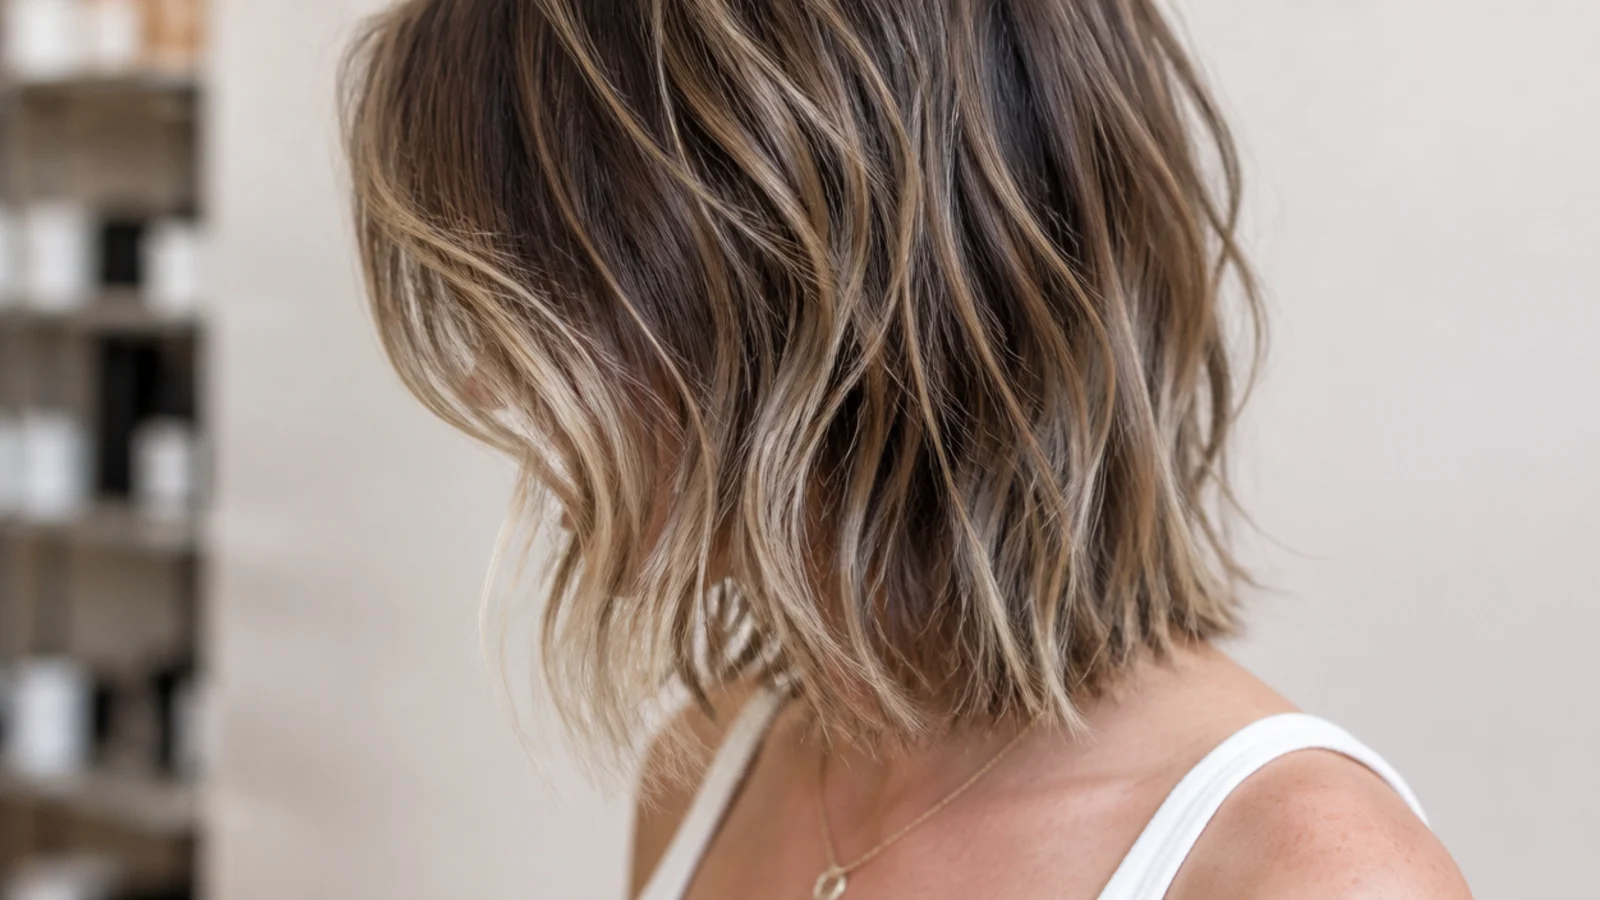
7. U Shape for Thick Hair
A shallow curve through the back with the outer corners left longer than the centre. On dense hair the curve stops the back reading as a flat wall while keeping weight at the sides, where it holds the silhouette in instead of letting it spread outward.

8. Wolf Cut at Mid Length
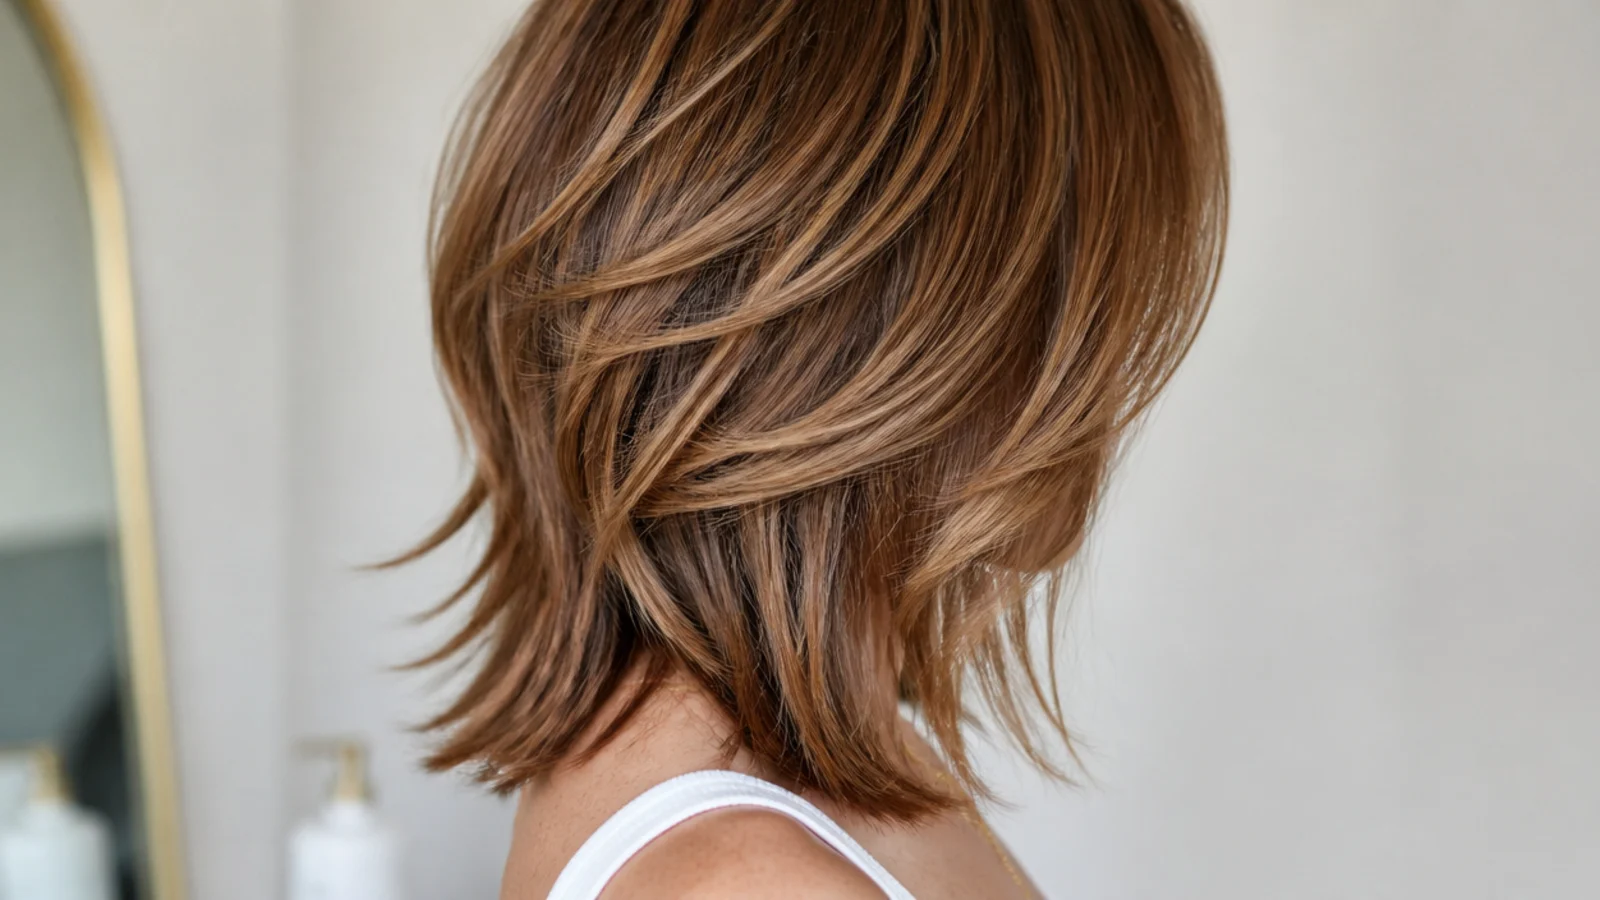
The shortest layers moved up onto the crown so the weight sat high and the ends ran thin. It needs real density up top to carry that distribution, and on a lighter head the bottom half of the cut simply runs out of hair.
9. Curly Lob Cut Dry
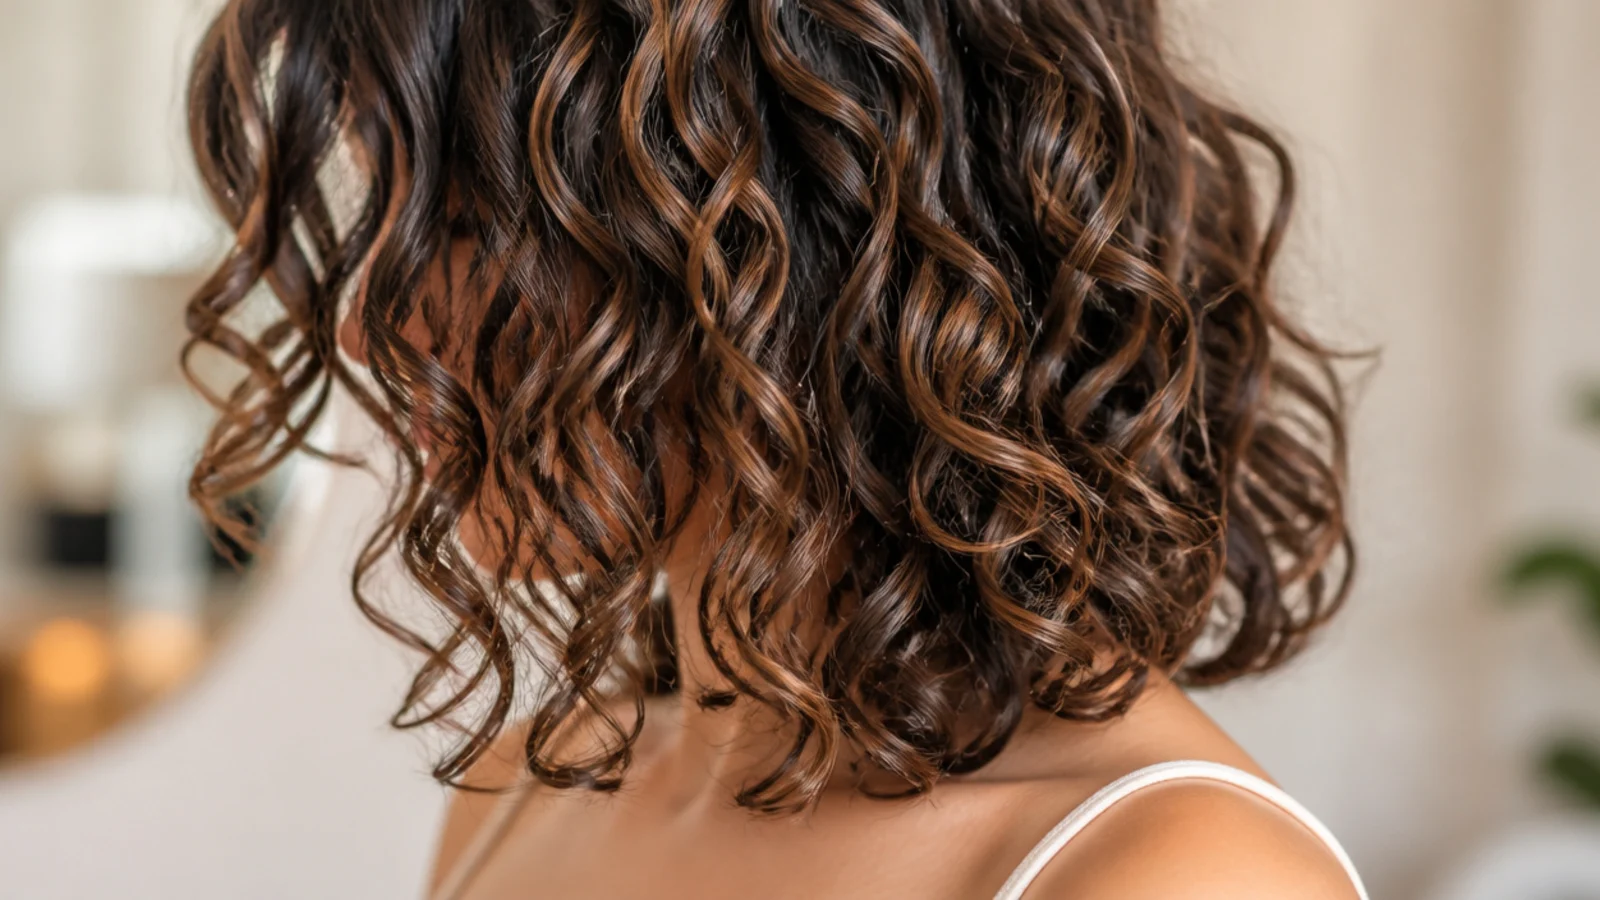
Cut curl clump by curl clump with each one released and assessed where it naturally sat. This came after the cut that went two inches short, and the mechanism is straightforward enough that I have never gone back to a wet cut on curls since.
10. Over Layered Fine Hair
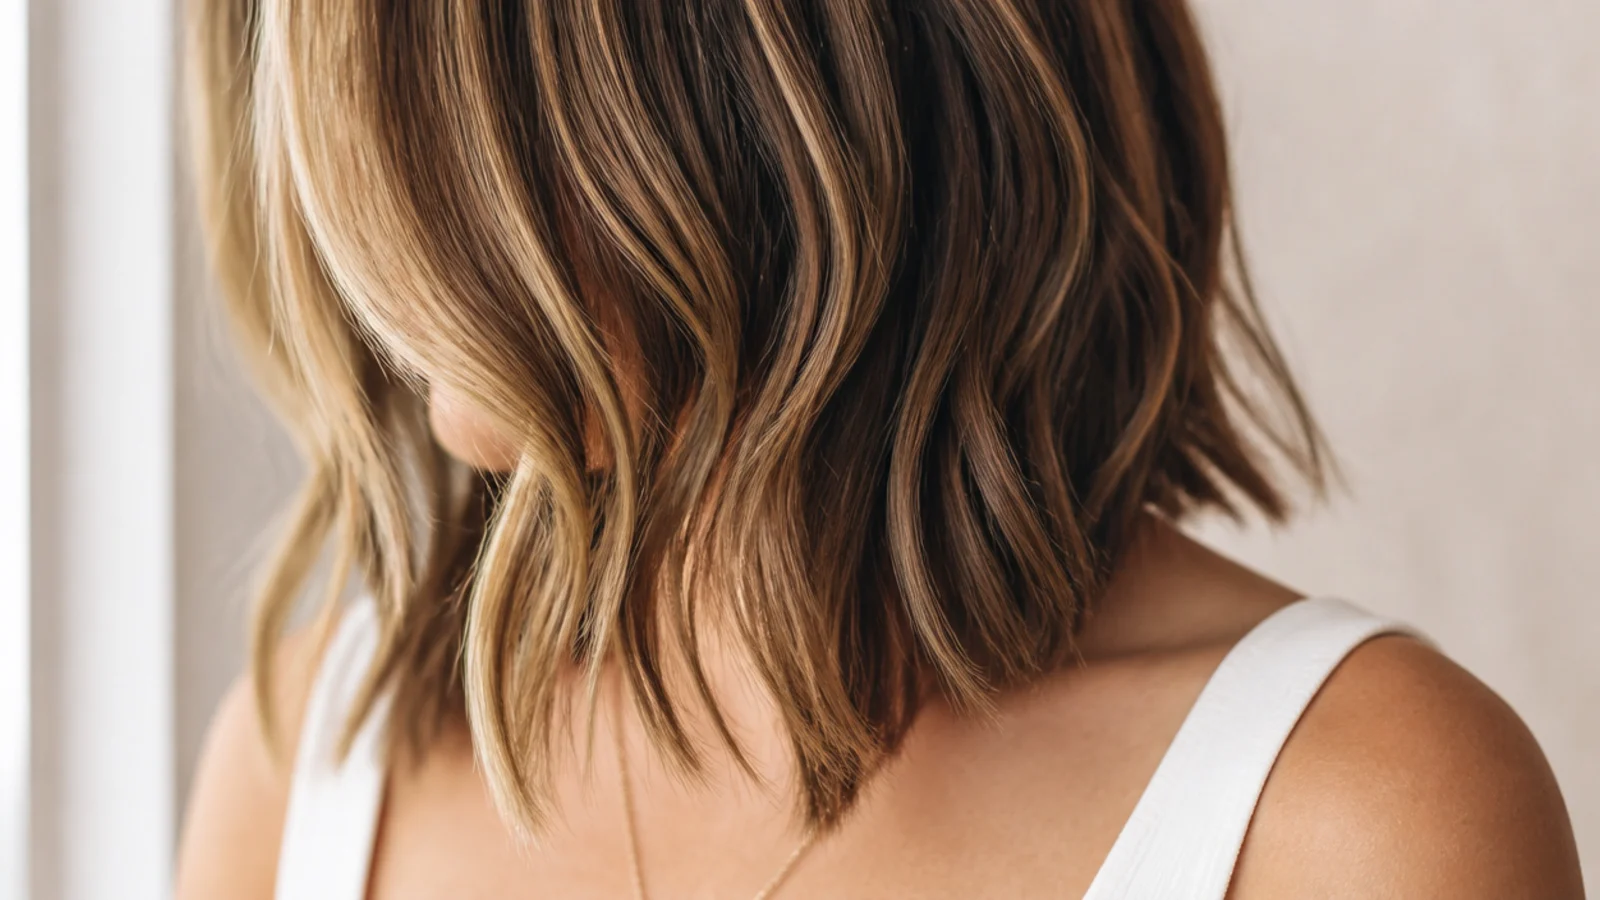
The cut I regretted most. The layering reached the ends, which thinned the outline, and a tapered outline is what thinning hair looks like, so a cut meant to add fullness read as the exact opposite for four months.

11. Money Piece at Mid Length
Two lightened front sections doing the job with colour rather than scissors. Lightening roughens the cuticle a little, so those strands catch against each other and sit fuller, and nothing was removed that had to grow back afterwards.
12. Angled A Line Lob
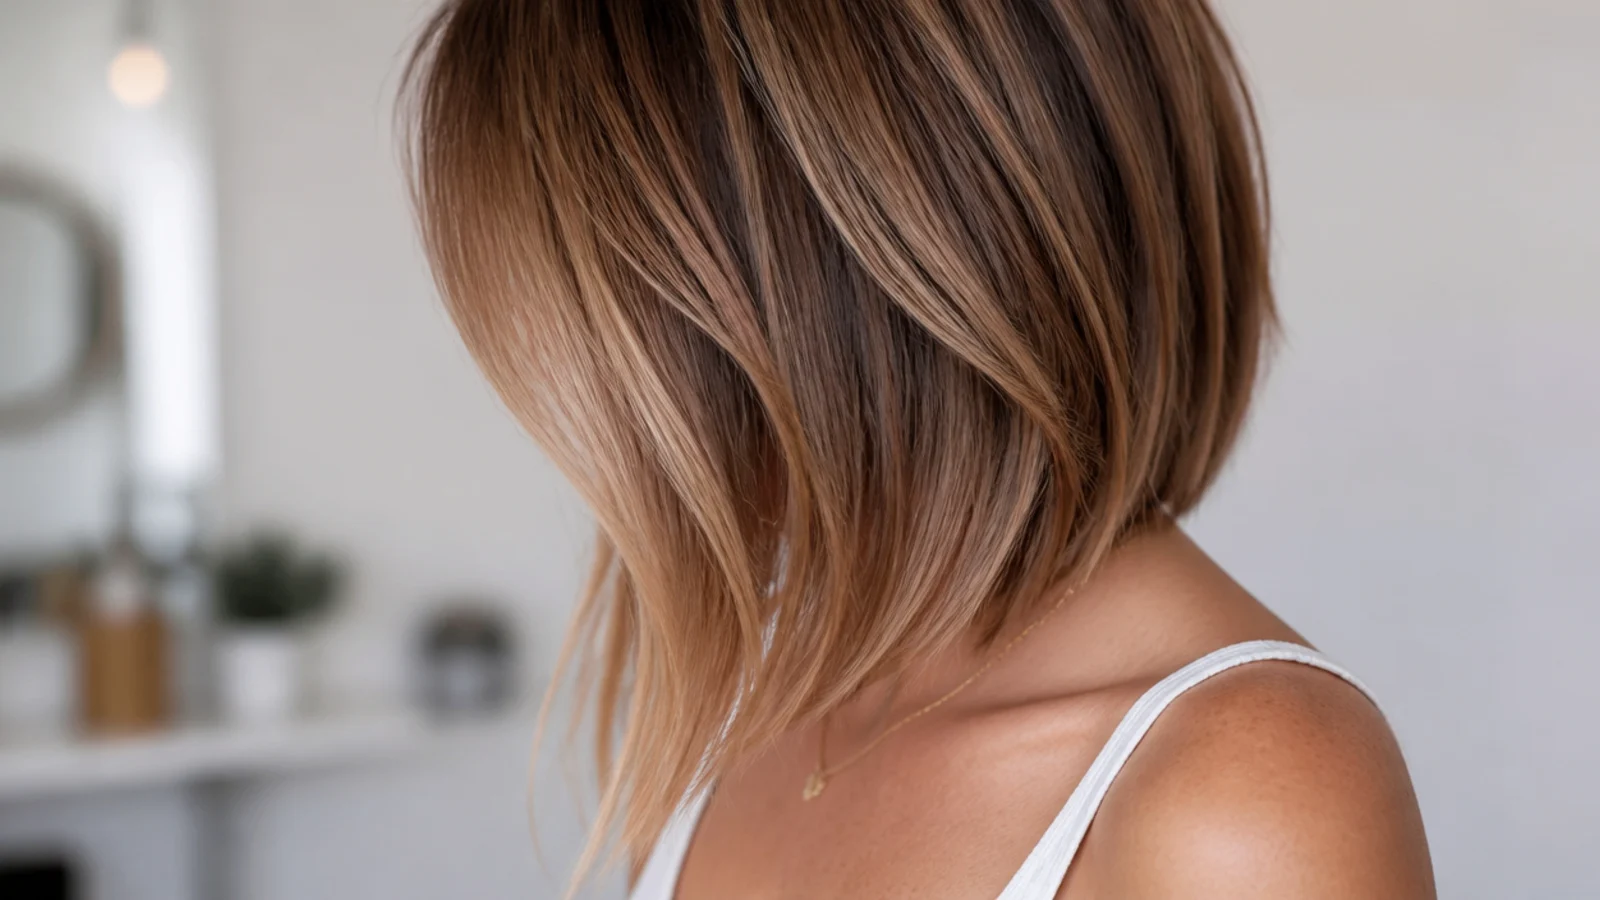
The front dropped an inch or so below the back. Length at the front puts weight where I actually see it in a mirror, and lifting the back takes the hair off the nape so it stops flattening under everything above it.
13. Deep Side Part
The cheapest change I made all year, and one of the most visible. Taking the part well across the head forces the roots on the heavy side to stand against their growth direction, and that resistance holds crown height for most of a day with no product at all.
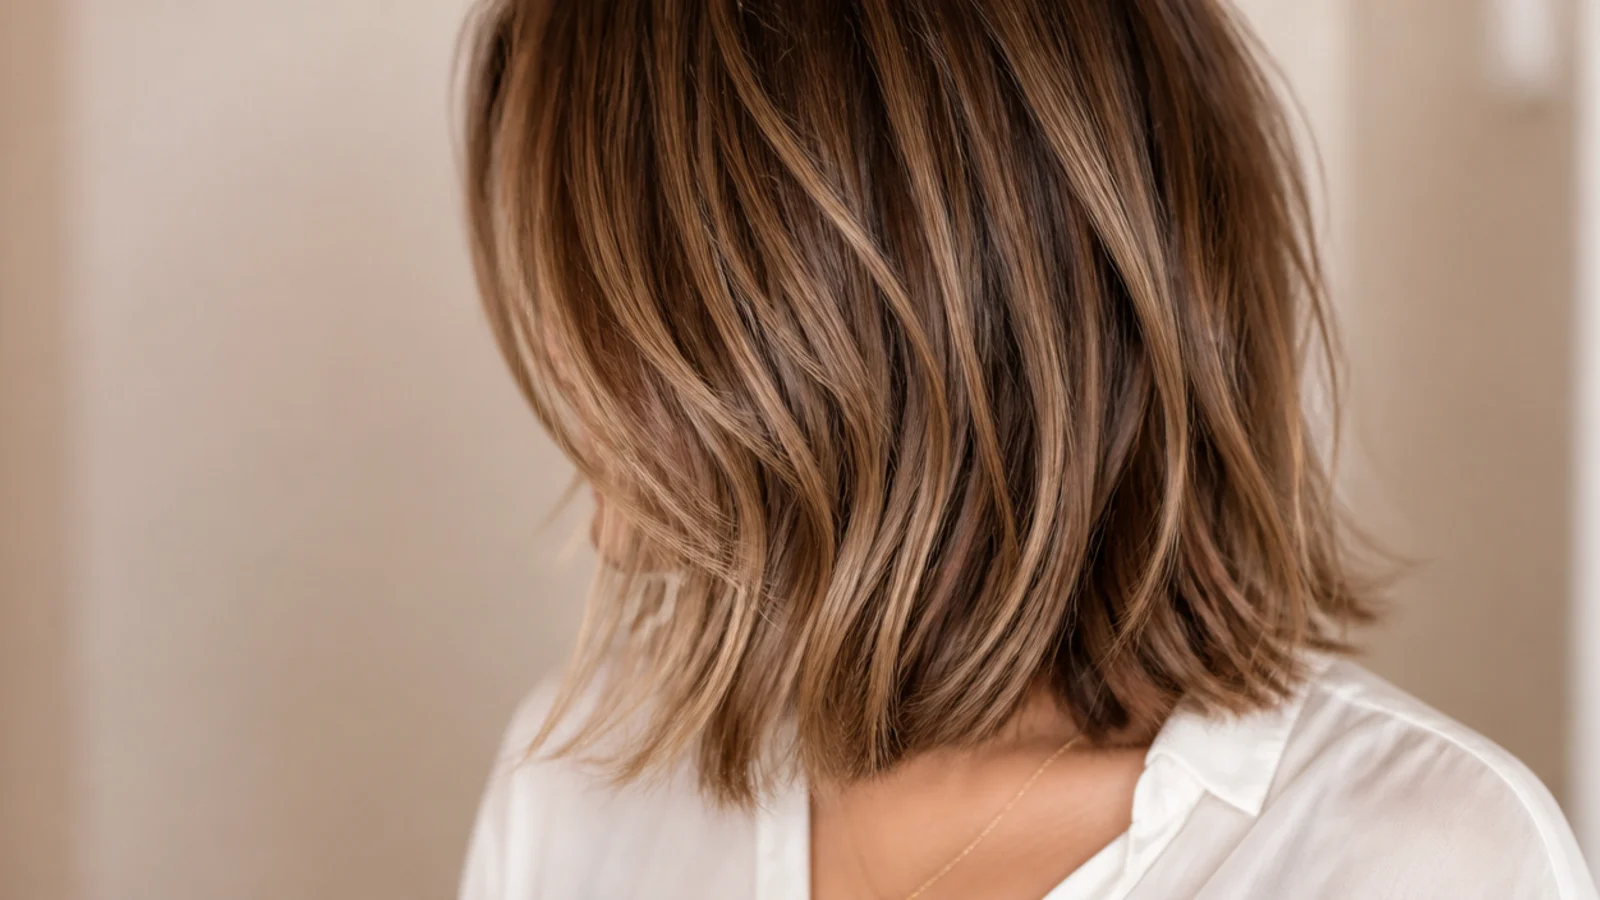
14. Wavy Collarbone Weight
Just enough weight removed for the bend to form and nothing more. A wave is held out by its own shape, so too much mass pulls it straight and too little leaves it nothing to hang from, and collarbone length sat in the middle of that range.
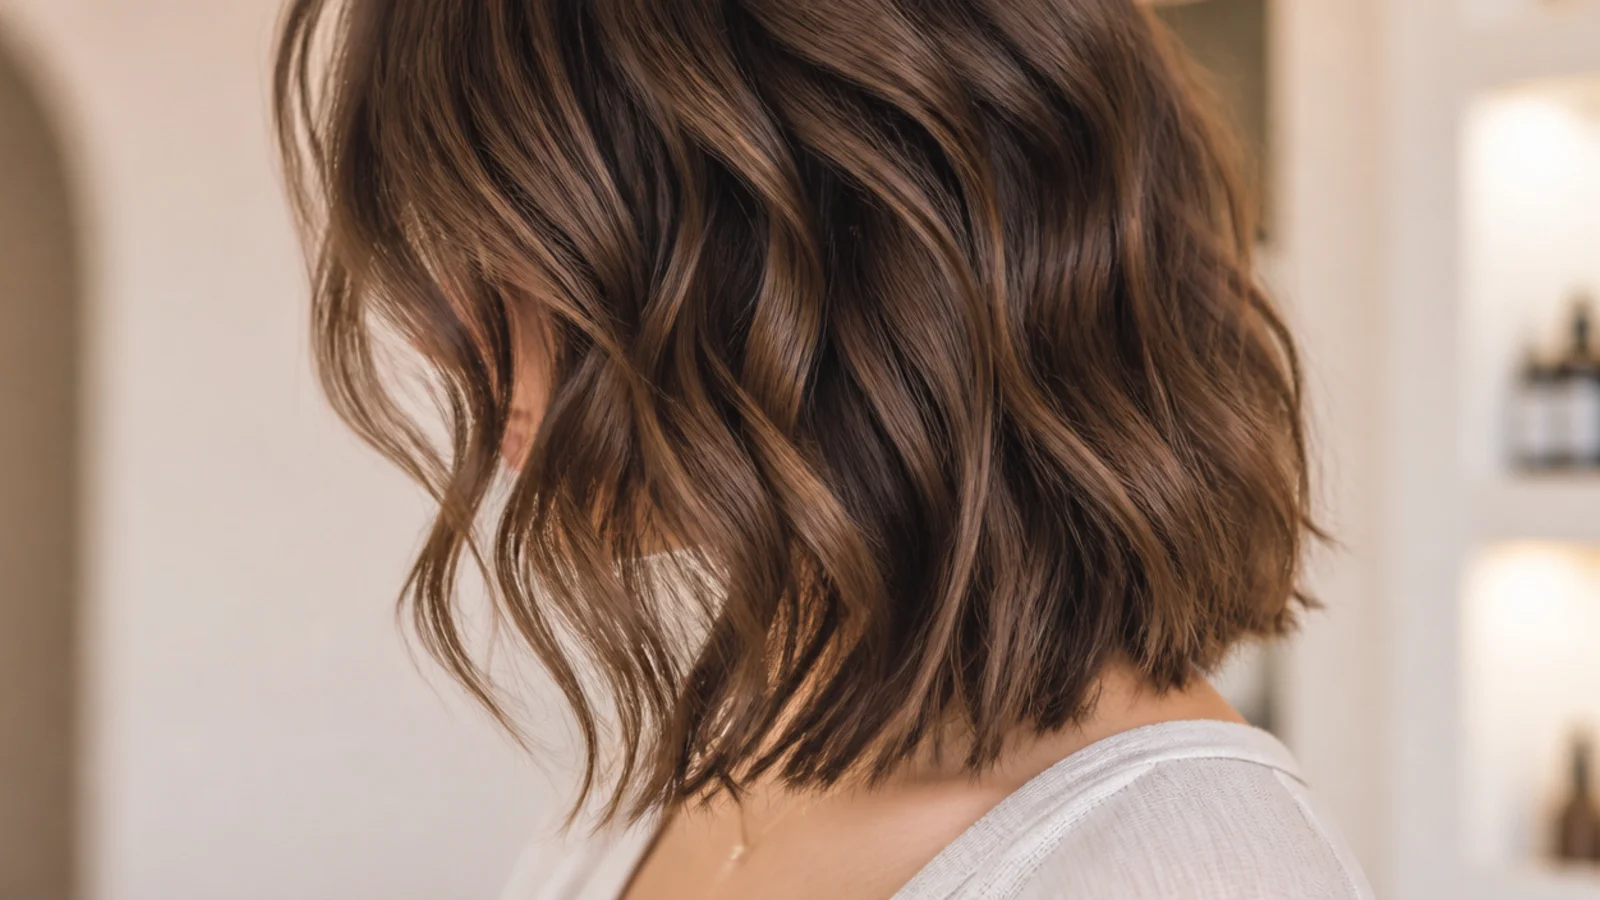
15. Growing Out Below the Shoulder
The stage after the last cut, with the ends now clearing the shoulder rather than sitting on it. Curling the final inch under while it passed through the awkward band cost one pass with an iron and saved me from cutting anything, which is how the year finished.

Final Thoughts
Pick the perimeter first and treat everything else as a second question. A year of moving that one line up and down taught me that the cuts I liked all cleared the shoulder in one direction or the other, and the cuts I disliked mostly sat on it, whatever else had been done to them. It is also the one measurement a stylist cannot get wrong if you give it as a landmark rather than as a number of inches.
The other lesson was arithmetic. Half an inch a month is the entire budget, so an over layered cut is not an aesthetic disappointment, it is a four month wait, and there is nothing to do in the meantime except let the shortest piece catch up. Ask for less than you think, keep the outline blunt, and buy the movement back later if you still want it. For the same length worn by men see 7 tips to style medium length hair for men. More in Womens Hairstyles. See also the choppy version.