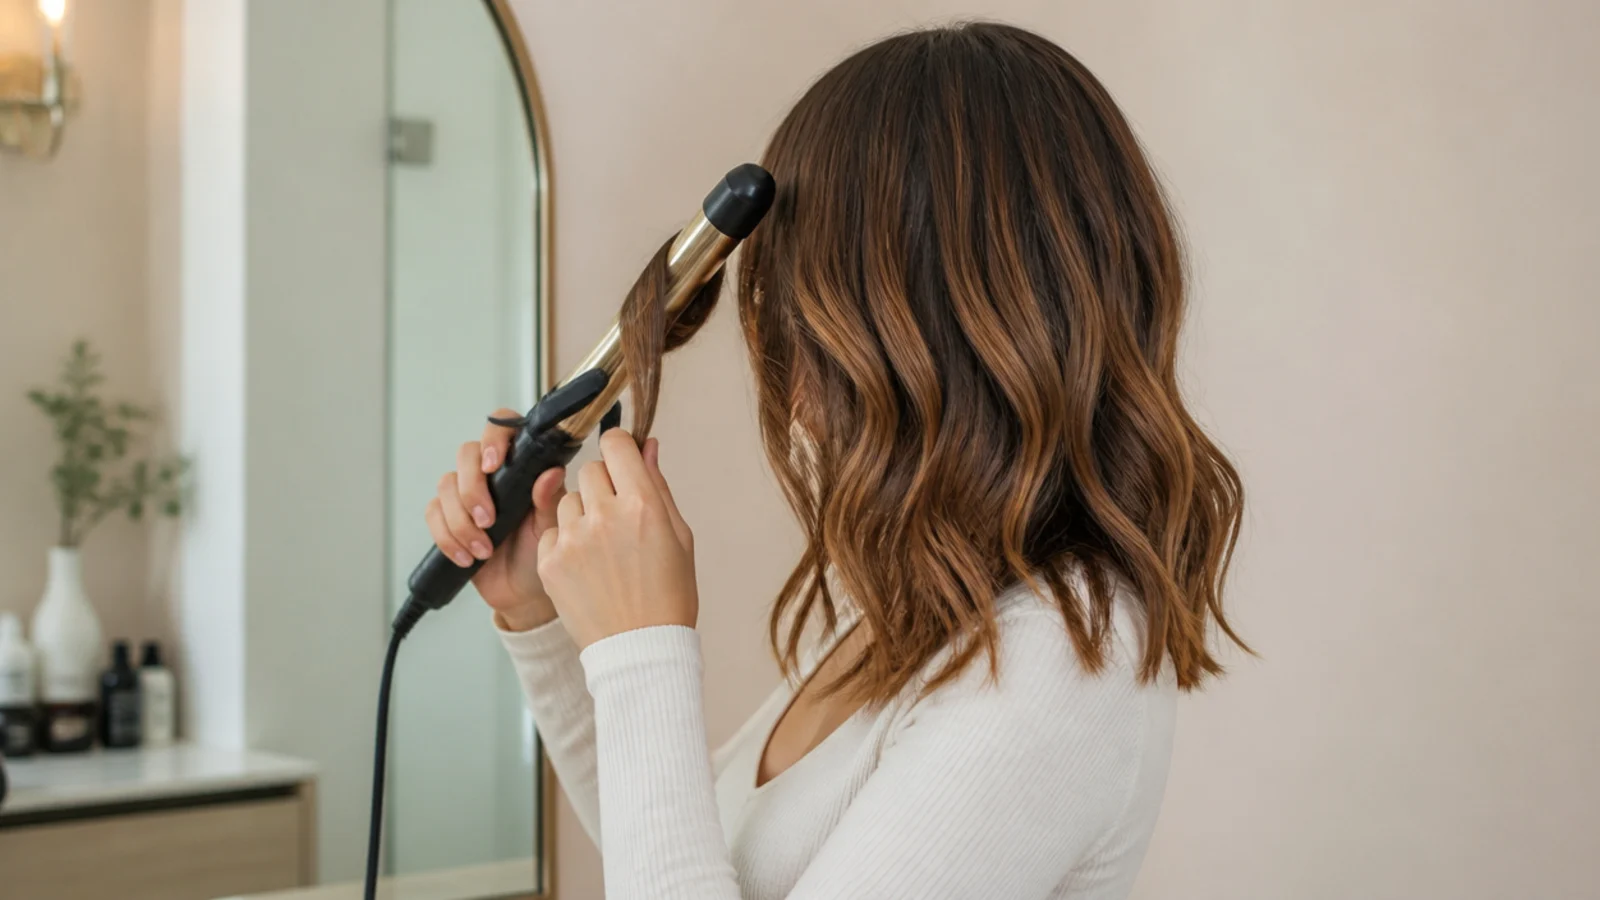
15 Ways to Style Mid Length Hair
Fifteen styles for collarbone length hair, built on the one rule that fixes most of them at once. Hair takes its shape as it cools, not while it is hot, so a set released warm was never really set at all.
In this article · 32
- What Counts as Mid Length
- Too Short for a Bun
- Five Ten and Twenty Minute Styling
- Styling Fine Thick and Curly Hair
- Styling by Face Shape
- Growing Out Mid Length Hair
- The 15 Mid Length Styles
- 1. Loose Beach Waves
- 2. Sleek Straight Blowout
- 3. Half Up With a Claw Clip
- 4. Slick Low Ponytail
- 5. Volume Ponytail
- 6. Messy Bun
- 7. Twisted Half Up Knot
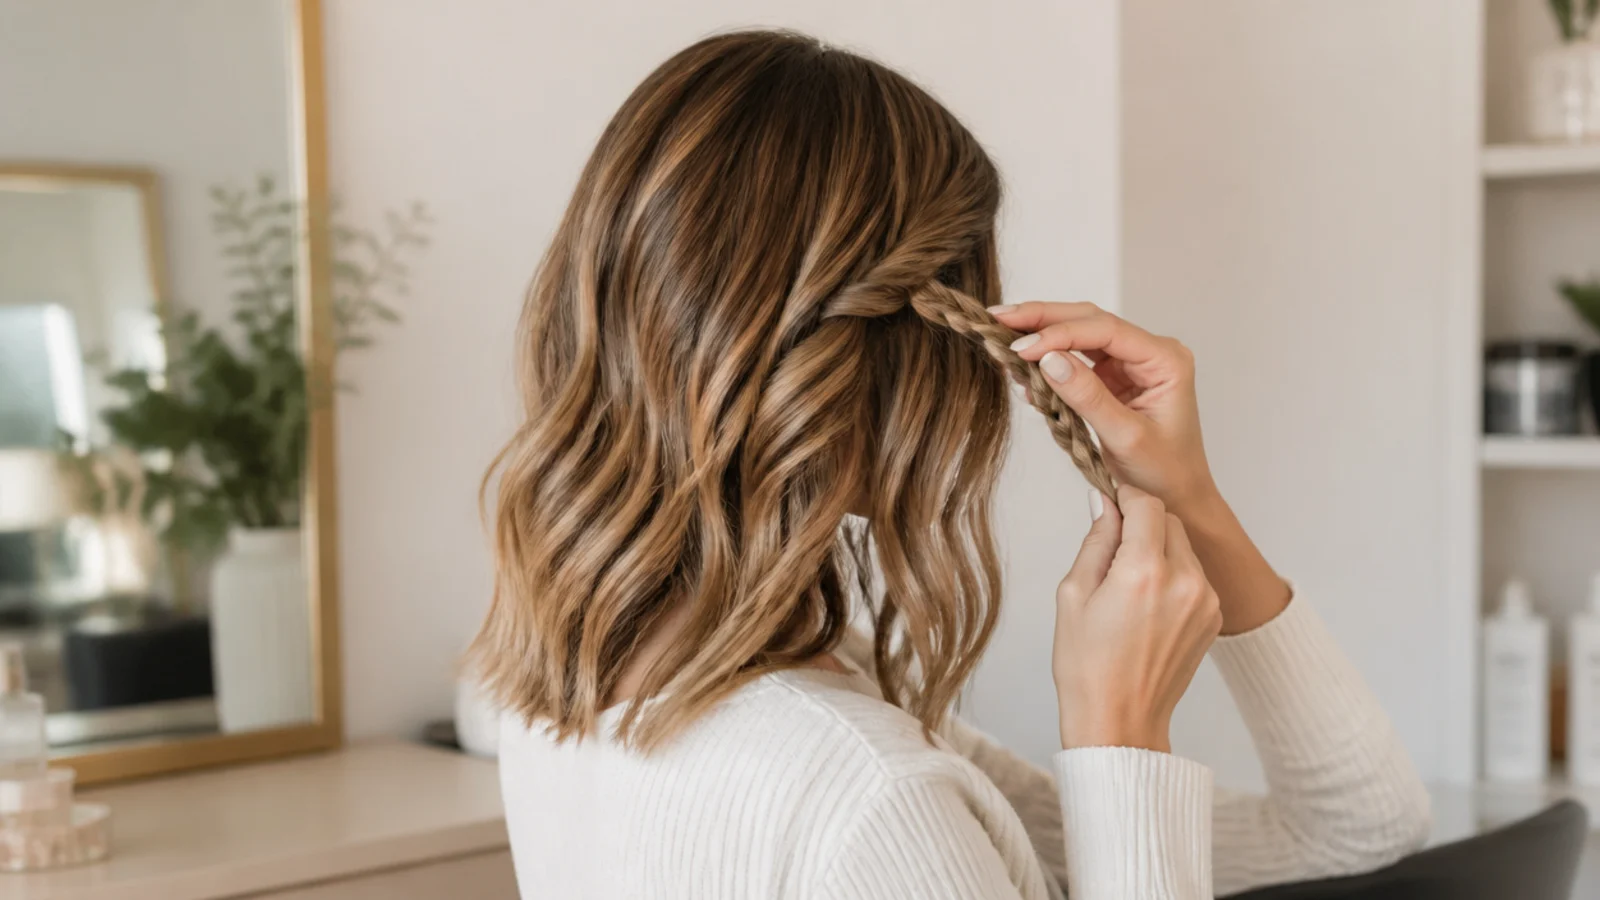
- 8. Front Dutch Braid
- 9. Space Buns
- 10. Air Dried Waves
- 11. Round Brush Blowout
- 12. Curtain Bang Bounce
- 13. Hollywood Waves
- 14. Faux Bob
- 15. Heatless Overnight Waves
- How to Style Mid Length Waves
- Step 1. Start on Day Two Hair
- Step 2. Prep Damp Hair
- Step 3. Rough Dry
- Step 4. Set the Part
- Step 5. Two Layer Sectioning
- Step 6. Alternate the Curl Direction
- Step 7. Cool and Break the Set
- Step 8. Texture Spray Finish
- Final Thoughts
Mid length hair has two complaints and they are the same complaint. The waves are gone by two in the afternoon, and the bun slides out on the walk to the station.
Hair sets its shape as it cools, not while it is hot. A curl dropped straight out of the iron while it is still warm has never finished forming, which is why it looks perfect for an hour and then falls.
Grip does more than product does. Every style here holds through friction between strands, and freshly washed hair is smooth enough to slide out of almost anything.
What Counts as Mid Length
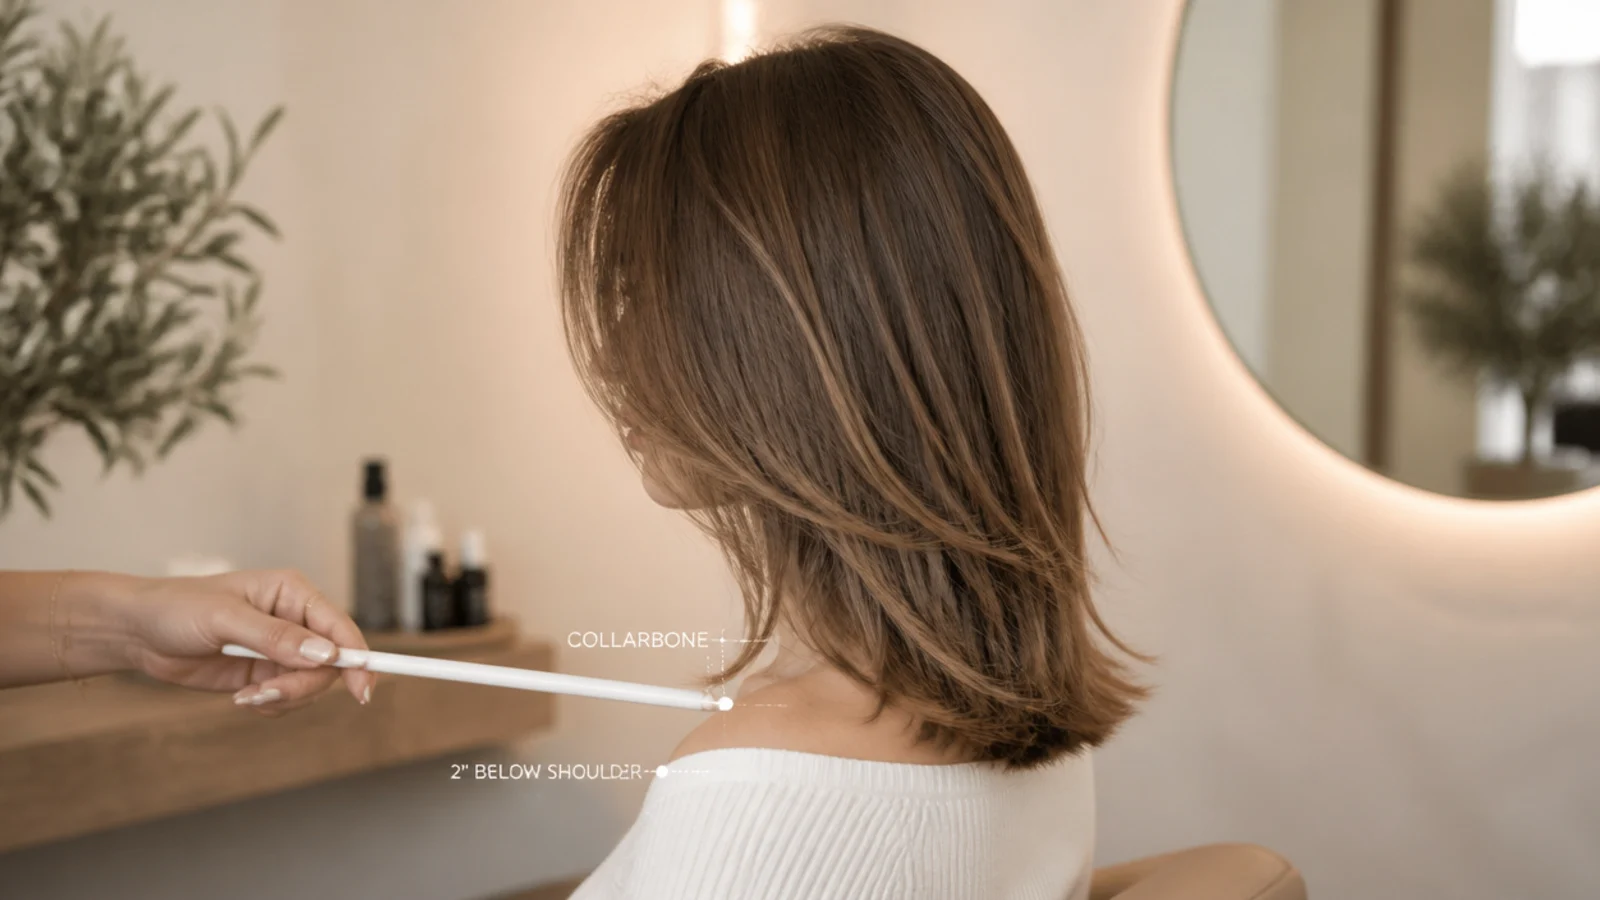
Collarbone to a couple of inches below the shoulder. Long enough to hold a wave pattern, short enough that half of what works on long hair runs out of length.
It is the length that needs the most technique. Long hair has weight on its side and short hair has shape on its side, and mid length has to be given both.
The shoulder is the point of friction, literally. Ends resting on a shoulder are pushed back up all day, which is what turns a smooth blow dry into a flick by lunchtime.
Weight is on the low side here. There is less mass pulling a set down than on long hair, which is good news for volume and bad news for anything that relies on hair staying where you put it.
Every landmark in this guide is measured standing up. Sitting rounds the shoulders and moves the ends by an inch.
Too Short for a Bun
A bun holds by friction, not by the elastic. The hair is wrapped around itself under tension, and each wrap presses against the one beneath it.
Collarbone length only gives you two wraps. Fewer wraps means less contact area, less friction and a knot that starts unwinding the moment you move.
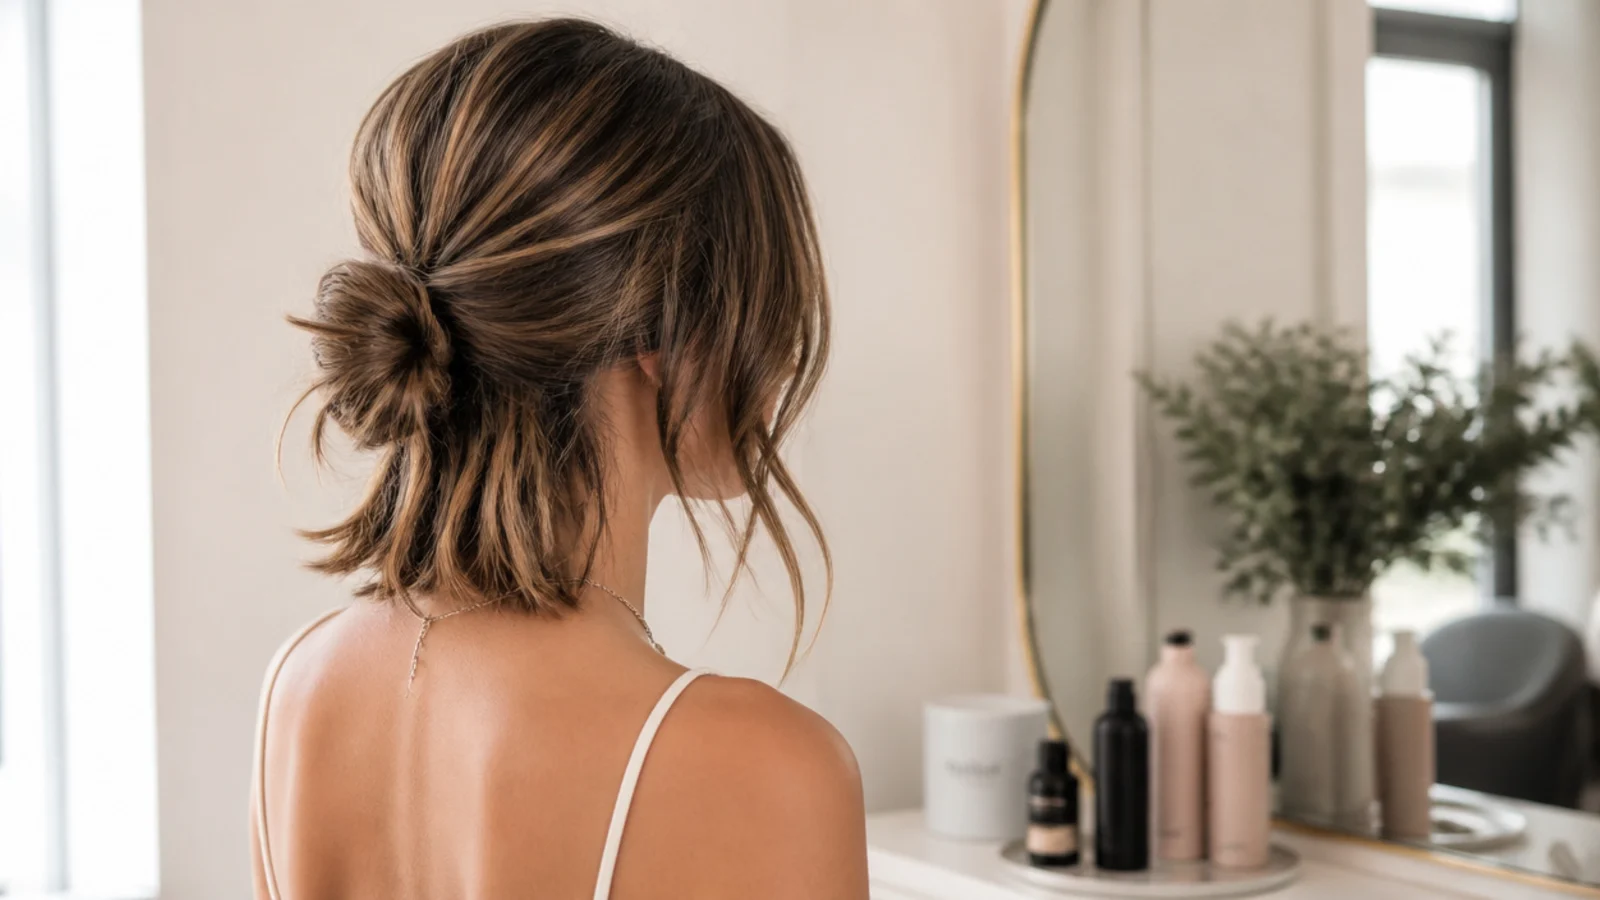
Gather less hair and it works again. A half up bun made from the top section has plenty of length relative to its own size, which is why it holds when a full one will not.
A claw clip grips mechanically rather than by friction. The teeth bite into the hair and the spring holds them shut, so length stops being the deciding factor.
Two small buns beat one large one. Splitting the head halves the amount of hair each knot has to contain, and each half has proportionally more length to wrap with.
Five Ten and Twenty Minute Styling
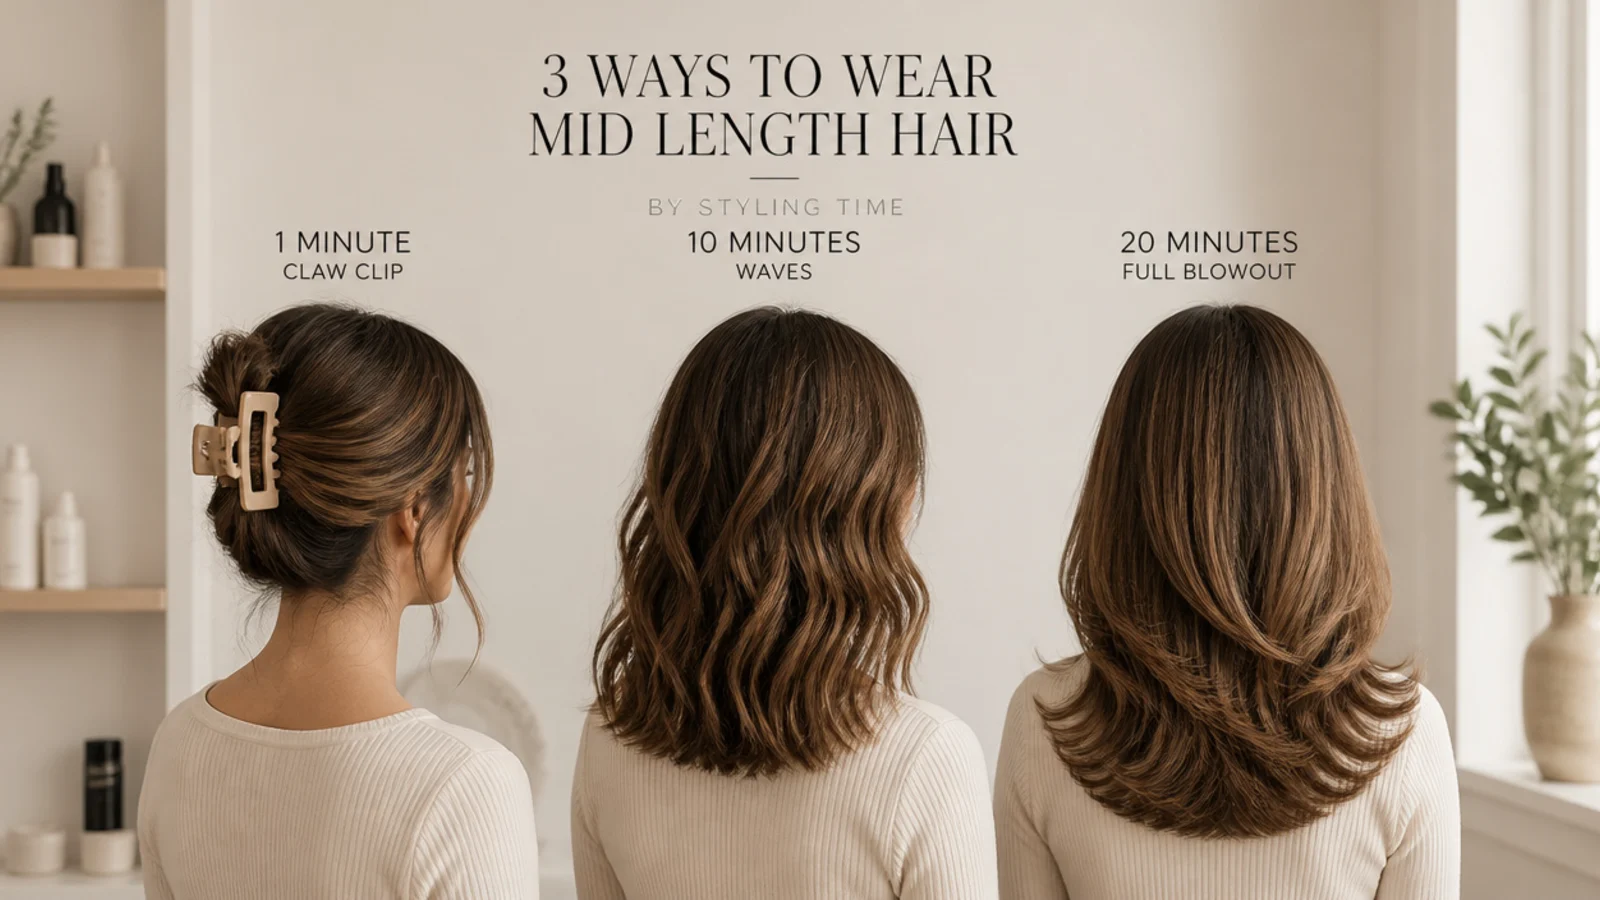
Five minutes buys a claw clip or a low ponytail. Both are mechanical rather than set based, so nothing has to cool and nothing has to dry.
Ten minutes buys a rough dry and three curls each side. Take the sections from the front and the top, since those are the only ones anybody sees from the front.
Twenty minutes buys a full wave set or a proper blowout. The extra time is almost entirely cooling time, which is the part everyone cuts when they are running late.
Cooling is not optional, it is the set. If the schedule is tight, use the last two minutes to let the hair cool rather than to add another section.
Dry shampoo at the roots the night before is a free five minutes. It builds grip while you sleep, so the morning starts with hair that already holds.
Styling Fine Thick and Curly Hair
Fine hair needs root lift and nothing heavy above the ears. Anything rich applied high flattens a fine strand instantly, so keep conditioning products in the bottom third.
Thick hair needs the volume kept off the sides. Width at ear level is what produces the triangle, so dry the sides downward and put whatever height you want at the crown.
Curly hair should not be brushed dry. Brushing separates the clumps that hold a curl together, and once separated they will not reform without water.
Refresh curls with water first and product second. Water is what breaks and resets the temporary bonds that hold a curl in shape, and product without it just coats yesterday's set.
Wavy hair sits between the two and wants the least handling. Scrunch, leave it alone while it dries, then break the cast at the very end.
Styling by Face Shape
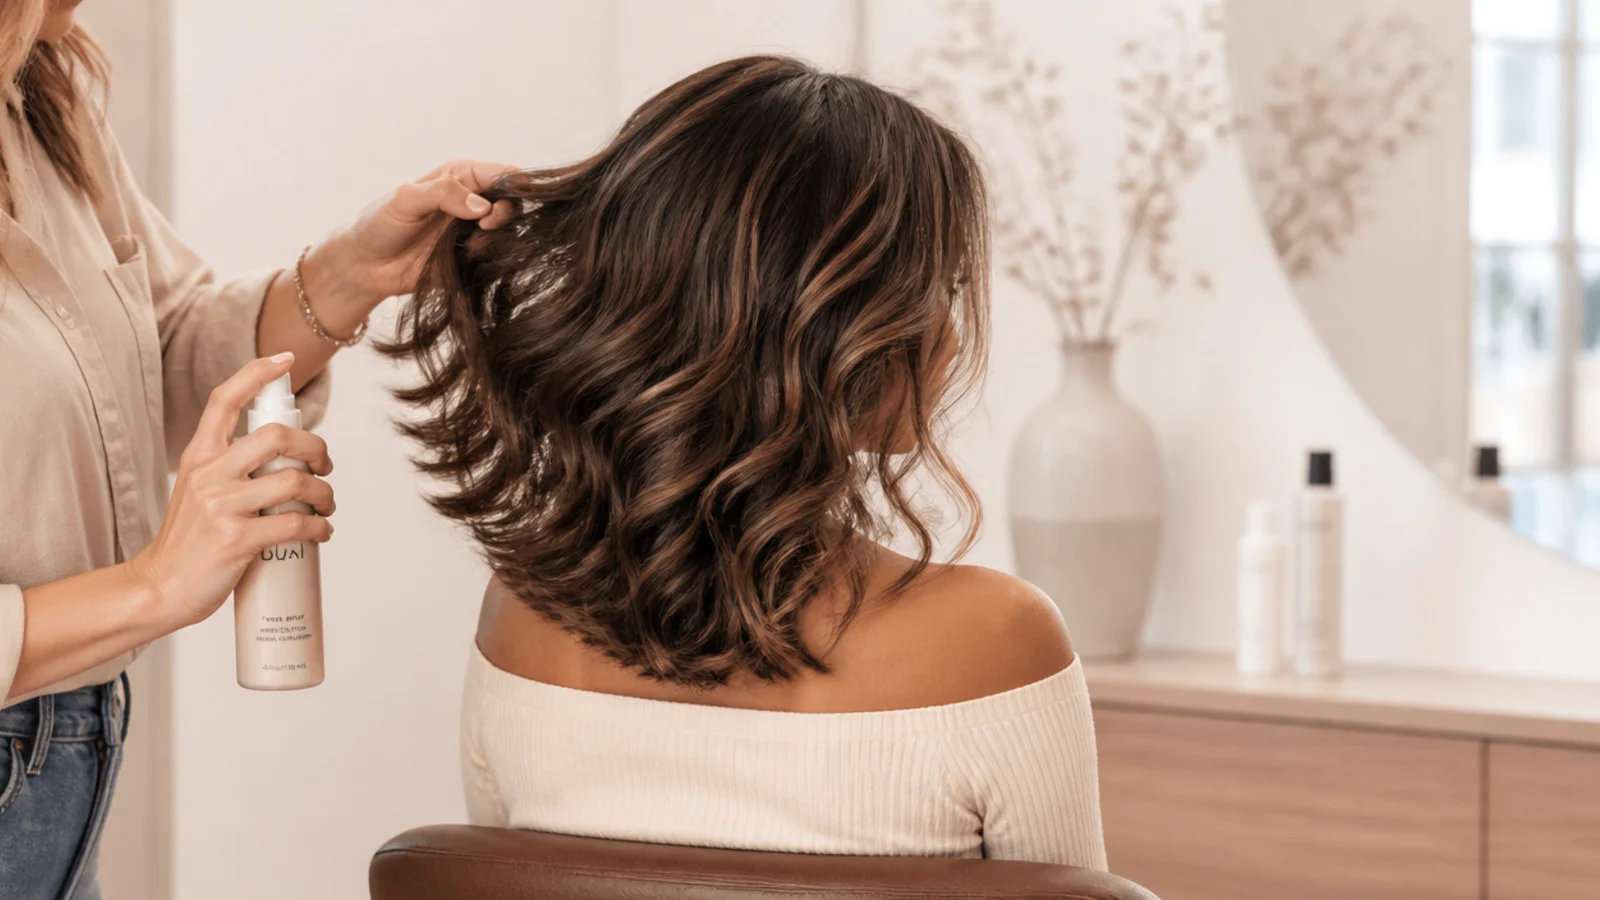
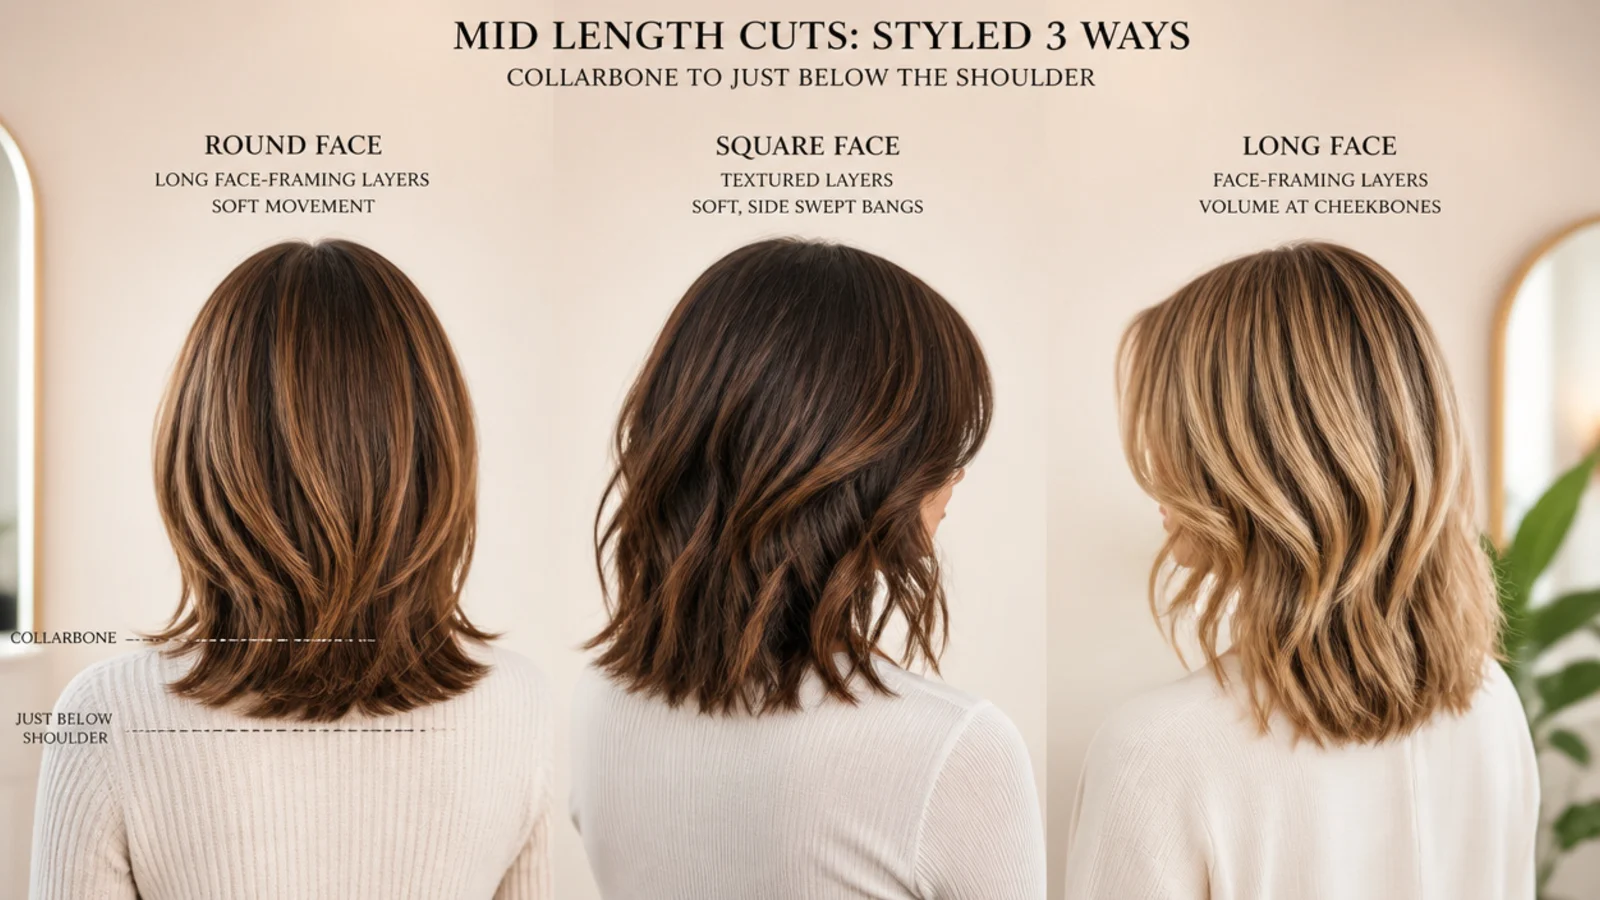
Round faces want height at the crown and length at the front. Vertical anywhere in the style counters the width, and a flat crown does the opposite.
Long faces want width at the cheek. Waves starting around cheekbone height put volume across the middle of the face, where it shortens the vertical run.
Square jaws want soft movement at jaw level. Curves against the corner are what soften it, whereas a blunt straight fall runs parallel to the jaw and repeats it.
Heart shapes want the fullest part low. Keeping the volume at chin height and below balances a narrower chin against a wider forehead.
Where the part sits changes the face more than the style does. Moving it half an inch off centre puts more hair over one side of the forehead and changes the whole balance.
Growing Out Mid Length Hair
The shoulder stage is the difficult one. Ends landing on the shoulder are pushed back up by it, which flicks them out no matter how carefully they were dried.
Curl the last inch under to get through it. One pass with an iron turning the ends inward gives the hair a shape that disagrees with the shoulder instead of fighting it.
Or gather the front and let the back do what it likes. A half up removes the whole problem from view.
Dust an eighth of an inch every eight weeks. That still nets you well over an inch a quarter against half an inch of growth a month, and it keeps splits from climbing.
Do not correct the perimeter mid grow out. Levelling it to the shortest piece restarts the clock, and the shoulder stage passes in a couple of months if you leave it alone.
The 15 Mid Length Styles
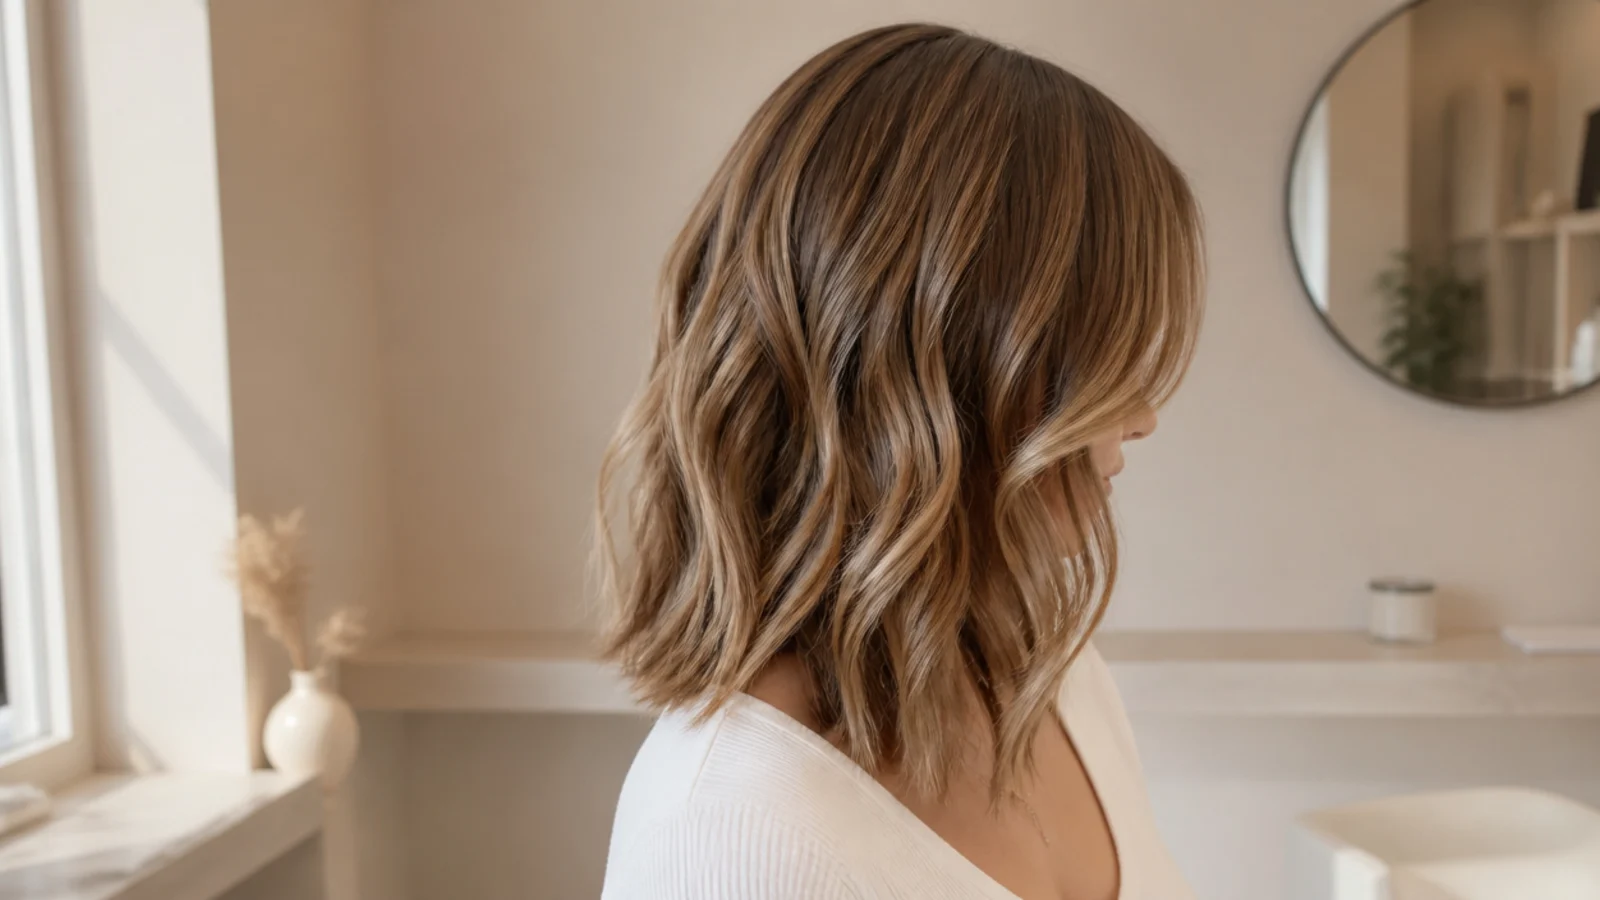
1. Loose Beach Waves
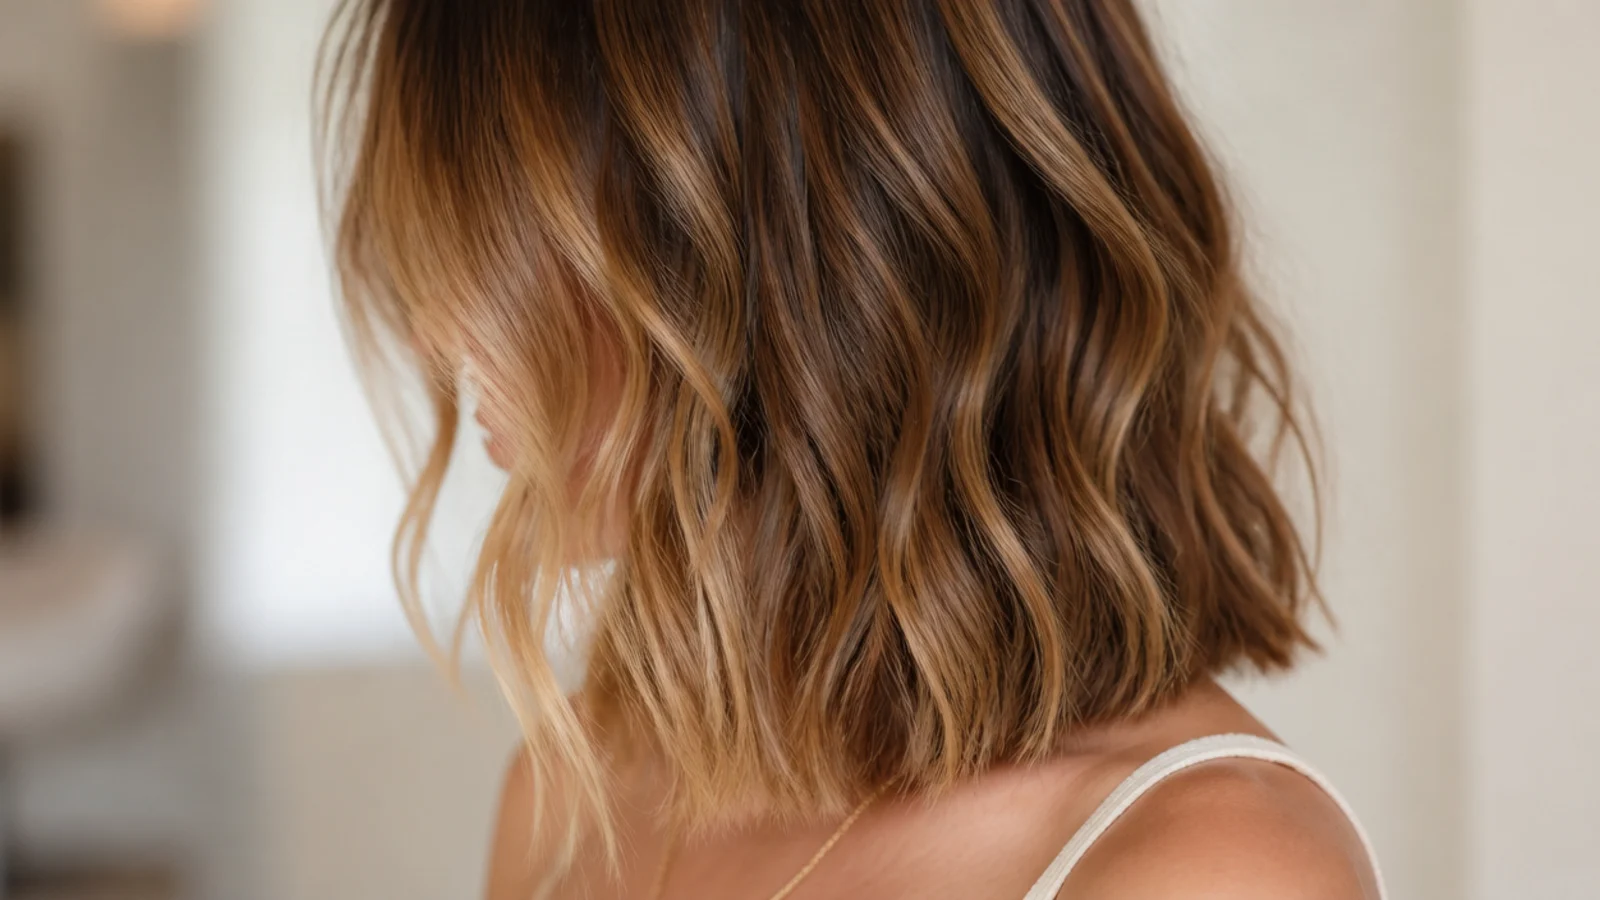
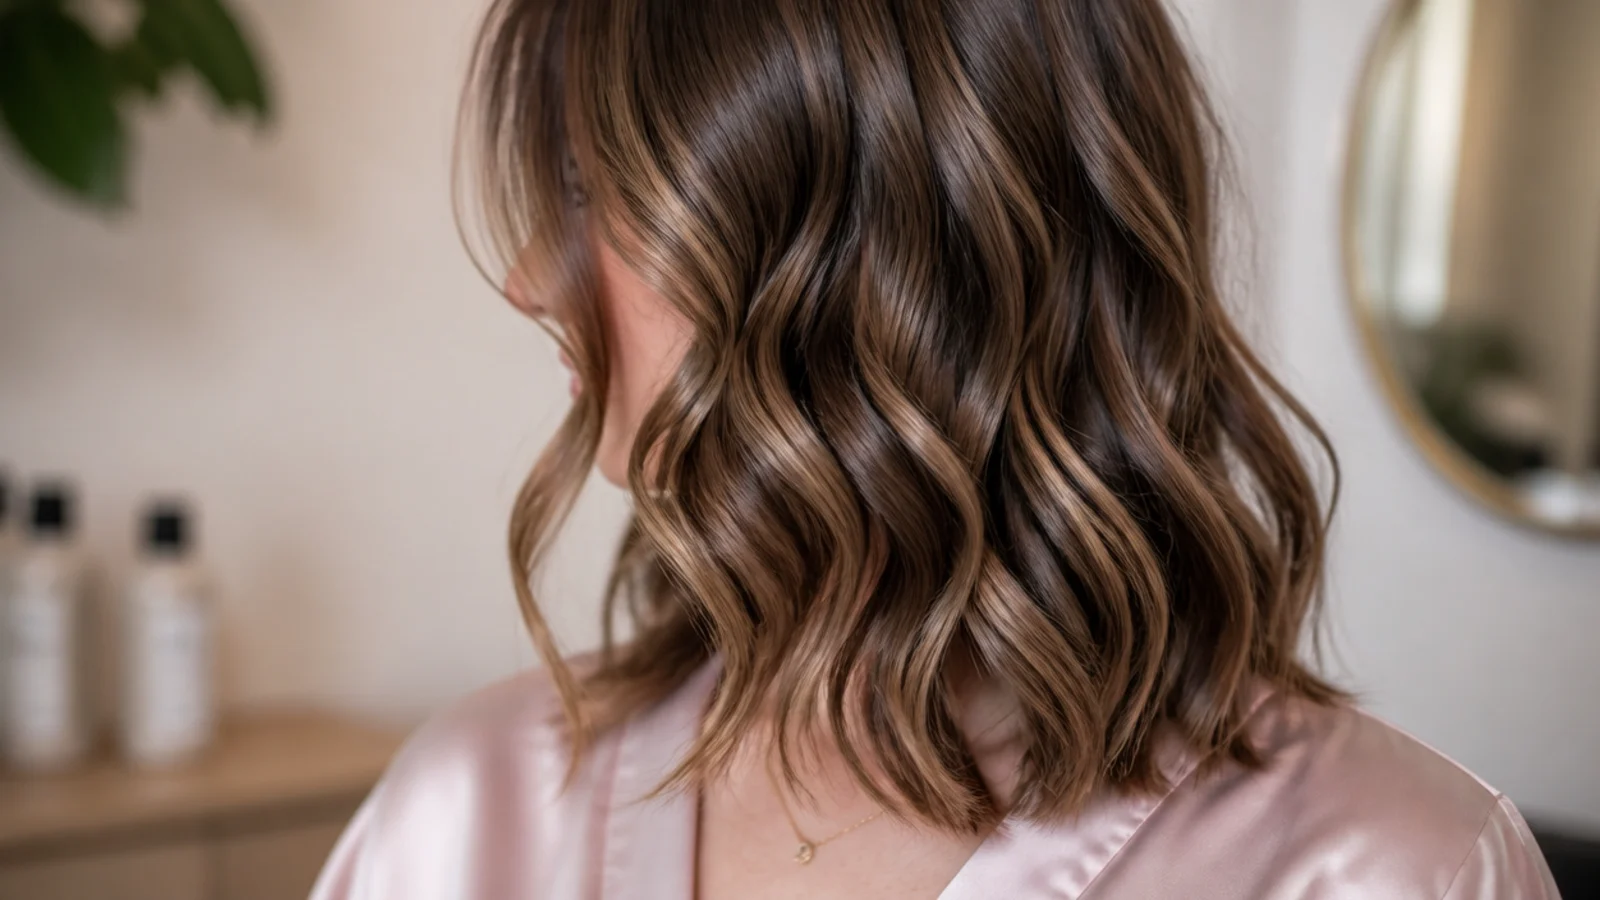
Curl each section in the opposite direction to the one beside it and leave the last inch out of the iron. Same direction curls stack into a continuous spiral, whereas alternating them makes each bend interrupt its neighbour, and that interruption is what reads as a wave rather than a ringlet.
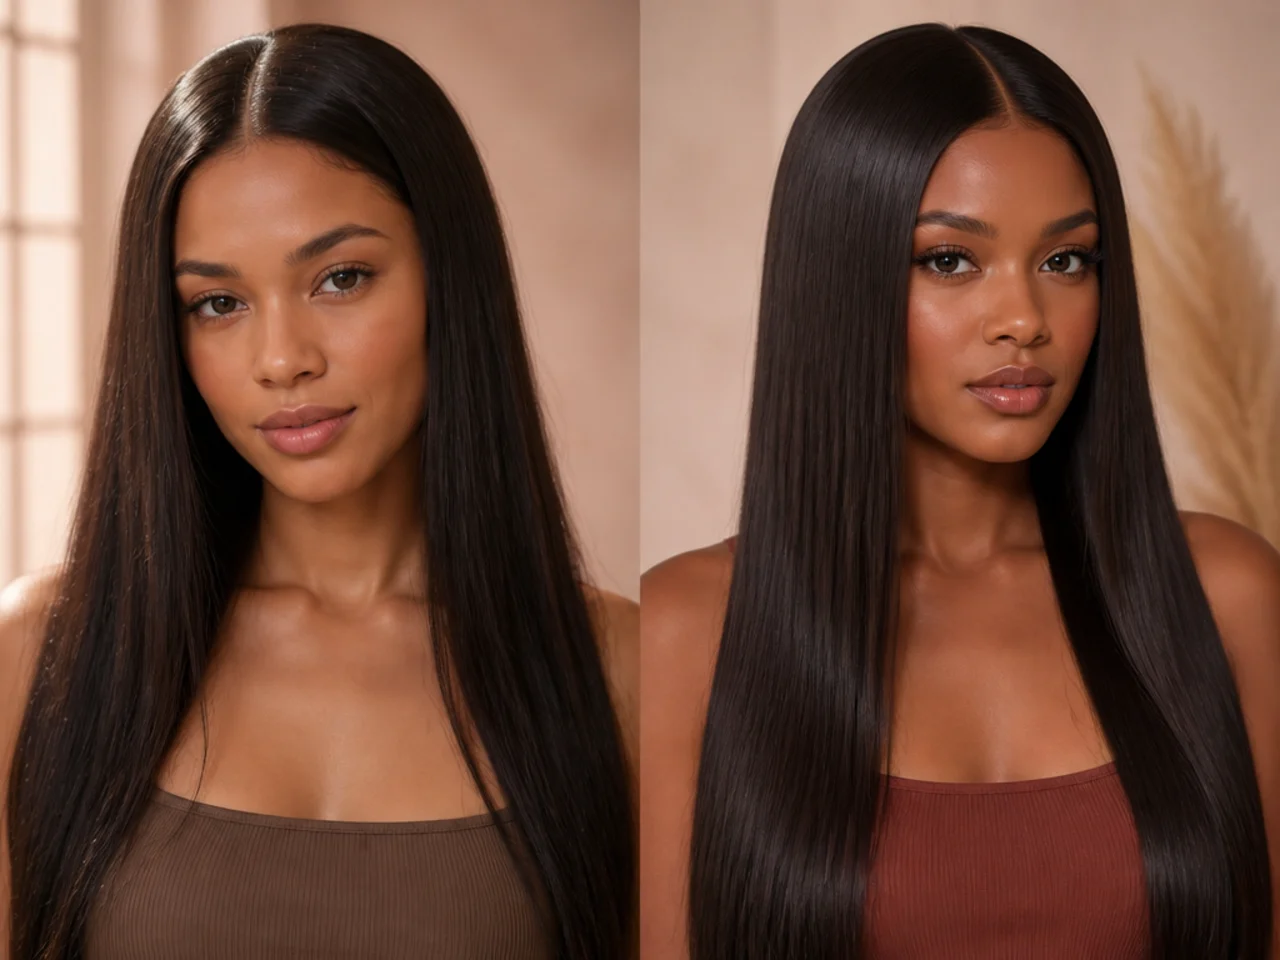
2. Sleek Straight Blowout
Tension from a round brush plus heat plus a cool shot at the end of every section. The cool blast is doing the work everyone credits to the iron, because a smooth cuticle only stays flat if it is allowed to cool in that position.
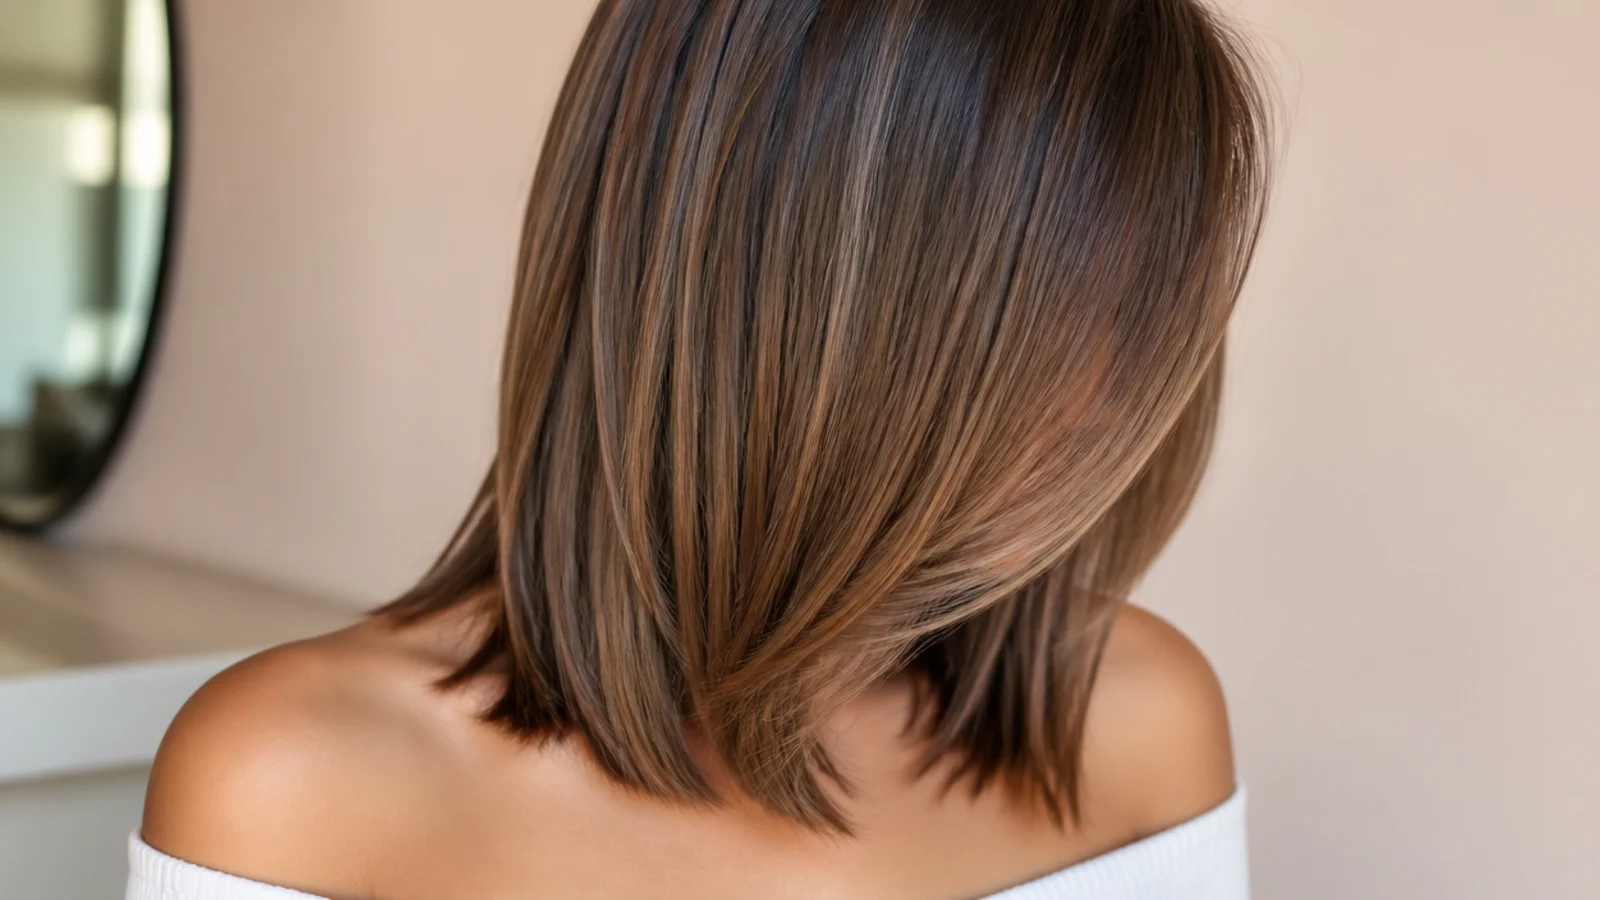
3. Half Up With a Claw Clip
The teeth of a clip bite into the hair and the spring holds them closed, so it grips mechanically instead of relying on hair wrapping around itself. That is why a claw clip holds mid length hair that a bun cannot, and why it works even on freshly washed hair with no grip at all.
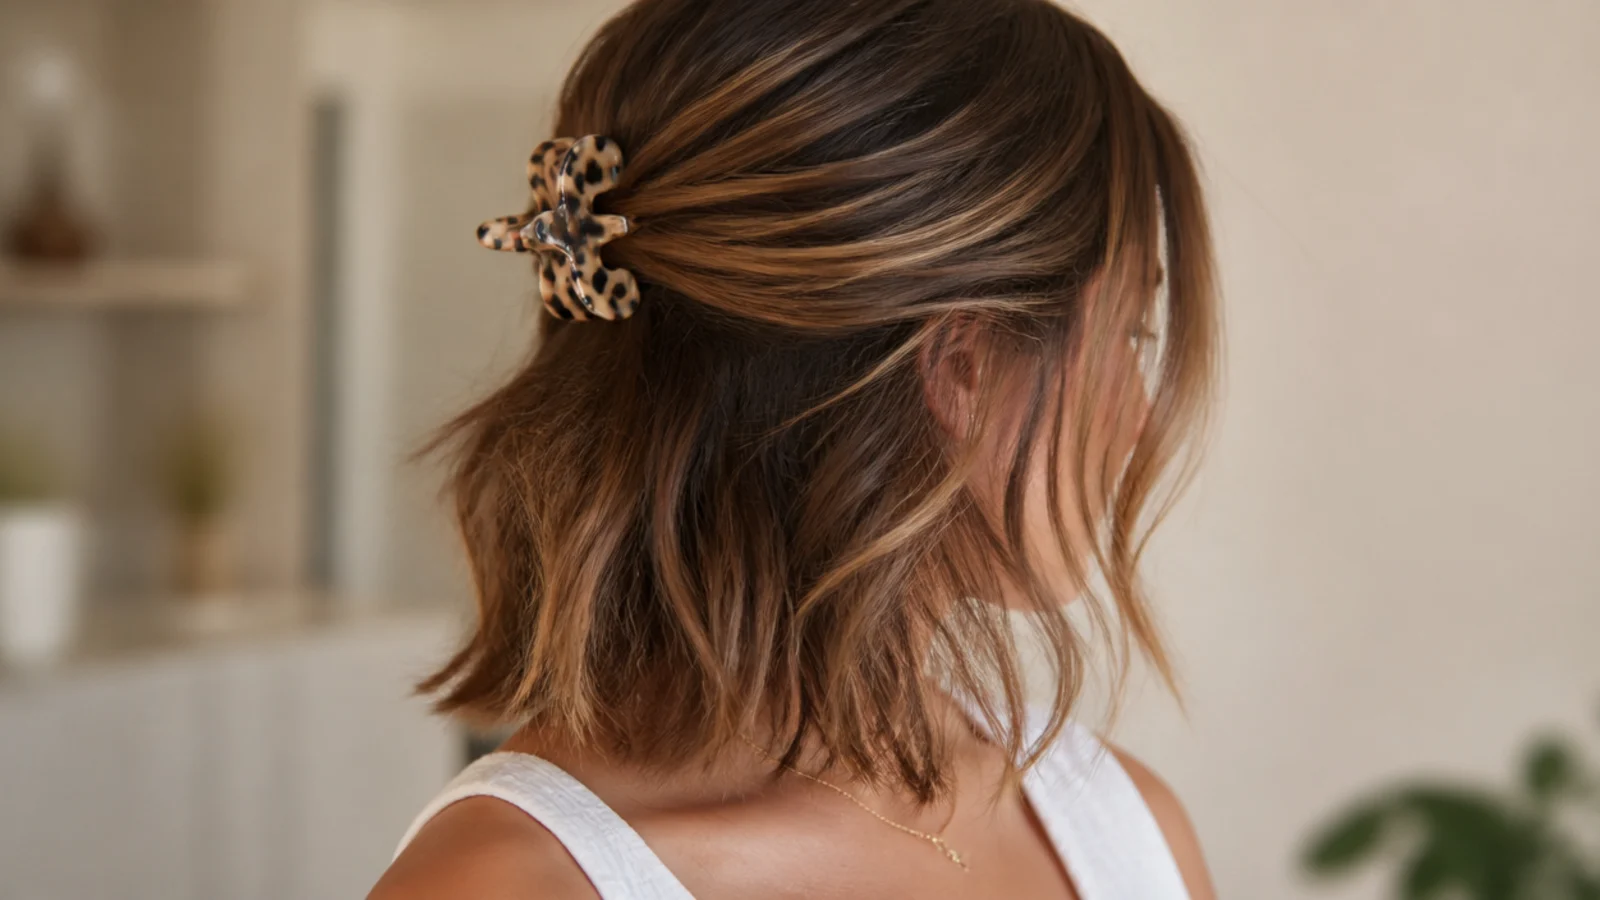
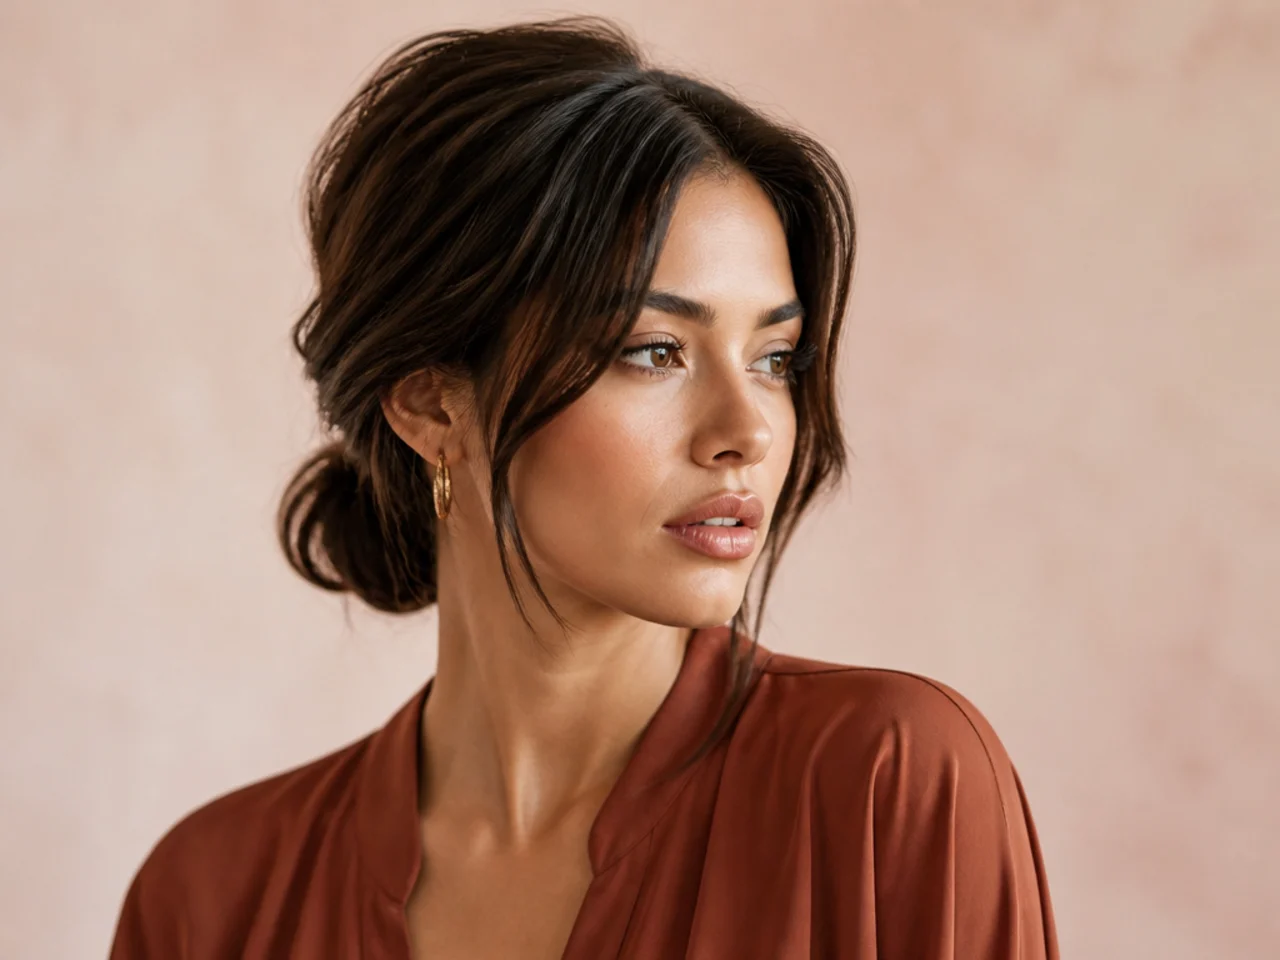
4. Slick Low Ponytail
At this length the ponytail itself weighs very little, so it does not drag the elastic down the way a long one does and stays where you tie it all day. The short pieces at the nape and hairline are the only difficulty, and a brush with a little gel lays them flat.
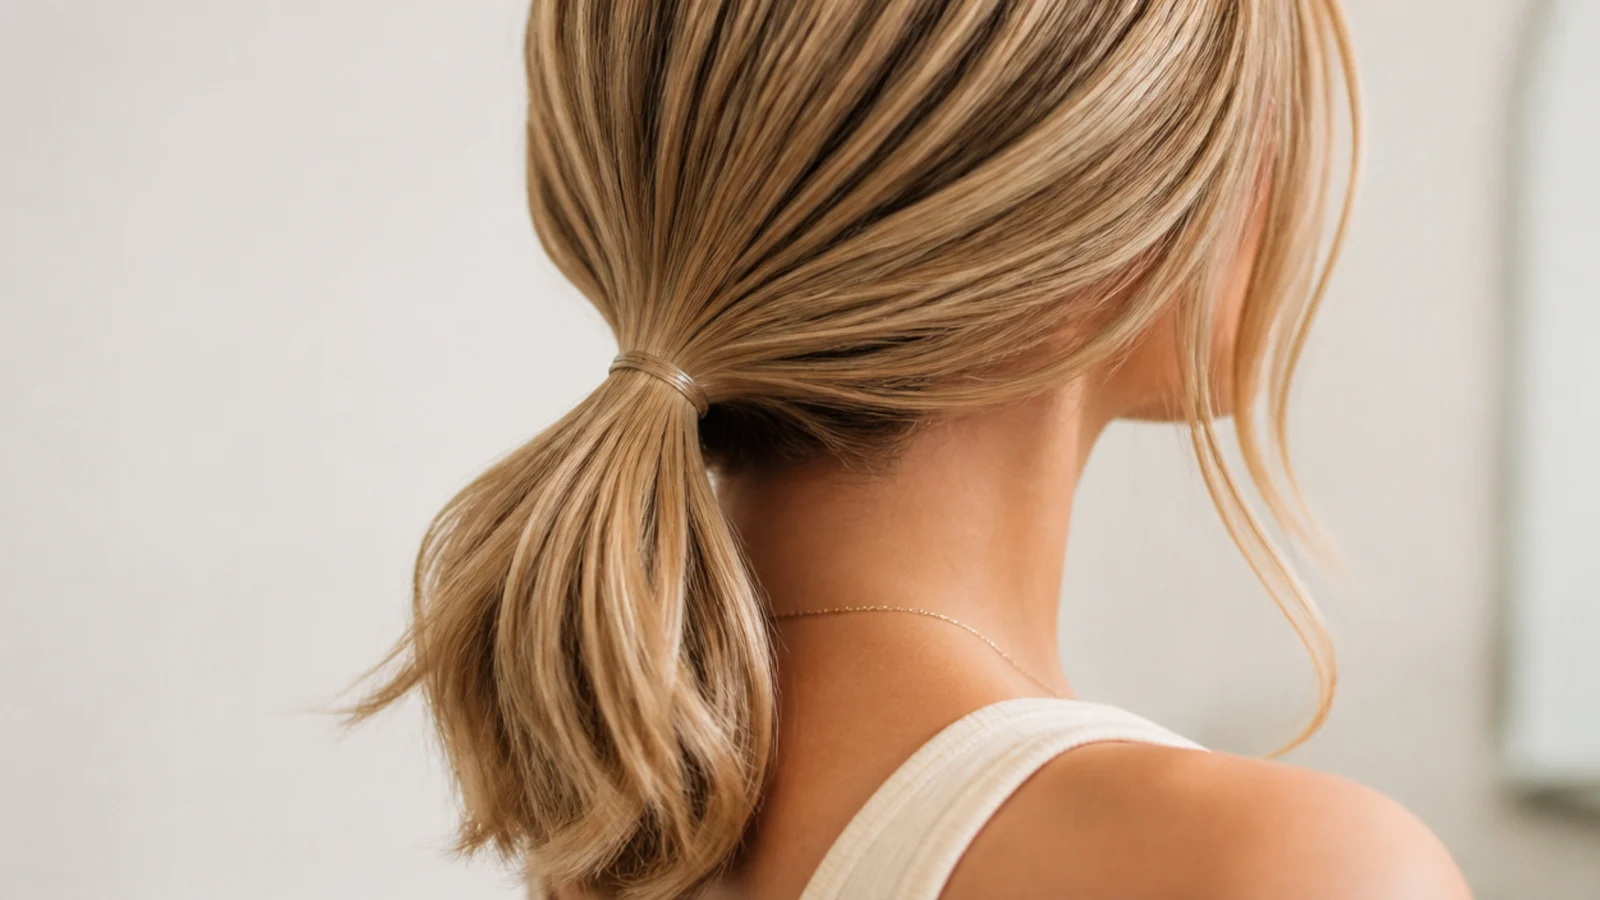
5. Volume Ponytail
Split the hair into an upper and a lower half, tie the lower one, then tie the upper one over it. The load is shared between two elastics so neither sags, and the top section falls over the join and hides it while adding visible height at the crown.
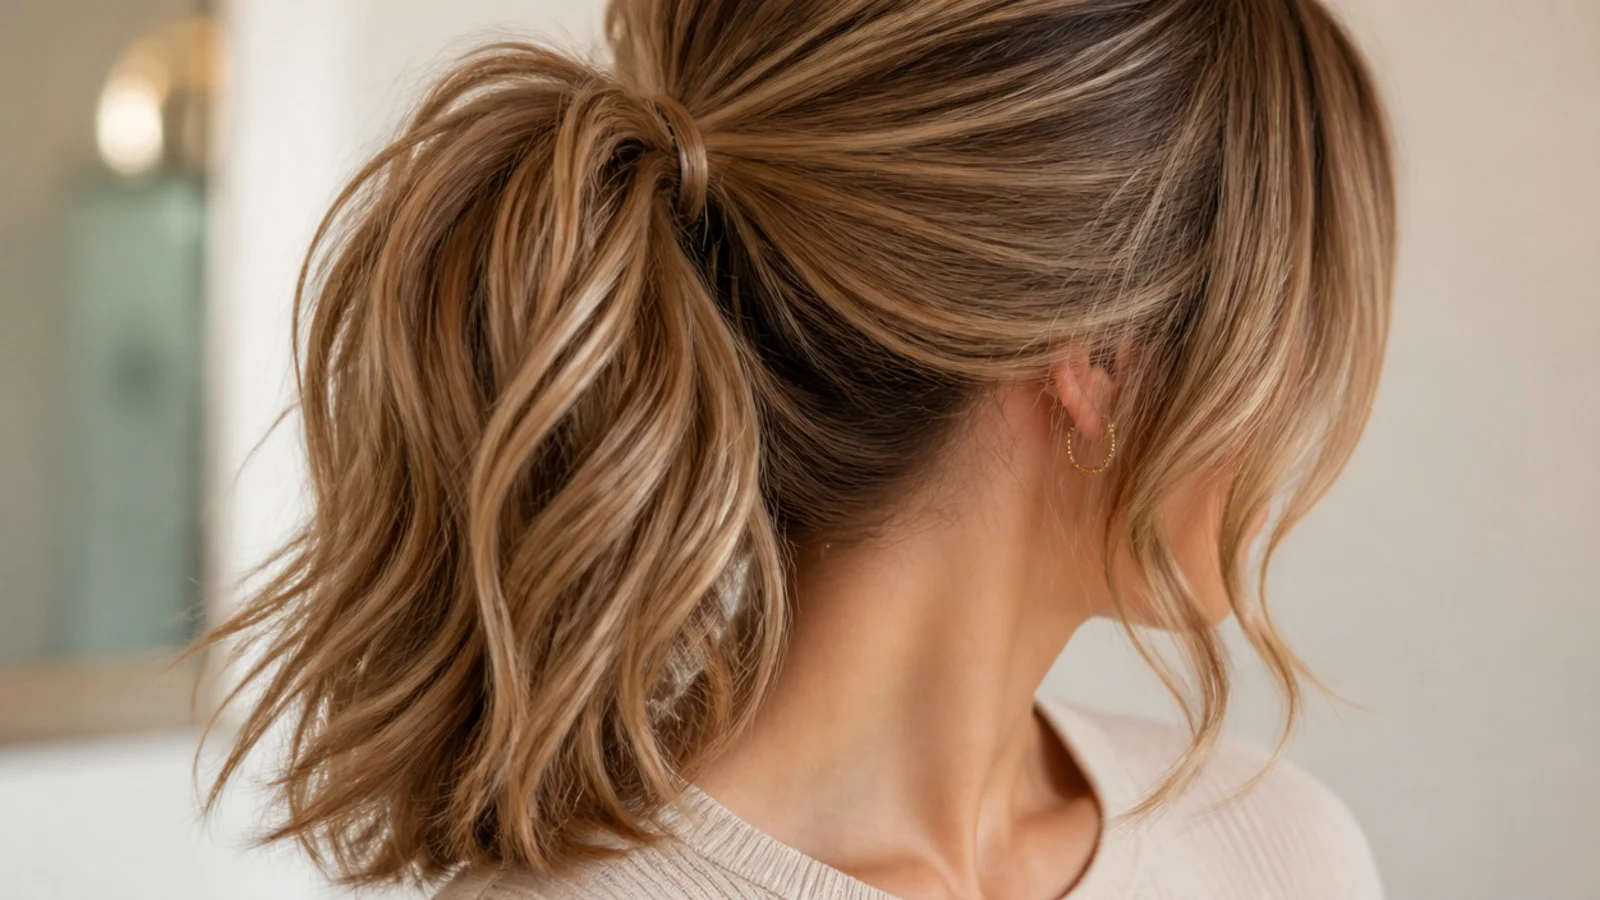
6. Messy Bun
Roughing the hair up before gathering it is not an aesthetic choice, it is how the bun holds. Disordered strands press against each other at many more points than smooth ones do, so a deliberately messy knot has several times the friction of a polished one at the same length.
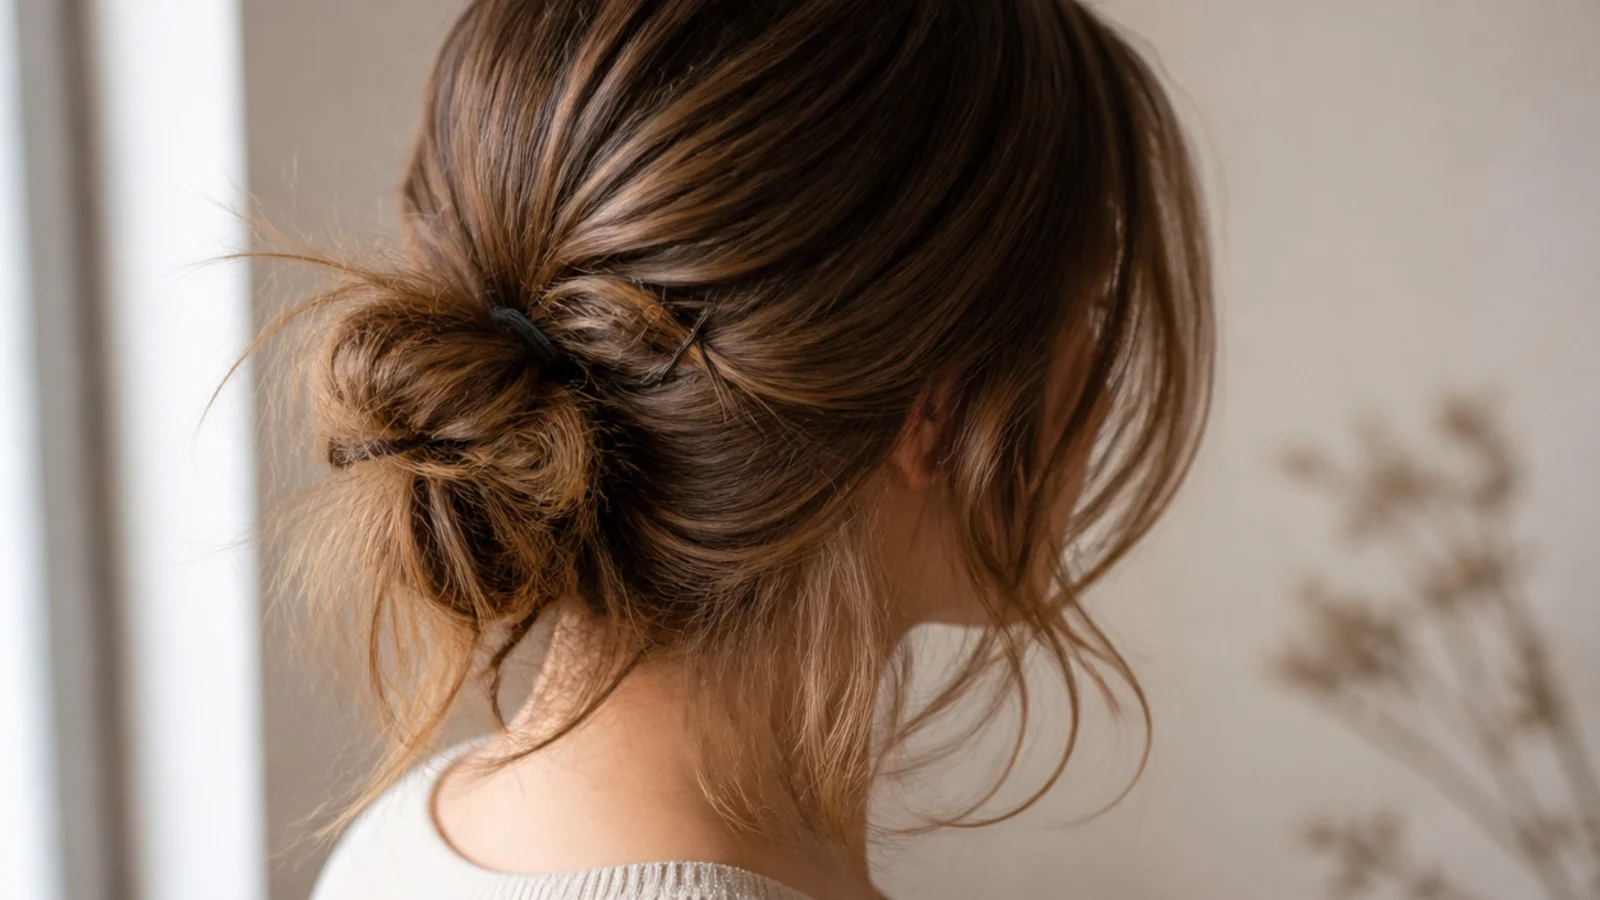
7. Twisted Half Up Knot
Twisting a section under tension stores torque in it, and the moment you pin it the twist presses outward against the pin and against itself. That pressure is what holds a knot made from hair too short to wrap, which is the reason this survives at collarbone length.
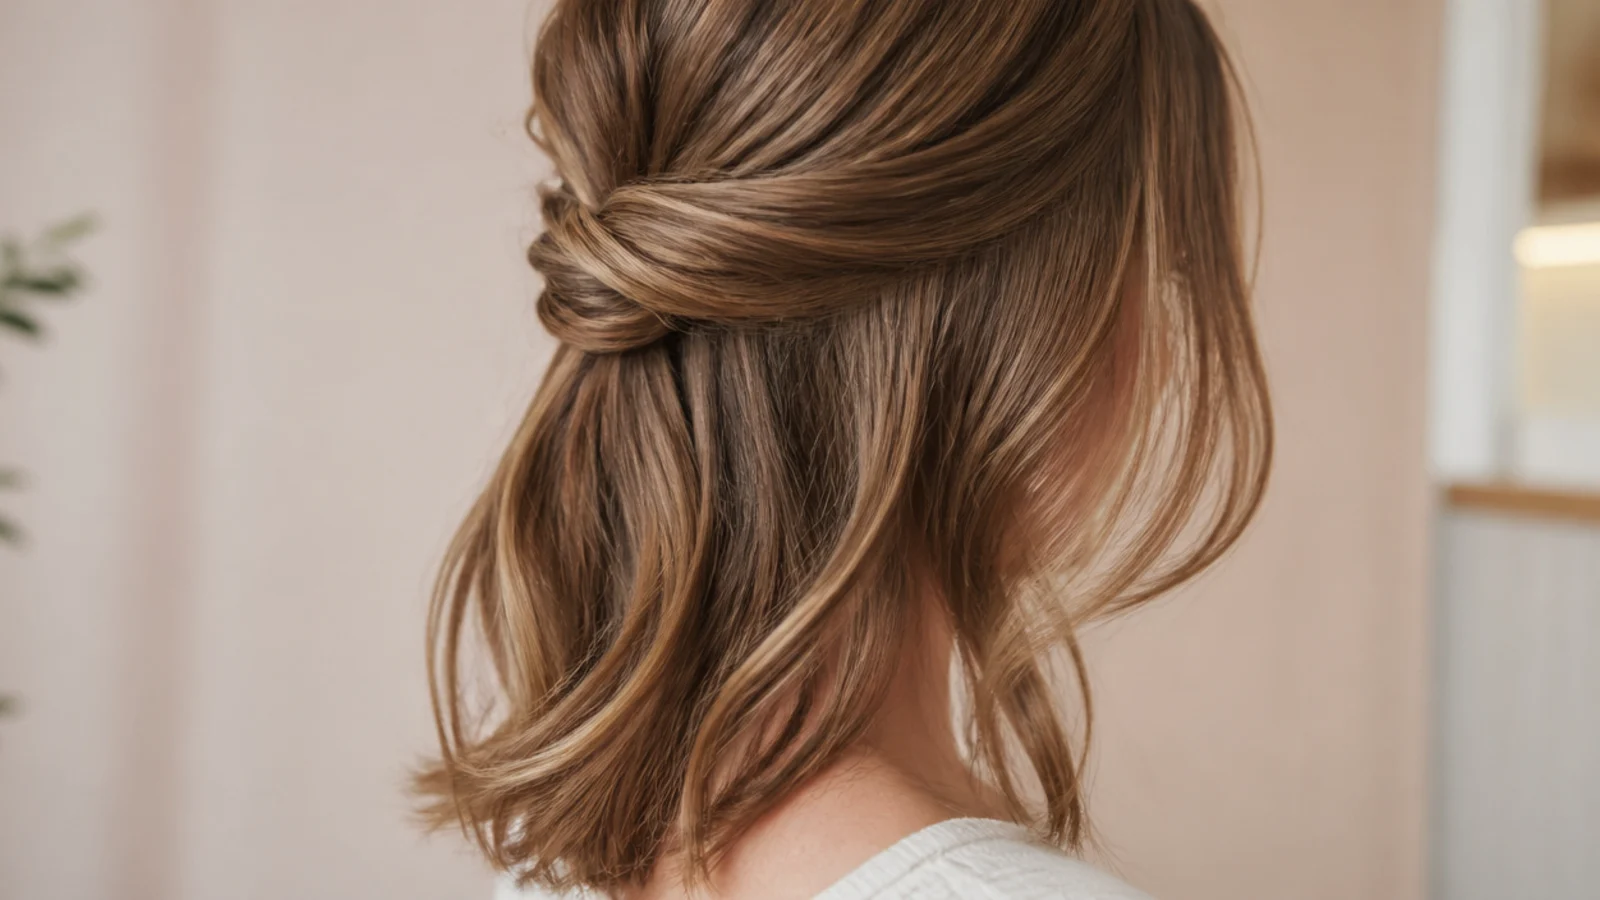
8. Front Dutch Braid
Because Dutch braiding crosses the strands underneath rather than over, the braid stands proud of the scalp and catches the light along a raised ridge. It also anchors the shortest hair at the front, which is the part of a mid length cut most likely to escape everything else.
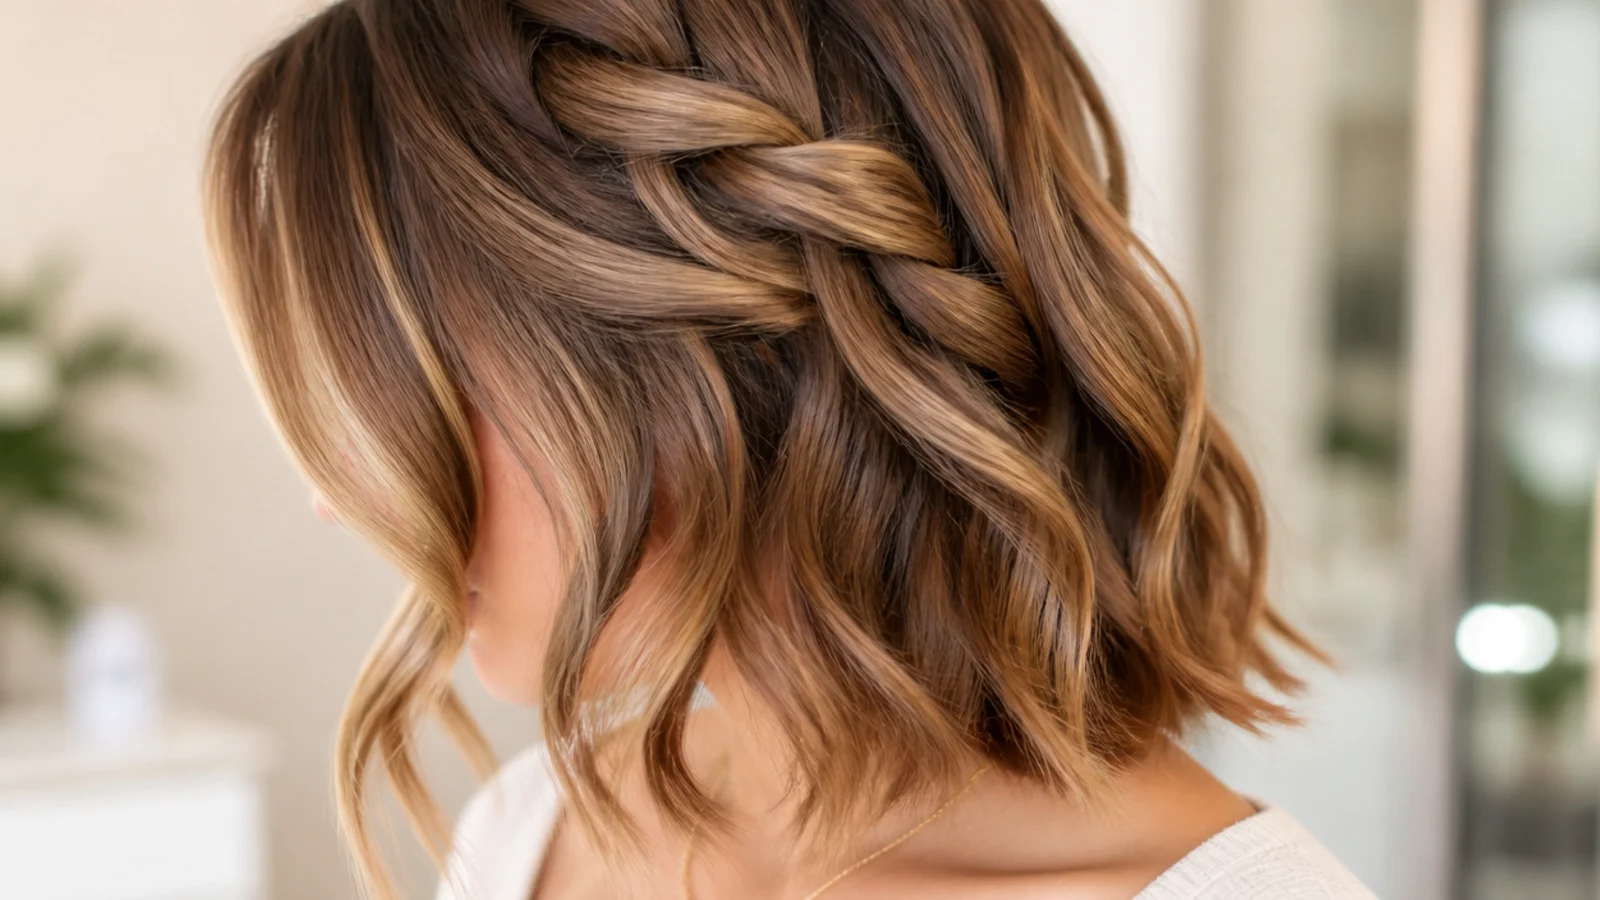
9. Space Buns
Two buns each contain half the hair, so each one has proportionally more length available to wrap with than a single bun would. That ratio is the whole reason this works at a length where one central knot slides straight out.
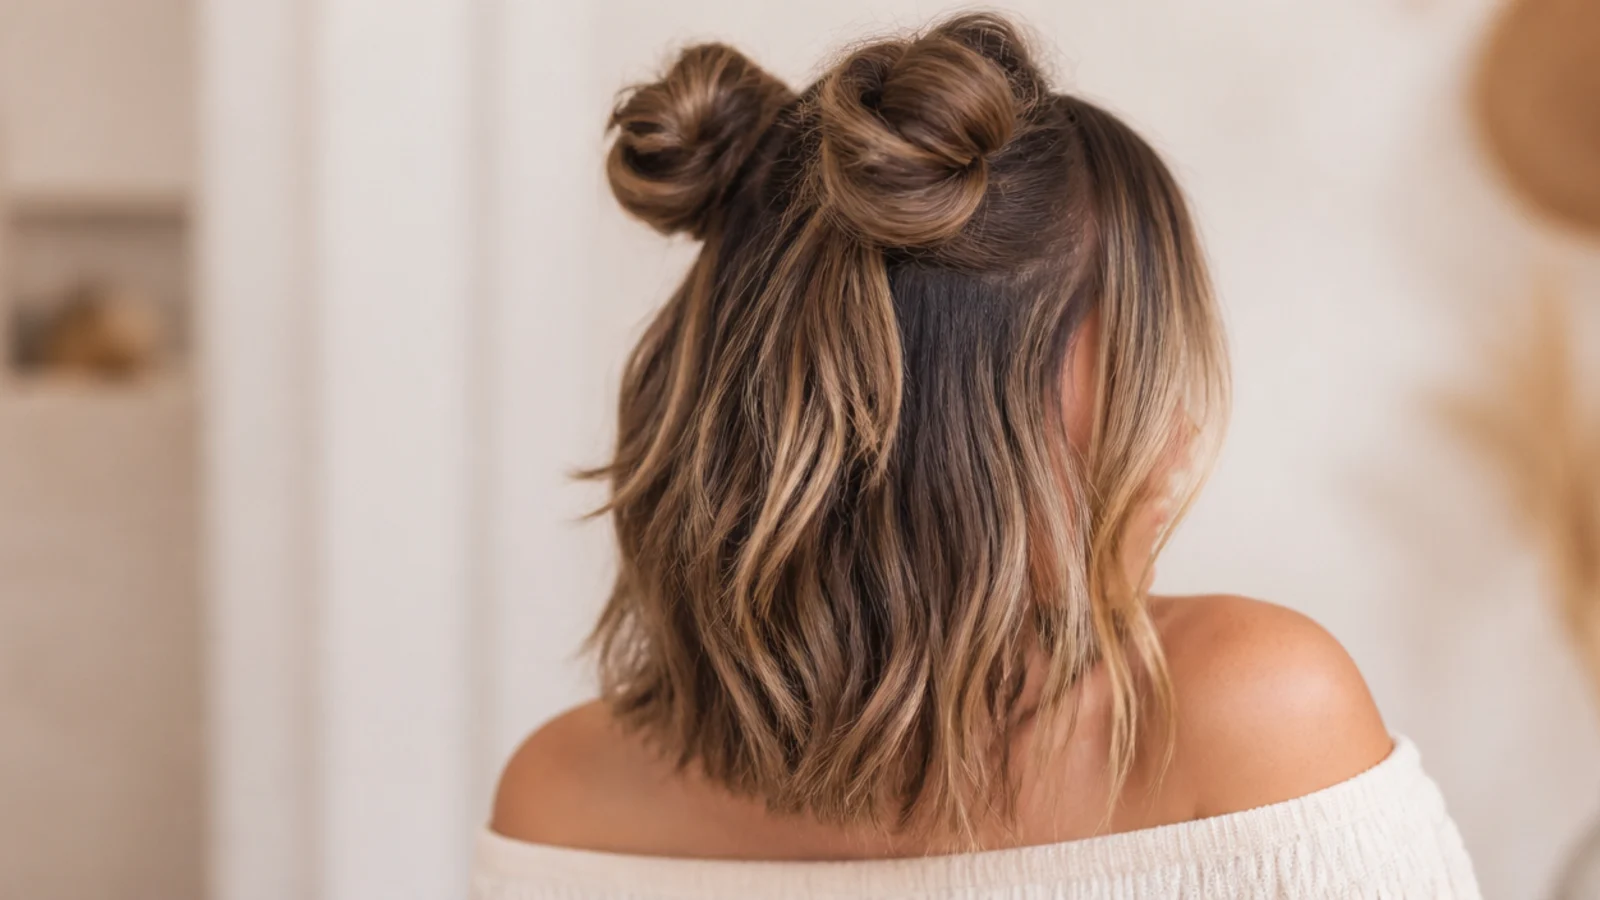
10. Air Dried Waves
A gel or cream forms a hard cast around each clump as it dries, holding the wave pattern in place while the water leaves. Scrunching the cast out once the hair is completely dry breaks the shell and leaves the shape underneath it, and doing it early undoes both.
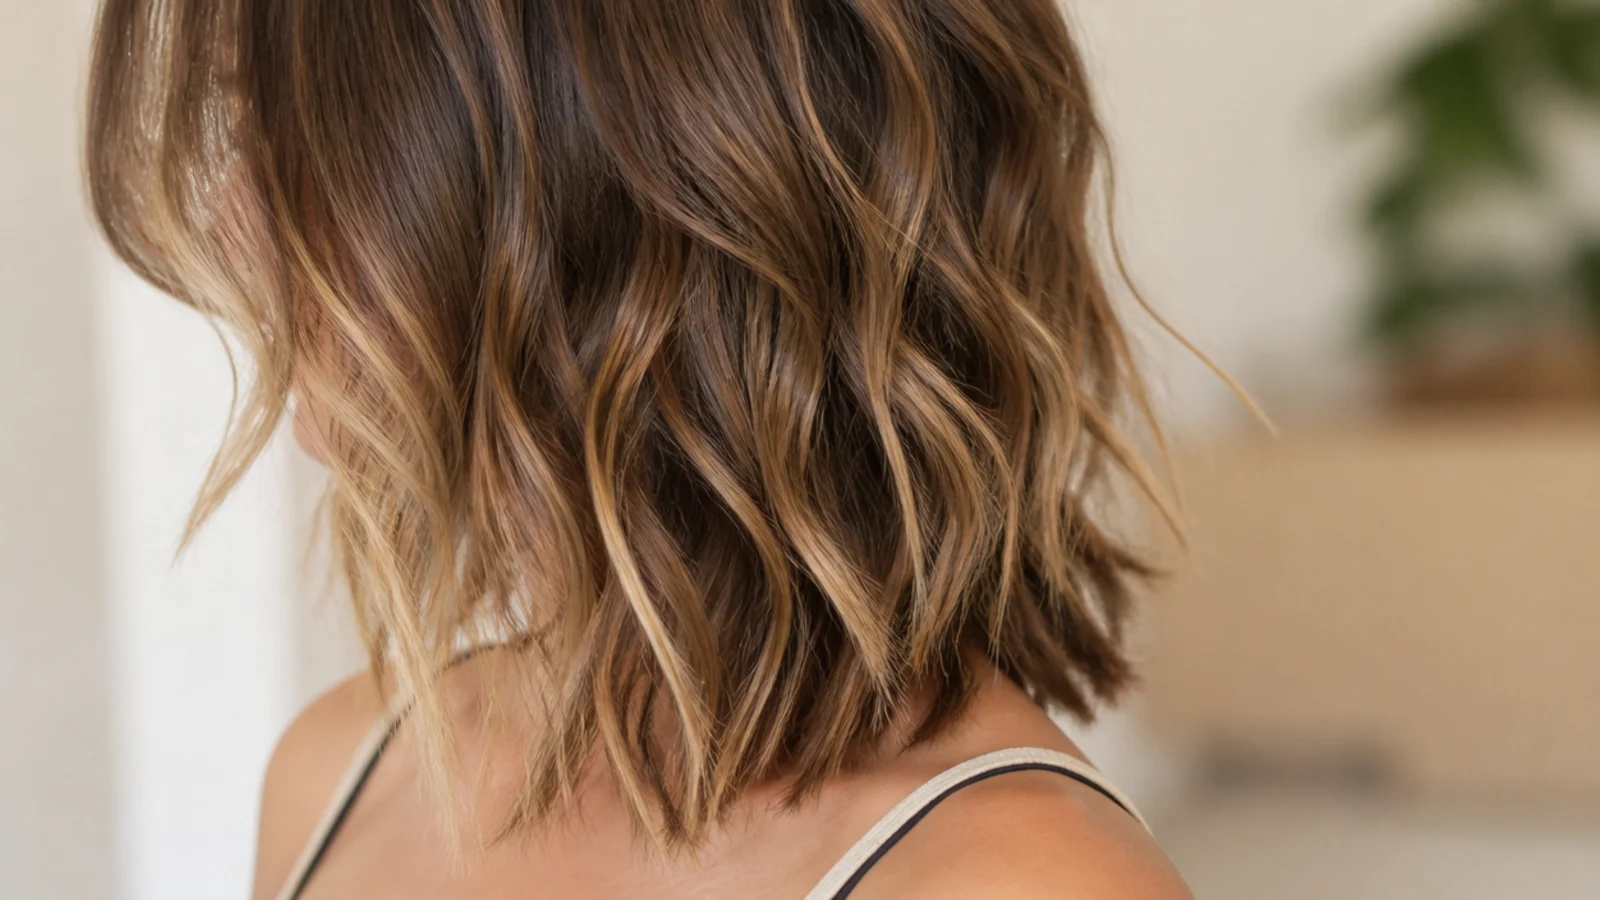
11. Round Brush Blowout
Tension pulls the cuticle flat, heat makes the hair pliable and the barrel decides the shape. Hold each section on the brush for a few seconds after the dryer stops, because the shape is fixed as it cools and unwinding it warm gives most of the work straight back.
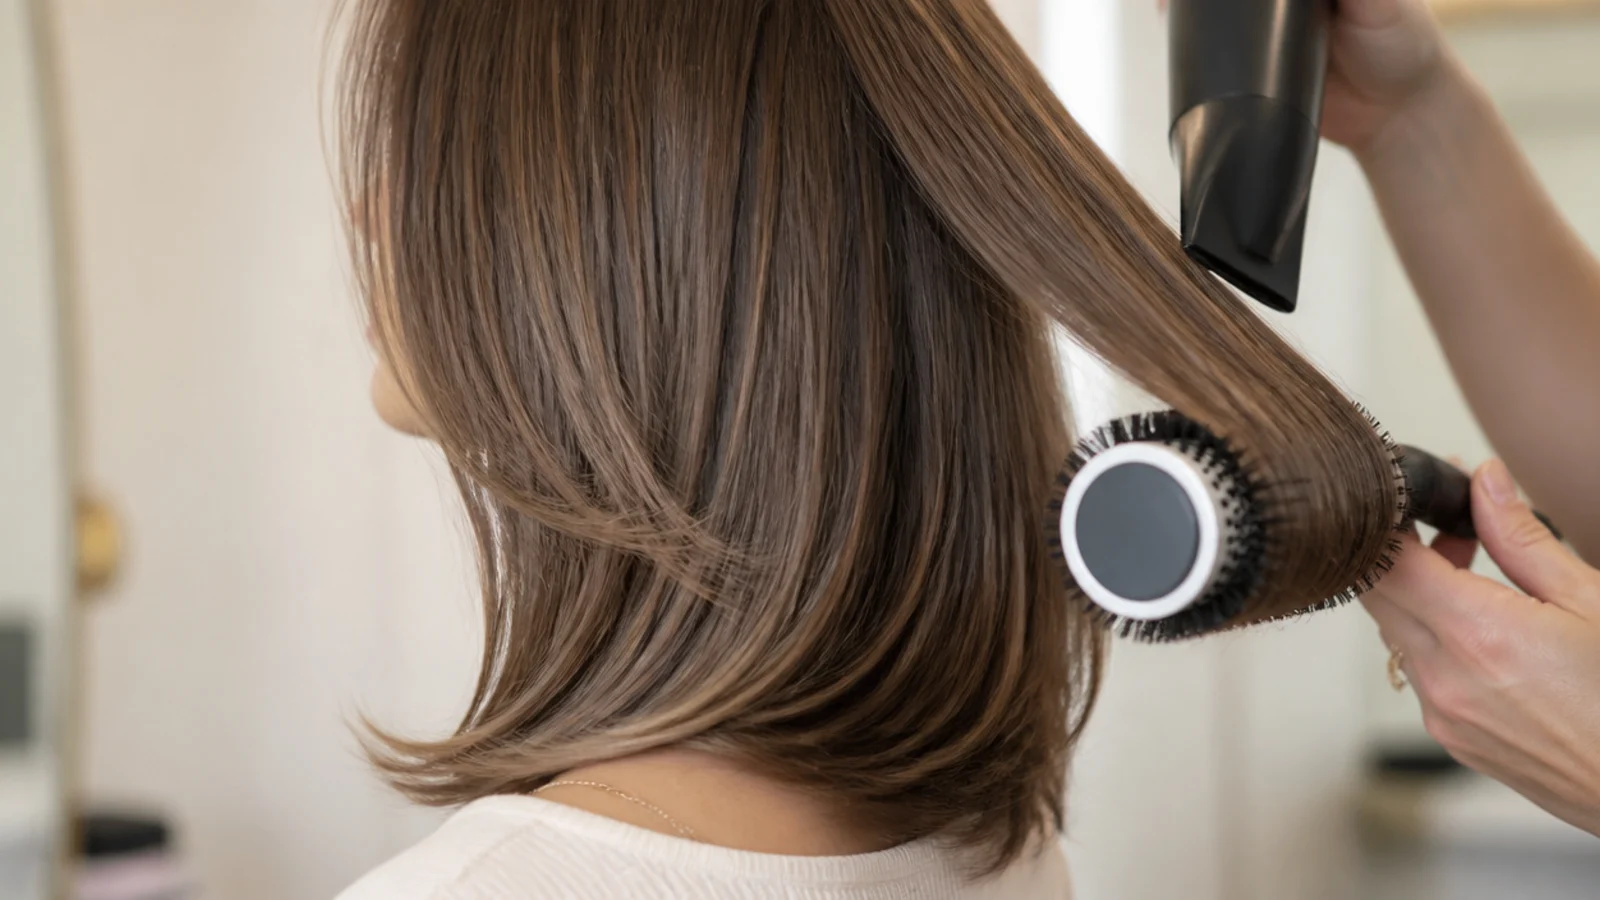
12. Curtain Bang Bounce
Dry the fringe across to the wrong side first, let it cool there, then part it back where it belongs. Over directing forces the roots to stand against their own growth direction, and the return flip is what converts that resistance into visible lift at the front.
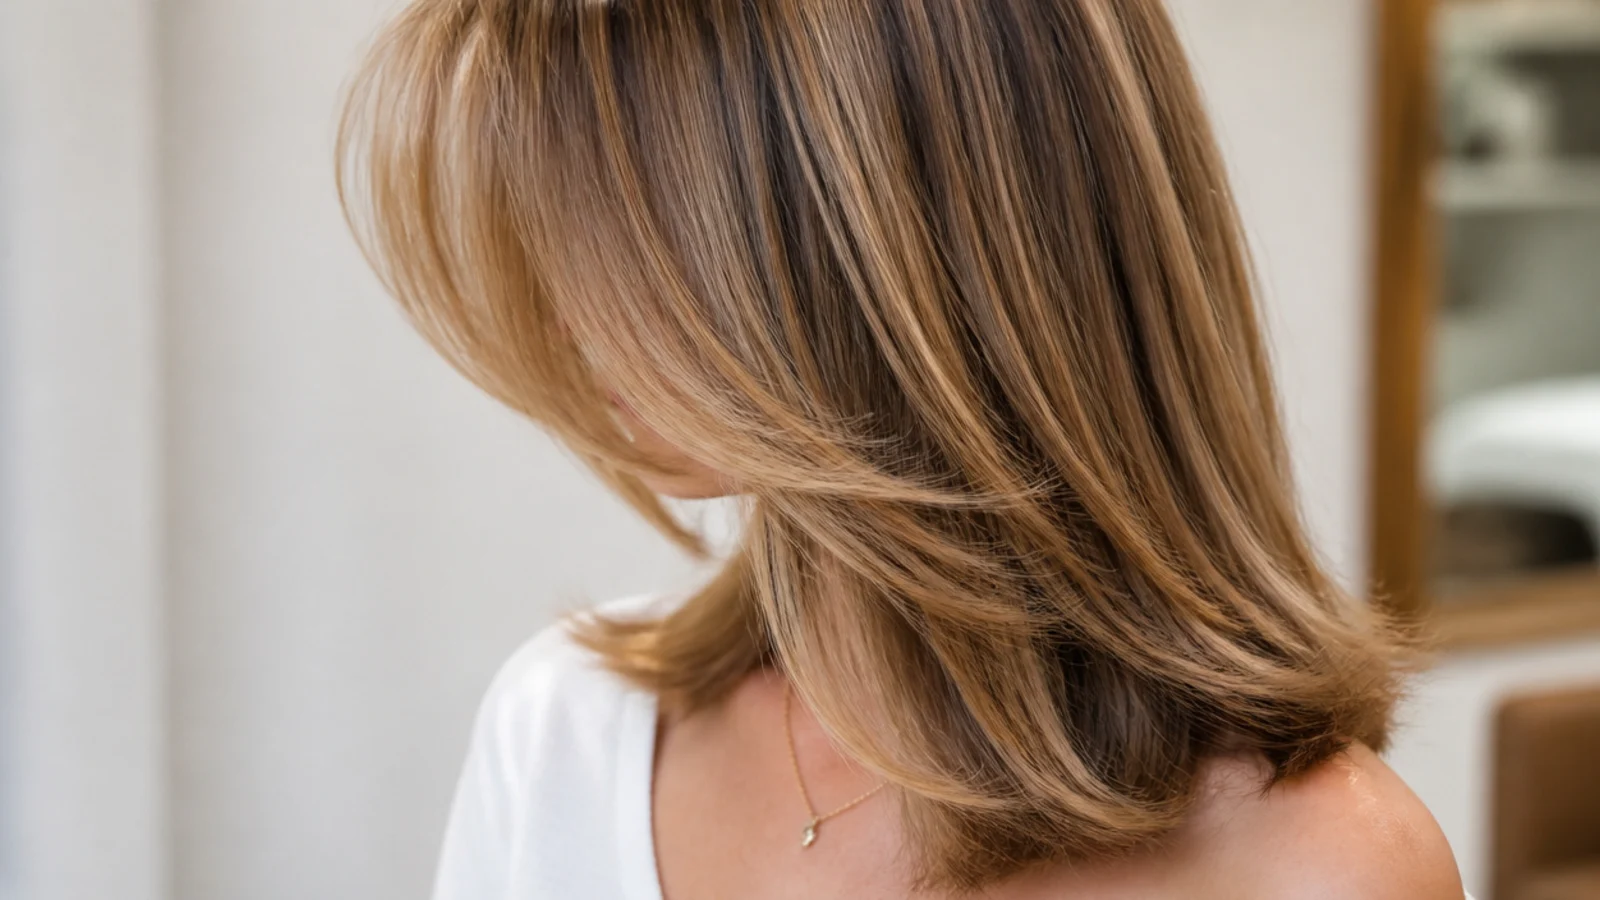
13. Hollywood Waves
Curl every section the same direction, pin each one flat to the head and leave them all to cool, then brush the whole thing through. Brushing merges the separate curls into one continuous S shape, which is why the finished wave looks nothing like what came off the iron.
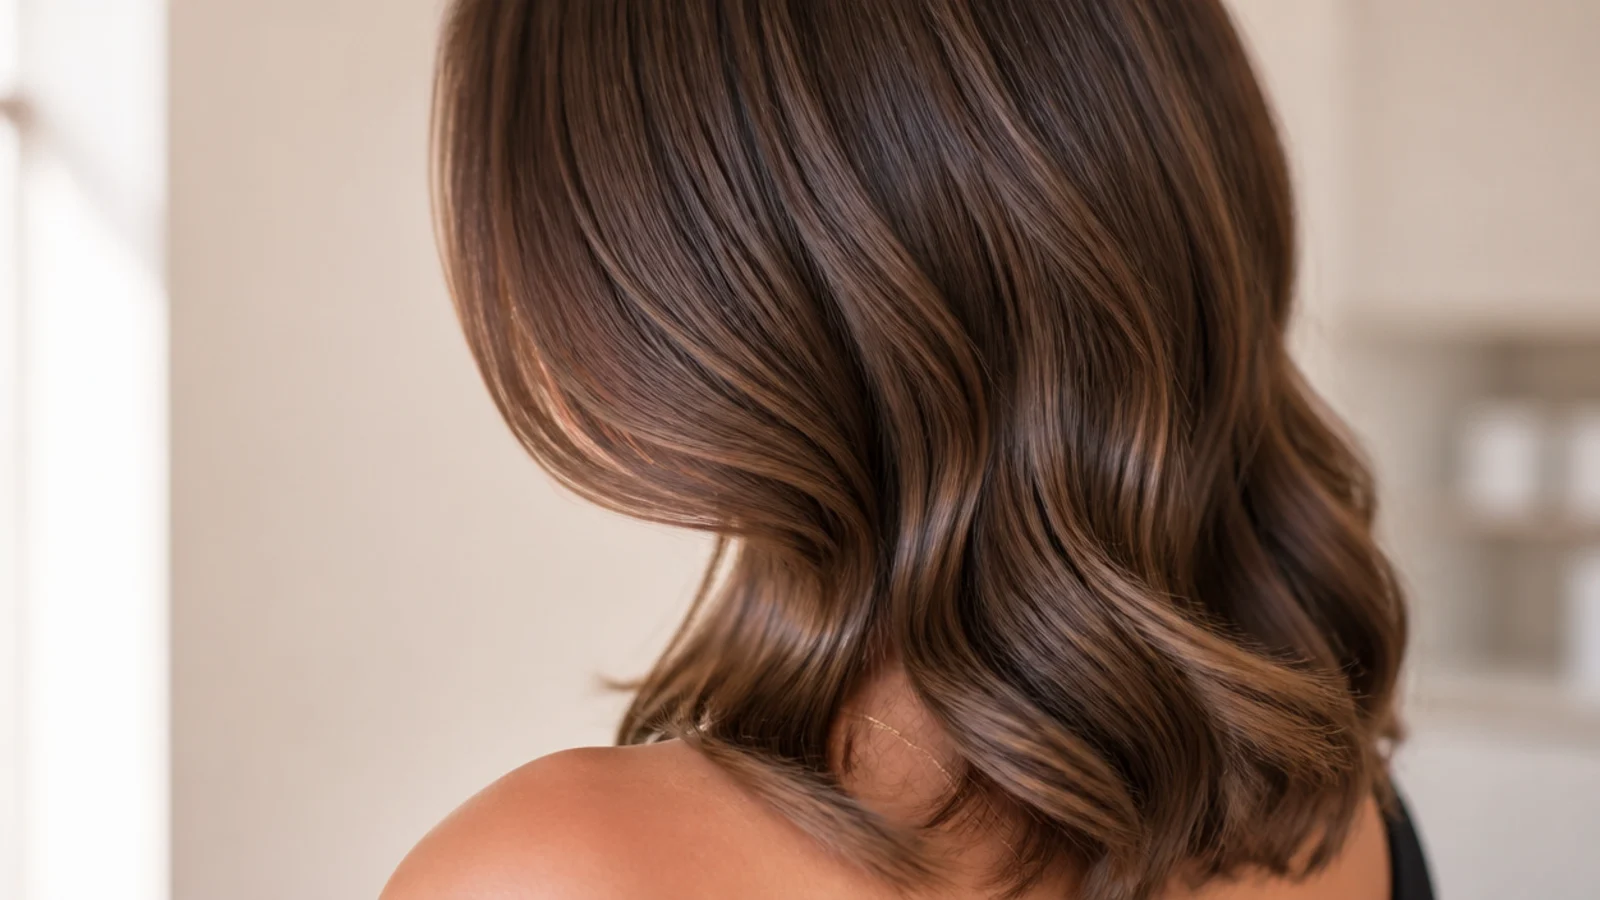
14. Faux Bob
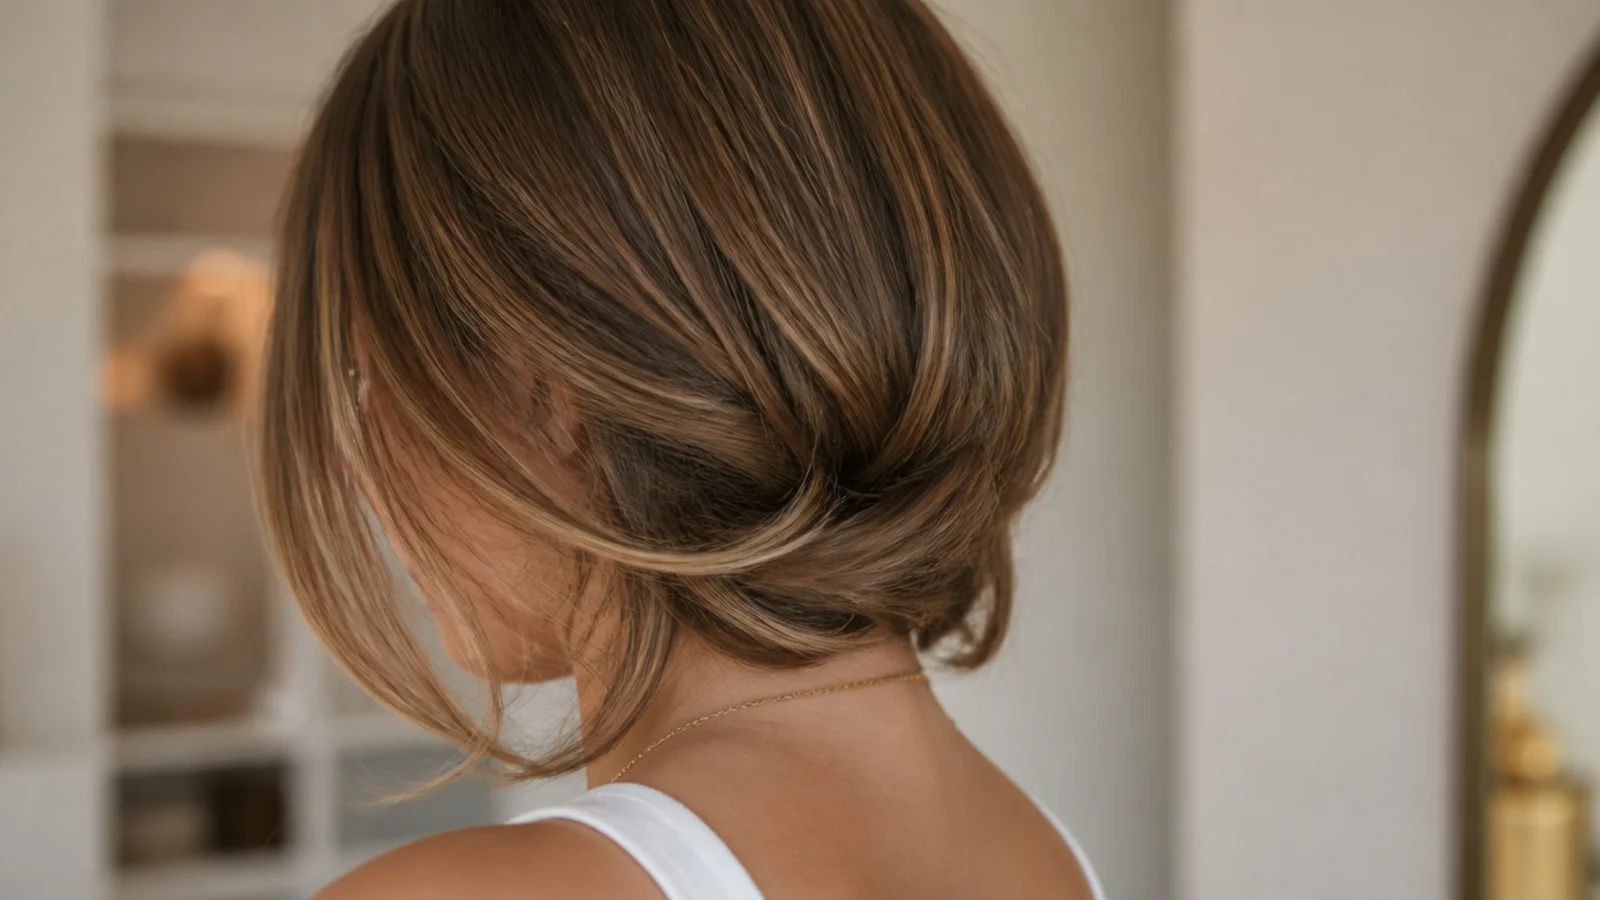
Tuck the ends under and pin them at the nape so the perimeter appears to sit at jaw level. It works better at collarbone length than on long hair because there is less bulk to hide underneath, so the folded ends do not create a visible ledge at the back.
15. Heatless Overnight Waves
Water breaks the temporary bonds that hold hair in its current shape, and they reform in whatever position the hair dries in. Wrapping damp hair around a fabric rod overnight uses that directly, which is why the result holds as well as a heat set without any heat involved.
How to Style Mid Length Waves
Step 1. Start on Day Two Hair
Waves hold through friction between strands, and freshly washed hair is smooth enough that the set has nothing to grip. Day two hair has natural oils and a little roughness at the surface, which is why the identical technique produces a set that lasts twice as long on the second day.
Step 2. Prep Damp Hair
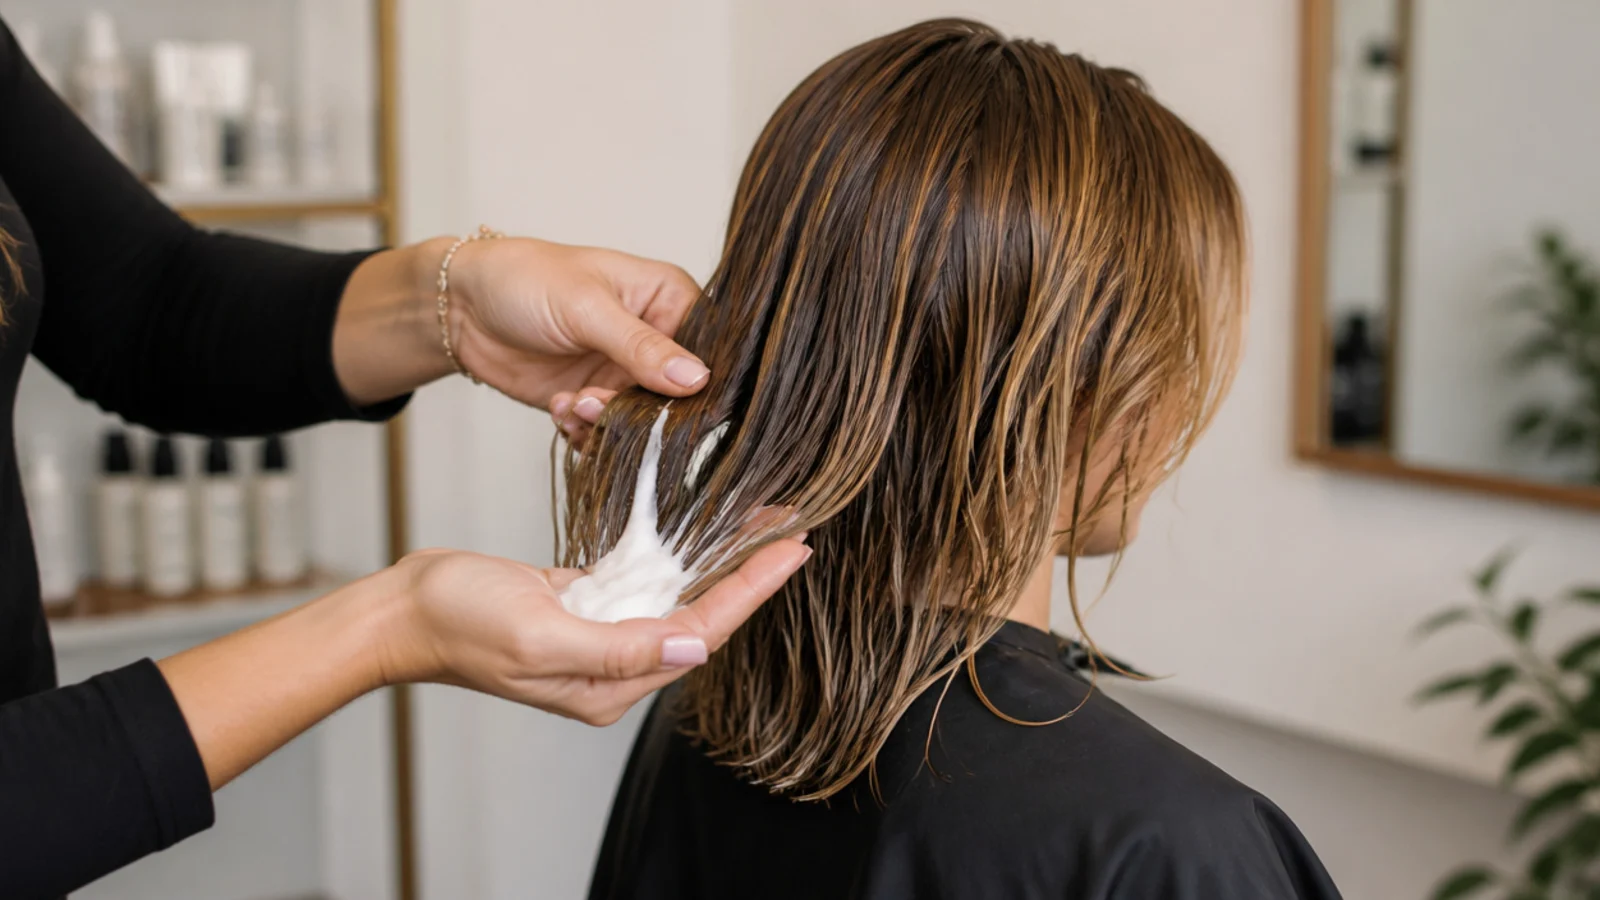
Work a light lotion or mousse through damp hair from the mid lengths down, keeping the roots almost clear. Product distributed while the hair is wet coats every strand evenly, whereas the same amount applied dry lands on whichever pieces it touches first and weighs those down.
Step 3. Rough Dry
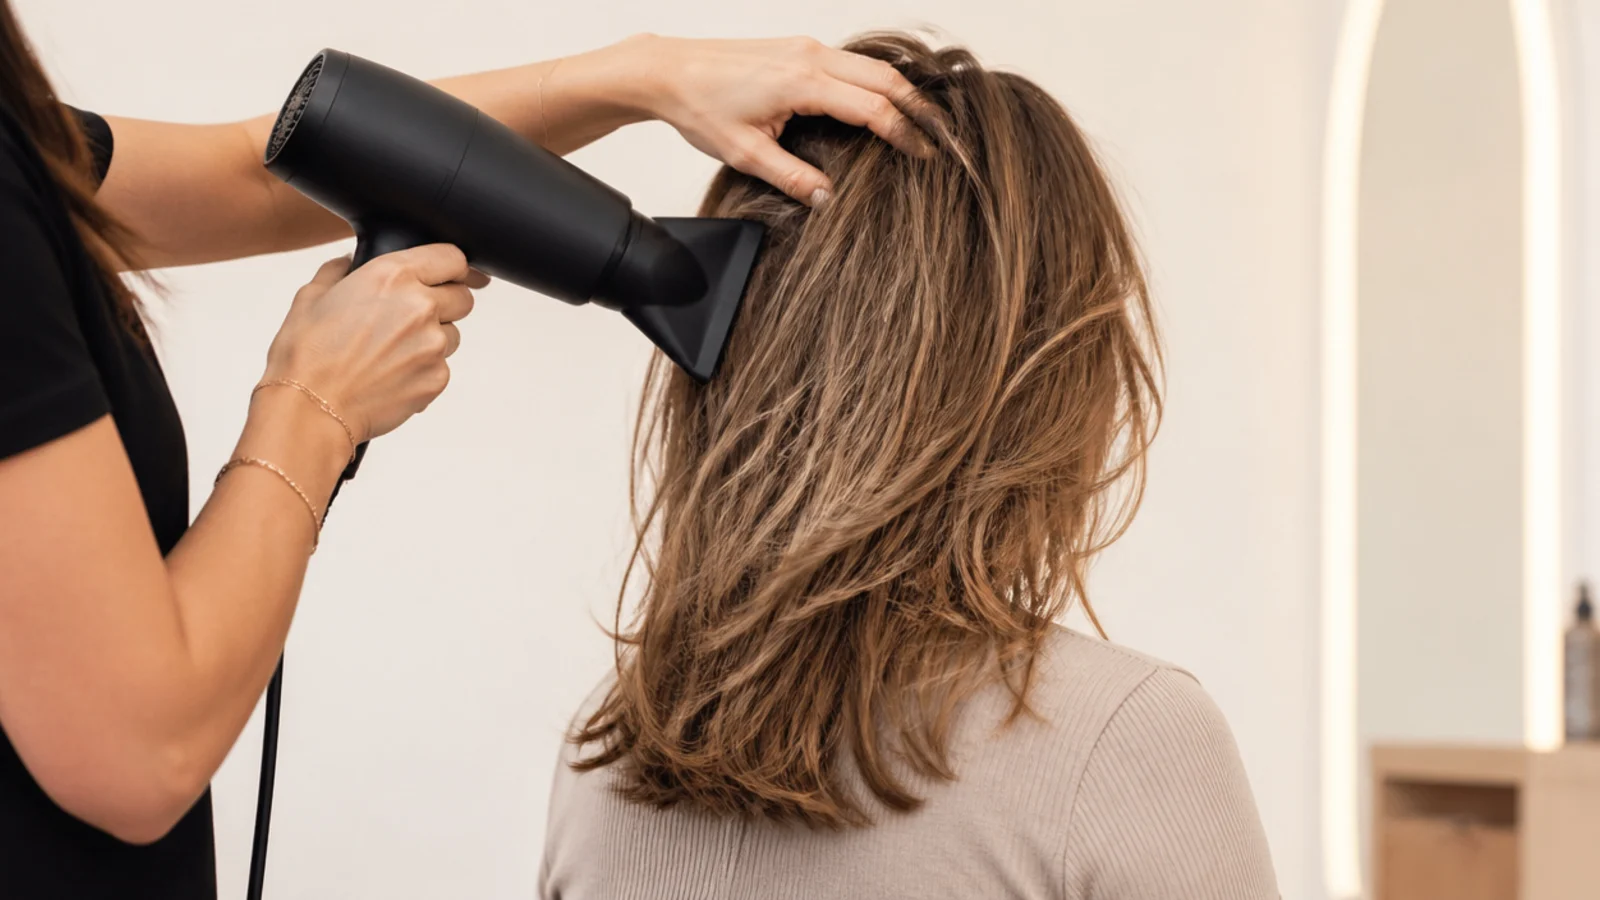
Dry to about eighty per cent with your fingers and no brush, lifting at the roots as you go. Getting the water out before any shaping happens means the iron is not fighting moisture, and root direction set at this stage survives everything you do afterwards.
Step 4. Set the Part
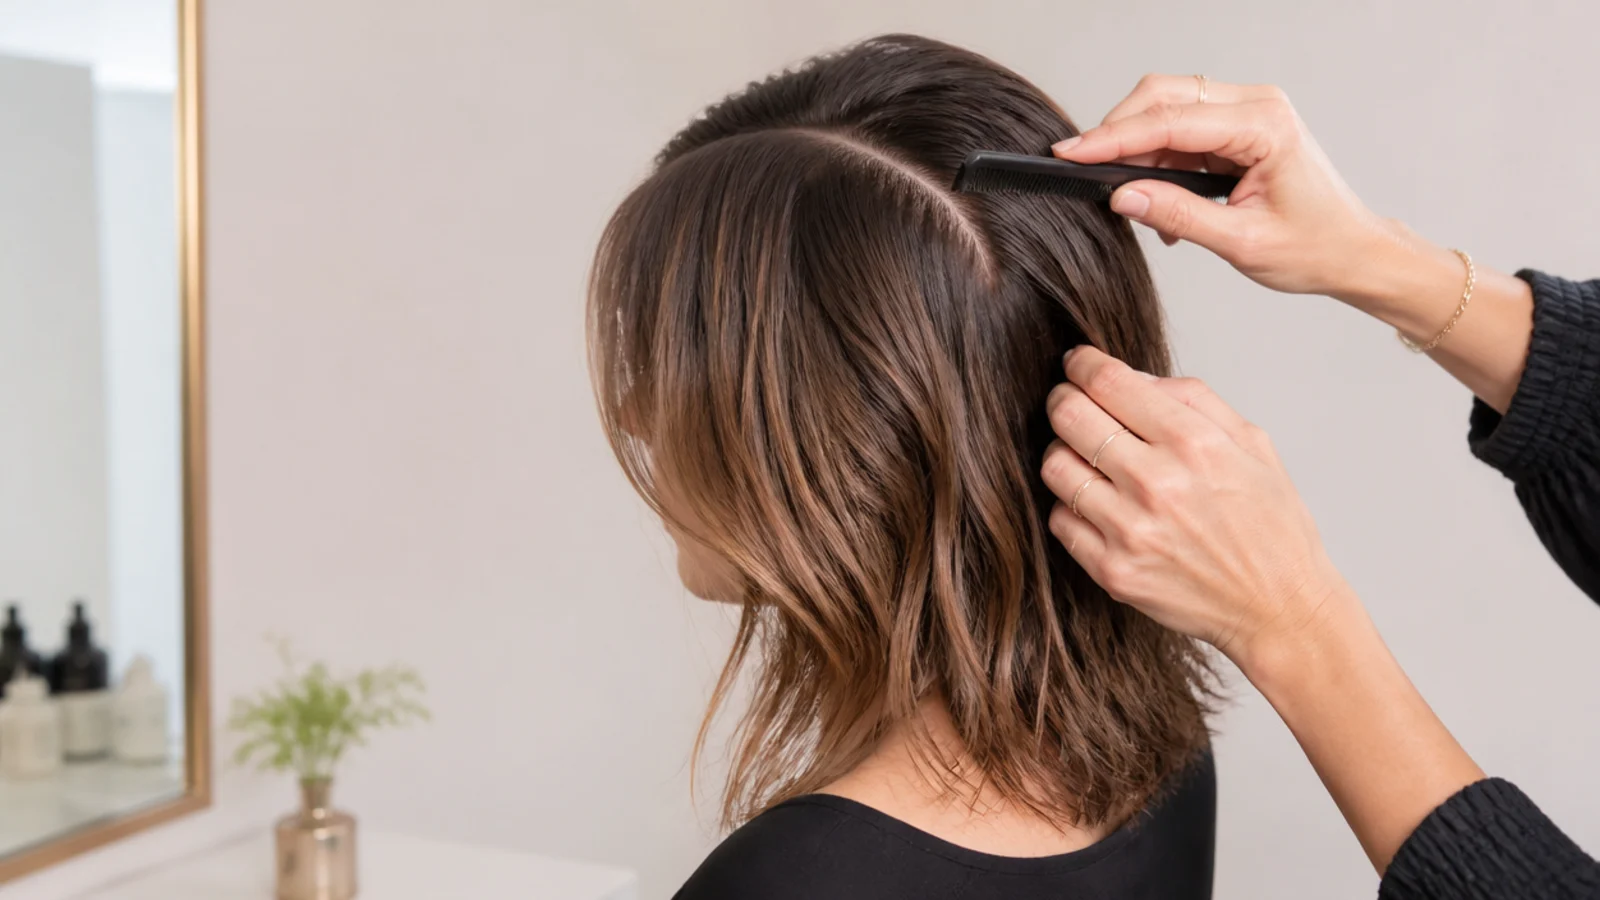
Decide the parting now, while the hair is still slightly damp, because it will not move once dry. Placing it a little across the natural fall makes those roots stand against their growth direction, and that resistance is the cheapest volume available at this length.
Step 5. Two Layer Sectioning
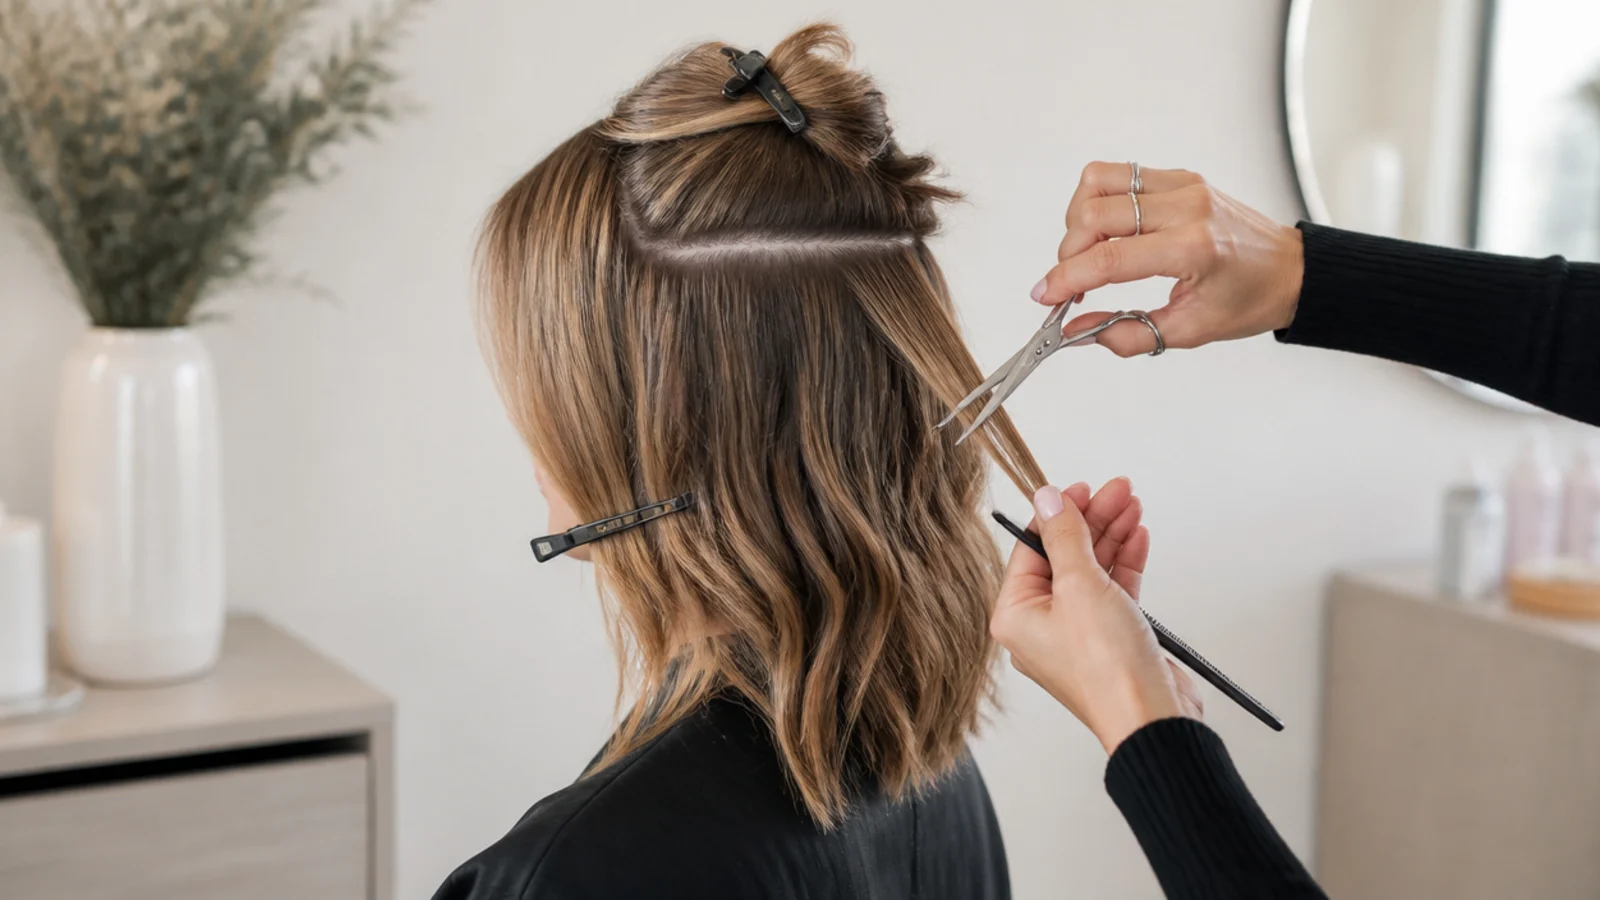
Clip the top half up and work the lower half first. Two layers is enough at collarbone length, and it matters because a section taken from a mixture of upper and lower hair contains strands of different lengths that will not sit in the same curl.
Step 6. Alternate the Curl Direction
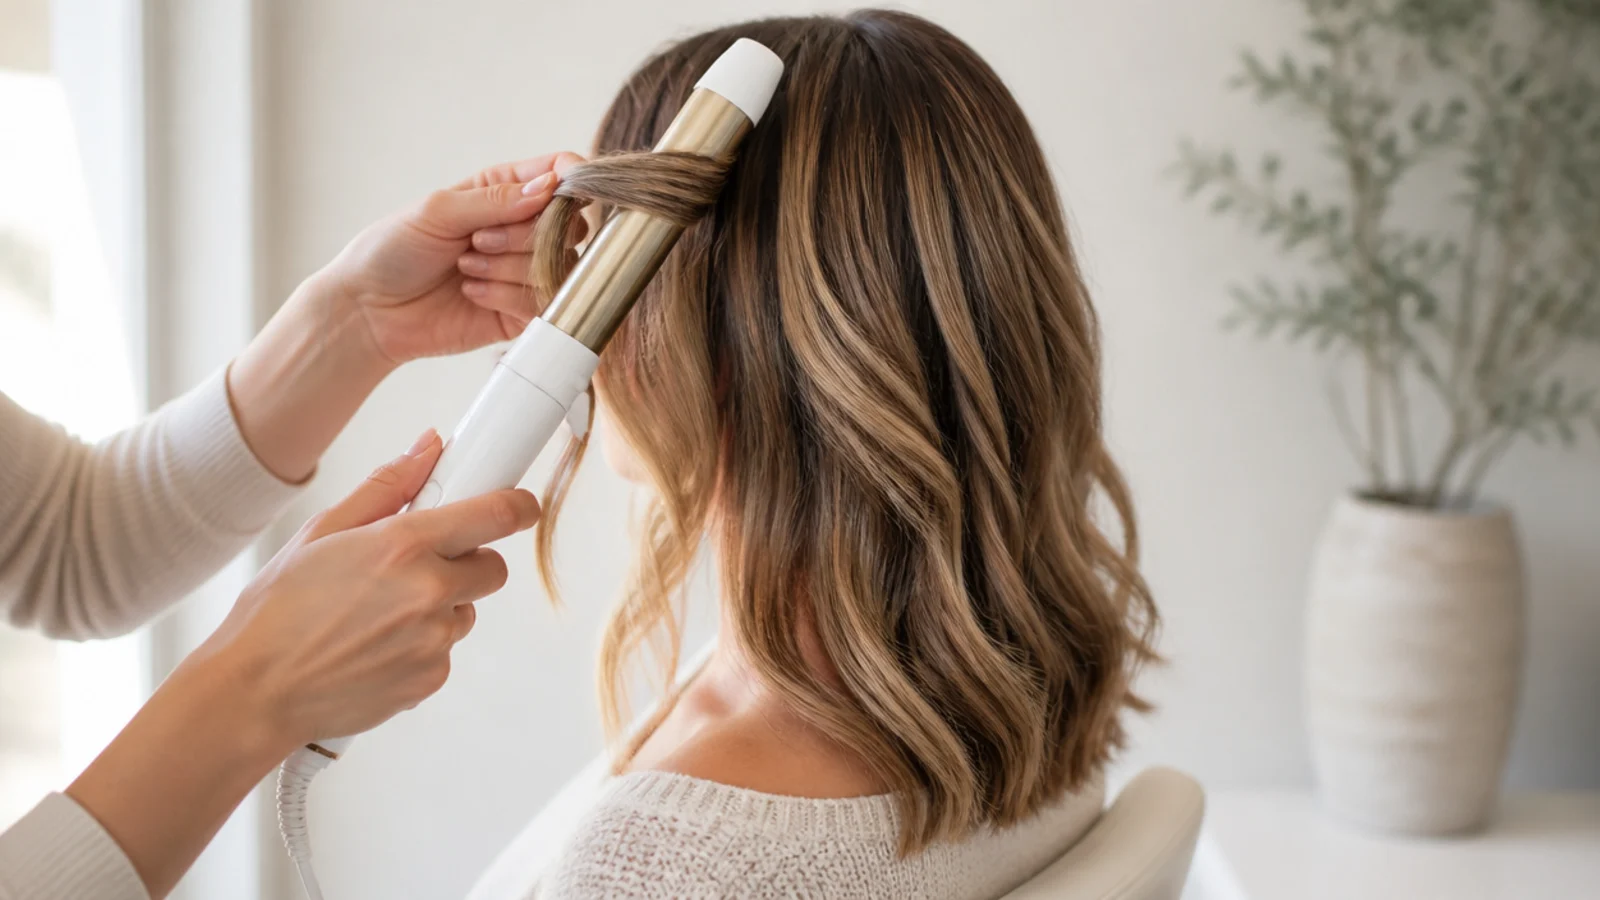
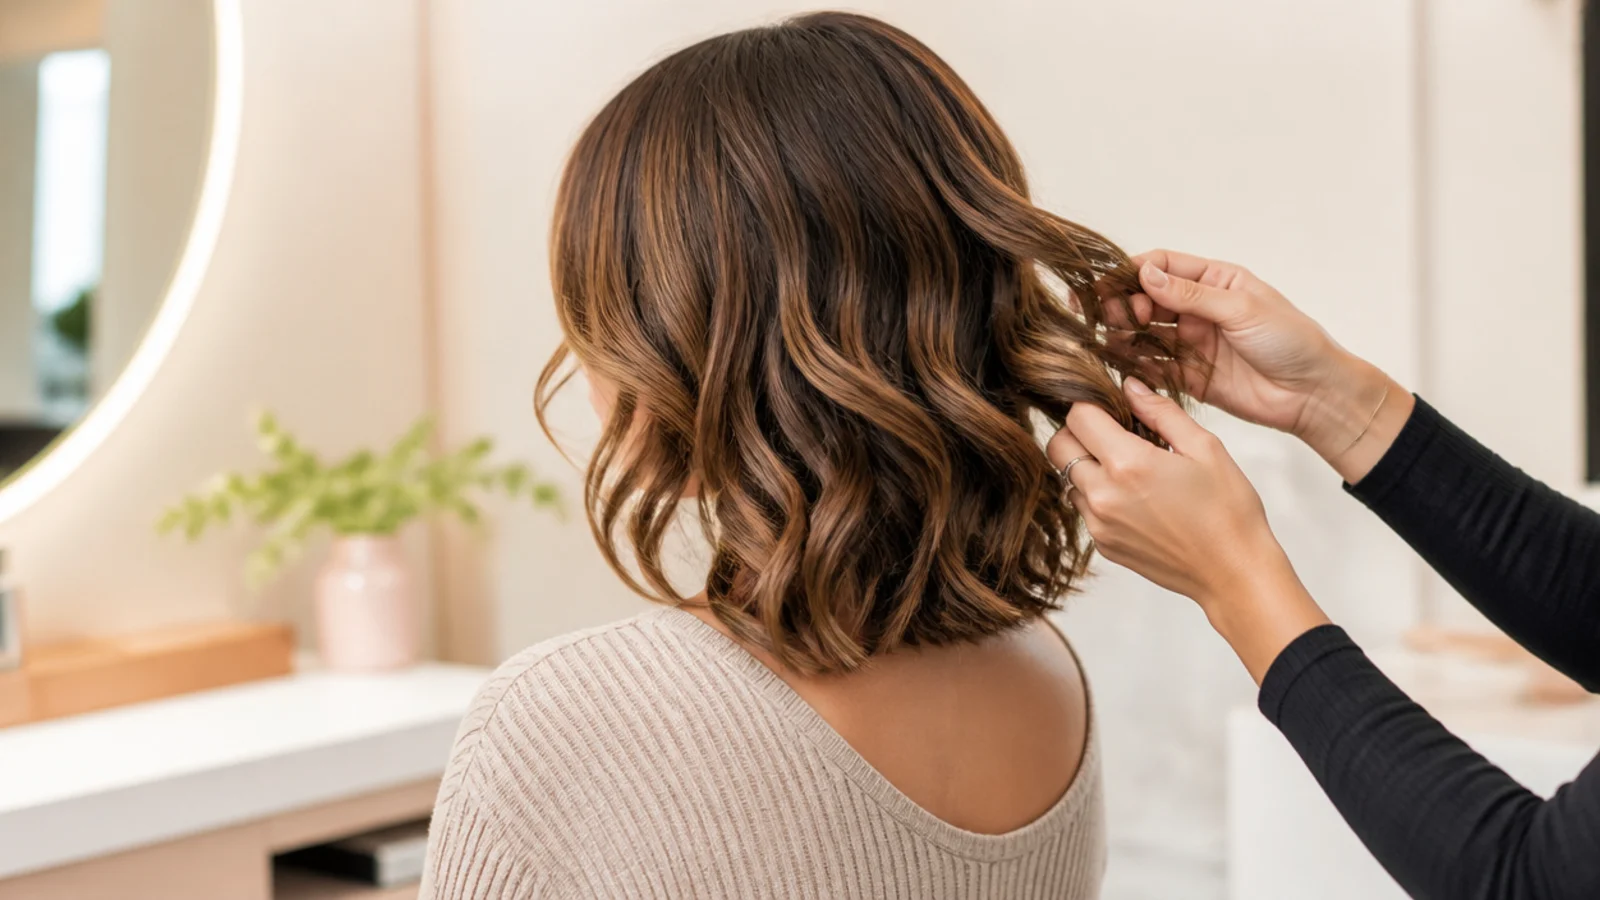
Turn each section the opposite way to the one before it, and leave the final inch out of the barrel. Curls all wound the same way stack into a spiral, while alternating them means each bend cancels its neighbour, and that cancellation is what produces a wave.
Step 7. Cool and Break the Set
Drop each curl into your palm or clip it against the head and leave it alone for a full minute before touching it. This is the step that decides whether the style lasts until evening, because hair fixes its shape as it cools and a curl released warm has not finished setting.
Step 8. Texture Spray Finish
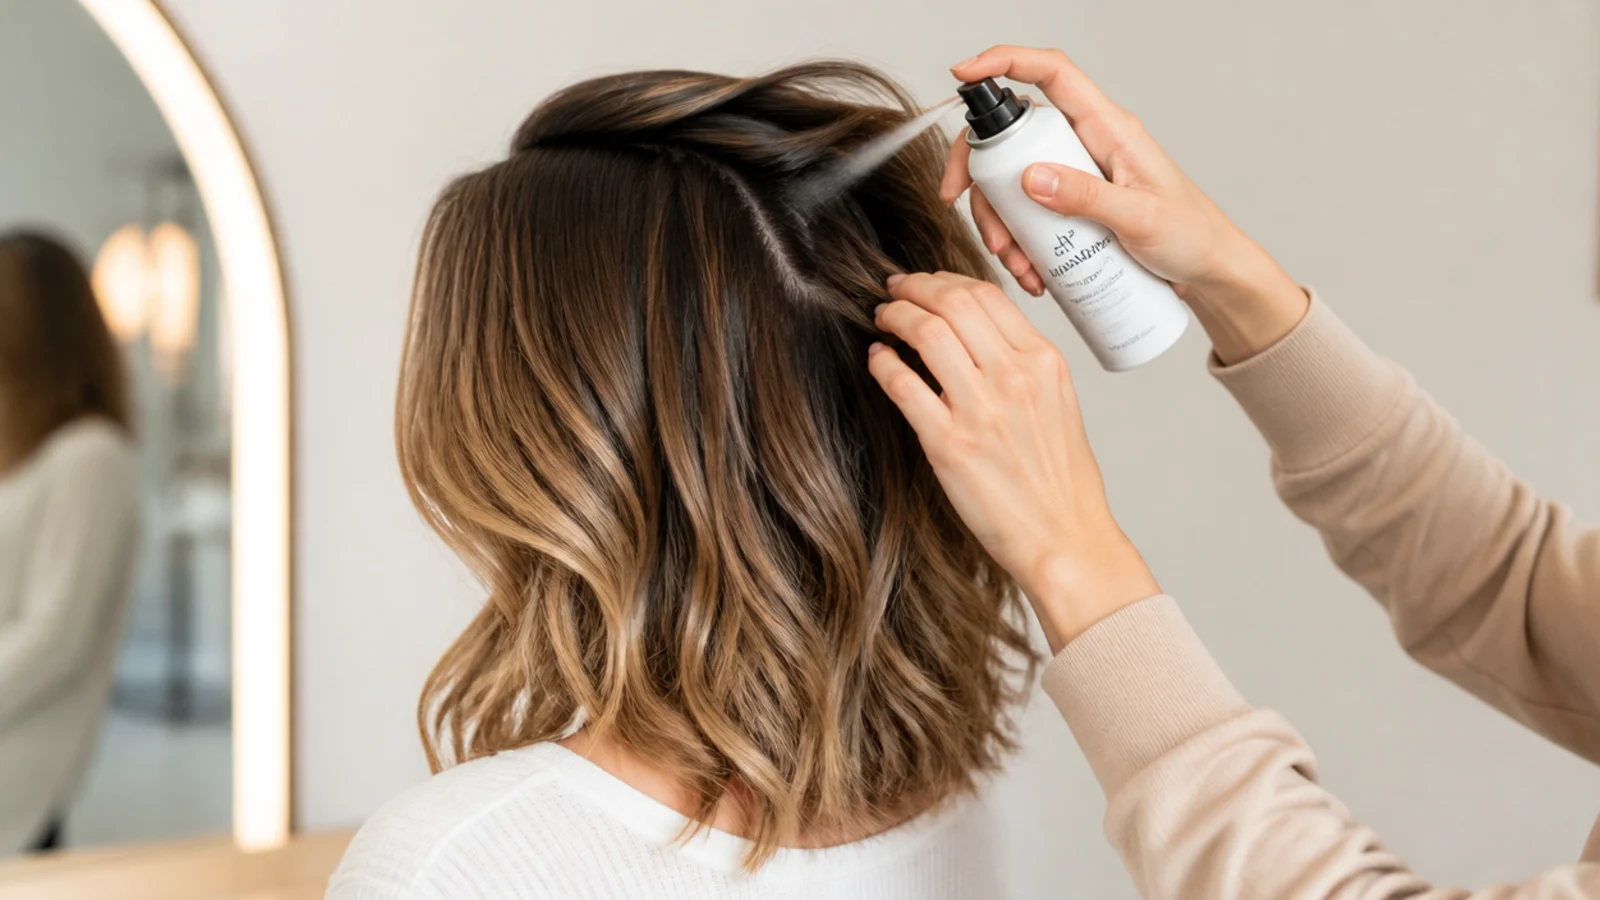
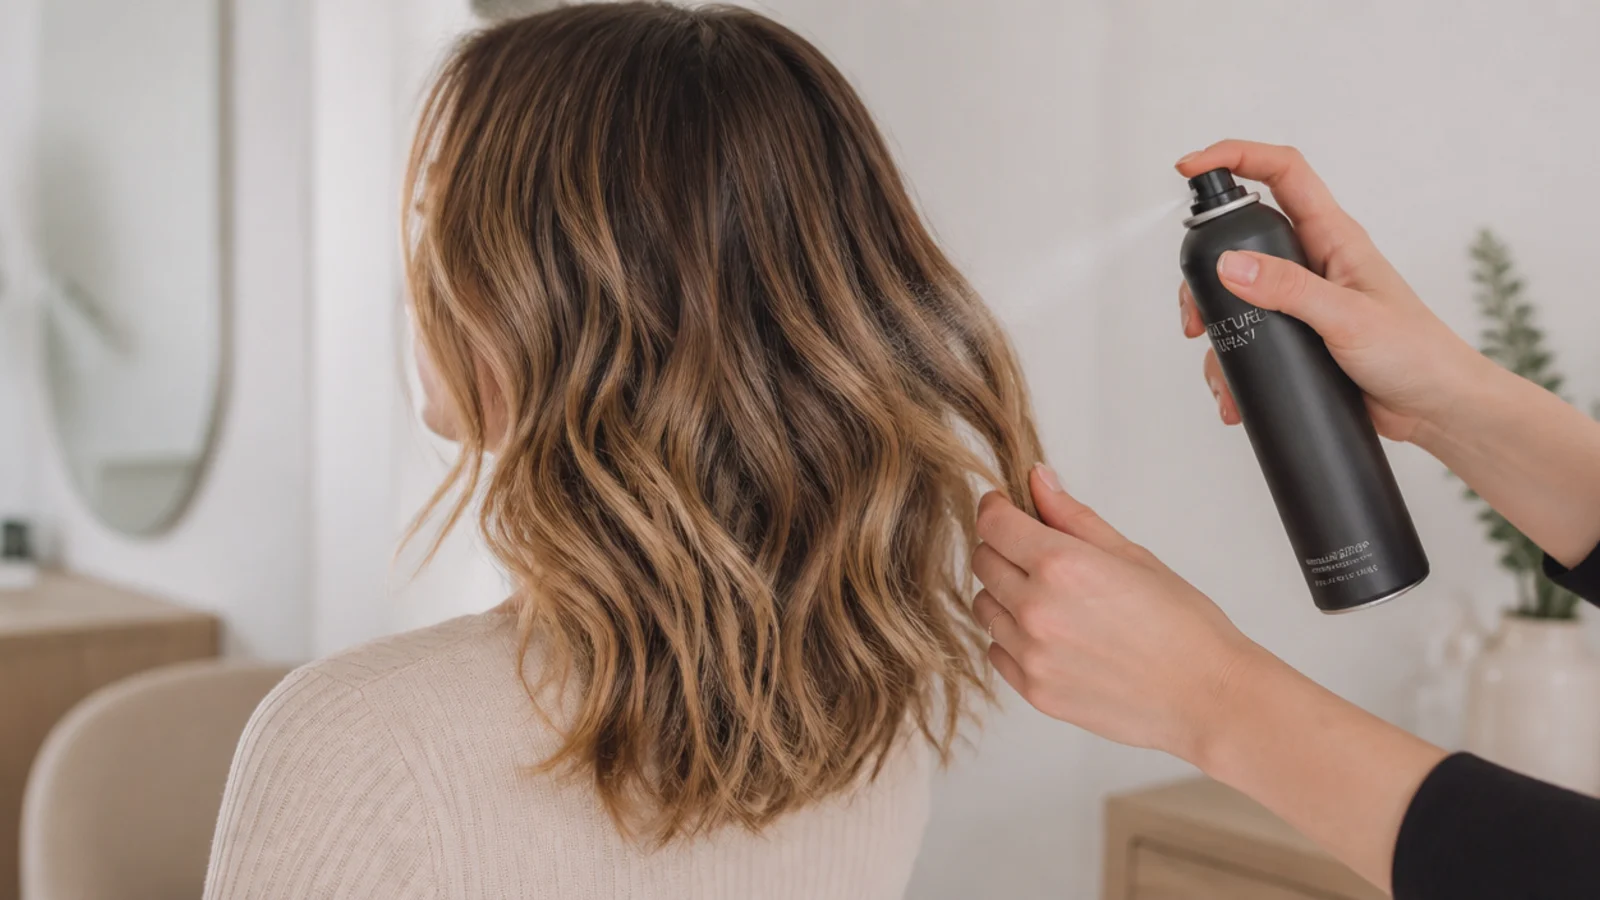
A light mist of texture spray coats the strands with fine particles that increase friction between them. That grip is what stops the waves sliding back into a smooth sheet during the afternoon, and it is doing something a hairspray cast cannot do without going stiff.
Final Thoughts
Give it a minute to cool. Almost every complaint about mid length hair not holding a style comes back to that, because heat only makes hair pliable and cooling is what fixes the new shape in place. The same iron, the same sections and the same product produce a set that survives the day if the curls are allowed to cool where you put them, and one that is gone by mid afternoon if they are not.
The second half is grip. At this length there is not enough weight to keep a style anchored on its own, so friction between strands is what carries it, and that is why day two hair, a texture spray or a mist of dry shampoo at the roots outperforms any amount of hold spray applied to slick clean hair. Work with a mechanical grip where you can, which is also why a claw clip succeeds where a bun slides out. For the same length on men see 7 tips to style medium length hair for men. More in Womens Hairstyles. See also the choppy version.