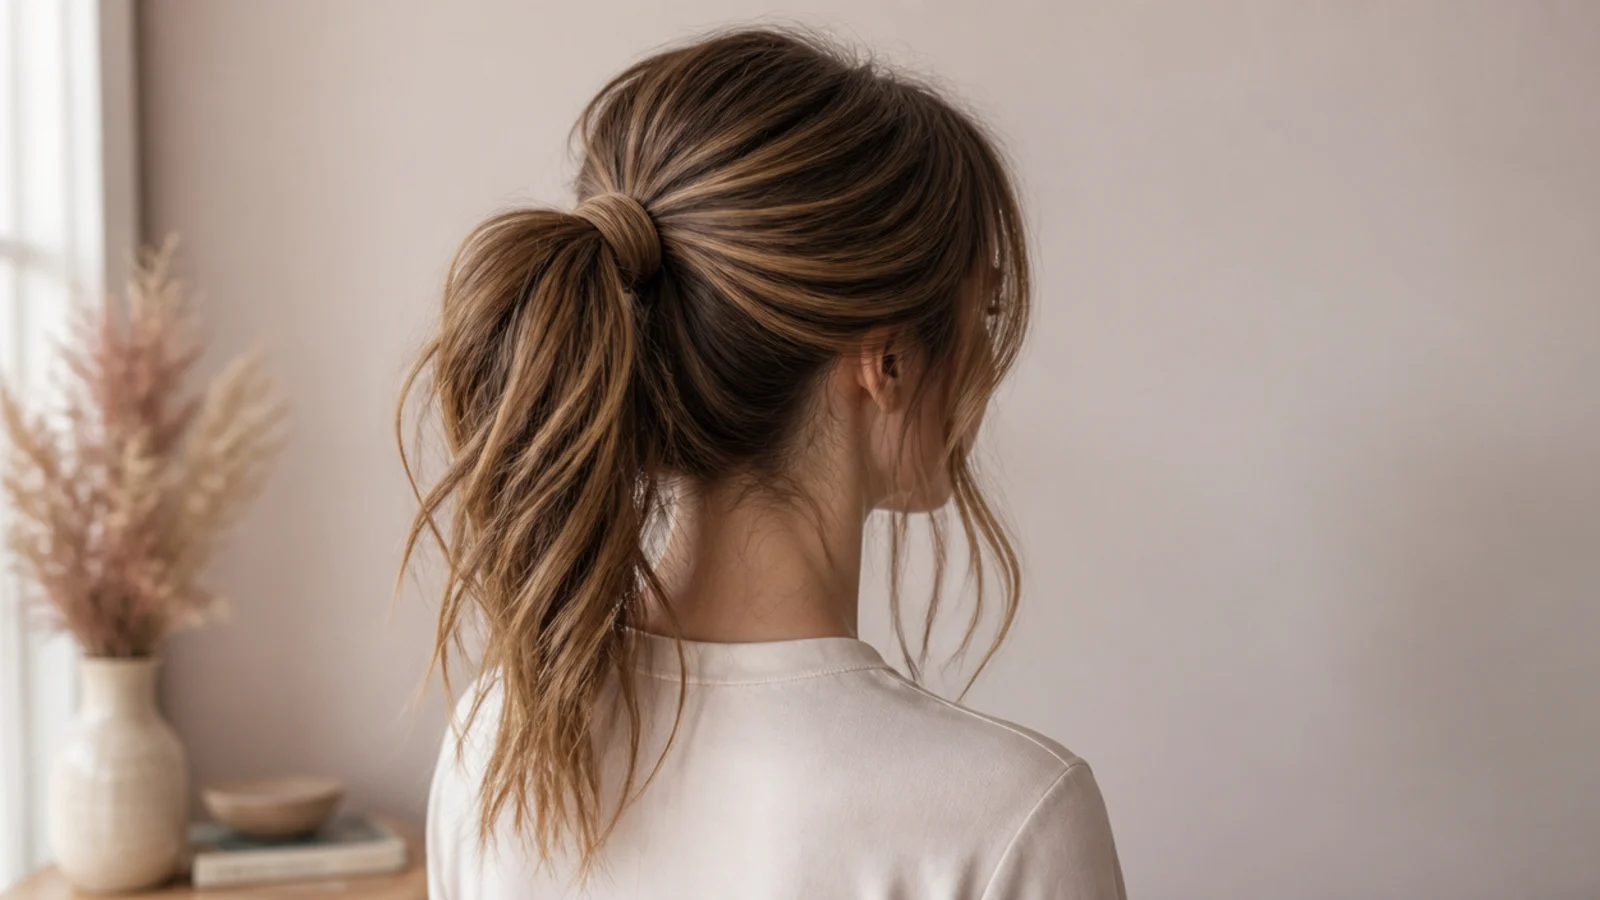
15 Messy Ponytail Styling Ideas
Fifteen ways to style a messy ponytail plus the eight step method behind all of them, built on the one thing that decides whether it holds — the band grips by friction against the hair, not by how hard it is pulled.
In this article · 31
- Messy Not Untidy
- By Hair Length
- Fine Versus Thick Hair
- All Day Hold
- Products That Matter
- The 15 Messy Ponytail Styles
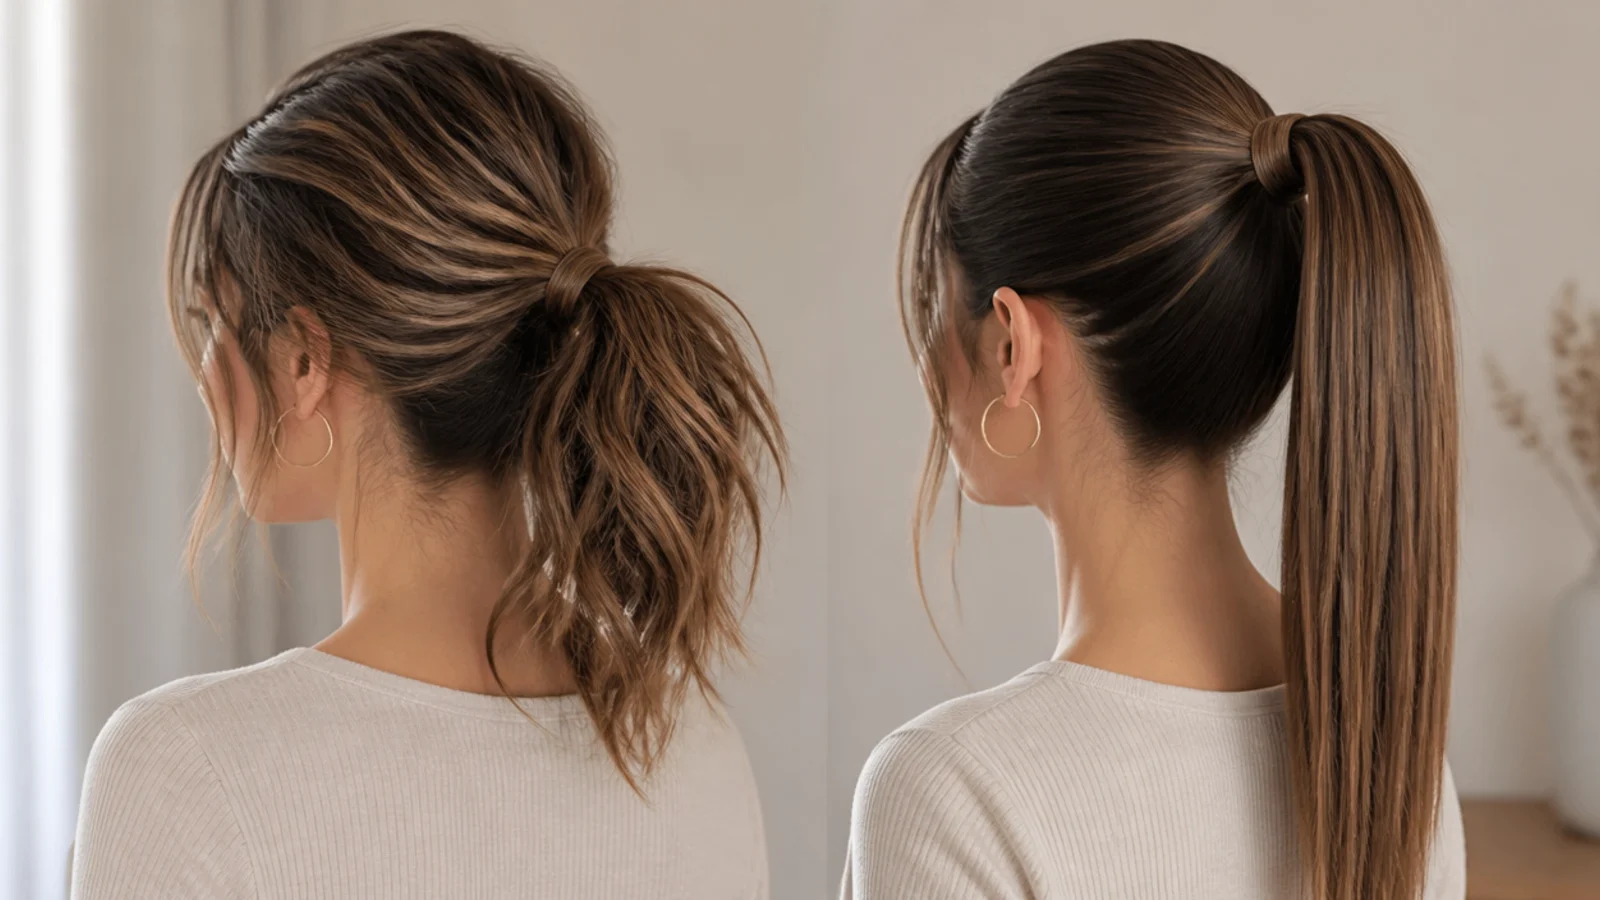
- 1. Crown Tie for Volume
- 2. Low at Nape Level
- 3. Wrapped Elastic
- 4. Teased Crown High Pony
- 5. Face Framing Pieces Left Out
- 6. Messy Bubble
- 7. Half Up
- 8. Side Swept
- 9. Claw Clip Ponytail
- 10. Bungee Band on Short Hair
- 11. Double Stacked for Fine Hair
- 12. Braided Base
- 13. Curly Pineapple
- 14. Scarf Tied Ponytail
- 15. Sleek Root for the Office
- How to Style a Messy Ponytail
- Step 1. Dry Shampoo Prep
- Step 2. Choose the Tie Height
- Step 3. Gather With Your Fingers
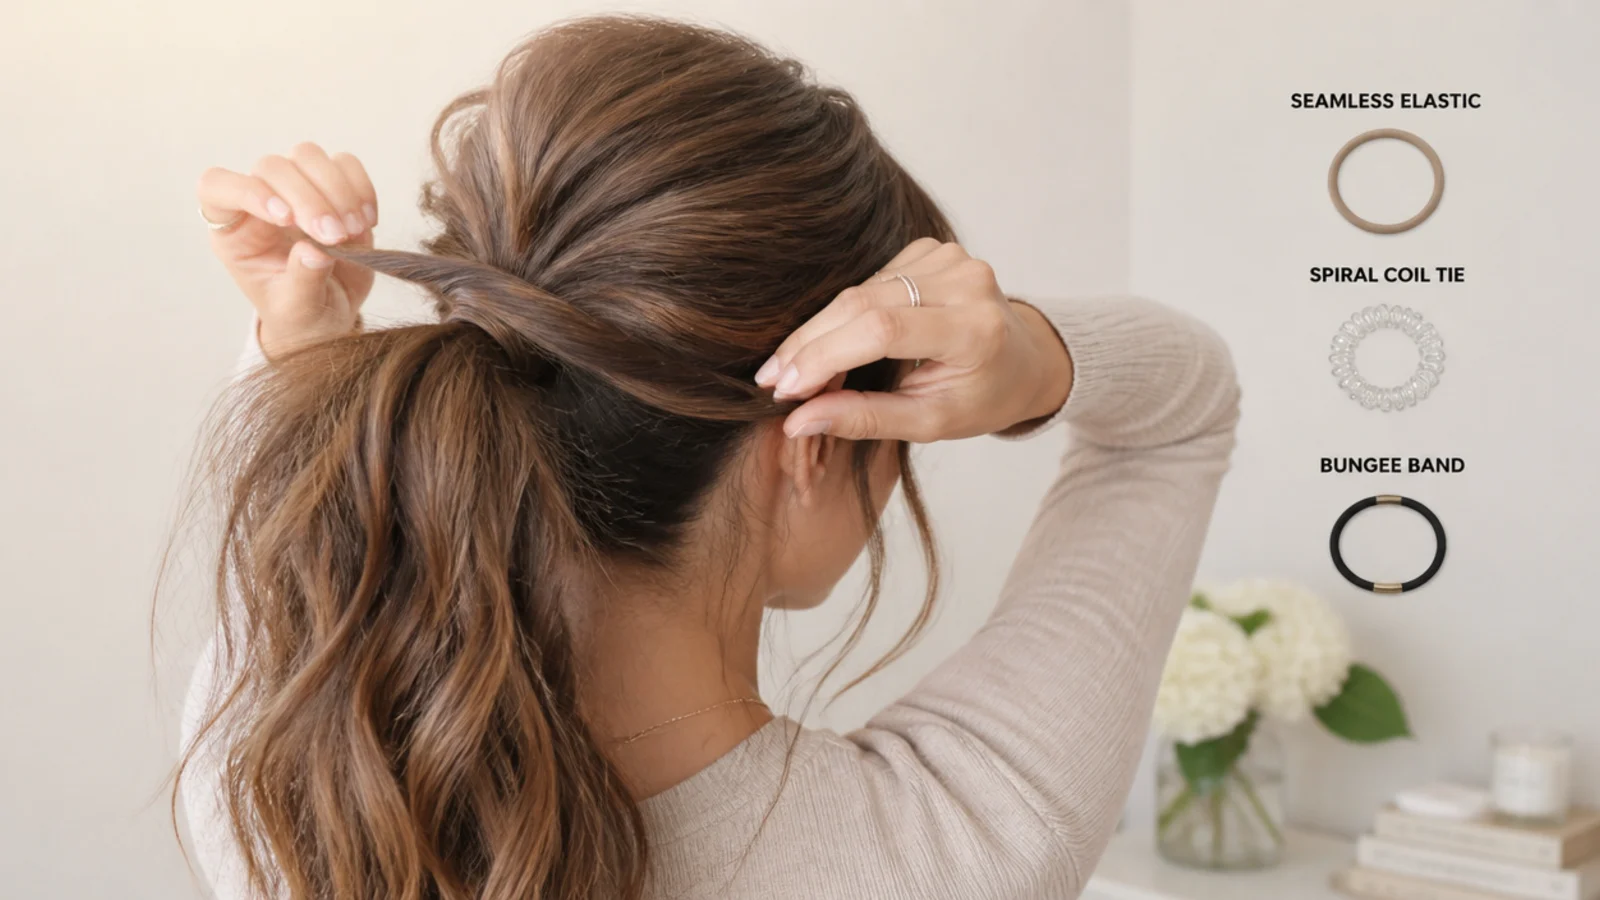
- Step 4. Choose the Band
- Step 5. Tug the Crown
- Step 6. Tease the Tail
- Step 7. Wrap the Elastic
- Step 8. Pull Out the Face Framing Pieces
- Final Thoughts
Every messy ponytail is the same eight steps in a different order, and most people skip the two that decide whether it holds.
The band grips by friction, not tension. Pulling harder on smooth hair only compresses it, and the weight of the tail walks the elastic downward from there.
The volume goes in after the band, never before. Tying flattens the crown, so anything you build first is squashed out by the elastic.
Messy Not Untidy
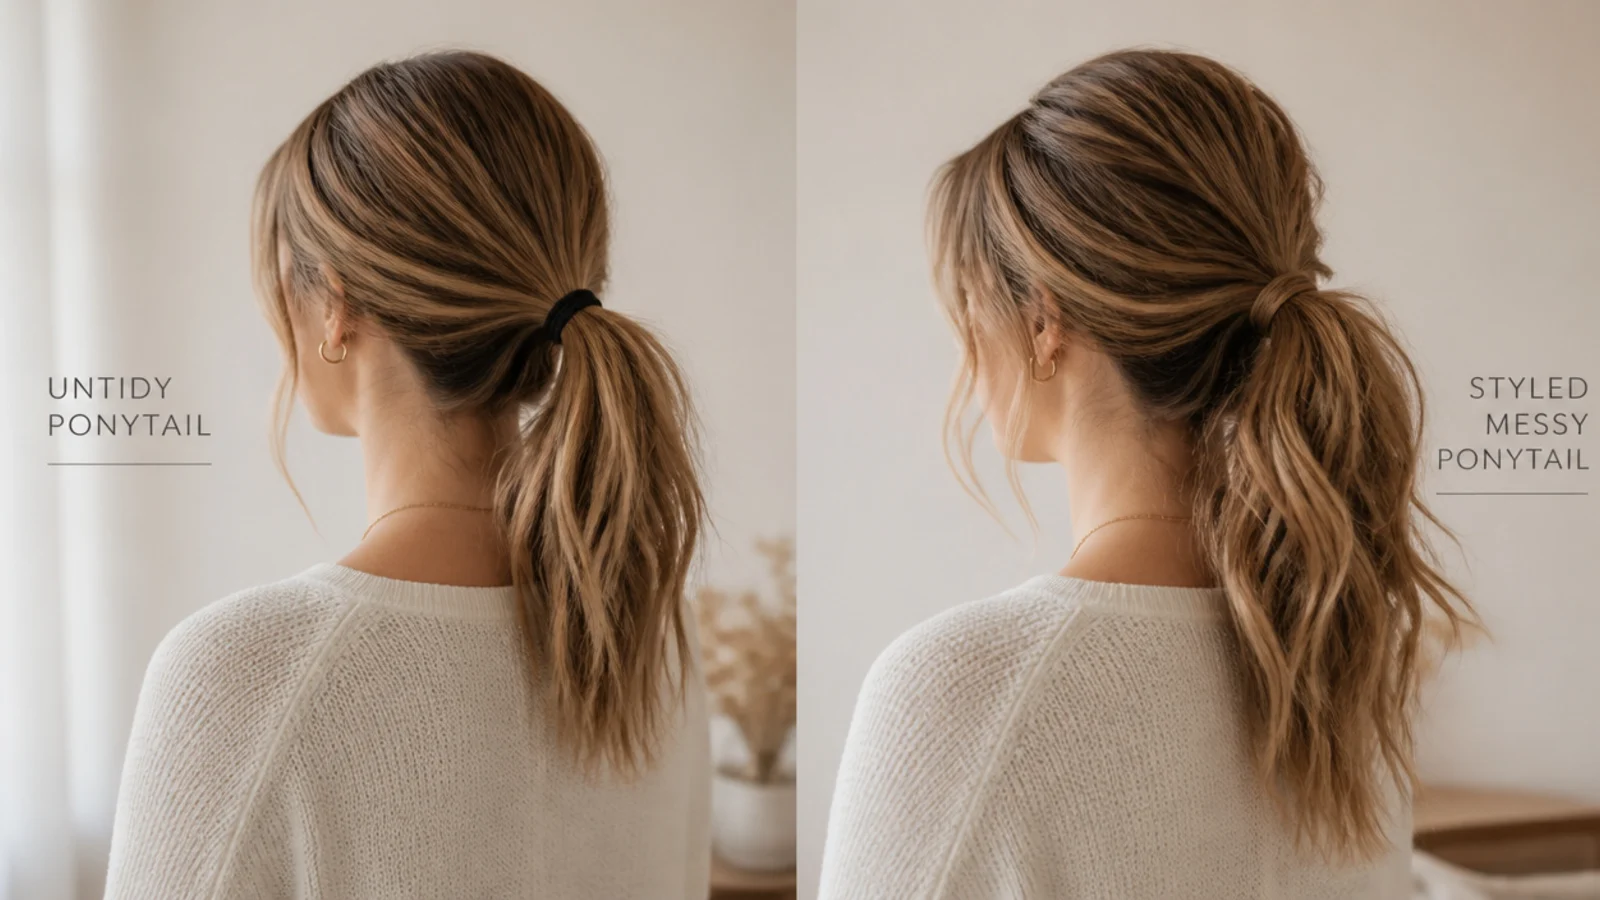
Everything loose has to be placed. Volume at the crown and strands at the temples read as chosen. The same amount of looseness at the nape reads as collapse.
The base is never messy. It is the one part of the style that stays tight, and it is what licenses the roughness everywhere else.
Two pieces at the front, not six. Beyond a couple of deliberate strands the eye stops reading them as styling and starts reading them as escape.
Grit is what stops it going stringy. Clean hair separates into distinct strands when it is left loose, where textured hair falls in soft sections instead.
By Hair Length
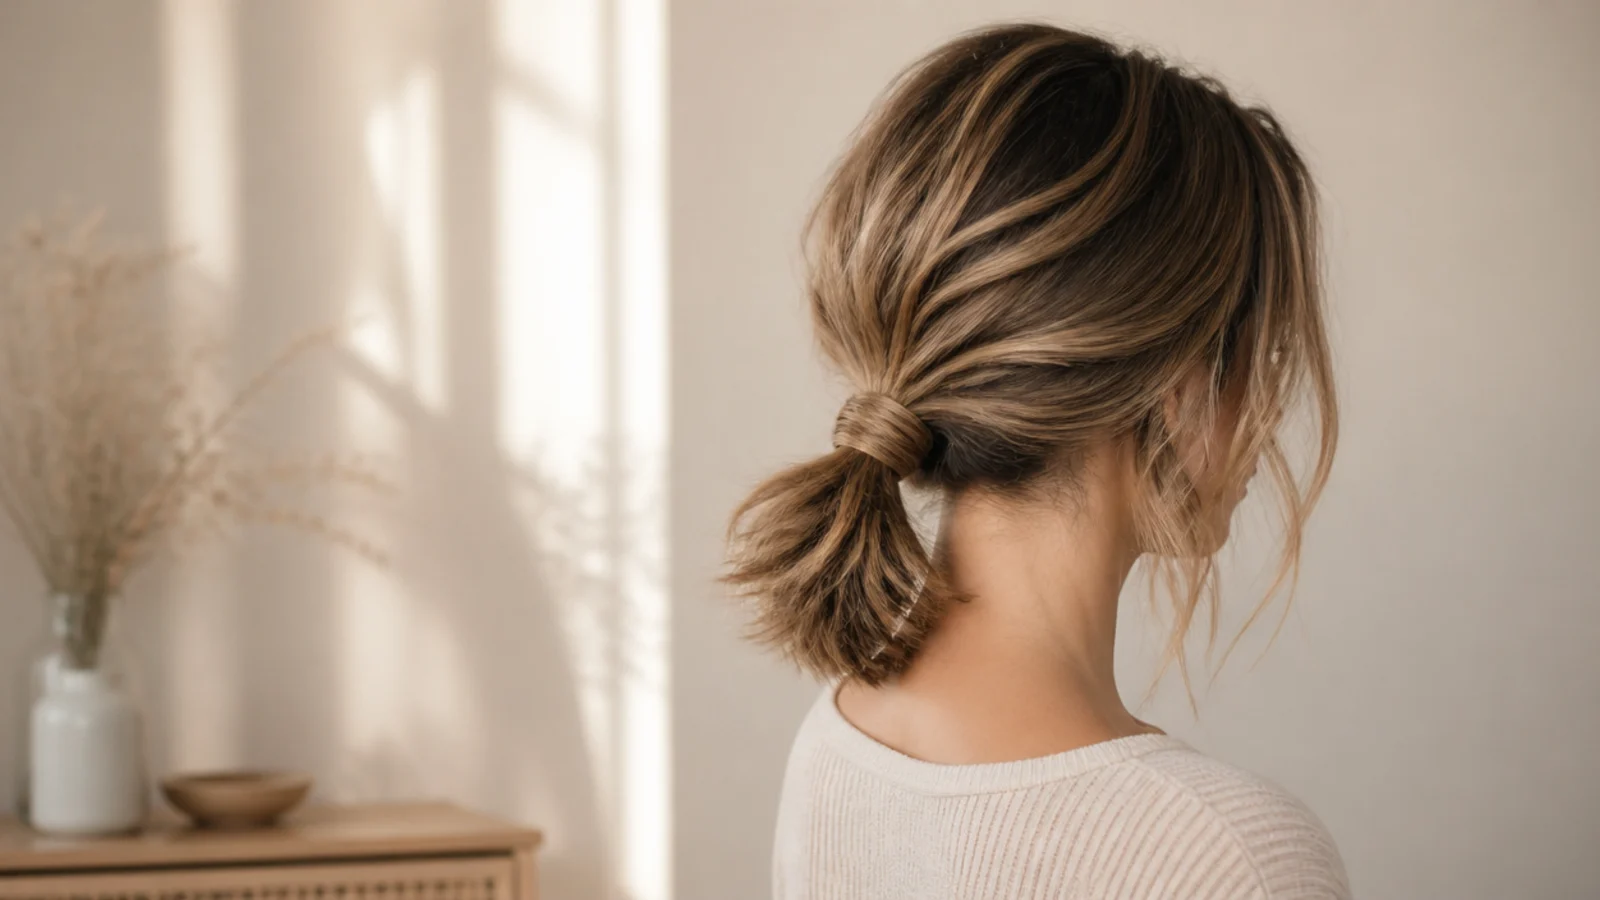
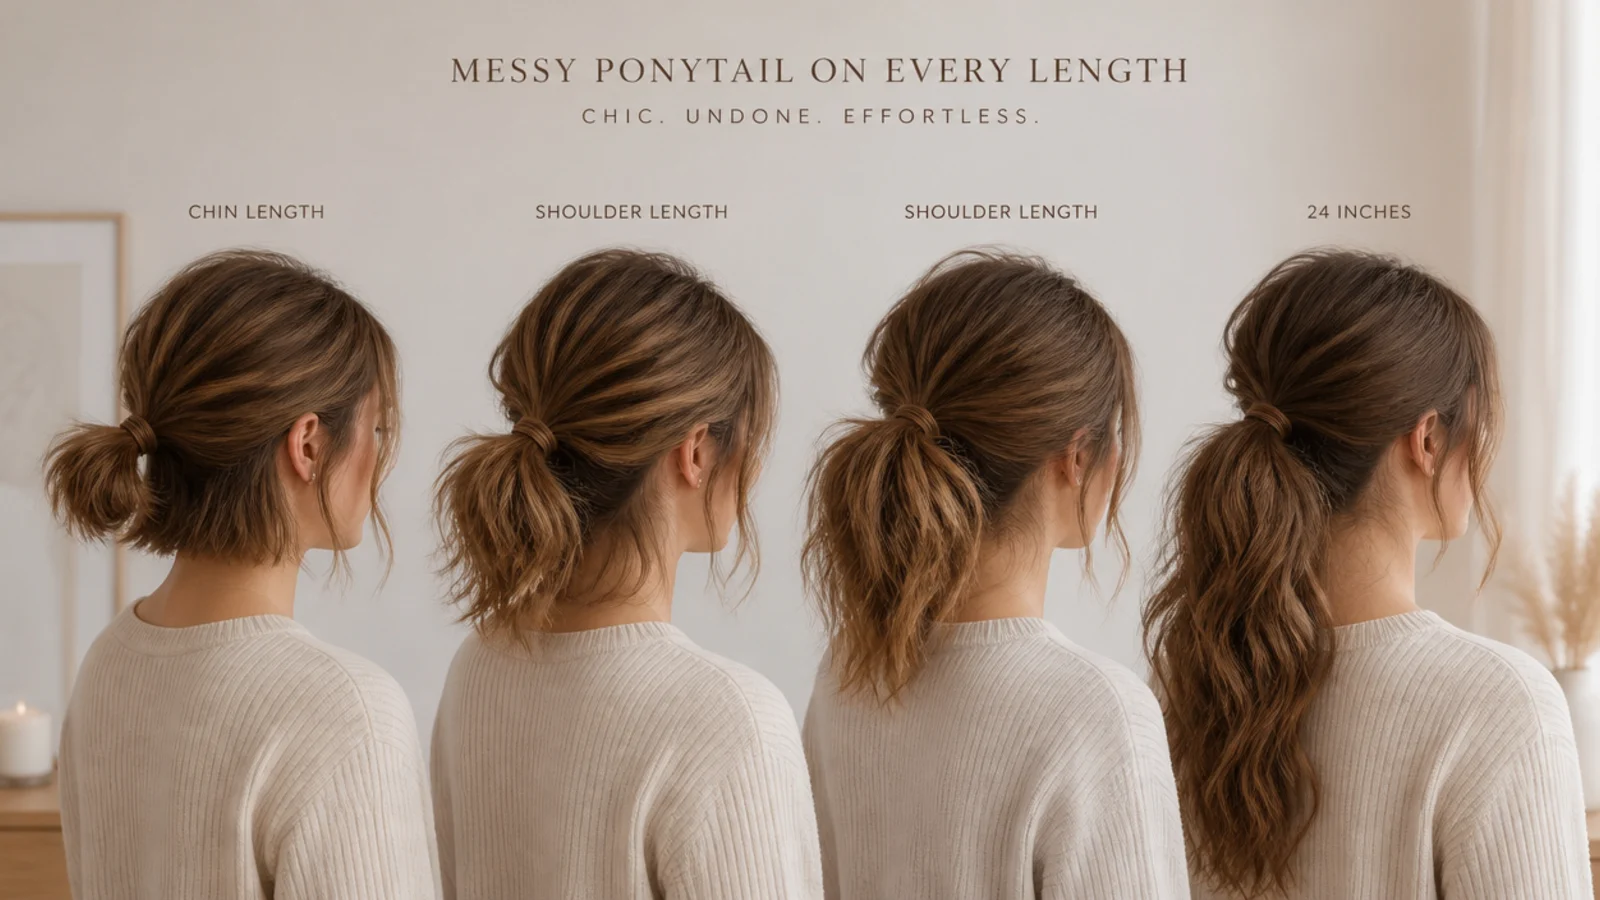
Short hair fails at the bottom. The nape hair is the shortest on the head, and if it cannot reach the band it will not be in the ponytail however you tie it.
Medium hair sticks out rather than hangs. A tail under about six inches lacks the weight to bend under gravity, so tie higher and bend the ends.
Long hair drags its own band down. Weight below the elastic gives it leverage, which is why a lower placement holds better than a tighter one.
Curly hair measures by stretched length. A curl sitting at the jaw can pull to the collarbone, so it usually belongs in the category above the one it looks like.
Fine Versus Thick Hair
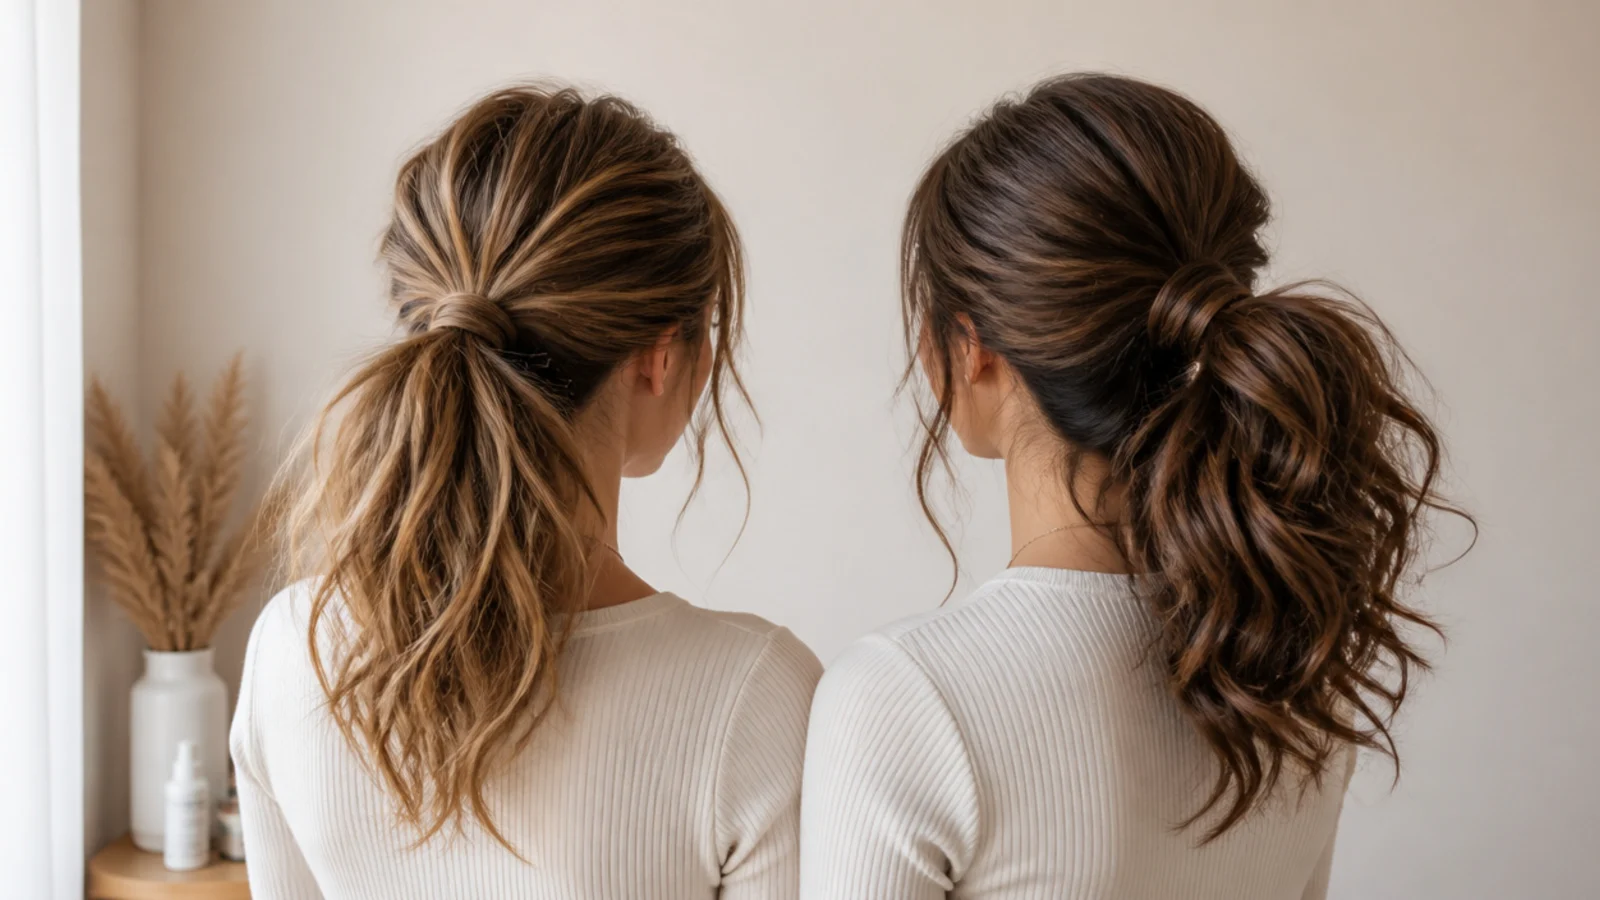
Fine hair gives the band too little to close on. The elastic tightens onto itself and the tail hangs narrow, so a wide fabric band and a crown tug are the two fixes.
Thick hair overwhelms a single elastic. The band is holding more bulk than it was built for, which is why it is at the nape within the hour.
Fine hair needs friction, thick hair needs an anchor. Powder at the base for one, a claw clip or a bungee for the other.
Teasing behaves differently on each. Fine hair mats quickly and needs three gentle passes. Thick hair takes more and holds it far longer.
All Day Hold
Grip outlasts tightness. A gritty base at moderate tension survives longer than a slippery base pulled hard, and it does not ache by the afternoon.
Height costs hold. The higher the band, the more of the tail's weight hangs from it unsupported. A low tie lets the head and shoulders share the load.
Retie rather than tighten. Tightening compresses hair that has already lost its grip, where regathering restores the surface the elastic needs.
Damp roots reset everything. Hair takes a new shape as it dries, so rain or sweat at the base undoes the set you tied in that morning.
Products That Matter
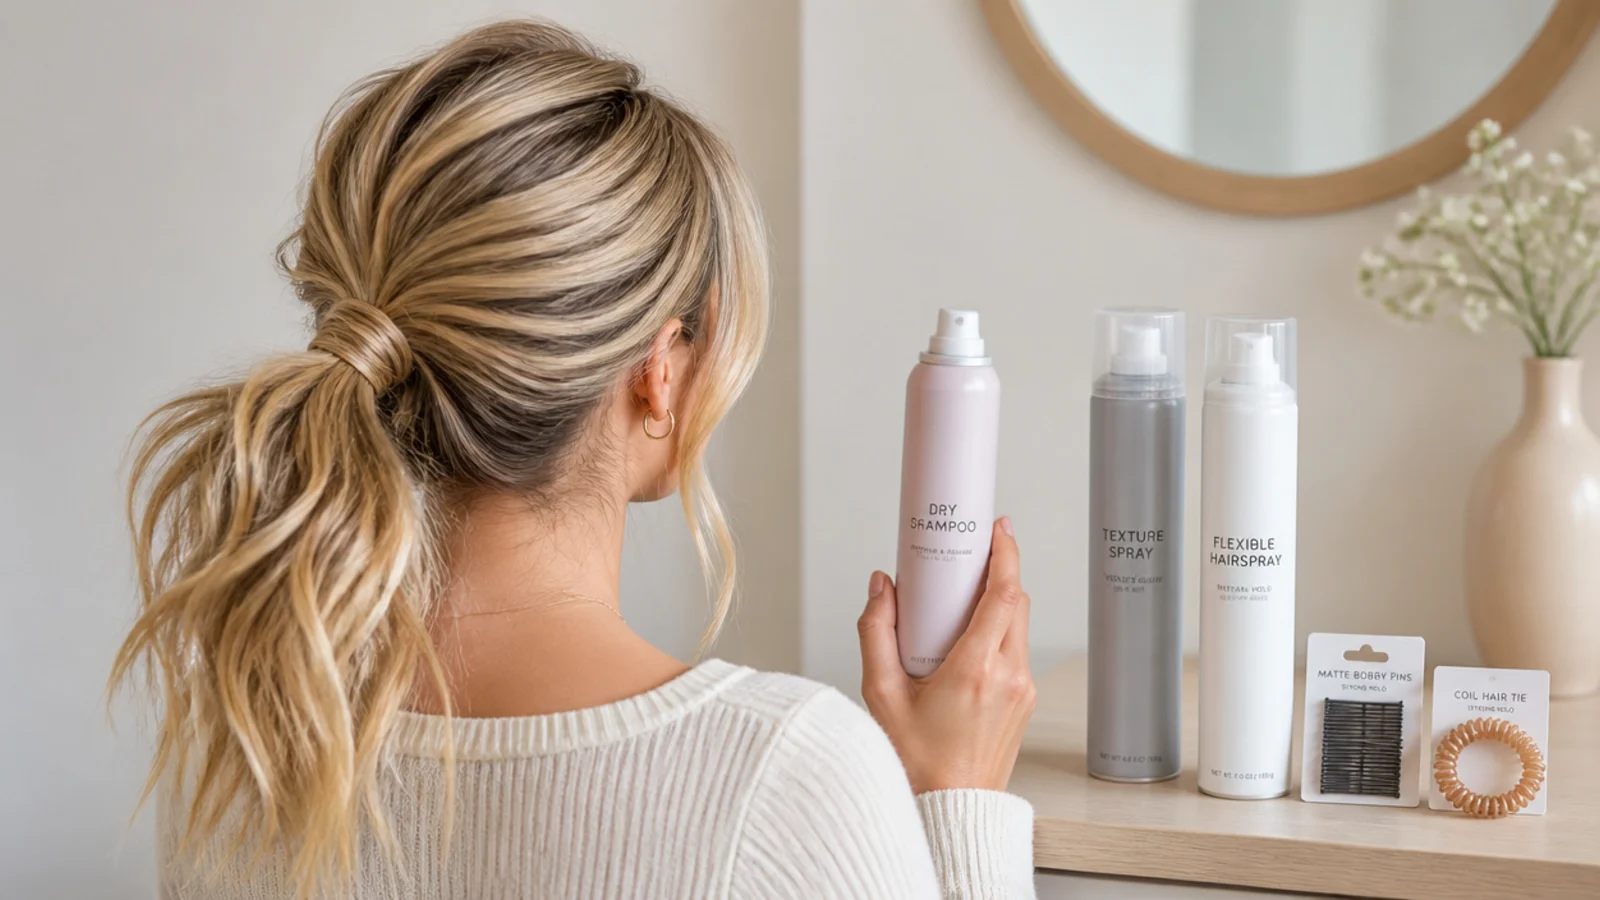
Dry shampoo at the base. Starch or clay absorbs oil and leaves powder behind, and the powder is what the band is actually gripping.
Texture spray through the mid lengths. Freshly washed hair has no grit at all, and the mid lengths are where a tail separates into strings.
A fabric covered elastic. Wider contact against the hair and no metal join to snap strands under load.
Hairspray on a brush. Misting the bristles and sweeping the front lays flyaways down without stiffening the whole style.
Two pins under the base. Crossed beneath the elastic they act as a shelf that props the tail rather than gripping it.
The 15 Messy Ponytail Styles
1. Crown Tie for Volume
Placed at the highest point of the head, so the tail lifts away instead of resting on anything. Nothing supports the weight but the band, which is why this version needs the grittiest base of the fifteen and a retie by the afternoon.
2. Low at Nape Level
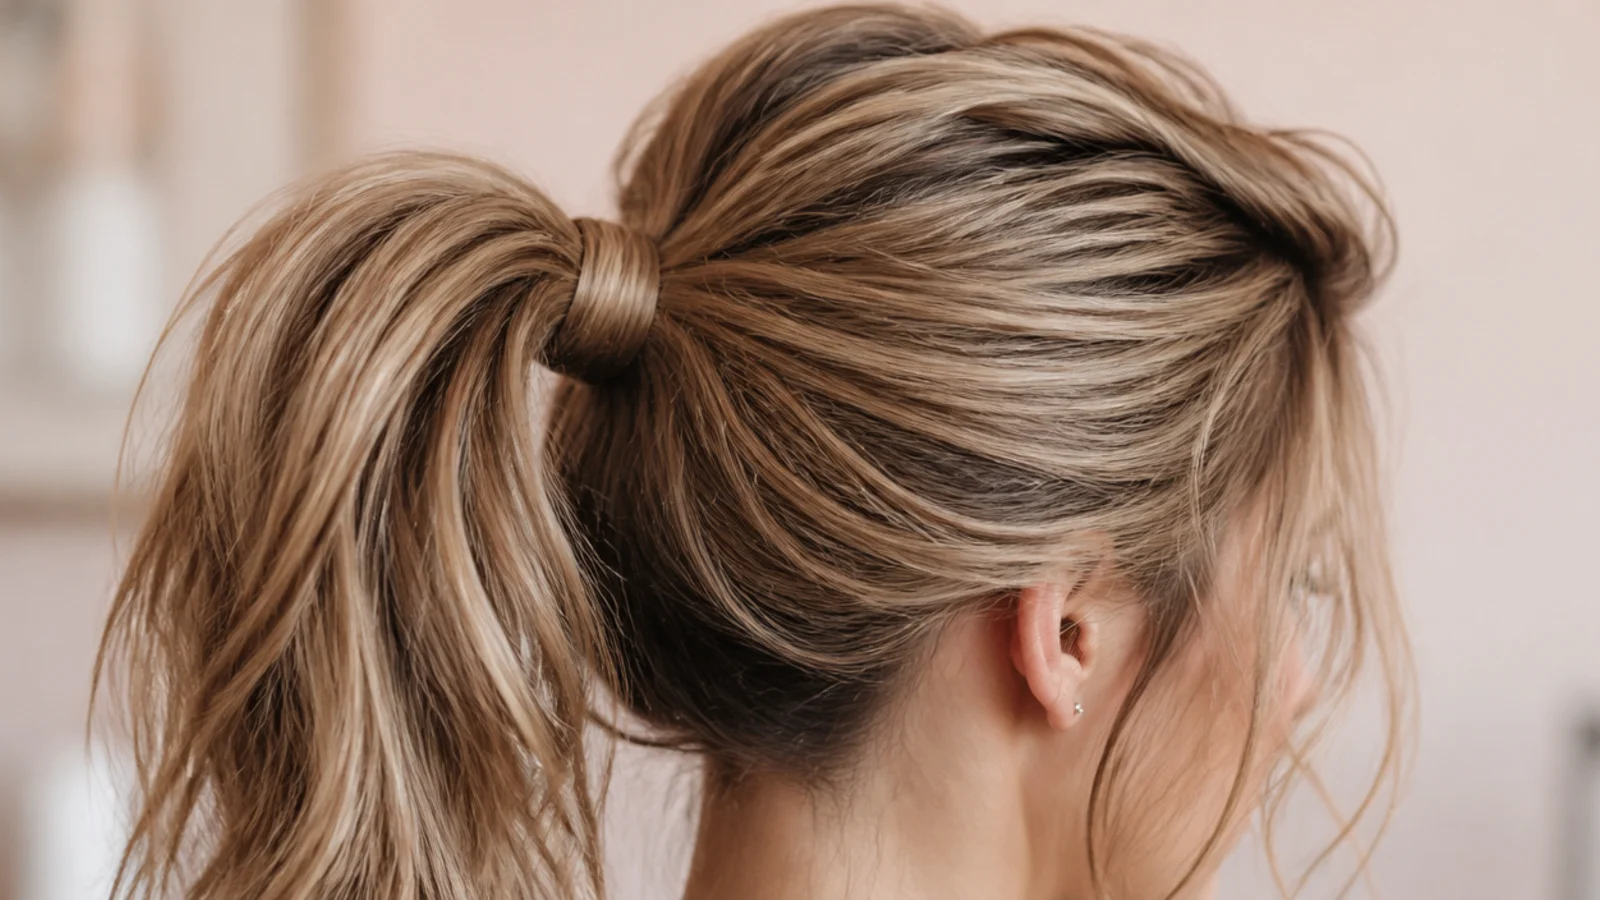
The tail rests against the neck and back, so the body carries most of the weight rather than the elastic. It is the placement that survives a full day untouched, and the one that needs the crown loosened afterwards or the whole head reads flat.
3. Wrapped Elastic
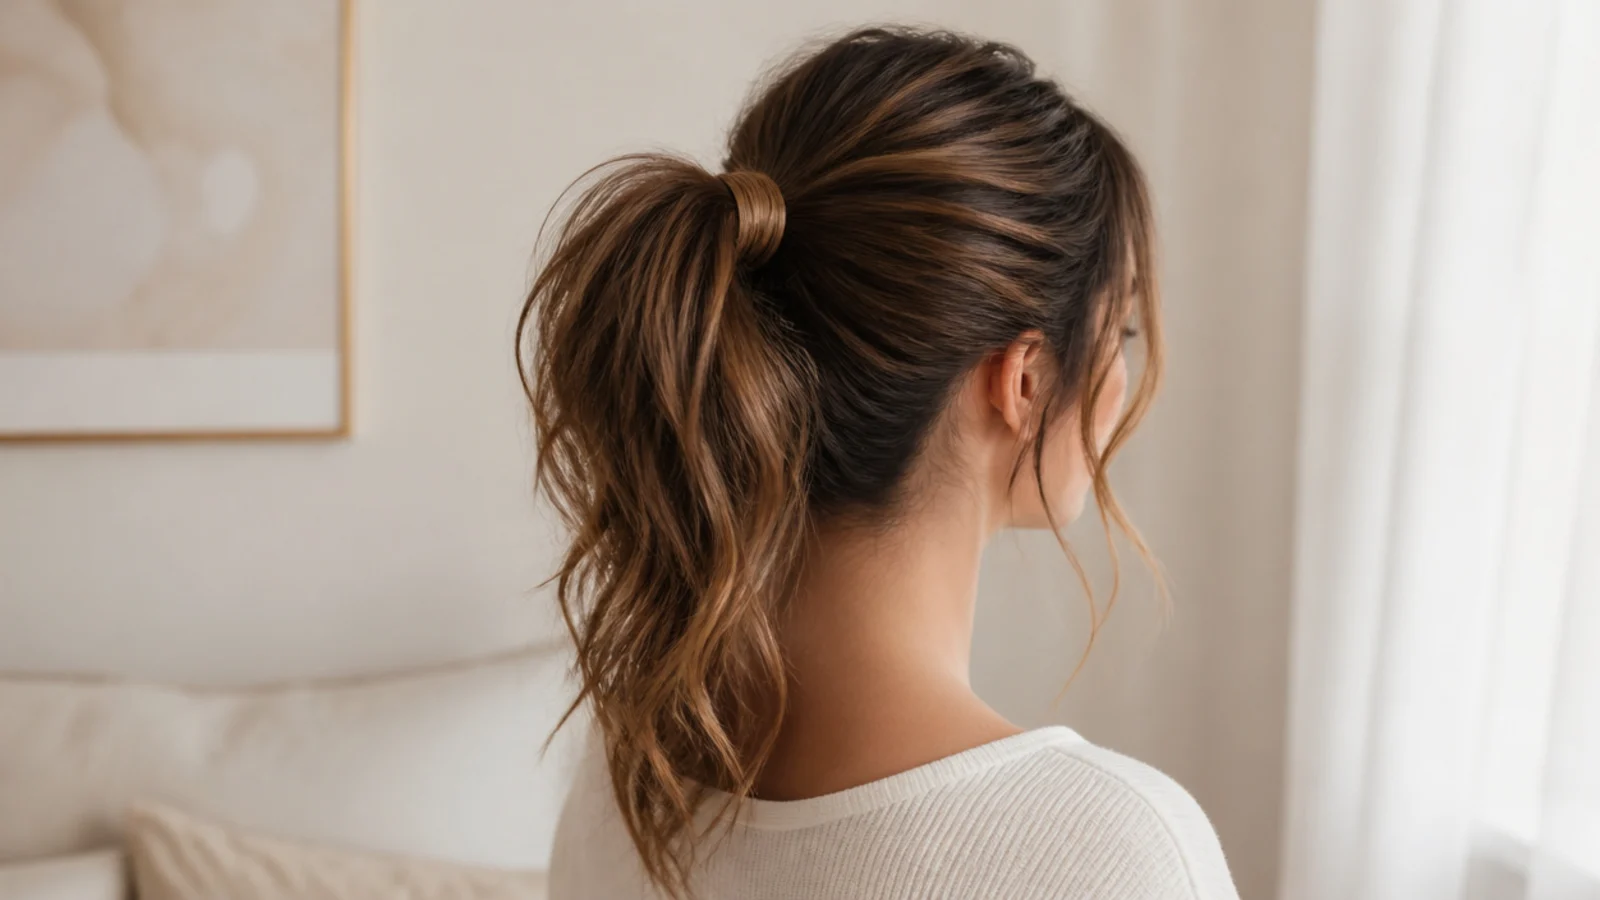
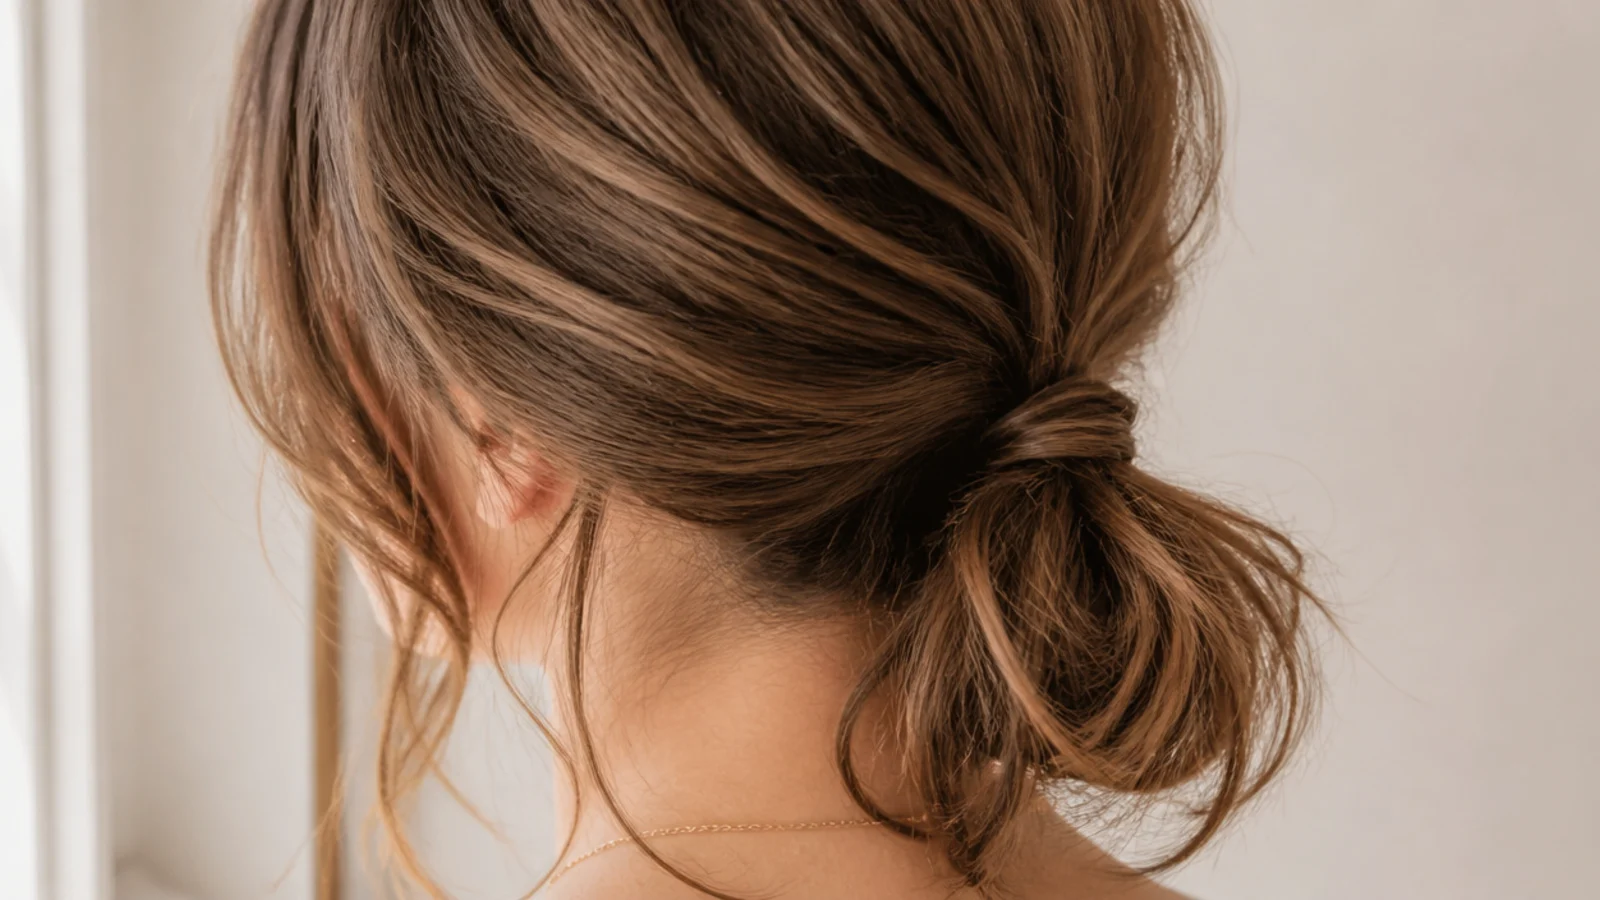
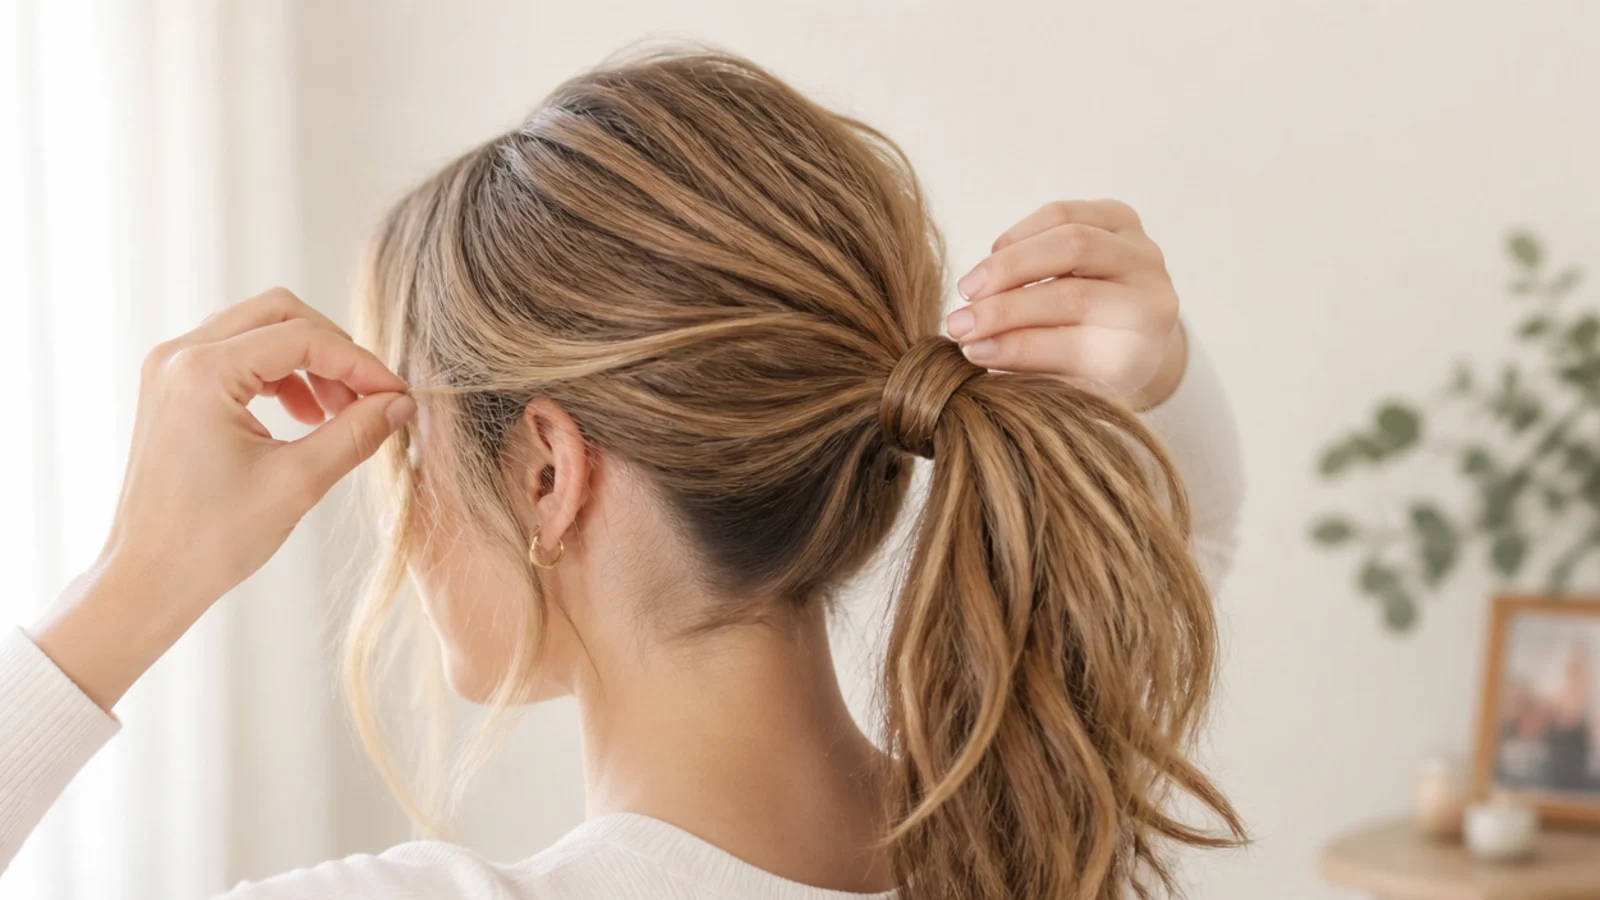
A thin section taken from underneath the tail and wound around the base hides the band completely. It is the smallest change with the largest effect, because the band is the one detail that separates a finished ponytail from a functional one.
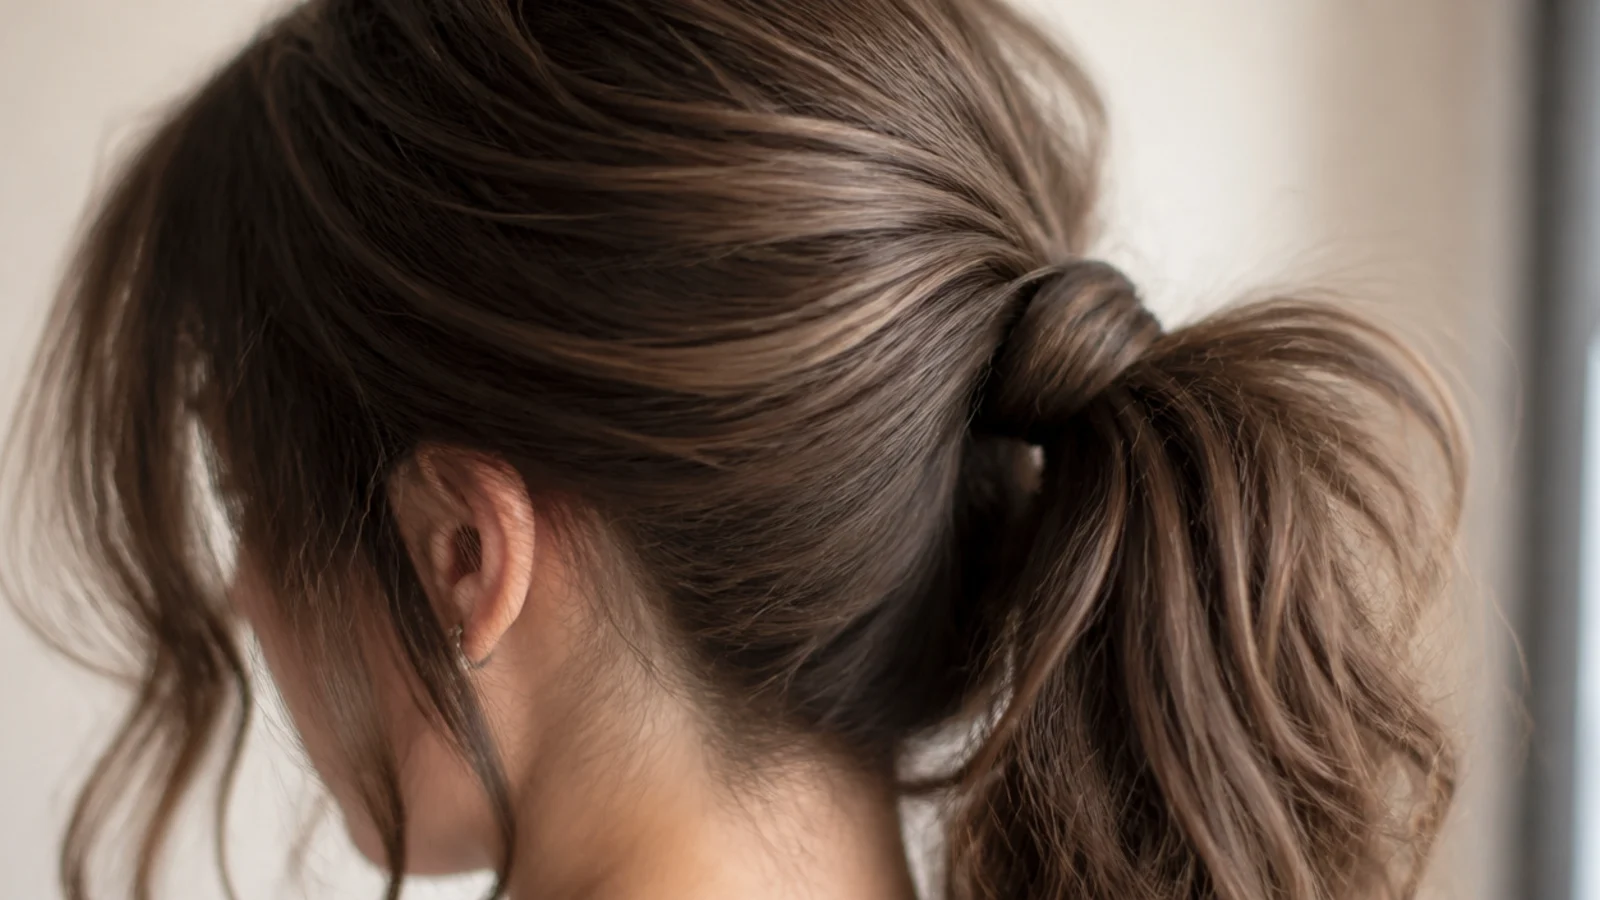
4. Teased Crown High Pony
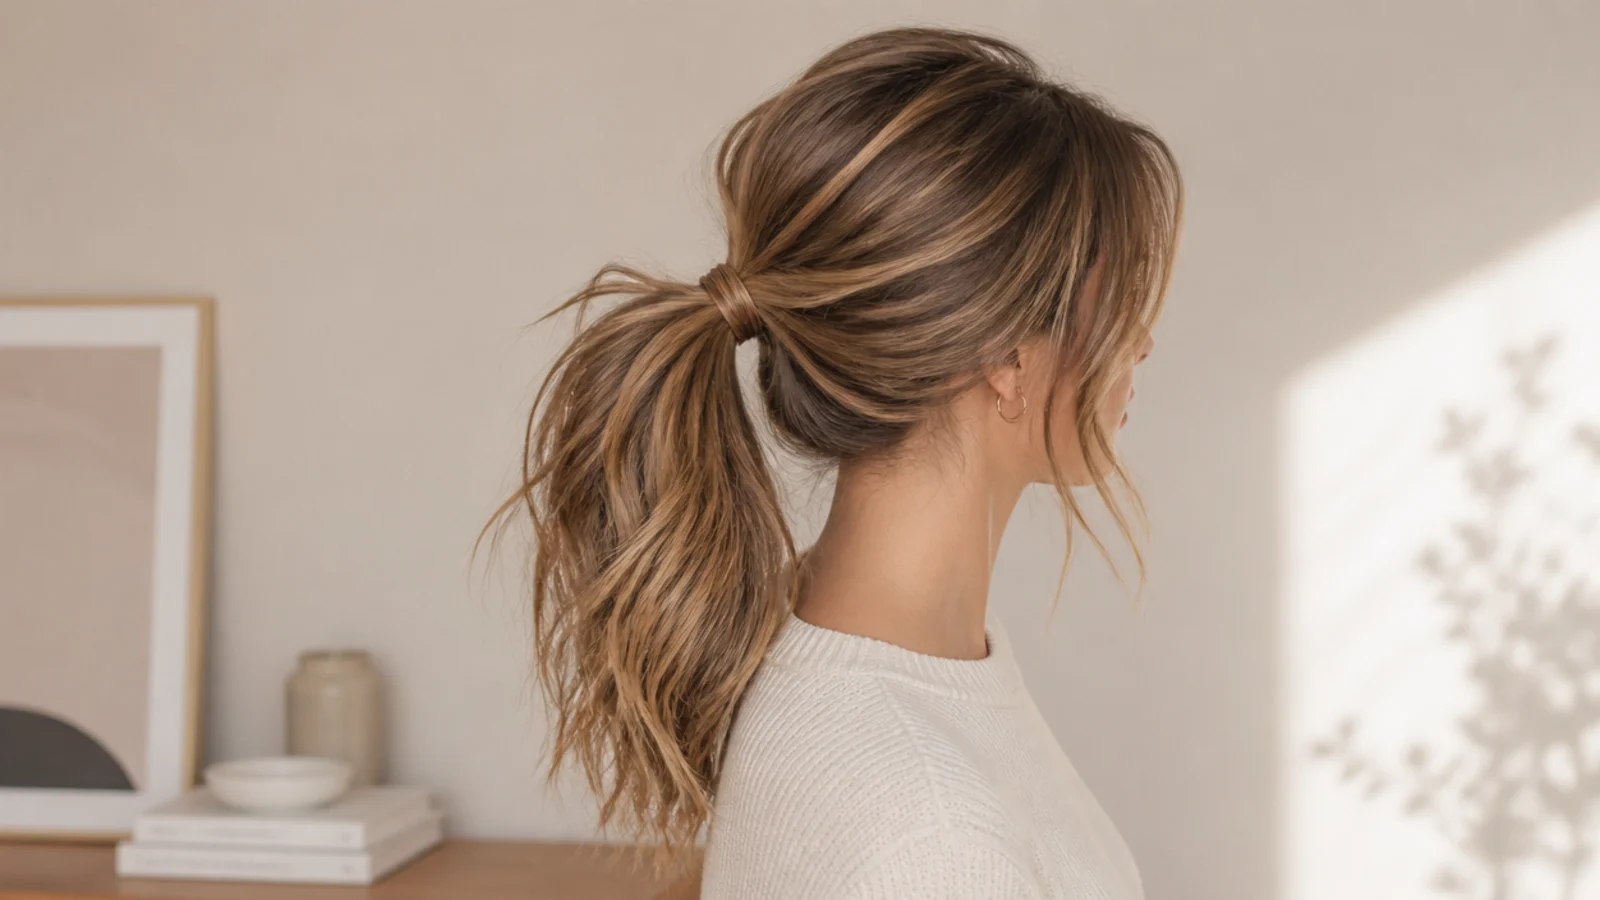
Backcombing knots the cuticles of neighbouring strands into a light mat, and the mat props the surface hair upward. Done after the band goes on, it also counteracts the flattening the tie itself caused across the top of the head.
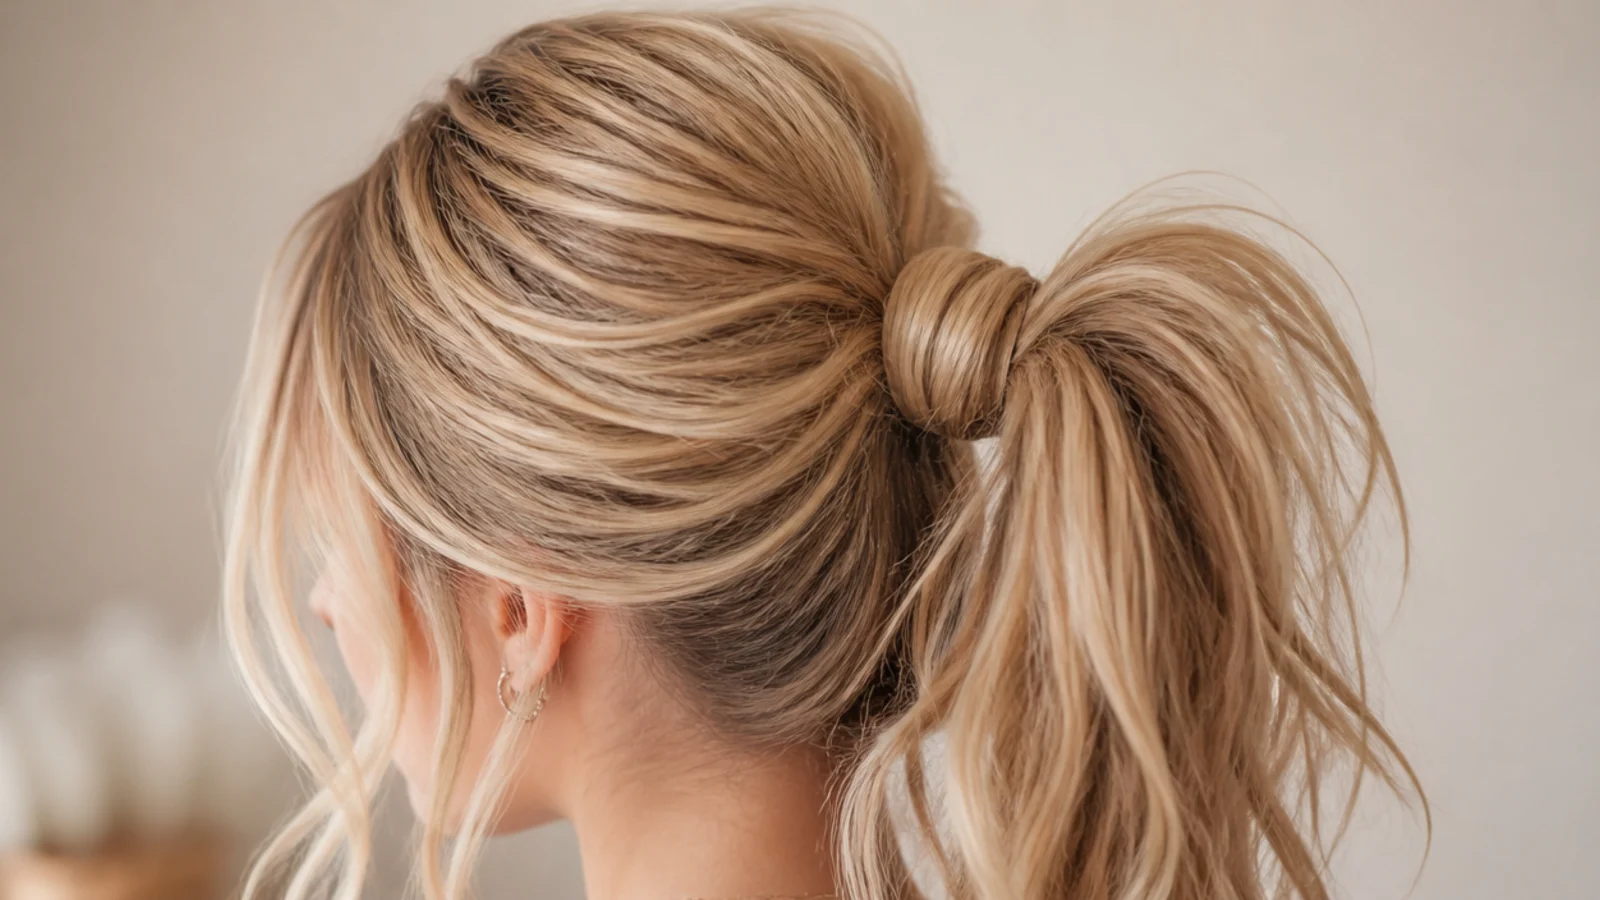
5. Face Framing Pieces Left Out
Two strands released at the temples soften the hard line the gather creates around the face. Take them from the hairline rather than pulling them out of the finished tail, or the band loosens every time you adjust one.
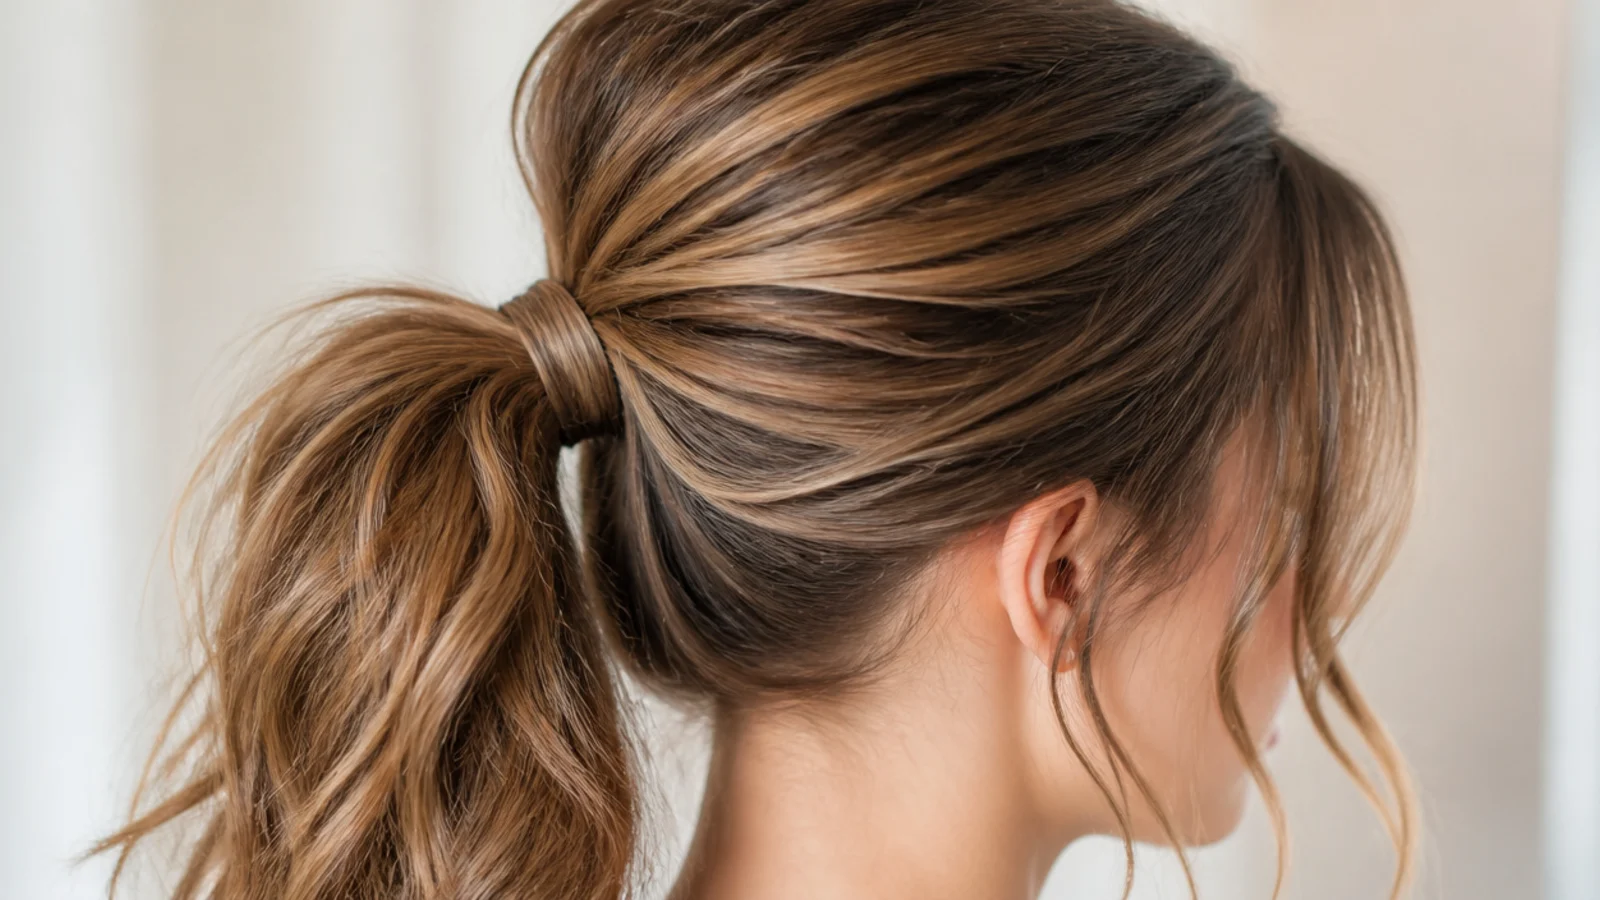
6. Messy Bubble
Bands spaced down the tail split one heavy column into several light ones, so no single elastic carries the whole load. Pulling each section wide before adding the next band is what turns a row of ties into visible width.
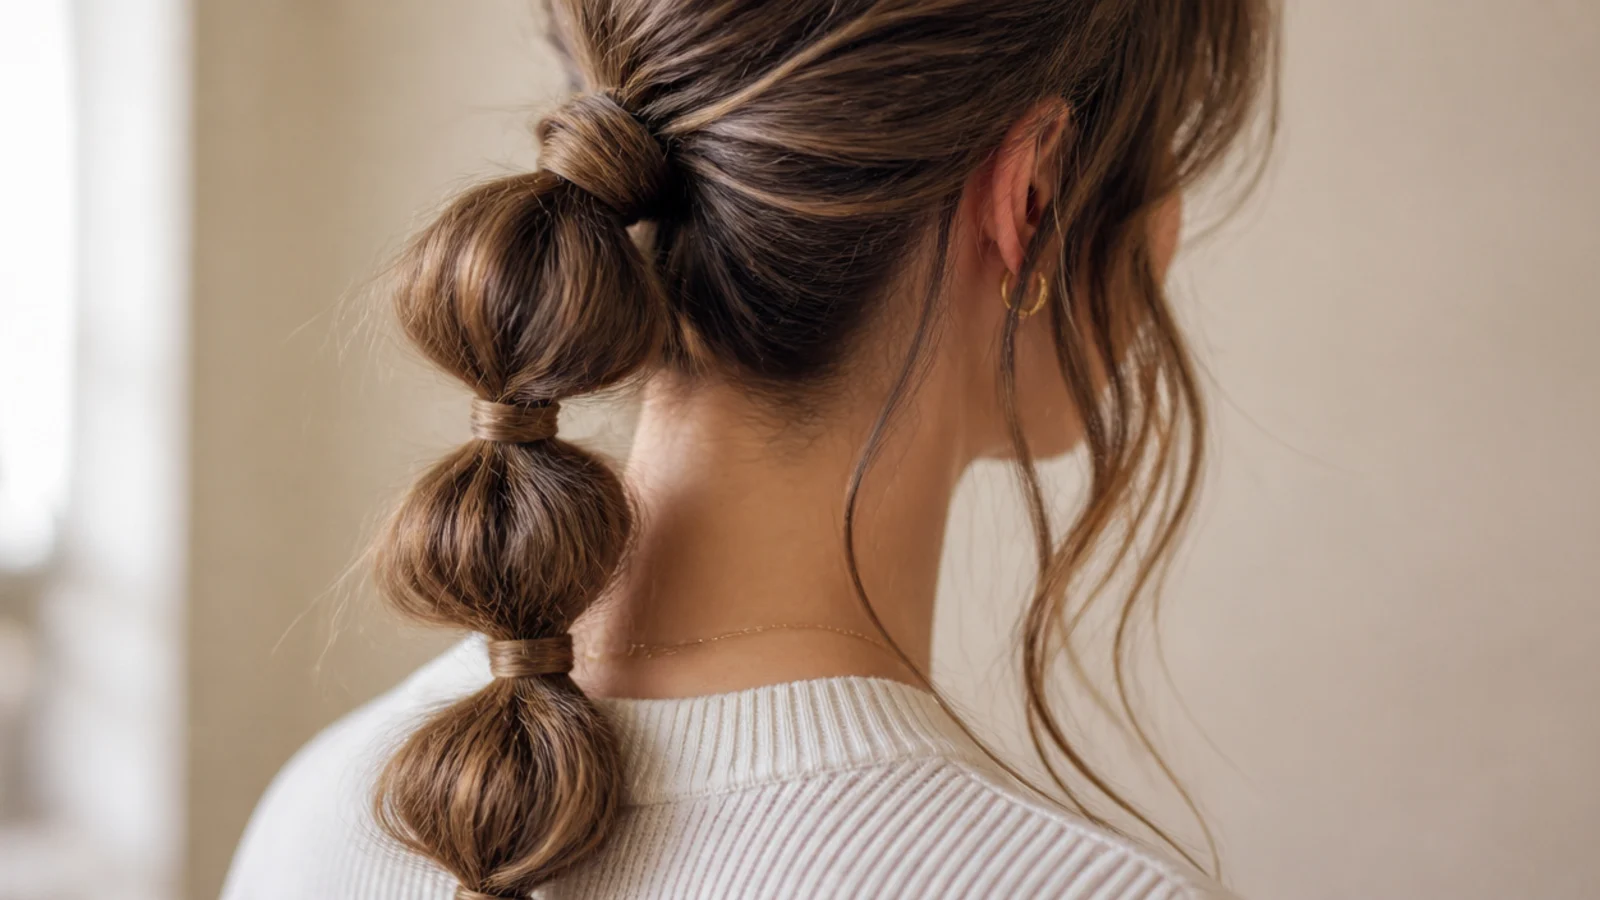
7. Half Up
Only the top section is gathered, so the elastic carries a fraction of the hair and none of the weight of the lengths. That is why a half up holds all day on hair that drags a full ponytail toward the nape within an hour.
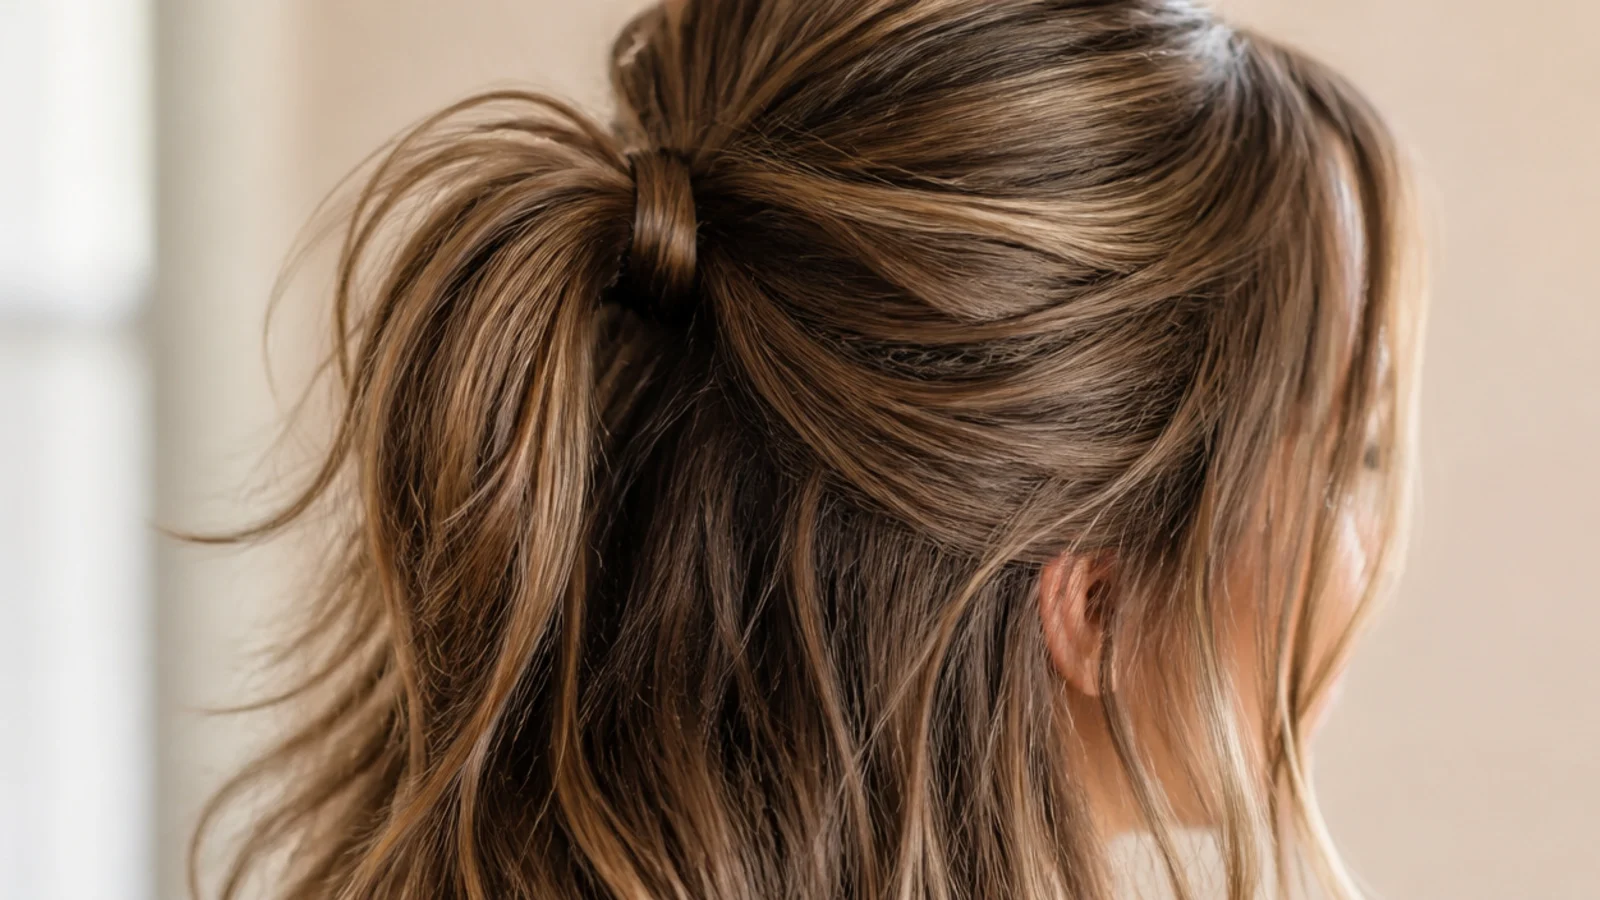
8. Side Swept
Bringing the tail over one shoulder rests its weight on the body and removes most of the leverage acting on the band. It also moves the mass of the style into view, which changes the shape from the front rather than only from behind.
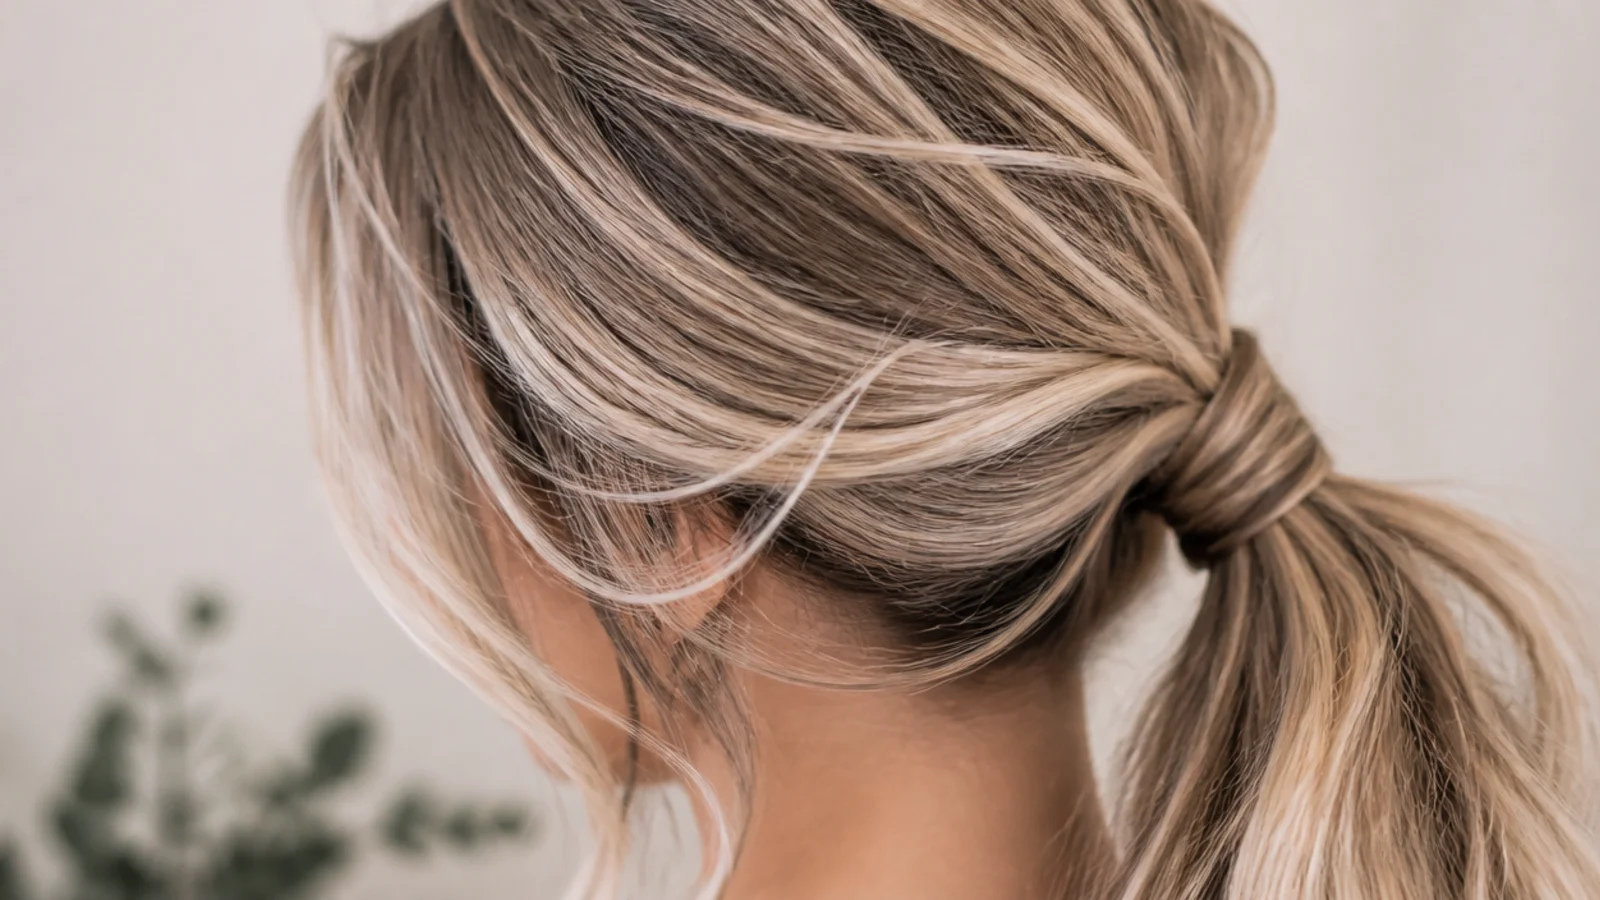
9. Claw Clip Ponytail
A clip holds by spring pressure spread across a row of teeth rather than by squeezing a gather into a loop. That wider contact area is why a clip manages bulk an elastic keeps losing, and why it never compresses the tail to a narrow point.
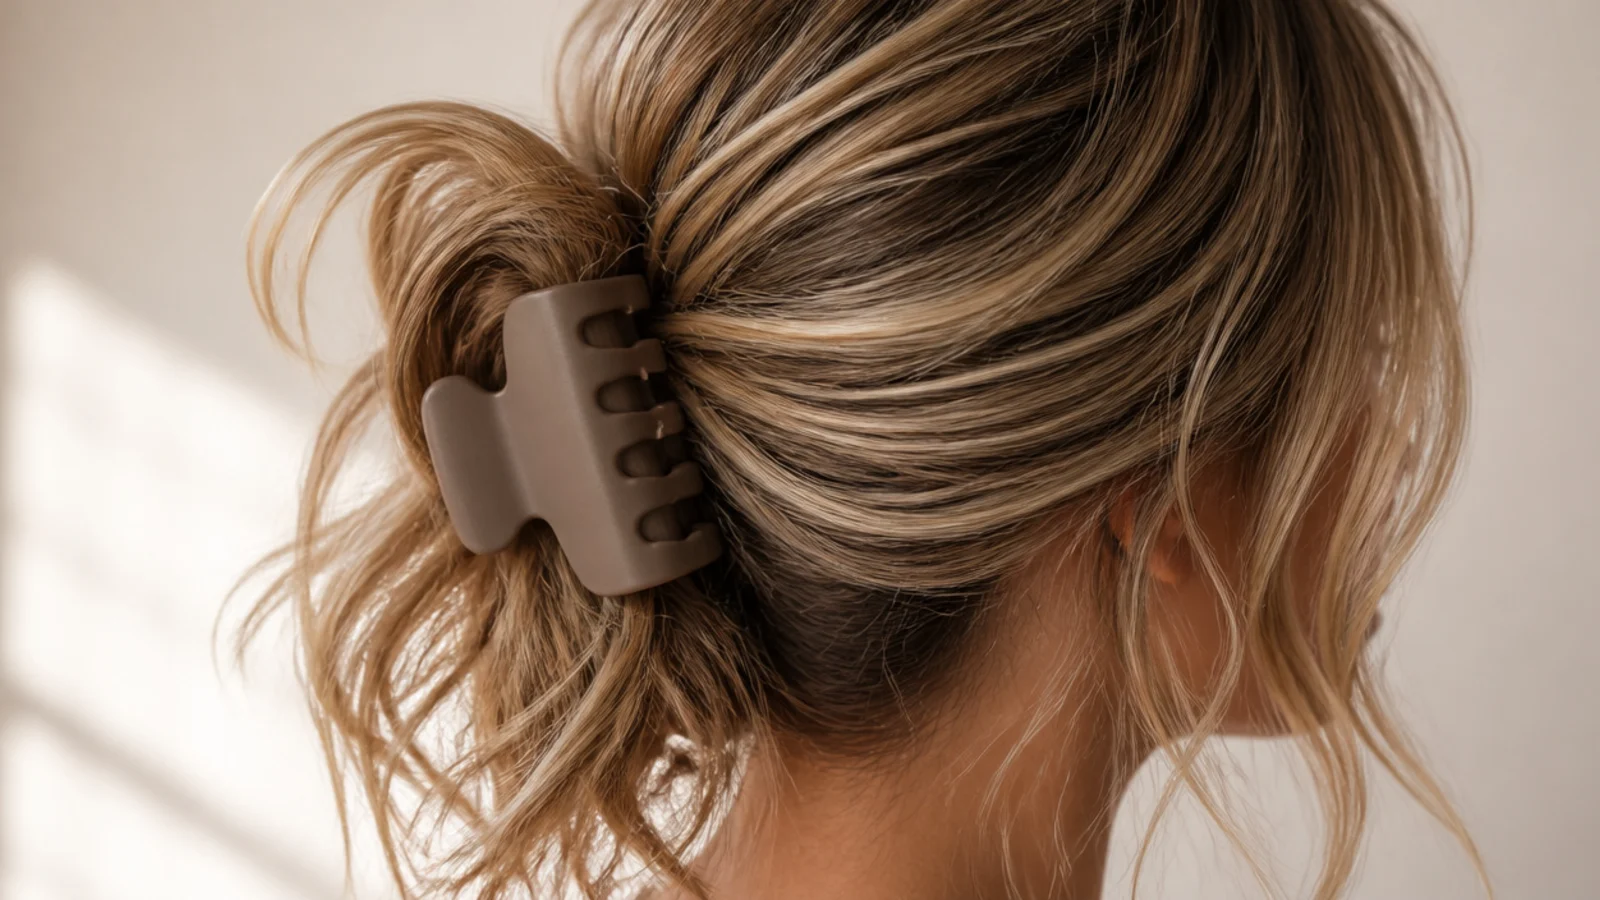
10. Bungee Band on Short Hair
Hooking at one end and then the other means hair is never dragged through a stretched loop, which is how short pieces get pulled straight back out. It also tightens to whatever size the gather actually is instead of a fixed loop diameter.
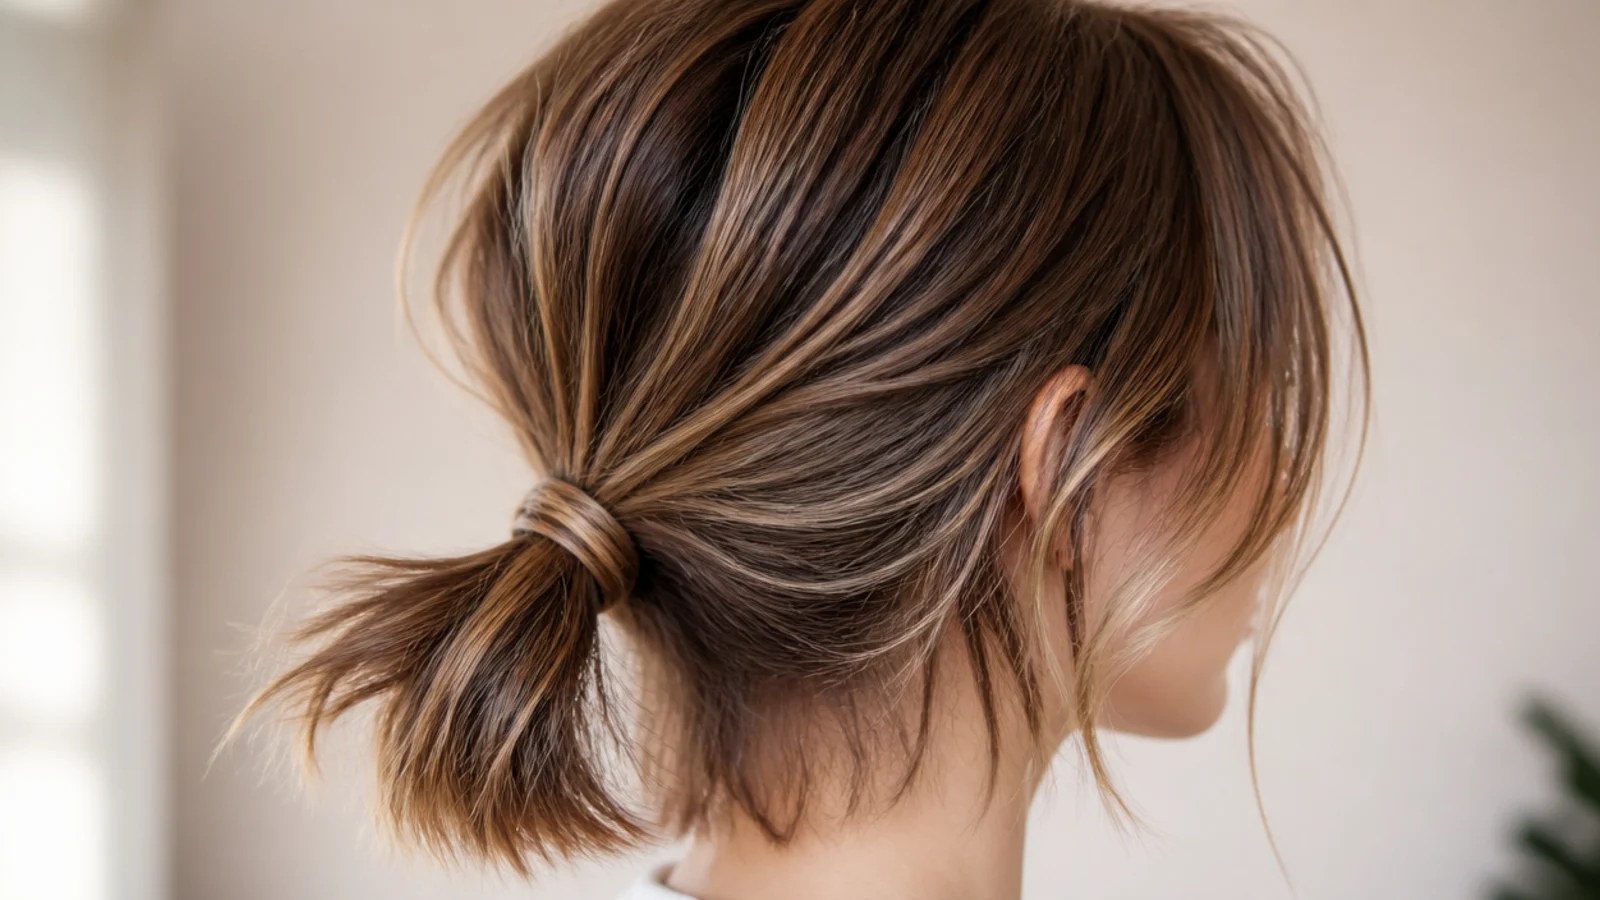
11. Double Stacked for Fine Hair
Two elastics with the second a few millimetres above the first. On fine hair the upper band stops the base sliding down through hair that offers almost no friction, while the lower one holds the gather closed.
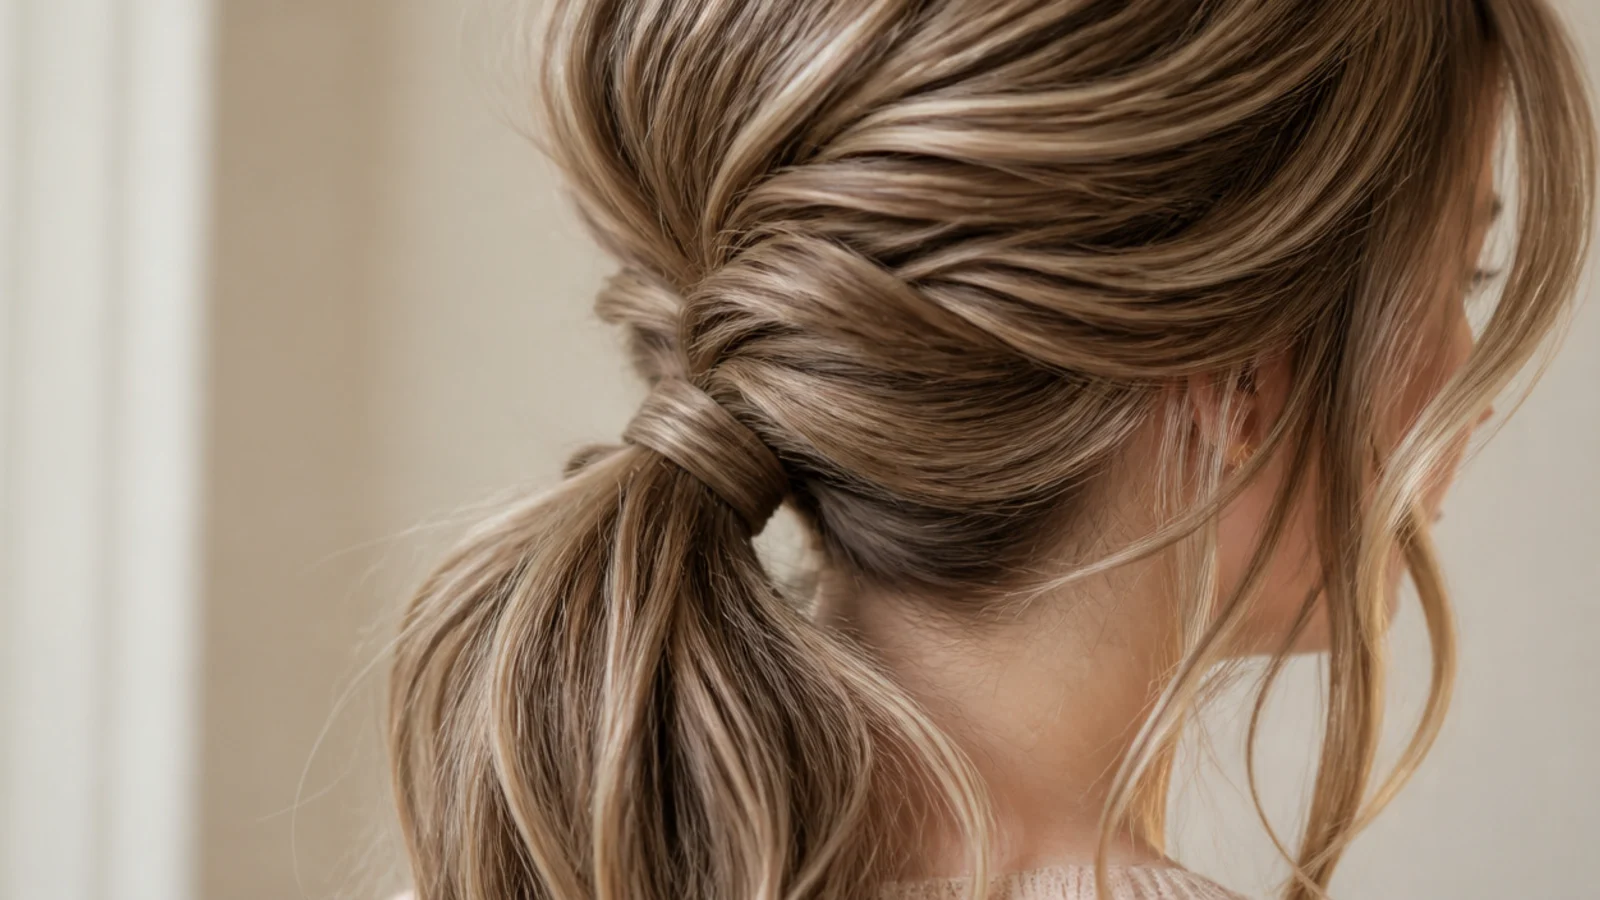
12. Braided Base
A few inches of braid worked into the gather gives the elastic a ridged surface rather than a smooth column. Ridges grip, so this holds on hair that has been washed that morning and has no natural grit to offer.
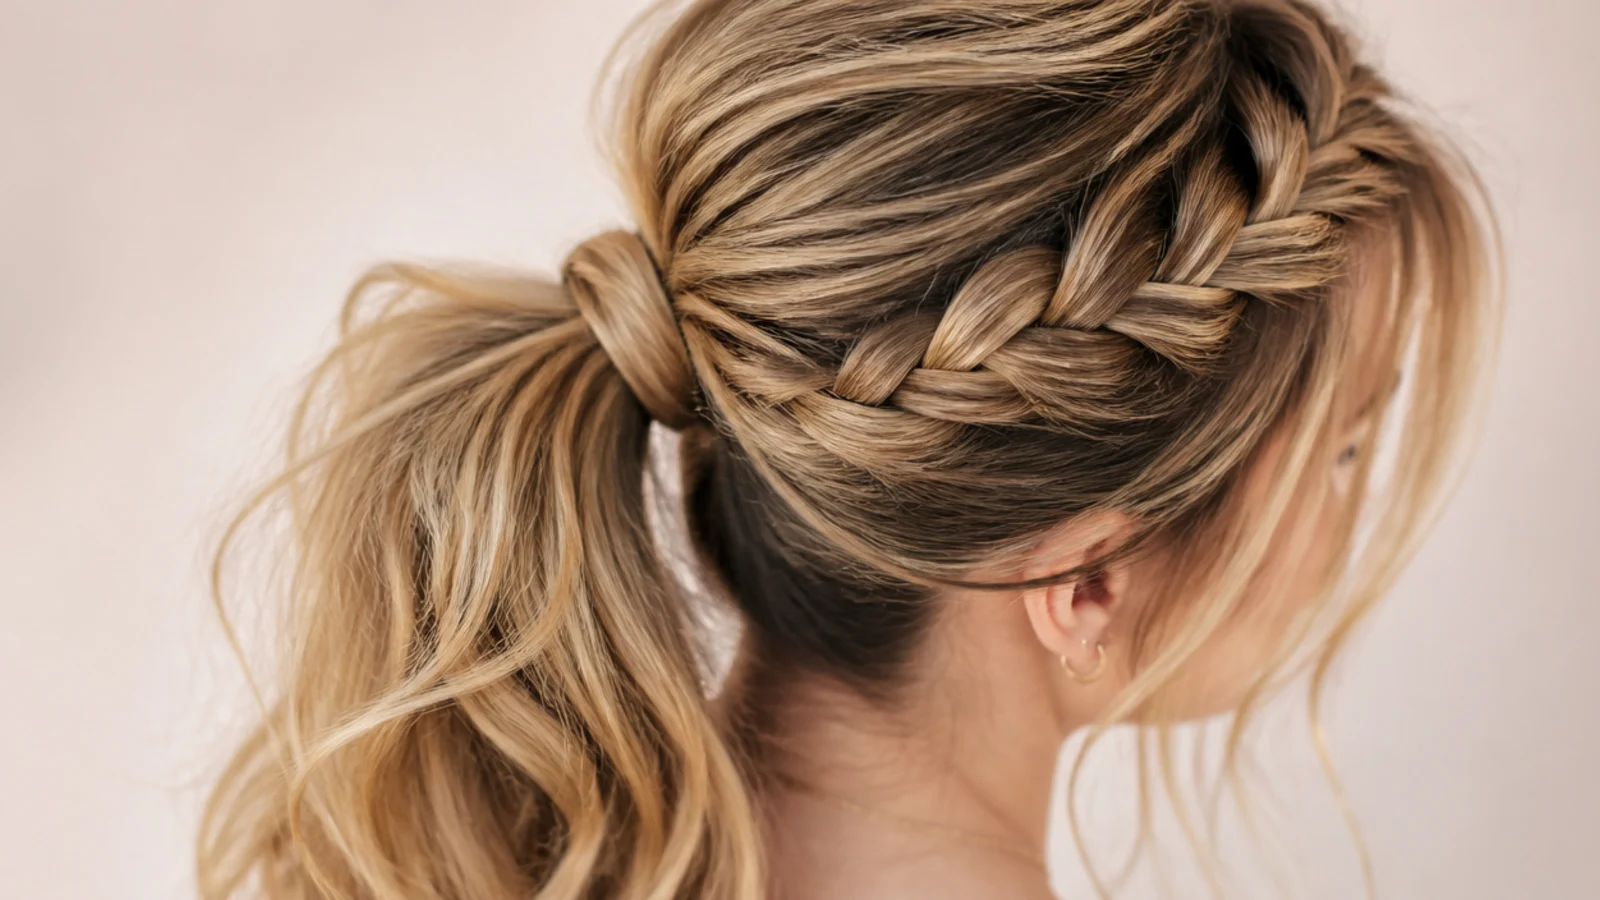
13. Curly Pineapple
Gathering curls loosely on top of the head keeps the pattern off the pillow, so friction lands on the tie rather than on the curl. The looser the band sits, the fewer flattened sections there are to wet down the next morning.
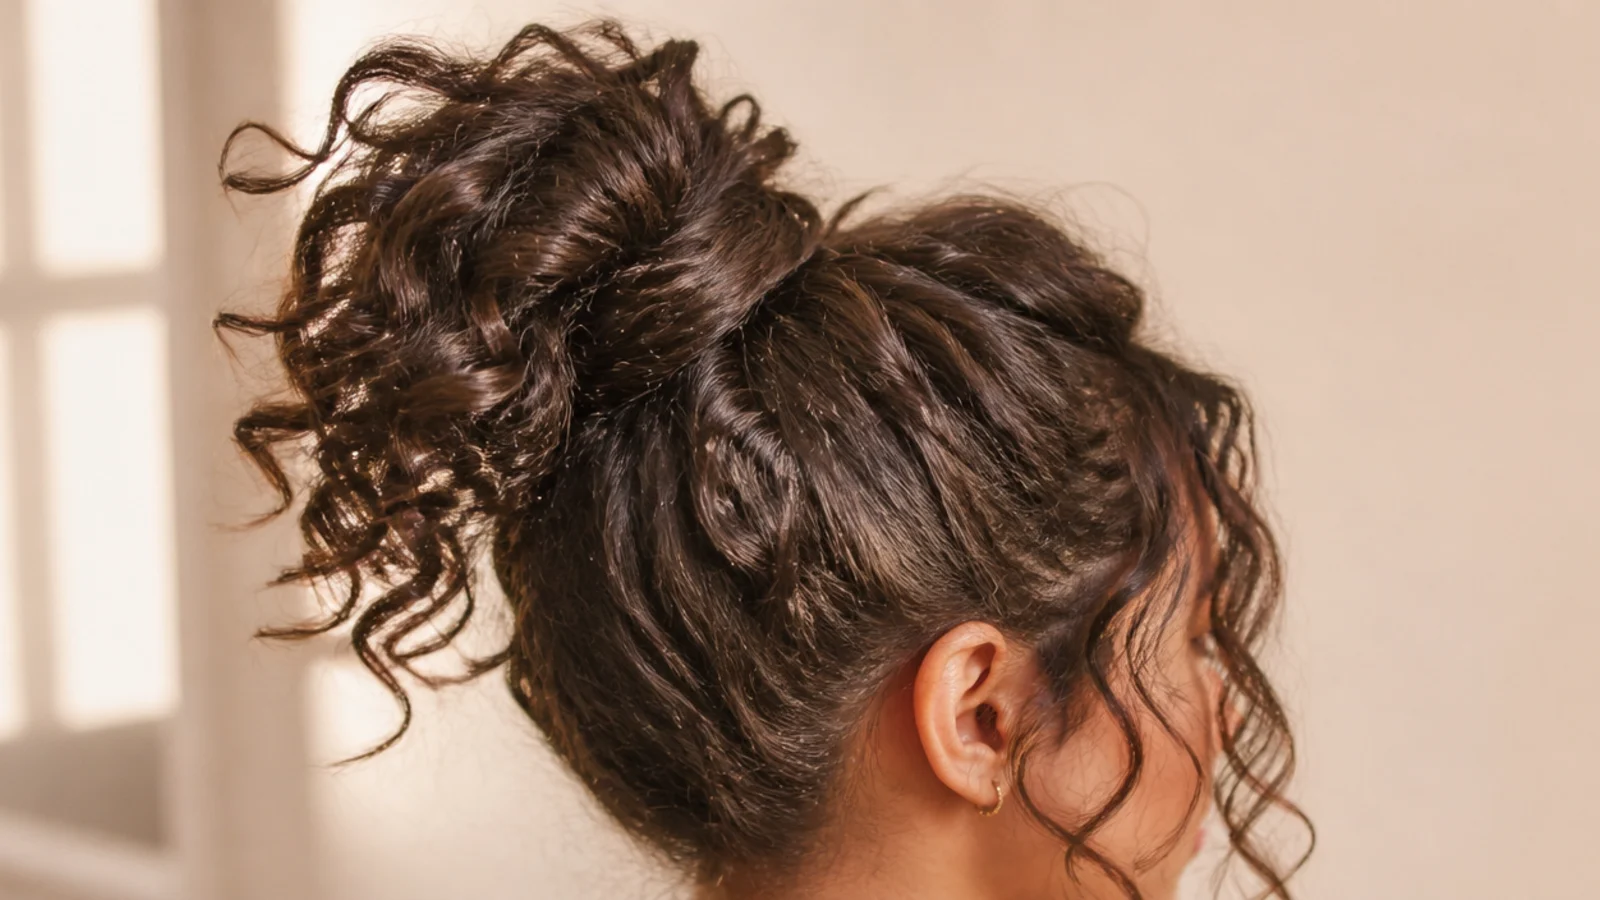
14. Scarf Tied Ponytail
A scarf tied at the base gives the style a second point of hold that is independent of the elastic underneath it. Silk in particular sits over the band without catching the cuticle, so it adds security without adding breakage.
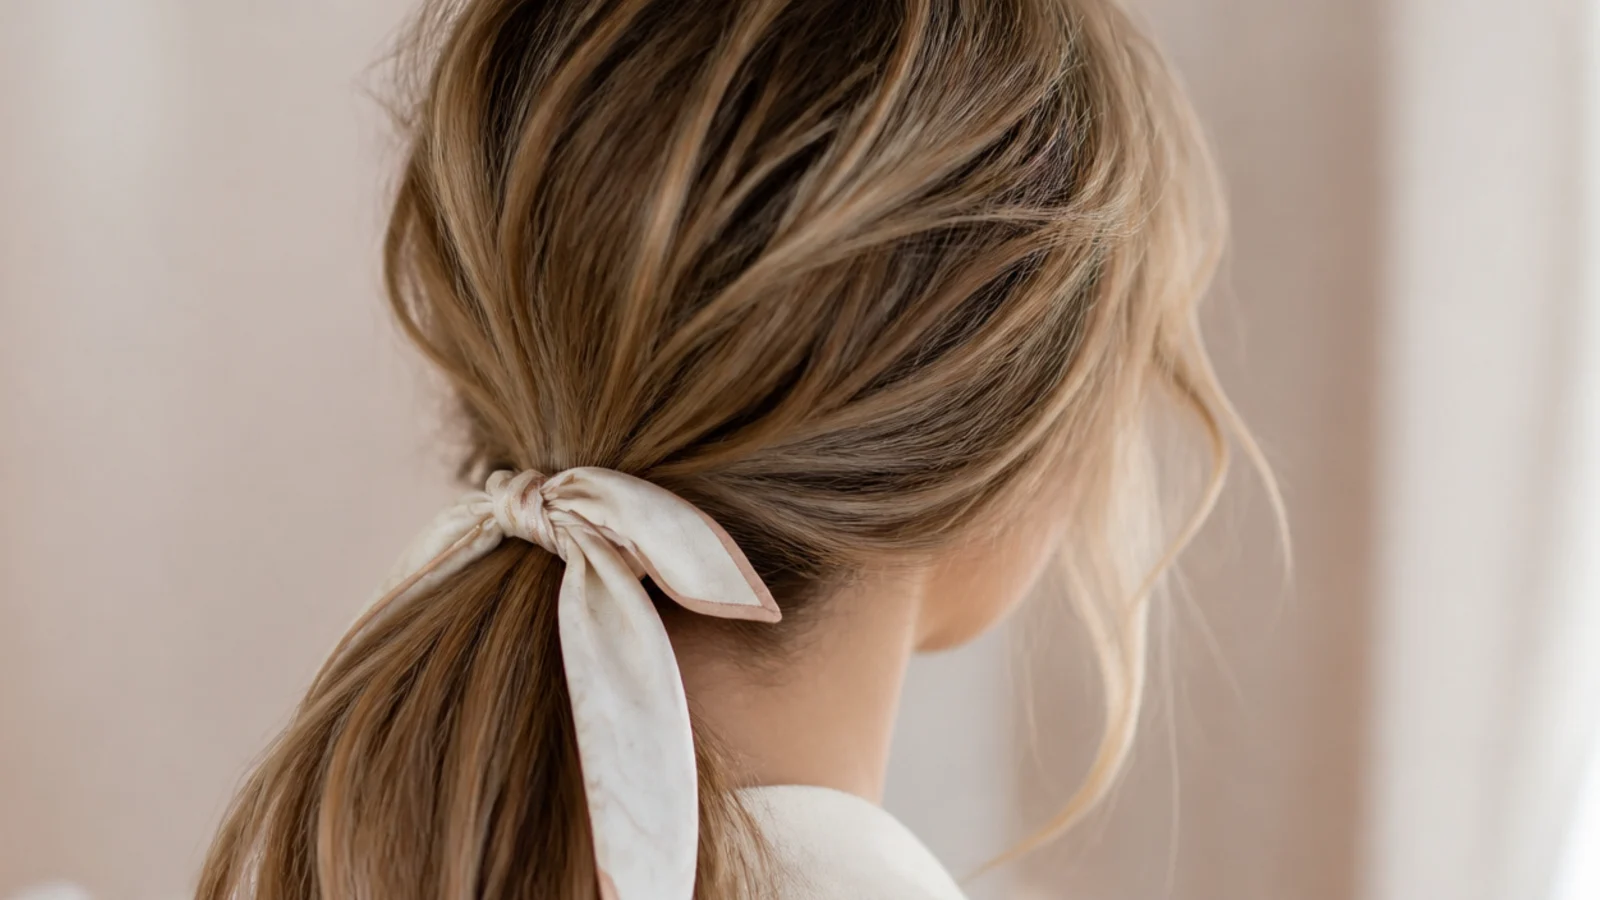
15. Sleek Root for the Office
Only the first two inches from the hairline are smoothed, and the tail is left rough. The eye takes the root as the finish standard of the whole style, which is why this reads as done without a blow dry anywhere below the band.
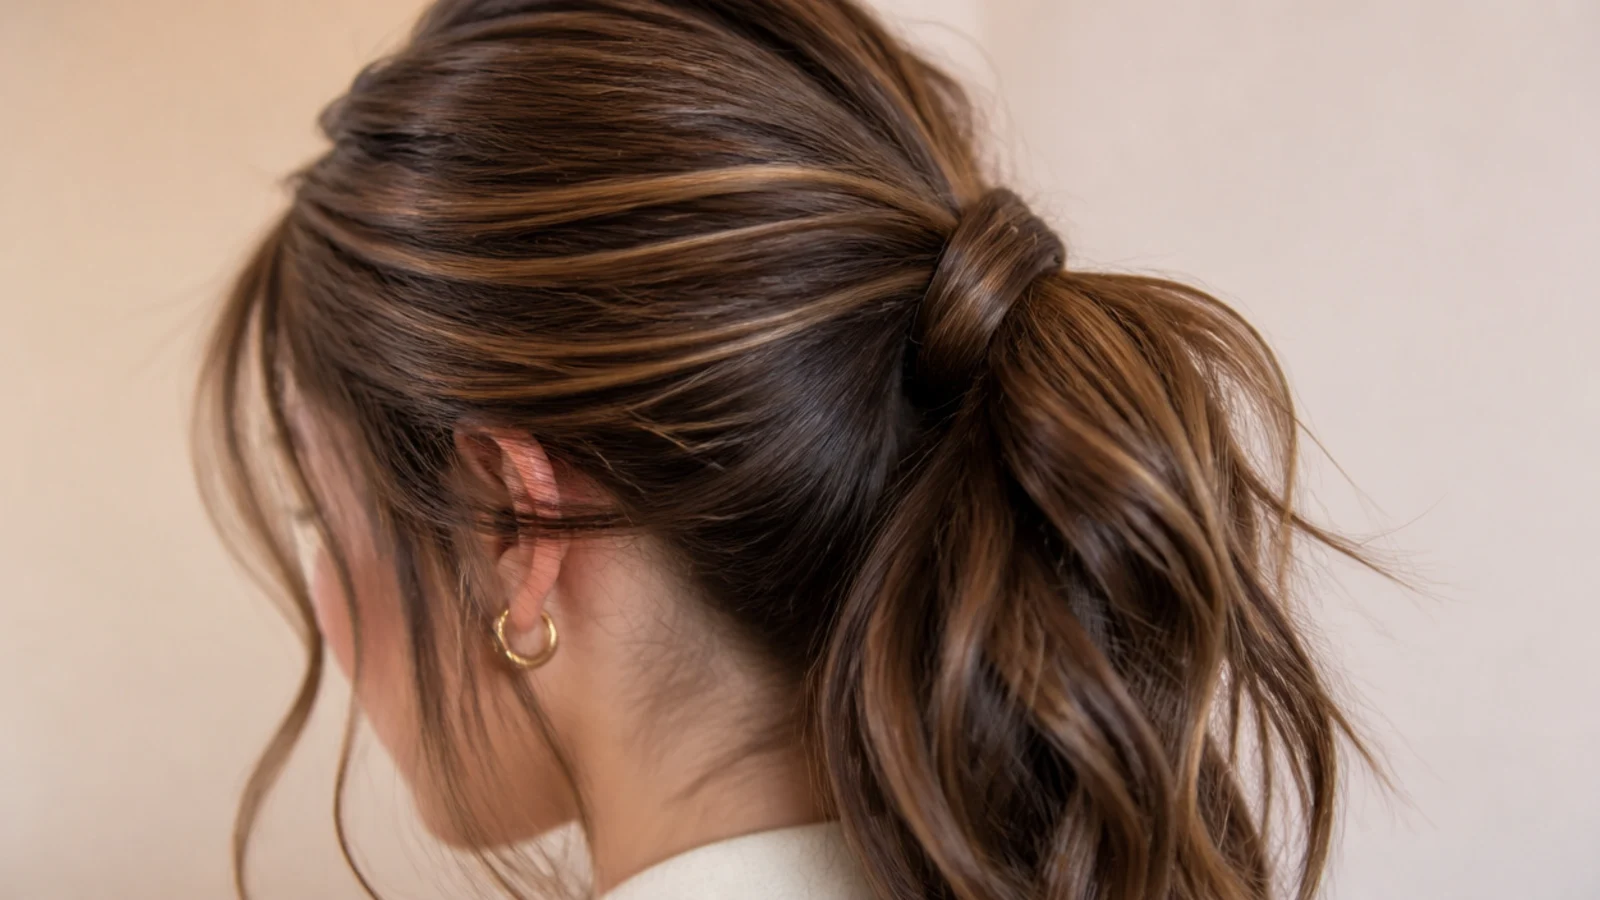
How to Style a Messy Ponytail
Step 1. Dry Shampoo Prep
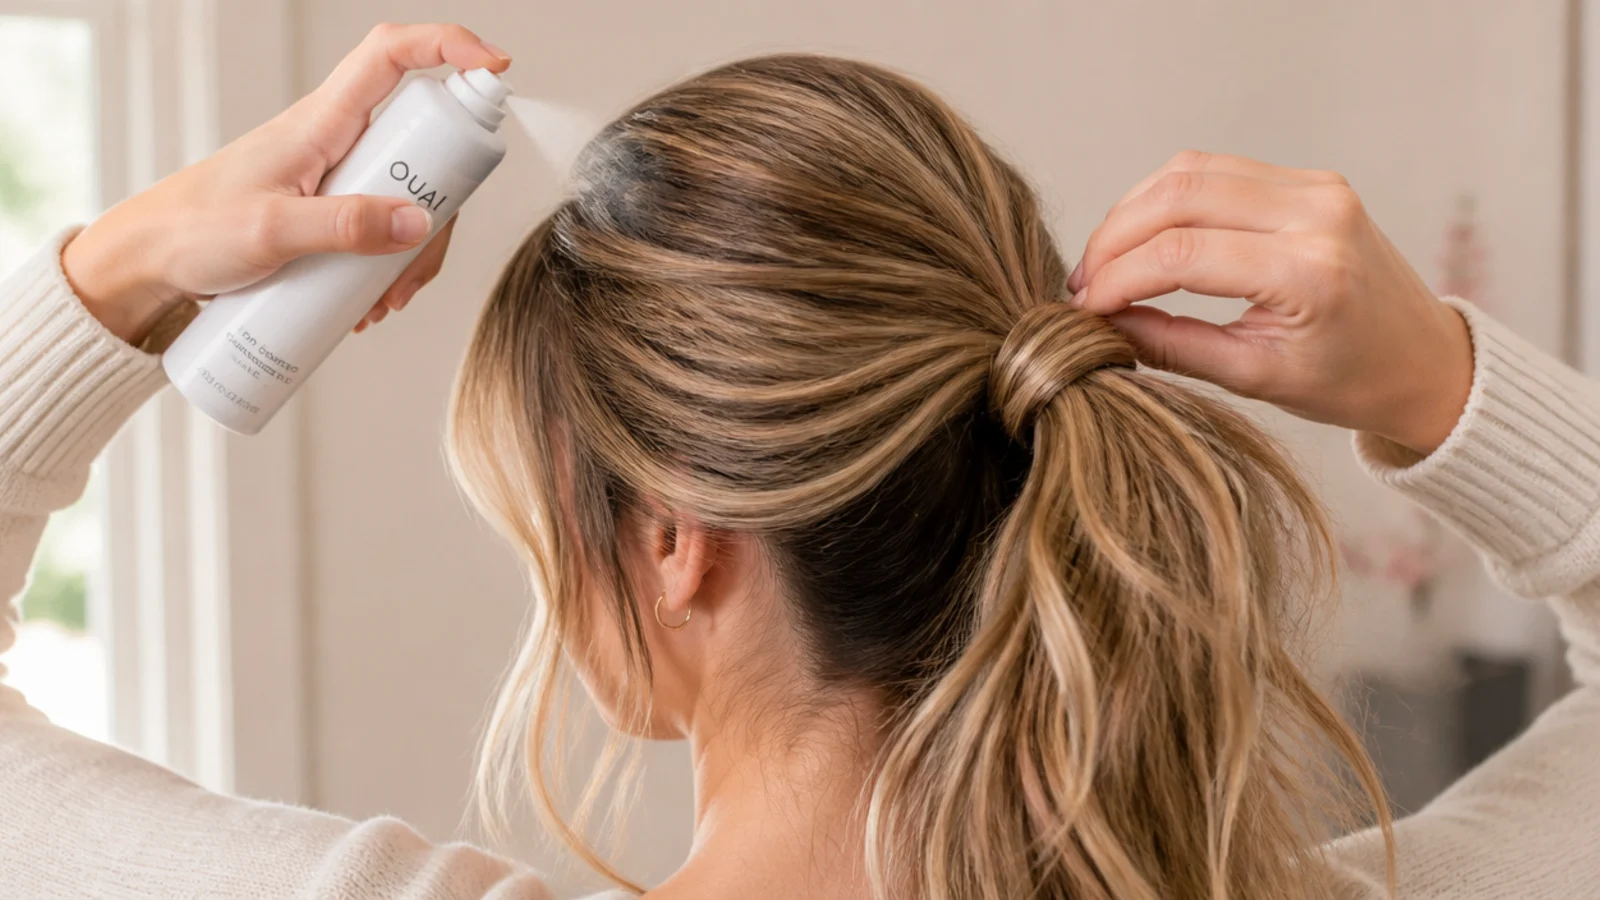
Lift the hair in sections and aim the powder at the roots and the area the band will sit on, not at the tail. The starch or clay absorbs oil and leaves behind a fine grit that raises friction between the strands, which is the grip the elastic will be relying on all day. On clean hair use texture spray for the same reason.
Step 2. Choose the Tie Height
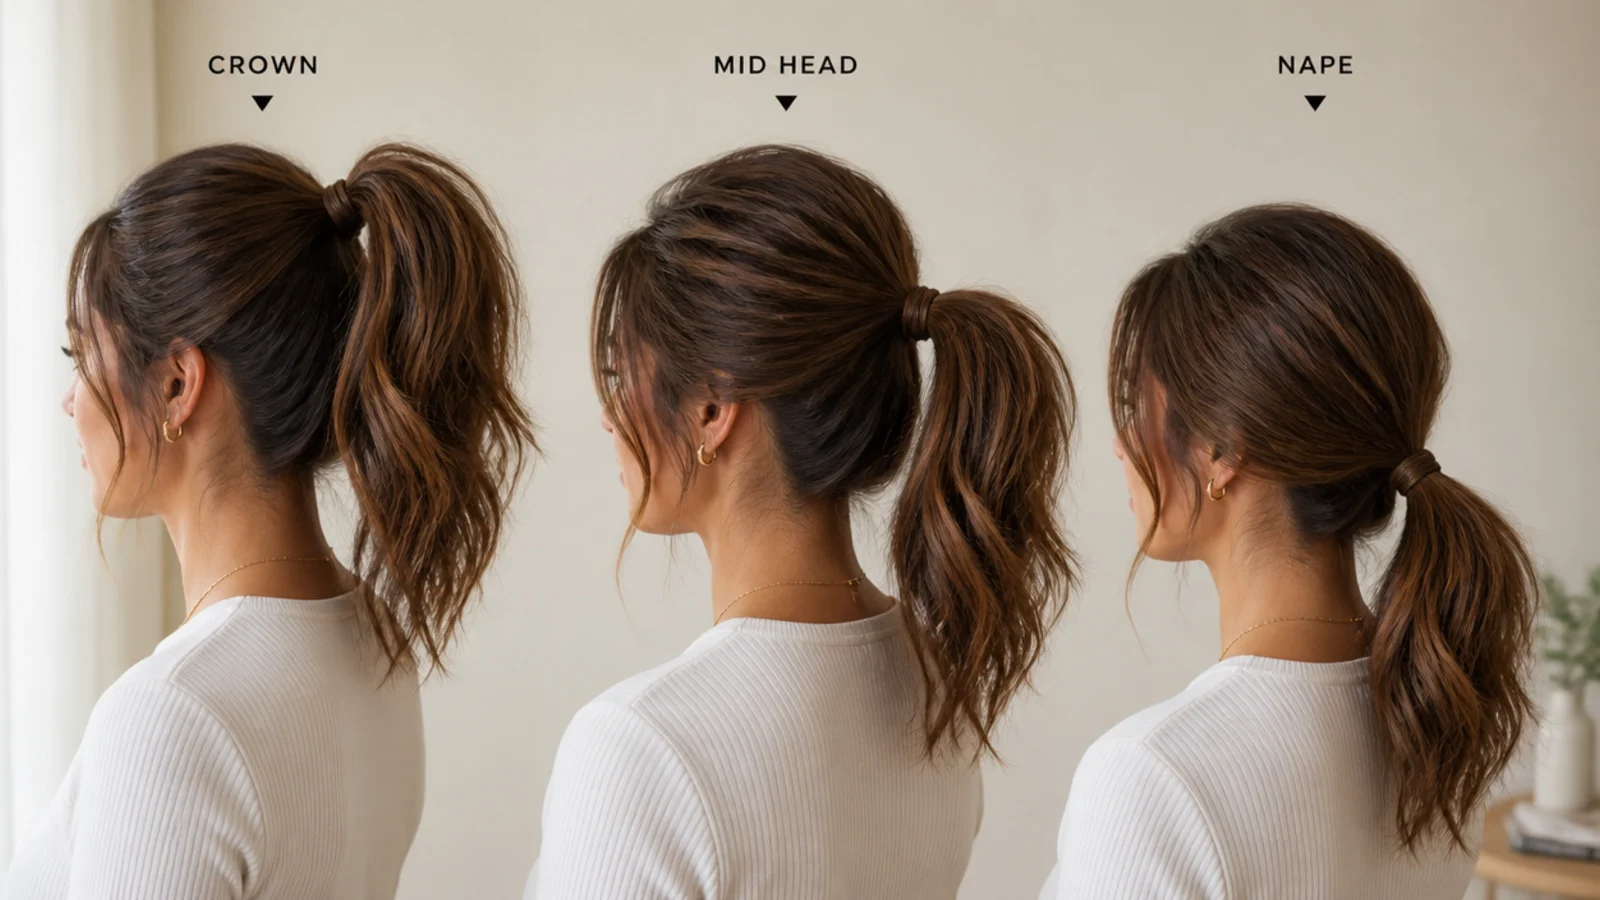
Decide before you gather, because moving it afterwards costs you the grip you just built. Crown height gives the most lift and the least hold, nape height gives the reverse, and a placement level with the top of the ear is the compromise that works on almost every length. Heavier hair should sit lower than you think.
Step 3. Gather With Your Fingers
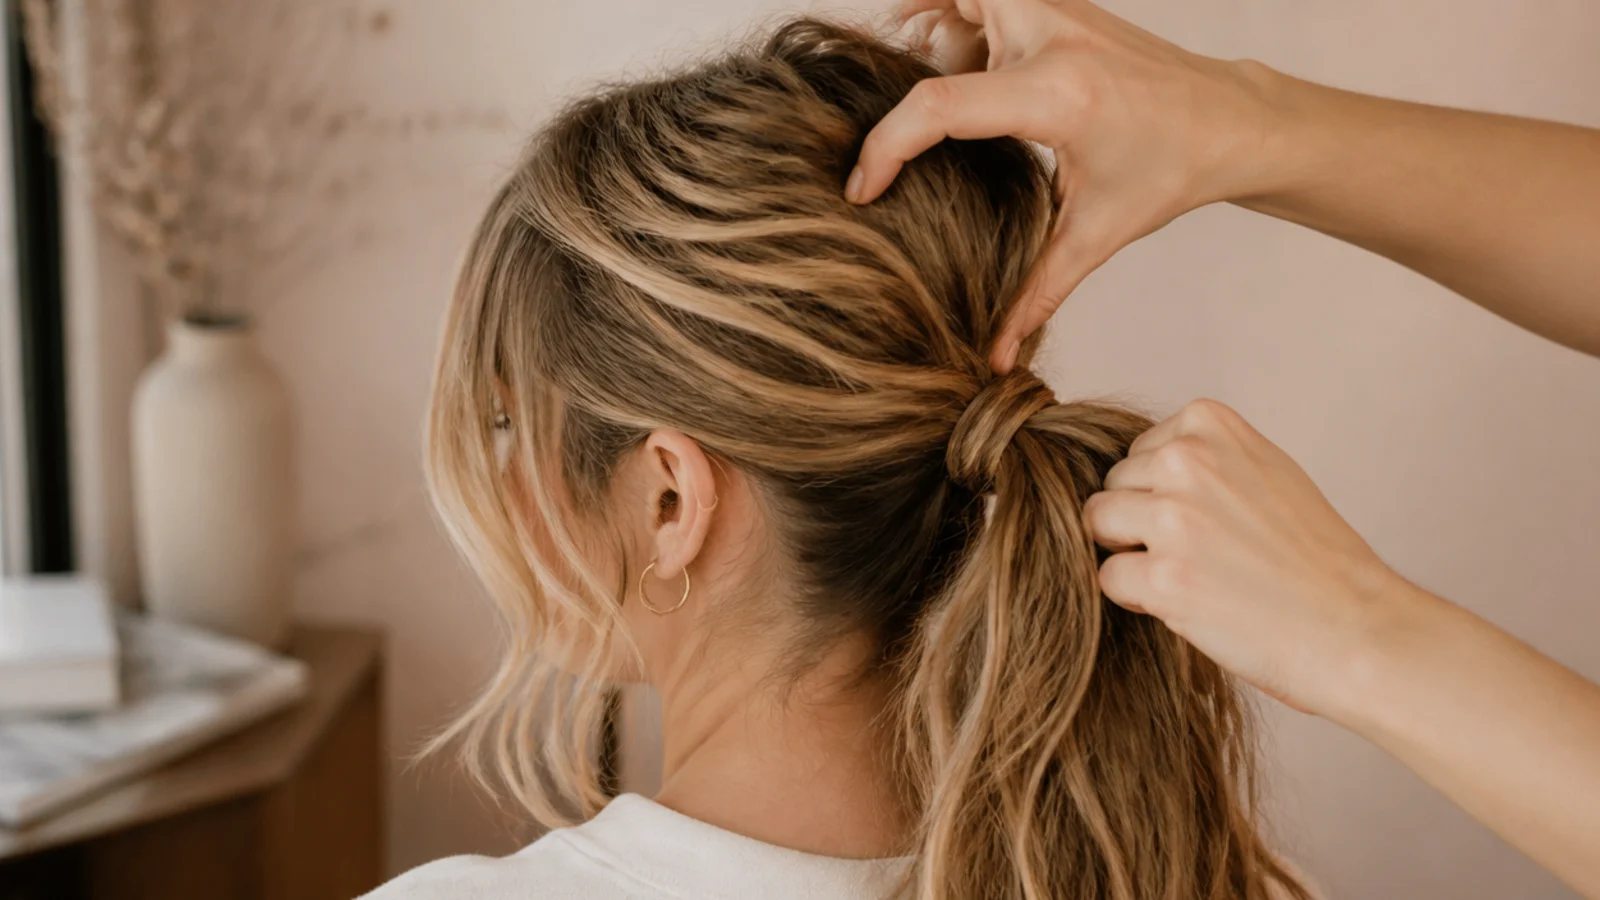
Rake the hair back with spread fingers and leave the brush alone. A brush aligns every strand into a smooth column the band has to hold by tension alone, where finger gathered hair keeps the small natural tangles the elastic can bite into. Let the front hairline stay slightly soft rather than pulling it tight.
Step 4. Choose the Band
Match the band to the bulk. A fabric covered elastic spreads pressure over a wider area and has no metal join to snap strands, a bungee hooks at each end so nothing is dragged through a loop, and a claw clip holds by spring pressure rather than compression. Thick hair usually needs two turns fewer than you expect and a second band instead.
Step 5. Tug the Crown
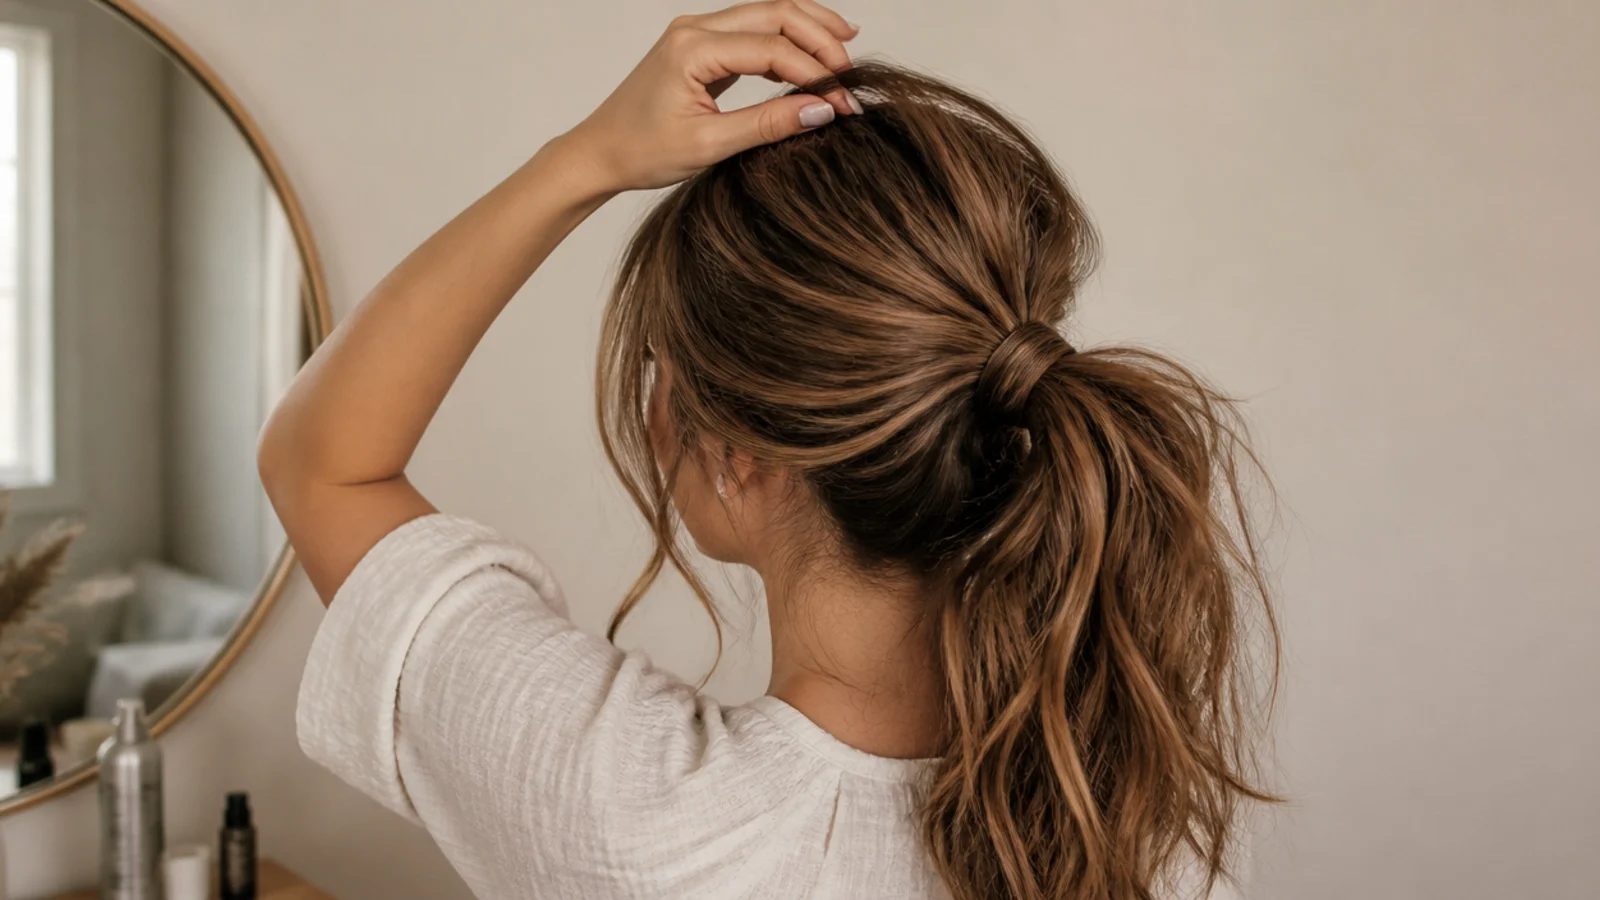
Pinch a few surface strands between finger and thumb at the crown and ease them upward a fraction at a time. Tying pulls the surface hair flat to the skull, and this creates slack between the scalp and the band, which is the height you actually see. Work across the top rather than lifting one spot repeatedly.
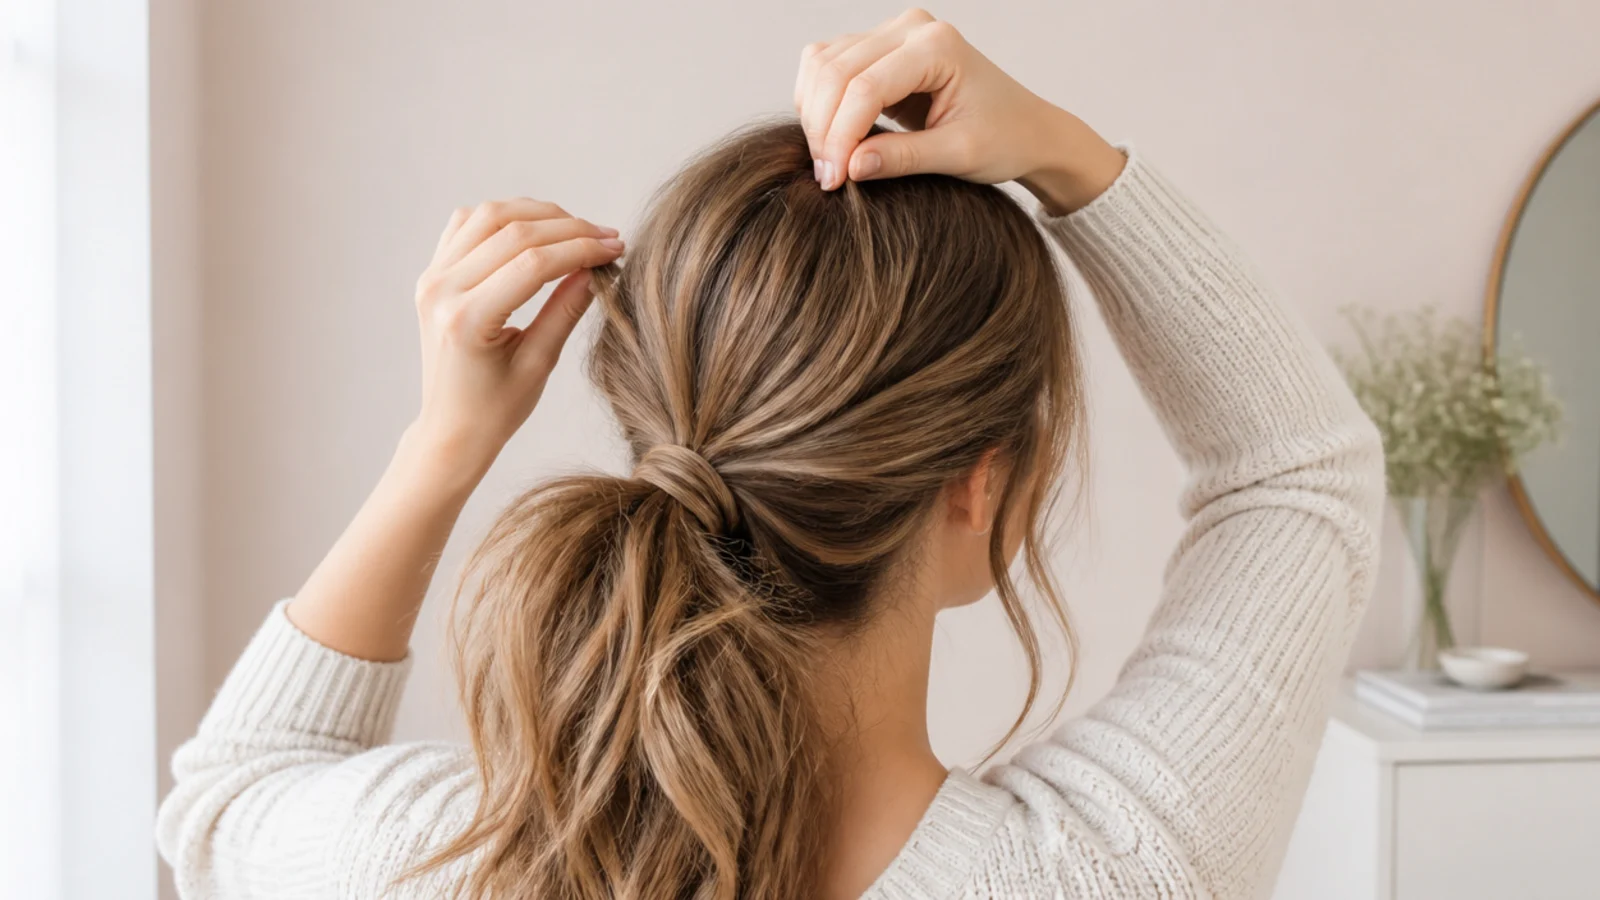
Step 6. Tease the Tail
Hold the tail up, take a section underneath, and push a comb toward the base in short strokes. This knots the cuticles of neighbouring strands into a light mat that holds the tail open from the inside. Teasing underneath rather than on top keeps the outer surface smooth, so the width shows without the roughness.
Step 7. Wrap the Elastic
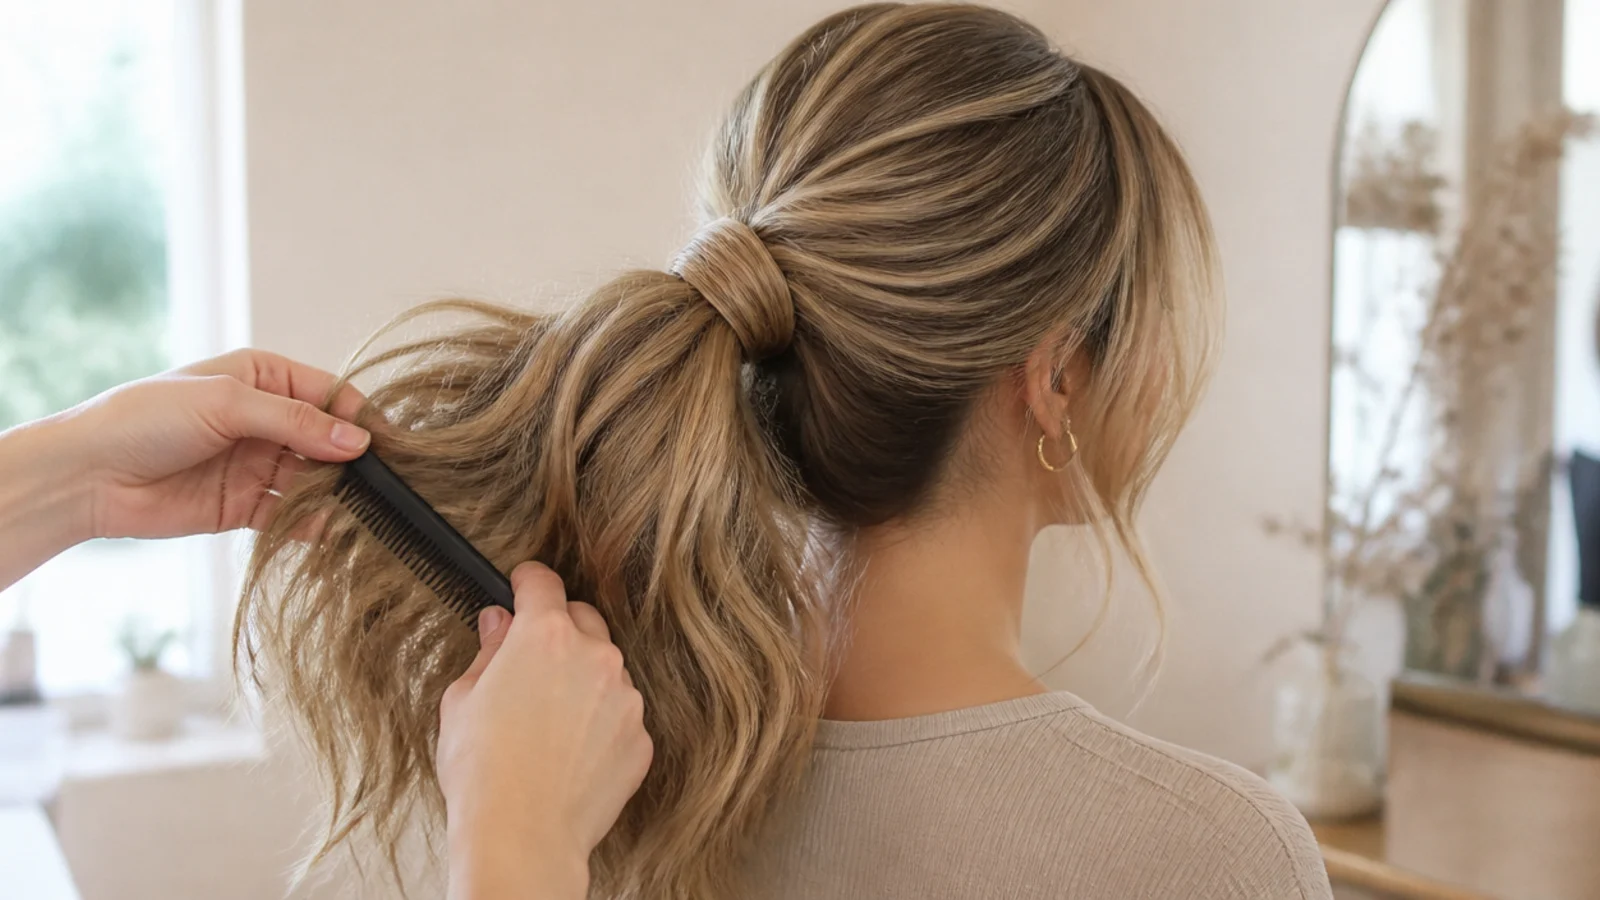
Take a thin section from underneath the tail, wind it around the base, and secure the end with a pin pushed up into the gather. Hiding the band removes the one detail that reads as functional rather than styled, and the wrap adds a second layer of hold around the elastic while it does it.
Step 8. Pull Out the Face Framing Pieces
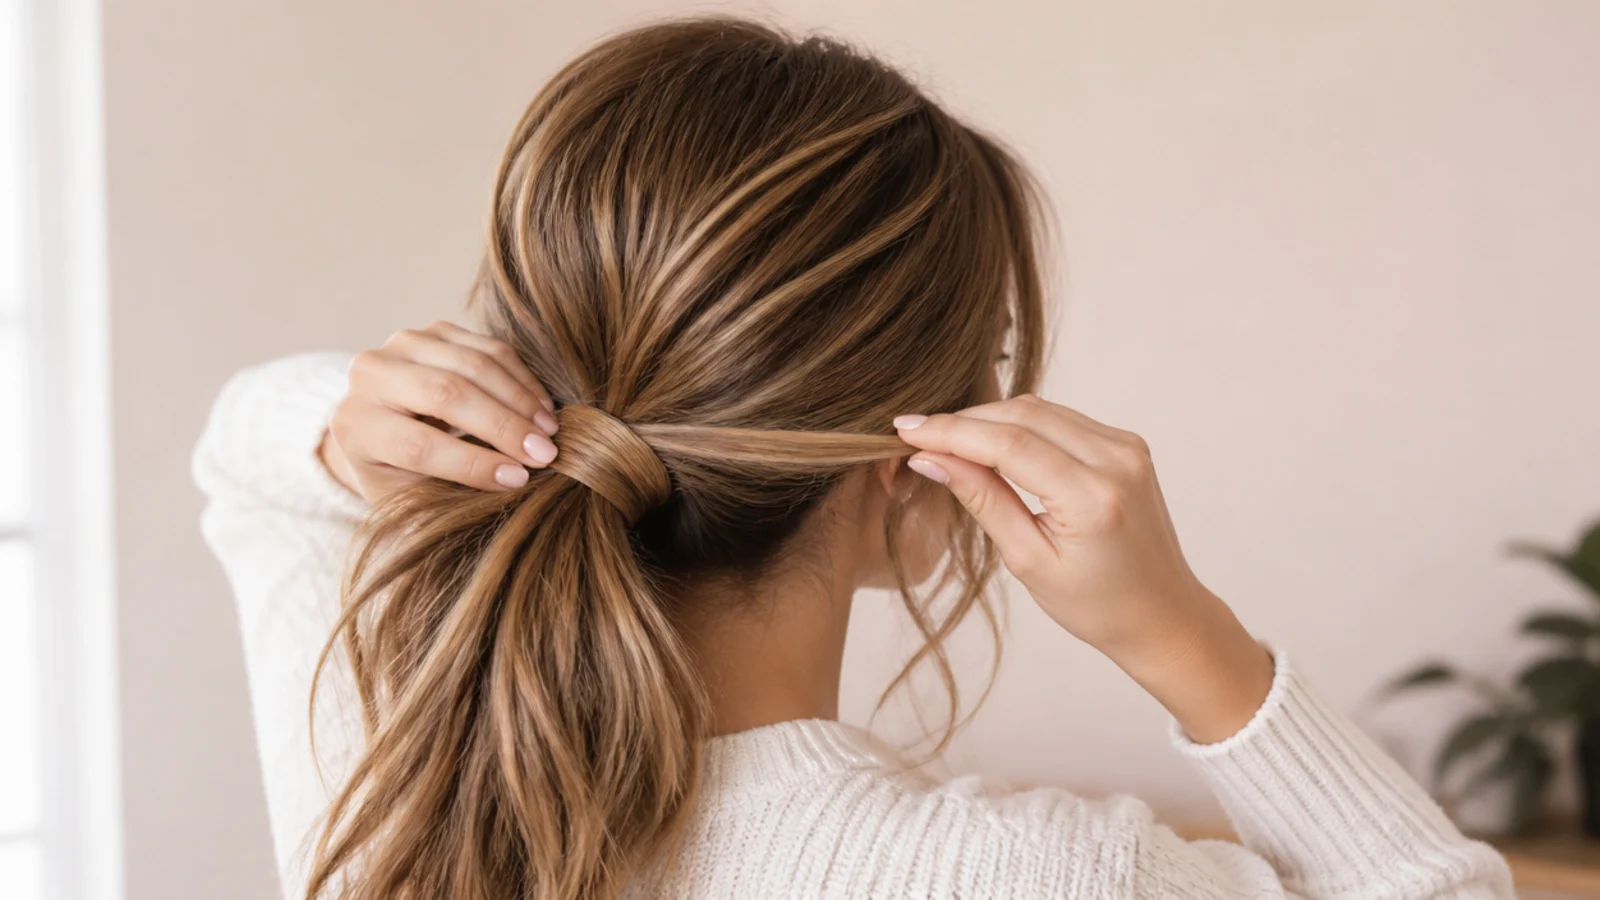
Take one strand at each temple from the hairline itself rather than pulling them out of the finished tail. Hairline pieces sit naturally forward and do not loosen the gather, where strands dragged out of the band leave slack that grows all day. Two is the number. Beyond that they stop looking chosen.
Final Thoughts
The eight steps are not equally important. Grip at the base and volume after the band do most of the visible work, and everything else is refinement on top of them. If you only have ninety seconds, spend it on powder and a crown tug.
Beyond that, choose by weight rather than by the photograph. A heavy tail wants a lower placement and a bigger anchor, a light one wants height and a bend in the ends, and both want a band matched to their bulk rather than pulled tighter to make up for the wrong one. More ideas in Updos and Clips. See also the curly version and the easy school version.