30 Cute Hairstyles For Hoco On A Small Budget
Thirty homecoming styles that cost nothing beyond pins and an elastic, and the reason most of them fail at home. Clean hair has no grip, so almost every updo here wants day two texture instead of a fresh wash.
In this article · 37
- Where a Hoco Hair Budget Actually Goes
- How to Pick Yours
- The 30 Budget Hoco Hairstyles
- 1. Slicked Back Low Bun
- 2. Half Up With a Claw Clip
- 3. Bubble Ponytail With Clear Elastics
- 4. Twisted Crown
- 5. Low Chignon Rolled Over a Hair Tie
- 6. High Ponytail Wrapped With Its Own Hair
- 7. Dutch Braid Into a Bun
- 8. Space Buns
- 9. Overnight Heatless Curls on a Fabric Tie
- 10. Hollywood Waves
- 11. Sleek Bun With a Centre Part
- 12. Braided Headband Across the Crown
- 13. Twisted Half Up
- 14. Messy Bun With Two Face Framing Pieces
- 15. Fishtail Braid Over One Shoulder
- 16. Ribbon Woven Through a Braid
- 17. Pearl Pins Along a Half Up
- 18. Claw Clip French Twist
- 19. Low Twisted Ponytail in Two Sections
- 20. Flipped Ponytail
- 21. Deep Side Part With Soft Waves
- 22. Rope Twist Ponytail
- 23. Scarf Tied Around a Low Bun
- 24. Curly Half Up Puff
- 25. Faux Bob Pinned Under
- 26. Finger Waves on a Short Bob
- 27. Two Strand Twists Pinned Into an Updo
- 28. Straightened Sleek Down With a Centre Part
- 29. Braided Ponytail With a Wrapped Base
- 30. Bandana Rolled as a Headband
- Styling and Upkeep
- Mistakes to Avoid
- FAQ
- Final Thoughts
Most homecoming styles come apart at home for one reason: they were built on freshly washed hair, which has nothing for a pin to hold onto.
Grip is the whole game. Second day hair, texture spray or a light backcomb gives strands friction against each other, and friction is what keeps an updo where you put it.
Almost none of this needs money. Pins, one elastic and a dryer cover twenty eight of the thirty styles below, and the two that use an accessory use a ribbon or a scarf you already own.
Where a Hoco Hair Budget Actually Goes
A salon updo is mostly labour. You are paying for ninety minutes of hands, not for products, which is why the same shape done at home costs the price of a packet of pins.
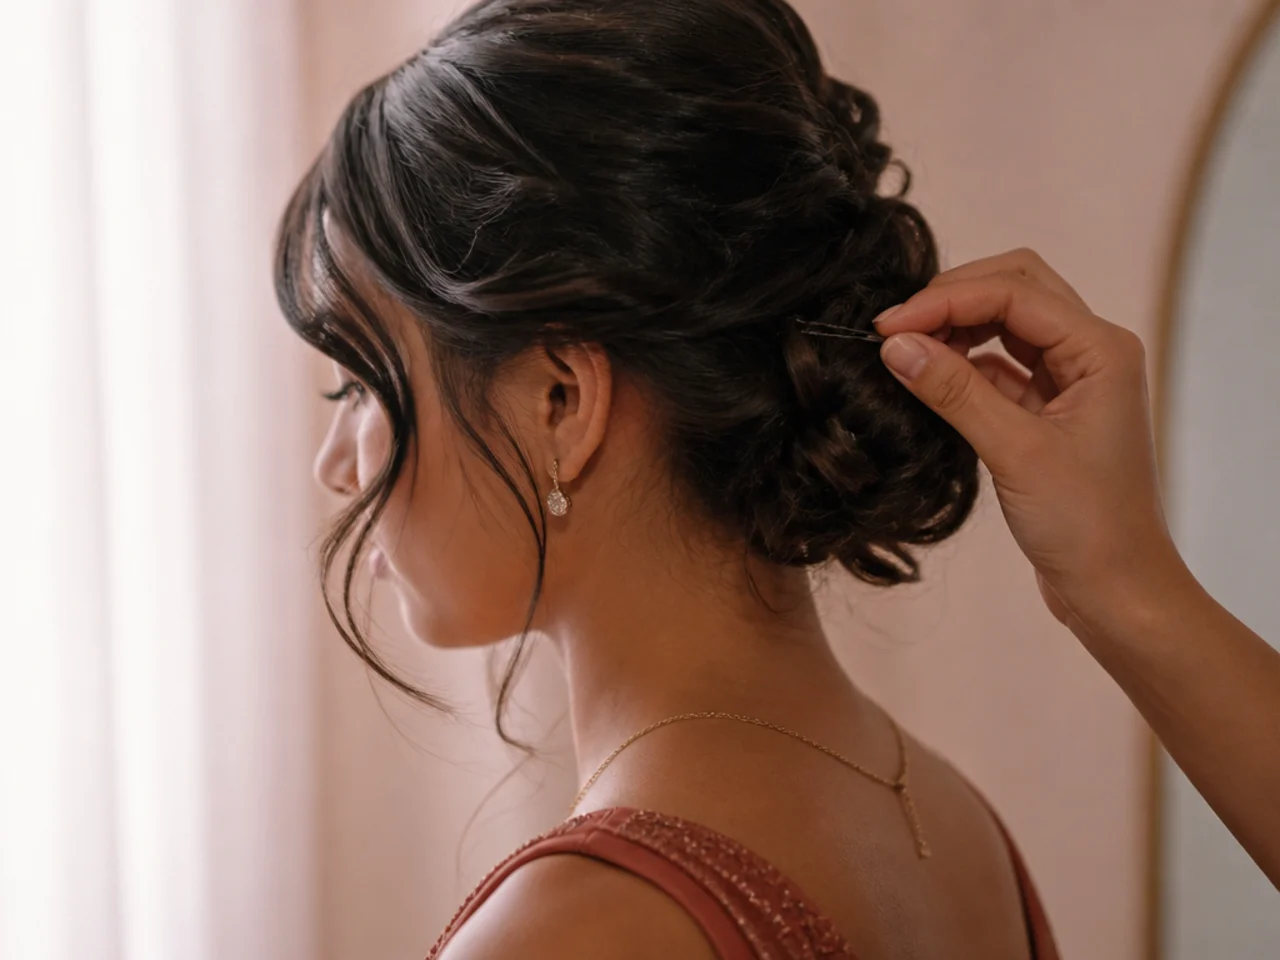
Pins are the only thing worth buying properly. Cheap bobby pins lose their bend and slide straight back out, and a style held by twenty loose pins fails all at once rather than gradually.
Heat tools are optional. Overnight braids, twists and fabric wraps produce the same bend as an iron, because hair sets into whatever shape it dries in.
Accessories rescue nothing. A clip pinned into a collapsing bun draws the eye to the collapse. Fix the base first and the style holds without anything added.
How to Pick Yours
Pick by hair length, not by the photo. Anything below the shoulder can be pinned up. Chin length hair holds twists and half ups but cannot make a full bun without padding.
Pick by texture. Fine hair needs backcombing at the base or the style sits flat against the head. Thick hair needs to be split into two sections before pinning or the weight pulls itself down.
Pick by how long the night is. A slicked style survives dancing; a soft romantic one drops within two hours and needs an accepted amount of falling apart built into it.
Pick something you can do twice. Do a full practice run a week early. Every style below is easy on the second attempt and awkward on the first.
The 30 Budget Hoco Hairstyles
1. Slicked Back Low Bun
Gel taken through soaking wet hair before it is gathered gives the sleek finish, because gel dries into a film that holds every strand in the position it was combed into. Applied to dry hair it only coats the surface and the flyaways lift straight back up.
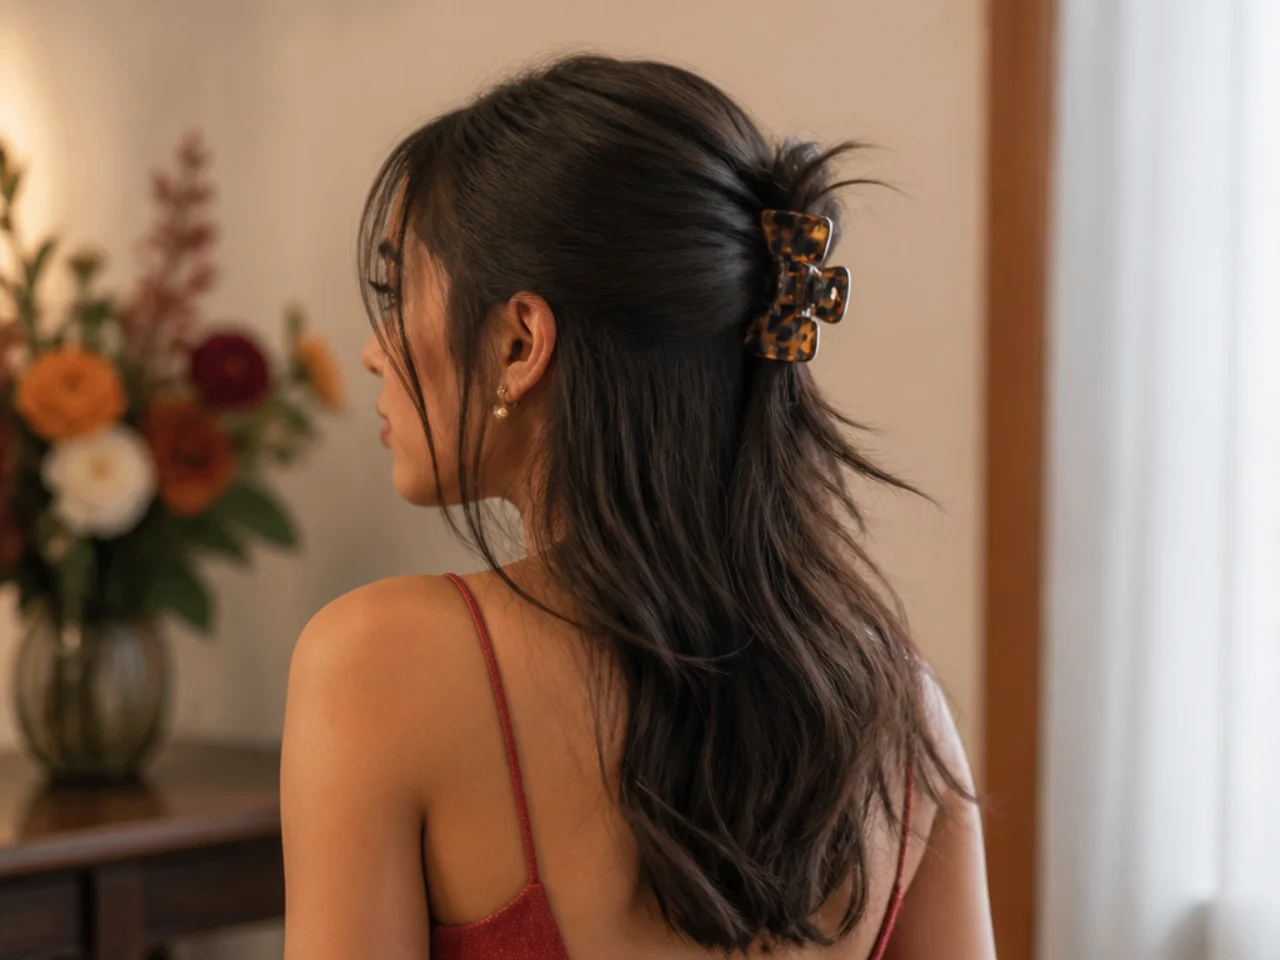
2. Half Up With a Claw Clip
The clip has to bite into a twisted section, not a flat one. Twisting compresses the hair into a rope the teeth can close around, whereas a flat sheet of hair simply slides out of the jaws as soon as the head moves.
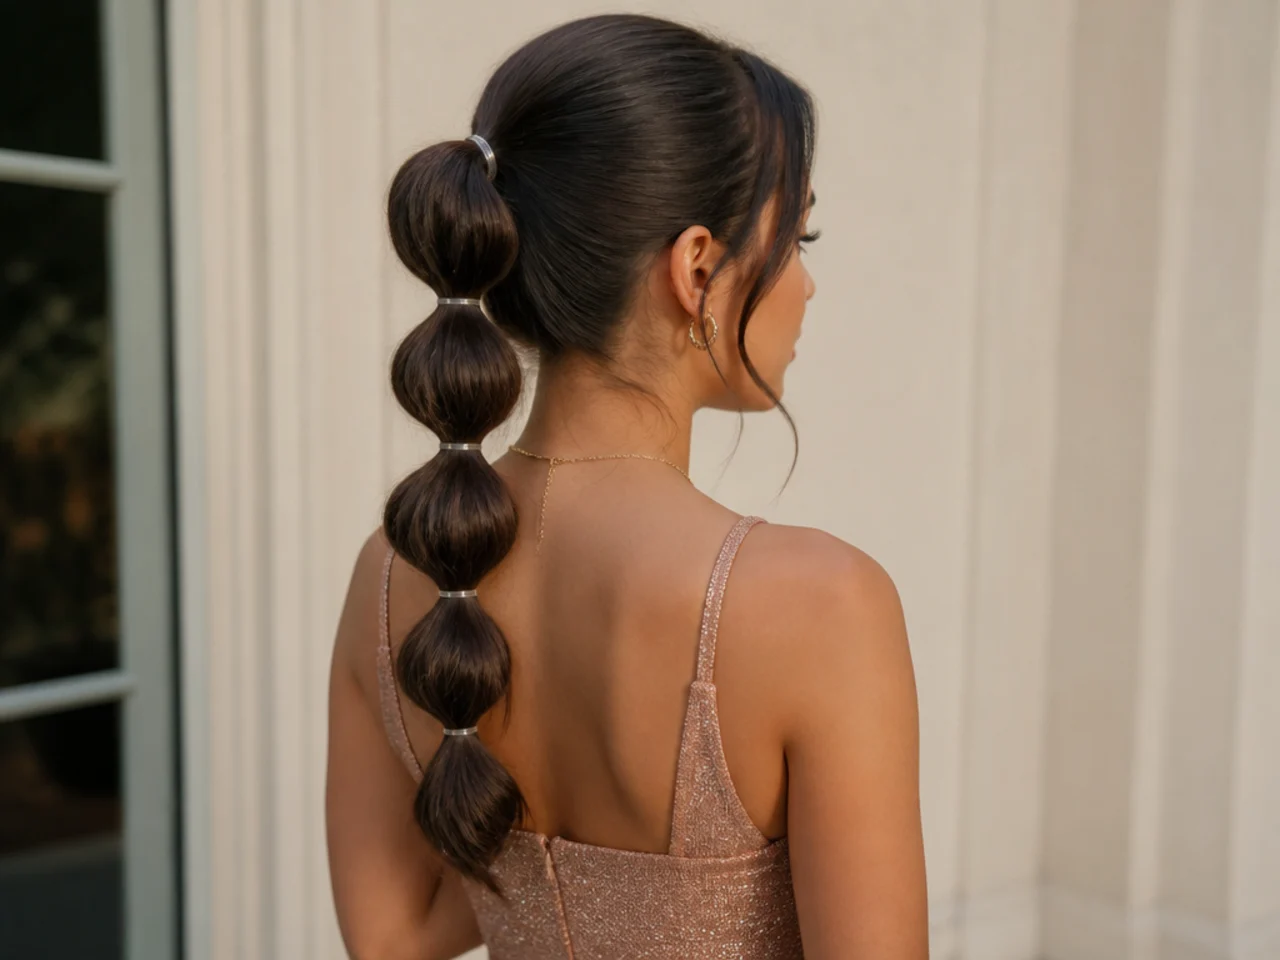
3. Bubble Ponytail With Clear Elastics
Space the elastics evenly and pull each segment outwards from the middle before adding the next. The bubbles come from that widening, not from the elastics themselves, and skipping it leaves a ponytail with rings on it rather than a shape.
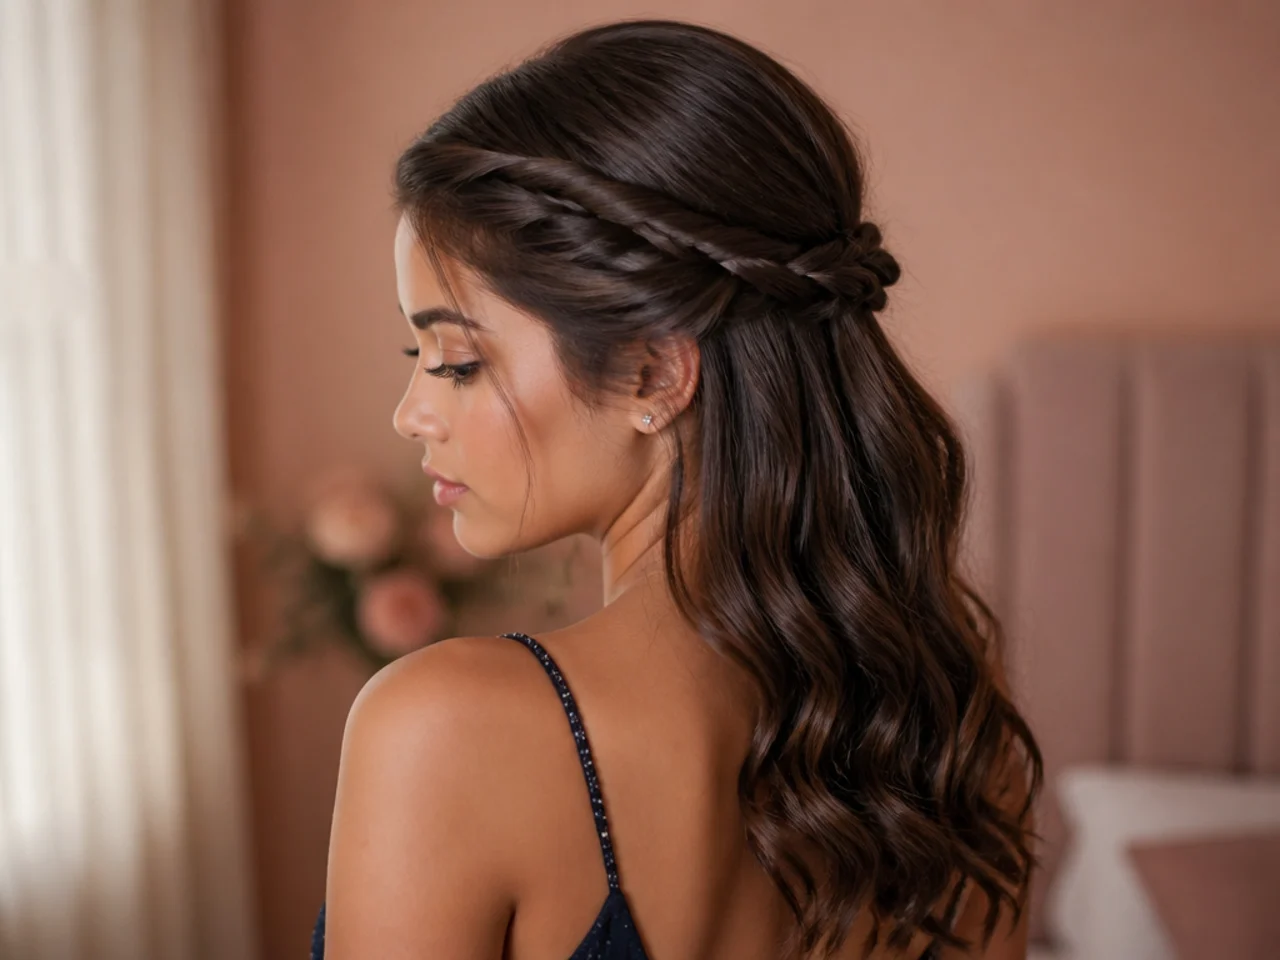
4. Twisted Crown
Two rope twists taken from the temples and pinned at the back behind the head. Cross the pins against the direction of the twist so each one bites into the rope rather than lying along it, which is the difference between a crown that holds and one that unwinds by the second song.
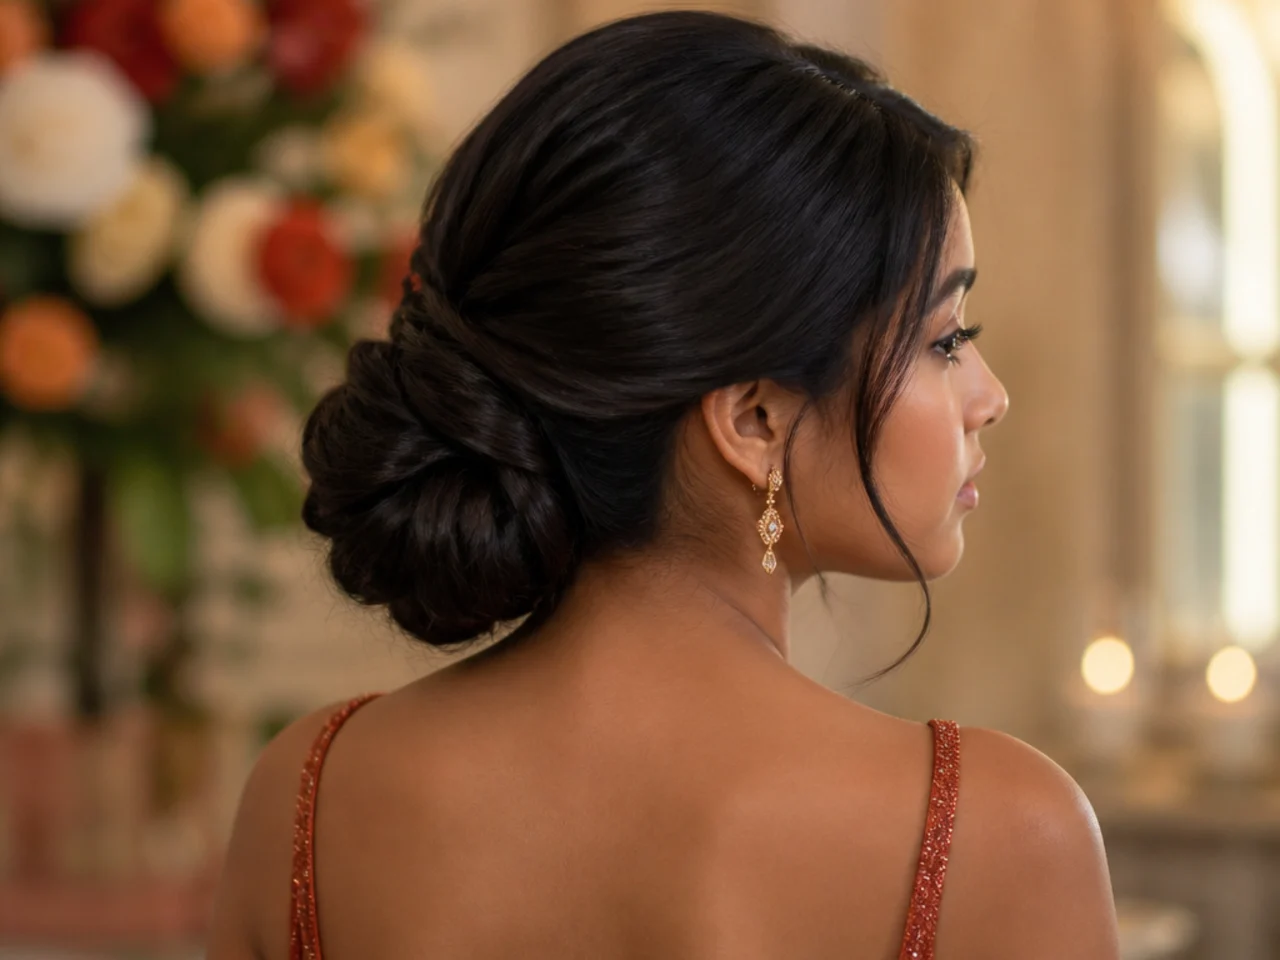
5. Low Chignon Rolled Over a Hair Tie
Roll the ponytail upwards around the elastic and tuck the ends underneath. The roll traps the elastic inside it, so the bun is held by its own tension and only needs four pins around the edge rather than a ring of them holding loose hair together.
6. High Ponytail Wrapped With Its Own Hair
Take a thin section from underneath the ponytail, wind it around the base and pin the end upwards into the tail. Hiding the elastic is what makes a ponytail read as done rather than as everyday, and it costs nothing but one pin.
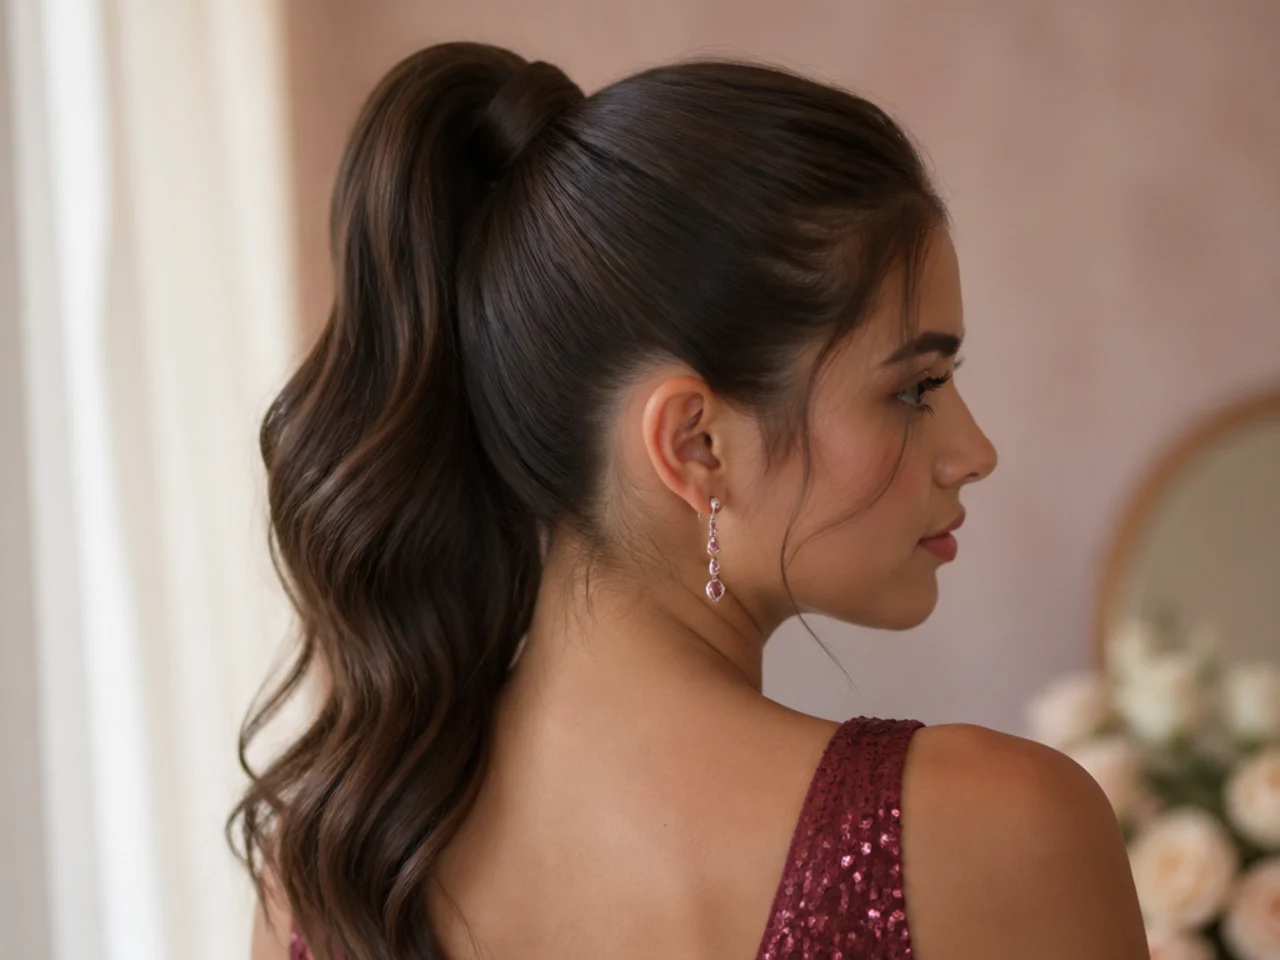
7. Dutch Braid Into a Bun
Braiding under rather than over pushes the plait to sit on top of the hair, so it stays visible when the ends are coiled into a bun. A French braid done the same way sinks into the hair and disappears entirely once the bun is pinned.
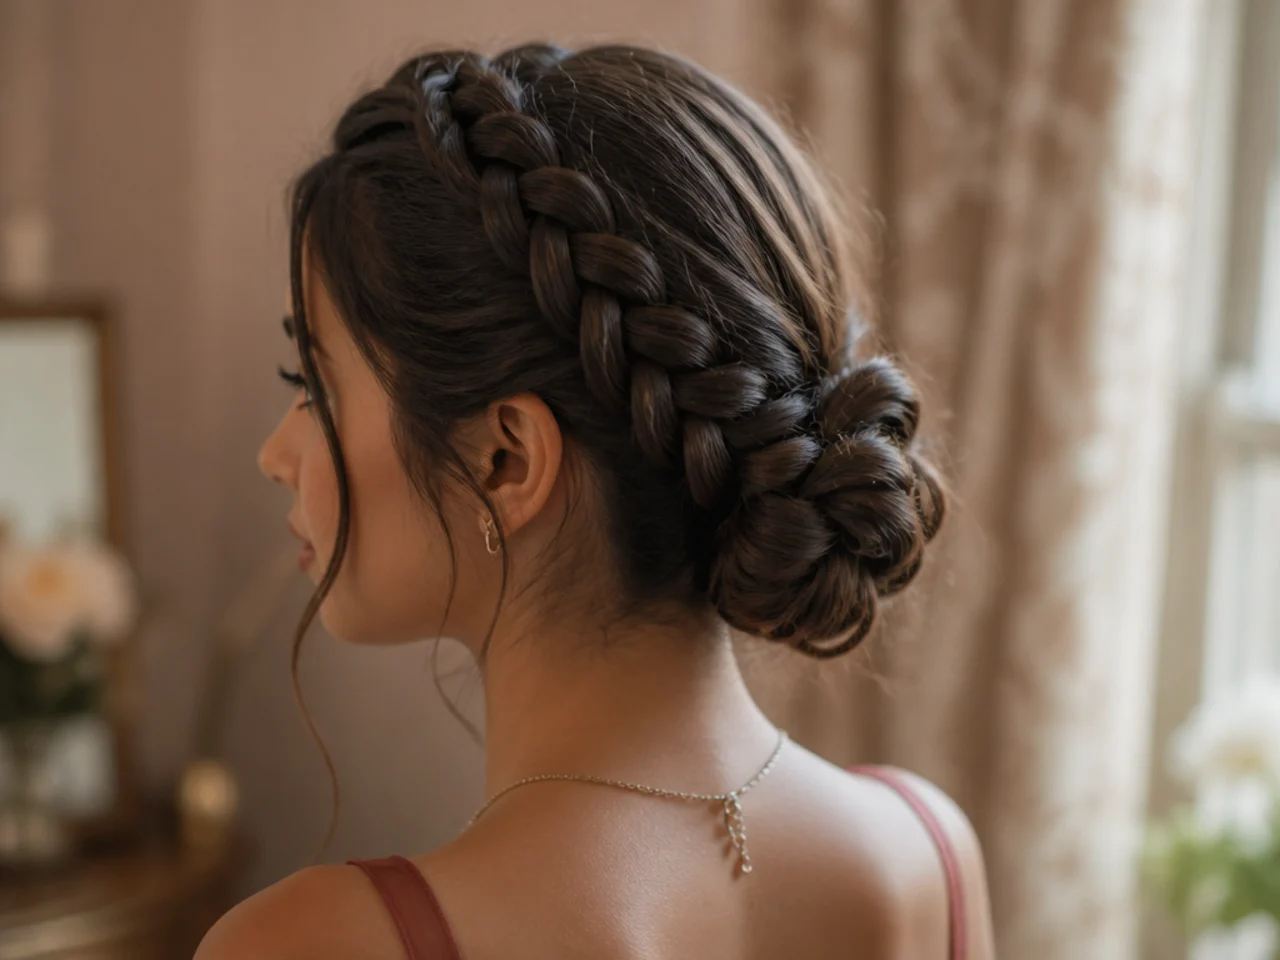
8. Space Buns
Split the hair with a clean centre part and build each bun slightly above the ear line. Buns set too low sit on the neck and read as pigtails, while raising them puts the mass where the head is widest and keeps the shape balanced.
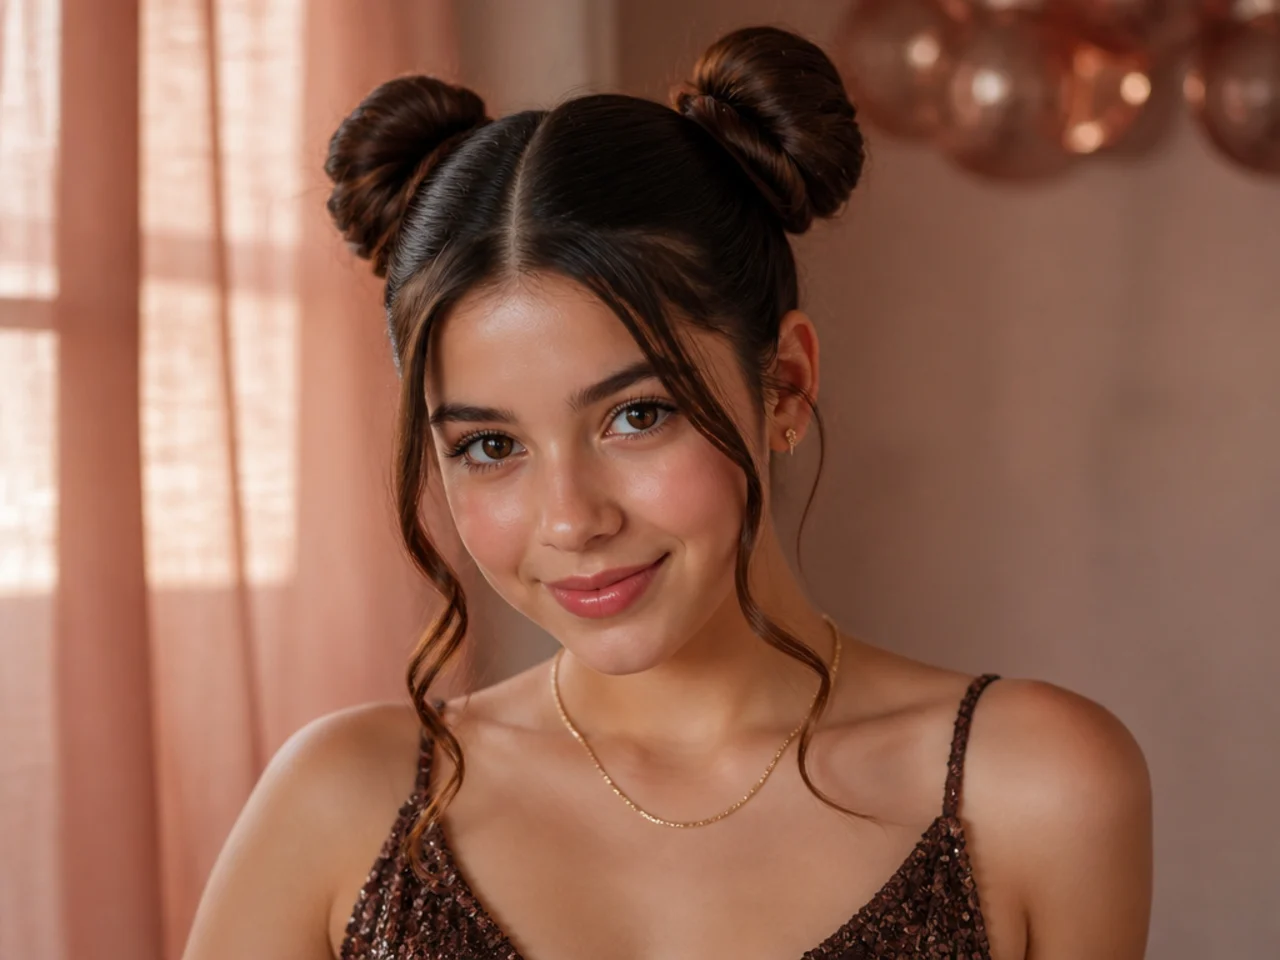
9. Overnight Heatless Curls on a Fabric Tie
Wrap damp hair around a dressing gown cord and sleep on it. The bend sets as the hair dries around the curve, which is exactly what a curling iron does, only slower and with no heat damage. Take it down while any part is still damp and the curl drops within minutes.
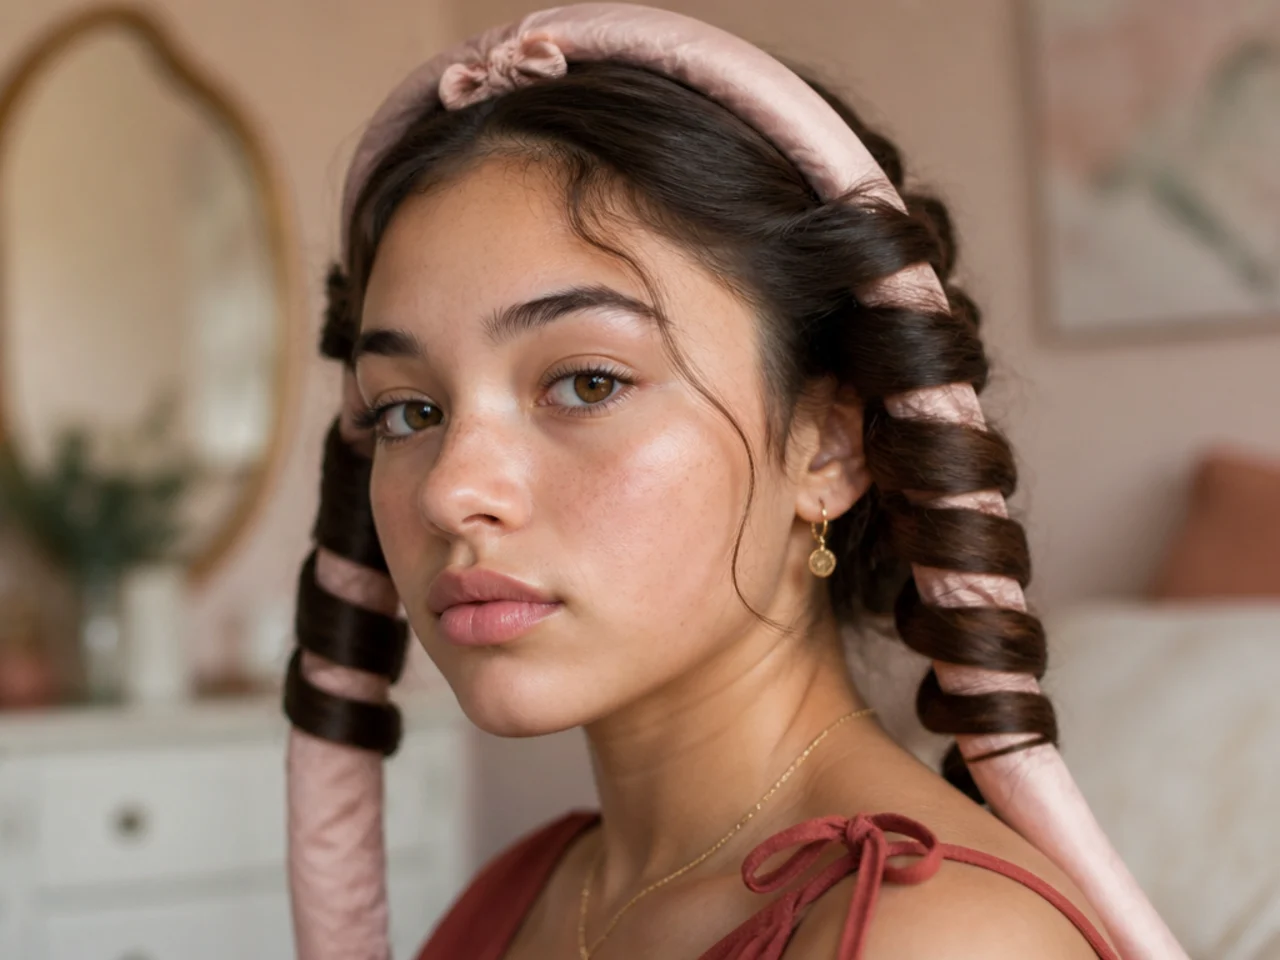
10. Hollywood Waves
Curl every section in the same direction, let them cool completely, then brush them out into one continuous S bend. Brushing while warm flattens the curl instead of joining it, because hair holds its new shape only once it has cooled in position.
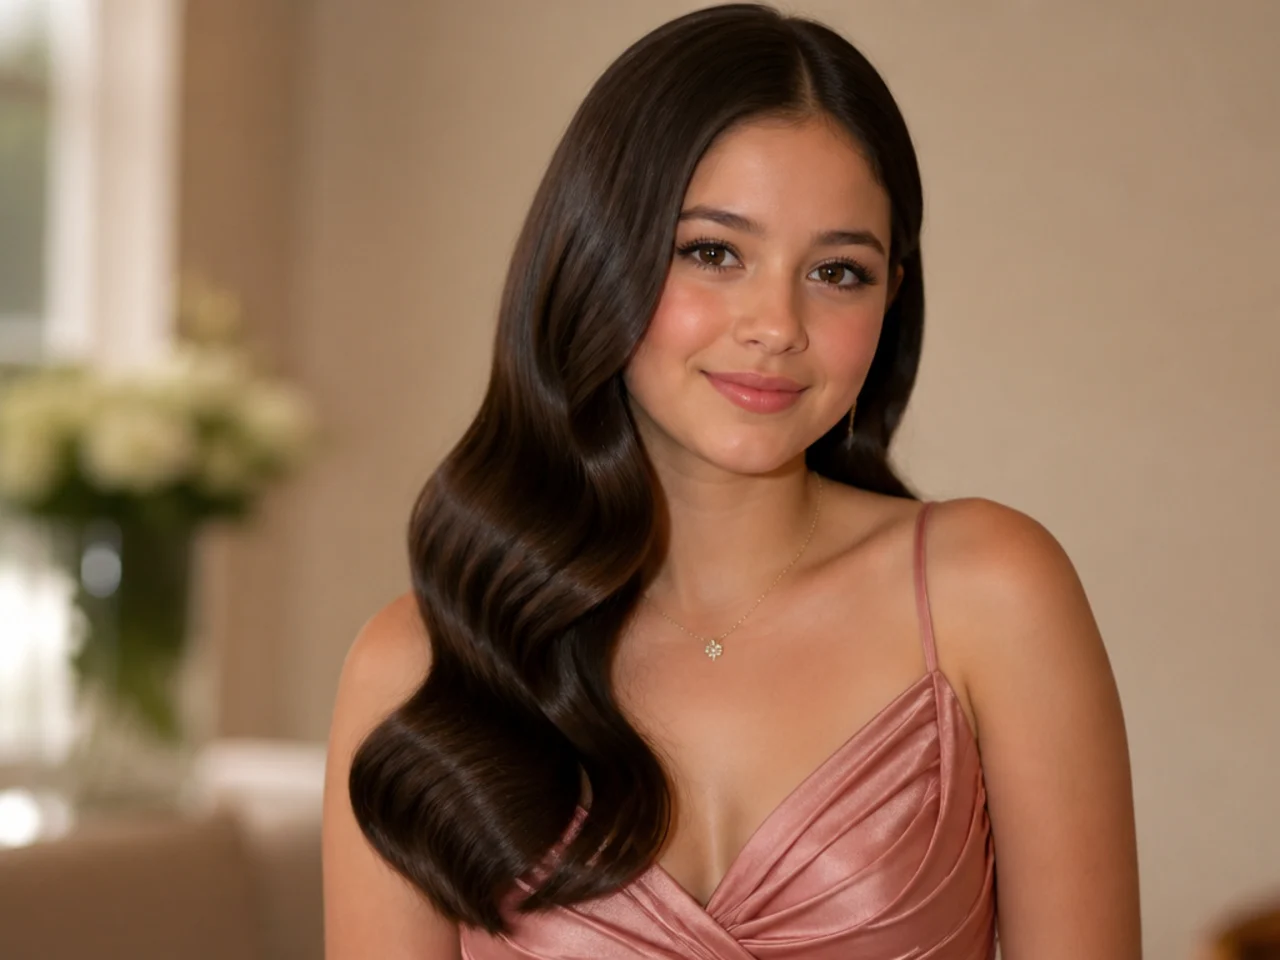
11. Sleek Bun With a Centre Part
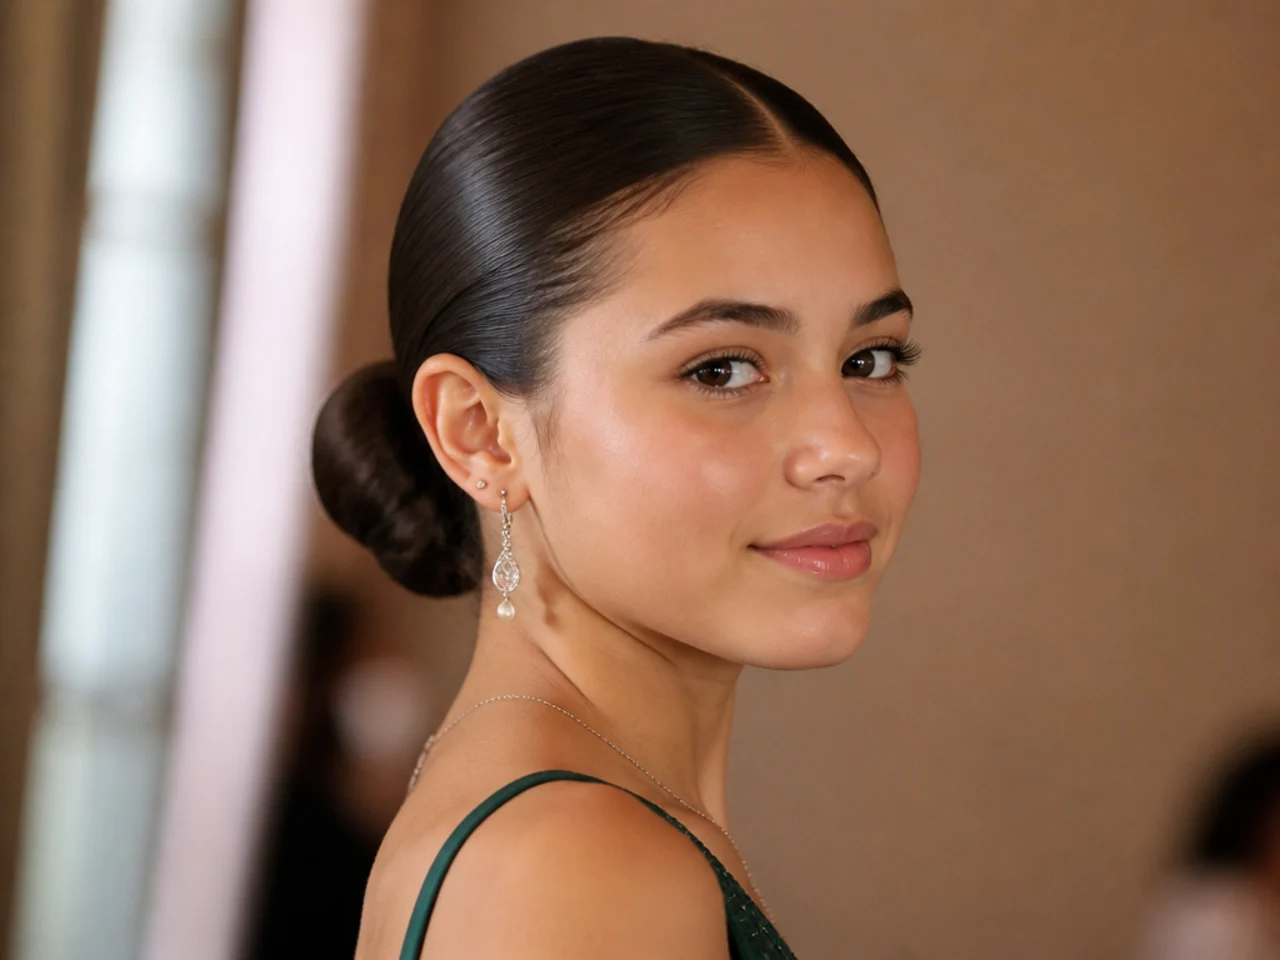
The parting does most of the work here, so comb it with the tail of a comb against the scalp rather than with fingers. A wandering part is the single detail that makes an otherwise clean bun look rushed, and it is visible in every photograph taken from the front.
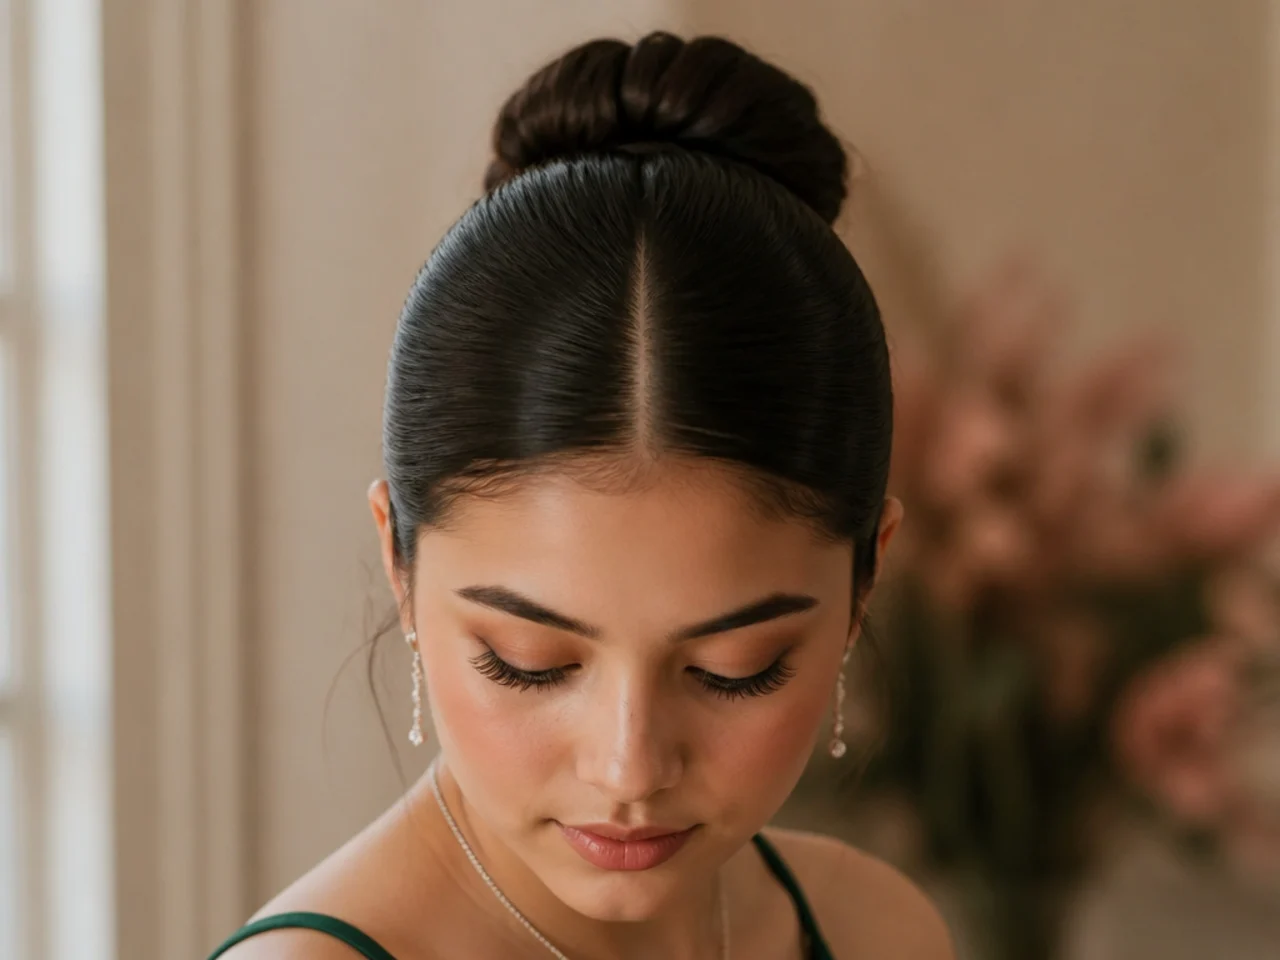
12. Braided Headband Across the Crown
A braid taken from behind one ear and pinned behind the other. Anchor it with pins pushed in from the outside towards the scalp so the braid is pressed down rather than pulled sideways, which is what stops it creeping backwards over the night.
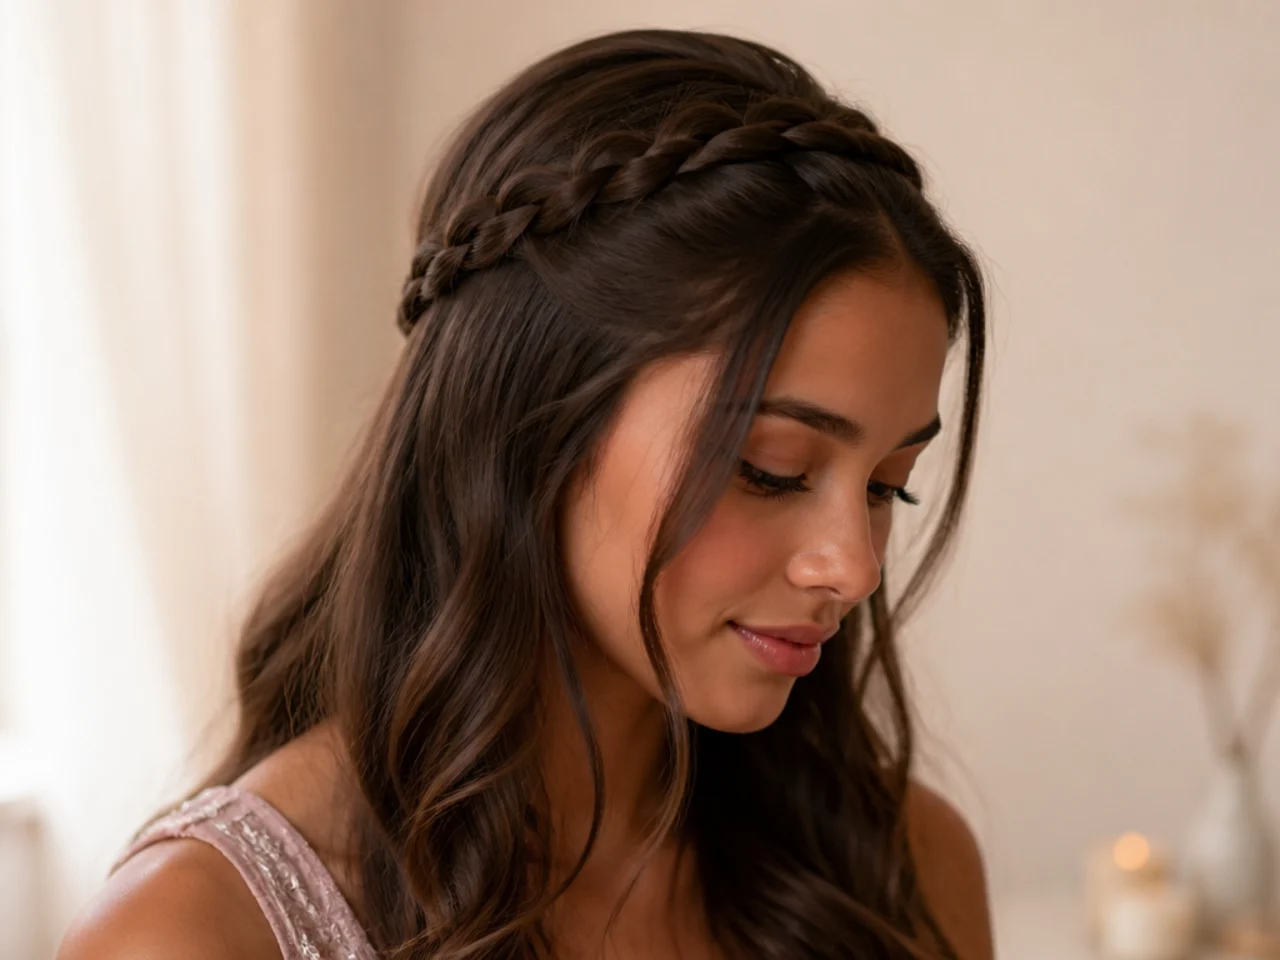
13. Twisted Half Up
Two sections twisted back and tied together underneath the top layer, so the elastic disappears. Twisting adds width to thin hair because the rope stands away from the head slightly, which reads as volume without any backcombing.
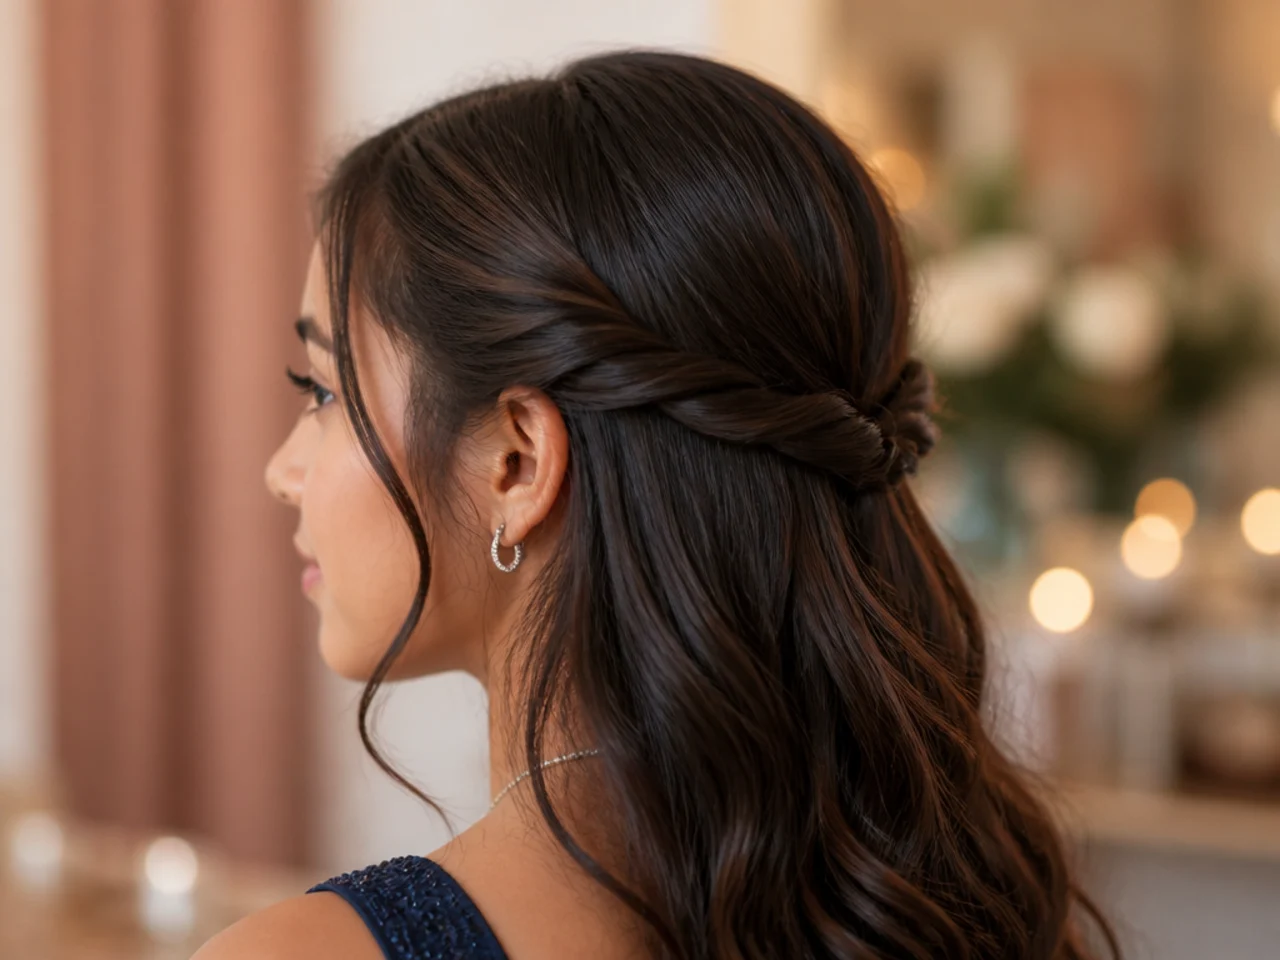
14. Messy Bun With Two Face Framing Pieces
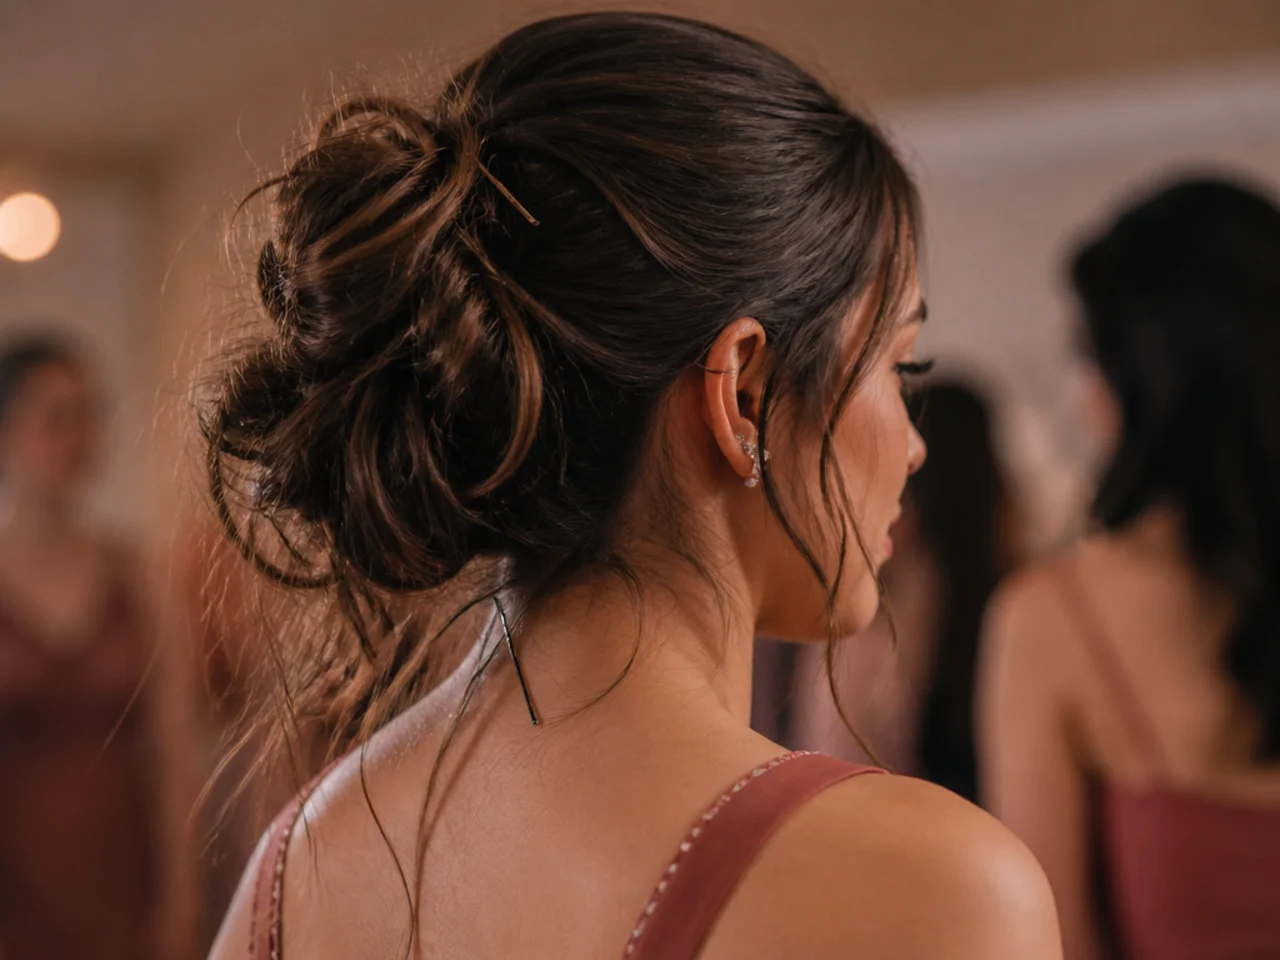
Pull the front pieces out before the bun is pinned, not after. Pulling them afterwards drags the whole bun forward and loosens the pins holding it, which is why a bun that looked secure suddenly sags on one side.
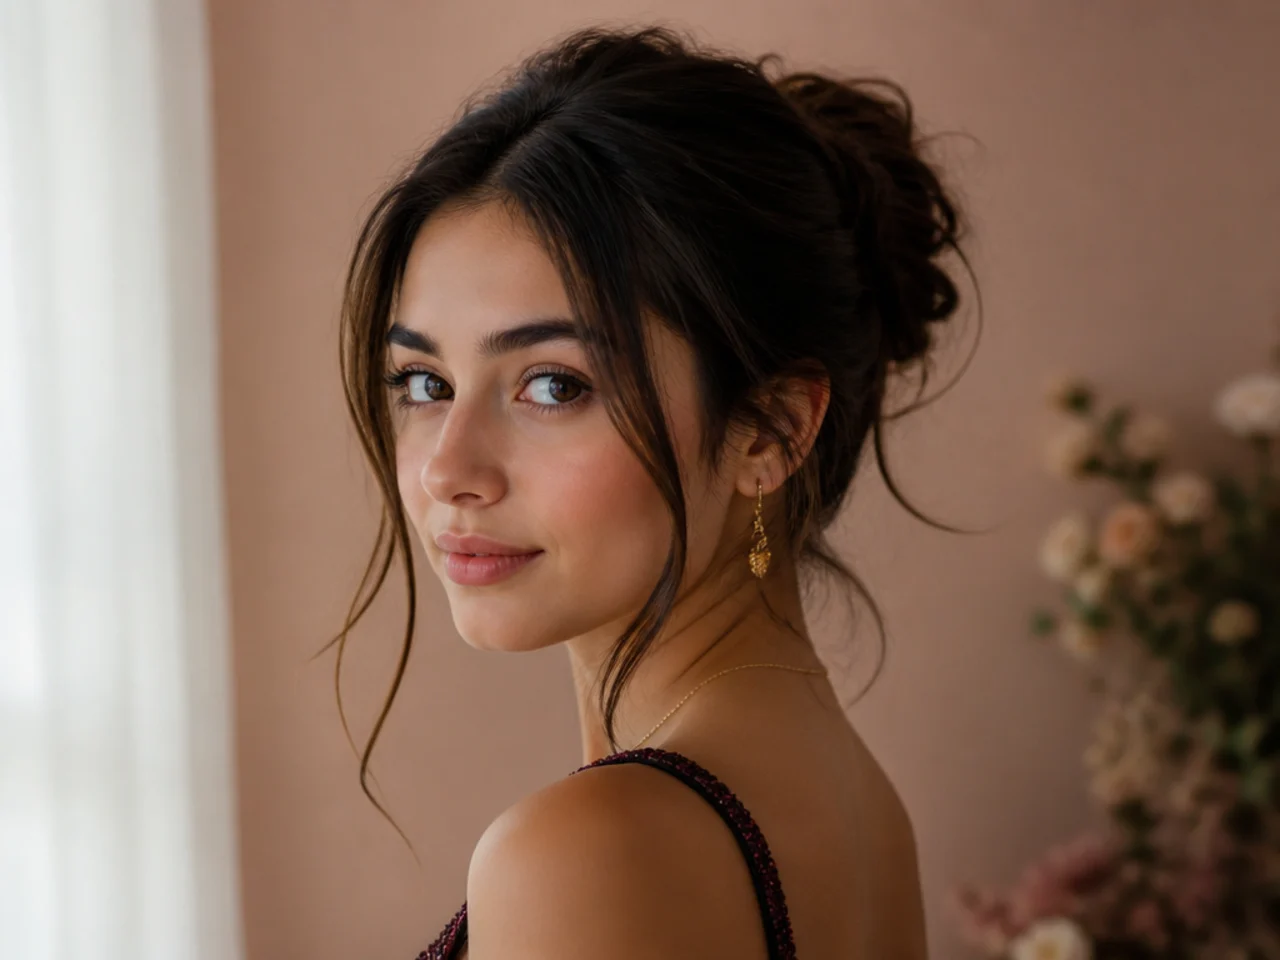
15. Fishtail Braid Over One Shoulder
The pattern only reads if the sections stay thin, so take pieces no wider than a pencil. Thick sections turn a fishtail into a lumpy three strand braid, and the whole appeal of the style is the fine woven texture at a distance.
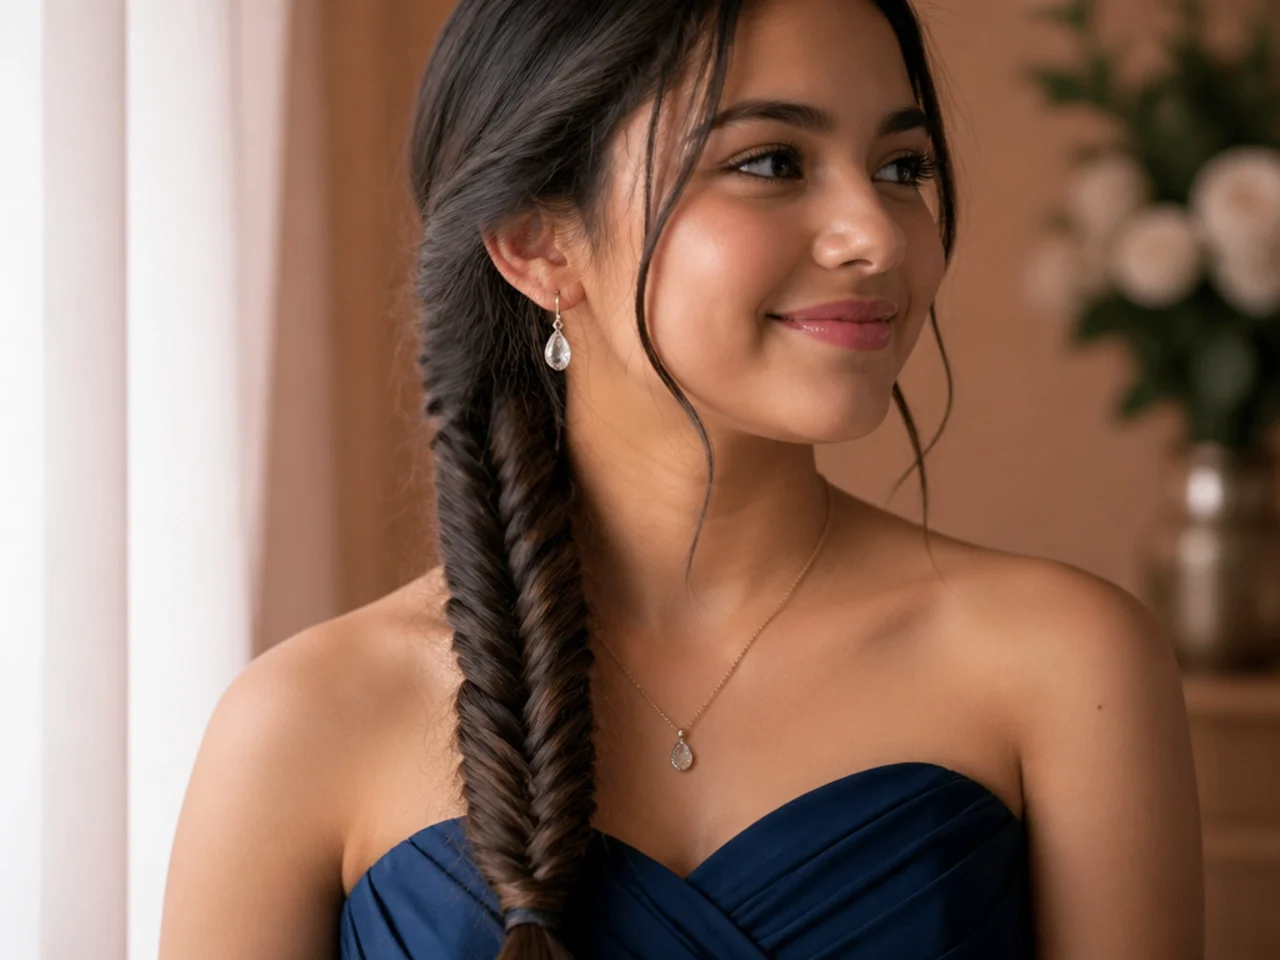
16. Ribbon Woven Through a Braid
Lay the ribbon along one of the three strands and braid it as part of that strand. Weaving it in afterwards leaves it sitting on the surface, where it slides out, and using satin rather than grosgrain guarantees it because satin has almost no friction.
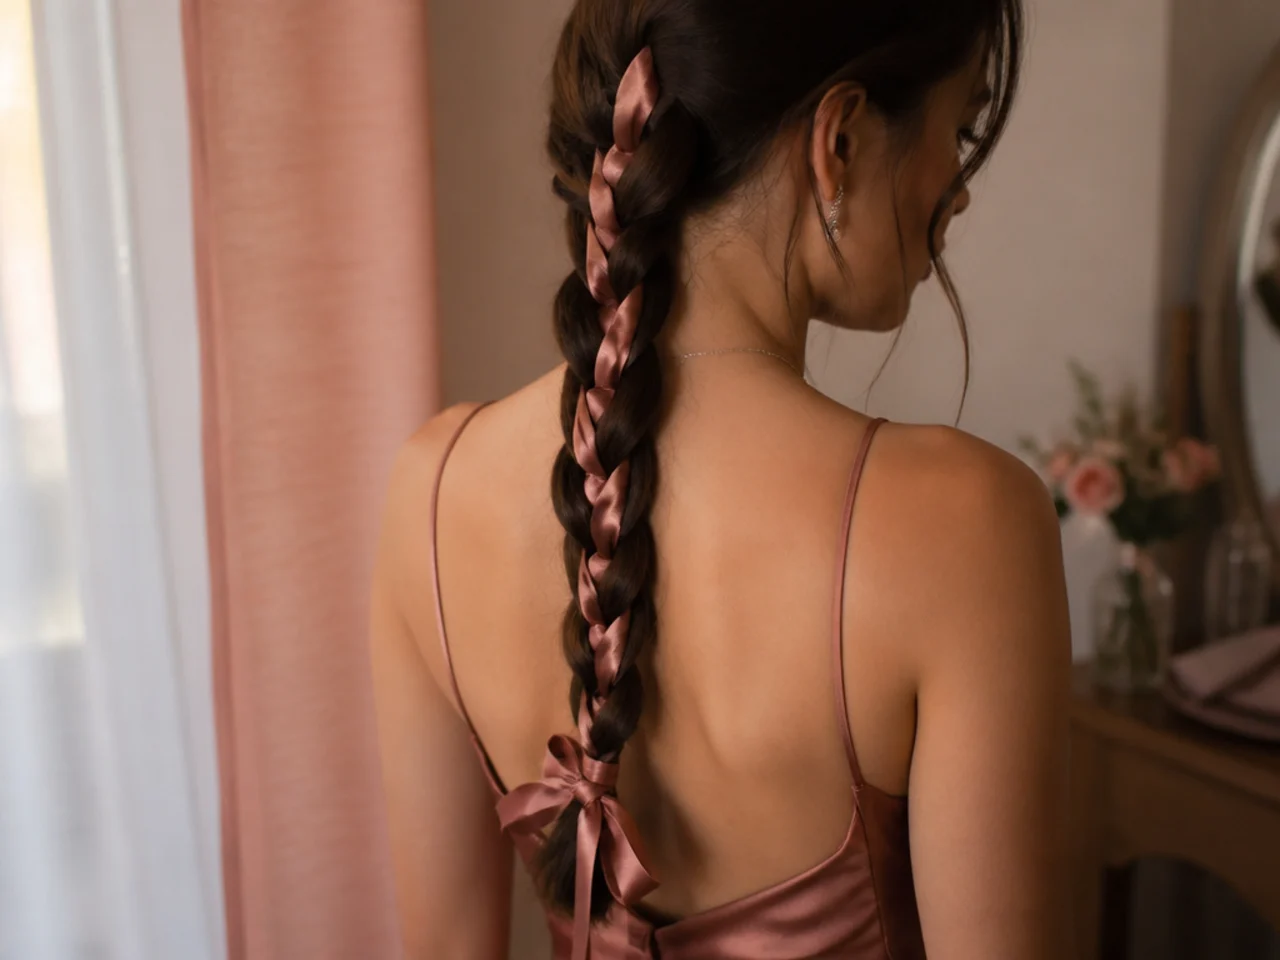
17. Pearl Pins Along a Half Up
Push each pin in following the line of the hair rather than across it, then a final one crossed over the top. A pin lying along the grain has nothing to grip, so the crossed pin is the one actually holding and the rest are decoration.
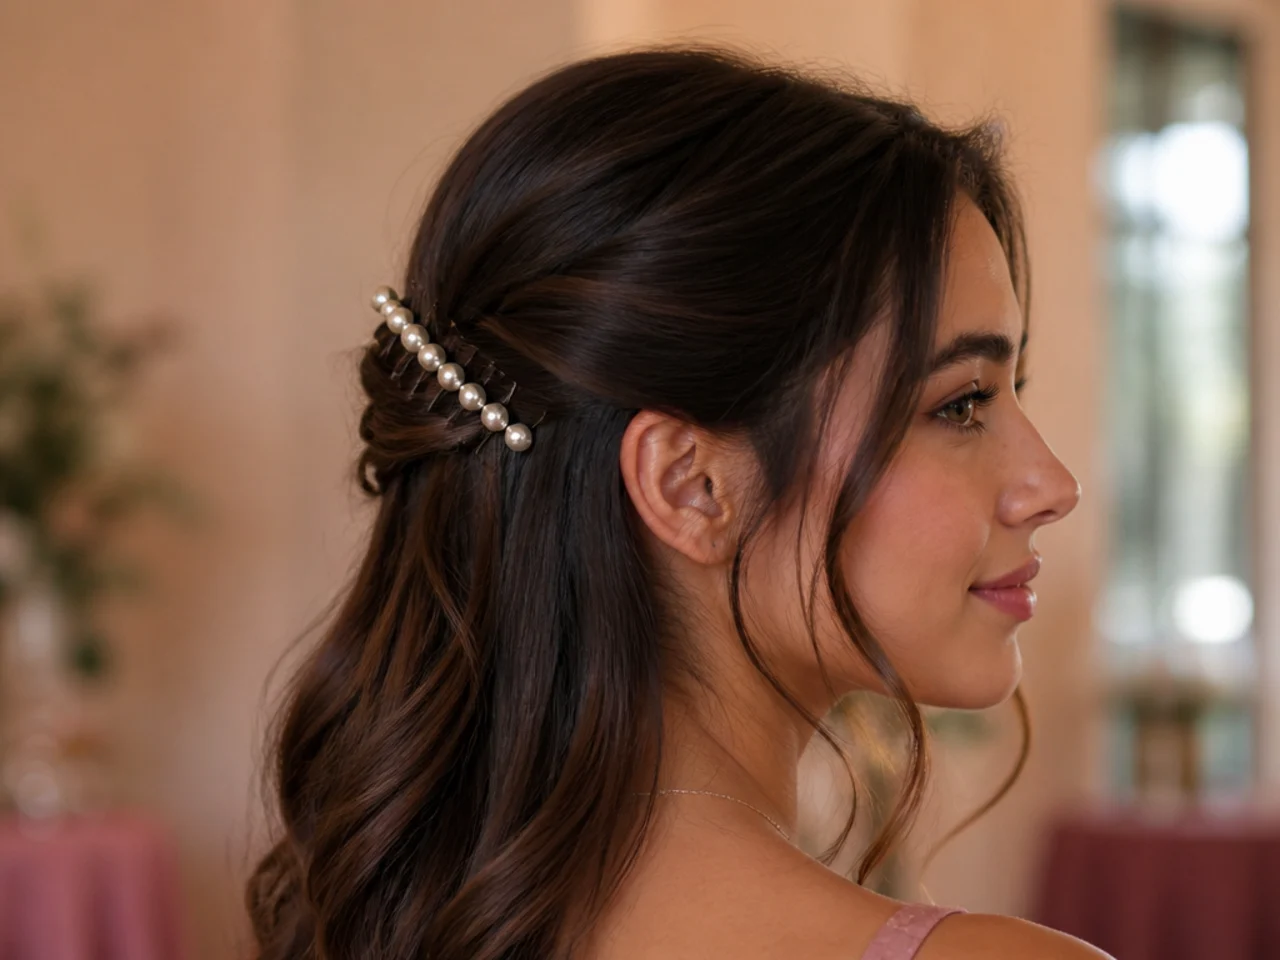
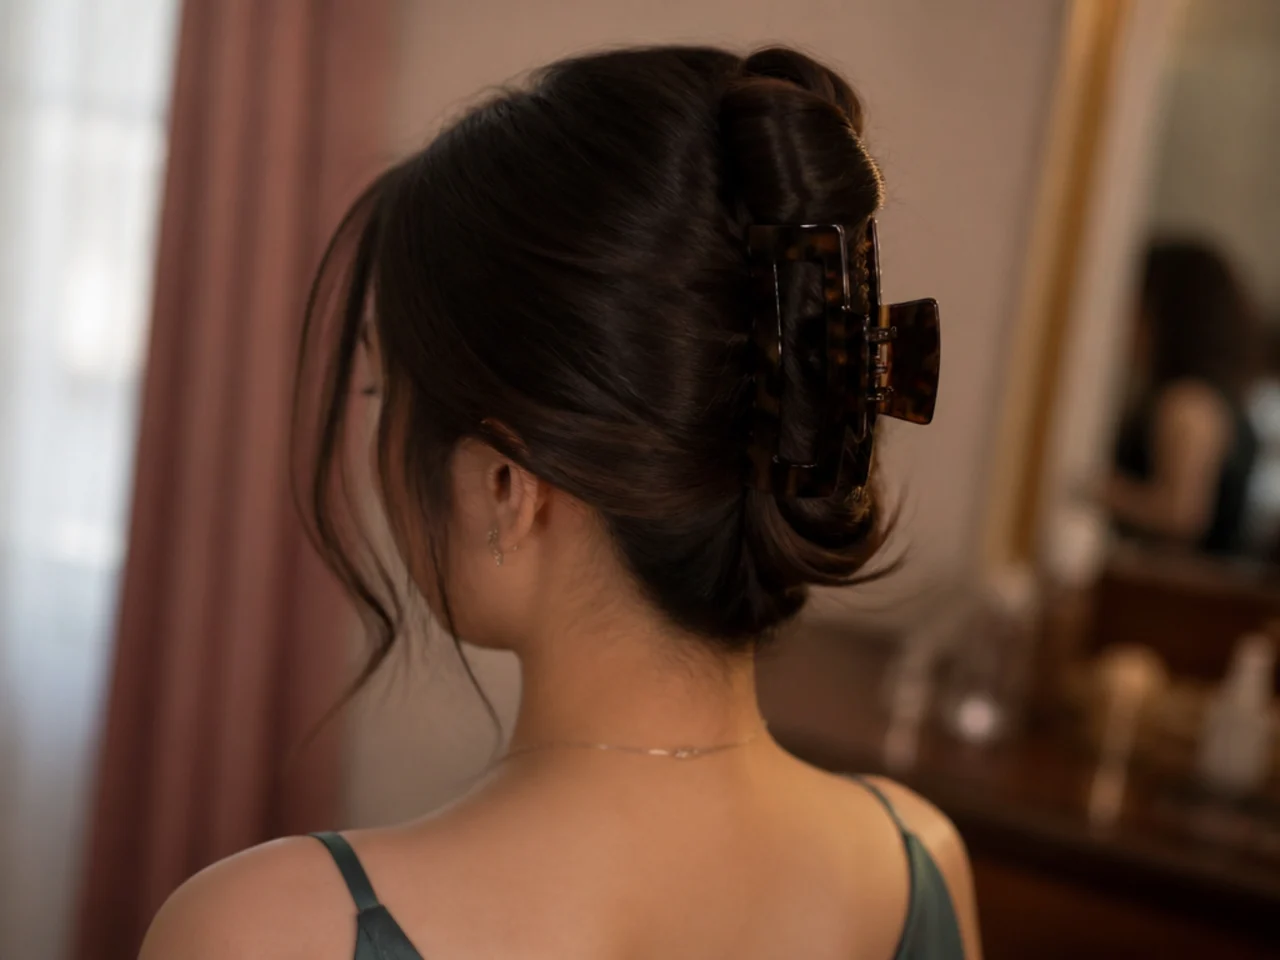
18. Claw Clip French Twist
Fold the hair up into a vertical roll against the back of the head and close a large claw clip over the fold. The clip has to catch both the roll and the hair underneath it, or the twist unrolls downwards the moment the head tips forward.
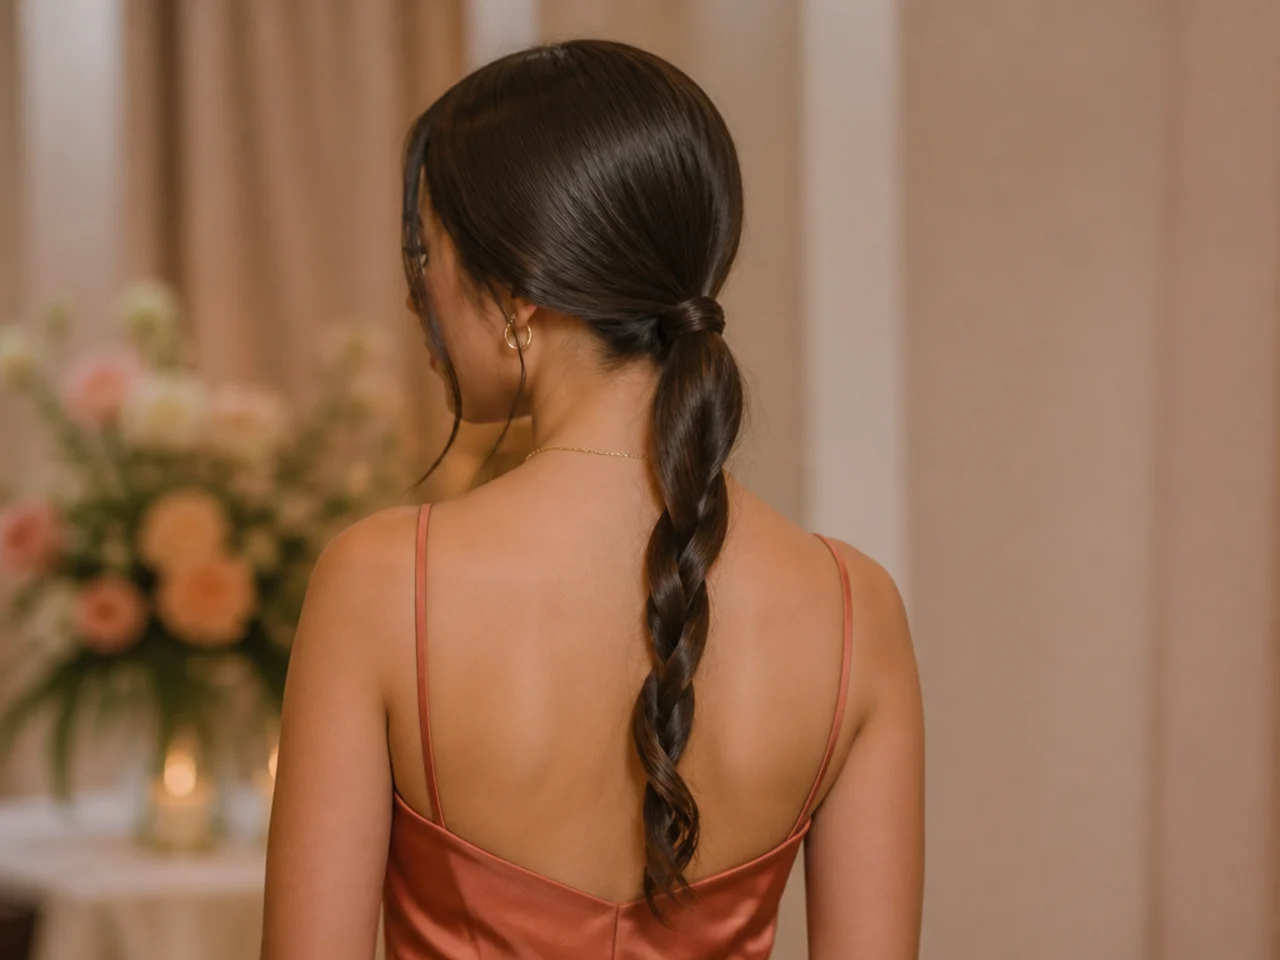
19. Low Twisted Ponytail in Two Sections
Split the ponytail in two, twist each half in the same direction, then wind them around each other in the opposite direction. Opposing the twist is what locks the rope together, and twisting both the same way lets it unwind as soon as the elastic is tied.
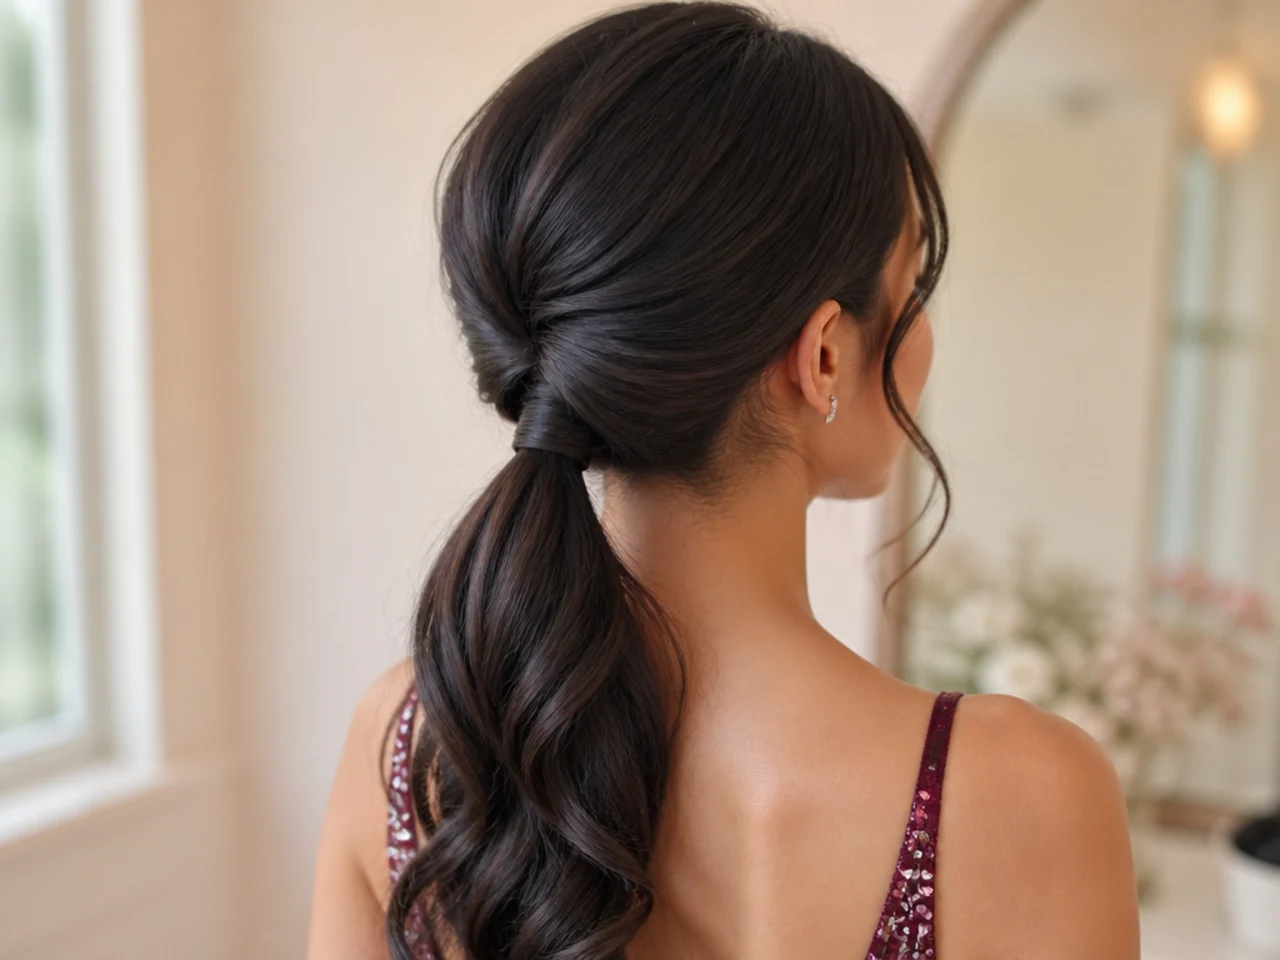
20. Flipped Ponytail
Tie a low ponytail, loosen the elastic slightly, split the hair above it and pull the tail through the gap. The flip hides the elastic and lifts the ponytail at the base, so it sits away from the neck rather than lying flat against it.
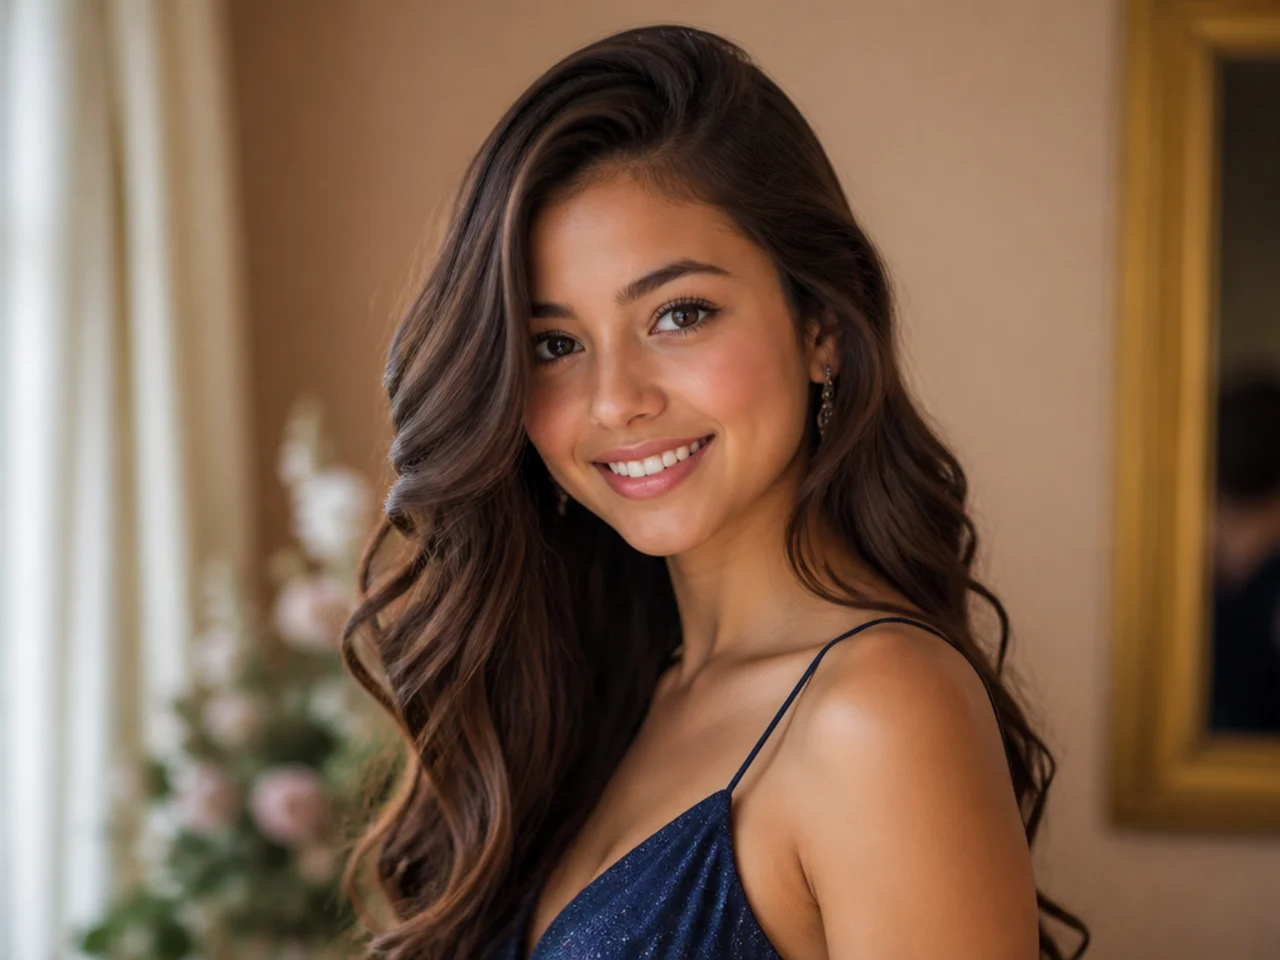
21. Deep Side Part With Soft Waves
Moving the parting well off centre pushes a bank of hair over to one side, which adds height at the crown without any backcombing. The extra volume comes from the hair fighting its natural fall, so set it with a little spray or it drifts back within the hour.
22. Rope Twist Ponytail
The same two strand rope as the low version but tied high, where the tension is greater. A high rope pulls at the scalp all evening, so leave the base a finger loose when you tie it or it aches long before the last dance.
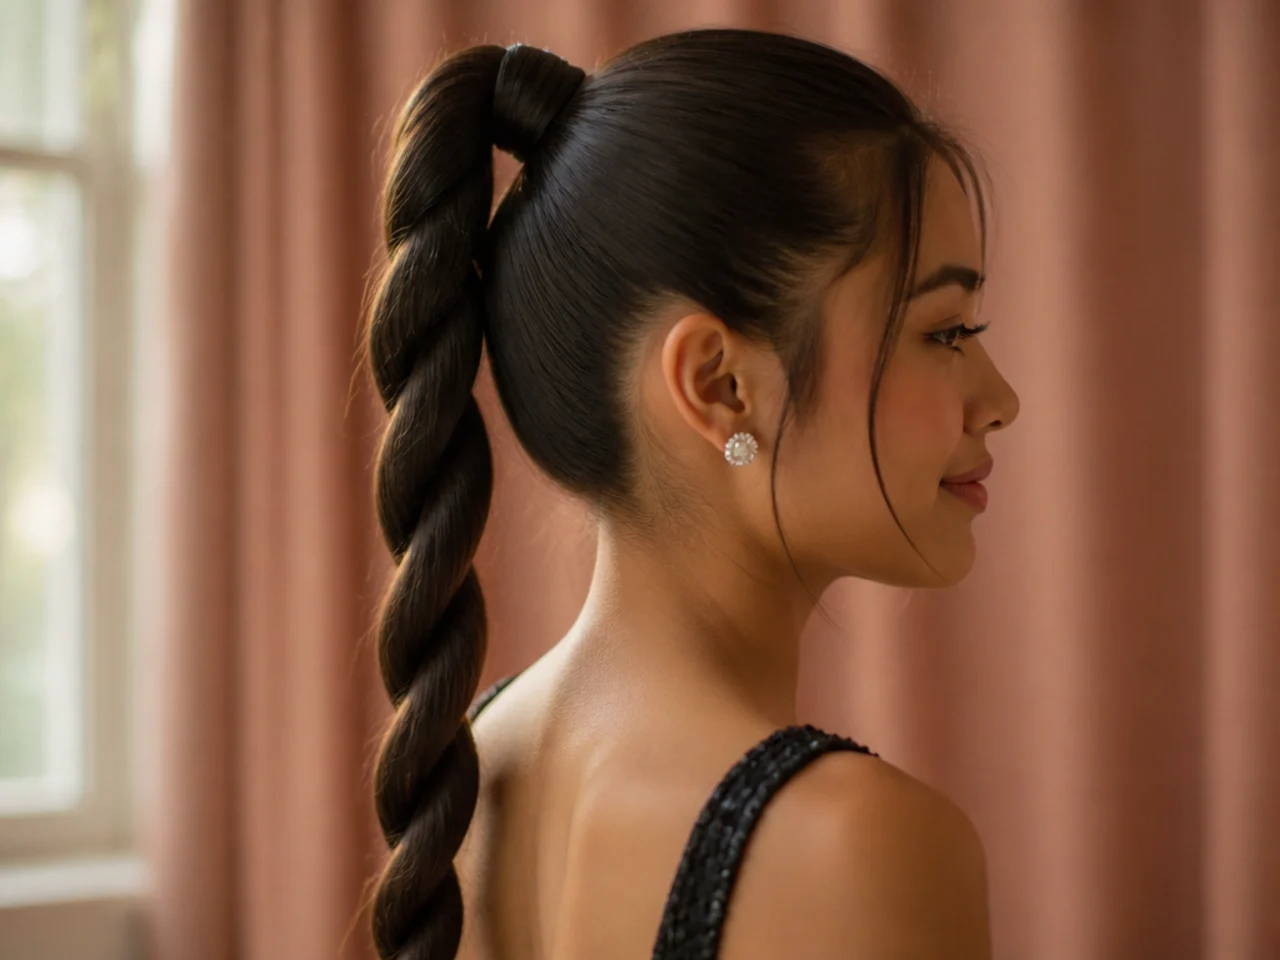
23. Scarf Tied Around a Low Bun
Tie a square scarf around the base of a finished bun and knot it underneath. A scarf adds bulk where a thin bun looks sparse, and knotting under the bun keeps the weight of the fabric from dragging the pins downwards.
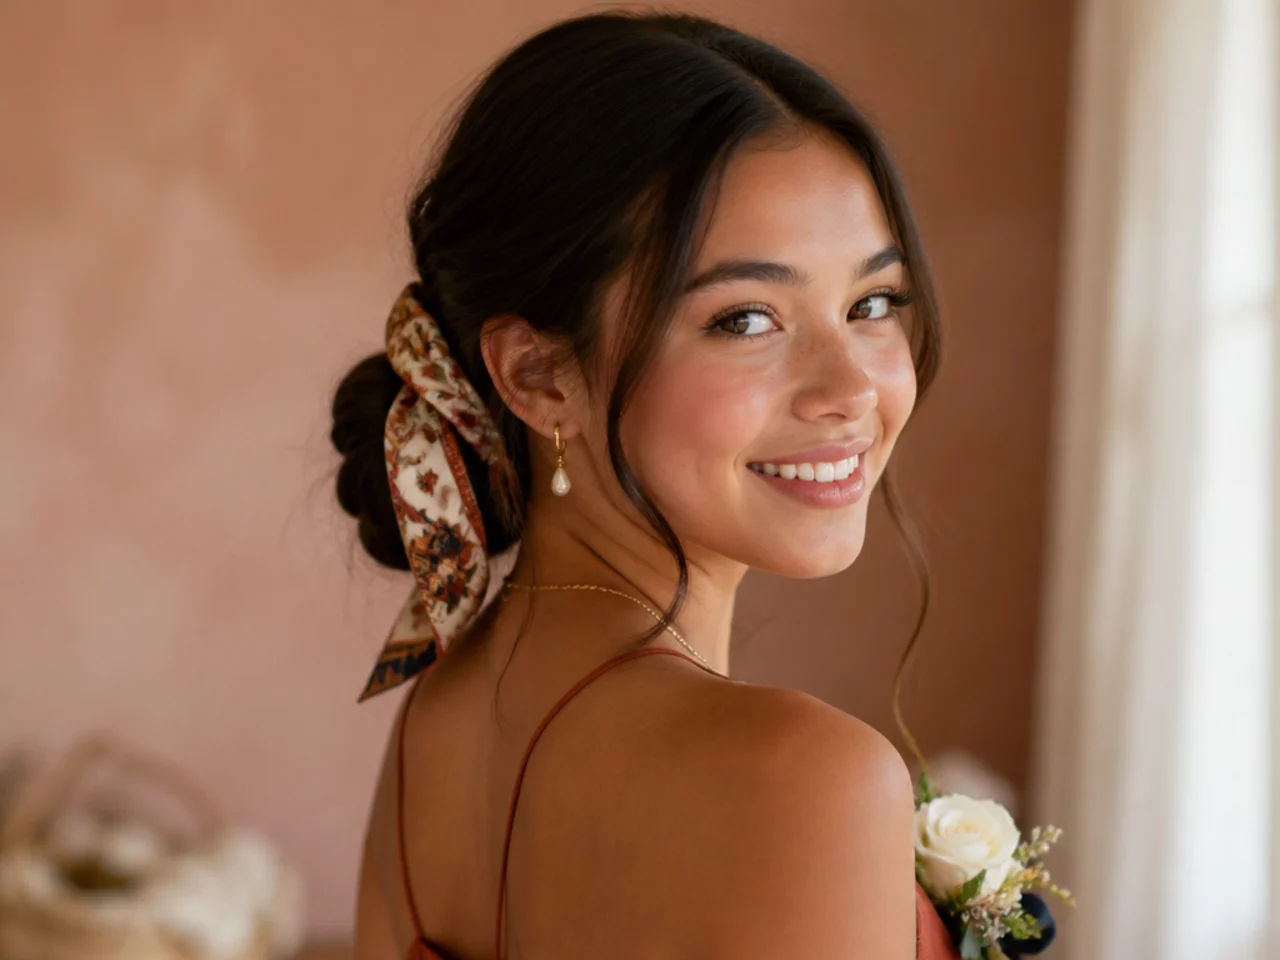
24. Curly Half Up Puff
Gather the top section without a brush, using only fingers, so the curl pattern survives being pulled back. Brushing a curl clump apart turns it to frizz, and more ideas for keeping definition are in hoco hairstyles for curly hair.
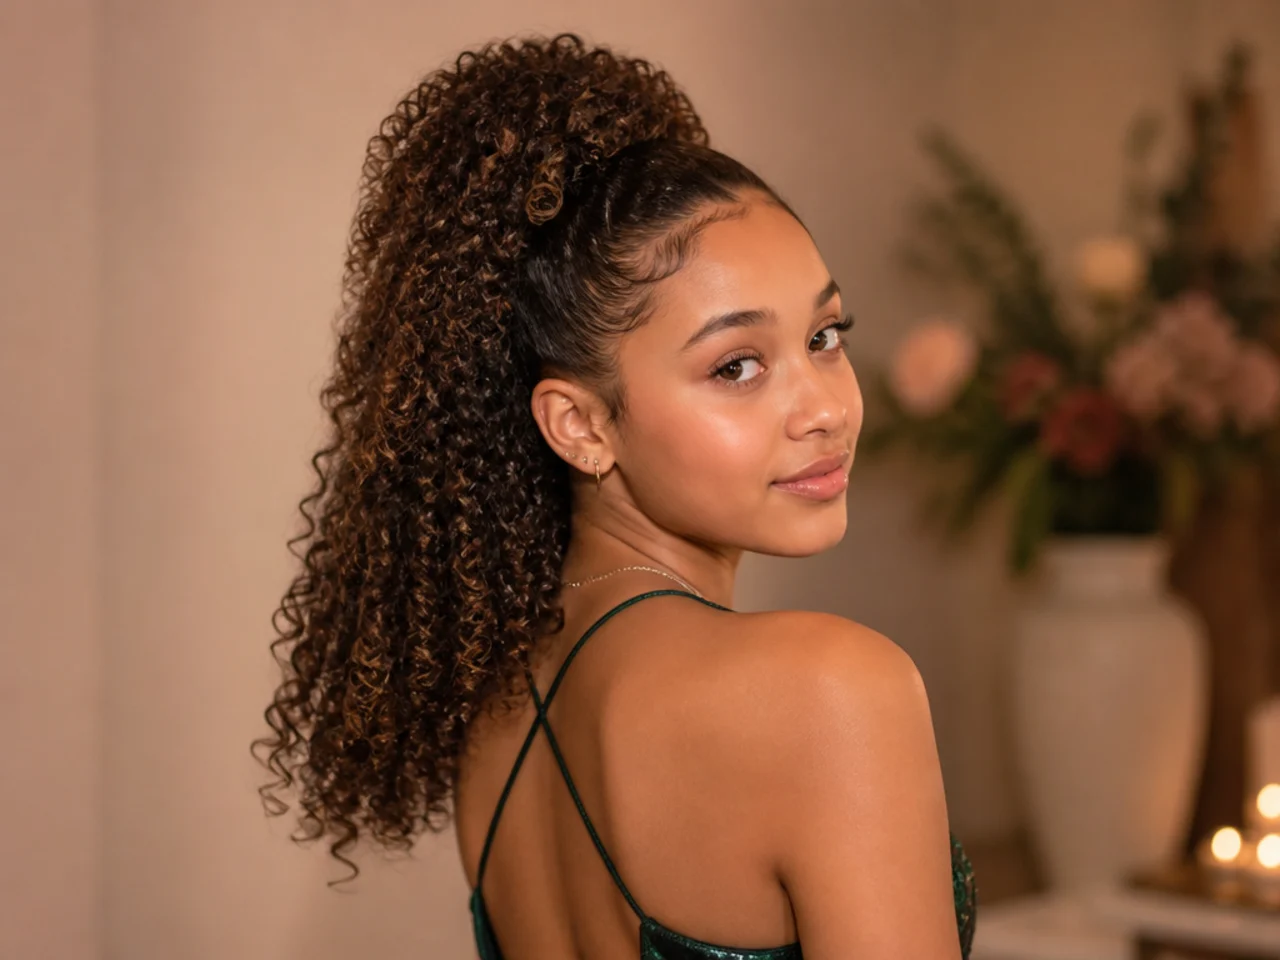
25. Faux Bob Pinned Under
Roll the lengths under and pin them at the nape so long hair reads as a bob for the night. The roll needs to sit against the neck rather than hang below it, because a gap between the roll and the skin shows the trick from the side.
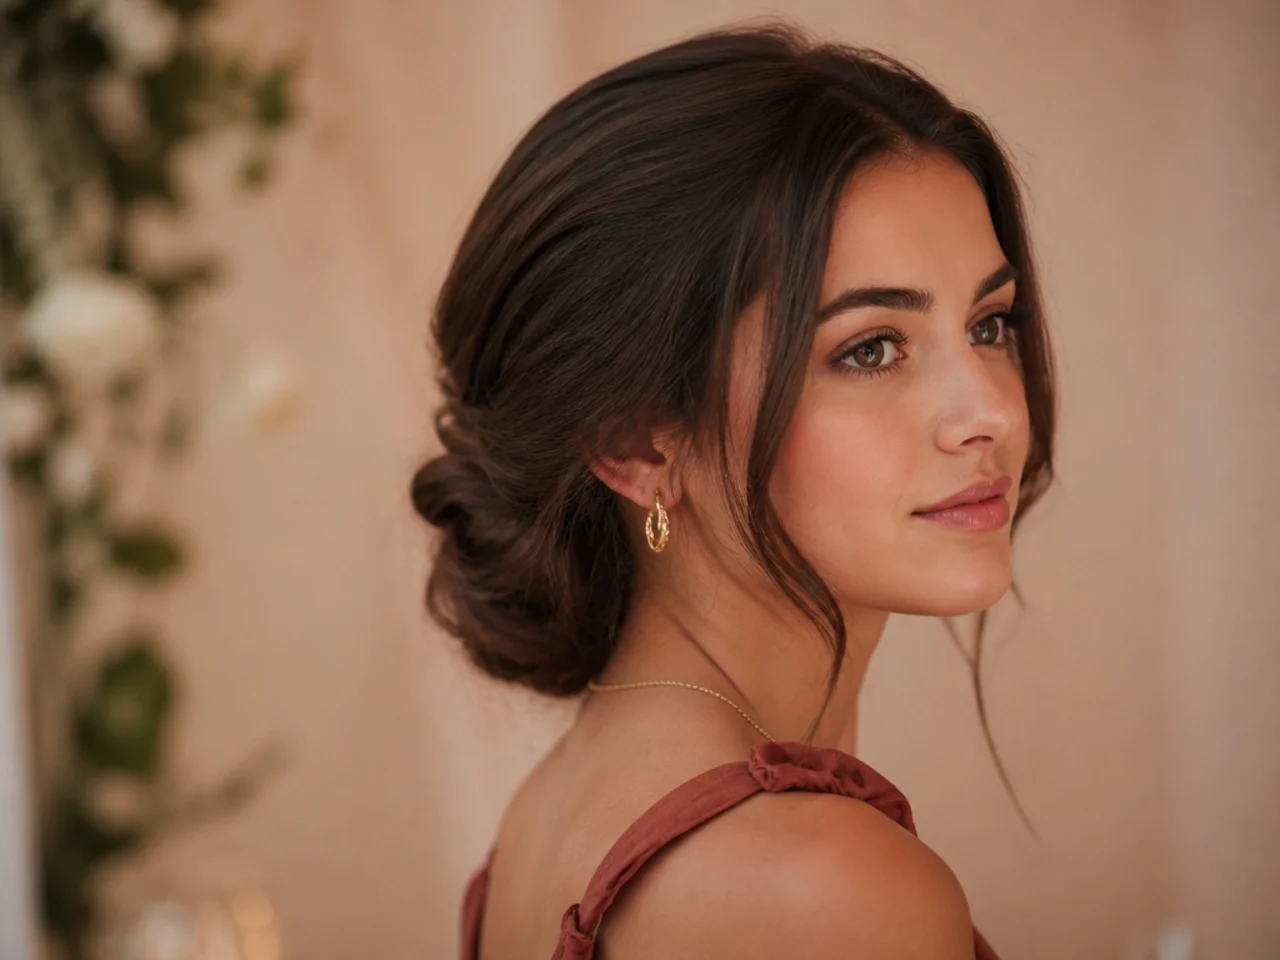
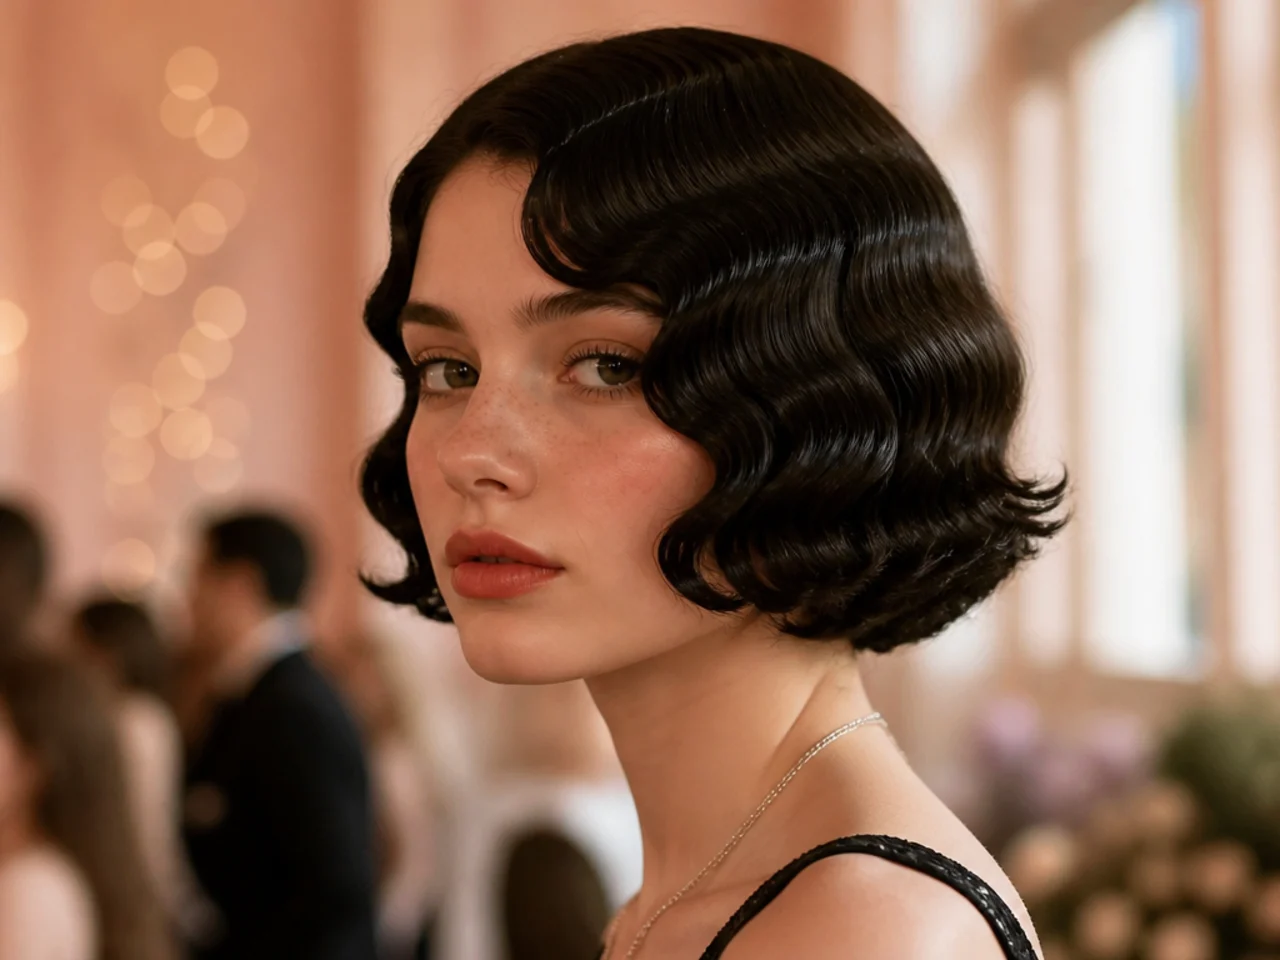
26. Finger Waves on a Short Bob
Comb strong gel through wet hair and press the S bends in with a comb and two fingers, then leave it to dry untouched. The waves are held entirely by the gel setting hard, so any touching before it dries flattens them. More short options in hoco hairstyles for short hair.
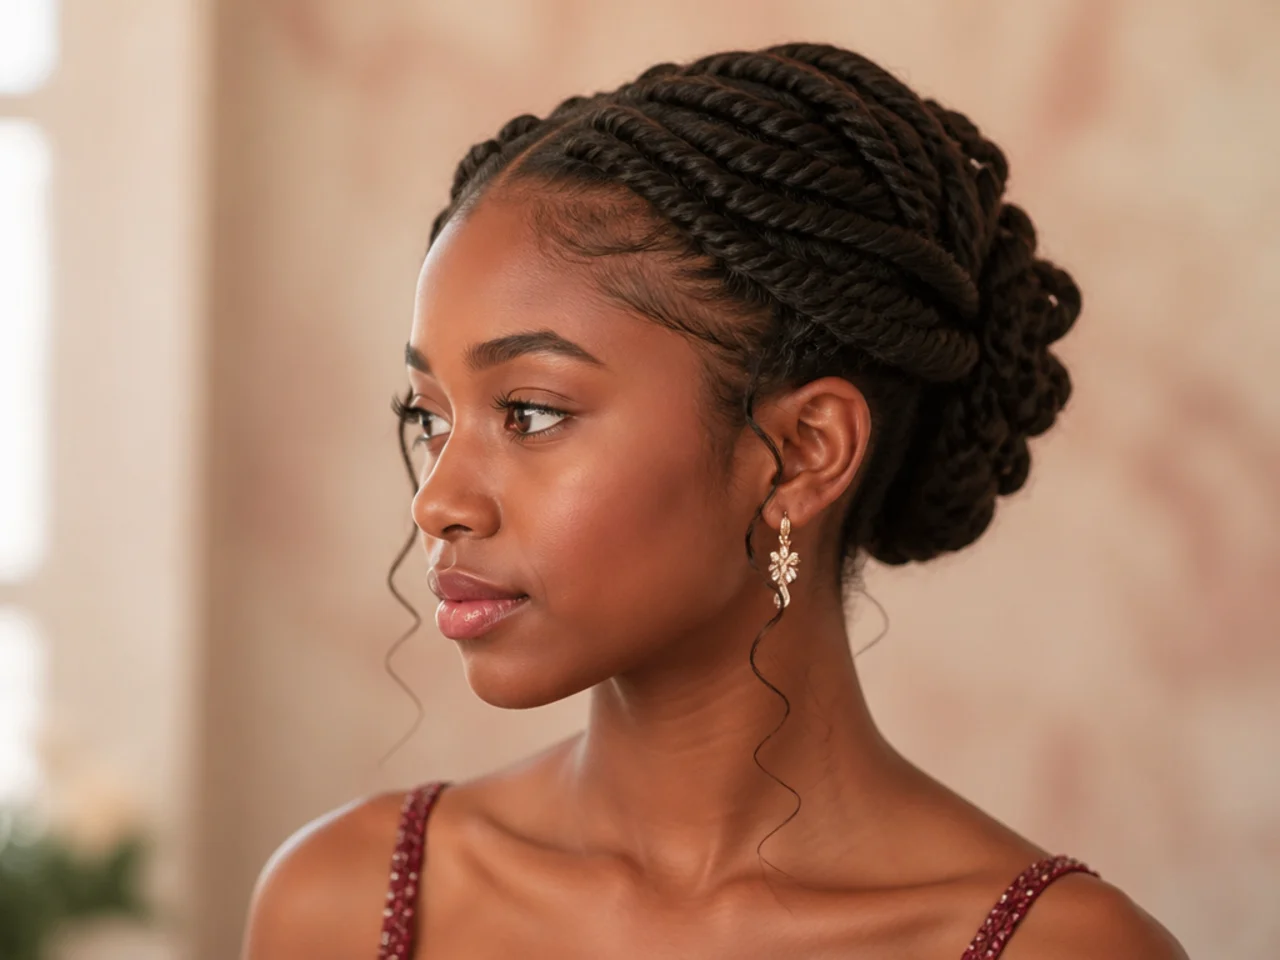
27. Two Strand Twists Pinned Into an Updo
Twist sections the night before, then pin them up on the day. Twists set overnight hold their shape once unpinned, so the updo is built from pieces that already have structure instead of from loose hair that needs to be forced into position.
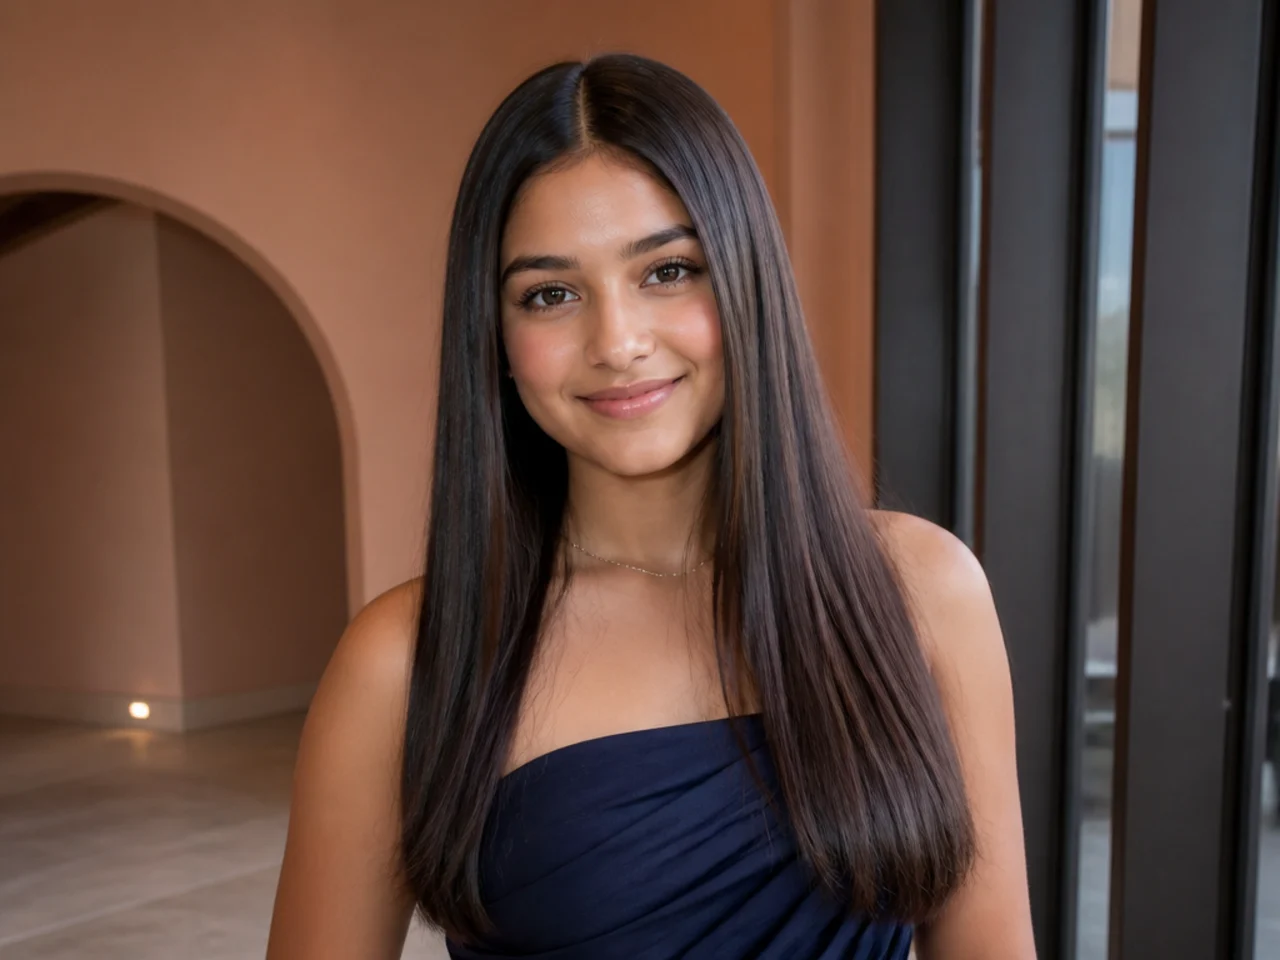
28. Straightened Sleek Down With a Centre Part
The whole effect depends on the ends, so run the iron slowly through the last few inches and quickly through the roots. Ends catch the light and show every kink, while the roots are hidden under the layers above them.
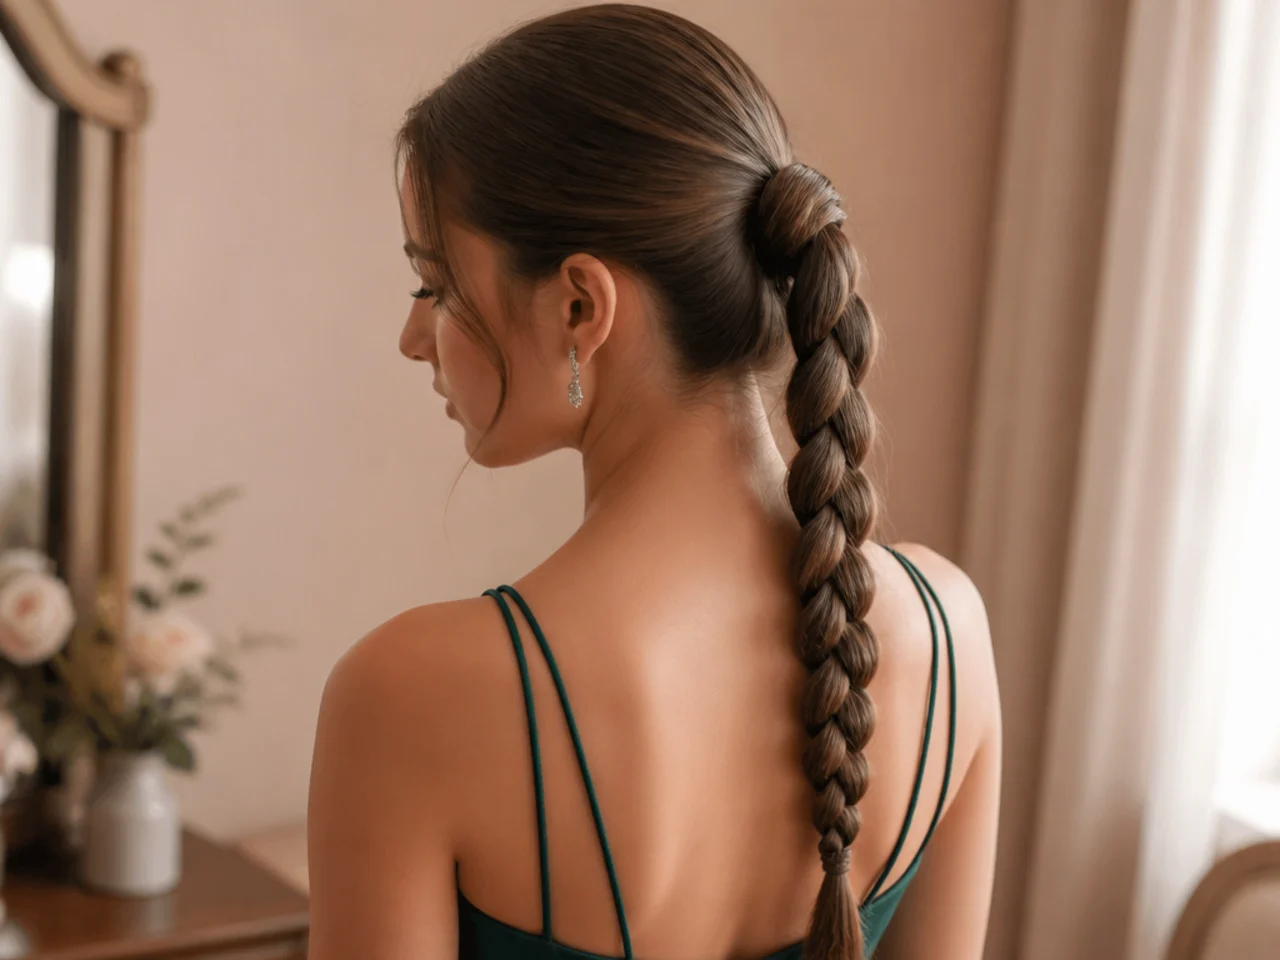
29. Braided Ponytail With a Wrapped Base
Tie the ponytail first, braid it second. Braiding before tying puts the elastic in the middle of the plait where it cannot be hidden, and the wrapped base is the detail that separates this from an everyday school braid.
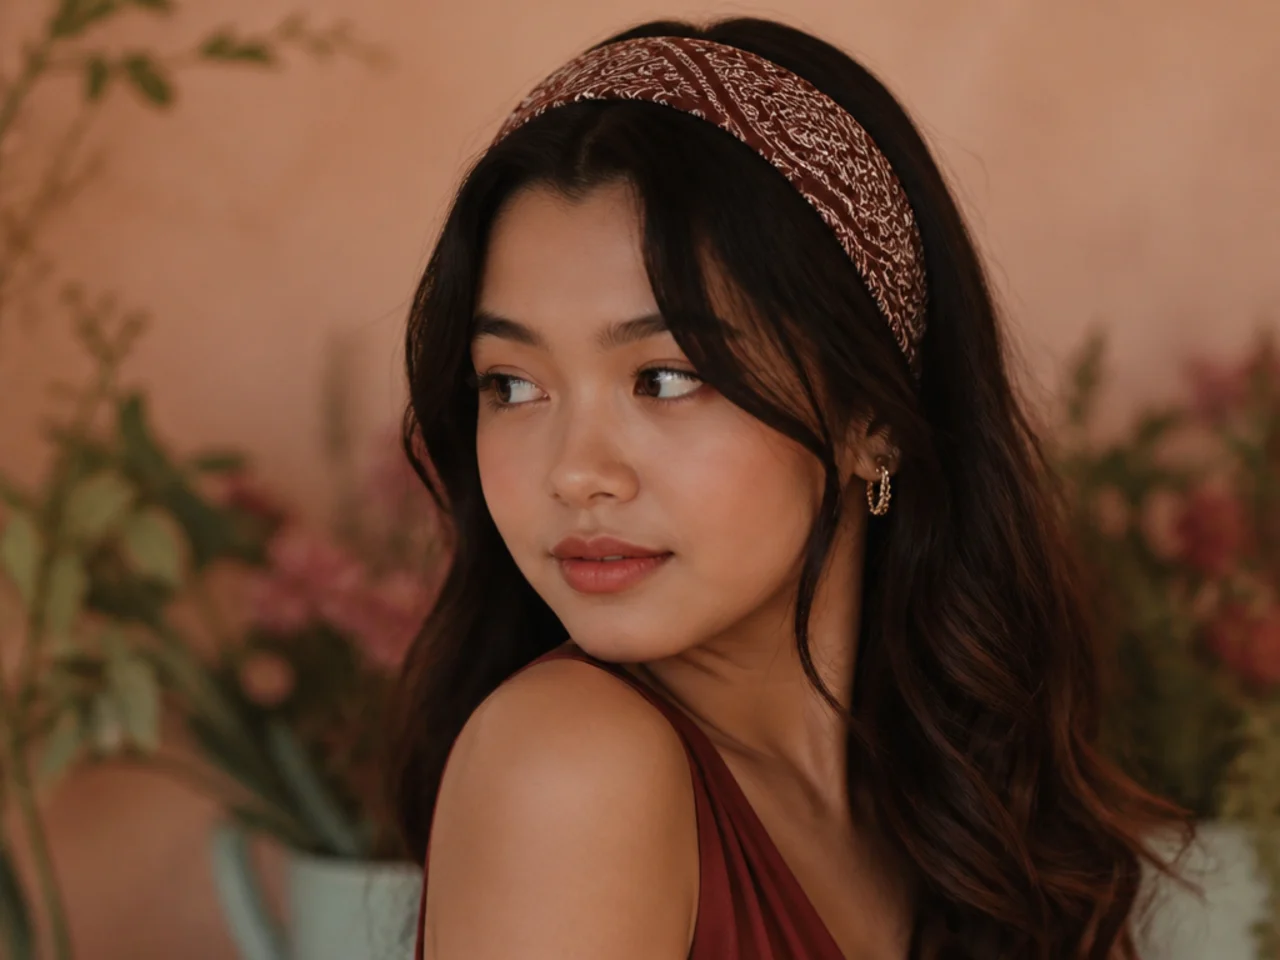
30. Bandana Rolled as a Headband
Fold a square bandana into a narrow strip and tie it under the hair at the nape rather than on top. Tying it underneath hides the knot and keeps the band flat across the crown, where a visible knot on top drags the whole thing sideways.
Styling and Upkeep
Style on second day hair. Clean hair has no friction and every pin slides out of it within the hour.
Buy one good packet of pins. Cheap pins lose their bend, and a style held by twenty loose pins fails all at once.
Set the style two hours early. Updos drop slightly as they relax, and you want that settling to happen before the photographs.
Spray in layers, not in one coat. A heavy coat lands wet, softens the shape and dries it back down flat.
Carry four spare pins. One pin pushed back in during the evening saves a style that would otherwise have to come down.
Mistakes to Avoid
Washing your hair the morning of. It is the single most common reason an updo does not survive the evening.
Pinning along the grain of the hair. A pin lying in the same direction as the strands holds nothing and slides straight out.
Loading a thin bun with accessories. Weight pulls at pins, and a heavy clip in a sparse bun drags it out of shape.
Taking heatless curls down while damp. Any section still wet has not set, and that section drops flat within minutes.
Trying a style for the first time on the day. Every one of these is easy on the second attempt and slow on the first.
FAQ
Clean or dirty hair? Second day hair, every time — grip is what holds an updo together.
How early? Two hours before you leave, so the style settles before photographs.
Cheapest upgrade? Root volume and a clean parting, both free.
Final Thoughts
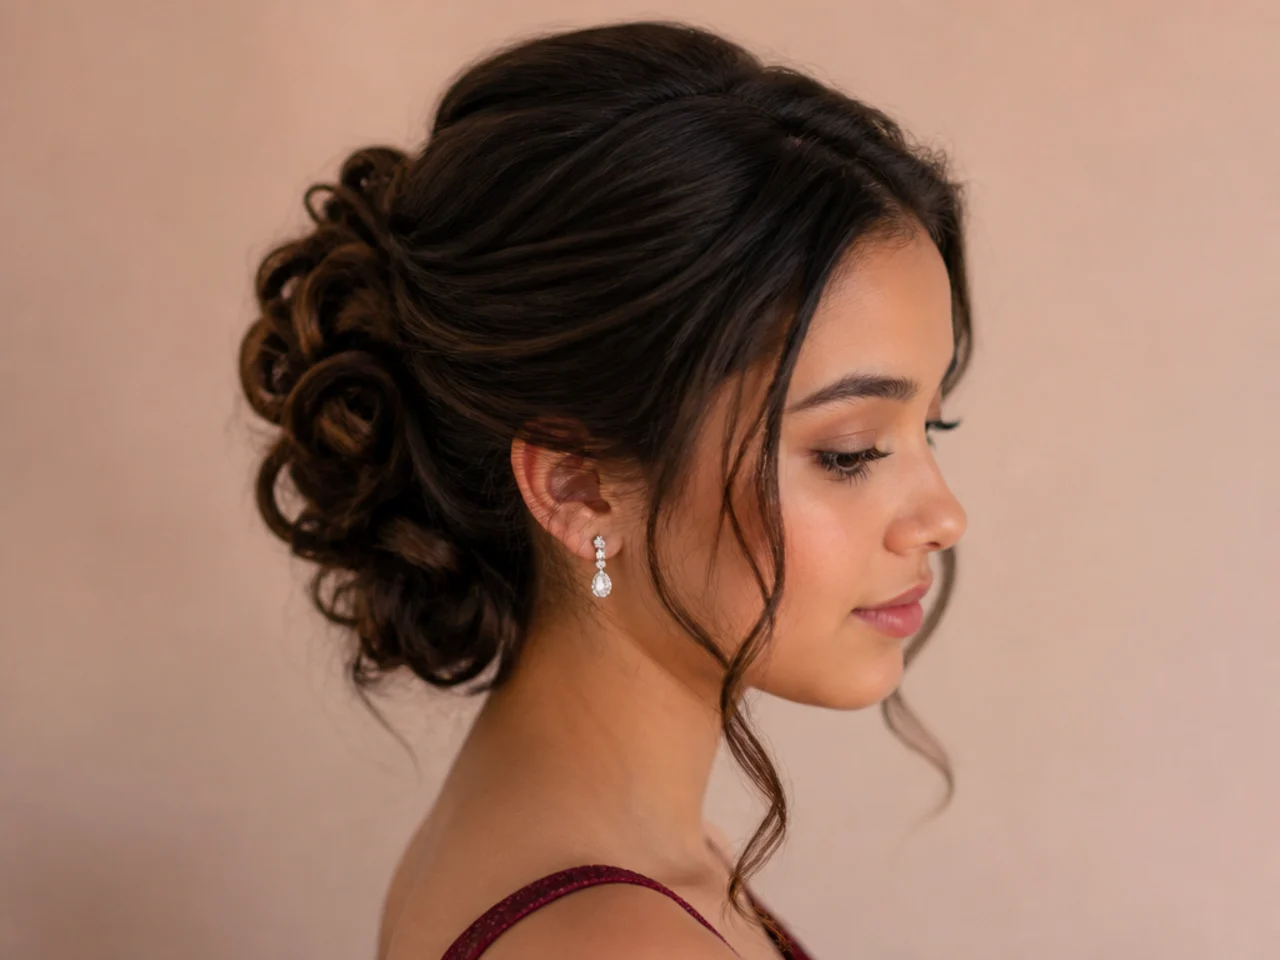
Nothing on this list is expensive, and none of it is technically hard. The difference between a style that photographs well and one that fails is grip at the base, pins set across the grain, and enough time for the shape to settle before you leave.
For texture that keeps its definition see hoco hairstyles for curly hair, and for anything above the shoulder see hoco hairstyles for short hair. More in Occasion Hair.
Frequently asked questions
Related posts
See all posts
15 Graduation Hair Ideas for the Updo Versus Down Decision
Read more
15 Straight Hair Wedding Looks to Save
Read more
20 Gorgeous Prom Looks for Straight Hair
Read more