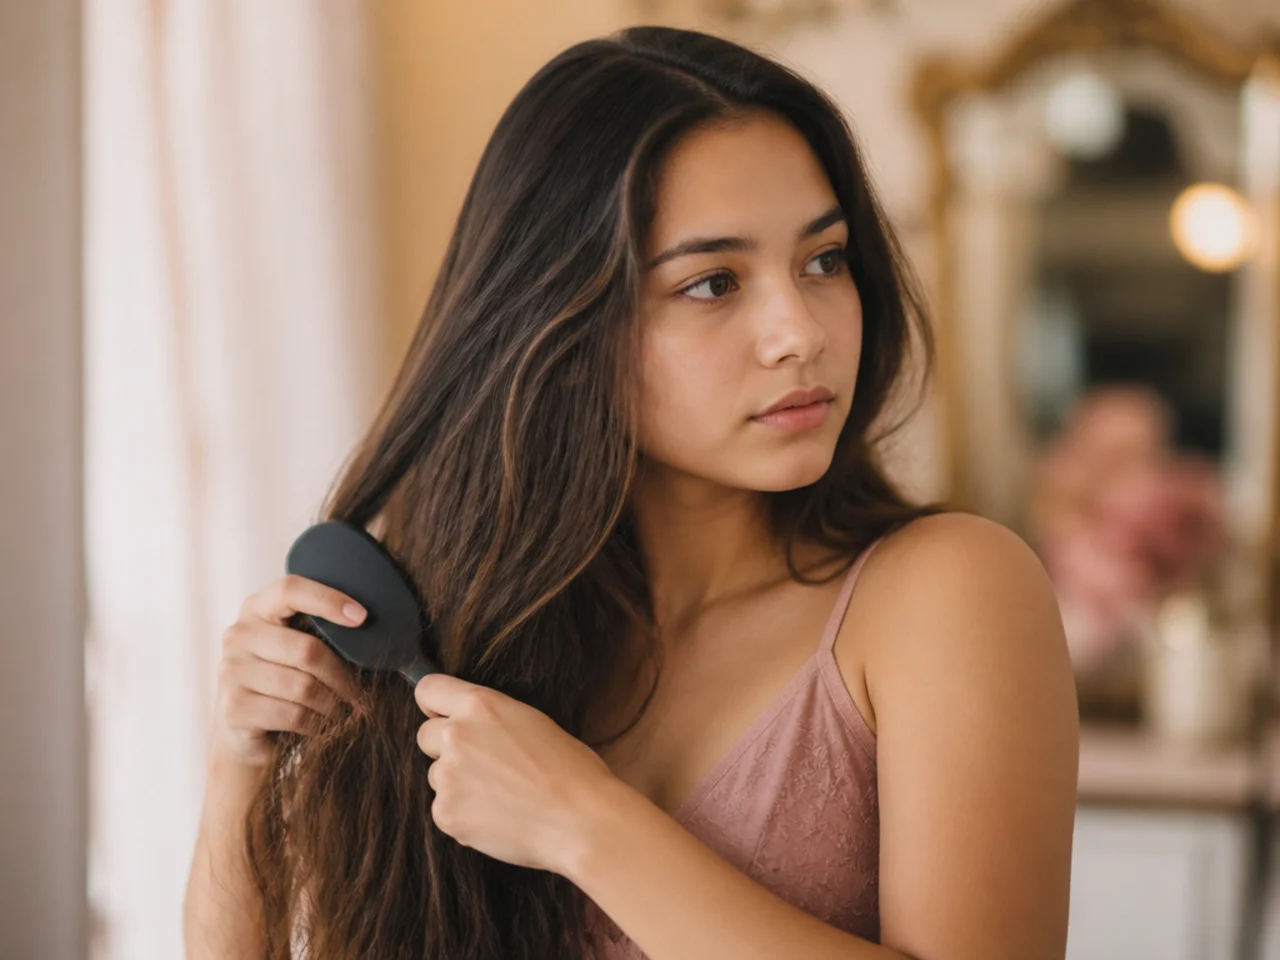
15 Simple Steps To Pin A Cozy Hoco Bun At Home
A cozy bun is built tight and loosened afterwards, never pinned soft in the first place. Fifteen steps in order, with what each one is holding and what fails if you take it out of sequence.
In this article · 22
- What Makes a Bun Read Cozy Not Messy
- Choosing Where the Bun Sits
- The 15 Steps
- 1. Start on Day Two Hair
- 2. Lay Out Pins and Elastics First
- 3. Curl the Lengths Before You Gather
- 4. Let the Curls Cool Before You Touch Them
- 5. Set the Parting You Want to Keep
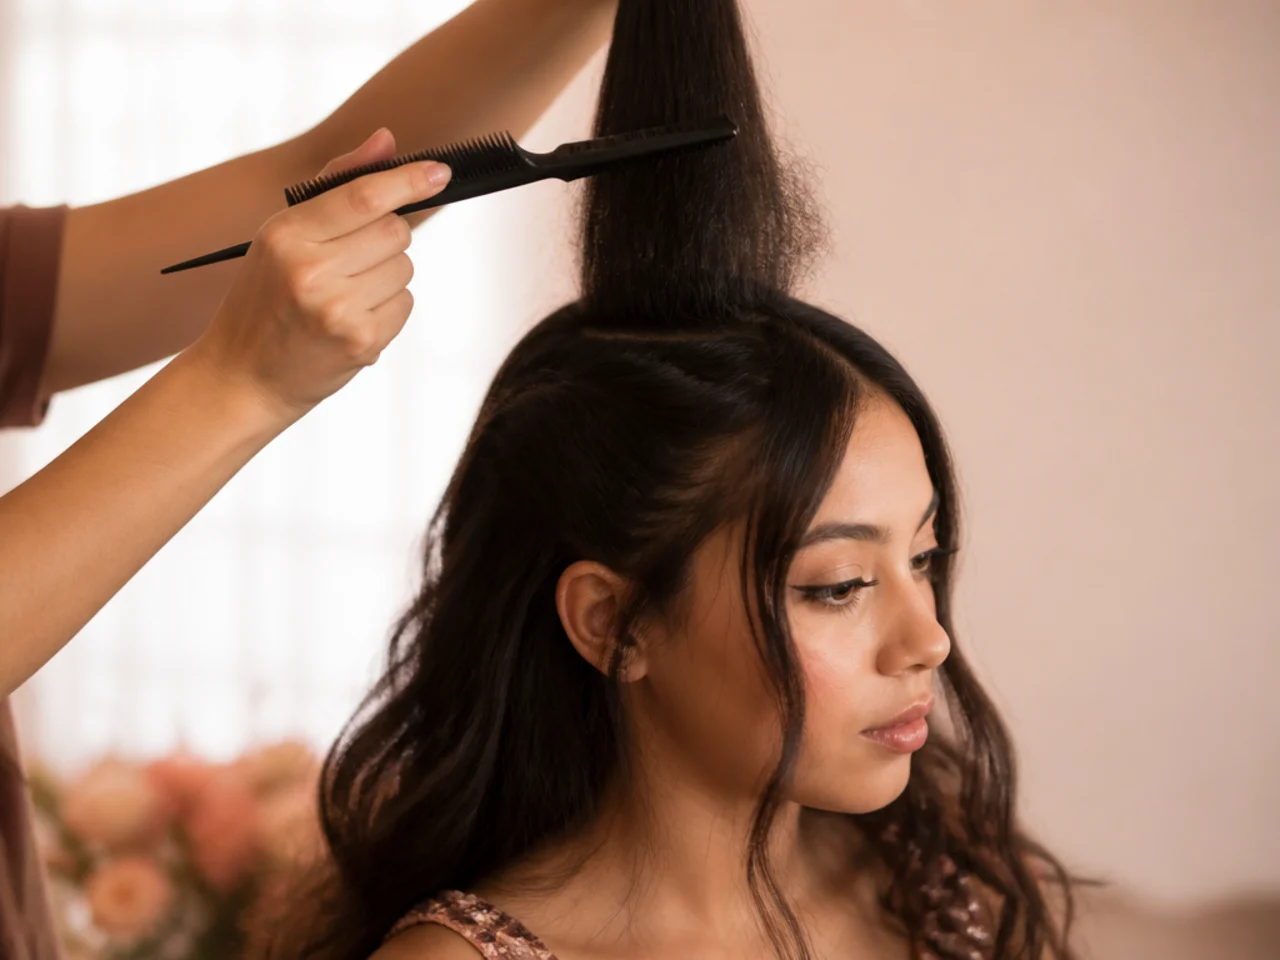
- 6. Backcomb the Crown in Three Narrow Sections
- 7. Smooth Only the Top Layer Over It
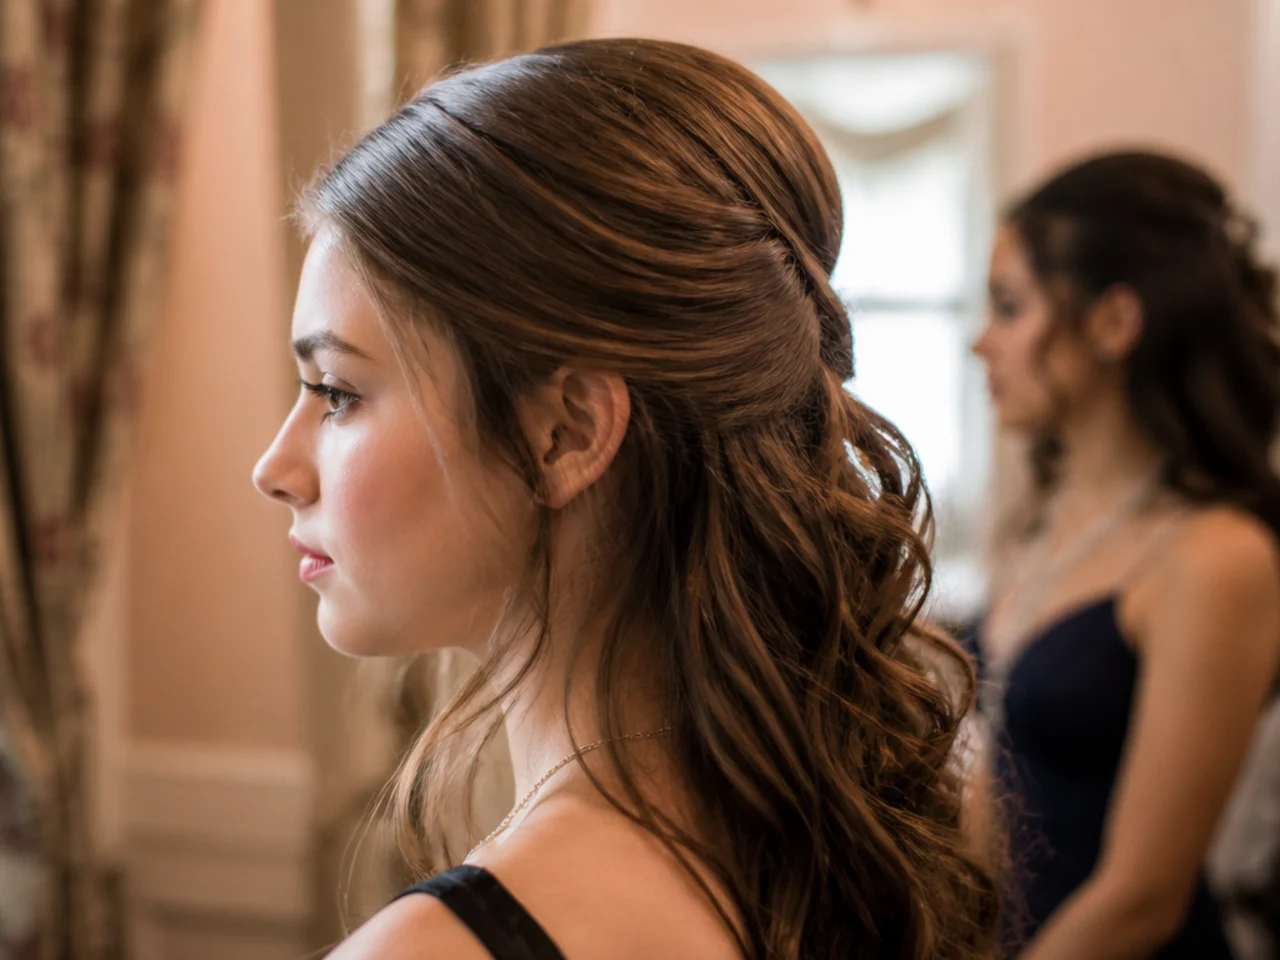
- 8. Gather Low With Your Chin Level
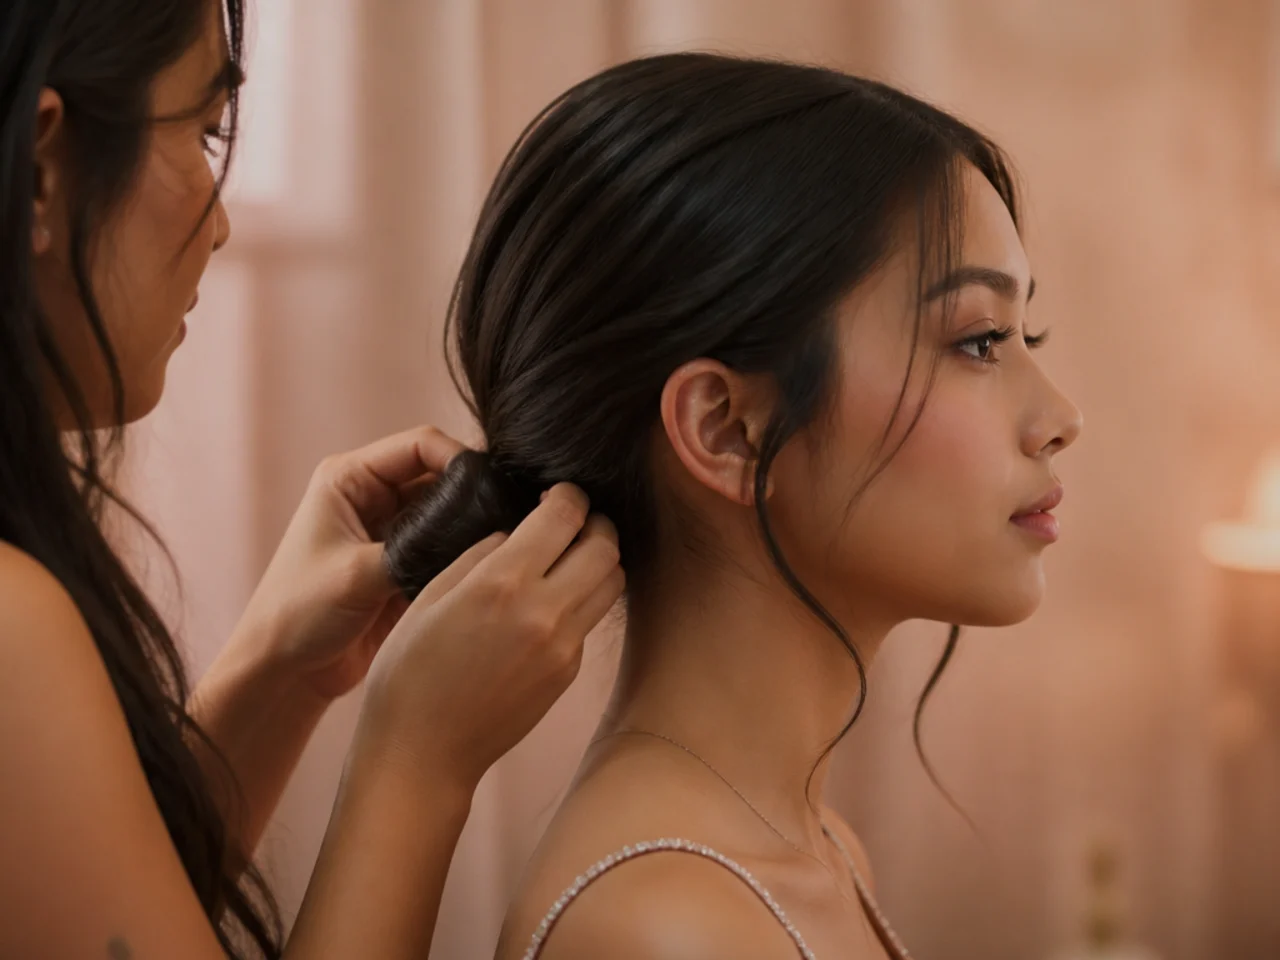
- 9. Leave a Finger of Slack at the Base
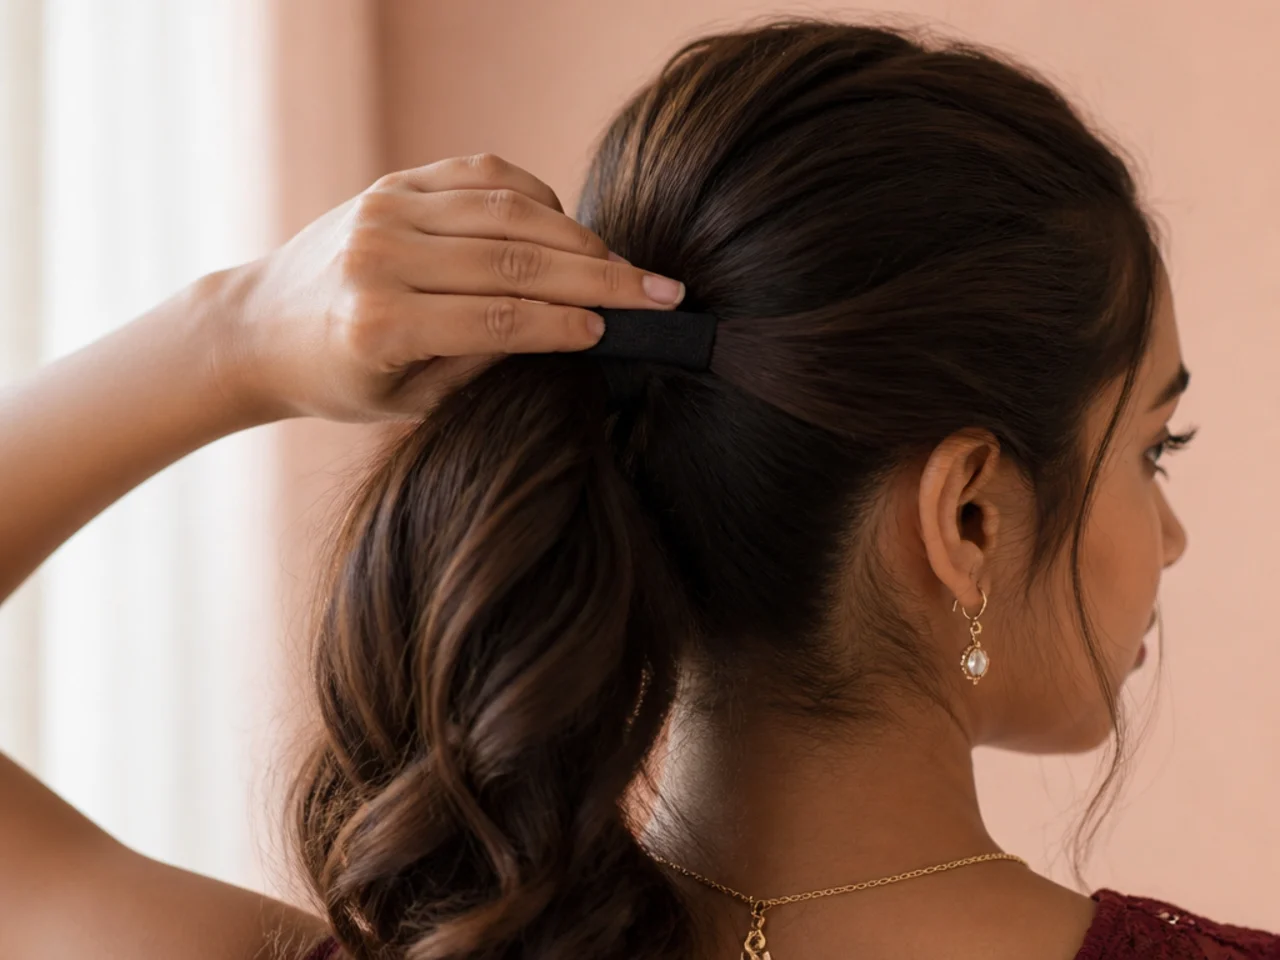
- 10. Twist the Tail in One Direction
- 11. Wrap the Twist Around the Base
- 12. Cross Your Pins Into the Elastic
- 13. Loosen the Outer Edge of the Coil
- 14. Pull Out the Face Framing Pieces
- 15. Set It With Two Light Passes
- Styling and Upkeep
- Mistakes to Avoid
- FAQ
- Final Thoughts
A bun that was pinned soft is a bun that comes down, and that single mistake accounts for most homecoming buns that do not survive the first hour.
Build tight, loosen last. The base takes the weight and the surface takes the softness. Doing it in the other order gives you neither.
Pins hold structure, not hair. A pin pushed into the elastic or into a twist has something solid to grip. Pushed into smooth surface hair, it works its own way out.
What Makes a Bun Read Cozy Not Messy
Cozy is looseness you added on purpose. Every soft piece was pulled out after the bun was secure, from a place you chose.
Height above the bun does half the work. A soft coil under a flat crown reads as hair that came down. The same coil under a lifted crown reads as a style.
The coil needs a visible edge. Ends tucked inside give the bun a defined outline. Ends left hanging out make it look like it is coming apart, which is a different thing from soft.
Nothing about it is quick. The steps are simple, but the cooling and the pinning both take the time they take, and rushing either is what fails.
Choosing Where the Bun Sits
Low at the nape is the forgiving one. Gravity pulls the coil into the neck rather than away from it, so the pins are holding shape rather than weight.
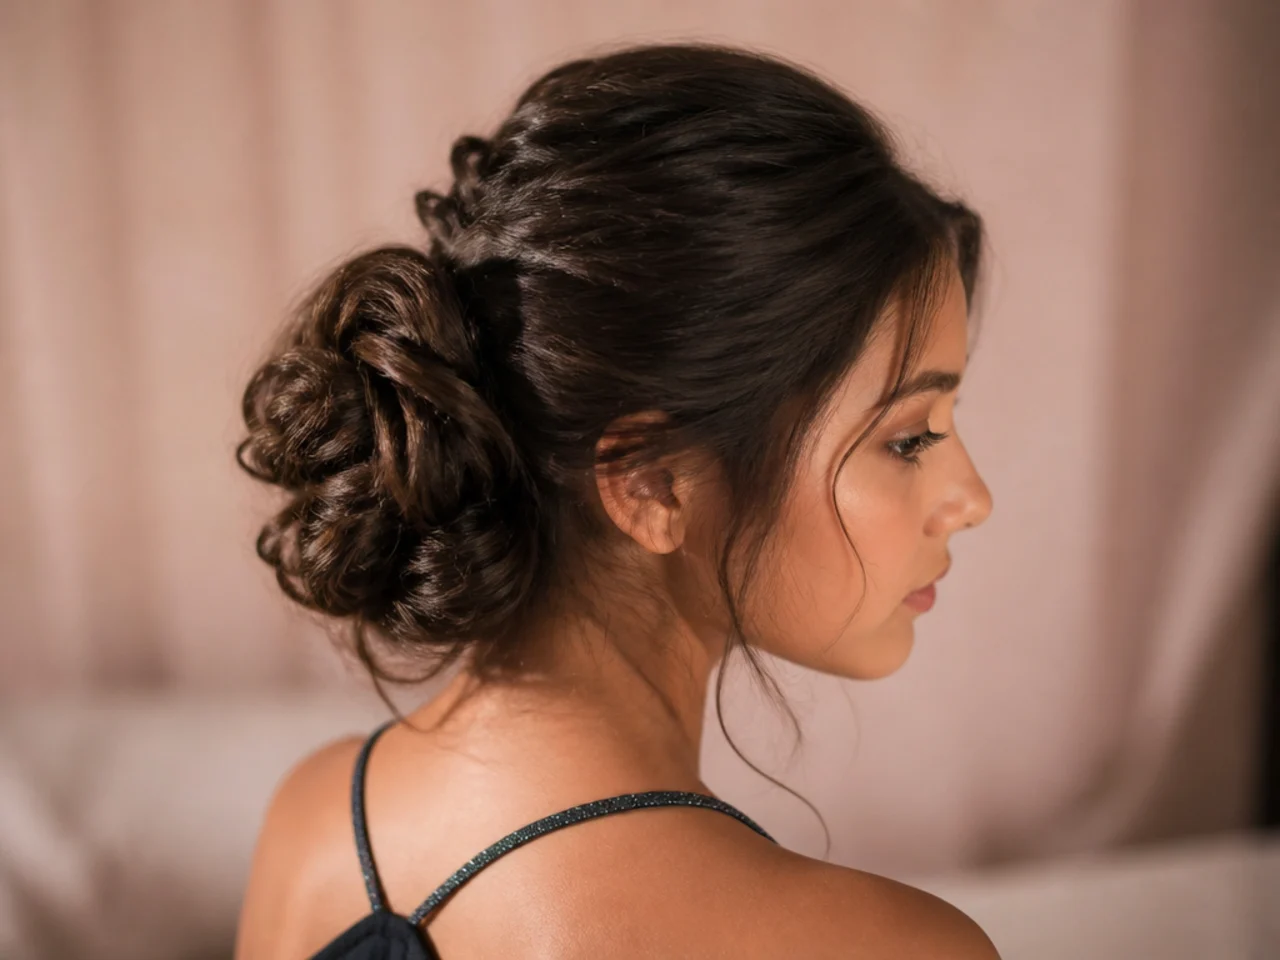
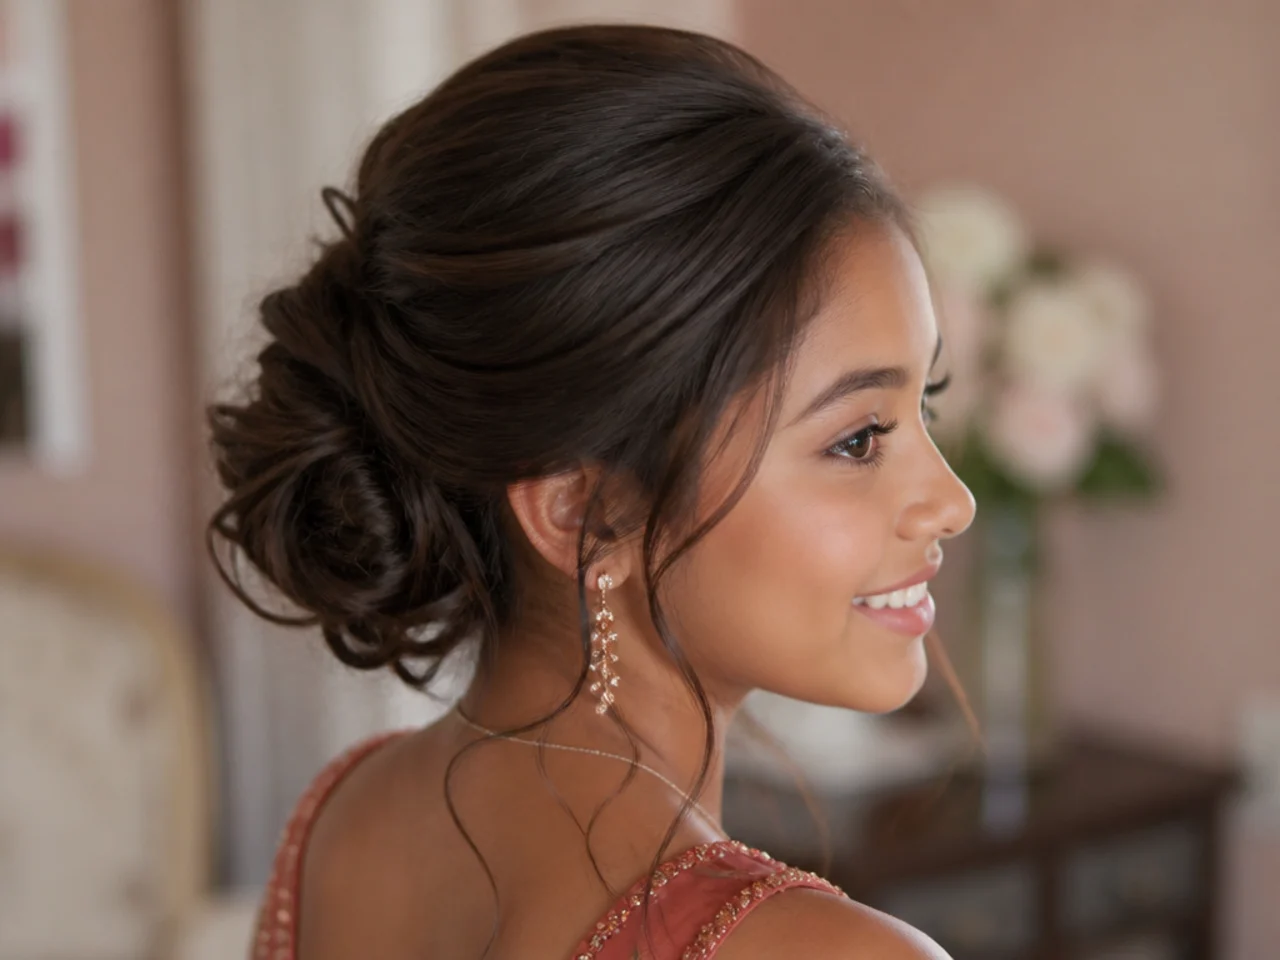
At the occipital bone is the photograph one. That is the point where the head curves back, so the bun shows in profile instead of disappearing behind the neck.
High is the demanding one. The entire weight hangs off the base with nothing beneath it, so it needs more grip, more pins and a tighter gather.
Choose it against the dress. A low bun sits against a high neckline comfortably. A higher one leaves the shoulders clear, which matters with anything strapless.

The 15 Steps
1. Start on Day Two Hair
Freshly washed hair has a smooth closed cuticle, so the strands slide against each other and every pin you place is holding against almost no friction. A day of natural oils gives the sections grip. Skip this and the bun will be technically correct and still on your shoulders by nine.
2. Lay Out Pins and Elastics First
Count out eight to ten pins, two elastics and a comb, and put them where one hand can reach them. Once you are holding a coil you cannot let go of it to go looking, and a released coil never lands back in the same position.

3. Curl the Lengths Before You Gather
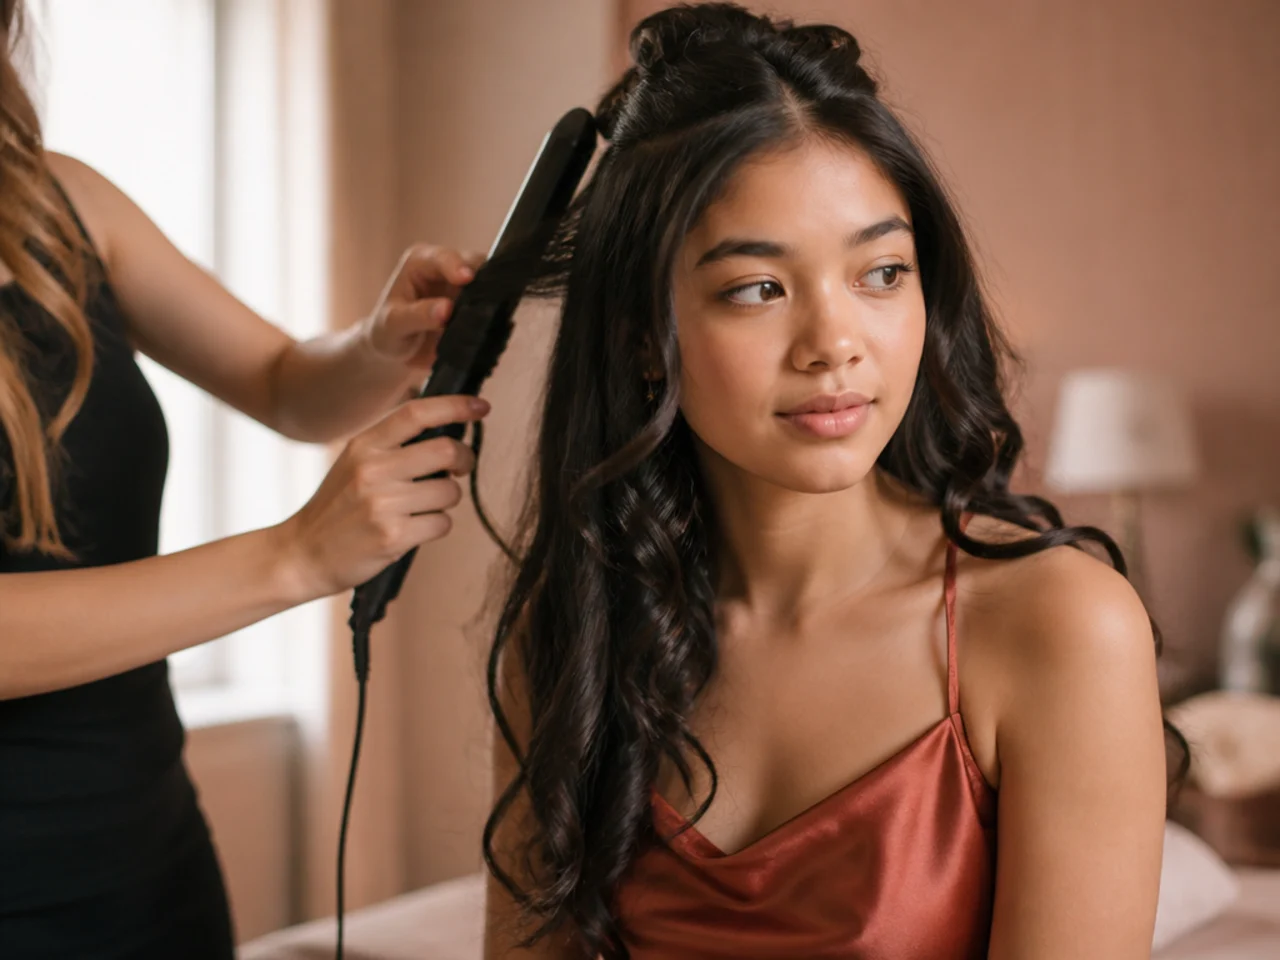
Curled hair has bends in it that lock against neighbouring strands once it is coiled, so the bun holds itself together from the inside. Straight hair packed into the same coil compresses into a smooth slippery mass that relies entirely on the pins.
4. Let the Curls Cool Before You Touch Them
Hair takes its shape as it returns to room temperature, not while it is hot. Coil a warm curl and it sets into the coil rather than into the curl, so when you loosen the bun later there is no texture left inside it to hold anything.

5. Set the Parting You Want to Keep
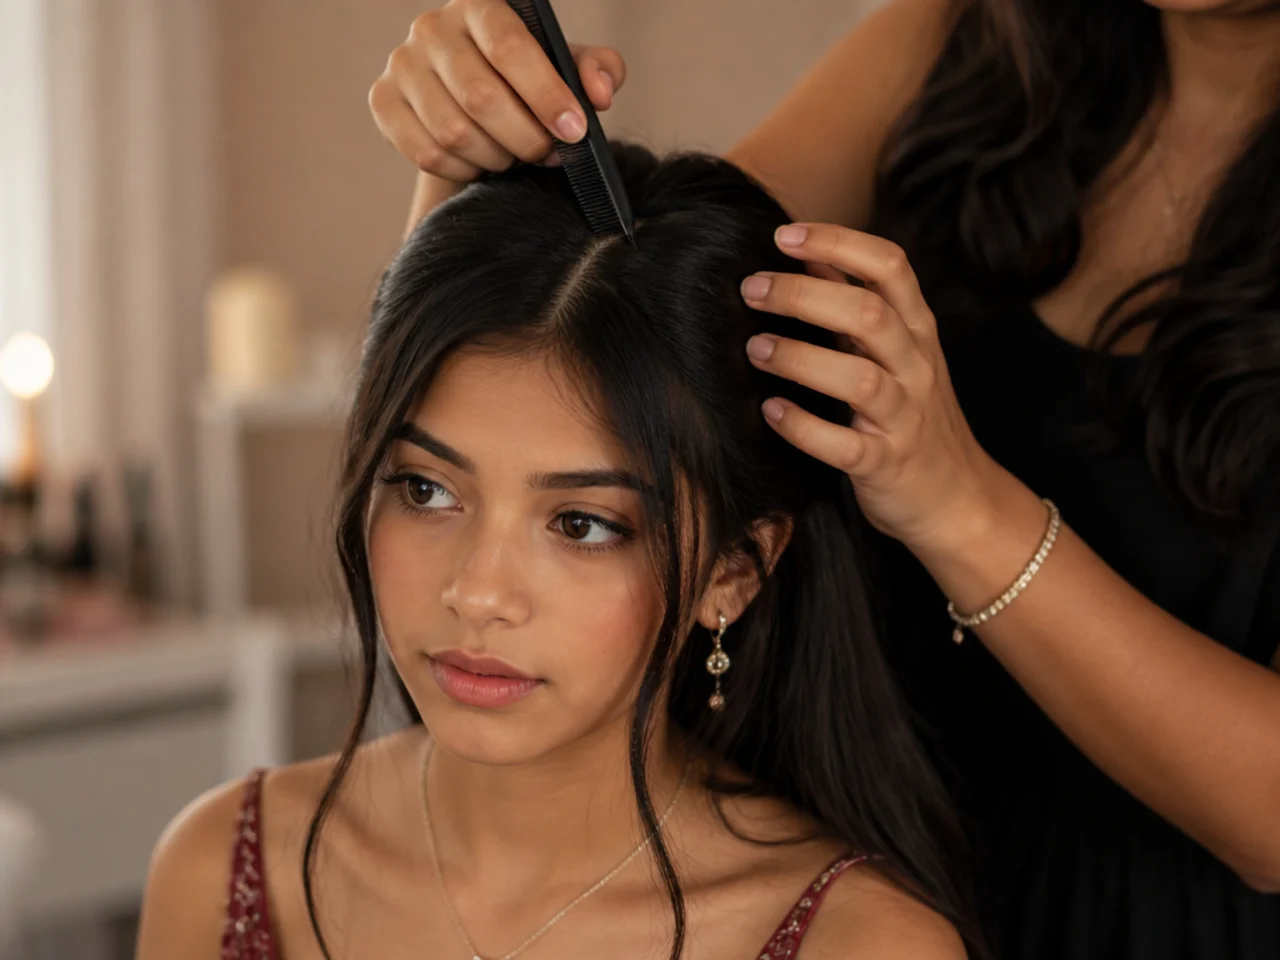
Comb it in now, while all the hair is still loose. A parting made after the hair is gathered has to be dragged through a fixed shape, so it stands away from the scalp and shows a pale line for the rest of the evening.
6. Backcomb the Crown in Three Narrow Sections
Lift a narrow section, comb toward the root three times, drop it and repeat twice more. Three small bases hold each other up, where one wide backcombed section is a single mass that collapses under the weight of the smoothed layer above it.
7. Smooth Only the Top Layer Over It
One light pass with a soft brush across the surface. Any more pressure and the bristles pull the backcombed hair out from underneath, which drops the crown flat again and leaves you with the roughness but none of the height.
8. Gather Low With Your Chin Level
Look straight ahead while you gather. Tipping your head back stretches the hair at the nape, and it slides down again the moment you look forward, taking the bun a couple of centimetres lower than where you set it.
9. Leave a Finger of Slack at the Base
Slide a finger between the elastic and your scalp before you take up the last turn. That slack is what you pull on later to soften the shape, and a base tightened flat to the head has nothing to give, so the finished bun reads severe no matter what you do to the outside.
10. Twist the Tail in One Direction
Keep twisting the same way from root to end. Reverse direction partway and the two halves unwind against each other, so the coil loosens from the middle out and no amount of pinning will hold a shape that is actively undoing itself.
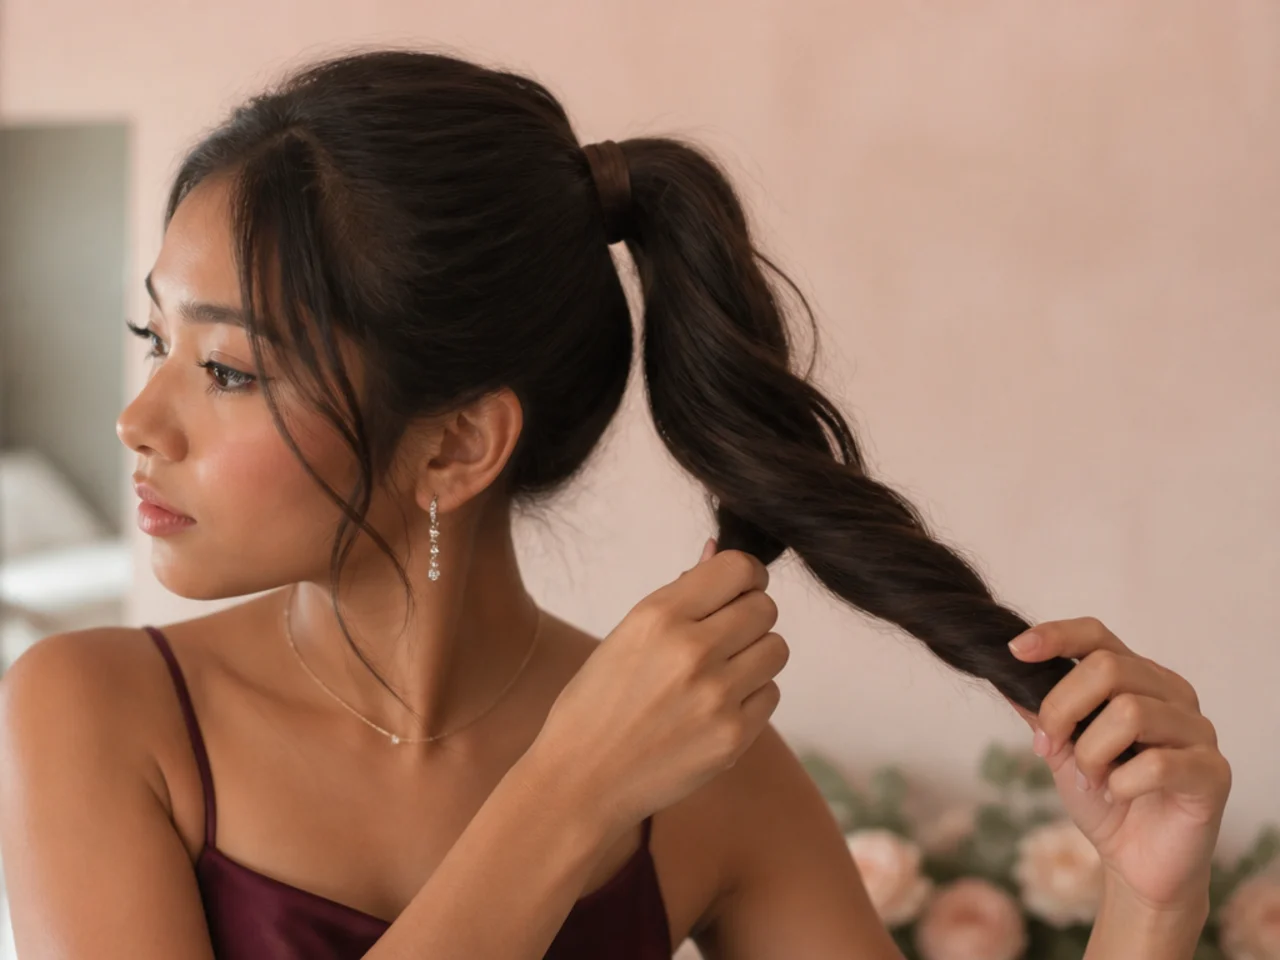
11. Wrap the Twist Around the Base
Wind the twist around the elastic and tuck the last few centimetres underneath the coil. Ends left sitting on the outside work loose first, because they have the least hair holding them and the most contact with everything they brush against.
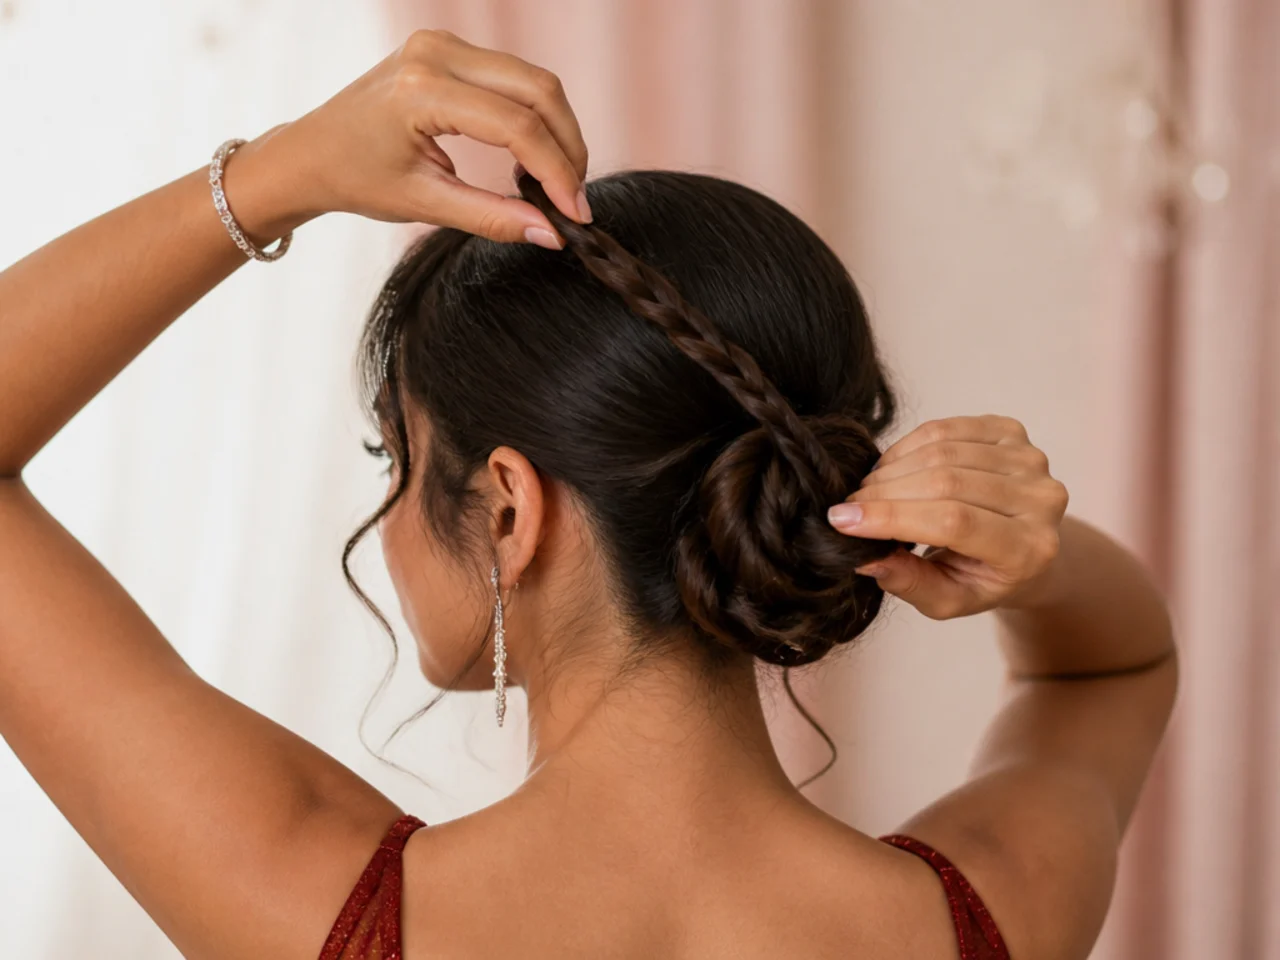
12. Cross Your Pins Into the Elastic
Push each pin in with the ridged side against the scalp, angled up into the elastic, and place them in crossed pairs. A crossed pair resists movement in two directions where two parallel pins both fail the same way at the same time.
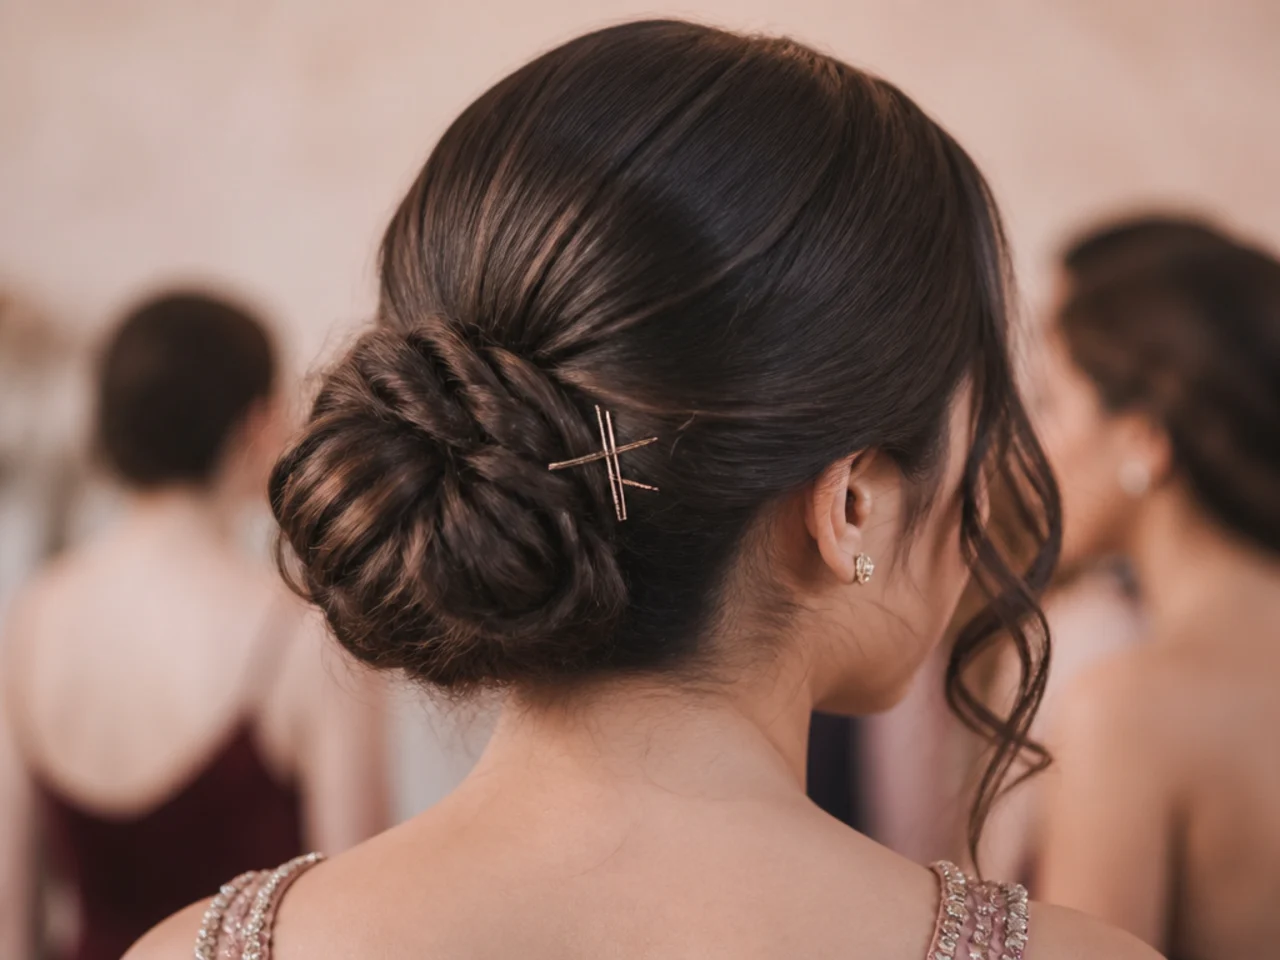
13. Loosen the Outer Edge of the Coil
Pull small pieces from the outside of the bun only, a few millimetres at a time. Pulling near the base releases the structure the pins are holding, and the whole bun drops rather than softening.

14. Pull Out the Face Framing Pieces
Two pieces at the temples, released once the bun is finished but before the spray. Pull them afterwards and you are dragging set hair out of a set shape, so they come away with a hard kink at the point where they were held.

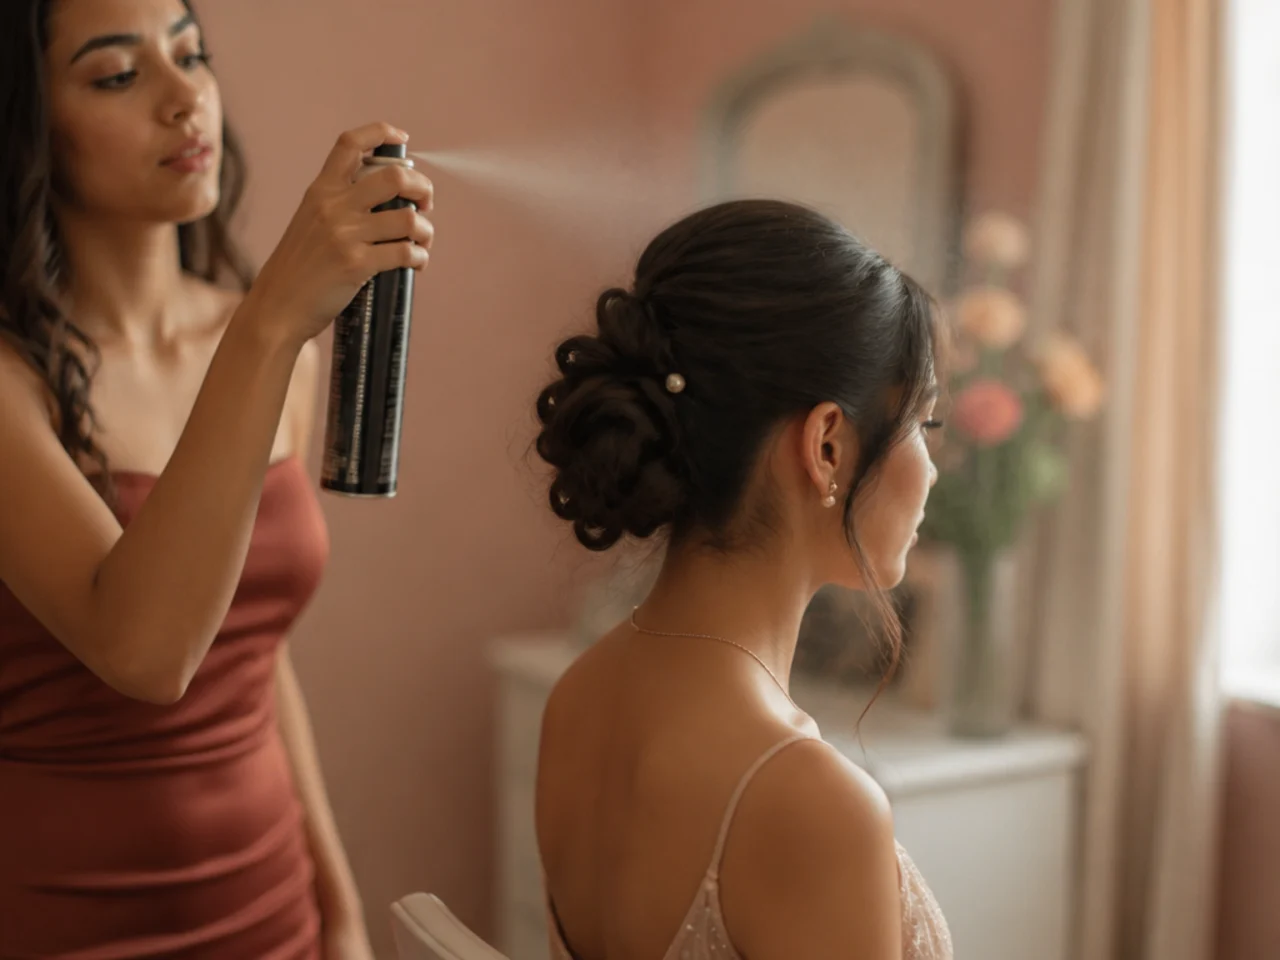
15. Set It With Two Light Passes
Spray from about an arm's length, twice, rather than once from close range. Held close the spray lands as droplets that dry to visible white specks, and a soaked bun goes rigid, so nothing can be adjusted later in the evening without it looking broken.
Styling and Upkeep
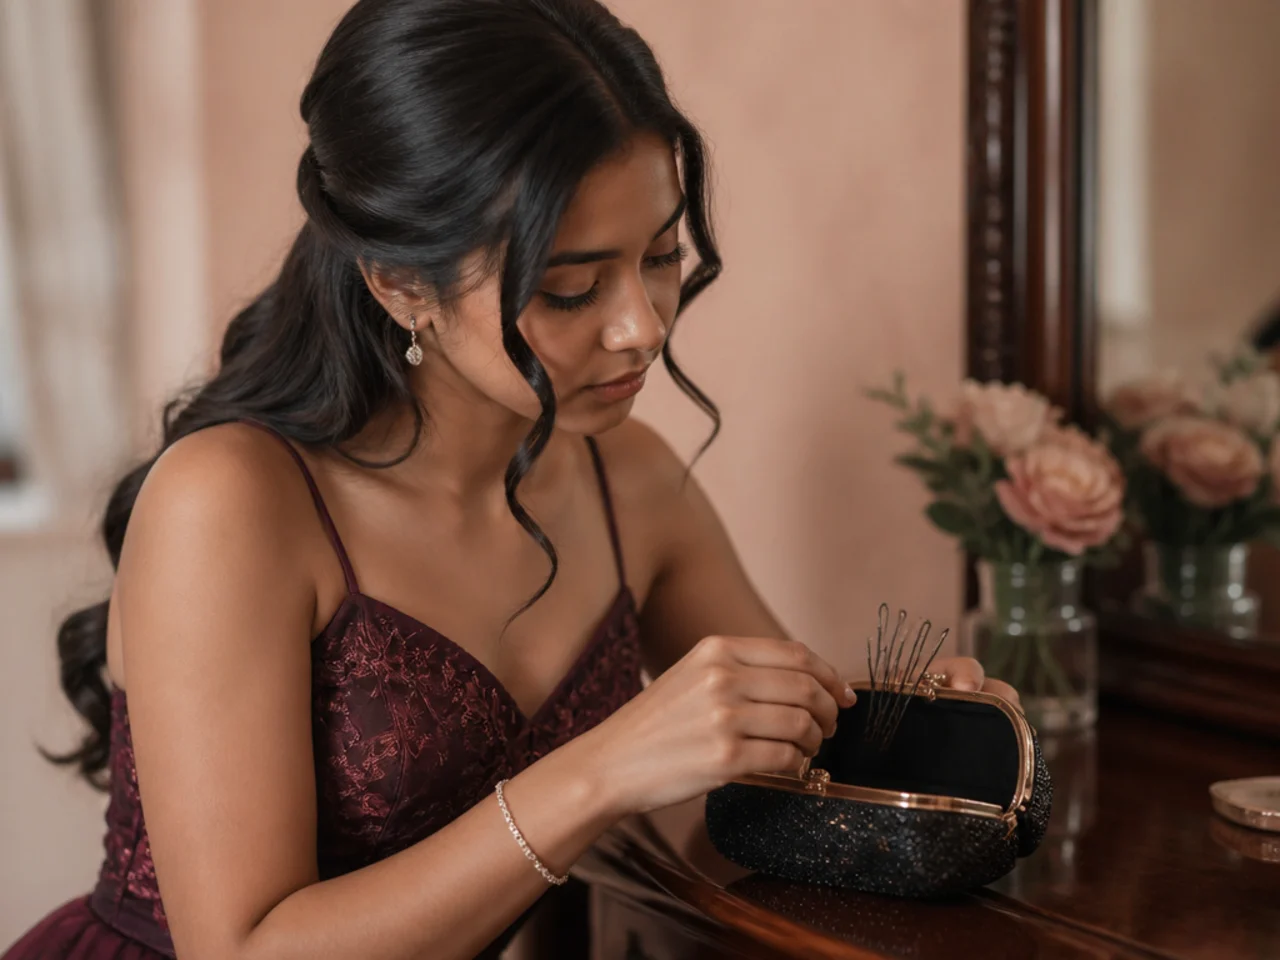
Put four spare pins in your bag. A bun almost always fails at one pin rather than all of them, and replacing that one takes under a minute.
Photograph it from behind before you leave. You cannot see the back of your own head, and the photograph tells you what has moved later on.
Reset rather than re spray. Spray on top of spray builds a shell that will not lie down. Push a fresh crossed pair of pins into the base instead.
Keep the crown out of car headrests. Backcombed height flattens under sustained pressure and does not come back without a comb.
Take it down with the pins first. Pulling the elastic out over pins tangles the coil into the hardware, and that is where the breakage happens.
Mistakes to Avoid
Pinning it soft from the start. Softness added at the beginning is just a loose bun, and it keeps loosening in the same direction all evening.
Pinning into the scalp instead of the elastic. A pin needs something structural to bite. Surface hair gives it nothing, and it walks out with every turn of your head.
Washing the same day. Clean hair is smooth hair, and smooth hair does not hold a coil no matter how many pins go into it.
Loosening from the base. That is the part carrying the weight. Take from the outer edge, where there is nothing structural to release.
Skipping the crown. A perfectly built bun under a flat crown still reads as hair that fell down rather than hair that was put up.

FAQ
Why does my bun slip? The pins are in loose hair. Angle them up into the elastic instead.
How do I make it look soft? Build it tight, then pull small pieces from the outer edge only.
High or low? Low at the nape is the most secure, because the pins hold shape rather than weight.
Final Thoughts
Every part of a bun that lasts is decided before the pins go in — day two hair, cooled curls, a crown with height, and a base with a finger of slack in it. The softness is the last ninety seconds, not the method.
For the textured version see hoco hairstyles for curly hair, and for more low placements see low bun styles. More in Occasion Hair.
Frequently asked questions
Related posts
See all posts
15 Graduation Hair Ideas for the Updo Versus Down Decision
Read more
15 Straight Hair Wedding Looks to Save
Read more
20 Gorgeous Prom Looks for Straight Hair
Read more