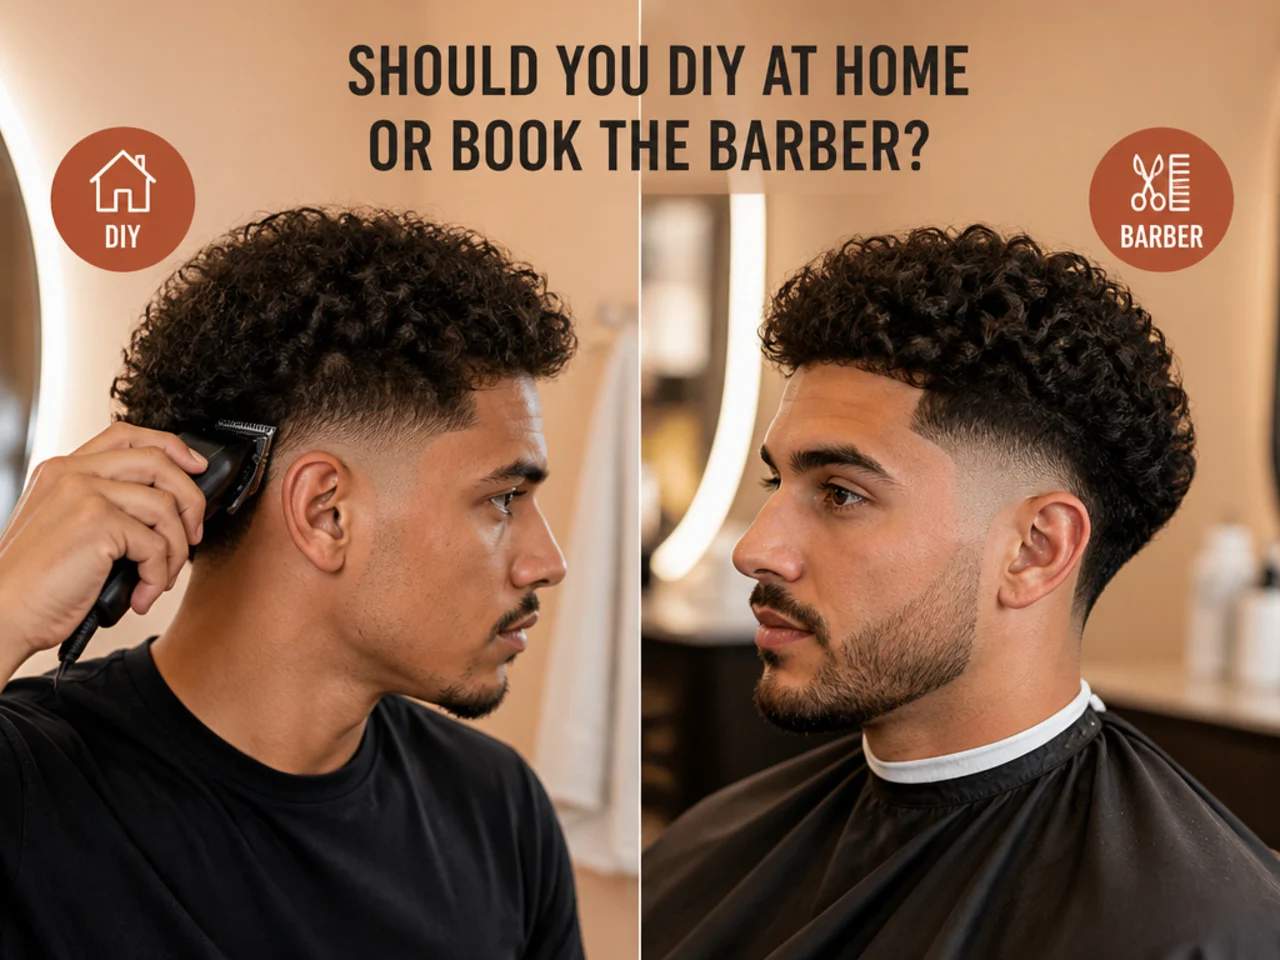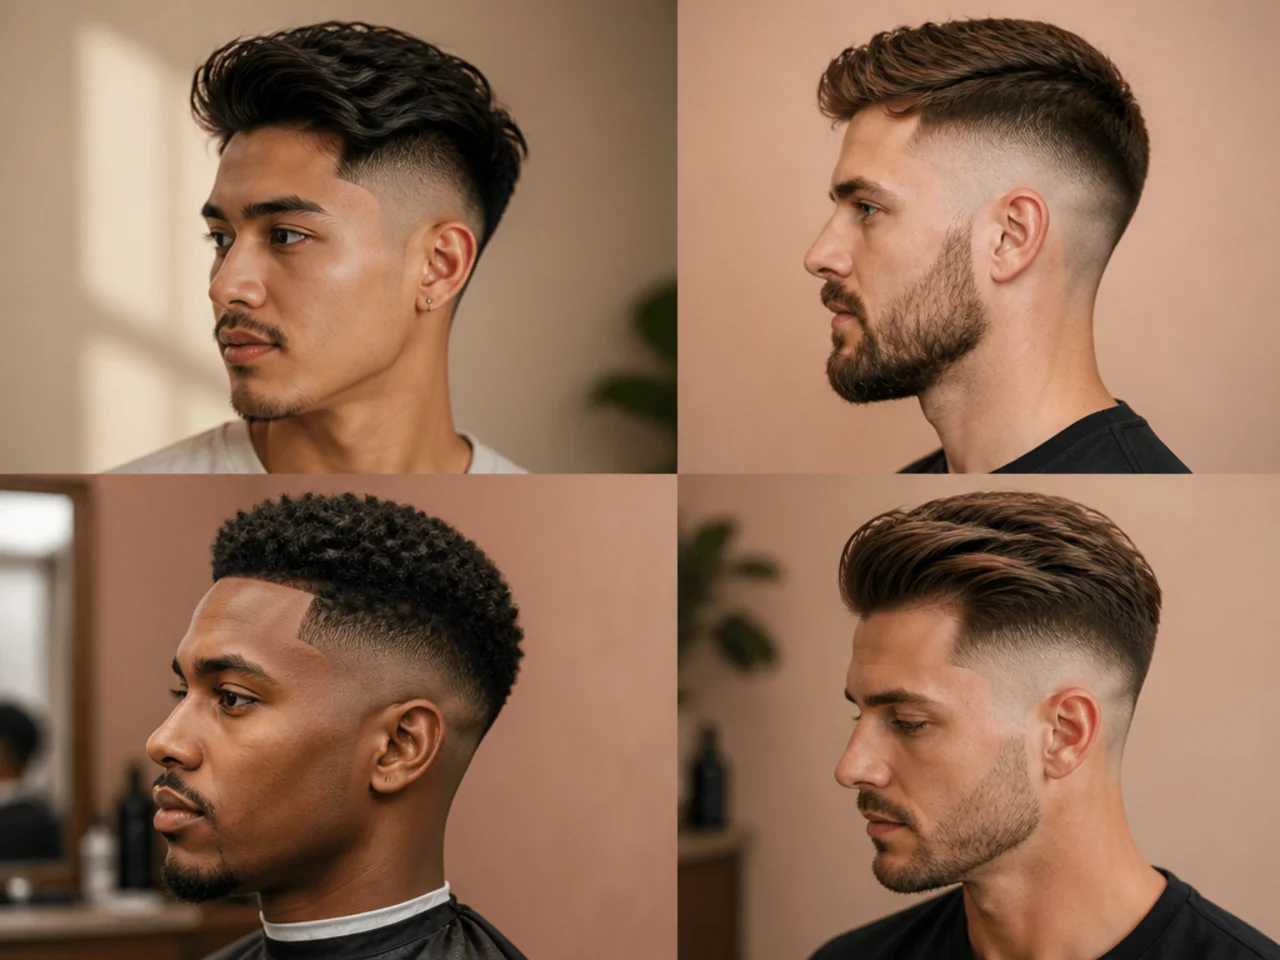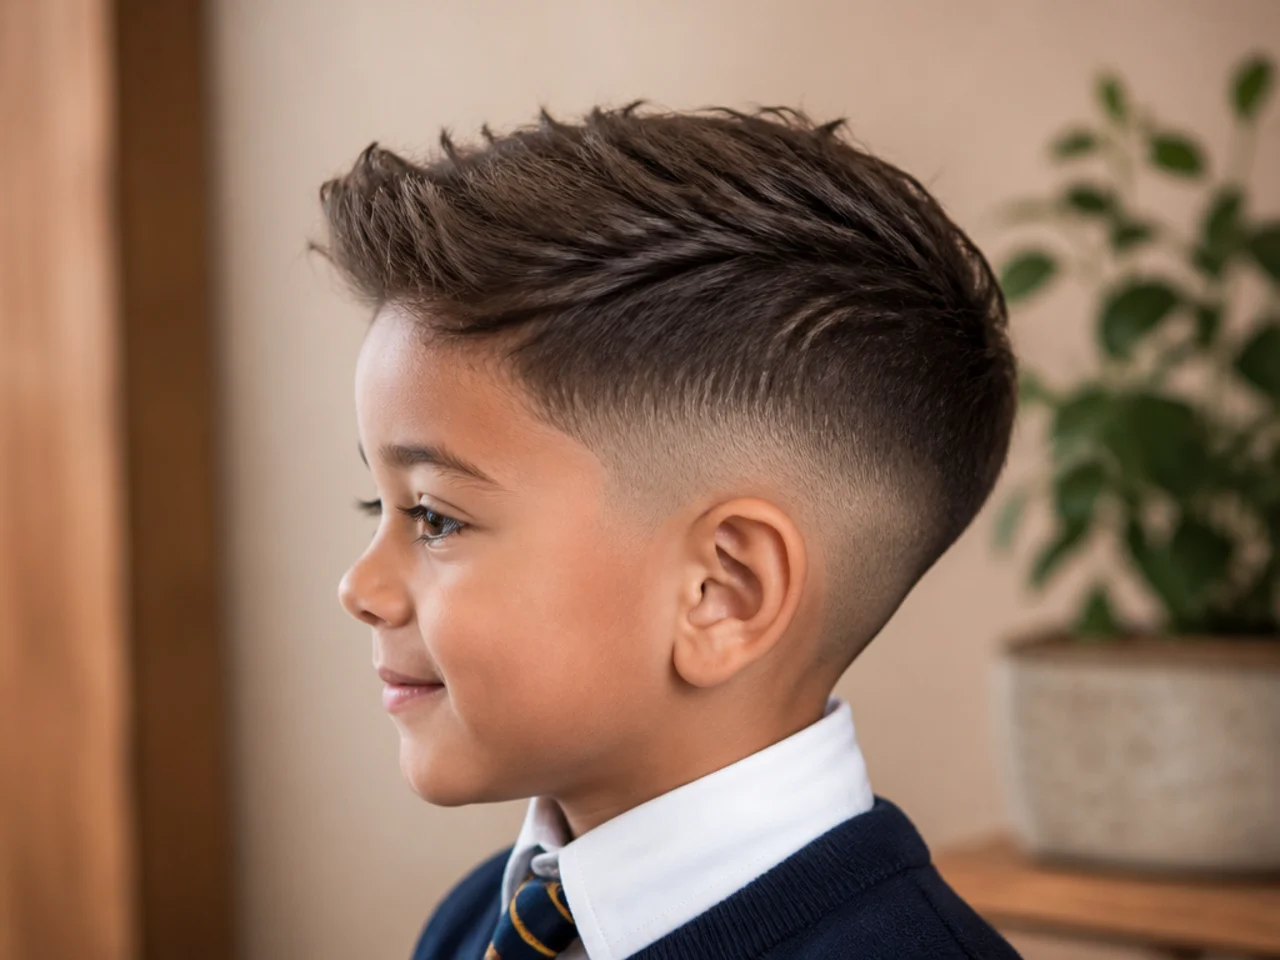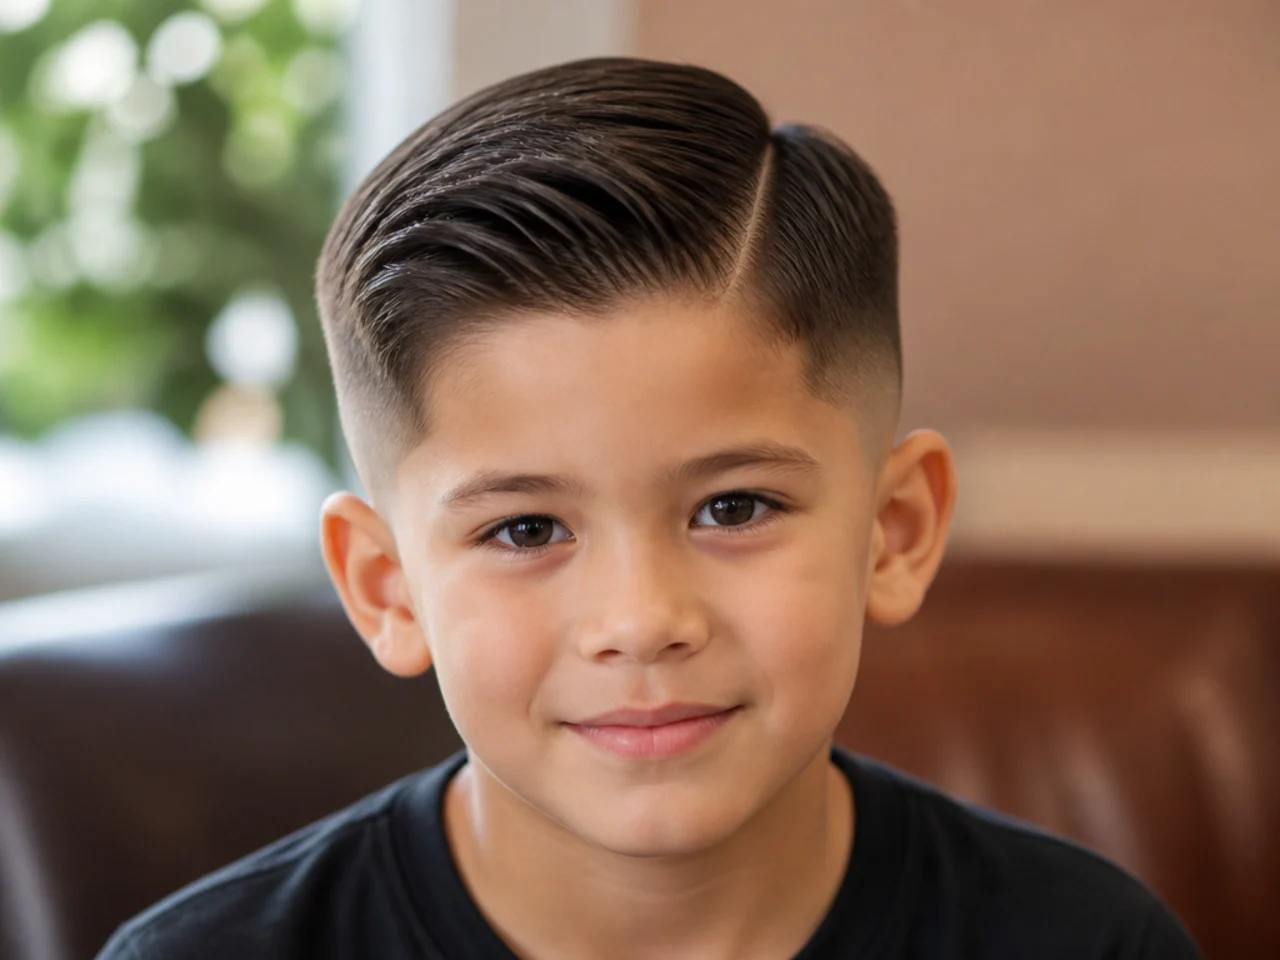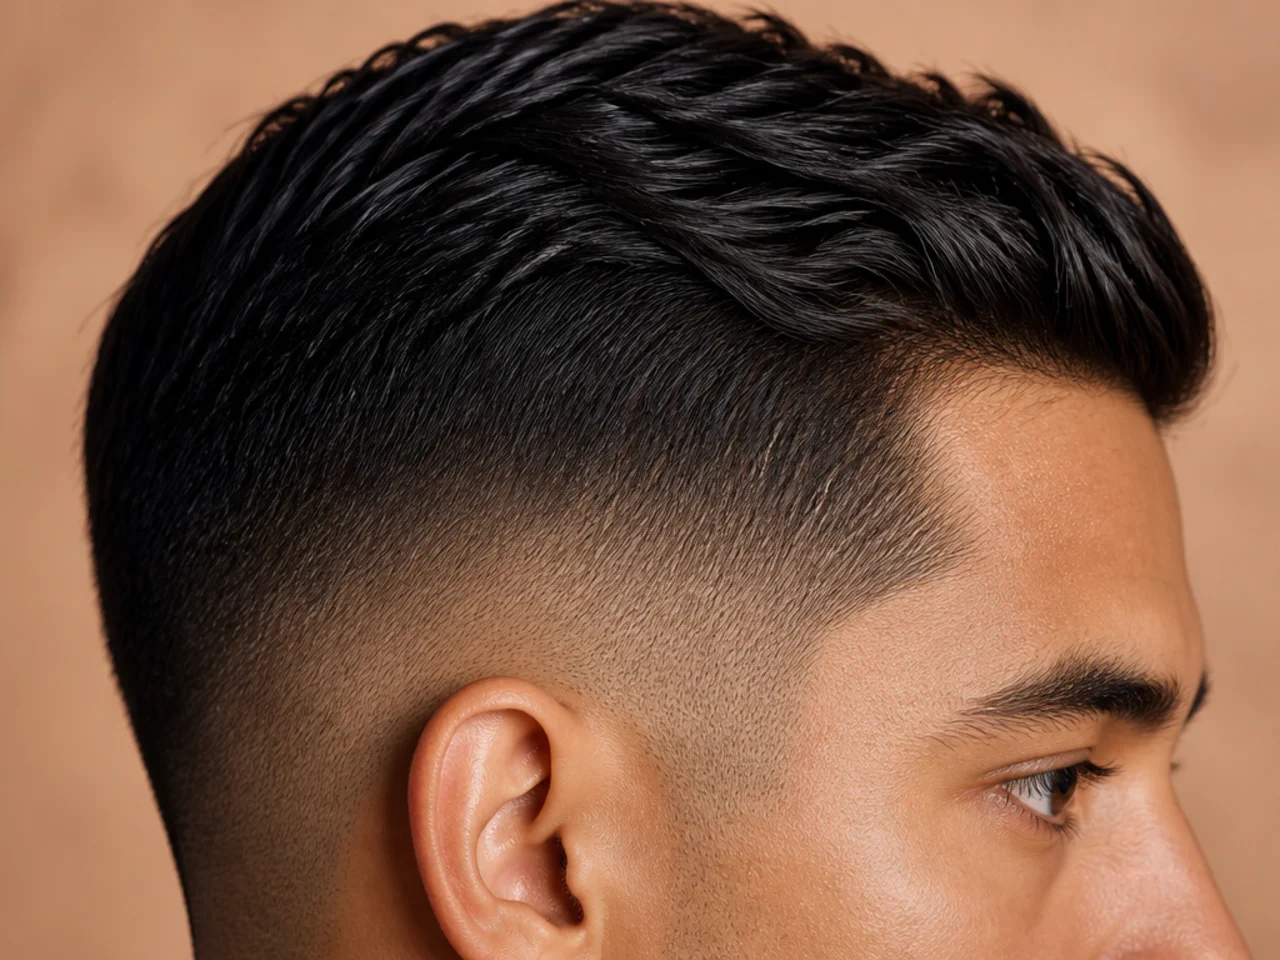
15 Ways to Style a Low Fade Haircut
A low fade removes two or three centimetres and leaves everything else exactly where it grew. So styling one is not about the fade line at all — it is about managing the weight the fade politely declined to take off.
In this article · 22
- What You Are Actually Managing
- How to Choose Yours
- The 15 Ways to Style a Low Fade
- 1. Dry the Sides Flat Against the Head
- 2. Let the Sides Sit Full
- 3. Send the Weight Backward
- 4. Add Height to Offset the Width
- 5. Part It to Split the Mass
- 6. Sweep Across and Down
- 7. Push the Front Up and Leave the Sides
- 8. Use a Wet Finish to Flatten Everything
- 9. Use a Matte Finish to Break the Bulk
- 10. Tuck the Sides Behind the Ears
- 11. Direct the Sides Toward the Fade Band
- 12. Lift the Sides Away From the Fade Band
- 13. Air Dry With No Product at All
- 14. Wet Comb It Once in the Morning
- 15. Do Nothing at Week Four
- Styling and Upkeep
- Mistakes to Avoid
- FAQ
- Final Thoughts
Most fade styling advice is about what to do with a bare panel. A low fade barely gives you one.
It starts at or below the temple and removes two or three centimetres. Everything above that is exactly where it grew, at exactly its natural weight.
So the job is weight, not the line. All fifteen of these are ways of reducing, redirecting or flattening hair that the fade deliberately left alone.
What You Are Actually Managing
The fade band is small. Two or three centimetres above the ear, and it holds nothing.
The side sections are full. Unlike higher fades, they still have real length and real weight.
Weight pushes the silhouette wider. Which is the low fade's characteristic failure.
So direction beats product. Where you send the sides matters more than what you put on them.
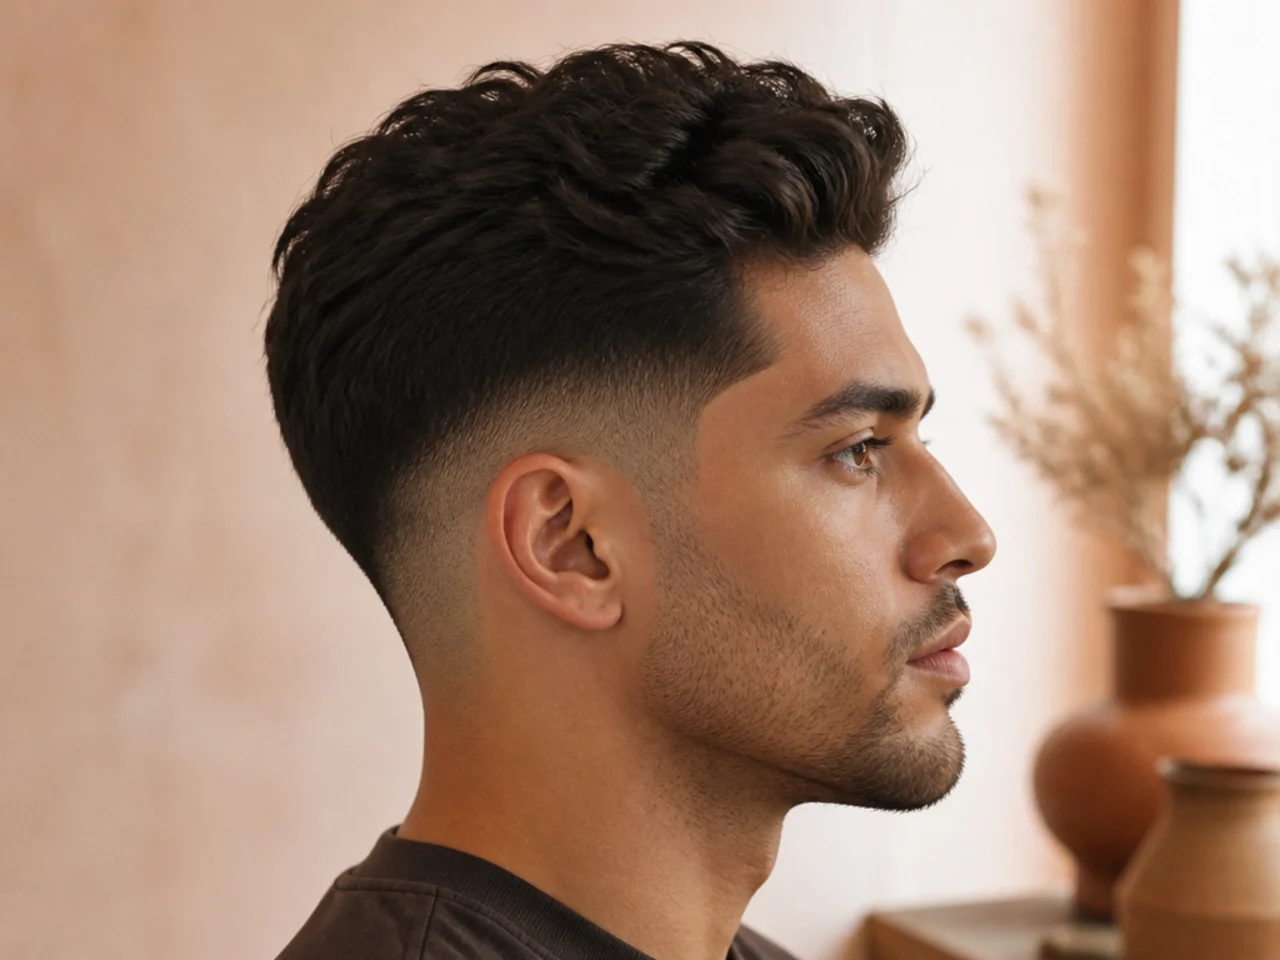
How to Choose Yours
Decide whether you want the head narrower or fuller. A low fade has left the width intact, so this is the real question.
Use lighter product than you would on a higher fade. There is more hair to weigh down and less need to hold anything up.
Dry the sides before the top. The sides set the width, and once they are dry the top can only work around them.
Include the sides in the routine. They are the only fade height where the sides respond to anything.
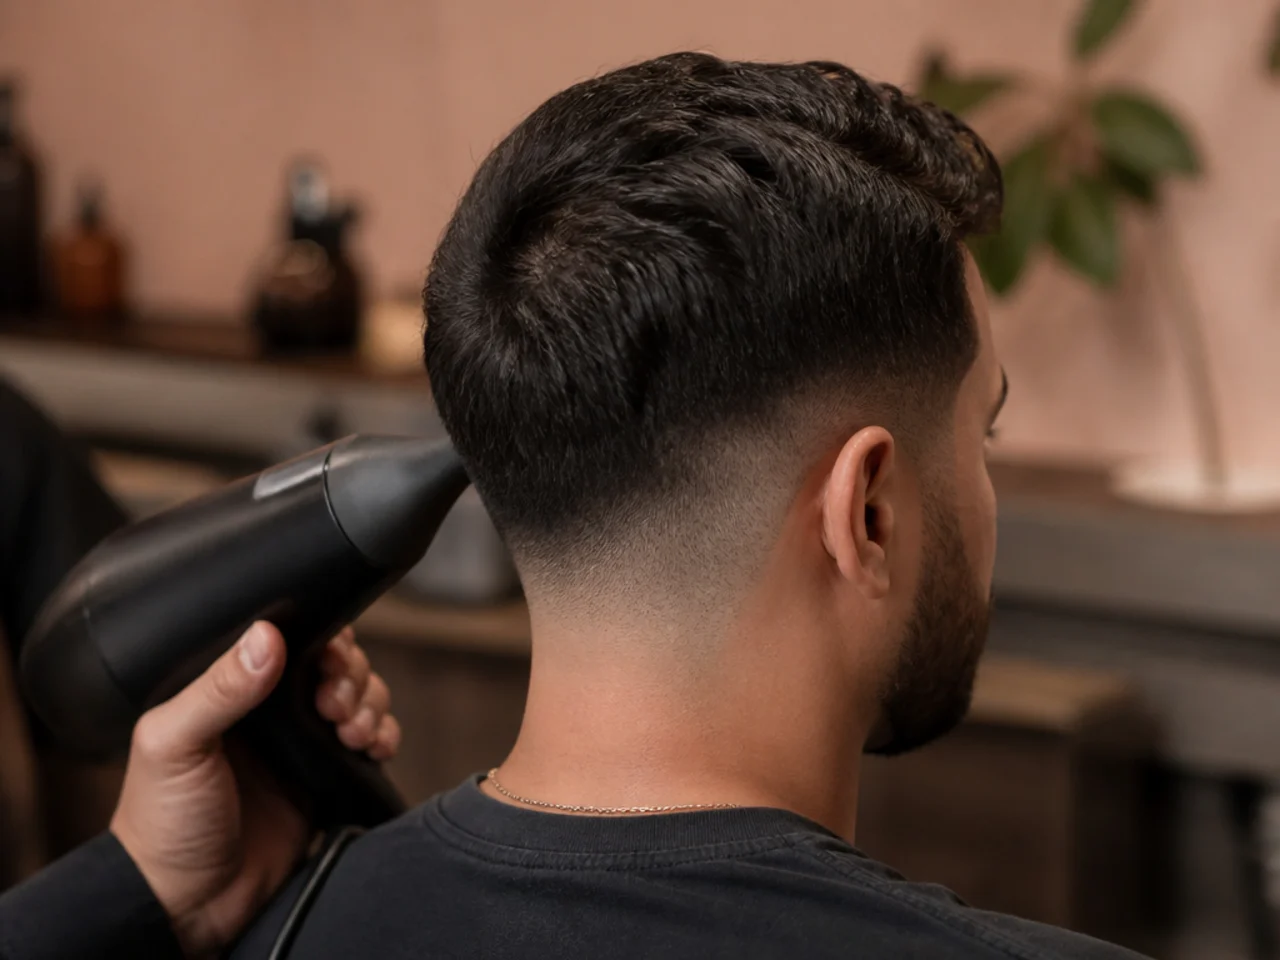
The 15 Ways to Style a Low Fade
1. Dry the Sides Flat Against the Head
Airflow pointed down and back through the side sections. It is the single most effective width control available and it takes about thirty seconds a side. Use the dryer on a medium heat, because cold air will not set the direction.
2. Let the Sides Sit Full
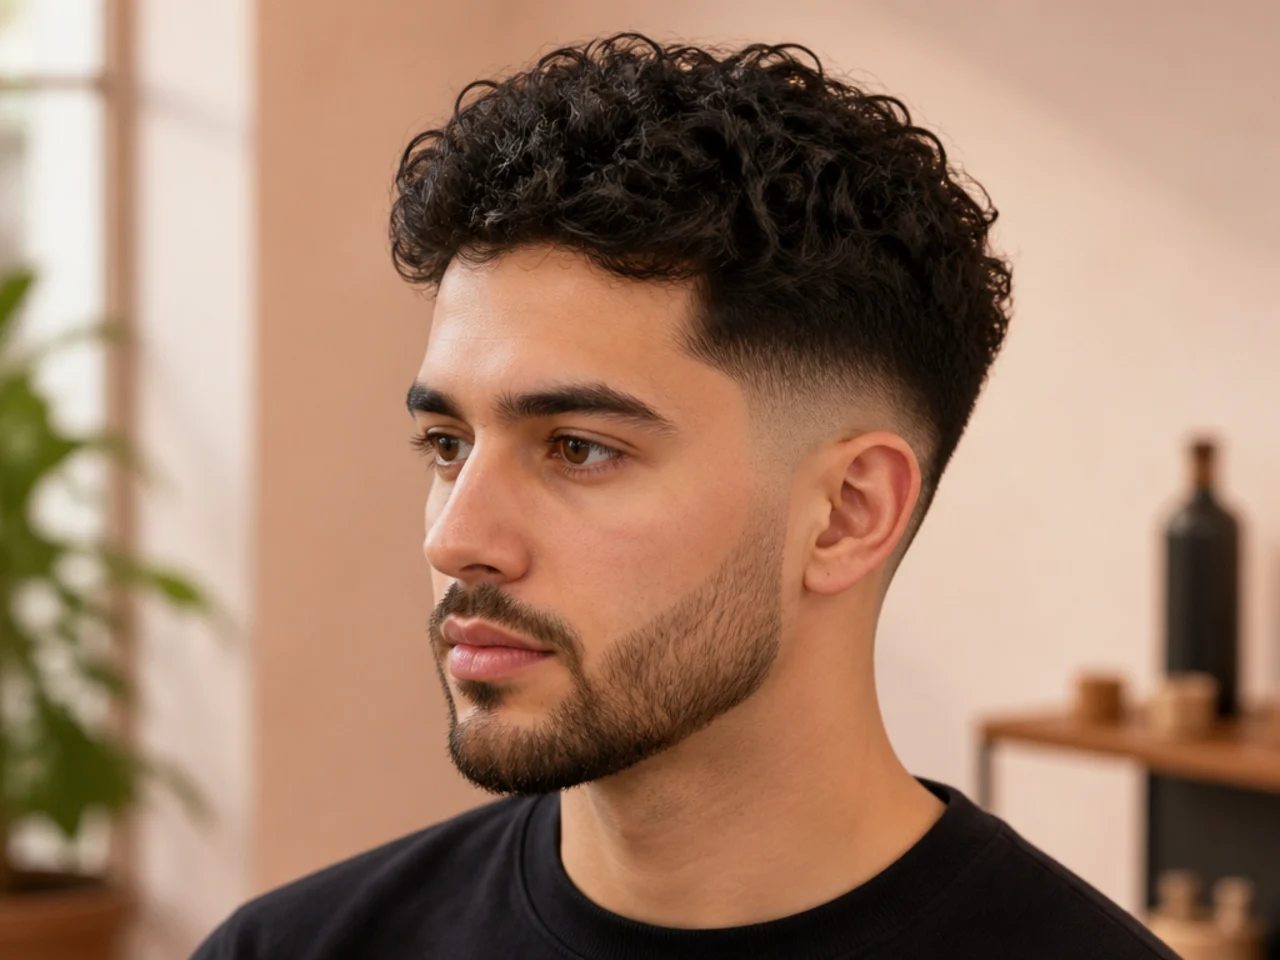
The opposite decision, taken deliberately. Full sides read soft and traditional, which is what a low fade is for in the first place. It also ages the best, since there is no set shape for the growth to spoil.
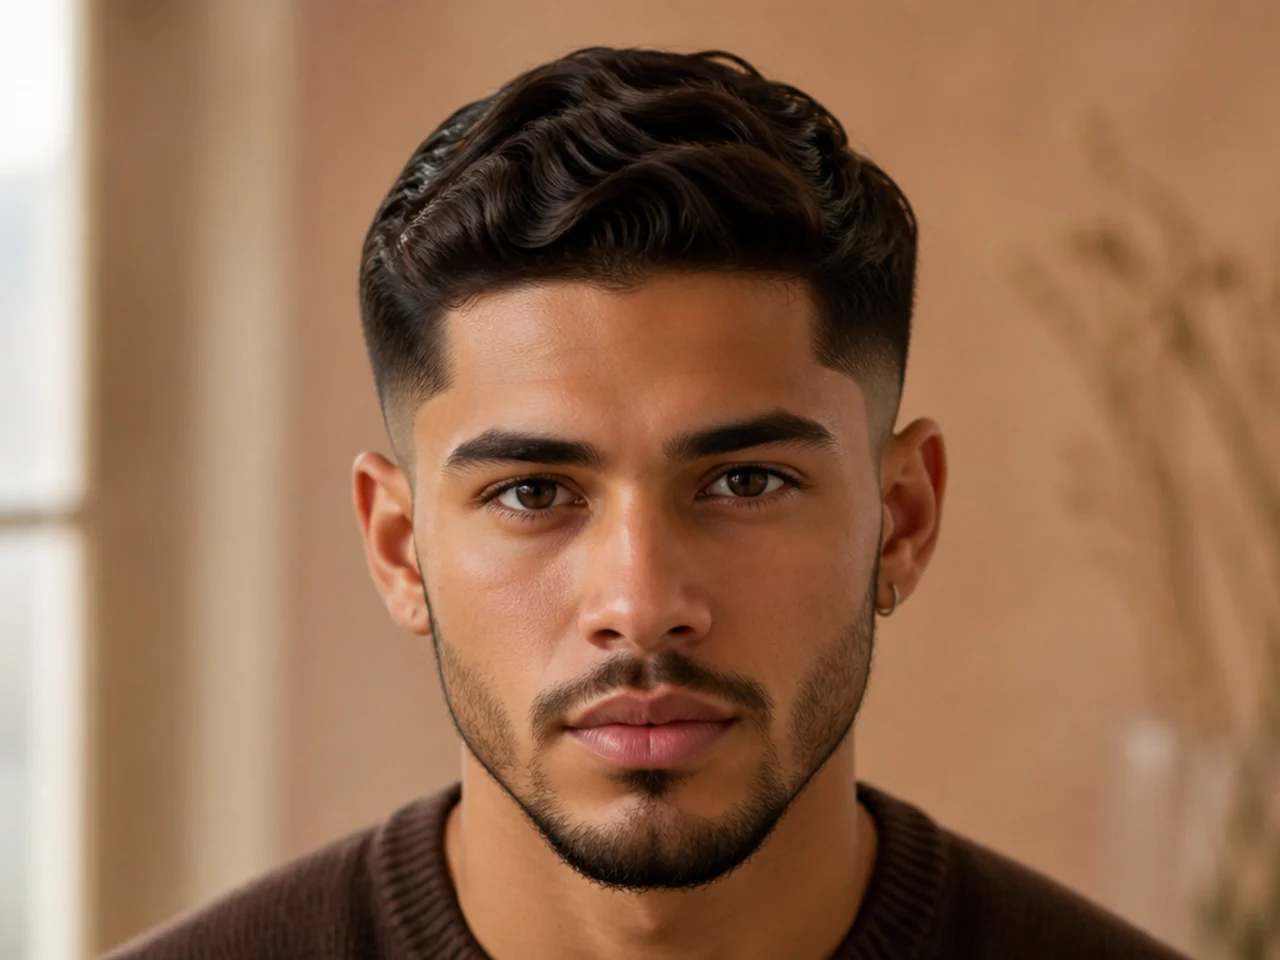
3. Send the Weight Backward
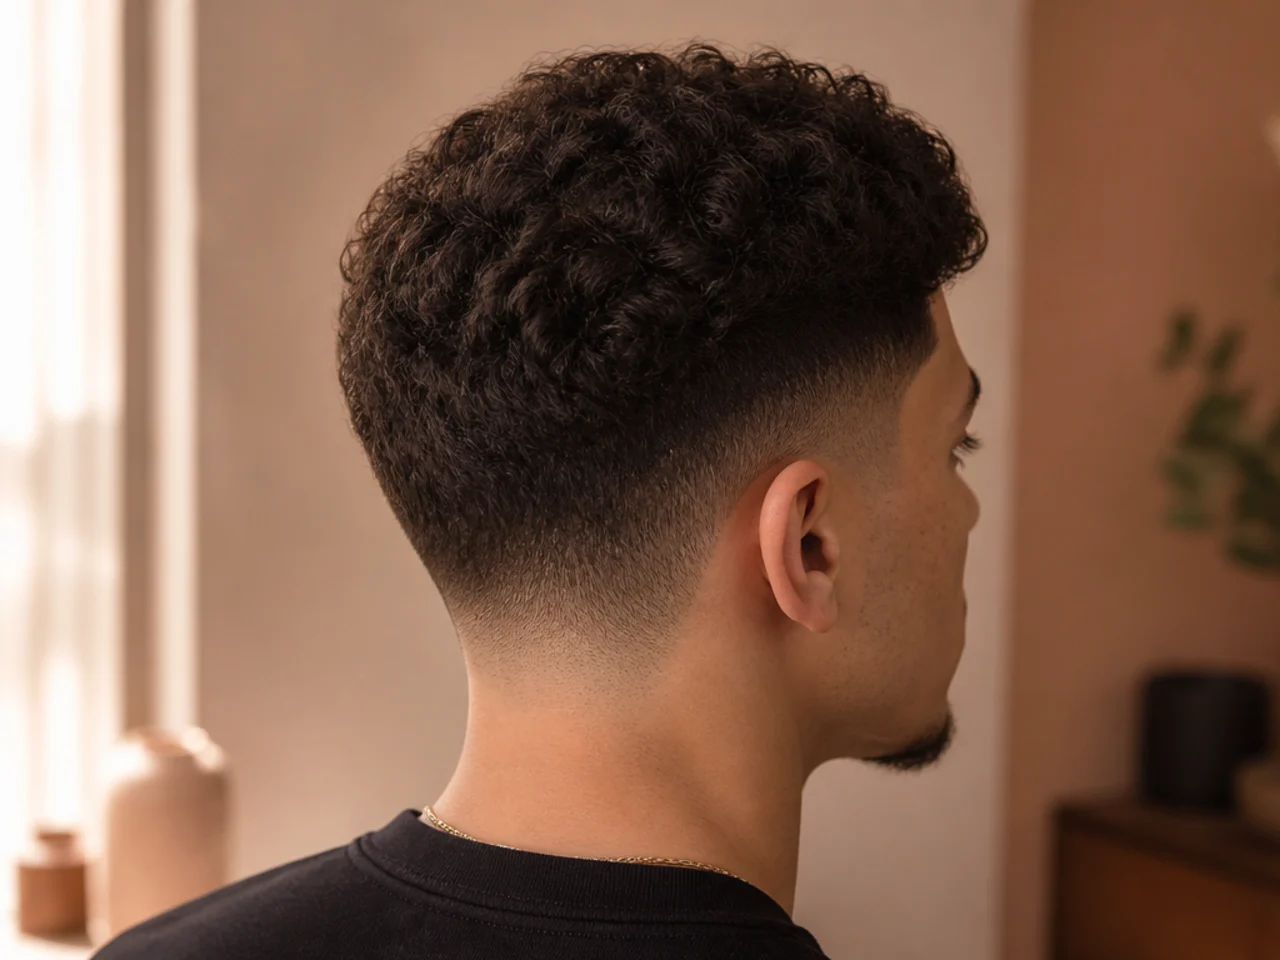
Everything combed toward the back of the head. It moves the bulk behind the ears where a profile view does not register it.
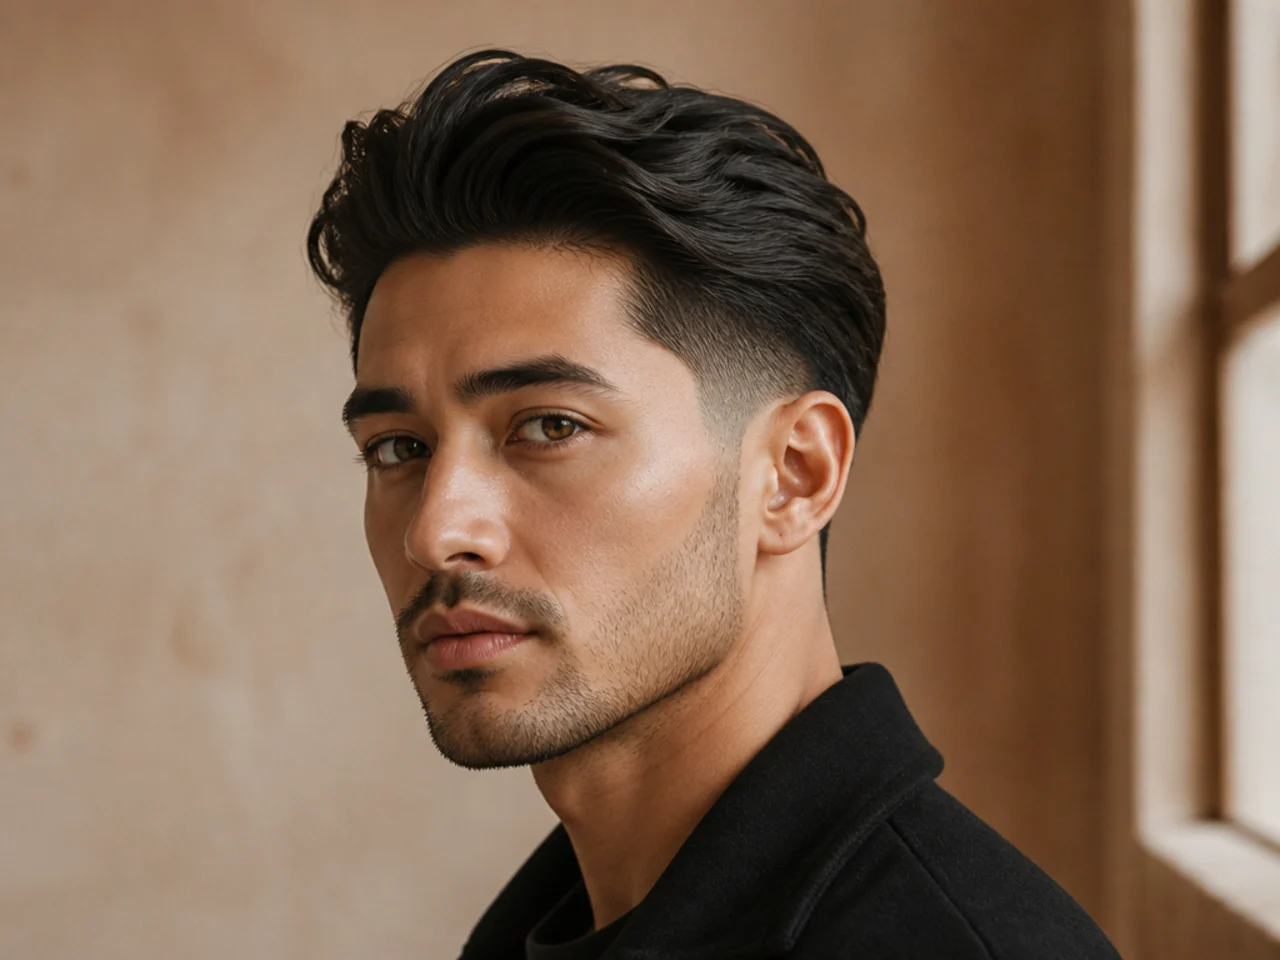
4. Add Height to Offset the Width
Volume built on top while the sides stay where they are. Height is the counterweight to the width a low fade preserves, and it is the cheapest fix on this list. Build it at the roots at the front rather than through the whole section.
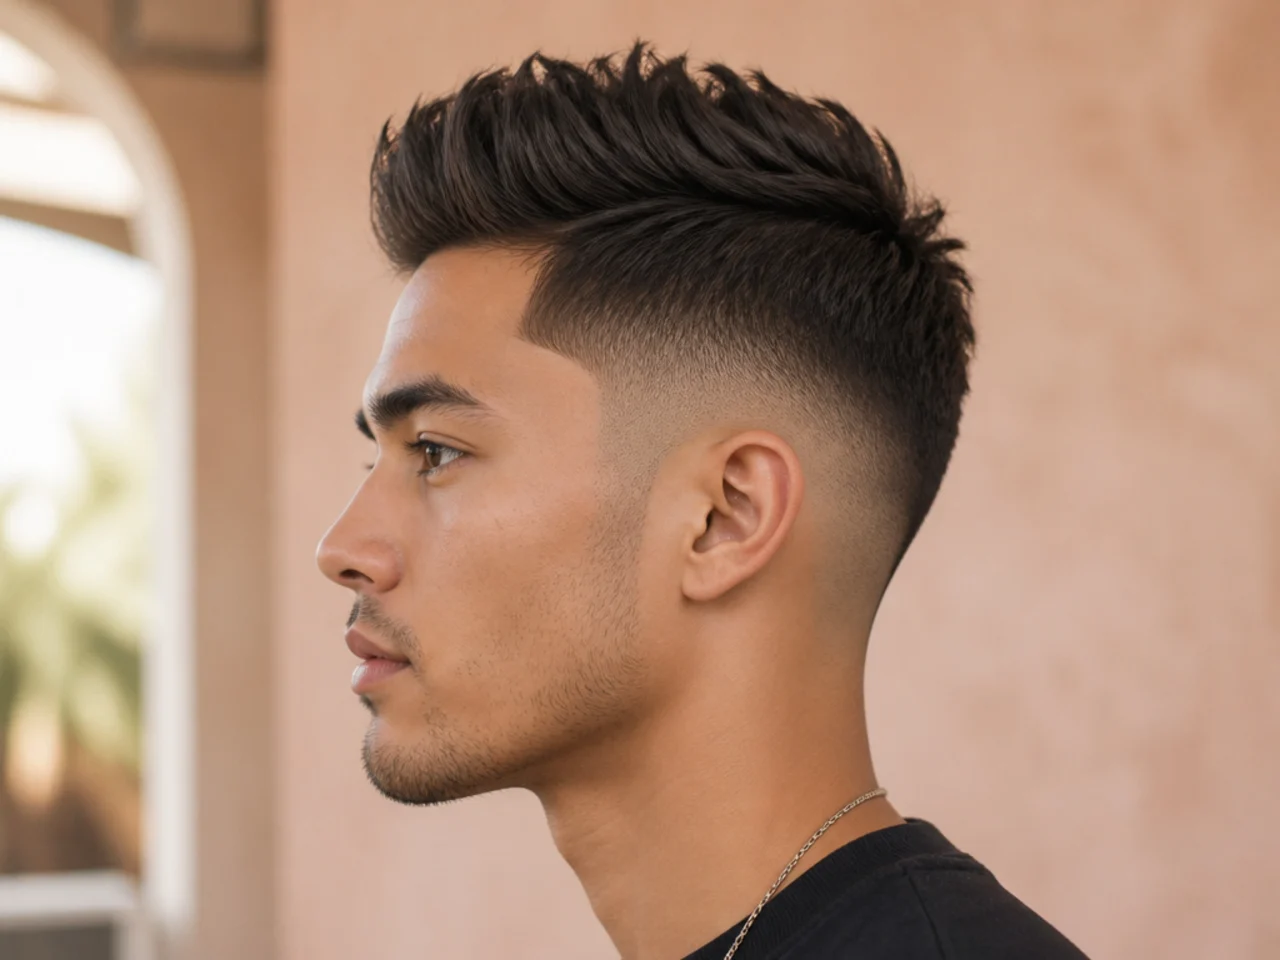
5. Part It to Split the Mass
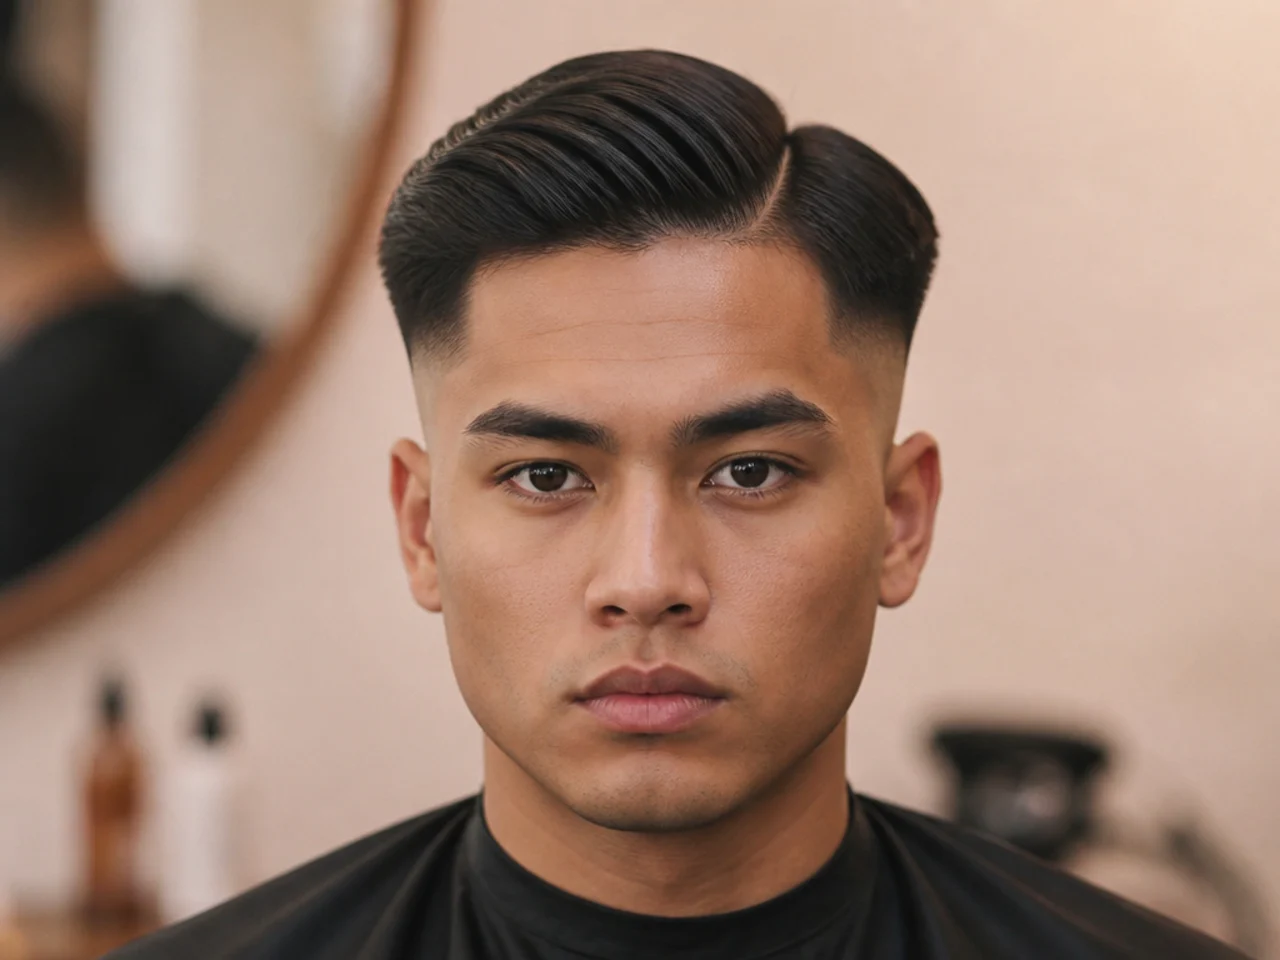
A defined side part dividing the top into two lighter halves. Splitting a heavy top removes bulk visually without a single hair being cut.
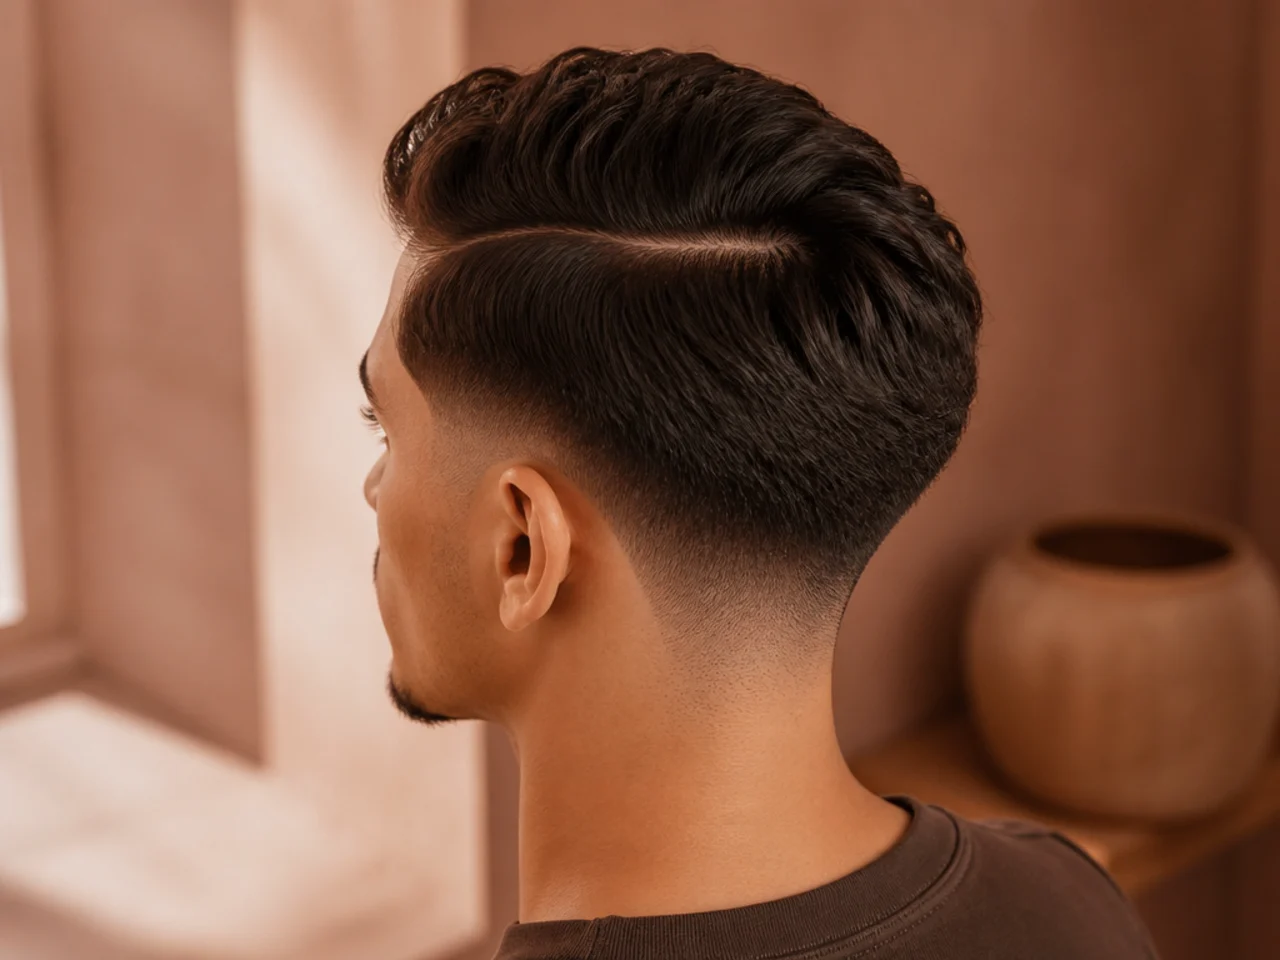
6. Sweep Across and Down
The top taken across the head and allowed to fall past the part. It uses the side weight rather than fighting it, which suits thick hair.
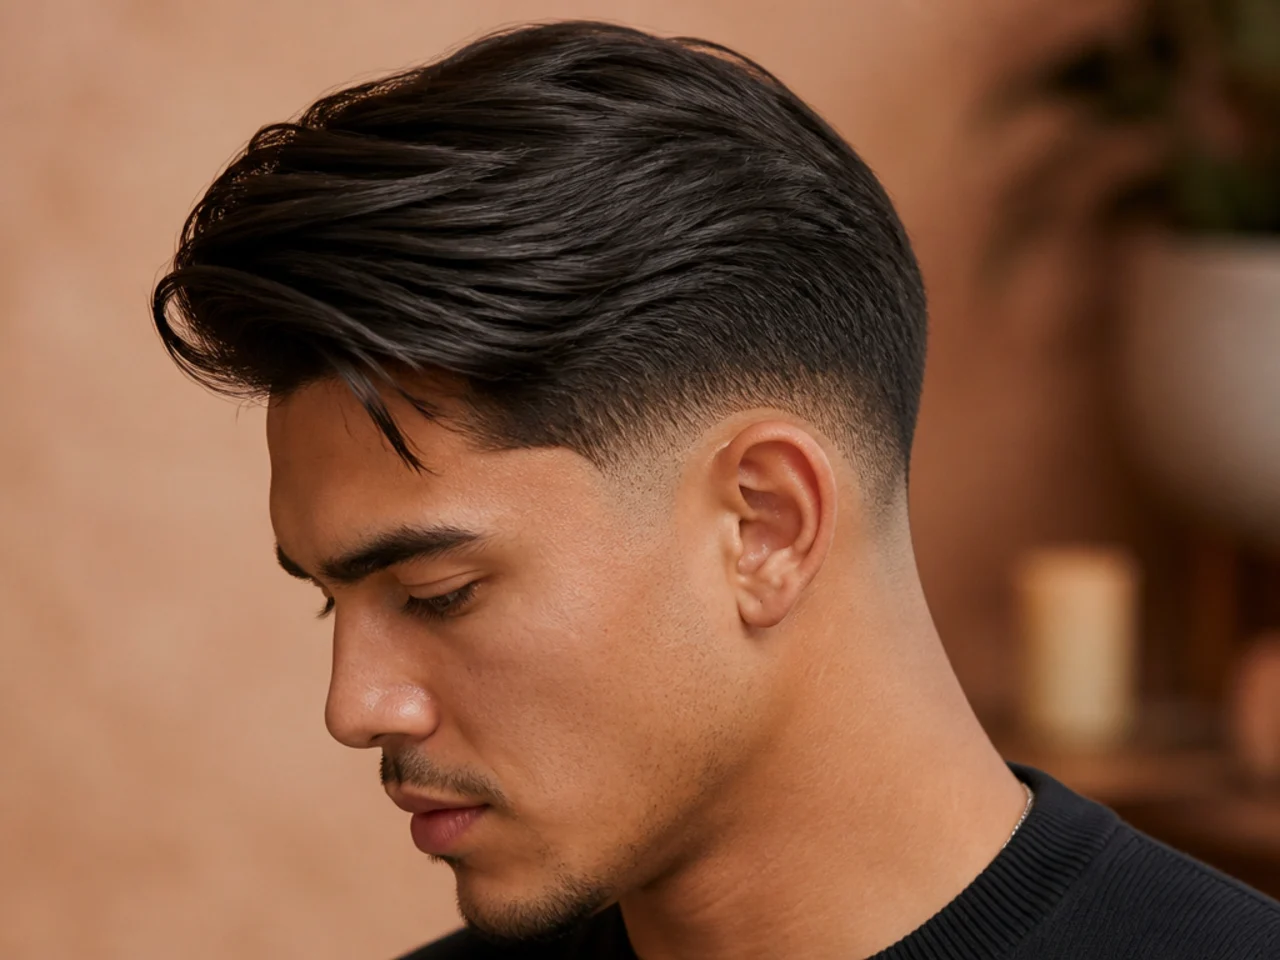
7. Push the Front Up and Leave the Sides
A quiff over a low fade, with the sides untouched. The vertical at the front is doing all the shaping while the fade band stays almost invisible.
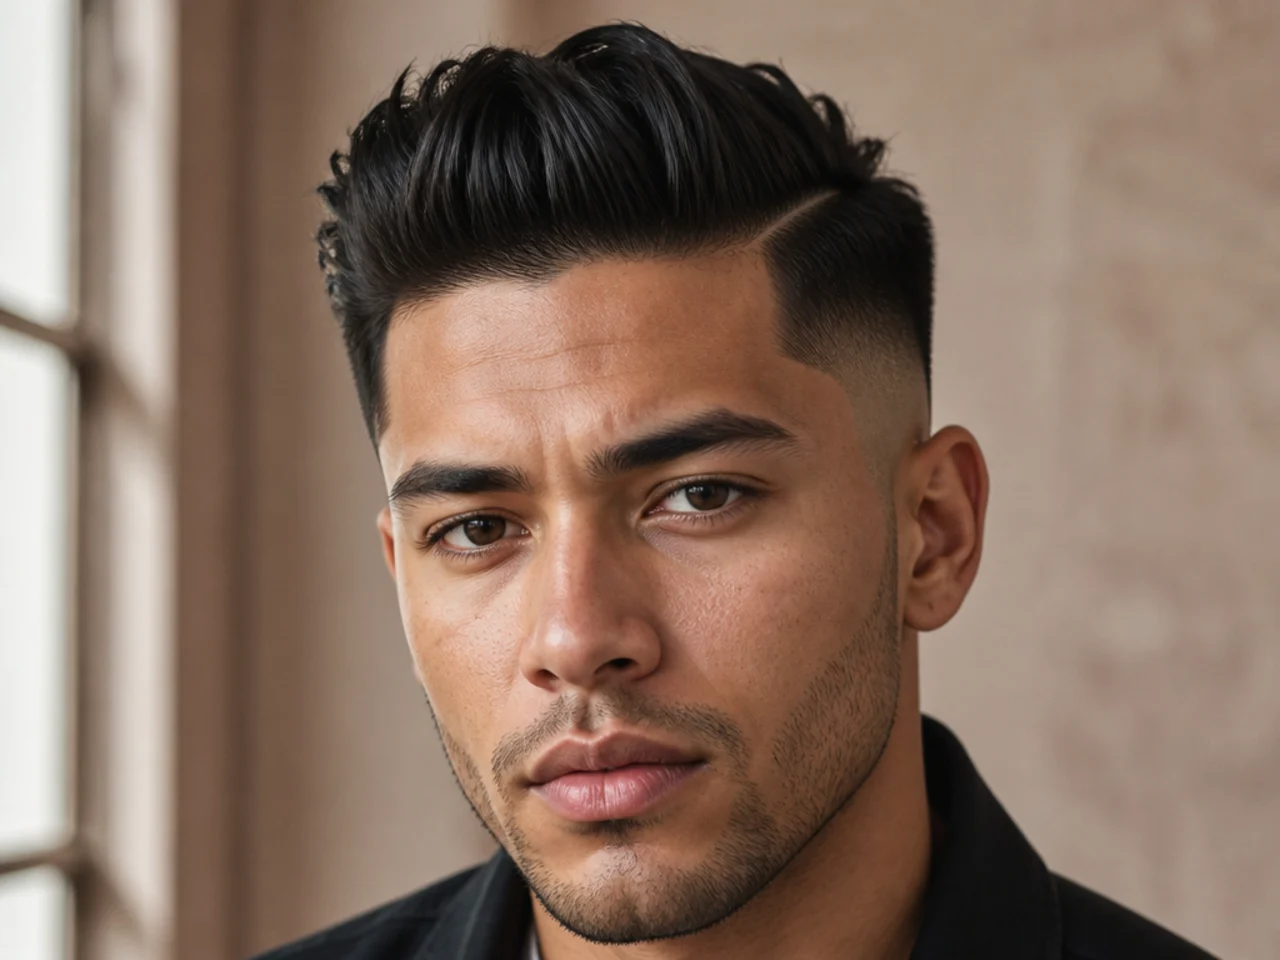
8. Use a Wet Finish to Flatten Everything
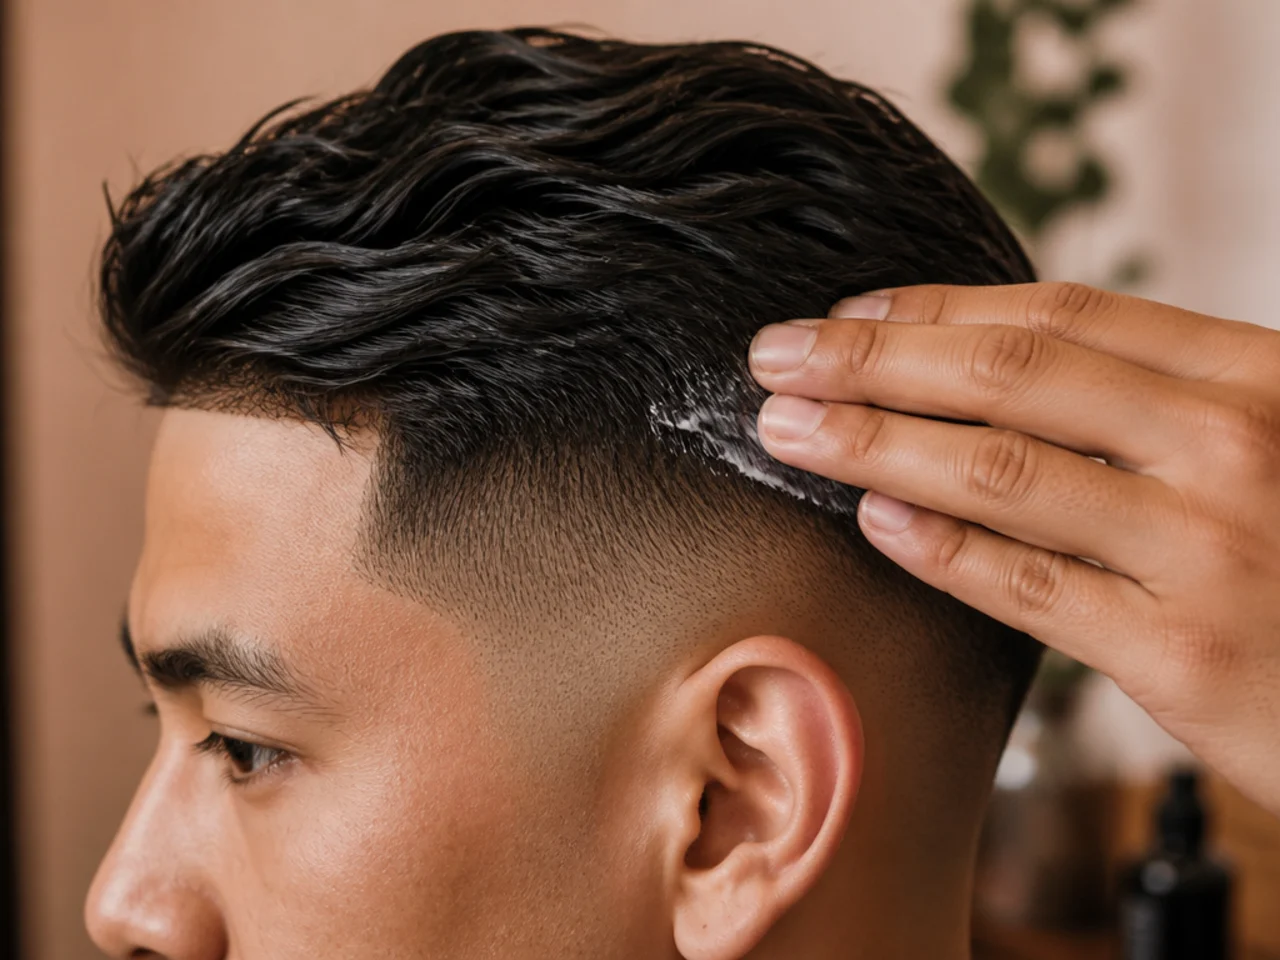
High-shine product combed through the top and sides, one step from a low taper slick back. Shine and weight together press the whole head into its smallest possible outline. The product also sticks neighbouring strands to one another, which turns a loose section into a single thin sheet against the skull.
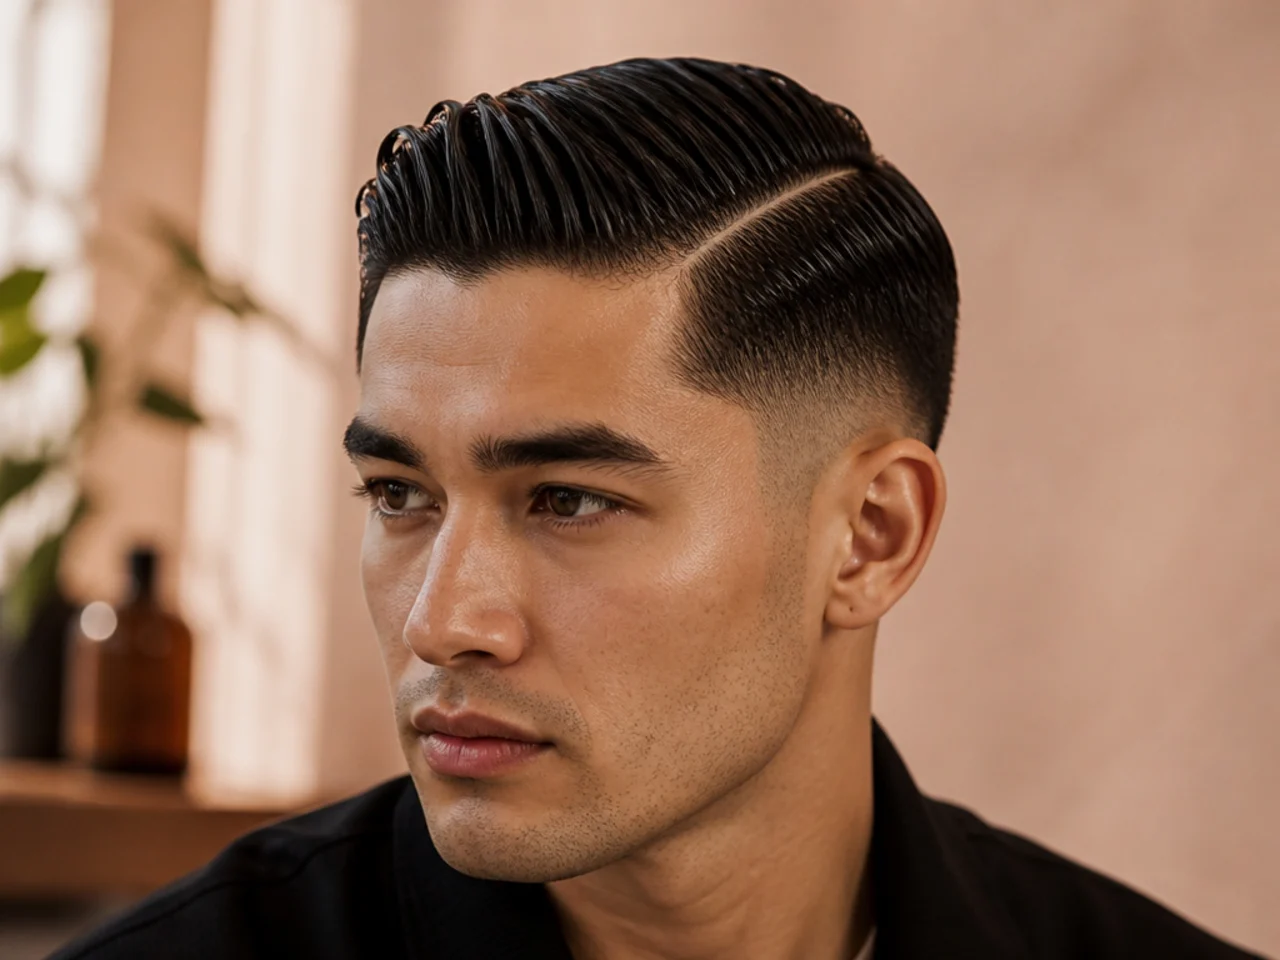
9. Use a Matte Finish to Break the Bulk
Clay worked through with fingers. Matte separates the section into pieces, which reads as less mass than the same hair sitting smooth.
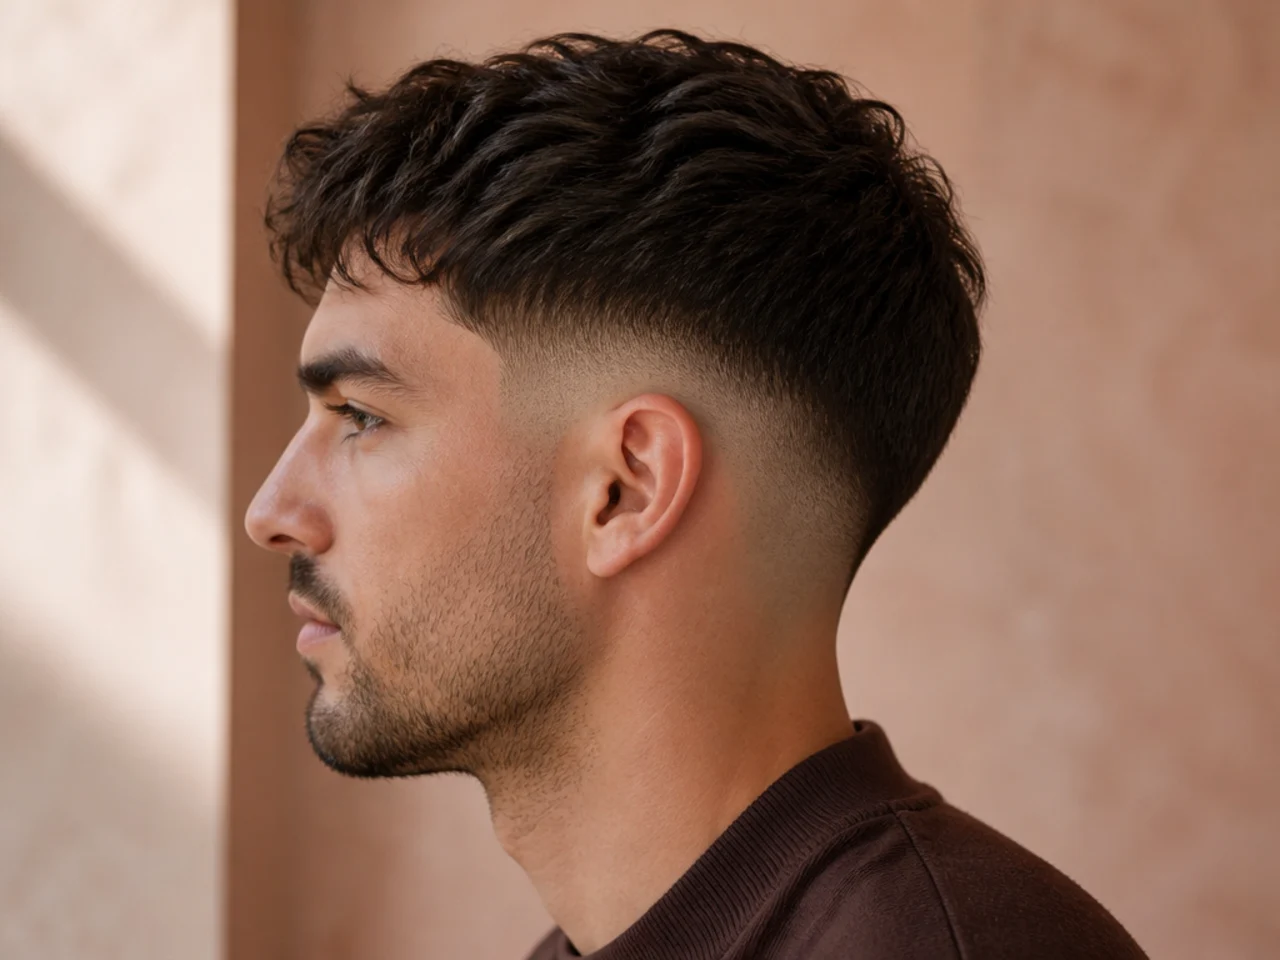
10. Tuck the Sides Behind the Ears
Only possible at this fade height, because only here is there enough length to tuck. It instantly narrows the silhouette without any product at all. It works best on hair over about six centimetres at the temple.
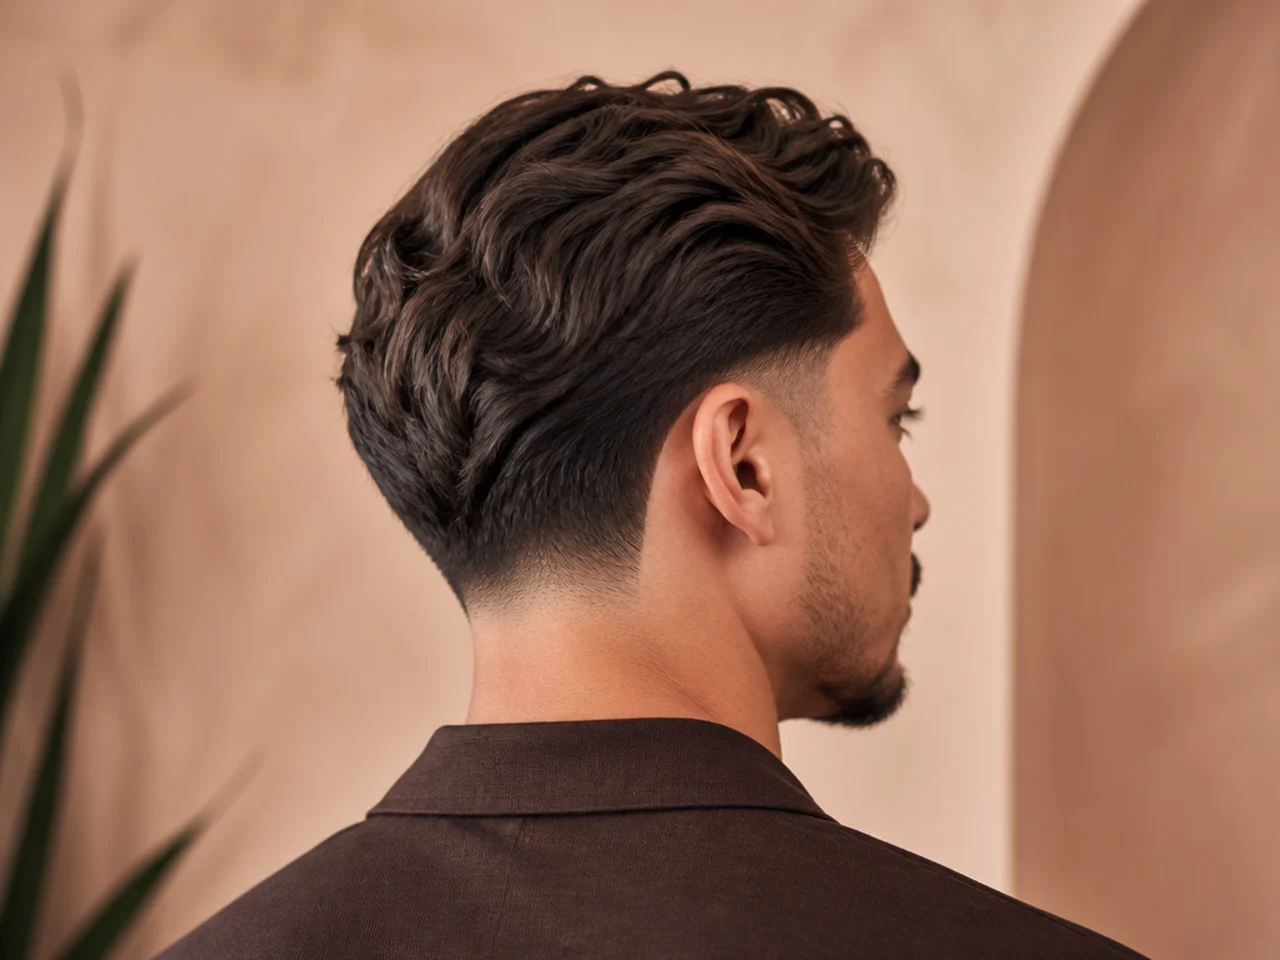
11. Direct the Sides Toward the Fade Band
Combing the side sections downward into the blend. It hides the fade almost completely, which is the point for men who wanted a haircut nobody comments on.
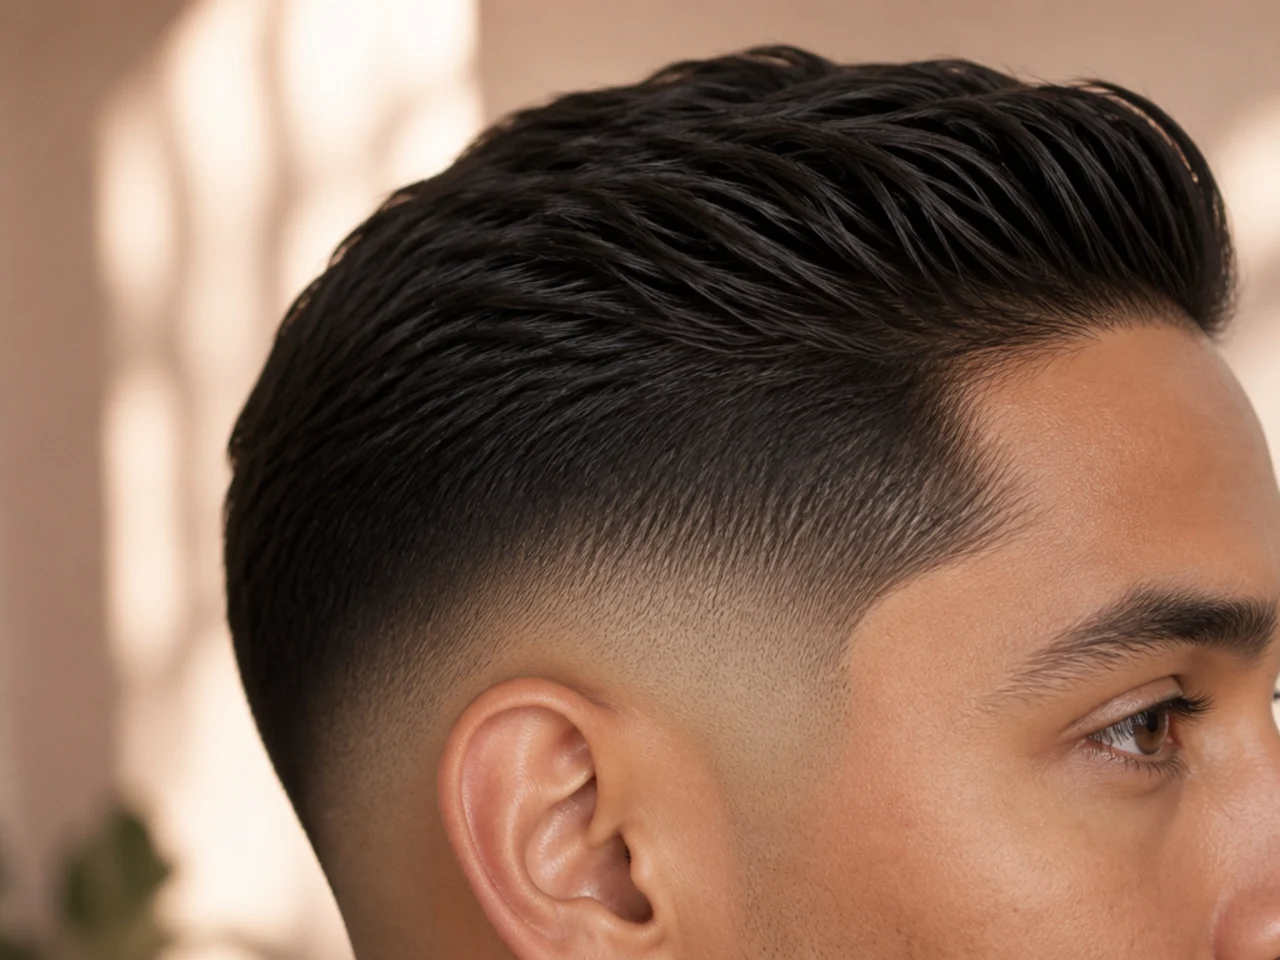
12. Lift the Sides Away From the Fade Band
The opposite, exposing the two or three centimetres of blend. It is the only way to make a low fade actually visible from a distance.
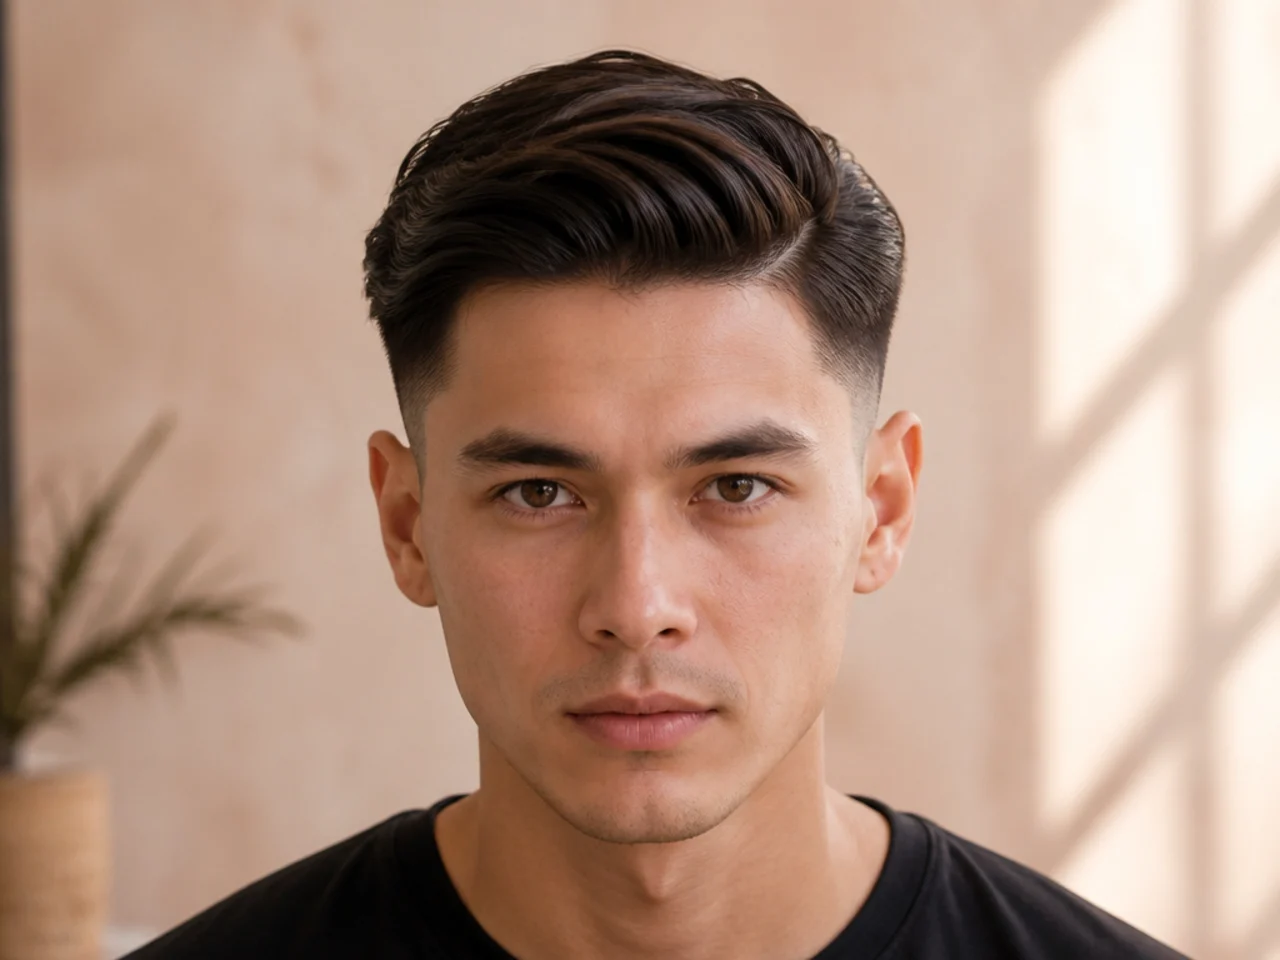
13. Air Dry With No Product at All
Hair left exactly as it falls. On a low fade this is a genuine option rather than a compromise, since almost nothing has been removed.
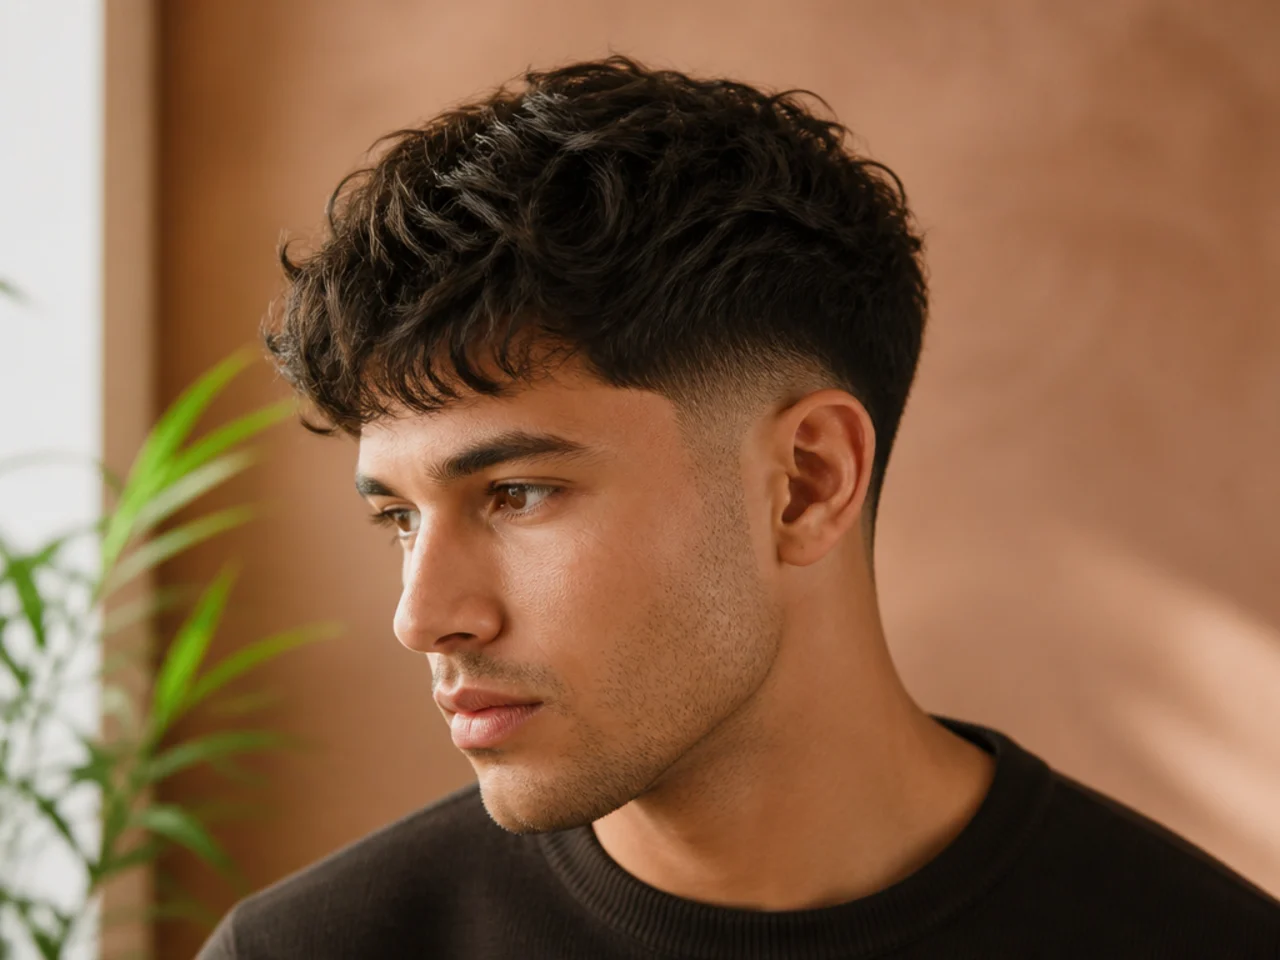
14. Wet Comb It Once in the Morning
Water only, combed into place, left to dry. It sets the direction for the day and costs nothing, which suits a cut built around low effort.
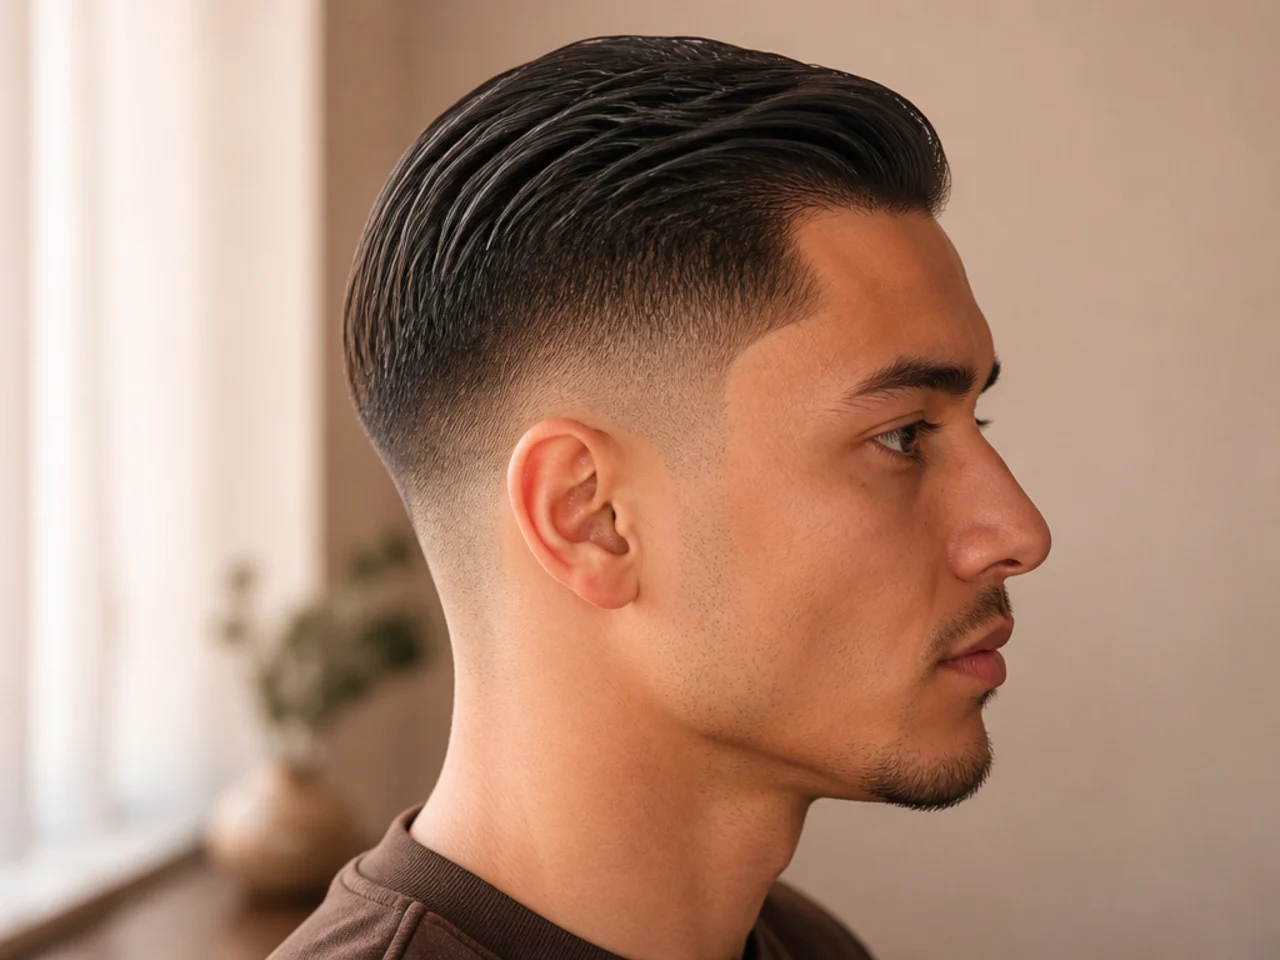
15. Do Nothing at Week Four
The fade band has closed and the cut looks like an ordinary tidy head of hair. That soft ending is what a low fade is designed to produce.
Styling and Upkeep
Include the sides in your routine. They are the only fade height where the sides still respond.
Use less product than you would on a higher fade. There is more hair and less to hold up.
Dry the sides before the top. They set the width and the top has to work around them.
Ask for internal weight removal at each cut. No amount of drying will flatten a side panel that has too much hair in it, and the density returns long before the length does.
Rebook by finish. Nothing you do with a dryer changes the band above the ear, and that band stays sharp for one to two weeks on a low skin fade and three to four on a low taper.
Mistakes to Avoid
Ignoring the sides entirely. Advice written for higher fades does not apply here.
Using a heavy pomade on thick sides. Weight on weight makes the whole head read wider.
Lifting the side weight while styling the top. It pushes the silhouette outward from both directions.
Expecting the fade to do the shaping. Two or three centimetres cannot change a head's outline.
Assuming no maintenance is needed. The blend lasts, but the bulk returns on its own schedule.
FAQ
Why does a low fade need more styling? Because it leaves more hair on the sides than any other height.
How do I stop it looking bulky? Dry the sides flat and backward rather than adding product to them.
Do the sides need product? Yes, unlike higher fades they still have length that responds.
Final Thoughts
Every other fade styling guide starts at the top of your head. This one starts at the sides, because a low fade is the only cut on the board that leaves them fully intact. Decide whether you want the head narrower or fuller, dry the sides to that decision first, and the top becomes an easy afterthought.
For the same exercise where the line is the feature see 15 ways to style a mid fade, and for a softer blend see 15 ways to style a taper fade. More in Fade Haircuts.