15 Ways to Style a Mid Fade Haircut
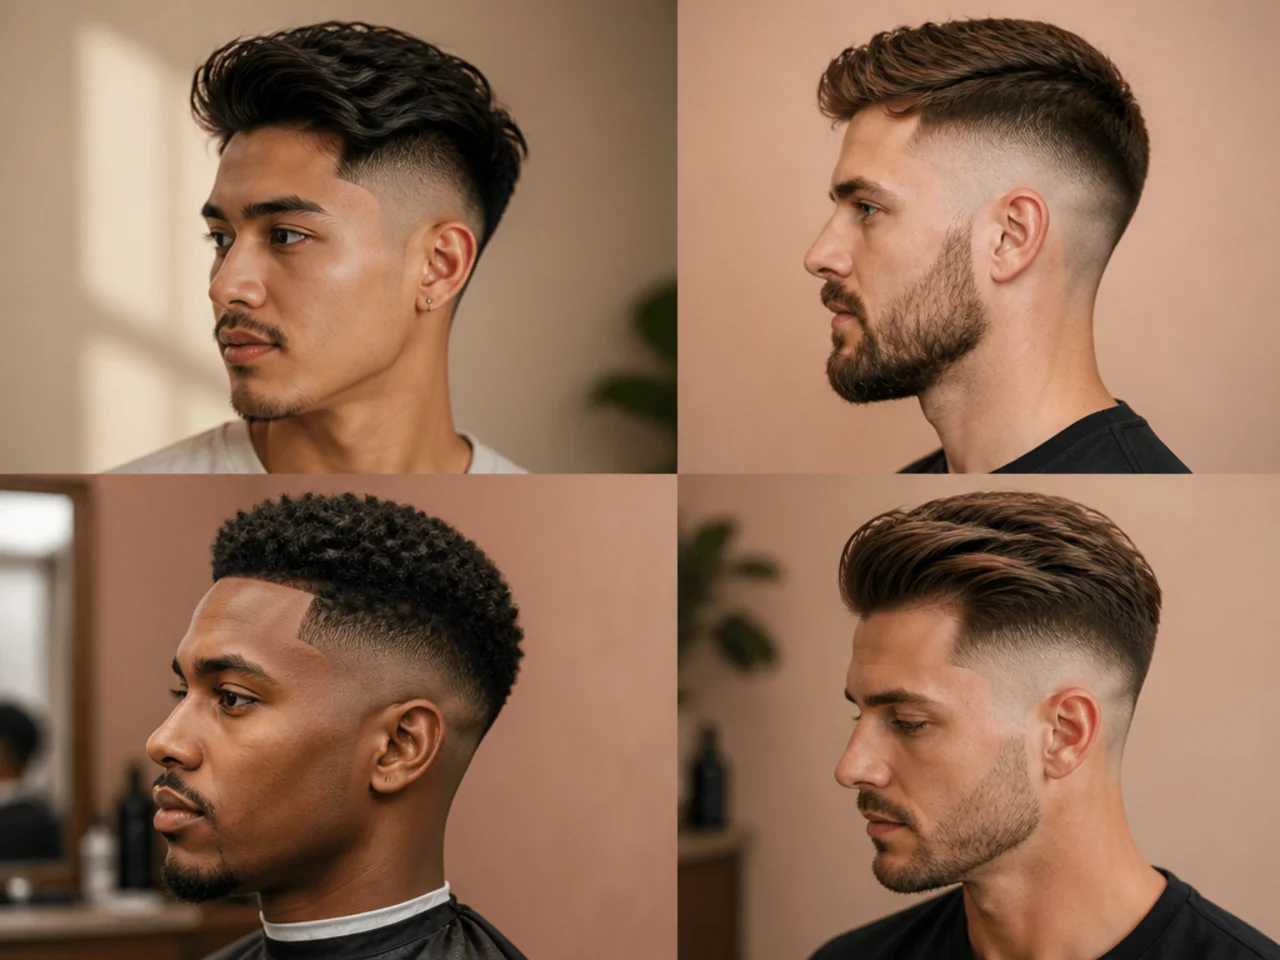
A mid fade puts a hard boundary halfway up the side of your head, and every styling decision after that is really a decision about that boundary. These fifteen ways are sorted by what they do to the line, not by which product they use.
In this article · 22
- The Line Is the Variable
- How to Choose Yours
- The 15 Ways to Style a Mid Fade
- 1. Push Everything Back Off the Line
- 2. Let the Top Overhang by a Centimetre
- 3. Part on the Fade's Top Edge
- 4. Blow-Dry Away From the Line
- 5. Flatten the Top to Deepen the Shadow
- 6. Lift at the Root Only
- 7. Sweep Across the Ridge
- 8. Send the Front Forward, Sides Untouched
- 9. Split the Top Down the Middle
- 10. Stack Height Above the Widest Point
- 11. Break the Line With a Fringe
- 12. Leave the Disconnect Open
- 13. Wet Finish to Expose the Blend
- 14. Matte Finish to Hide It
- 15. Nothing at All, Day Three
- Styling and Upkeep
- Mistakes to Avoid
- FAQ
- Final Thoughts
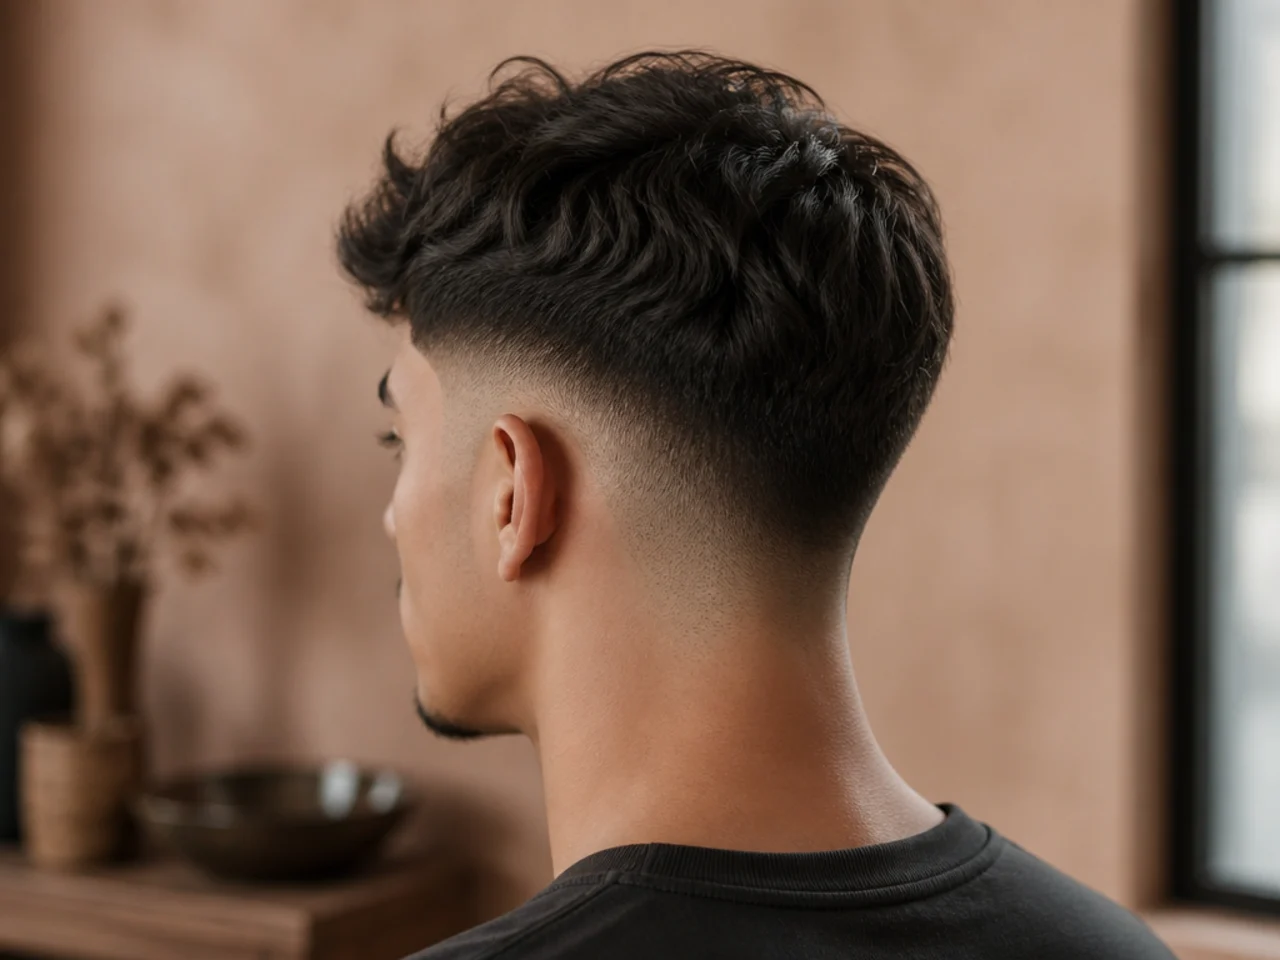
A mid fade draws a line between the temple and the parietal ridge and then leaves you with one section of hair above it.
Everything below that line is fixed. It is too short to move, so no amount of product changes anything about it.
So styling a mid fade is a single question repeated fifteen ways — what does the top do about the line? Cover it, expose it, overhang it, run into it or ignore it entirely.
The Line Is the Variable
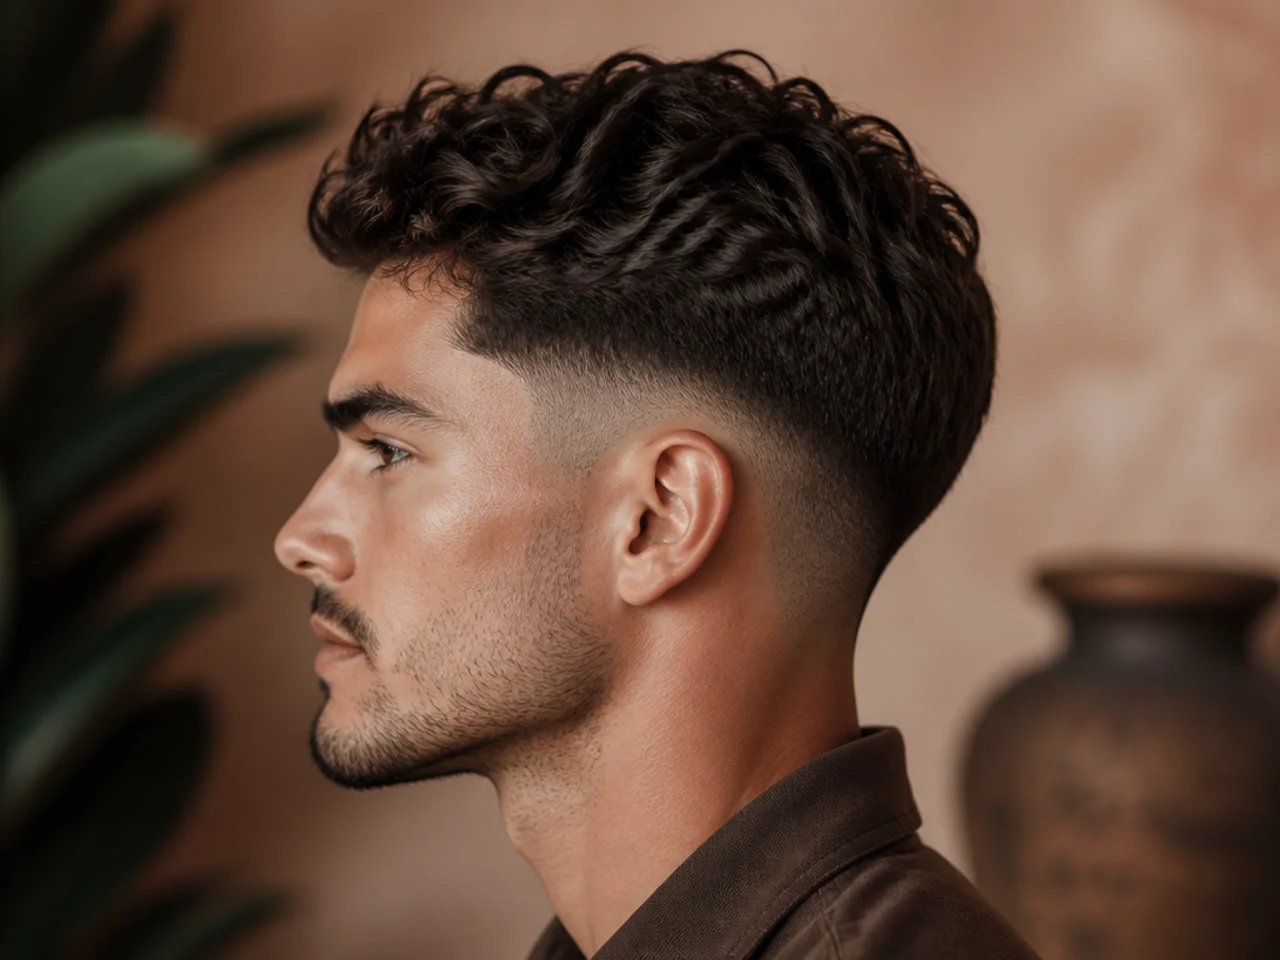
The fade line sits at the widest point of your profile. It is the first thing anybody sees from the side.
Only the top section can move. Below the blend the hair is between 0 and 6mm and has no direction to be given.
Direction changes the line's visibility. Hair pushed up exposes it and hair left flat covers its top edge.
Product changes the shadow, not the shape. Matte deepens the boundary and shine erases it.
How to Choose Yours
Decide first whether you want the fade seen. Everything else follows, because half of these fifteen hide the blend and half display it.
Match the finish to the intention. Matte clay for a visible line, cream or pomade for a soft one.
Work with the length you have. Under four centimetres the top cannot be directed, so it can only be flattened or left.
Dry it into position before adding anything. Direction is set by airflow and fixed by product, not the other way round.
The 15 Ways to Style a Mid Fade
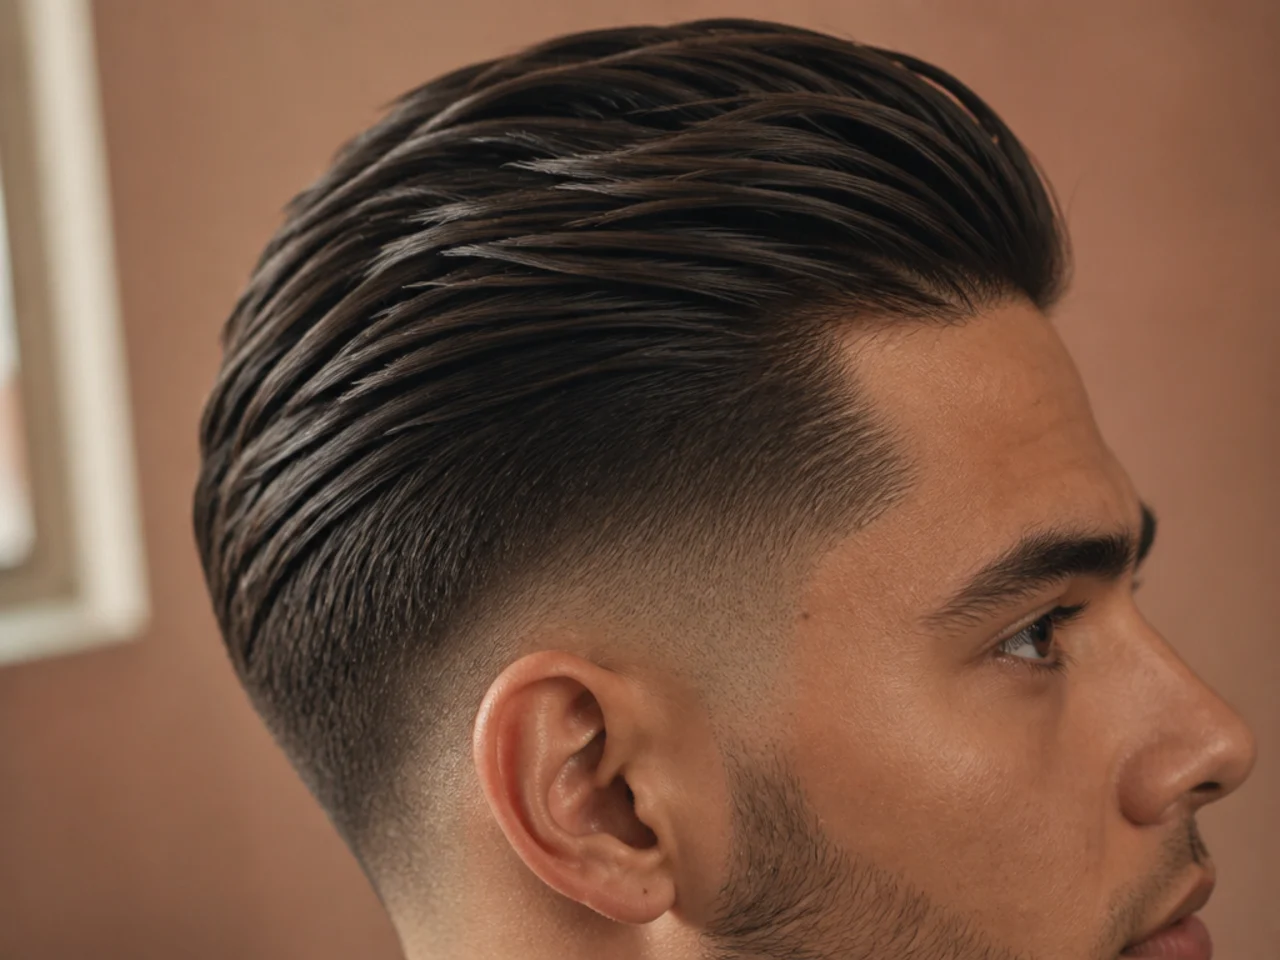
1. Push Everything Back Off the Line
Send the whole top backwards so nothing hangs over the sides. It is the most exposing option there is, because every millimetre of the blend from the temple to the ridge is on show and any unevenness shows with it.
2. Let the Top Overhang by a Centimetre
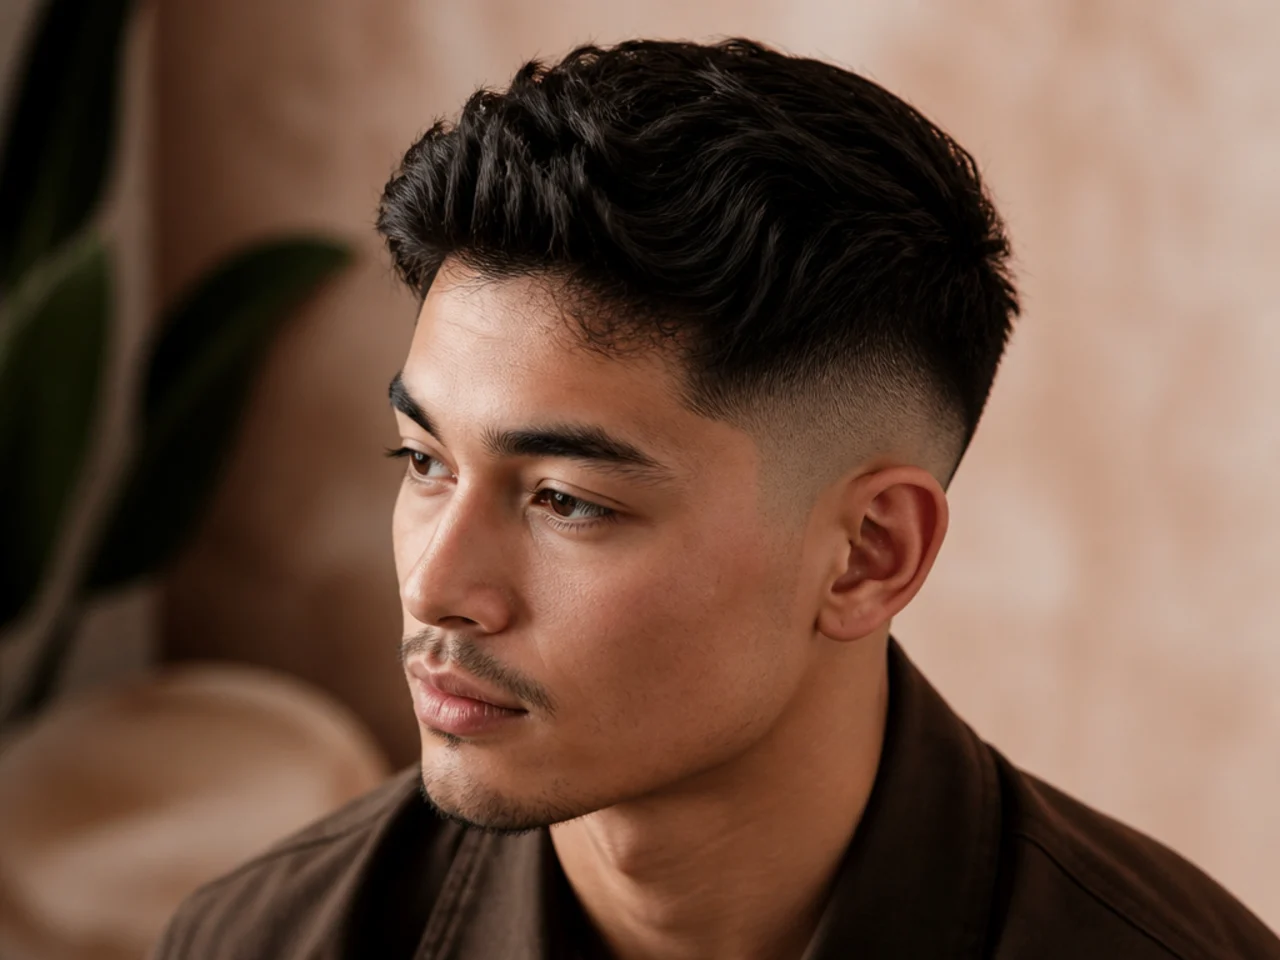
Leave the top sitting slightly proud of the fade line rather than lifting it. The overhang throws a shadow down the blend, which softens the change from hair to skin without changing a single guard number.
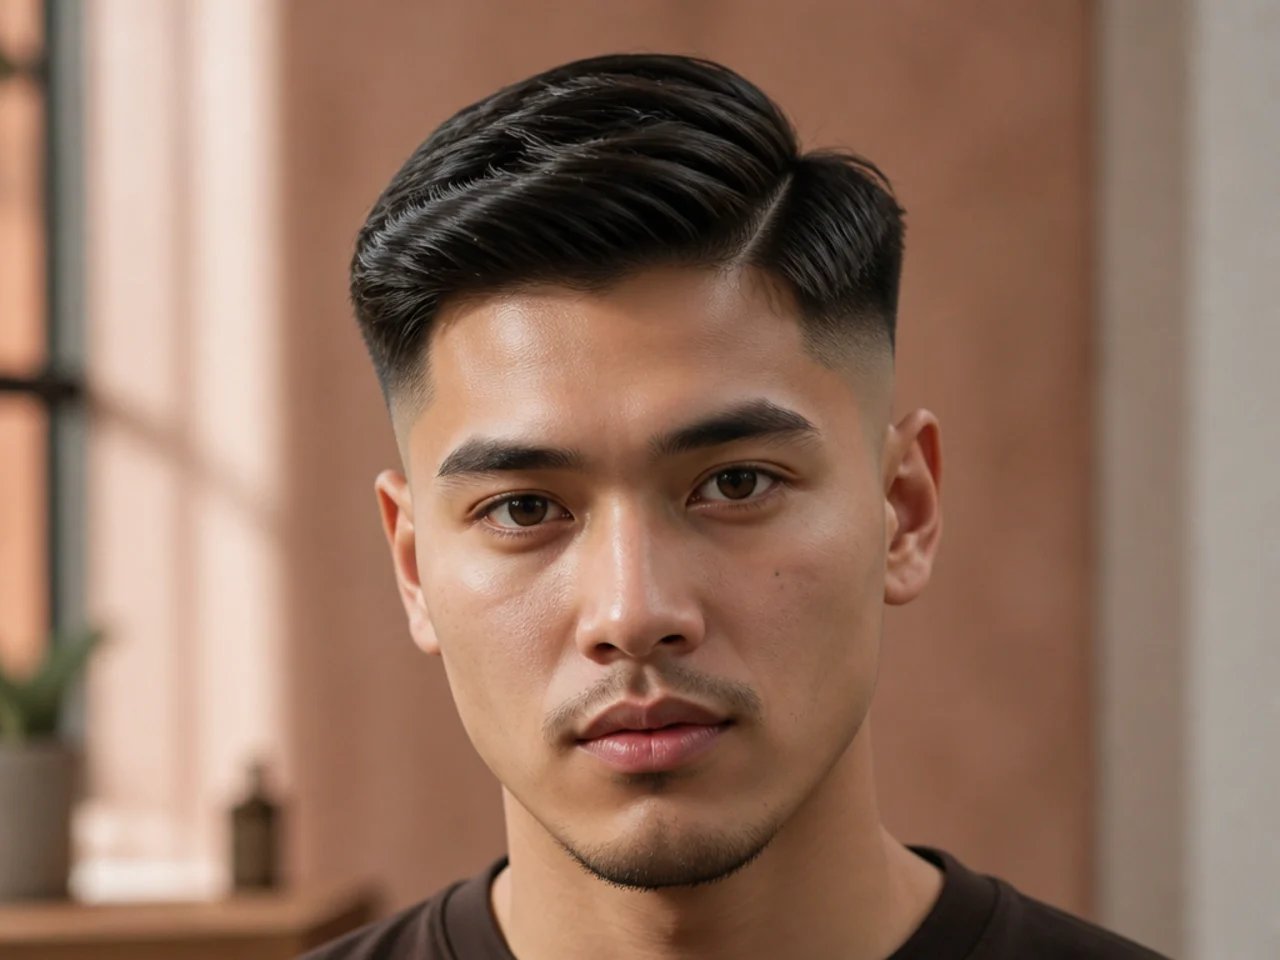
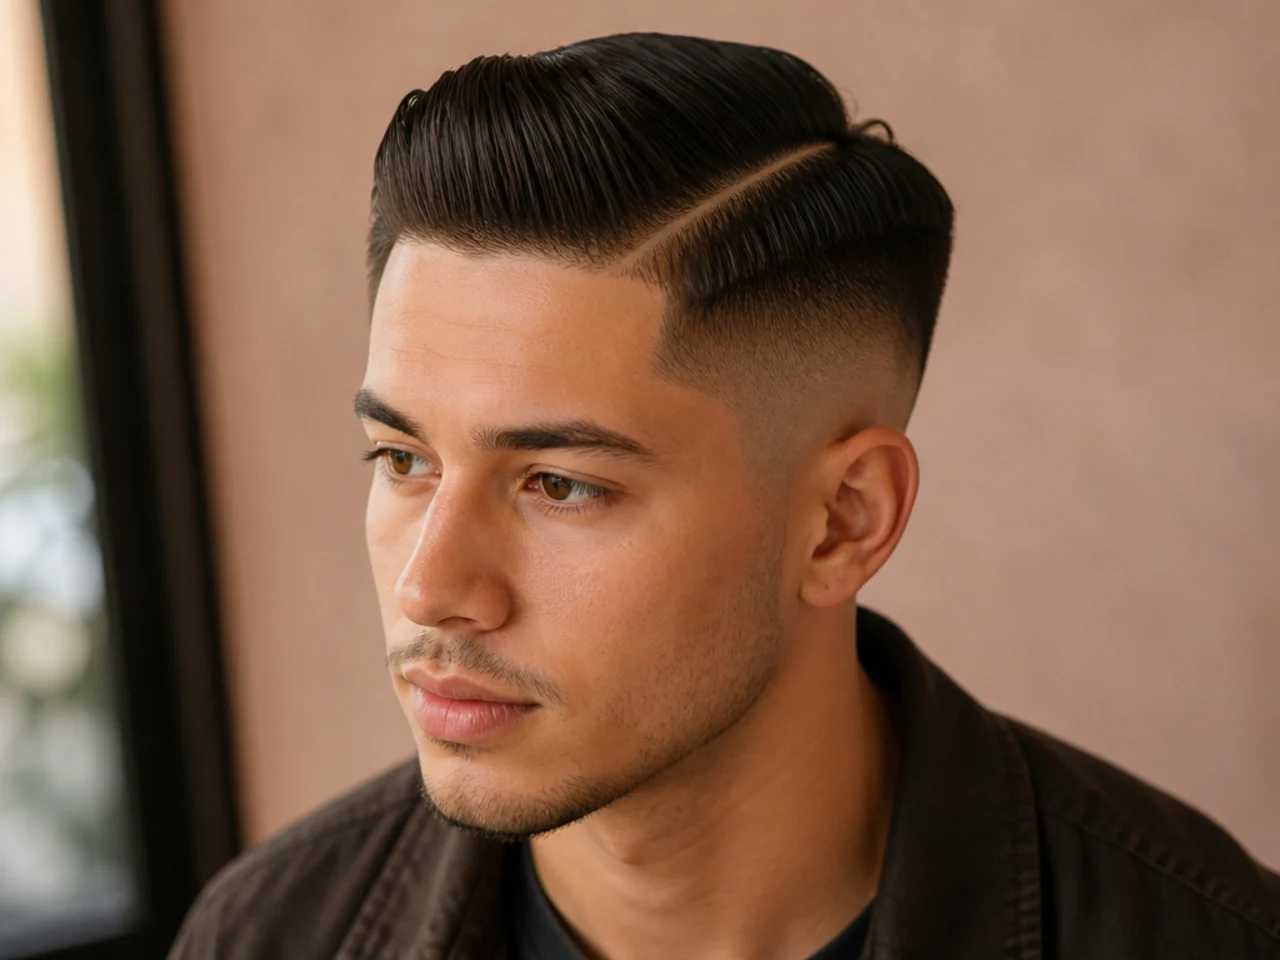
3. Part on the Fade's Top Edge
Set the parting where the blend begins so the two lines become one. It only works if there is a centimetre of unfaded hair below the part, otherwise the part disappears into the gradient.
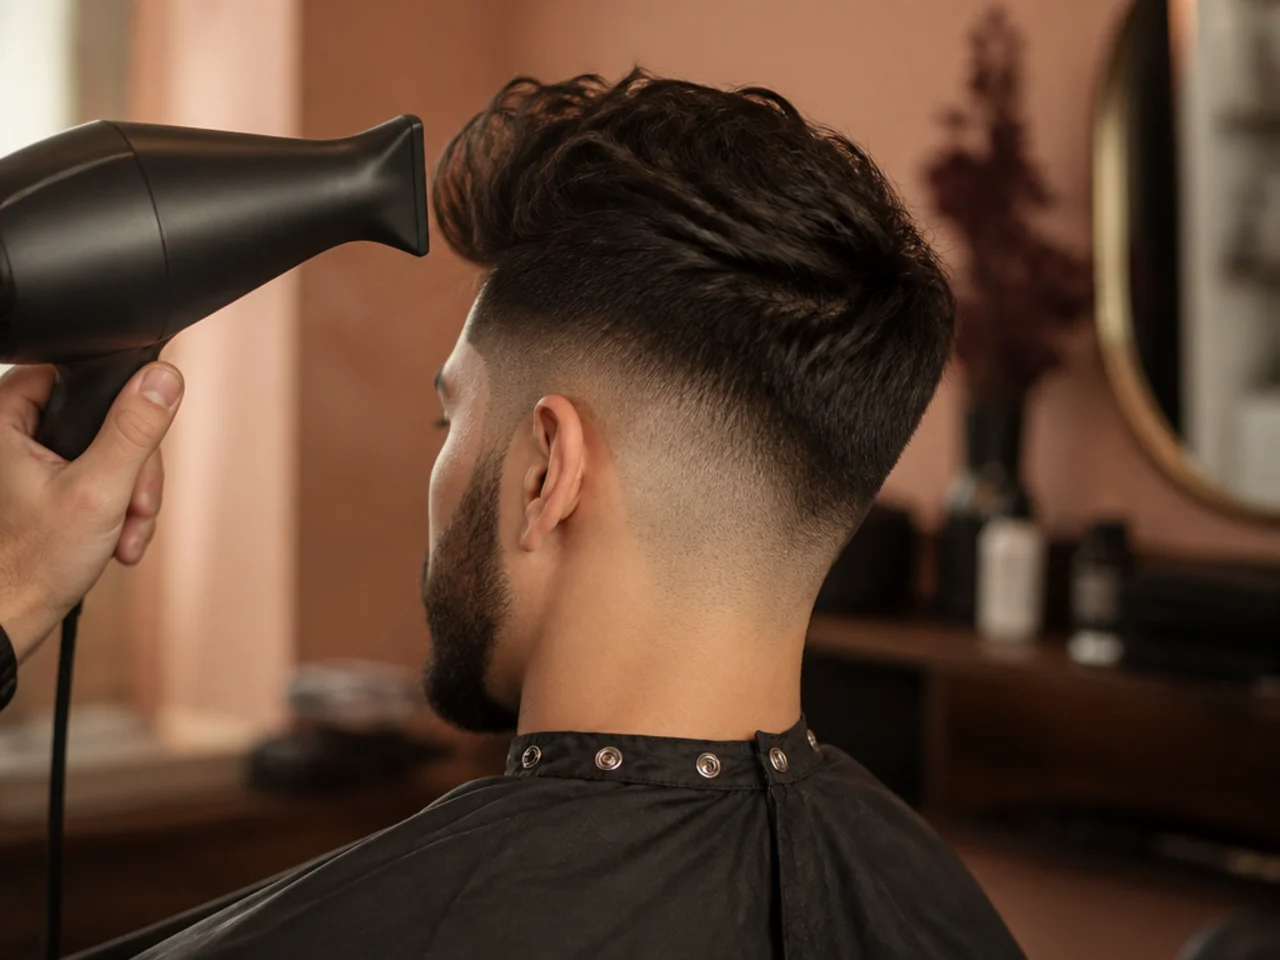
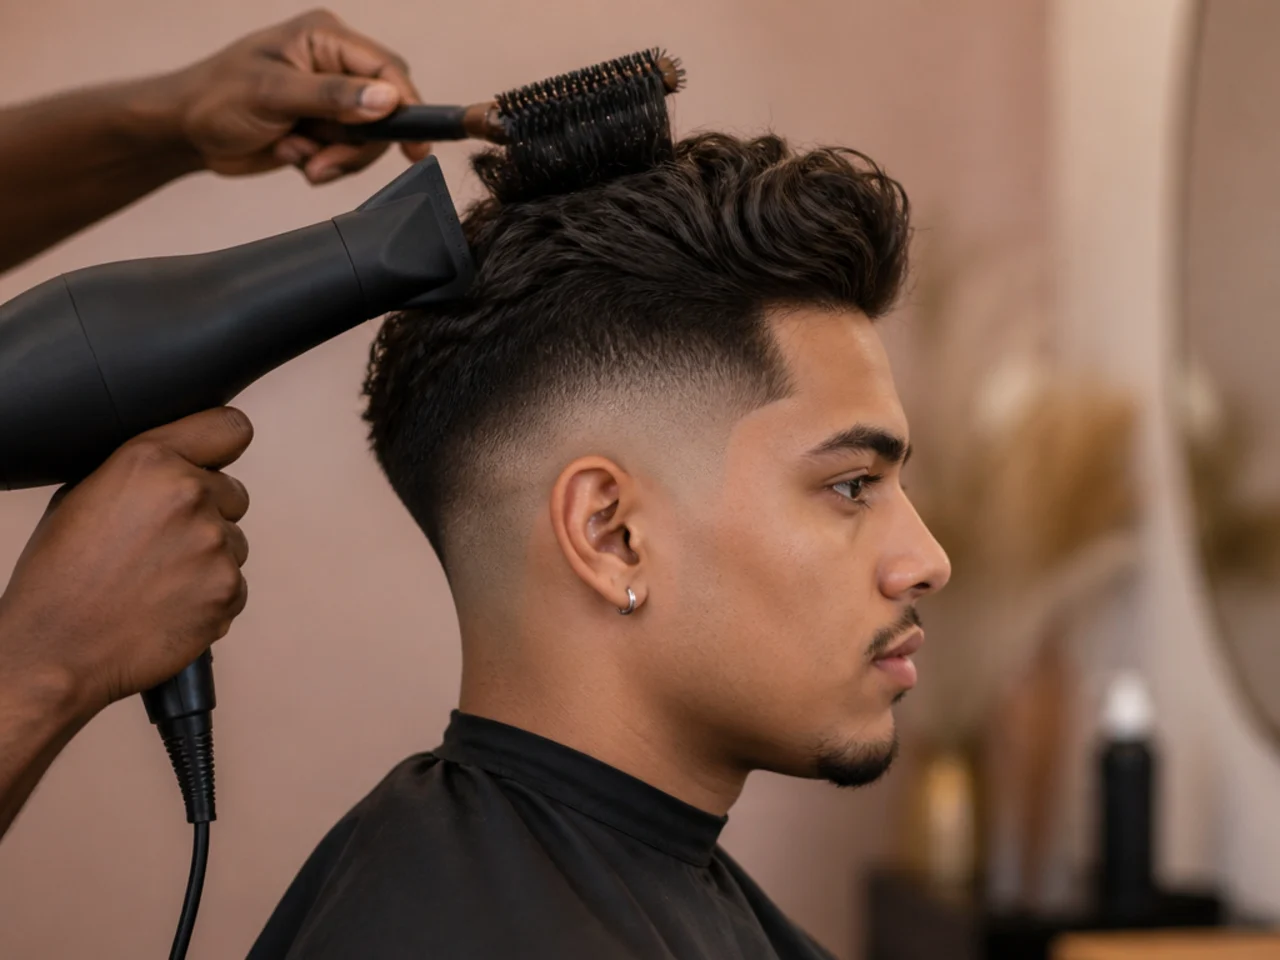
4. Blow-Dry Away From the Line
Point the airflow from the fade upward through the roots. Drying against the line lifts the hair off the side of the head, which is the only way to get real height on a section that short.
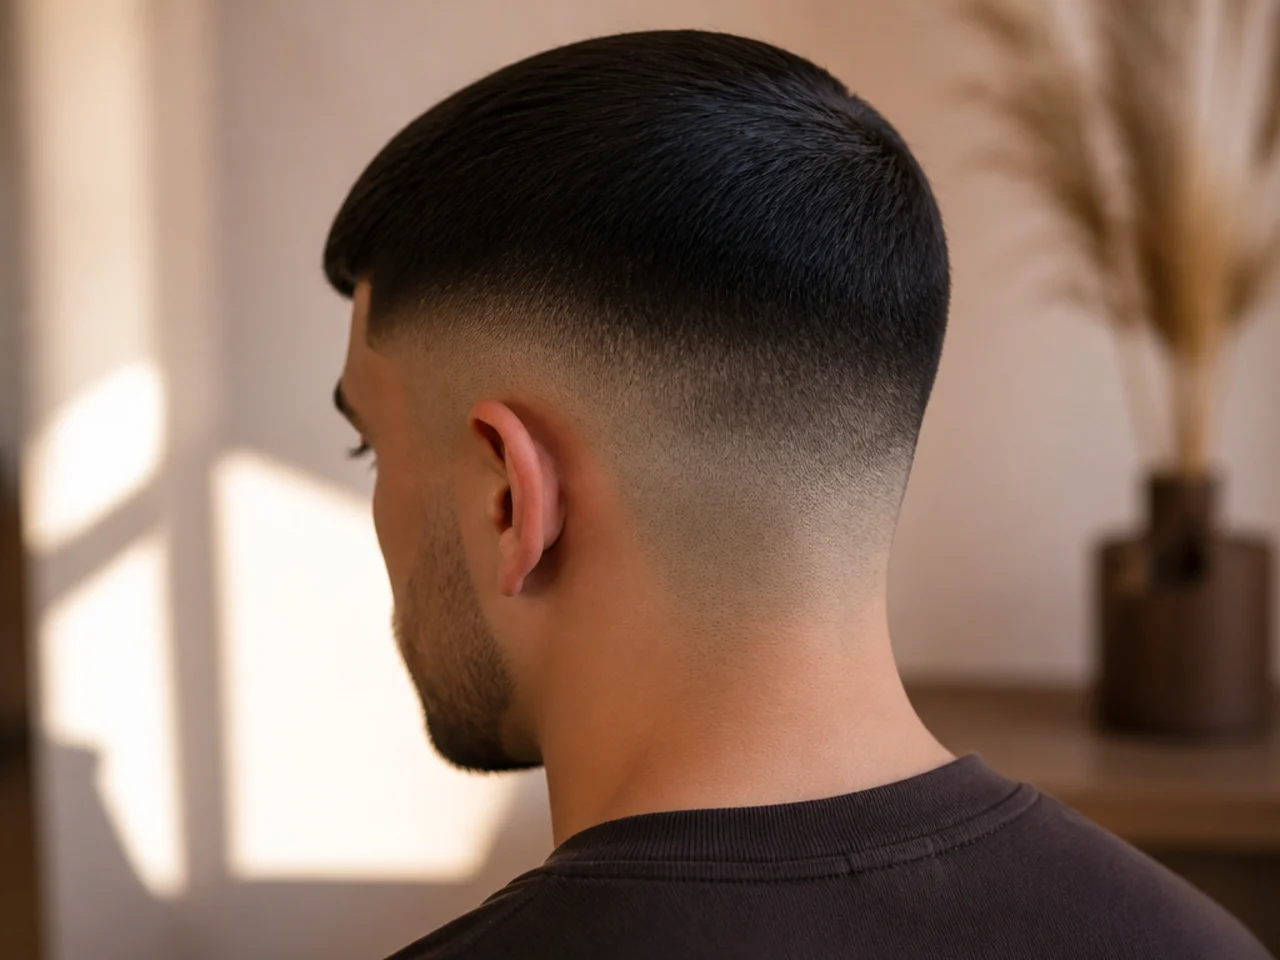
5. Flatten the Top to Deepen the Shadow
Press the top down with a matte clay instead of lifting it. Flattening pushes the ends outward over the sides, which widens the overhang and darkens the line beneath it.
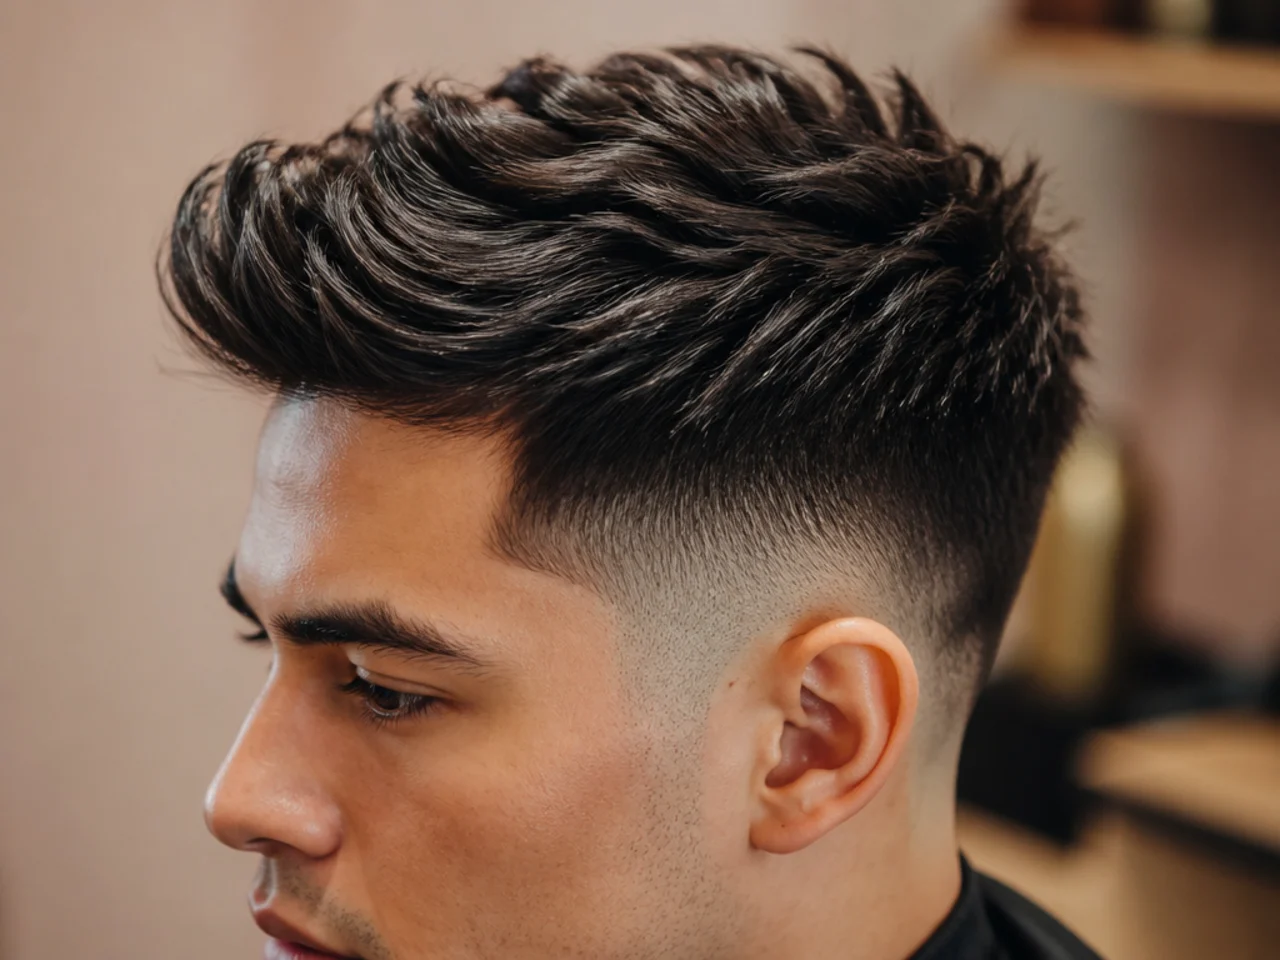
6. Lift at the Root Only
Volume built at the base of the top section with the ends left alone. The height sits directly above the fade line, so the eye reads a step up rather than a rounded mass.
7. Sweep Across the Ridge
Take the top diagonally across the head so it crosses the parietal ridge. The sweep travels over the widest point, which is what gives it something to sit on at the far side.
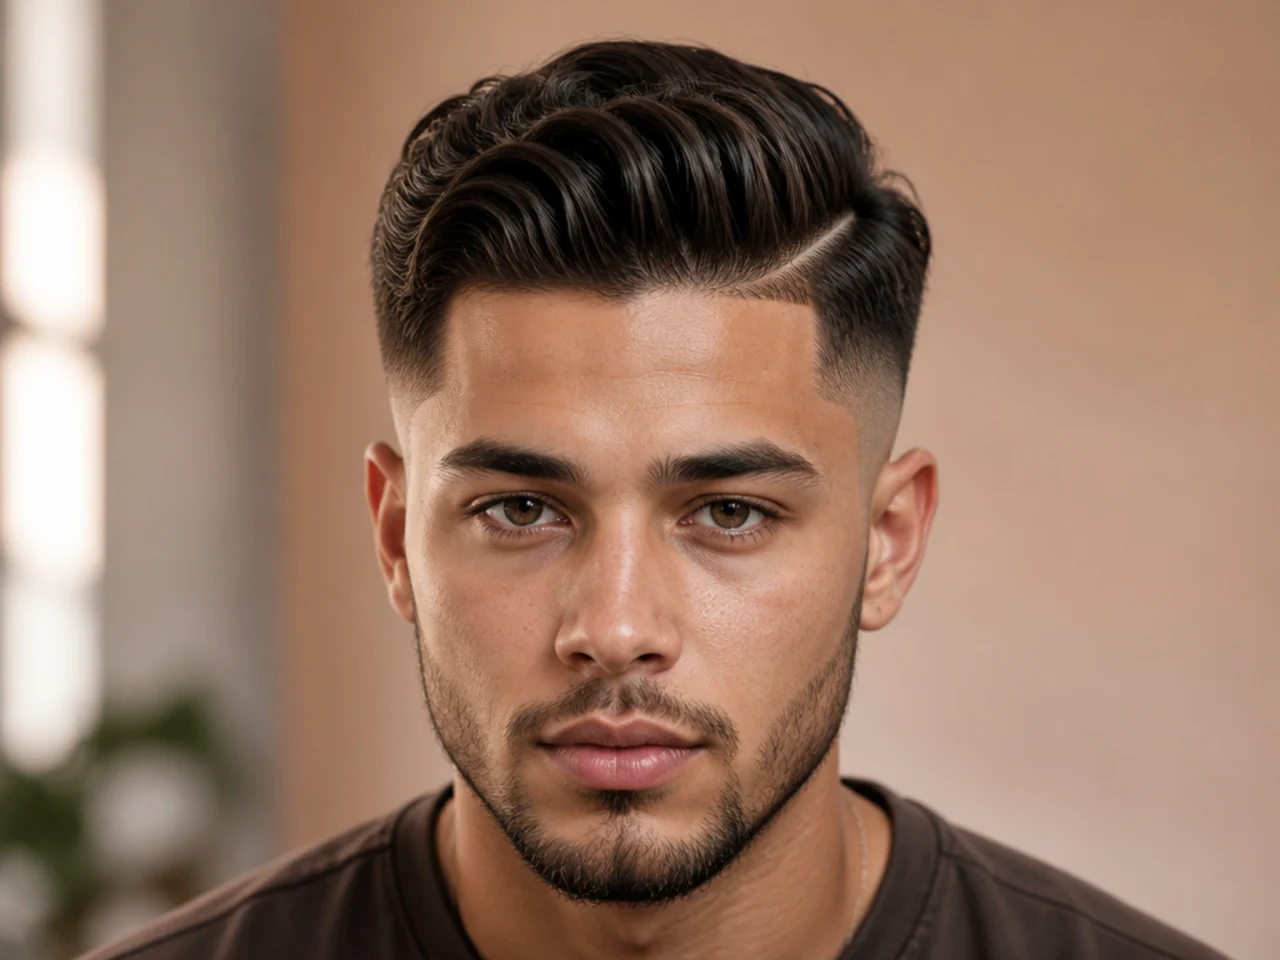
8. Send the Front Forward, Sides Untouched
Push only the front section toward the forehead. The sides of the top stay where the barber left them, so the fade line keeps its full length visible from the temple back.
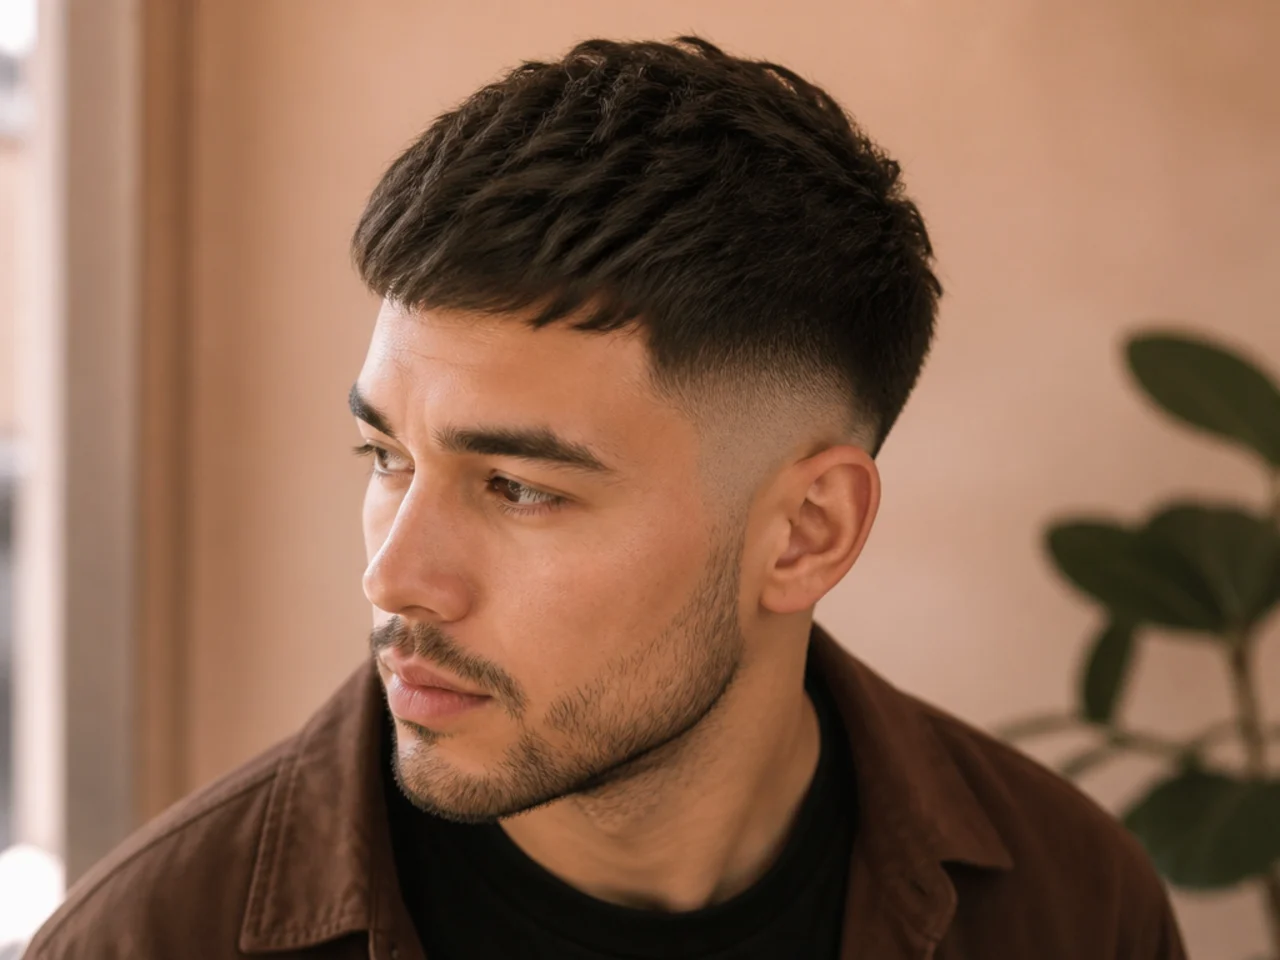
9. Split the Top Down the Middle
A centre part opening the top into two halves, the shortest possible version of a middle part haircut. It drops height and pushes weight outward toward both fade lines, which is why it suits men whose top is already full.
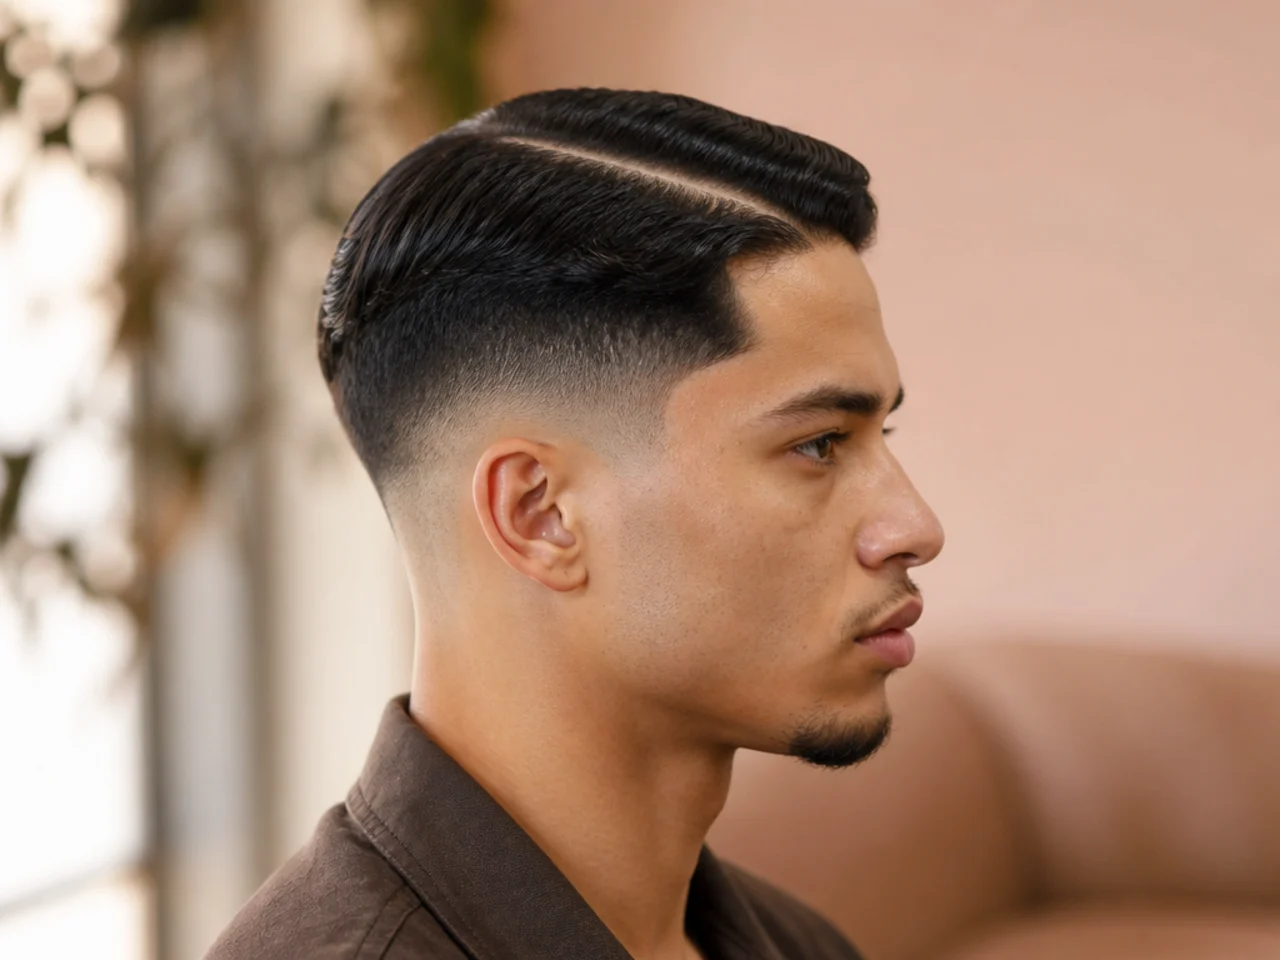
10. Stack Height Above the Widest Point
Build the volume directly over the ridge rather than at the front. Height placed there lengthens the head above the fade line instead of adding to the face.
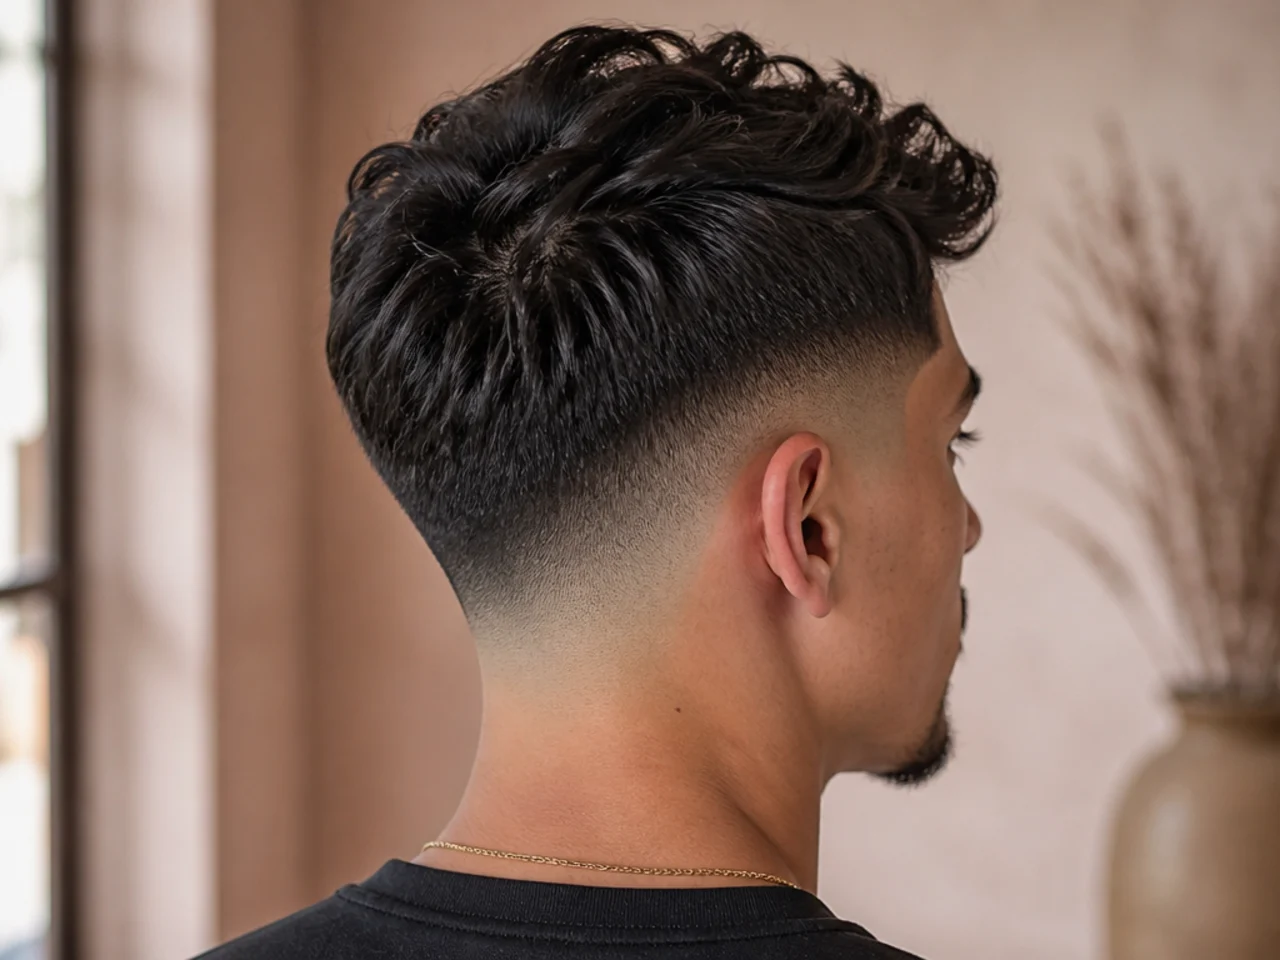
11. Break the Line With a Fringe
Bring a section forward so it interrupts the run from temple to ridge, which is how a fringe worn over a fade works. Breaking the line into two shorter segments makes the blend read as a detail rather than as the main event.
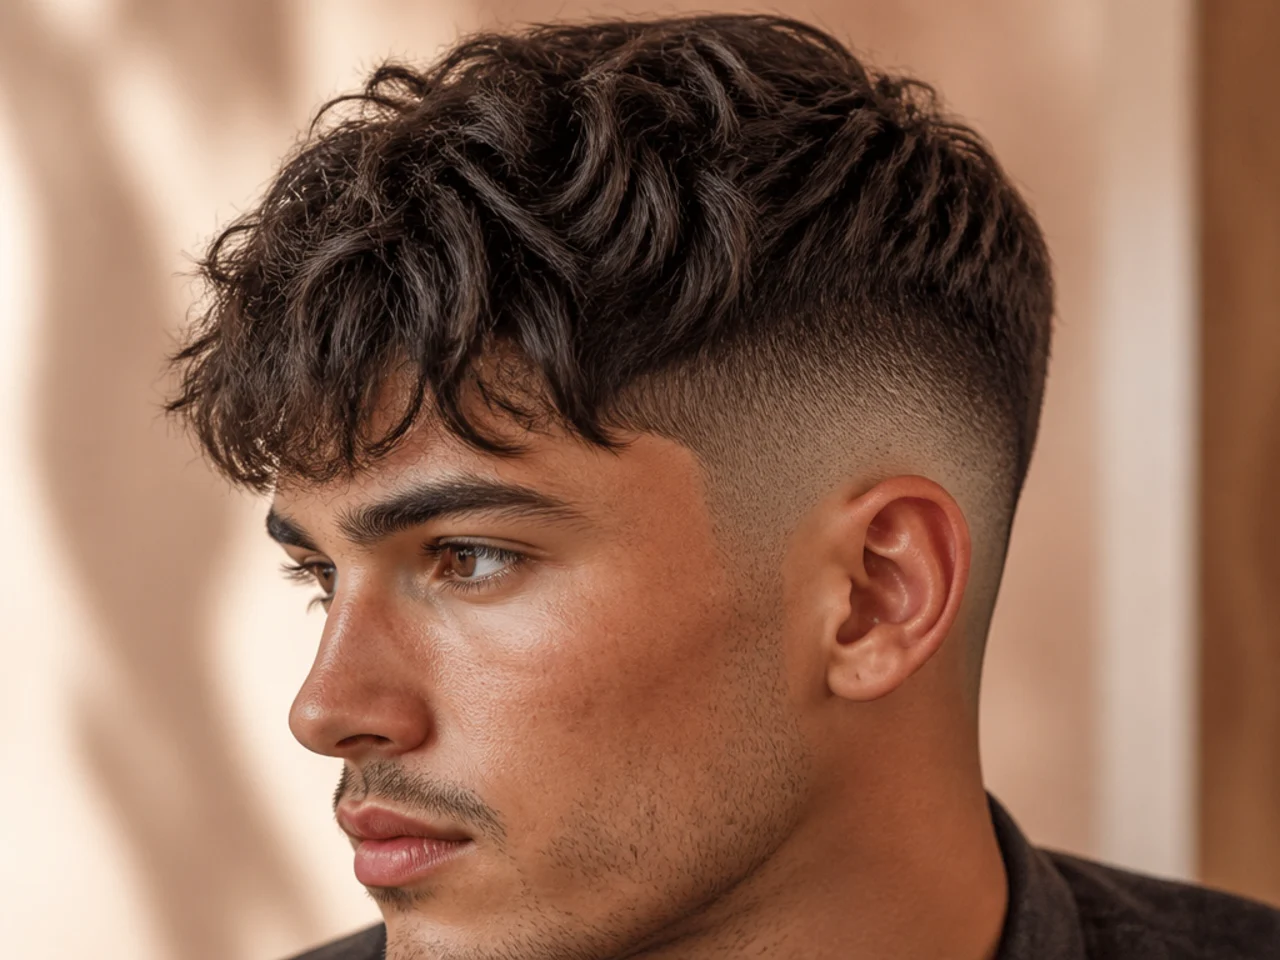
12. Leave the Disconnect Open
If the cut is disconnected rather than blended, style the top away from the step instead of over it. Covering a deliberate disconnect wastes the only feature the cut has.
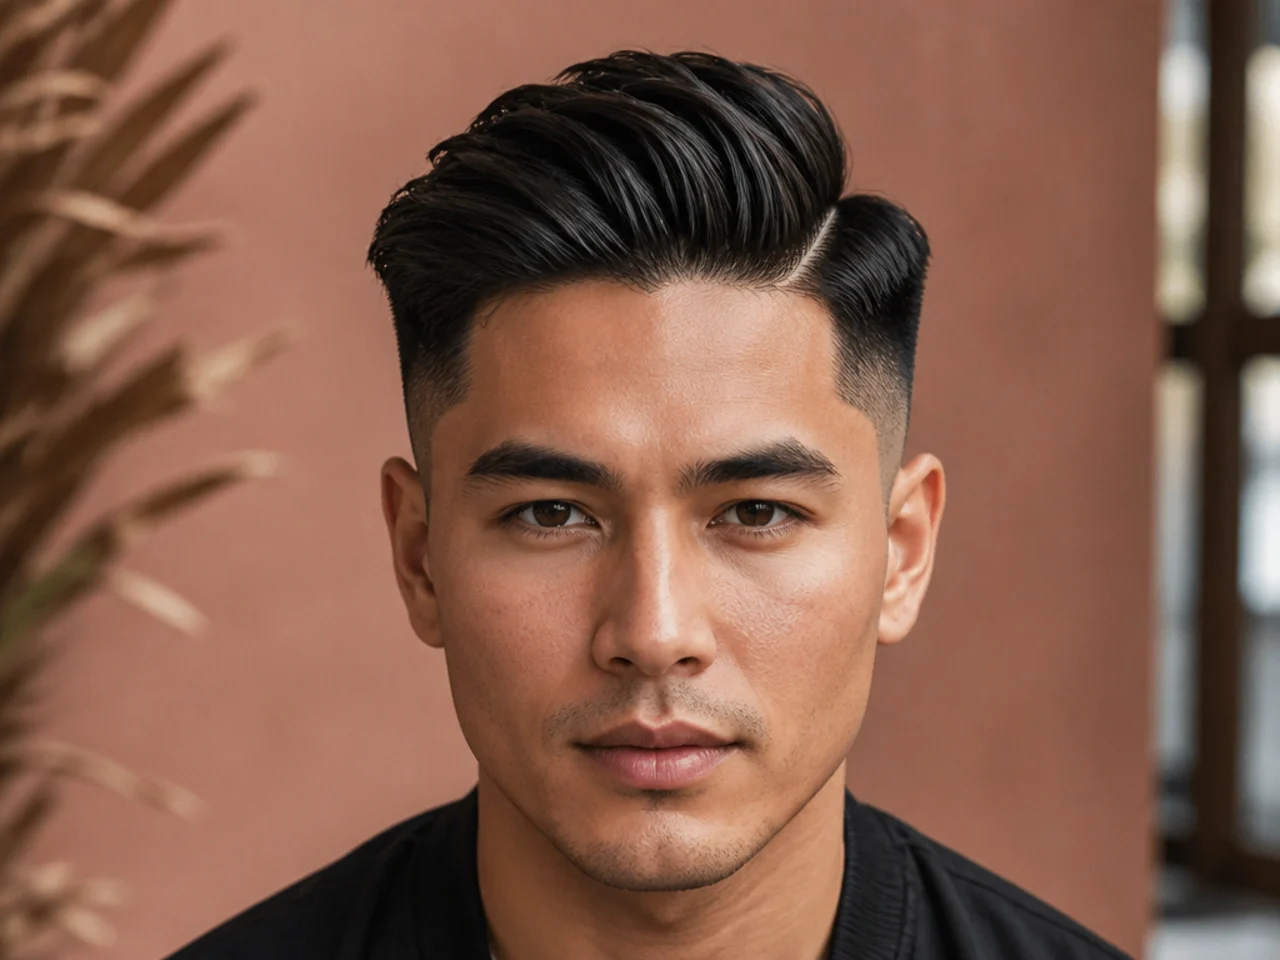
13. Wet Finish to Expose the Blend
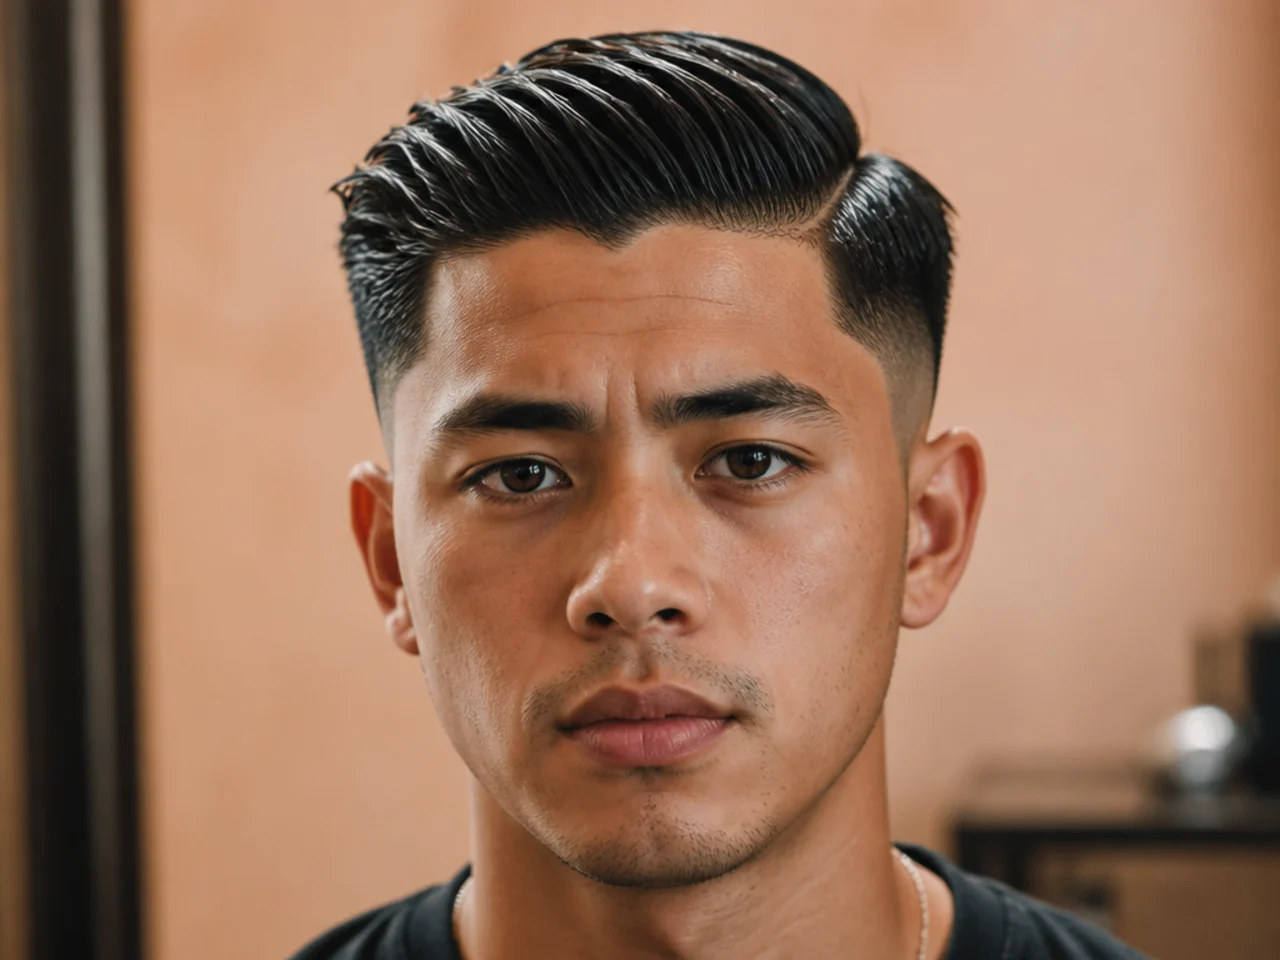
A high-shine pomade with everything combed flat, the finish that turns this into a slick back with a fade under it. Shine on the top and matte skin below maximises the difference between the two, so the gradient reads at a distance.
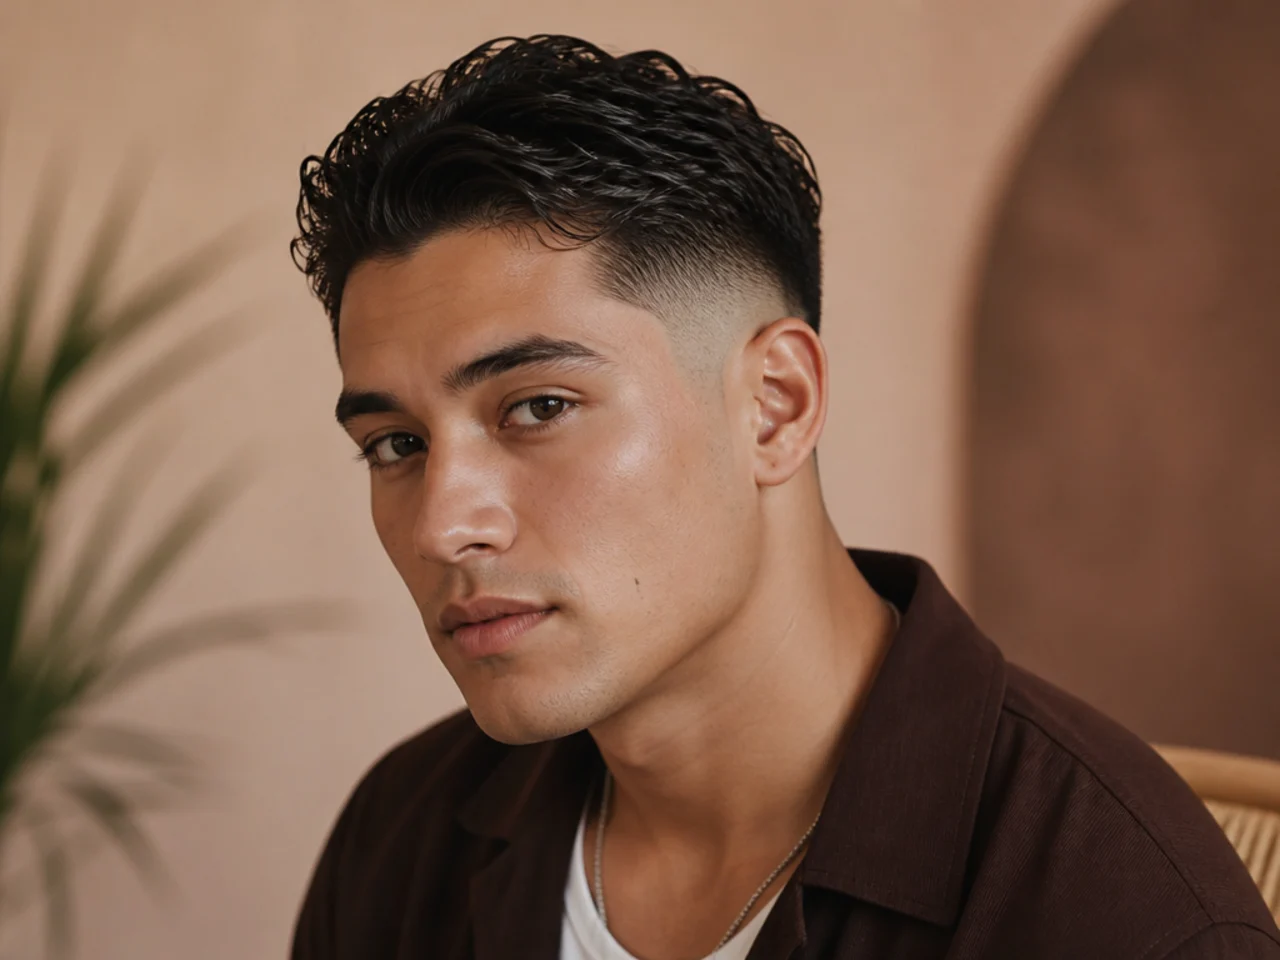
14. Matte Finish to Hide It
Clay worked in with fingers and no comb near it. Matte kills the reflection difference between the top and the faded panel, so the line softens without being cut differently.
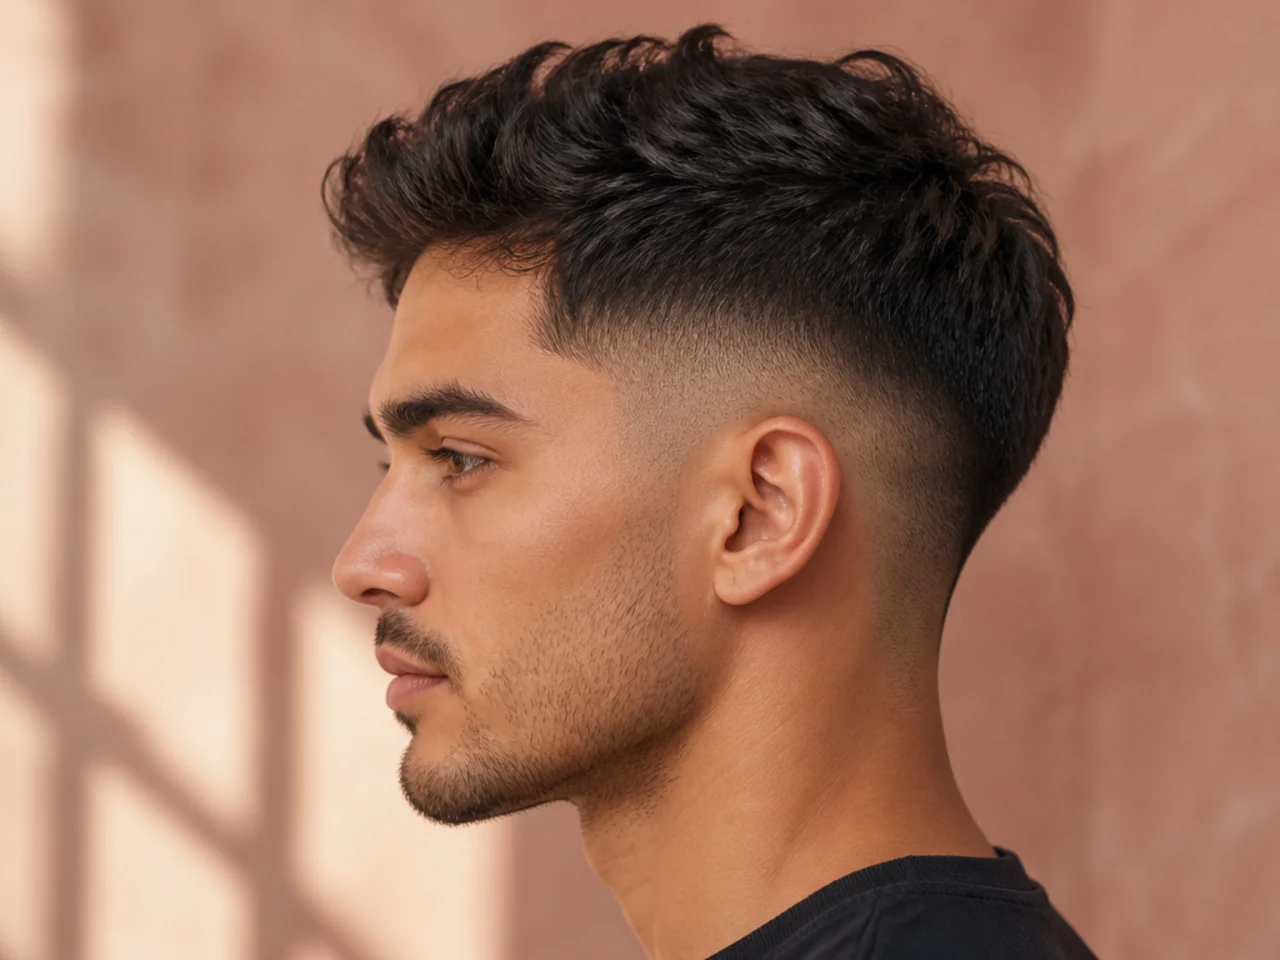
15. Nothing at All, Day Three
No product, hair where it falls, three days of natural oil in it. It is the honest test of whether the fade height was set correctly, because nothing is compensating for it.
Styling and Upkeep
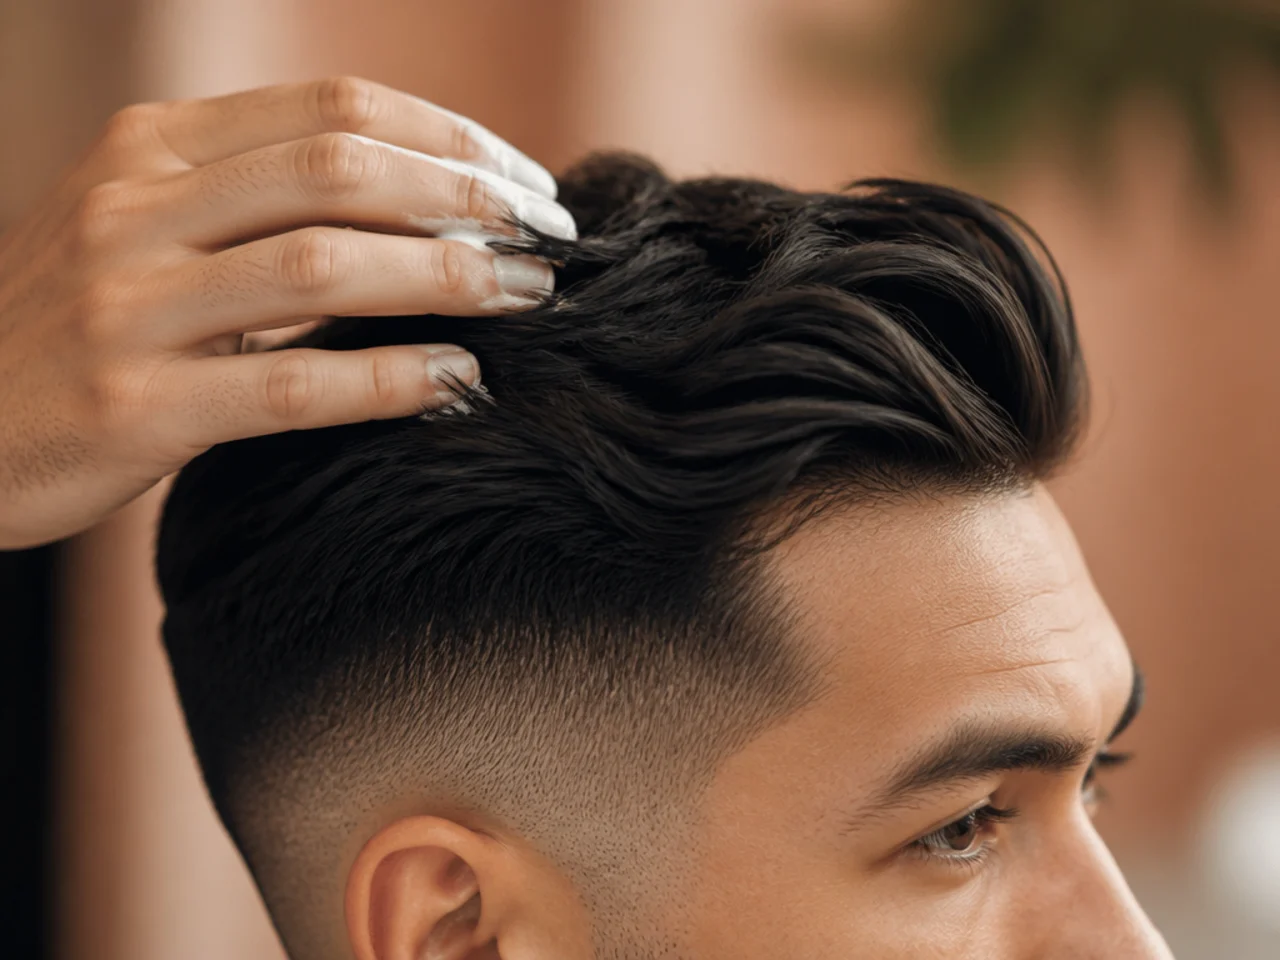
Keep all product above the fade line. Below it there is nothing long enough to hold, and residue on skin reads as shine.
Use half what the tub suggests. A mid fade leaves only a small top section, and it takes far less product than a full head.
Dry first, then fix. Airflow sets the direction and product only holds whatever position the hair has already been dried into.
Rebook by finish. Once the blend goes soft it stops doing any of the shaping for you and the product has to do all of it, which happens at one to two weeks on a mid skin fade and at three to four on a mid taper.
Rinse and restyle rather than adding more. Layering fresh product onto yesterday's leaves the roots heavy and the top collapses onto the line.
Mistakes to Avoid
Working product into the faded sides. It cannot hold anything and it leaves the skin shining.
Lifting the top when the blend is uneven. Pushing everything up puts the fade on full display.
Using shine on a cut you want to look soft. Reflection sharpens the boundary you were trying to blur.
Combing a textured top. It puts every end back on the same plane and removes the overhang.
Styling before the hair is dry. Damp hair drops as it dries and takes the shape down with it.
FAQ
Does the faded side need product? No, it is too short to hold anything.
How do I soften a severe mid fade? Let the top overhang the line by a centimetre.
Wet or dry styling? Damp, then dried into position before product.
Final Thoughts
Pick one of these before you touch the tub, because they contradict each other. Push it back and you display the fade, let it overhang and you hide half of it, and doing both in the same morning gets you neither. Decide whether the line is the point of the haircut or the frame around it.
For the cut itself see the mid fade haircut guide, and for the same exercise on a softer blend see 15 ways to style a taper fade. More in Fade Haircuts.