20 Low Fade Haircut Ideas With Designs
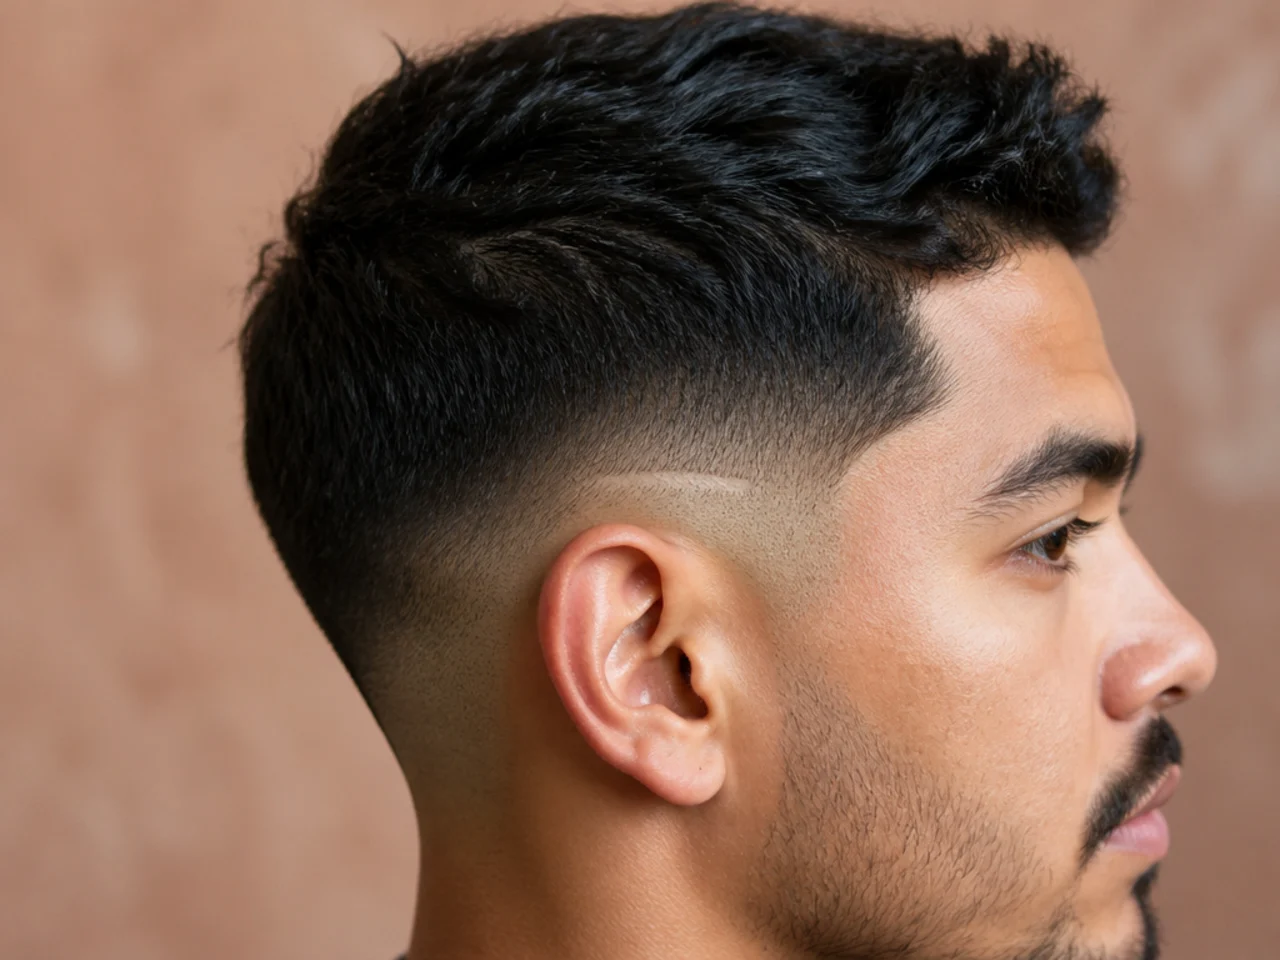
A low fade's bare panel is two or three centimetres deep, sits below the temple and curves sharply around the ear. That is why designs here are accents rather than statements, and why they are the office-viable version.
In this article · 27
- The Smallest Panel of Any Fade
- How to Choose Yours
- The 20 Low Fade Design Ideas
- 1. Single Short Line Above the Ear
- 2. Curved Arc Following the Ear
- 3. Double Short Lines
- 4. Hard Part Dropped Into the Panel
- 5. Small Chevron
- 6. Compact Lightning Bolt
- 7. Notch at the Temple
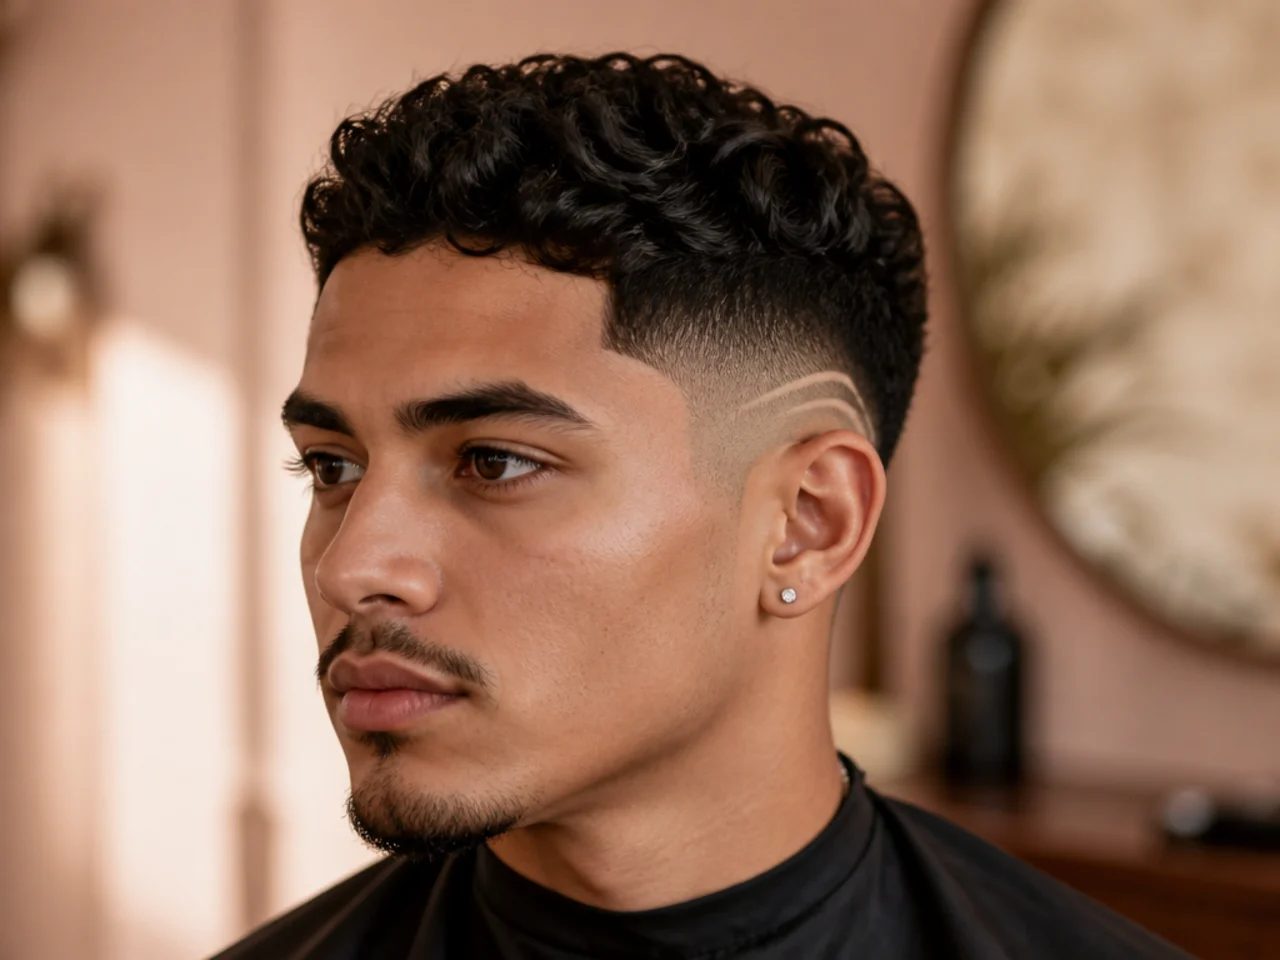
- 8. Twin Arcs
- 9. Behind-the-Ear Design
- 10. Design With a Line-Up
- 11. Design Meeting the Beard Line
- 12. Design Below a Wave Pattern
- 13. Design Under a Curly Top
- 14. Cross-Hatch Patch
- 15. Single Star
- 16. Design on a Low Drop Fade
- 17. Design on a Low Burst Fade
- 18. Asymmetric Single-Side Design
- 19. The Design at Day Four
- 20. The Design at Day Seven
- Styling and Upkeep
- Mistakes to Avoid
- FAQ
- Final Thoughts
Every design needs bare skin around it, and the amount of bare skin a fade leaves is set entirely by its height.
A low fade starts at or below the temple. So its panel is two or three centimetres deep, sitting in the band just above the ear.
And it curves hard. The area wraps around the ear rather than running flat, which is why designs here are short arcs and single marks rather than statements.
The Smallest Panel of Any Fade
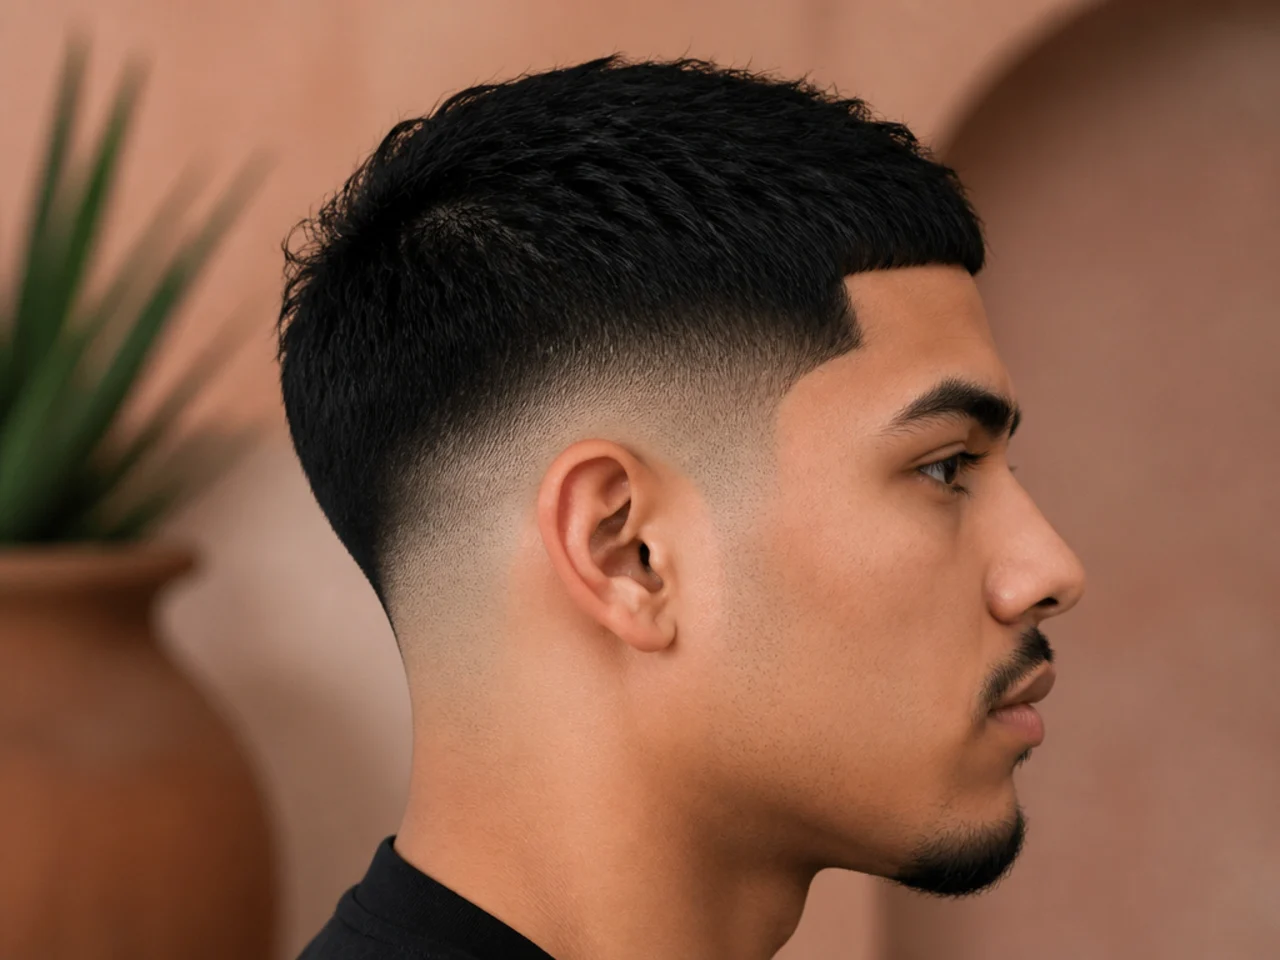
A low fade exposes two or three centimetres. From the temple down to the top of the ear, and no more.
The ear takes up part of it. From most angles the ear shields the lower half of the panel.
And the surface curves sharply. It wraps around the ear rather than sitting flat like a mid fade panel.
So small and curved is the brief. Short arcs, single motifs and nothing that needs a straight run.
How to Choose Yours
Size it to two or three centimetres. Bring a photo of a full-side design and the barber will spend the appointment shrinking it into something else.
Prefer arcs to straight lines. A curve can follow the ear, and a straight line has nowhere flat to sit.
Ask for a skin finish in the panel. A taper leaves a #1 at 3mm everywhere and there is no bare skin for the mark to show against.
Expect five to seven days. Hair grows roughly a third of a millimetre daily and the line closes from both edges at once.
The 20 Low Fade Design Ideas
1. Single Short Line Above the Ear
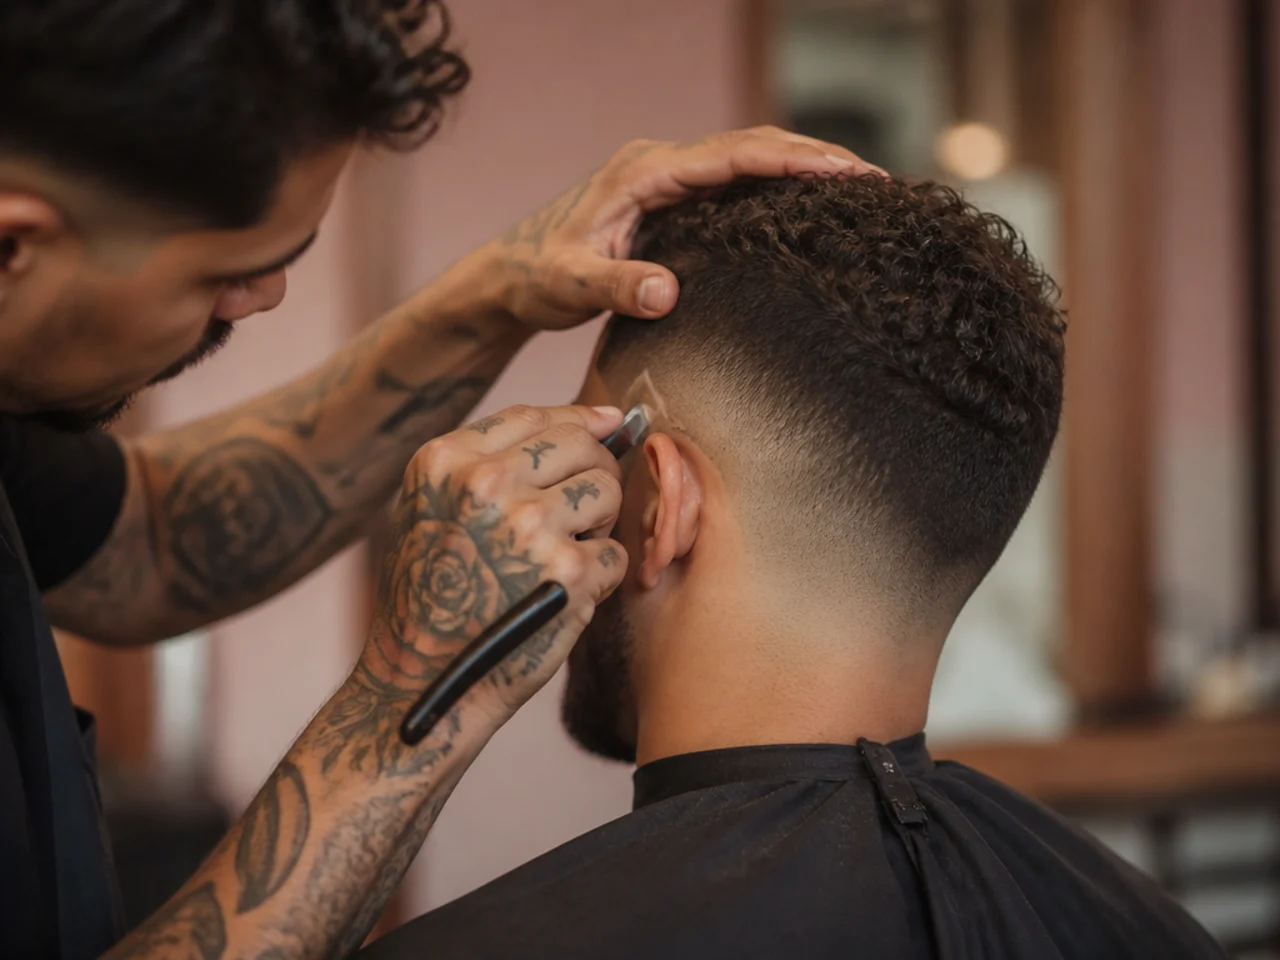
One clean mark two or three centimetres long. It is the only design that fits the panel comfortably and it is the one that survives longest.
2. Curved Arc Following the Ear
A line echoing the top of the ear itself. Curvature is an advantage here rather than an obstacle, because the mark and the surface agree.
3. Double Short Lines
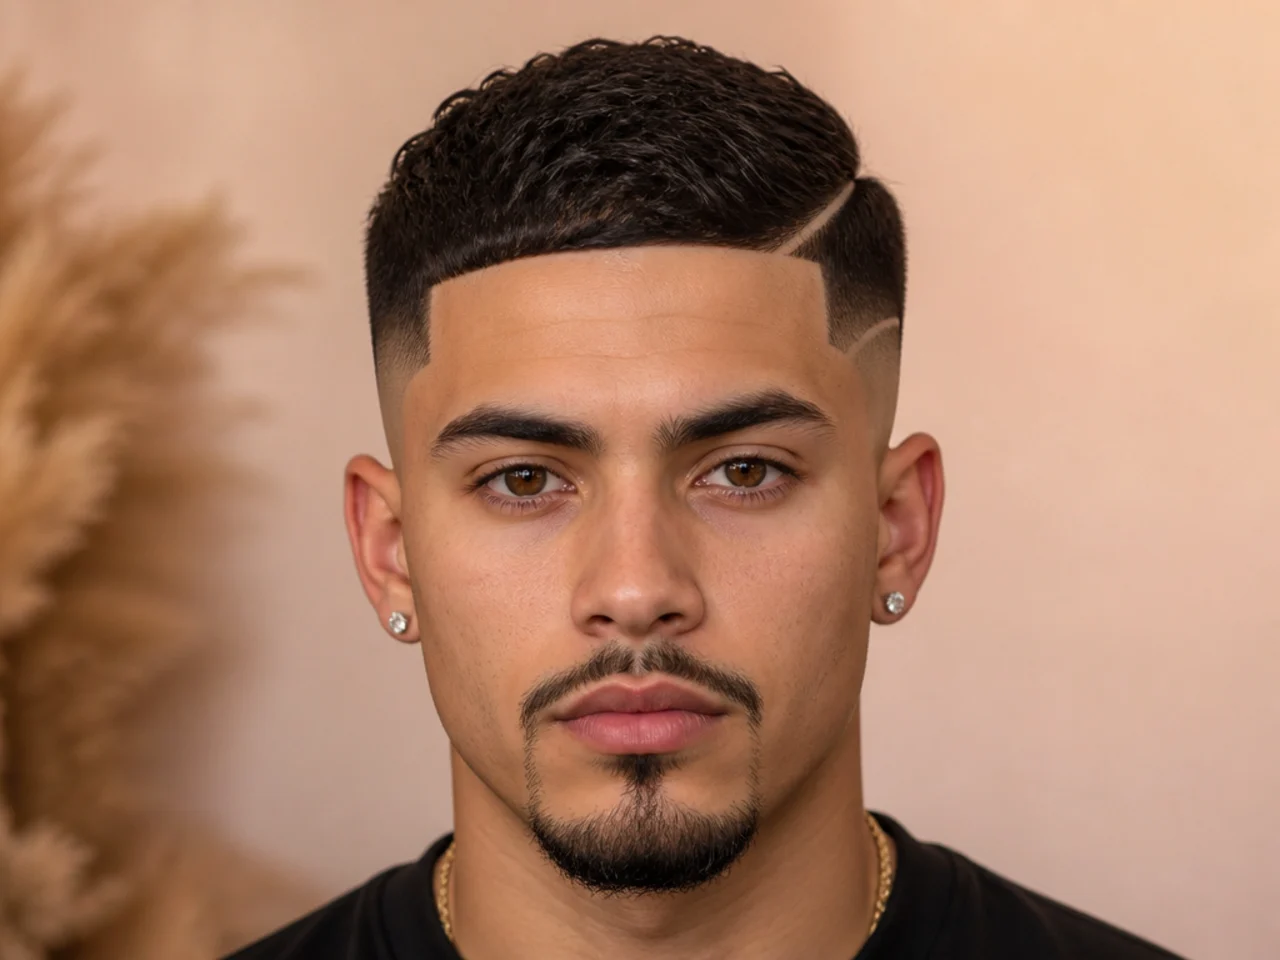
Two marks a centimetre apart. The gap is the design as much as the lines, so it needs to stay wide enough to survive a few days of growth.
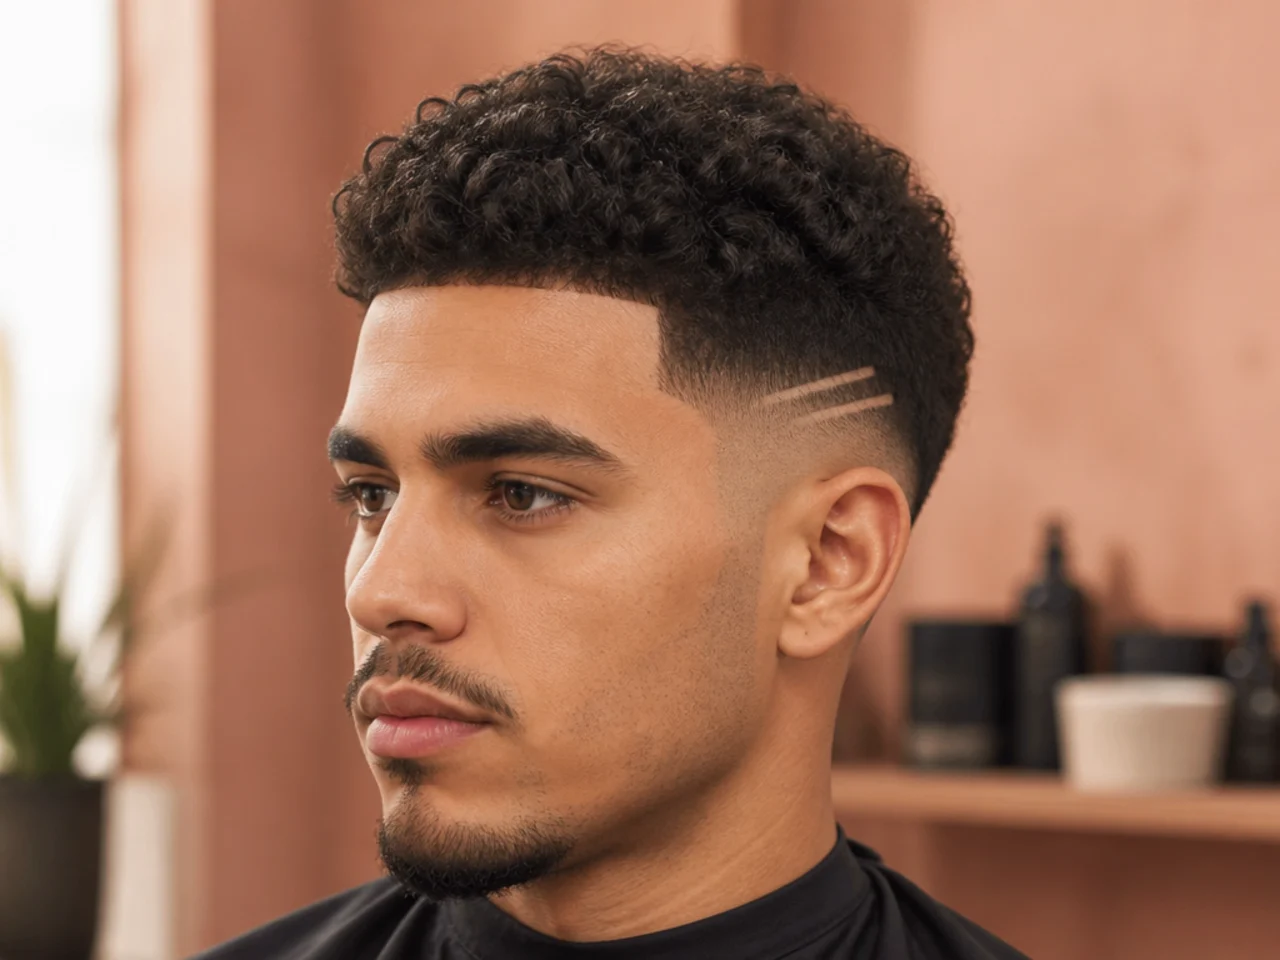
4. Hard Part Dropped Into the Panel
The part extended beyond the top section and taken down through the blend itself. It borrows the top of the head for length, which is how you get a long mark out of a short panel.
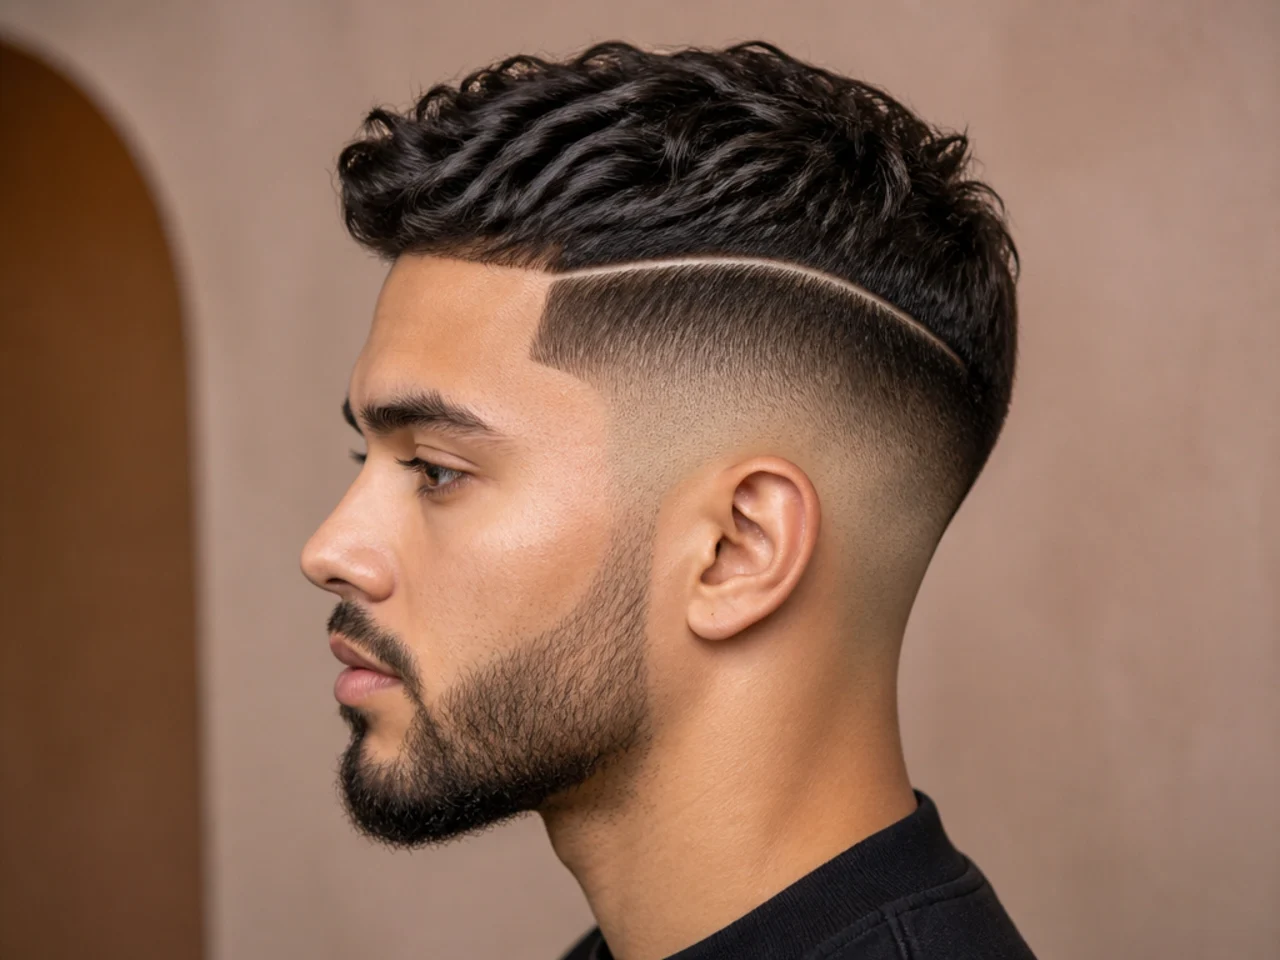
5. Small Chevron
A single V, no more than two centimetres across. The direction change reads faster than a straight line at this size. The eye locks onto the corner where the two strokes meet, so it survives a couple of days of growth that would already have closed a plain line.
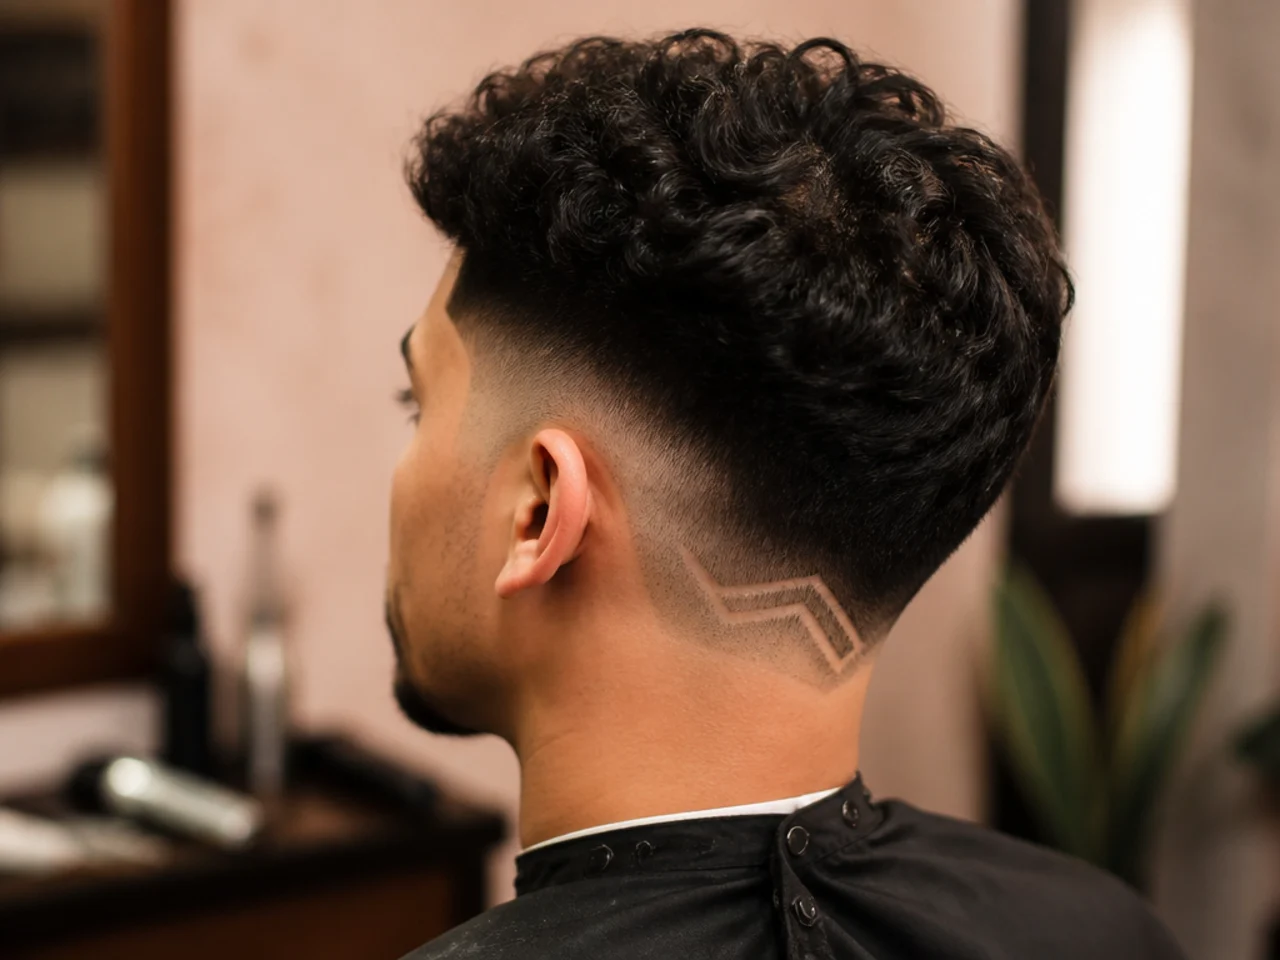
6. Compact Lightning Bolt
Two or three direction changes packed into a short run. A zigzag fits more line into a small panel than any straight mark can.
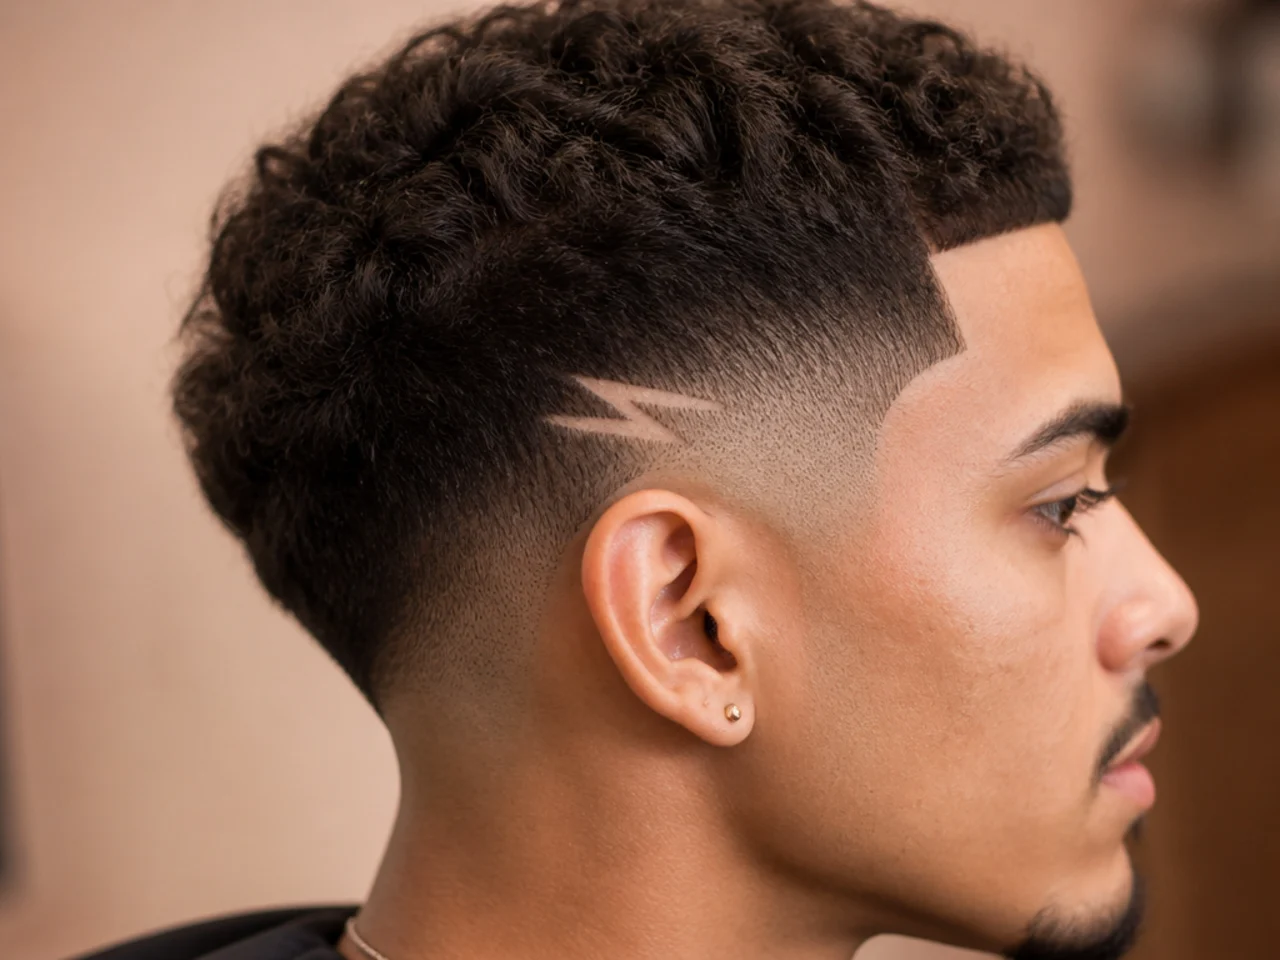
7. Notch at the Temple
A single small cut at the top corner of the panel. It is the most conservative design on this page and the one most likely to survive a formal office.
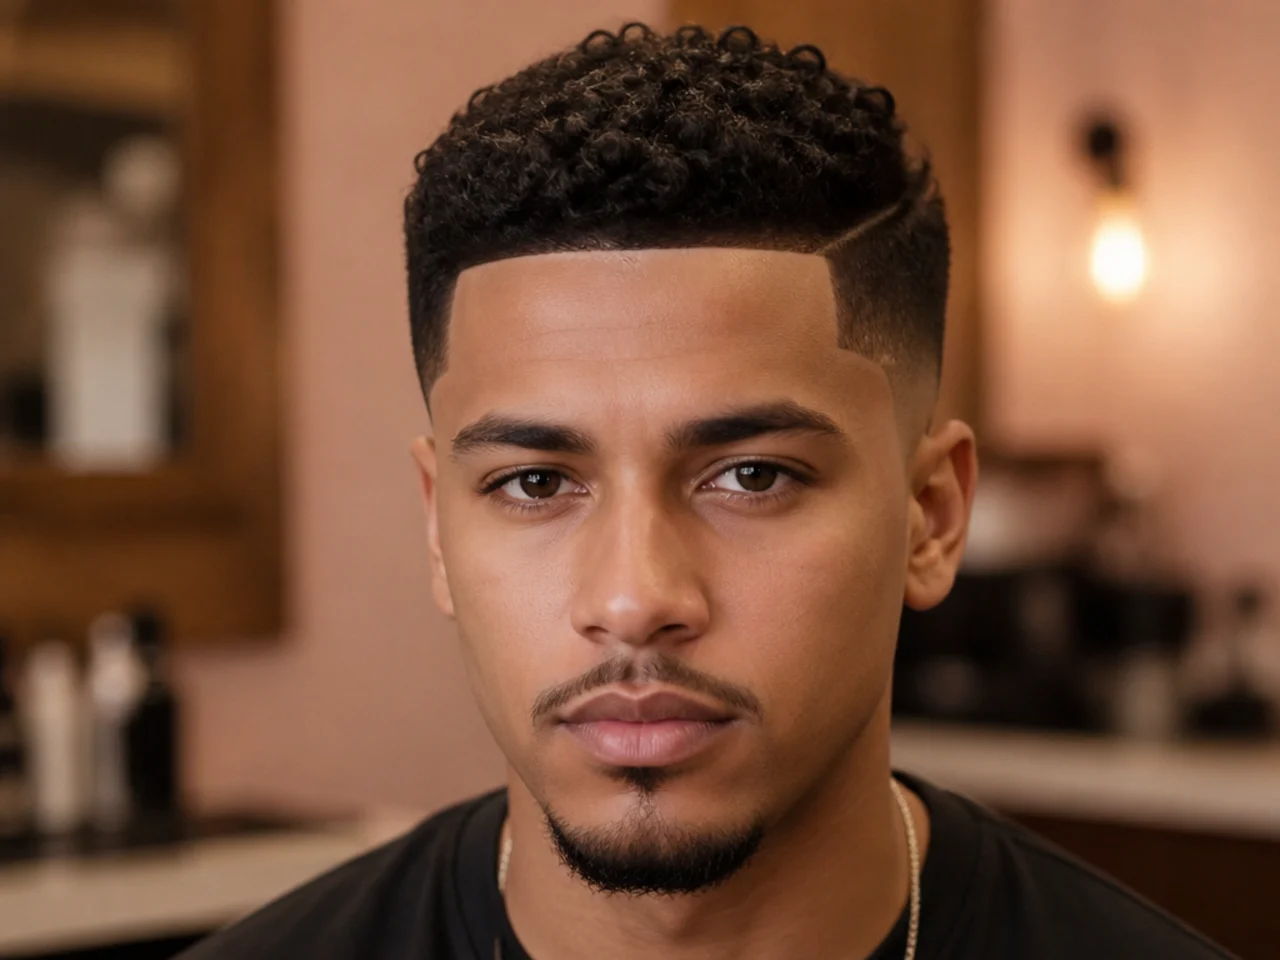
8. Twin Arcs
Two curves nested inside each other. Nesting uses the panel's curvature rather than its length, which is the right dimension to work in here.
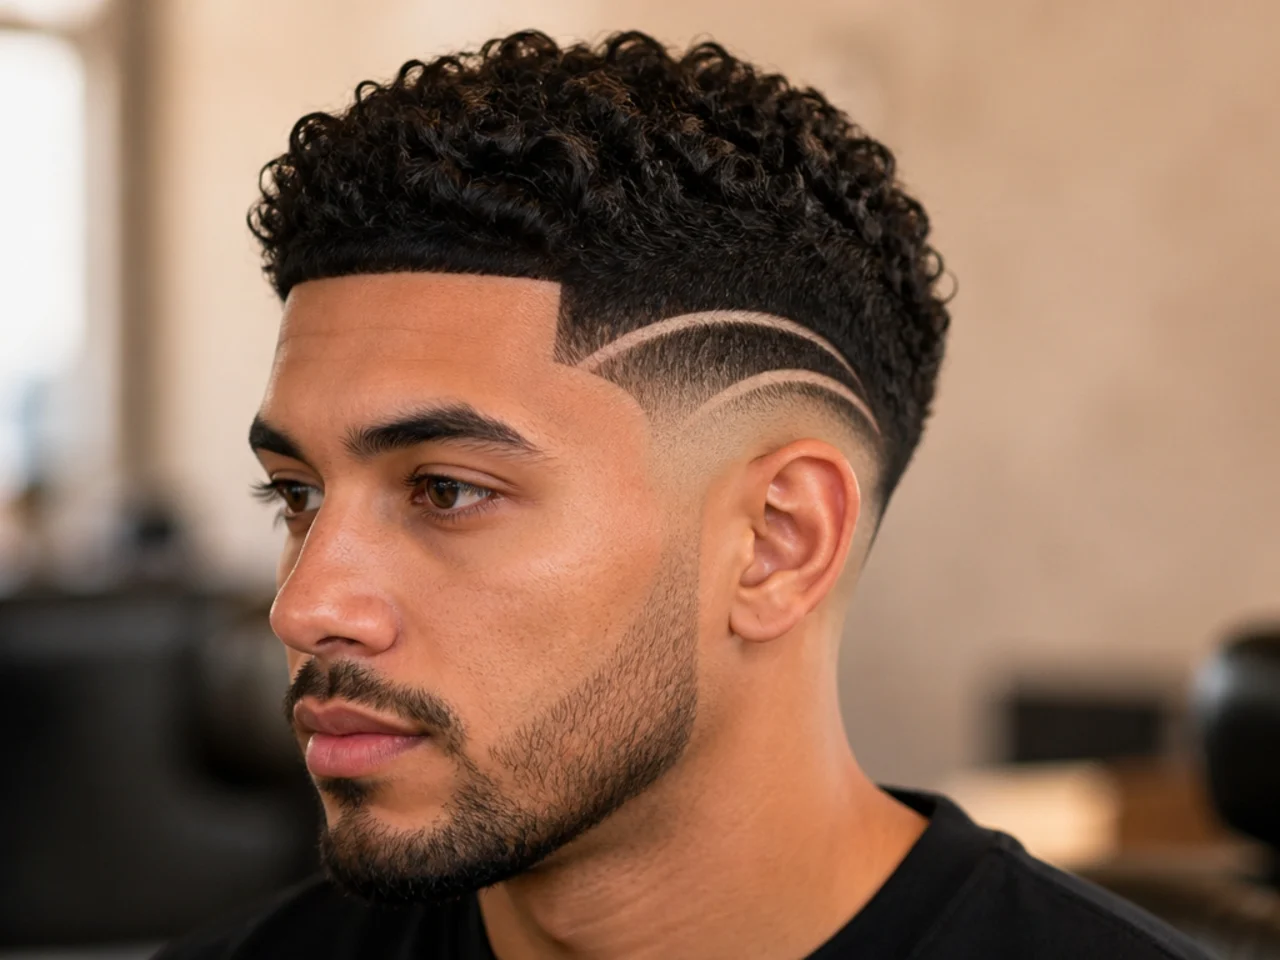
9. Behind-the-Ear Design
A mark placed in the area behind the ear rather than in front. It is invisible from the front entirely, which is either the point or a waste depending on your job.
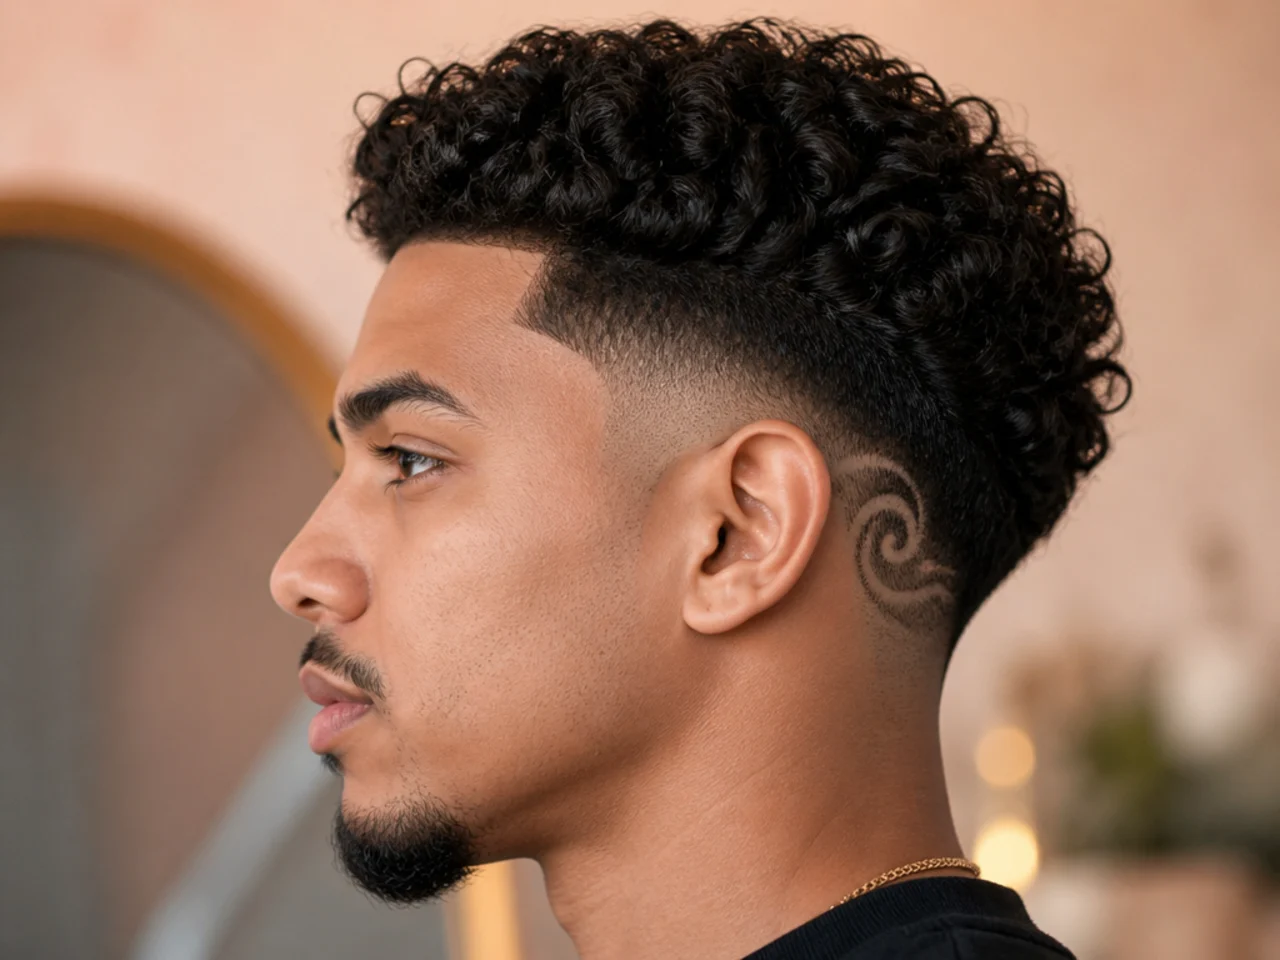
10. Design With a Line-Up
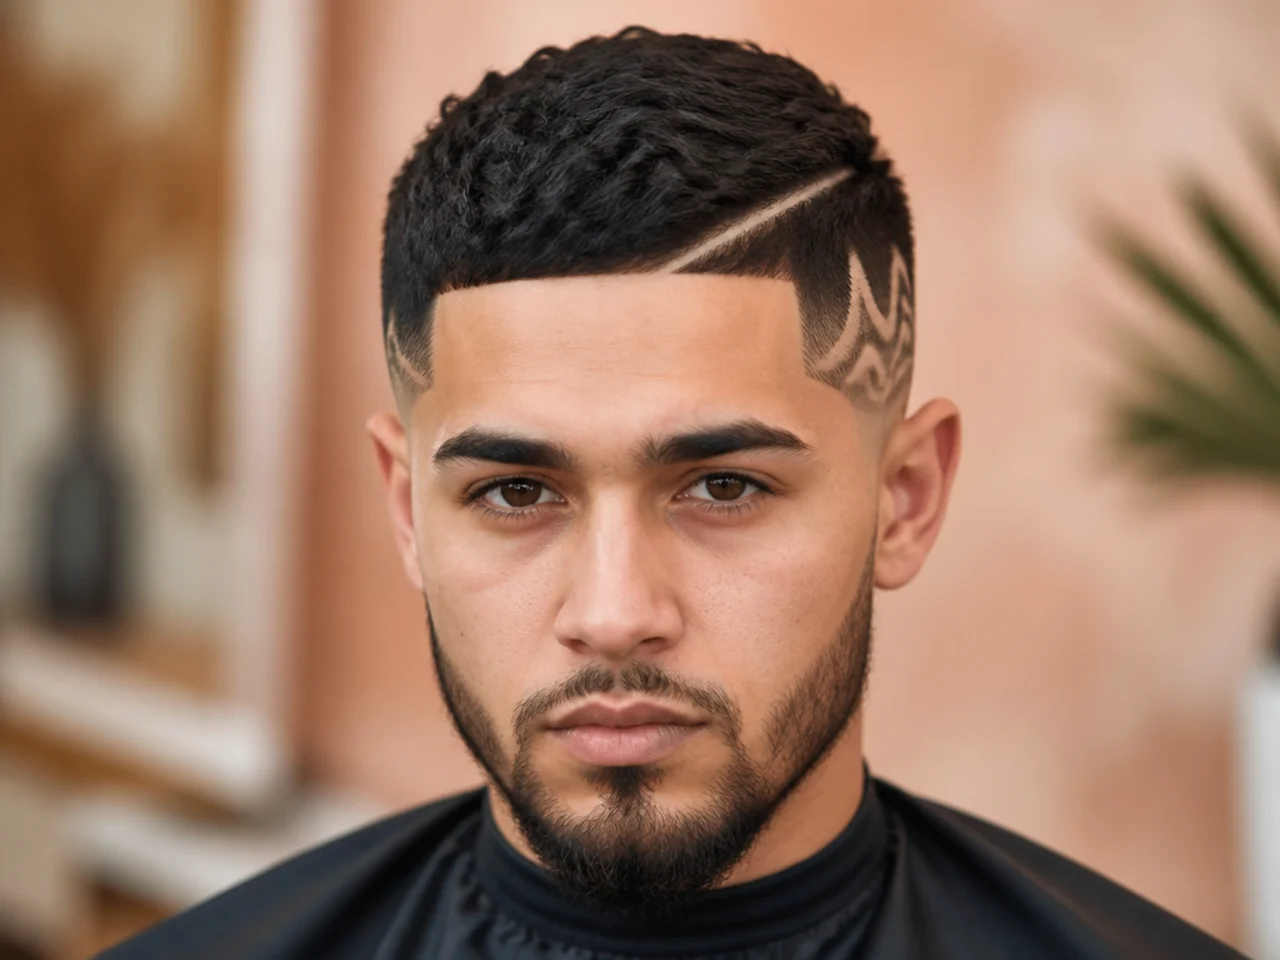
The front hairline cut at the same angles the design already uses. Two razor-cut features sharing a language read as one decision. Repeating a single angle across both means the eye takes in one intention, which is what stops a small mark looking incidental.
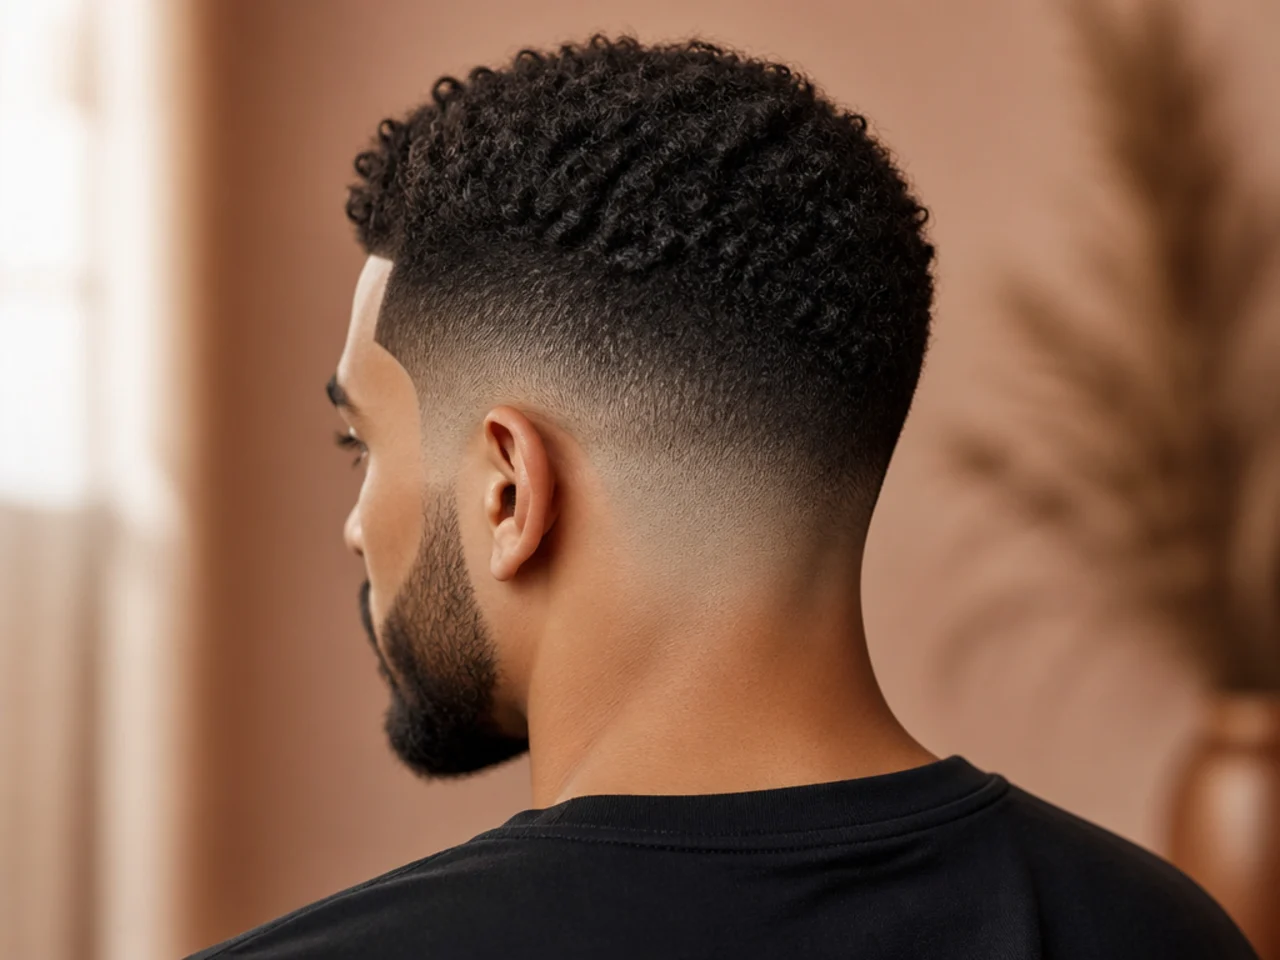
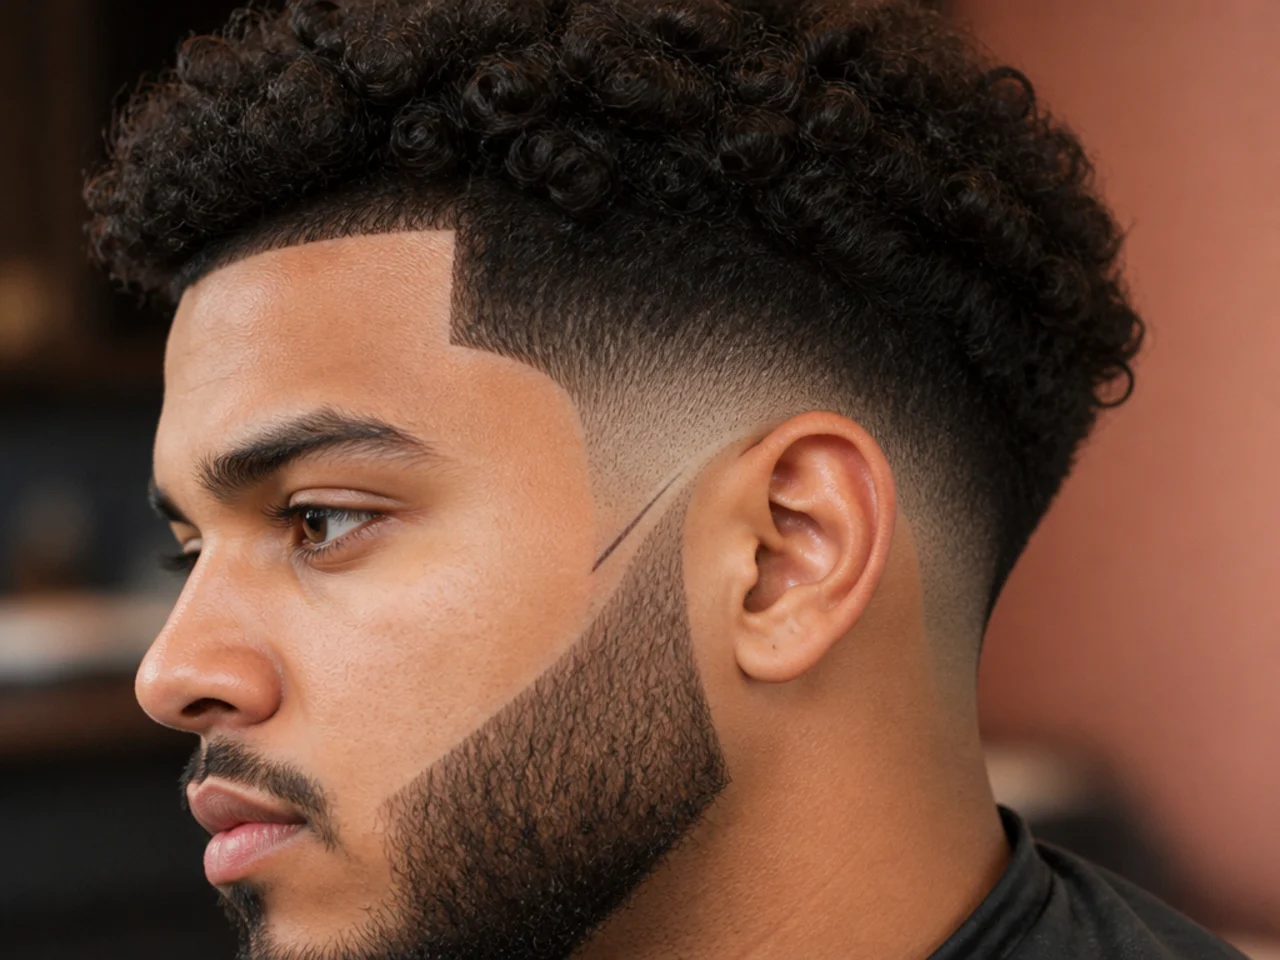
11. Design Meeting the Beard Line
A short mark running from the panel down into the beard's top edge, which only works if the join is planned the way a taper fade with a beard plans it. At this fade height the two are only a centimetre apart, so the mark can bridge them.
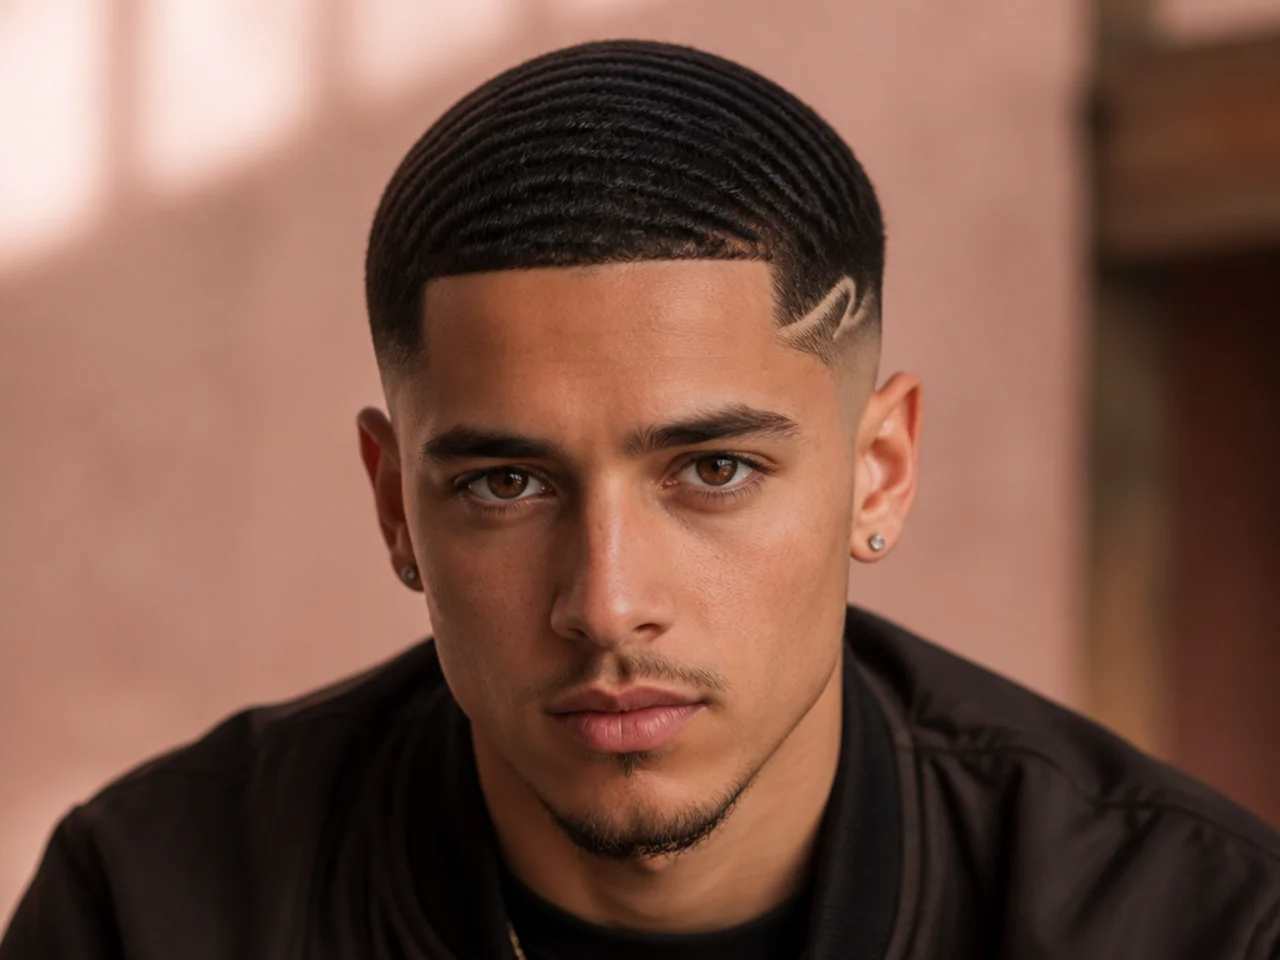
12. Design Below a Wave Pattern
A single mark under a full field of rows. The pattern above provides the interest and the design is a punctuation mark rather than a headline.
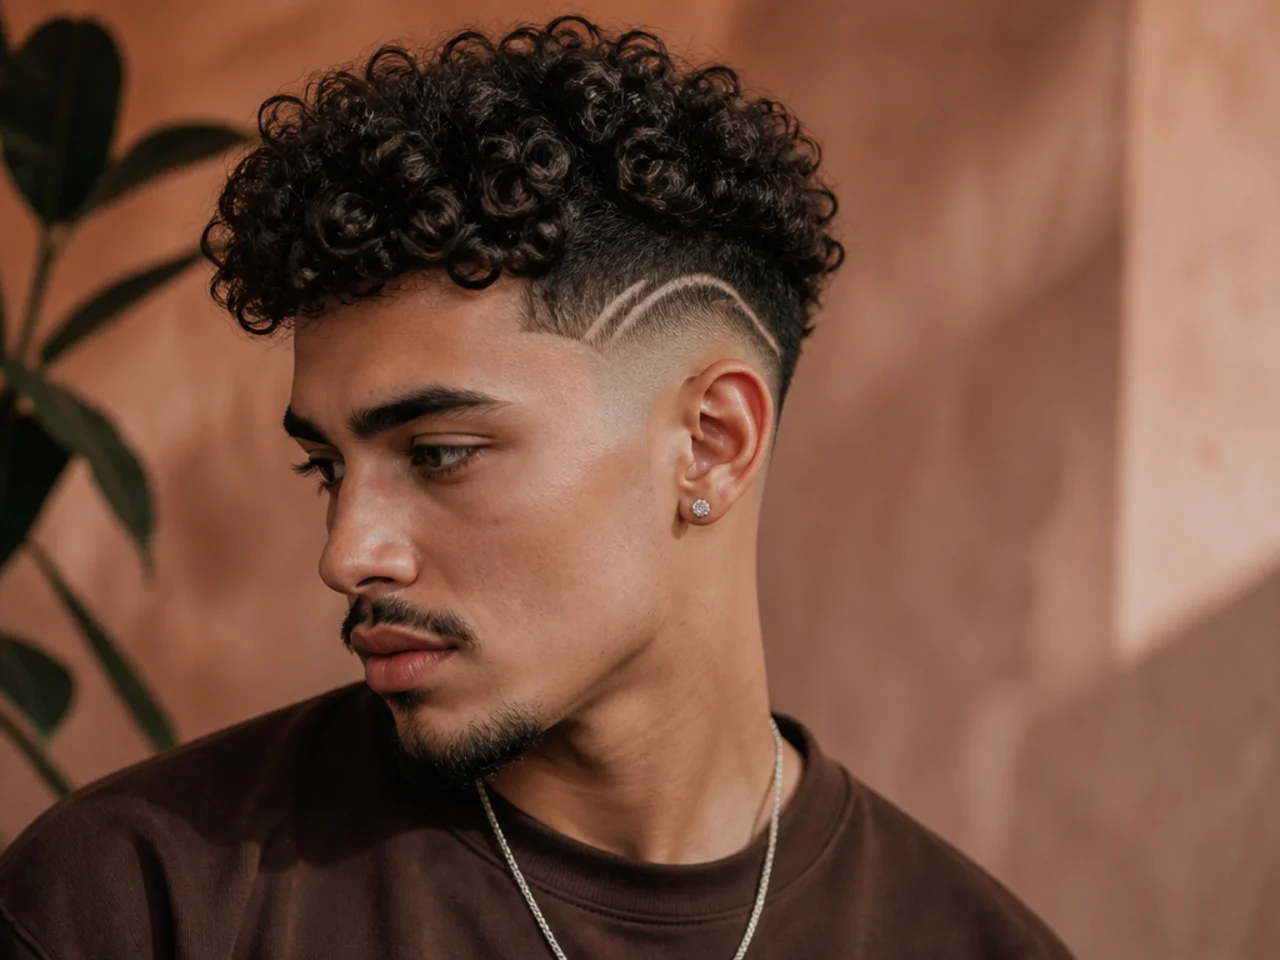
13. Design Under a Curly Top
A mark in the panel with curl mass overhanging it, the arrangement a low taper fade on curly hair sets up. The overhang shades the panel, so the design needs to be cut deeper than usual to stay readable.
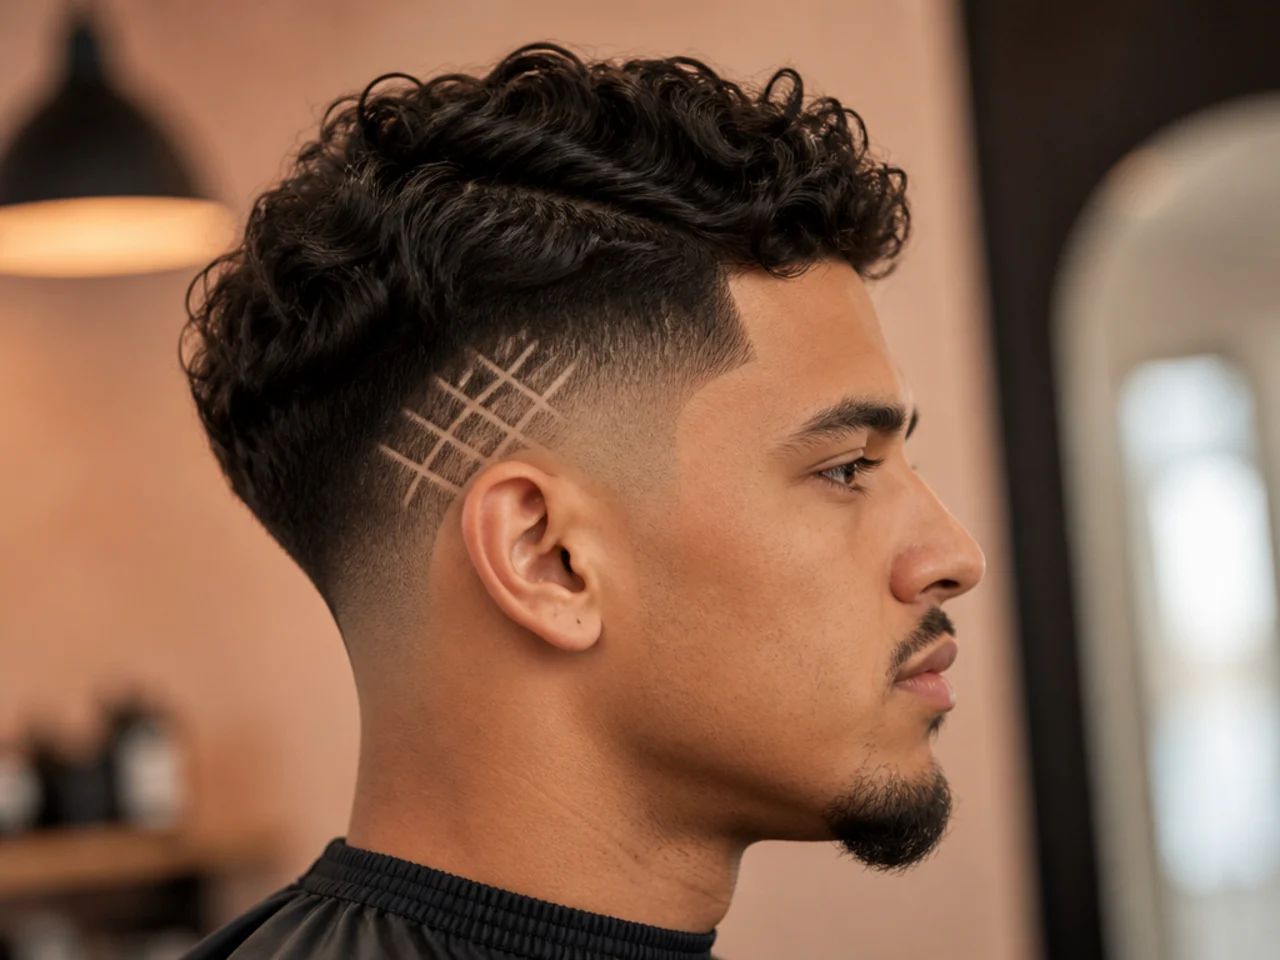
14. Cross-Hatch Patch
Short crossing lines in a small block. It reads as texture, which means it degrades evenly instead of losing a shape. Every line closes at the same rate, so the block softens into a patch rather than collapsing into an outline nobody can identify.
15. Single Star
One small star, no more than two centimetres. Enclosed shapes lose definition fastest, so this is the size limit rather than a suggestion.
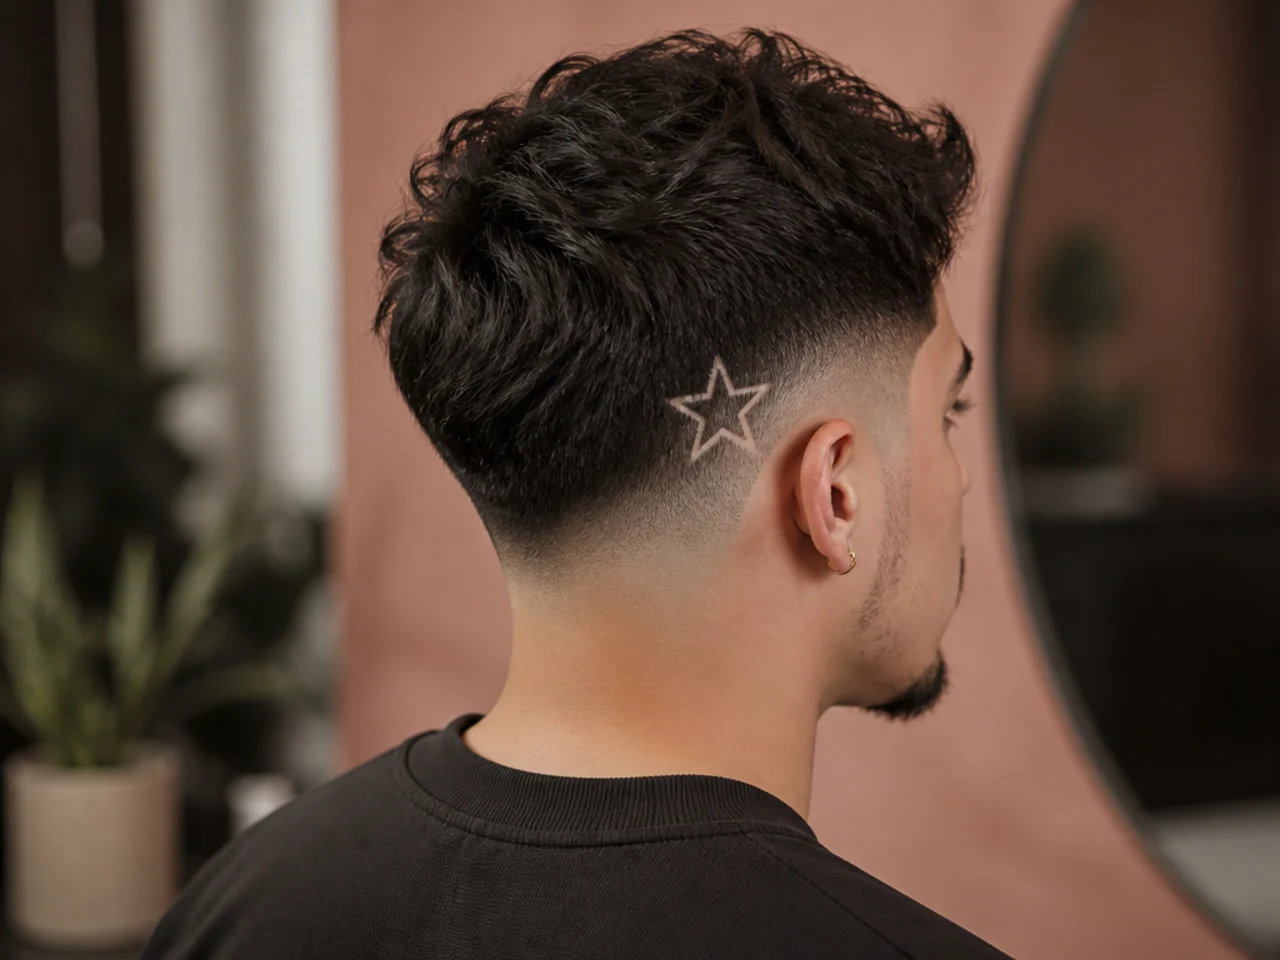
16. Design on a Low Drop Fade
The line dropping behind the ear, as in any low drop fade, which lengthens the panel at the back. It is the only way to gain working area without raising the fade.
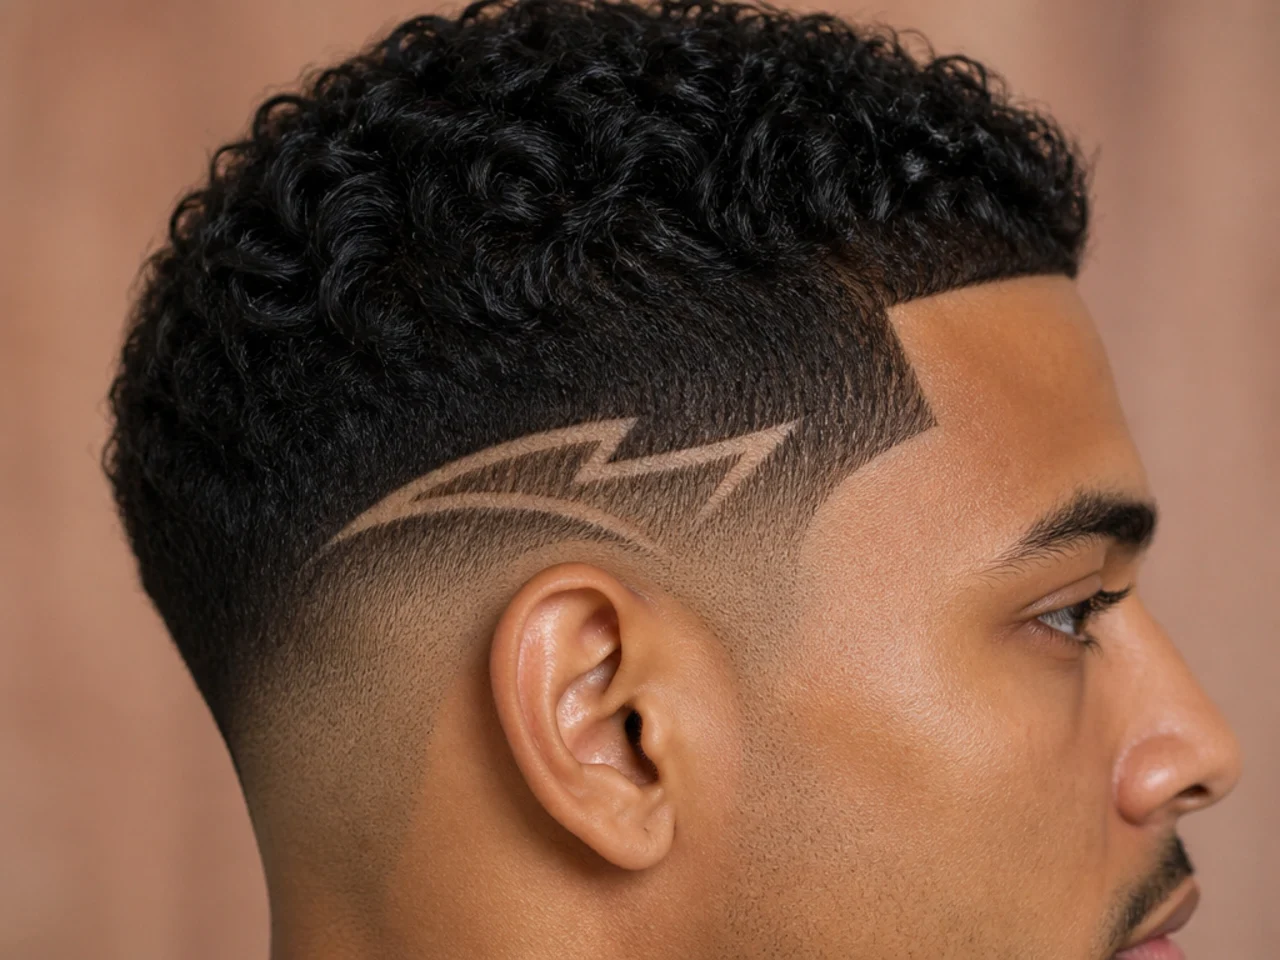
17. Design on a Low Burst Fade
The arc around the ear providing a curved panel. A design following the burst's own curve reads correctly where a straight one would not.
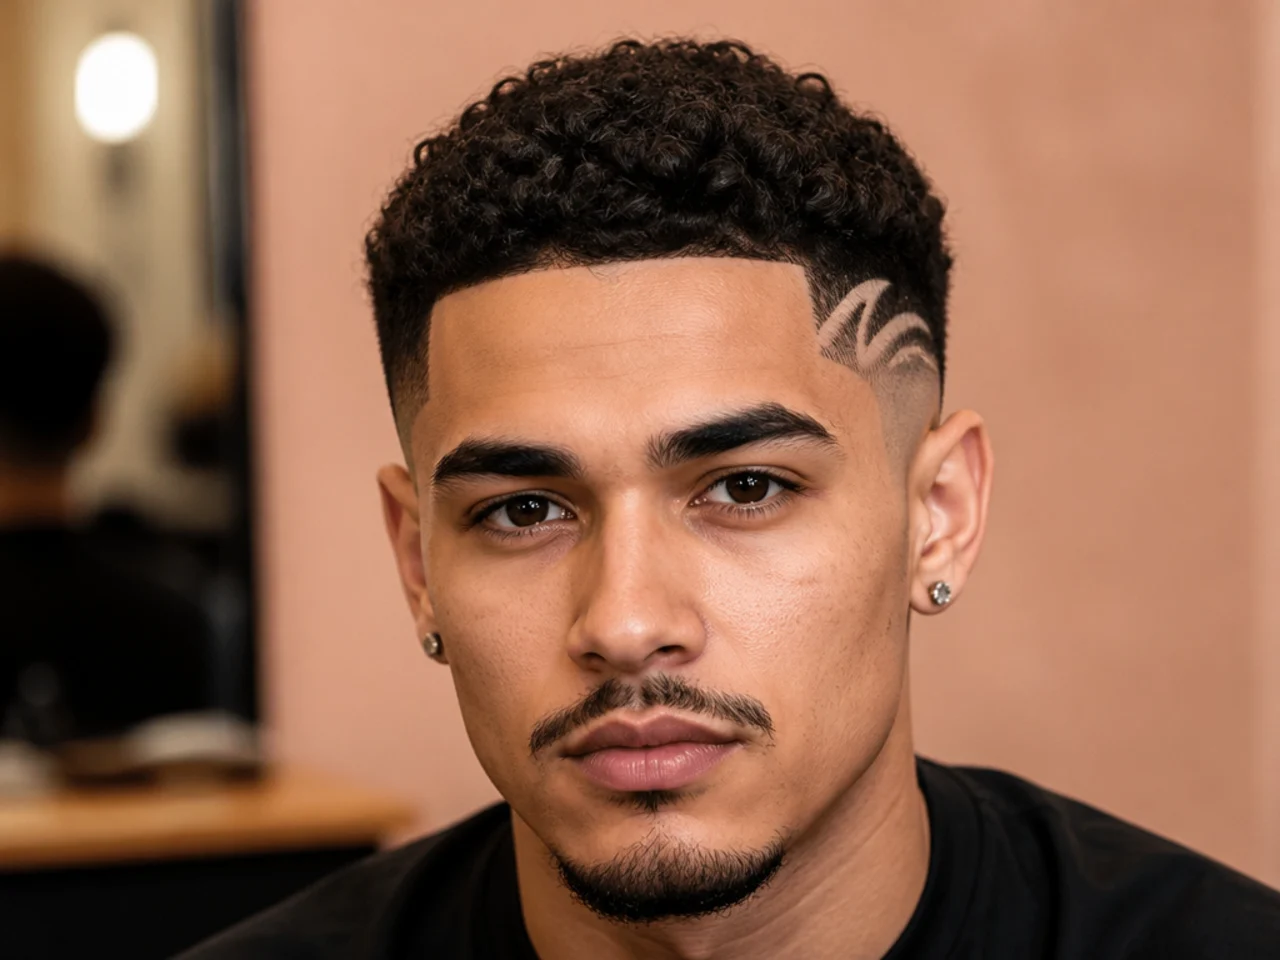
18. Asymmetric Single-Side Design
A mark on one side only. At this scale a mismatched pair is far more noticeable than a deliberate single. Two panels this small cannot be measured against one another in the chair, so matching them by eye fails more often than it works.
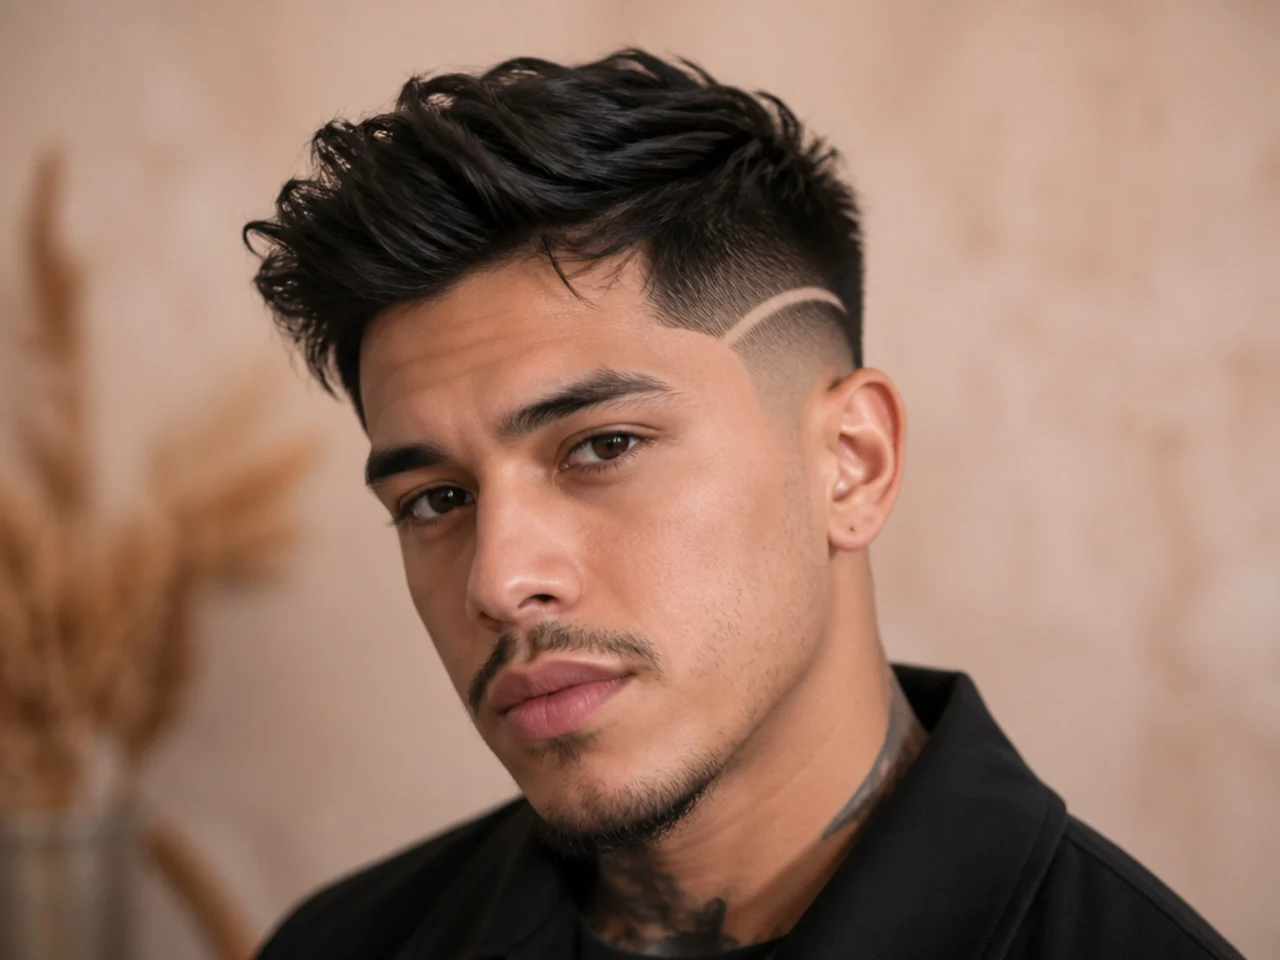
19. The Design at Day Four
Still crisp, with the edges just beginning to soften. Small designs in a small panel lose definition slightly faster than large ones, because there is less line to lose.
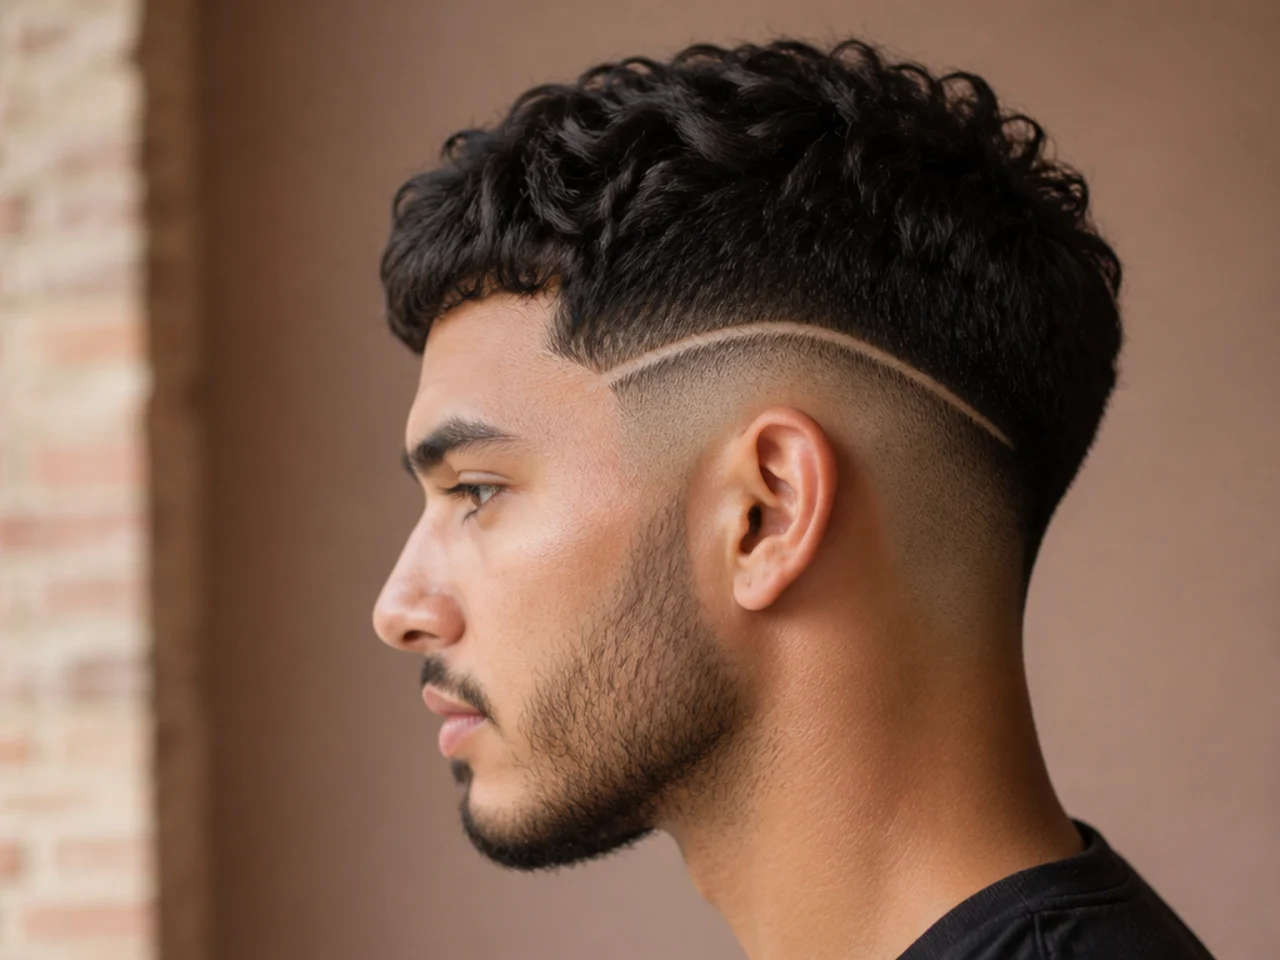
20. The Design at Day Seven
Closed enough that it reads as a shadow rather than a mark. It is the point to rebook or to let it go entirely.
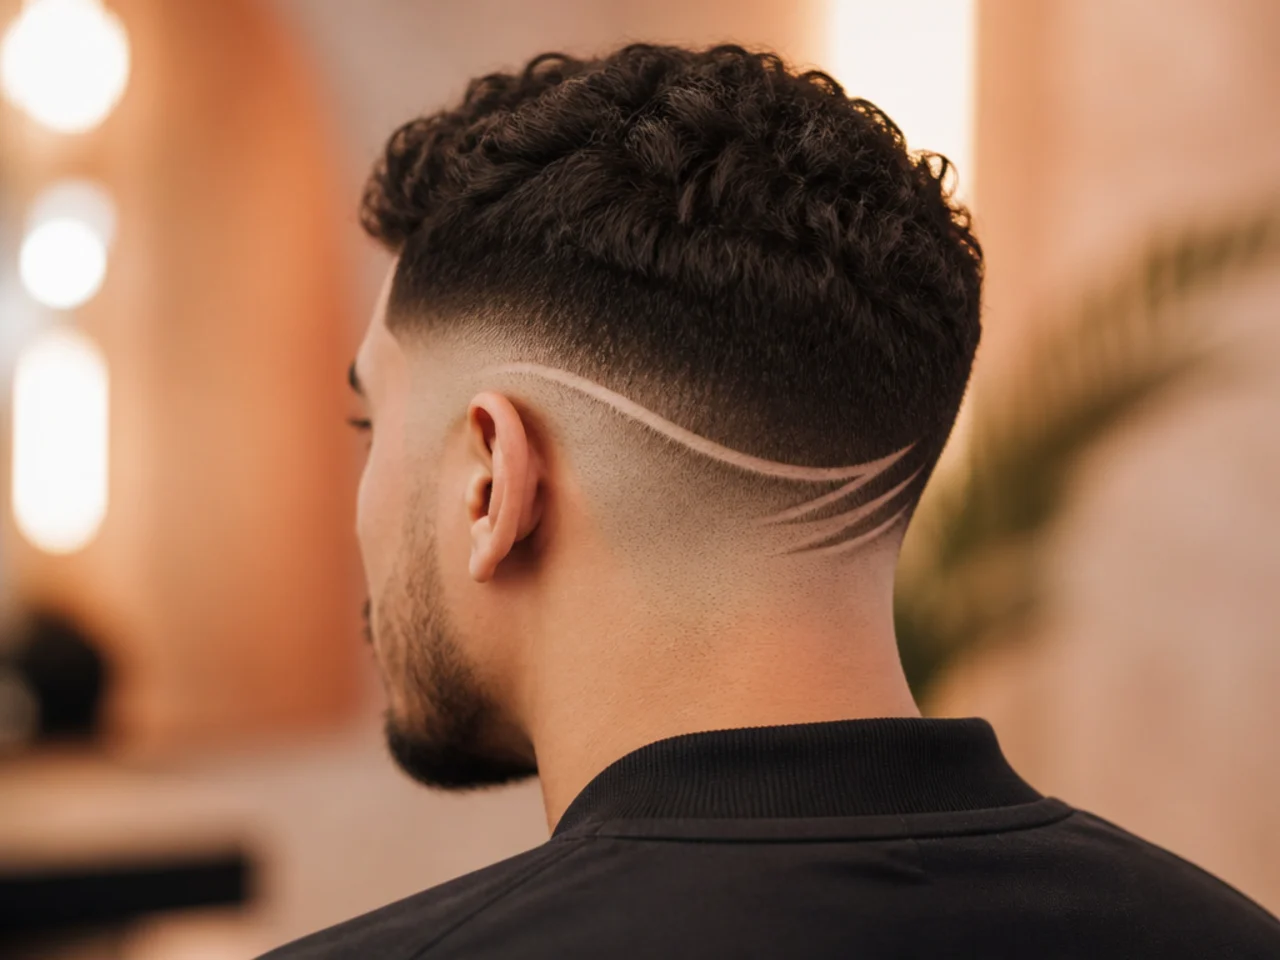
Styling and Upkeep
Expect five to seven usable days. The line closes from both edges at about a third of a millimetre a day.
Do not redraw it yourself. A hand trimmer against the curve above your ear widens the line rather than restoring it.
Keep product out of the panel. Clay sits in the groove and fills it visually.
Rebook on the design's clock. A low taper holds three to four weeks, but the design has gone in one.
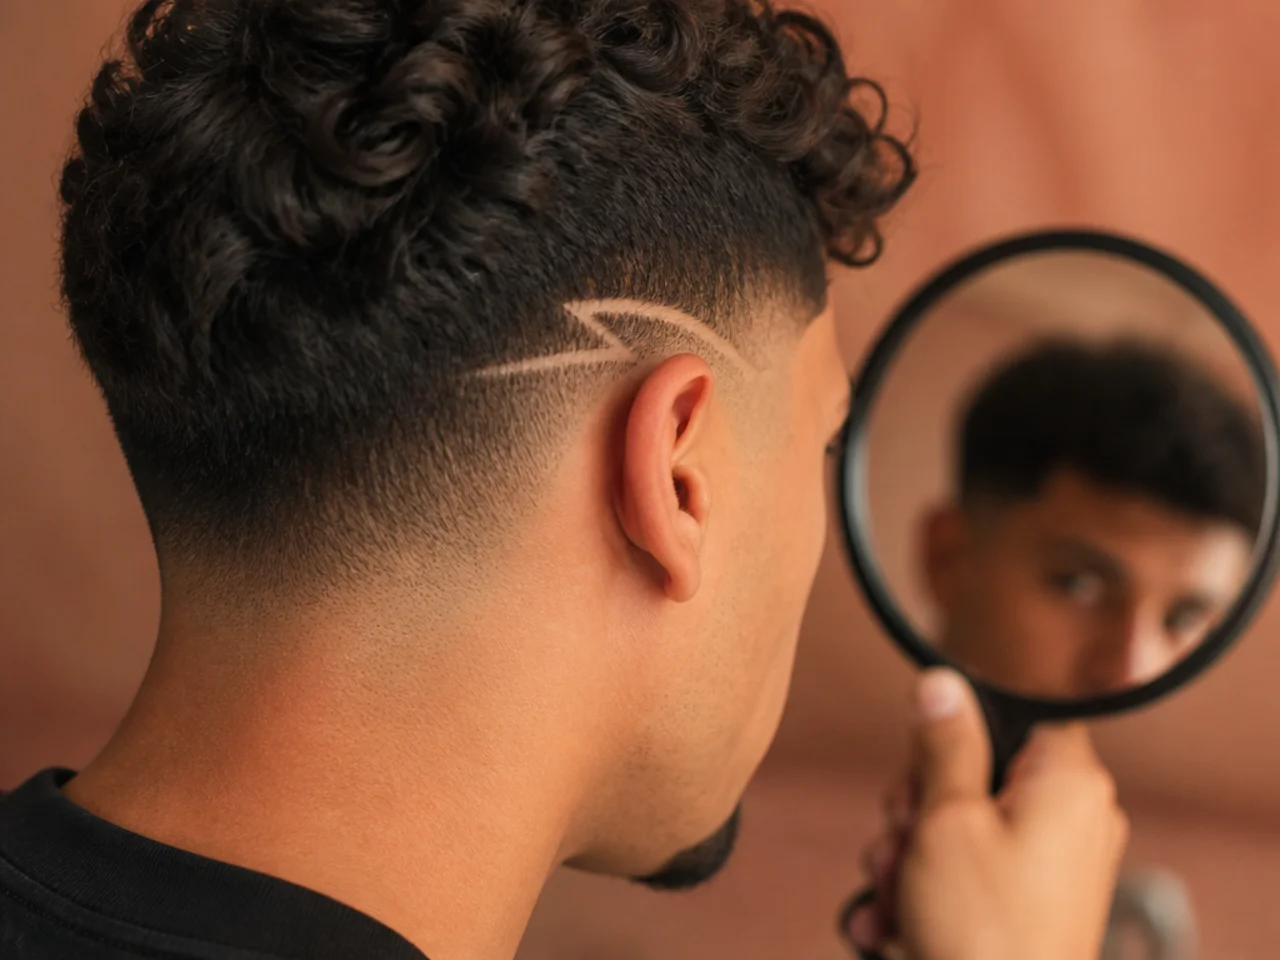
Check it in a hand mirror. The panel sits partly behind the ear where a wall mirror does not reach.
Mistakes to Avoid
Bringing a photo of a full-side design. Two or three centimetres will not hold one.
Asking for a long straight line. The panel curves around the ear and has nowhere flat for it.
Asking for a design over a taper. A #1 at 3mm leaves no bare skin for contrast.
Adding fine detail. It closes within three days and then reads as a smudge.
Booking the design separately. It goes in after the blend, which means cutting the fade twice.
FAQ
How big can a design be? Two or three centimetres, which is the depth of the panel.
Are they office-friendly? More than at any other fade height, because the panel is small and partly shielded.
Why avoid straight lines? The panel curves around the ear and a straight mark looks bent on it.
Final Thoughts
Measure the space above your own ear before you pick anything. A low fade gives you a curved strip a couple of centimetres deep, which is enough for one clean mark and nothing more. Choose something that fits it and you get a detail people notice; choose from a photograph of somebody else's high fade and you get a shrunken version of it.
For the largest panel available see high fade haircut with designs, and for the taper equivalent see low taper fade design. More in Fade Haircuts.