20 Steps to a Textured Fringe Haircut Men
A textured fringe is built in a fixed order, and the order is what people get wrong rather than the technique. Cut the perimeter before the weight is removed and you spend the rest of the haircut correcting the first decision.
In this article · 27
- Why the Order Matters More Than the Technique
- How to Choose Yours
- The 20 Steps to a Textured Fringe
- 1. Wash and Towel to Damp
- 2. Comb Everything Into Its Natural Fall
- 3. Find the Parietal Ridge
- 4. Section the Top Away
- 5. Set the Bottom Guard
- 6. Mark the Fade or Taper Line
- 7. Blend Upward in Guard Steps
- 8. Check the Blend Against the Light
- 9. Drop the Top Section
- 10. Set the Length Guide at the Crown
- 11. Work Forward in Vertical Sections
- 12. Cut the Fringe Perimeter Long
- 13. Cross-Check Horizontally
- 14. Remove Internal Weight
- 15. Rough-Dry the Whole Head
- 16. Reassess the Fringe Length Dry
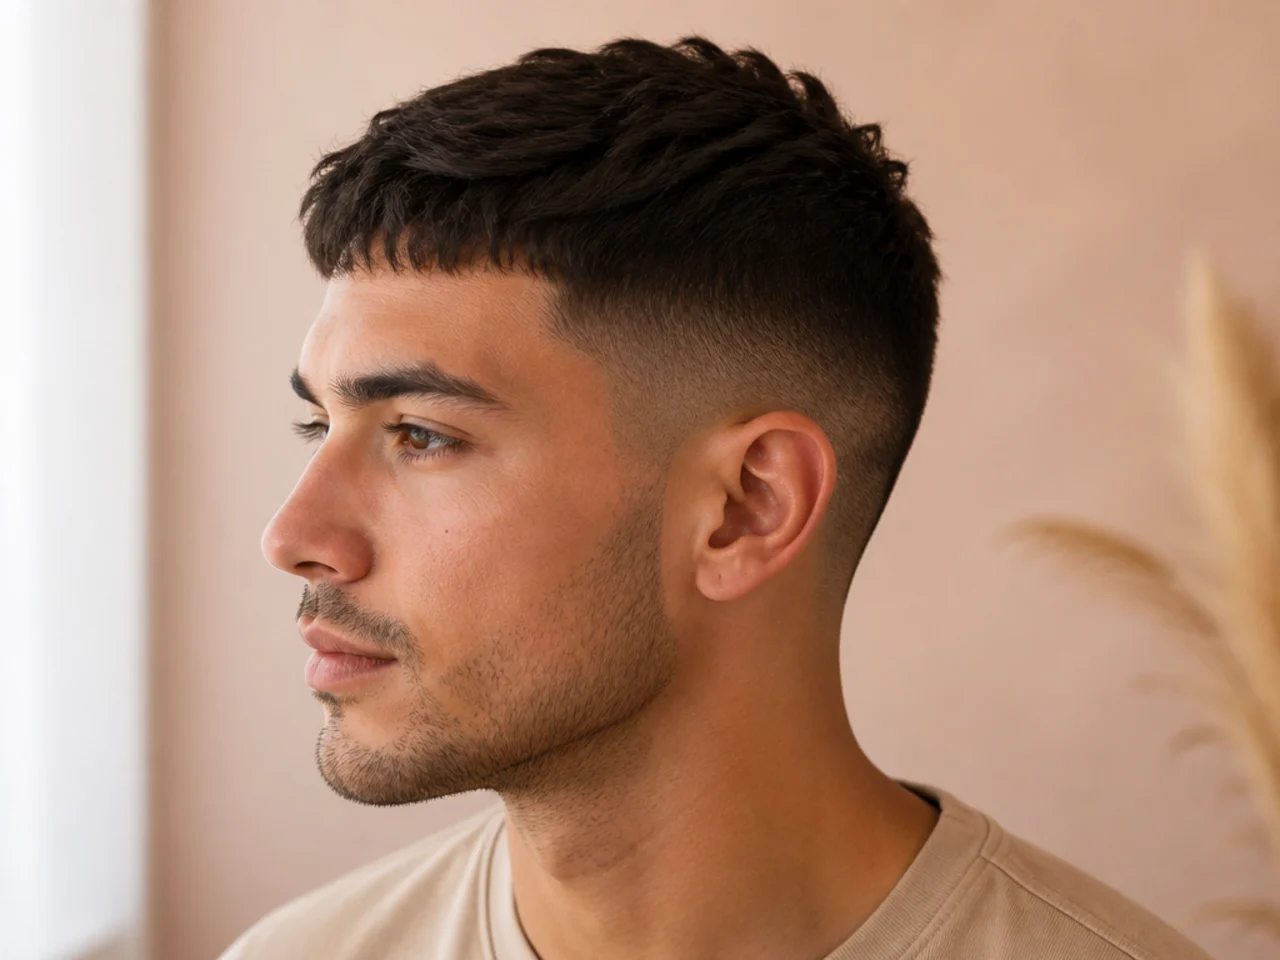
- 17. Point-Cut the Front Edge
- 18. Soften the Temple Corners
- 19. Clean the Neckline and Ears
- 20. Style and Check the Fall
- Styling and Upkeep
- Mistakes to Avoid
- FAQ
- Final Thoughts
A textured fringe has maybe six real techniques in it, and every barber knows all six. What separates a good one from a bad one is almost always the order they were used in.
The perimeter is set before weight is removed, and never after. Take bulk out of a section first and you no longer know where the outline actually sits.
Every cut wet has to be checked dry. Hair rises as it dries — about a centimetre on wave and up to a third on curl — so the wet length is never the finished one.
Why the Order Matters More Than the Technique
Perimeter first gives you a reference. Every later decision is measured against the outline you set at the start.
Weight removal is irreversible. You can always take more out, and you can never put it back.
Texture is invisible when wet. The separation you are cutting for only appears once the hair has dried.
The fringe is finished last. It is the section the eye lands on, so it should be cut against a shape that is already complete.
How to Choose Yours
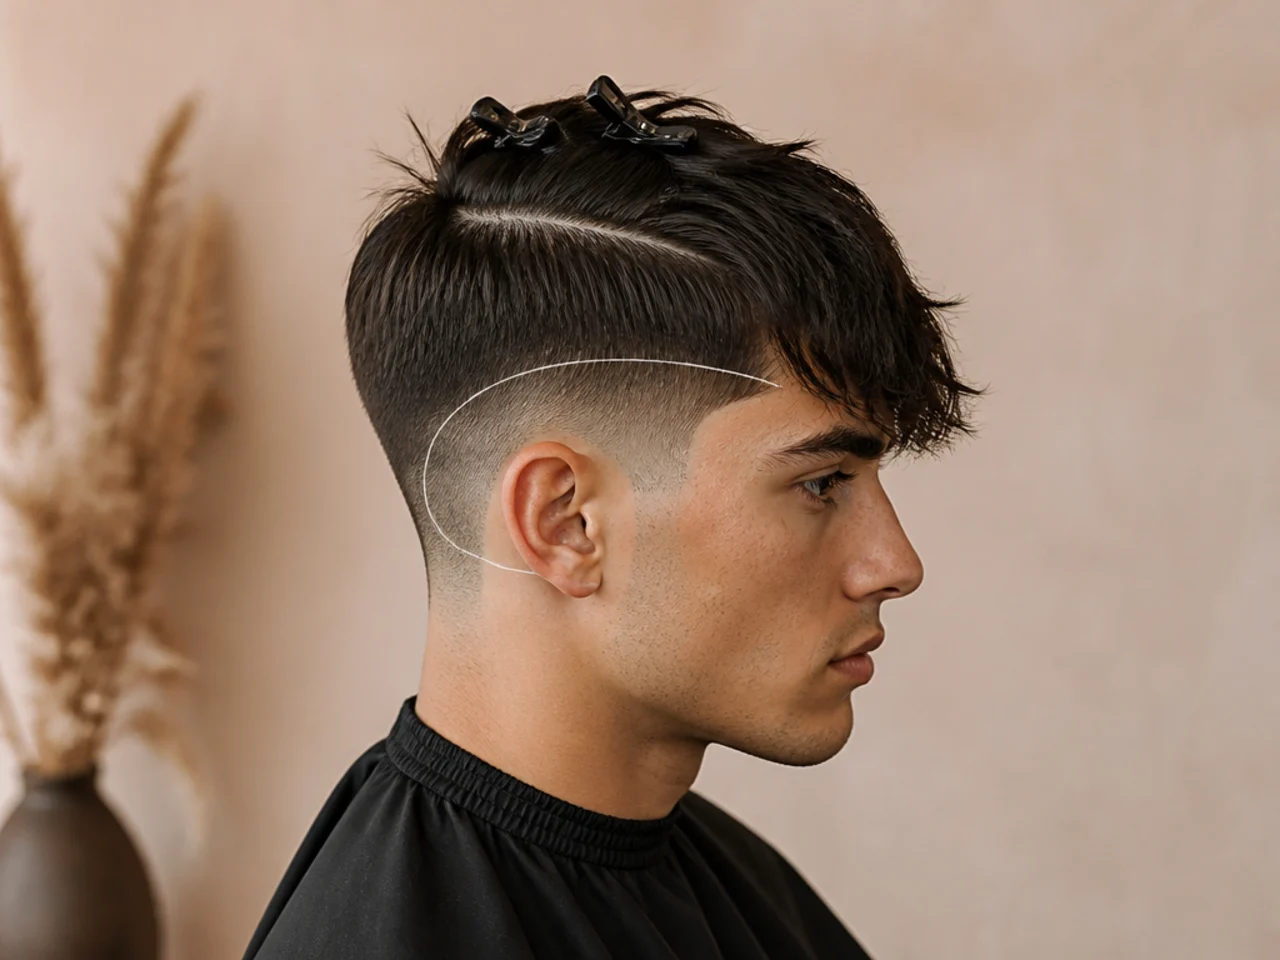
Pick the side length first. A #1 is 3mm, #2 is 6mm, #3 is 10mm and #4 is 13mm, and the number sets the contrast for everything above it.
Decide taper or fade. A taper stops at a guard and still has length at the neckline three or four weeks later. Skin keeps nothing in reserve, so you are back in the chair inside a fortnight.
Decide the fringe length against the brow. Give a position on the face, not a measurement in inches.
Decide how much separation you want. Heavy texture needs more weight removed, which means less fringe density to work with later.
The 20 Steps to a Textured Fringe
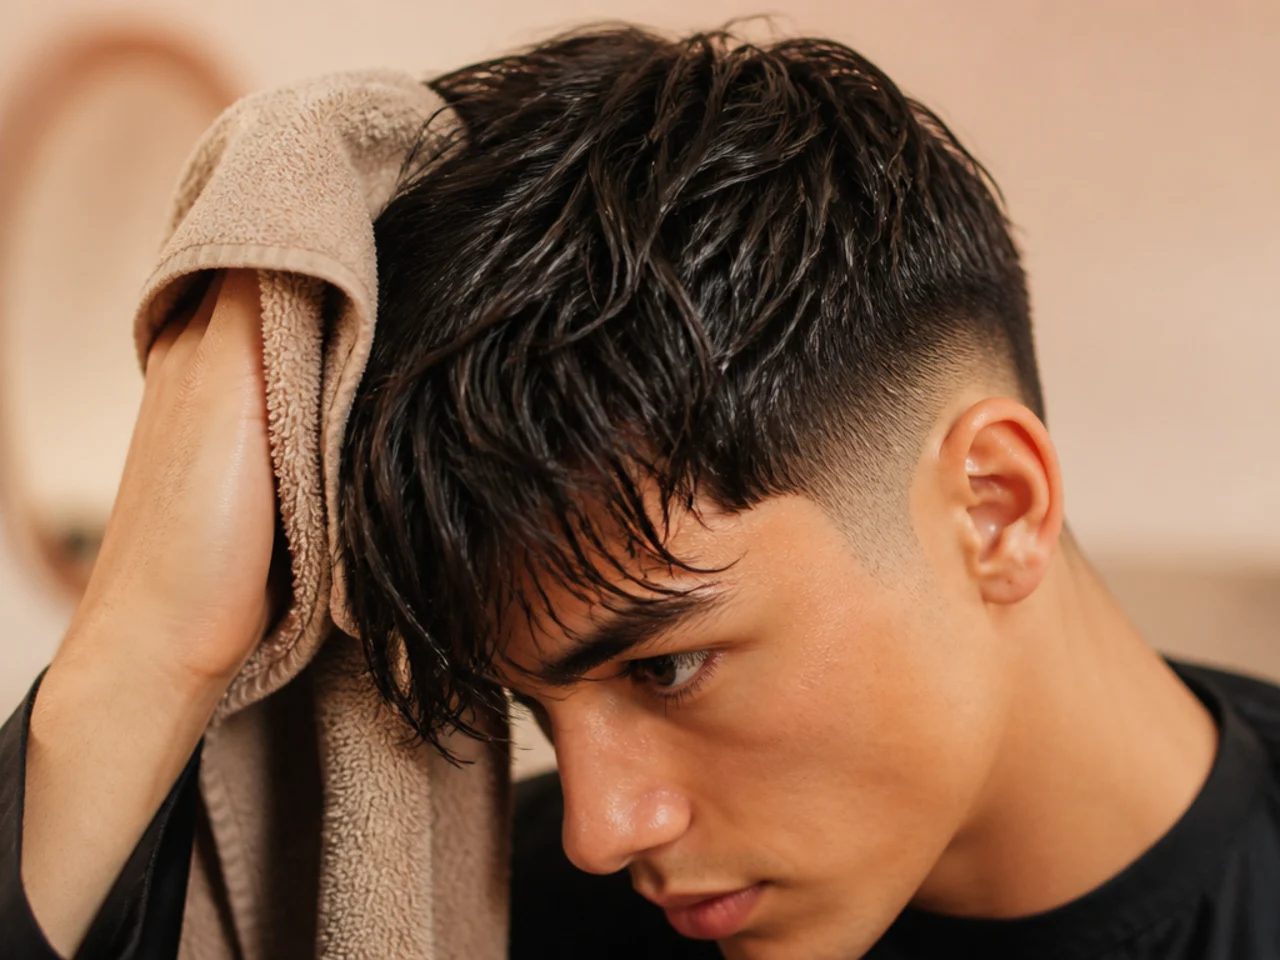
1. Wash and Towel to Damp
Start from clean, evenly wet hair rather than day-old product. Any residue changes how the section falls and gives you a false reading on length.
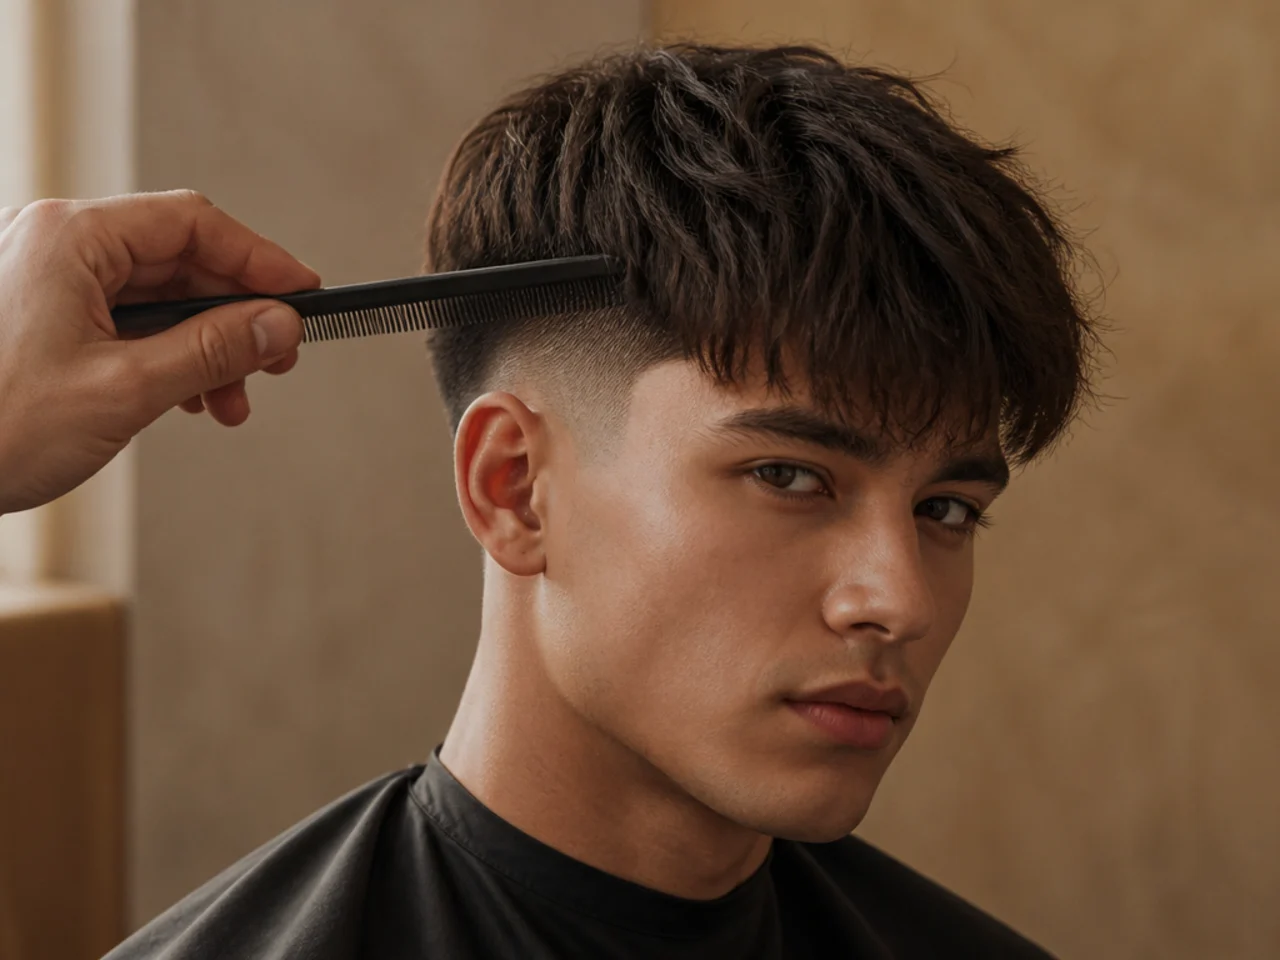
2. Comb Everything Into Its Natural Fall
Comb the whole head down from the crown with no parting. This shows you every cowlick and growth pattern before a single decision has been made around them.
3. Find the Parietal Ridge
Run a comb flat against the side of the head until it stops sitting flush. That point is the widest part of the skull, and it is the boundary between side and top.
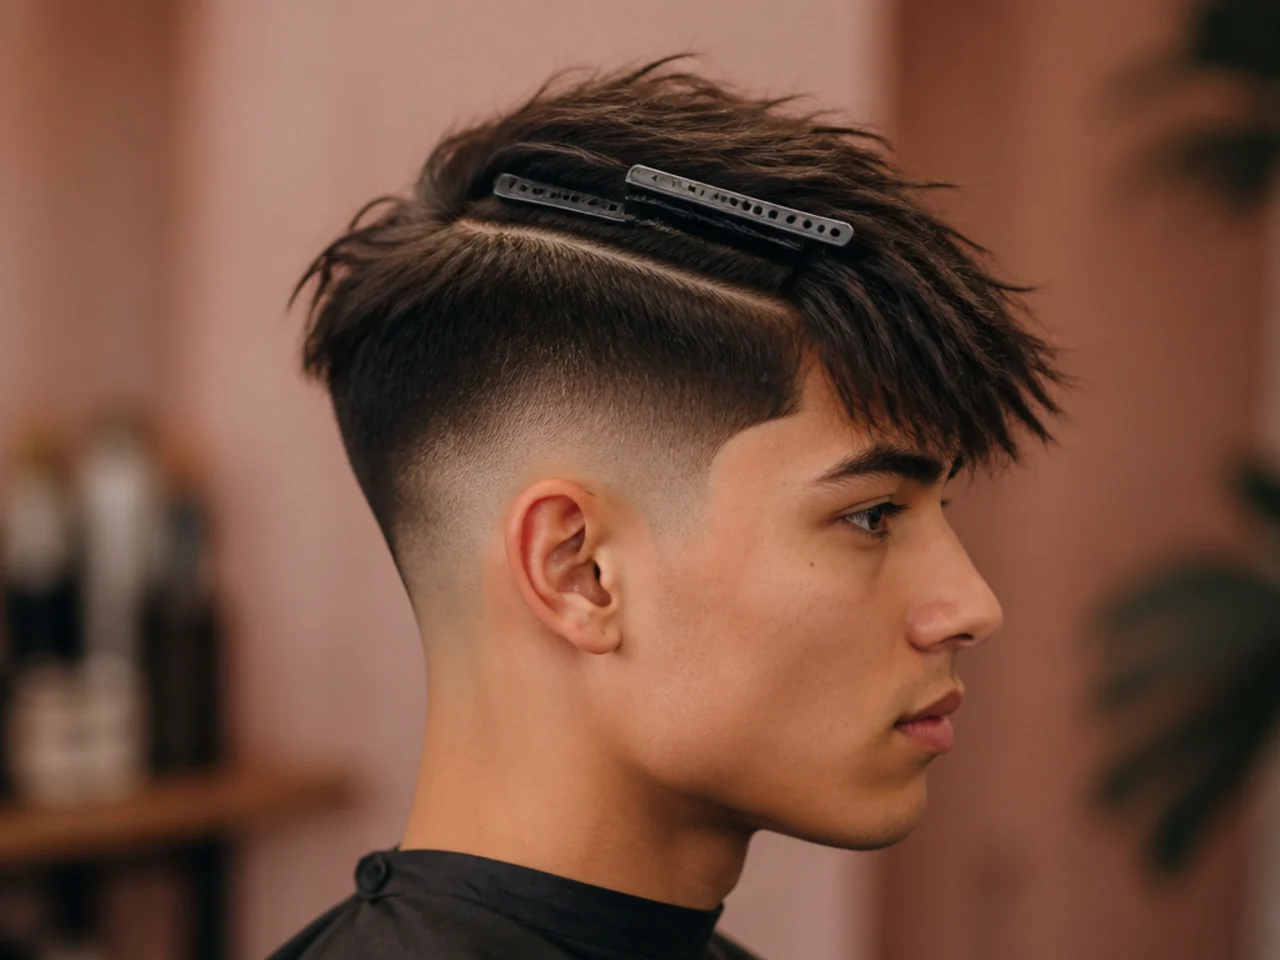
4. Section the Top Away
Clip the top section off along the ridge line. Working the sides with the top in the way is how uneven weight gets left behind.
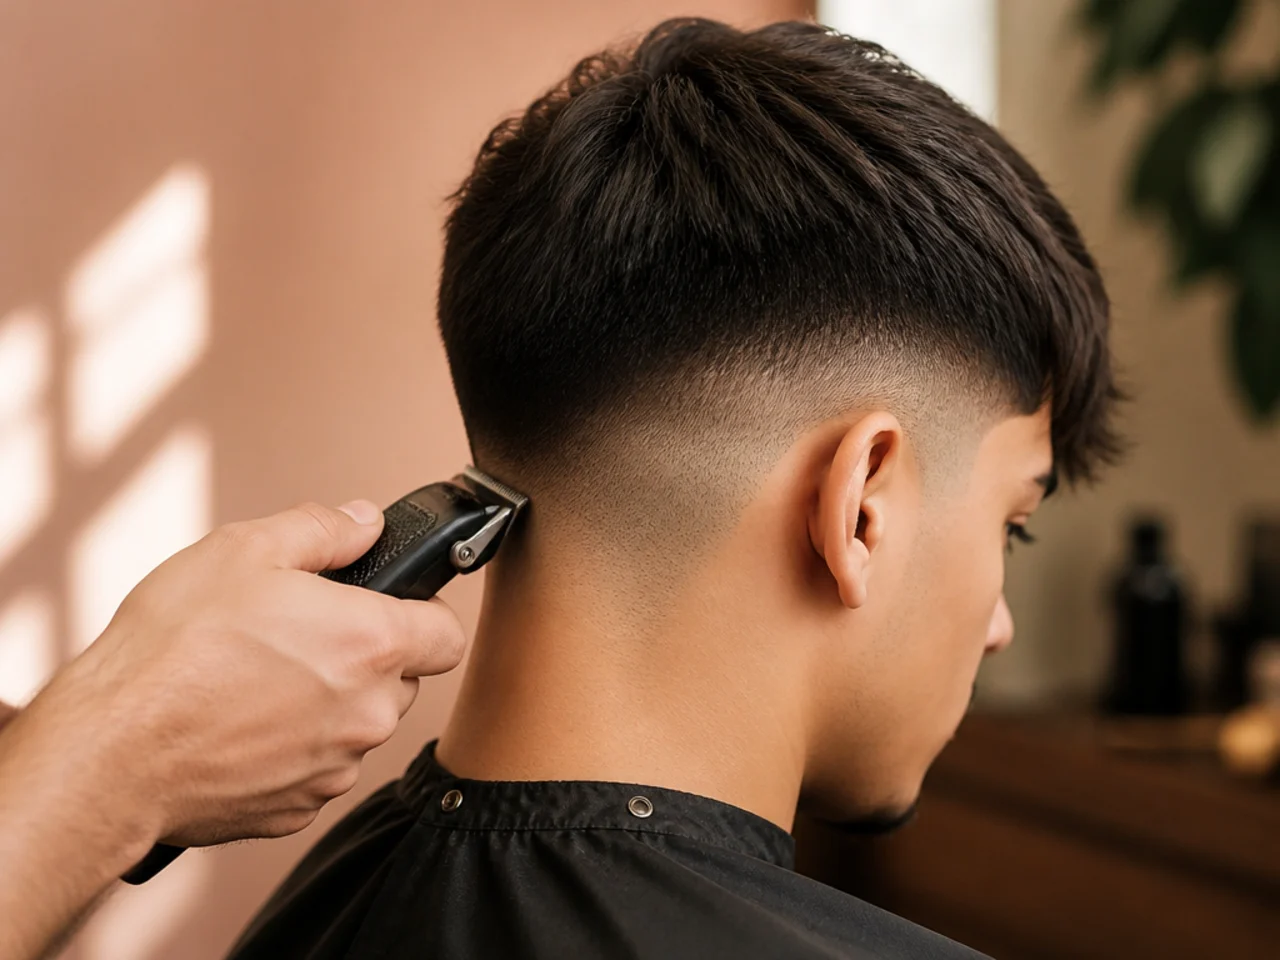
5. Set the Bottom Guard
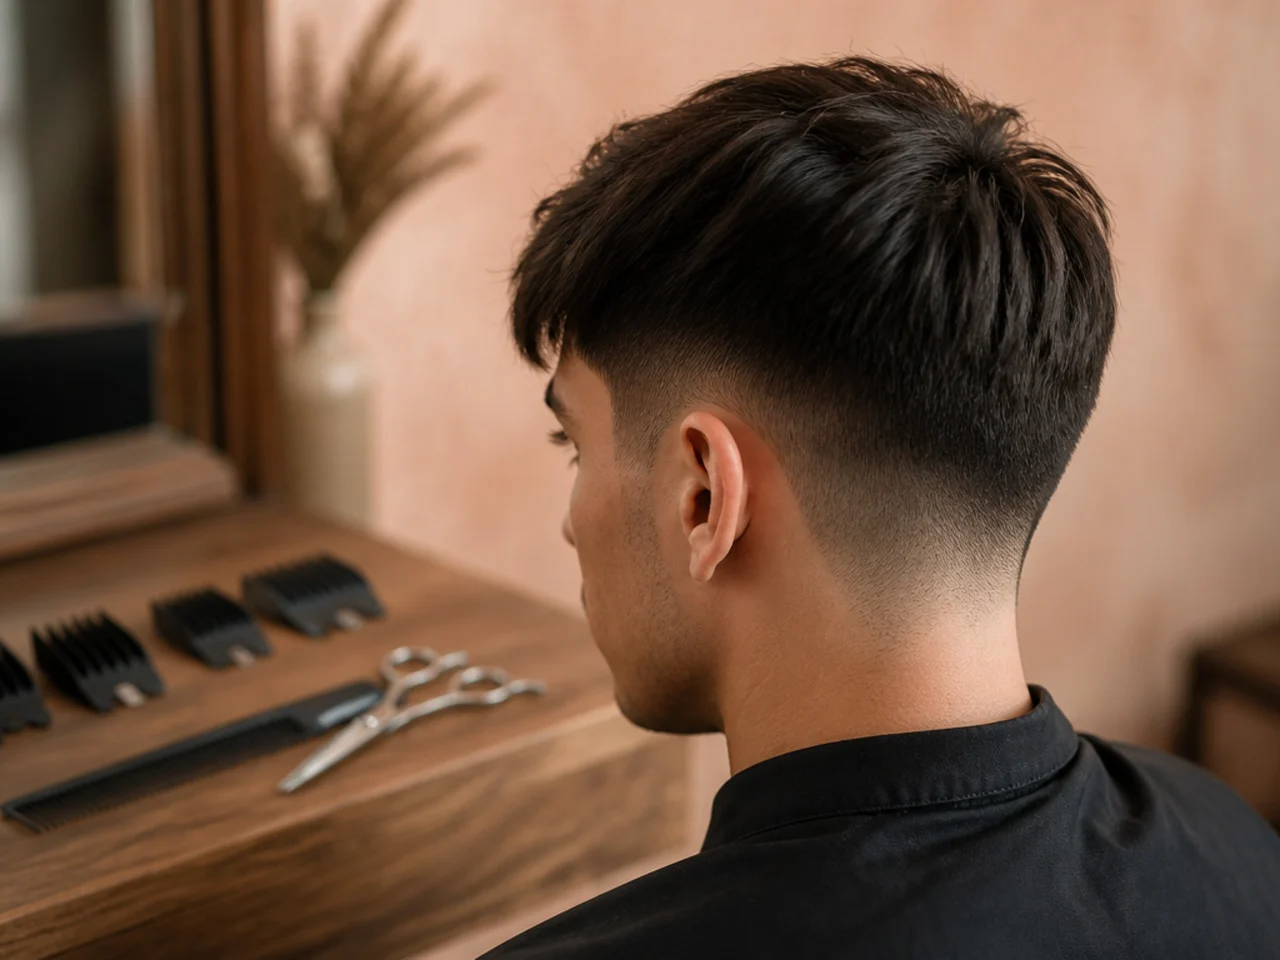
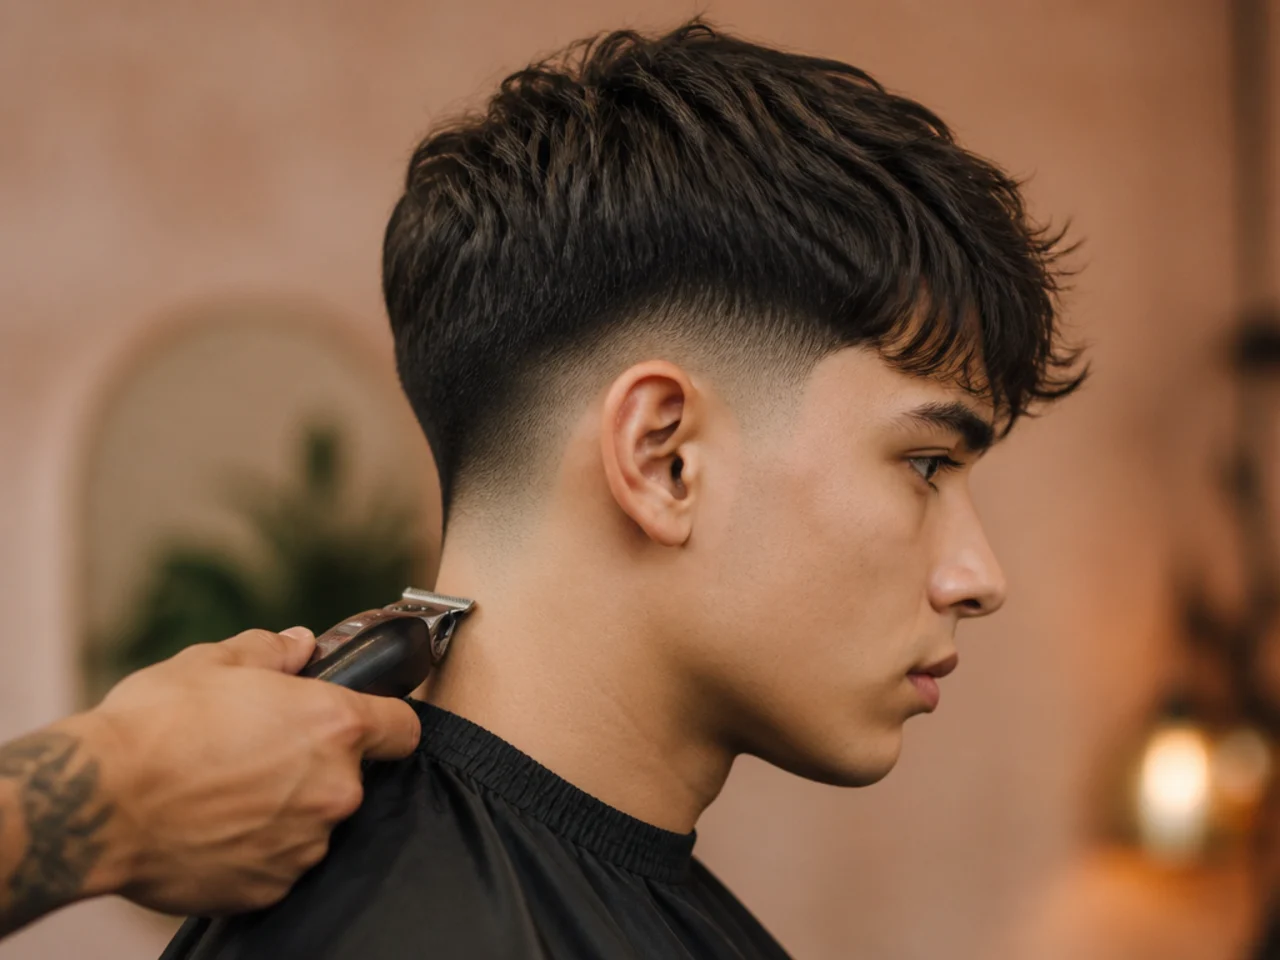
Take the chosen guard around the whole perimeter first, usually a #1 for a taper. This is the shortest length in the cut and everything else is graded up from it. Guard sizes drift by a millimetre or so between machines, which matters if you are working with home clippers rather than a barber's.
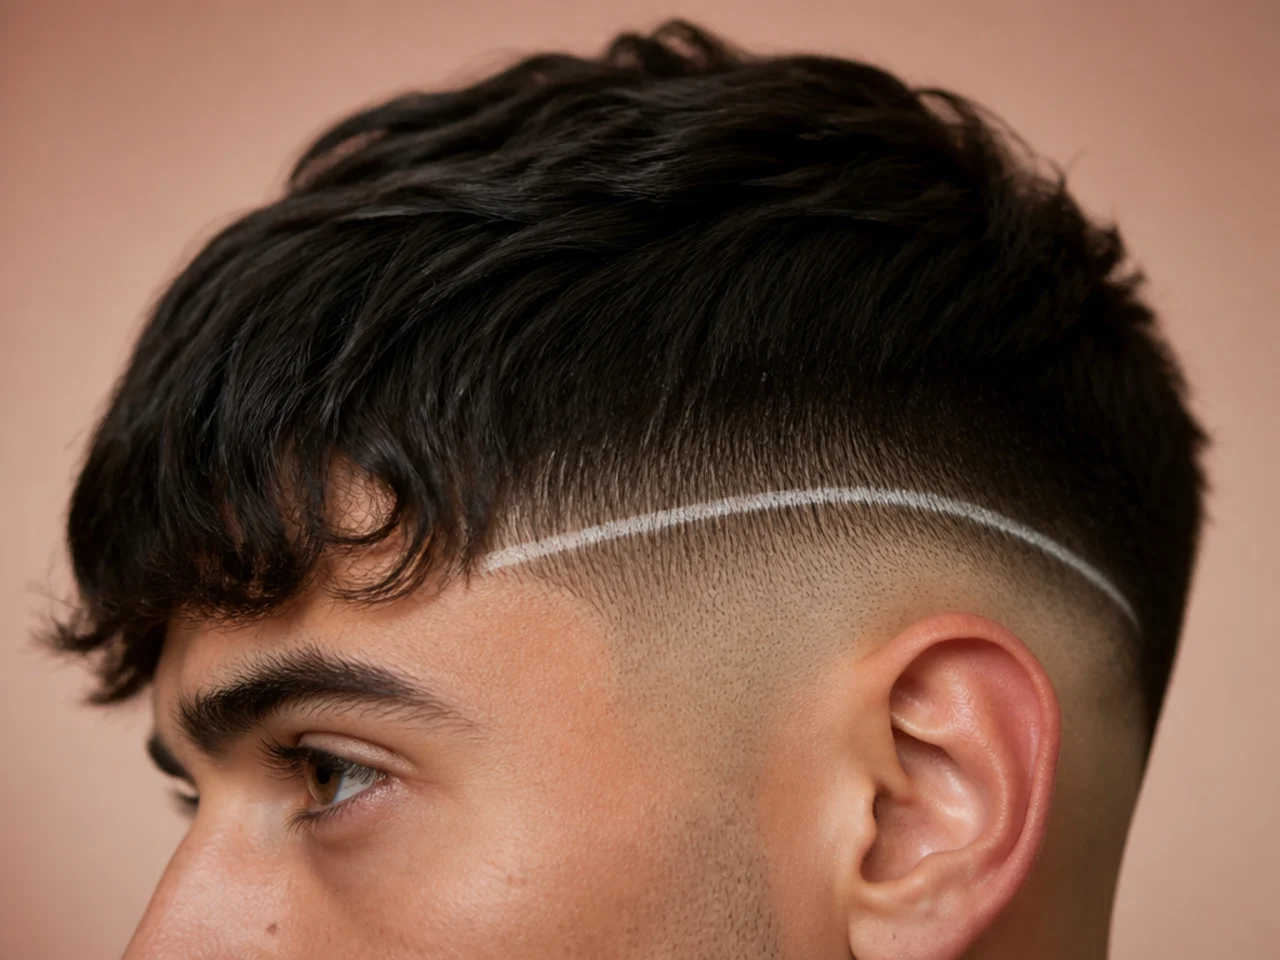
6. Mark the Fade or Taper Line
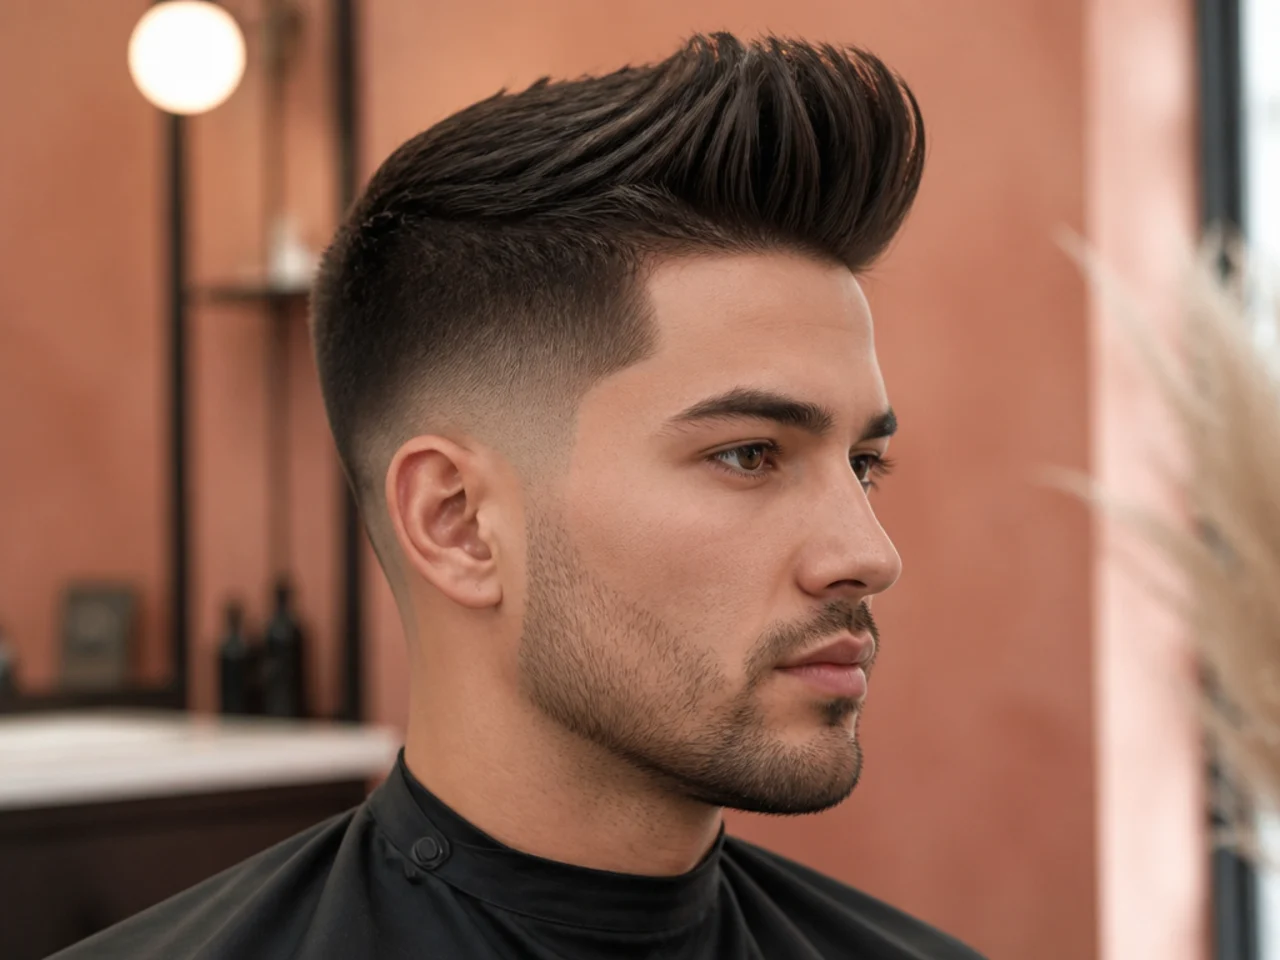
Decide the height and cut a clean guideline there before blending. Low sits at or below the temple, mid between temple and parietal ridge, high at or above it. A mid fade is the usual compromise under a textured fringe.
7. Blend Upward in Guard Steps
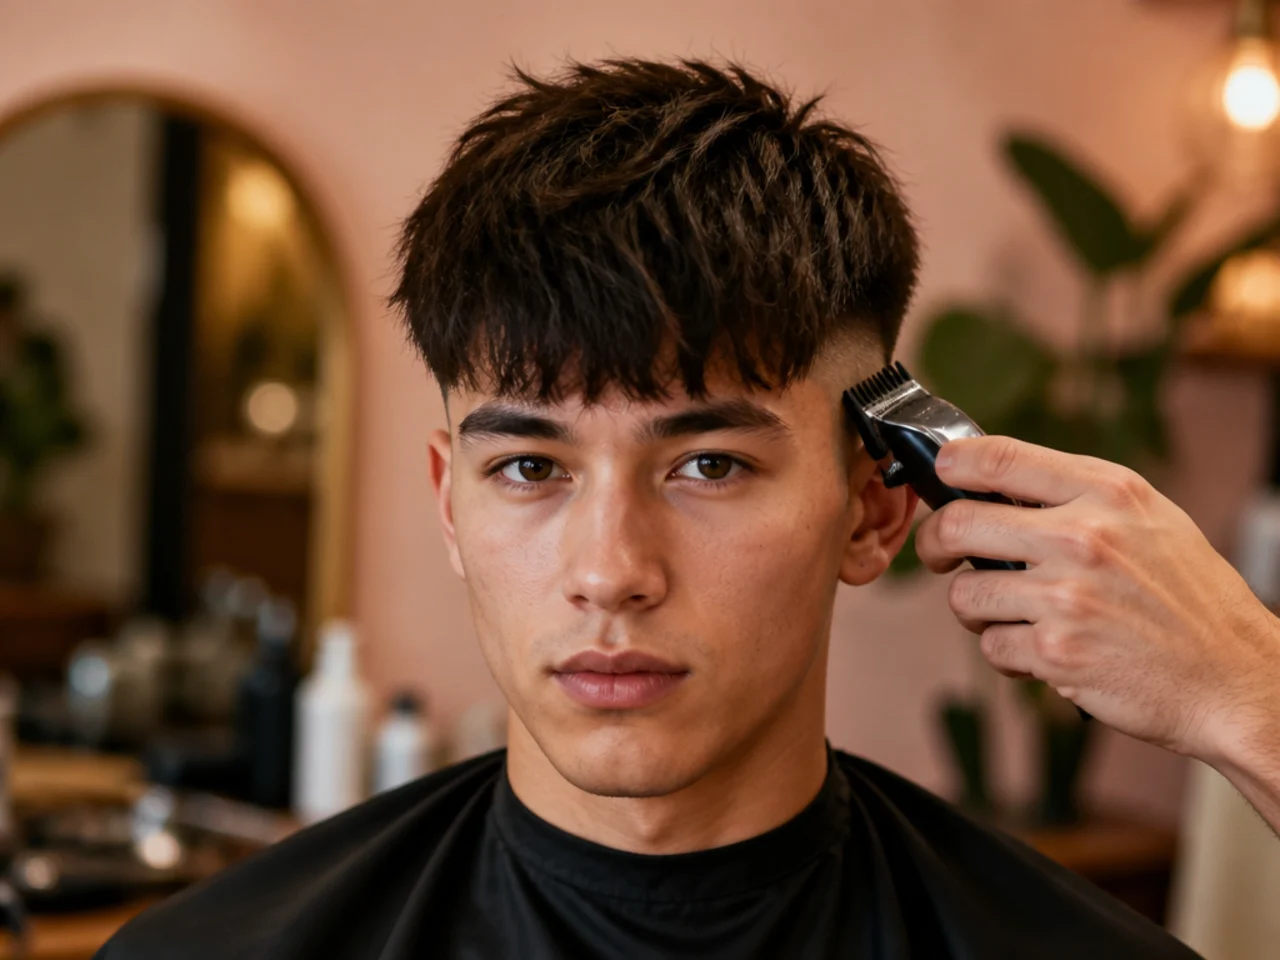
Work up through the guards, closing the lever between passes. Each step should overlap the last so no visible band is left where two lengths meet. Cutting a taper fade at home lives or dies on that overlap.
8. Check the Blend Against the Light
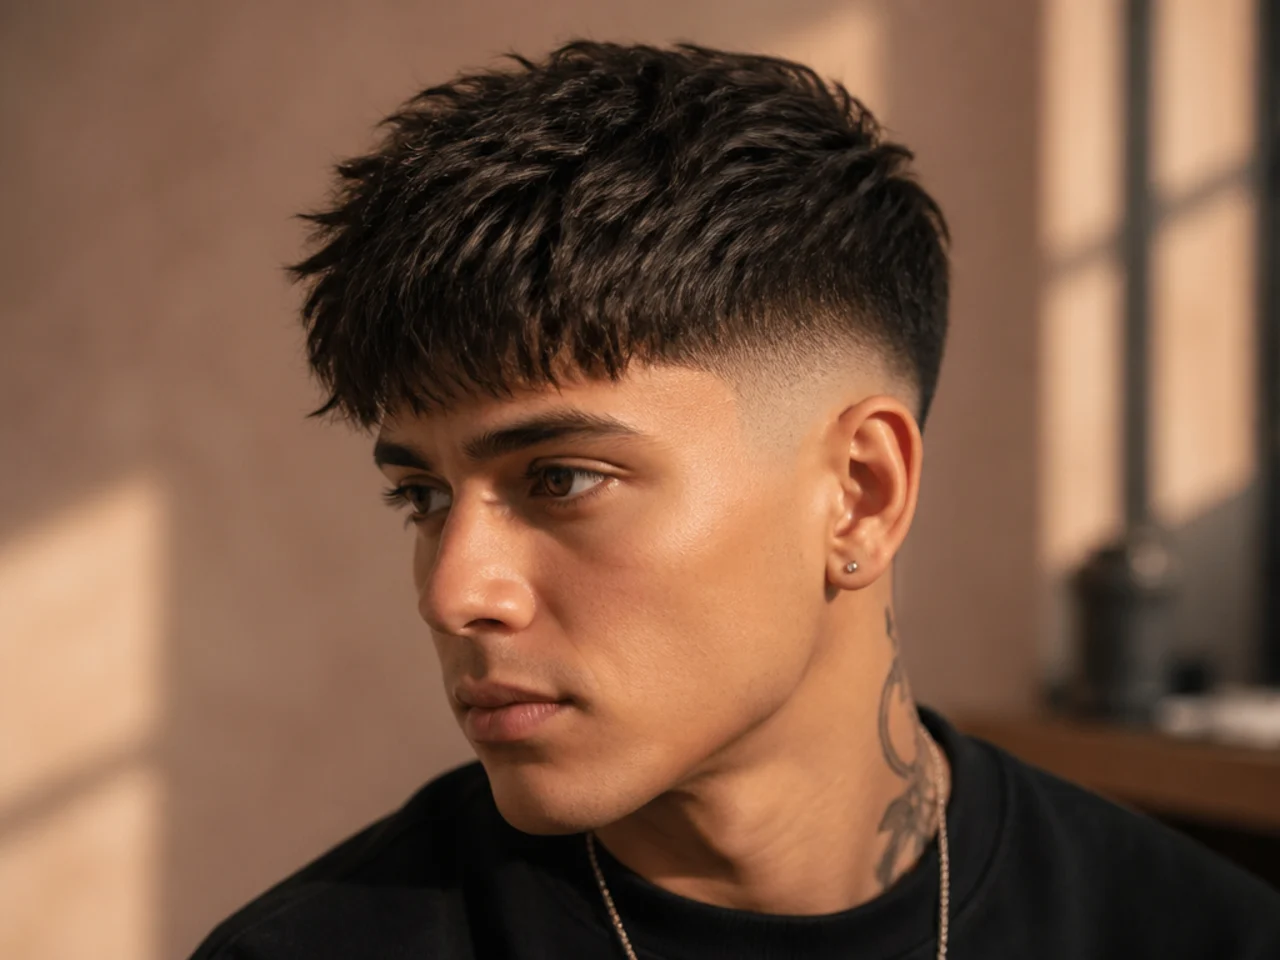
Turn the head so light rakes across the side. Bands are invisible head-on and obvious at an angle, which is why so many blends look fine in the chair.
9. Drop the Top Section
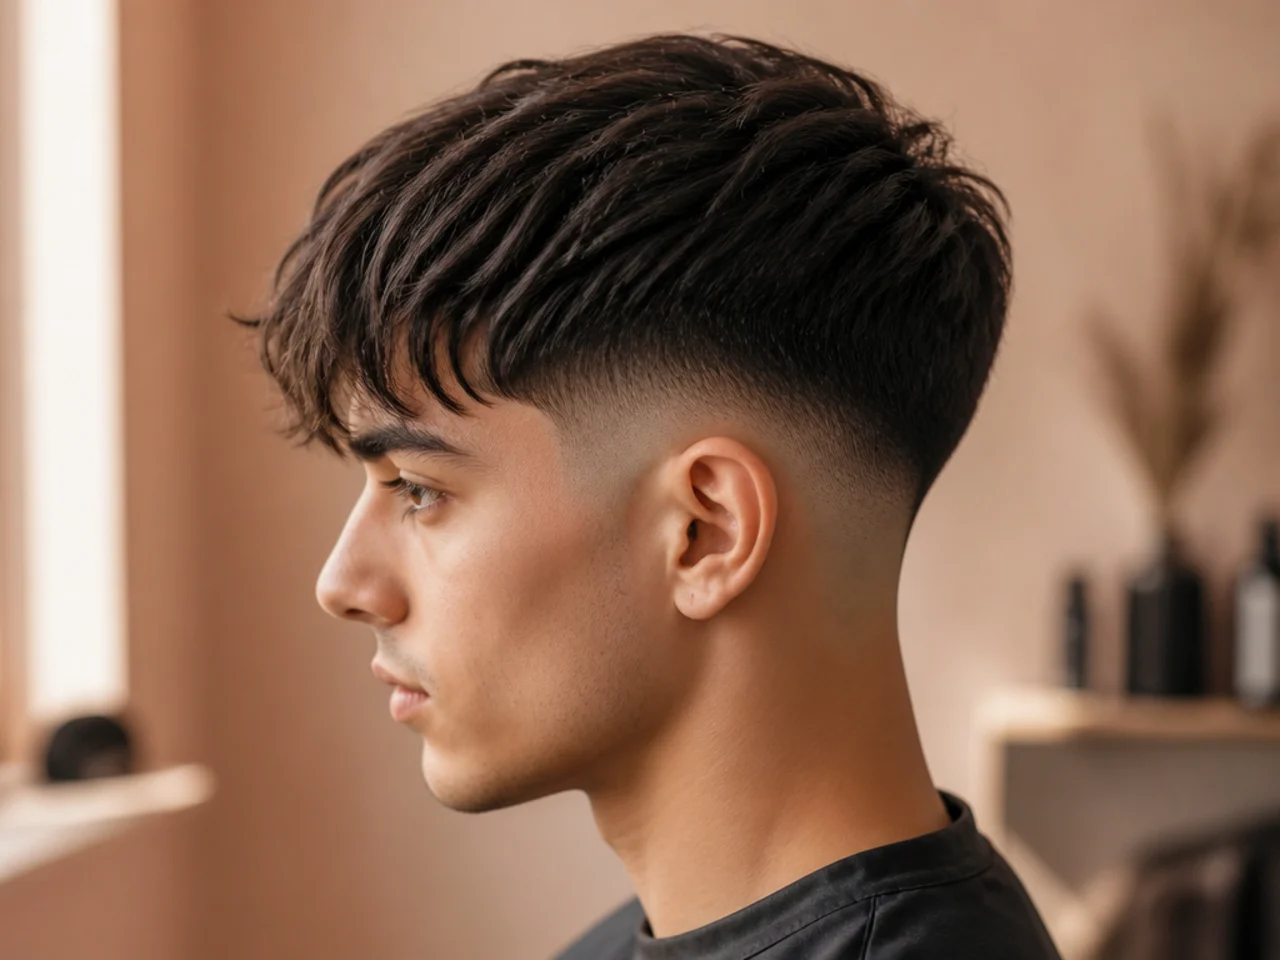
Release the clipped top and comb it back into natural fall. From here the cut is scissor work only. Comb it down with no tension at all, because hair held under tension sits about a centimetre longer than it will ever fall.
10. Set the Length Guide at the Crown
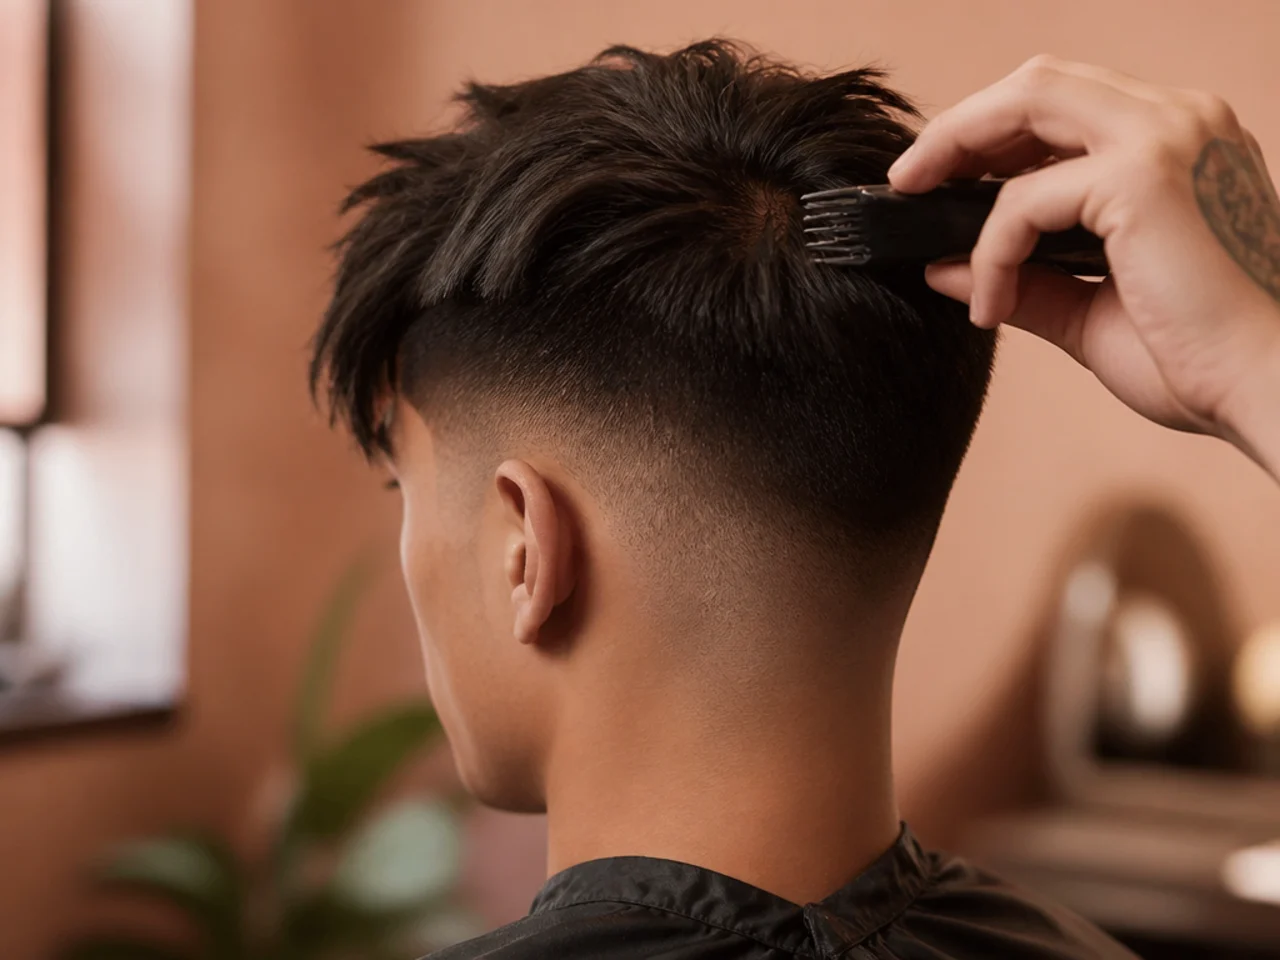
Take a vertical section at the crown and cut it to the intended top length. Every other section on top is measured against this one.
11. Work Forward in Vertical Sections
Take vertical panels from crown to front, matching each to the previous one. Vertical sections keep the length consistent front to back rather than side to side.
12. Cut the Fringe Perimeter Long
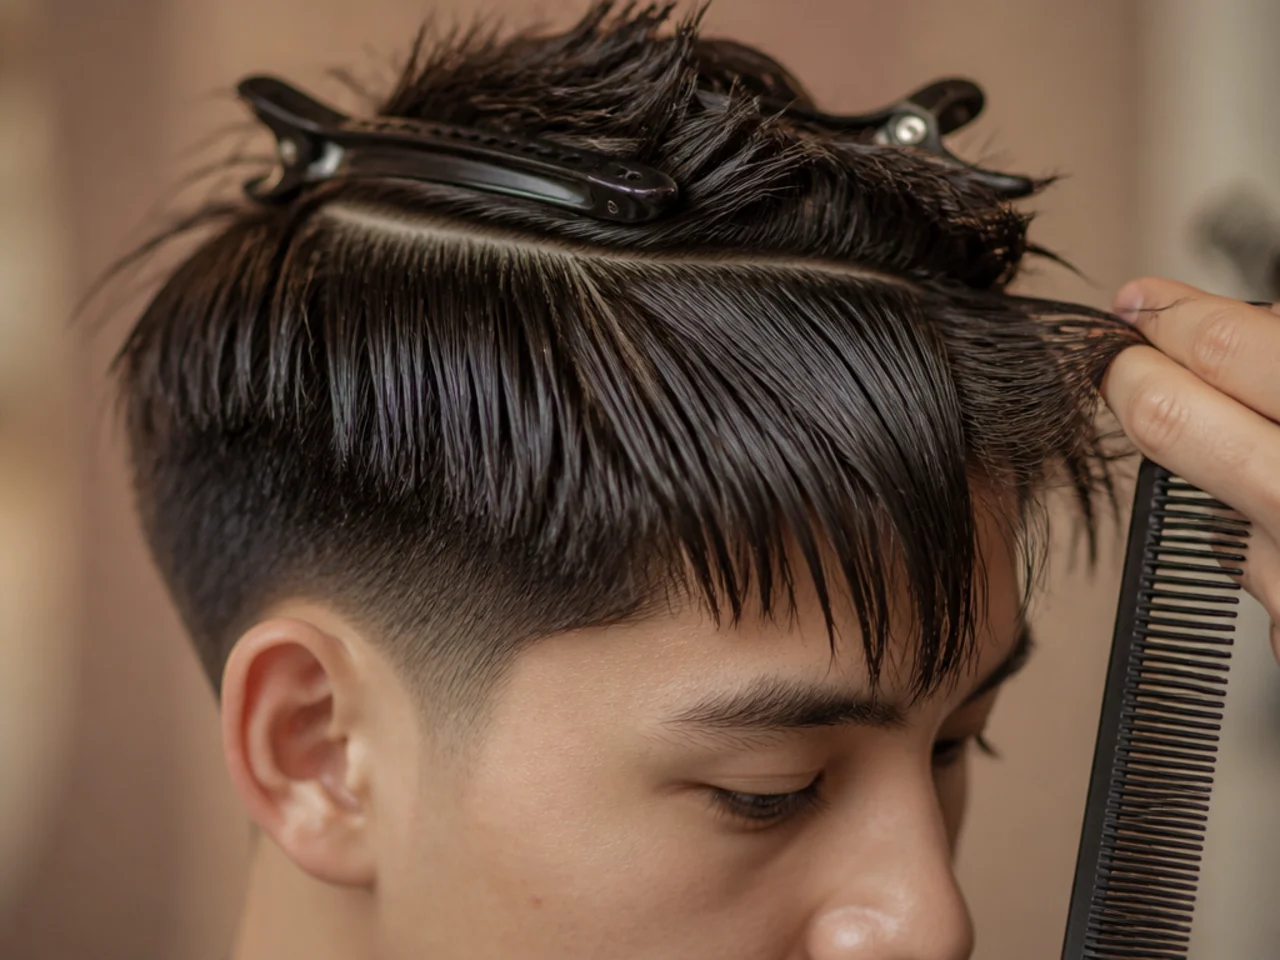
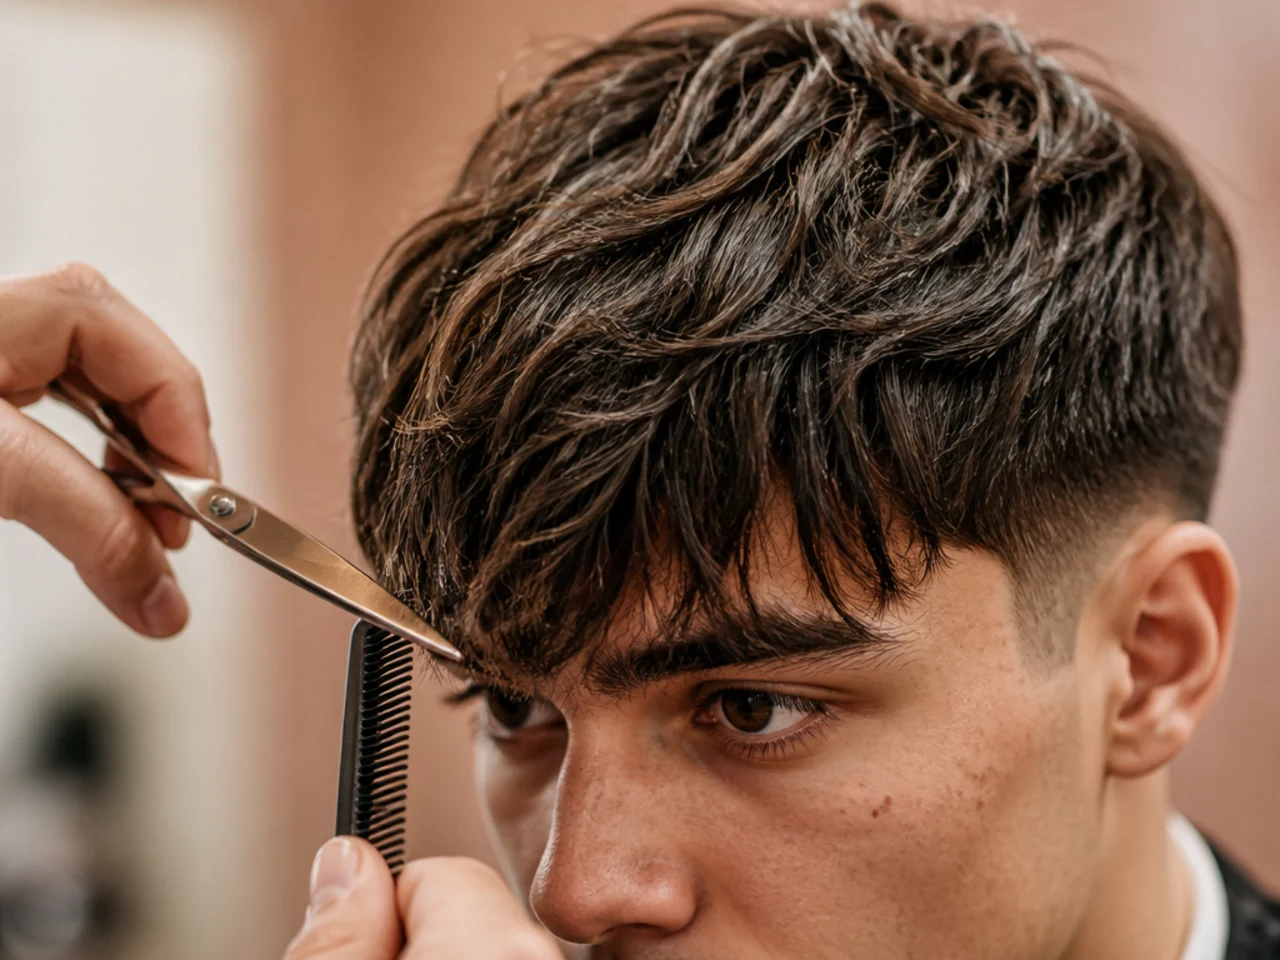
Take the front section forward and cut it deliberately longer than the target. This is the reference outline, not the finished one.
13. Cross-Check Horizontally
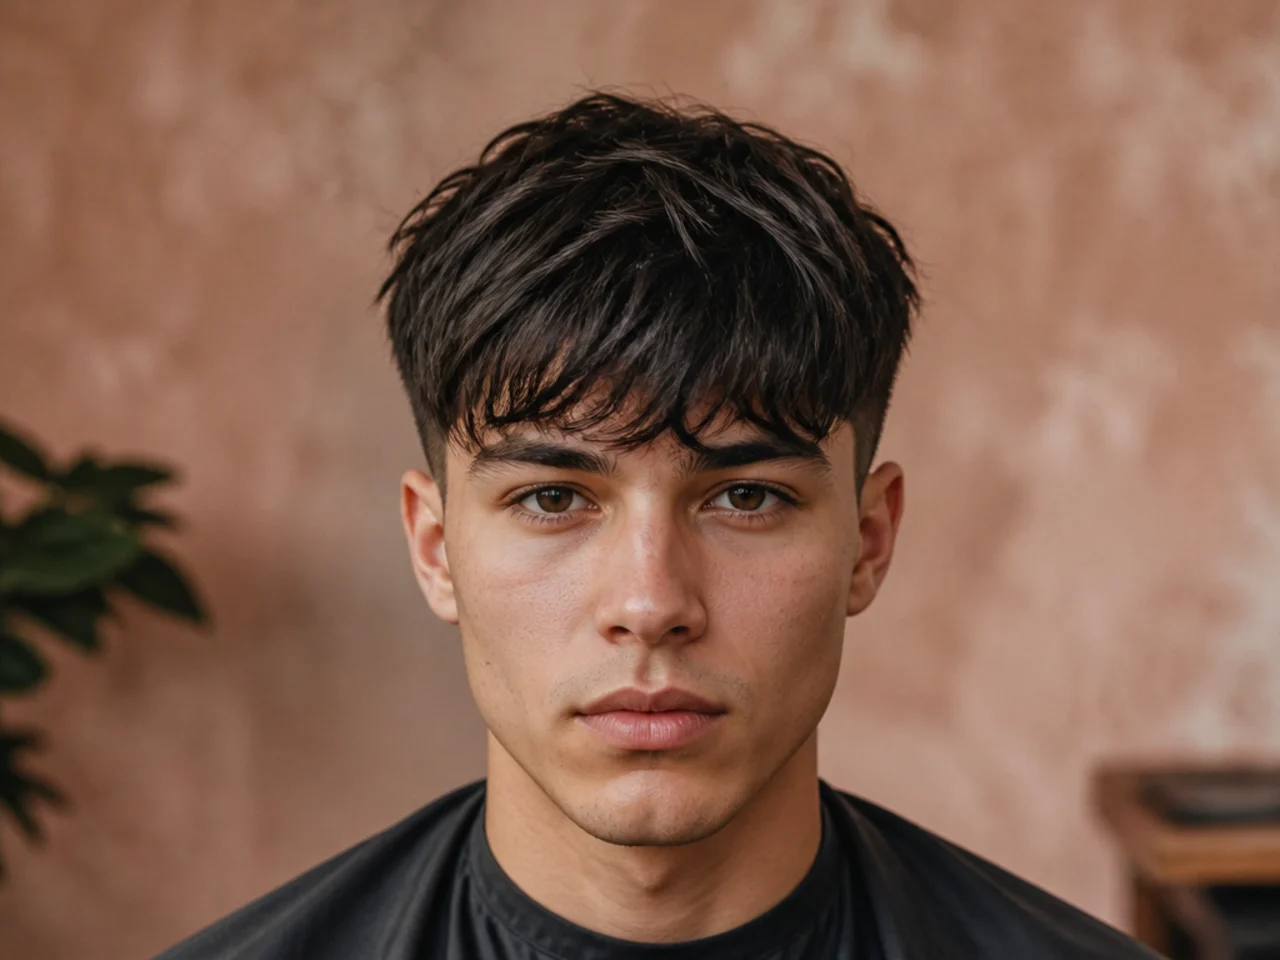
Re-take the same hair in horizontal sections and look for anything longer than the guide. Cutting in one direction only is how uneven patches survive to the end.
14. Remove Internal Weight
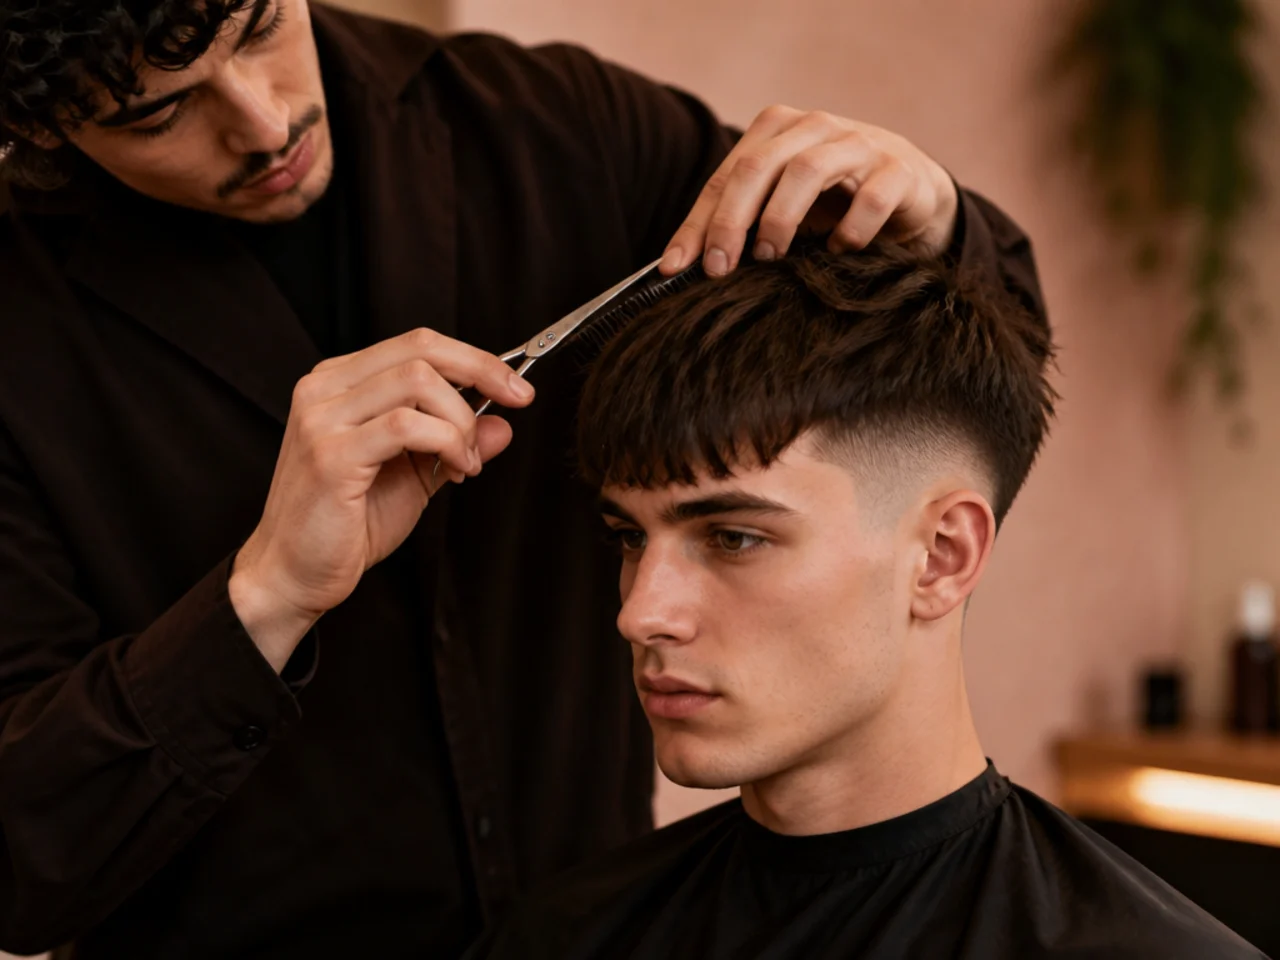
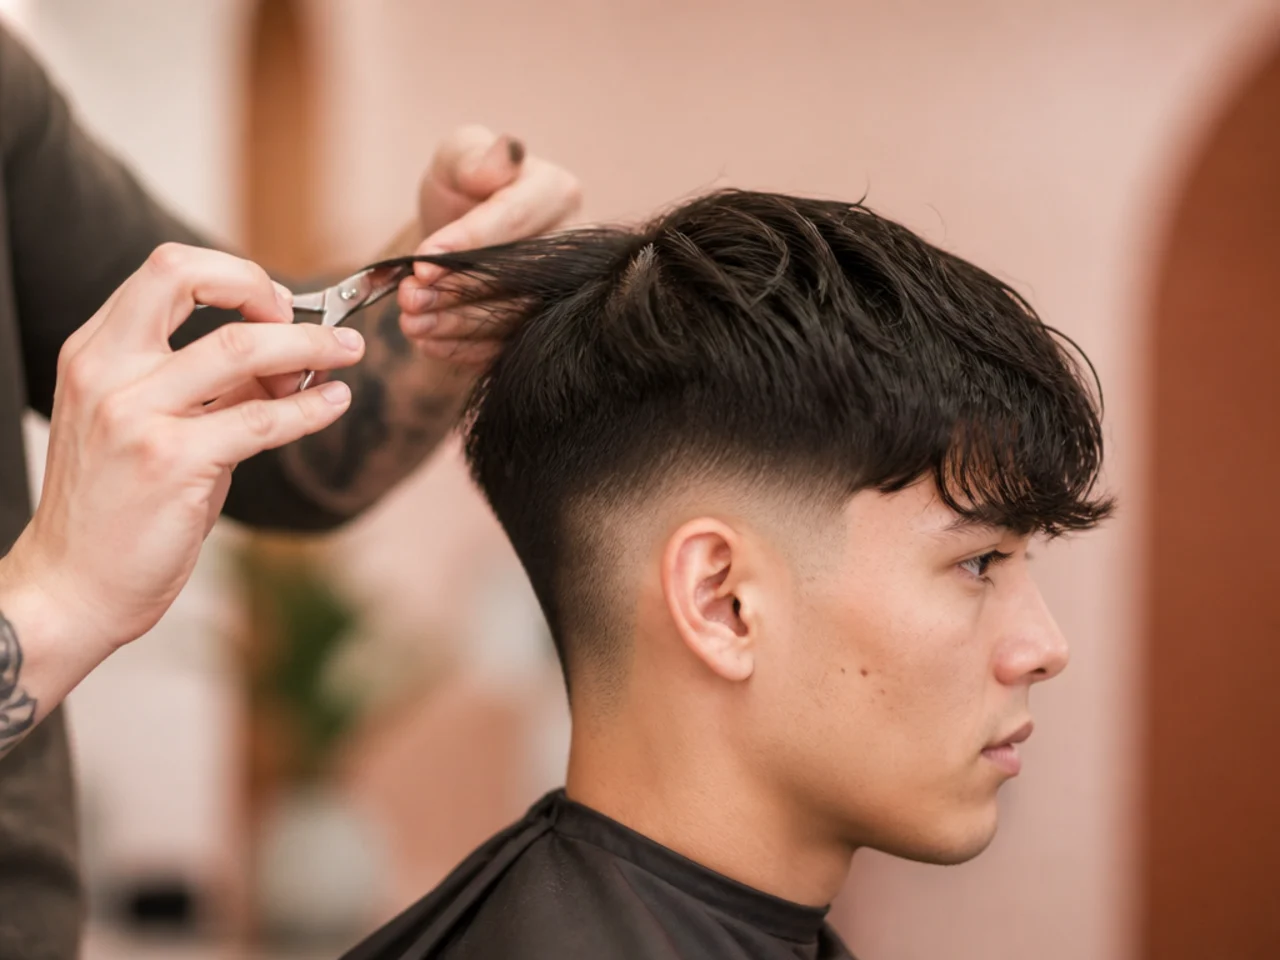
Slide-cut or notch inside the section, well away from the visible ends. Weight taken from the surface creates frizz. Weight taken from underneath creates movement.
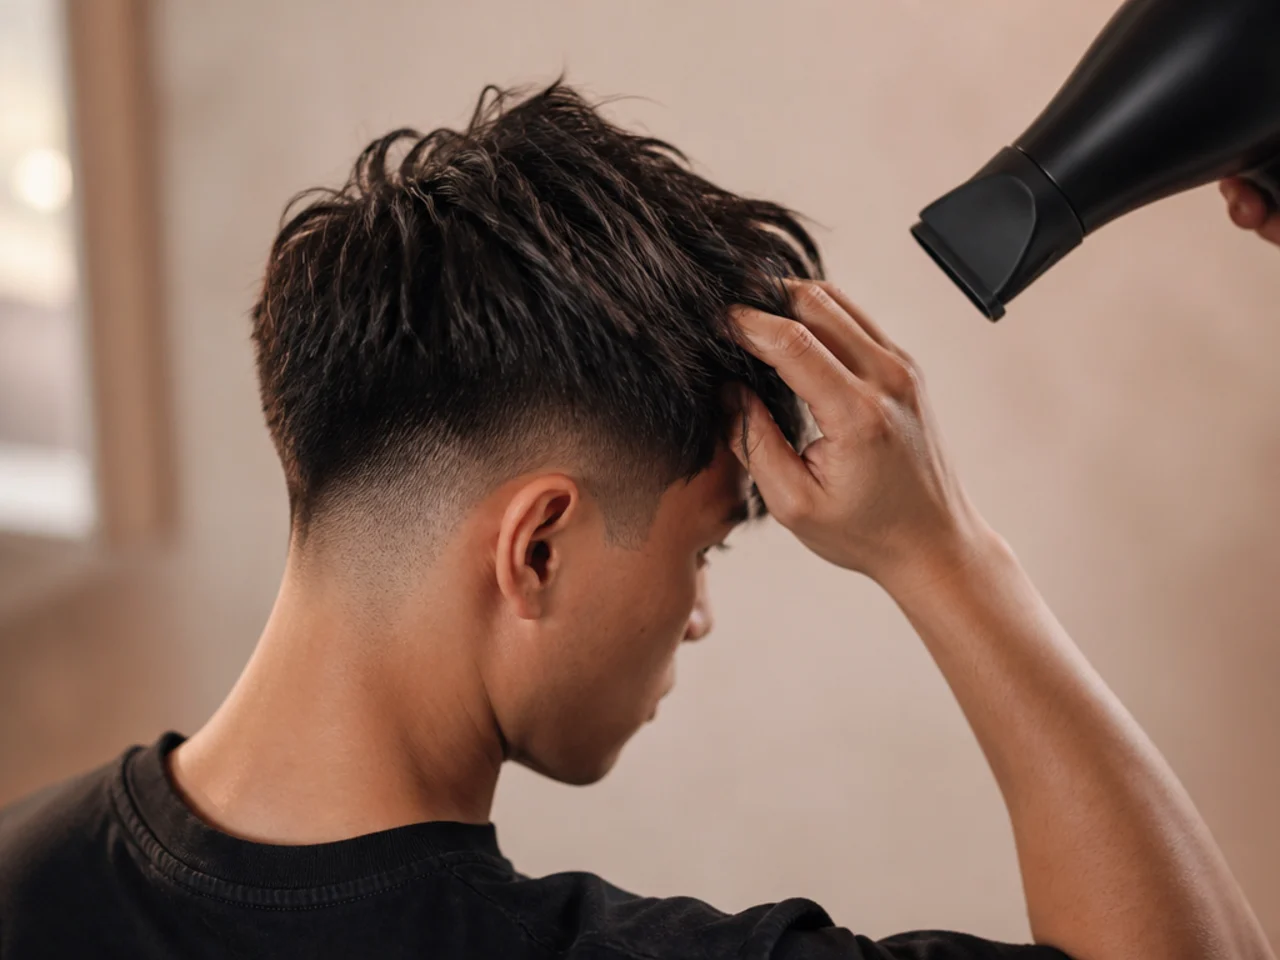
15. Rough-Dry the Whole Head
Dry without a brush, pushing the top forward with the fingers. Texture only shows once the hair is dry and in its own direction.
16. Reassess the Fringe Length Dry
Look at where the fringe now sits against the brow. Curly hair will have risen by roughly a third and wavy by about a centimetre.
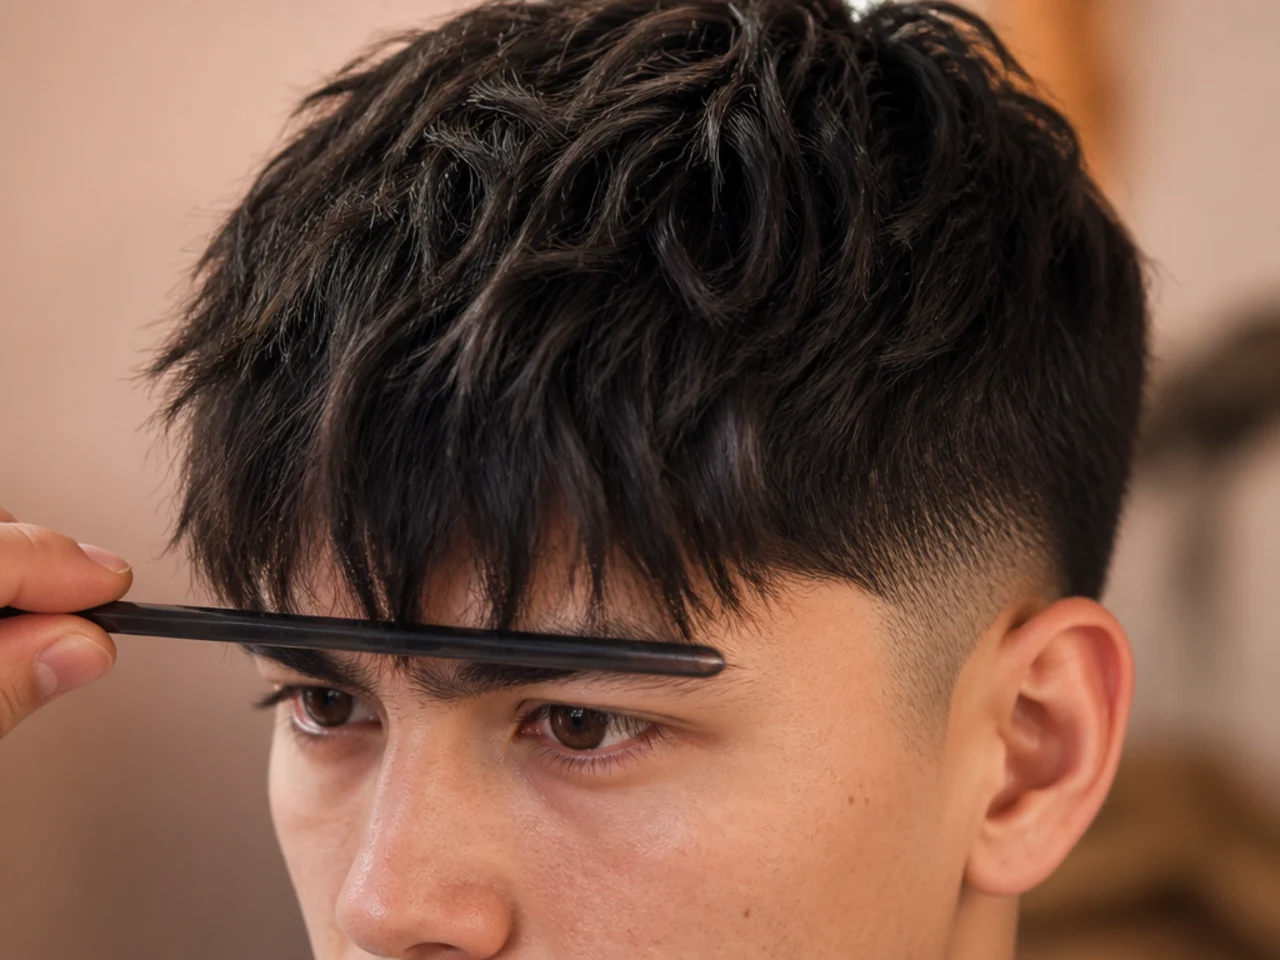
17. Point-Cut the Front Edge
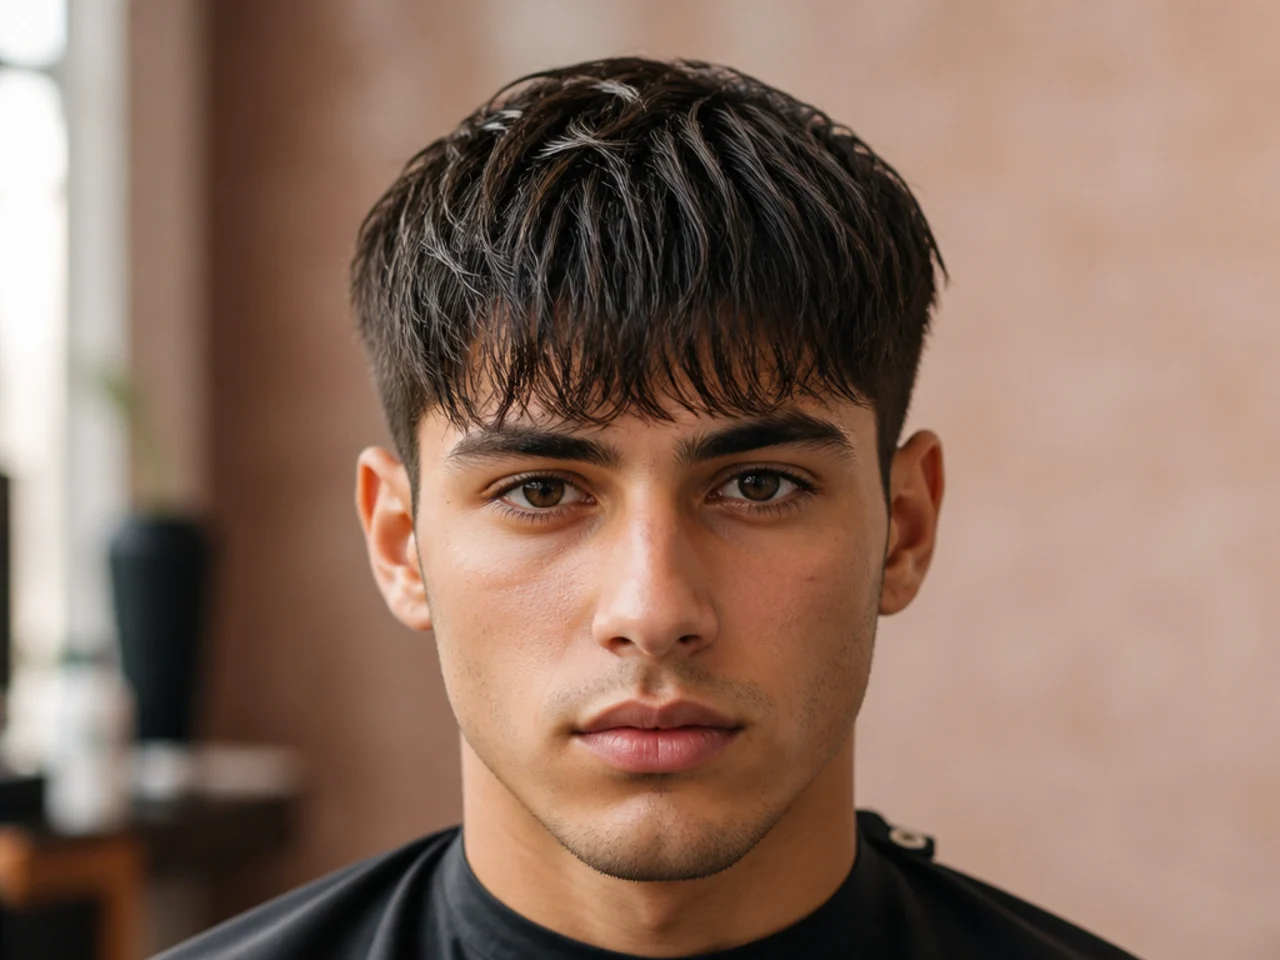
Hold the scissors vertically and notch into the ends. A blunt line is the single most dating feature a fringe can have, and this is the step that prevents it.
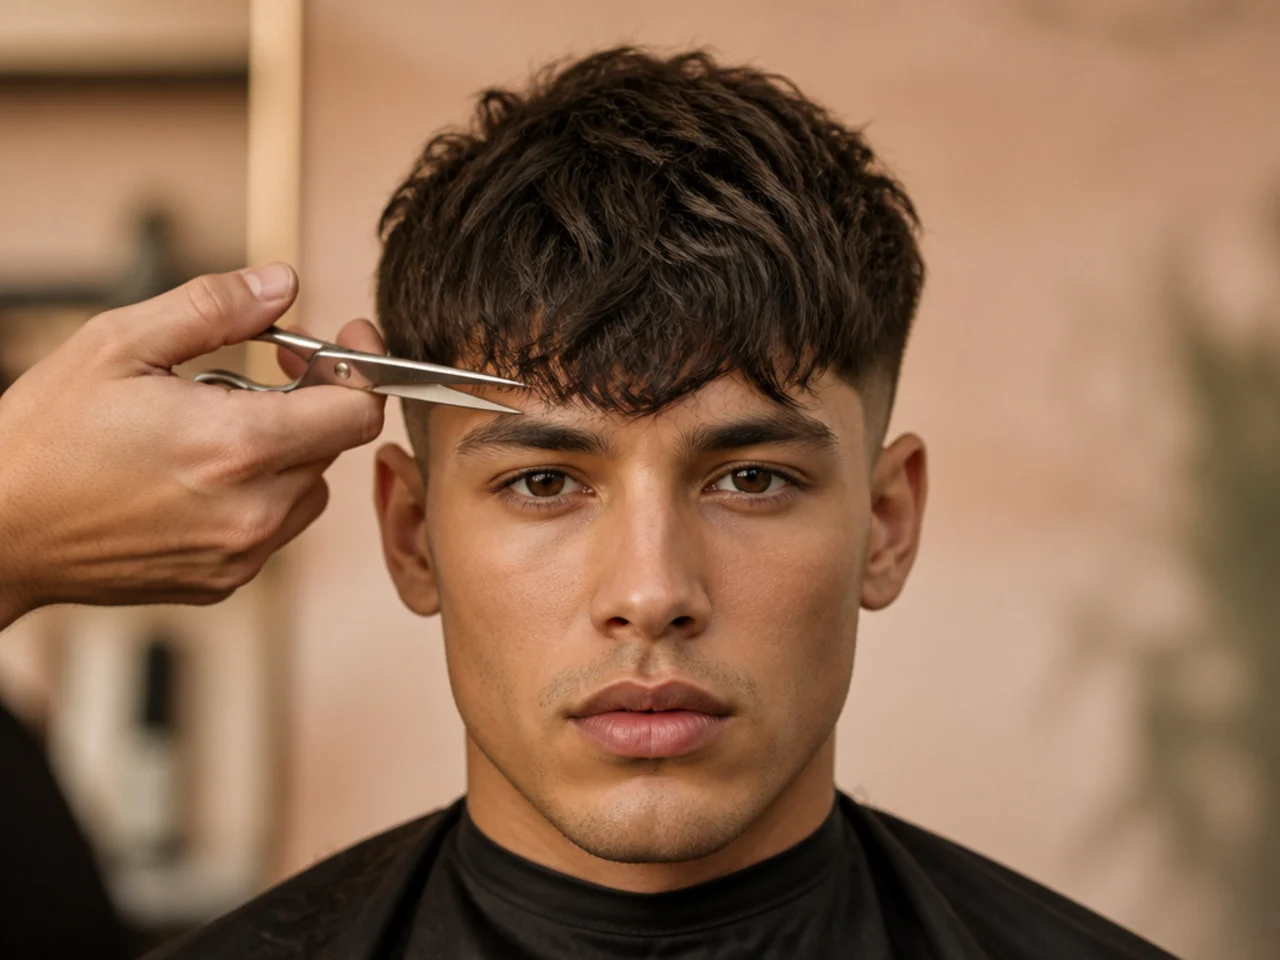
18. Soften the Temple Corners
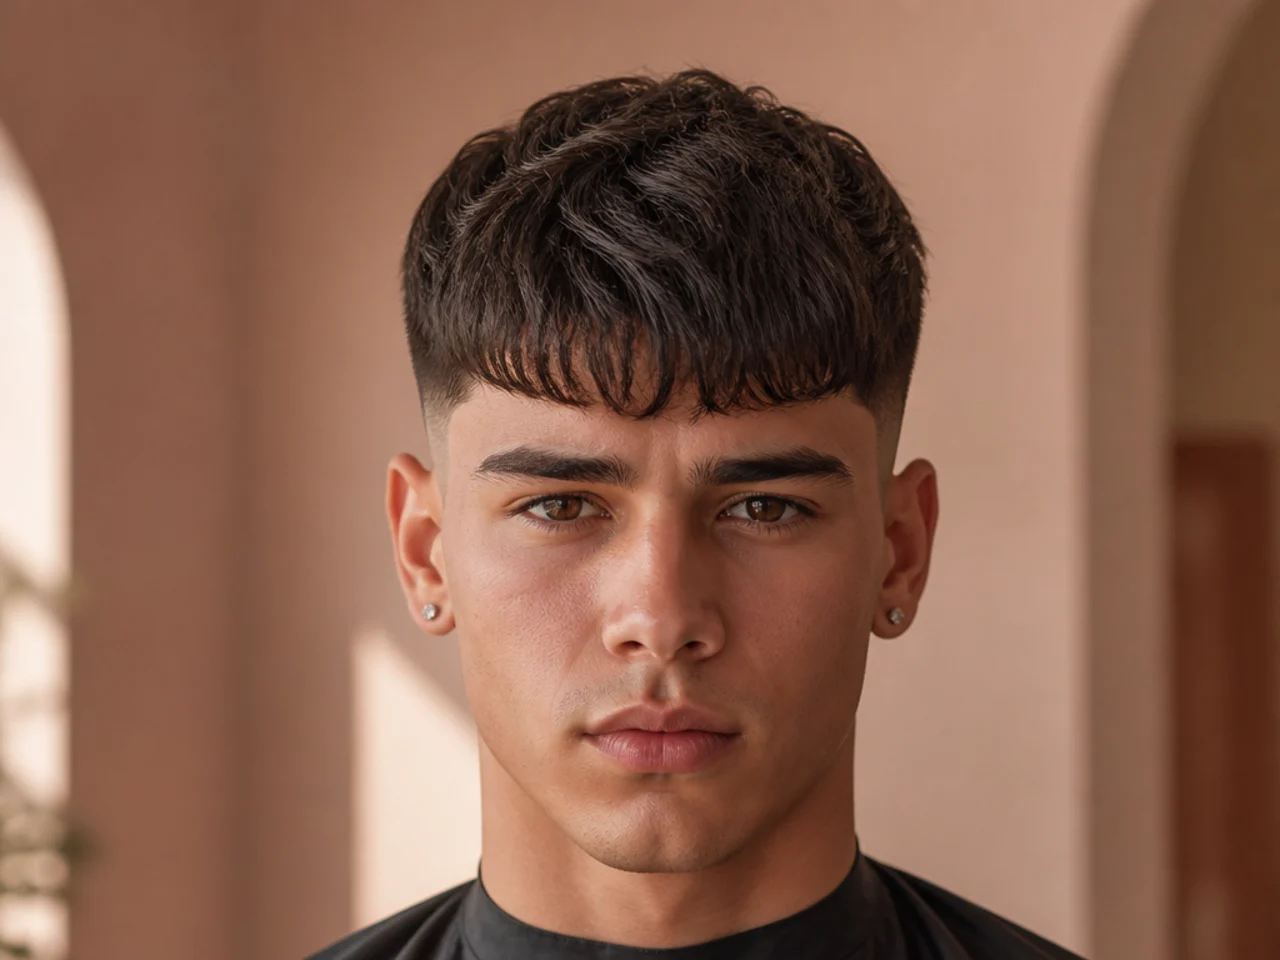
Round the corners where the fringe meets the sides. A square corner is the detail that makes a good fringe read as a bowl cut.
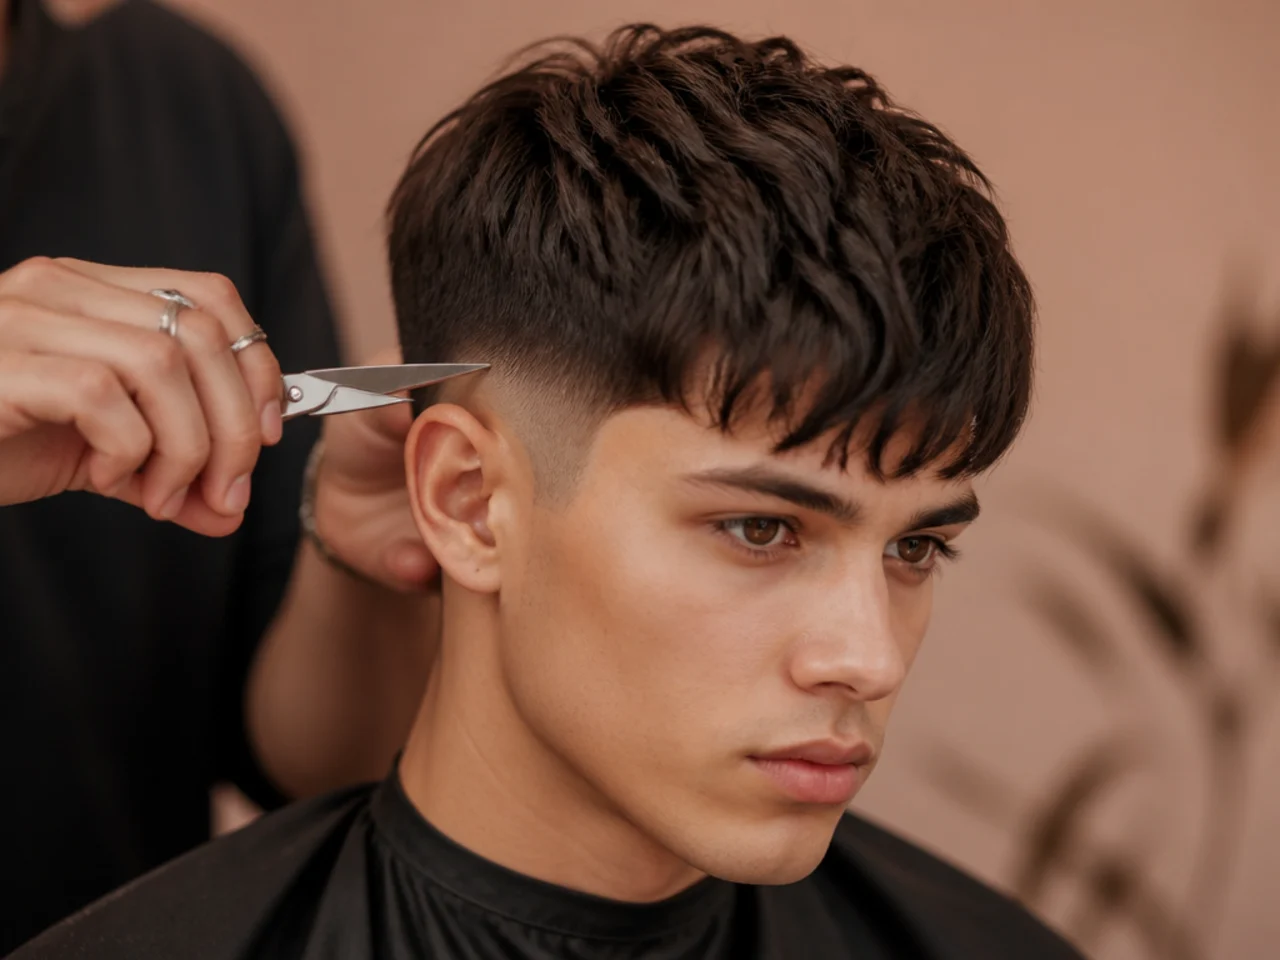
19. Clean the Neckline and Ears
Square, rounded or tapered at the neck, and a clean arc around each ear. Tapered grows out most quietly of the three.
20. Style and Check the Fall
Clay through damp roots, finger-dry forward, cool shot to finish. Anything still sitting wrong after this is a cutting problem and should be corrected now rather than next month.

Styling and Upkeep
Re-cut the fringe before the sides. It reaches the eyes at two to three weeks while a taper still holds.
Trim the front dry and forward. Wet hair pulls down and you will take off more than intended.
Keep the same guard numbers written down. A #2 at 6mm on one machine should match the next barber's.
Photograph the temple corners. They are the detail a new barber cannot guess from the front.
Wash the fringe more often than the rest. It lies against the forehead and collects oil the sides never see.
Mistakes to Avoid
Removing weight before the perimeter is set. You lose the reference the whole cut depends on.
Cutting the fringe to its final length while wet. It will rise as it dries and there is no way back.
Point-cutting on wet hair. The notches close up and vanish once it dries.
Blending only from the front view. Bands only show under raking light from the side.
Leaving square temple corners. It is what makes a fringe look like a bowl.
FAQ
Wet or dry? Bulk work wet, finishing dry.
Which guard for the sides? #1 at 3mm through #3 at 10mm, depending on contrast.
How much off the fringe first pass? About half of what you think, then reassess dry.
Final Thoughts
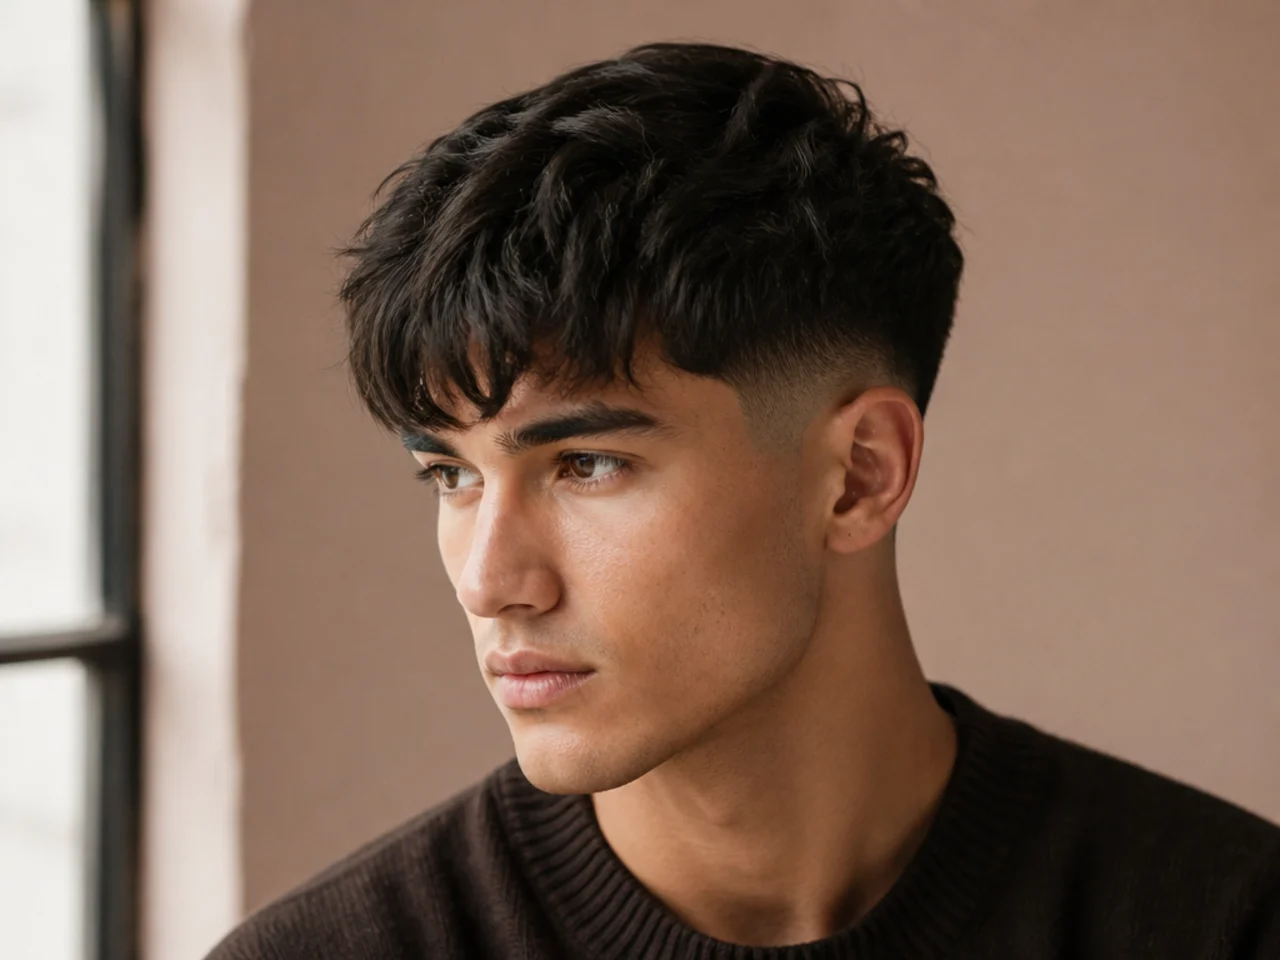
Perimeter, then weight, then texture, then finish — in that order, on every head, every time. A barber who works that sequence can cut a textured fringe on any texture, and one who works it backwards will spend the whole appointment fixing step one.
For the finished cut in all its variations see the textured fringe, and for the clipper work underneath it see the taper fade haircut. More in Men's Haircuts.