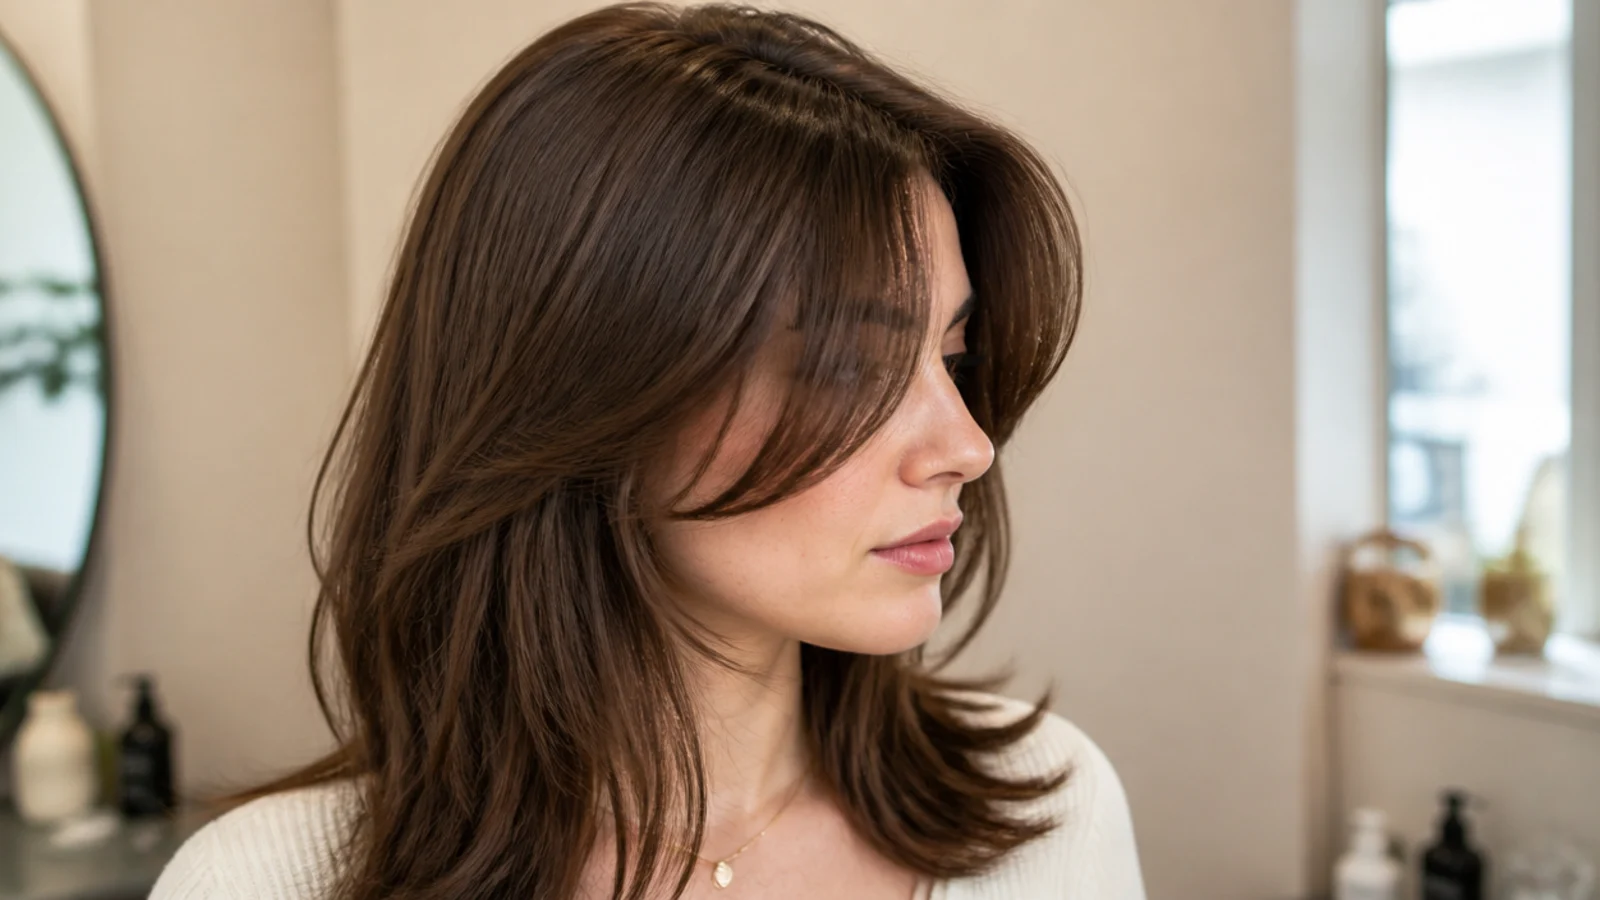
20 Steps to Cut French Bangs at Home
A twenty-step method for cutting French bangs yourself — the triangle section, cutting dry, point-cutting upward, and the rule that saves most home fringes: cut it twice as long as you want it, then take it down.
In this article · 28
- What You Will Need
- Before You Start
- The 20 Steps
- 1. Brush the Front Forward
- 2. Find Your Hairline Growth Pattern
- 3. Mark the Outer Edges
- 4. Section a Triangle, Not a Square
- 5. Make the Section Shallow
- 6. Clip Everything Else Away
- 7. Comb the Section Straight Down
- 8. Twist It Into a Loose Rope
- 9. Decide Your Length, Then Add an Inch
- 10. Make the First Cut at Nose Level
- 11. Untwist and Look
- 12. Point the Scissors Upward, Never Across
- 13. Take Off Two Millimetres at a Time
- 14. Work From the Centre Outward
- 15. Leave the Outer Corners Longer
- 16. Stop While It Is Still Too Long
- 17. Shake It Out and Wait a Minute
- 18. Take the Last Millimetres Only Now
- 19. Break Up the Ends With Your Fingers
- 20. Leave It Alone for Two Days
- Aftercare and Upkeep
- Troubleshooting
- Mistakes to Avoid
- FAQ
- Final Thoughts
Cutting your own fringe is not reckless. It is the one haircut most people can genuinely do at home, because you can see the whole thing while you work and because a fringe is a small, forgiving section.
What makes it go wrong is almost never the cutting. It is cutting wet, taking the wrong section, and cutting to the length you want rather than well below it.
What You Will Need
Hairdressing scissors. Not kitchen scissors, not nail scissors. Blunt blades fold the hair rather than cutting it, and the folded end frays within days. This is the one thing worth buying.
A fine-tooth comb.
Two sectioning clips.
A mirror you can stand square to. Standing at an angle is how one side ends up shorter.
Nothing else. Thinning shears are what most home fringes are ruined with — they remove far more than they appear to.

Before You Start
Hair clean and completely dry. Day-old hair is fine; damp hair is not.
Styled the way you normally wear it. If you straighten it every day, straighten it now. You are cutting the fringe you will actually have.
Good light, from the front. Overhead light casts shadows that hide unevenness.
Time. Twenty unhurried minutes. Every bad home fringe was cut in five.

The 20 Steps
1. Brush the Front Forward
Everything that might become fringe, brought forward over the face.
2. Find Your Hairline Growth Pattern
Look for a cowlick before you cut. If there is one, the fringe needs to be wider and longer at that point.

3. Mark the Outer Edges
The outer corner of each eyebrow. That is how wide the fringe goes — no wider on a first attempt.

4. Section a Triangle, Not a Square
Point at the crown, base between those two marks. A triangle blends; a square sits on top of the cut.

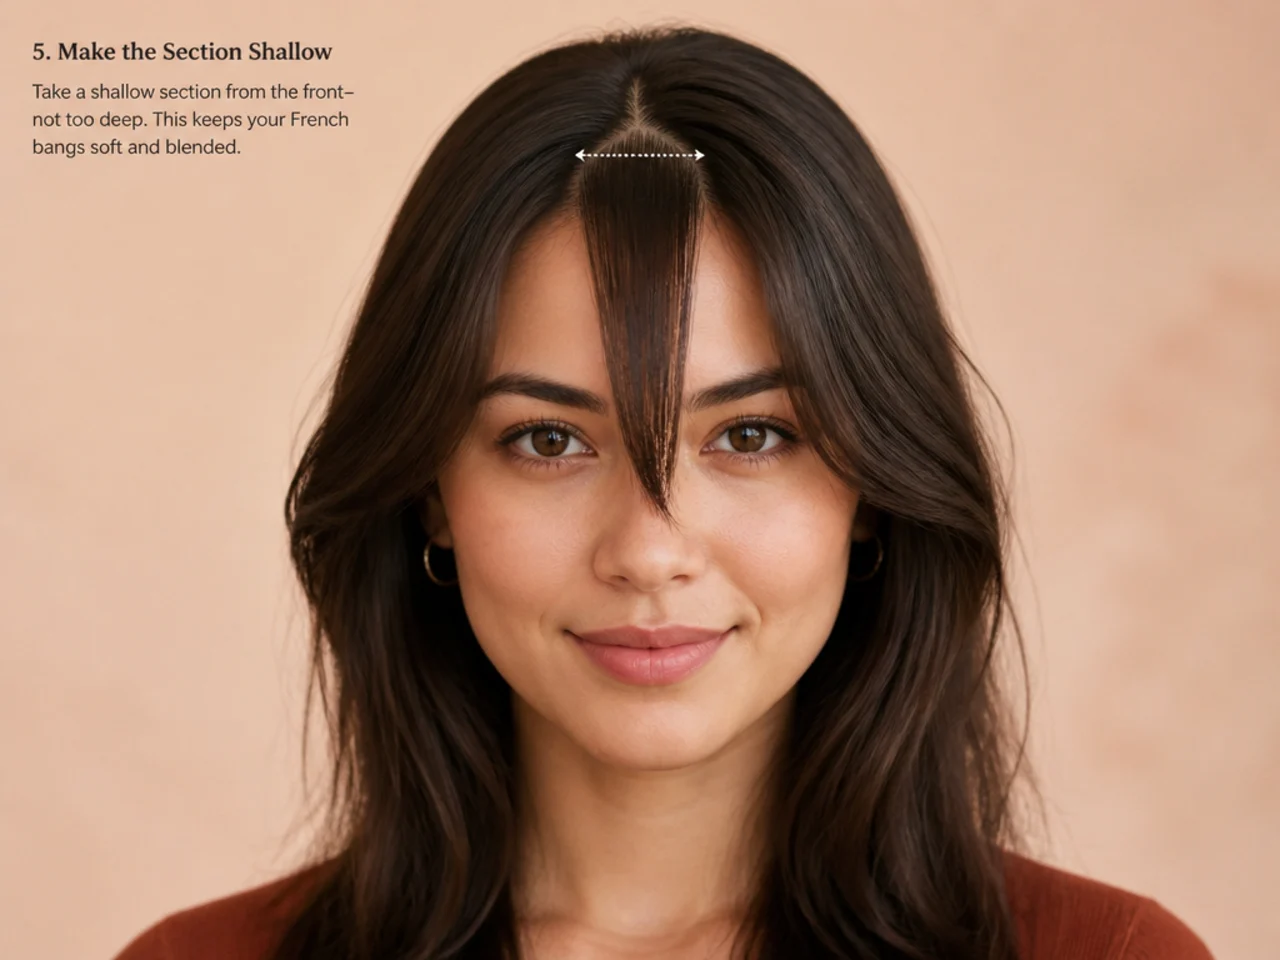
5. Make the Section Shallow
Two to three centimetres back from the hairline. Deeper takes hair the rest of your cut needs.
6. Clip Everything Else Away
Both sides and the back, secured properly. Loose hair drifting into the section is how fringes get too wide.

7. Comb the Section Straight Down
Flat against the forehead, no tension. Pulling it tight is what makes a fringe spring up short.

8. Twist It Into a Loose Rope
Twist the whole section once. This is the safest home method — it makes a blunt line impossible.

9. Decide Your Length, Then Add an Inch
Whatever length you want, mark an inch below it. You will take it down gradually. Nothing here can be undone.
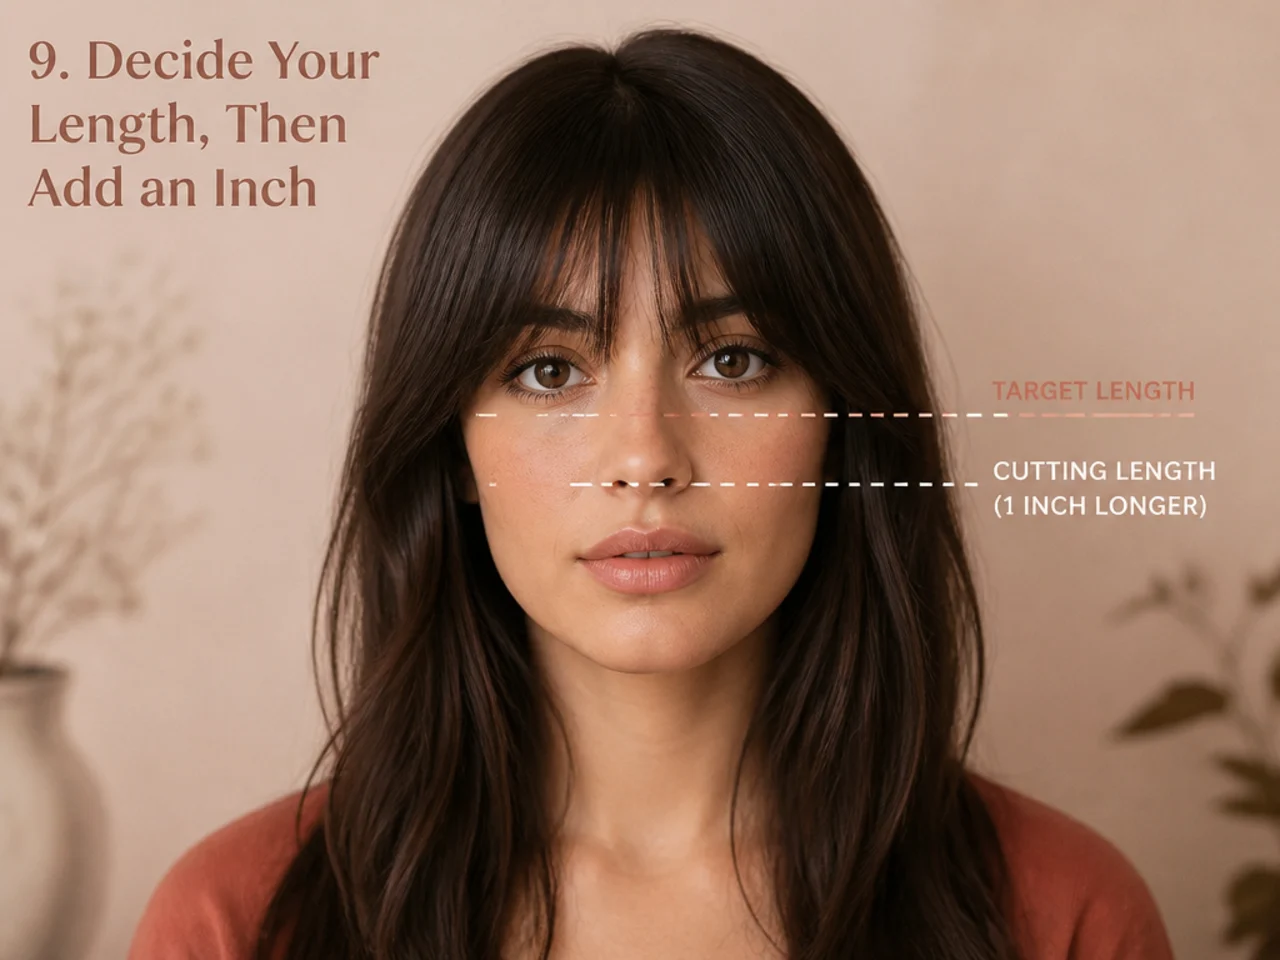
10. Make the First Cut at Nose Level
Well below the brow, whatever your target. First cuts are for establishing the line, not the length.

11. Untwist and Look
The rope produces a naturally uneven edge. Check the width and the balance before going further.

12. Point the Scissors Upward, Never Across
Blades vertical, cutting into the ends. Horizontal blades make a blunt line, which is the one thing a French fringe must not have.

13. Take Off Two Millimetres at a Time
Less than feels worth doing. Every disaster is a series of reasonable-seeming cuts.

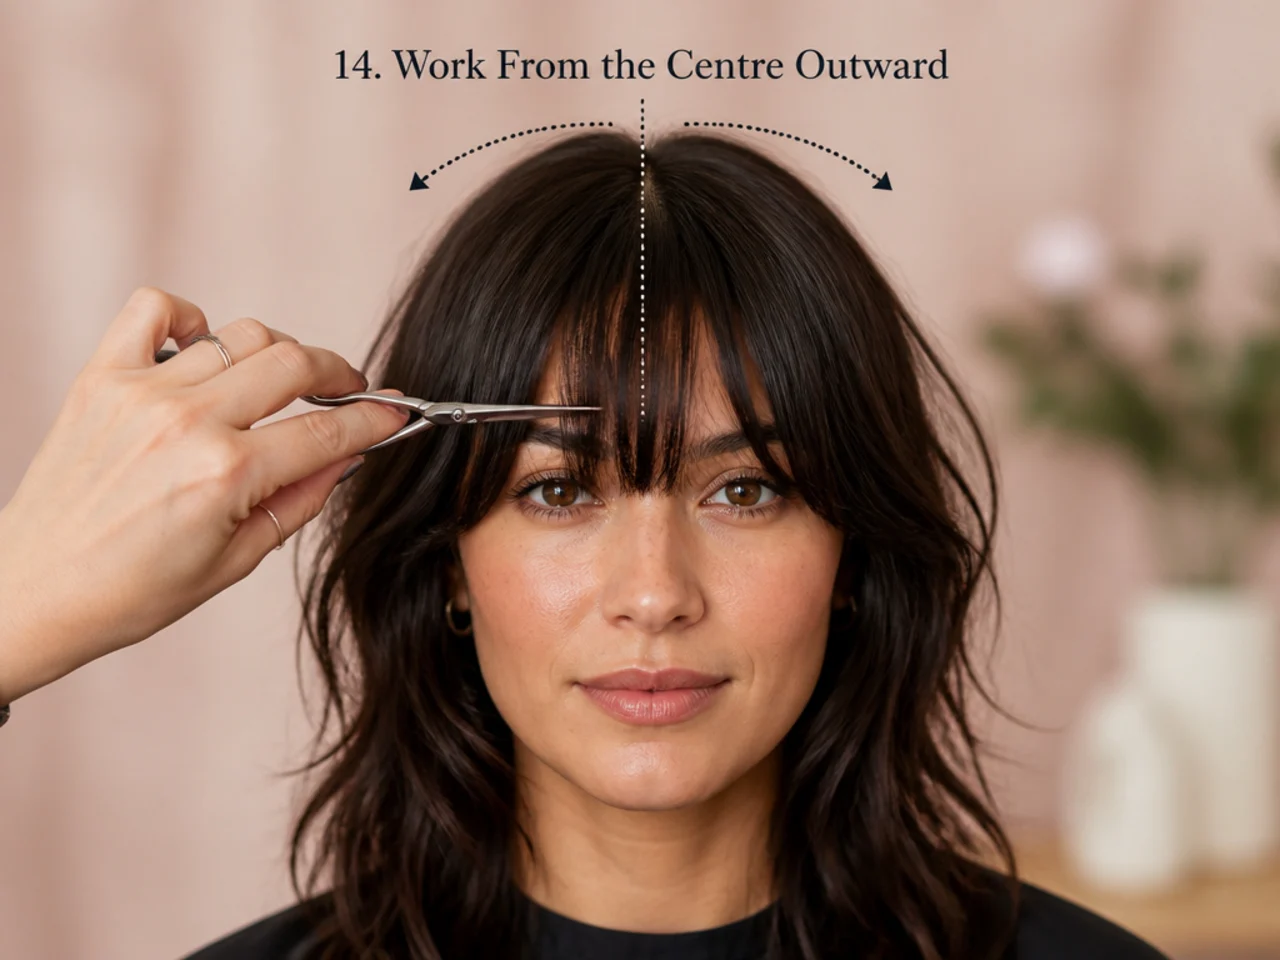
14. Work From the Centre Outward
Middle first, then each side. It keeps the balance visible as you go.
15. Leave the Outer Corners Longer
The edges should be longer than the middle so the fringe blends into the face-framing pieces.

16. Stop While It Is Still Too Long
Somewhere below where you want it. Check it against the mirror at this stage rather than the last.

17. Shake It Out and Wait a Minute
Hair settles and lifts. What looked level thirty seconds ago often is not.

18. Take the Last Millimetres Only Now
Final adjustment, still point-cutting upward. This is the only stage where you cut to the target length.

19. Break Up the Ends With Your Fingers
A trace of wax or cream, pieces separated by hand. This is what makes it read as French rather than straight.

20. Leave It Alone for Two Days
Do not tidy it tomorrow. Almost every over-short fringe was cut twice.

Aftercare and Upkeep
Wash the fringe on its own between full washes. It sits against your forehead all day and goes greasy well before the rest of your hair — two minutes over the sink solves it.
Dry it immediately, moving side to side rather than pulling straight down. A fringe left to air-dry sets in whatever direction it fell, and that direction is rarely the one you wanted.
Trim every four to six weeks, taking off less than you think each time. A French fringe is designed to look slightly long, so the grown-out fortnight is part of the style rather than a fault.

Troubleshooting
It is too short. Put the scissors down. Pin it back or wear a headband for a few weeks — the fringe grows about half an inch a month and will be wearable sooner than it feels. Evening it up makes it shorter.
One side is longer. You were standing at an angle. Stand square to the mirror, comb both sides down together, and take only the longer side down to match — never the shorter side up.
It splits in the middle. A cowlick, or it dried in the wrong direction. Rough-dry it against the growth direction while it is damp; if it still splits, it needs to be cut wider at that point.
It looks blunt rather than soft. Not enough point-cutting. Take the scissors vertically into the ends a few millimetres deeper, working across the whole width.
It sticks out at the sides. The section was too wide. Nothing to do now; next time stop at the outer eyebrow corner.

Mistakes to Avoid
Cutting it wet. It dries shorter — around half an inch on straight hair and far more on curly. The commonest cause of a fringe that is suddenly a micro-fringe.
Cutting straight across. A blunt line is not this fringe. Point upward into the ends.
Pulling the section tight. It springs up when released and lands shorter than you cut it.
Using thinning shears. They remove much more than they look like they are removing.
Correcting it the next day. This is how a slightly uneven fringe becomes a short one.

FAQ
Wet or dry? Dry, always — wet hair springs up as it dries.
How do you section it? A triangle, point at the crown, base between the outer eyebrow corners.
What if it is too short? Put the scissors down and pin it back. Correcting it makes it shorter.

Final Thoughts
Cut it dry, cut it long, and point the scissors upward. If you do nothing else from this page, stop cutting while the fringe is still too long — you can always take more off tomorrow, and that is the only direction this works in.
For the styles themselves see 25 chic French bangs ideas. More in Bangs & Fringe.