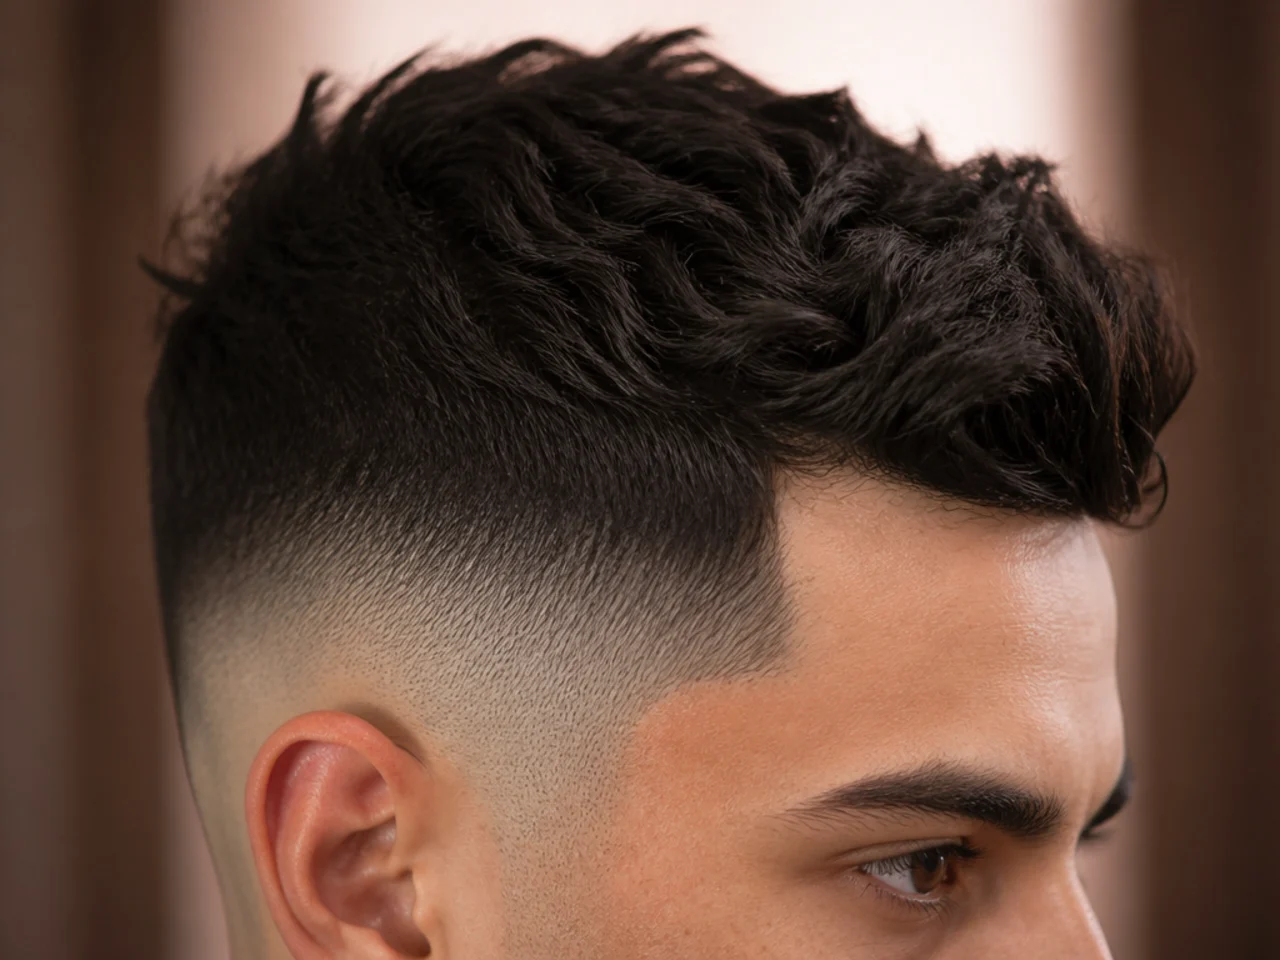
15 Ways to Style a High Fade Haircut
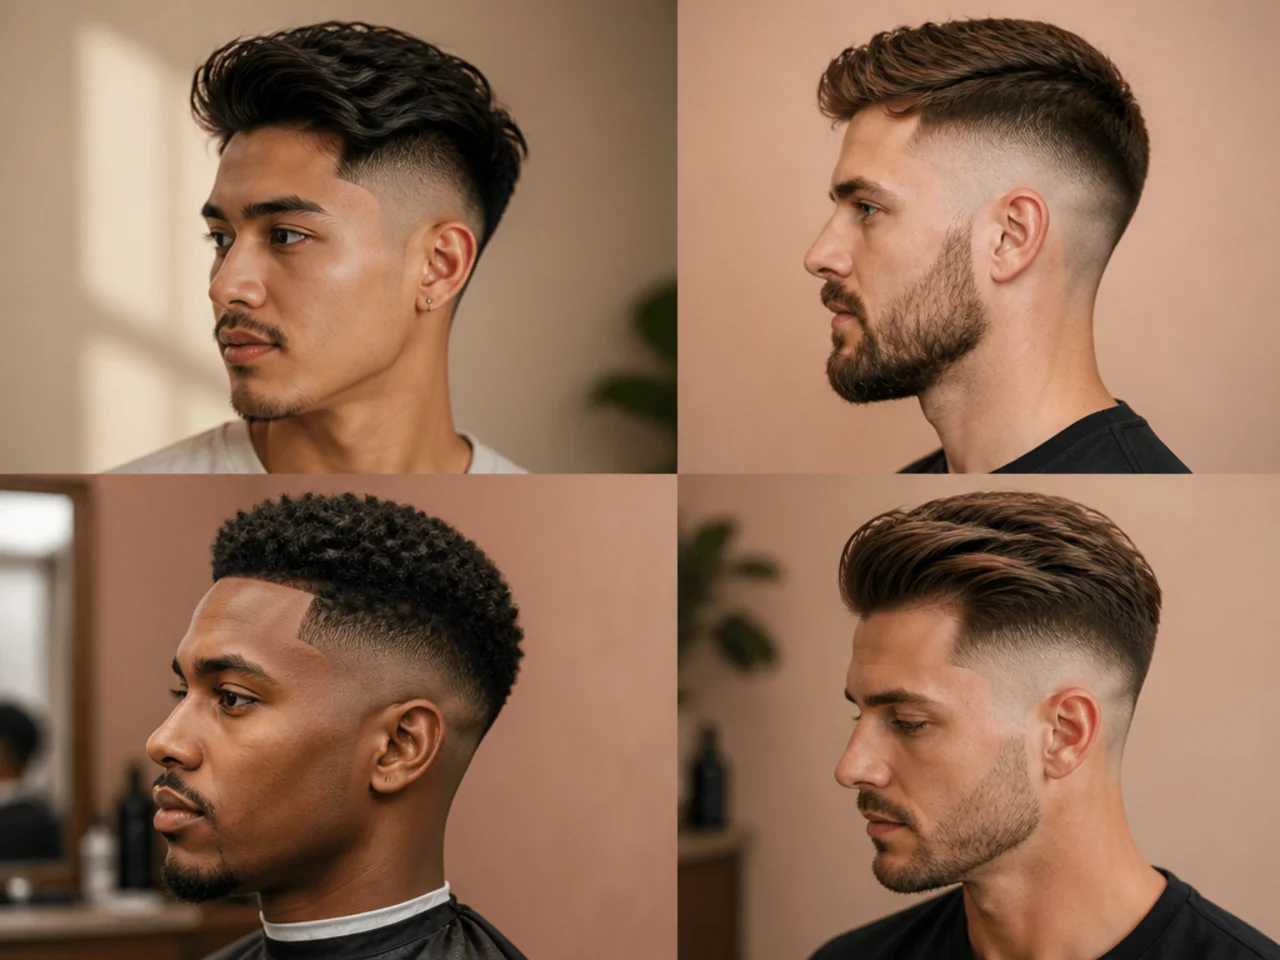
On a high fade every hair you have left sits above the widest point of your skull. There is no side weight to borrow from, so all fifteen of these are decisions about mass, height and the edge of the top section.
In this article · 22
- The Three Variables You Have Left
- How to Choose Yours
- The 15 Ways to Style a High Fade
- 1. Spread the Mass Outward at the Temples
- 2. Build Height at the Front Only
- 3. Keep the Whole Top Flat
- 4. Push Everything Straight Back
- 5. Break the Top Edge Deliberately
- 6. Keep the Top Edge Hard
- 7. Send the Front Forward Over the Brow
- 8. Concentrate the Mass Along the Centre
- 9. Split the Top and Let It Fall
- 10. Lift at the Root, Leave the Ends
- 11. Dry It Forward, Then Push It Back
- 12. Sweep It Diagonally
- 13. Wet Finish for Maximum Contrast
- 14. Matte Finish to Soften It
- 15. Nothing at All, Day Three
- Styling and Upkeep
- Mistakes to Avoid
- FAQ
- Final Thoughts
Every styling technique that borrows weight from the sides of your head stops working on a high fade.
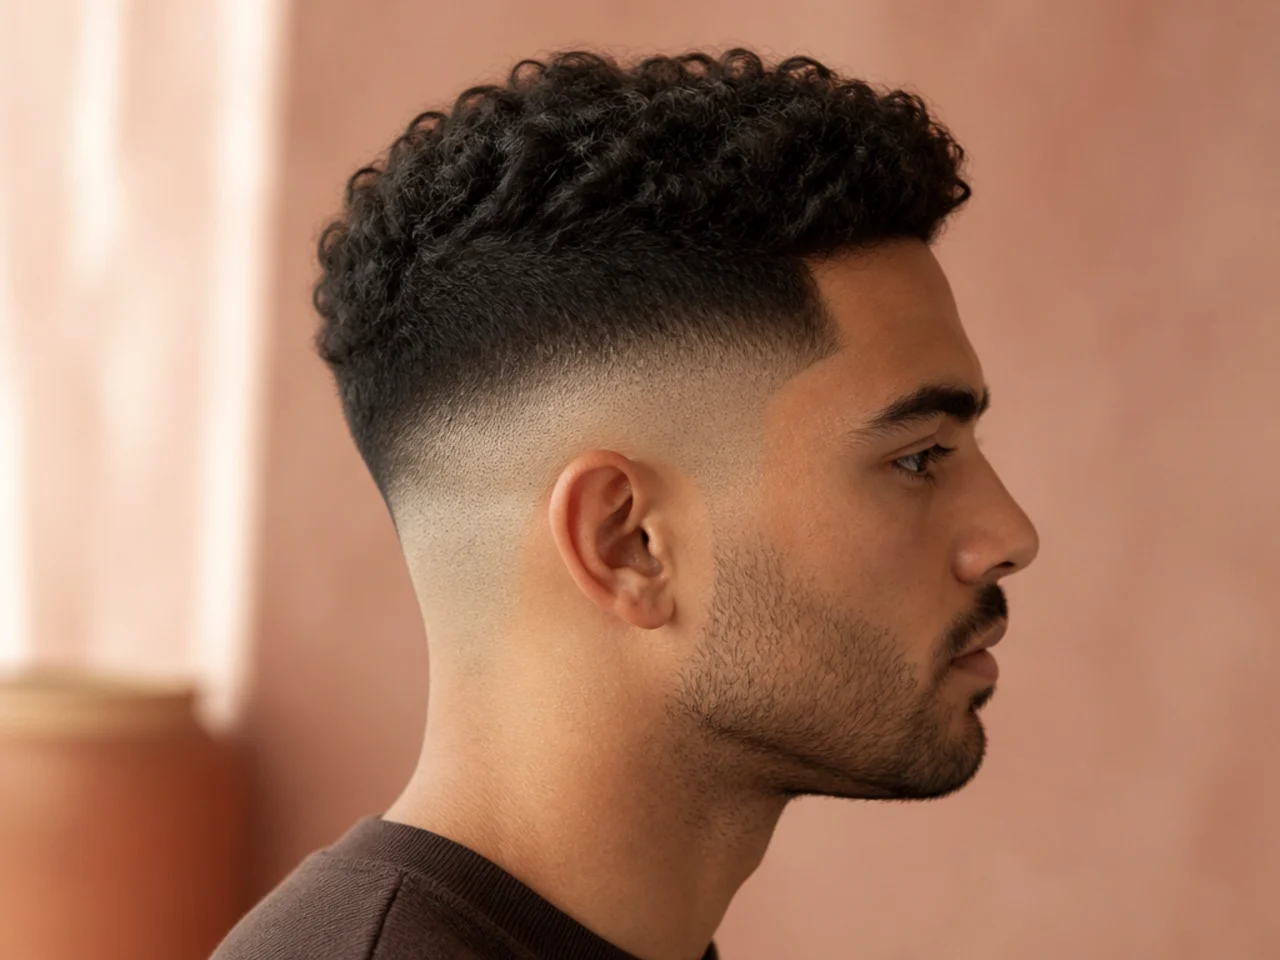
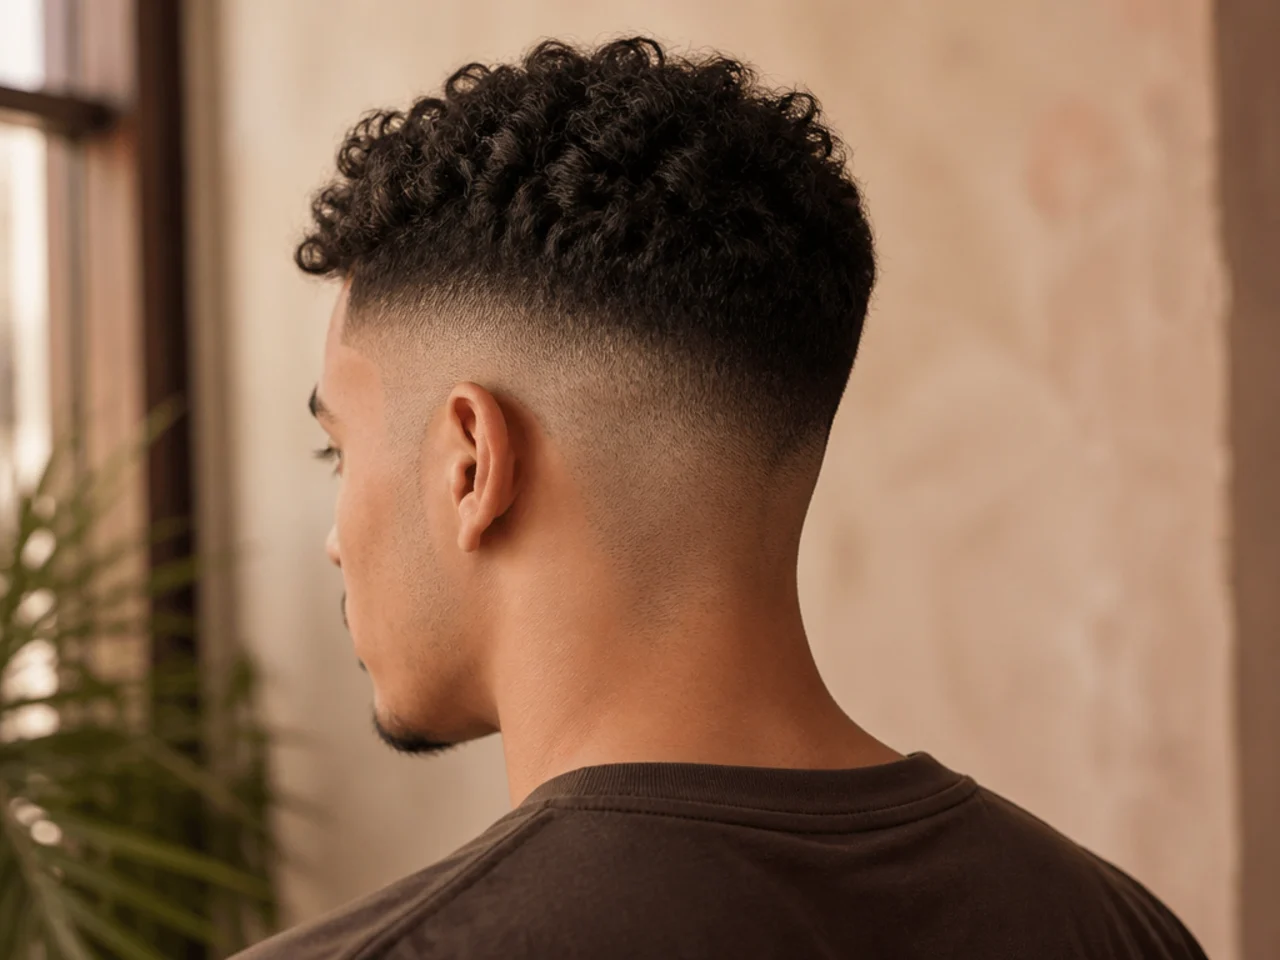
The fade starts at or above the parietal ridge. Which is the widest point of the skull, so nothing below it has any length left.
All the remaining hair sits on the narrowest part of your head. Mass, height and the edge of that top section are the only three variables you have.
The Three Variables You Have Left
Mass. How much hair is up there and how spread out it sits.
Height. How far above the ridge the shape rises.
Edge. Where the top section stops — hard, broken or blended.
And nothing else. The sides contribute no shape at all once a high fade has been cut.
How to Choose Yours
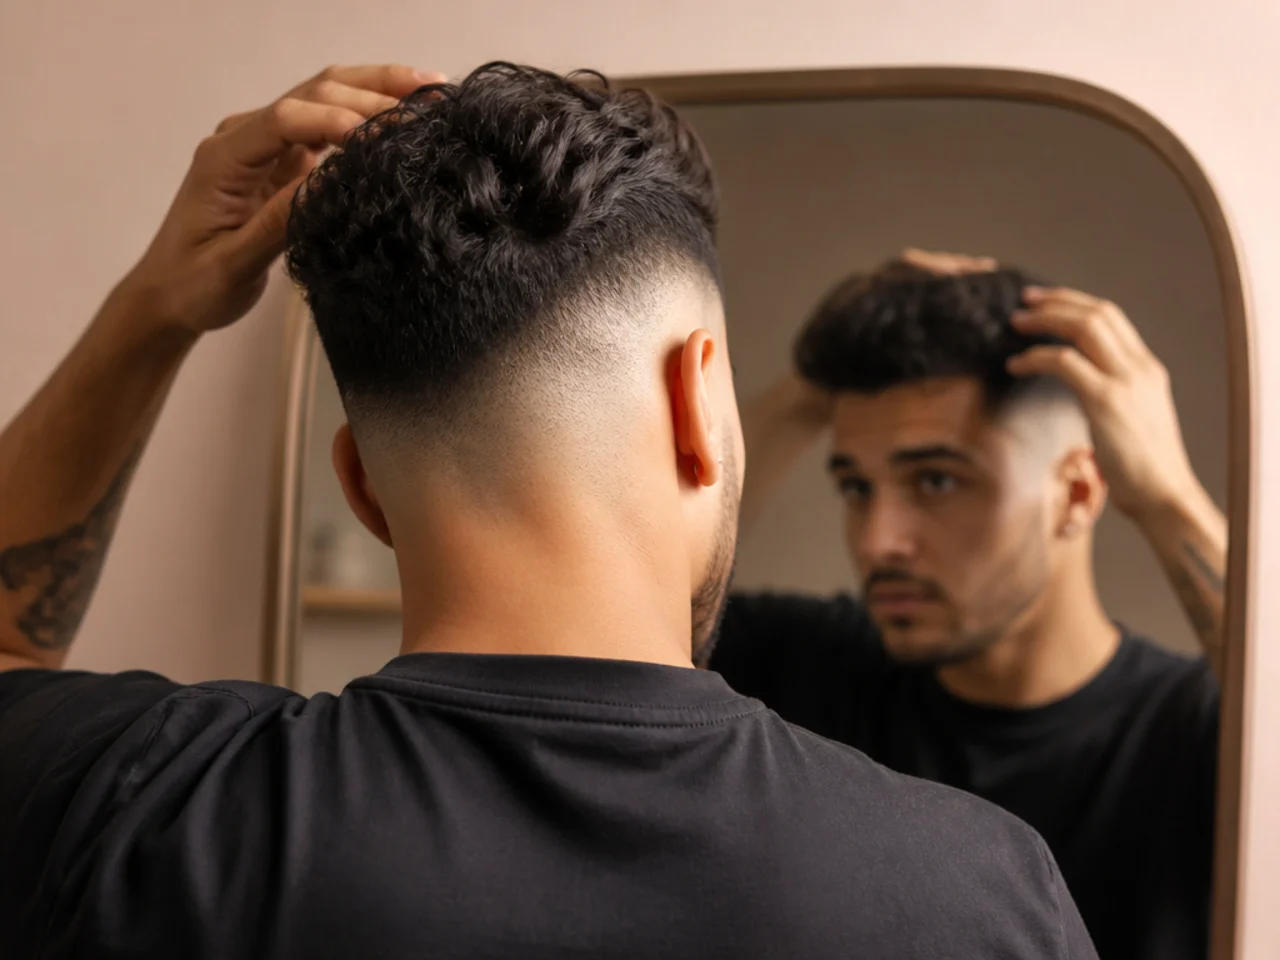
Decide whether you want narrower or fuller. A high fade has already narrowed the head, so this is the first real choice.
Match the hold to the job. A shape carried entirely by the top needs a firmer product than one supported by side weight.
Keep everything off the faded panel. It holds nothing and it shines.
Style it dry, then check it from the front. The side view flatters a high fade and the front view is where narrowness shows.
The 15 Ways to Style a High Fade
1. Spread the Mass Outward at the Temples
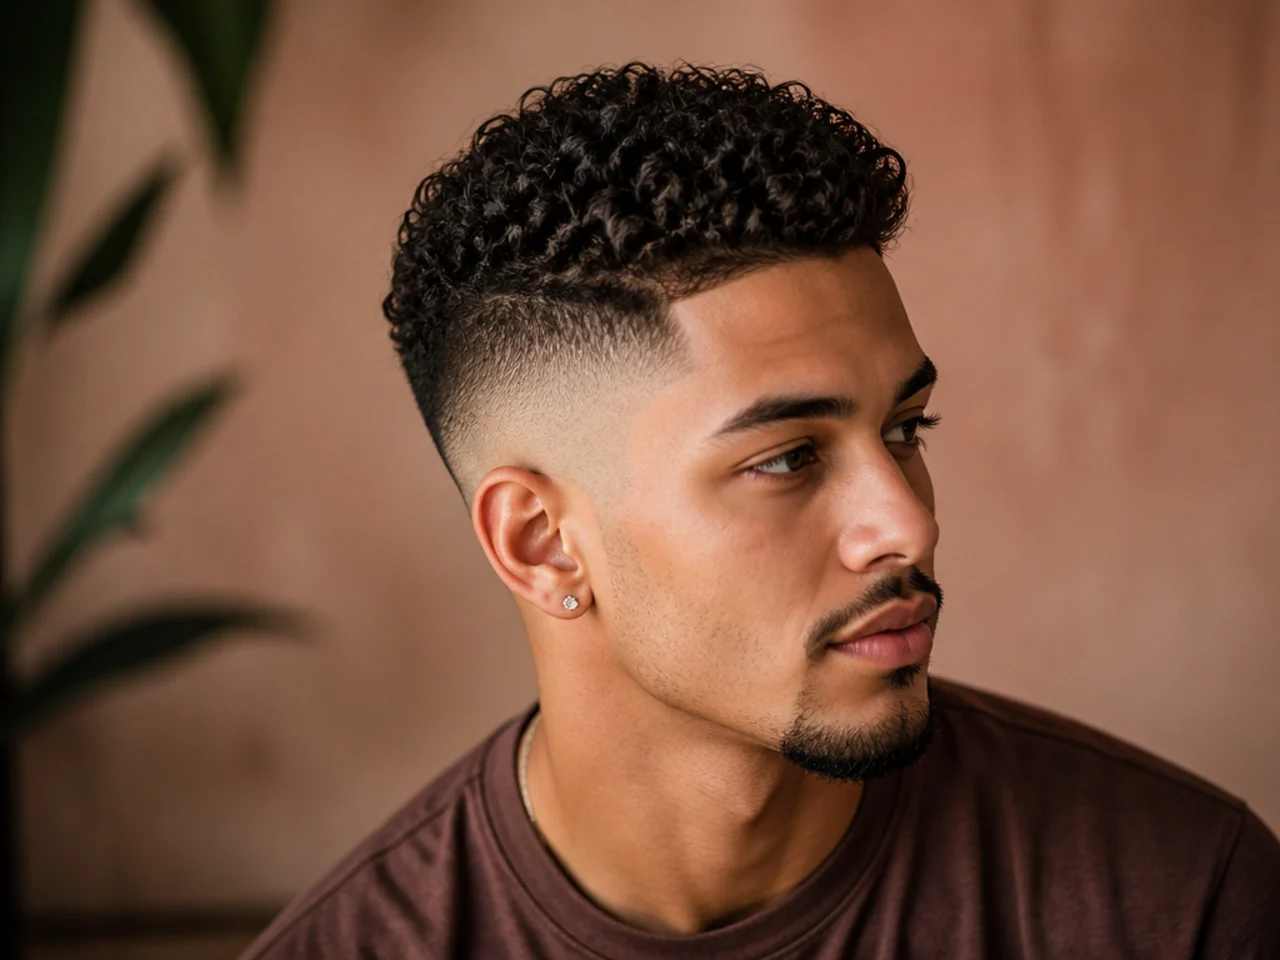
Push the top section slightly wide rather than up. It is the only way to add width back to a head a high fade has narrowed, and it costs nothing but direction. Use a flat brush rather than fingers, because fingers pull upward by instinct.
2. Build Height at the Front Only
Volume at the hairline with the crown left flat, a quiff in everything but name. It lengthens the face further, which suits a round face and works against a long one. Dry the front section against its growth direction to build the lift at the root.
3. Keep the Whole Top Flat
No lift anywhere. It emphasises the narrowness of the head, which is a legitimate look but rarely an accident worth having. It also needs the least product of any option here, which is its real argument.
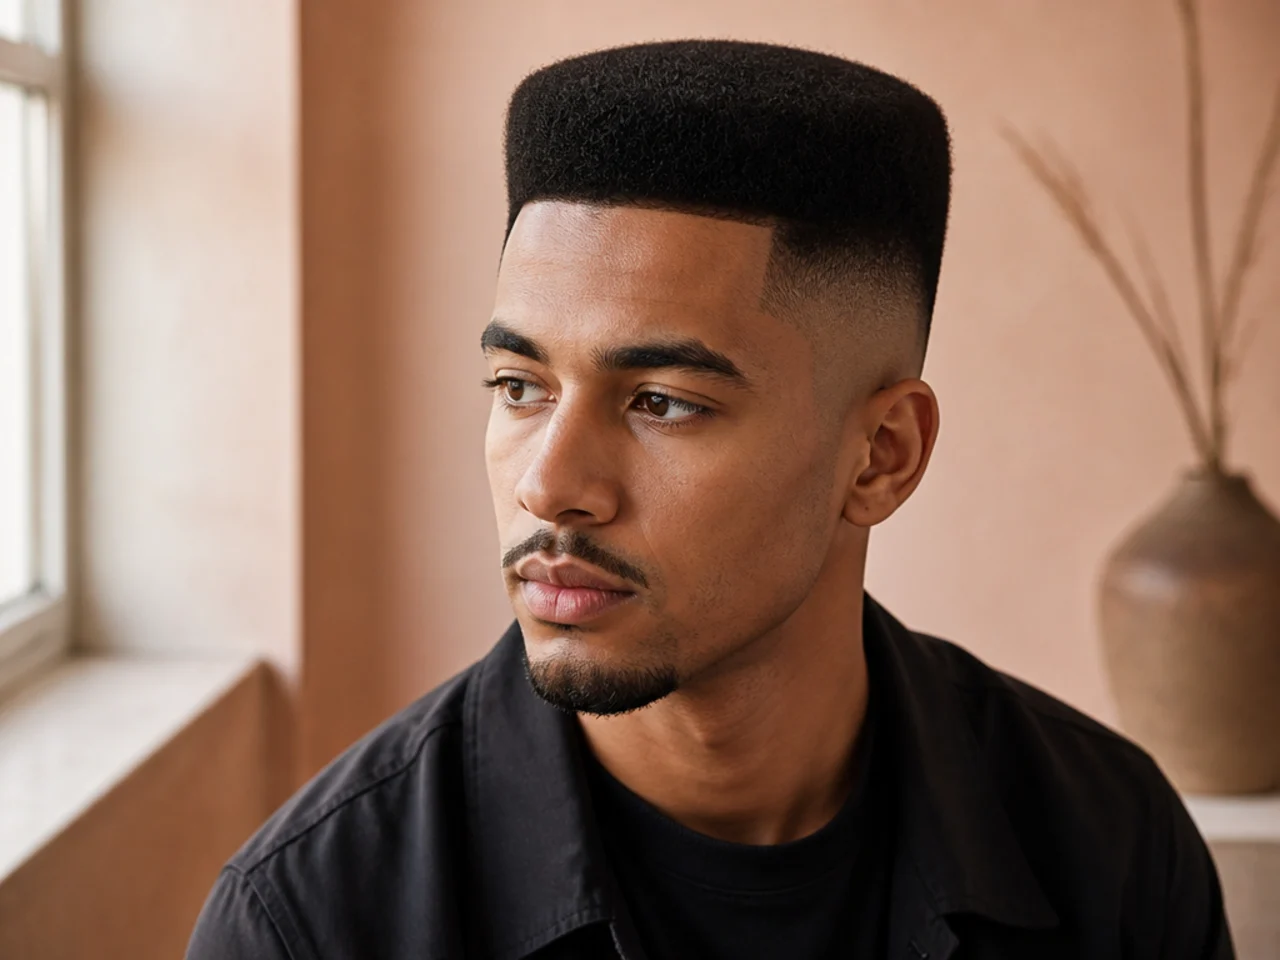
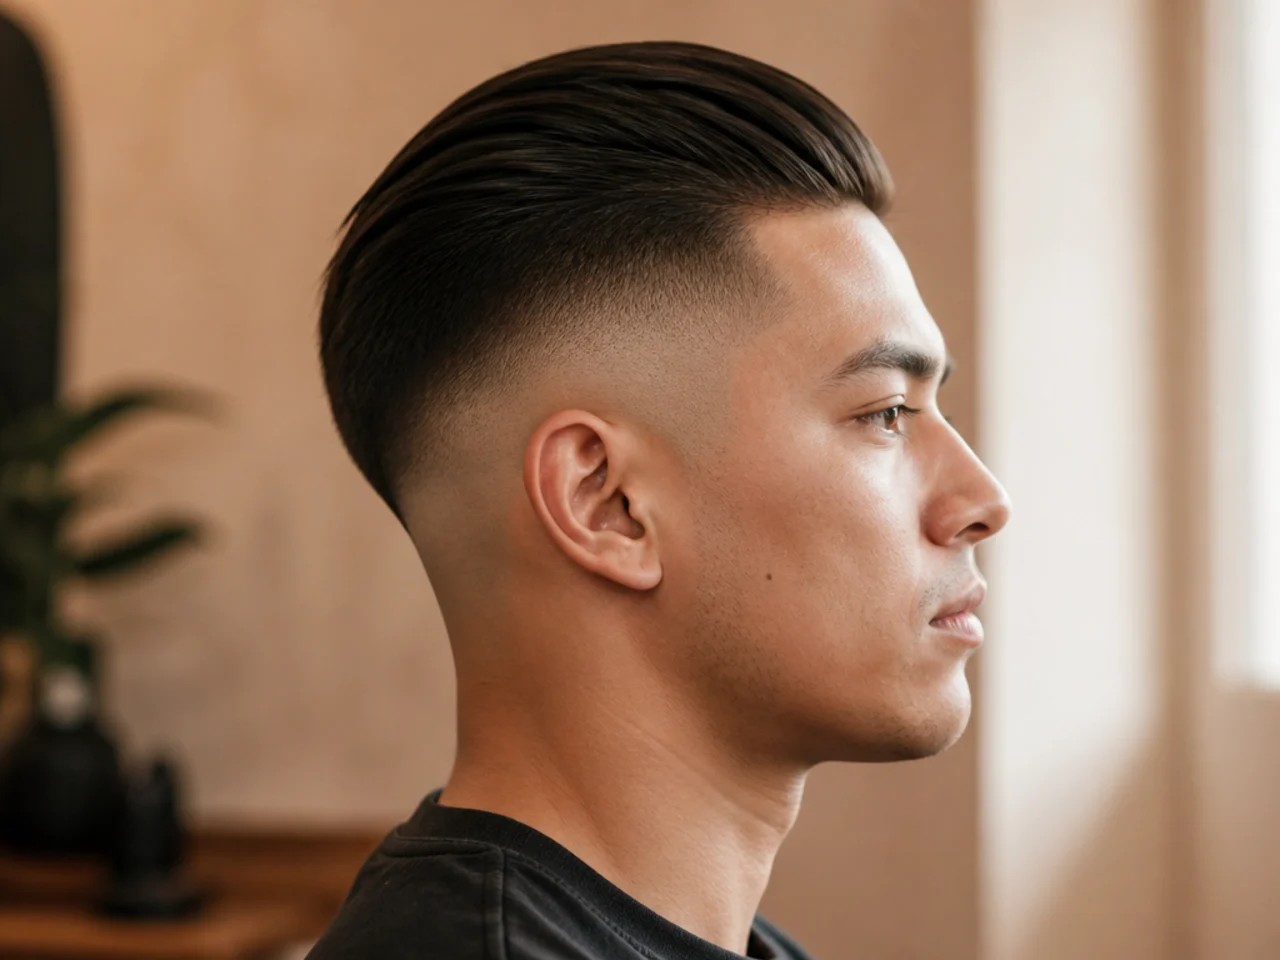
4. Push Everything Straight Back
The full slick back treatment. It exposes every millimetre of the blend, which makes this the version that requires the freshest cut. Past about day ten the softened blend shows and the whole look loses its point.
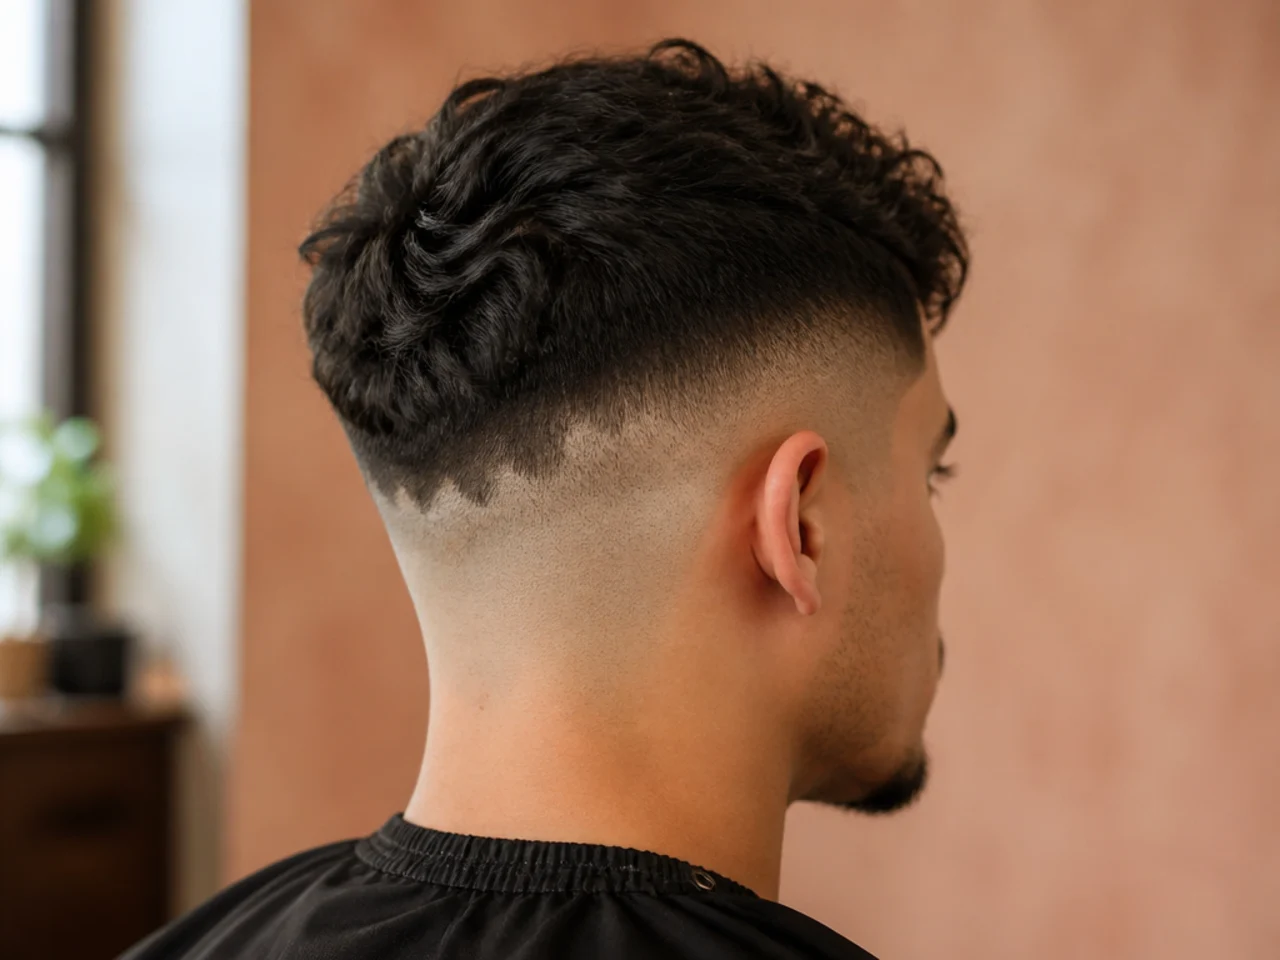
5. Break the Top Edge Deliberately
Fingers pulled through the ends so the outline is irregular. A broken edge above a hard fade line gives the eye two different qualities to compare. It is also the cheapest way to make a grown-out high fade look intentional again.
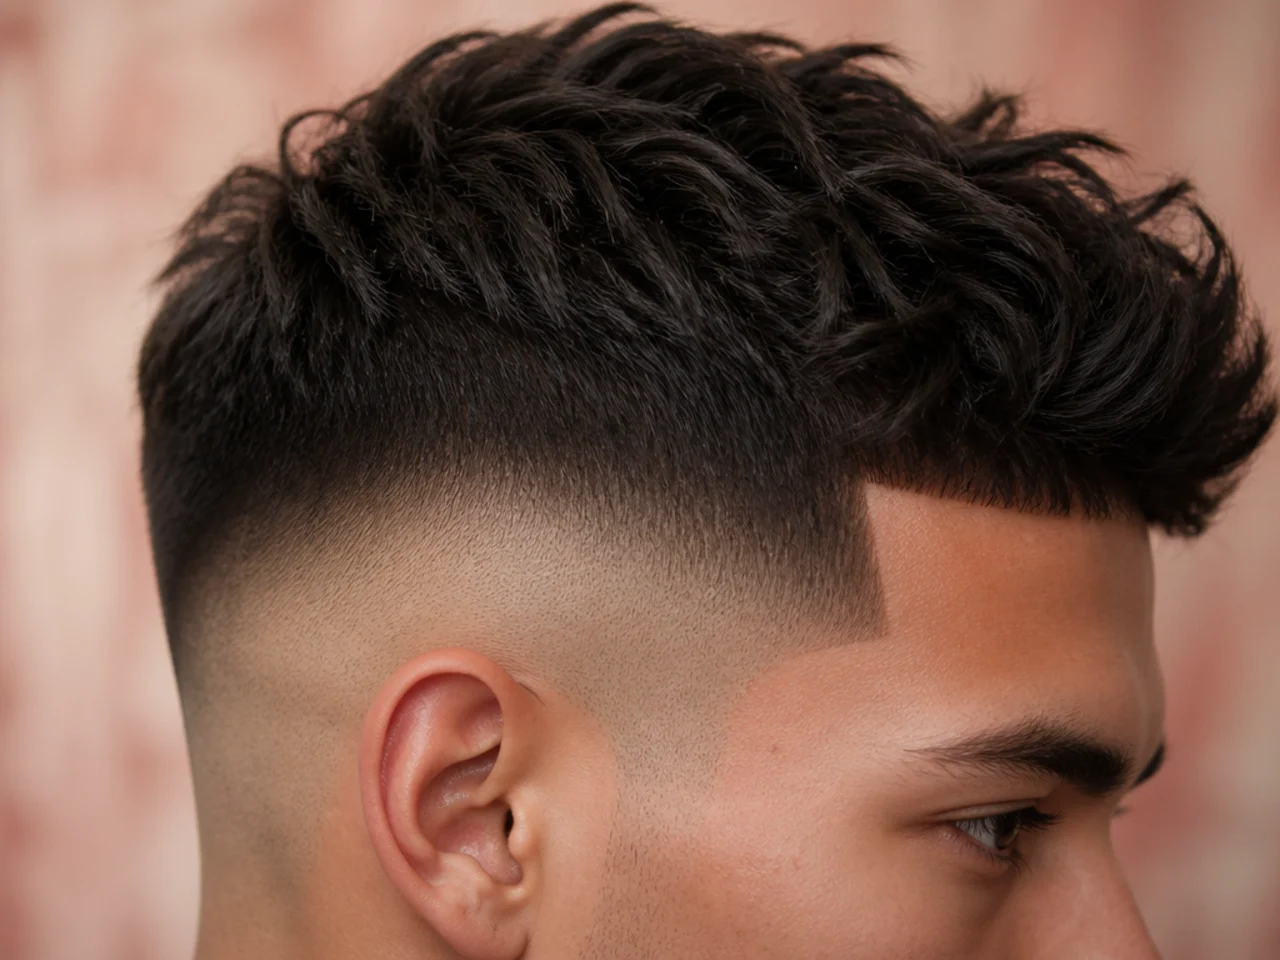
6. Keep the Top Edge Hard
The opposite decision, with the outline kept sharp. It reads as one deliberate block sitting above the fade rather than as hair.
7. Send the Front Forward Over the Brow
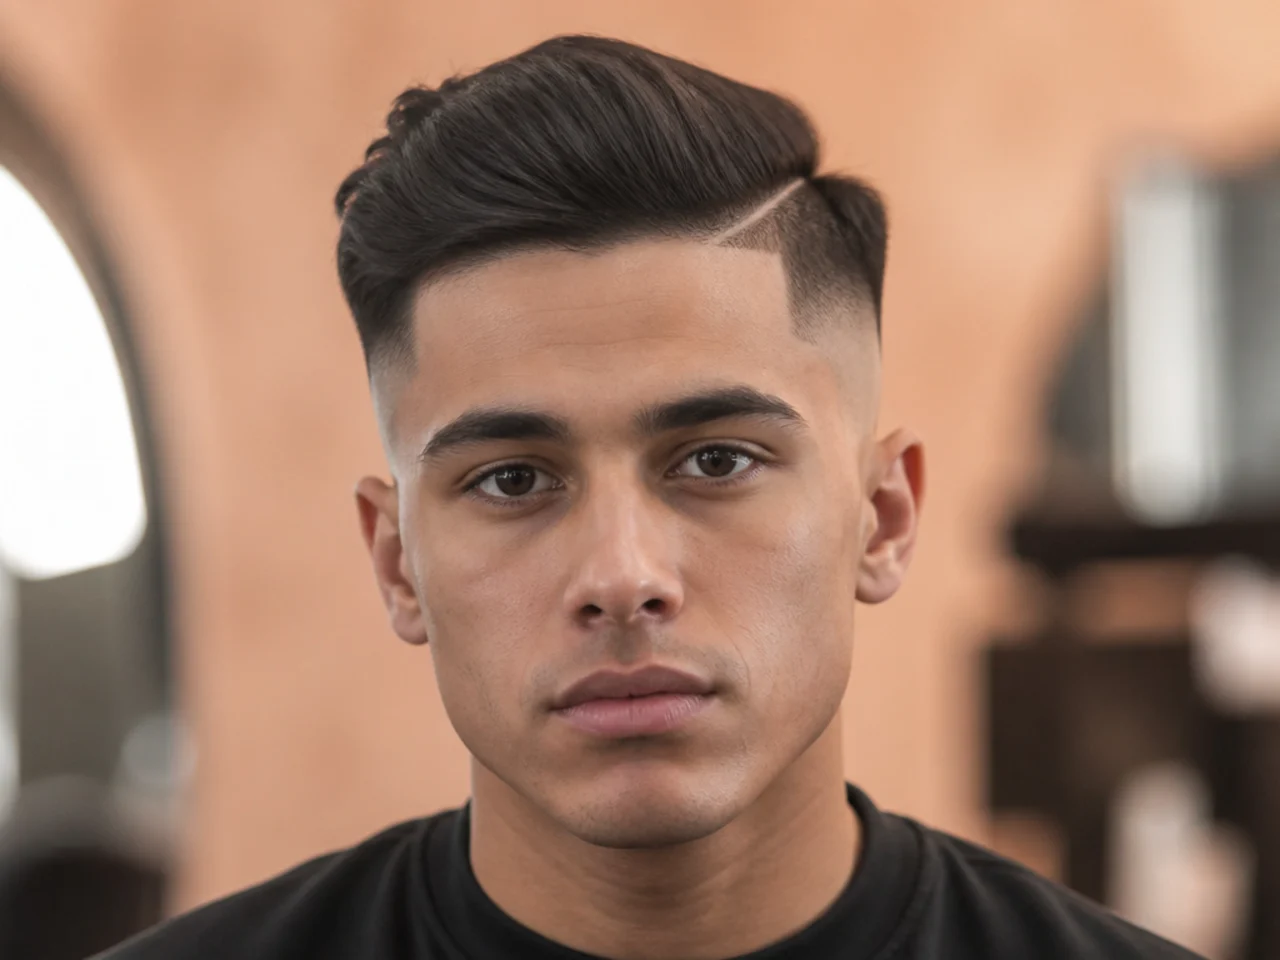
A fringe covering part of the forehead, cut irregularly as in most textured fringes for men. It shortens the face, which directly counters the lengthening the fade has already done. That makes it the standard fix for men who went higher than their face wanted.
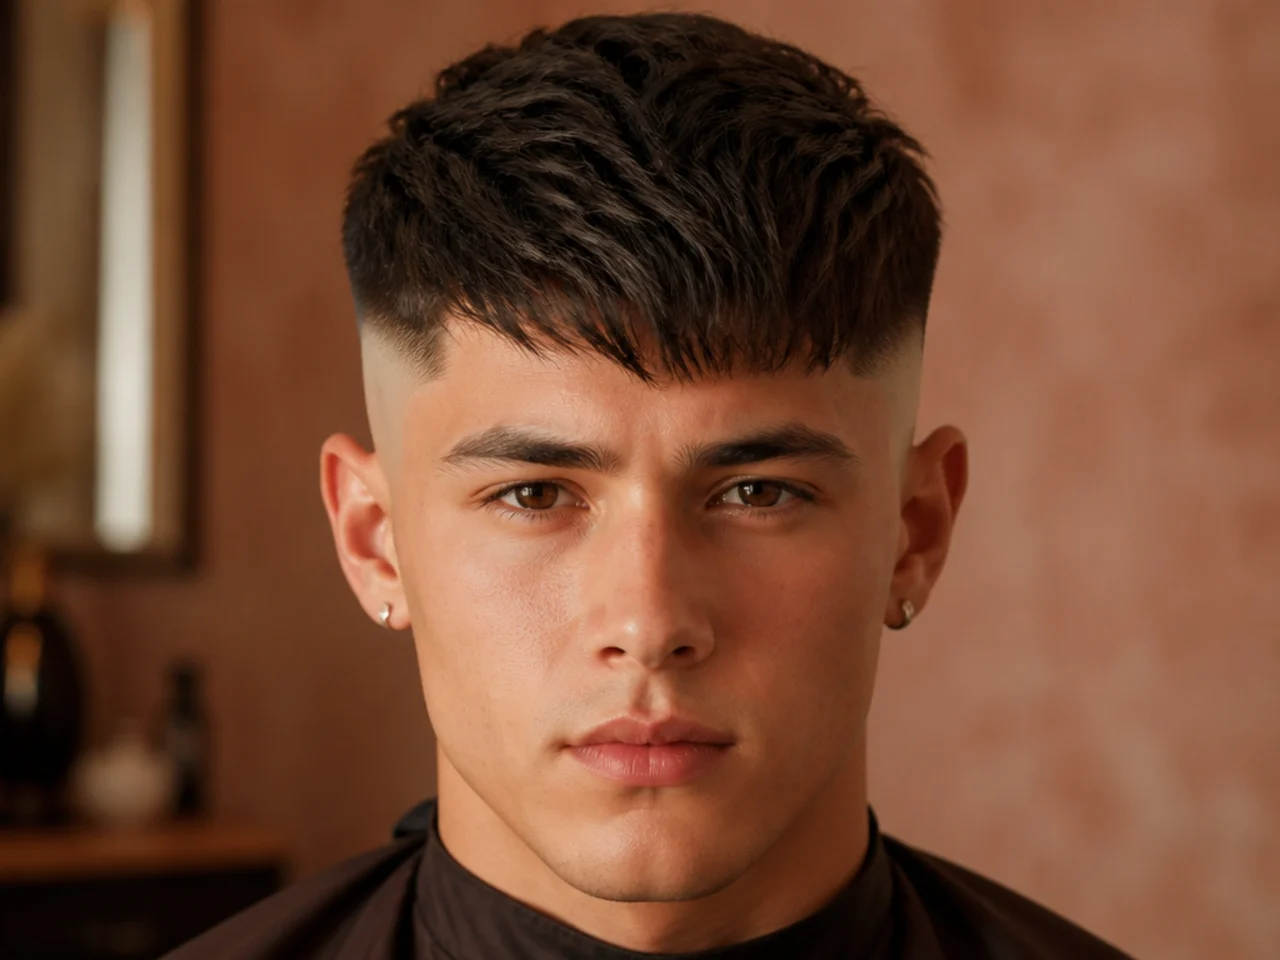
8. Concentrate the Mass Along the Centre
Everything gathered into a strip down the middle. It narrows the head further and adds height, so it is the most extreme direction available. Only worth it if the crown has the density to fill a narrow strip convincingly.
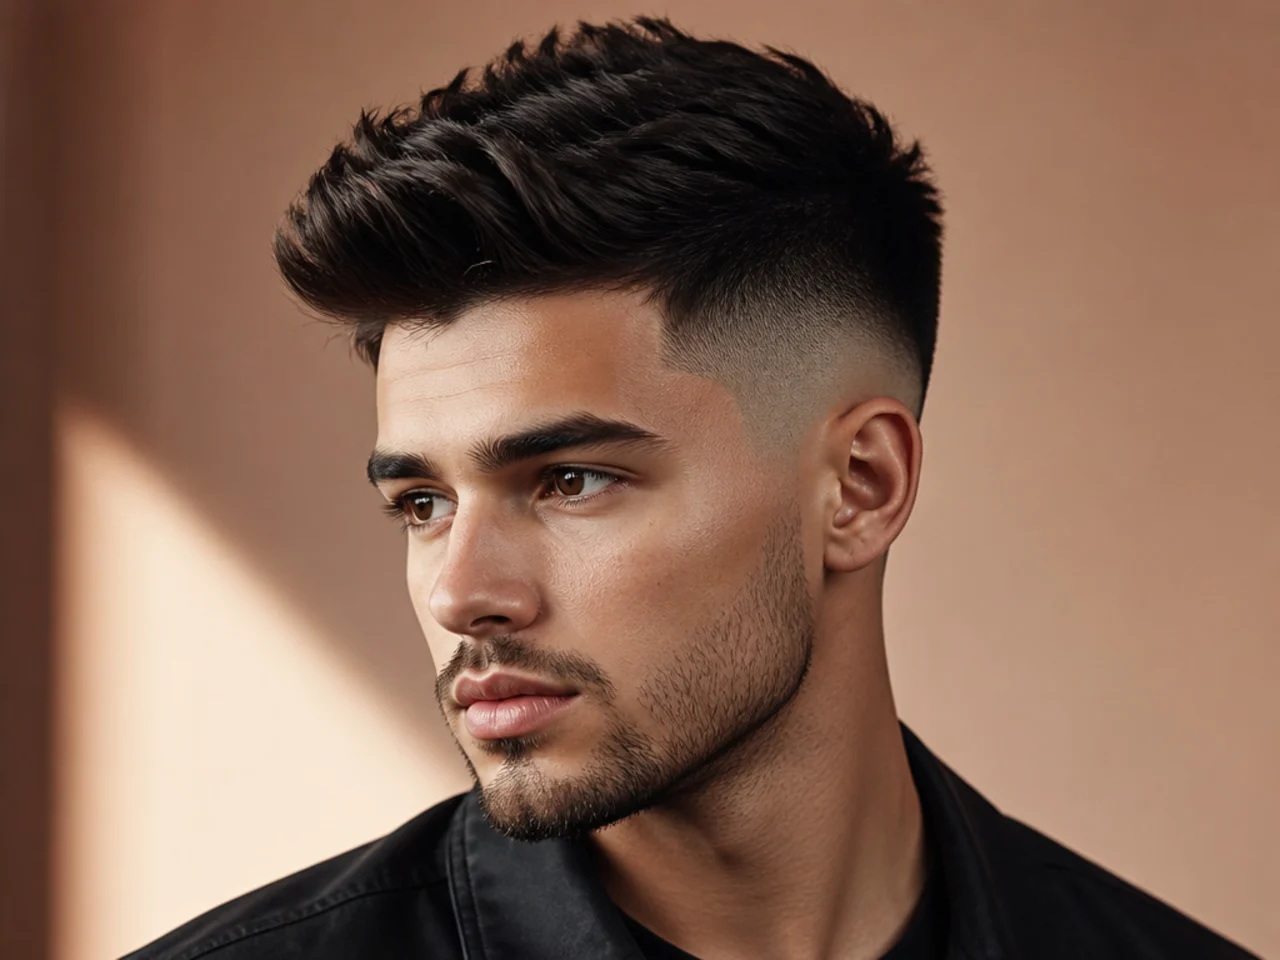
9. Split the Top and Let It Fall
A centre part with both halves left loose. It drops height and pushes mass toward the temples, which is the widening move made passively. It works best on hair long enough to fall rather than stand once parted.
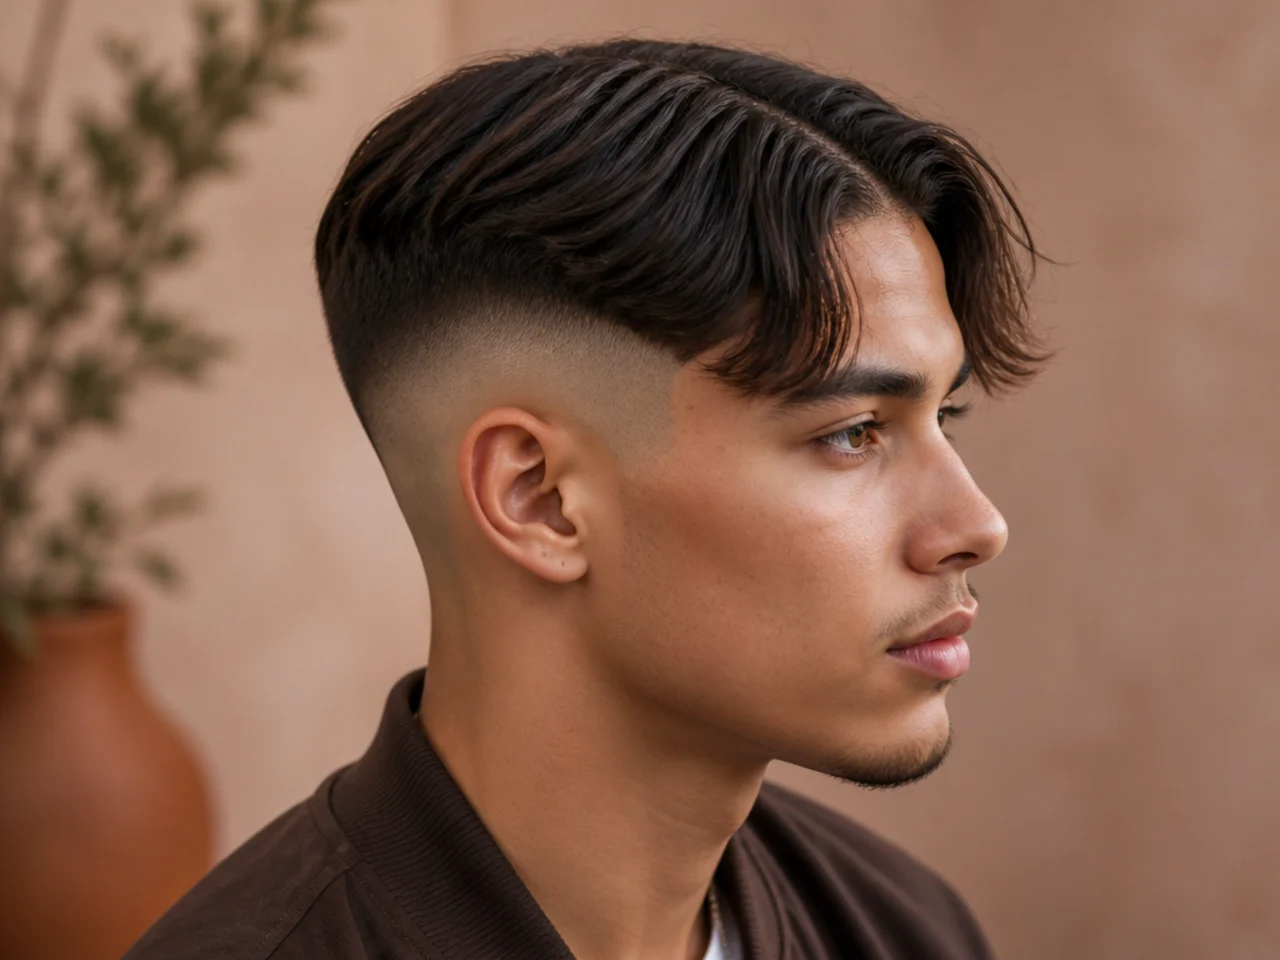
10. Lift at the Root, Leave the Ends
Volume built at the base of the section only. The shape rises straight off the fade line, which is the cleanest way to gain height without bulk. Apply product at the roots and leave the last two centimetres of the ends untouched.
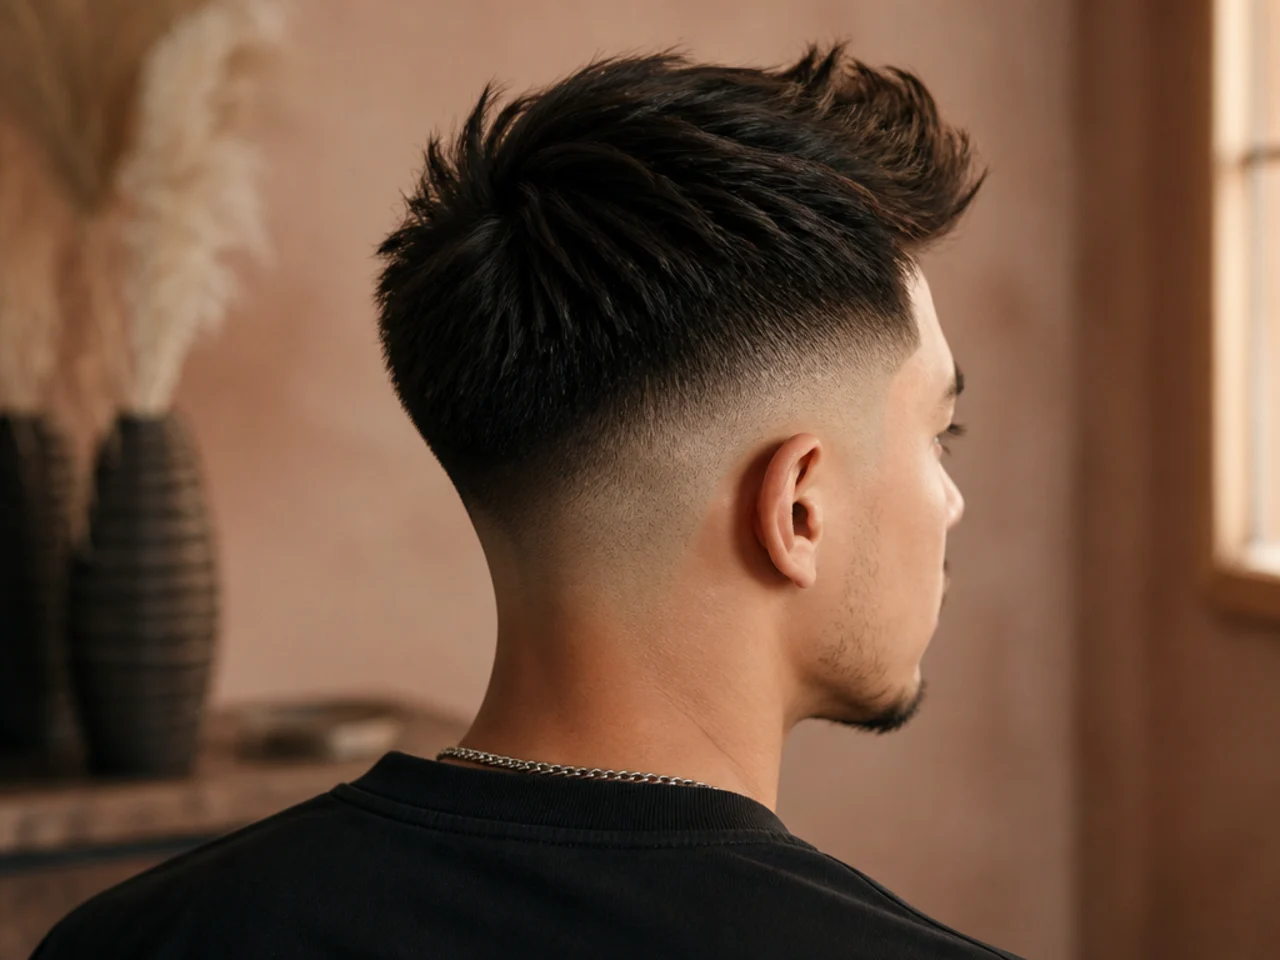
11. Dry It Forward, Then Push It Back
Setting the direction against the finish. Drying forward builds root volume, and pushing back afterwards keeps that volume while changing the direction.
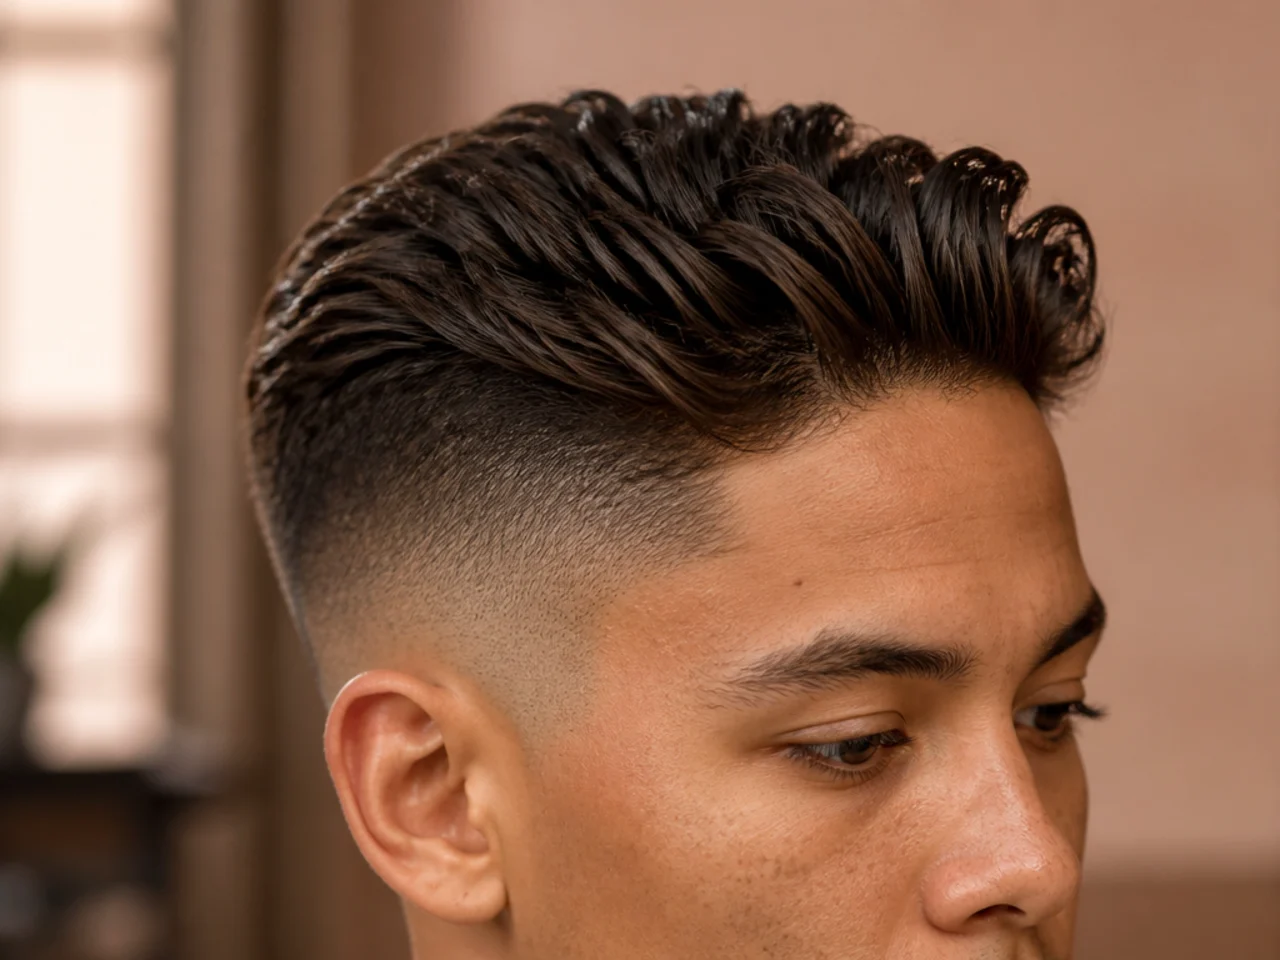
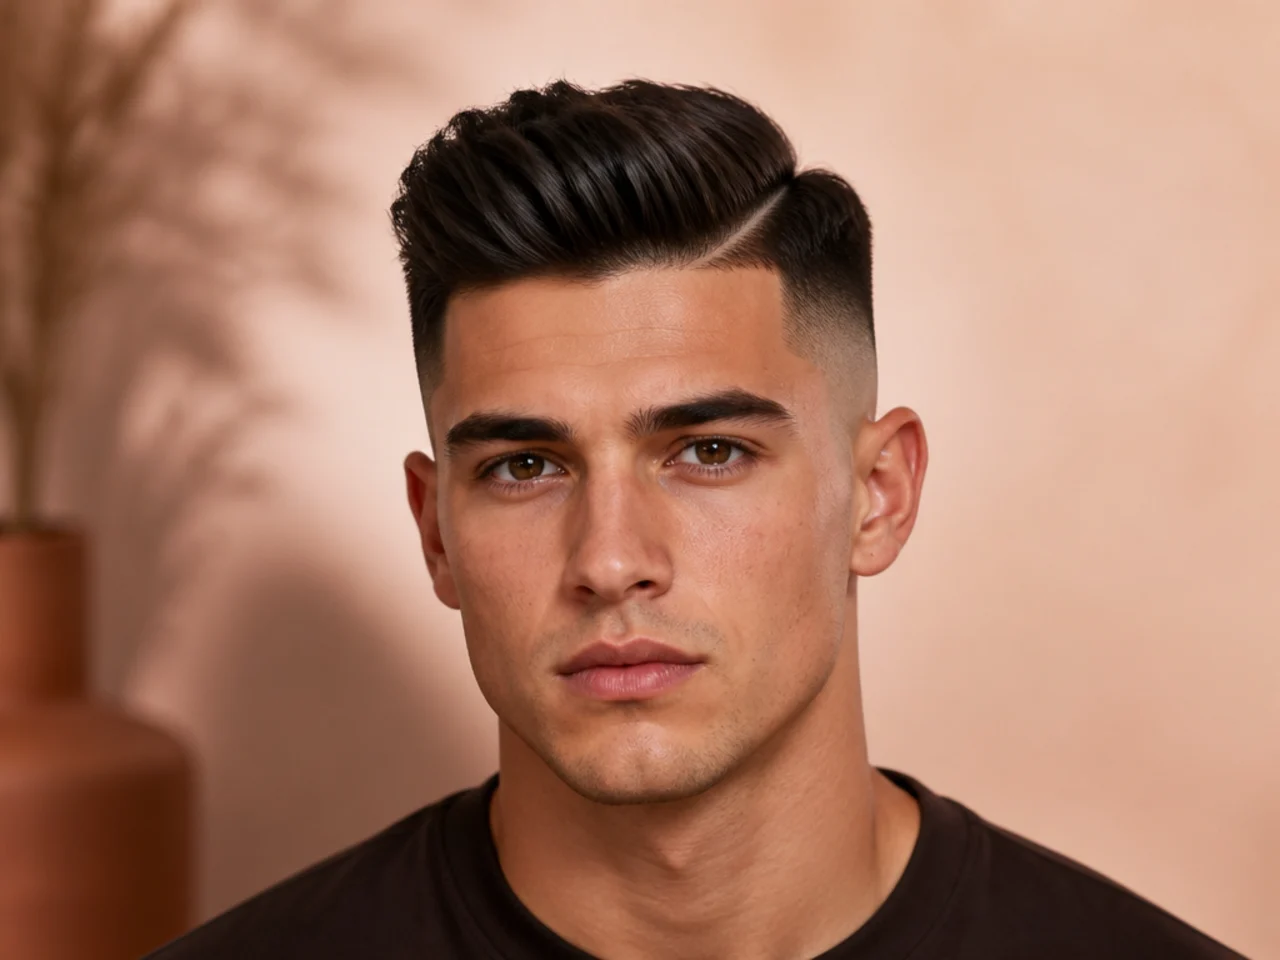
12. Sweep It Diagonally
The top taken across at an angle rather than straight over. A diagonal is the only line on the head that is neither the fade's horizontal nor the face's vertical.
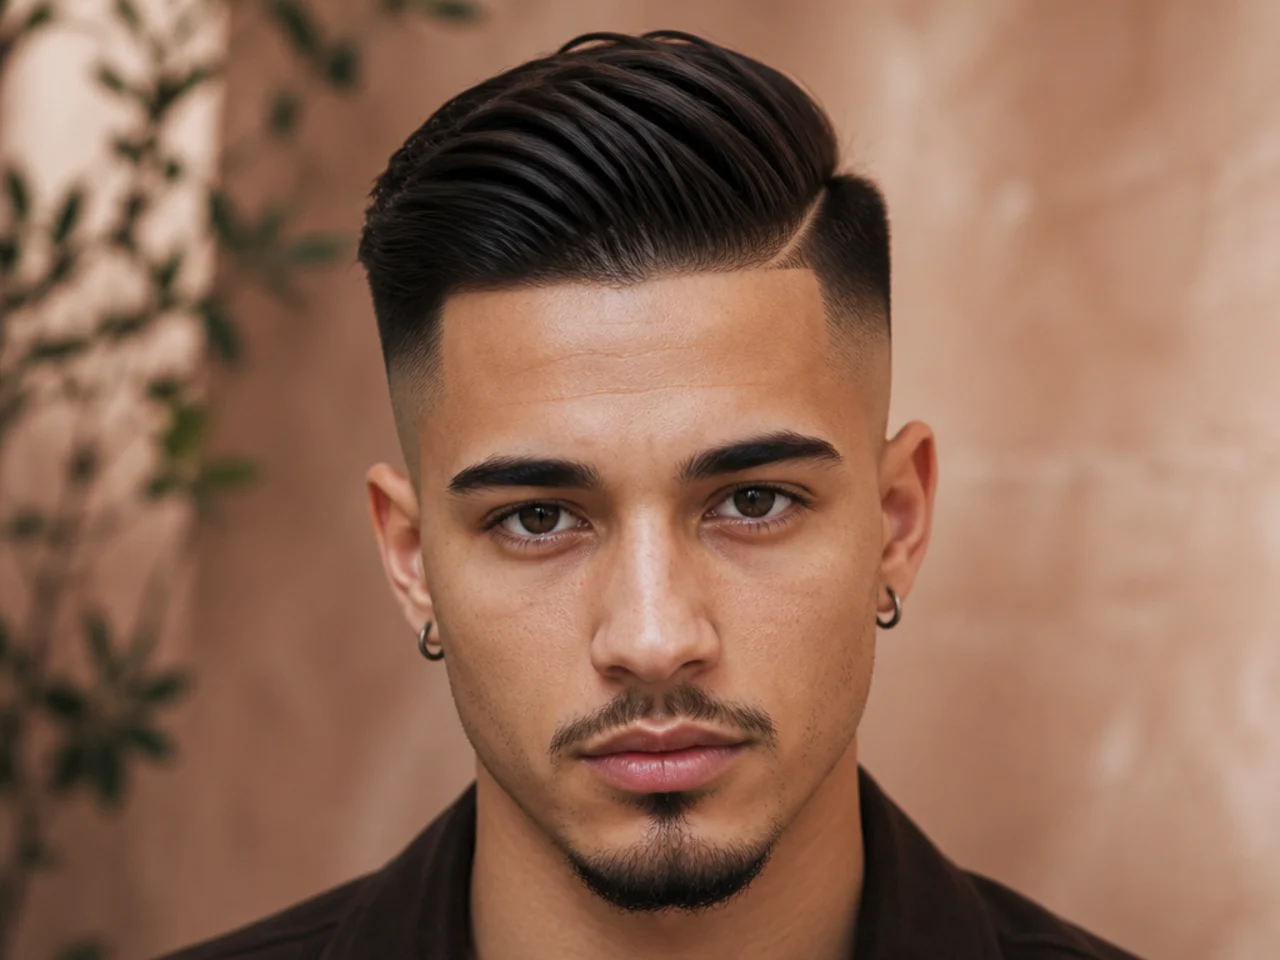
13. Wet Finish for Maximum Contrast
High-shine product on top over a matte faded panel. The reflection difference exaggerates the boundary, which is already the strongest one on any fade.
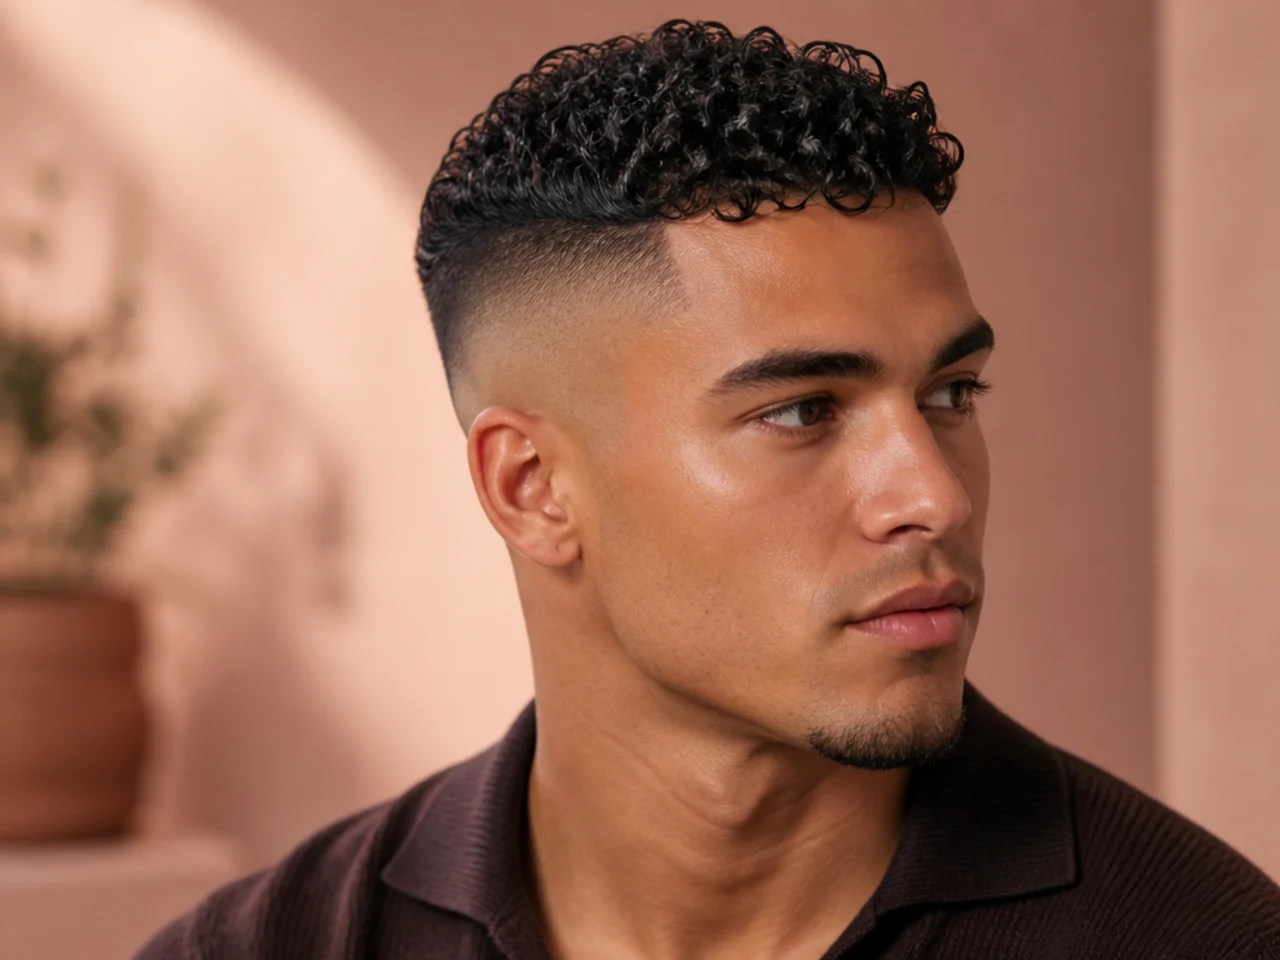
14. Matte Finish to Soften It
Clay with no shine at all. It reduces the difference between top and panel, which is the only way to make a high fade look less severe without recutting it.
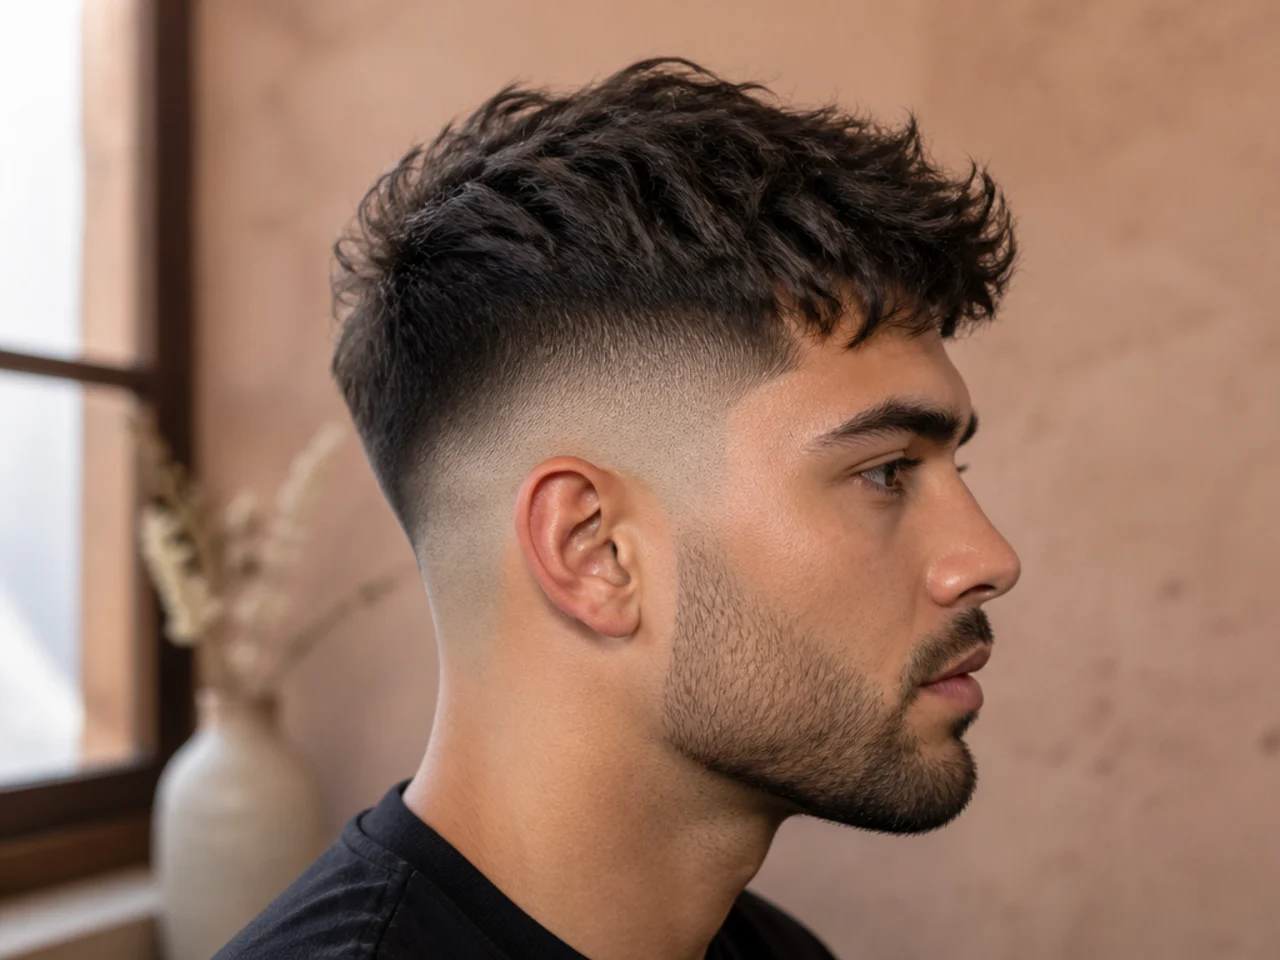
15. Nothing at All, Day Three
No product, hair where it falls. It is the honest test of whether you have enough density on top to carry a high fade at all.
Styling and Upkeep
Use a firmer hold than you would at any other fade height. The top is carrying the whole shape unassisted.
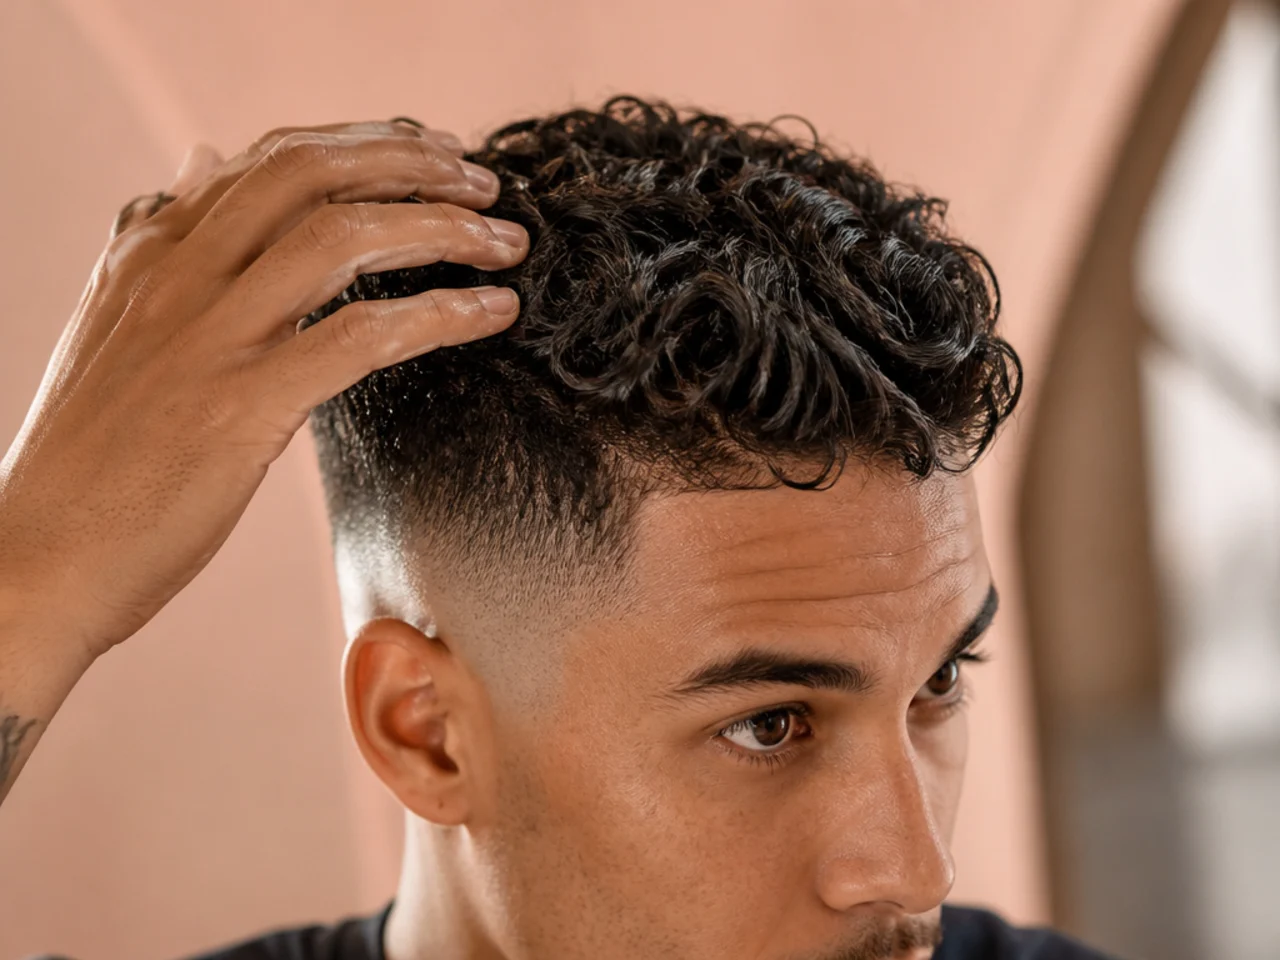
Keep every product off the faded panel. Nothing there is long enough to hold it and skin shines.
Moisturise the sides daily. More scalp is uncovered here than on any other cut, and both flaking and product residue show up on it immediately.
Check the result from the front. The profile flatters this cut and the front view tells the truth.
Rebook by finish. No product replaces the contrast the bare panel gives you, and that panel is at full strength for one to two weeks on a skin finish and three to four on a high taper.
Mistakes to Avoid
Trying to borrow weight from the sides. There is none left above the ear.
Flattening the top by habit. It narrows a head that the fade has already narrowed.
Using a light-hold cream. The top is unsupported and it will drop by lunchtime.
Working product into the faded panel. It cannot hold and it shines.
Judging the shape in profile. The narrowness only shows from the front.
FAQ
Why is a high fade harder to style? There is no side weight left to build a shape from.
How do I stop it looking narrow? Spread the mass outward at the temples rather than up at the front.
Does it need more product? More on top and none on the sides.
Final Thoughts
A high fade hands you one section of hair and takes away every other tool. Decide first whether you want the head to read narrower or fuller, because that single answer determines whether the mass goes up or out, and every other choice on this page follows from it.
For the cut itself see the high fade haircut guide, and for the same exercise with side weight still available see 15 ways to style a taper fade. More in Fade Haircuts.