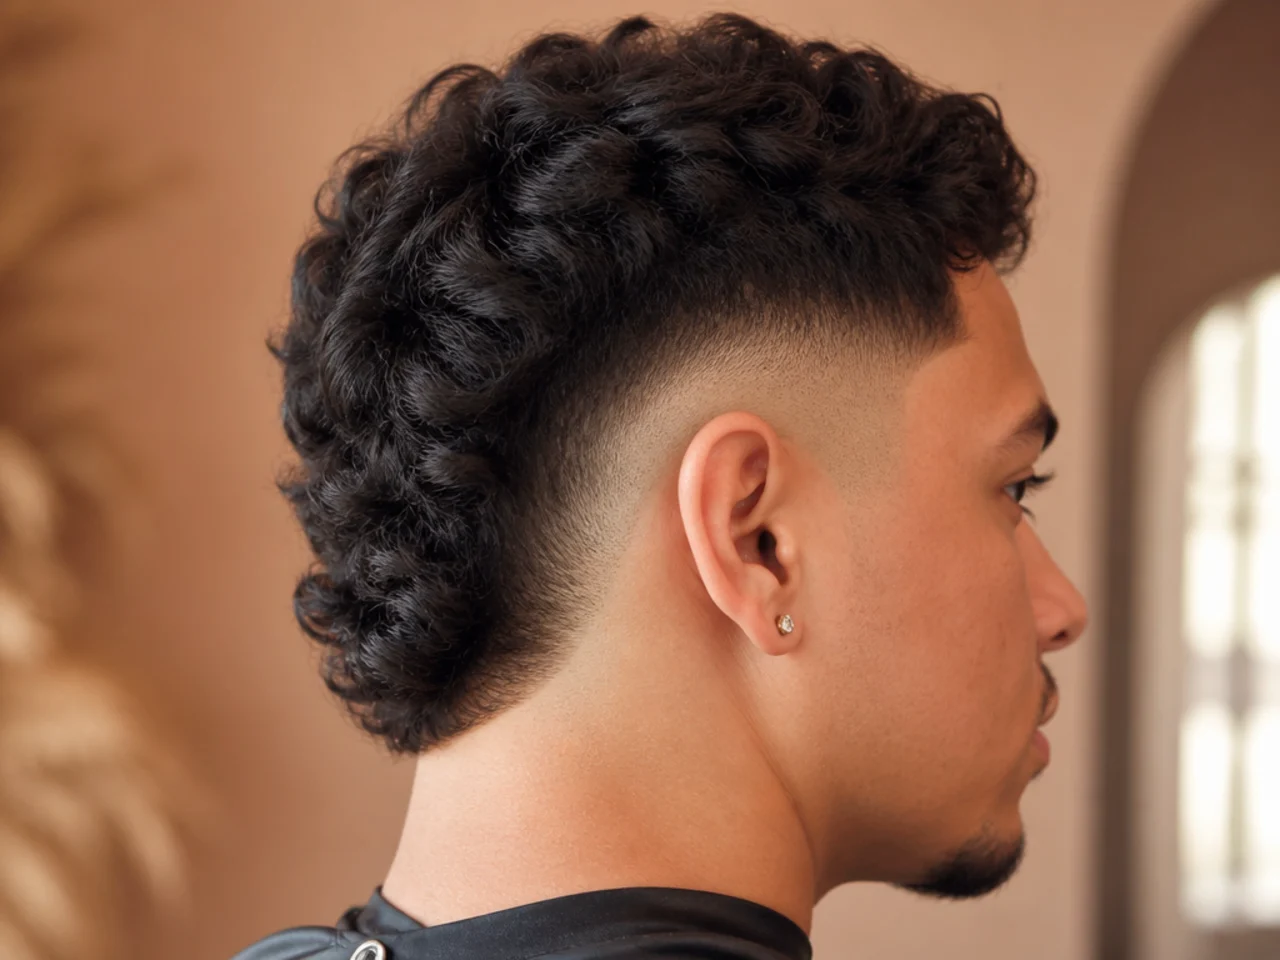
15 Ways to Style a Burst Fade Haircut
On every other fade the styling happens at the front of your head. A burst fade leaves the back long, so most of what you are actually styling is behind you where you cannot see it.
In this article · 22
- What You Are Actually Styling
- How to Choose Yours
- The 15 Ways to Style a Burst Fade
- 1. Push the Nape Back, Not Down
- 2. Let the Back Sit Over the Collar
- 3. Build the Crown Ridge
- 4. Direct the Top Toward the Arc
- 5. Keep the Arc Clean and Product-Free
- 6. Blow-Dry the Nape Downward
- 7. Lift Only the Crown
- 8. Send the Fringe Forward Over a High Arc
- 9. Twist the Nape Ends
- 10. Flatten the Sides Into the Arc
- 11. Separate the Back Into Pieces
- 12. Style the Back Before the Front
- 13. Wet the Nape and Let It Dry Down
- 14. Slick the Top, Leave the Back Loose
- 15. Nothing at All, Day Three
- Styling and Upkeep
- Mistakes to Avoid
- FAQ
- Final Thoughts
Ask most men to style a fade and they reach for the front of their head, because on most fades that is all there is.
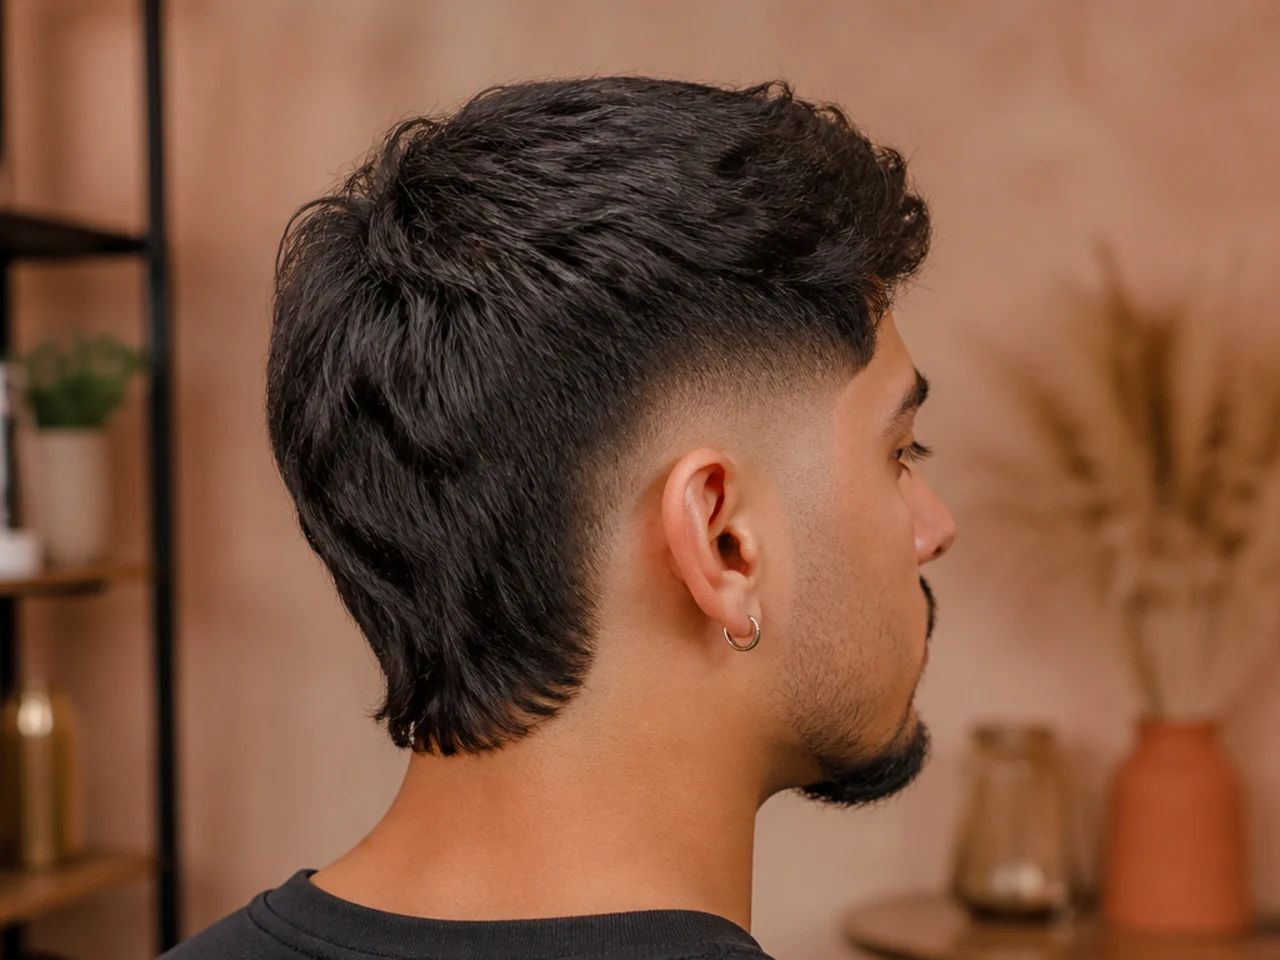
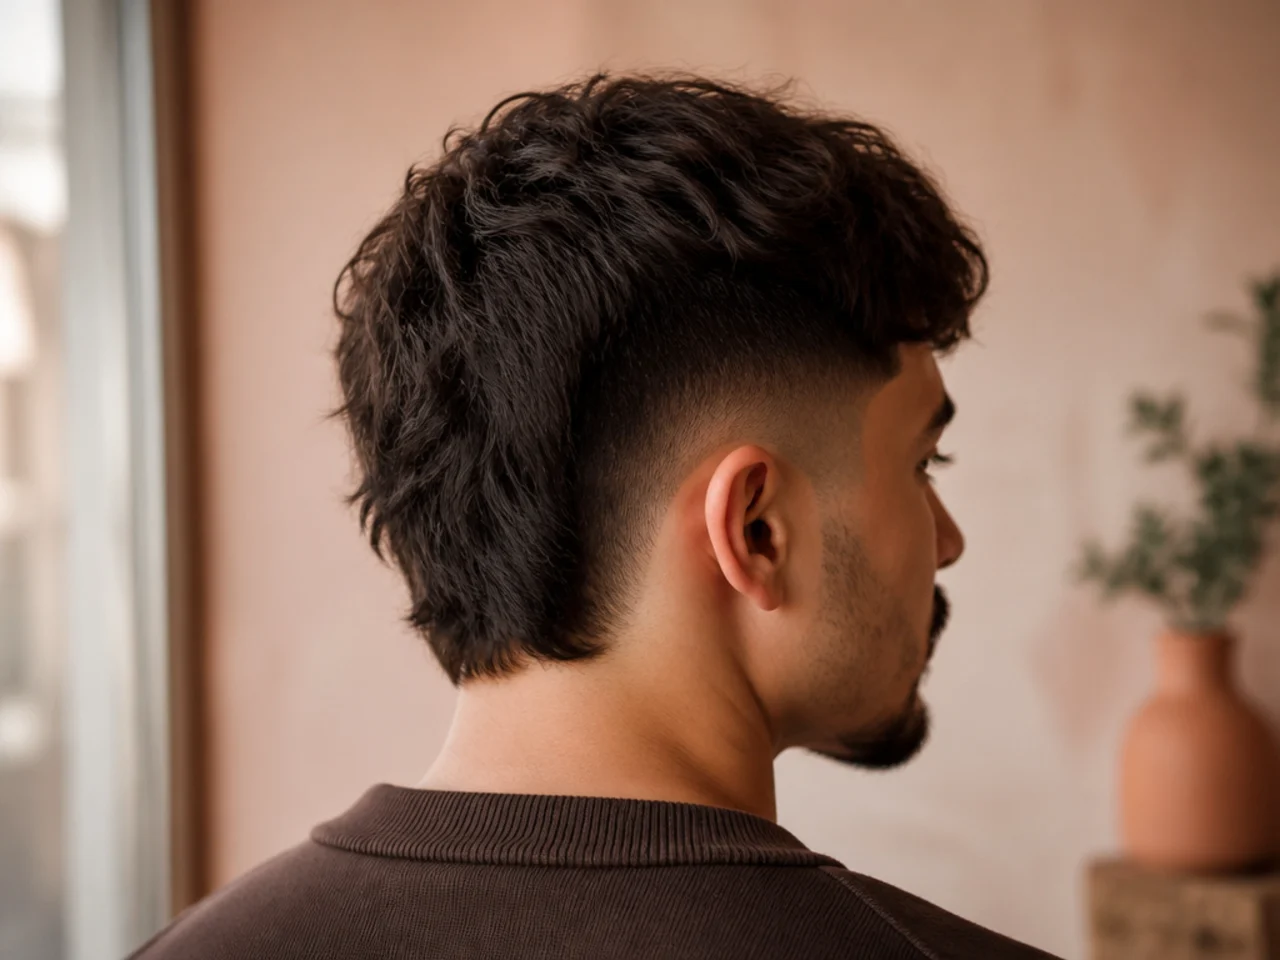
A burst fade leaves the back long. The arc opens a circle at each ear and everything behind it keeps its length.
So more than half of this haircut is behind you. The crown, the nape and the run between them, none of which the bathroom mirror shows.
What You Are Actually Styling
The arc holds nothing. Between 0 and 3mm around the ear, too short to move.
The crown is the highest point. It sits above and behind the arcs and it sets the profile.
The nape is the length nobody checks. It is also the part that distinguishes this cut from a drop fade.
Direction matters more than product. A long back can go down, out or back, and those are three different haircuts.
How to Choose Yours
Decide what the back does first. Down, out or back, and everything at the front follows from it.
Match the product to the length. A long nape needs almost nothing, and a built-up crown needs a firm matte hold.
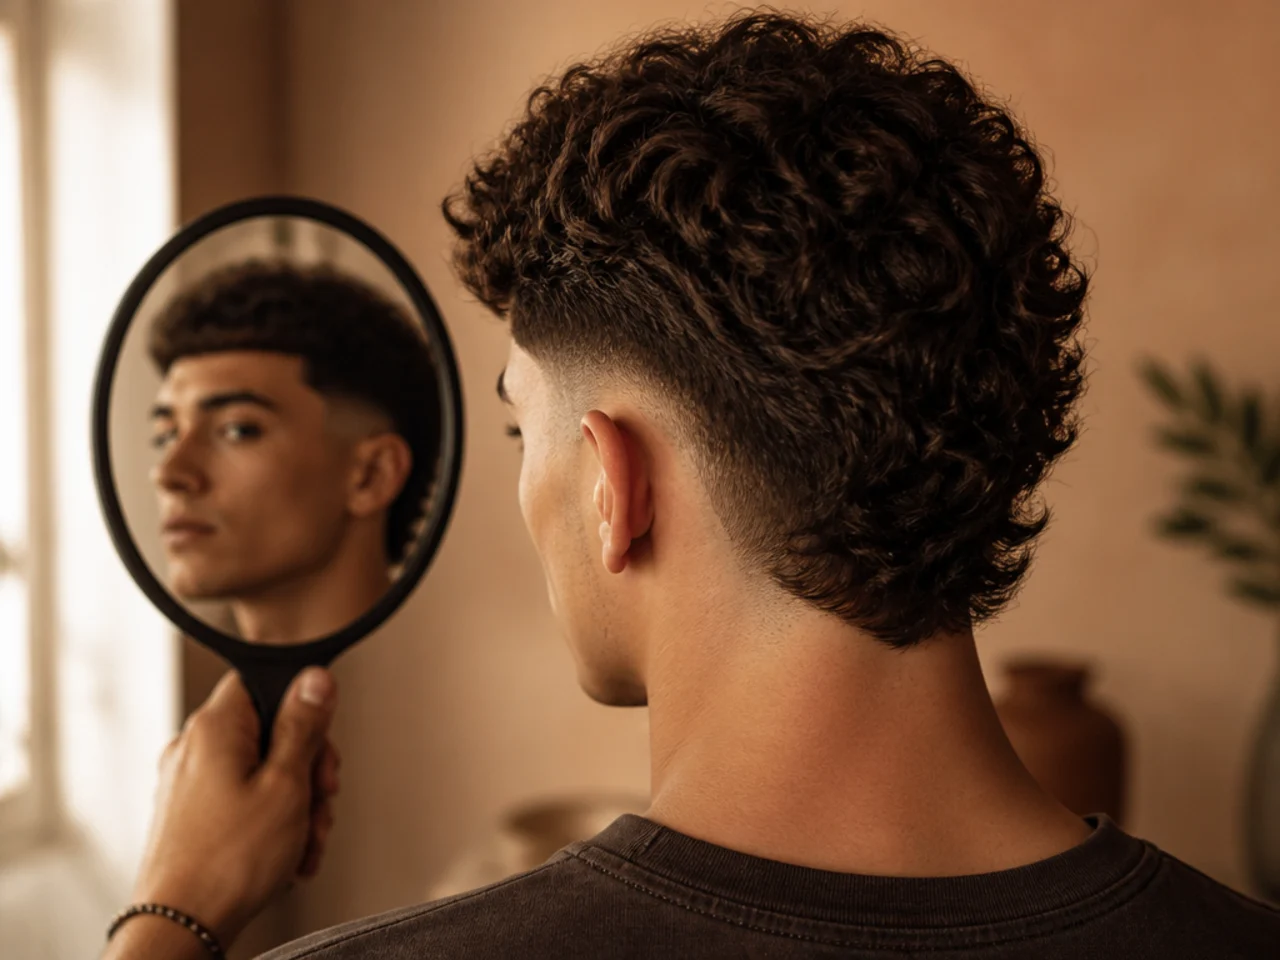
Use a hand mirror at least once. You cannot make a decision about a section you have never looked at.
Keep everything out of the arc. Product there is wasted and it shines on skin.
The 15 Ways to Style a Burst Fade
1. Push the Nape Back, Not Down
Direct the long back away from the neck rather than letting it fall onto it. It keeps the collar line clean and stops the cut reading as simply overgrown at the back.
2. Let the Back Sit Over the Collar
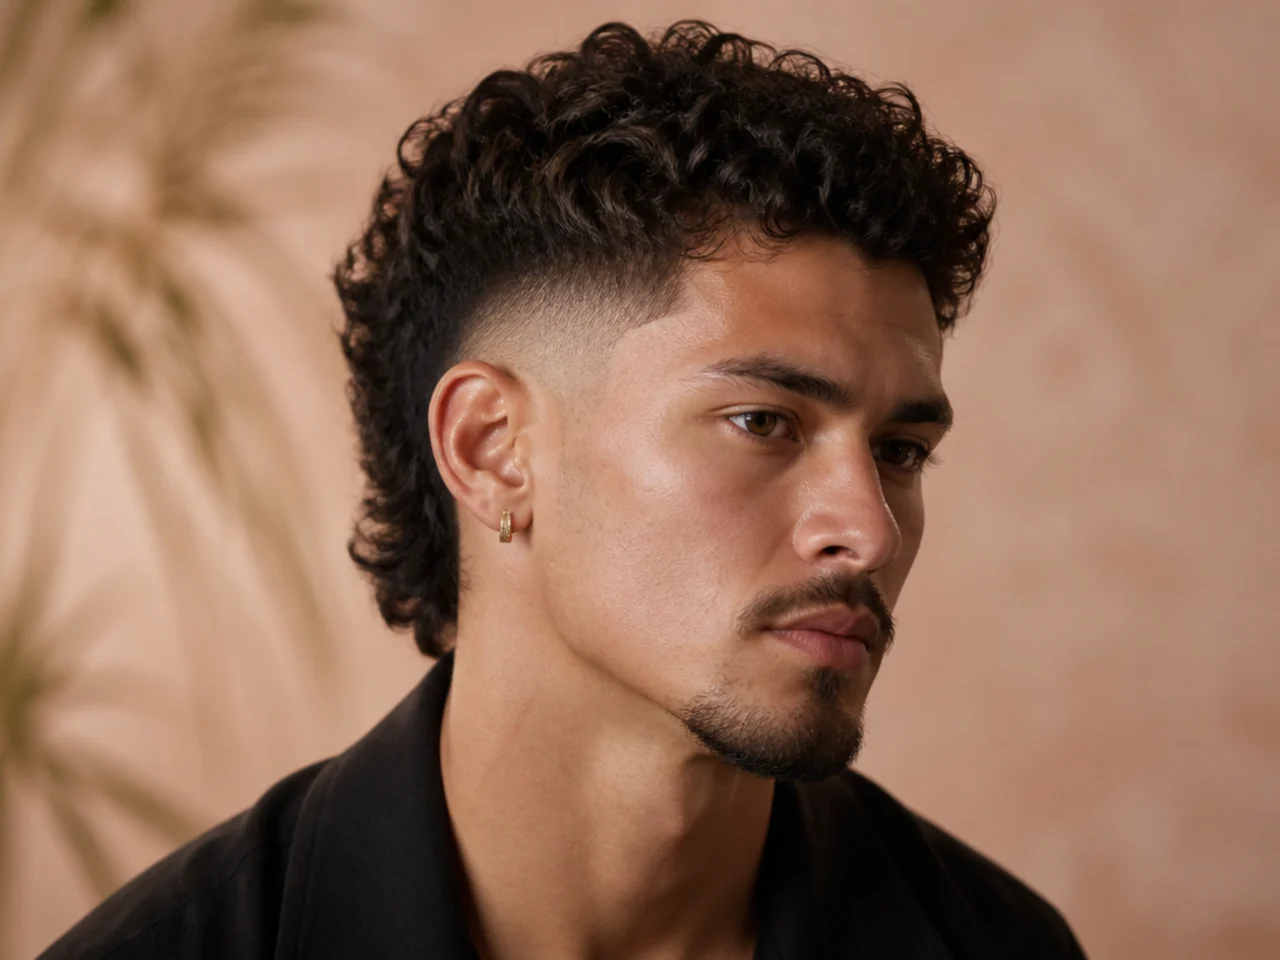
The opposite decision, taken deliberately rather than by neglect. Length resting on the collar is the burst fade mullet end of the family, and it needs the arcs kept tight and high to stay balanced against all that weight at the back.
3. Build the Crown Ridge
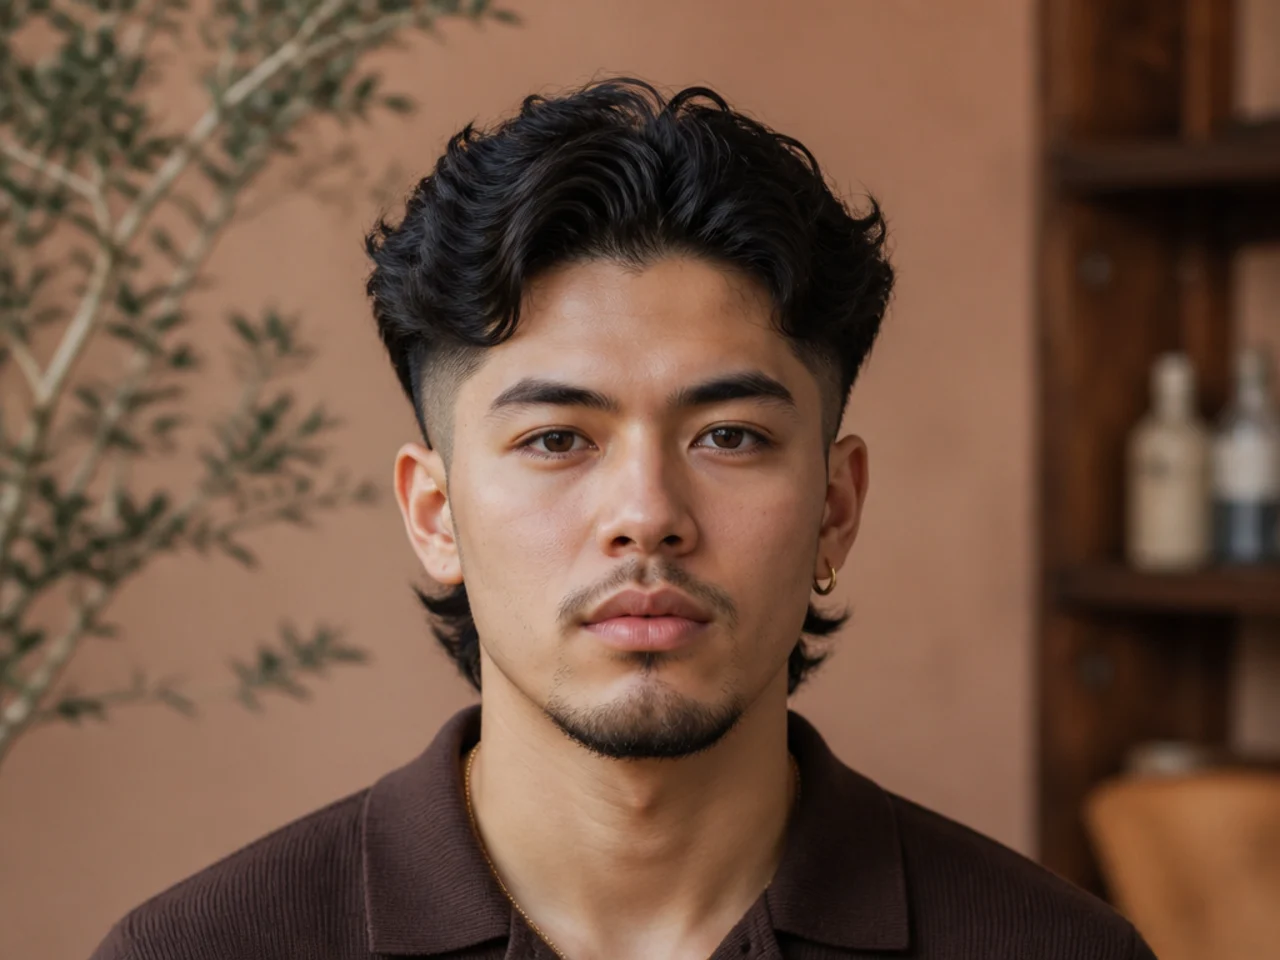
Volume concentrated at the top of the head between the two arcs. It creates a ridge running front to back, which is the shape a burst fade is built to support.
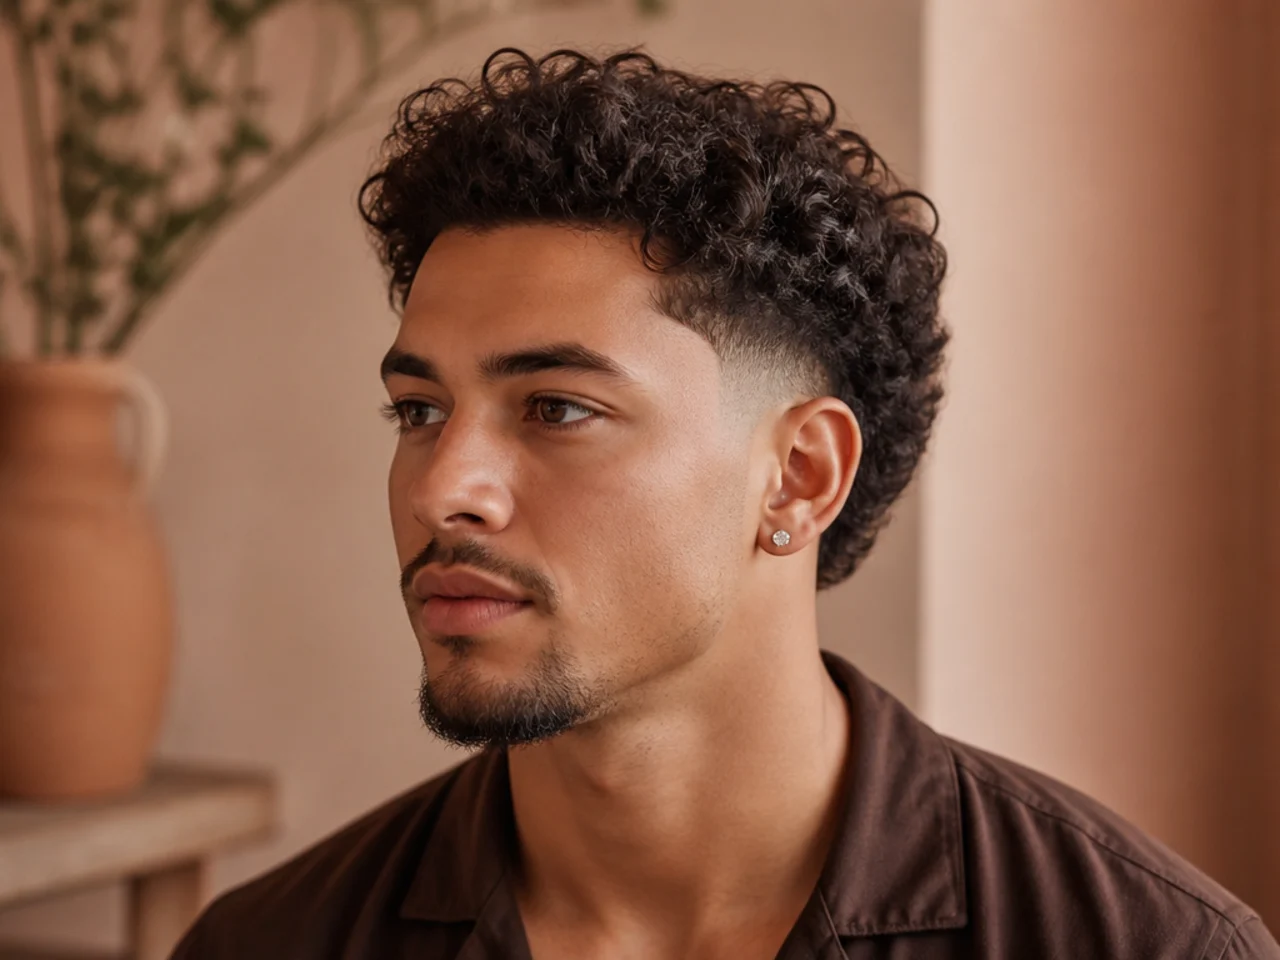
4. Direct the Top Toward the Arc
Send the side sections down toward the opened circles. It softens the edge of the arc by letting length fall over its top boundary.
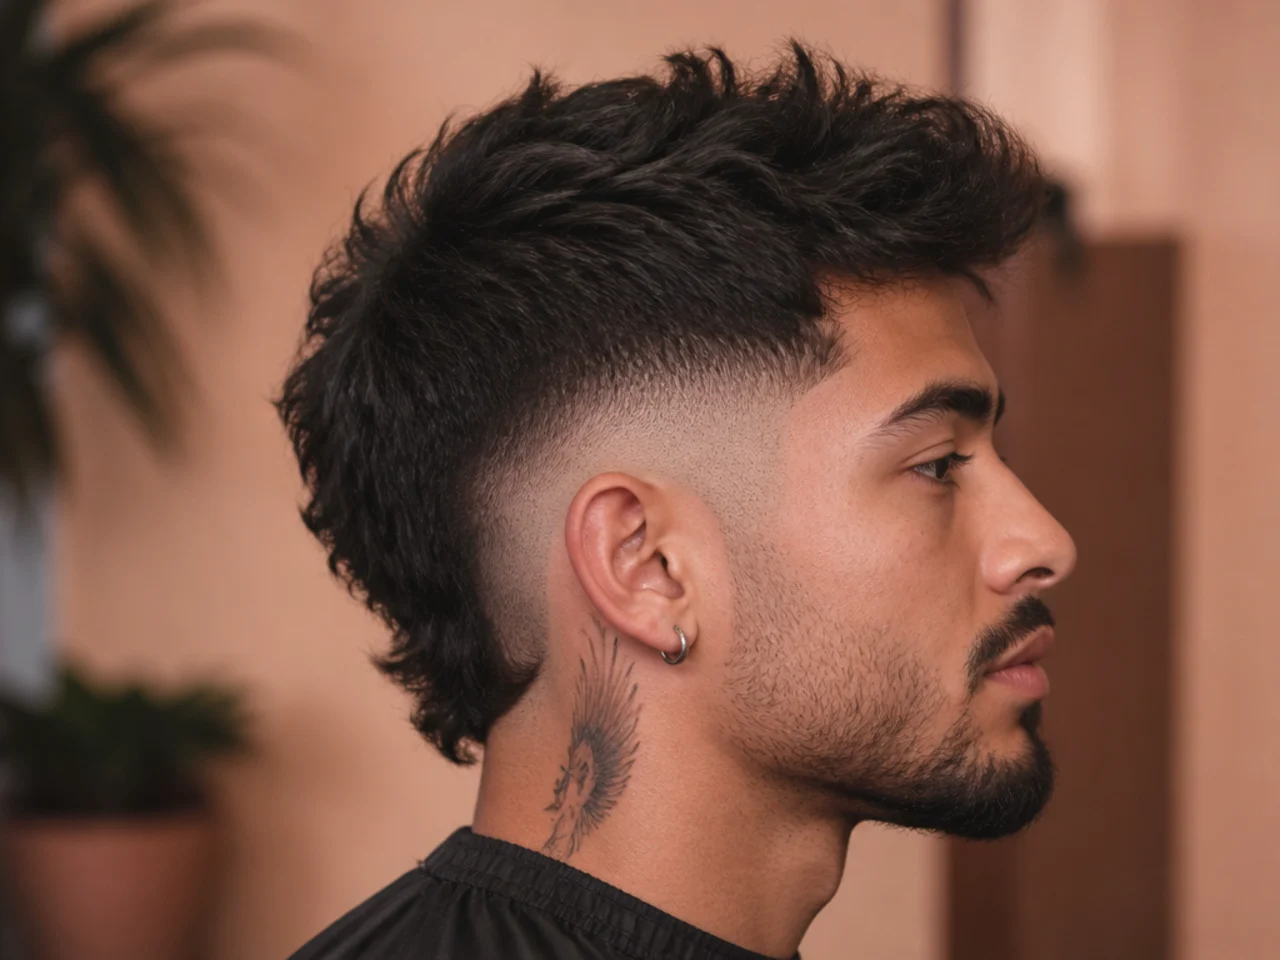
5. Keep the Arc Clean and Product-Free
Nothing at all inside the circle. Bare or 3mm hair with no product on it is what makes the opening read as a deliberate shape rather than a patch.
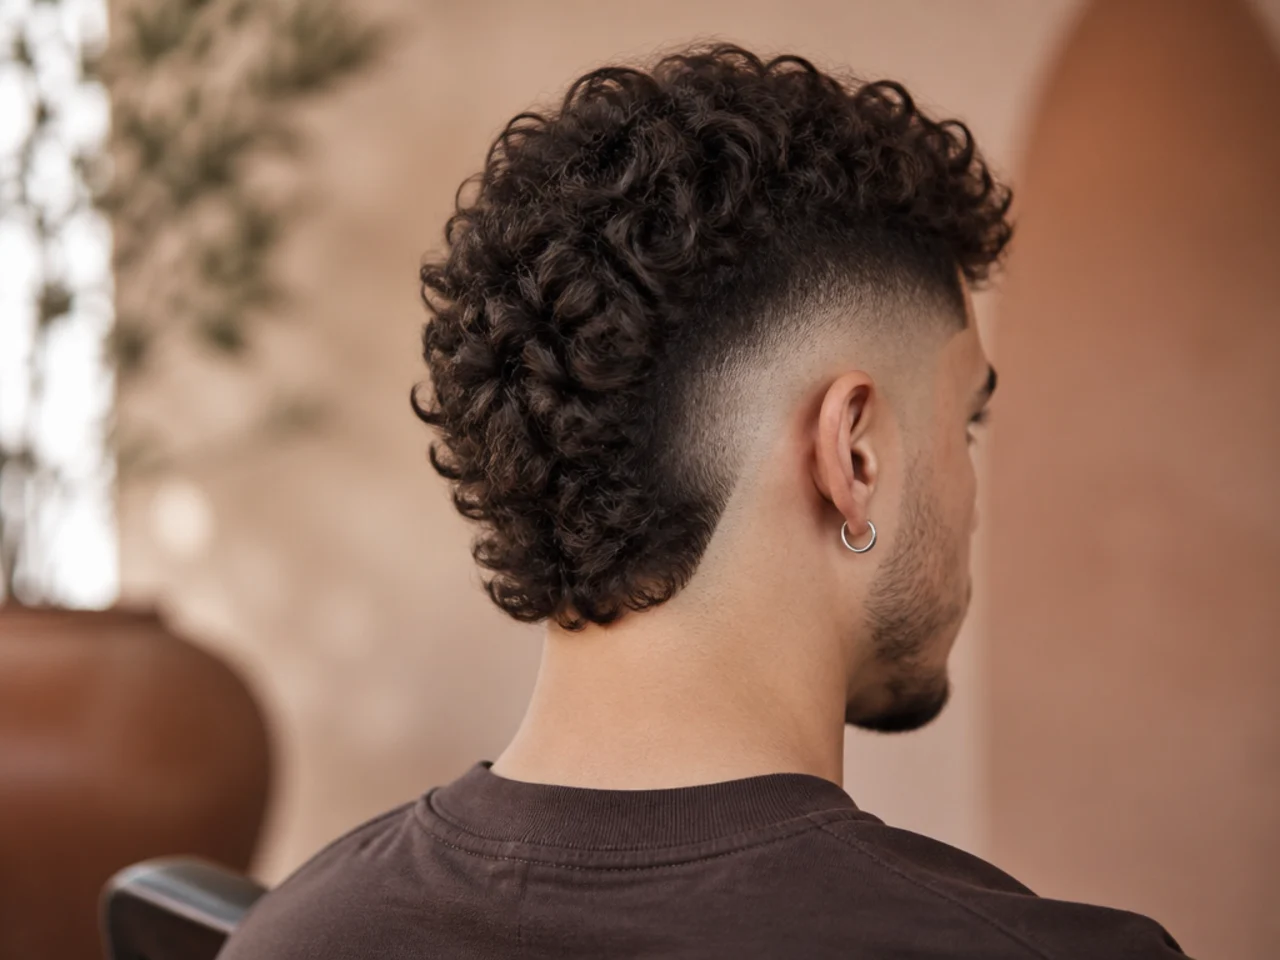
6. Blow-Dry the Nape Downward
Airflow pointed down the back of the head. It flattens the nape into a smooth run, which suits a burst worn with a longer, quieter back.
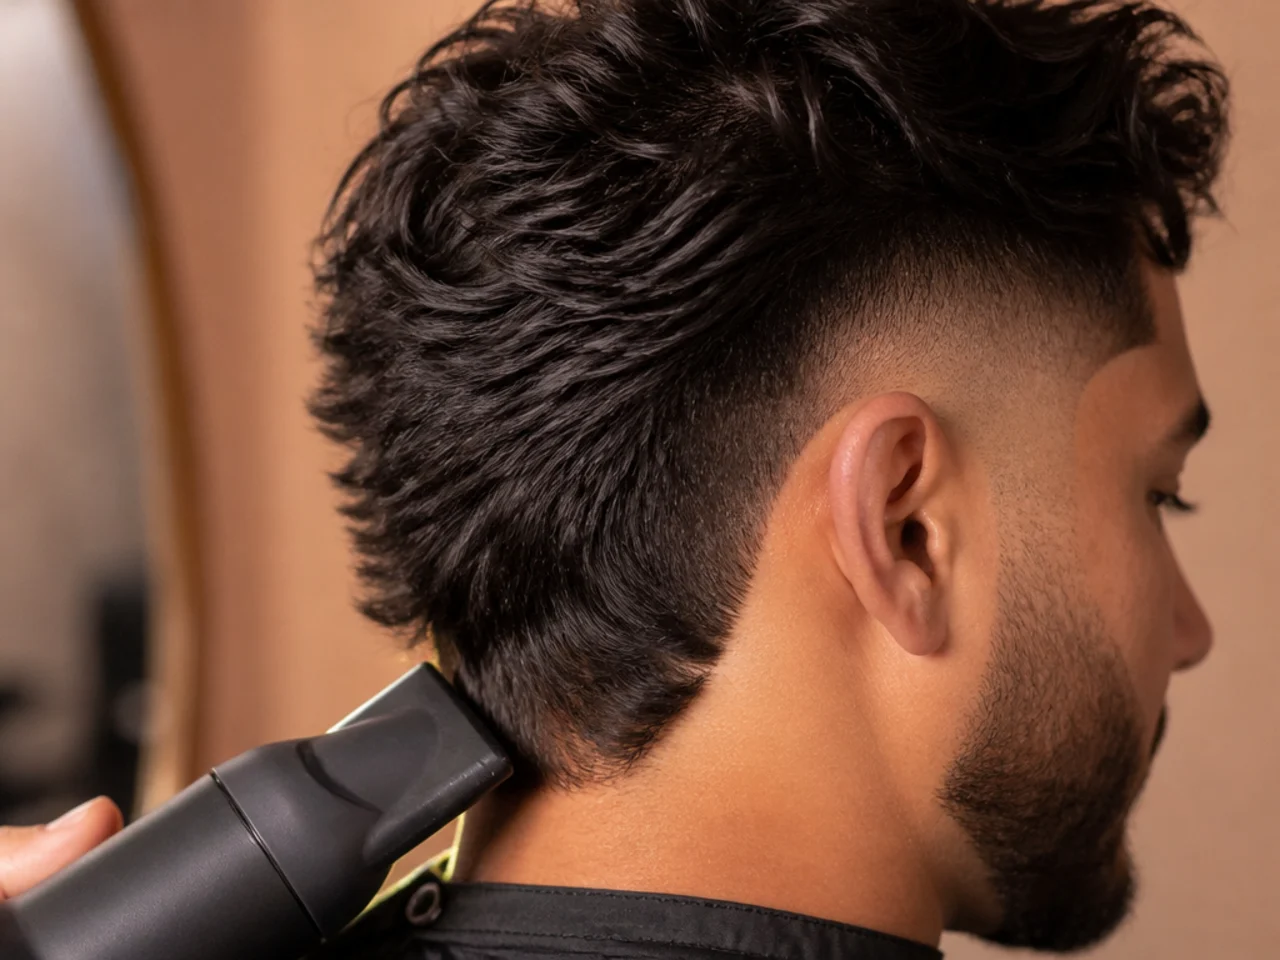
7. Lift Only the Crown
Root lift at the top with the nape left flat. The height sits between the arcs, which lengthens the head without widening it.
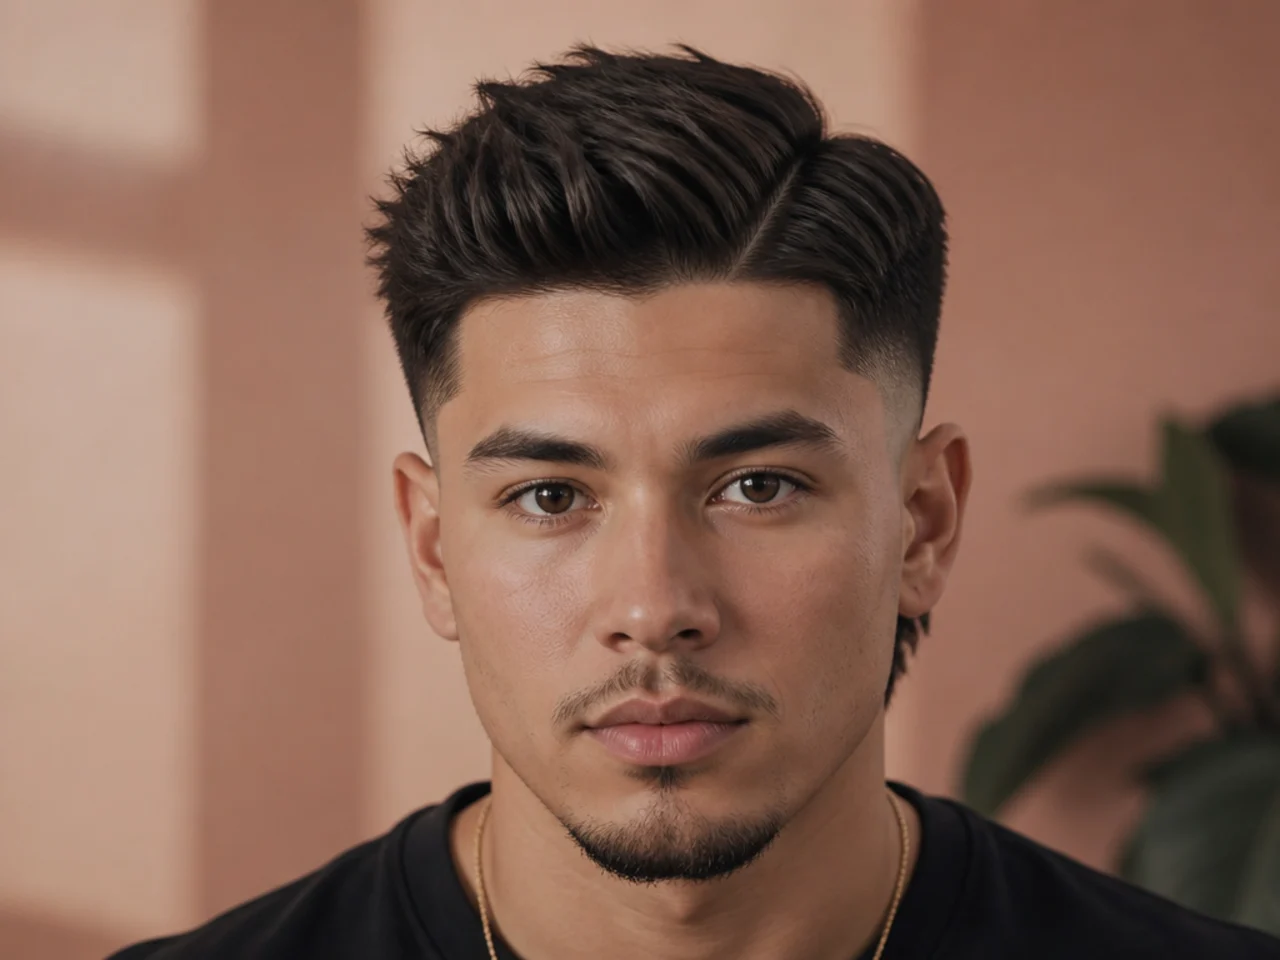
8. Send the Fringe Forward Over a High Arc
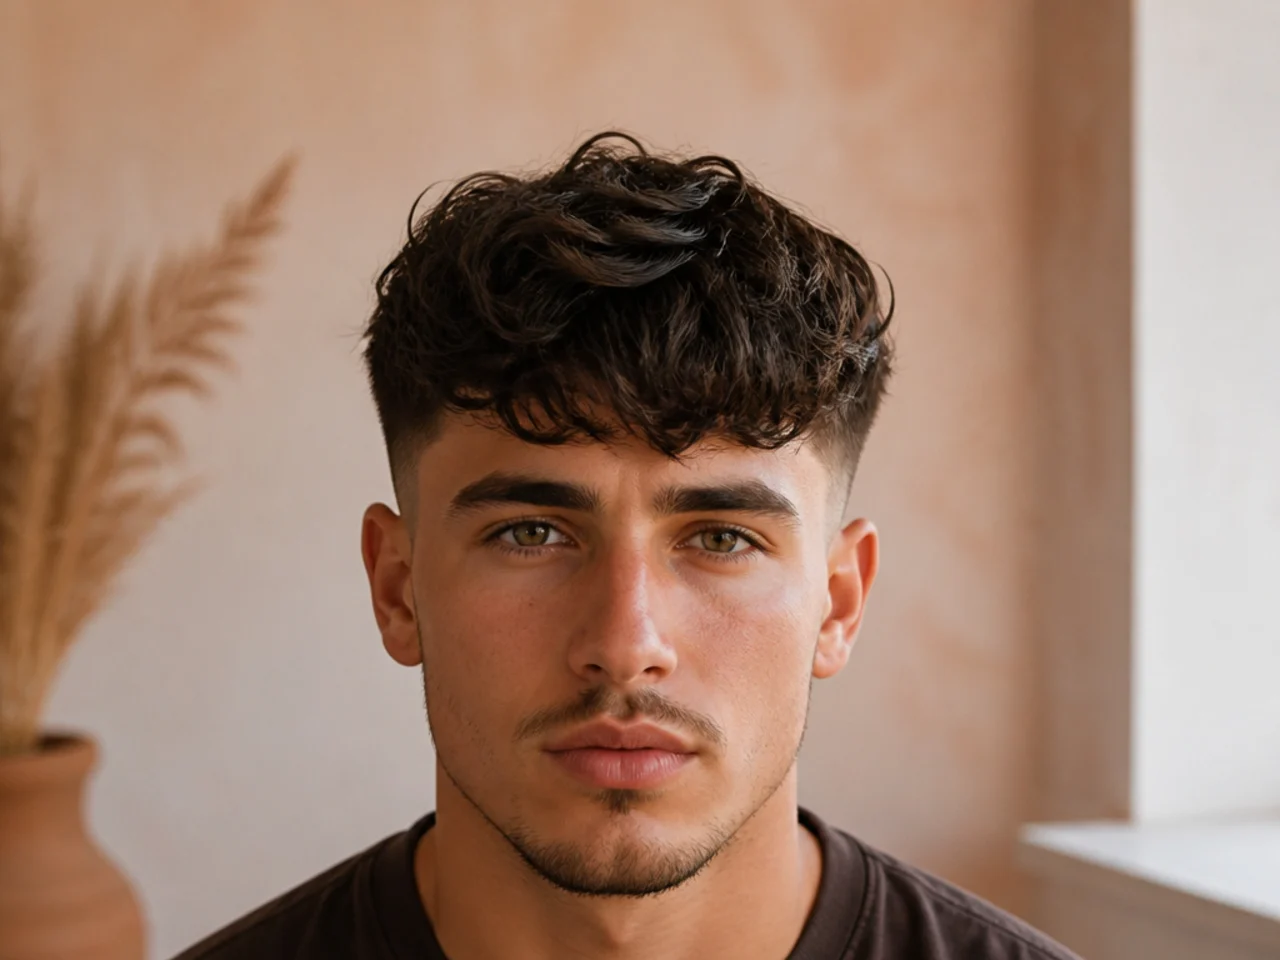
The front pushed toward the brow while the arcs sit high at the sides, which is where a high burst fade earns its name. The contrast between a covered forehead and open ears is the whole effect.
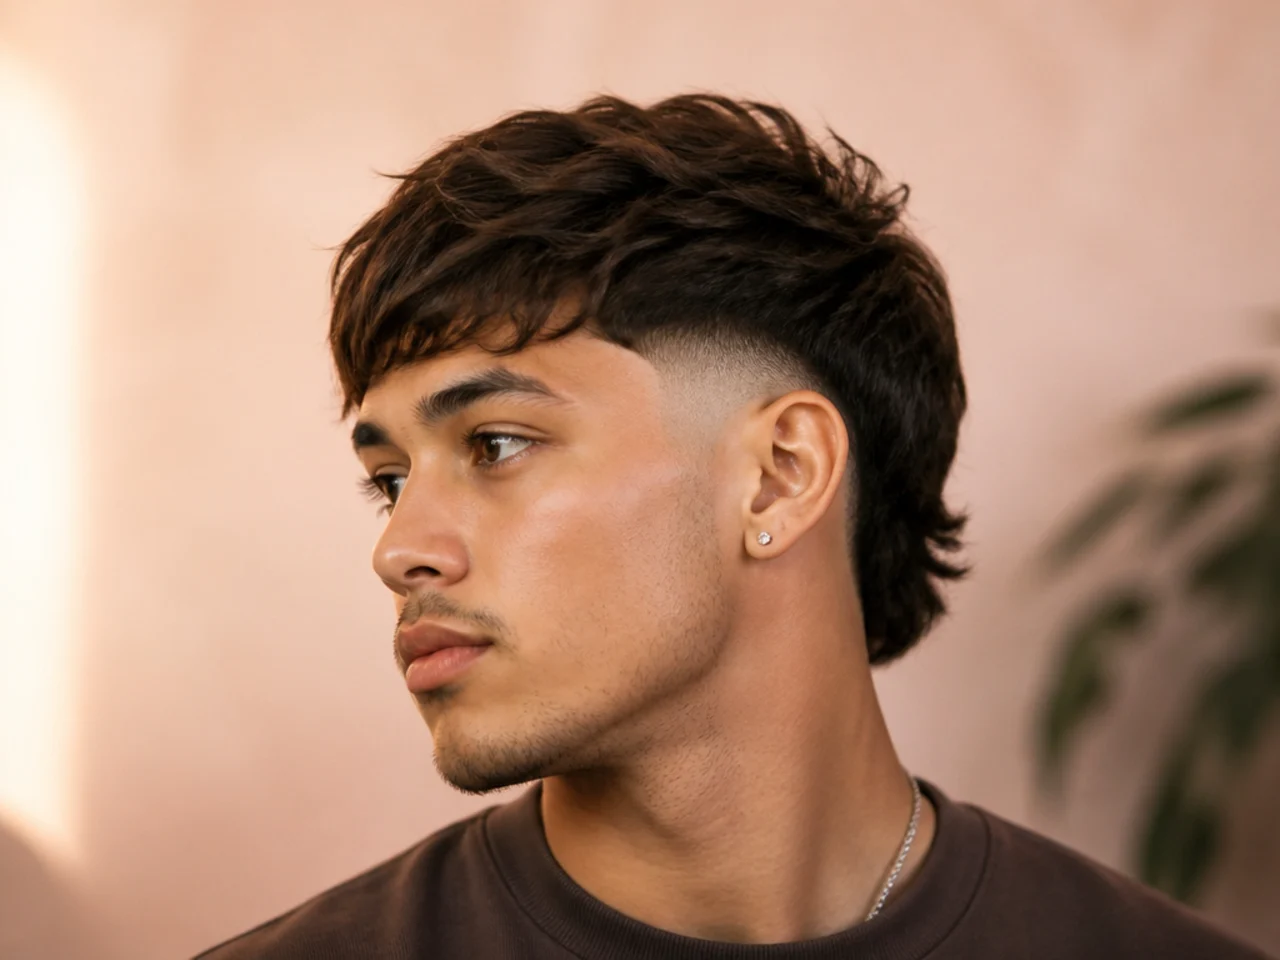
9. Twist the Nape Ends
Coils or twists worked into the back length. It gives the nape a defined finish, which matters because a long back with no shape looks unfinished rather than intentional.
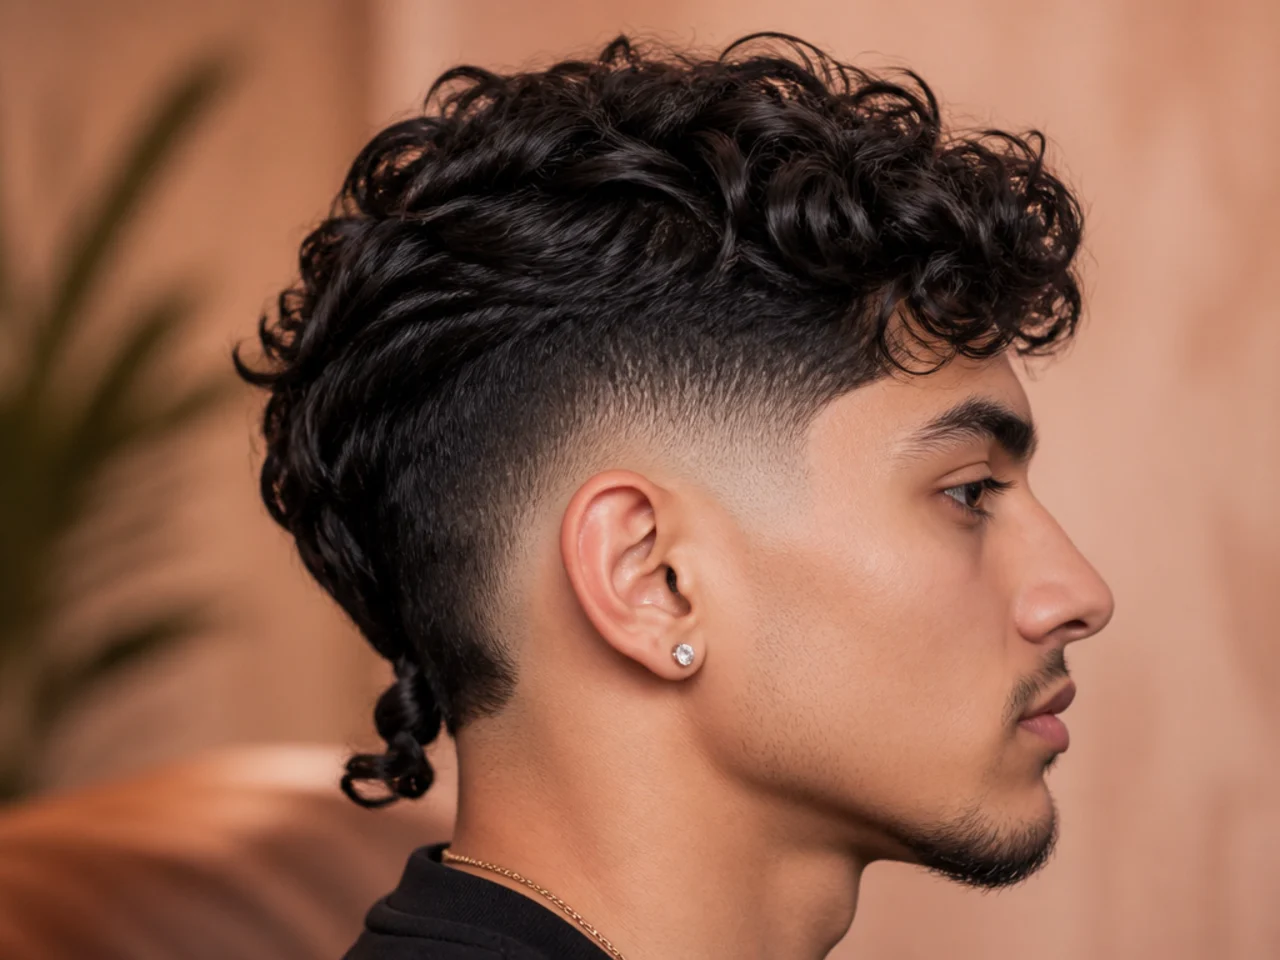
10. Flatten the Sides Into the Arc
Press the side sections down so they meet the top of the circle. Flattening widens the apparent size of the arc, which suits a smaller burst.
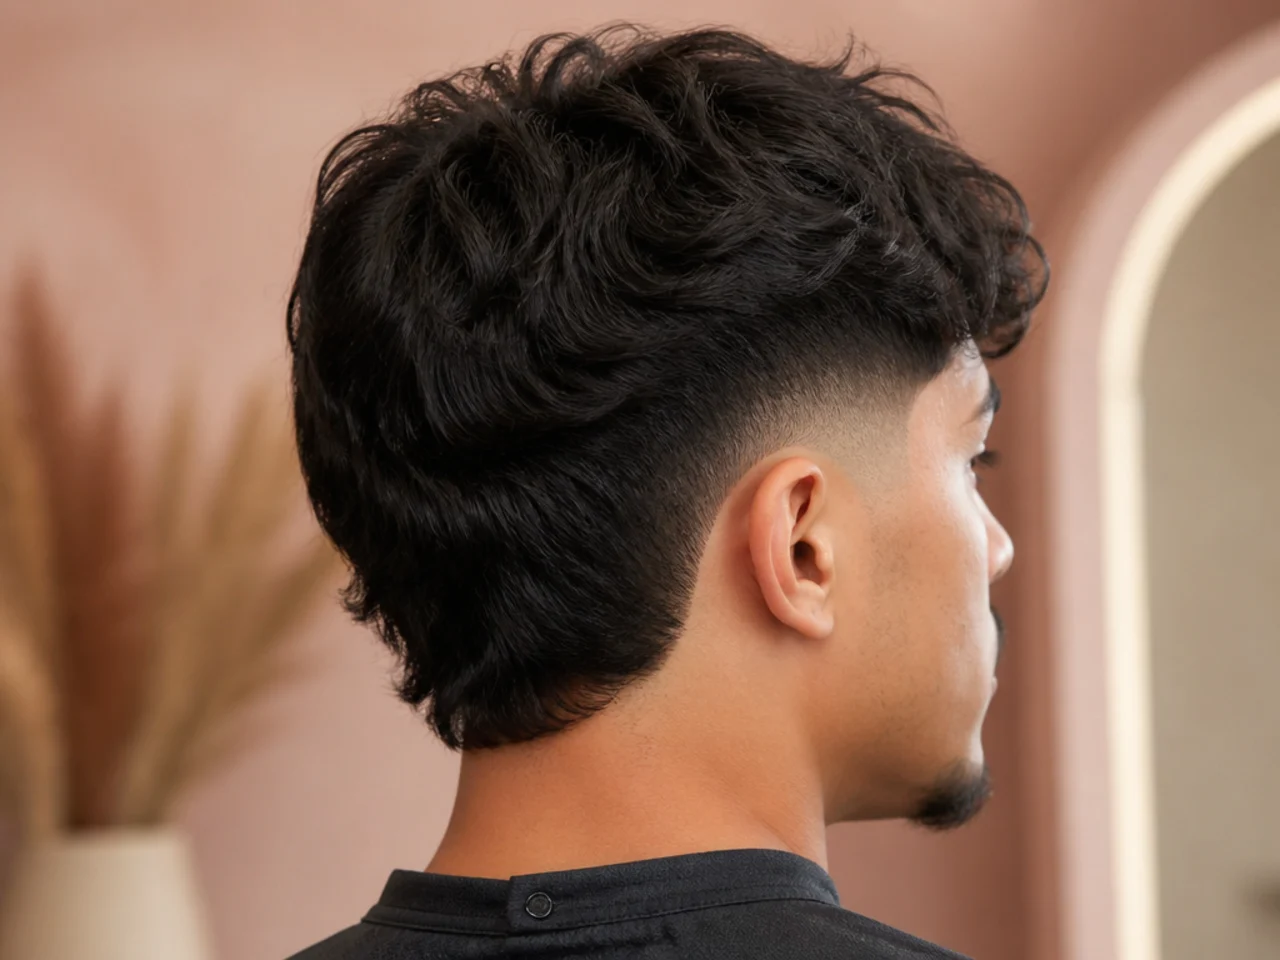
11. Separate the Back Into Pieces
Fingers through the nape with a small amount of matte clay. Separation at the back is visible from behind, which is the angle most people see you from in a queue.
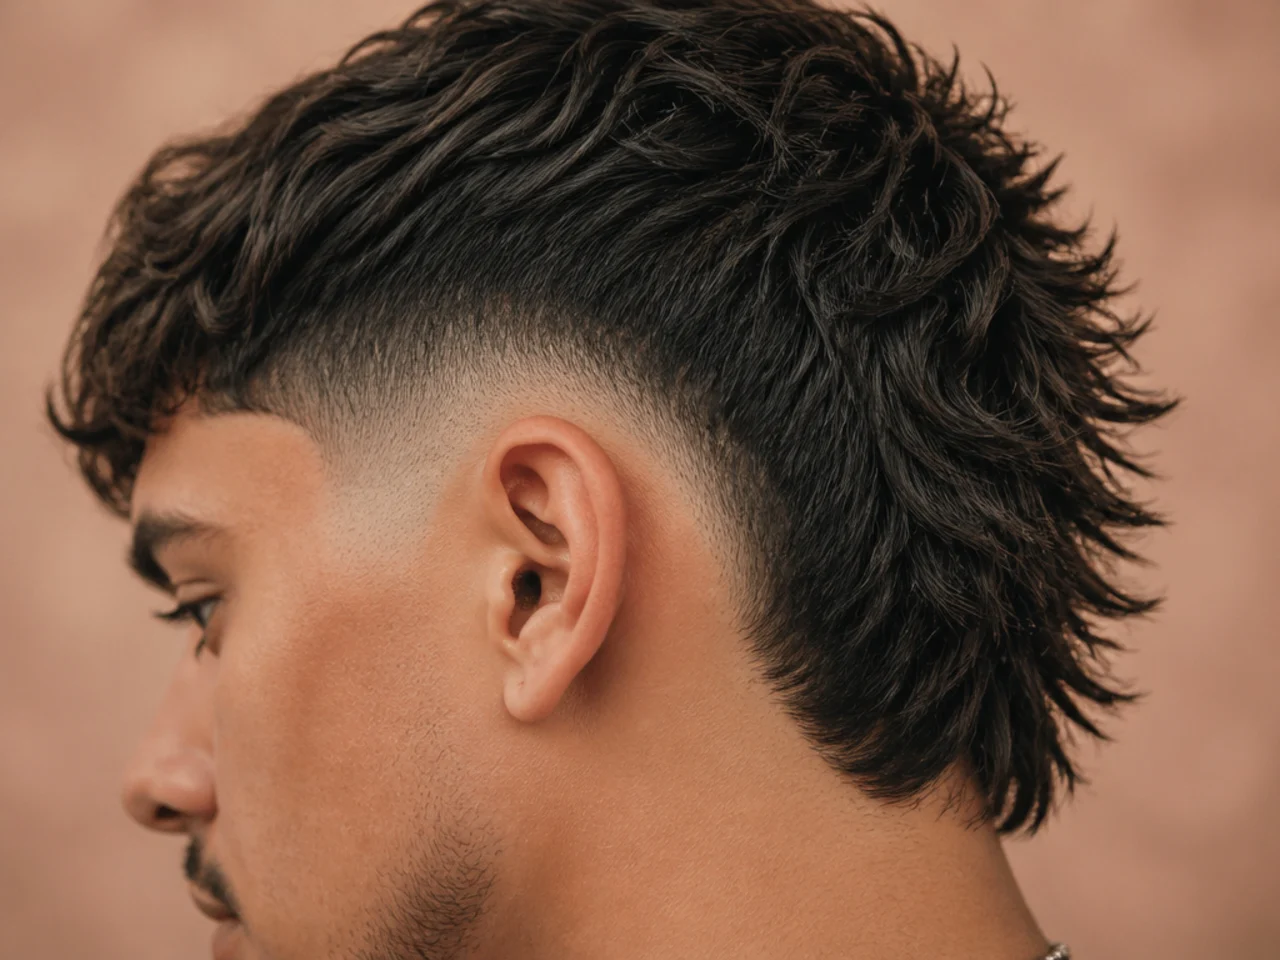
12. Style the Back Before the Front
A sequencing decision rather than a look. Doing the back first means you are not working around hair you have already set, which is why most long backs end up unstyled.
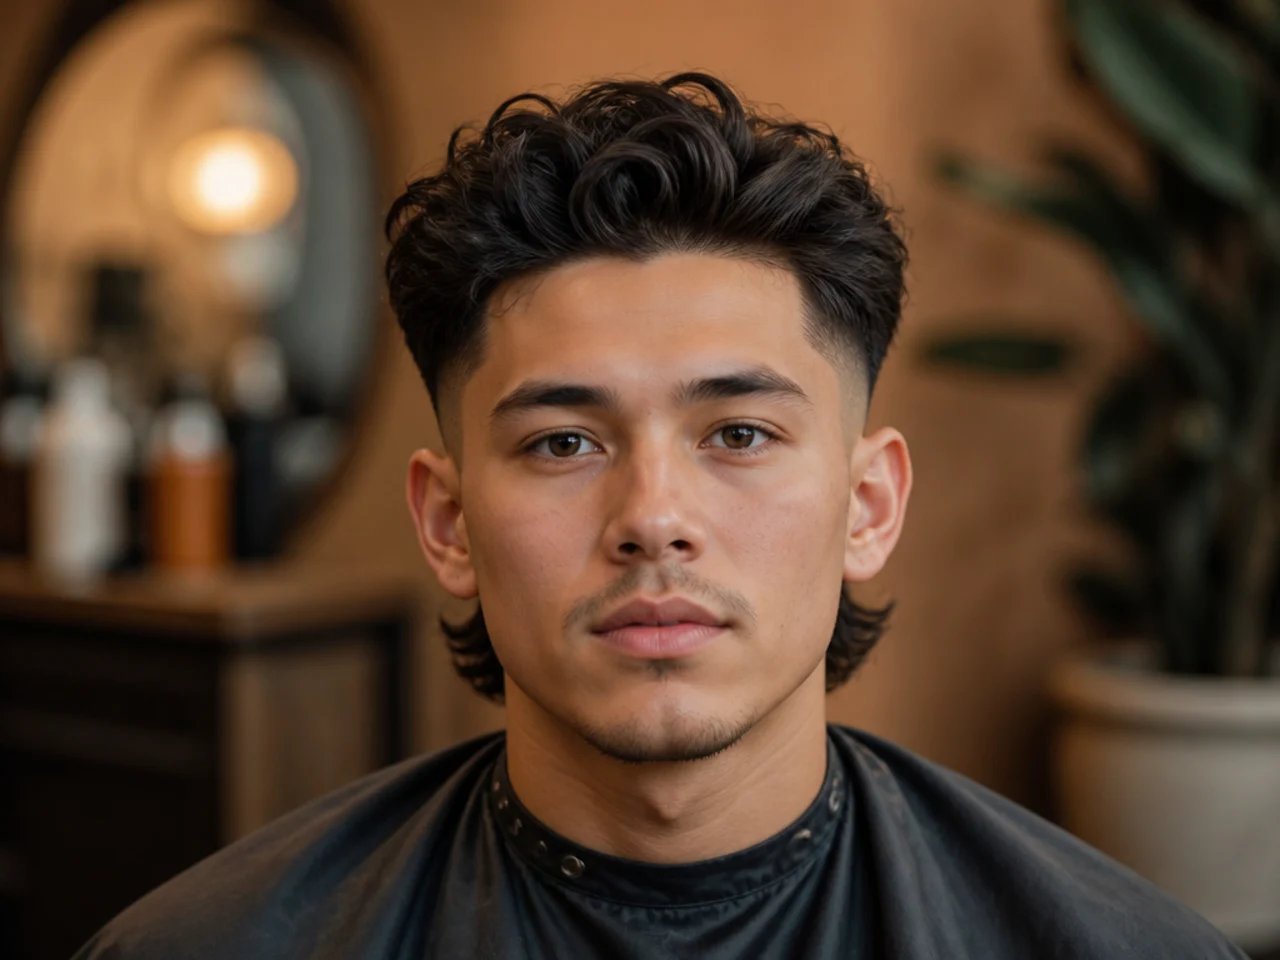
13. Wet the Nape and Let It Dry Down
Water only, no product, air dried. The back sets in whatever direction it dries in, so this is the cheapest way to control it.
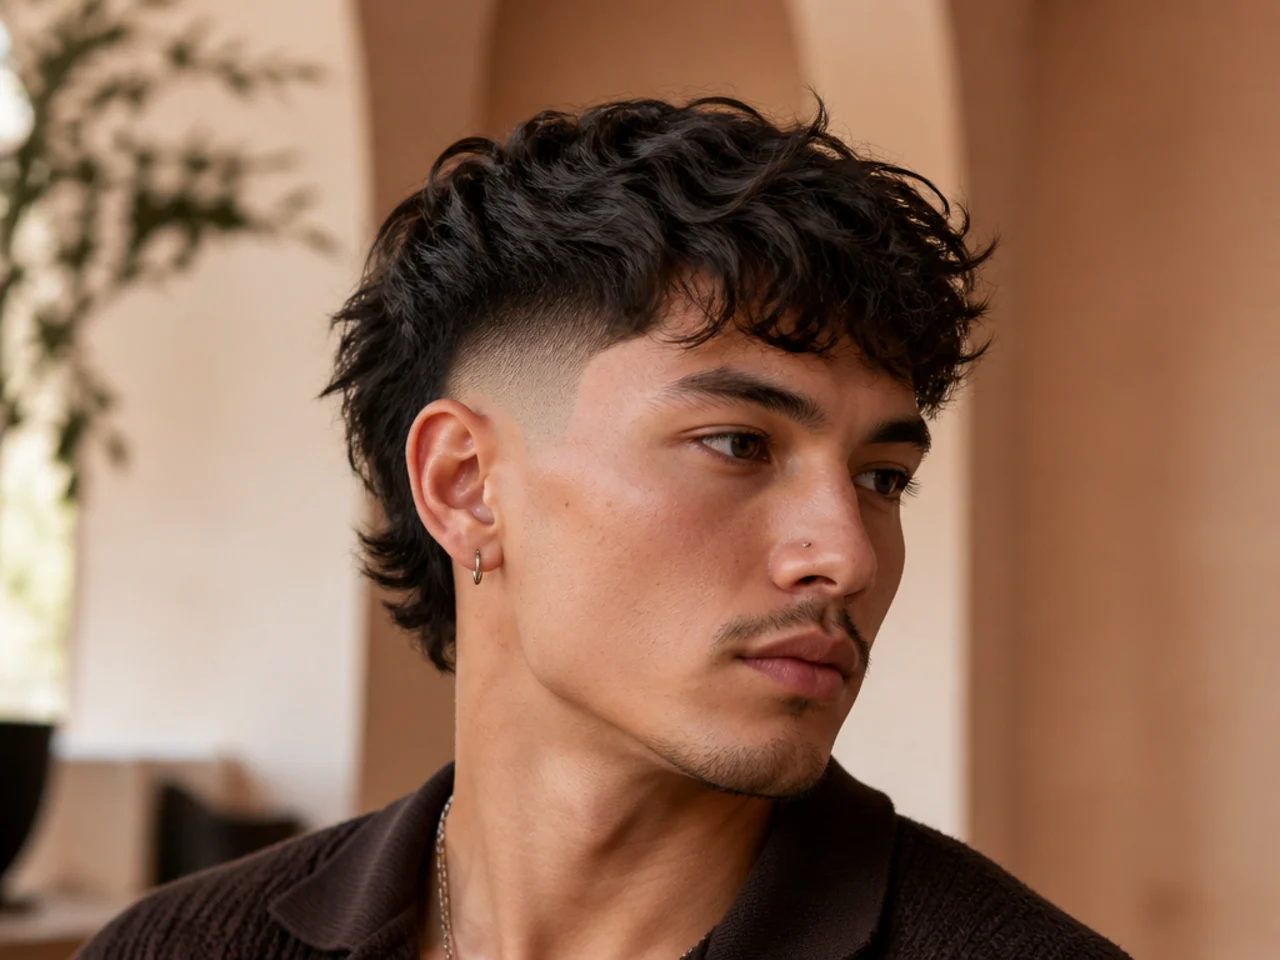
14. Slick the Top, Leave the Back Loose
Two finishes on one head, borrowing the shine of a slick back over a taper for the crown only. It works because the arcs act as a boundary between them, so the change never looks accidental.
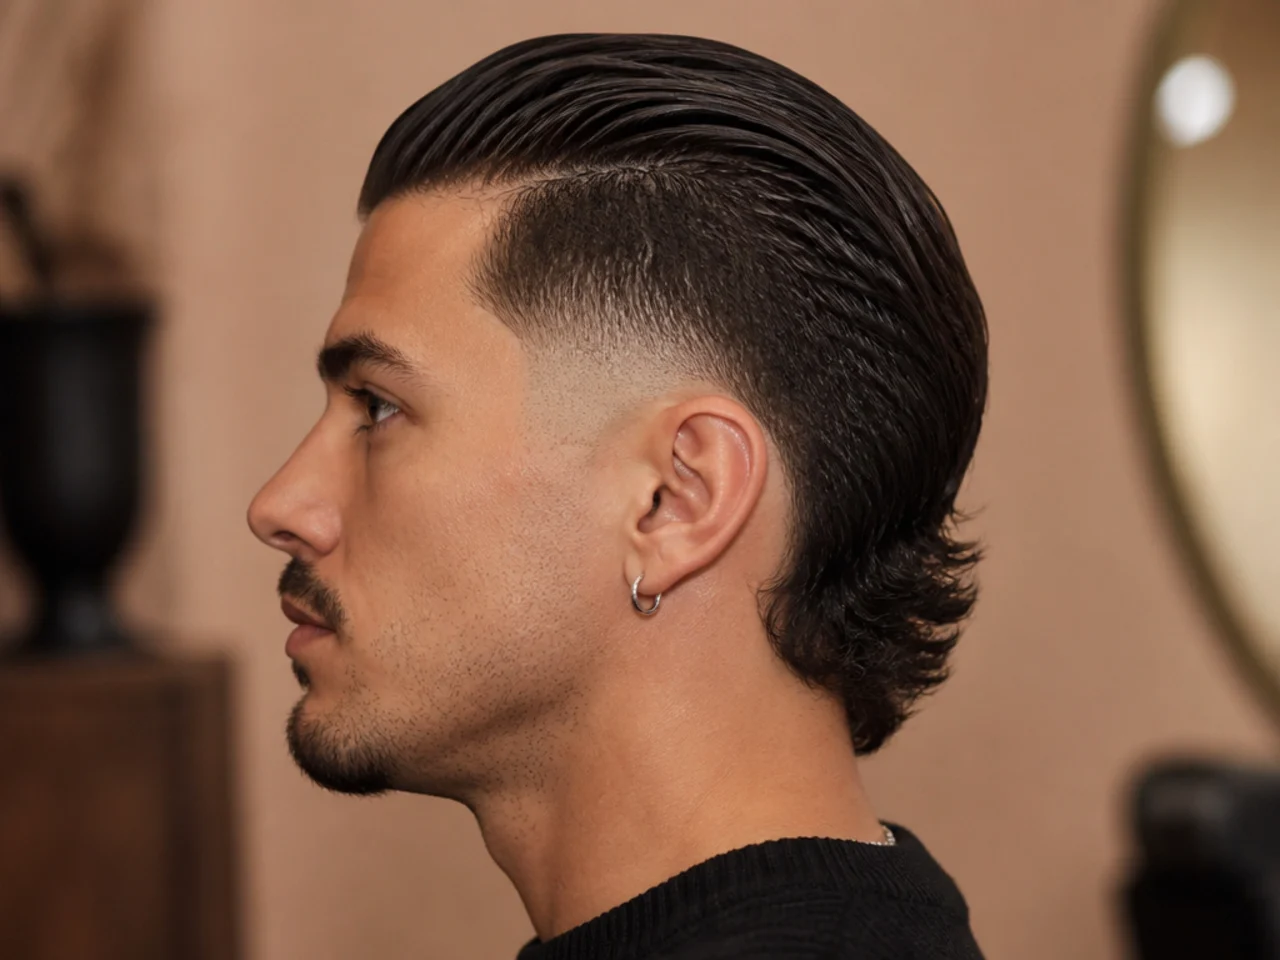
15. Nothing at All, Day Three
No product, three days of natural oil, the back where it falls. It is the honest test of whether the arcs were cut in the right place, since nothing is compensating for them.
Styling and Upkeep
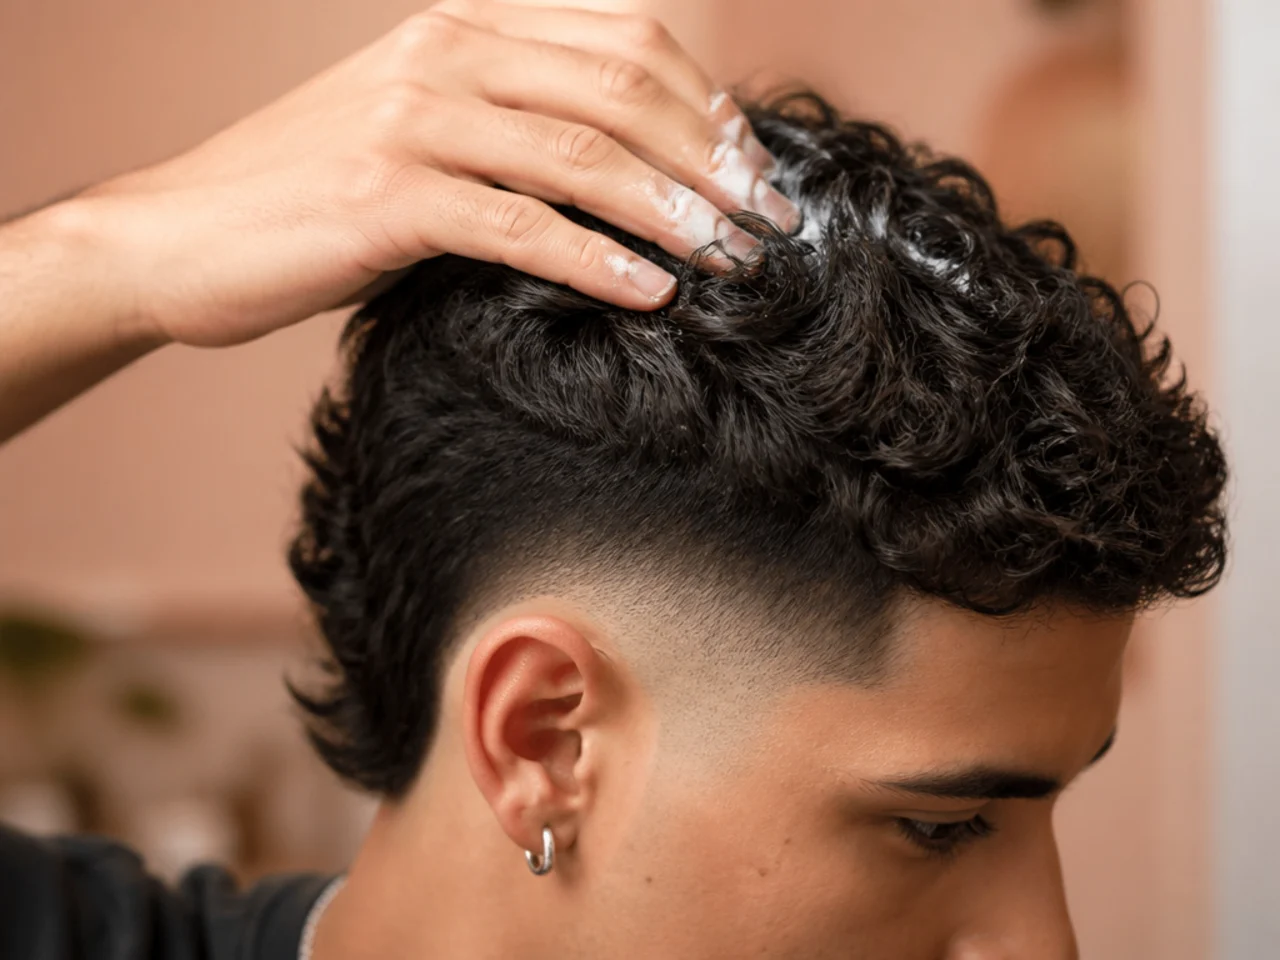
Keep all product out of the arc. It cannot hold anything and it leaves skin shining.
Use less on the nape than on the crown. Gravity is already doing the work at the back.
Check the back with a hand mirror every few days. It is the part of the cut that goes wrong without you noticing.
Rebook by finish. The arc is the one part of this cut you cannot style your way out of — skin there softens within one to two weeks and a #1 taper stays legible for three to four, whatever you do with the back.
Never trim the nape yourself. Shortening it is the one change that cannot be undone before the next appointment.
Mistakes to Avoid
Styling the front and forgetting the back. More than half this haircut lives behind you.
Putting clay in the arc. Nothing there is long enough to hold it.
Letting the nape dry in whatever direction it wants. It sets, and by lunchtime it is too late.
Using heavy pomade on a long back. Weight drags the nape flat and closes the shape.
Trimming the back to tidy it up. That is how a burst quietly becomes a drop fade.
FAQ
Why is a burst styled differently? Because the back keeps its length and needs directing.
Does the arc need product? No, it is too short to hold anything.
How do I style what I cannot see? Do the back first and check it with a hand mirror.
Final Thoughts
Turn the routine around and this cut gets much easier. Style the back and the crown first, leave the arcs alone entirely, and treat the front as the last thing rather than the first. That order takes about the same time and it is the difference between a burst fade and a burst fade with an ignored back.
For the full range of the cut see the burst fade haircut guide, and for the same exercise on a horizontal blend see 15 ways to style a taper fade. More in Fade Haircuts.