6 Steps to Style a Side Quiff at Home
Style a side quiff at home in six barber-standard steps — prep, dry direction, matte clay, and the off-center sweep. Under five minutes from damp hair to locked shape.
In this article · 15
- What You'll Need
- Step 1: Wash and Towel-Dry
- Step 2: Set the Part
- Step 3: Blow-Dry the Front Up and Across
- Step 4: Warm and Apply Your Product
- Step 5: Sweep the Quiff to Your Chosen Side
- Step 6: Lock the Shape
- Troubleshooting a Side Quiff at Home
- FAQ
- What is the difference between a side quiff and a side part?
- Can I get a side quiff without a fade?
- Which side should you sweep a side quiff to?
- How long should the top be for a side quiff?
- What are the best products for styling a side quiff at home?
- How often should I re-cut a side quiff?
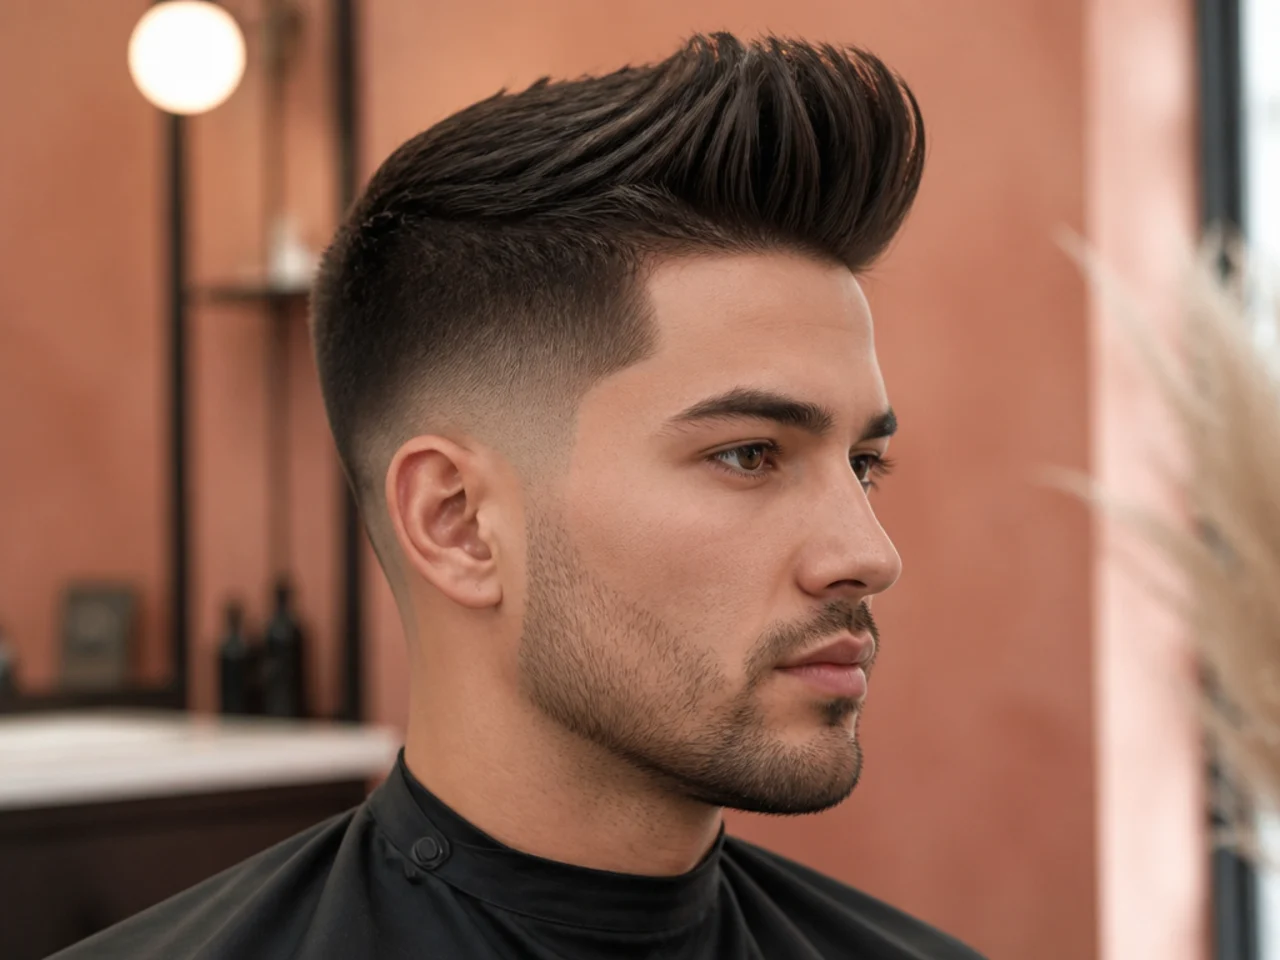
A side quiff is a quiff with attitude. Same front-heavy lift, but swept up and across to one side rather than straight back — the asymmetry does the flattering. Below is the barber-standard side quiff style home routine, done in six steps: prep, dry direction, product, sweep, and finish. Five minutes from damp hair to locked shape.
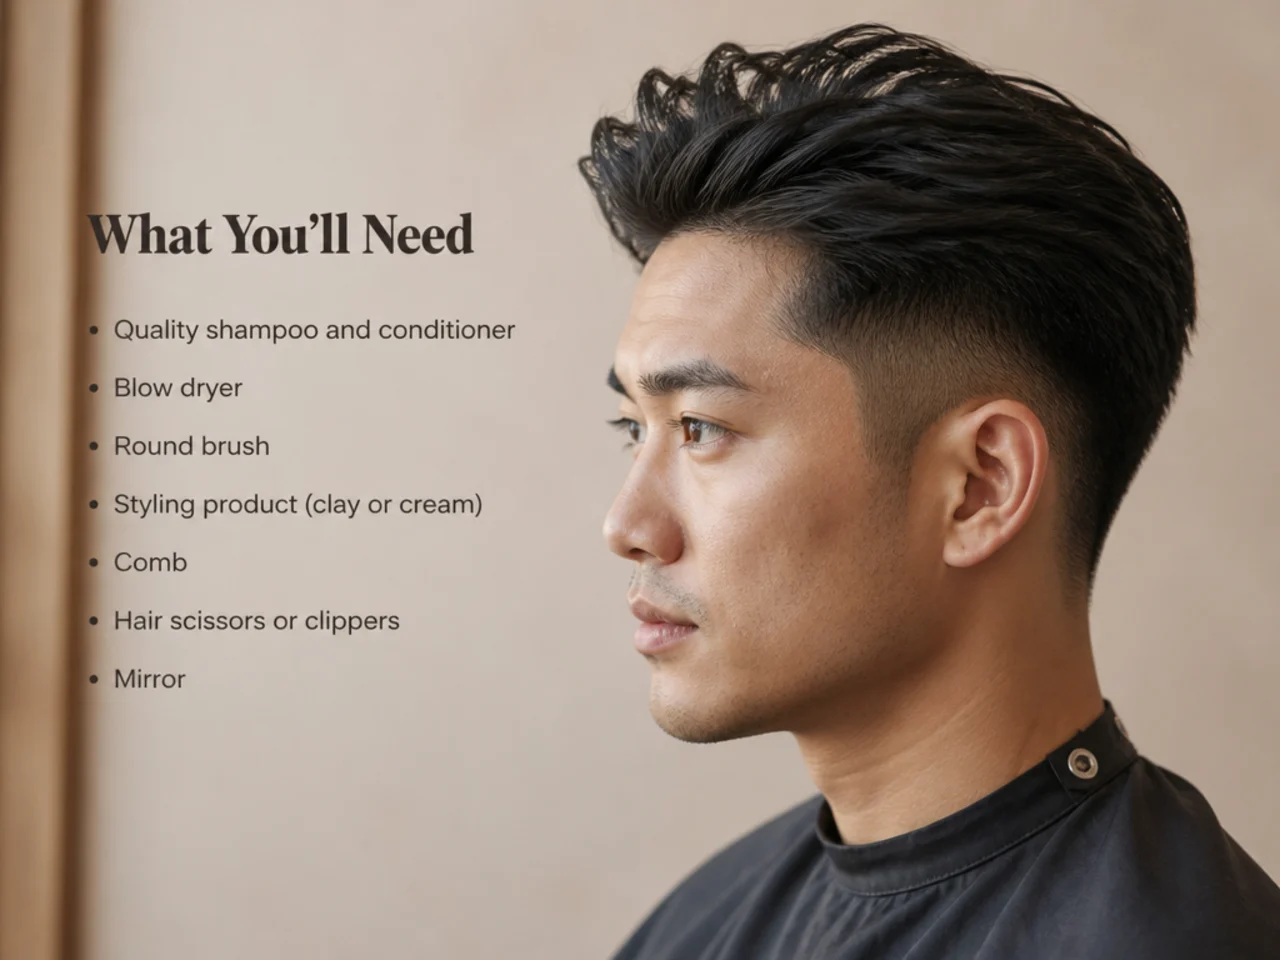
What You'll Need
Before you start, gather the kit below. Nothing exotic — most of it lives in a normal bathroom cabinet already.
- Sulfate-free shampoo and a light conditioner
- Cotton or microfiber towel
- Blow-dryer with a concentrator nozzle
- Vented round brush (2" barrel) for volume
- Fine-tooth comb for setting the part
- Volumizing mousse or sea-salt spray (pre-styler)
- Matte clay, paste, or fiber — nickel-size scoop is plenty
- Light-hold hairspray or dry texture spray
That kit covers both a matte, modern side quiff and the sleeker, retro version. Swap matte clay for a water-based pomade if you want gloss instead of texture; everything else stays the same. Fine hair? Add a texture powder to the list — you'll want it at the roots for lift.
Step 1: Wash and Towel-Dry

The style starts in the shower. Wash with a mild shampoo — sulfate-free if your hair is fine or color-treated. Skip heavy conditioner on the top length. Heavy conditioners leave hair too slick to hold direction, and a slippery quiff falls flat by lunch. If your ends feel dry, apply conditioner from mid-length to tips only, then rinse thoroughly.
Towel-dry until hair is damp, not dripping. You want it wet enough that a pre-styler soaks in evenly, but not so wet that the blow-dry stage stretches to ten minutes. Rough-dry by pressing the towel, not rubbing — rubbing roughs the cuticle and adds frizz to the finished shape.
Spray a light mousse or sea-salt spray from root to mid-length. Two pumps for short hair, four for medium. This is the pre-styler that gives grip. Without it, product slides right off and the sweep collapses within an hour.
Common mistake: skipping the pre-styler because the hair "looks fine" damp. Fine at 7 a.m. is flat by noon. Think of the pre-styler as the seatbelt for the rest of the routine.
Step 2: Set the Part
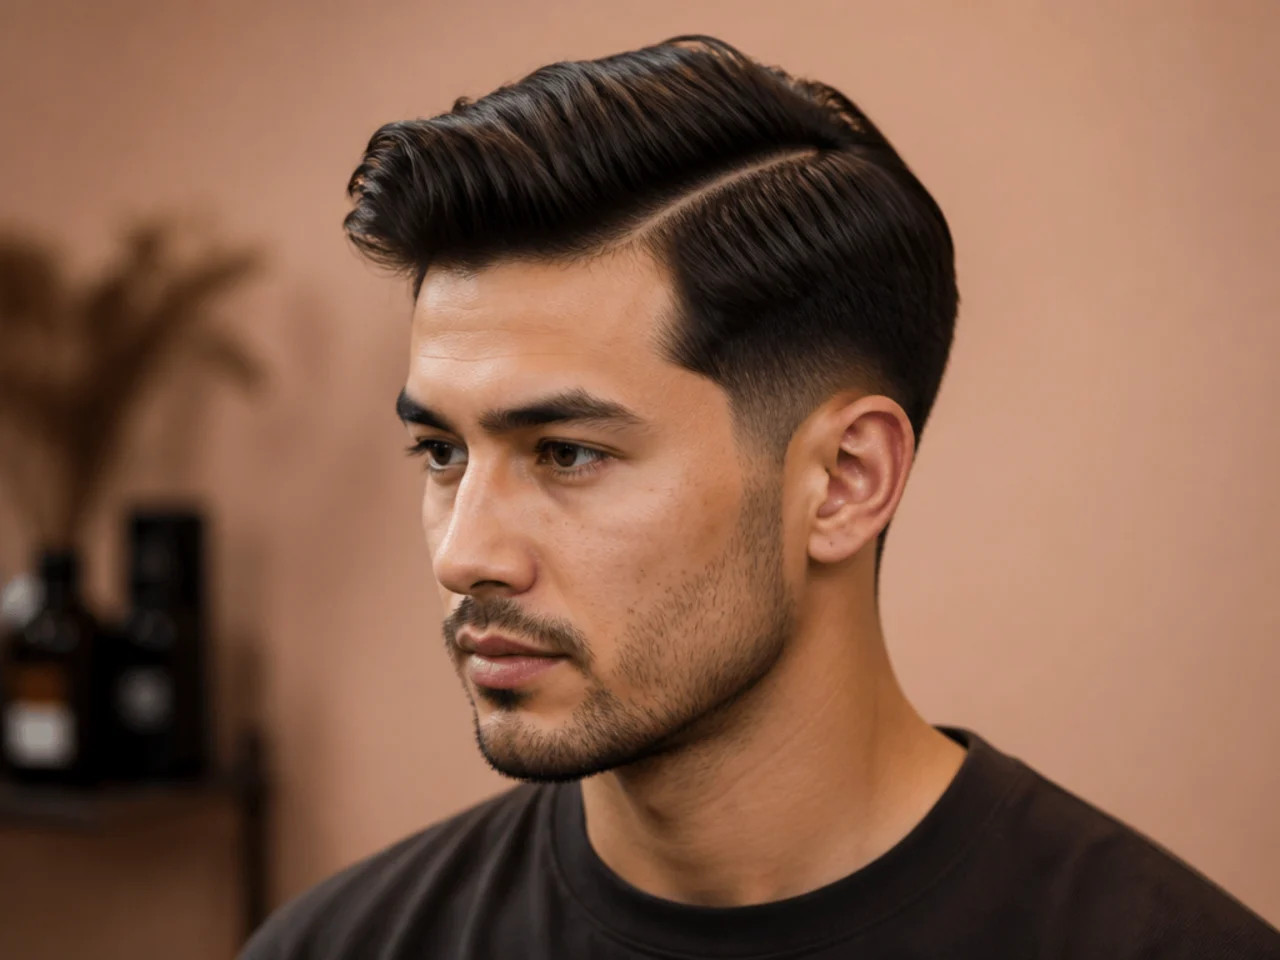
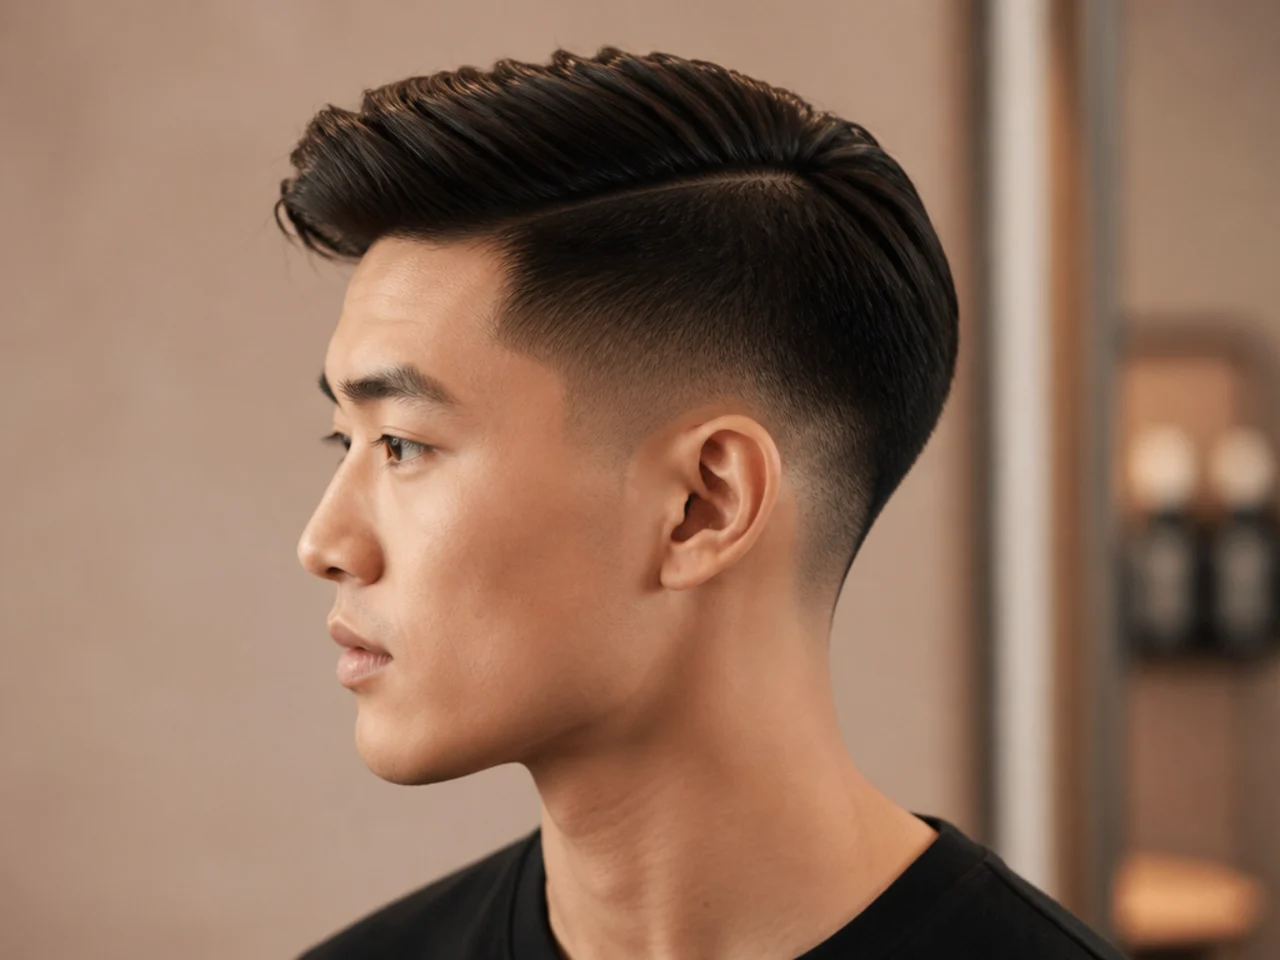
A side quiff needs a part, but not a comb-line part. The part on a side quiff is a soft break — a natural gap between the sweep and the flat side — not a knife-sharp line like a classic side part. Set it before you dry so the hair learns the direction from wet.
Find your natural part first. Push your damp hair straight back with a wide-tooth comb, then let it fall forward as you drop your chin. Wherever the hair breaks on its own is your natural part. Most guys sit between the outer edge of the eyebrow and the temple.
Choose the side. Right-handed guys usually sweep to the right and part on the left — it's easier to comb across your own head that way. If your sides are a low taper fade, the part usually falls where the fade meets the longer top. Use that as your visual guide.
Trace the part with the tail of a fine-tooth comb, from just above the outer eyebrow back toward the crown. Keep it soft — a gentle break, not an engraved line.
Common mistake: parting dead-center. A center part on a quiff kills the whole shape and pulls it into middle-part flow territory. The side quiff needs the asymmetry to read.
Step 3: Blow-Dry the Front Up and Across
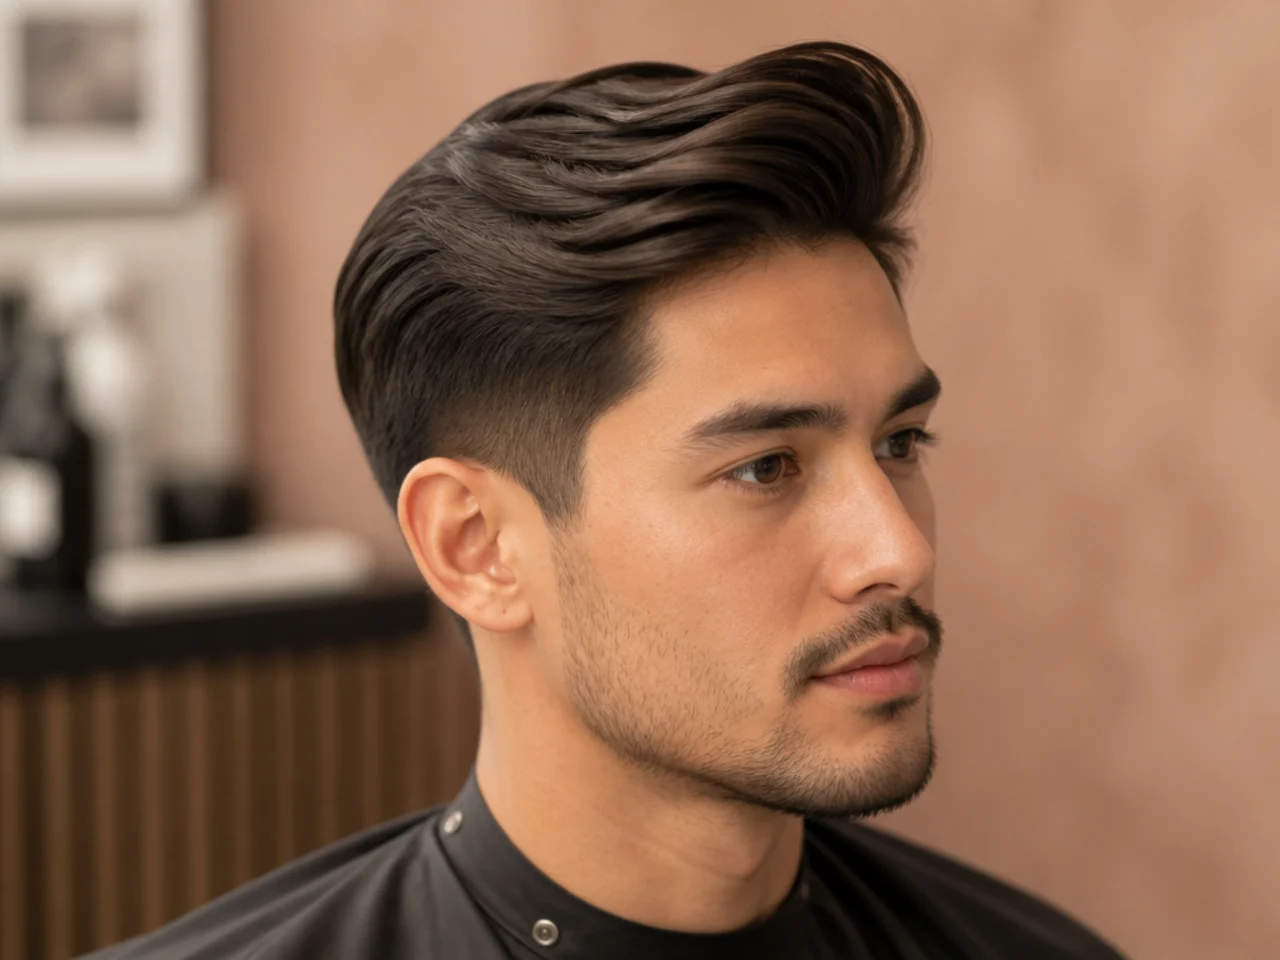
Direction is set in the dryer. Whatever direction you dry the hair, that's where it wants to sit for the rest of the day.
Point the nozzle down along the hair shaft — never straight into the roots. Angled airflow smooths the cuticle; direct airflow blows frizz into the finished style.
Start at the back of the crown and work forward on medium heat. When you reach the top, lift the front section at the root with the round brush and pull it up and slightly across toward the sweep side. Two passes — one to lift, one to shape. That's the whole move.
The tighter side, the flat side, gets dried flat with your hand or a comb. No lift there. You want visual contrast with the volume up top.
Finish with a cool-shot. Cool air closes the cuticle and locks the direction in. Hit the front for a full ten seconds while it's still shaped in the brush. Skip the cool-shot and the volume drops the moment you set the brush down.
If your hair is thick or coarse, prep with a blow-dry cream before you start. The cream softens the strand so the brush can actually direct it. Without it, thick hair fights the shape.
Common mistake: drying with your head upside down. That's a technique for full-volume looks. On a side quiff you want direction, not chaos, so keep your head upright and shape as you go.
Step 4: Warm and Apply Your Product

Product does two things: adds hold and adds texture. Pick one based on the finish you want.
- Matte clay or paste — modern, textured, no shine.
- Fiber or cream — medium hold with movement, subtle sheen.
- Water-based pomade — glossy, retro, and holds a smooth sweep, closer to a slick back finish.
Nickel-size scoop for short hair, a quarter for medium. More than that is where product starts to read greasy at the roots.
Warm the product between your palms until it turns clear and disappears. This is the step everyone skips. Cold clay sits on top of your hair in visible white streaks and never blends evenly. Warm clay coats every strand.
Apply to the ends first, working back toward the roots. Never dump product straight onto the roots — it flattens the volume you just built in the dryer.
Rake through with open fingers, not a comb yet. You're distributing product, not styling. The styling happens in step 5.
If your hair is fine, use less than you think. Two pea-size dabs is more than enough. Fine hair gets weighed down fast, and once it's flat, no amount of restyling brings the lift back without a full re-wet.
Common mistake: applying product to soaking-wet hair. Product needs damp-to-dry hair to grip. On soaking hair it dilutes and runs down your neck.
Step 5: Sweep the Quiff to Your Chosen Side
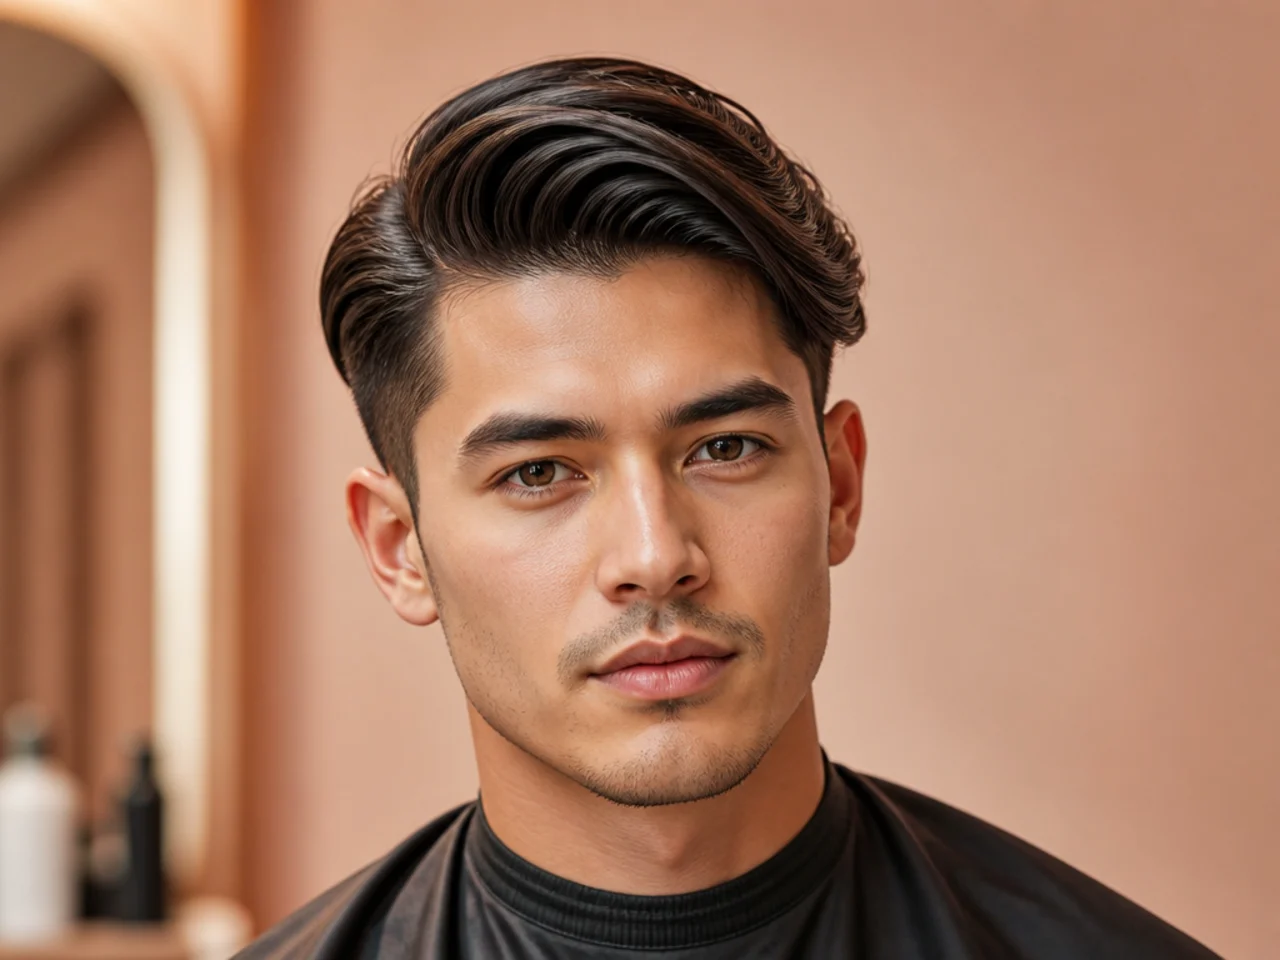
This is the shape step. The front lifts up, then curves up and across toward your chosen side — that's the sweep. Off-center height, asymmetric flow.
Use a wide-tooth comb or the flat of your hand. Start at the front hairline. Push the front section up first, then angle it across toward the sweep side in one continuous motion. The comb should travel diagonally, not straight back.
Depth matters. Push the front high enough that you see a clear peak from the side — usually 1.5 to 2 inches of lift for medium-length hair, 2.5 to 3 inches for long. If the peak is barely visible, the shape reads flat.
Follow the comb with your fingers. Use them to break up any hard comb lines and pull individual pieces forward for separation. A side quiff should look styled, not glued. Piecey separation reads modern; smooth-and-fused reads dated.
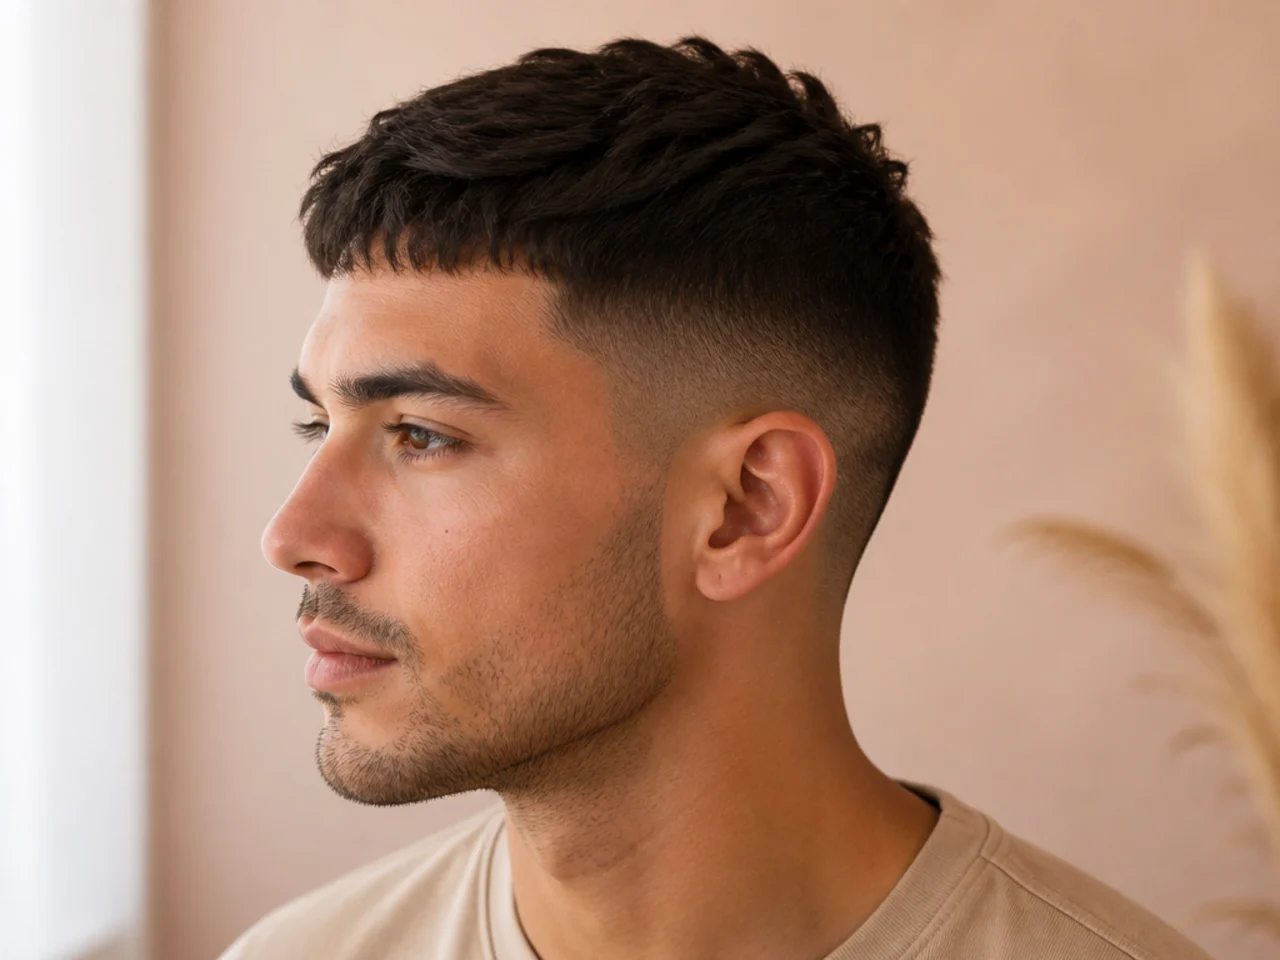
For a formal finish, run the comb through smoothly and skip the finger-work. For a casual finish, use fingers only from the moment product goes in — no comb at all after the initial distribution. The short quiff and messy quiff both use the same sweep move — just with less top length to move.
The transition into the flat side should be quiet. Press the shorter, tighter side down with your palm as the last move — flat side to give the swept side more contrast.
Common mistake: sweeping to the wrong side. If your growth pattern goes left, sweeping right means fighting the hair all day. It falls the way it wants to fall. Match the sweep to the growth or accept that you'll be re-styling by lunch.
Step 6: Lock the Shape
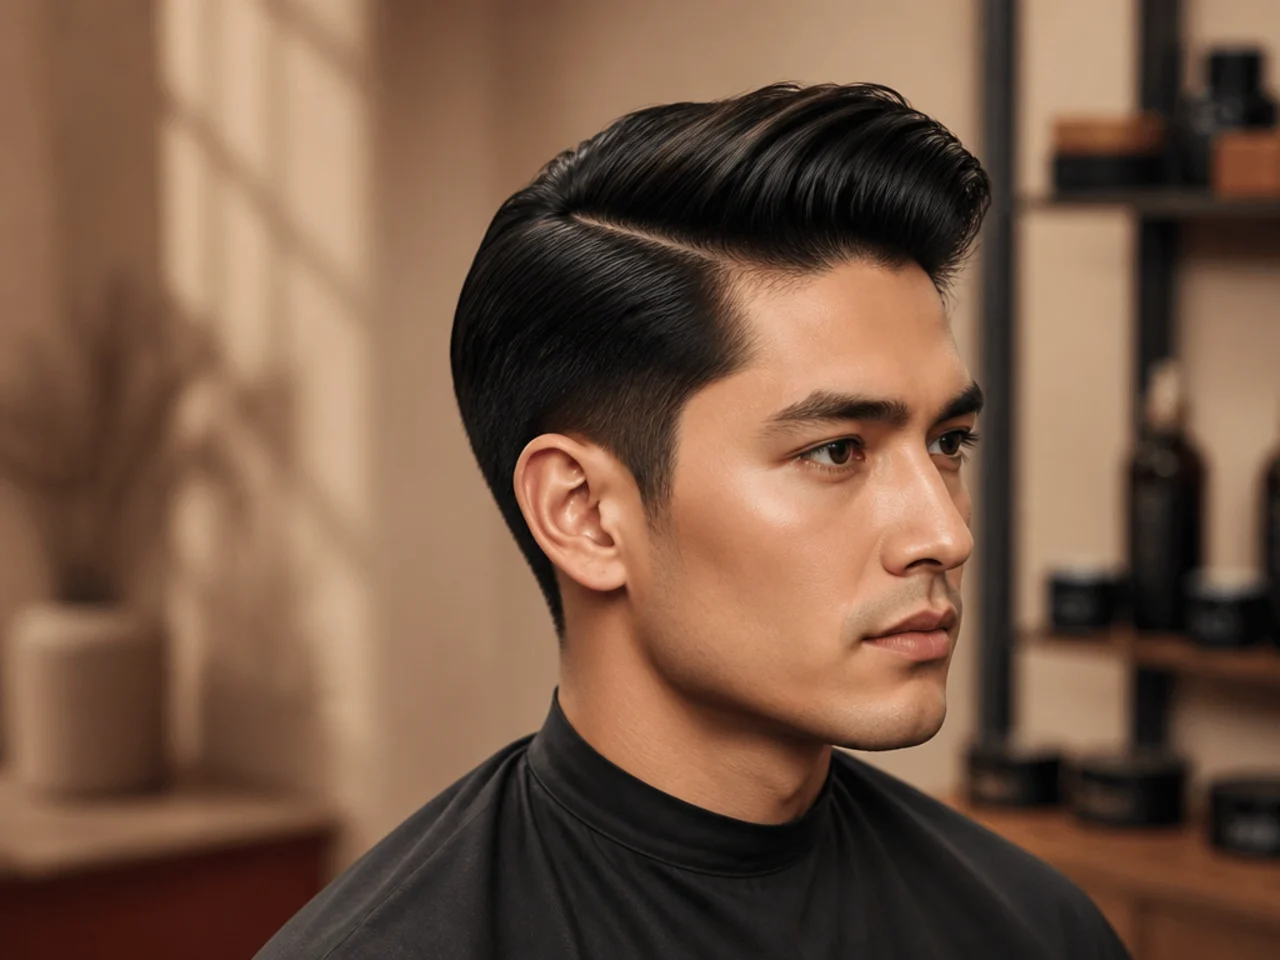
The finish protects the four minutes of styling you just did.
Mist a light-hold hairspray from eight inches away. One pass across the front only. Any closer and the spray wets the hair back into a mess; any further and the mist evaporates before it lands. Light hold keeps movement — strong hold turns the whole shape into a shell.
If your hair falls in humidity, use a dry texture spray instead of hairspray. Dry texture spray adds grit and hold without the wet-set stiffness. It also lets you rework the shape midway through the day if the sweep drops.
Cool-shot the front one more time after spraying — three seconds is enough. The cool air locks the spray at the same time it locks the shape.
For evening or event wear, pinch a very small amount of finishing wax into the ends of the front sweep. Not the roots. Ends only, tiny amount. It adds a subtle definition that photographs well.
Common mistake: using strong-hold hairspray as insurance. Strong-hold on a quiff shape freezes the individual pieces together, which reads shellac in every light. If you need more hold, choose a flexible-hold formula or use less spray, not more.
Troubleshooting a Side Quiff at Home

Every home style has a failure mode. The list below covers the fixes for the five most common side quiff problems, in the order they tend to appear.
- Front falls flat by afternoon. Your pre-styler is too light or you skipped the cool-shot. Add a stronger volumizing mousse at the roots, and cool-shot for a full ten seconds after the shape is set. If it still falls, try a fiber instead of a clay — fibers grip harder on fine or slippery hair.
- Product looks greasy at the roots. Too much product, or product applied too high. Restart at the ends, use less product, work back — never straight to the roots. If you already overdid it, blot the roots with a dry towel and dust translucent powder or dry shampoo to absorb the shine.
- Sweep collapses within an hour. Growth pattern fighting the direction. Check whether your natural fall goes the same way as your sweep. If not, either flip the sweep or blow-dry against the growth pattern for 60 seconds to retrain it — dampen, redry, cool-shot.
- Sides look blocky where they meet the top. Fade or taper too abrupt, or your top length ends in a hard line at the temple. A mid fade with a smoother transition solves this at your next visit. In the meantime, press the sides flat with product to soften the visual break.
- Whole shape feels stiff or crunchy. You used too much spray or the wrong kind. Rinse and restart, or if it's mid-day, spray the front lightly with water and rework with fingers.
For a lower-maintenance shape that skips most of the product work, see our roundup of short and simple men's haircuts — several cover similar ground with a fraction of the daily styling.
Keep a mini texture spray and a boar-bristle comb in your bag. Ninety percent of side quiff touch-ups are one of those two.
FAQ
Below are the questions guys ask barbers most often about the side quiff — the ones that come up in the chair while the cut is still being finished.
What is the difference between a side quiff and a side part?
A side part is a straight comb line, and the hair falls flat on either side. A side quiff has a soft break for the part but adds real lift at the front, then sweeps up and across. Side part reads polished and classic; side quiff reads modern and asymmetric. Same neighborhood, very different shapes.
Can I get a side quiff without a fade?
Yes. A scissor-blended side or a light taper works if your workplace or personal style leans conservative. The quiff shape itself is independent of the side treatment — it works with any side length. See the classic quiff guide for softer, taper-free versions of the same silhouette.
Which side should you sweep a side quiff to?
Sweep to the side opposite your natural part, matching your growth pattern. For most guys that means a right-side sweep with a left-side part. If you have a strong cowlick, follow it. Trying to override natural growth is what makes home styling feel like a losing battle by 3 p.m.
How long should the top be for a side quiff?
Three to six inches at the front. Three inches gives you a short, low-effort side quiff. Six inches gives real drama and needs a round brush to hold shape. Under three is too short to lift and sweep; over six starts to blur into flow or slick-back territory.
What are the best products for styling a side quiff at home?
Matte clay or paste for a modern textured finish. Water-based pomade if you want the retro shine. Sea-salt spray or a light mousse as a pre-styler. Light-hold hairspray or a dry texture spray to finish. A dependable set of clippers helps if you want to keep the sides clean between visits.
How often should I re-cut a side quiff?
Every three to four weeks if your sides are a fade or skin fade — the shape lives or dies on the sharpness of that edge. Every five to six weeks for scissor-blended sides or a low taper. The moment the sweep loses its lift or the sides creep over the ears is the moment to book.