

25 Dreamy Mullet Shag Cuts For Soft Lived In Layers
Twenty-five mullet shags, and the single change that separates them from a plain mullet. The hard step between the short top and the long back is replaced by graduated layers, so the outline stays and the edge goes.
In this article · 32
- Where the Mullet Ends and the Shag Begins
- How to Set the Balance
- The 25 Mullet Shag Cuts
- 1. Soft Mullet Shag
- 2. Heavy Layer Mullet Shag
- 3. Short Mullet Shag
- 4. Collarbone Mullet Shag
- 5. Long Mullet Shag
- 6. Mullet Shag With Curtain Bangs
- 7. Mullet Shag With a Blunt Fringe
- 8. Mullet Shag With Wispy Bangs
- 9. Mullet Shag With Face Framing Layers
- 10. Curly Mullet Shag
- 11. Wavy Mullet Shag
- 12. Straight Mullet Shag
- 13. Coily Mullet Shag
- 14. Fine Hair Mullet Shag
- 15. Thick Hair Mullet Shag
- 16. Mullet Shag With a Rounded Tail
- 17. Mullet Shag With a Pointed Tail
- 18. Mullet Shag With a Tapered Nape
- 19. Mullet Shag With a Middle Part
- 20. Mullet Shag With a Deep Side Part
- 21. Mullet Shag With Balayage
- 22. Mullet Shag With a Root Shadow
- 23. Mullet Shag With a Money Piece
- 24. Air Dried Mullet Shag
- 25. Mullet Shag at Twelve Weeks
- Styling and Upkeep
- Mistakes to Avoid
- FAQ
- Final Thoughts
A mullet shag is a mullet with the edge taken out of it, and the confusion is that people ask for the softness while describing the step.
The outline stays. Short through the crown and front, long at the back. That silhouette is what still makes it a mullet rather than a long layered cut.
The disconnection goes. In its place, a stack of graduated layers that hands length from the crown down to the tail with no single point where one section stops and another starts.
Where the Mullet Ends and the Shag Begins
A mullet is defined by its outline. Take the tail away and there is no mullet left, regardless of how the top is cut.
A shag is defined by its layers. It has volume distributed across the whole head and no strong perimeter, which is the opposite arrangement.
A mullet shag borrows one thing from each. The mullet outline for the shape, the shag layering for the surface, joined by a gradient rather than a step.
The gradient is what makes it look lived in. Each layer sits a short distance above the one below, so growth moves the whole stack down together instead of pulling one section out of place.

How to Set the Balance
Say where the shortest layer sits. Crown height gives maximum lift and maximum commitment. Cheekbone height gives a softer shape that keeps more weight in the mid lengths.
Say where the tail ends. The distance between those two points is the contrast, and the contrast is what decides how much of a mullet this reads as.
Ask for a gradient, not a disconnection. They are separate techniques. A stylist who hears mullet and reaches for a hard step will give you exactly that.
Bring a photograph of hair the same texture as yours. Layer angles behave completely differently on straight and curly hair, and a picture of the wrong texture sets an expectation the cut cannot meet.
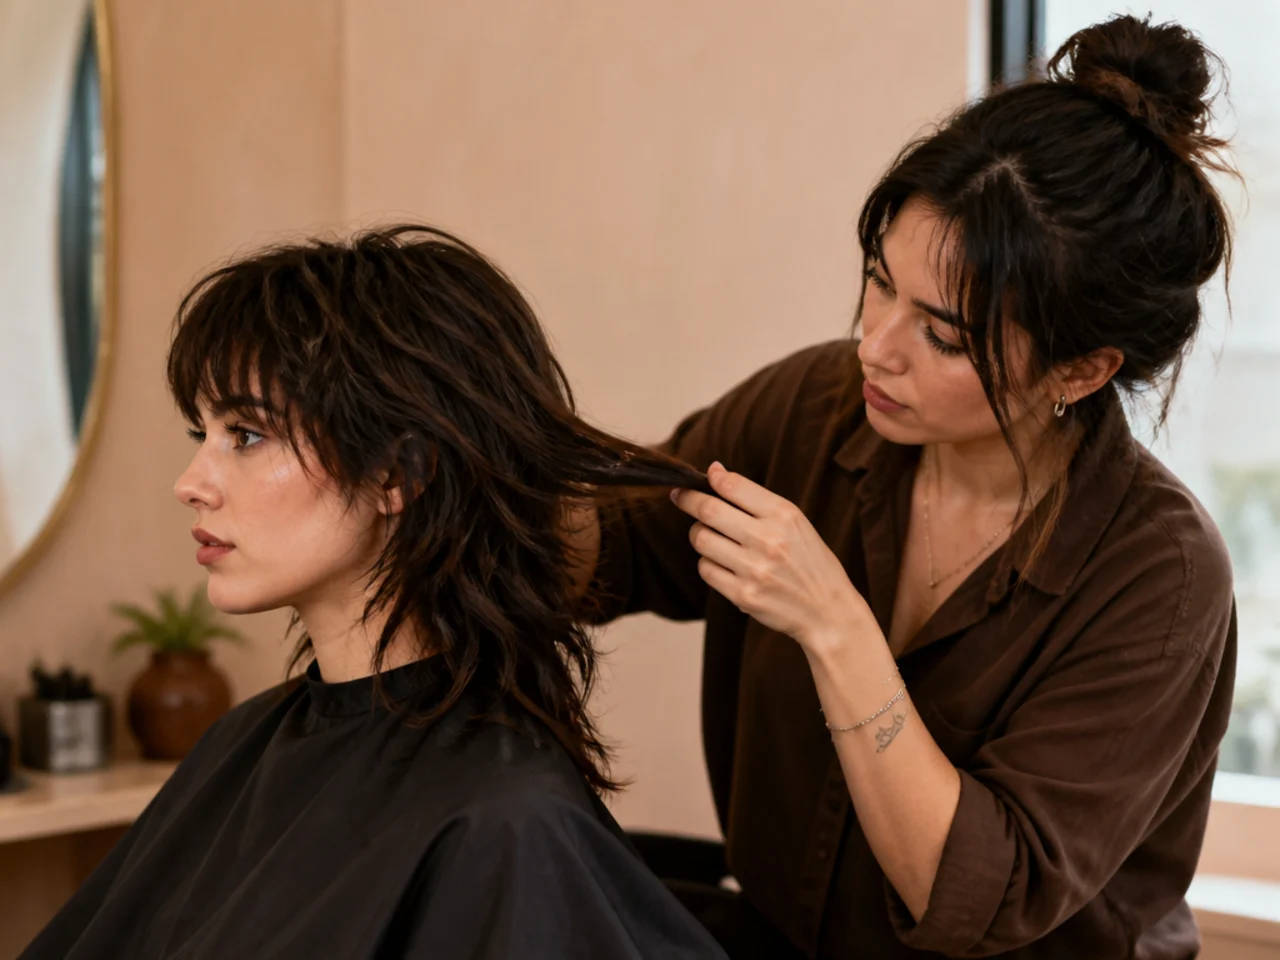
The 25 Mullet Shag Cuts
1. Soft Mullet Shag
The baseline version, with layers spaced closely enough that no individual one is visible. Because the length changes gradually across several inches rather than at one point, the eye reads movement instead of a line, which is the entire lived in effect.
2. Heavy Layer Mullet Shag
Fewer layers with more distance between them, so each one is legible as a separate shelf of hair. It produces far more visible texture and it needs density to work, since a sparse head shows the gaps between shelves rather than the shelves themselves.

3. Short Mullet Shag
Everything kept above the jaw except a short tail at the nape. Compressing the whole stack into a small area means the layers have to sit closer together, so the cut needs precision that a longer version can hide.

4. Collarbone Mullet Shag
The most balanced length in the list. There is enough room between the crown and the collarbone for a full stack of layers, and enough weight left at the ends to stop the tail flicking outward as it dries.

5. Long Mullet Shag
The tail carried past the shoulder blades. Length is weight, and weight pulls the layers above it flatter, so a long mullet shag needs the crown cut shorter than a mid length one to keep the same amount of lift.

6. Mullet Shag With Curtain Bangs
A fringe split at the centre and lengthening outward into the face frame. It disguises the point where the shortest crown layer begins, which is otherwise the most conspicuous cut line in the whole shape.

7. Mullet Shag With a Blunt Fringe
A solid horizontal across the brow set against a stack of soft layers behind it. The contrast is deliberate: a hard edge at the front makes the softness behind it read as a choice rather than as an unfinished cut.

8. Mullet Shag With Wispy Bangs
The fringe taken from a narrow section so the forehead shows through it. Less hair in the section means less weight, and a light fringe moves with the face instead of sitting on it as a fixed block.

9. Mullet Shag With Face Framing Layers
Shorter pieces at the temples graduated back into the length. They put a shadow along the cheek and jaw, and they also give the crown layers somewhere to hand over to at the sides instead of ending mid air.

10. Curly Mullet Shag
The best texture for this cut, because curls already sit apart from one another and reveal the layer stack without any styling. Cut dry, curl by curl, since a curl stretched under water finishes far shorter than it was cut.

11. Wavy Mullet Shag
The bend in each strand holds it off its neighbours, which shows the layers with almost no effort. Waves lift by half an inch to an inch as they dry, so the tail has to be cut long enough to allow for that spring.

12. Straight Mullet Shag
The hardest to make read as a shag, because straight strands lie flat against one another and hide the stack. Ask for the layers to be slide cut so each length change happens across an inch instead of at a single point.

13. Coily Mullet Shag
Coils can shrink to a quarter or a half of their stretched length, so the layer positions have to be planned around dry measurements. Cutting to wet length produces a stack that is correct on paper and invisible in the mirror.

14. Fine Hair Mullet Shag
Keep the layering above the cheekbone and leave the tail perimeter solid. Fine ends have no weight left to give, and a blunt bottom edge is read as full where a feathered one is read as thin.

15. Thick Hair Mullet Shag
The reverse adjustment. Thick hair needs weight taken from inside the sections rather than more short layers, so the bulk comes down without the surface breaking into visible steps.

16. Mullet Shag With a Rounded Tail
The bottom edge cut as a shallow curve. It keeps the outer strands close in length to the centre ones, so the tail hangs together as a mass rather than separating into corners as it moves.

17. Mullet Shag With a Pointed Tail
The centre back left longer than the sides, drawing the outline down to a point. It exaggerates the mullet half of the cut, and it puts the thinnest hair on the head at the greatest distance from the scalp.

18. Mullet Shag With a Tapered Nape
The hair under the tail shortened gradually and finished with length rather than skin. Removing bulk from the lowest section lets the tail lie flat against the neck instead of standing away from it in a wedge.

19. Mullet Shag With a Middle Part
Dividing the crown into two smaller sections lets each lift more easily than one wide one. The exposed scalp line down the centre is the trade, which is why this suits dense hair more comfortably than sparse hair.

20. Mullet Shag With a Deep Side Part
Sending more hair across the top of the head lifts it at the root, because a strand crossing its own growth direction is held off the scalp by the bend. It is the only volume in this list that requires no product.

21. Mullet Shag With Balayage
Painted colour placed so the lightest pieces fall where the layers turn. Tonal variation gives the eye separate strands to read, and on a layered cut that means the stack becomes visible even when the hair is left flat.

22. Mullet Shag With a Root Shadow
A darker band kept through the first inch of regrowth. It makes the parting harder to see through, and because the line between colour and root is already soft, the six week mark passes without an obvious grow out line.

23. Mullet Shag With a Money Piece
Two lightened panels in the front sections of the face frame. Brighter tones advance and darker ones recede, so the lit pieces pull forward and the layered mass behind them falls back into depth.

24. Air Dried Mullet Shag
The version the cut is designed for. Hair sets in the shape it dries in, and left alone it dries in the direction the layers already point, which is why a well cut mullet shag looks better untouched than blow dried smooth.

25. Mullet Shag at Twelve Weeks
Roughly an inch and a half of growth later, every layer has moved down together and the stack is still in proportion. This is the payoff for a gradient over a step, and it is the point at which most people book a trim rather than a reshape.

Styling and Upkeep
Dry the crown upright before anything else. The crown sets first and it decides the height of the whole silhouette, so it is the only section worth drying deliberately.
Use a light texture spray, not a cream. Creams add water weight that closes the layer stack down, while a salt or sugar based spray adds grip without adding mass.
Scrunch upward while damp on wavy and curly hair. Compressing a wave as it dries locks the bend in place, and the bend is what holds each layer away from the one below.
Trim the tail perimeter every eight to ten weeks. The bottom edge softens long before the layers do, and refreshing it costs nothing in the stack above.
Leave the layers for twelve weeks or more. They are cut on a relationship to one another, and re-cutting them early resets that relationship before it has settled.

Mistakes to Avoid
Asking for a mullet and expecting a shag. One word buys you a step, the other buys you a gradient. Say which join you want in plain terms.
Putting all the length change in one place. A single dramatic layer creates a shelf. A stack of shallow ones creates movement, and only the second reads as lived in.
Cutting curls or coils wet. They stretch under water and retract as they dry, so the layer positions end up several inches from where they were measured.
Layering the tail on fine hair. The ends carry the least weight of anything in the cut, and taking more turns a solid outline into a scatter of thin pieces.
Blow drying it smooth. Flattening the layers hides the stack the cut is built from, and the result is a long shape with an unexplained short section at the crown.

FAQ
Mullet or shag? Both. The mullet gives the outline, the shag gives the layers, and a gradient joins them.
Where do the layers start? Crown height for maximum lift, cheekbone height for a softer, heavier shape.
How often to cut? Perimeter at eight to ten weeks, layers at twelve or more.

Final Thoughts
The word doing the work in mullet shag is the join. Keep the outline of a mullet, ask for a gradient rather than a disconnection, and the cut stops looking like two lengths of hair sharing a head and starts looking like one shape with movement in it.
More cuts in this family, from the sharp end to the soft end, are in Mullet & Wolf Cut. See also mullet hairstyle women and mullet hairstyle.



