

15 Simple Steps To Style A Mullet Hairstyle At Home
Fifteen steps for styling a mullet at home, in order. The one that decides the result is drying the front and the back separately, because they need airflow pointed in opposite directions and one pass over the whole head gives neither.
In this article · 22
- How a Mullet Dries in Two Halves
- Choosing Your Finish First
- The 15 Steps To Style It At Home
- 1. Start on Damp Hair Not Wet
- 2. Detangle From the Ends Upward
- 3. Split the Hair at the Ear Line
- 4. Work Mousse Into the Crown Roots
- 5. Rough Dry the Back on Low Heat
- 6. Lift the Crown With a Round Brush
- 7. Dry the Front Pieces Forward
- 8. Diffuse the Tail if You Have Curl
- 9. Finish Each Section With a Cool Shot
- 10. Break the Fringe Apart With Your Fingers
- 11. Texture Spray Through the Mid Lengths
- 12. Flick the Tail Ends Outward
- 13. Rebuild the Gap Between Front and Back
- 14. Set It With a Flexible Hold Spray
- 15. Check the Silhouette From the Side
- Styling and Upkeep
- Mistakes to Avoid
- FAQ
- Final Thoughts
A mullet styled at home usually fails in the drying rather than the cutting, because most people dry the whole head in one direction and the two halves of the cut want opposite ones.
A mullet is two shapes drying at the same time. The front wants lift and forward direction, the tail wants weight and a downward fall. A single pass over the head gives you neither.
Damp is where styling starts, not wet. Product applied to soaking hair dilutes and slides to the ends. Wait until the hair stops dripping and the hold ingredients stay where you put them.
How a Mullet Dries in Two Halves
Hair sets in the direction it dries. Whatever position a strand is in as the last water leaves it is the position it holds until it gets wet again. That is the whole mechanism behind every step below.
The front half needs lift. Crown and face framing pieces are short enough that any weight in them reads as flatness, so the airflow has to push the roots against the way they grow.
The back half needs fall. The tail is long and its own weight already does most of the work, so airflow pointed down the length keeps the cuticle smooth and stops it fluffing sideways.
The gap between them is the cut. A mullet reads as a mullet because the front stops noticeably shorter than the back, and drying both halves the same way closes that gap visually.
Choosing Your Finish First
Decide soft or sharp before you touch a product. A soft mullet blurs the join between the halves, a sharp one keeps it visible. Every later step changes depending on which one you picked.
Soft means cream and no cool shot. Cream coats without setting hard, so the front settles a little as the day goes on and the contrast against the tail eases.
Sharp means mousse, heat and a cool shot. Mousse deposits a film that stiffens as it dries, and cooling that film while the hair is in position locks the shape it dried in.
Match the hold to your density. Fine hair collapses under anything heavier than a mousse, thick hair barely notices a light one. Weight, not hold strength, is the number that decides it.
The 15 Steps To Style It At Home
1. Start on Damp Hair Not Wet
Squeeze the water out with a towel until the hair stops dripping, which is roughly seventy percent dry. Product landing on soaking hair dilutes into the surface water and runs to the ends, so the roots get nothing and the tail gets everything.
2. Detangle From the Ends Upward
Work a wide tooth comb through the last few inches first, then move higher in stages. Starting at the roots drags every knot in the length into one compacted mass at the ends, and on a mullet that mass sits in the tail where the hair is oldest and weakest.

3. Split the Hair at the Ear Line
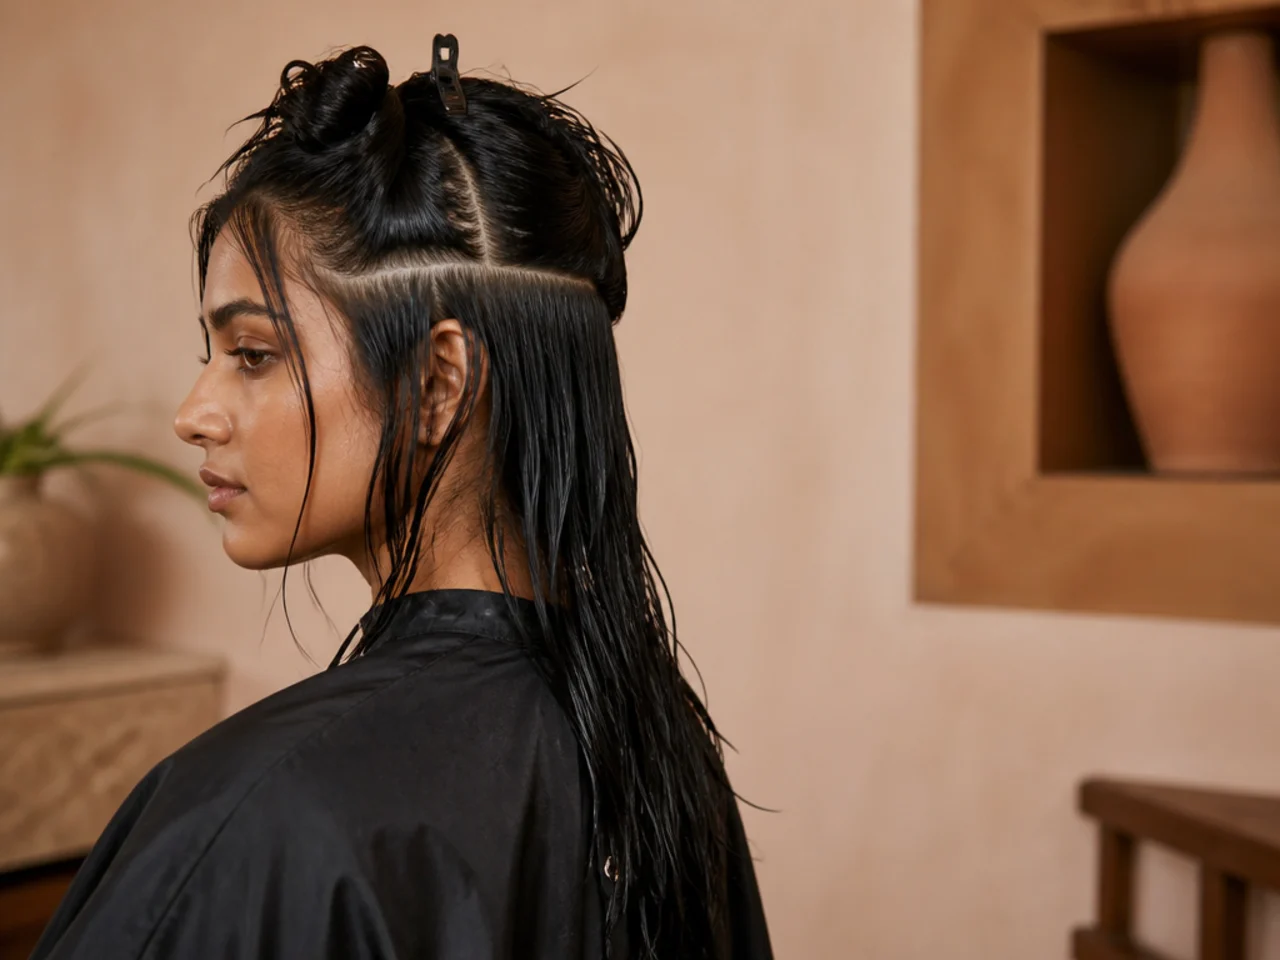
Clip everything behind a line drawn from ear to ear out of the way. Without that split you cannot aim the dryer at one half without hitting the other, and the front is the half that loses, because downward airflow from the back pass flattens the crown you have not styled yet.
4. Work Mousse Into the Crown Roots
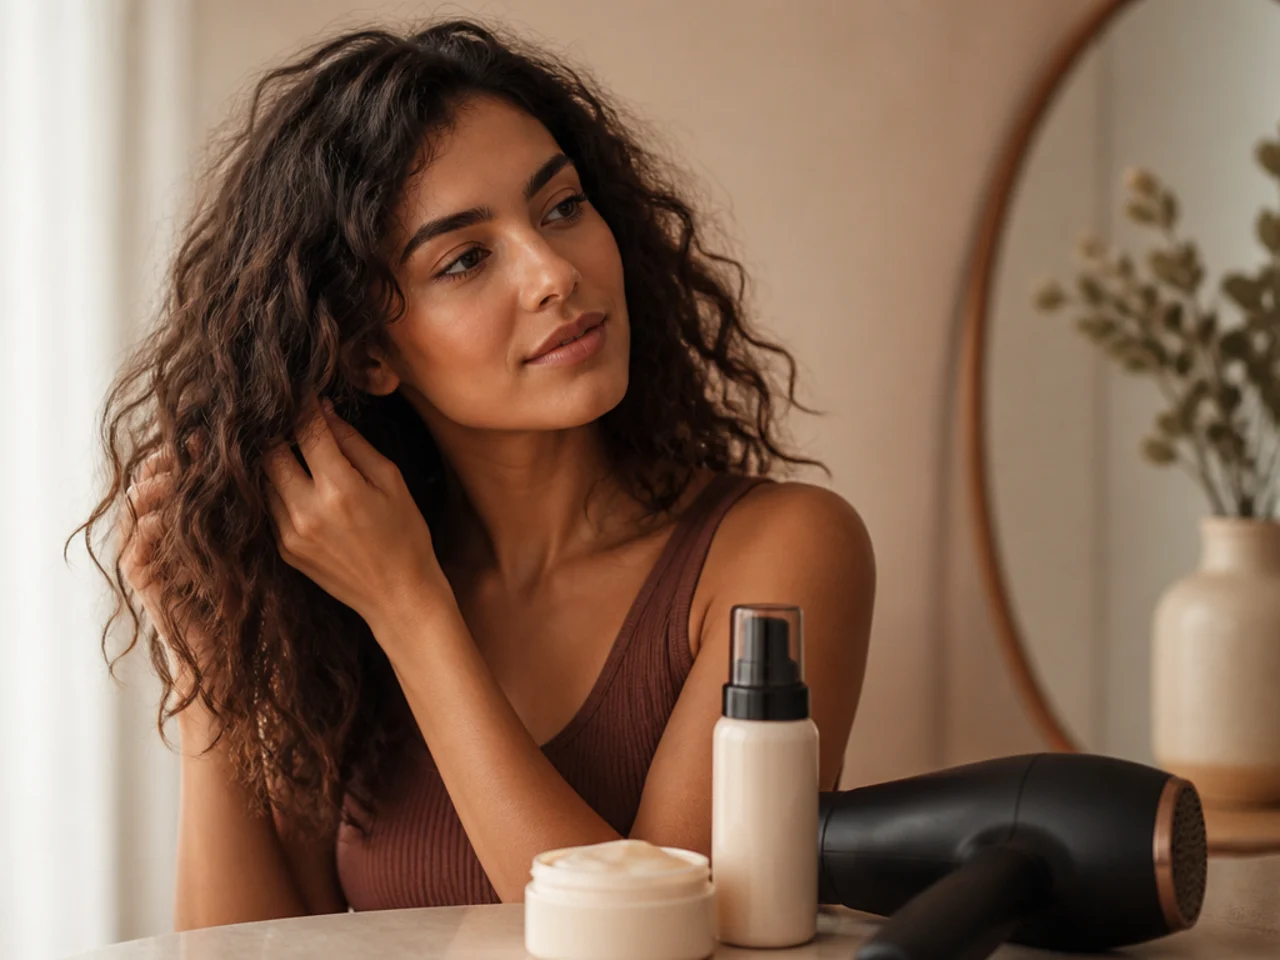
Push a coin sized amount into the roots at the crown with your fingertips, not the palm. Mousse only lifts where it makes contact with the root, and a palm application deposits most of it on the mid lengths, which adds weight exactly where you were trying to remove it.

5. Rough Dry the Back on Low Heat
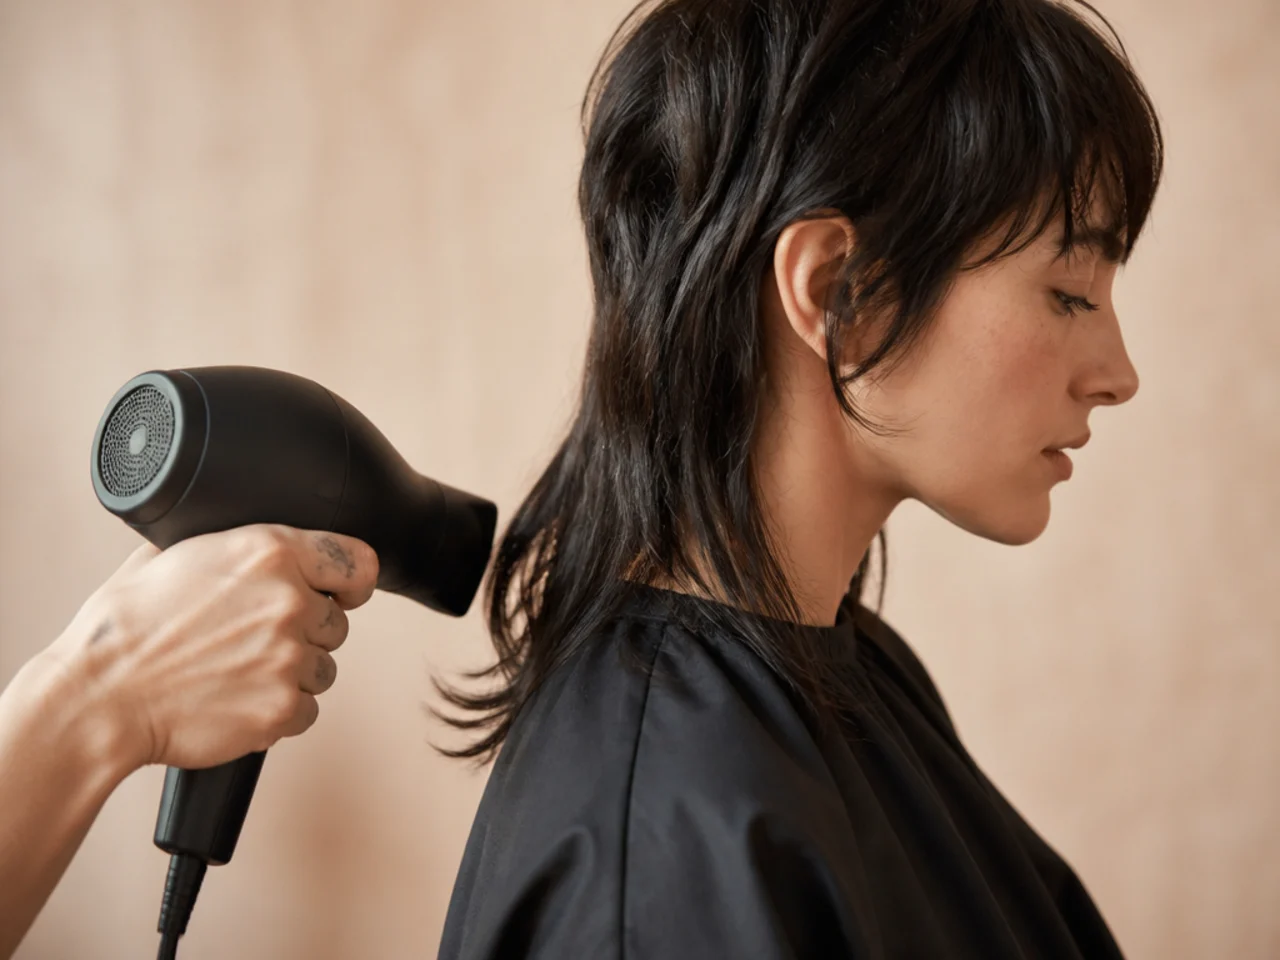
Take the tail to about eighty percent dry with the nozzle following the length downward and the dryer on medium. High heat on the last twenty percent is what causes the frizz, because the water still inside the strand turns to steam faster than it can escape and lifts the cuticle on the way out.
6. Lift the Crown With a Round Brush
Unclip the front, take a section at the crown, and pull it straight up while the nozzle follows the brush from underneath. The root sets in whatever direction it was held as the water left, so lifting it against its natural fall is the only way to build height that survives the day.
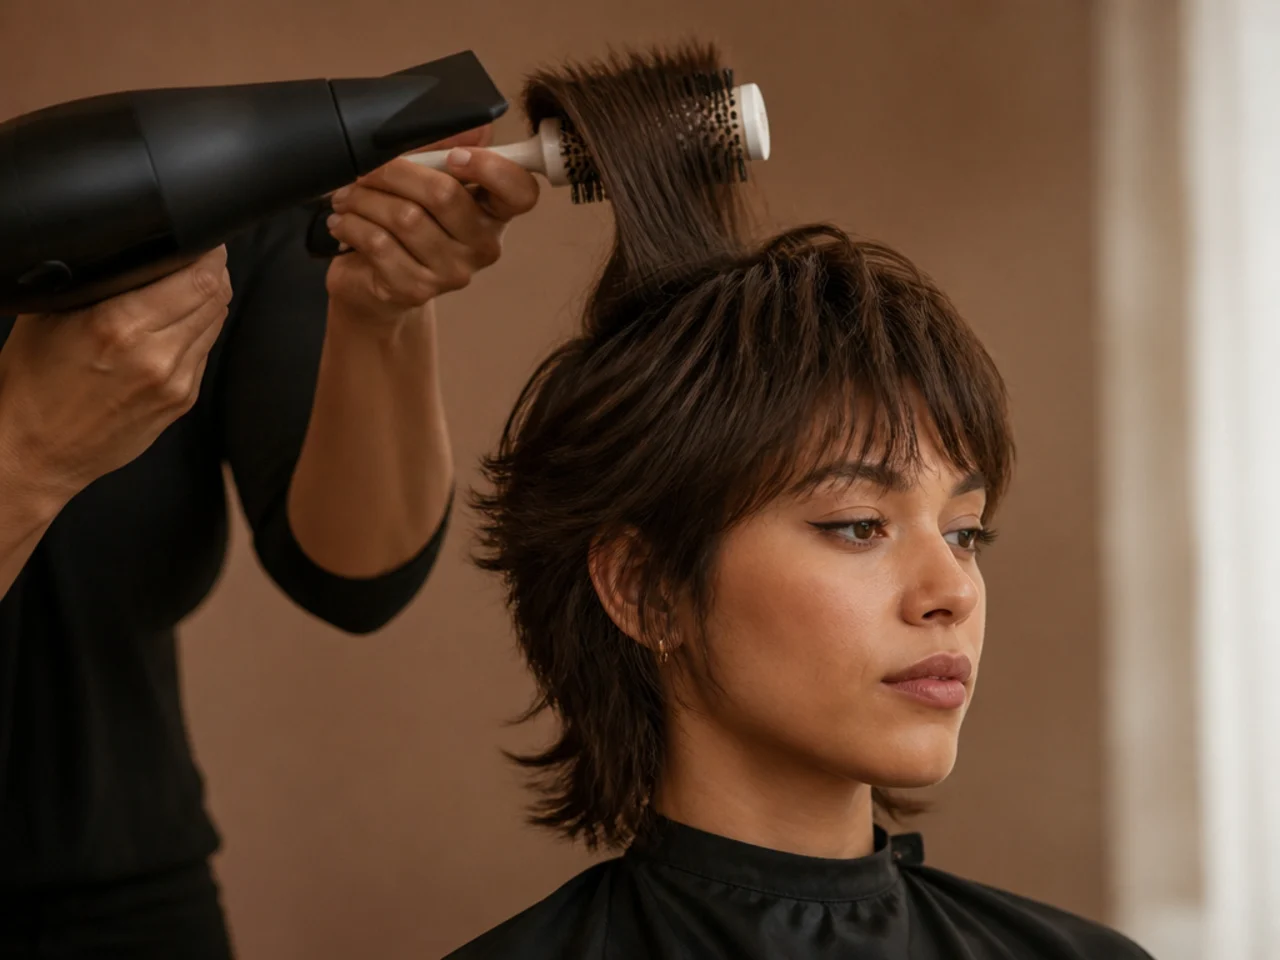
7. Dry the Front Pieces Forward
Point the face framing sections toward the nose as they dry rather than back off the face. Dried forward, they fall against the cheekbones and read as part of the short half of the cut; dried backward they join the tail visually and the contrast the mullet depends on disappears.

8. Diffuse the Tail if You Have Curl
Swap the nozzle for a diffuser, cup the tail into the bowl and hold it still on low speed. A concentrated nozzle blows curl clumps apart before they finish setting, and once a clump has been separated while wet it dries as frizz rather than as a defined curl.
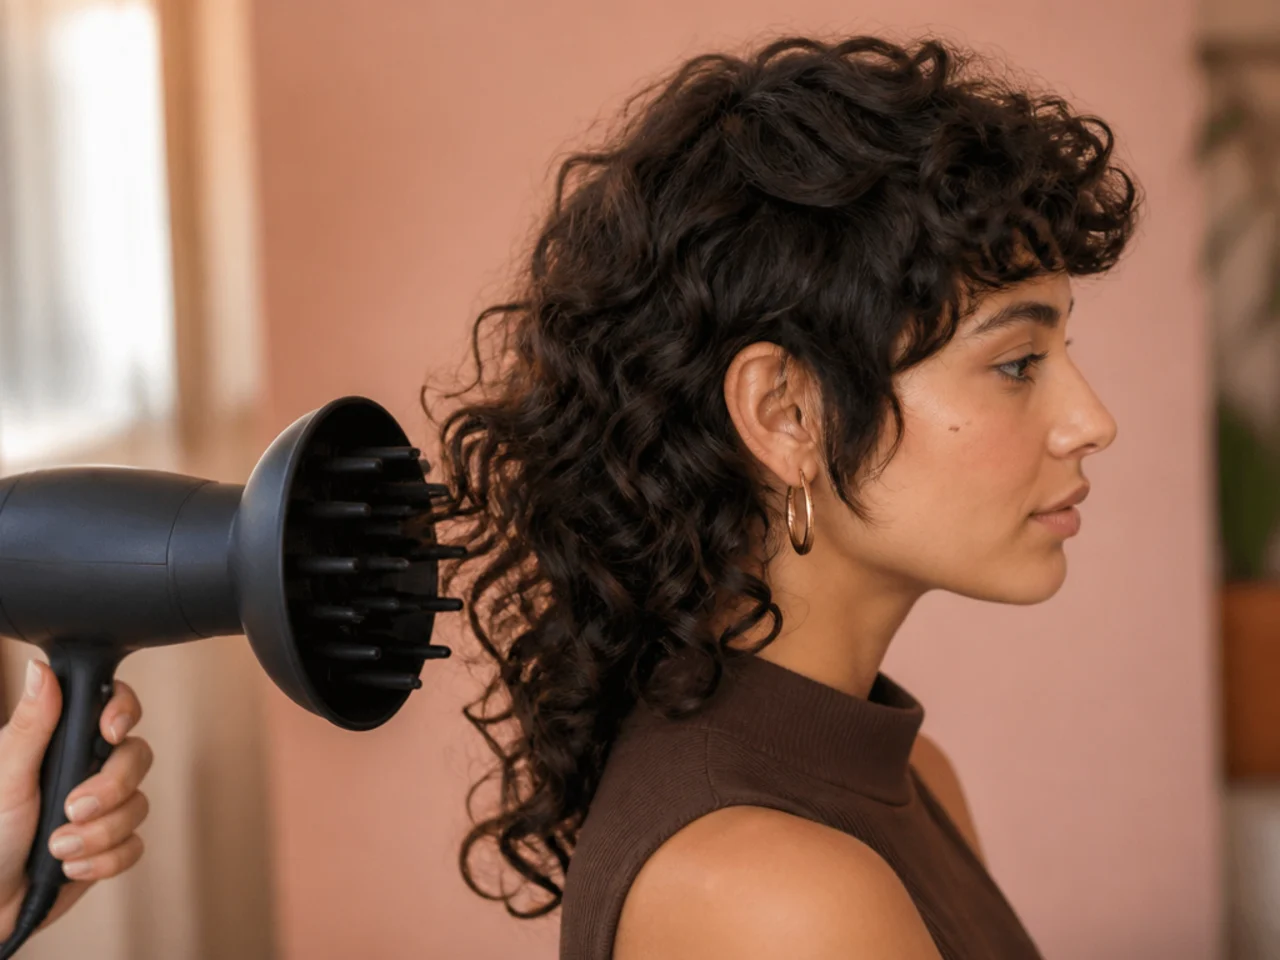
9. Finish Each Section With a Cool Shot
Hold the section in position and run cold air over it for five seconds before letting go. Warm hair is still soft and reshapes under its own weight, so releasing a section while it is hot undoes the lift you just spent a minute building.
10. Break the Fringe Apart With Your Fingers
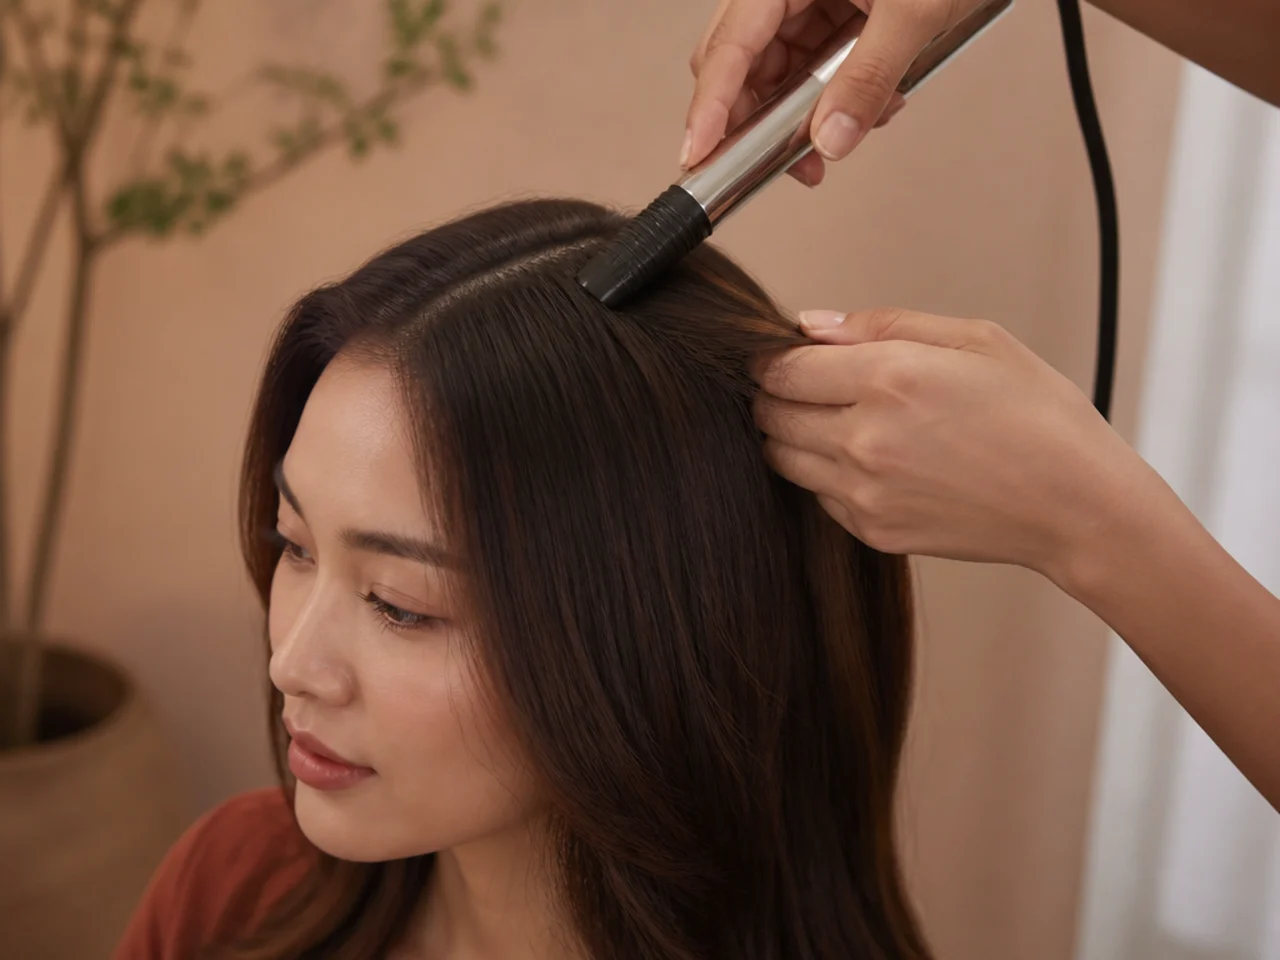
Rub a trace of dry wax between your palms and pull the fringe down into separate pieces. A fringe dried as one solid panel reads as a curtain across the forehead, and the separation is what keeps the front of a mullet looking cut rather than grown.

11. Texture Spray Through the Mid Lengths
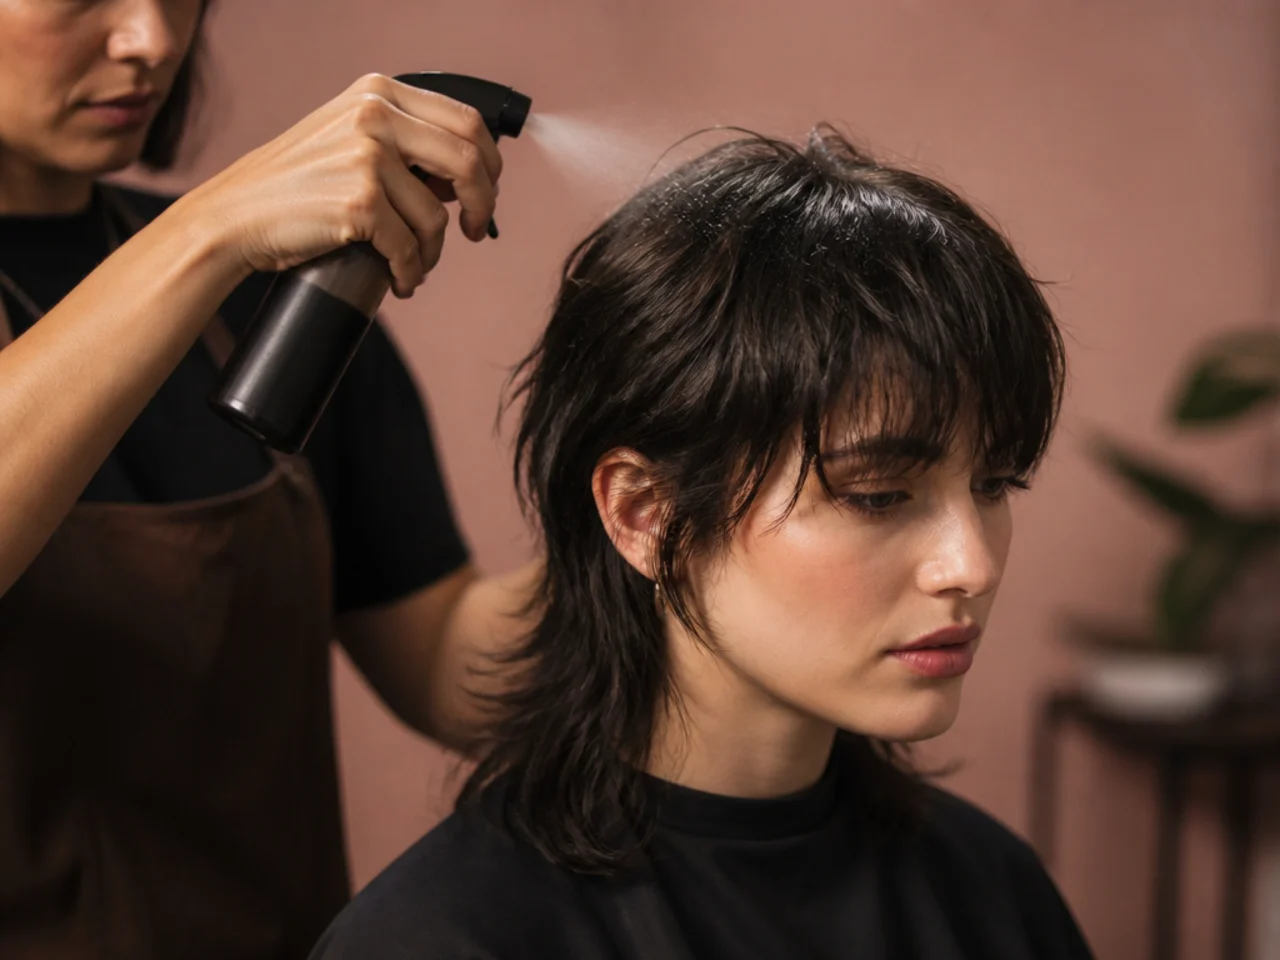
Mist a texture or salt spray twelve inches away, aimed at the middle of the length rather than the roots. Sprayed at the scalp it grits the roots and kills the lift from step six; sprayed at the ends it dries them out with nothing left to grip.
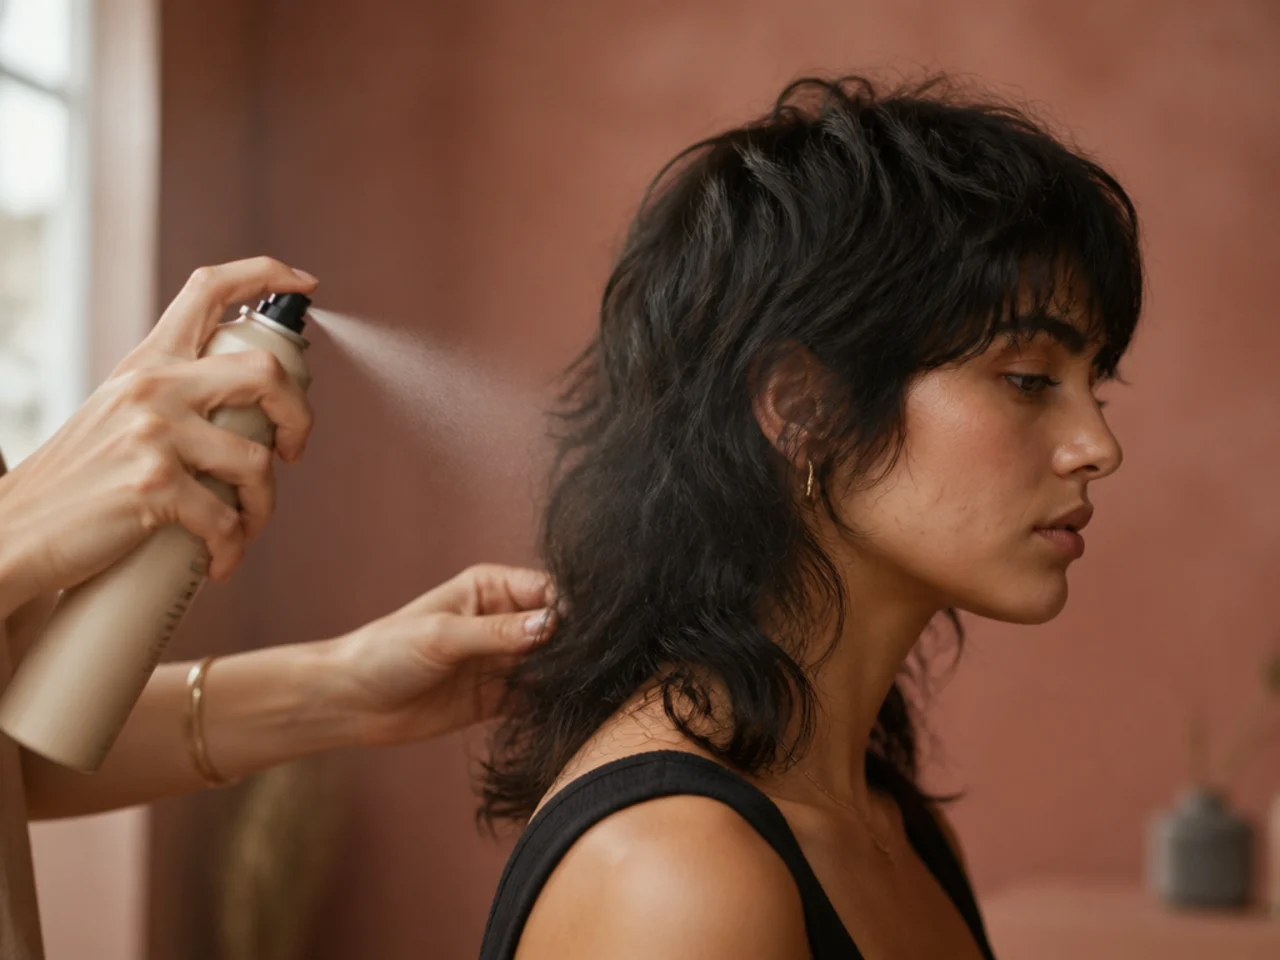
12. Flick the Tail Ends Outward
Take the last inch of the tail over a flat brush or between straightener plates and turn it away from the neck. Ends that fall straight down make the tail read as one blunt block, and the outward turn is what stops the back half looking heavier than it is.

13. Rebuild the Gap Between Front and Back
Look at the join where the short front meets the long back and pull the shortest pieces forward again with your fingers. Drying and brushing both drag hair backward, so by this point the two halves have crept together and the shape has quietly become a shag.
14. Set It With a Flexible Hold Spray
Mist a flexible hold spray from arm length in two light passes rather than one heavy one. A single close pass wets the surface enough to weigh the crown down before it dries, which flattens the lift instead of fixing it in place.

15. Check the Silhouette From the Side
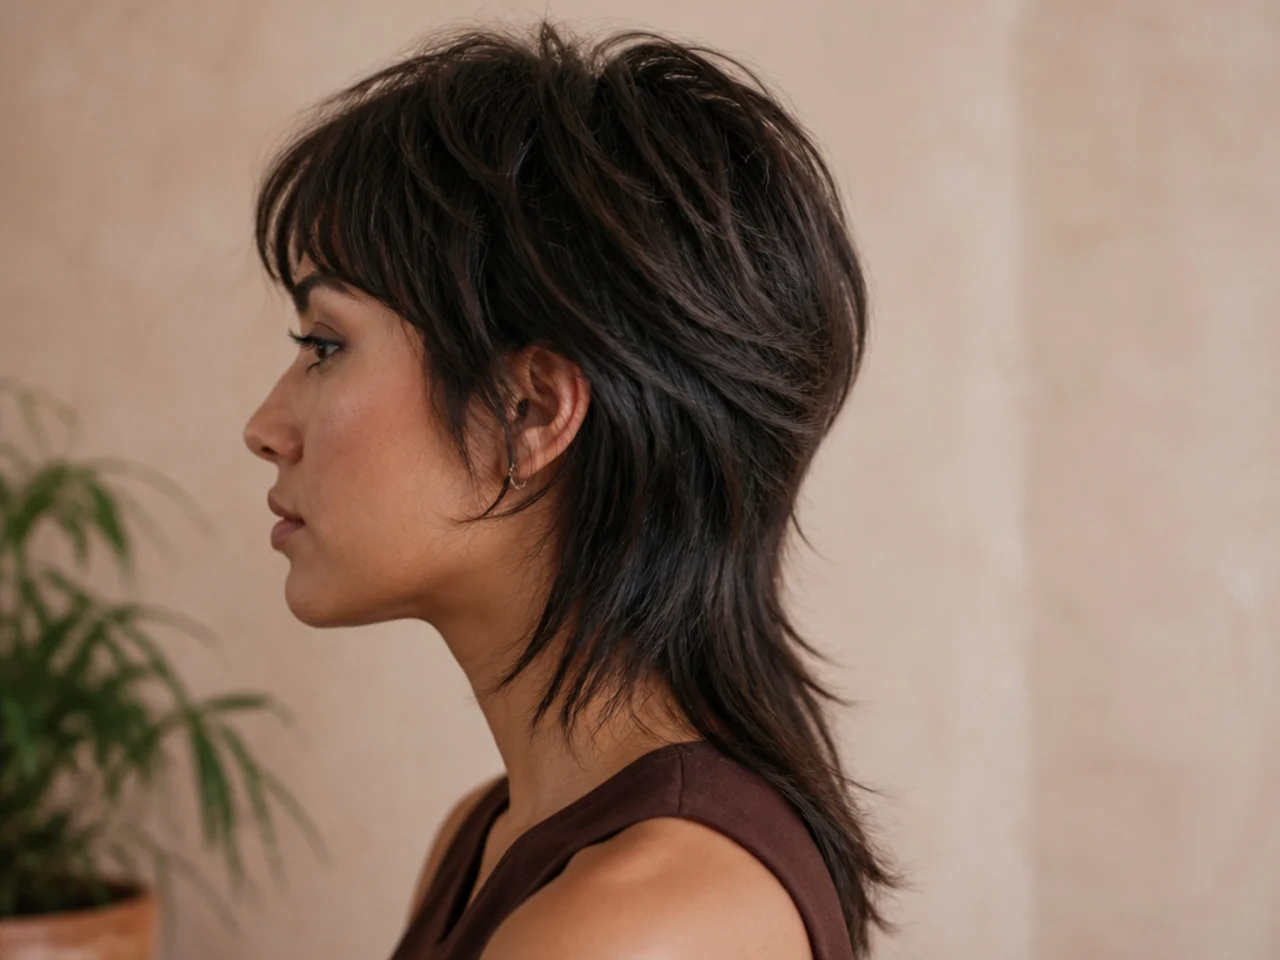
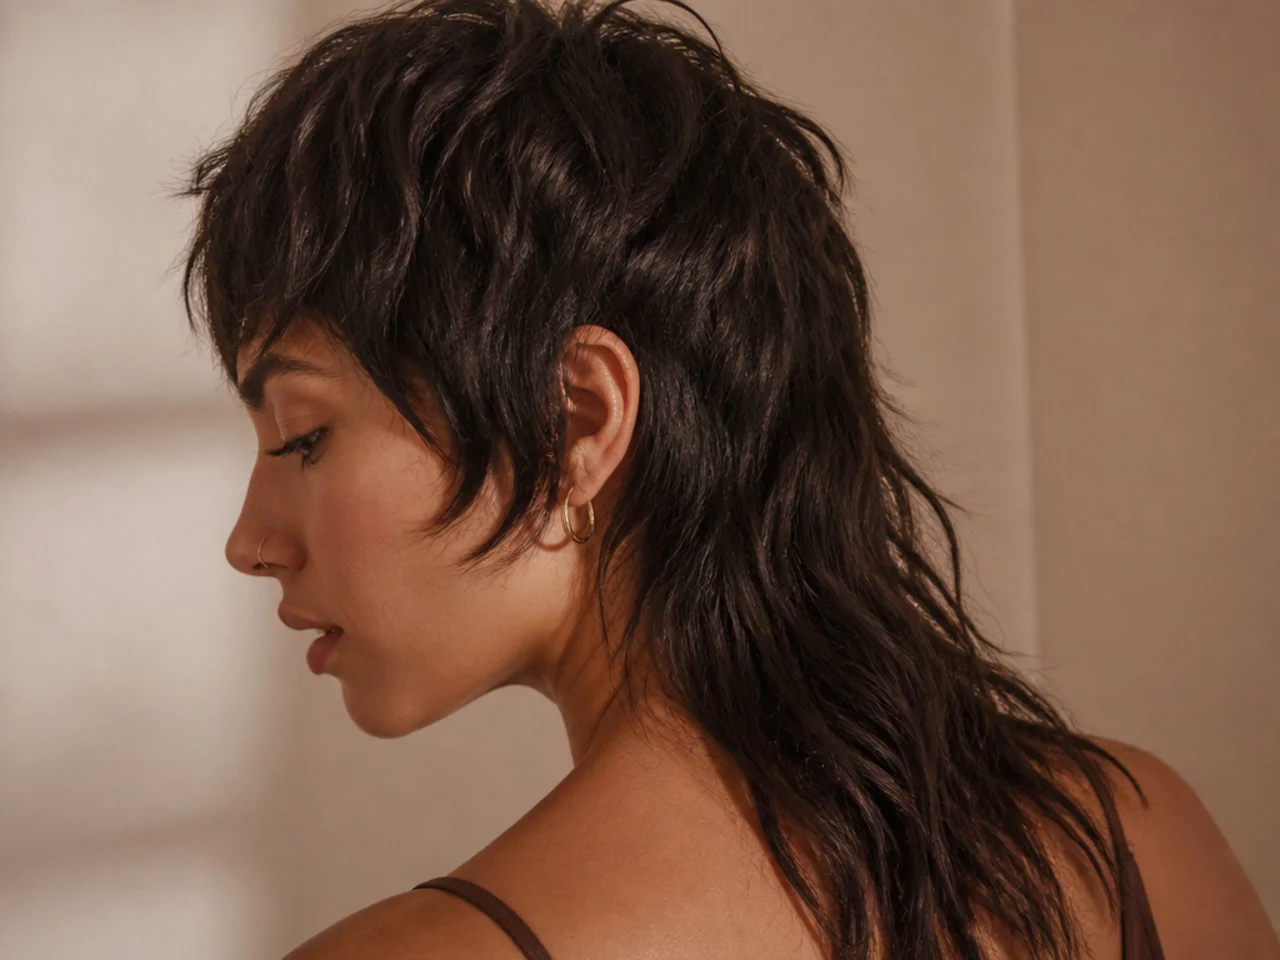
Turn side on to a mirror and look at the outline rather than the texture. A mullet is judged on profile, because that is the only angle where the short front and the long back appear at once, and a crown that has dropped is invisible head on.

Styling and Upkeep
Wash the roots and condition the tail. The two halves are different ages of hair and a full length conditioner weighs down the half that needs lift.
Refresh with water, not more product. Damp roots reset and redry; layered product just accumulates until the crown collapses under it.
Keep the fringe on its own schedule. It grows into the eyeline weeks before the rest of the shape needs touching.
Sleep with the tail out of the way. Loosely gathered at the nape it avoids the friction that turns the ends fluffy overnight.
Give the crown a heat break. Daily round brushing at the same root is the fastest route to breakage at the point of highest tension.
Mistakes to Avoid
Drying the whole head downward. It flattens the crown and closes the gap between the halves in one pass.
Applying product before towel drying. Surface water dilutes it and carries it to the ends where it does the least good.
Using the nozzle on curly ends. It separates clumps mid set and they dry as frizz rather than curl.
Letting go of a section while it is warm. The shape is not fixed until the hair is cool, so it drops as soon as you release it.
Judging the result from the front. The profile is where a mullet succeeds or fails and it is the view you never check.

FAQ
Damp or wet? Damp, around seventy percent dry, or the product runs to the ends.
One product or two? Two, in two places — mousse at the crown, cream on the tail.
How long does it take? Ten minutes with a dryer once the sectioning becomes routine.

Final Thoughts
Every step above comes back to one fact: hair holds the shape it was in when the last water left it. Sectioning, nozzle direction and the cool shot are all just ways of controlling that moment, which is why the drying takes longer than everything else combined and pays for itself.
For the range of shapes this styling routine applies to see mullet hairstyles for women, and for the shorter mens versions see mullet hairstyles for men. More in Mullet and Wolf Cut.



