25 Messy Ponytail Ideas That Look Deliberate
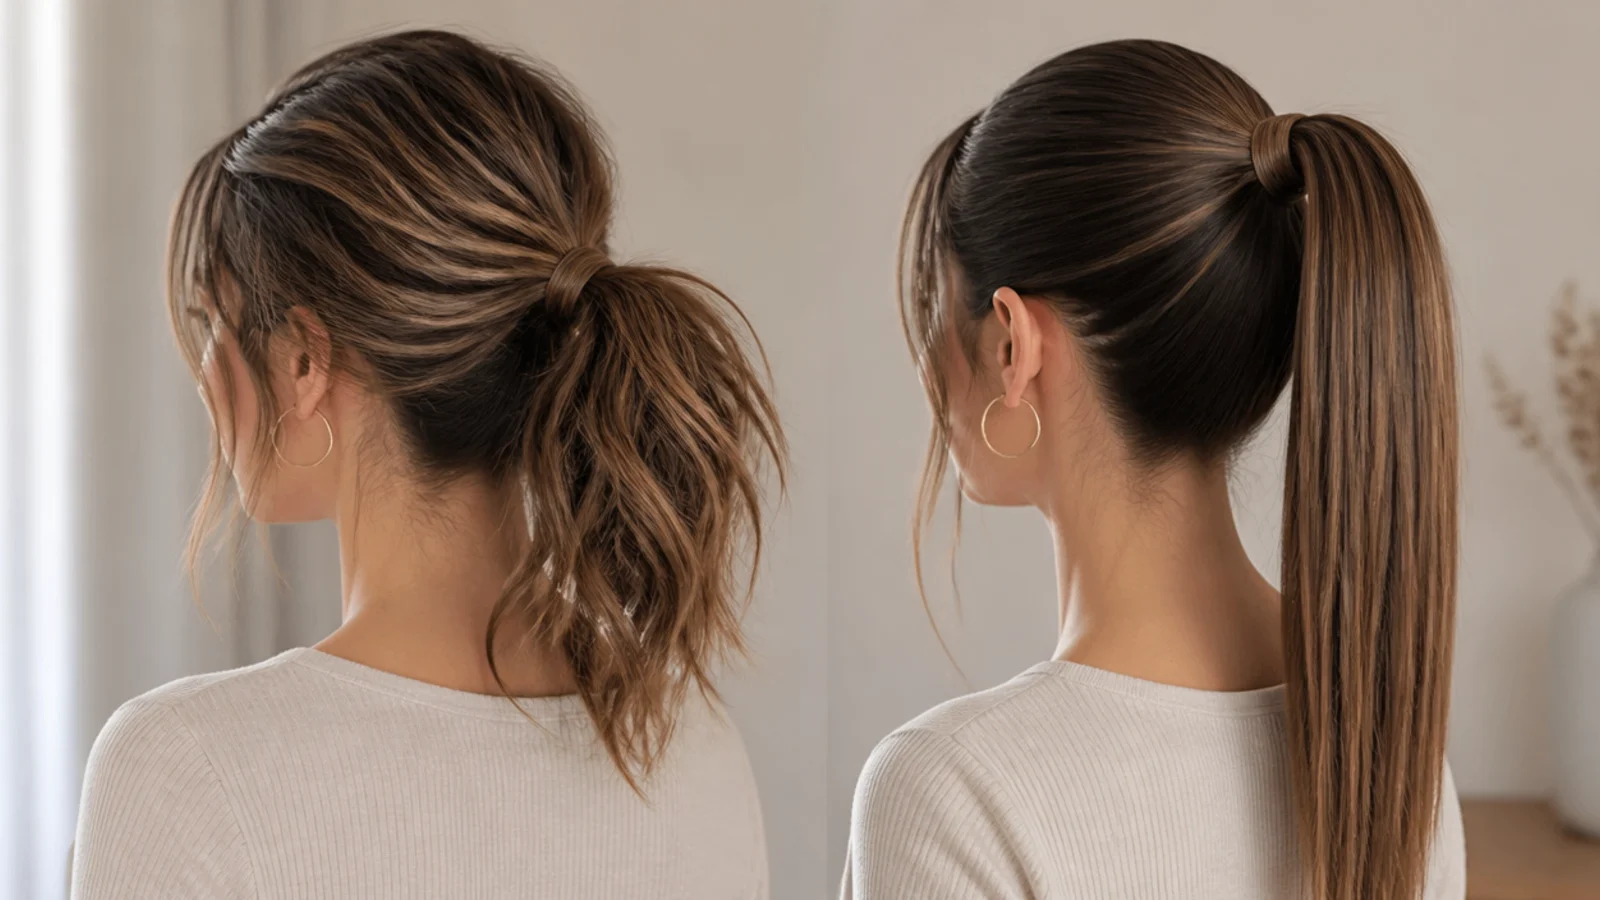
Twenty five messy ponytails and the split that fixes almost all of them — placement decides whether it holds and texture decides how it reads, and most people try to solve the first problem with the second.
In this article · 33
- Messy Not Untidy
- Messy Versus Sleek
- By Hair Length
- Fine Versus Thick Hair
- Volume and Hold
- Products That Matter
- The 25 Messy Ponytails
- 1. Classic Tousled High Ponytail
- 2. Nape Level Low Ponytail
- 3. Elastic Wrapped Ponytail
- 4. Teased Crown Volume
- 5. Bubble Segments
- 6. Side Swept Ponytail
- 7. Curly Pineapple
- 8. Braided Base
- 9. Face Framing Tendrils
- 10. Curtain Bangs
- 11. Sleek Roots With Textured Ends
- 12. Knotted Base
- 13. Half Up Ponytail
- 14. Oversized Scrunchie
- 15. Claw Clip Ponytail
- 16. Short Hair Bungee
- 17. Long Hair Mid Twist
- 18. Damp Root Ponytail
- 19. Two Elastics Stacked
- 20. Rope Twist
- 21. Ribbon Tied Ponytail
- 22. Gym to Desk Ponytail
- 23. Deep Side Part
- 24. Pinned Under Ponytail
- 25. Second Day Five Minute Ponytail
- Final Thoughts
Most messy ponytail problems are one of two problems, and they get treated as though they were the same one.
Placement decides whether it holds. The band goes above or below the bump at the back of the skull, never on the slope of it, because a slope is the one surface an elastic cannot stay on.
Texture decides how it reads. Grip at the roots, width at the crown, and every loose piece pulled out after the tie rather than left out before it.
Messy Not Untidy
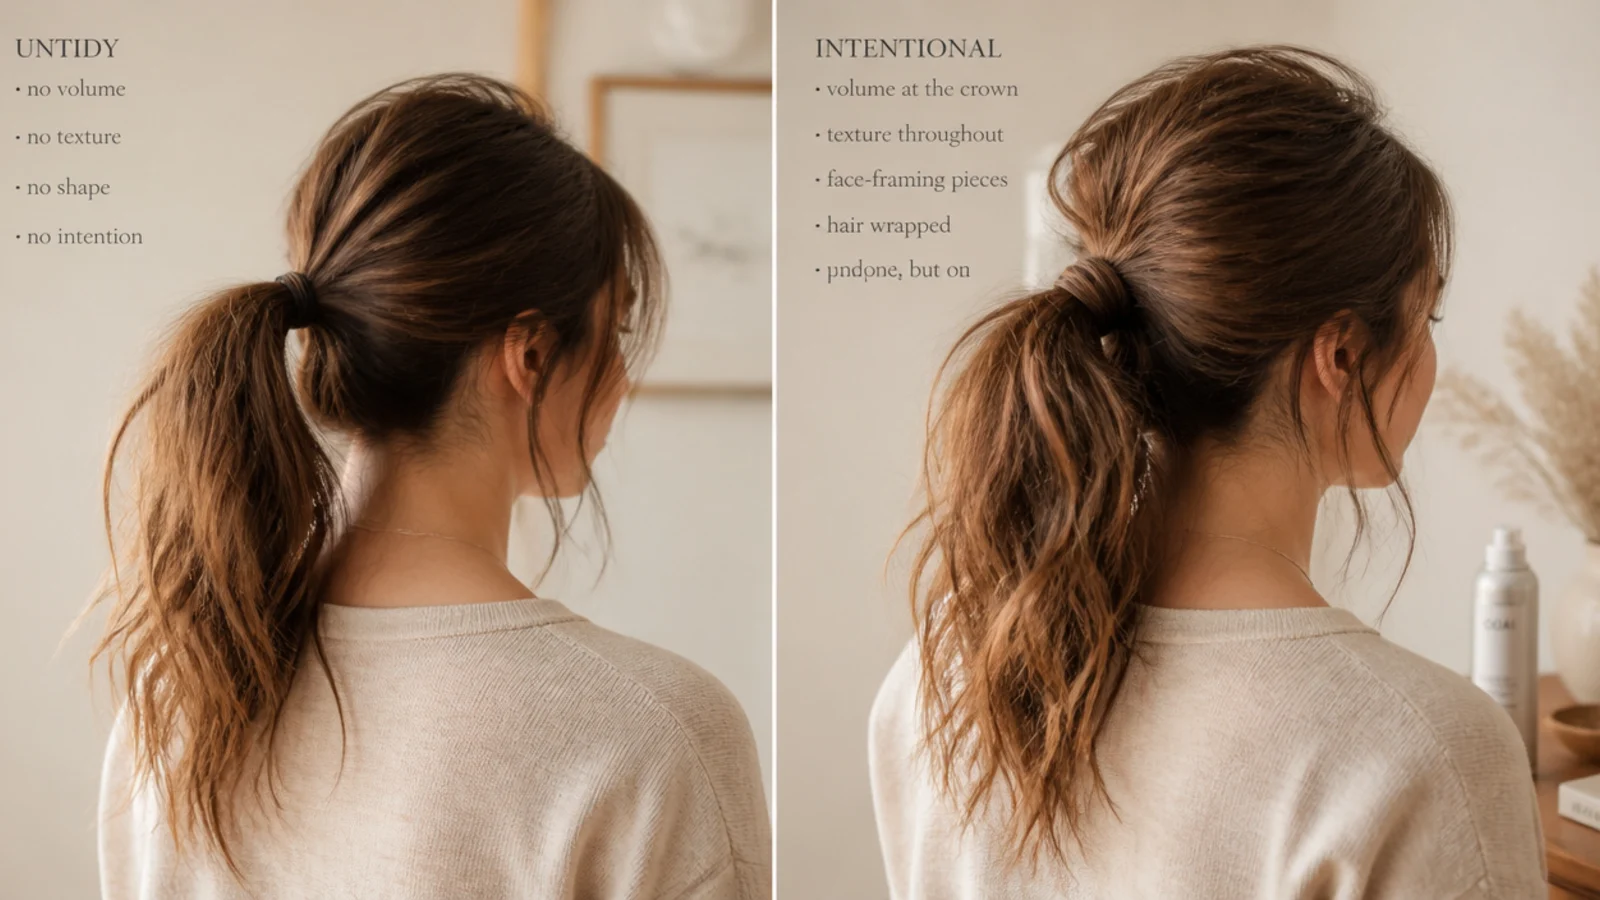
Loose above the band, firm at it. That single sentence separates a style from a style that has failed, and it is the thing photographs never make obvious.
The width belongs at the crown. Volume above the elastic reads as fullness. Hair escaping below it reads as a ponytail on its way out.
Every free piece was placed. Two matching sections at the temples, released once the tail is already secure, positioned with your fingers.
Texture, not knots. A roughened surface holds a shape. A tangle at the nape is a repair job for later.
It has to survive the day. Any version of this that only looks right for an hour is not the version you want.
Messy Versus Sleek
Sleek is built on damp hair, messy on dry. Gel and a brush against texture spray and fingers. The two routines have nothing in common except the elastic at the end.
Sleek needs an unbroken cuticle. One lifted strand catches the light on its own against a flat surface, and there is no correcting it once you are out.
Messy absorbs its own errors. Anything that works free during the day joins the texture rather than breaking a line.
Humidity ends one and not the other. Water breaks the hydrogen bonds holding a smoothed set, so the surface lifts. A textured tail is not holding a shape it wants to escape.
Time is the honest difference. Fifteen minutes against two, which is why most people own one of these looks and admire the other.

By Hair Length
Above the chin. Use a bungee band. Every wrap of a fixed loop swallows length a short tail cannot spare.
Chin to shoulder. Two small elastics stacked, because a short tail has too little weight to settle and works its way out of a single band.
Shoulder to collarbone. The easiest length here. Enough tail to hang properly and not enough mass to drag the base downhill.
Past the shoulder blades. Weight governs everything. Split into two tied sections, or drop the placement so the skull takes a share.
Curly and coily. The pattern shortens the visible length considerably, so judge placement by where the gathered mass sits rather than by where the ends land.

Fine Versus Thick Hair
Fine hair has a friction problem. Smoother strands slide against each other inside the band and the tail loosens although it weighs almost nothing.
Thick hair has a weight problem. There is grip to spare, and the base still travels down the curve of the skull.
Fine hair wants texture and two bands. Spray supplies the grip, and the lower band stops the base collapsing under the first.
Thick hair wants splitting or a lower tie. Halve what any one elastic carries, or move the whole thing below the bump where the bone helps.
Both want the crown widened last. Twenty seconds, after the tie, and it is the step that gets skipped.

Volume and Hold
Lift before you tie. Hair already under tension has no slack left to raise, so root work has to happen while the section is still free.
Backcomb under, smooth over. The tangled under layer is the cushion. The surface layer laid across it is all anyone sees.
Widen by tugging, never by loosening. Pinching hair the elastic already holds borrows slack without touching the anchor.
Wrap the band with a strand. It becomes a friction collar that stops the elastic rotating and creeping down the length.
Retie rather than tighten. Dragging a slipped band upward loads hair that has already been stretched once, and that second pull is the damaging one.

Products That Matter
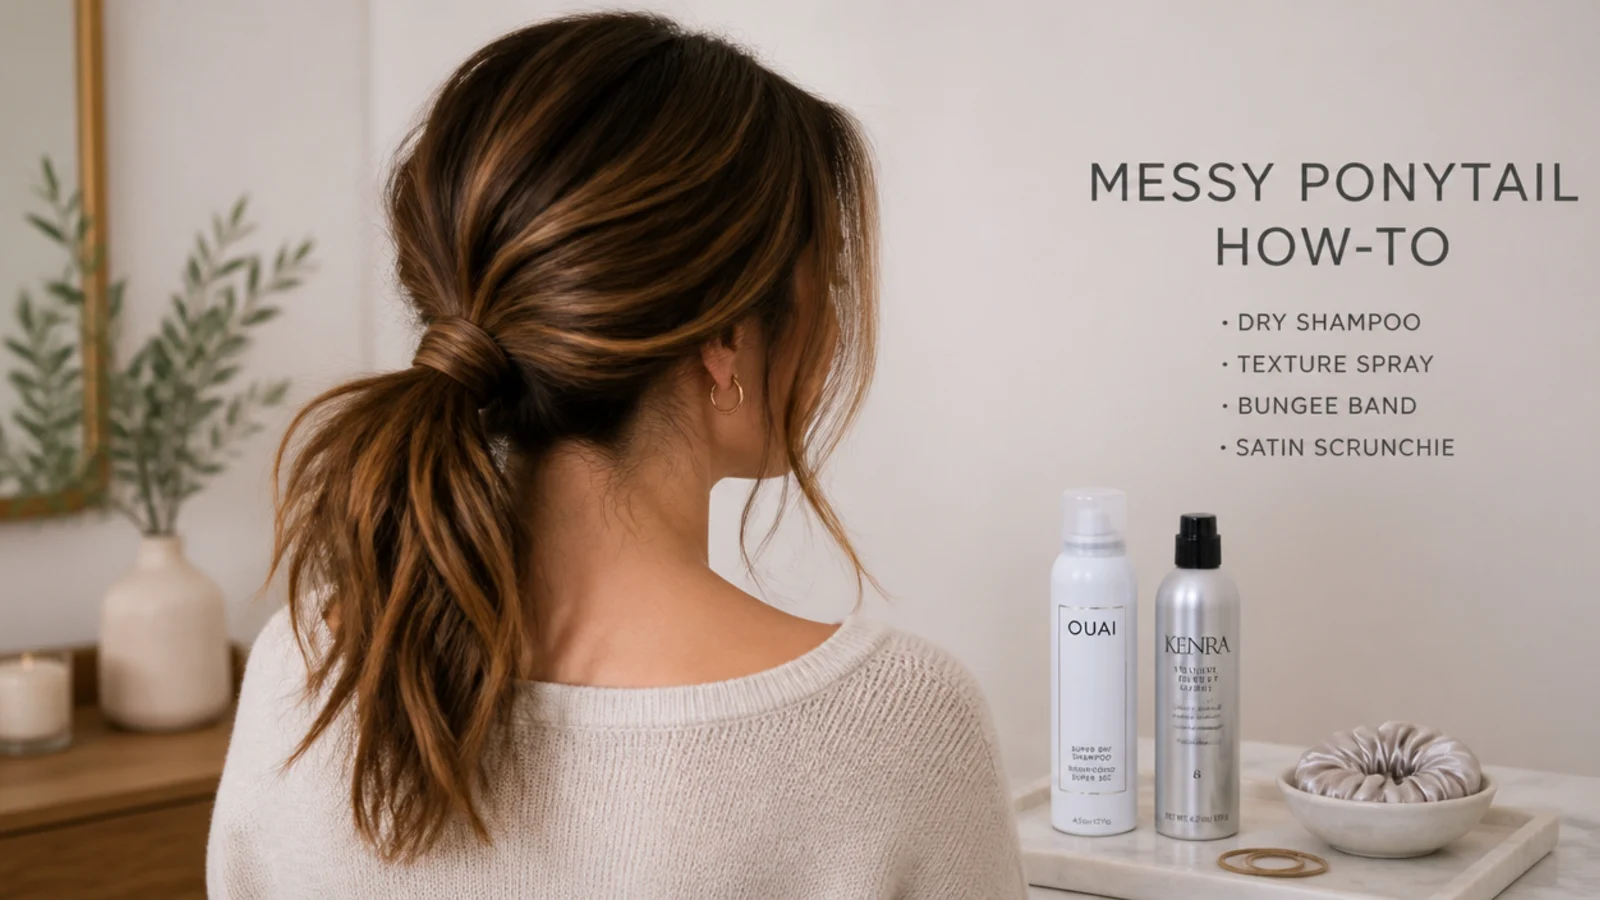
Dry shampoo, worked into the roots. The particles wedge between strands and raise the friction, which is what makes a clean head hold a band at all.
Texture spray through the mid lengths. It roughens the surface so the tail keeps its width instead of tapering to a point.
A fabric covered band. Wider contact spreads the pressure, so no single line of hair is being crushed against itself.
Flexible hold spray, not firm. A rigid cast cracks when the tail swings and takes the shape with it when it does.
Nothing smoothing near the base. Oils and shine sprays flatten the cuticle, which is precisely the surface an elastic cannot grip.
The 25 Messy Ponytails
1. Classic Tousled High Ponytail
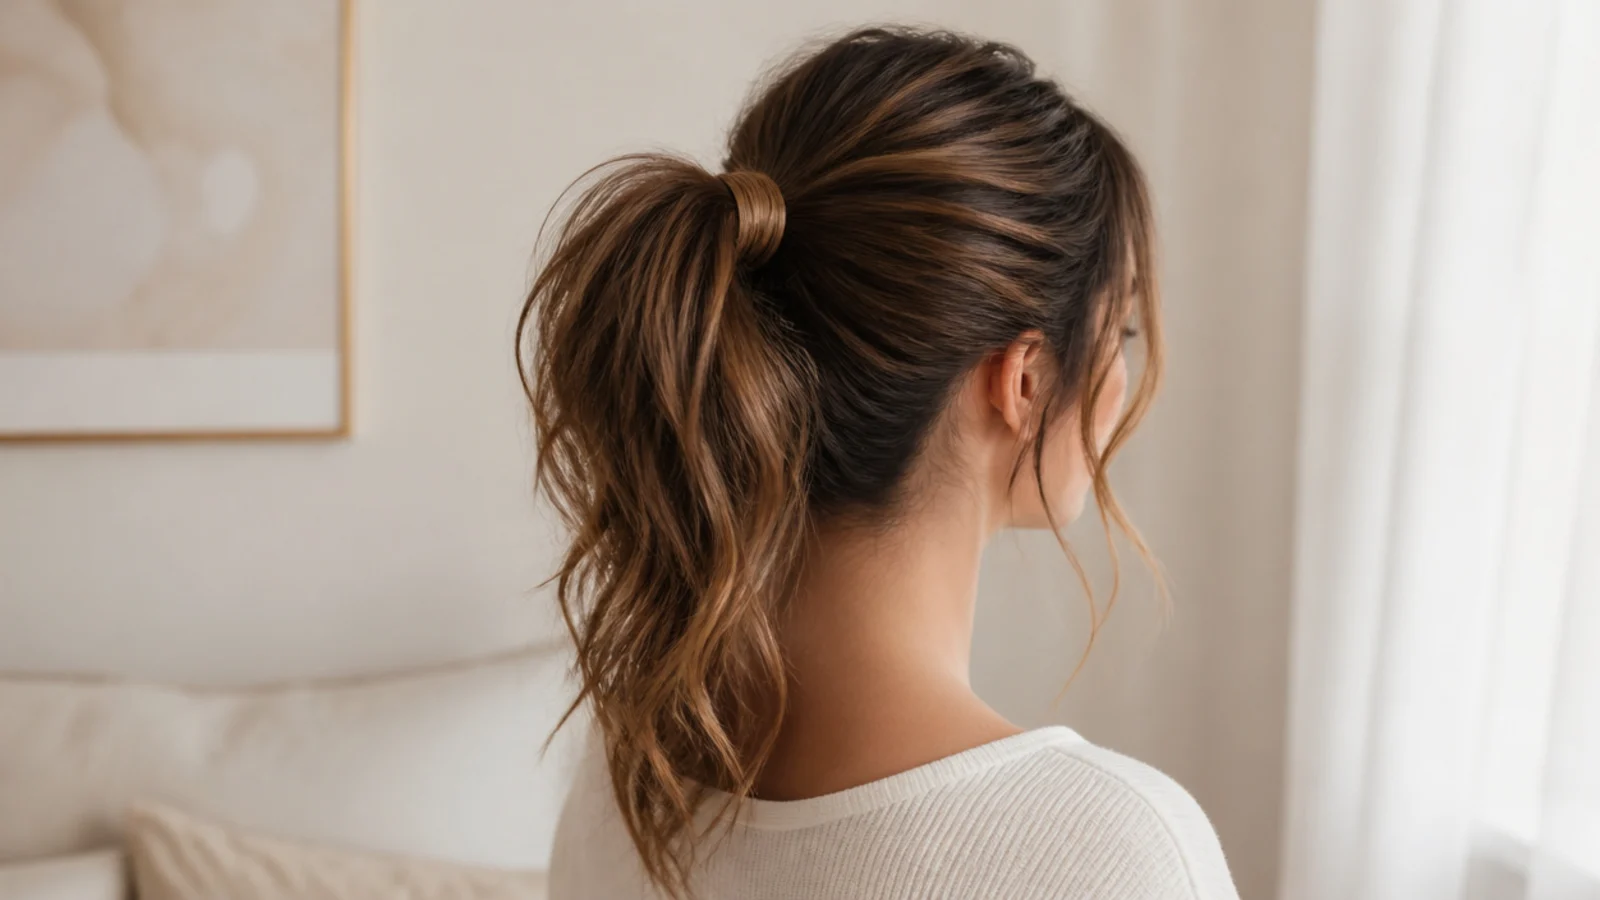
The reference version, tied clearly above the occipital bump so the base sits on the flat of the crown rather than on the slope. Everything else here is a variation on that placement, and getting it right is worth more than any product on the shelf.

2. Nape Level Low Ponytail
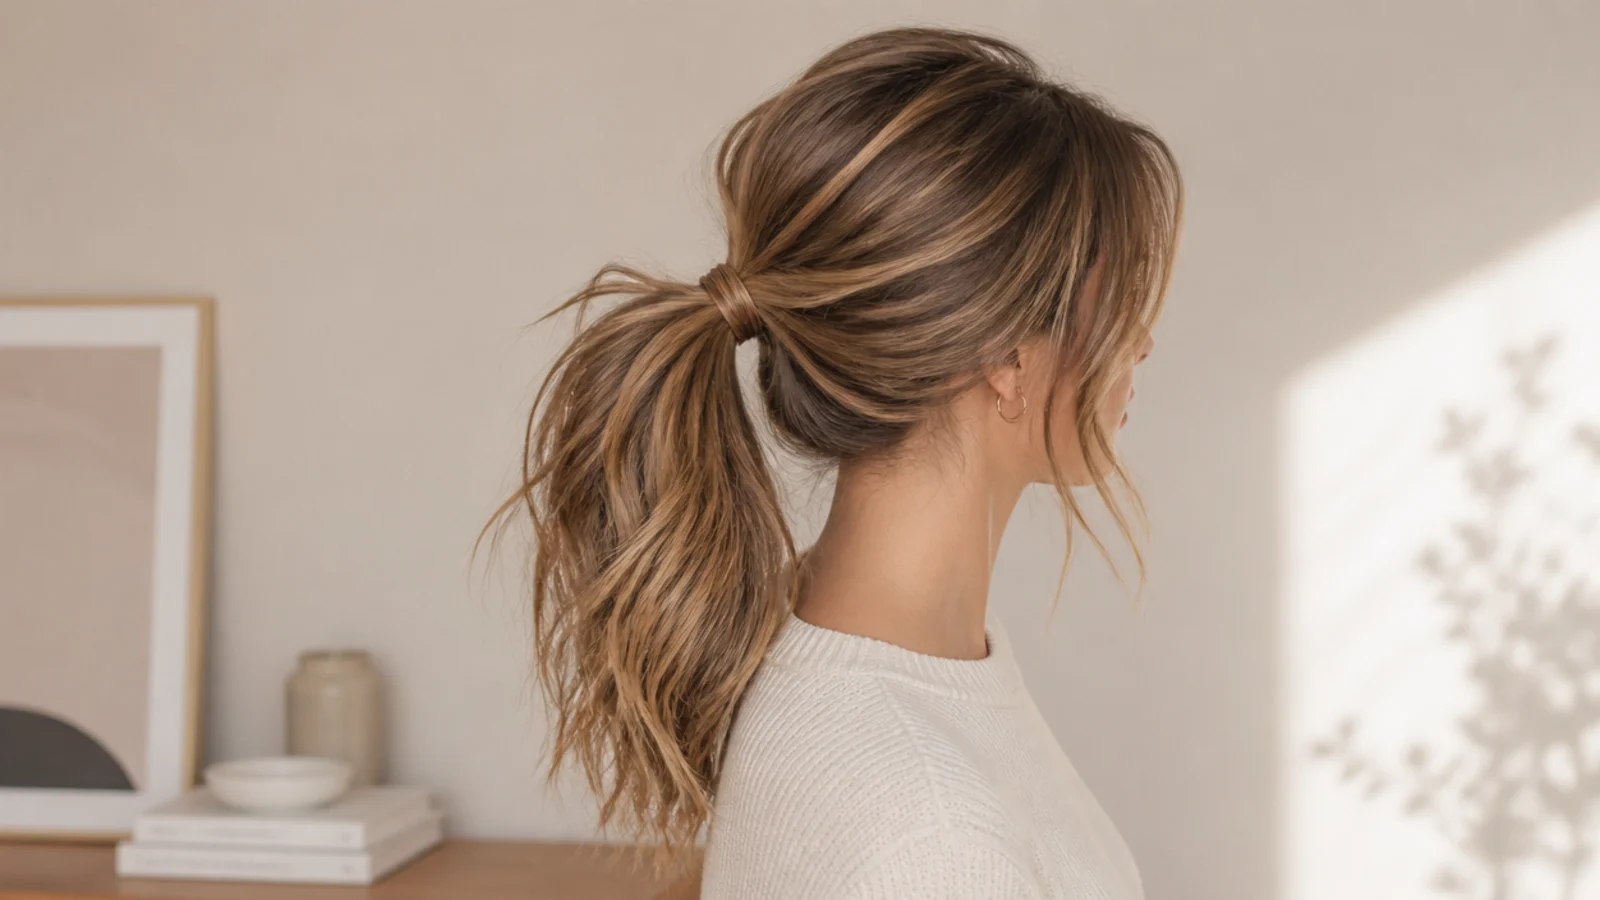
Below the bump the base rests against bone, so the skull carries part of the weight the elastic would otherwise hold alone. It is the most durable placement on the head and the one that most needs volume built above it before you gather.

3. Elastic Wrapped Ponytail
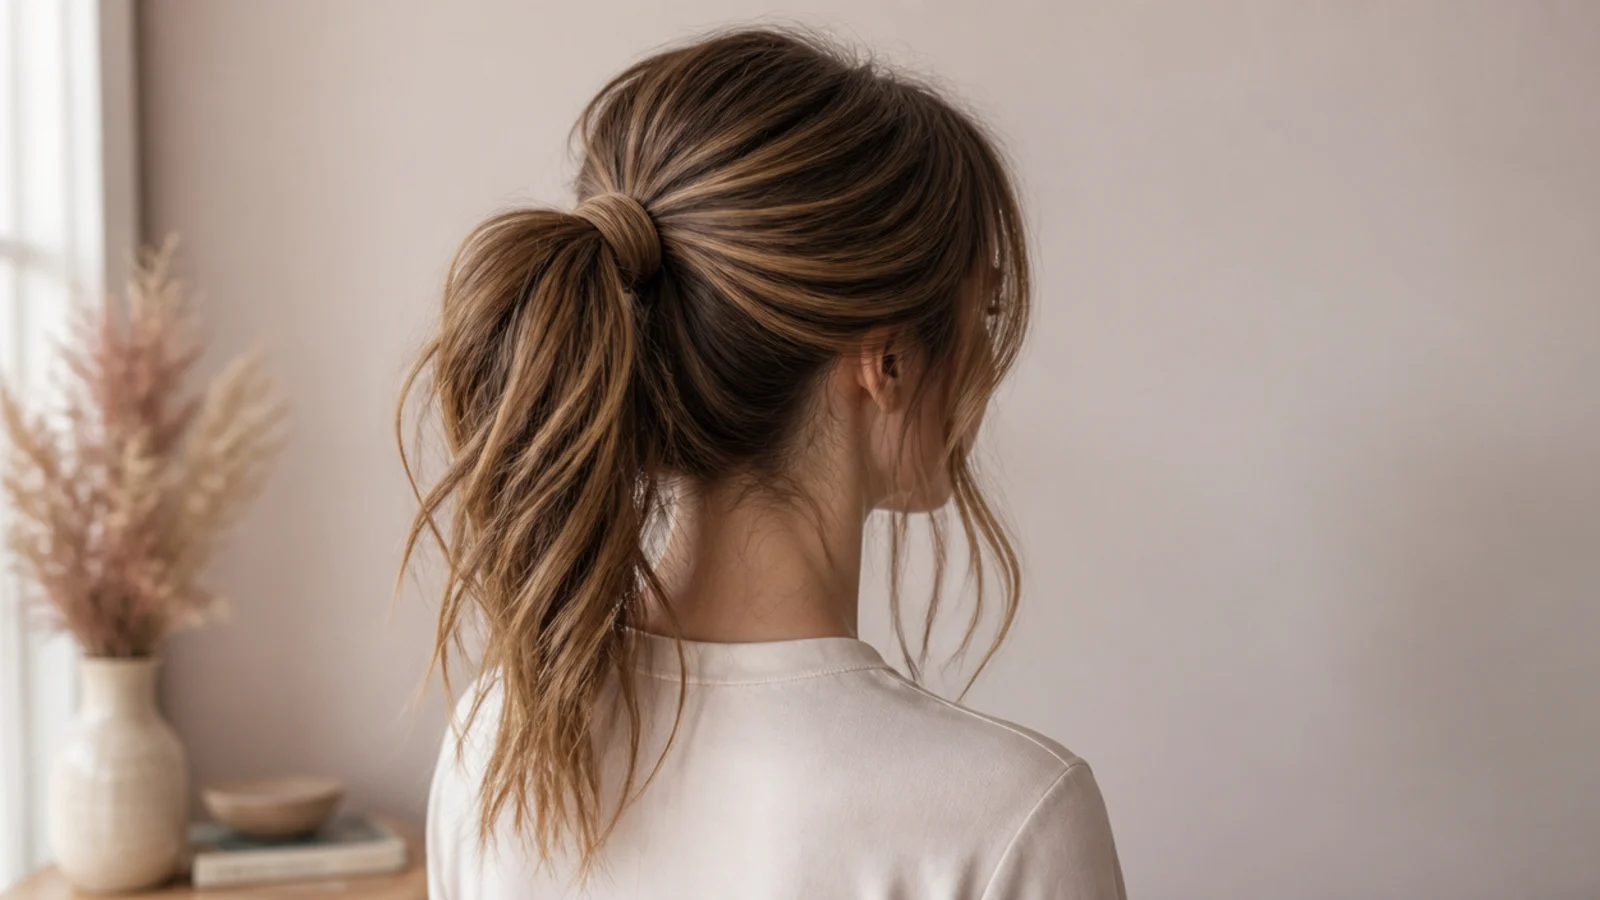
A thin strand wound over the band forms a friction collar around the base, so the elastic cannot rotate or creep down the strands as the day goes on. Concealing the band is the visible benefit, but the grip is the reason to bother.

4. Teased Crown Volume
A backcombed cushion beneath the top layer props that layer away from the scalp, which raises the crown while the surface stays smooth enough to reflect light. Tease only what will be hidden, since roughing up the visible layer defeats the whole arrangement.

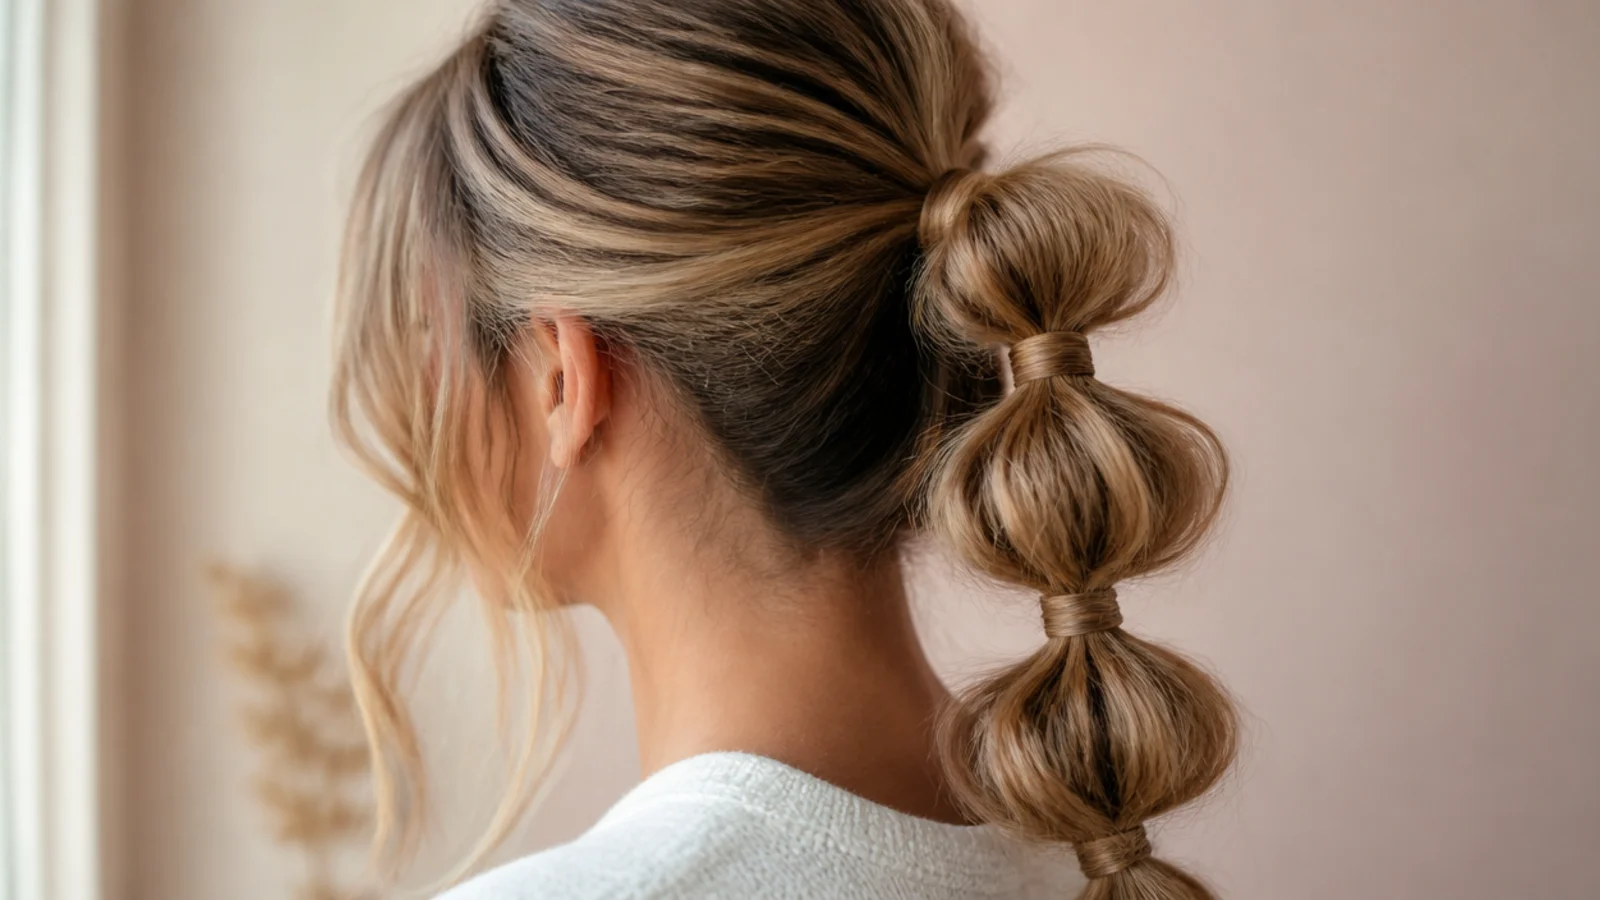
5. Bubble Segments
Bands spaced down the tail each take a share of the weight, so the one at the base is no longer holding the whole length by itself. Puff each segment sideways after tying, because the width comes from spreading hair between the bands rather than from having more of it.
6. Side Swept Ponytail
Gathering behind one ear brings the mass in front of the shoulder where it is visible from the front rather than only from behind. Pin the opposite side flat before you collect, or the imbalance reads as a slipped tie instead of a sweep.

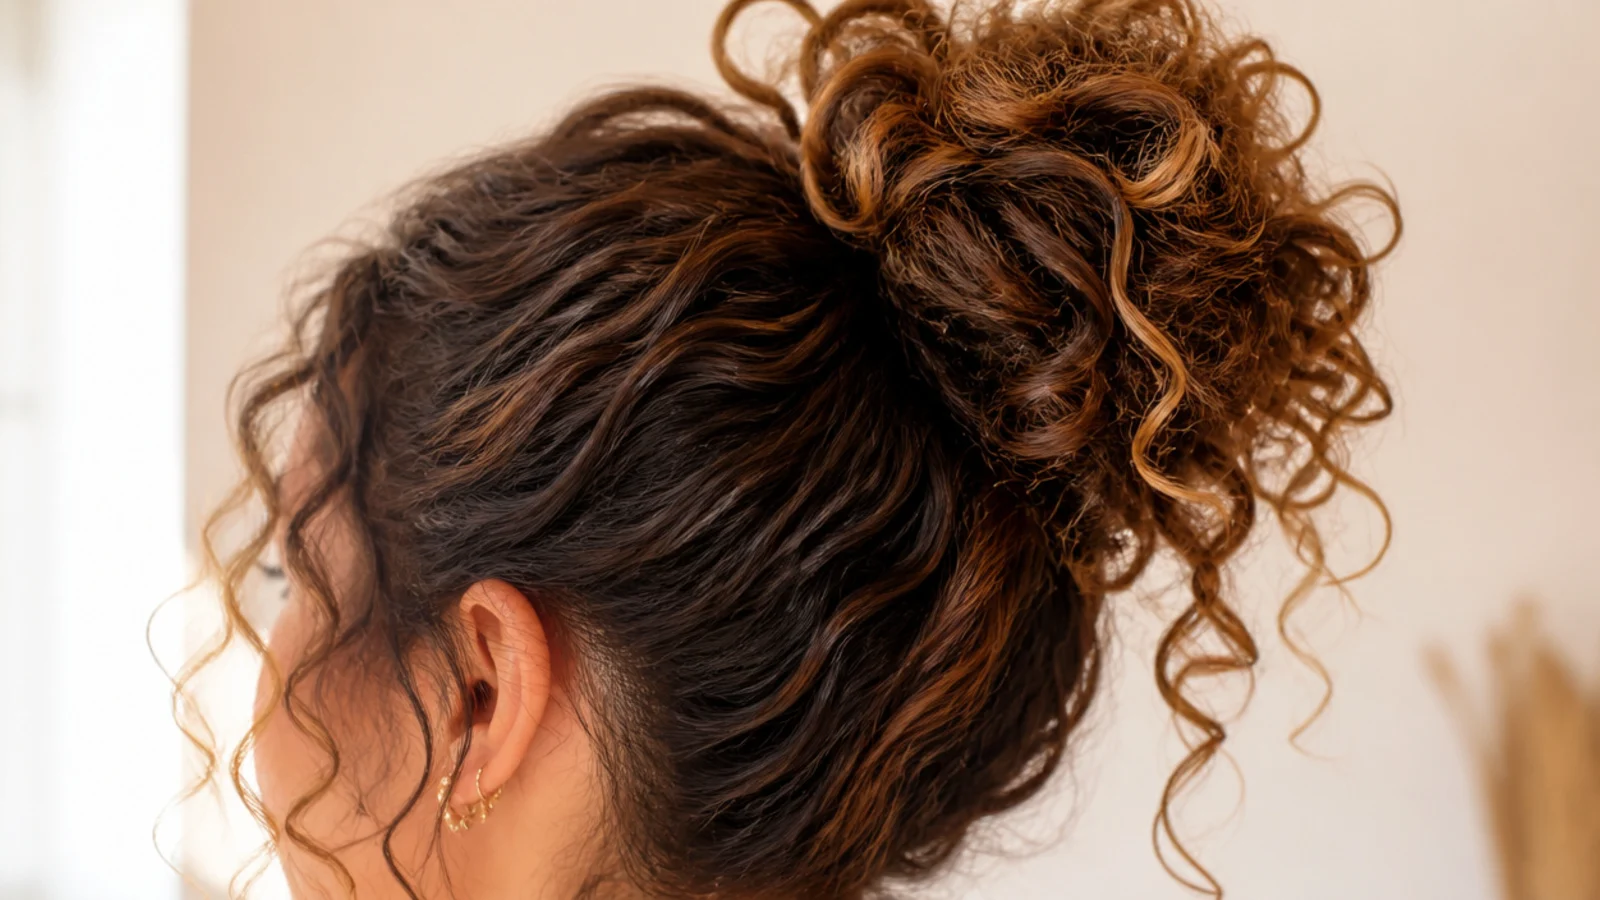
7. Curly Pineapple
Gathered high and deliberately loose so the curls sit above the band rather than inside it. Tension pulls the bend out of a curl at the root, and that root bend is what holds the whole pattern up, so a tight tie costs you the crown for the rest of the day.
8. Braided Base
A short braid worked in before the tie is locked against itself along its full length, so a pin driven through it has nowhere to travel. It also holds the nape hair, which is where a ponytail loses its under layers first.

9. Face Framing Tendrils
Release two fine sections at the temples once the tail is tied and match them by eye from the front. Anything let out beforehand gets swept back into the elastic as you collect the rest, so the pieces you end up with are never the ones you picked.

10. Curtain Bangs
Gather from behind the fringe and let none of it into the band. Curtain bangs are cut on a long angle, so a few caught pieces drag the whole curtain to one side and the centre split stops falling where it was cut to fall.
11. Sleek Roots With Textured Ends
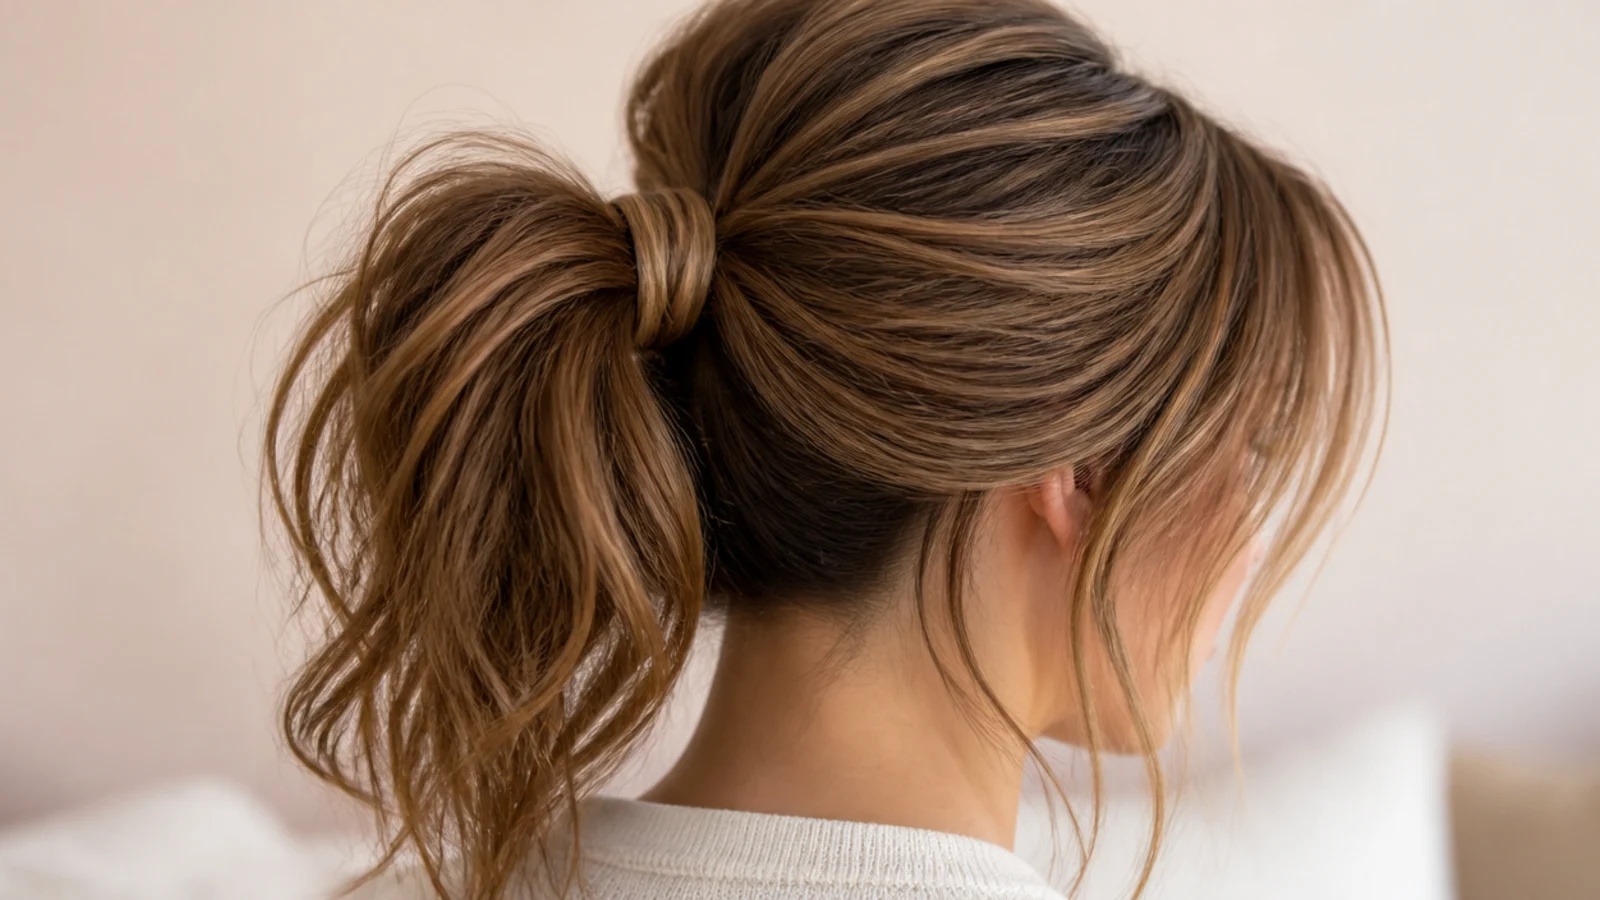
Smoothing only the first few inches and leaving everything past the band rough puts a hard boundary in the middle of the style. The eye reads the polished section as the deliberate part and applies that reading to everything below it, which is why this passes as done without a flat iron on the length.
12. Knotted Base
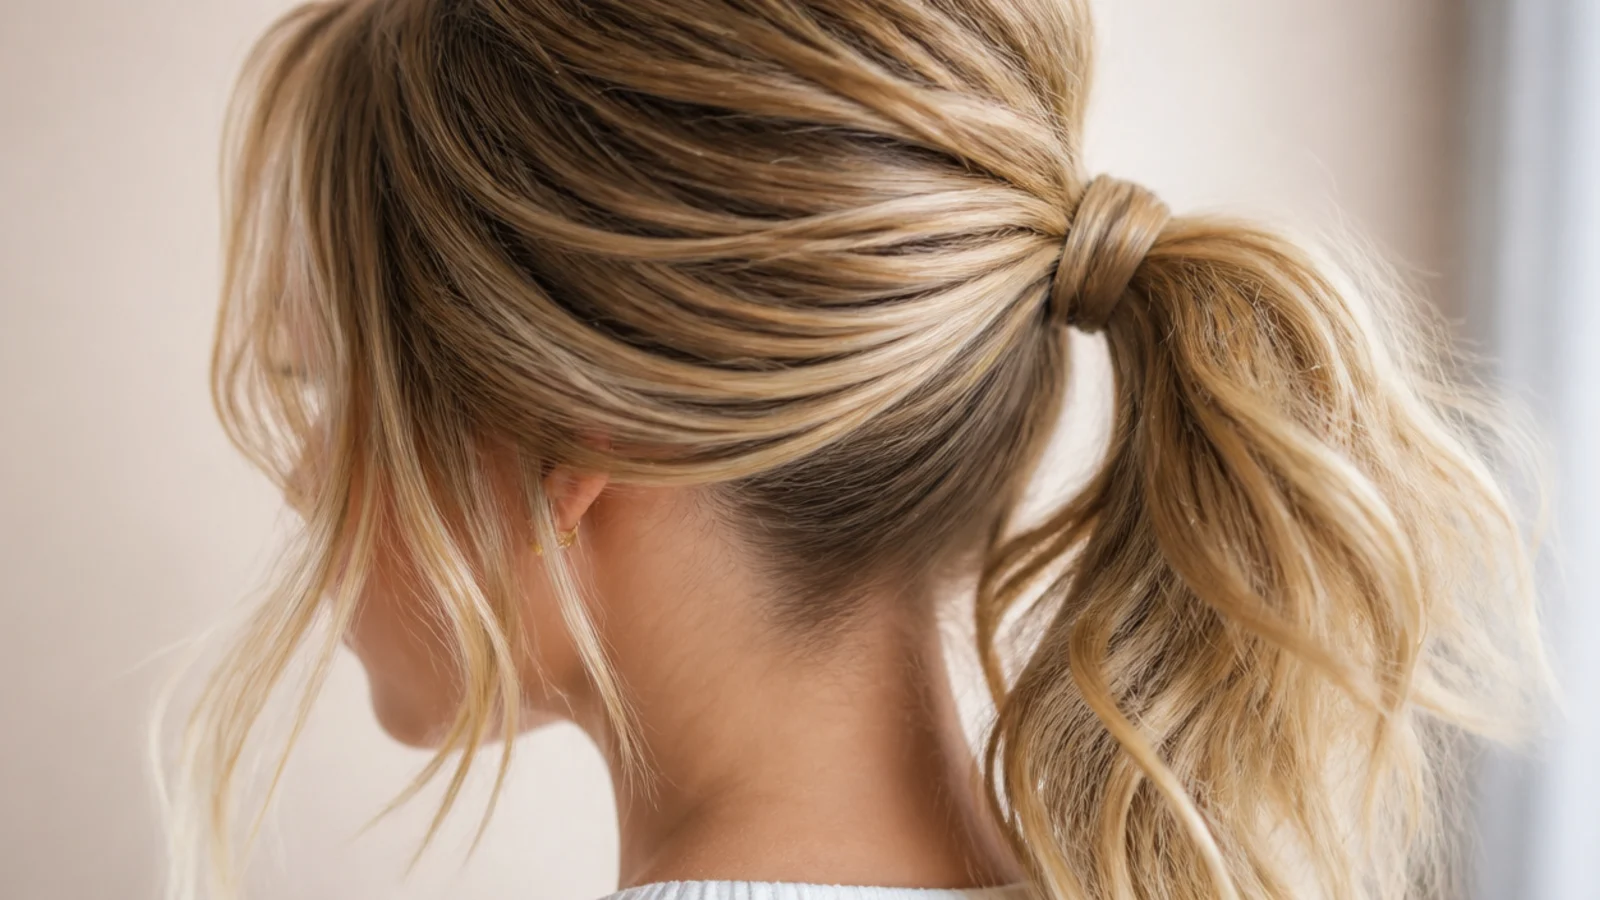
Split the gathered hair in two and tie a single knot with the sections themselves before adding a band underneath. The knot holds by hair gripping hair, which is why it works on second day texture and slips straight open on a freshly washed head.

13. Half Up Ponytail
Only the top section goes into the band, so the elastic holds roughly a third of the weight and the pull across the scalp falls with it. It is the version to choose when the same style has to last from morning through to the evening.

14. Oversized Scrunchie
Fabric bulk fills the space around a thin base, and the eye judges a tail's fullness partly against the width of whatever is holding it. It also spreads the grip across a wide contact area, so the pressure on any single line of hair is a fraction of a bare elastic.
15. Claw Clip Ponytail
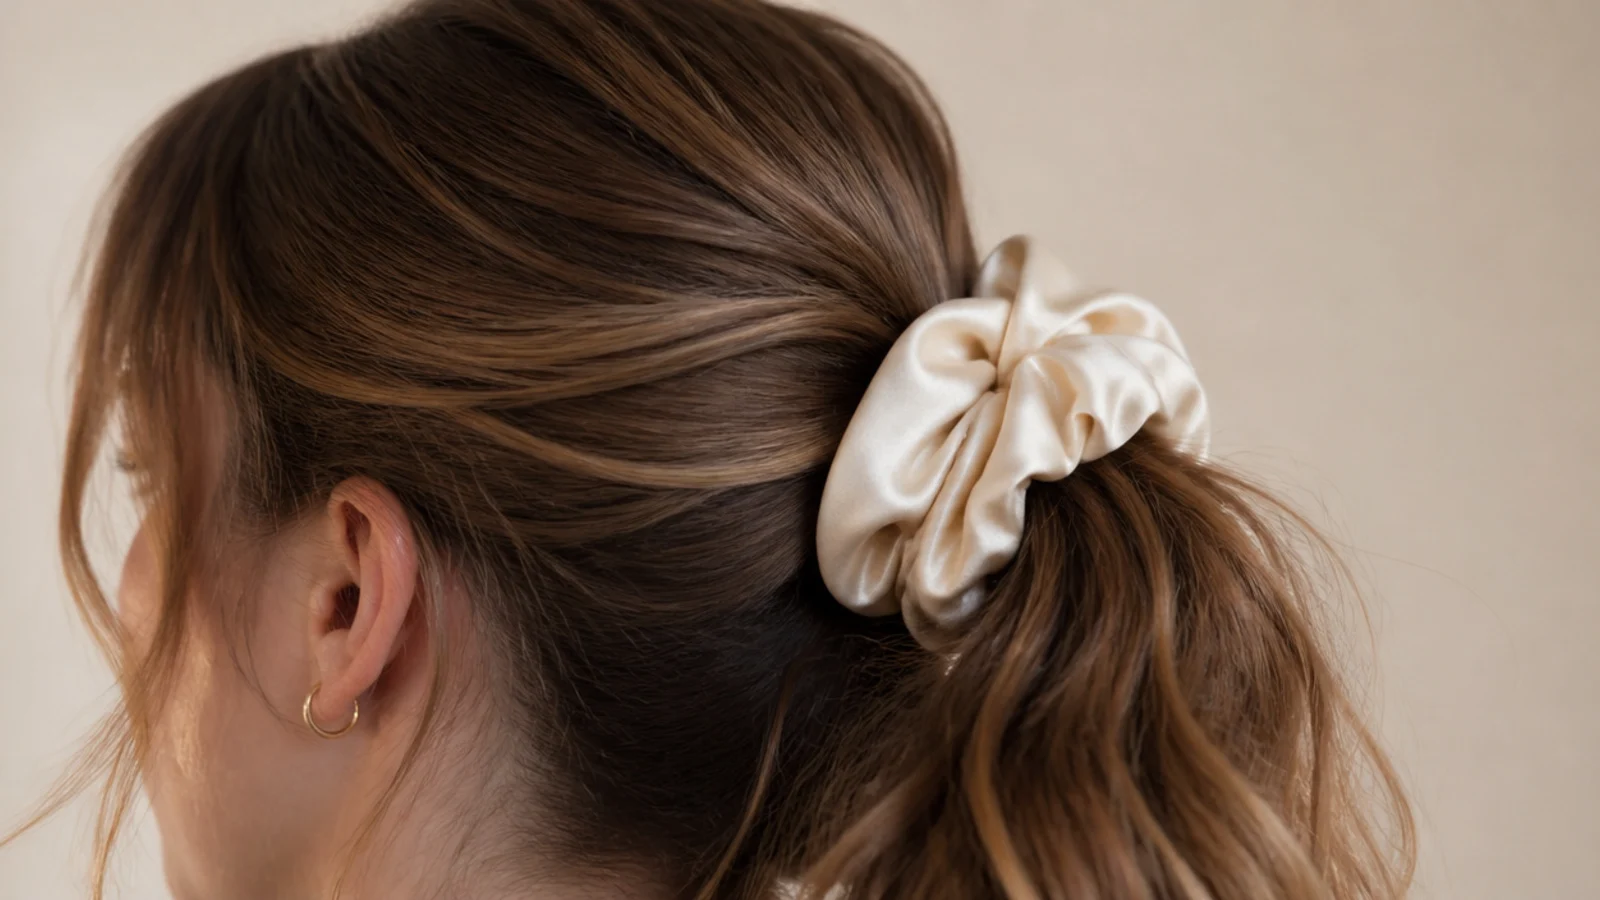
A claw grips by spring pressure across its teeth, so it needs a compressed section to bite into rather than a flat one. Twist the gathered hair once before you close the clip and it holds all day, where the same clip on smoothed hair works loose in minutes.

16. Short Hair Bungee
Hooks at both ends let you set the tension by how far you stretch the band rather than by how many wraps you can force over the tail. On hair above the shoulder that is often the difference between a ponytail and no ponytail at all.
17. Long Hair Mid Twist
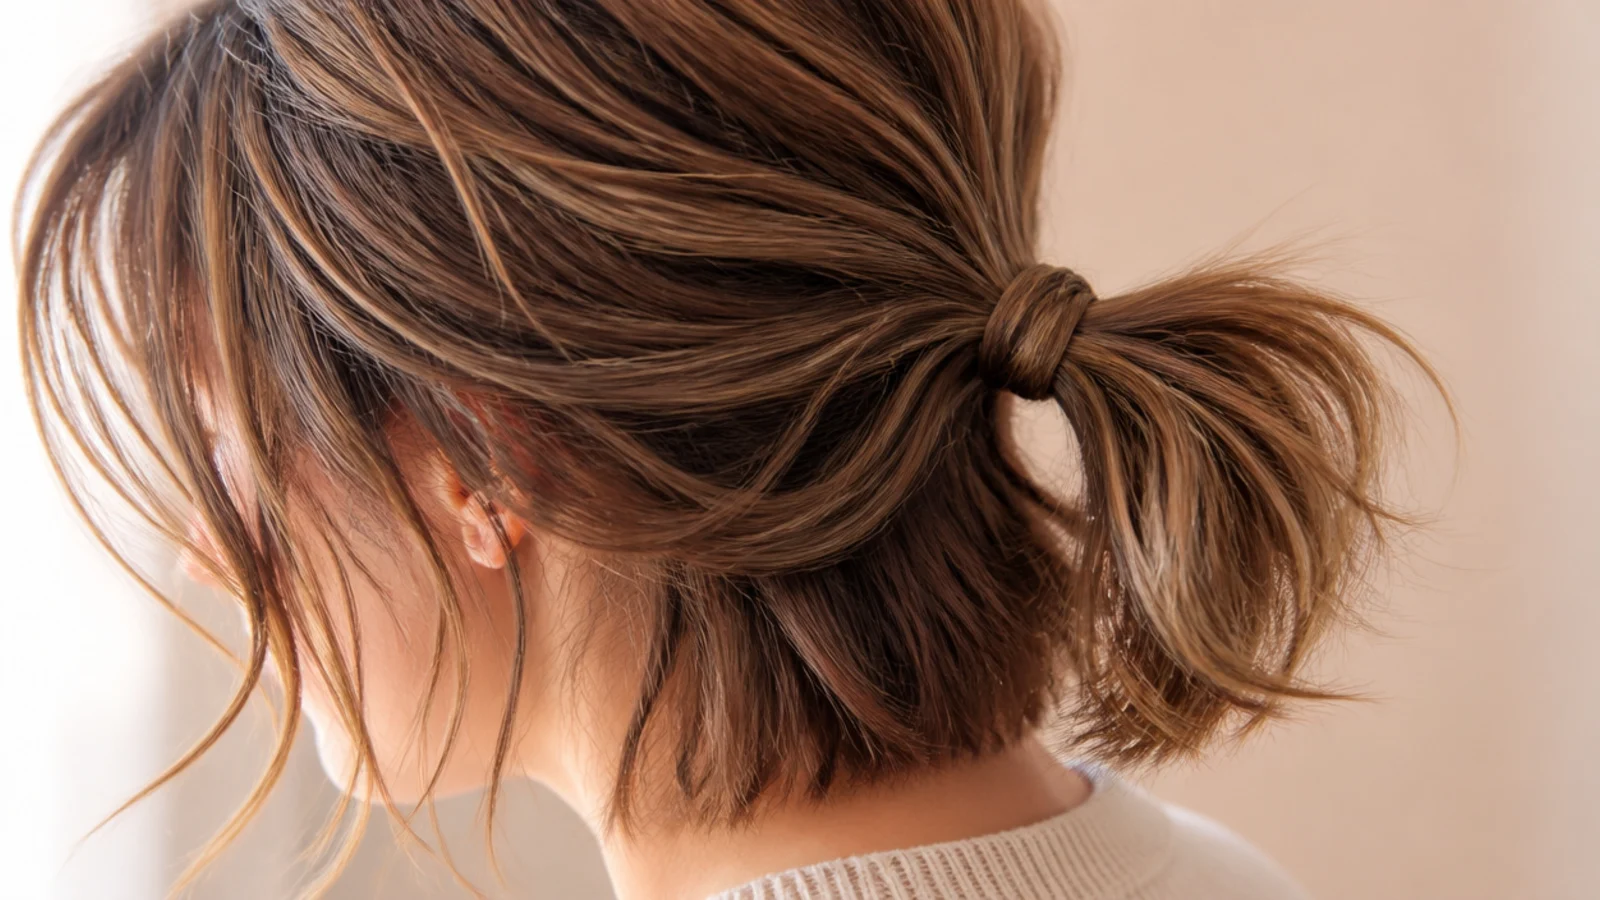
Twist the tail once partway down and catch it with a second band. That shortens the free length that can swing, which stops a long tail flapping against a coat and stops the ends knotting themselves against fabric all day.
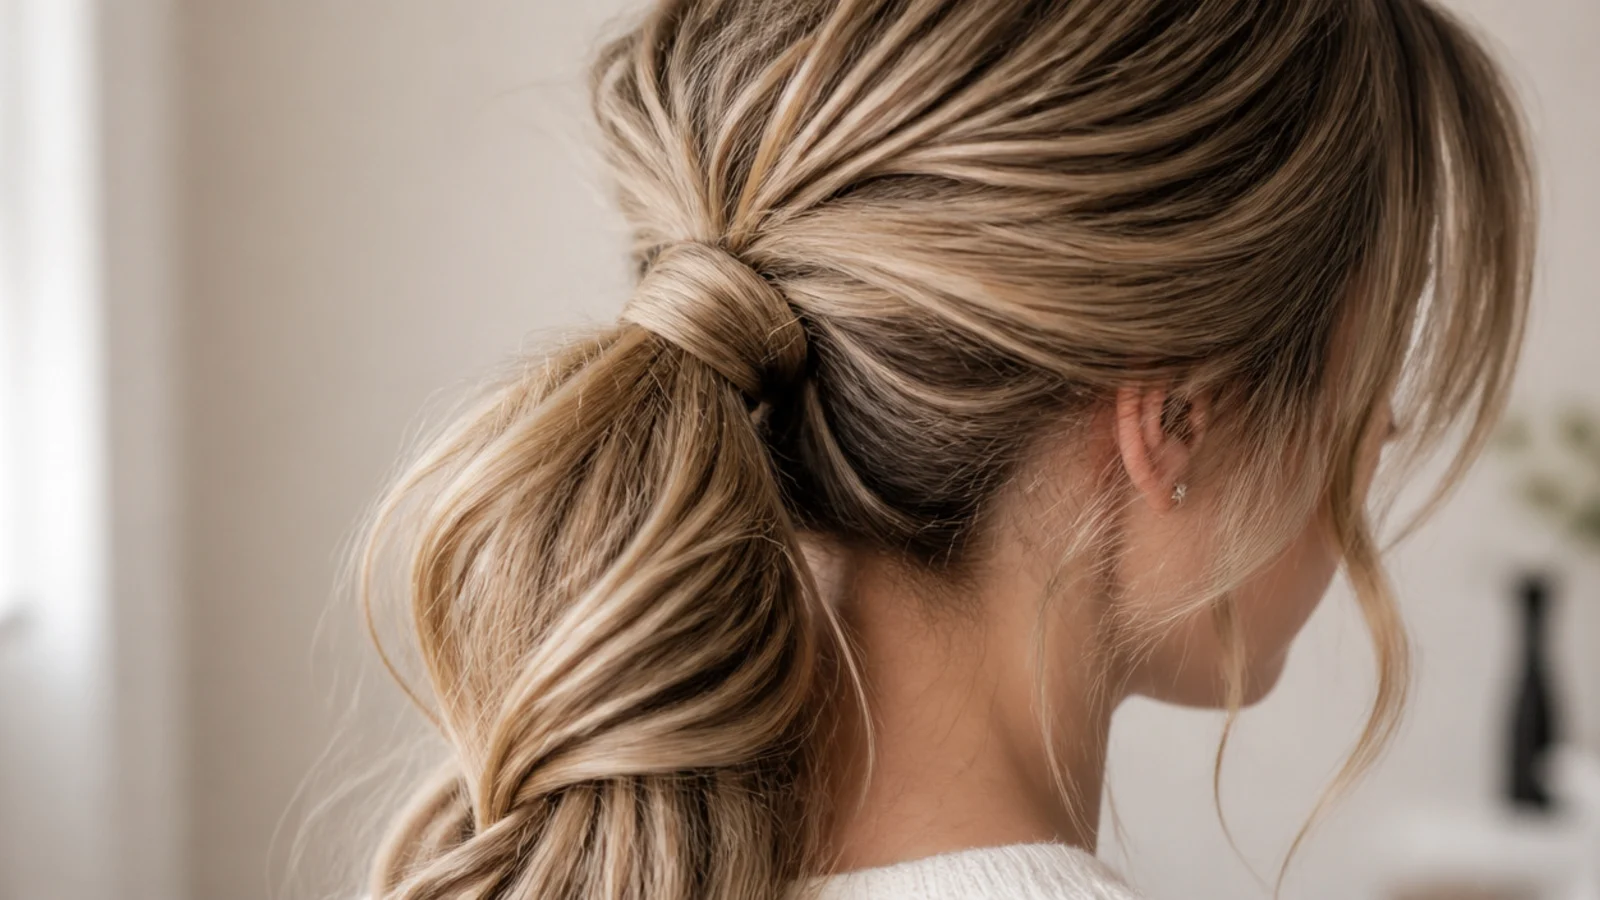
18. Damp Root Ponytail
Mist the roots only, gather while they are damp, and let them dry in position, because hair sets into the shape it dries in. Keep the tension light for this one, since wet hair is measurably weaker in tension than dry hair and a hard pull is the worst thing you can do to it.
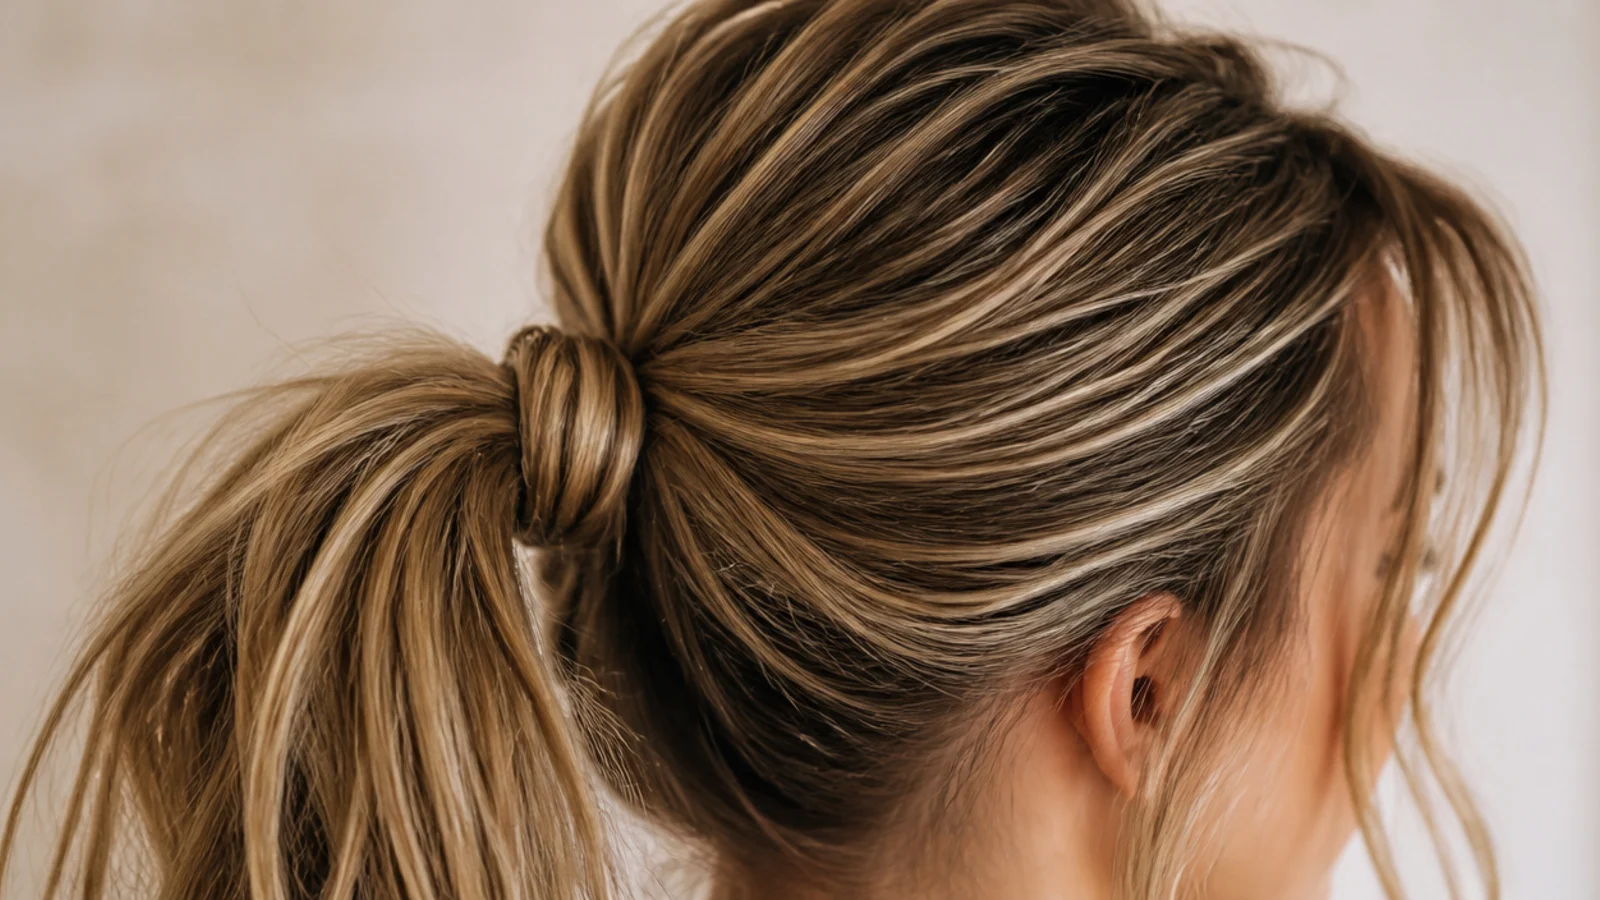
19. Two Elastics Stacked
Tie once, then again a finger width below, so each band carries about half the load. On any weight of hair this holds longer than one elastic pulled twice as hard, and it puts far less strain on the hairline.
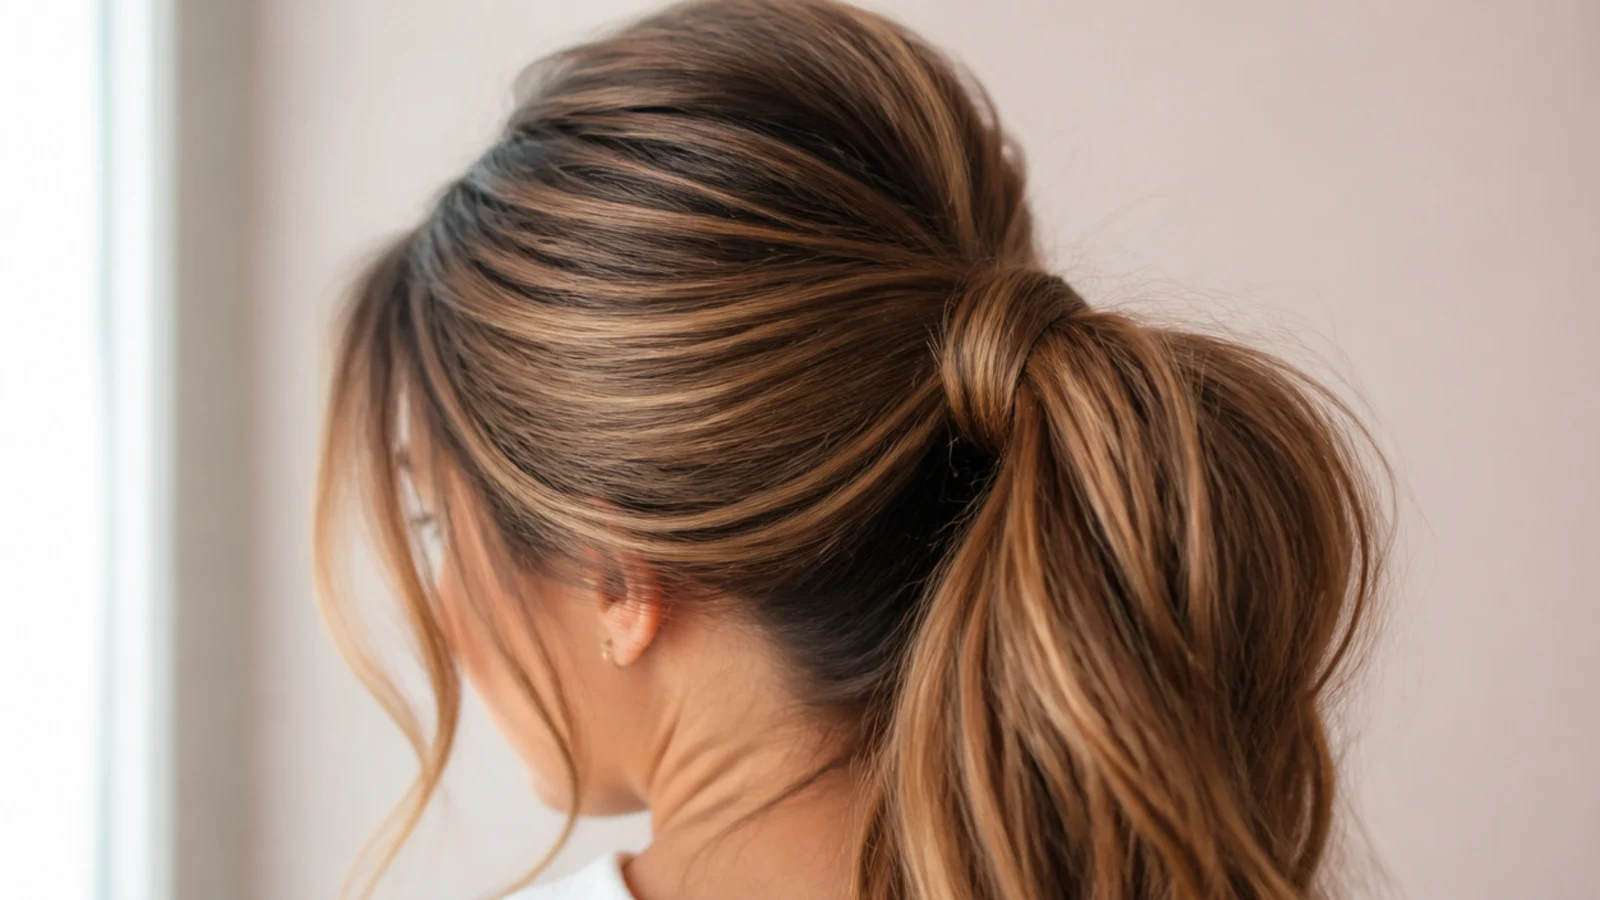
20. Rope Twist
Twist two strands in one direction, then wind them around each other in the opposite direction so the two tensions lock. That counter twist is why a rope holds partway down without a band, while a simple twist unwinds the moment you let go.

21. Ribbon Tied Ponytail
Tie the ribbon over the elastic rather than in place of it, since fabric alone slides and will not hold weight for an evening. Let the ends fall at different lengths, because a symmetrical bow fights the texture the rest of the style is built on.
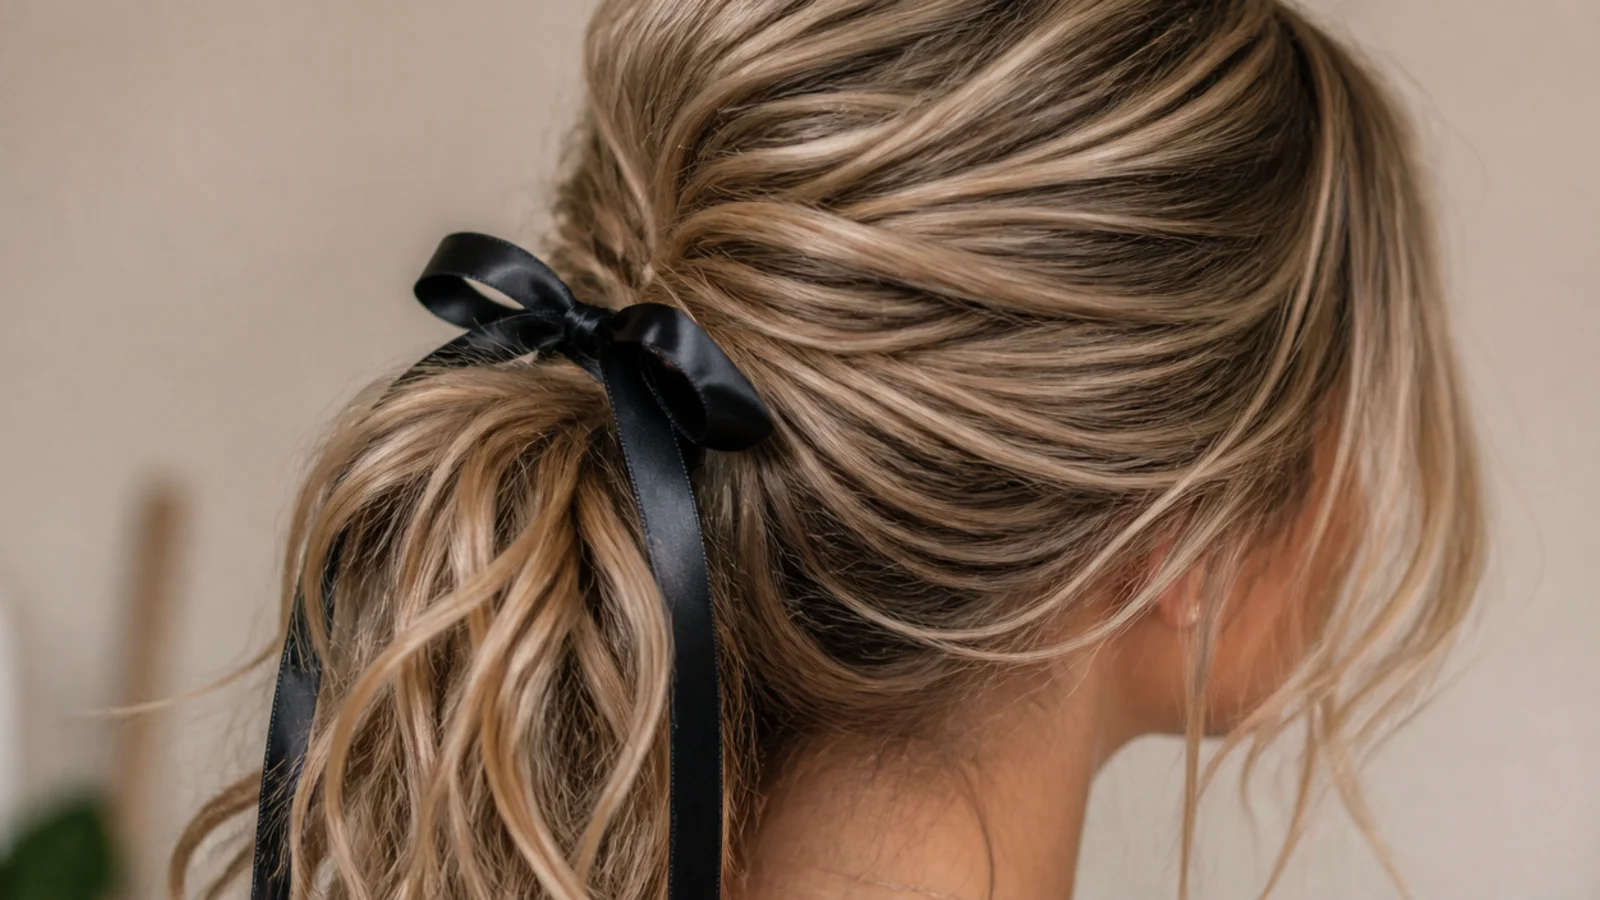
22. Gym to Desk Ponytail
Tie above the bump so the tail clears a bench and a collar, wrap the band, and it walks into an office without being redone. The wrap is what does the transition work, because a visible sports elastic is the detail that keeps a gym style looking like one.
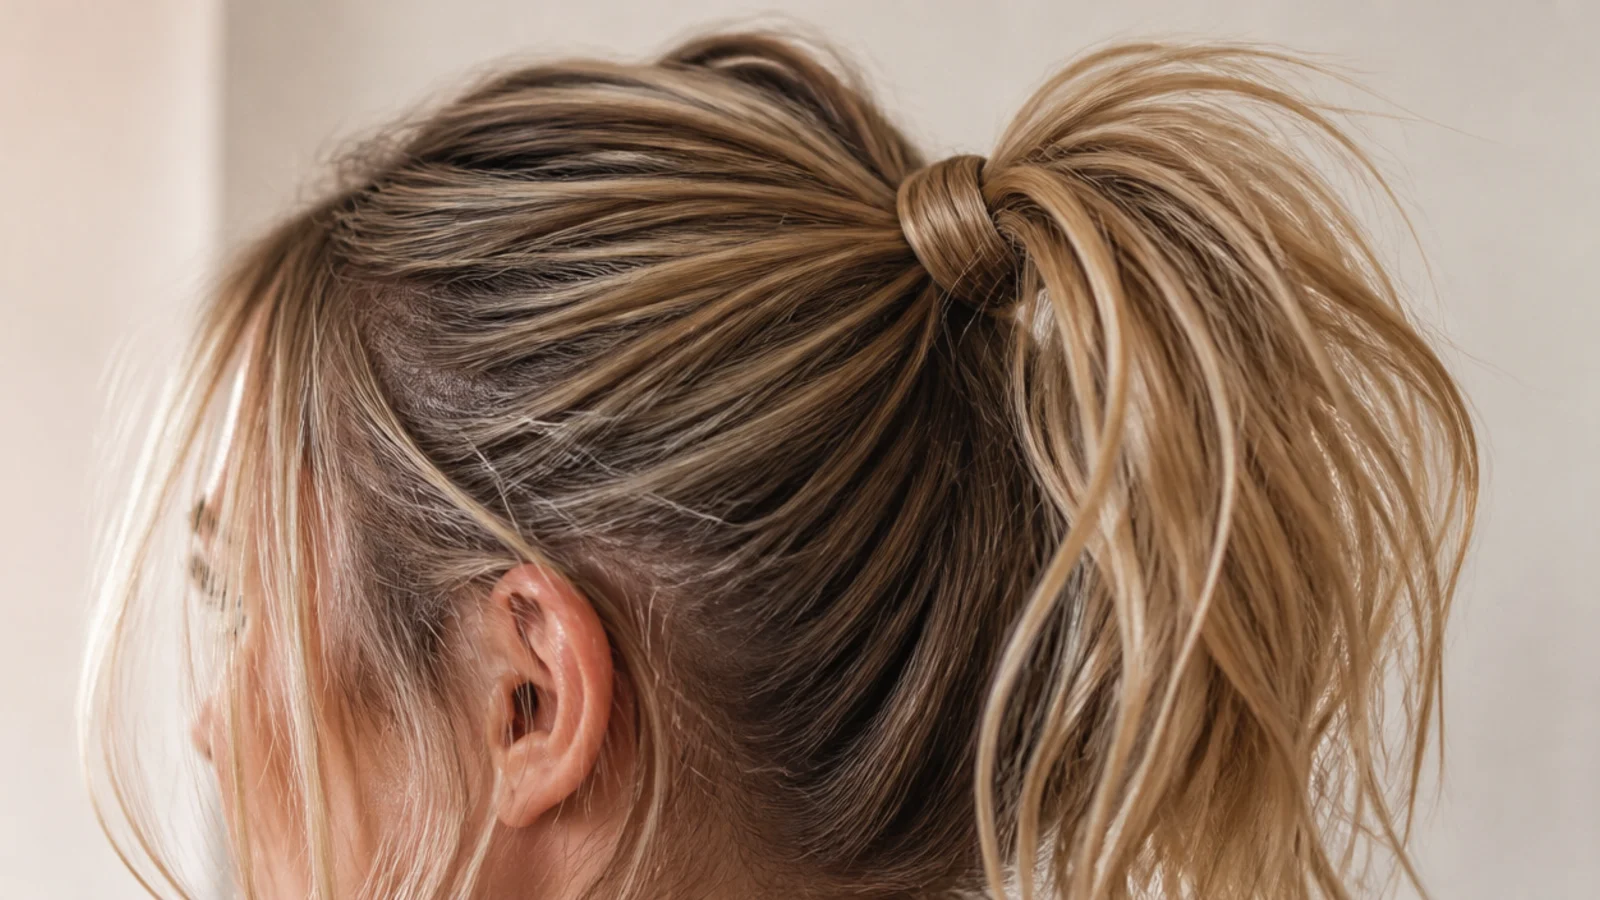
23. Deep Side Part
Hair combed across from a deep line has further to travel to reach the band, and the extra distance lifts it away from the scalp on that side. It is the cheapest volume available, and it costs a comb and ten seconds before you gather.

24. Pinned Under Ponytail
Fold the tail up underneath itself and pin the loop against the base, and from behind it reads as an updo rather than as a ponytail. Pin into the gathered hair at the band, never into the loose ends, or the whole loop drops out within the hour.
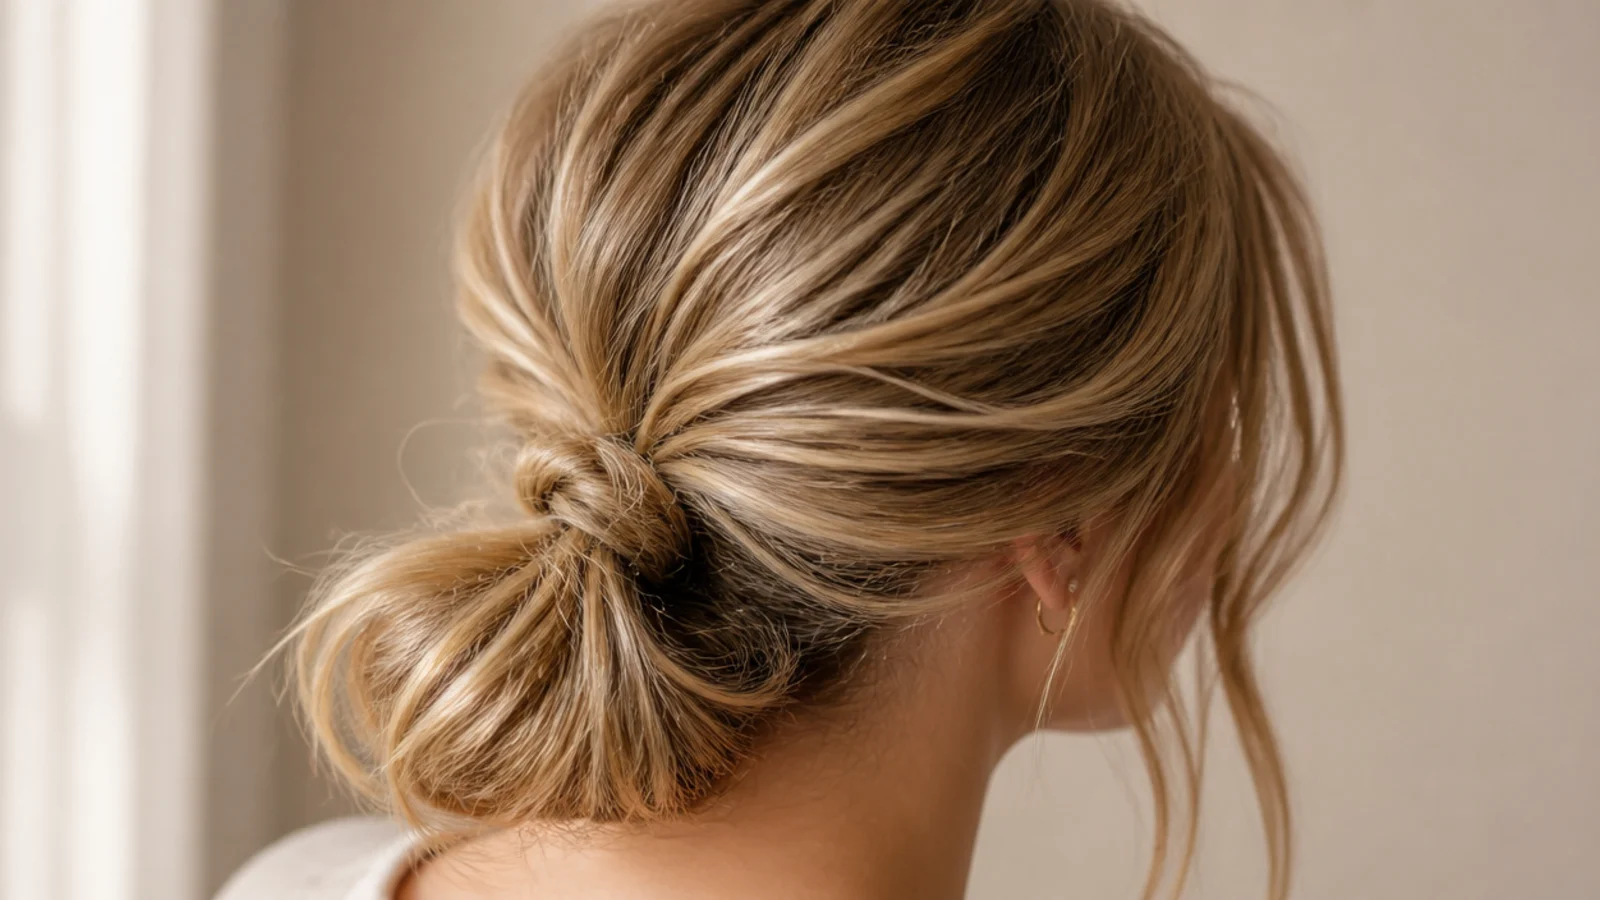
25. Second Day Five Minute Ponytail
Yesterday's oils and product leave a rougher strand surface, so the hair grips itself inside the band with no help at all. It is the version that needs nothing bought, nothing sprayed and no technique beyond gathering with your fingers and tying once.
Final Thoughts
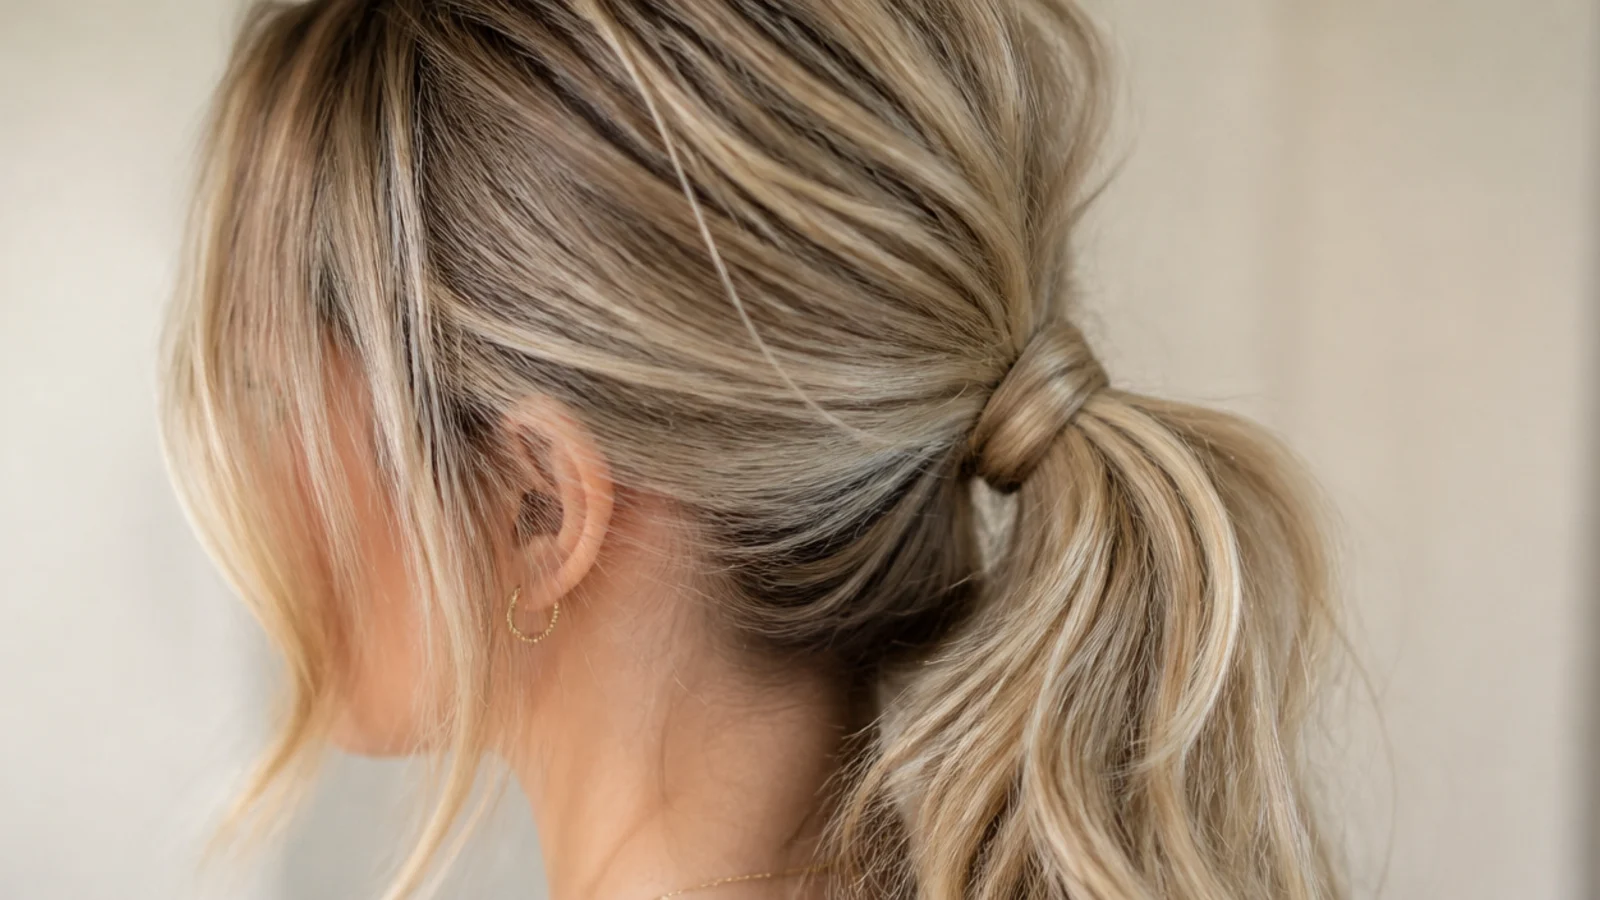
Separate the two problems and both get easier. If the ponytail slides down, that is placement, and no amount of texture spray will fix a band sitting on the slope of the occipital bone. If it holds but looks flat or scraped back, that is texture, and tightening the elastic makes it worse rather than better. Almost every complaint about this style is one of those two, misdiagnosed as the other.
Then keep the sequence. Grip at the roots, gather with your hands, tie firmly, and only then borrow slack from hair the band already holds to widen the crown and release the pieces at the temples. Move the placement day to day, take it out overnight and use a fabric band rather than bare rubber, and this stays a style you can wear every week rather than one that shows up later as a short broken line above the ear. More in Updos and Clips. See also the curly version and the easy school version.