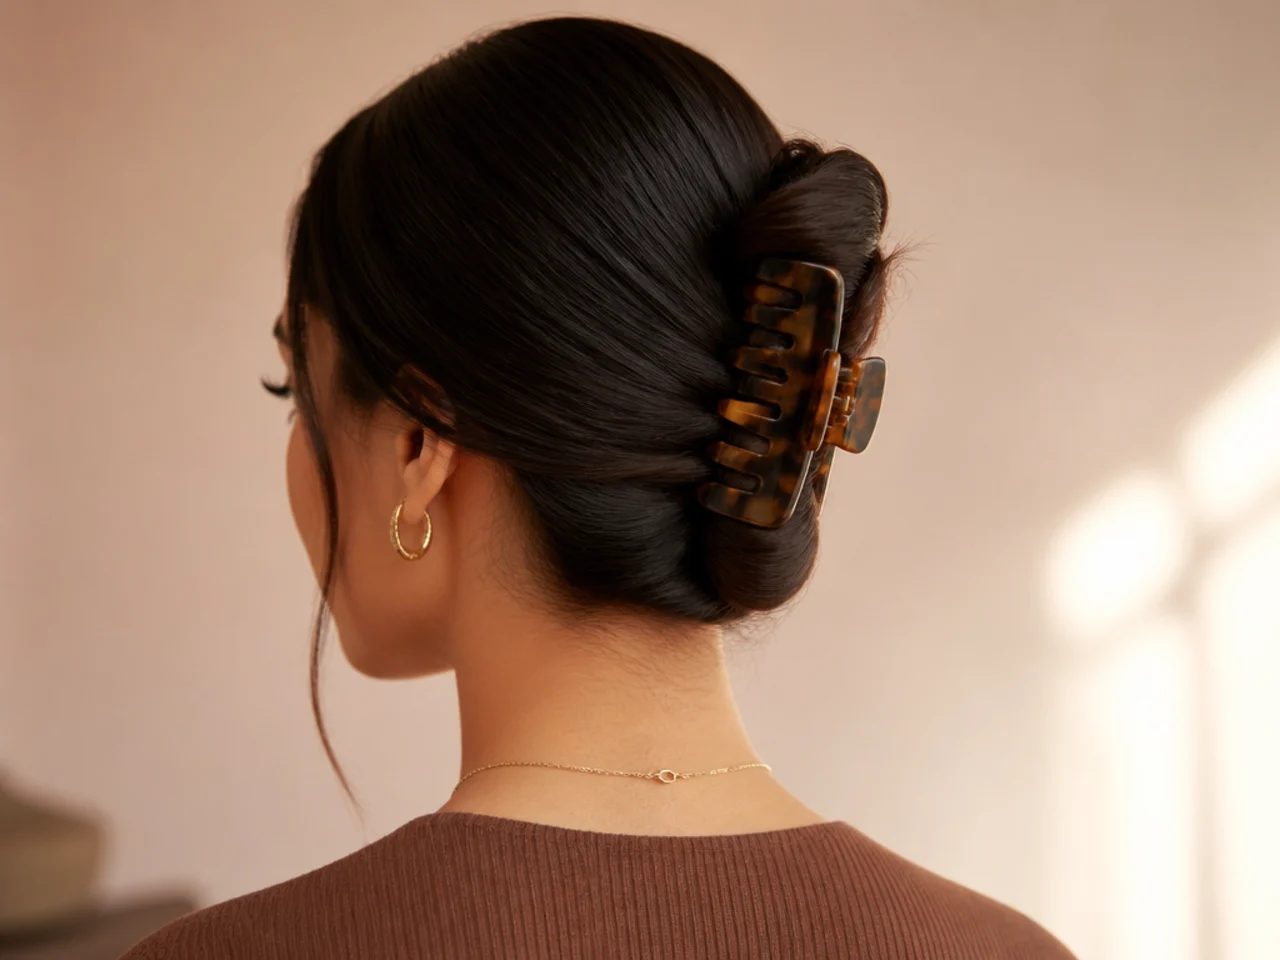
15 Sleek Claw Clip Hairstyles to Try
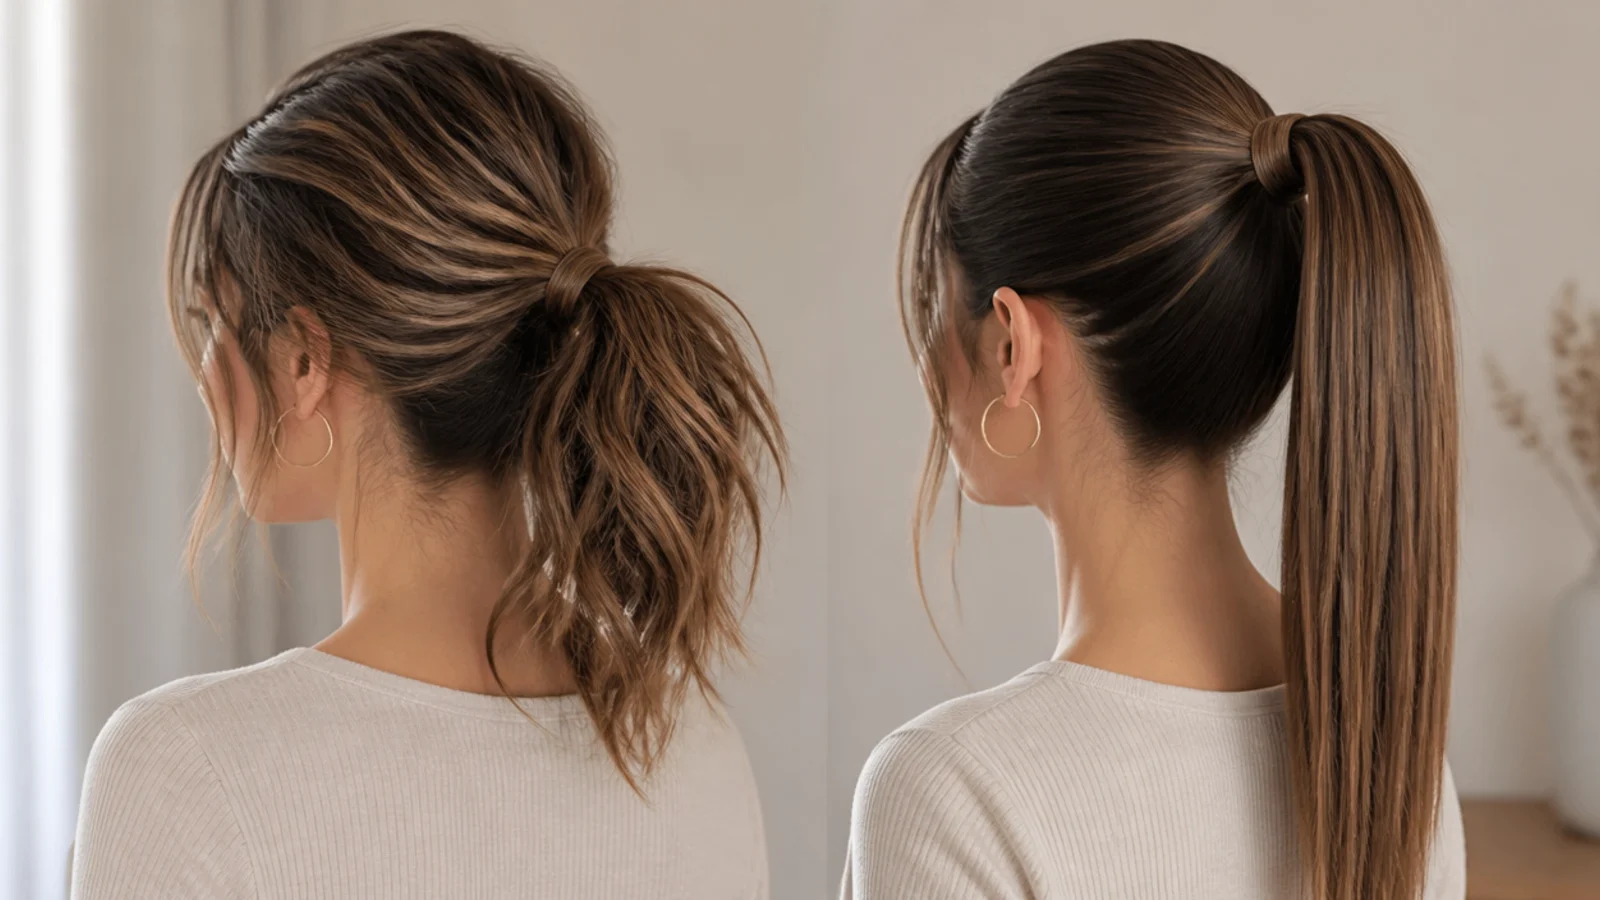
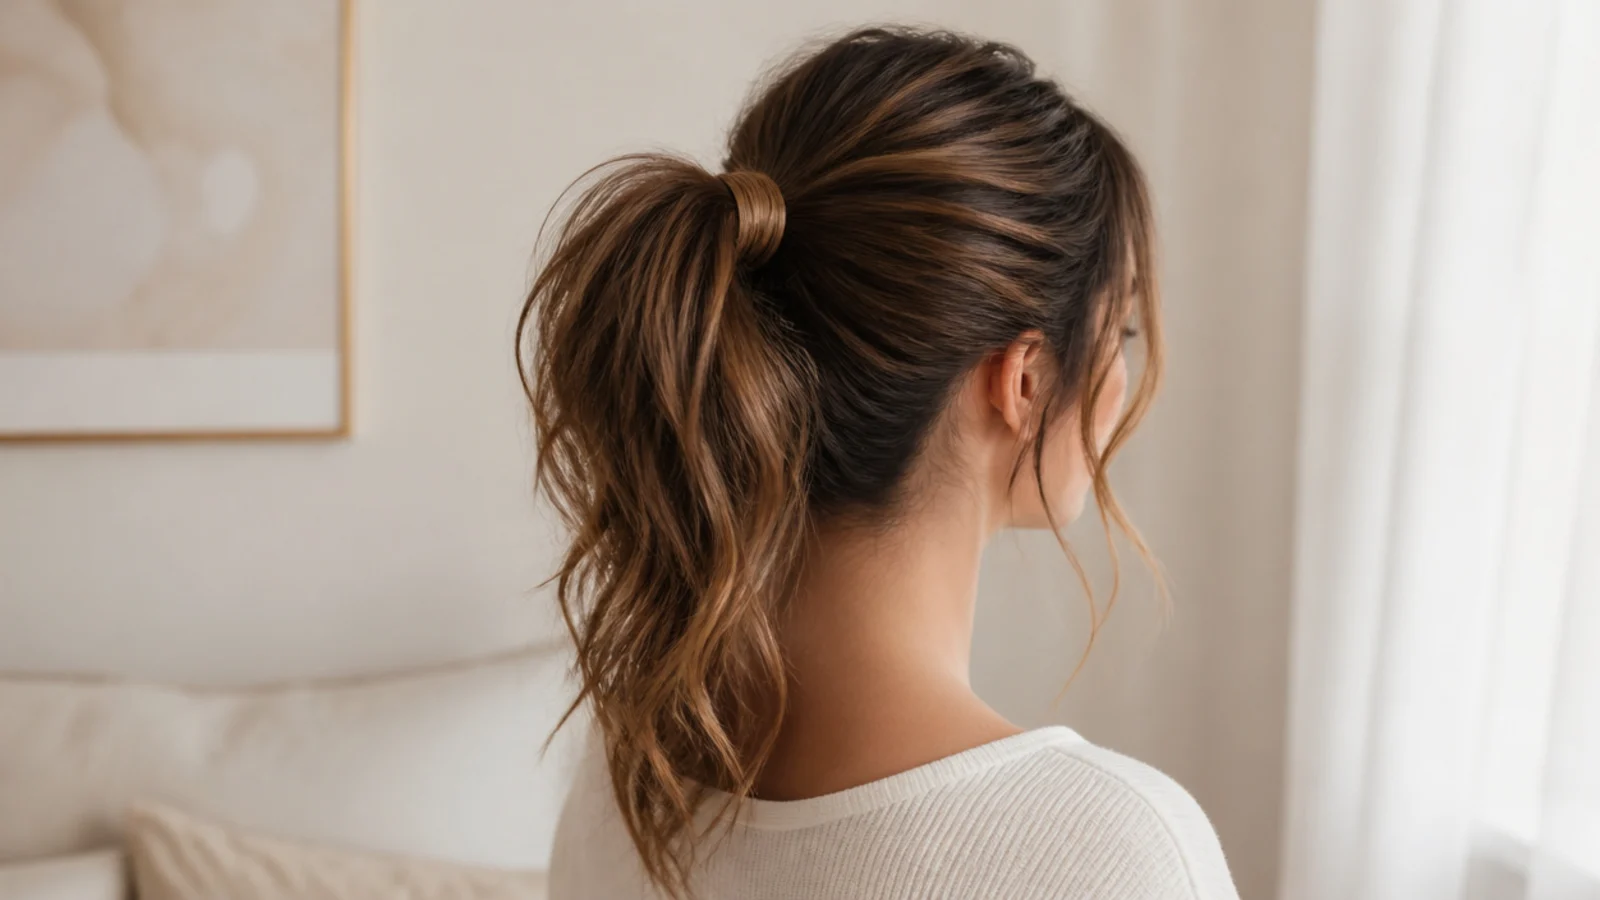
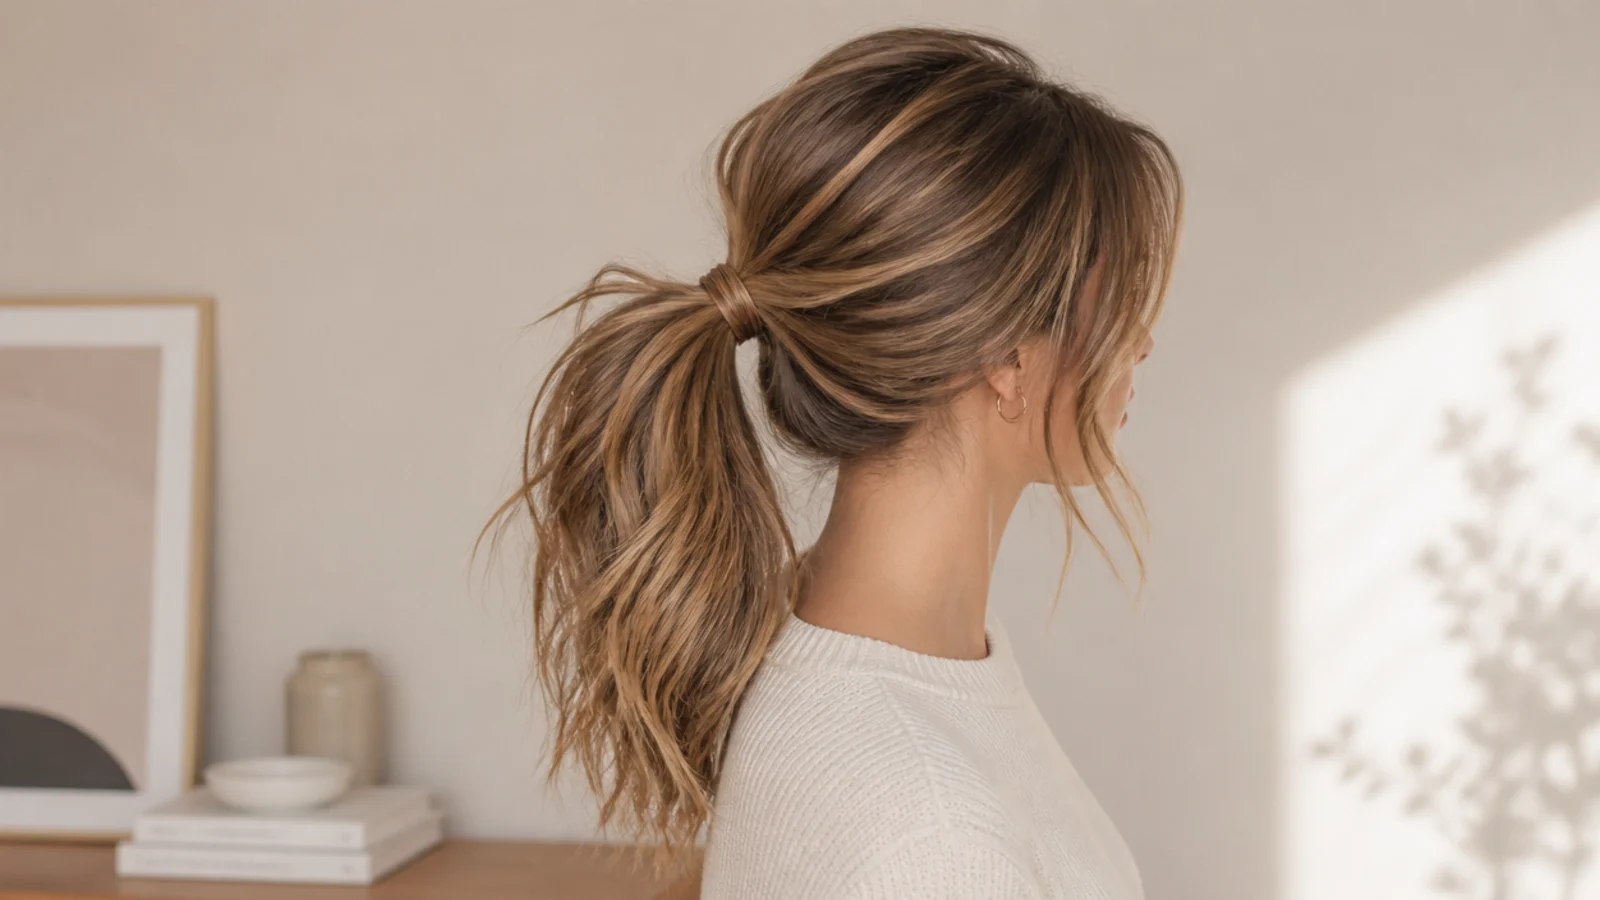
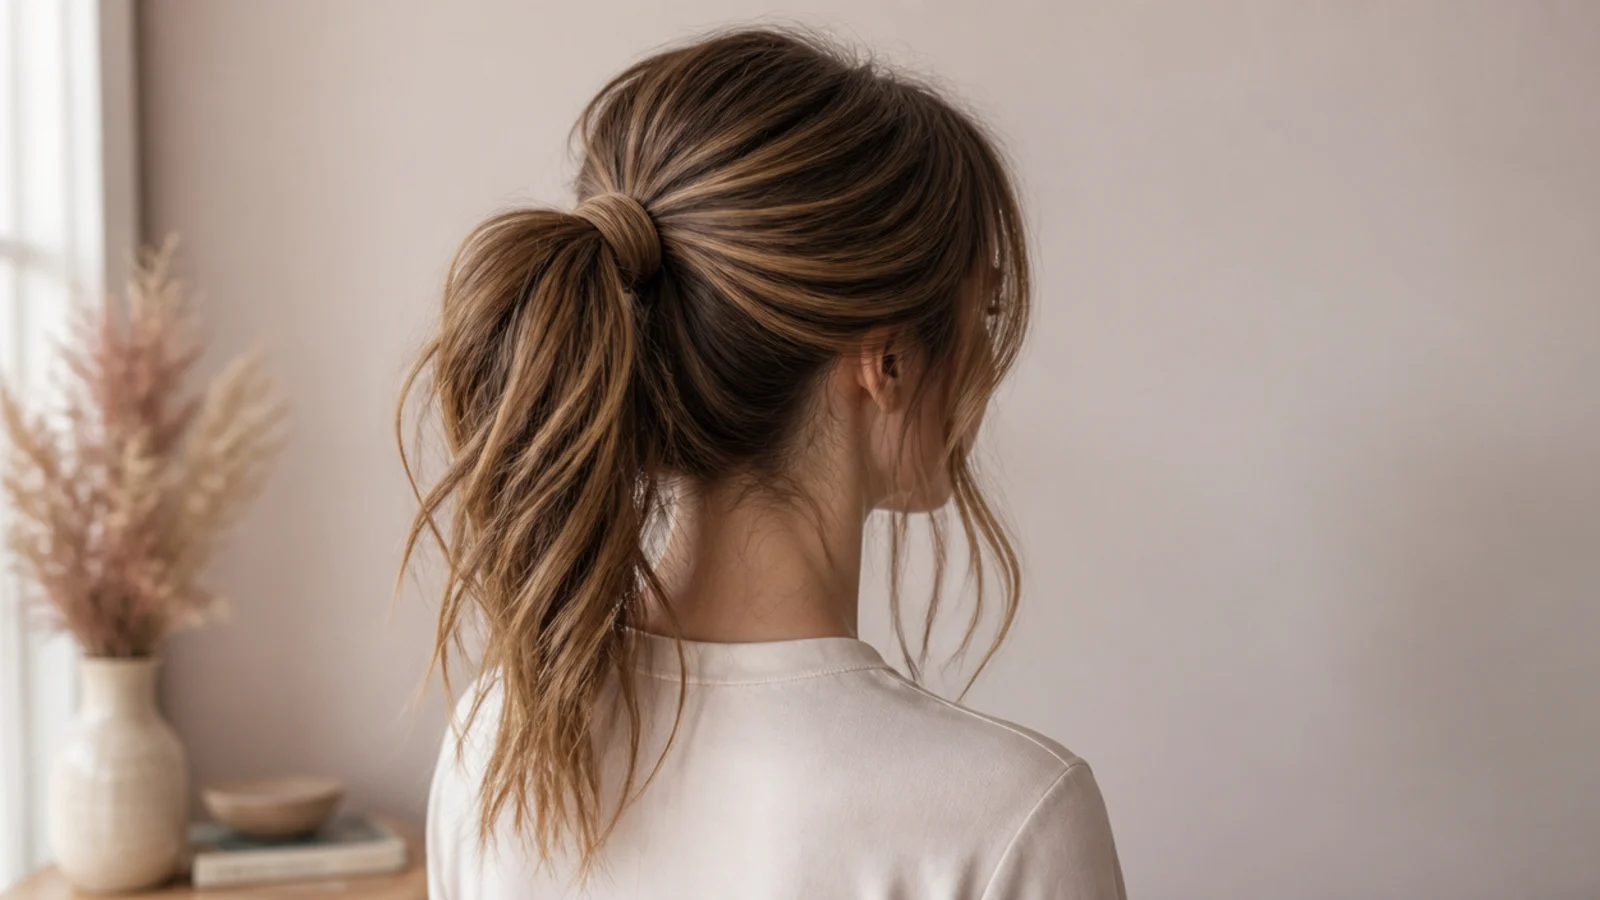
Fifteen sleek claw clip styles and the technique that makes them work — sleek is a surface, not a style. Get the surface right and any clip style reads polished; get it wrong and none of them do.
In this article · 22
- Sleek Is Made on Damp Hair
- The Flyaway Fix
- The 15 Sleek Styles
- 1. Sleek Low Twist
- 2. Sleek Half-Up
- 3. Middle-Part Sleek Clip
- 4. Deep Side Part Sleek Clip
- 5. Sleek Clipped Chignon
- 6. Wet-Look Clip
- 7. Sleek Clip with Straight Ends Out
- 8. Sleek High Clip
- 9. Sleek Clip with Tucked Ears
- 10. Glossed Sleek Clip
- 11. Sleek Clip on Straight Hair
- 12. Sleek Clip on Curly Hair
- 13. Sleek Clip with a Centre Ponytail Fold
- 14. Sleek Clip with a Fine-Tooth Finish
- 15. Sleek Clip on Day-Two Hair
- The Product Order
- Mistakes to Avoid
- FAQ
- Final Thoughts
Sleek is not a hairstyle. It is a surface, and it is either there or it is not — which is why the same claw clip twist can look polished on one person and unfinished on another who used exactly the same technique.
Everything below is about producing the surface. Once you have it, the style itself takes about thirty seconds.
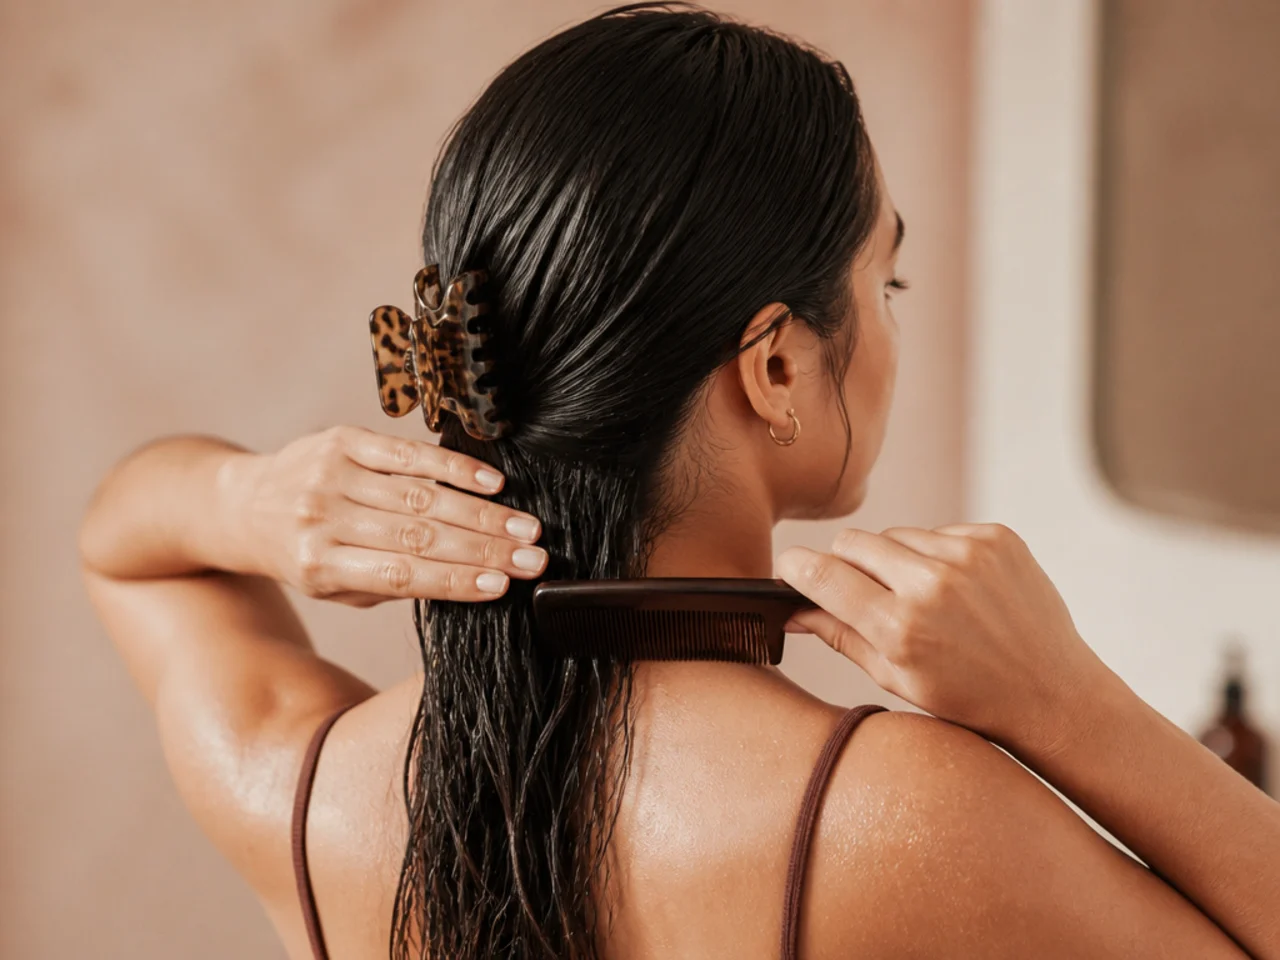
Sleek Is Made on Damp Hair
This is the part most people get wrong, and it explains why smoothing dry hair never quite works.
Hair holds whatever shape it was in when it dried. Smooth it while damp and it dries smooth; let it dry however it falls and then try to fix it, and you are fighting a shape that has already set. Brushing dry hair flat moves flyaways from one place to another and generates new ones through friction.
So the sequence is: damp hair, smoothed, then clipped, then allowed to finish drying in that shape. If your hair is already dry, dampen the surface with water on your palms rather than reaching for product.
The one exception is day-two hair, which has enough natural oil to lie flat without help. That is the easiest possible starting point for a sleek style, and it is worth planning around.
The Flyaway Fix
Flyaways are short pieces — new growth and breakage — that are too short to reach the clip. They cannot be brushed into the style because they physically do not reach it.
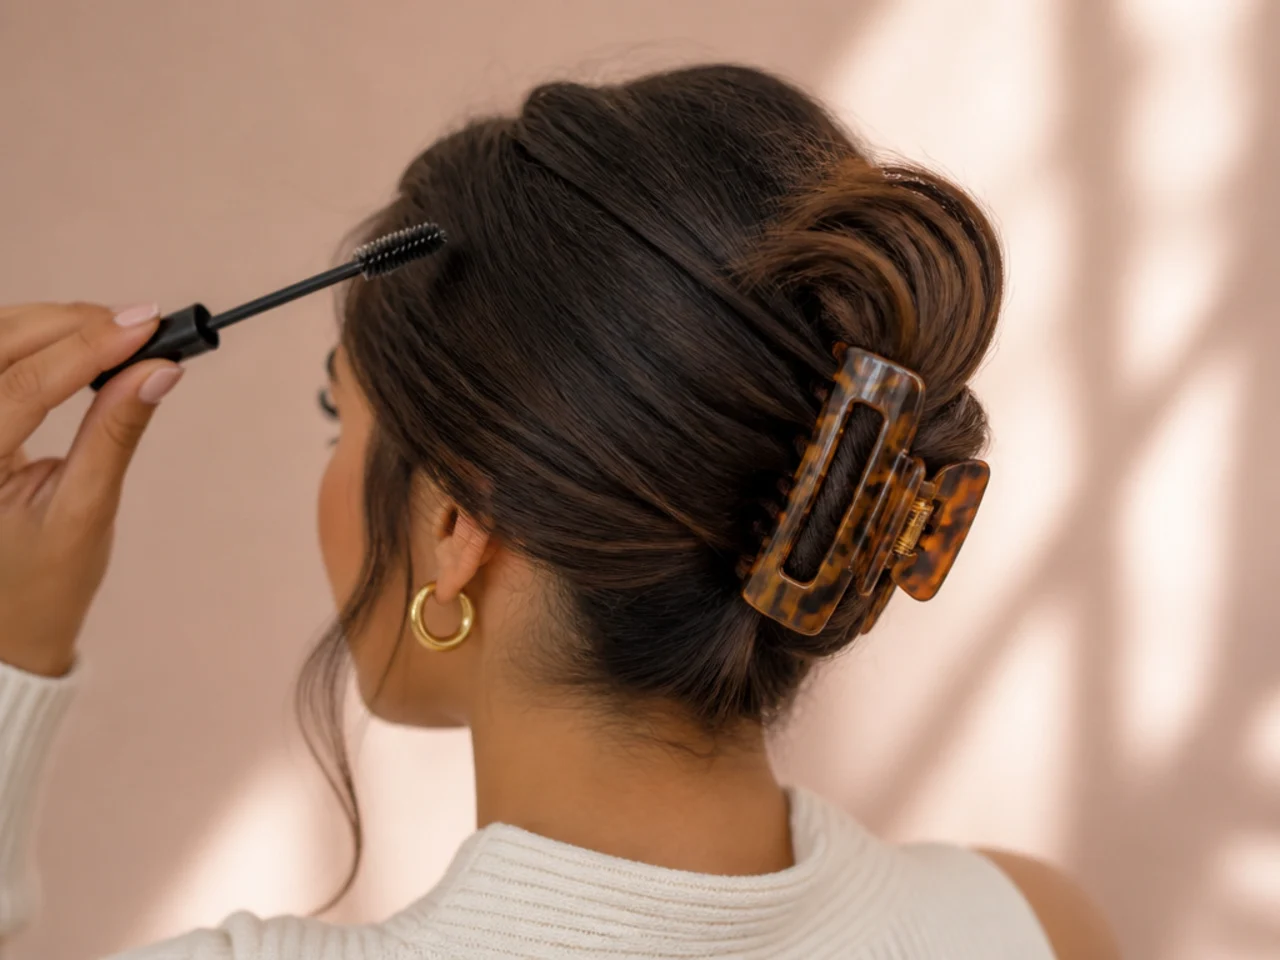
The tool for these is not a brush. A clean mascara wand or a soft toothbrush, with the smallest trace of gel or hairspray on the bristles, worked along the hairline only.
The reason it works is scale. A brush drags whole sections and creates friction, which produces more flyaways than it solves. A wand catches individual short pieces and lays them down without disturbing anything around them.
Do this last, after the clip is in. Doing it first means undoing it when you gather the hair.
The 15 Sleek Styles
1. Sleek Low Twist
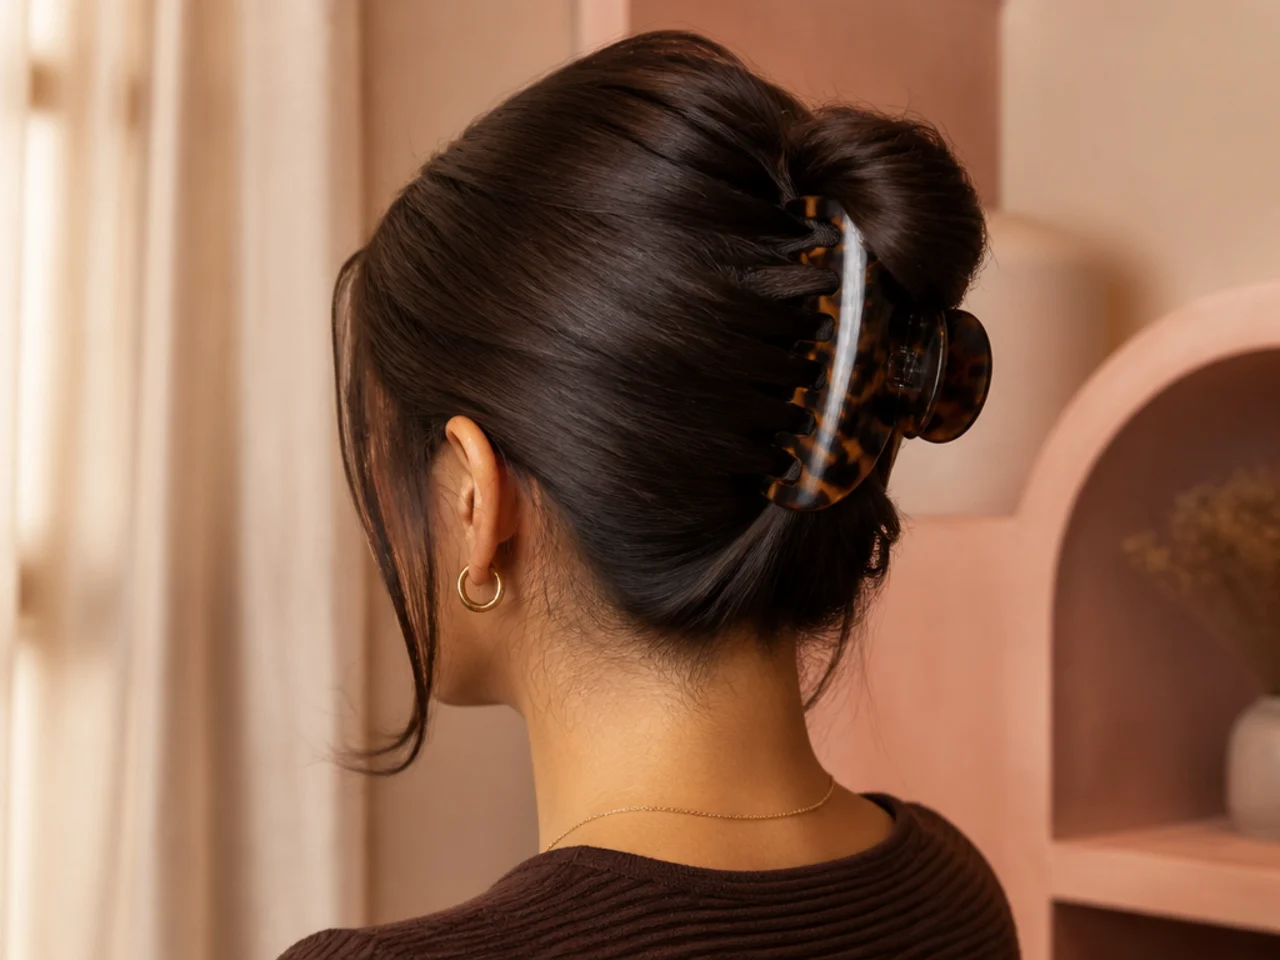
Smoothed flat, twisted low, clipped at the nape. The cleanest shape here.
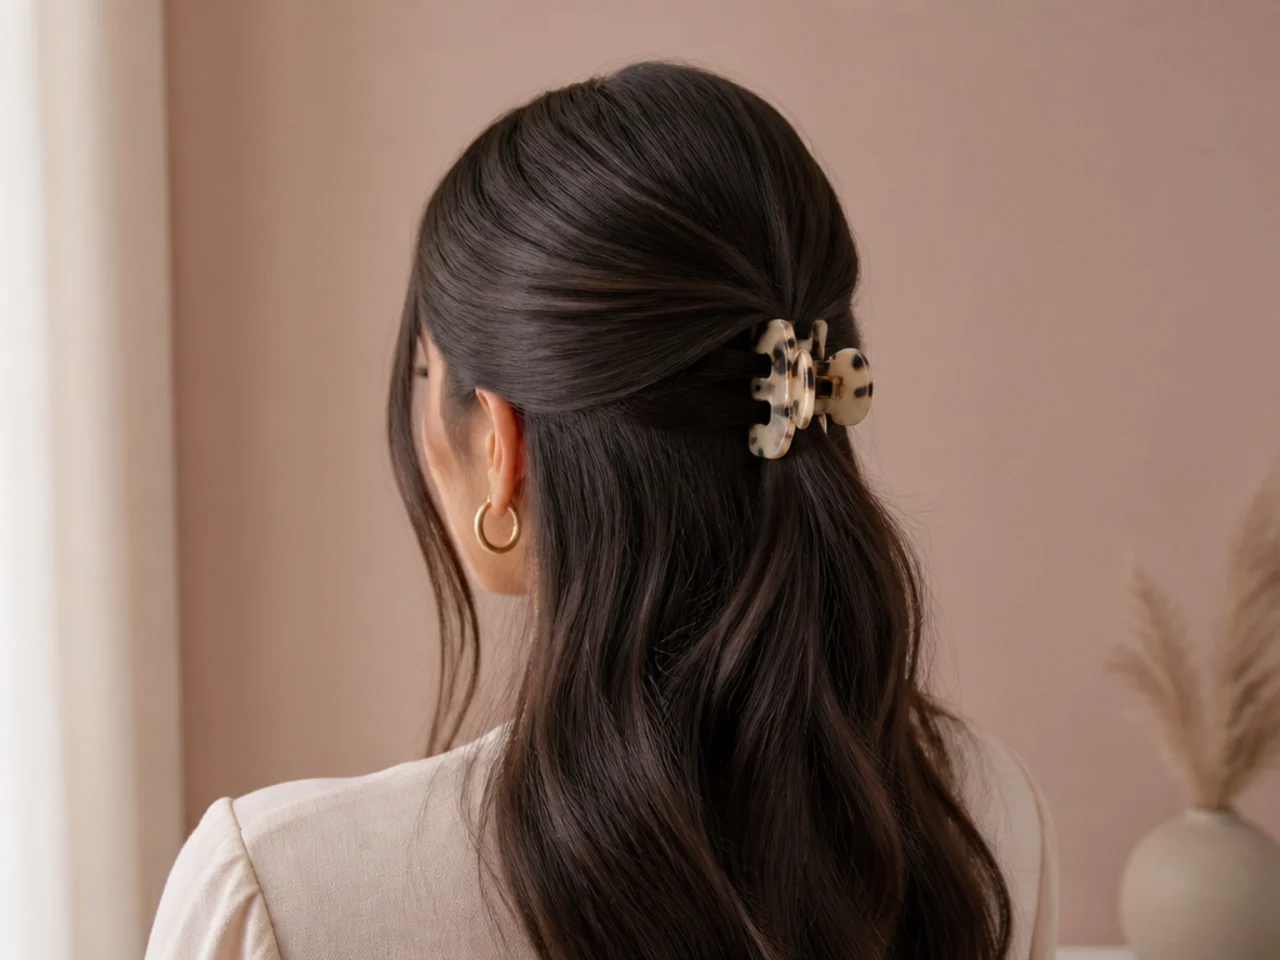
2. Sleek Half-Up
Top section smoothed back, length left straight below.
3. Middle-Part Sleek Clip
A sharp centre parting is half the polish. Comb it with the tail of a comb, not your fingers.
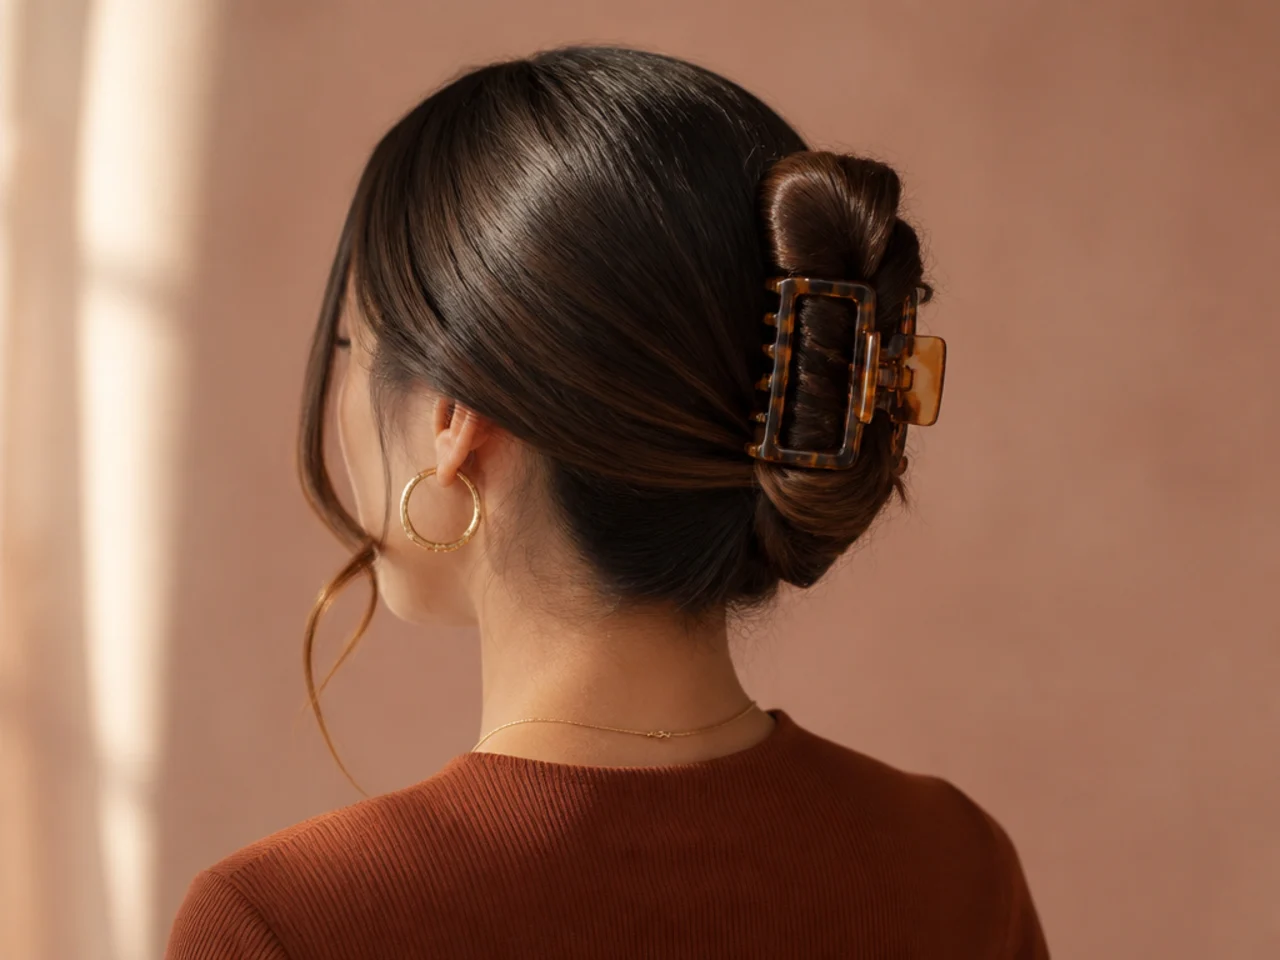
4. Deep Side Part Sleek Clip
The same idea with a stronger line. More flattering on most faces.
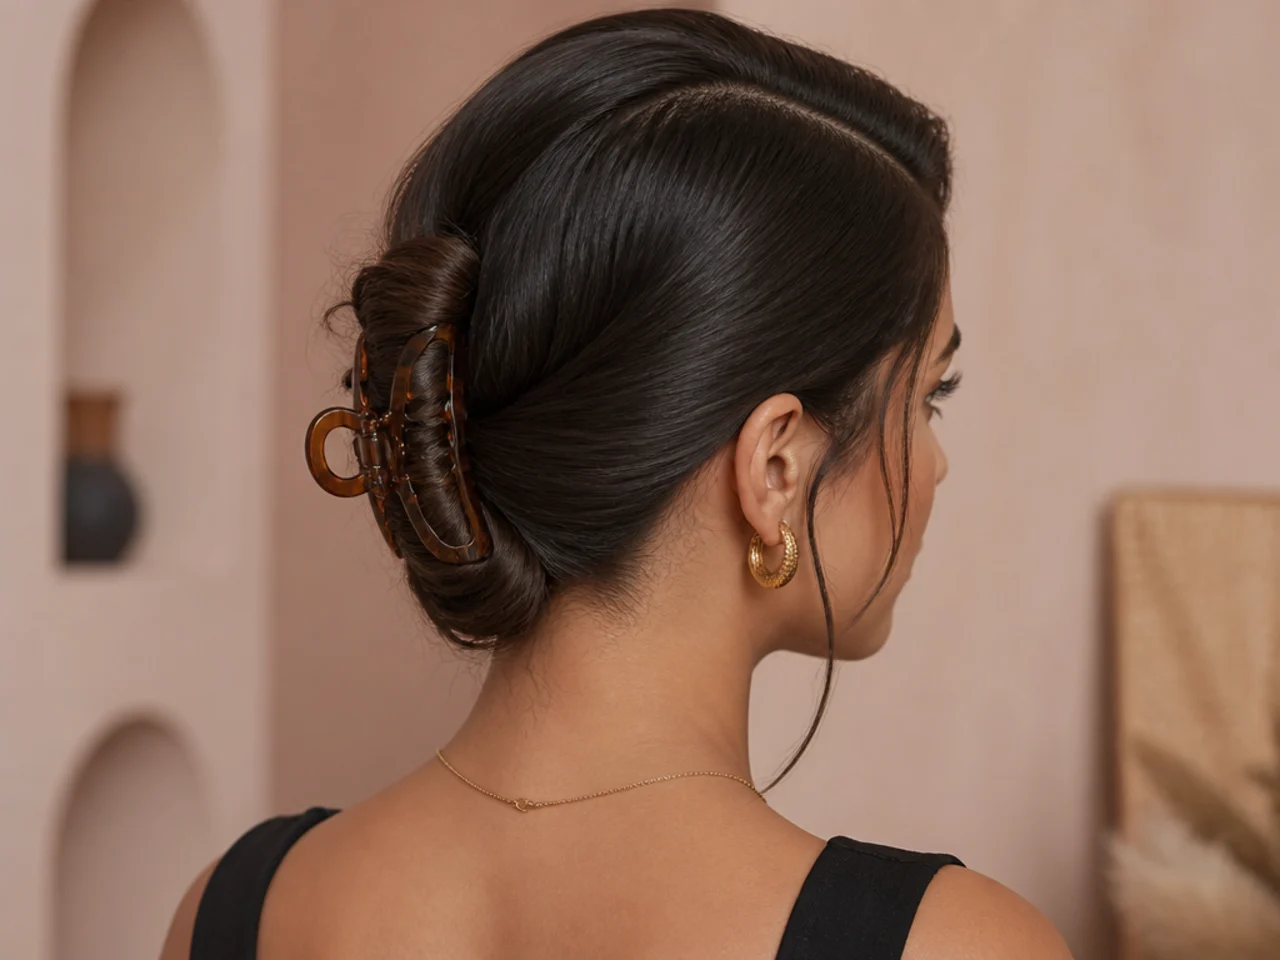
5. Sleek Clipped Chignon
Everything smoothed, folded and clipped low. Formal without a single pin.
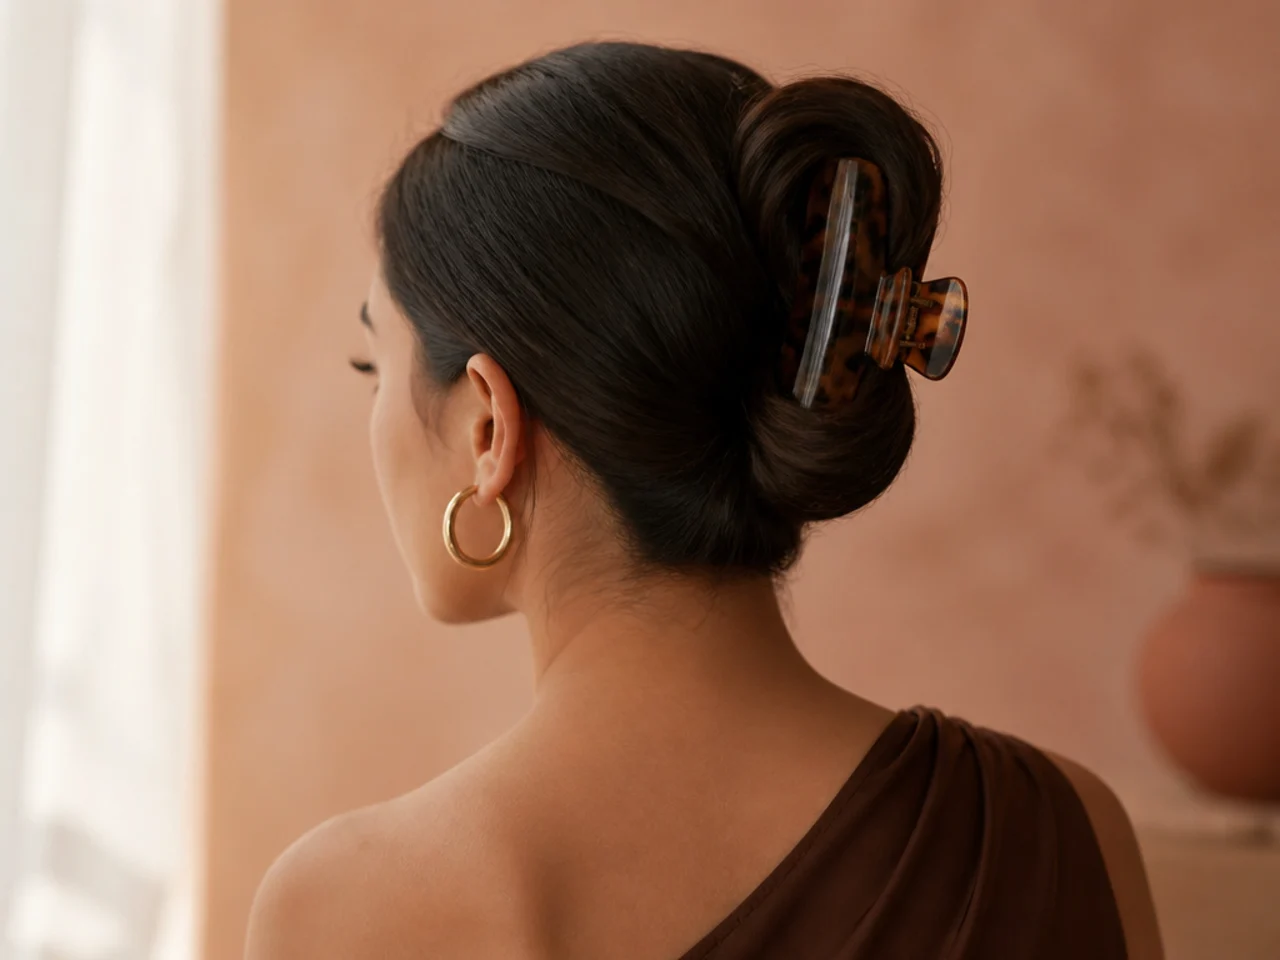
6. Wet-Look Clip
Gel through the surface, clipped while genuinely wet. Very current.
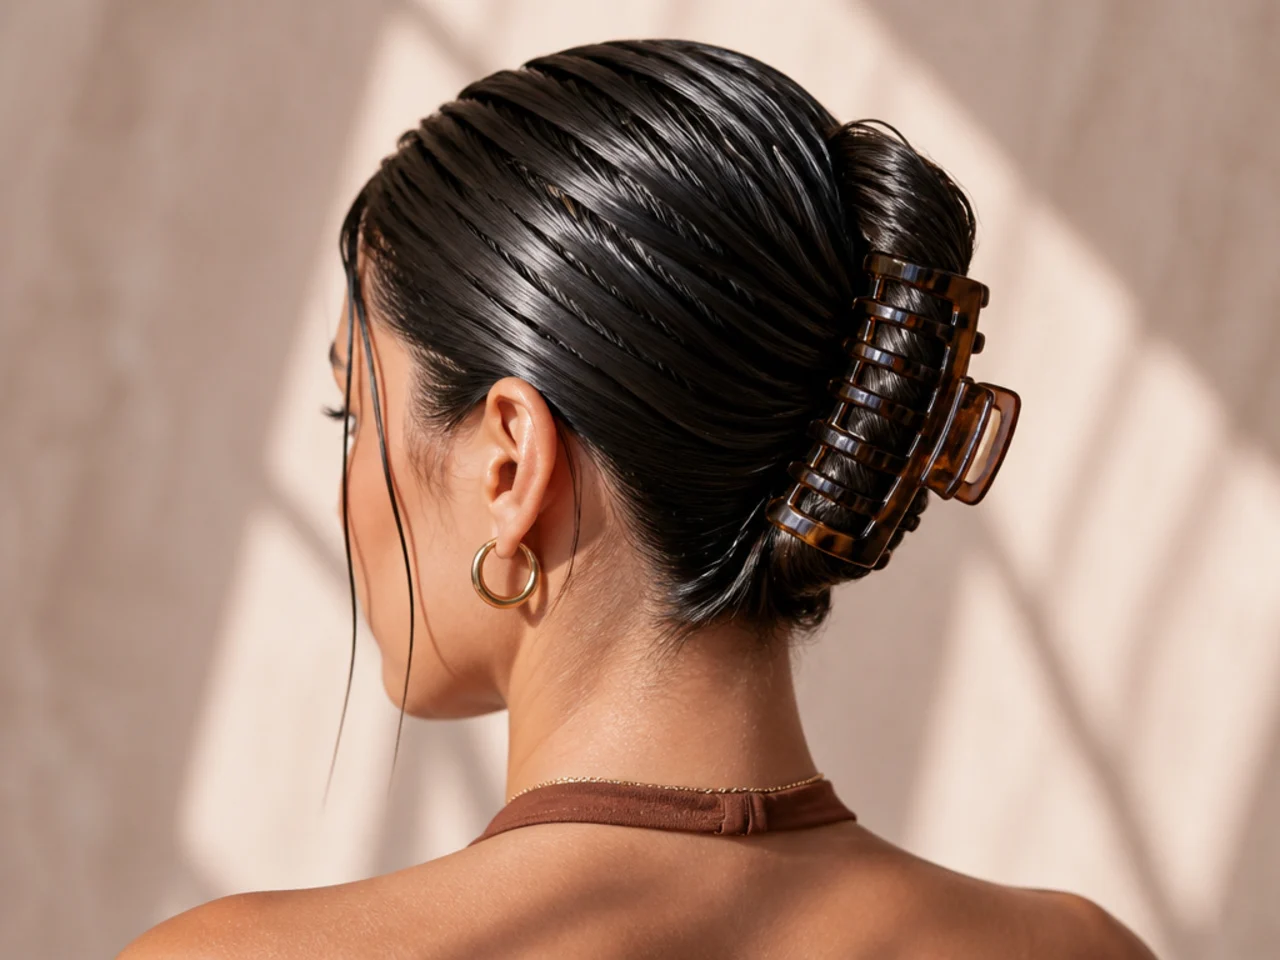
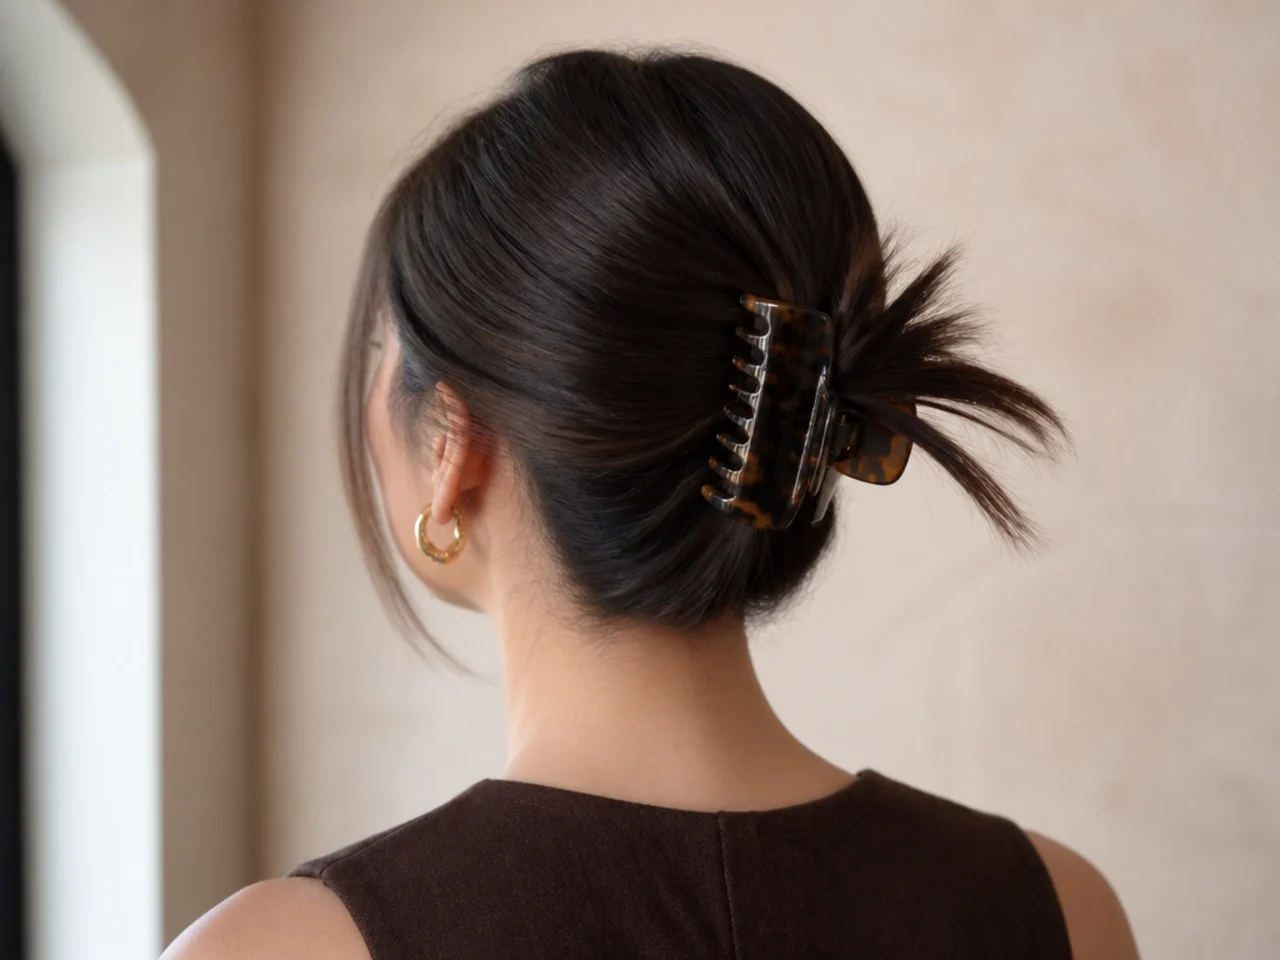
7. Sleek Clip with Straight Ends Out
Smooth at the top, poker-straight ends showing below the clip.
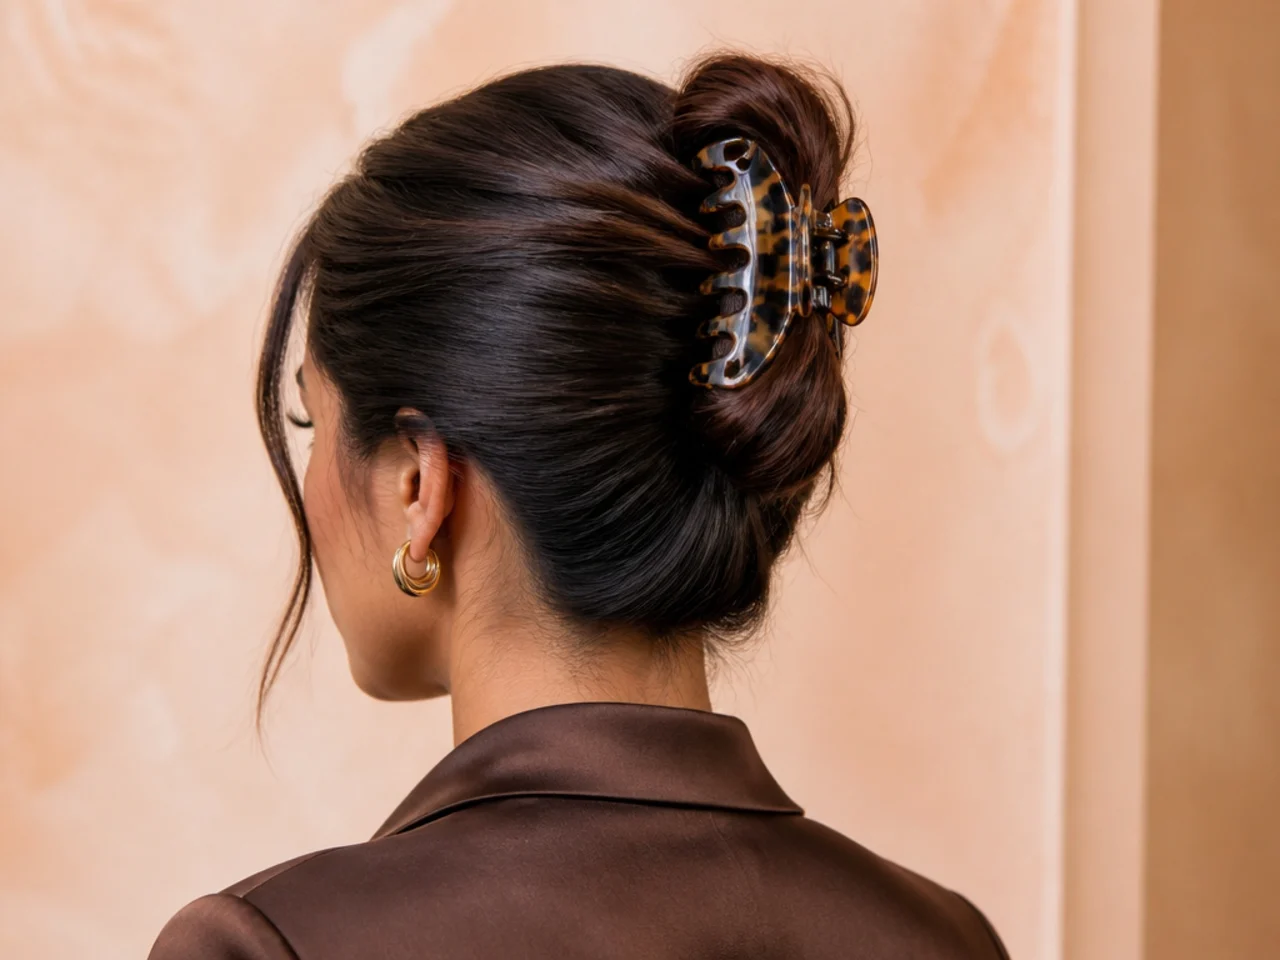
8. Sleek High Clip
Gathered high on the crown. It needs the smoothest surface of anything here.
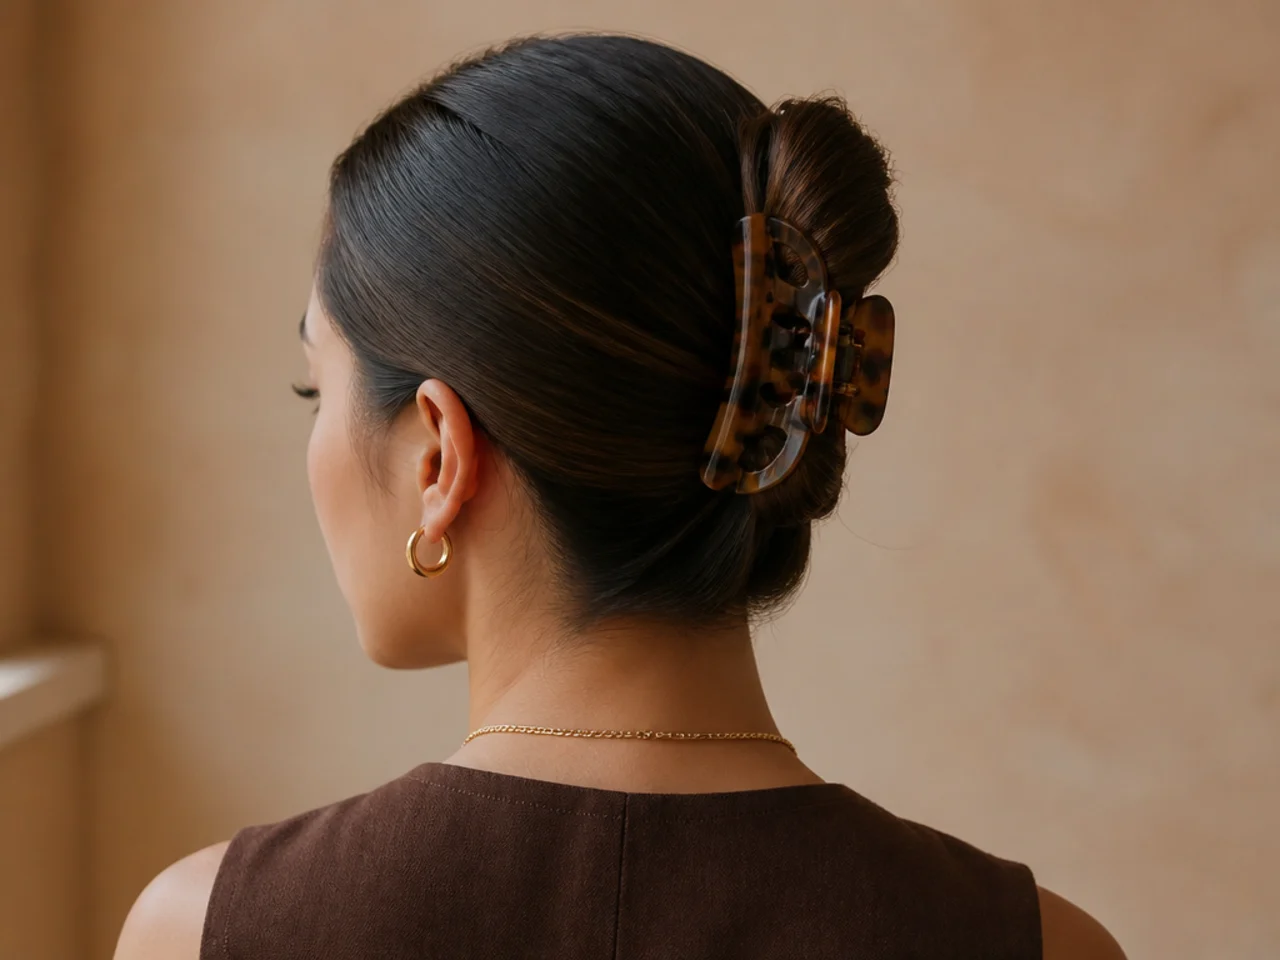
9. Sleek Clip with Tucked Ears
Both sides tucked before clipping. It clears the whole face.
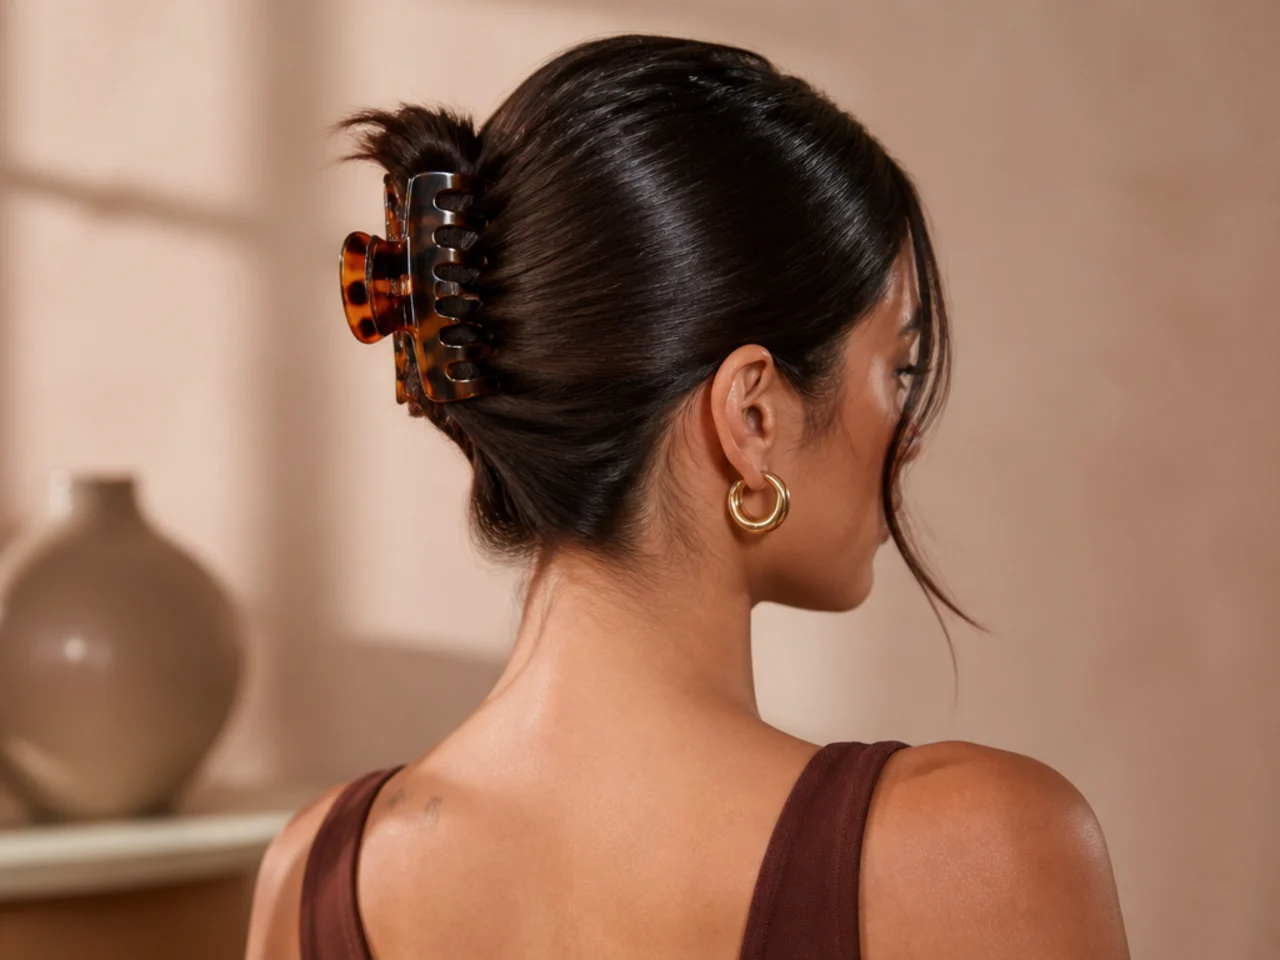
10. Glossed Sleek Clip
A drop of serum on the surface only, once it is dry. Shine is what separates sleek from merely flat.
11. Sleek Clip on Straight Hair
The easiest version, and the one that shows every flaw.
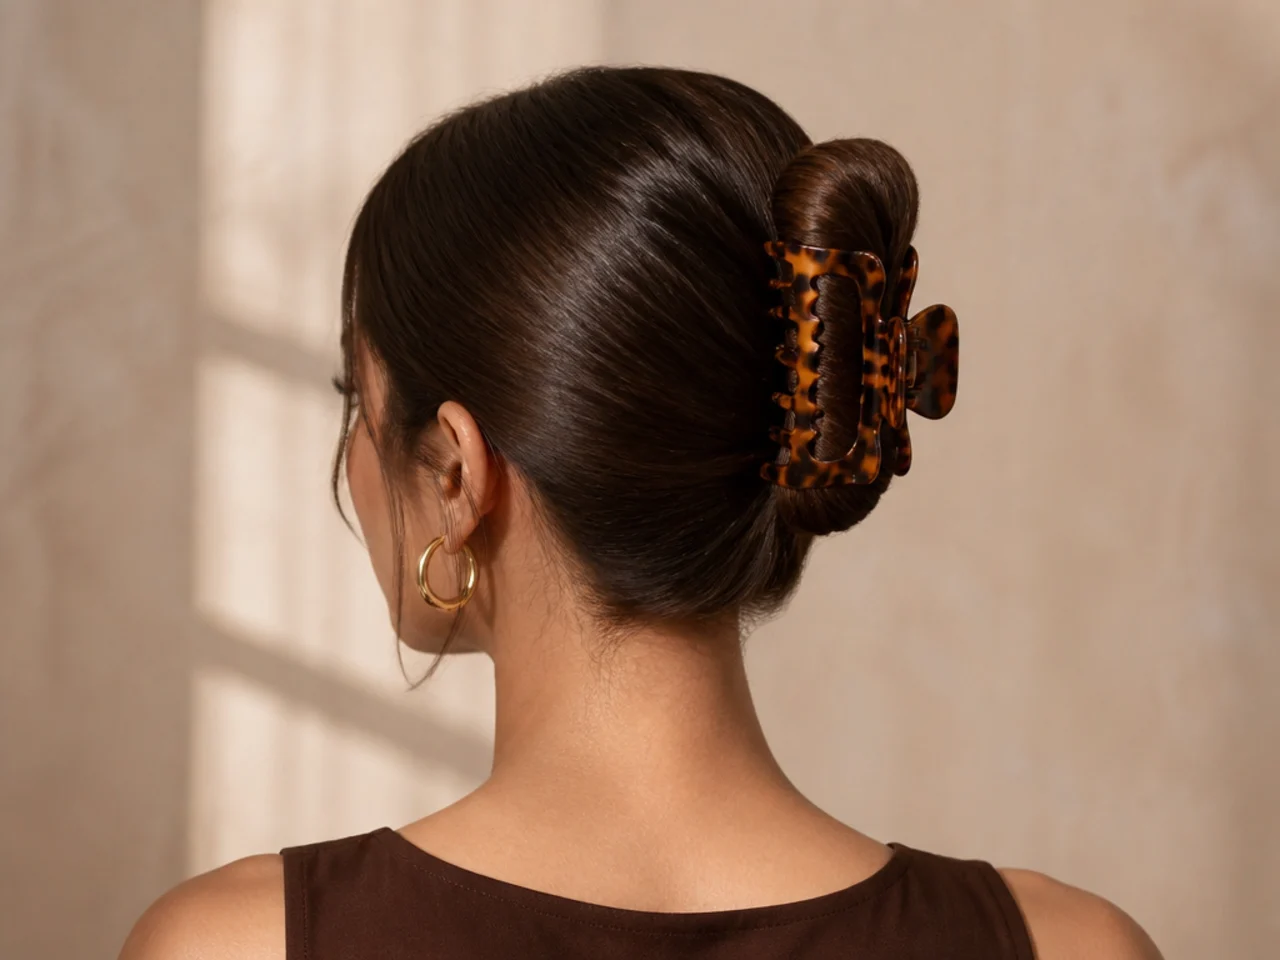
12. Sleek Clip on Curly Hair
Smoothed at the root only, curl left intact below the clip.
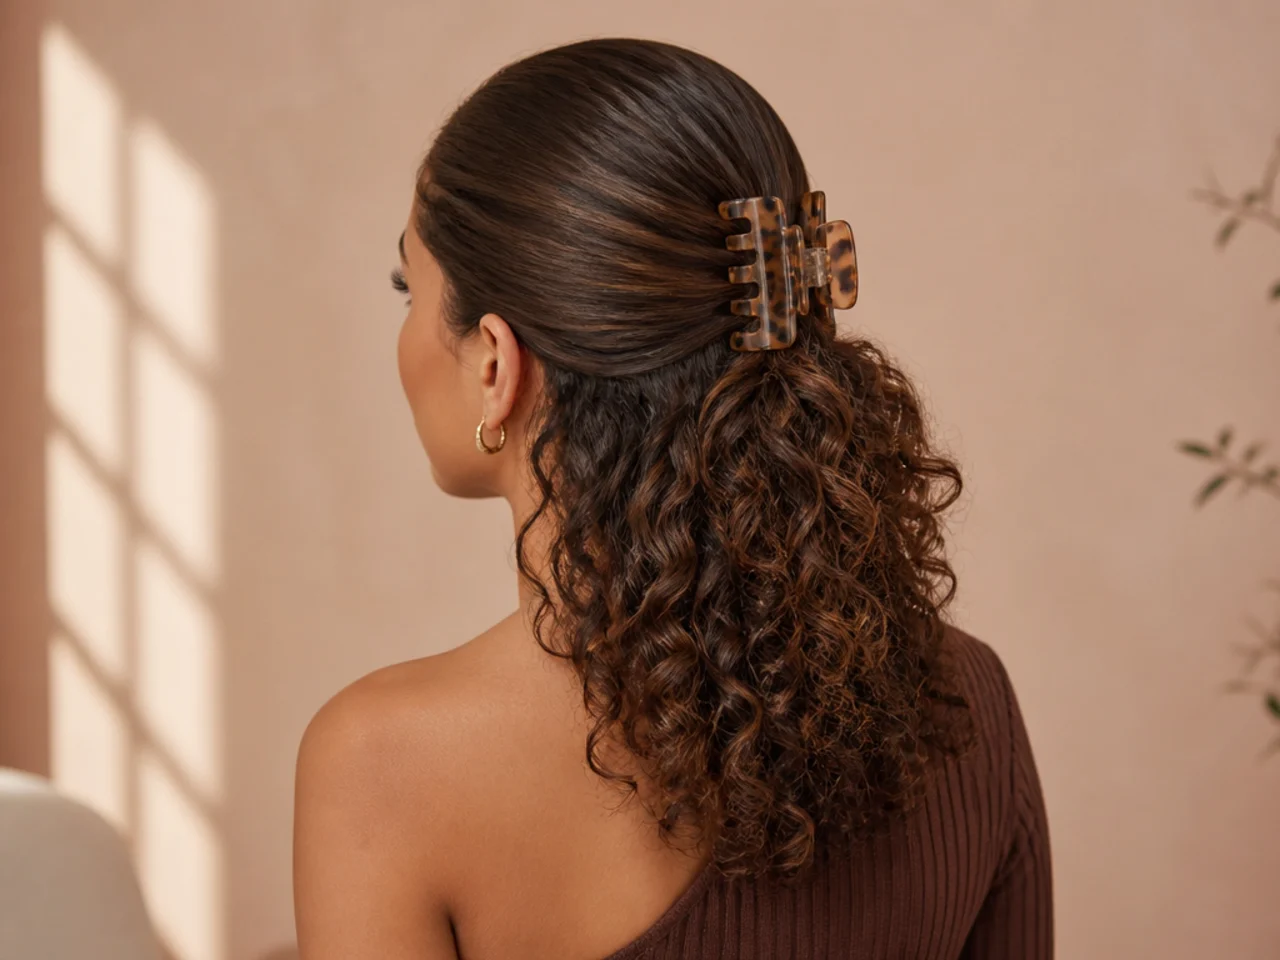
13. Sleek Clip with a Centre Ponytail Fold
Ponytail first, folded and clipped. The tie keeps the surface under tension.
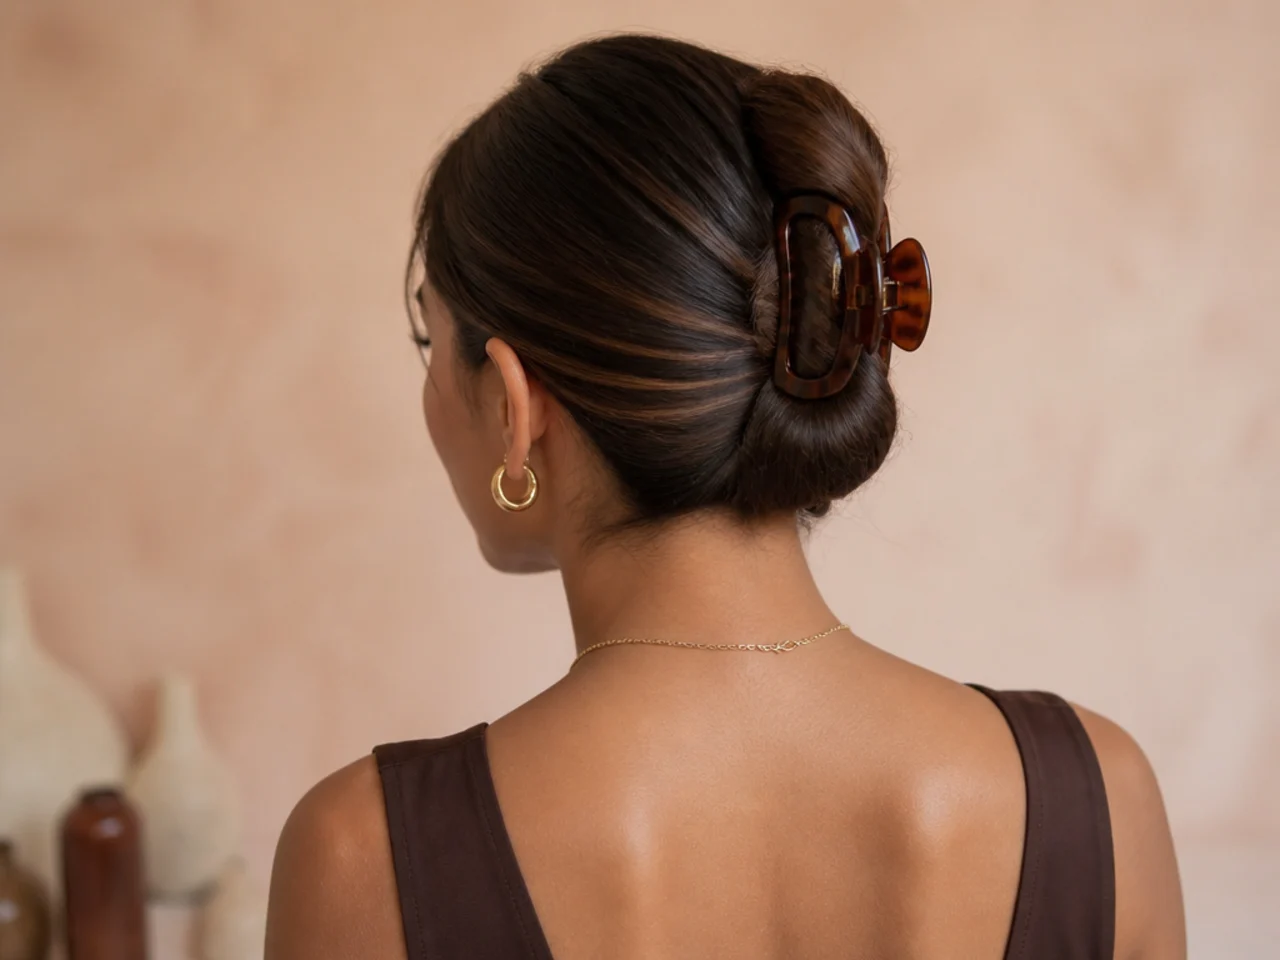
14. Sleek Clip with a Fine-Tooth Finish
Final pass with a fine-tooth comb over the surface. Two seconds, visible difference.
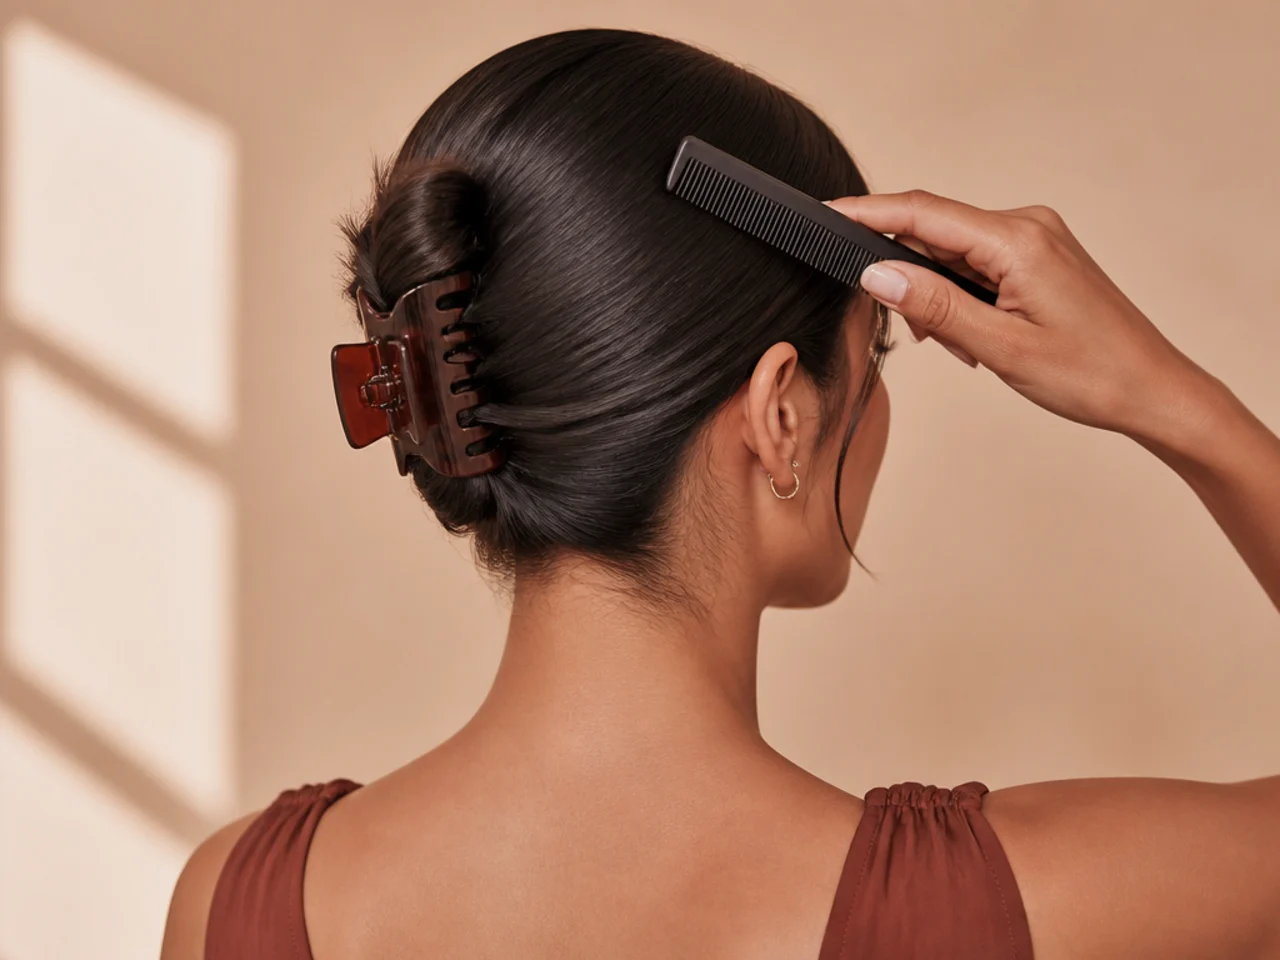
15. Sleek Clip on Day-Two Hair
The easiest sleek there is. Natural oil does the work product otherwise has to.
The Product Order
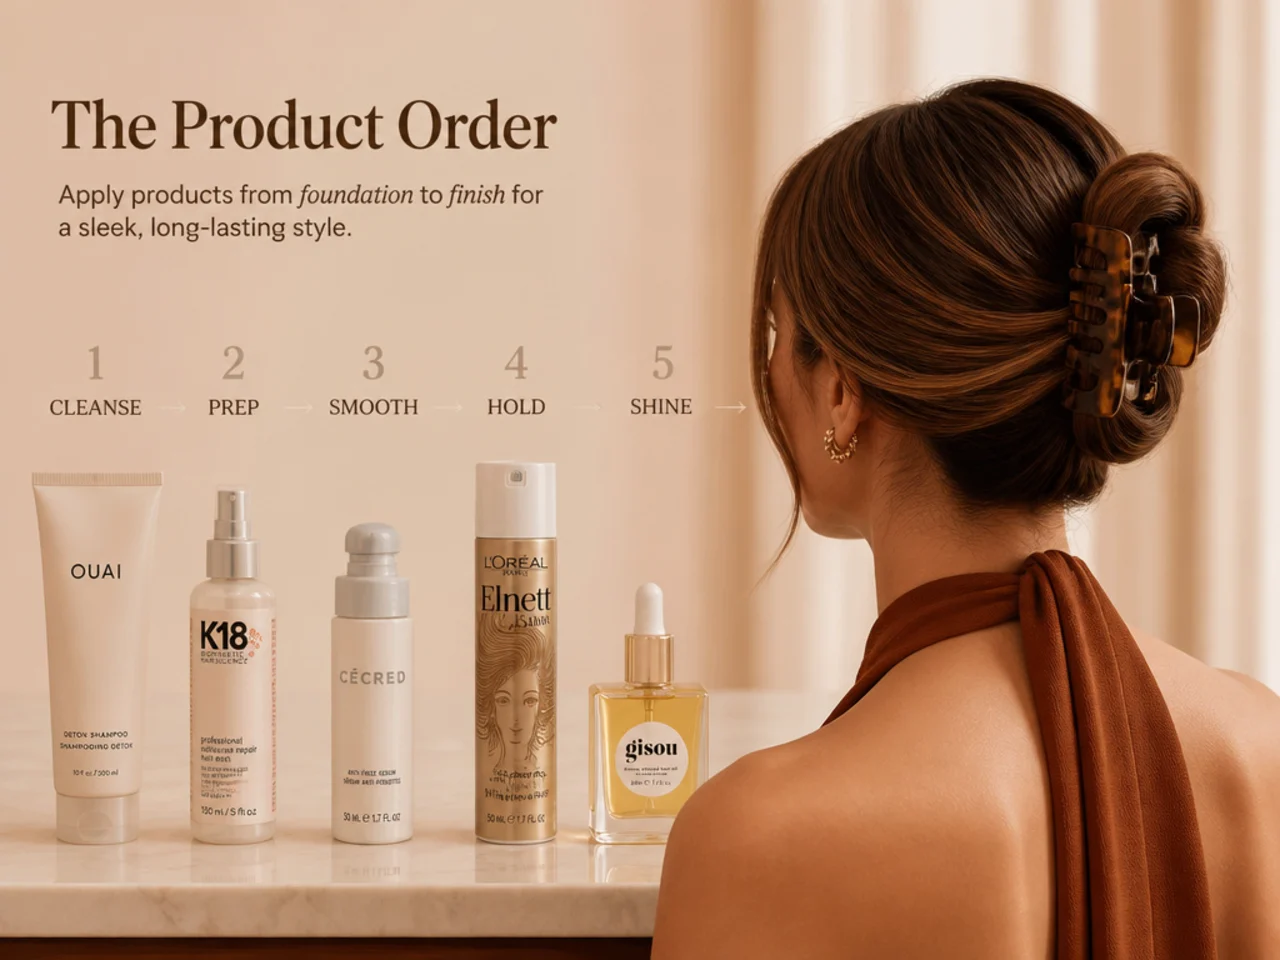
Sequence matters more than which products you own.
1. Damp hair. Wet or misted, not dry. 2. A smoothing cream through the lengths. Not the roots — roots need grip for the clip. 3. Gel or wax at the hairline only. A pea-sized amount, worked in with a comb. 4. Clip it. While still damp. 5. Let it dry in place. Ten minutes, or a cool shot if you are in a hurry. 6. Serum on the surface, last. A single drop, smoothed over the outside only.
The most common error is putting serum on early. Applied before clipping it makes the hair too slippery for the clip to hold, so the style slides out looking beautifully smooth.
Mistakes to Avoid
Smoothing dry hair. The shape is already set. Damp, or dampen it.
Brushing at flyaways. Friction makes more of them. Use a wand.
Serum before clipping. It makes the hair too slippery to hold.
Product at the roots. The clip needs grip exactly where you have removed it.
Attempting sleek on freshly washed hair. Clean hair is both slippery and prone to lift. Day two is easier in every respect.
FAQ
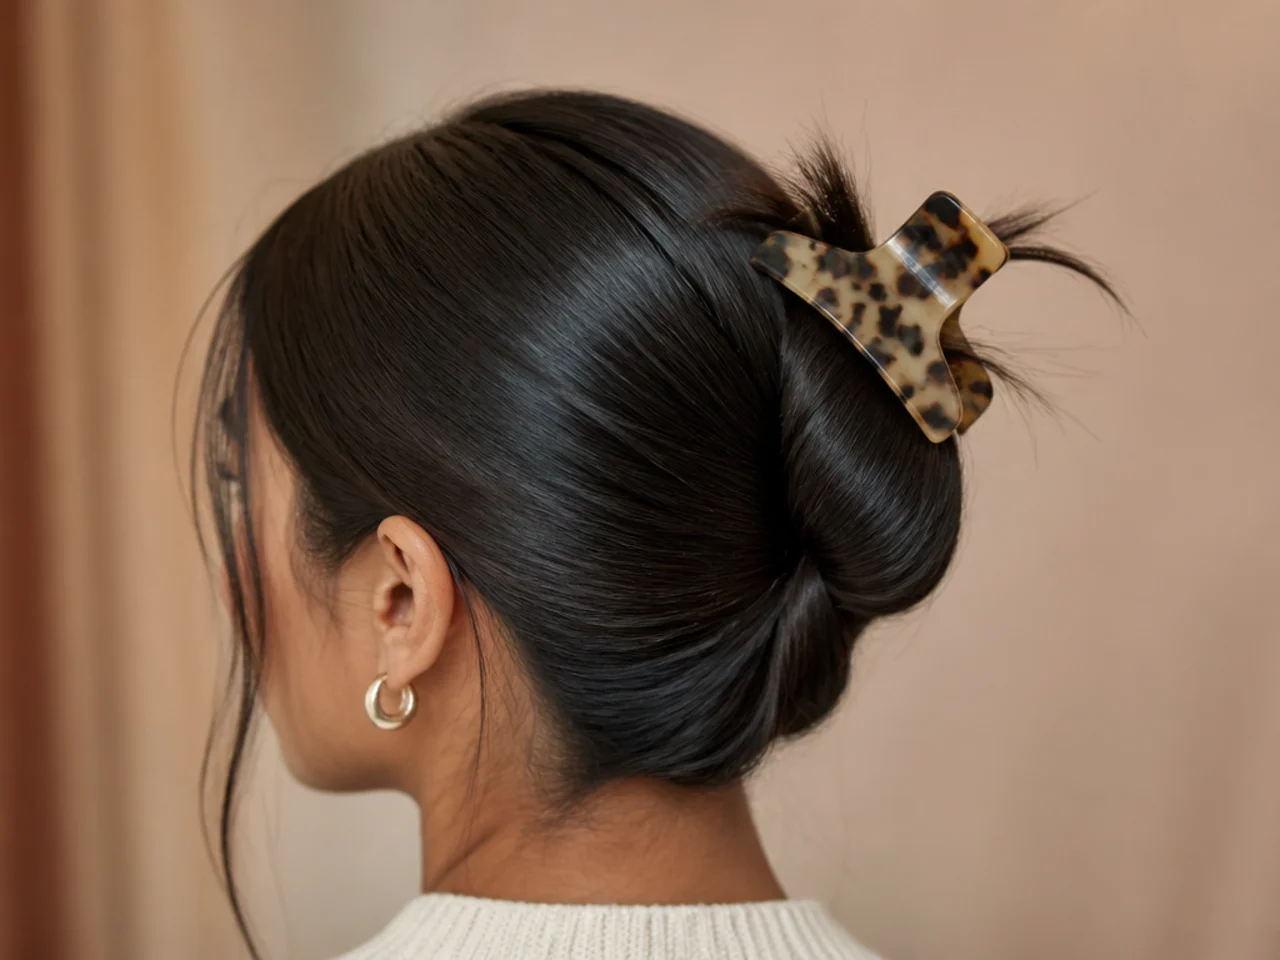
How do you get it really sleek? Work on damp hair — the surface sets as it dries.
How do you stop flyaways? A mascara wand with a trace of gel, along the hairline, last.
Does it work on day-two hair? Yes, better — enough oil to lie flat and enough grip to hold.
Final Thoughts
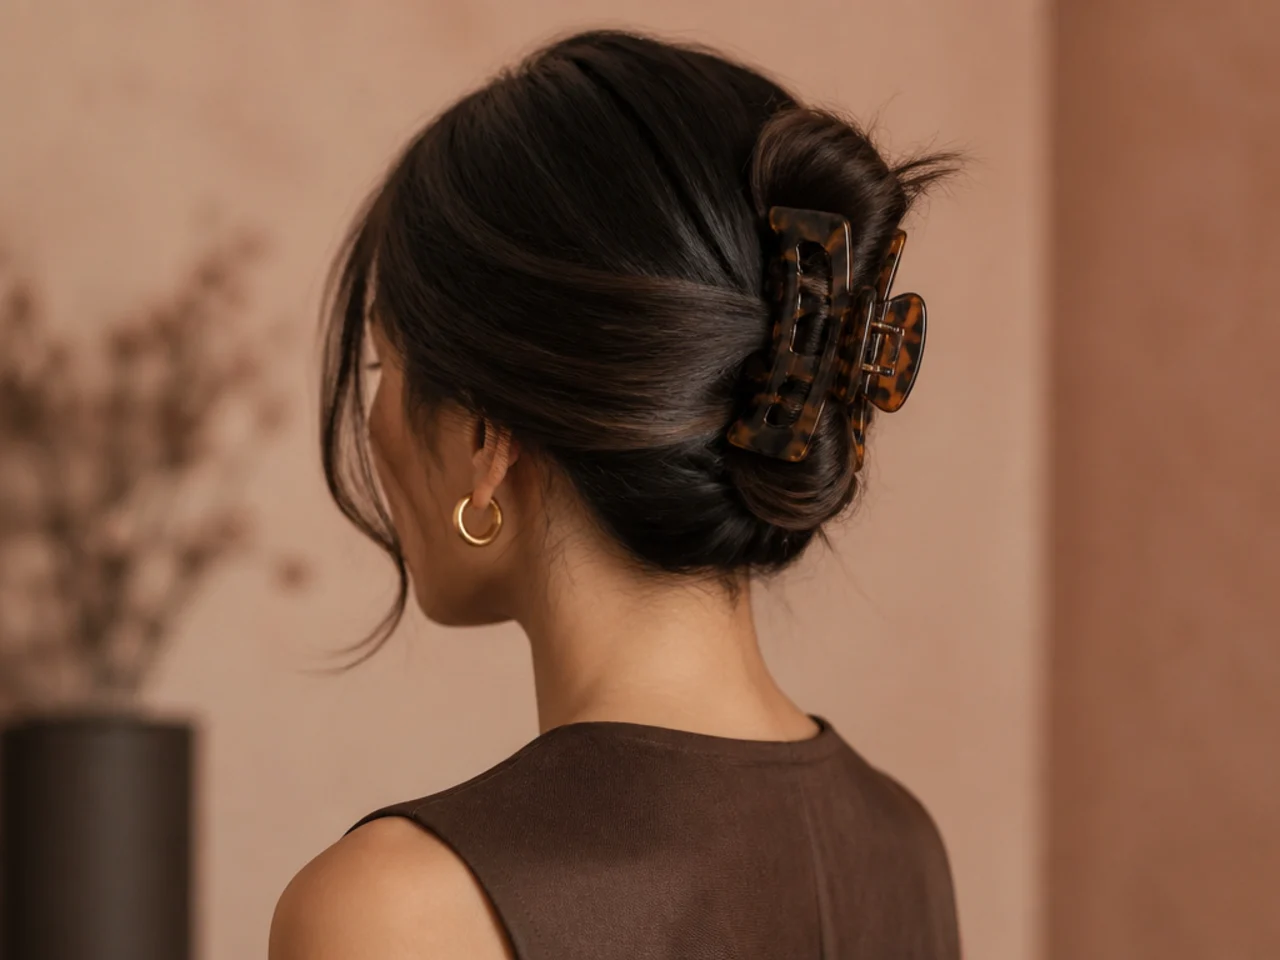
Smooth it damp, clip it damp, and save the serum for last. Sleek is not a technique you apply to a finished style — it is a surface you create before the clip goes in, and after that almost any shape on this page reads polished.
For workplace styles see 15 elegant claw clip hairstyles for work, and for the full range see 25 easy claw clip hairstyles. More in Updos & Clips.