How to Cut Short Curtain Bangs in 20 Checkpoints
Twenty checkpoints and a seven step method for cutting short curtain bangs at home, built on the rule that saves most of them — hair pulled down and cut at the target length springs up short the moment you let go.
In this article · 35
- How Short Is Too Short
- Texture Differences
- Failure Fixes
- Trim Cadence and Cost
- Growing Them Out
- The 20 Checkpoints
- 1. Clean Dry Hair
- 2. Shears and Tools
- 3. Centre Part
- 4. Triangle Section
- 5. Adjusting the Density
- 6. Comb It Down
- 7. The Guide Strand
- 8. The Shortest Point
- 9. Shrinkage Allowance
- 10. Cut the First Length Long
- 11. Point Cutting
- 12. The First Side Diagonal
- 13. Mirroring the Second Side
- 14. The Second Pass
- 15. Blending the Outer Edge
- 16. The Cowlick Fix
- 17. Slide Cutting
- 18. Round Brush Blowdry
- 19. Texture Spray
- 20. The Trim Schedule
- How to Cut Short Curtain Bangs at Home
- Step 1. Prep
- Step 2. Section
- Step 3. Guide Strand
- Step 4. First Pass
- Step 5. Diagonals
- Step 6. Refine
- Step 7. Finish and Style
- Final Thoughts
Nearly every home fringe goes wrong at the same instant, and it is not the cutting. It is the moment the hair is released.
Hair under tension is longer than hair at rest. Combed down and pulled forward, a section sits lower than it will the second you let go of it.
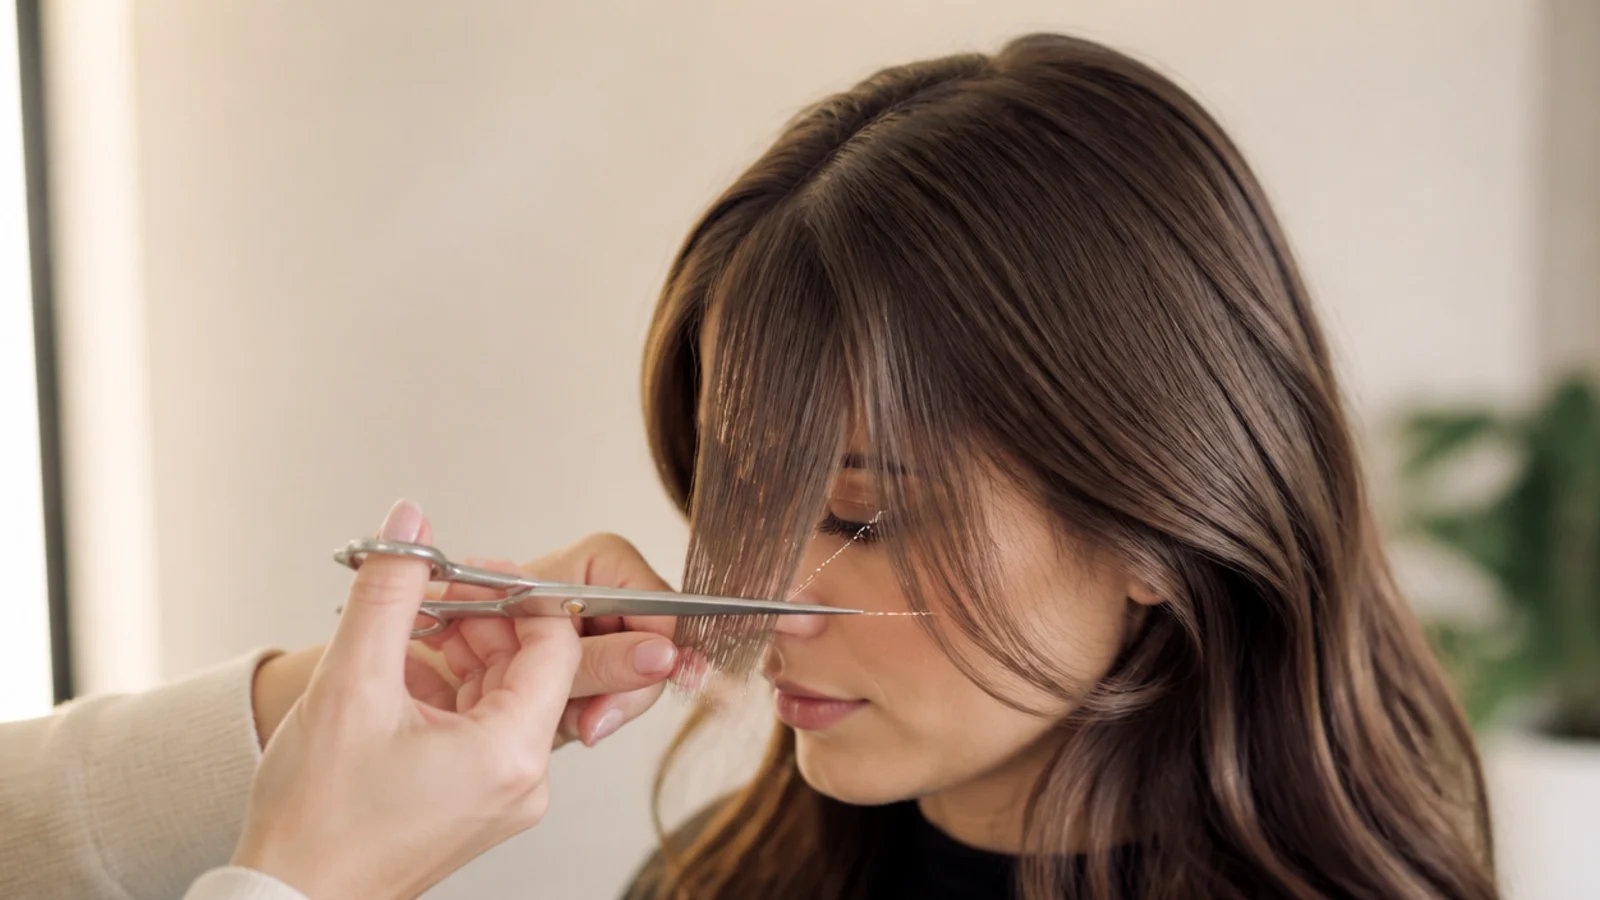
So the first cut is always long. Aim at the nose even if the fringe is meant to sit at the brow, then take it up a quarter of an inch at a time until it is right.
How Short Is Too Short
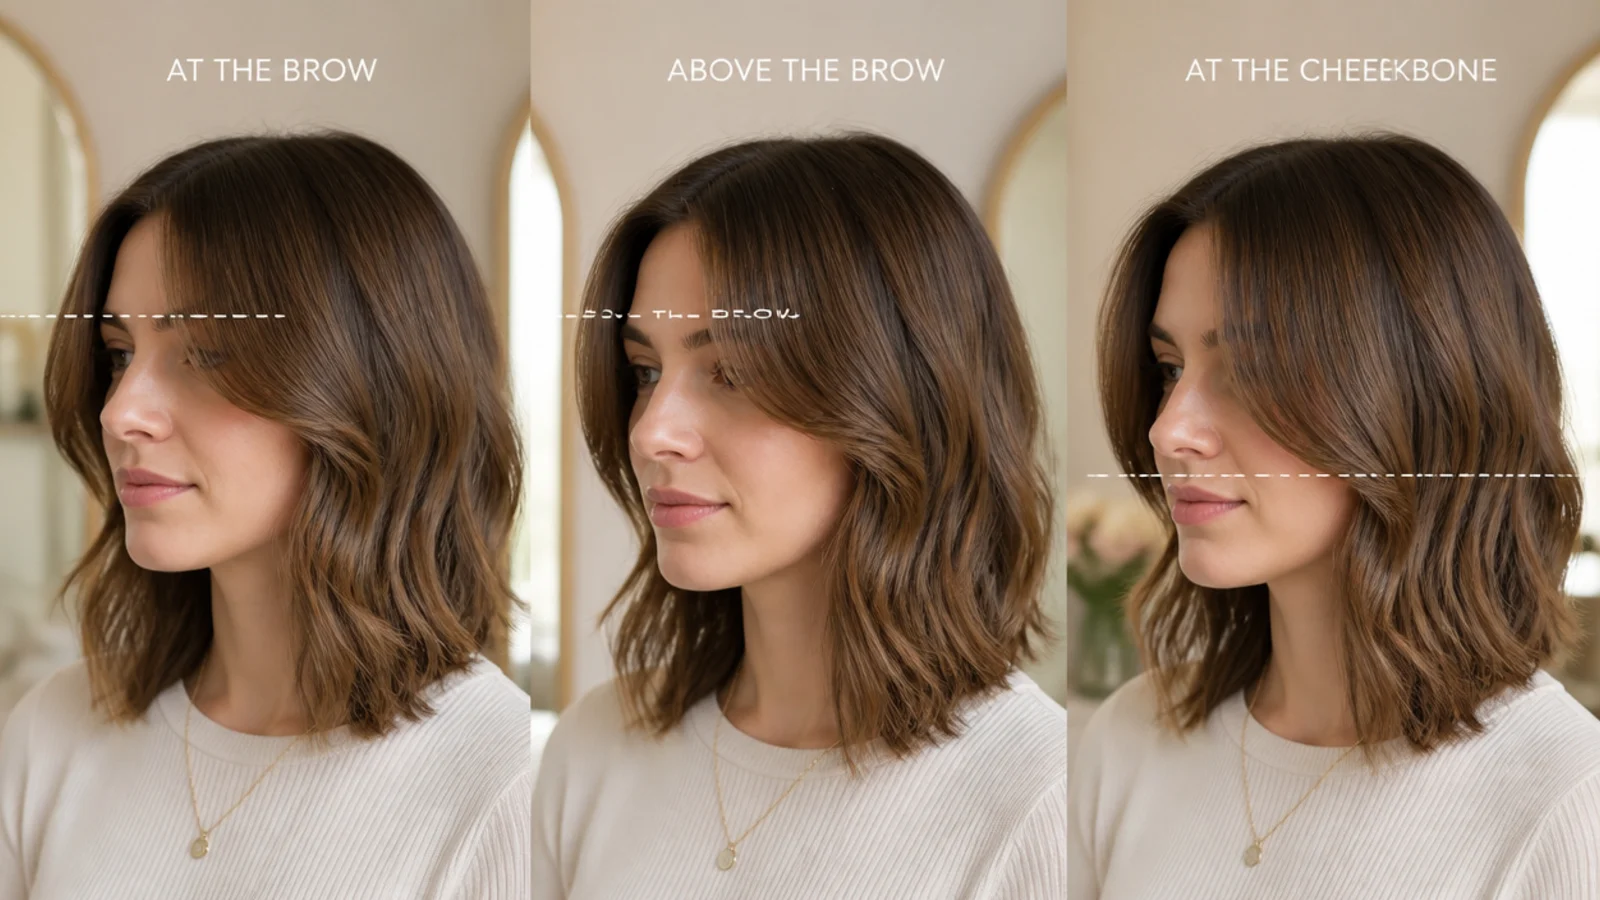
The brow is the floor for a curtain shape. Any higher and the fringe loses the weight that makes the two halves fall open in the middle.
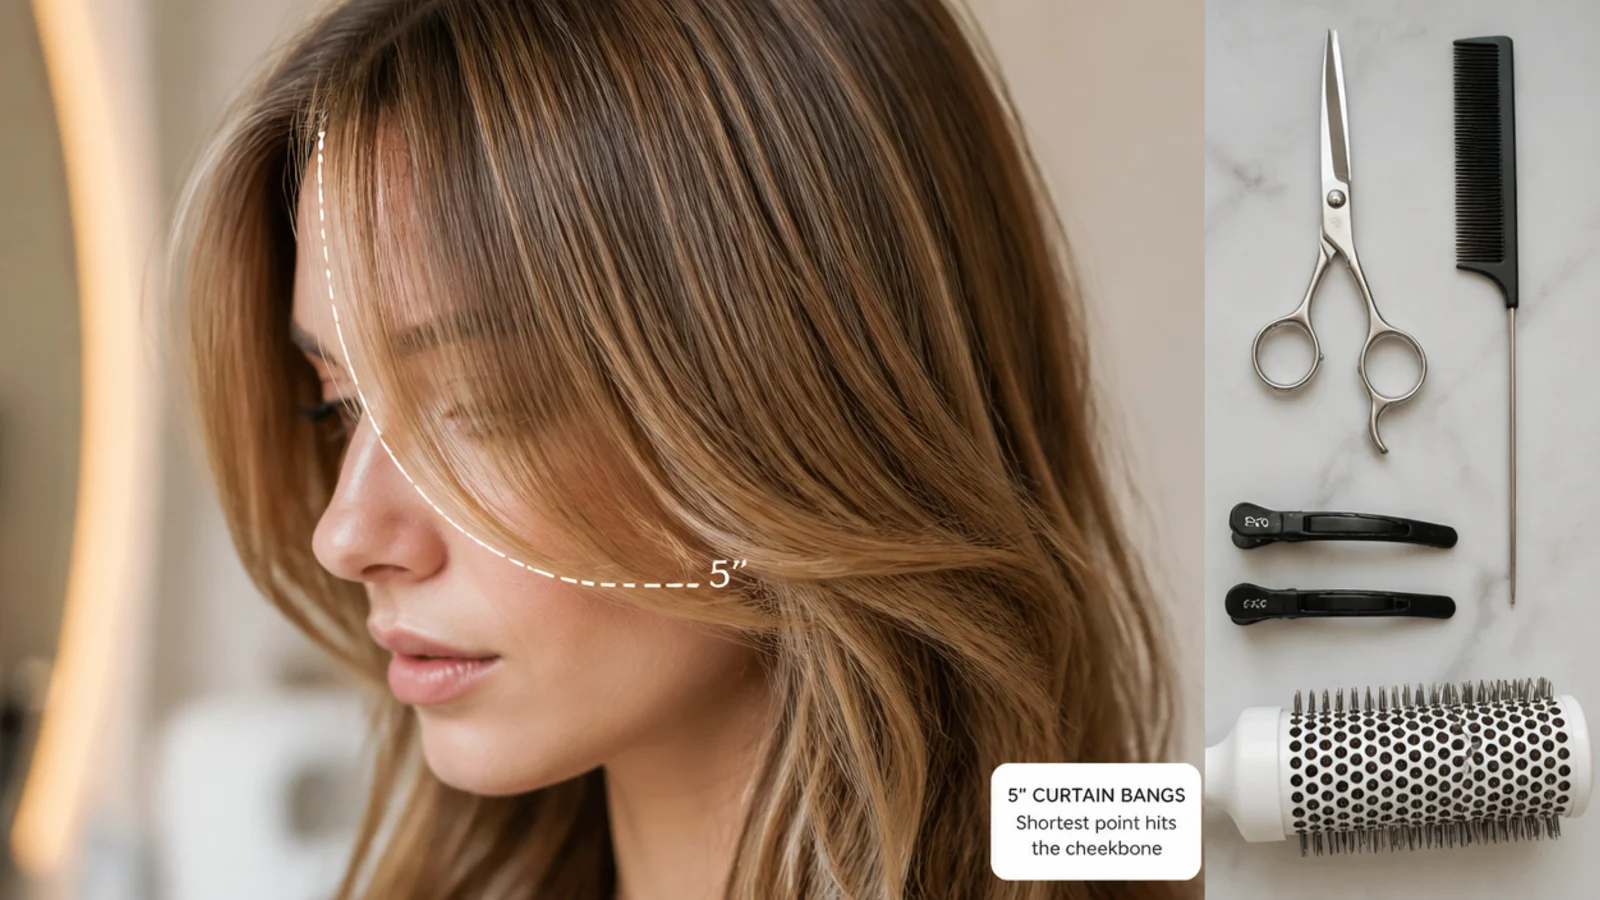
Cheekbone is the safest first attempt. Long enough to part, long enough to tuck, and short enough that it still reads as a fringe.
A fringe that will not part is too short. That is the test. If the halves keep closing over the forehead, there is not enough length left to fall.
Short at the centre, long at the corners, always. The difference between the two is what makes it a curtain rather than a fringe with a gap in it.
You can always take more off. Nothing puts it back except about six weeks per half inch, which is the real cost of a bad guess.
Texture Differences
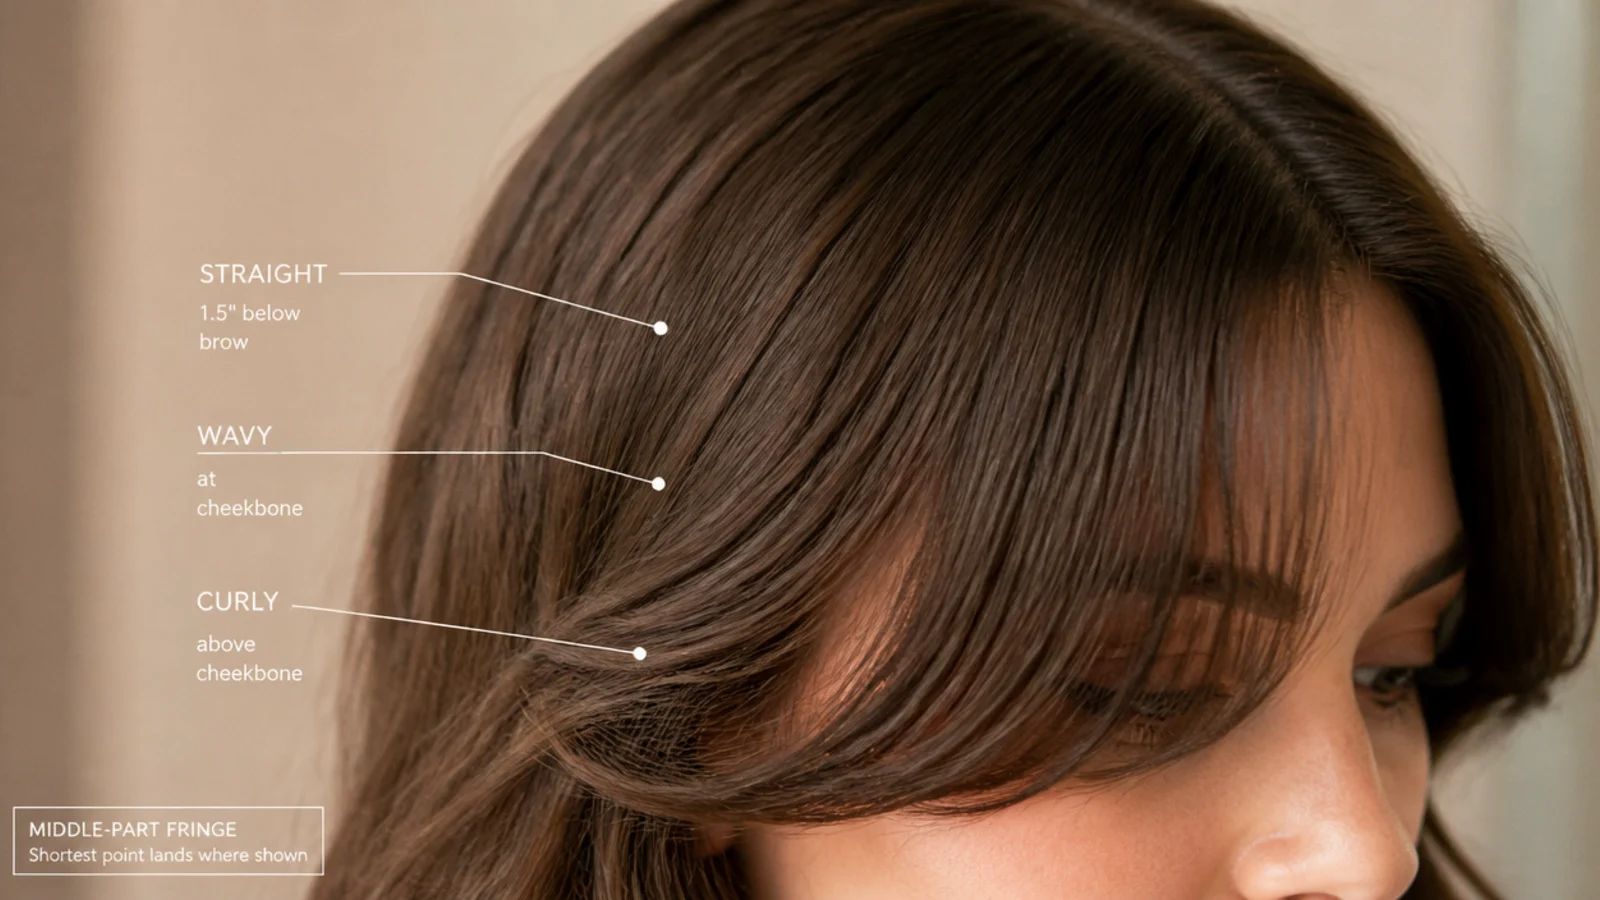
Straight hair springs back about half an inch. Almost all of it is comb tension rather than the hair itself.
Wavy hair springs back more and unevenly. The bend takes up length in a way that varies from section to section, so check both sides separately.
Curly hair contracts by a fifth to a half. The tighter the pattern, the more of the cut length disappears into the spiral.
Coarse hair holds a blunt line and shows every error. A wide strand does not bend to disguise a step, so point cut rather than cutting straight across.
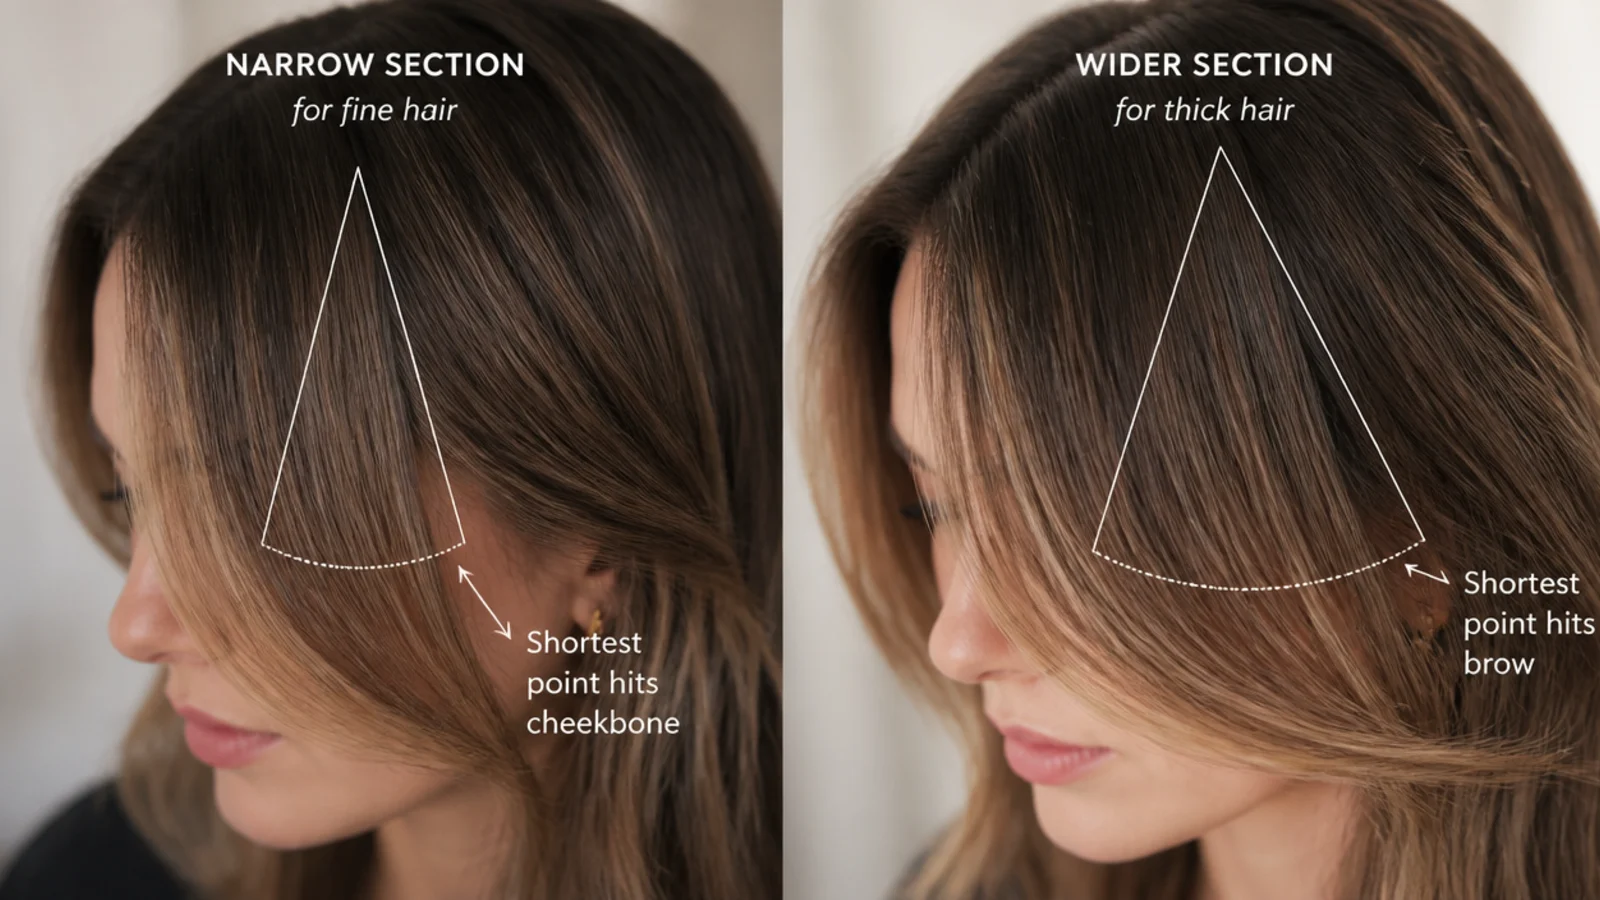
Fine hair needs a shallower section. Take too deep a triangle on fine hair and the fringe takes density from the crown, which then shows scalp at the parting.

Failure Fixes
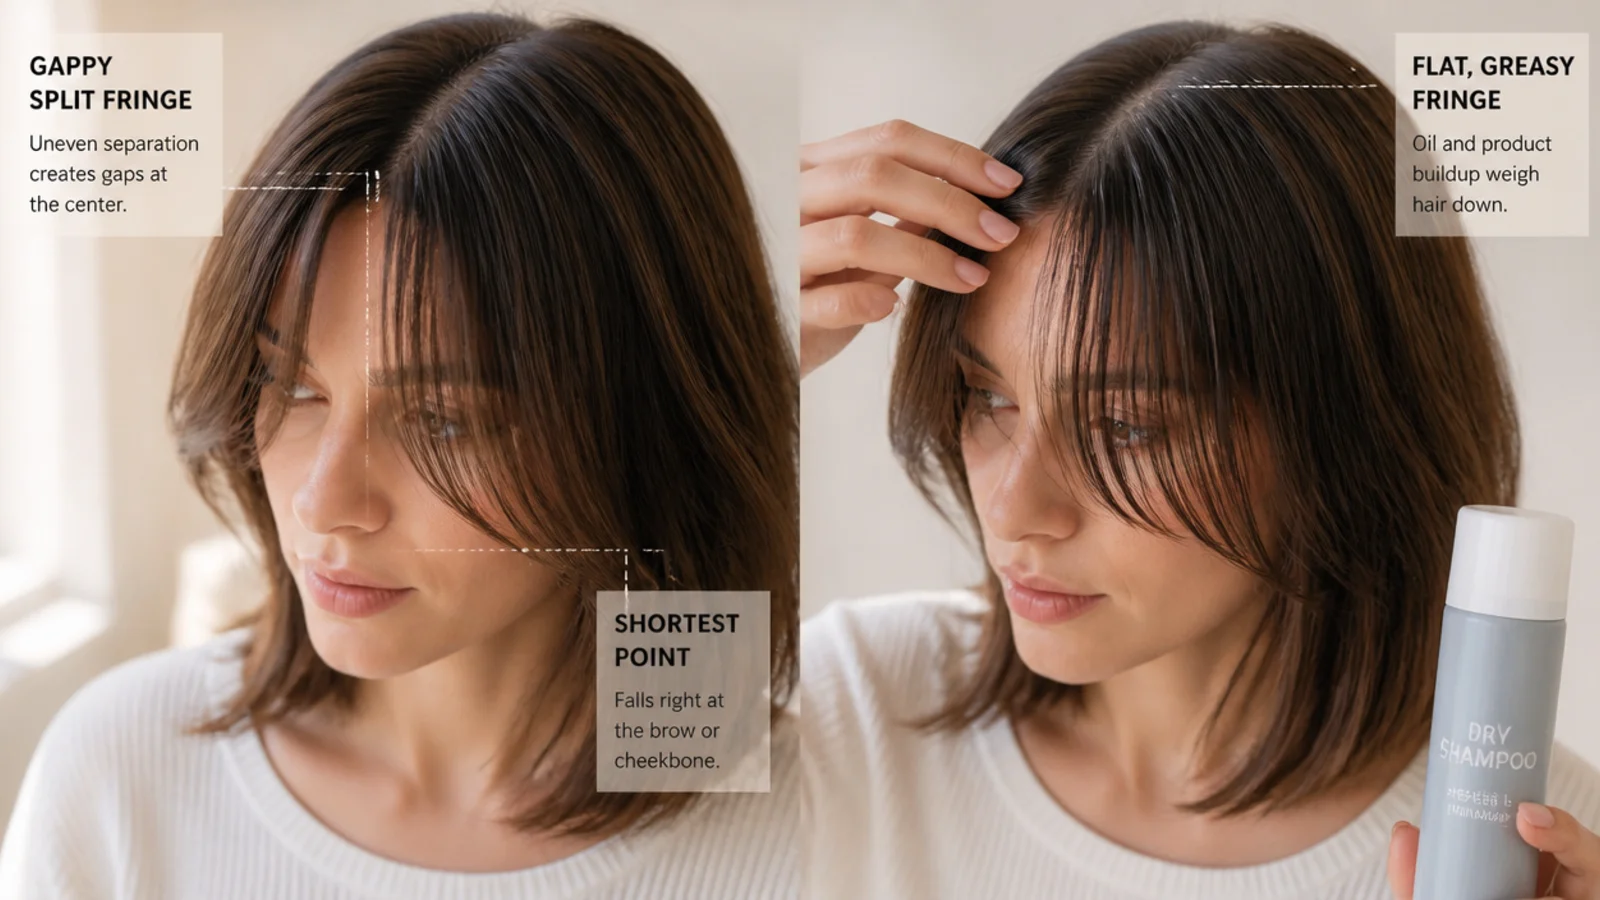
Too short in the middle. Pin the corners back and wear it as a half up until the centre catches up. Roughly six weeks per half inch.
One side shorter than the other. Do not cut the long side down to match. Blend the short side outward into the length beside it instead.
Too heavy and it will not part. Take a thinner section from the same triangle rather than shortening anything, and slide cut the underside to remove weight.
A hard line across the front. Point cut into the existing edge, holding the scissors vertically. Vertical cuts break a horizontal line without removing length.
A cowlick pushing one piece up. Wet just that section and dry it in the opposite direction. Cutting a cowlick shorter always makes it stand up further.
Trim Cadence and Cost
Every three weeks on straight hair. Half an inch a month means a quarter inch of growth, and a quarter inch is the whole difference between sitting and hanging.
Every six to eight weeks on curly hair. Growth is partly absorbed by the spiral, so the visible drop is slower.
Most salons trim a fringe cheaply, some for nothing. It is ten minutes of work, and it is worth asking before you decide to do it yourself.
Trim the corners more often than the middle. The corners are where the fringe joins the sides, and that join is what goes first.
A pair of proper shears pays for itself in two trims. Kitchen scissors crush the hair rather than slicing it, which leaves an end that splits within days.
Growing Them Out
Eight months from brow to jaw. Half an inch a month over about three inches of face.
Weeks six to sixteen are the difficult ones. Too long to fall forward, too short to tuck behind an ear.
Trim only the outer corners while growing out. Touching the middle resets the clock on the shortest hair you have.
Move the parting rather than reaching for the scissors. A deep side part buys about three weeks of grow out with no cutting at all.
Say growing out, not trimming. They are opposite instructions, and a stylist told trim will take length off the front.

The 20 Checkpoints
1. Clean Dry Hair
Cut on hair that is clean, fully dry and styled the way you normally wear it, because that is the state the fringe has to work in. Wet hair sits lower under its own water weight, and product laden hair clumps into pieces that read as thicker than they are.

2. Shears and Tools
Proper hair shears, a fine tooth tail comb and two clips is the whole kit. Kitchen scissors have a thicker, blunter edge that crushes the strand as it closes rather than slicing it, and a crushed end frays and splits within days of the cut.
3. Centre Part
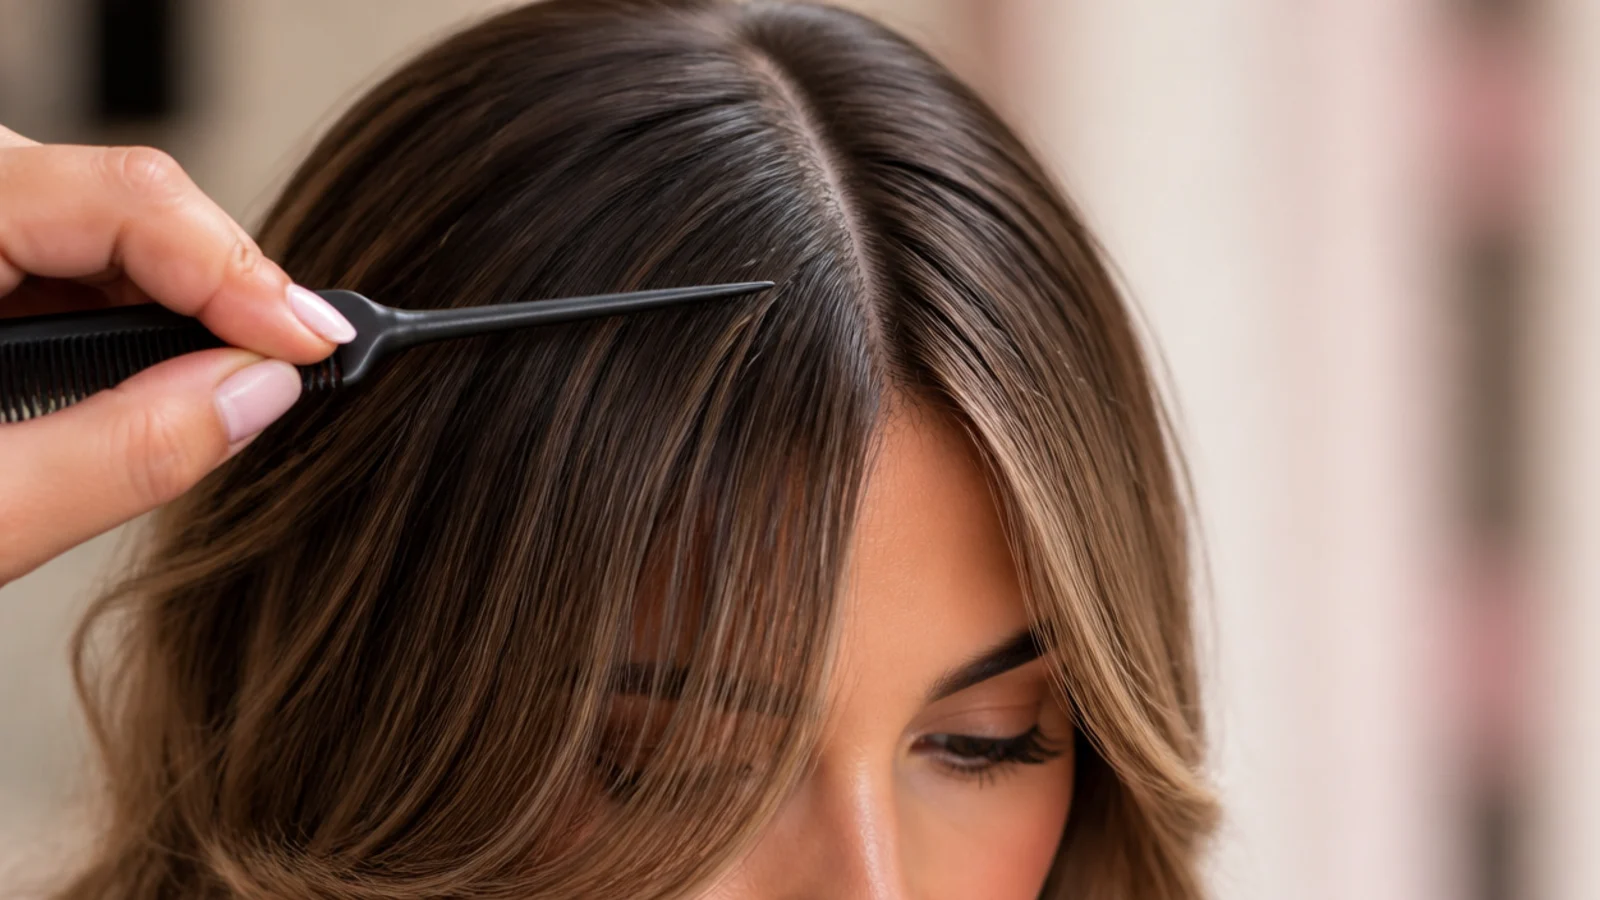
Set the parting exactly where you will wear it before anything is sectioned, because the parting decides which hairs belong to the fringe. A fringe cut from a centre part and then worn at a side part will always sit unevenly, since the two halves were cut to different lengths for different positions.
4. Triangle Section
Take a triangle with its apex about two inches back from the hairline on the parting, and its base running down to the outer corner of each eyebrow. The apex depth controls the weight of the fringe, and the base width controls how far across the face it reaches.

5. Adjusting the Density
Pull the triangle forward and look at how much light passes through it before you cut anything. Fine hair wants a shallower apex so the fringe does not steal density from the crown, and thick hair wants a narrower base so the fringe does not become a curtain in the literal sense.
6. Comb It Down
Comb the whole triangle forward and straight down over the face with light tension only. Heavy tension stretches the hair beyond its resting length, and every millimetre of stretch becomes a millimetre the fringe rises by the moment you release it.

7. The Guide Strand
Take one narrow strand from the centre of the section and treat it as the reference for everything that follows. Every later cut is measured against this one piece, which is what keeps both sides matching rather than drifting apart as you work across the face.

8. The Shortest Point
The centre of a curtain fringe is its shortest point, and everything either side of it gets progressively longer. Decide that one length first, because it sets the whole shape, and any error in it is repeated on both sides of the face.

9. Shrinkage Allowance
Add half an inch on straight hair, more on wavy, and up to double the intended length on tight curl. The allowance covers both the tension of the comb and the natural contraction of the pattern, and it is the single number most home fringes get wrong.
10. Cut the First Length Long
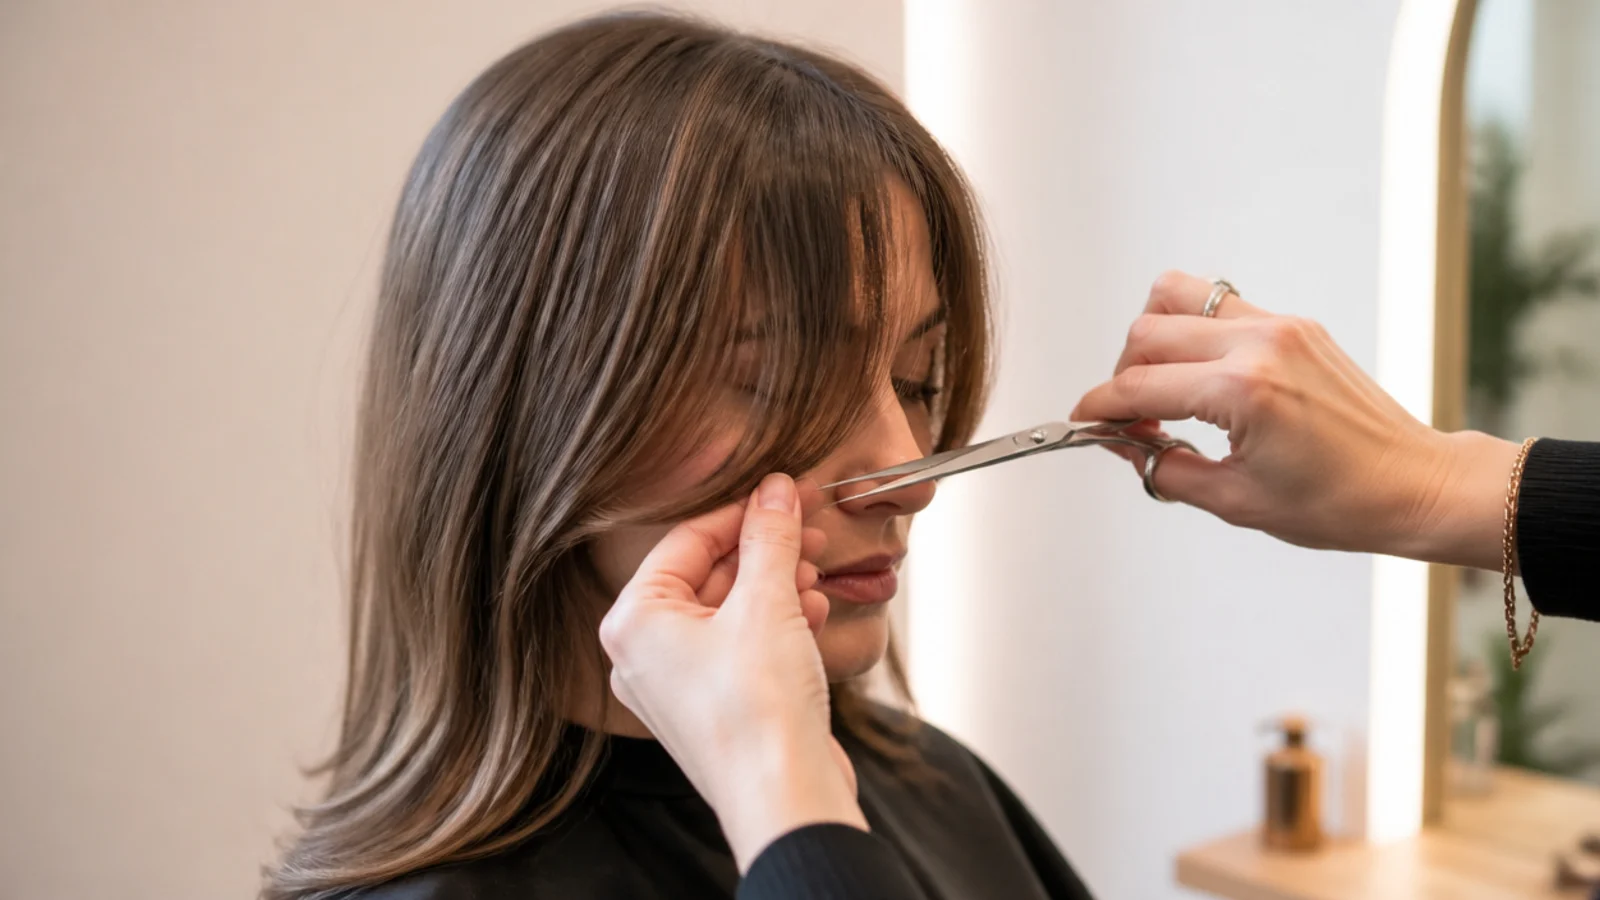
Make the first cut at the tip of the nose regardless of where you want the fringe to finish. Taking a fringe up in quarter inch stages costs five extra minutes, while taking it up too far costs about six weeks per half inch and there is no way to shorten that.
11. Point Cutting
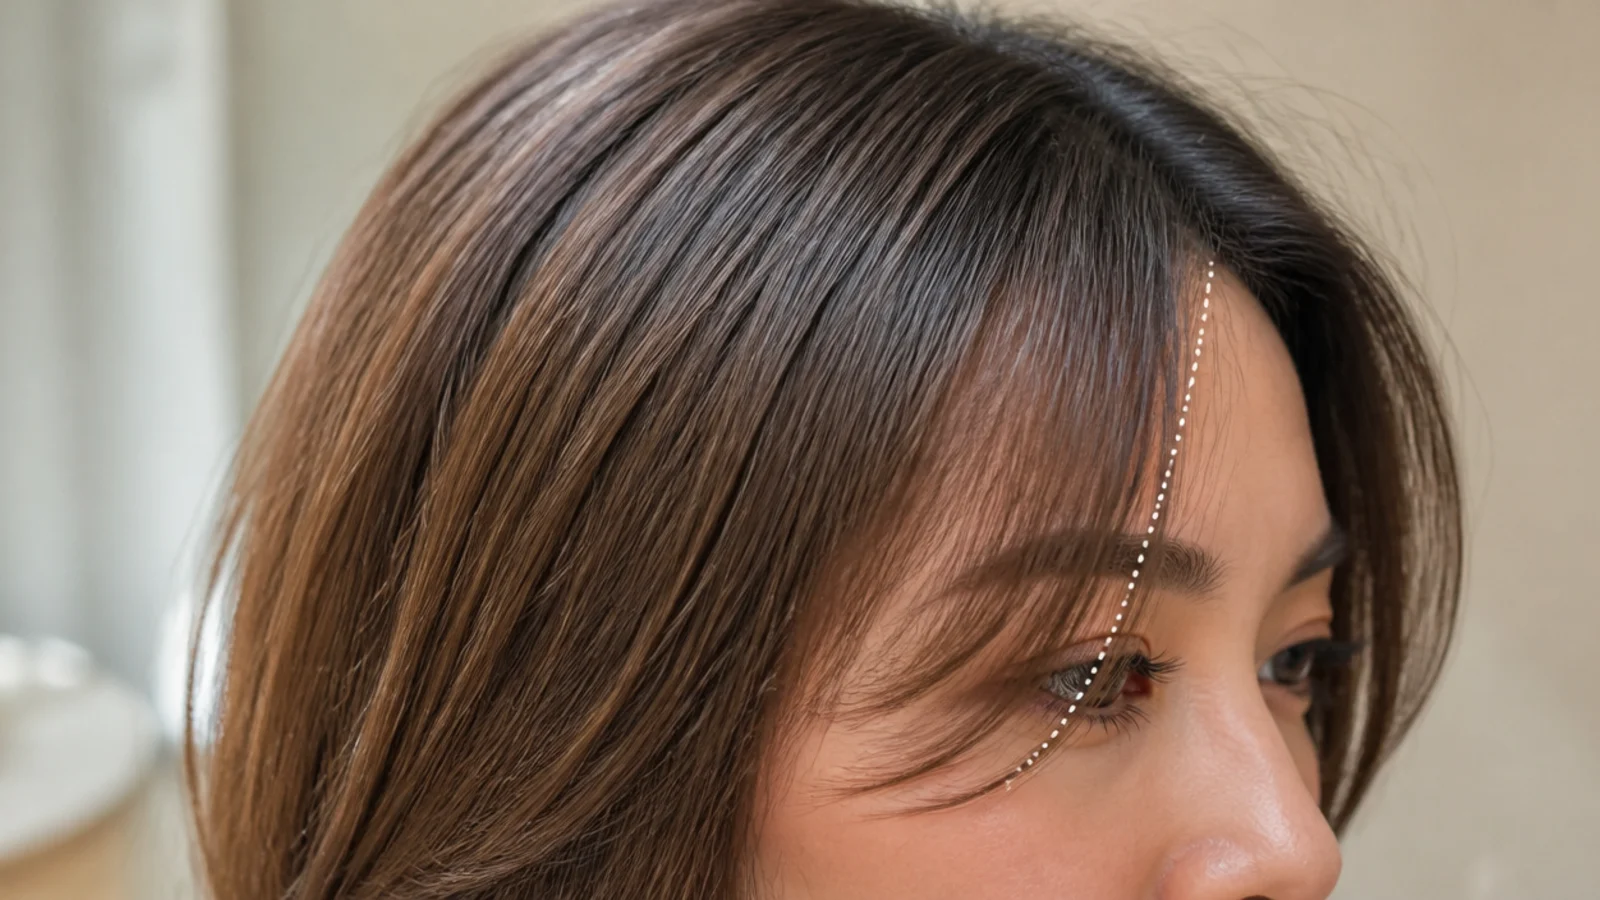
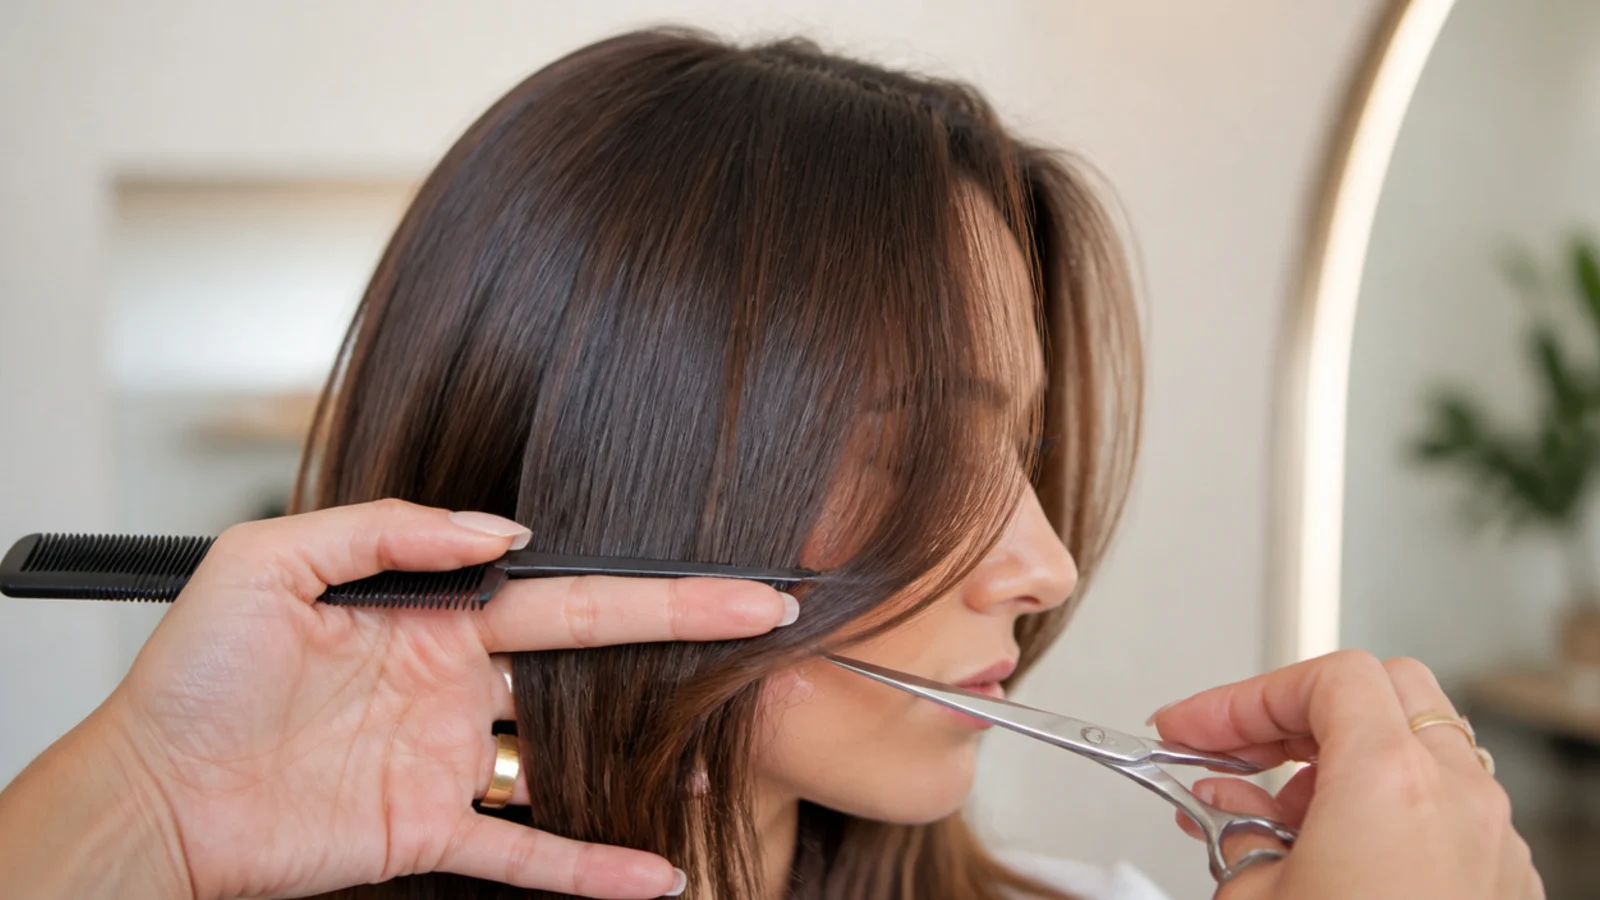
Hold the shears vertically and cut up into the ends rather than straight across them. Vertical cuts remove length at staggered points, which softens the edge and hides a slightly uneven line, where a horizontal cut records every wobble as a step.
12. The First Side Diagonal
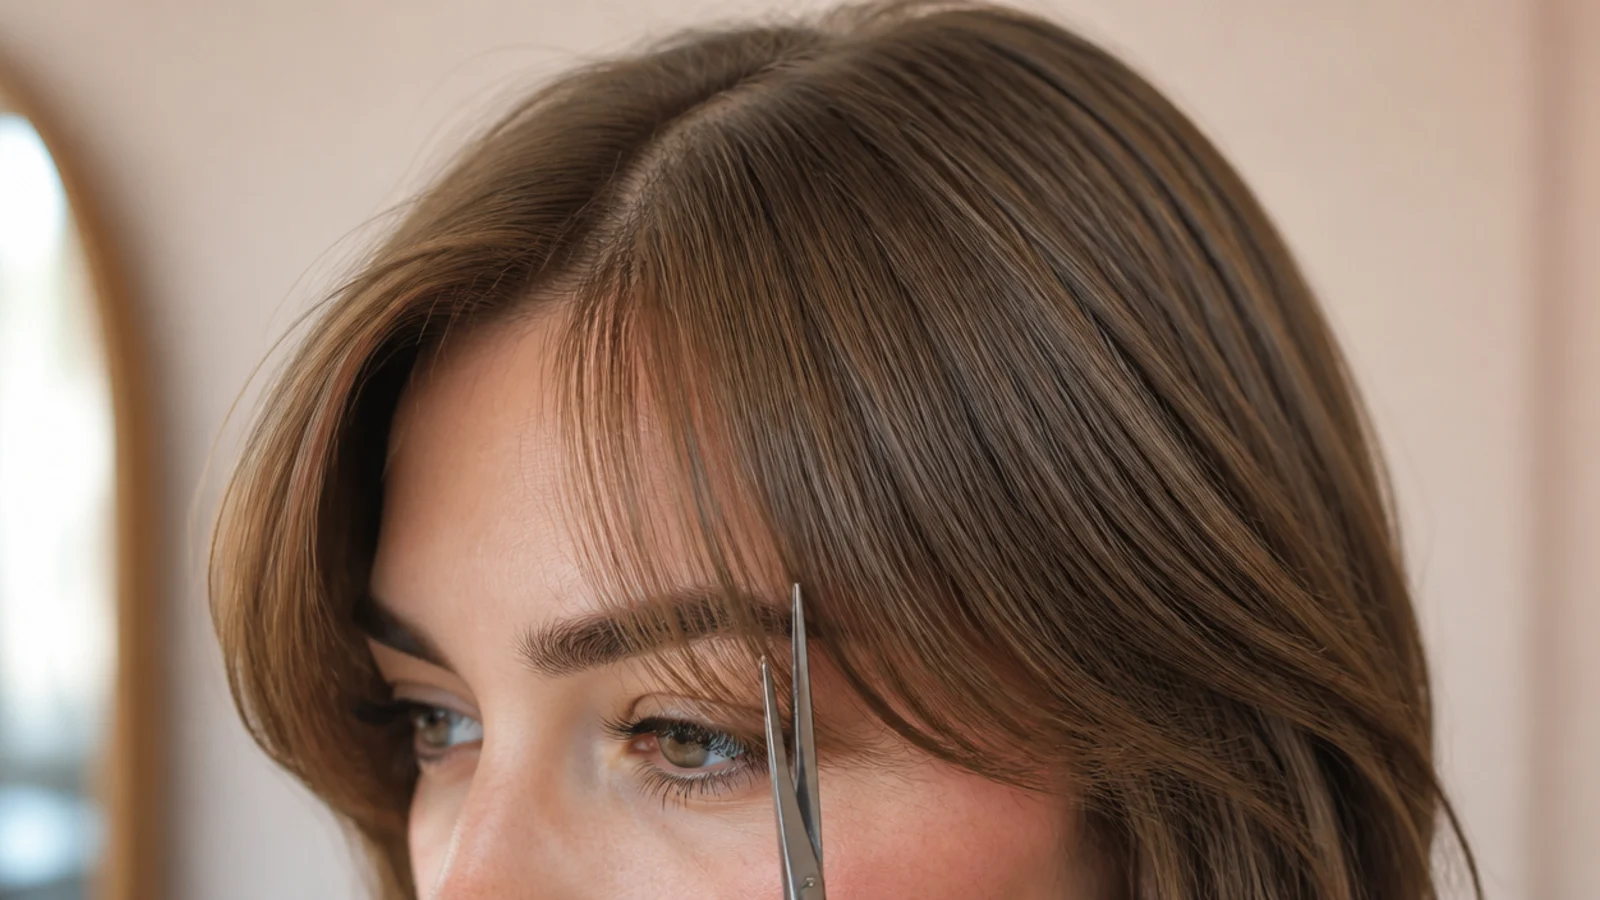
Cut one side on a diagonal running from the short centre point down and outward toward the cheekbone. The angle of that diagonal is the entire character of the fringe, since a steep one gives a dramatic sweep and a shallow one gives a gentle frame.

13. Mirroring the Second Side
Bring both sides together at the centre and check them against each other before cutting the second one. Matching the second side to the first by eye across the face is unreliable, because the two halves are seen from different angles in a mirror and one always looks shorter than it is.

14. The Second Pass
Release everything, let it fall naturally, and only then decide whether to take more off. The hair settles into its resting position within a few seconds, and the shape you see at that moment is the one you will wear rather than the one you cut.

15. Blending the Outer Edge
The outer corners are where the fringe joins the rest of the hair, and a hard stop there is what makes a home cut obvious. Point cut into the join at a steep angle so the fringe runs into the length beside it instead of ending against it.
16. The Cowlick Fix
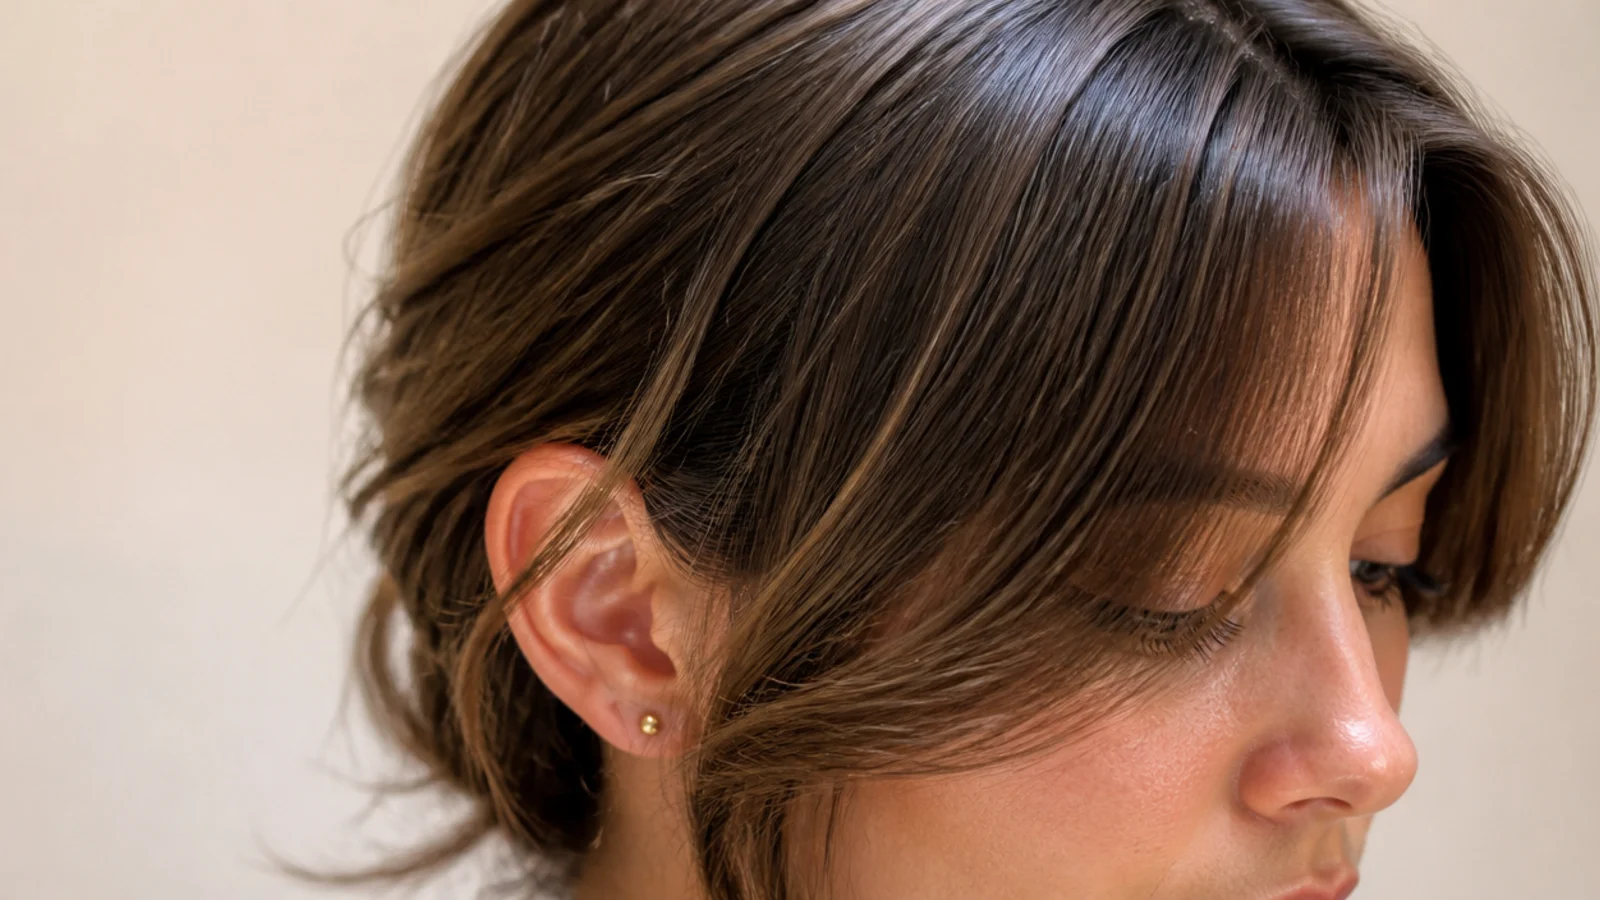
A cowlick is a whorl in the growth direction, and cutting the hair over it shorter only removes the weight that was holding it down. Wet that section, dry it against the whorl with a brush, and leave it longer than the hair either side of it.

17. Slide Cutting
Sliding partly closed shears down a section removes weight along the length rather than at the end, which thins a heavy fringe without shortening it. Work on the underside only, since slide cutting the top layer leaves short pieces that stand up through the surface.
18. Round Brush Blowdry
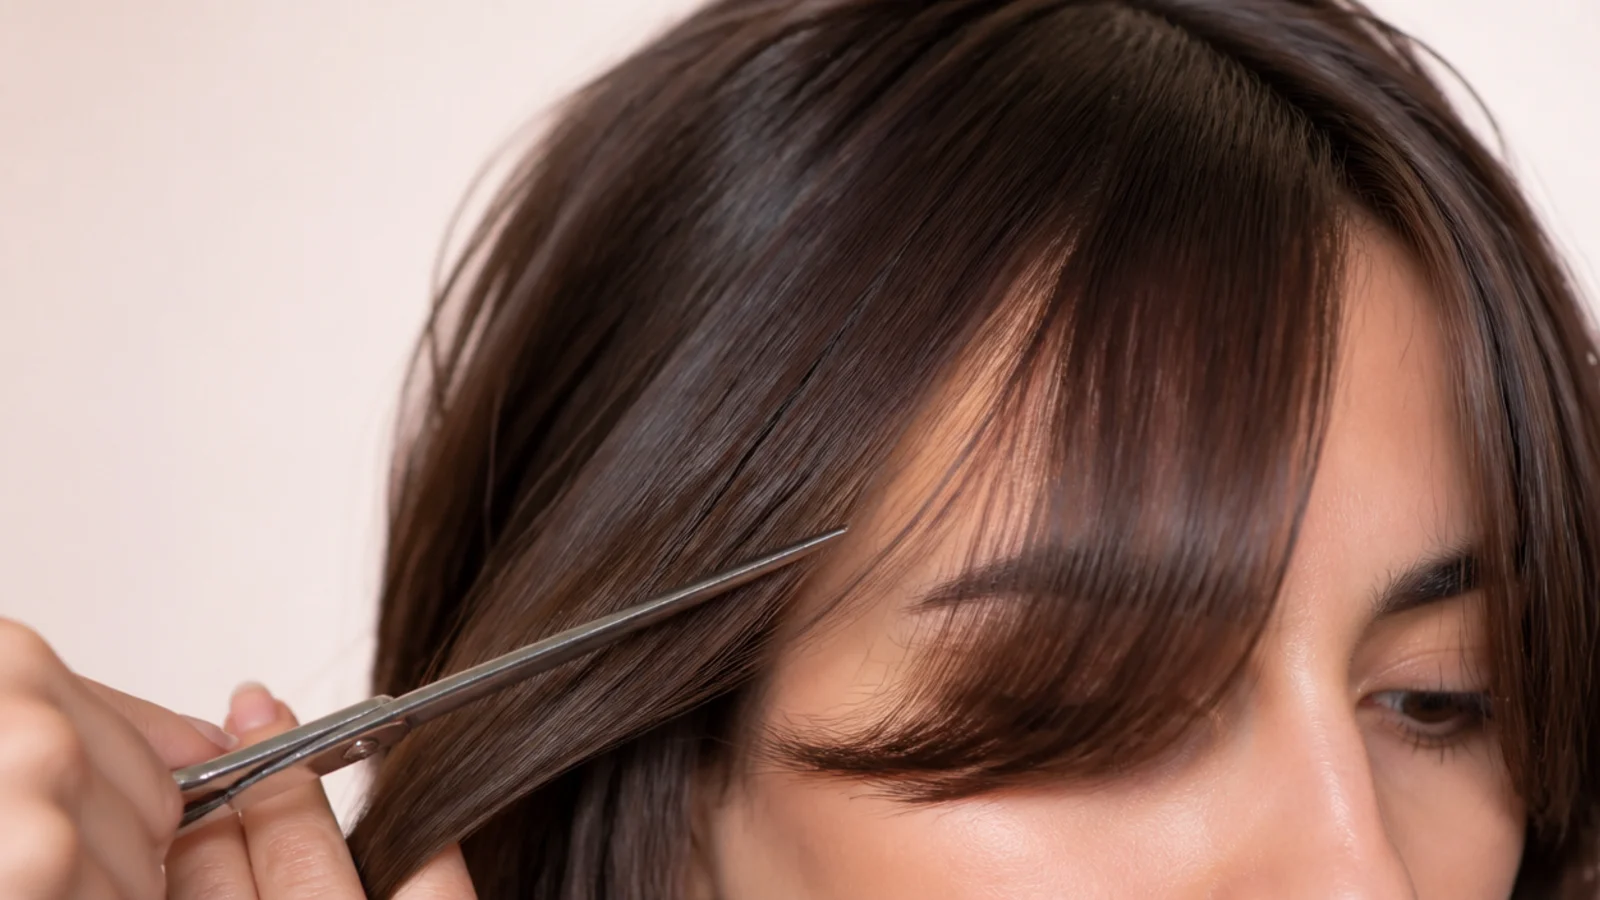
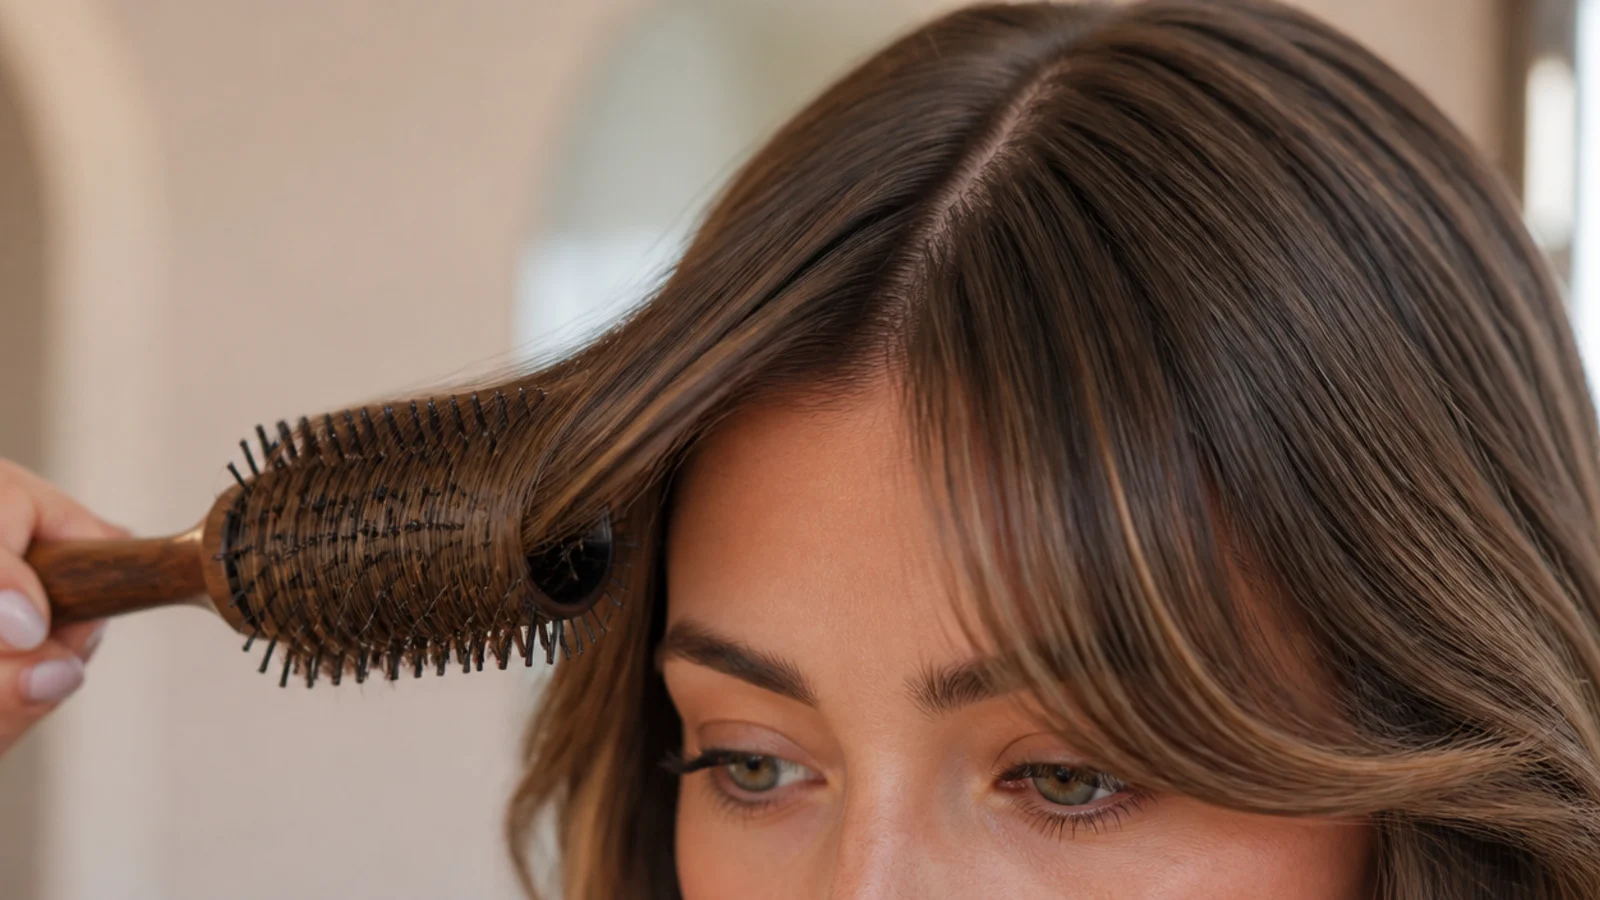
Dry the fringe first while it is wettest, moving it side to side rather than forward, then turn the ends outward with one rotation of a small round brush. The root sets in the direction it dried in, and that direction is the only lift a fringe will ever have.
19. Texture Spray
A light texture spray coats the strands with enough friction that they stop sliding back together into a solid block. That separation is what makes a curtain fringe fall open in the middle, and it does the job without the weight a cream or a wax would add.

20. The Trim Schedule
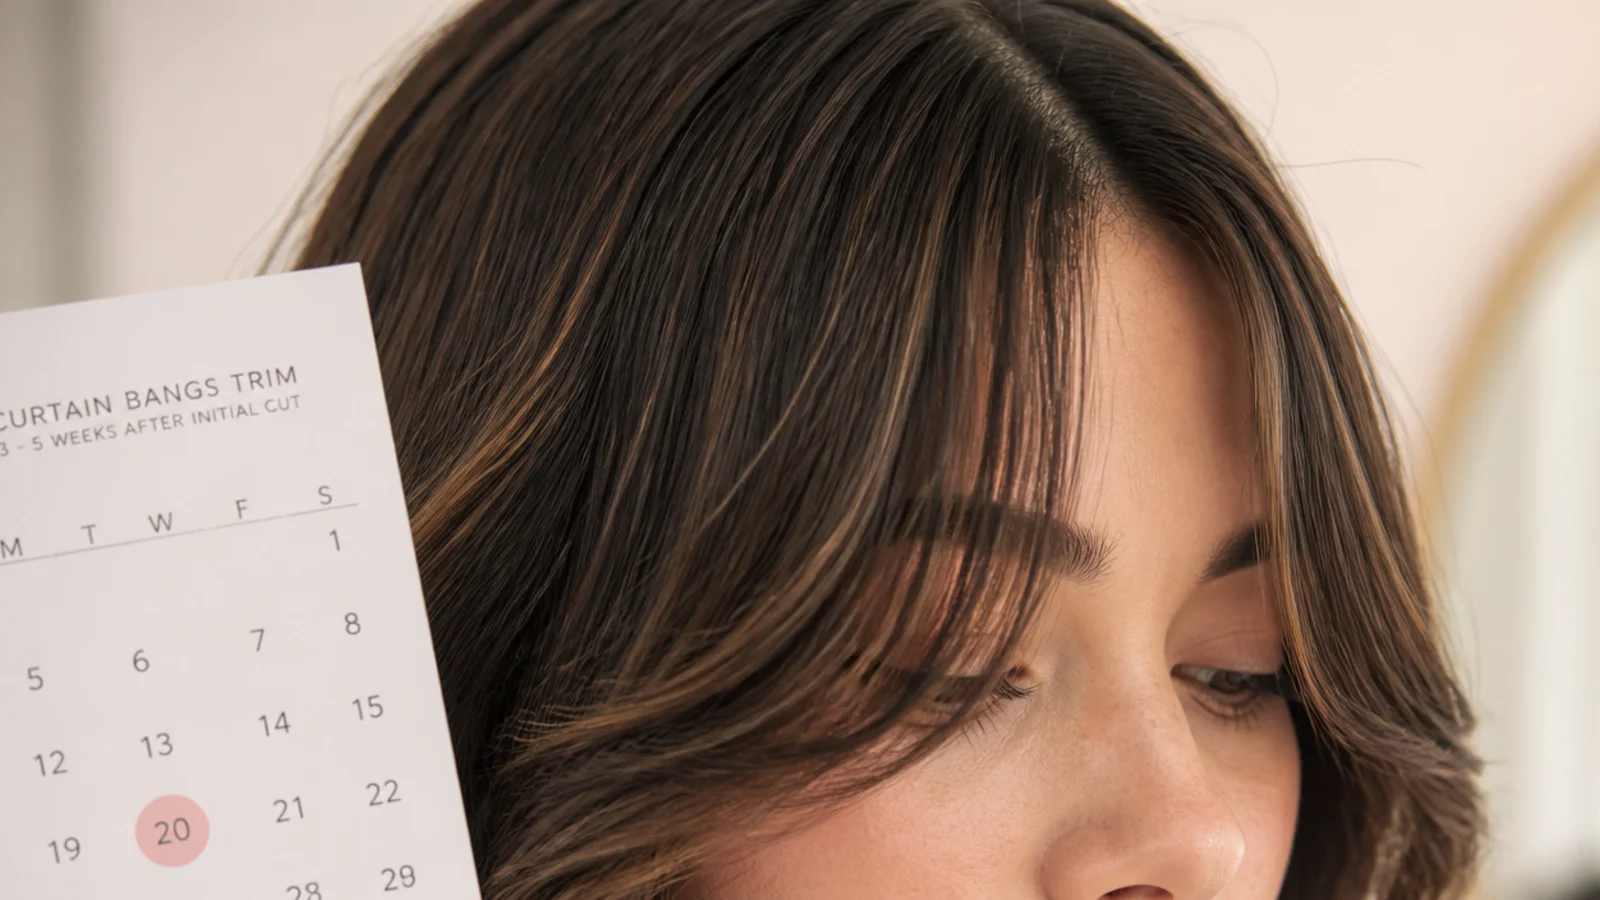
Three weeks on straight hair and six to eight on curly, because growth of half an inch a month shows up faster on a strand that hangs than on one that coils. Put the date somewhere you will see it, since a fringe is always trimmed late and never early.
How to Cut Short Curtain Bangs at Home
Step 1. Prep
Wash, dry and style the hair exactly as you normally wear it, then work in good even light with a mirror you can stand square to. Every decision here is a judgement about where hair falls, and hair that is damp, brushed differently or lit from one side is not in the position it will be in tomorrow.
Step 2. Section
Set the parting where you will wear it, then take a triangle with the apex about two inches back and the base ending at the outer corner of each brow. Clip everything else away, because any stray hair that joins the section will be cut to fringe length and then spend two months growing back.
Step 3. Guide Strand
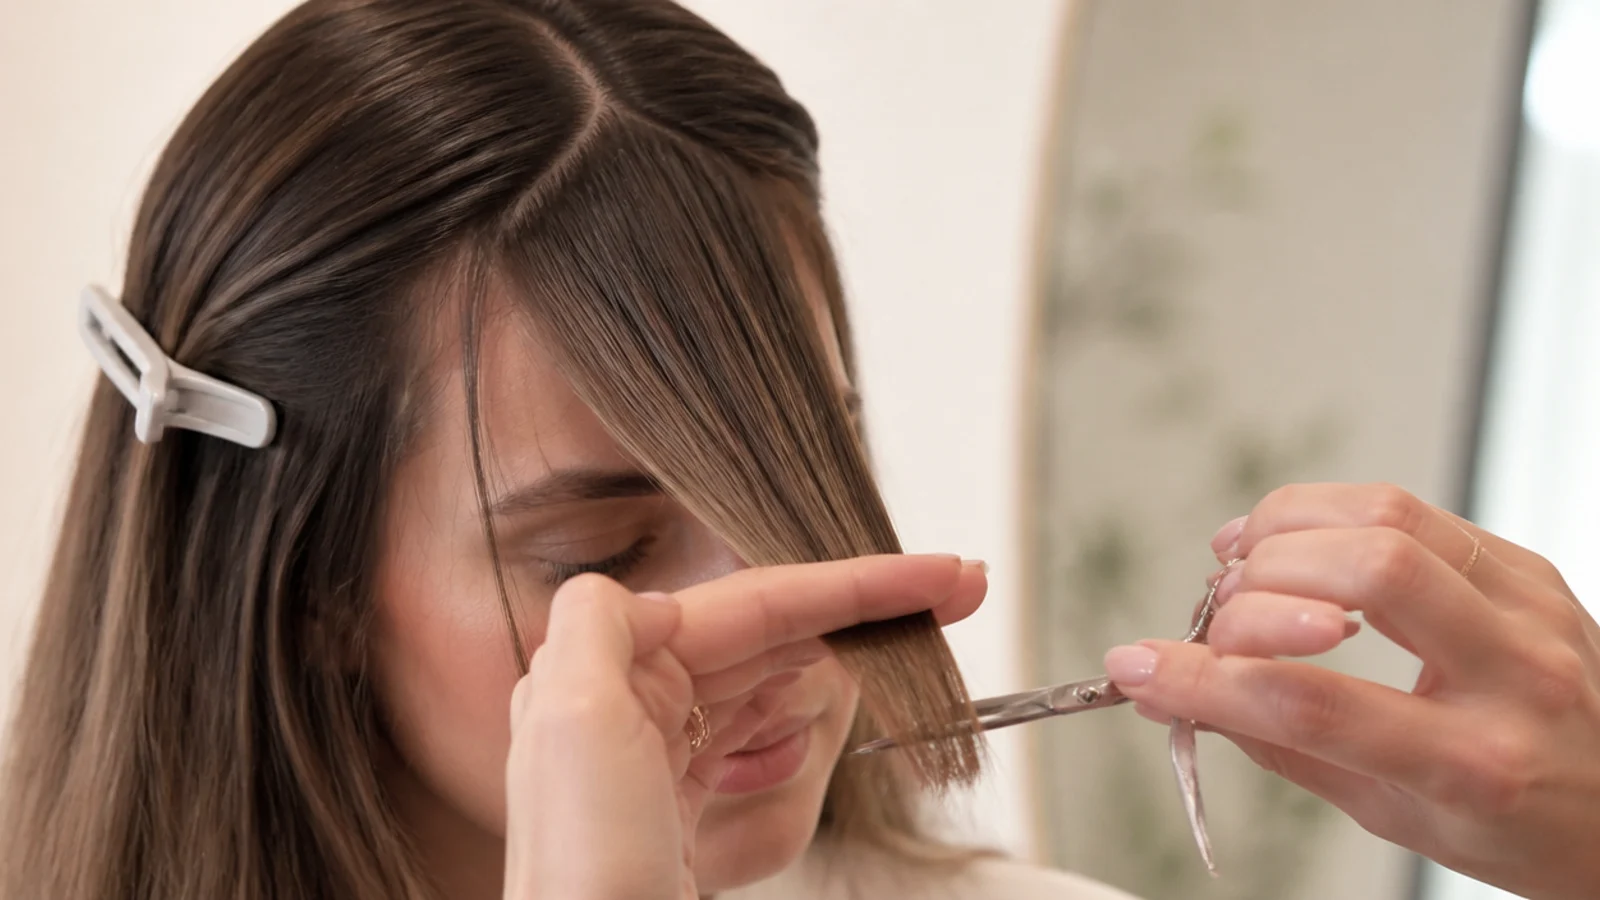
Comb one narrow strand from the centre down over the nose with light tension and cut it there. That strand becomes the shortest point of the fringe and the reference for every cut that follows, so it is worth taking twice as long over as any other step here.

Step 4. First Pass
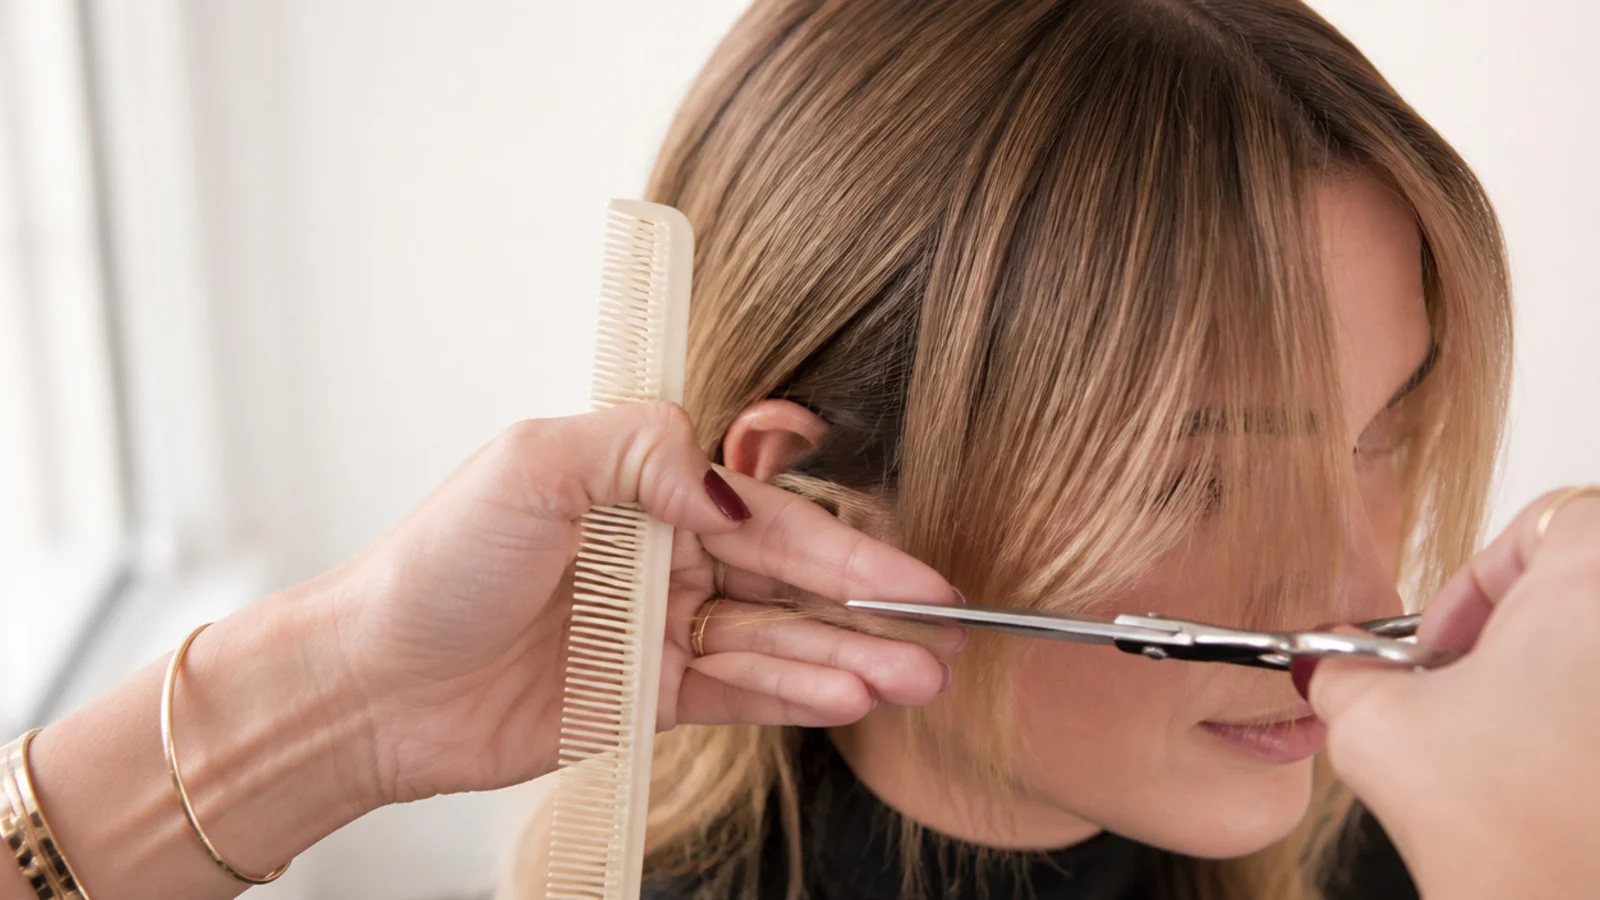
Working outward from the guide, cut each side on a diagonal that drops away from the centre toward the cheekbone. Keep the shears vertical and take small bites, because a vertical cut removes length at staggered points and leaves an edge that can still be corrected.
Step 5. Diagonals
Set the angle deliberately on both sides, then bring the two halves together at the centre and compare them directly. A mirror shows each side from a different angle, so the only honest check is holding them against each other rather than looking from one to the other.
Step 6. Refine
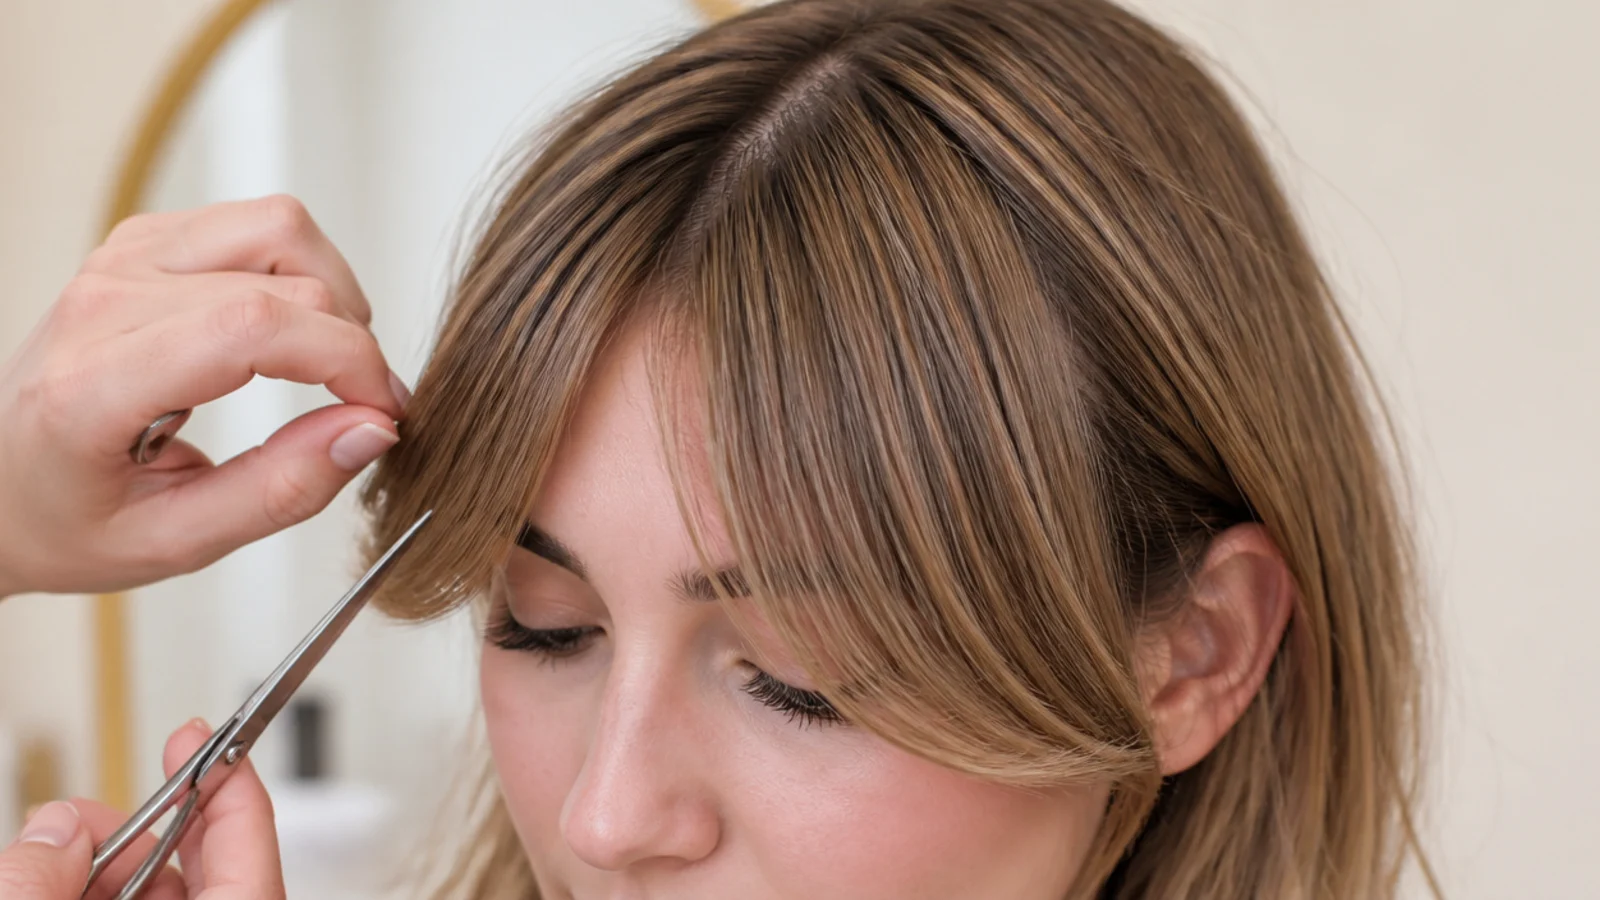
Release the fringe, let it settle, and look at it in its resting position before touching it again. Now take off the last quarter inch if it needs it, blend the outer corners into the sides, and slide cut the underside if the fringe is too heavy to fall open.

Step 7. Finish and Style
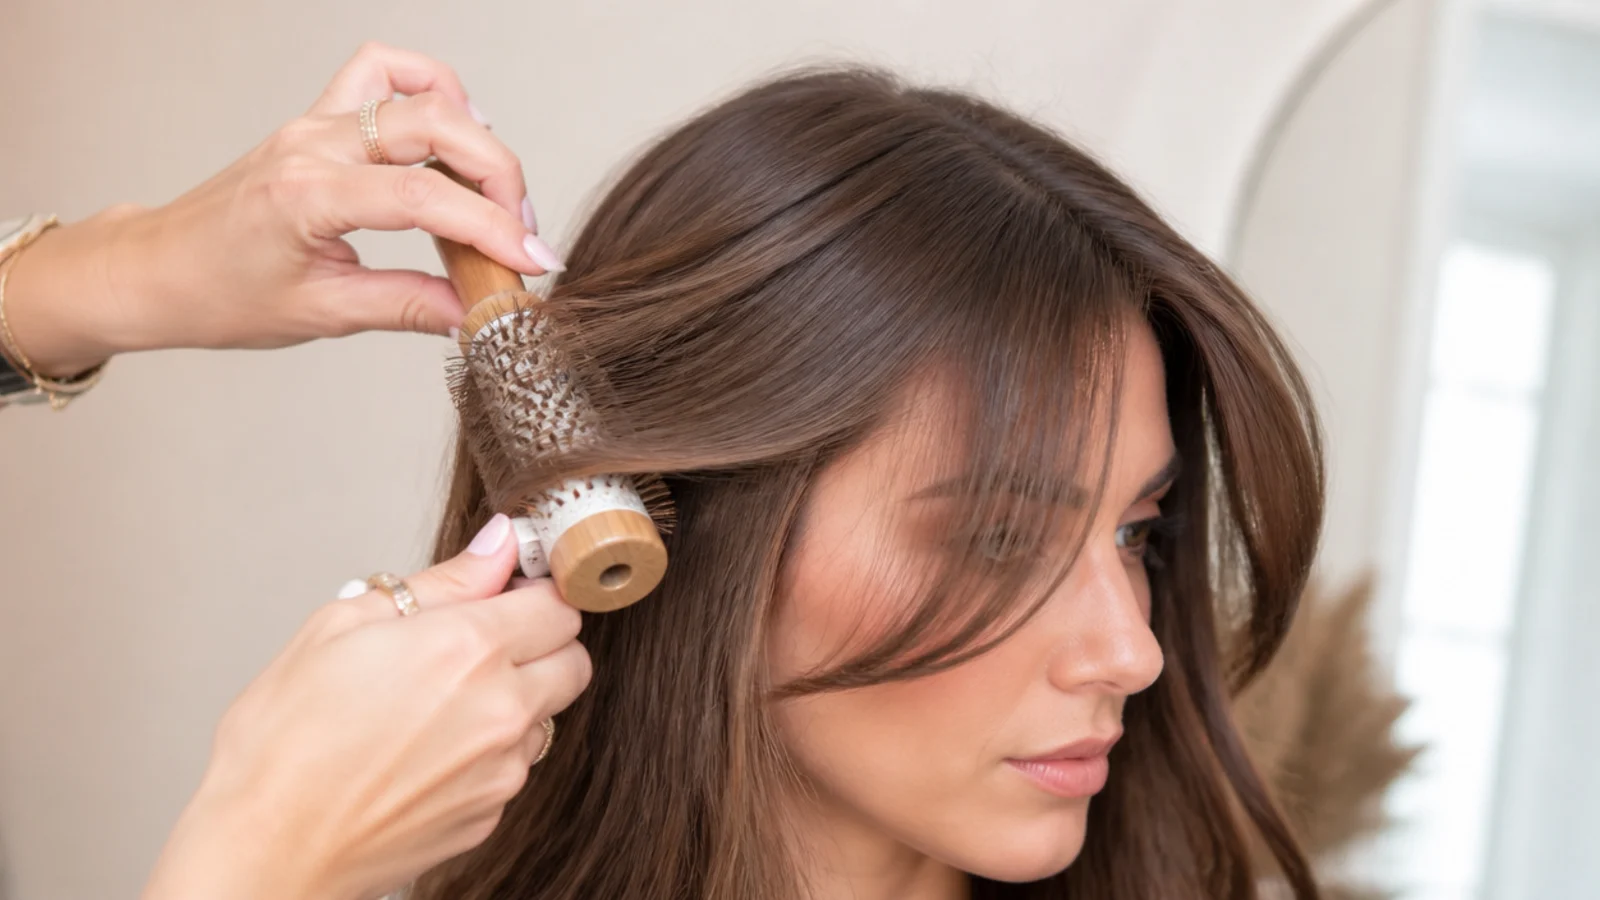
Dry the fringe side to side, flick the ends outward with a round brush and let the section cool before releasing it. Hair holds the shape it cools in rather than the shape it was hot in, which is why a fringe released warm falls flat within minutes of being styled.
Final Thoughts
Cut long, cut dry, cut vertically. Those three rules between them prevent almost every home fringe disaster, because the first covers the tension you cannot see, the second covers the water you can, and the third leaves an edge you can still correct. Everything else is refinement.
Then accept the schedule. A fringe at the brow is a quarter of an inch from being in your eyes, and a quarter of an inch is three weeks. Whether you take that trim to a salon or do it yourself over a sink, put it in the diary at the same time you cut the fringe, because a fringe left to drift is what convinces people they do not suit one. For ideas to bring to the first cut see easy short curtain bangs ideas, and for the same fringe on longer hair see short curtain bangs for long hair. More in Bangs and Fringe.