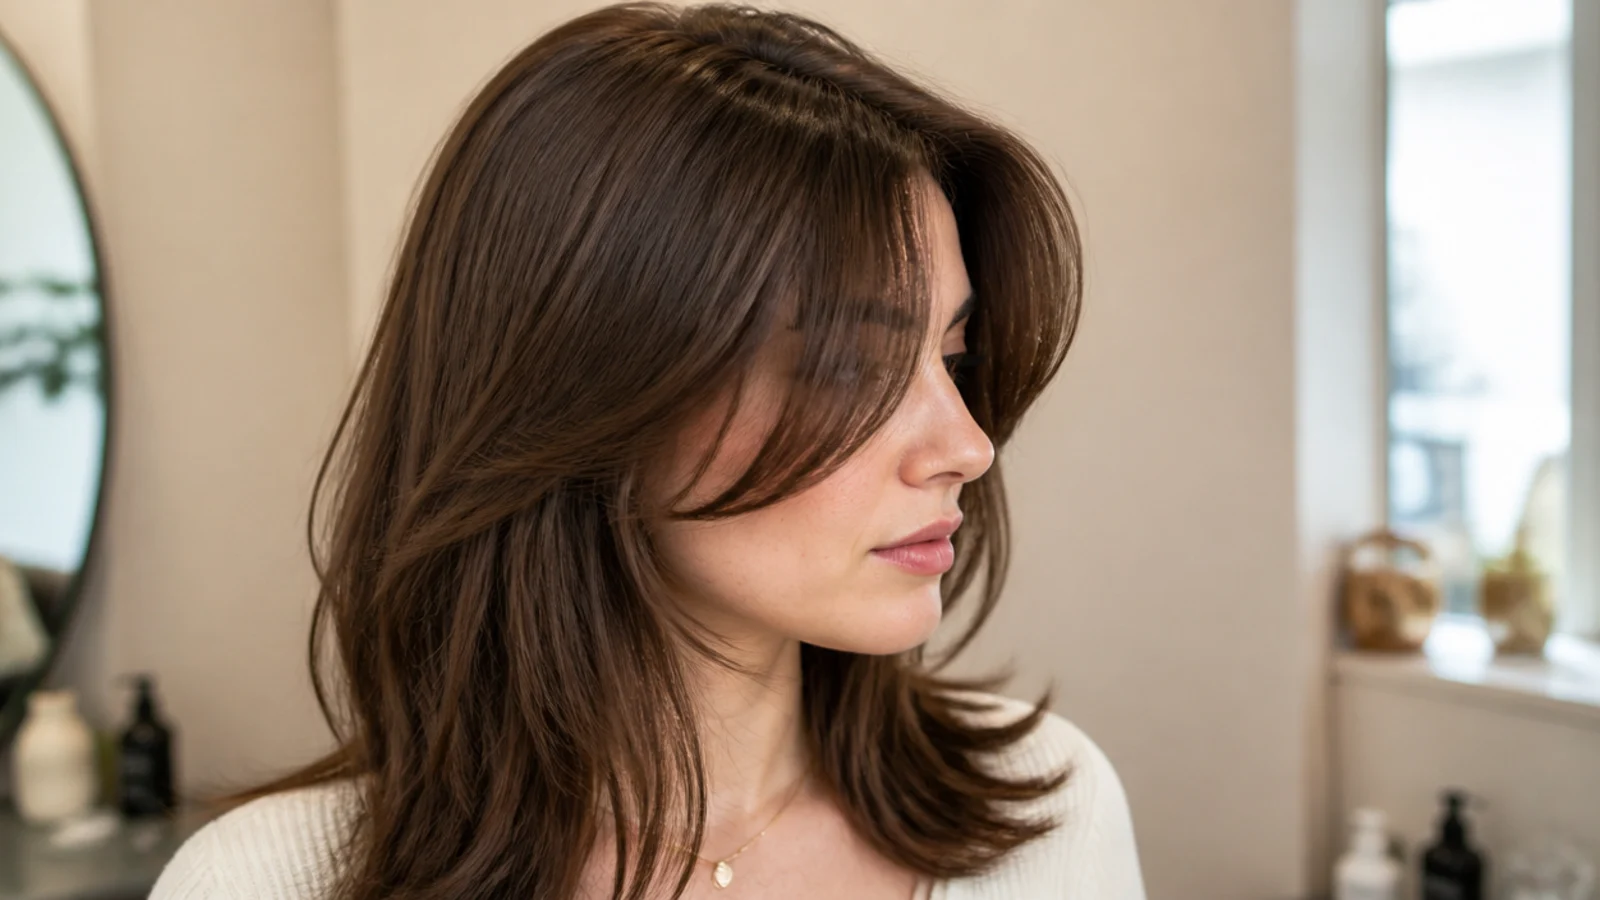
20 Steps to Cut Side Swept Bangs at Home
Twenty steps to cutting side swept bangs yourself, and the rule that prevents the usual disaster — never cut the diagonal in one pass. Hair held under tension hangs somewhere different once you let it go.
In this article · 27
- What You Will Need
- Before You Start
- The 20 Steps
- 1. Part Your Hair as You Normally Wear It
- 2. Section a Triangle from the Part
- 3. Make the Section Deeper Than Wide
- 4. Clip Everything Else Away
- 5. Comb the Section into the Sweep Position
- 6. Identify Your Shortest Point
- 7. Cut the Shortest Point First
- 8. Release and Check
- 9. Adjust the Shortest Point if Needed
- 10. Move One Centimetre Along
- 11. Cut It Slightly Longer Than the Last
- 12. Point the Scissors Upward, Not Across
- 13. Release and Check Again
- 14. Continue Across the Whole Fringe
- 15. Check the Angle in the Mirror
- 16. Steepen It if It Reads Flat
- 17. Soften the Last Inch
- 18. Check the Join with Your Layers
- 19. Style It the Way You Will Wear It
- 20. Leave It Alone for a Day
- Troubleshooting
- Mistakes to Avoid
- FAQ
- Final Thoughts
A side swept fringe is the safest fringe to attempt at home, because a diagonal hides small errors that a straight line would advertise. There is one rule that decides whether it works.
Never cut the diagonal in one pass. Pulling a section out to cut it stretches the hair away from where it will hang. Let it go and it sits shorter, and at a shallower angle, than the line you just cut.
Small passes, released and checked each time.
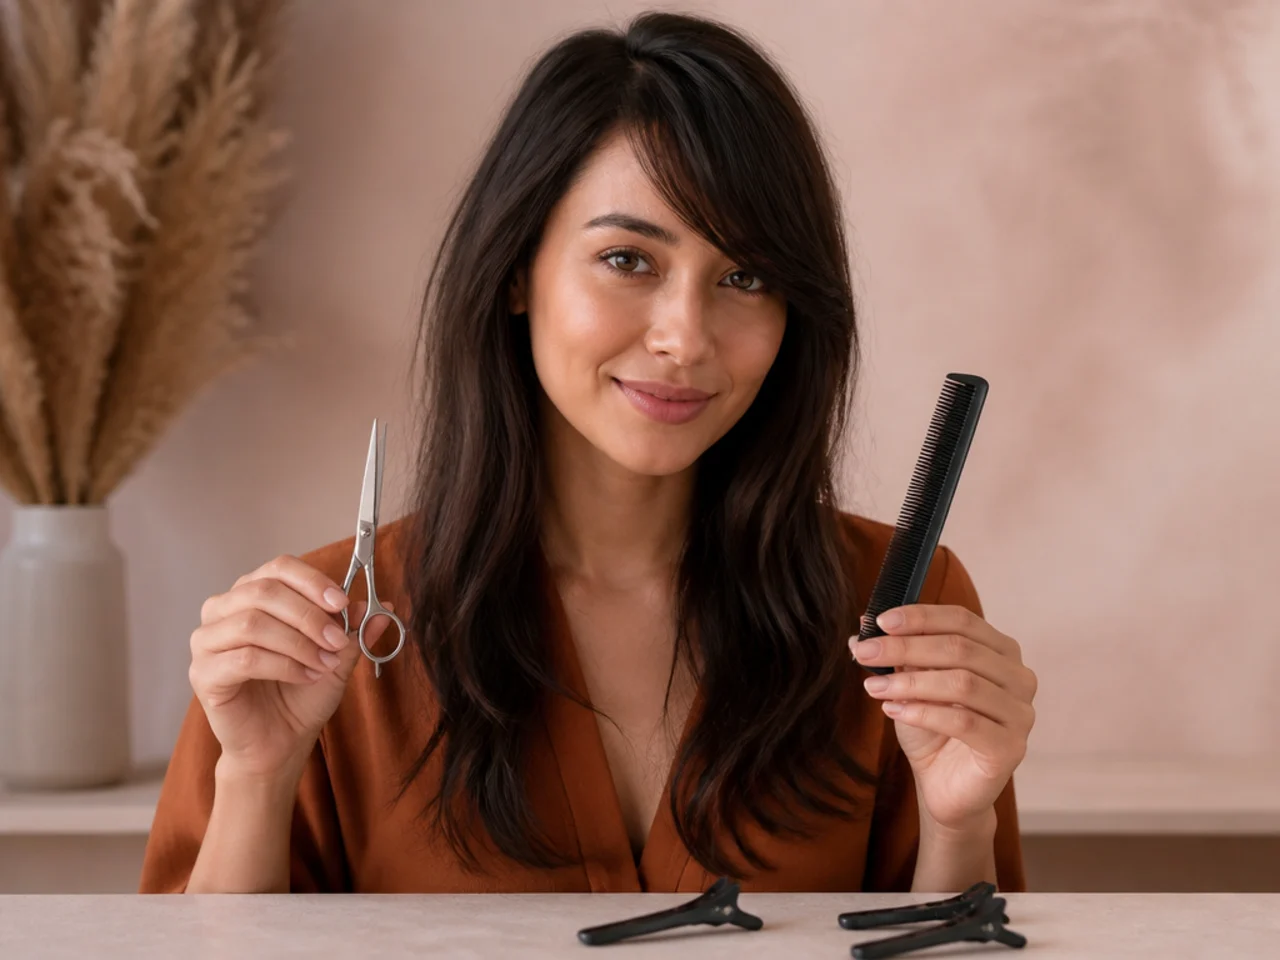
What You Will Need
Hair scissors, not kitchen or paper scissors. Blunt blades push hair rather than cutting it, which leaves an uneven line.
A fine-toothed comb for parting and sectioning.
Two clips to keep the rest of your hair out of the way.
A mirror you can stand square to. Not a handheld one — you need both hands.
Dry, clean, styled hair. Cut it the way you normally wear it.
Before You Start
Wash and dry the day before, not the same day. Freshly washed hair is slippery and hard to hold a clean section in.
Style it as you normally would. The fringe has to be cut in the position it will be worn, which means your usual part and your usual drying direction.
Decide your shortest point. Mark it mentally at your temple. Everything else is measured from it.
Add a centimetre to whatever length you want. You will take more off. Nobody ever takes less.
Give yourself an hour. Small passes take time, and rushing is what turns a fringe into a blunt one.

The 20 Steps
1. Part Your Hair as You Normally Wear It
Everything follows from the part. Do not improvise it now. A fringe cut to one part and worn on another is the commonest reason a home cut sits wrong.
2. Section a Triangle from the Part
Apex at the part, base along the hairline. This is your fringe. A triangle is the shape that lets the fringe blend outward rather than ending in a hard vertical edge.

3. Make the Section Deeper Than Wide
Depth gives the fringe body. Width only spreads it thin. Two or three centimetres back from the hairline is the difference between a solid fringe and a see-through one.

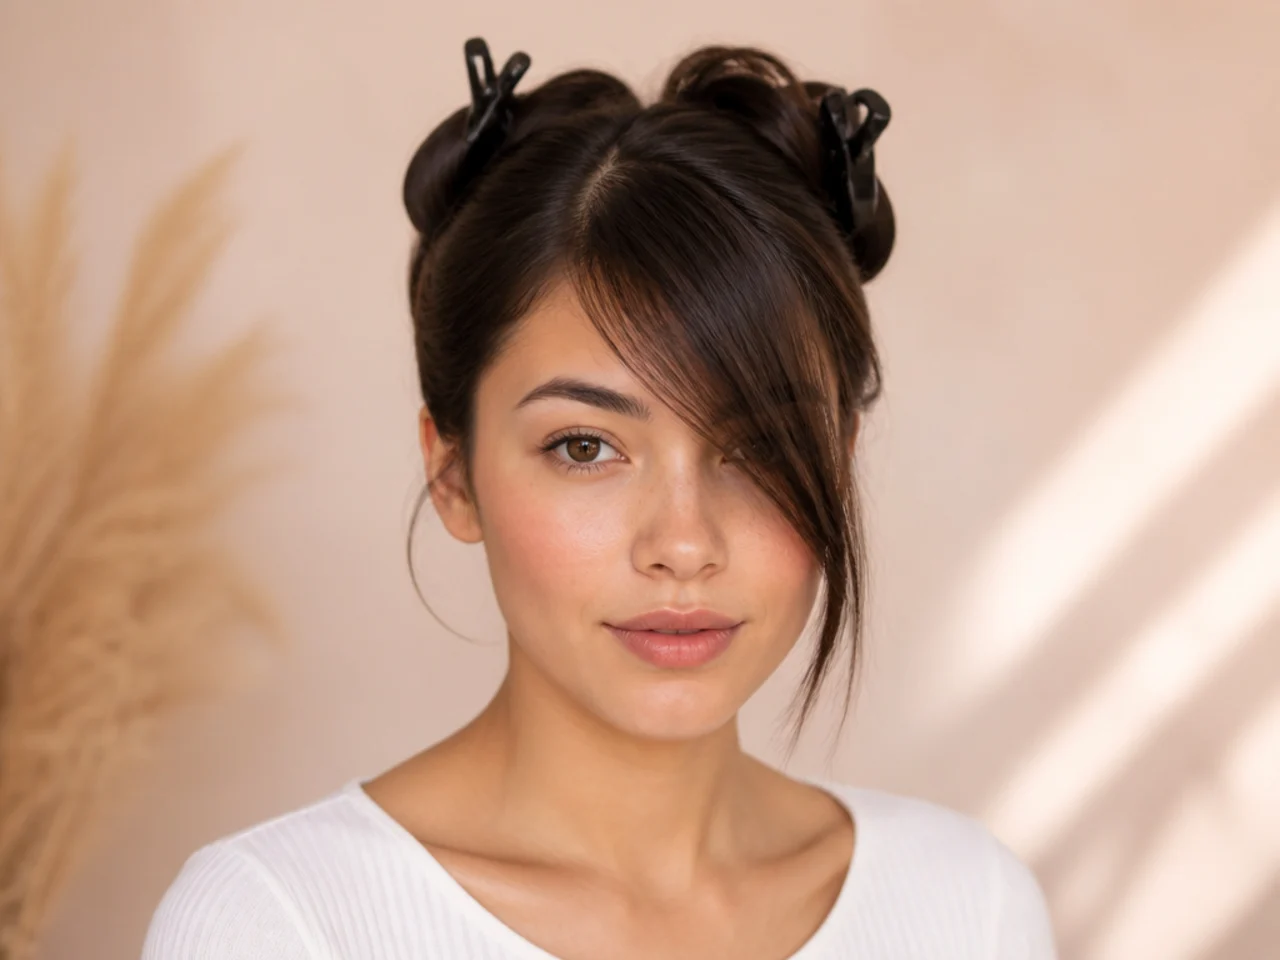
4. Clip Everything Else Away
Both sides, firmly. Stray hair is how sections get cut by accident. A loose strand caught in the fringe section becomes a short piece in the length, and it takes months to grow back.
5. Comb the Section into the Sweep Position
Across the forehead, the way it will be worn. Not straight down. Hair cut flat sits differently once it is swept, because the distance from root to tip changes with the direction.

6. Identify Your Shortest Point
At the temple, on the side you sweep from. This is the point that defines the whole angle, so decide it before a single snip.

7. Cut the Shortest Point First
One small vertical snip, a centimetre longer than your target. Always cut long first — you can take more, and you cannot put it back.
8. Release and Check
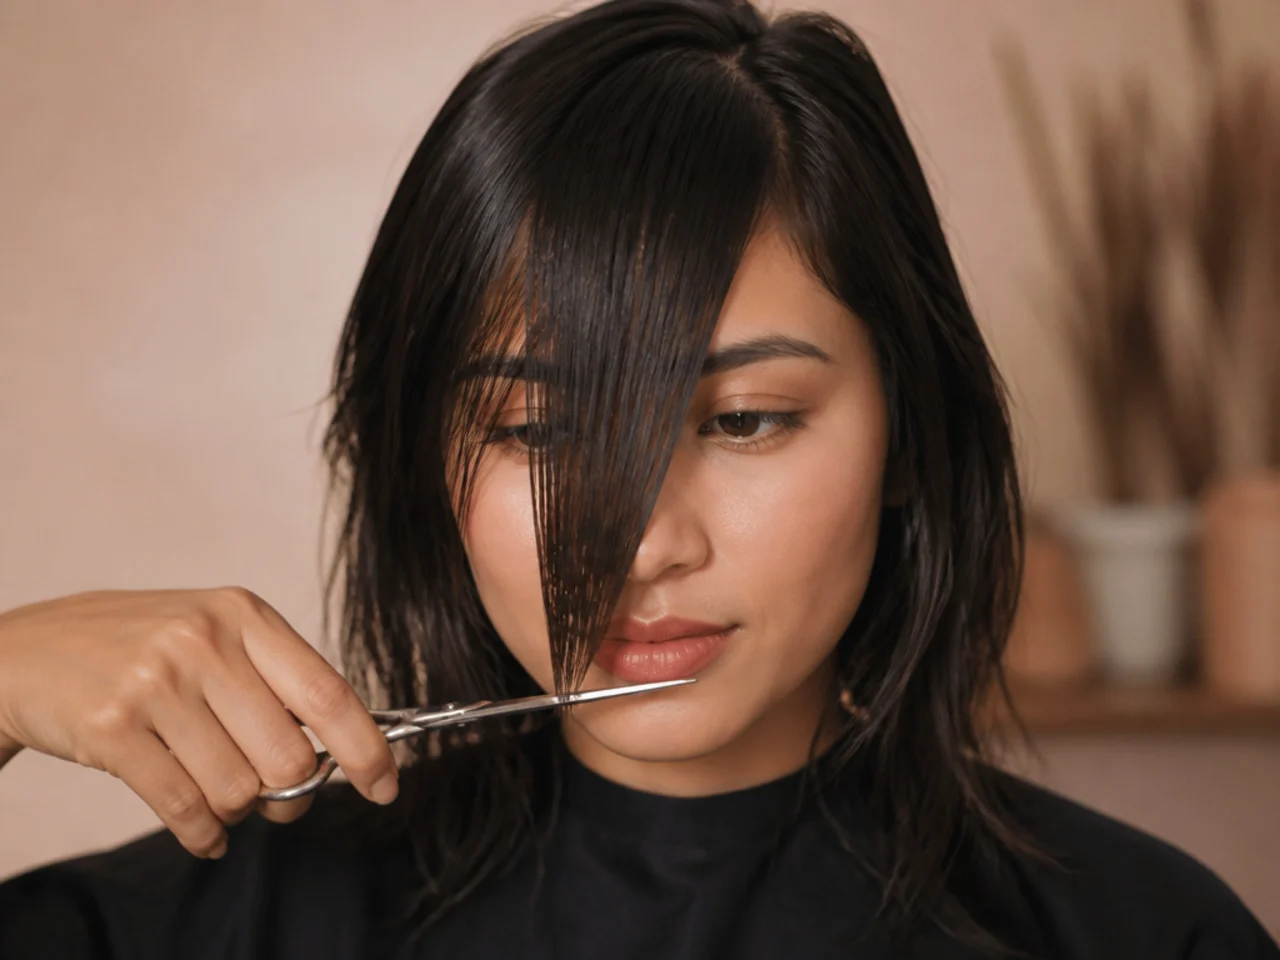
Let it fall. This is where you find out how much tension was in it. Hair held under tension springs up when released, and that spring is the single biggest cause of a too-short home fringe.

9. Adjust the Shortest Point if Needed
Now, while there is still length to work with. The shortest point is the only cut you cannot correct later, so get it right before moving along.

10. Move One Centimetre Along
Take the next small section, immediately beside the first. Small sections are what keep the line even; large ones produce steps you will not see until it dries.
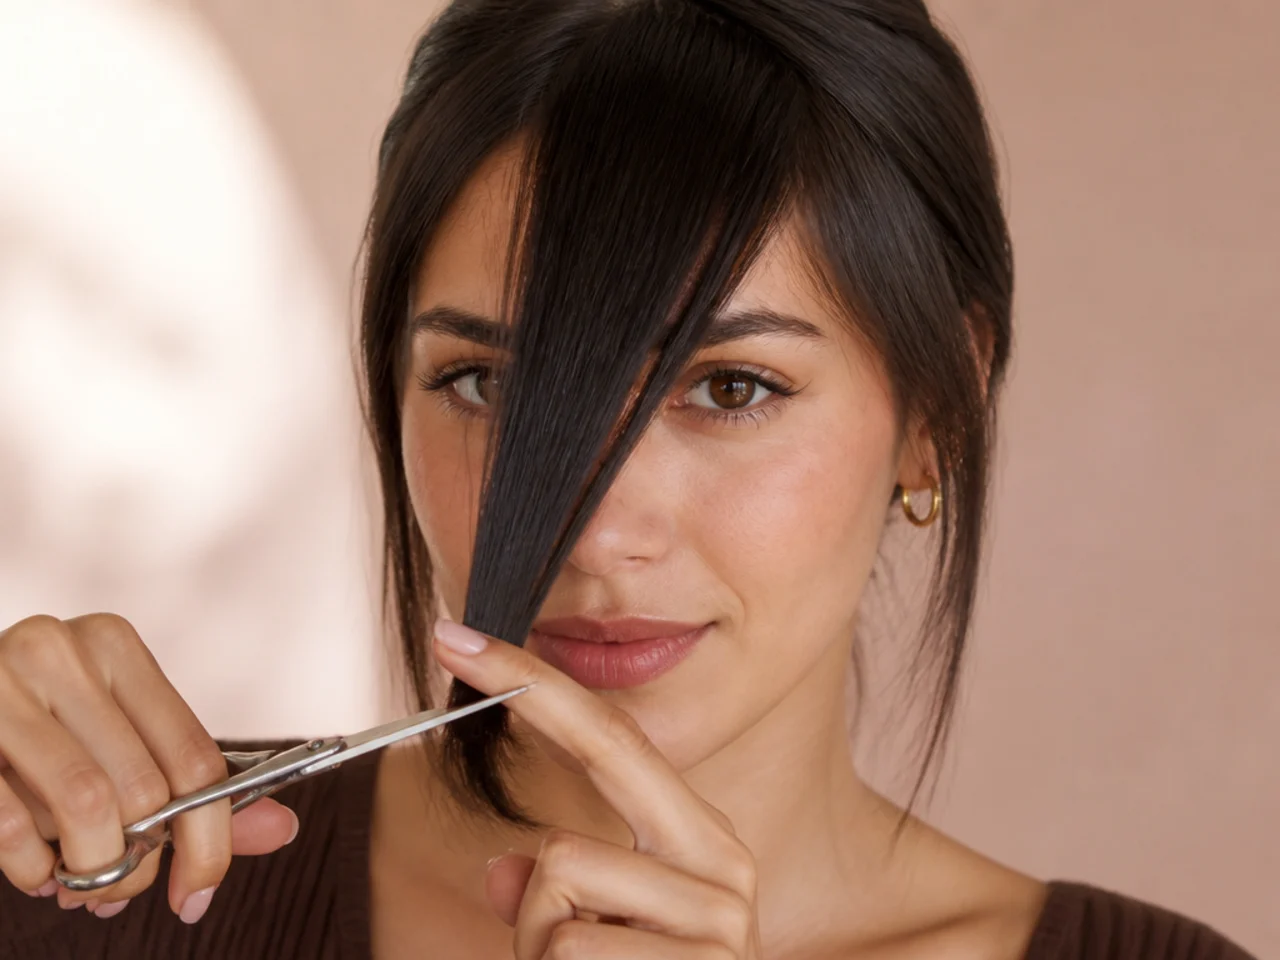
11. Cut It Slightly Longer Than the Last
This is the diagonal, built one centimetre at a time. The angle is the sum of many small increments rather than one long cut, which is why it comes out smooth.

12. Point the Scissors Upward, Not Across
Vertical snips into the ends, never a horizontal chop. Pointing up removes weight and softens the edge at once, where a straight cut across leaves a hard blunt line.
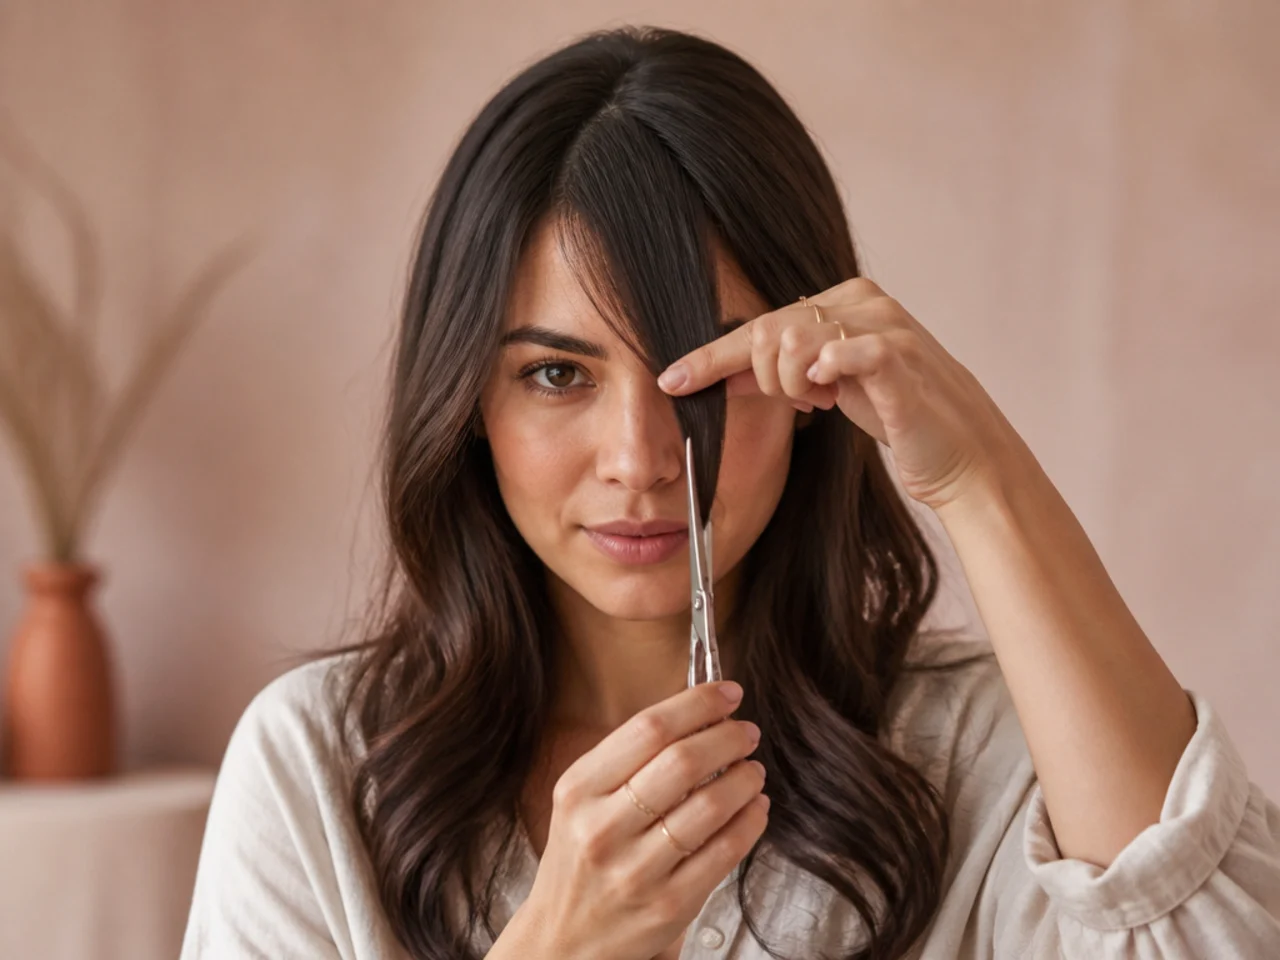
13. Release and Check Again
Every pass. It is the whole method. Checking between passes is what stops a small error compounding across the whole fringe.

14. Continue Across the Whole Fringe
Small sections, each slightly longer, all the way to the far side. Work in one direction and never go back to even things up — that is how fringes get progressively shorter.

15. Check the Angle in the Mirror
Step back. Angles are judged at a distance, not at arm's length. Close up you see the individual cuts; from two metres you see the line, which is what everyone else sees.

16. Steepen It if It Reads Flat
Take a little more from the short end, never from the long one. Steepening from the short end preserves the length you have; taking from the long end just shortens everything.
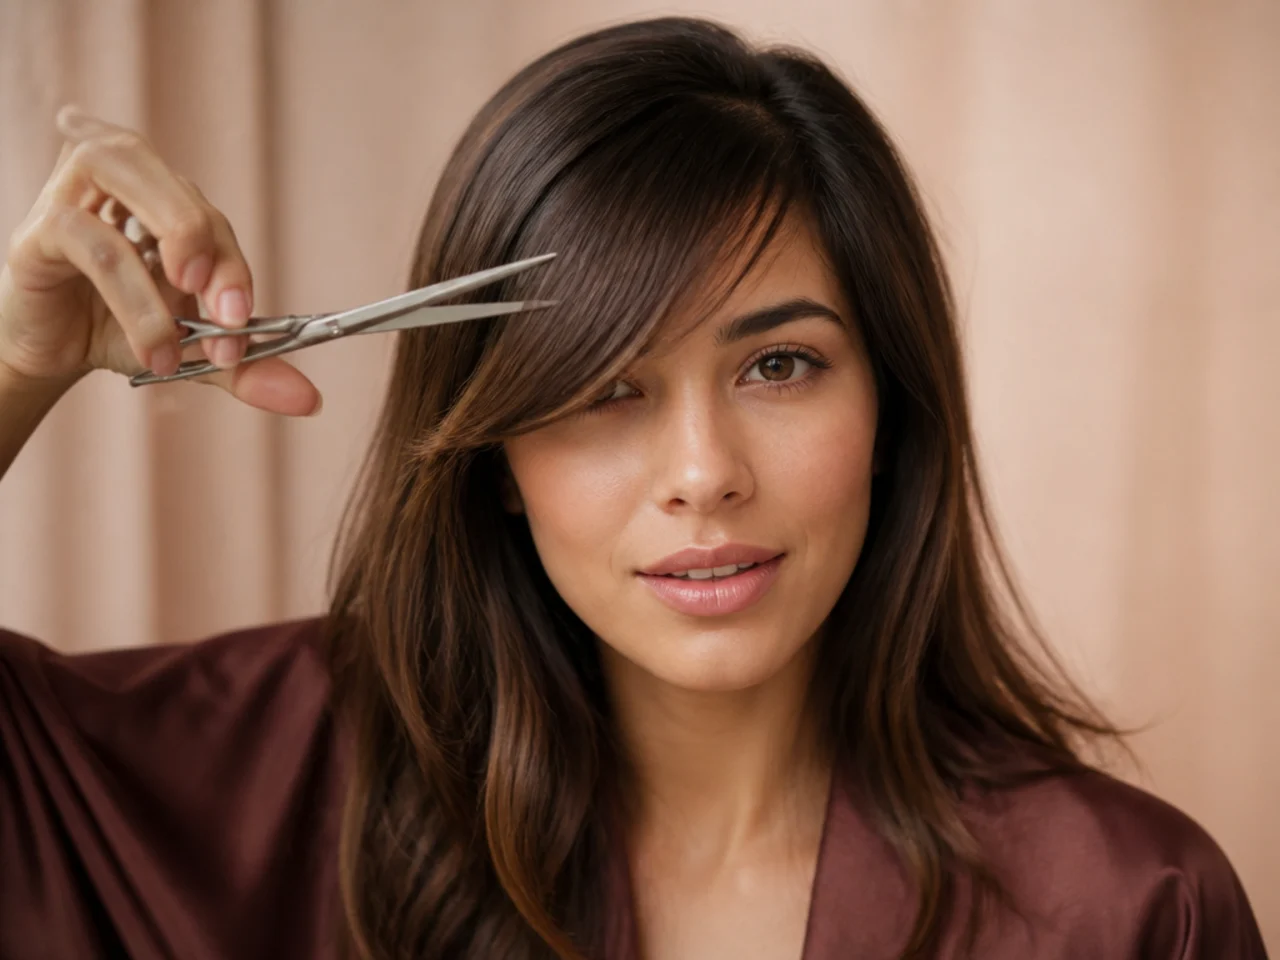
17. Soften the Last Inch
Small vertical points along the edge, following the diagonal. Keep the softening to the last centimetre, or the body of the fringe stops holding its direction.
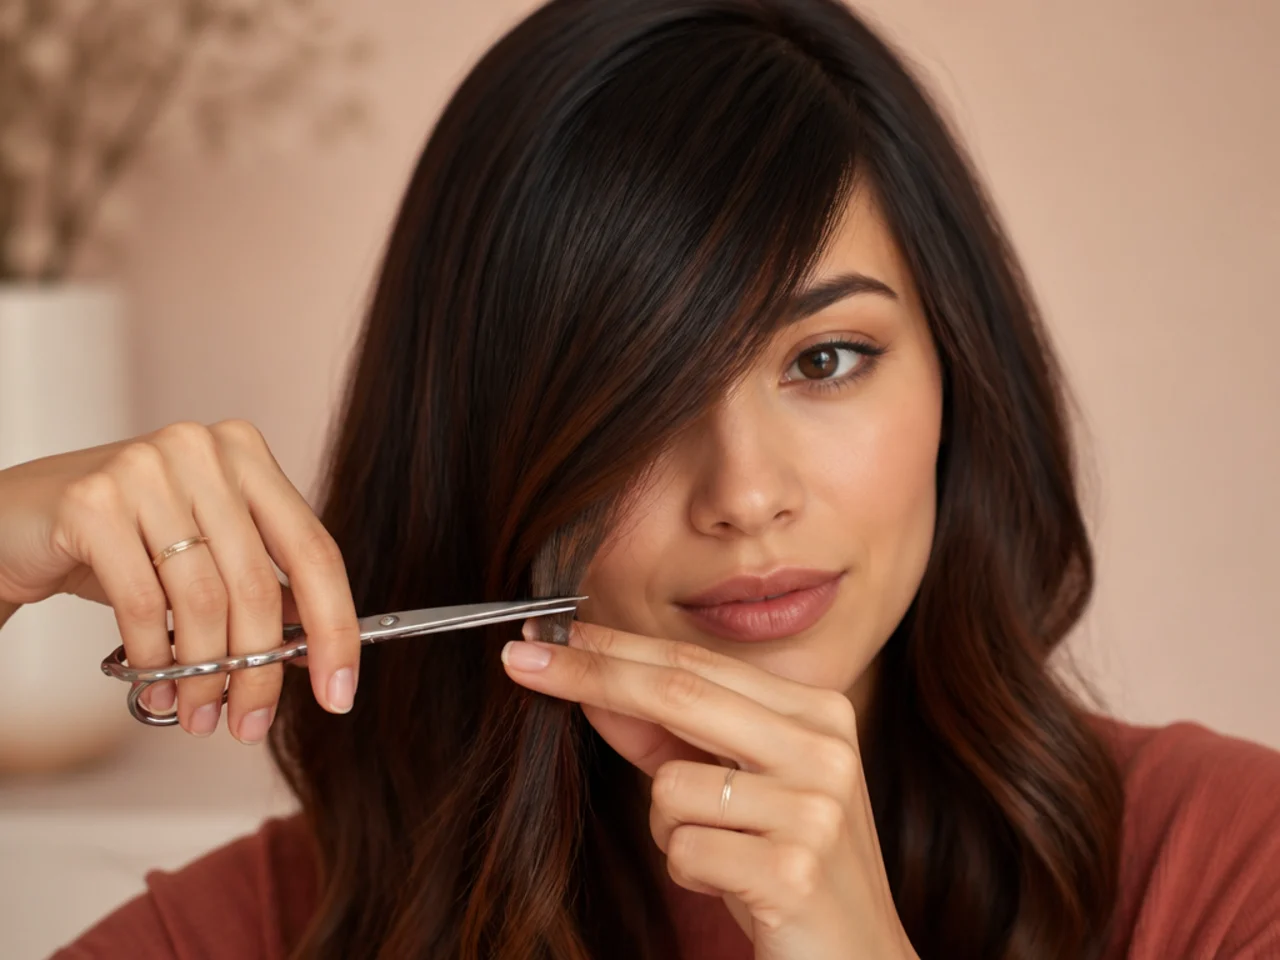
18. Check the Join with Your Layers
The long end should meet whatever is behind it, not stop short. A long end that stops above your layers leaves a visible step that no styling will hide.

19. Style It the Way You Will Wear It
Root lifted, dried sideways. Judge it styled, not combed flat. A fringe combed flat looks wrong on everyone, including on a cut that is perfectly correct.

20. Leave It Alone for a Day
Everything looks wrong immediately after cutting. Look again tomorrow. The fringe settles as the hair relaxes, and a day of ordinary wear tells you far more than the mirror does now.

Troubleshooting
It came out horizontal. You cut across in one pass. The fix is to take the short end up further, which restores the angle without shortening the whole fringe.
It is shorter than you wanted. Tension. The hair was pulled out further than it hangs. Nothing to do but wait, and add a centimetre next time.
One section is much shorter than its neighbours. Blend it by shortening the sections either side very slightly, working outward.
It looks thin and see-through. The section was too shallow. Next time take it deeper, from further back.
It will not sweep. Either the angle is too shallow, or the root is being dried flat. Check the drying first — it is easier to fix.
It looks separated and spiky. Too much point-cutting at the ends. It softens within a fortnight as it grows.

Mistakes to Avoid
Cutting in one pass. The single cause of a horizontal home fringe.
Cutting wet. It lands shorter and shallower once dry.
Cutting to your target length. Always a centimetre longer.
Horizontal scissors. Vertical points only.
Judging it the same day. Everyone hates a fresh fringe. Wait a day.

FAQ
Can you cut them yourself? Yes — a diagonal hides small errors a blunt line would show.
Why not one pass? Tension. Hair pulled out hangs shorter and flatter once released.
Wet or dry? Dry, always, when cutting your own.

Final Thoughts
Cut the short end first and release after every single pass. It takes an hour instead of ten minutes, and it is the entire difference between a side swept fringe and a slightly crooked blunt one — which is what a single confident scissor line across a held section will always give you.
For daily upkeep once it is cut see 15 ways to style side swept bangs, and for the cut itself see 25 cute side swept bangs ideas. More in Bangs & Fringe.