
20 Graduation Updo Ideas That Sit Under a Cap
Twenty graduation updos, sorted by the only thing that decides whether a cap stays on — height. An updo is not automatically cap safe. A low one is invisible to the band and a crown level one is a wedge under it.
In this article · 28
- Placing the Updo
- Updos Versus Down in Photos
- Updos by Hair Length
- Pins and Hold
- Morning Timing
- The Cap Off Reveal
- The 20 Graduation Updos
- 1. Low Chignon
- 2. French Twist
- 3. Braided Crown
- 4. Ballet Bun
- 5. Twisted Rope
- 6. Messy Low Bun
- 7. Flat Twists Into a Bun
- 8. Fishtail Bun
- 9. Faux Updo on a Bob
- 10. Knotted Double Bun
- 11. Gibson Tuck
- 12. Curly Pinned Updo
- 13. Donut Chignon
- 14. Twist Updo
- 15. Side Swept Bun
- 16. Braided Halo
- 17. Pin Curl Updo
- 18. Anchor Pin Bun
- 19. Half Updo
- 20. Bantu Knot Crown
- Final Thoughts
An updo is the standard advice for graduation, and it is only half of the advice, because the height of the updo decides everything and nobody mentions the height.
A low bun and a high bun are opposite objects to a mortarboard. One sits below the rear edge of the band and touches nothing. The other props that edge up and turns the board into a lever.
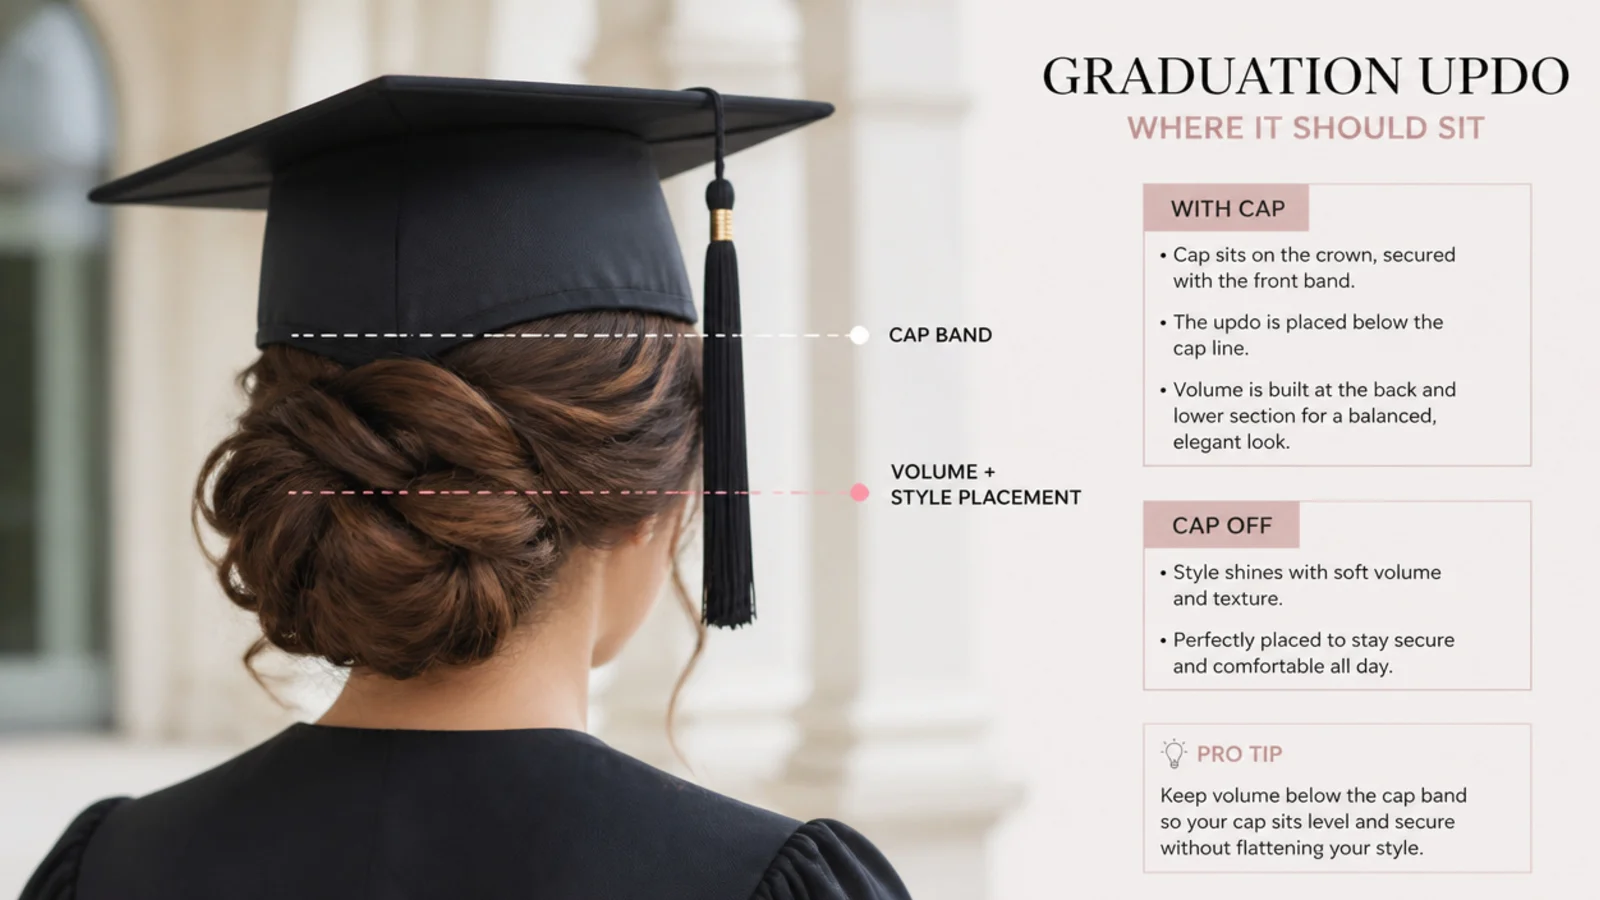
The occipital bone is the line. Run a finger along the bony ridge at the back of your skull. Build under it and the cap fits as issued.
Placing the Updo
Nape level is the safe zone. The rear edge of the band lands on bone, and the bun hangs below it inside the gown collar.
Crown level is the fail zone. The band has a fixed circumference, so it cannot ride further back to clear a bun. It rides up instead, and the board tips.
Width costs nothing. A wide flat coil across the back of the head is fine. It is depth away from the skull that the cap objects to.
Test with the cap, not with a mirror. Put it on, look down at the floor, then turn your head hard both ways. Anything that shifts indoors shifts more outside.
Updos Versus Down in Photos
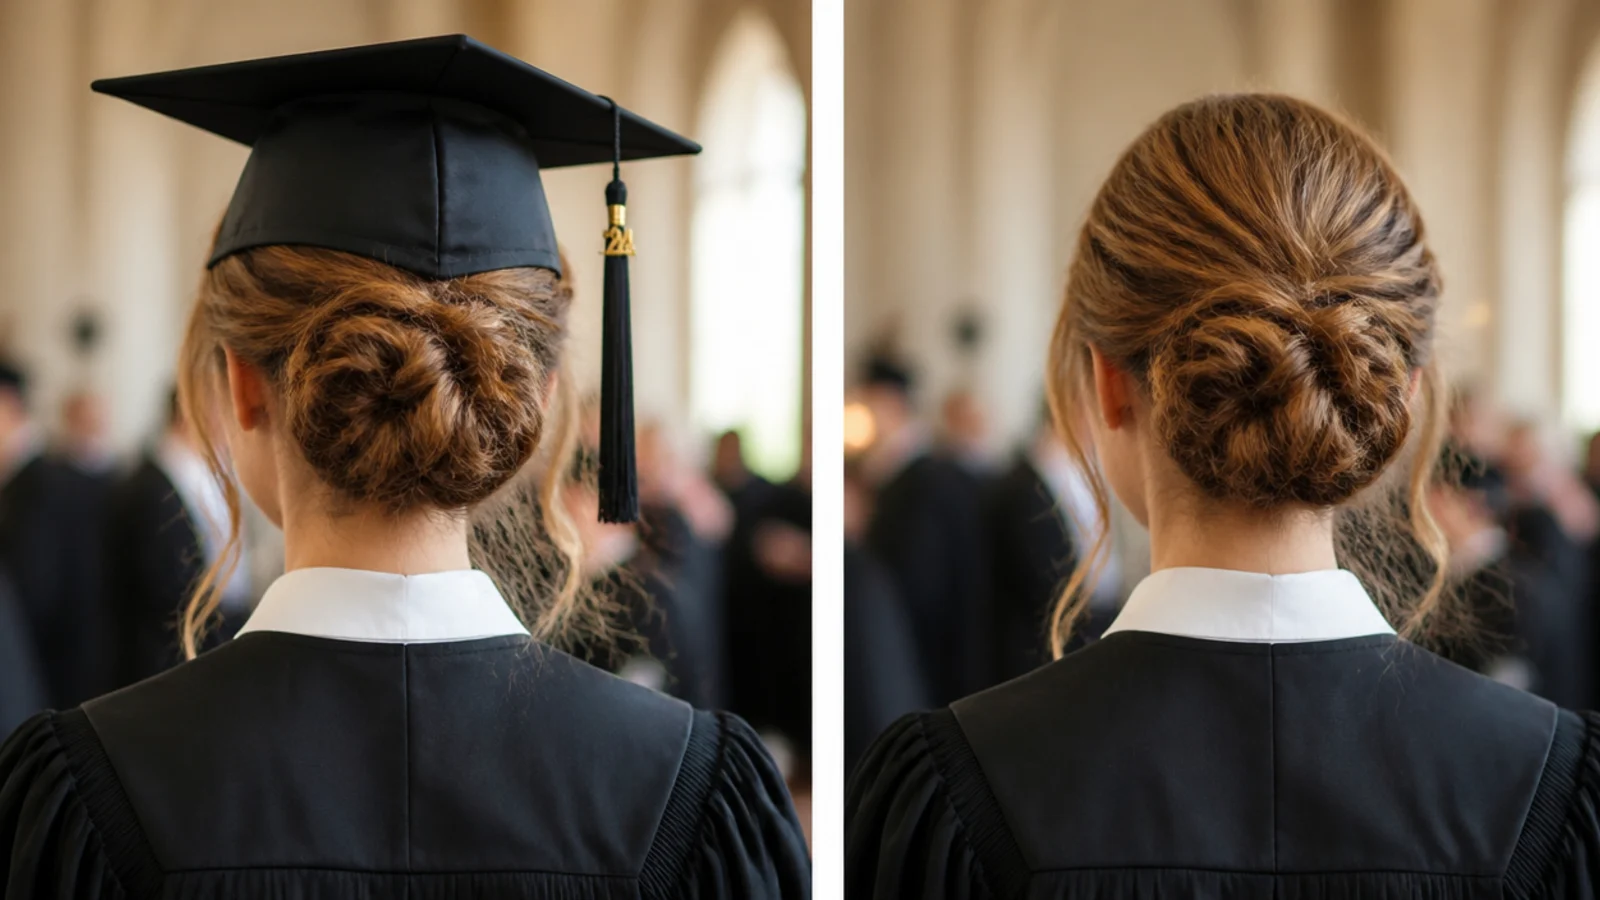
Cap on, an updo photographs as a clean jawline. There is nothing between the gown collar and the board, so the face carries the frame.
Hair down under a cap photographs as a stripe. The band compresses one horizontal line of hair for hours, and that line is visible from the moment the cap comes off.
An updo has no recovery step. Down styles need dry shampoo and two minutes of lifting before anyone takes a picture.
Decide which photograph you actually want. Most people want the ceremony shot and the family shot to both work, and an updo is the only option that needs no work between them.

Updos by Hair Length
Chin length. Not enough to coil, but enough to twist and pin in sections. The trick is several small anchors rather than one gathered mass.
Shoulder length. The easiest length there is. Long enough for a full chignon, short enough that the finished shape has no real weight to fight.
Mid back and longer. Weight is the whole problem. Every extra inch loads the same pins, so split the length in two and pin twice rather than coiling one heavy rope.
Coils and tight texture. Flat twists and pinned coils hold shape without tension, and they sit closer to the scalp than any smoothed style can.

Pins and Hold
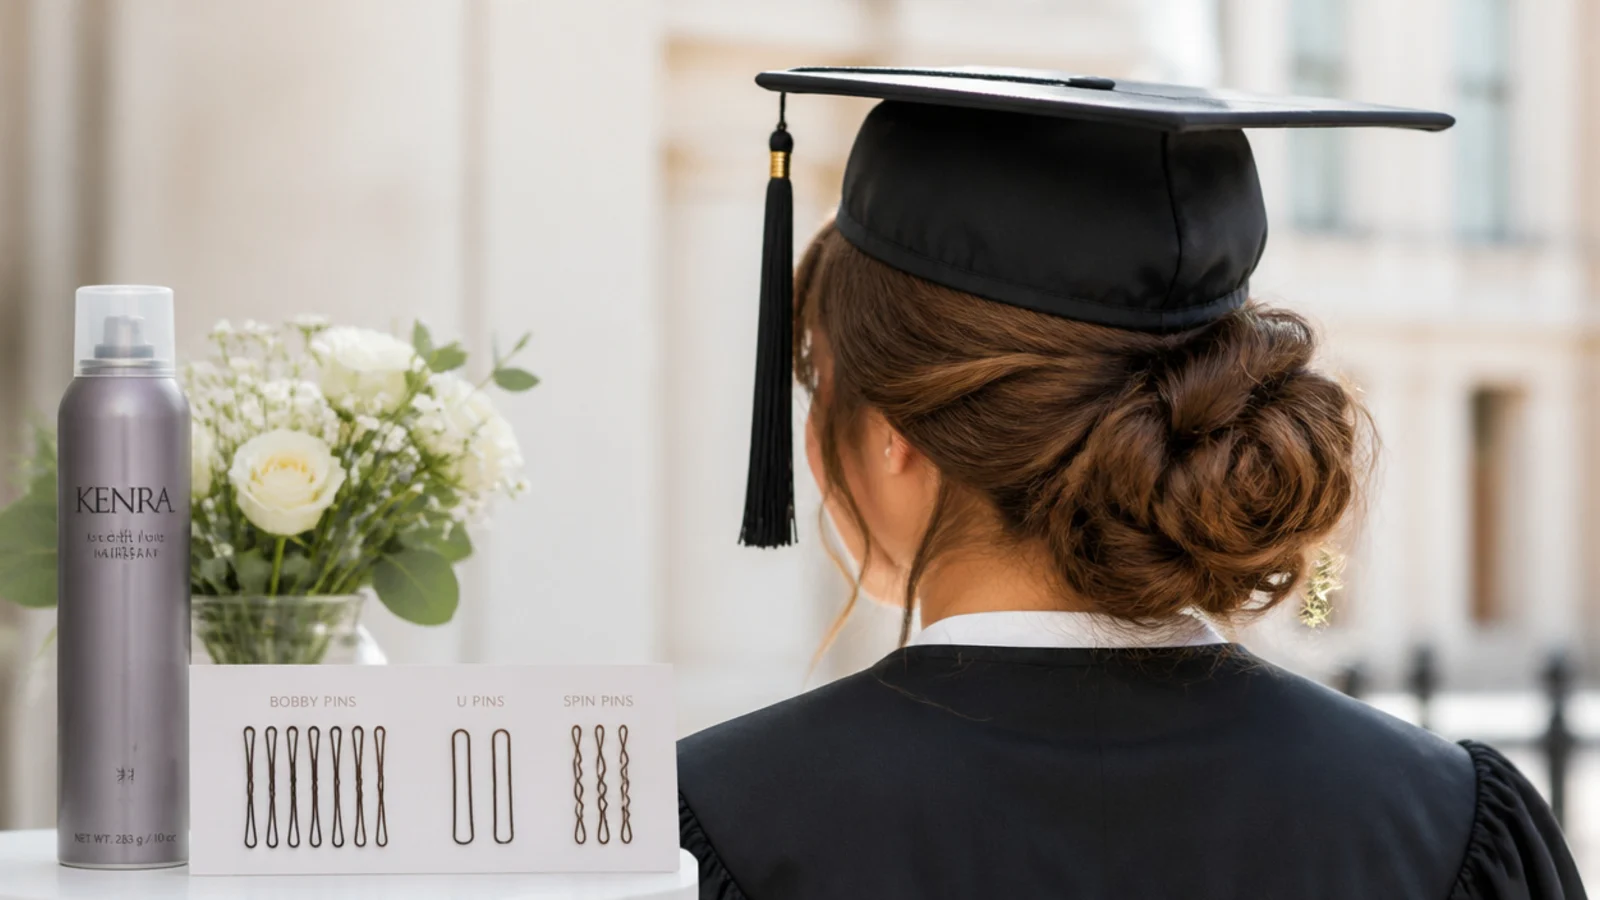
Cross every pin. Two pins driven in at opposing angles lock rotation in both directions. One pin is a hinge waiting to open.
U pins shape, bobby pins hold. A U pin passes through a coil and back into the base without clamping, which sets position. A bobby pin clamps two surfaces together, which resists movement.
Friction beats product. Clean hair is slippery because there is no sebum on the cuticle. Texture spray or a day of natural oil gives every pin something to bite into.
Flexible spray, not firm. A flexible film bends when the cap knocks it and returns. A rigid film fractures at the same knock and drops the section it was holding.
Morning Timing
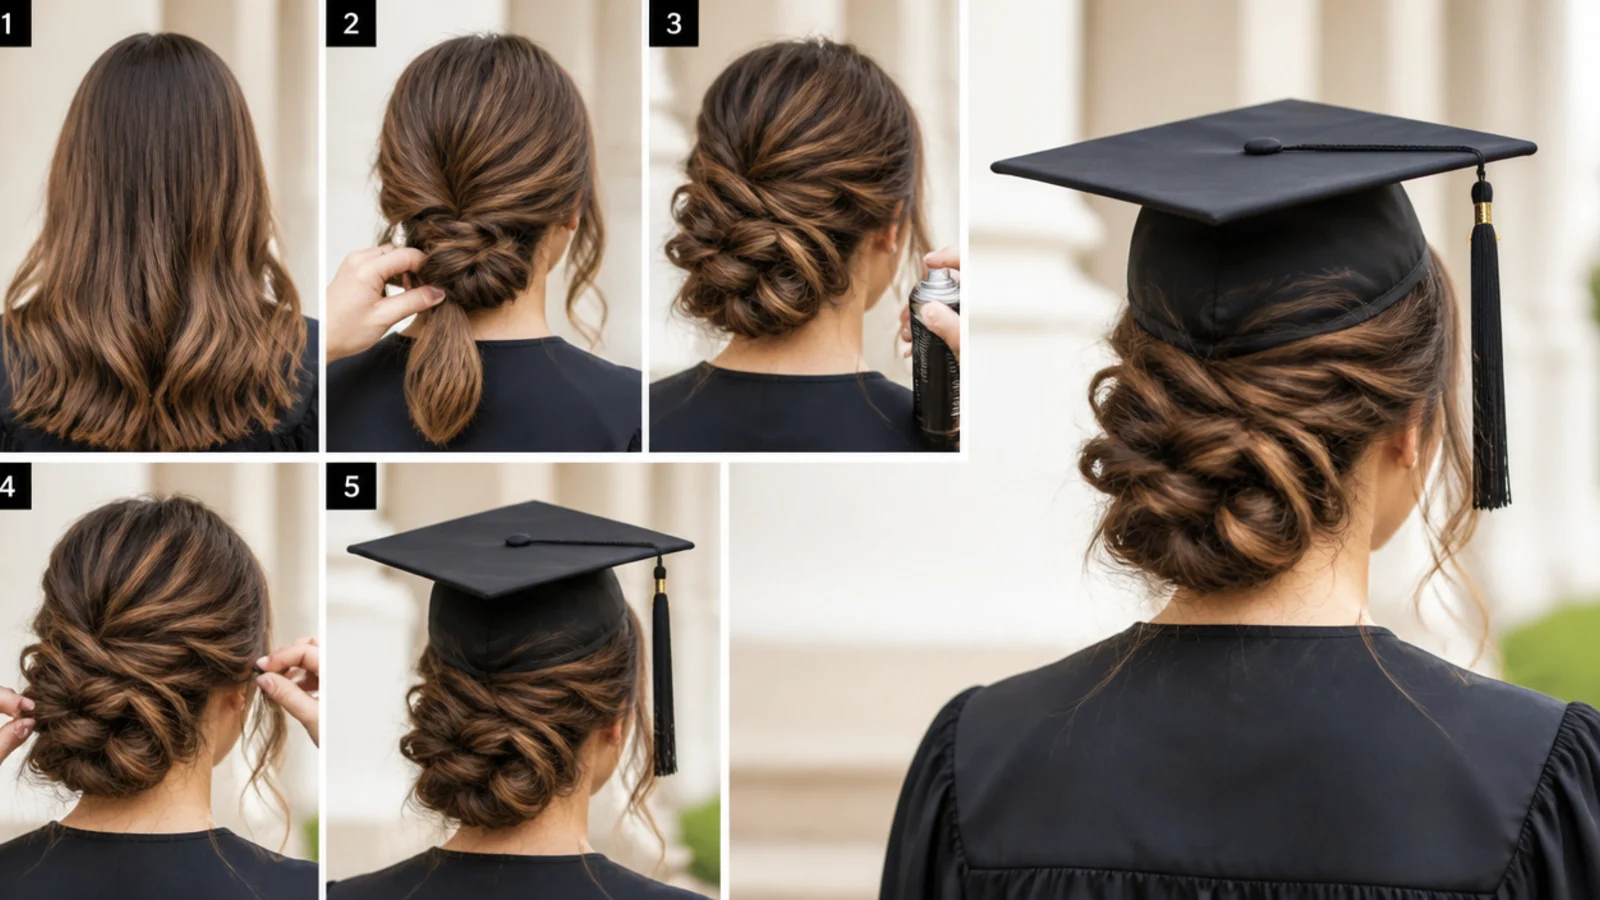
Wash the night before. The sebum that builds overnight is free grip, and it is the difference between six pins and ten.
Ninety minutes before you leave. Sprayed hair has to dry completely before the cap touches it, or the film sets around a dent.
Fit the cap at home, fully dressed. The gown collar changes where a low bun sits, and it is better to find that out at the mirror.
Carry six spare pins. Losing one at the nape is invisible until three more follow it.
The Cap Off Reveal
An updo comes out of the cap finished. Nothing has been compressed, because nothing was under the band.
Release the front, not the back. Pulling two face framing pieces down converts a ceremony updo into a photograph updo in about five seconds.
Take the pins out from the bottom. Working upwards means the weight is still supported while you unload it, so the shape drops in one piece instead of collapsing.
Spray once, lightly, after the cap is off. The knock resistant film you needed for the ceremony is not the finish you want in close photographs.
The 20 Graduation Updos
1. Low Chignon
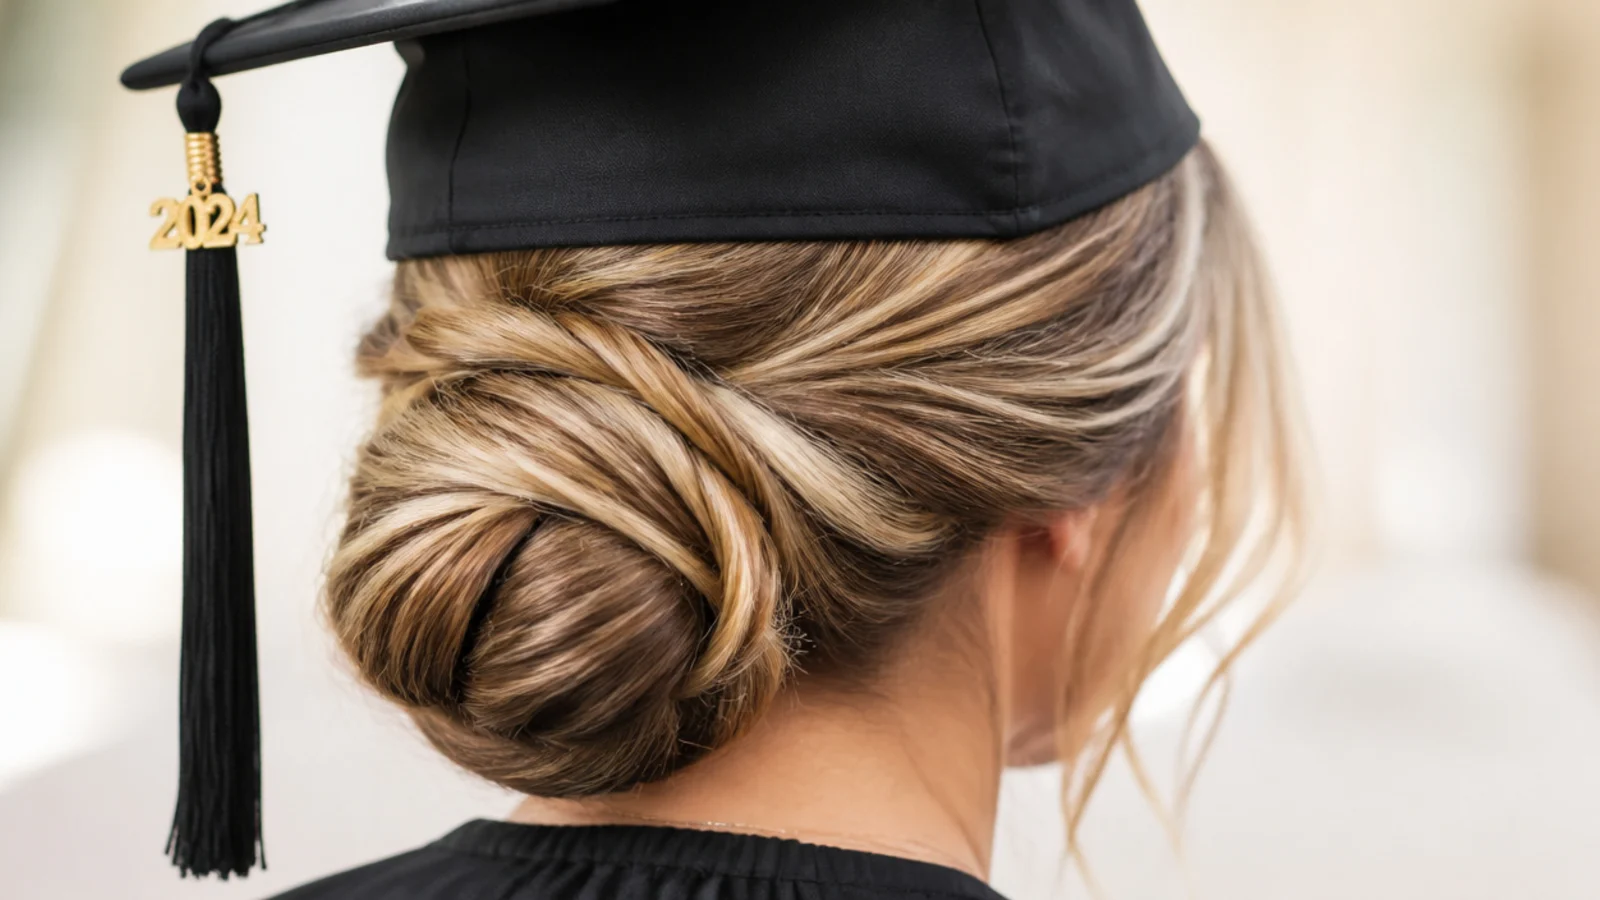
The reference shape for a reason. A flat coil at the nape puts every strand below the occipital bone, so the rear edge of the band still meets bone and the cap sits exactly as it was issued. It also flattens against a chair back rather than being pushed out of shape by it.
2. French Twist
Rolling the length into a vertical column against the back of the head keeps the mass narrow and close to the skull. Pin along the seam of the roll rather than through the face of it, so each pin is loaded sideways in shear instead of being pulled straight out.

3. Braided Crown
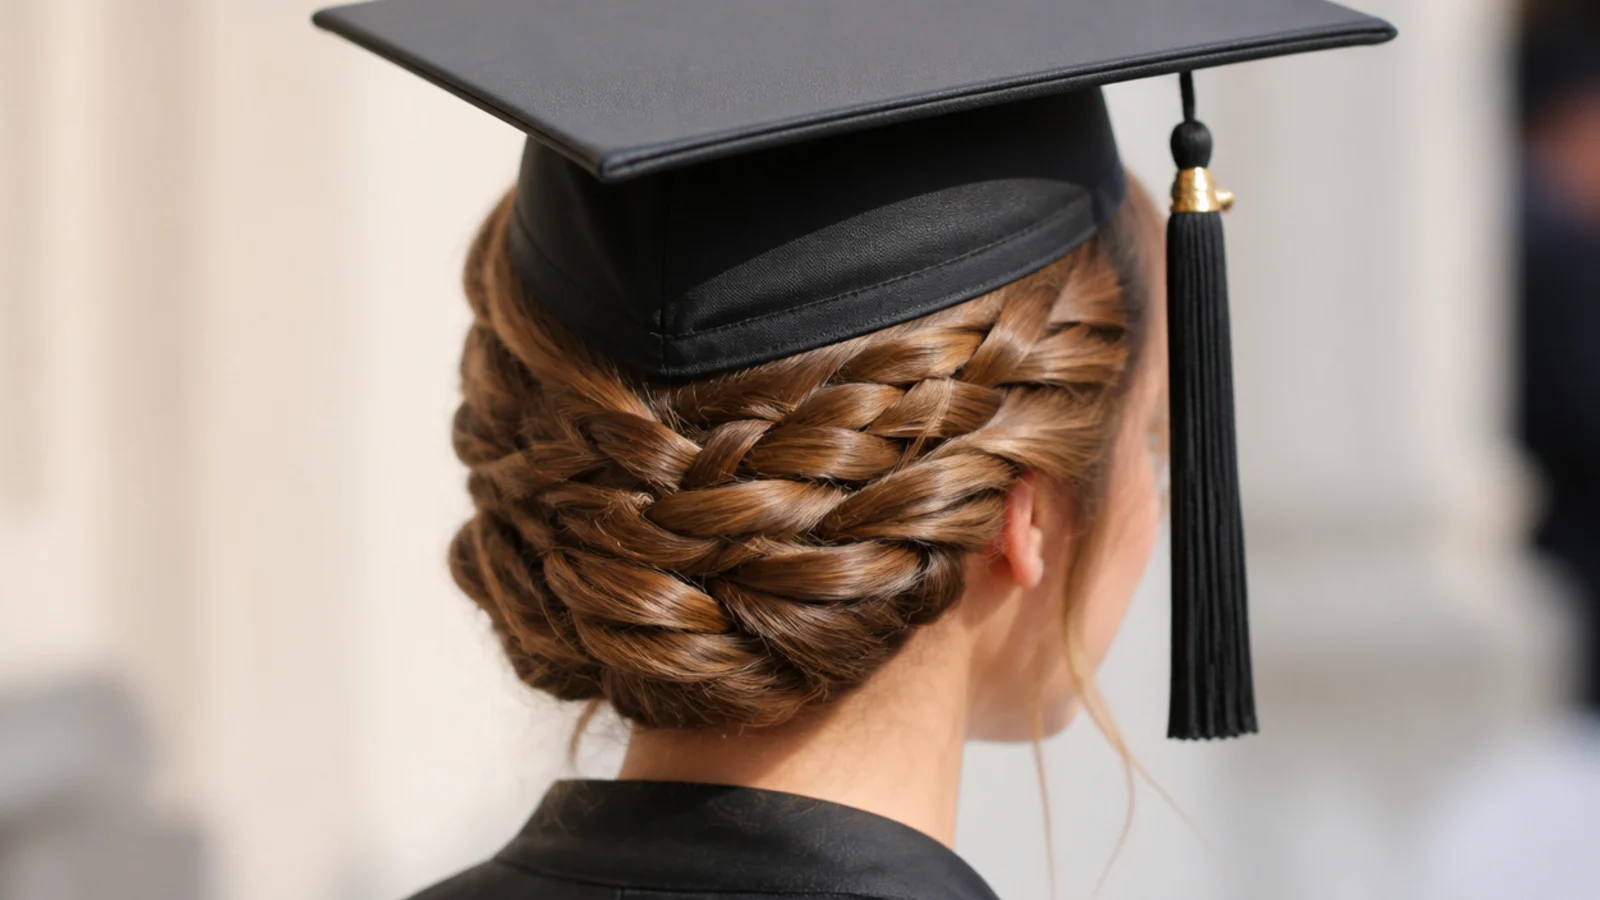
A braid wrapped around the head at ear level adds width rather than height, so it passes under the band without lifting it. The plait also hands its own weight to the scalp along its whole length instead of loading a single pinned point.
4. Ballet Bun
The classic version sits at crown level, which is the one place a mortarboard cannot accommodate. Drop the same bun to the nape and you keep the smooth wrapped finish while removing the wedge, which is the only change this shape needs.
5. Twisted Rope
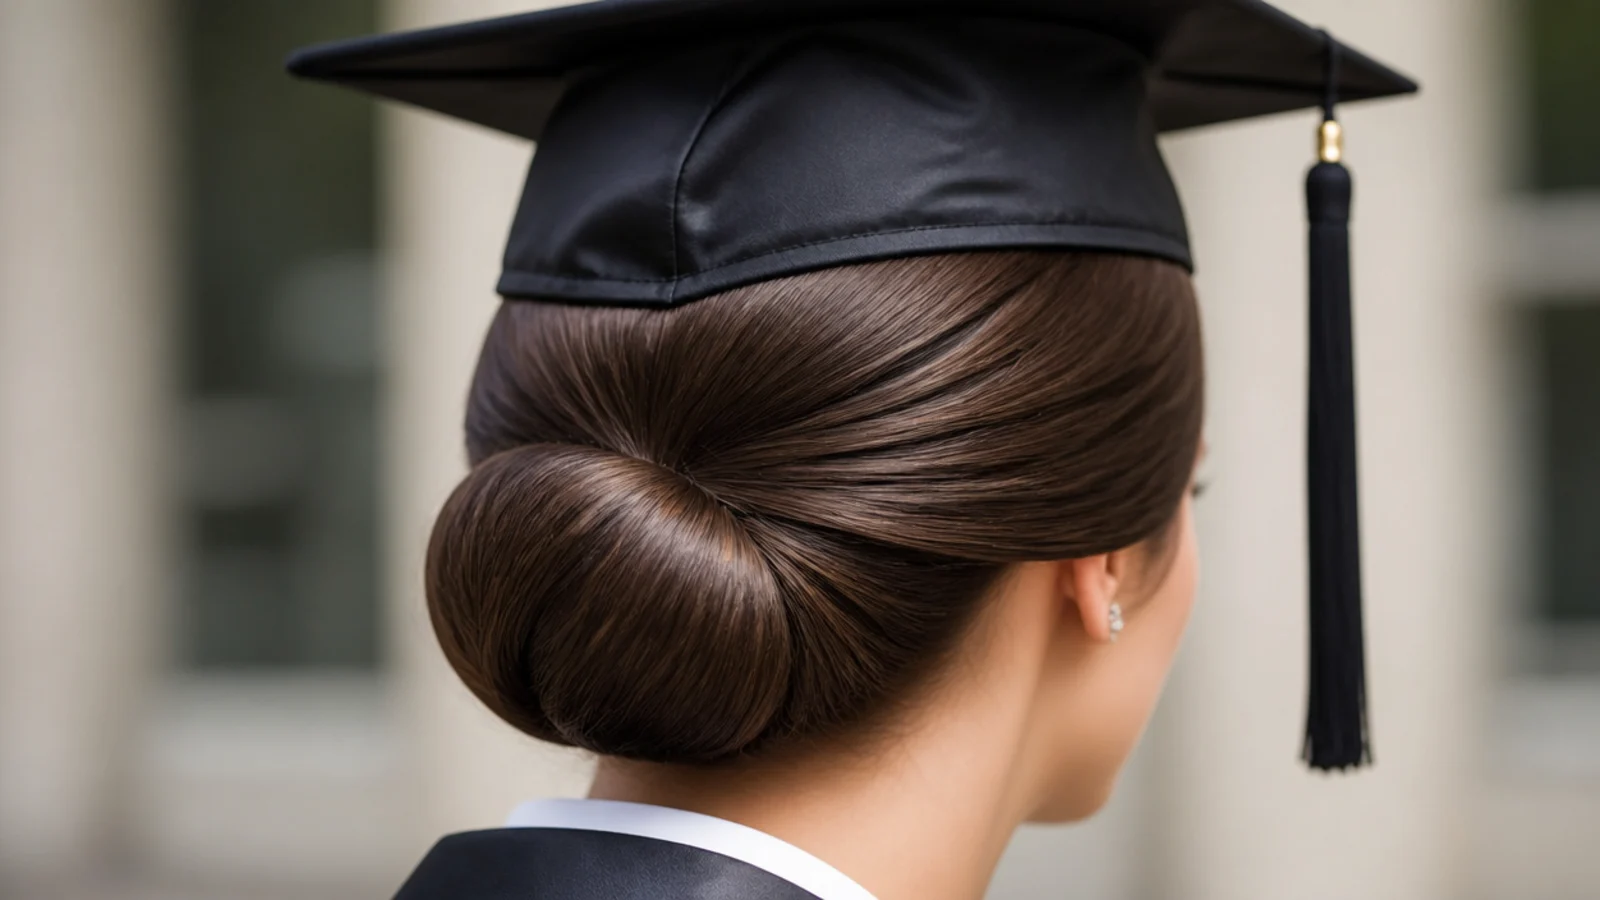
Two sections twisted individually one way and then wrapped around each other the other way lock against themselves. The opposing tensions mean the rope cannot unwind, which is why it survives four hours where a plain twist slowly relaxes.
6. Messy Low Bun
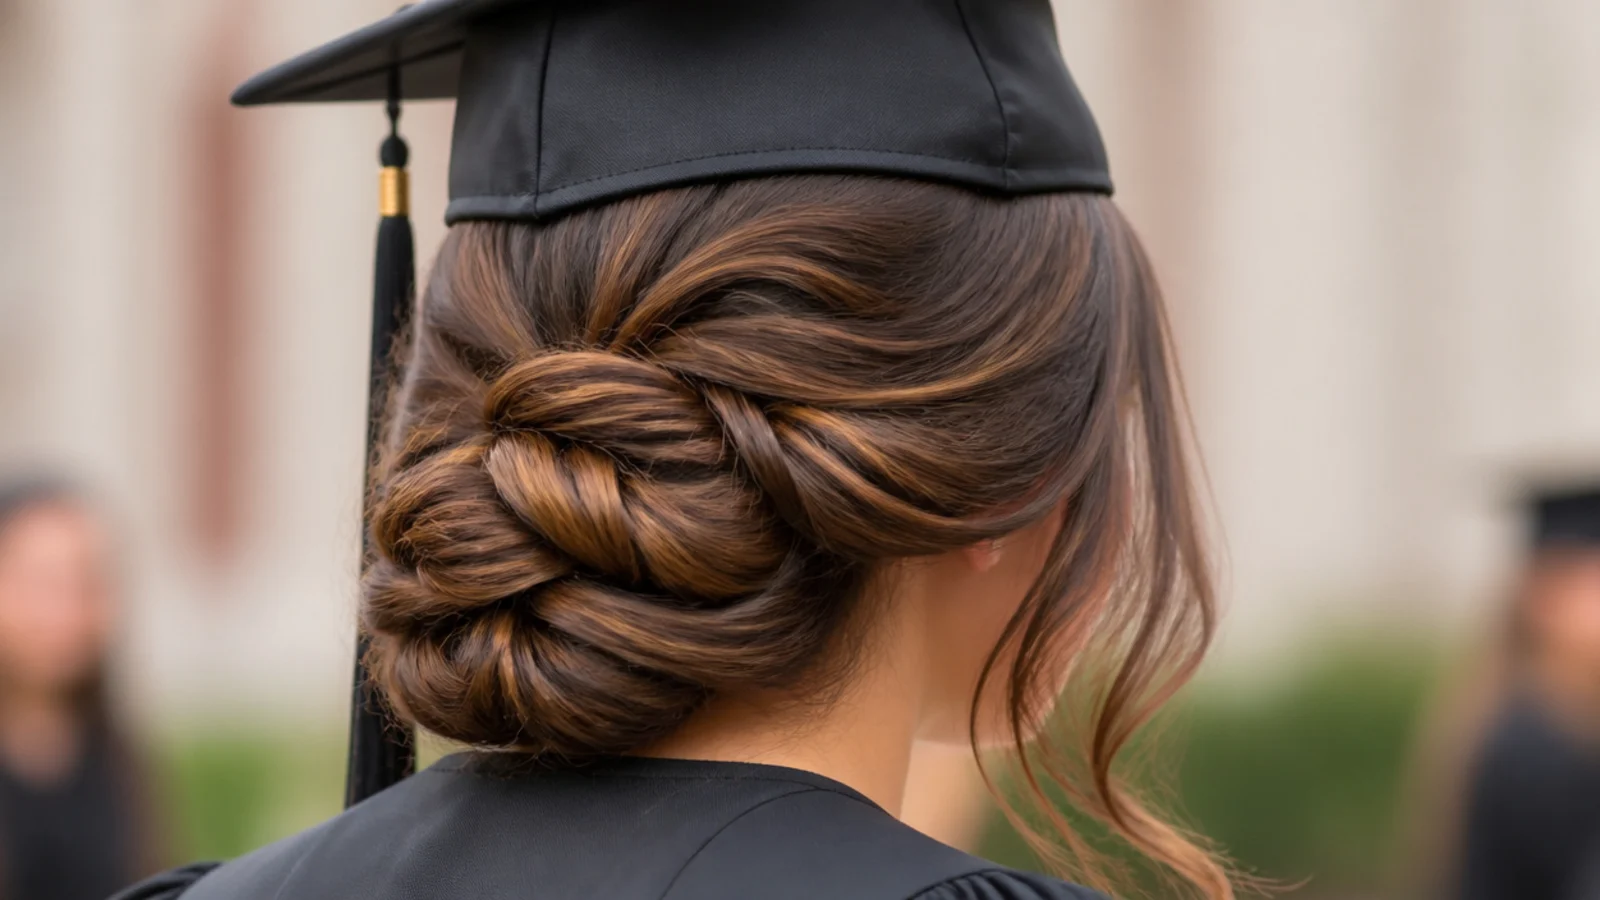
Deliberate looseness only works if the anchor underneath is tight. Pin a firm core at the nape first, then pull out the surface pieces, because a bun that is loose all the way through has nothing holding the pins and sags within the hour.

7. Flat Twists Into a Bun
Flat twists follow the scalp with almost no lift, so the band rests on head shape rather than on hairstyle. Gathering the ends into a low bun contains the length without ever building depth where the cap needs clearance.
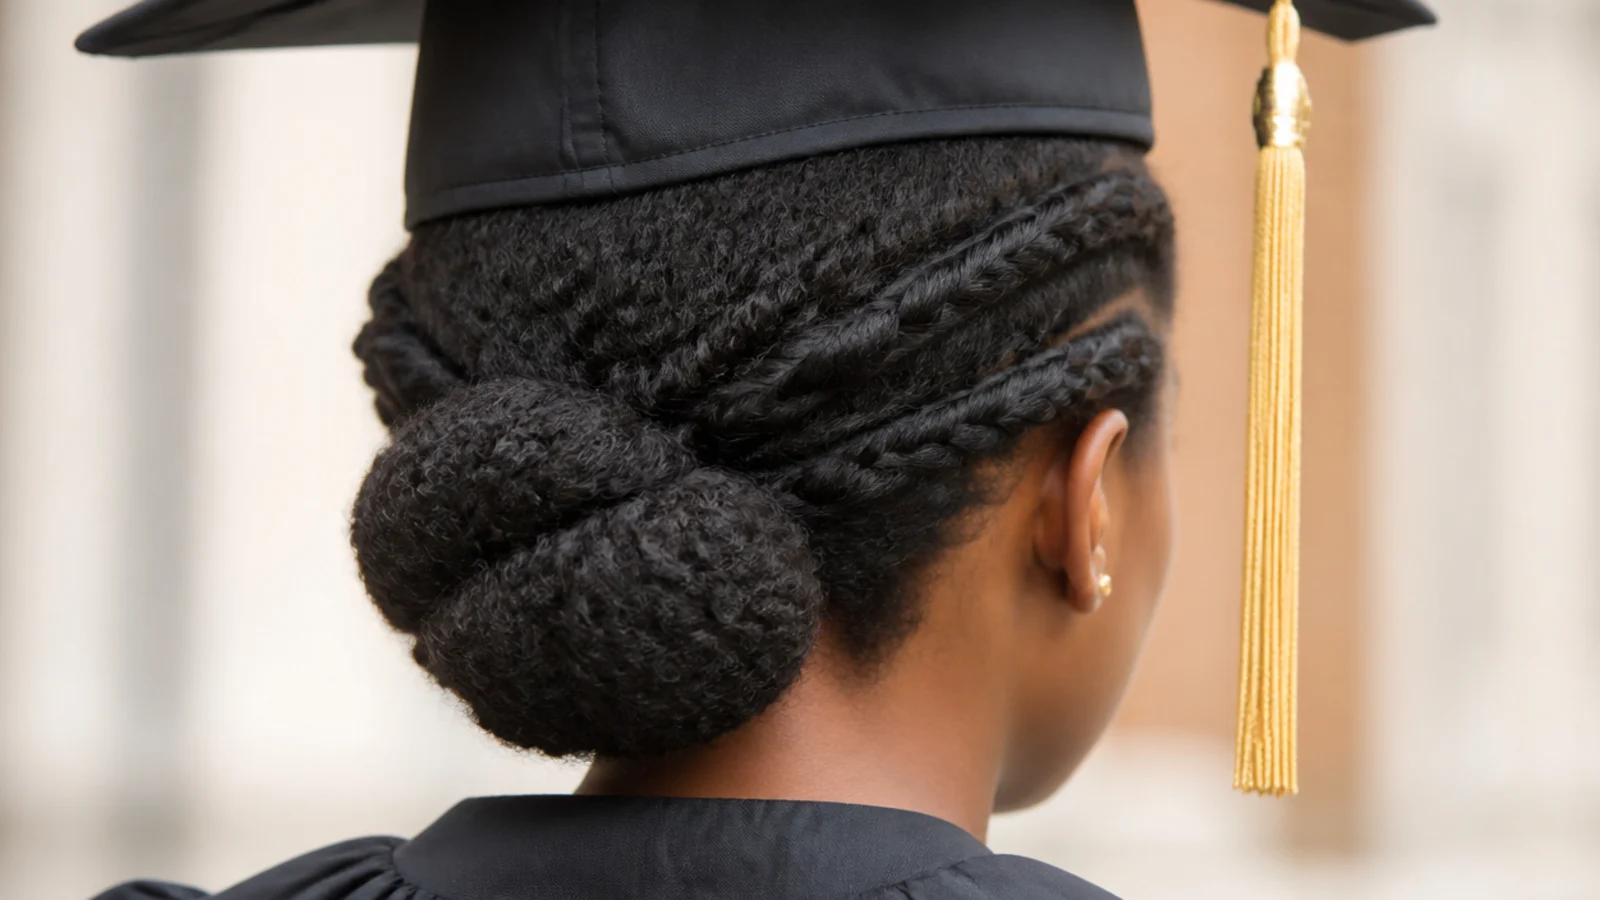
8. Fishtail Bun
A fishtail crosses thin sections over the top, which makes it the flattest braid available before it is even coiled. Wrapped into a bun, that flatness turns into a wide low disc rather than a ball standing off the head.
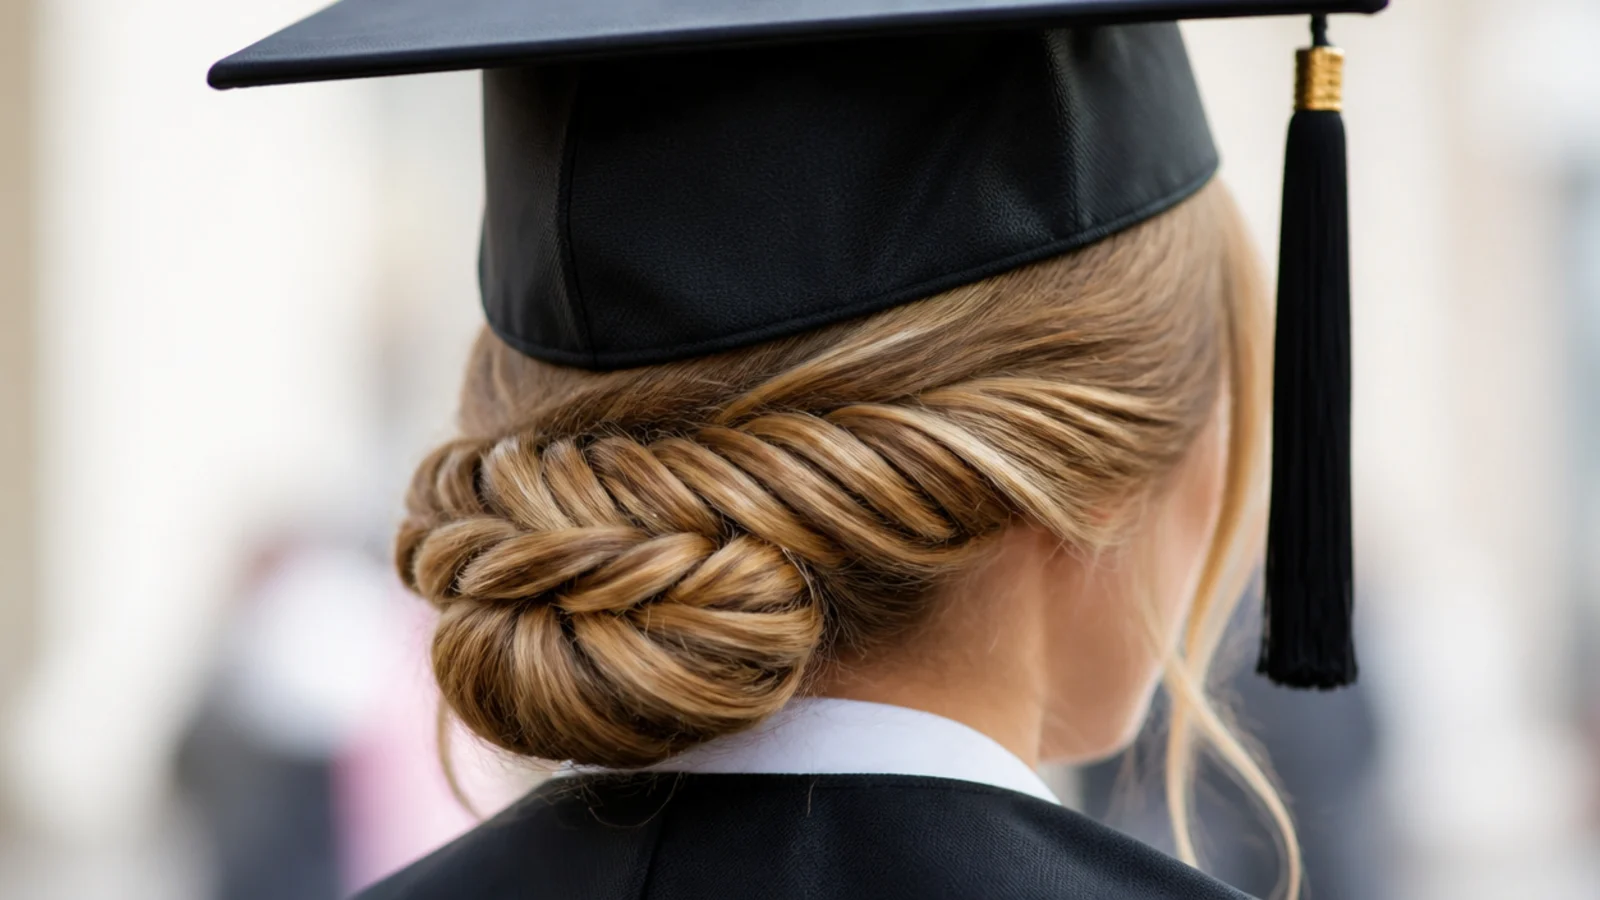
9. Faux Updo on a Bob
Short hair cannot be gathered into one mass, so pin it in three overlapping sections instead. Each section holds the one below it, which produces the read of an updo from length that would fall straight back out of a single elastic.
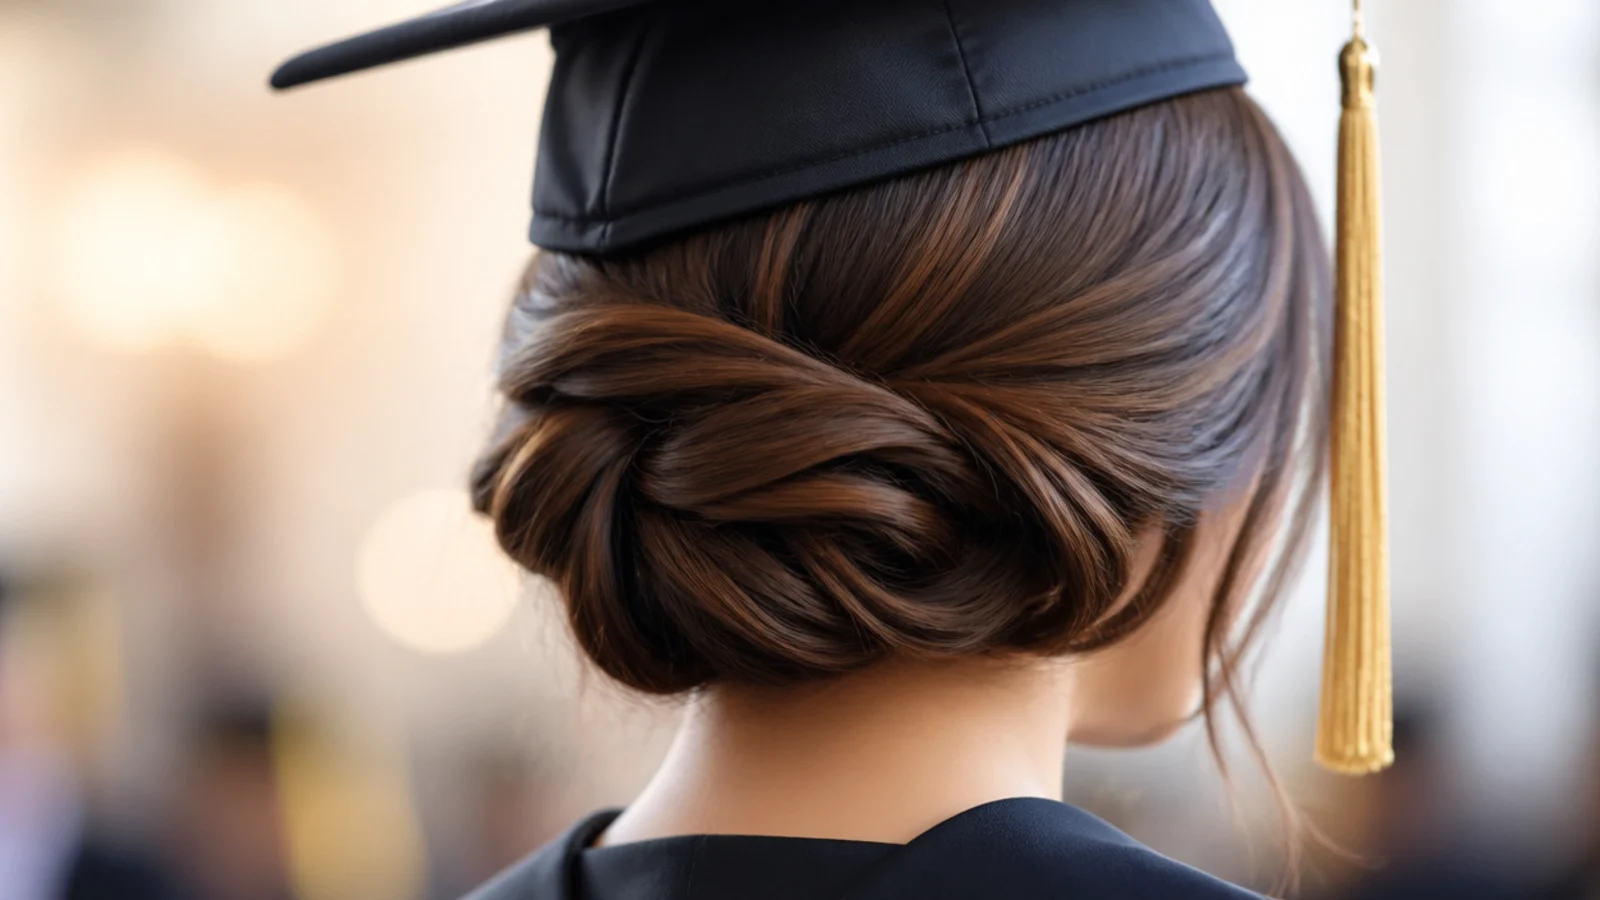
10. Knotted Double Bun
Splitting the length into two knots halves the weight on each set of pins, which is what makes this hold on long heavy hair. Set both knots low and side by side rather than stacked, so the combined shape stays under the rear edge of the band.
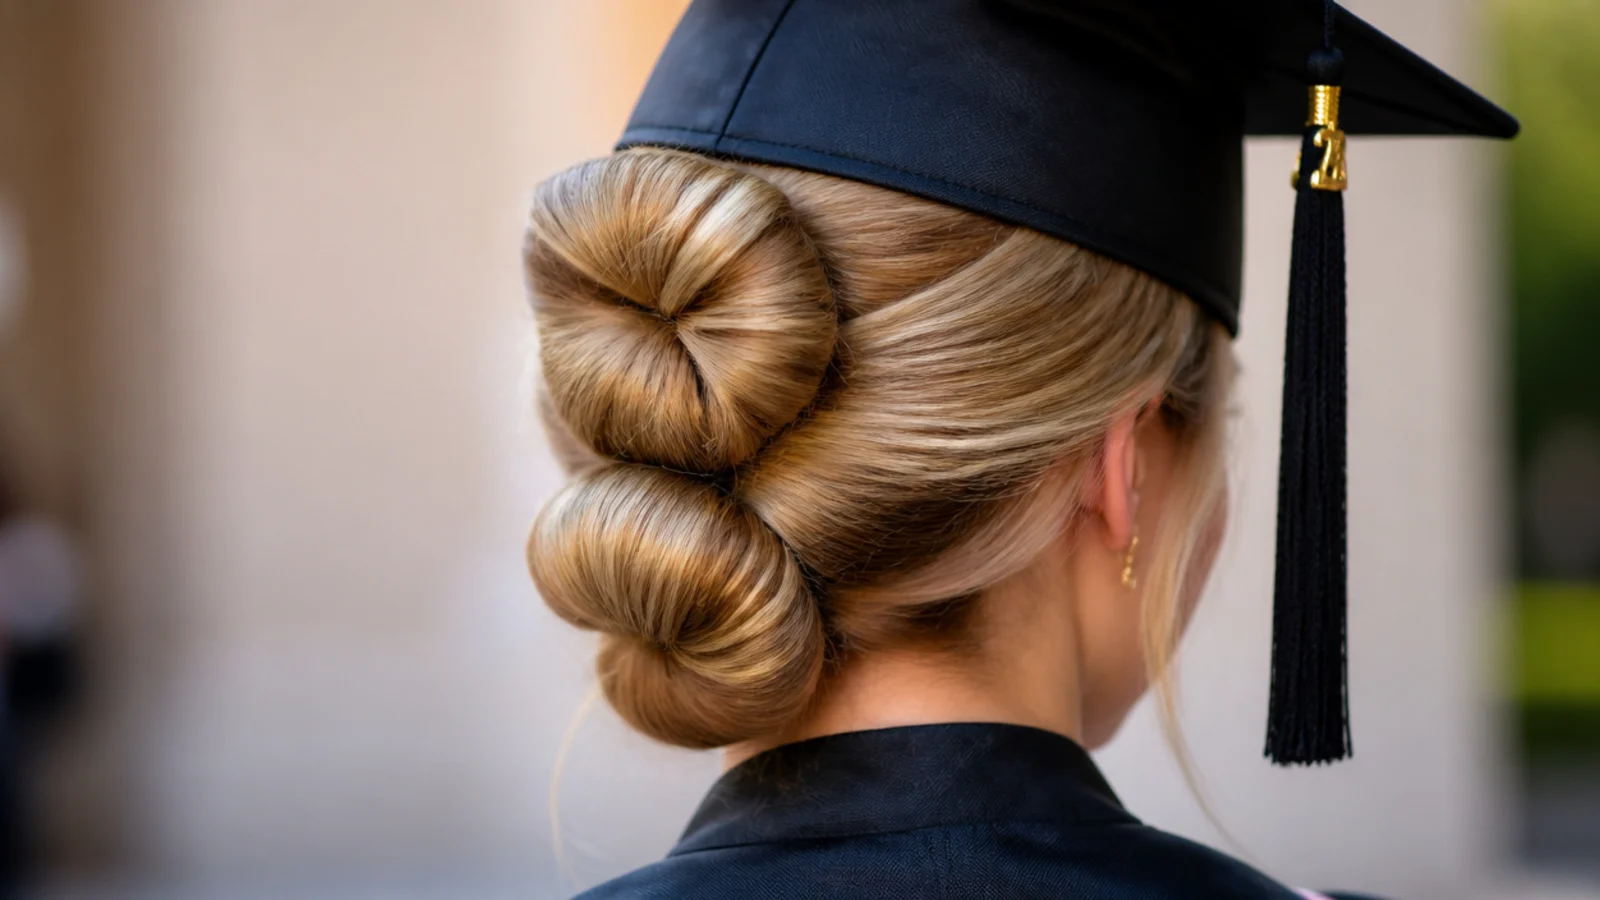
11. Gibson Tuck
Rolling the ends up and tucking them inside a band at the nape means the elastic carries the weight, not the pins. The pins only have to stop the roll unfurling, which is a much smaller job and one that three of them can do all day.
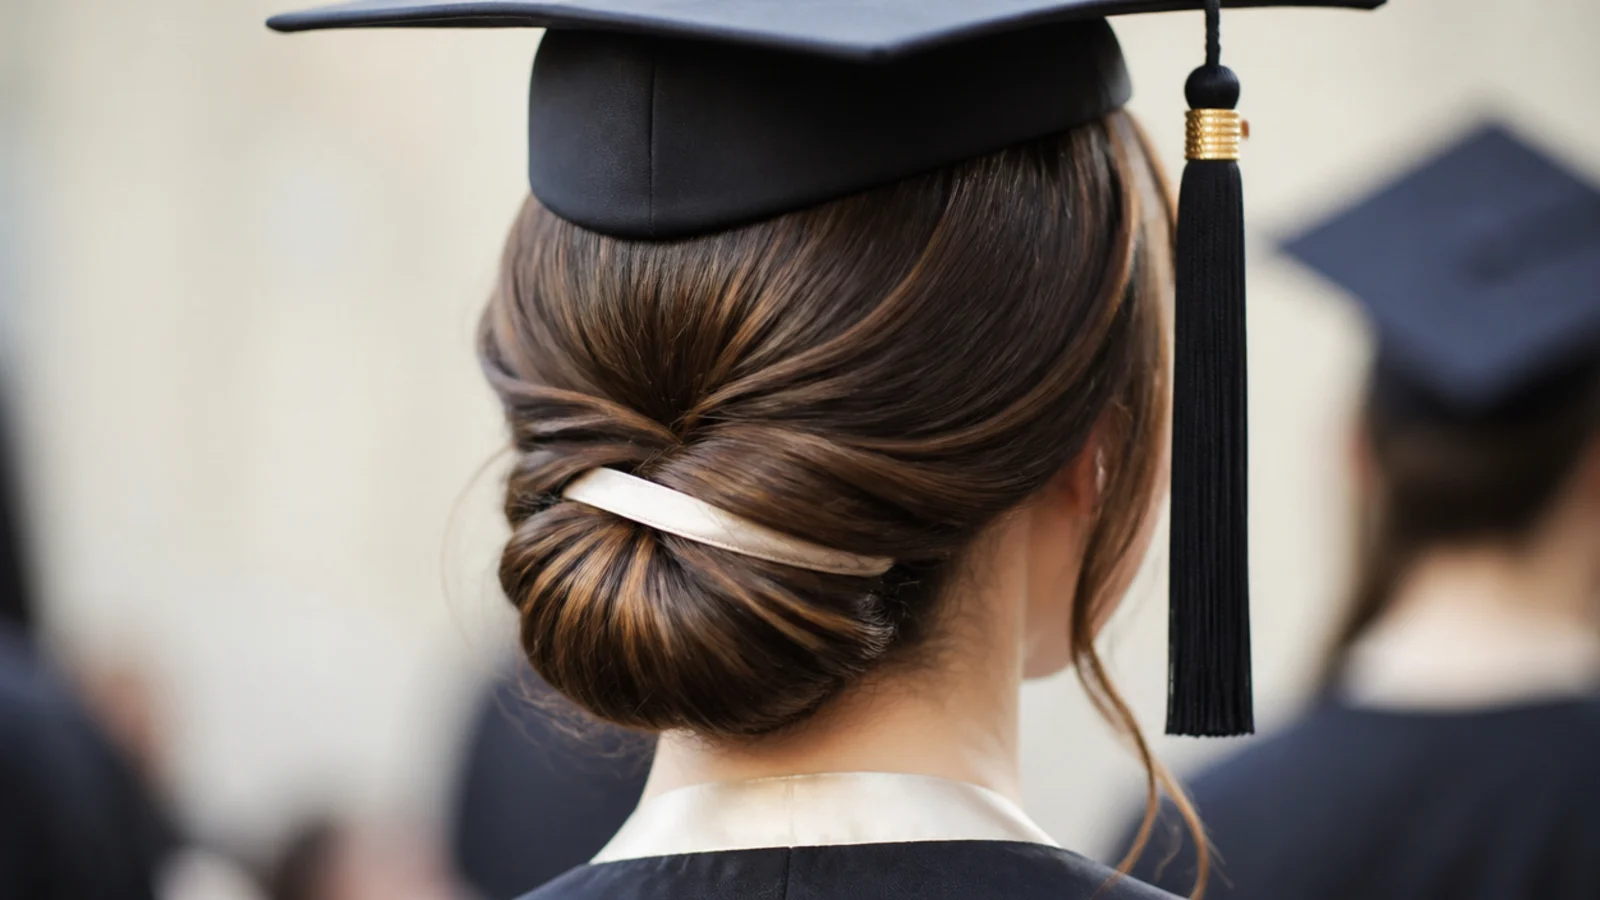
12. Curly Pinned Updo
Curls have their own structure, so they can be pinned in place without being smoothed first. Pin into the curl pattern rather than through it — a pin pushed across two coils grips, where a pin driven through a single coil slides straight down it.
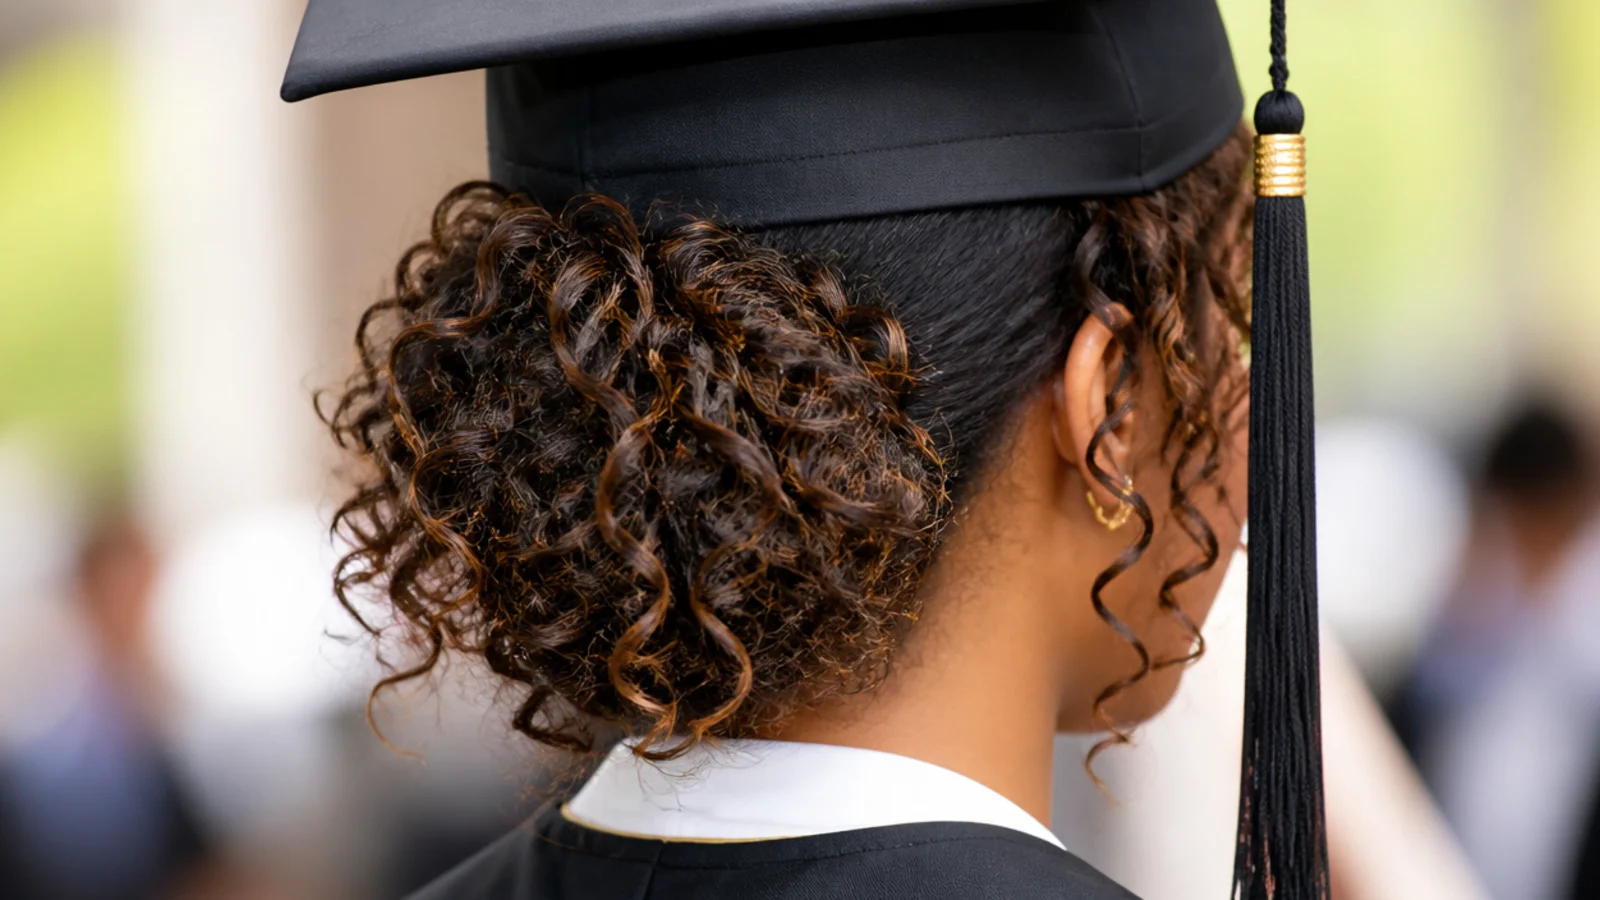
13. Donut Chignon
The foam ring gives fine hair a surface to wrap around, which produces volume from the ring rather than from the hair. That is exactly what you want here, because the added size is soft and compressible instead of being a rigid knot under the band.
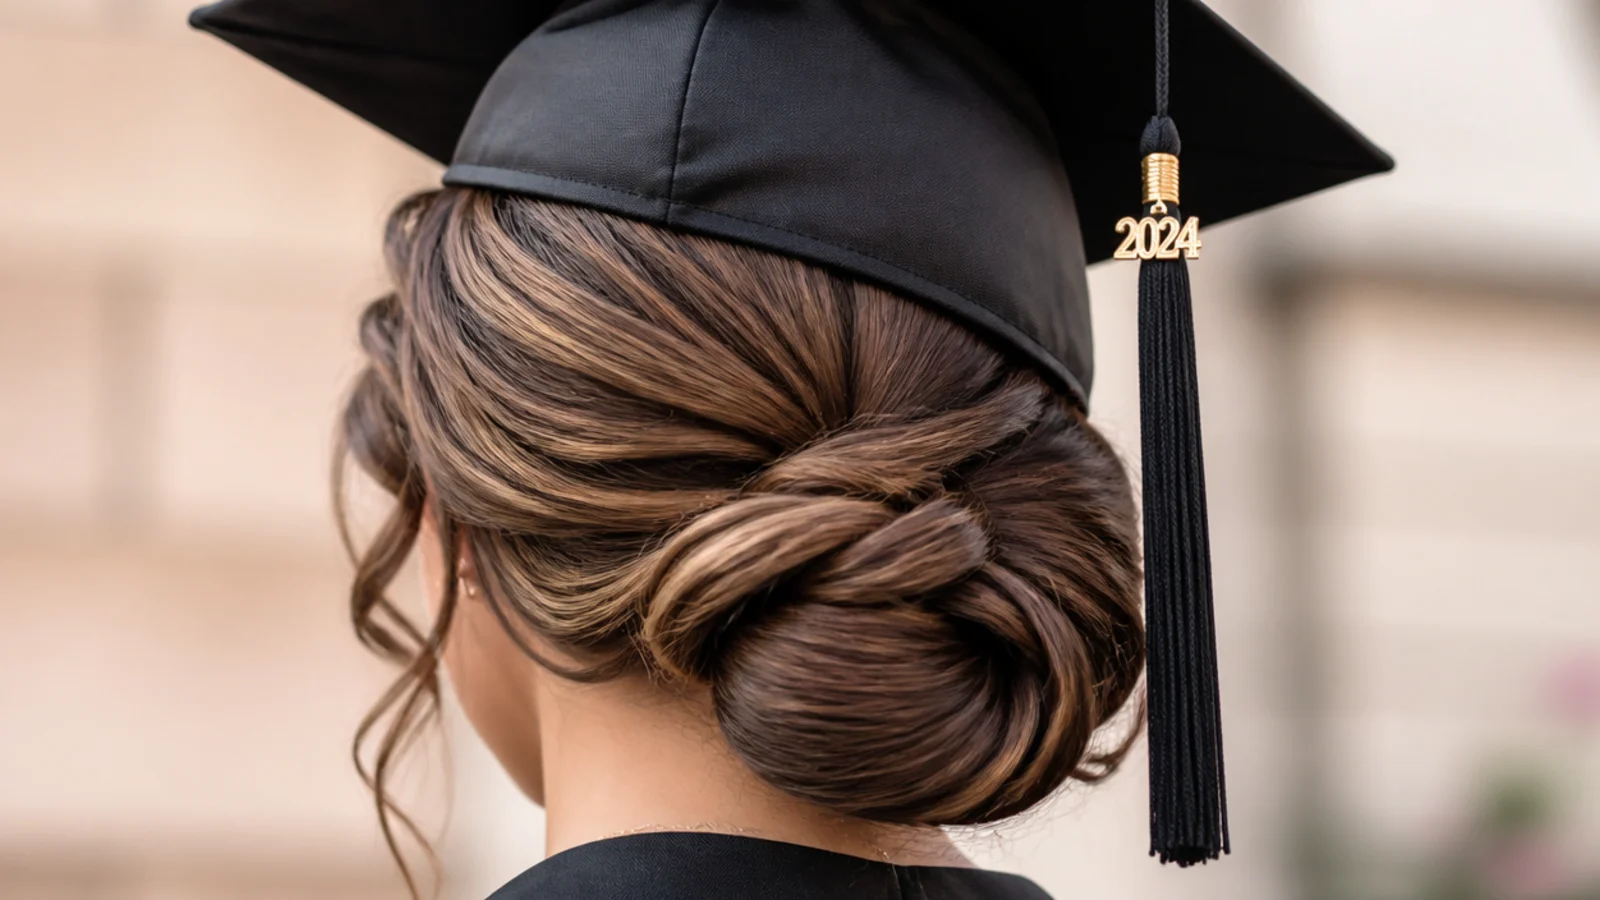
14. Twist Updo
Sectioning the hair and twisting each part back before pinning gives you several small anchors instead of one large one. If one twist loosens during the ceremony the rest hold, which is not true of a style that hangs from a single elastic.
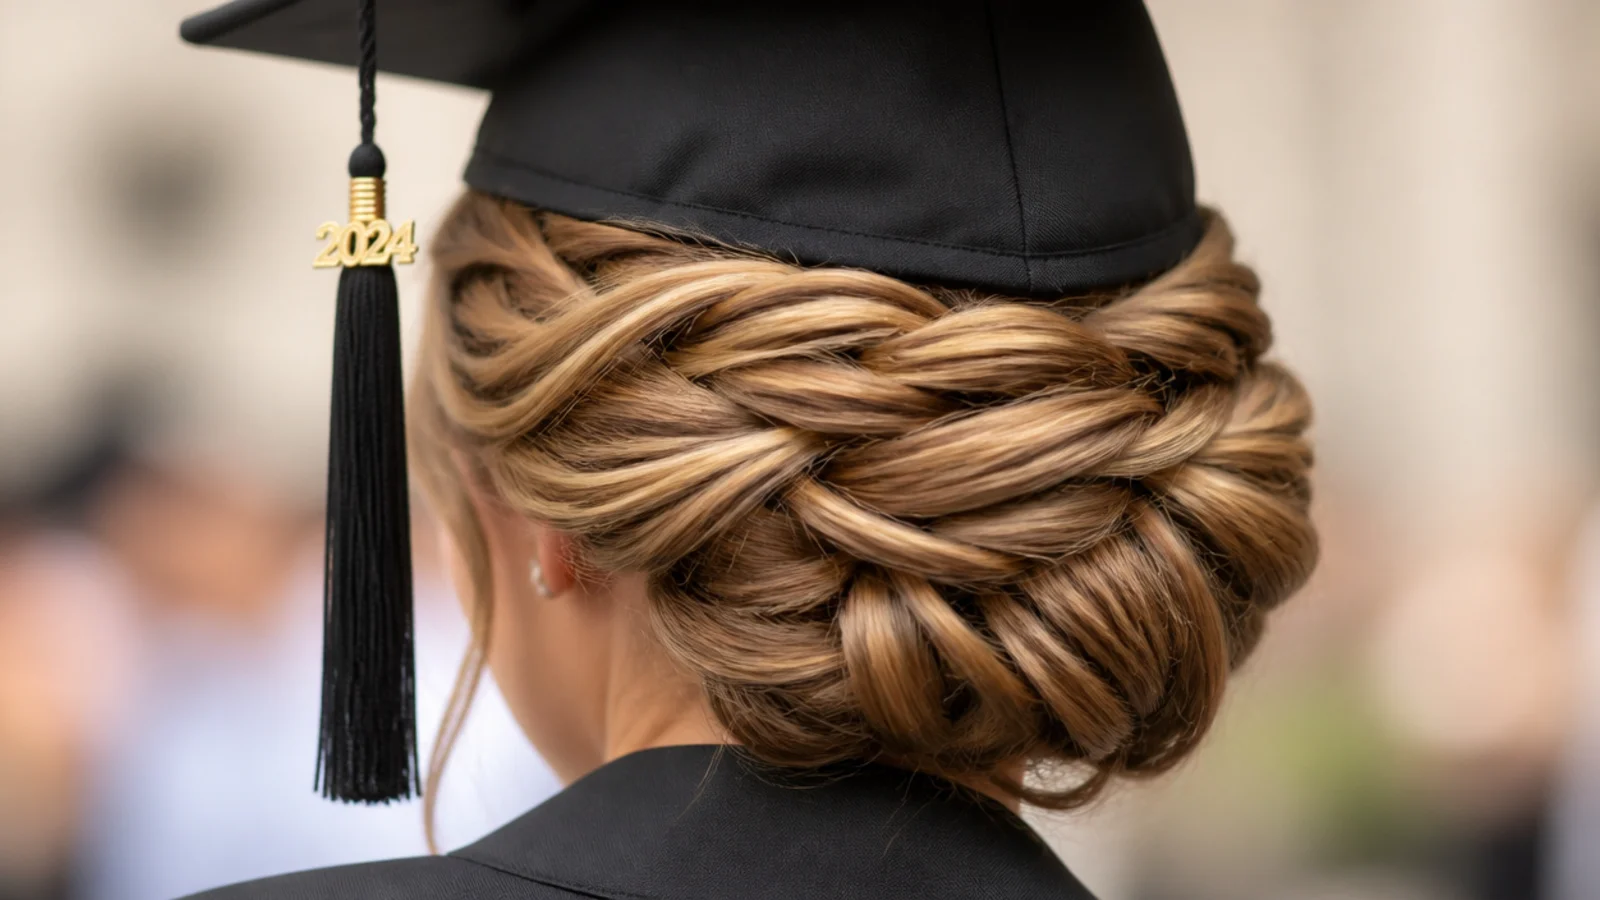
15. Side Swept Bun
Moving the bun off centre to sit behind one ear clears the exact spot where the band dips lowest at the back. It also puts the shape in the frame of a three quarter photograph rather than hiding it directly behind the head.
16. Braided Halo
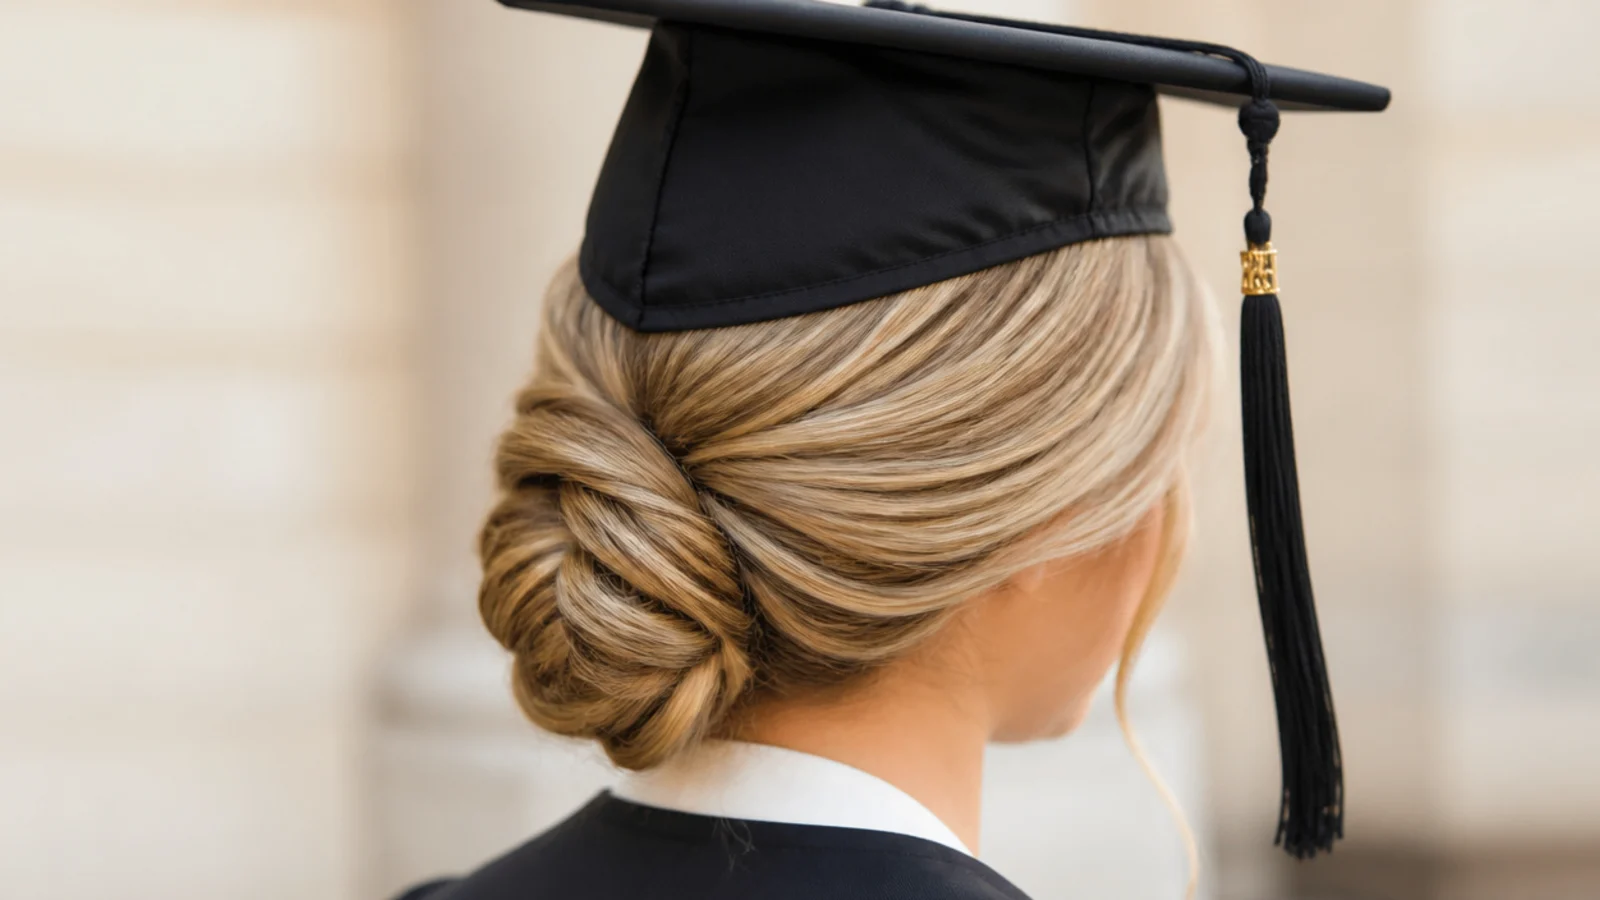
A halo braid pinned flat against the head is one of the few styles that adds pattern at crown level without adding depth. The rule is that it must be pinned down as you go, because a braid left resting on the head instead of against it is a wedge.
17. Pin Curl Updo
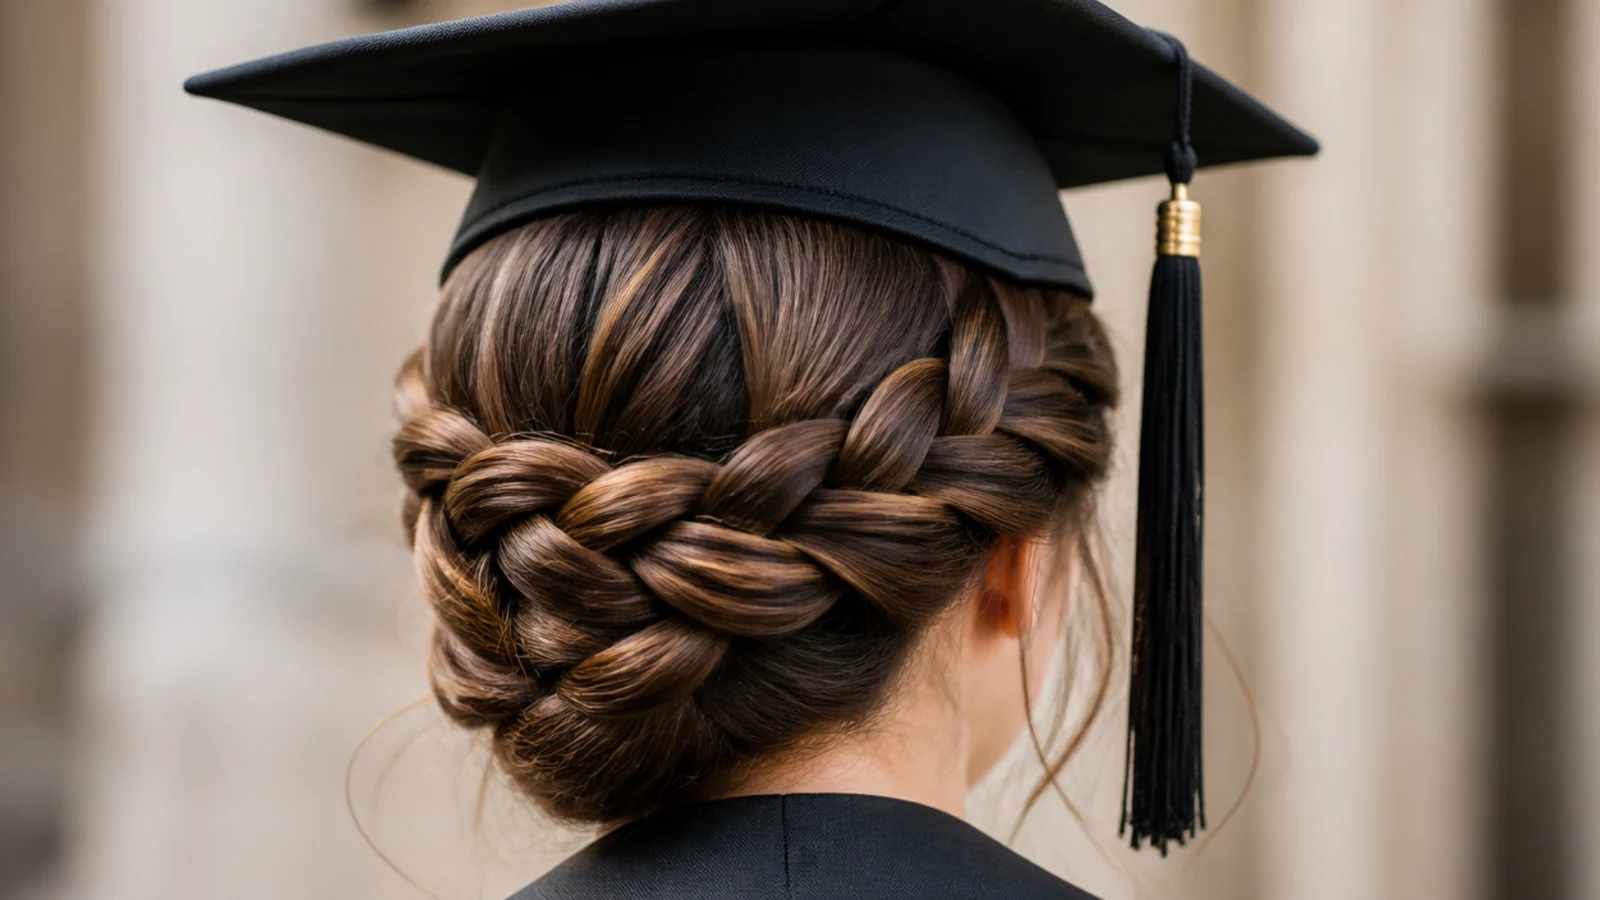
Setting the length in flat pinned curls holds the shape from cooled hydrogen bonds rather than from tension, so nothing is pulling against the pins. It is the lowest profile way to get visible texture into an updo that has to live under a board.
18. Anchor Pin Bun
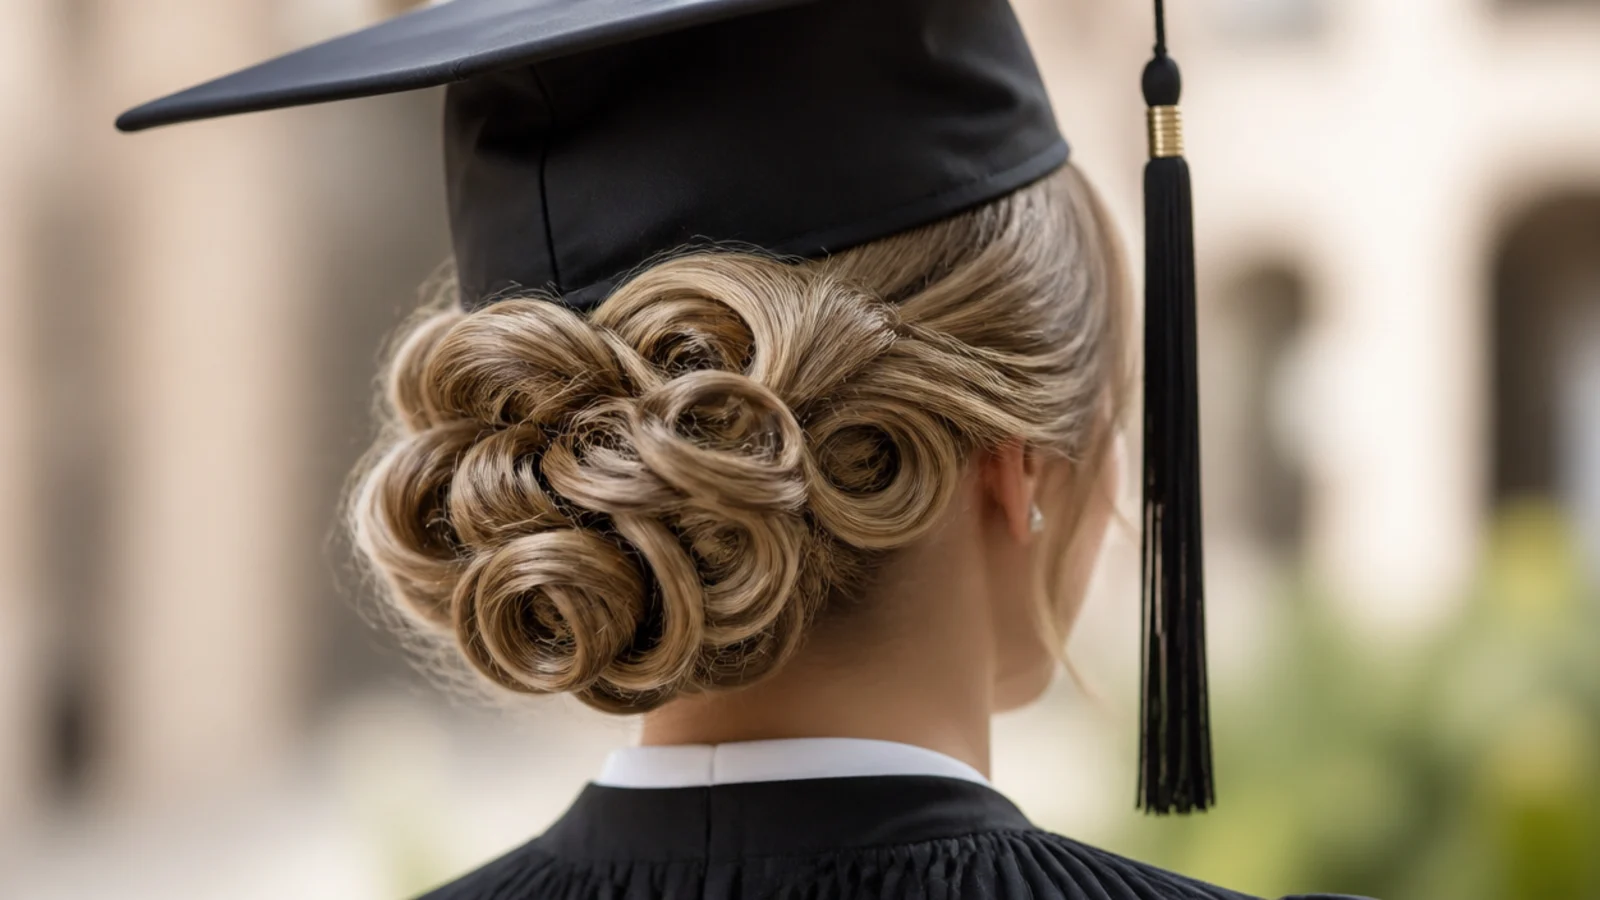
Build the bun around two pins driven into the hair at the nape first, then wrap the length over them. The anchors are inside the finished shape carrying the load, which is a completely different job from pins pushed into the outside afterwards.
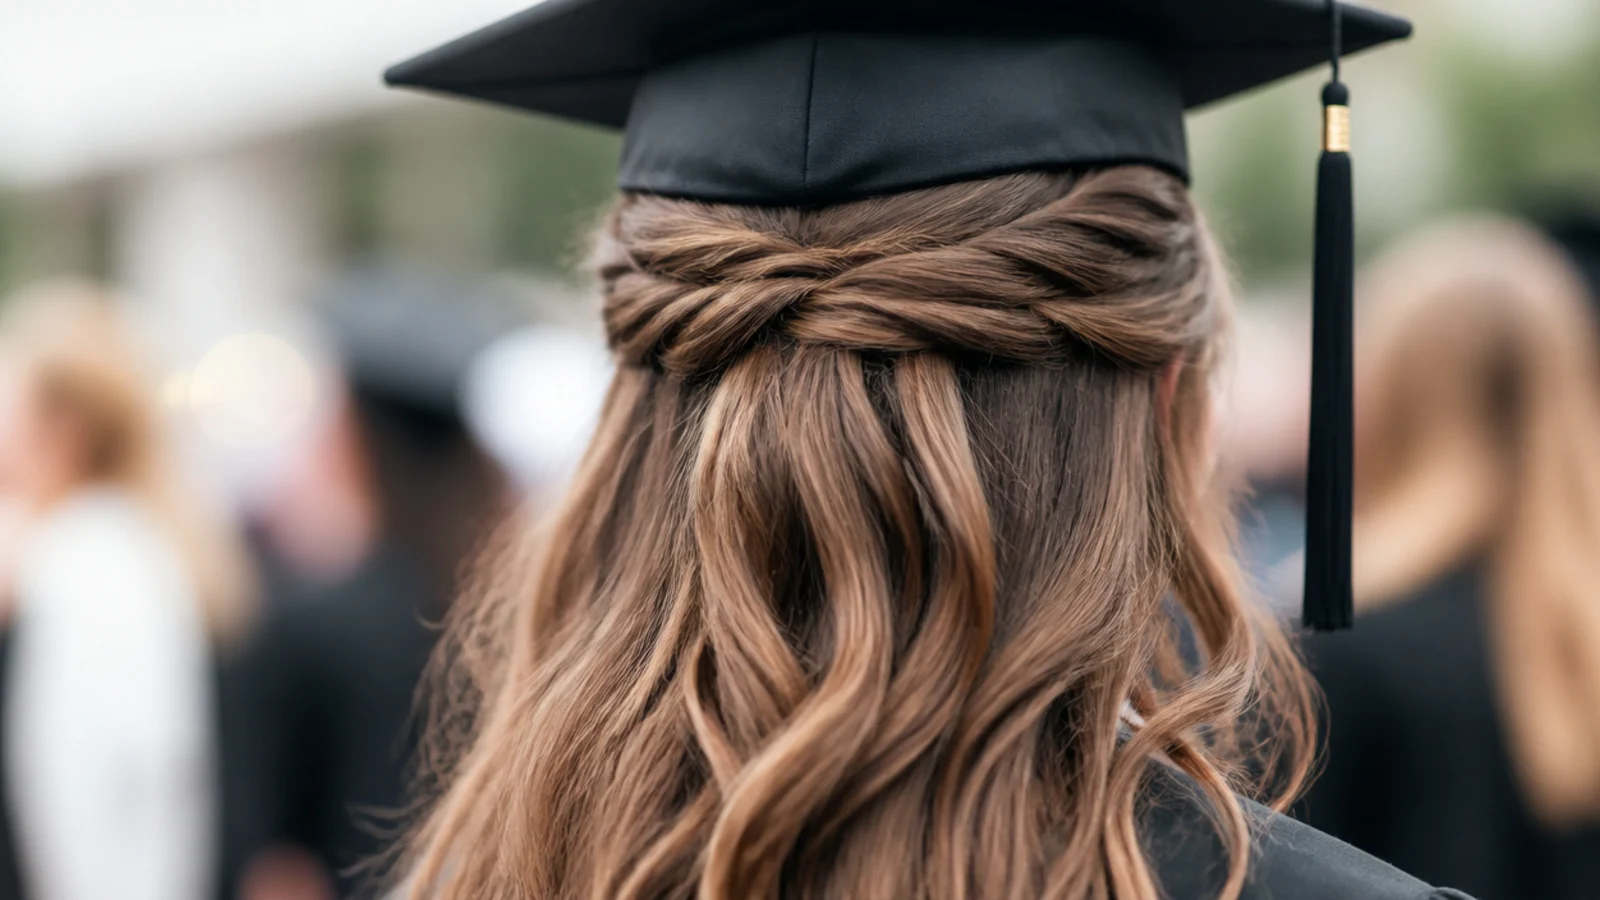
19. Half Updo
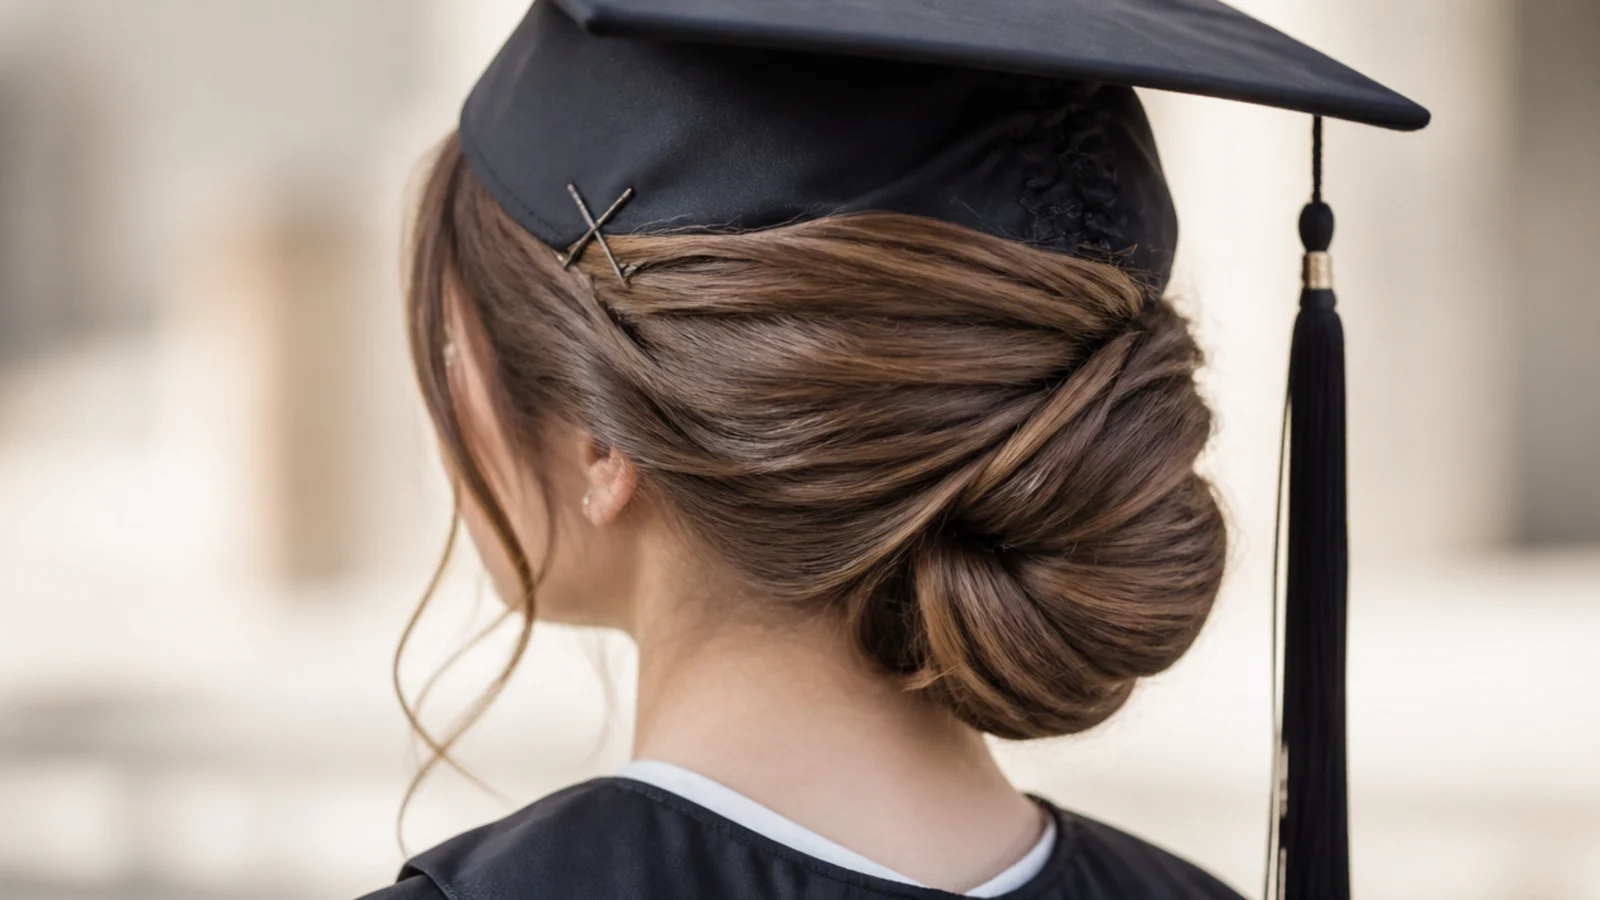
Gathering only the top and pinning it low keeps the crown flat while leaving the length free below the band. It reads as an updo from the front and behaves like hair worn down at the back, which suits anyone unwilling to commit to either.
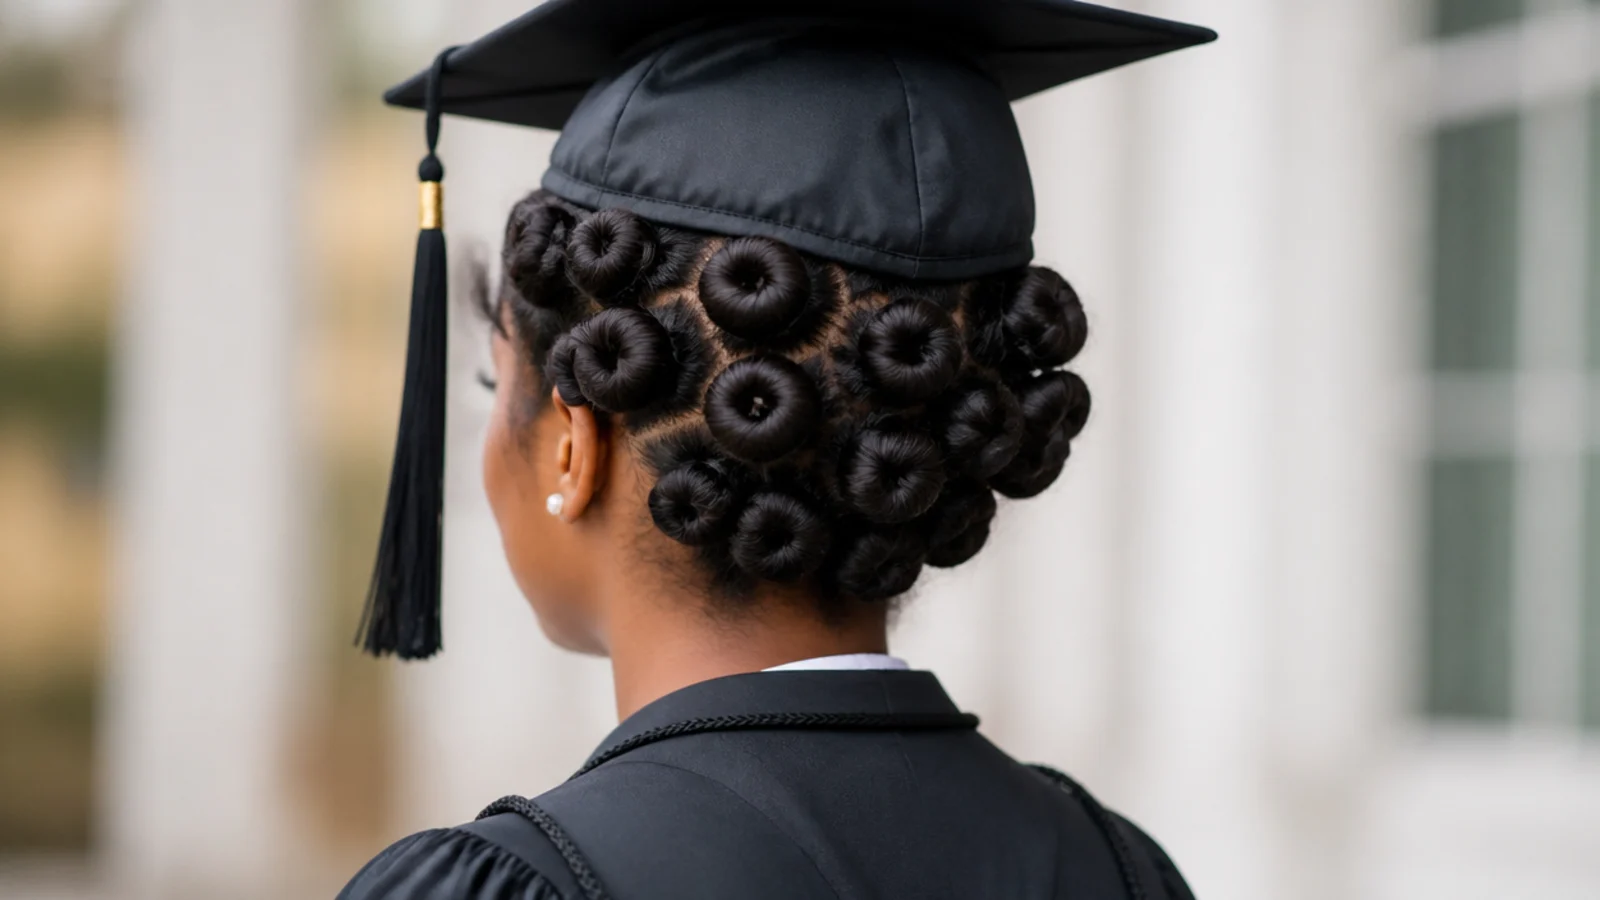
20. Bantu Knot Crown
Bantu knots stand off the scalp by design, so a full crown of them and a mortarboard are in direct competition. Set the knots in a ring at ear level and leave the top of the head clear, and the cap has somewhere flat to land.
Final Thoughts
The choice is not updo or down. It is high or low, and the answer at graduation is always low, because the mortarboard band is a fixed loop that cannot be moved backwards to make room for anything you build above the occipital bone.
Everything else follows from that. Pin in crossed pairs, use flexible spray rather than firm, wash the night before so the strands have grip, and fit the cap once at home while wearing the gown. More in Occasion Hair. See also the how to version and the vs down version.
Frequently asked questions
Related posts
See all posts
15 Graduation Hair Ideas for the Updo Versus Down Decision
Read more
15 Straight Hair Wedding Looks to Save
Read more
20 Gorgeous Prom Looks for Straight Hair
Read more