
How to Do a Graduation Updo With 20 Details That Hold
A step by step graduation updo built around the cap rather than around a photograph, plus the twenty small decisions that decide whether it survives four hours. Almost all of them happen before a single pin goes in.
In this article · 37
- Where the Cap Sits
- Updo Versus Down in Photos
- The Updo by Hair Length
- What a Four Hour Hold Needs
- Morning Timing
- Fixing the Cap Dent
- The 20 Details That Make It Hold
- 1. Wash the Day Before
- 2. Practice Run
- 3. Find the Cap Line
- 4. Texture Spray
- 5. Rough Dry
- 6. Front Section
- 7. Backcomb
- 8. Smooth the Top
- 9. Low Ponytail
- 10. Clear Elastic
- 11. Topsy Tail
- 12. Rope Twist
- 13. Flat Chignon
- 14. U Pins
- 15. Crossed Bobby Pins
- 16. Face Framing
- 17. Flexible Hairspray
- 18. Pin the Cap
- 19. Touch Up Kit
- 20. Cap Off Reveal
- How to Build the Graduation Updo
- Step 1. Prep the Day Before
- Step 2. Measure the Cap Line
- Step 3. Build Volume
- Step 4. Low Ponytail
- Step 5. Rope Twist
- Step 6. Coil the Chignon
- Step 7. Pin the Anchor
- Step 8. Fit the Cap
- Final Thoughts
Most graduation updo tutorials build a beautiful shape and then hand you a mortarboard that will not fit over it.
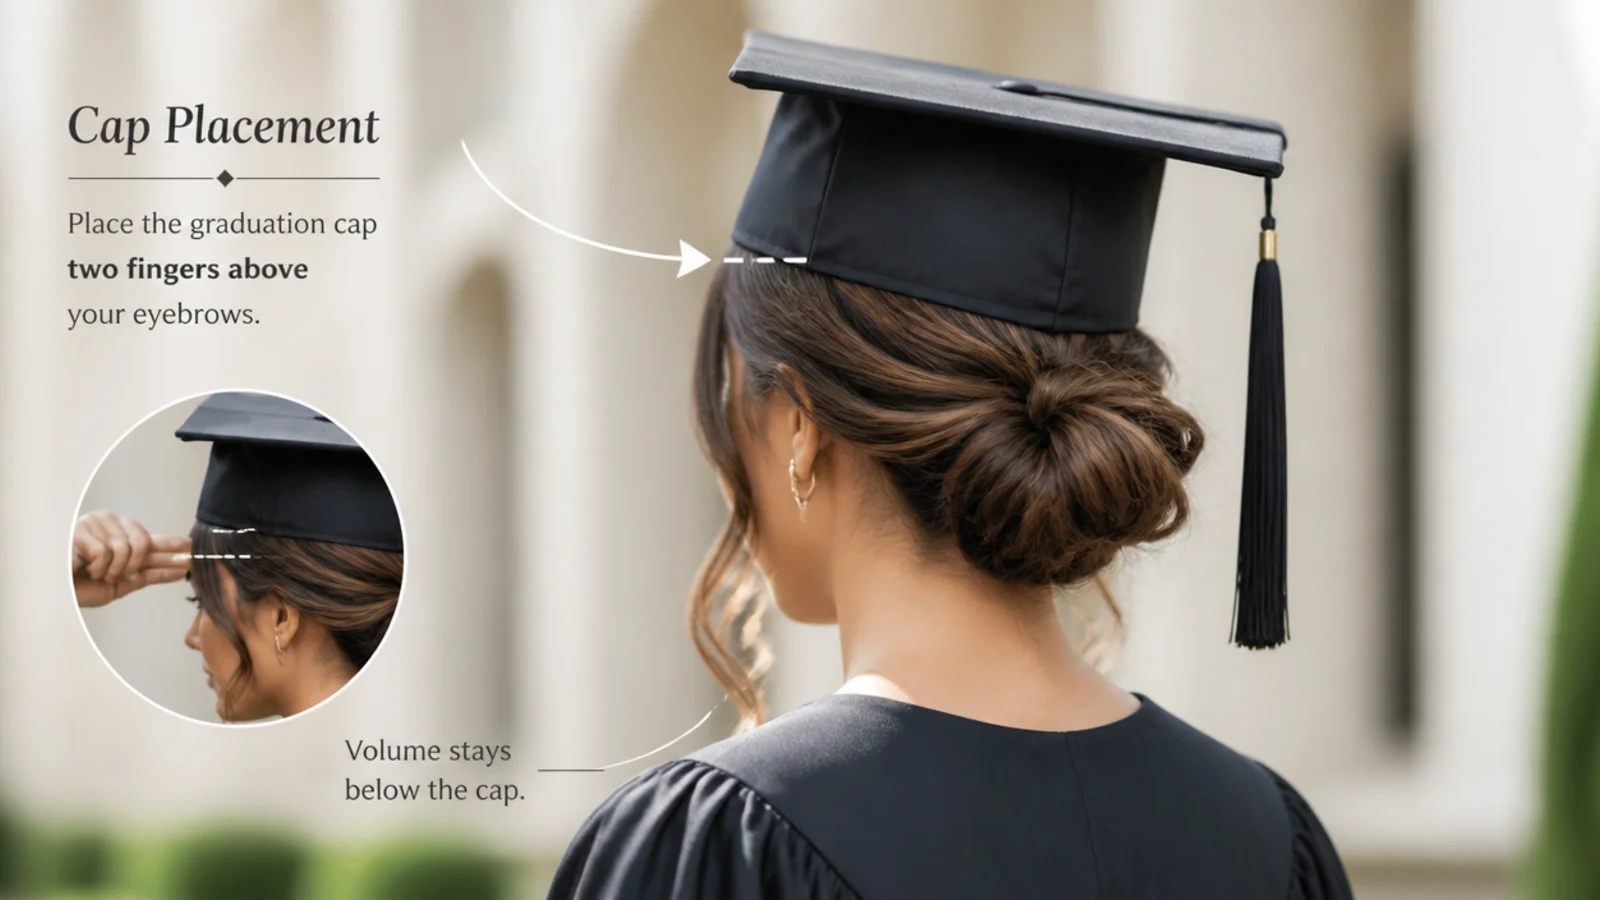
The cap is a fixed loop of stiff fabric. It sits a finger above the brows and lands on the occipital bone at the back, and it cannot be moved backwards to make room for a bun.
So the updo is designed downwards from that line. Everything gets built below the bone, which is why this method starts with a measurement rather than with a brush.
Where the Cap Sits
Front edge, a finger above the brows. That is the fitting the cap was cut for and the one photographers expect.
Back edge, on the occipital bone. Find the bony ridge at the base of your skull with a thumb. That is the rear contact point.
The band cannot ride further back. It is a closed circumference, so clearing a bun by pushing it back only shortens the front overhang and tips the board.
Below the bone is free. Anything you build there is outside the cap entirely and never touches it.
Updo Versus Down in Photos
Cap on, an updo shows a clean jaw and collar. Nothing competes with the gown, and nothing moves in wind.
Hair down under a cap comes out striped. Hours of even pressure along one line leaves a compression mark that is obvious the moment the board is lifted.
An updo needs no recovery. The style that went under the cap is the style in the family photographs, with no interval to fix anything.
Down styles need two minutes and dry shampoo. Which is fine if you have the two minutes and a mirror, and a problem if you do not.

The Updo by Hair Length
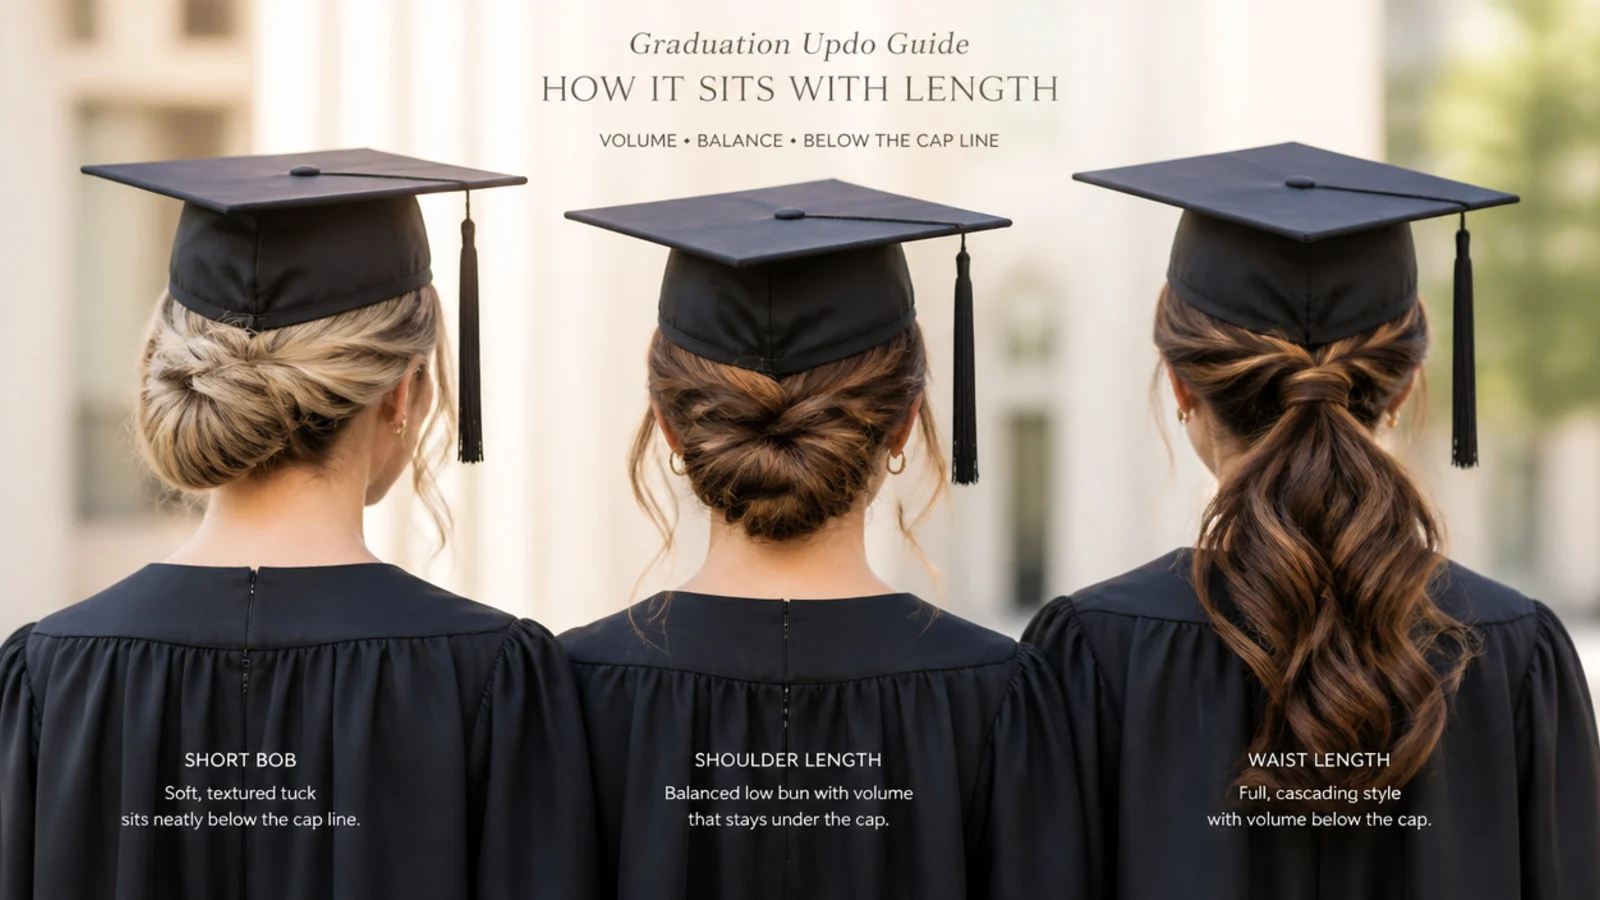
Chin length. Too short to coil, so pin in three overlapping sections and let each hold the one below it.
Shoulder length. The easiest case. Enough to twist and coil, not enough weight to drag on the pins.
Mid back and longer. Split the length in two before twisting. One heavy rope loads every pin at the same point, where two lighter ropes share the work.
Coils and tight texture. Skip the smoothing entirely and pin into the pattern. Coiled hair holds a shape without tension, which is a considerable advantage over four hours.
What a Four Hour Hold Needs
Friction first, product second. Sebum or texture spray raises the coefficient of friction between strands, and pins only work against hair that resists sliding.
Crossed pins, always in pairs. Two pins at opposing angles lock rotation both ways. A single pin is a hinge that opens slowly all afternoon.
Flexible film, not rigid film. A flexible hold spray bends when the cap knocks the shape and returns. A firm hold film fractures at the same knock.
Anchors inside, not outside. Pins driven in first and then wrapped over carry load. Pins pushed into the outside of a finished bun mostly hold their own weight.

Morning Timing
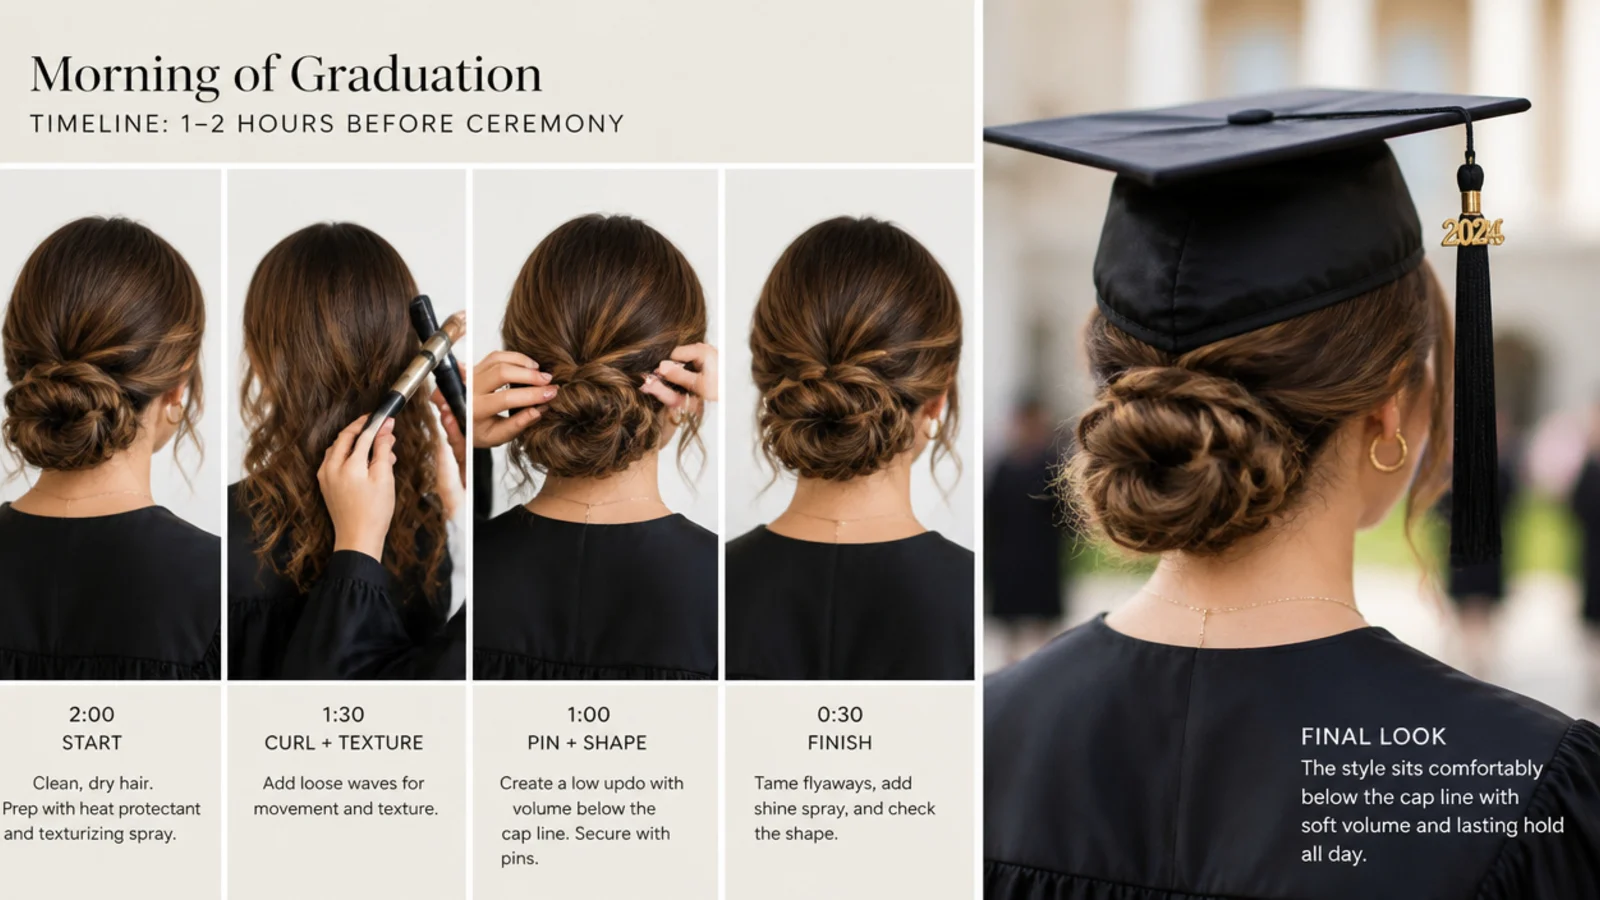
Wash the night before. Overnight sebum is free grip and it is the difference between six pins and ten.
Ninety minutes before you leave. Spray needs to dry fully before the cap touches it.
Dress before the final fitting. The gown collar sits higher than expected and pushes a low bun forwards.
Pack pins, mini spray and a mirror. The window between the ceremony and the photographs is when everything gets fixed.
Fixing the Cap Dent
It is compression, not damage. One horizontal line of hair has been pressed flat for hours and the oil at the root is holding the shape.
Lift from underneath with fingers. Get under the flattened stripe and shake. Do not brush the surface.
Dry shampoo does the real work. It absorbs the sebum holding the compressed shape so the root can stand up again.
A low updo has no dent to fix. Nothing was under the band, which is the entire practical argument for building it this way.

The 20 Details That Make It Hold
1. Wash the Day Before
A freshly washed cuticle carries no sebum, so strands slide across each other and pins travel with them. Washing the night before puts a few hours of natural oil back on the surface, which is the cheapest grip available and costs nothing.
2. Practice Run
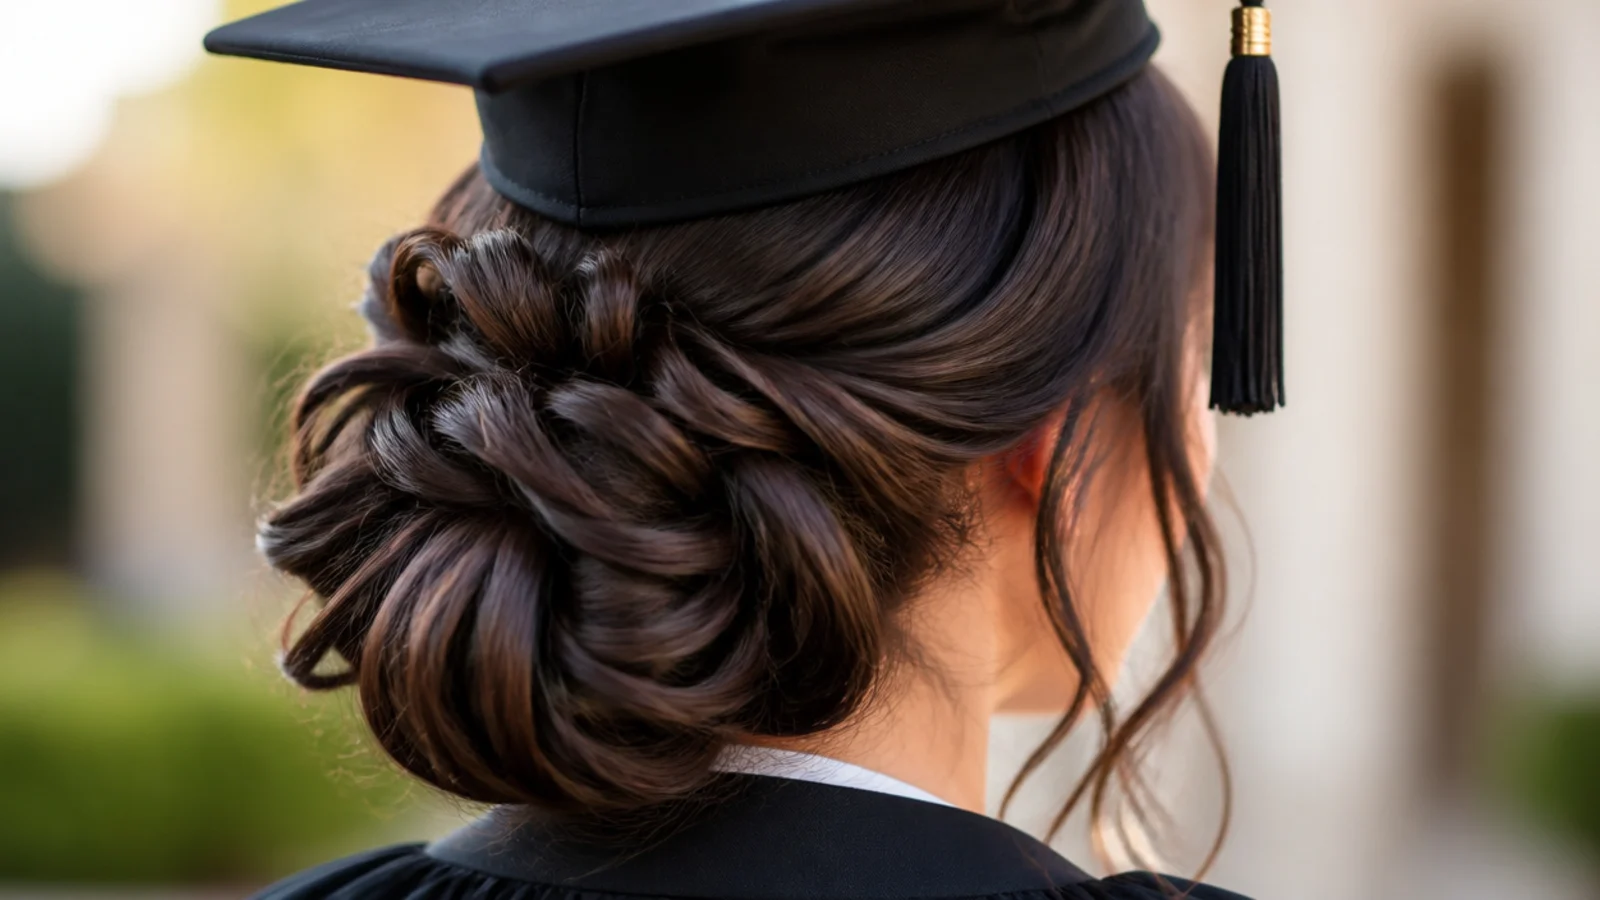
A full rehearsal tells you two things you cannot learn on the morning — how long the style really takes, and which section slips first. Photograph the finished rehearsal from behind so you have your own reference rather than someone else's.
3. Find the Cap Line
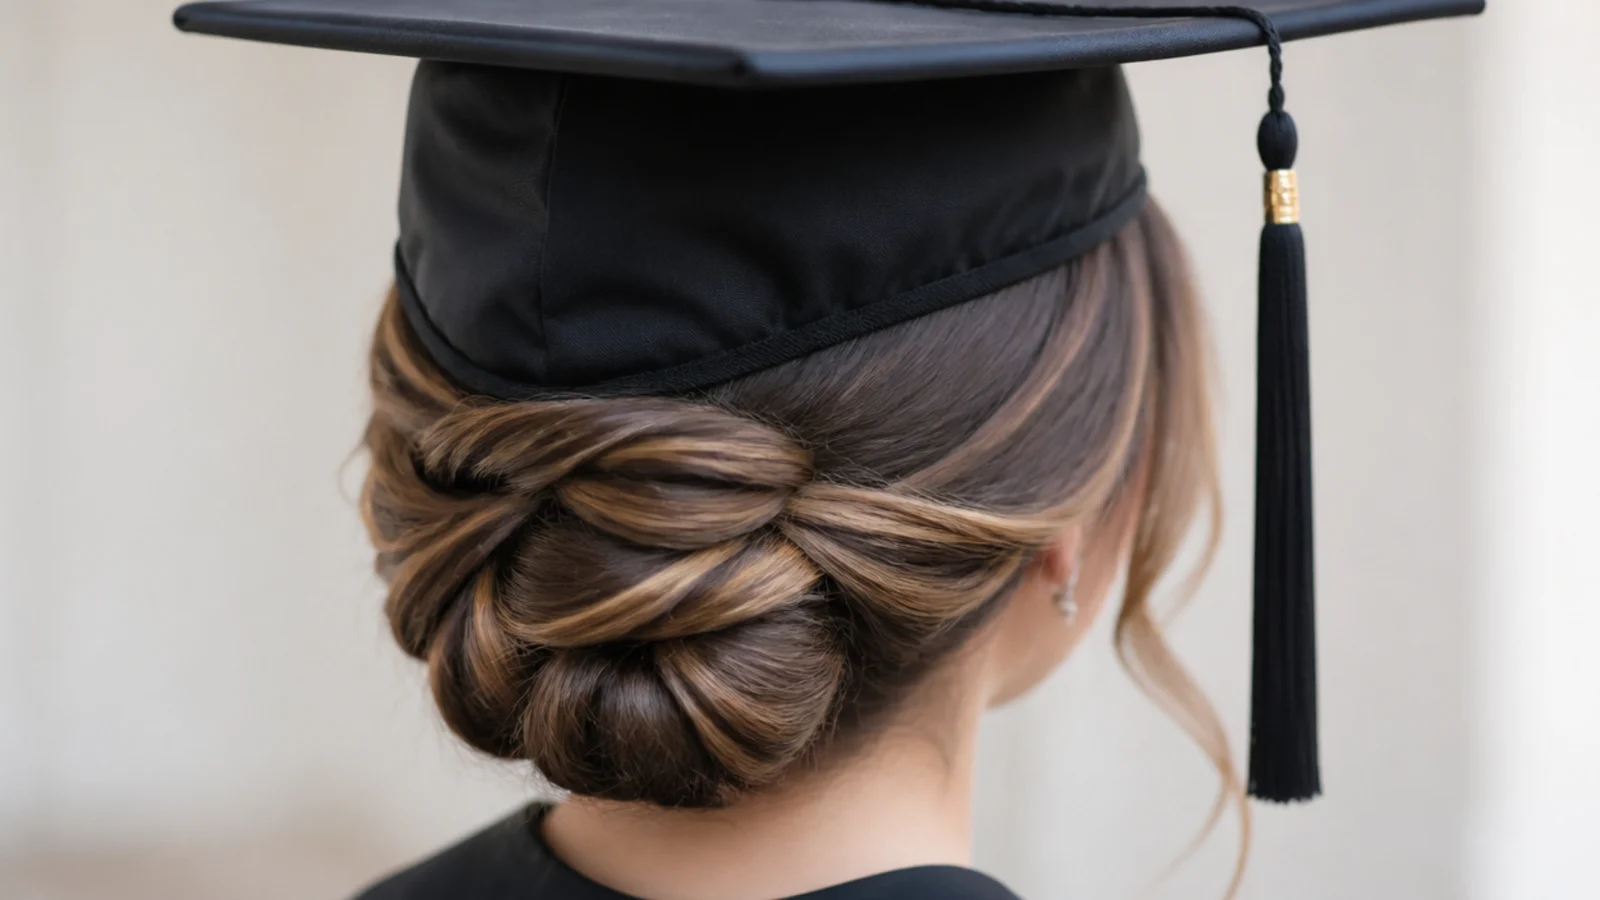
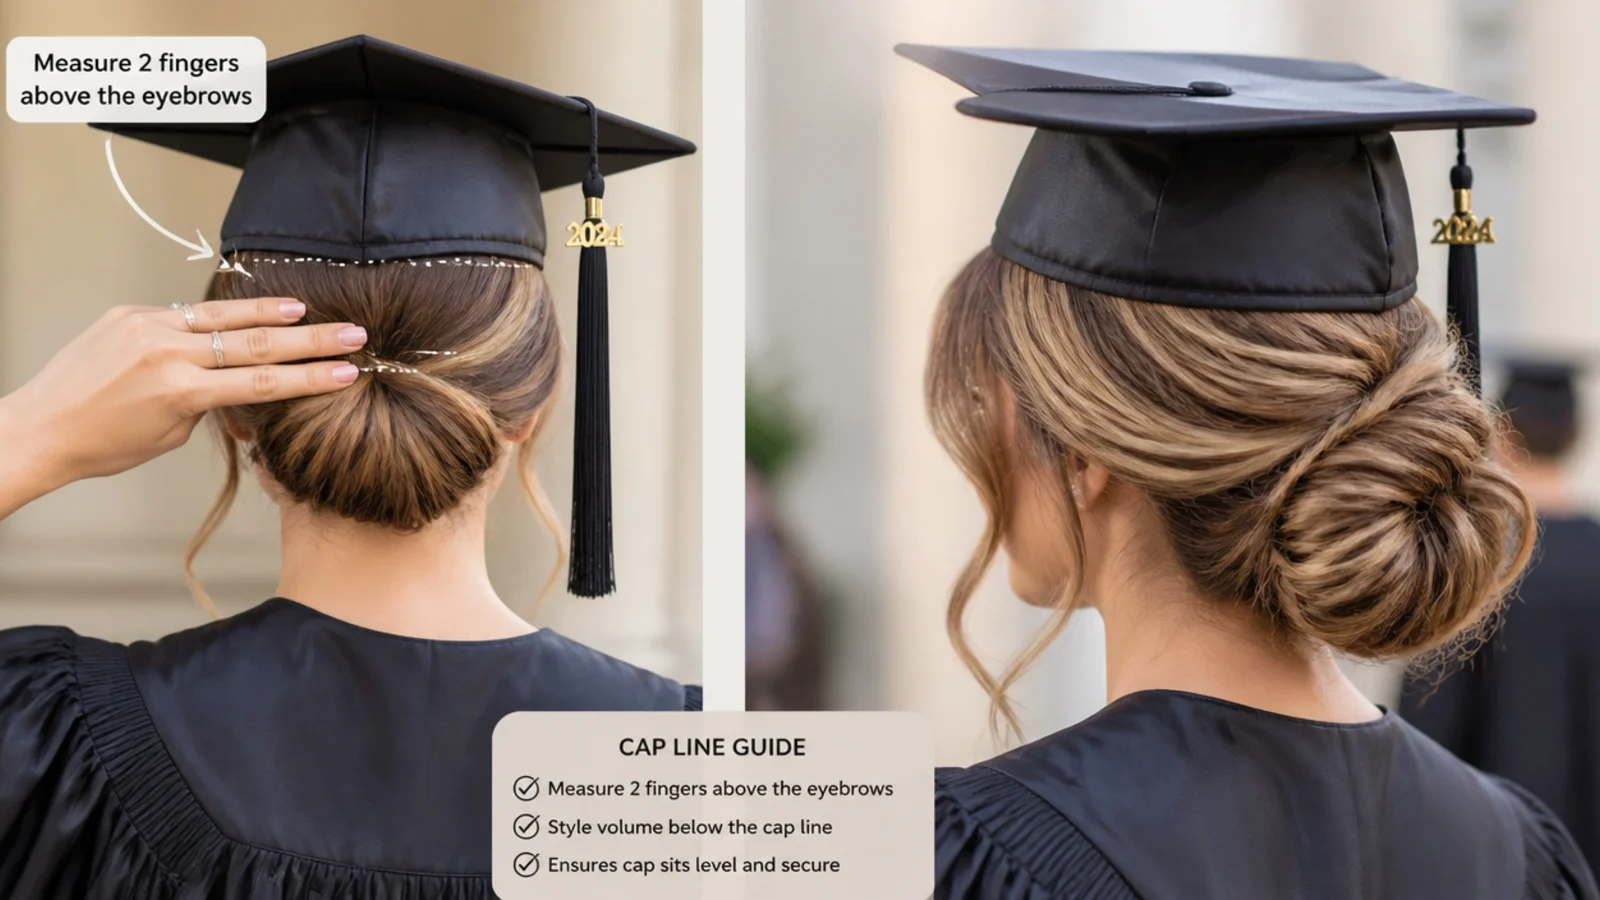
Put the cap on before you touch your hair and run a finger along the bottom edge of the band. That line is the constraint the whole style is designed under, and marking it takes fifteen seconds you will not regret.

4. Texture Spray
Texture spray coats each strand with polymer and fine silica, which raises the friction between neighbouring hairs. That extra grip is what lets a pin hold in smooth hair, and it works better than adding more pins to a slippery head.
5. Rough Dry
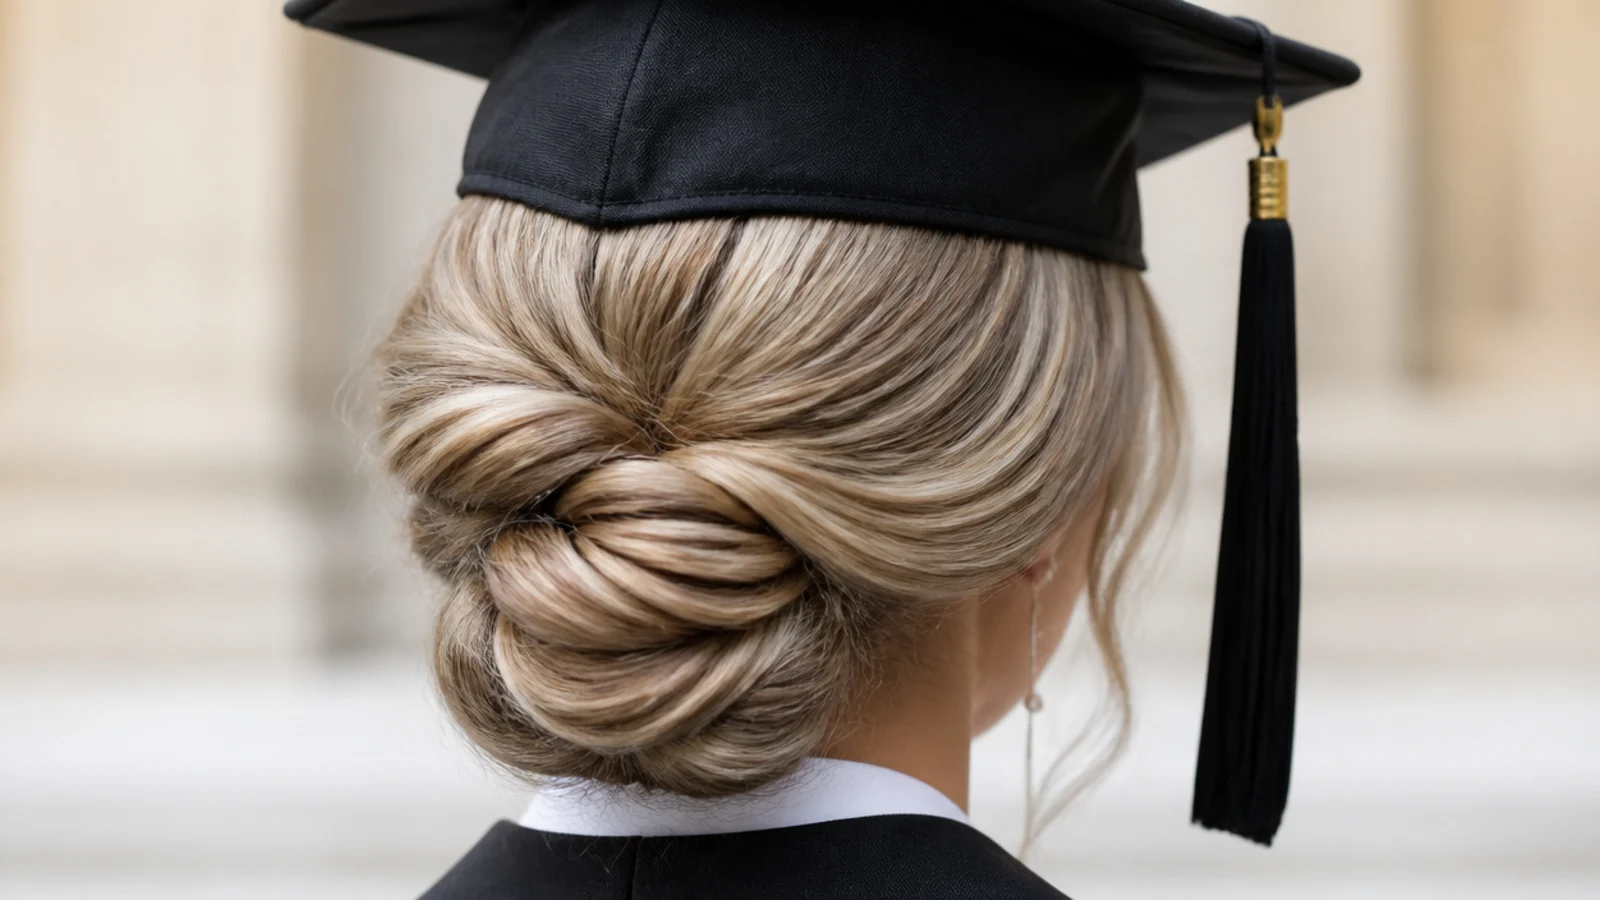
Take the hair to fully dry before pinning, because damp strands shrink slightly as they dry and everything you pinned loosens with them. Rough drying with fingers also leaves the surface less slick than a brushed blow dry does.

6. Front Section
Clip the front pieces out of the way before you build anything at the back. If they are still loose when you gather, they get dragged into the ponytail and you lose the face framing you cannot rebuild afterwards.

7. Backcomb
Pushing the shorter strands back down the shaft at the root creates a dense tangled mesh at the base. Pins hook into that mesh instead of sliding along smooth hair, which is why fine hair holds far better after thirty seconds of backcombing.
8. Smooth the Top
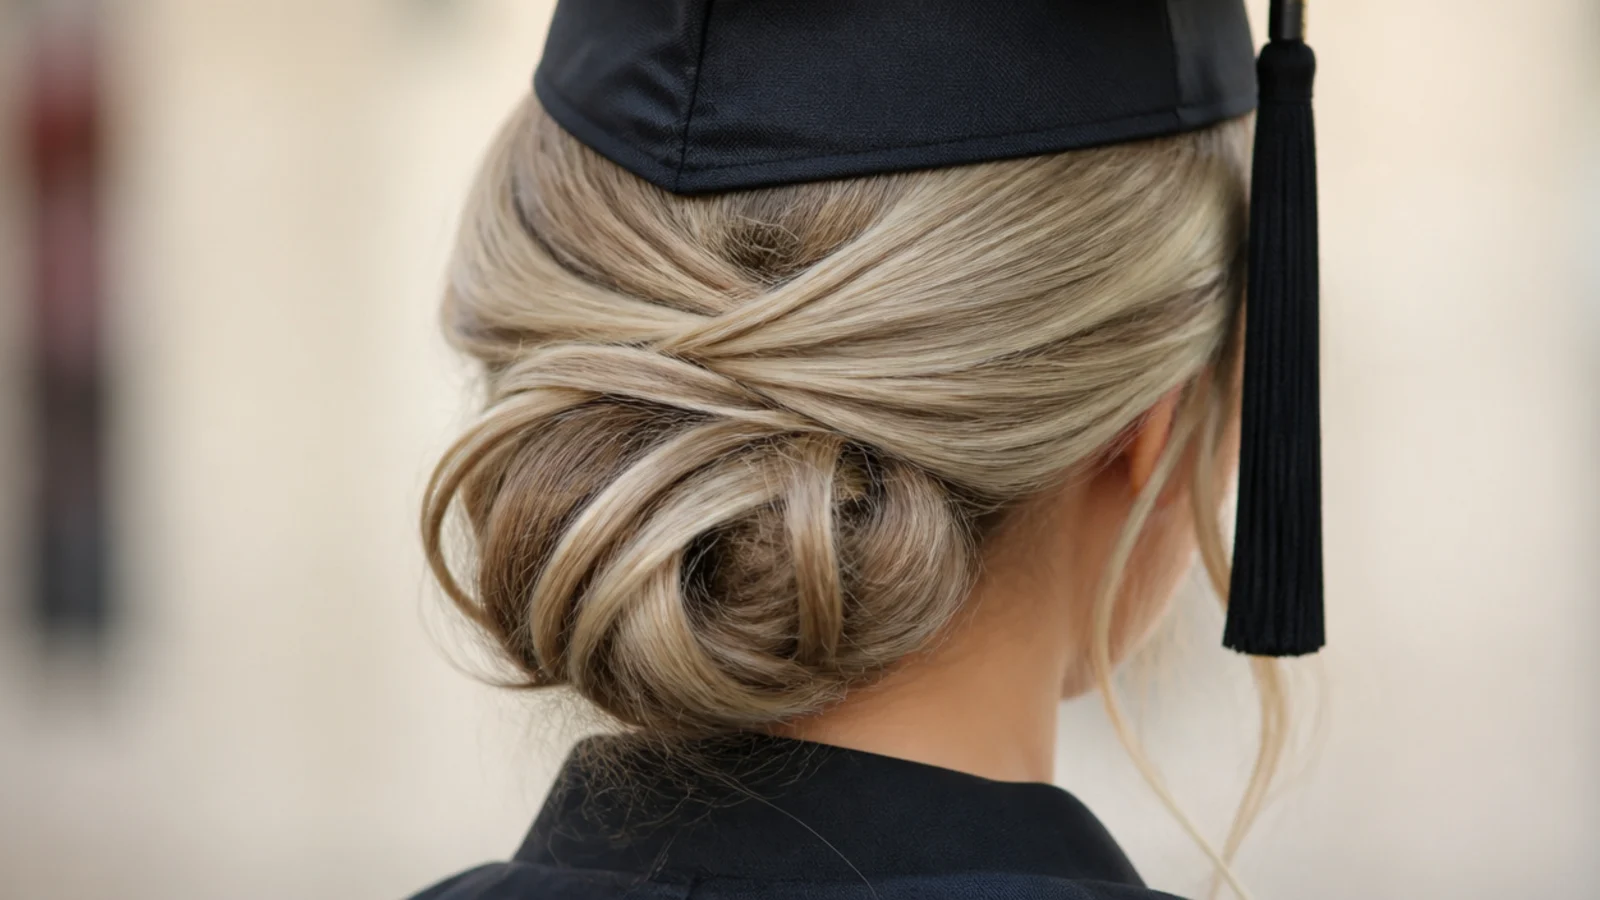
Brush only the outermost layer over the backcombing, using the tips of the bristles. Brushing through takes the mesh out again, and the whole point is to keep the tangle underneath while the visible surface stays glossy.
9. Low Ponytail
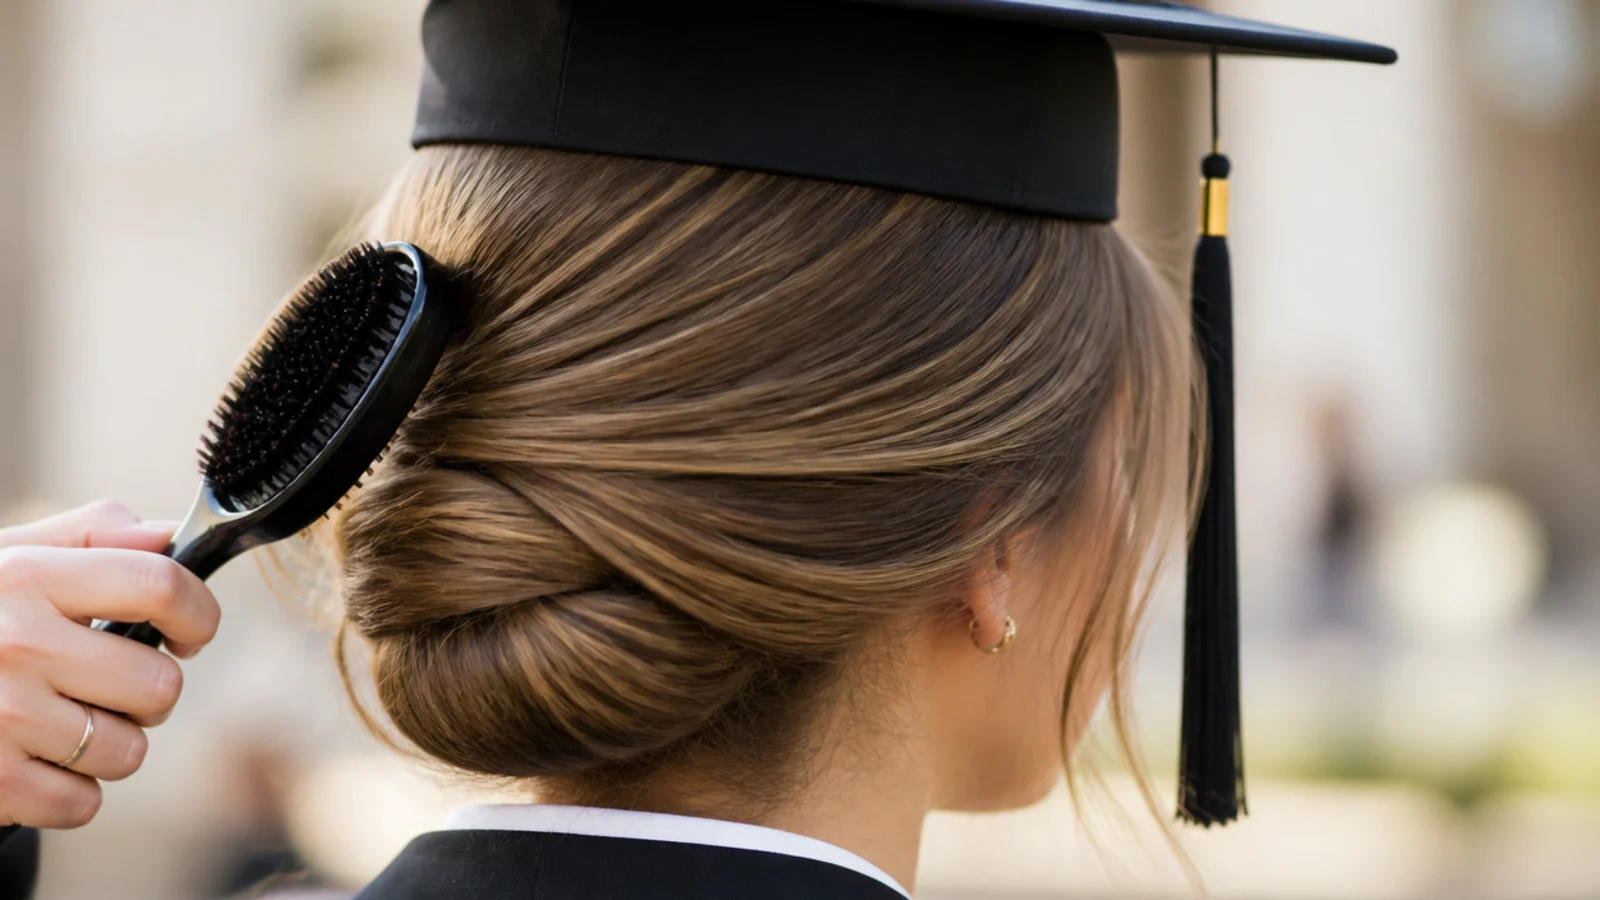
Gather at or below the occipital bone so the elastic itself sits under the rear edge of the band. Tying even two inches higher puts the knot in the cap's path, and that knot is the most common reason a mortarboard will not stay level.

10. Clear Elastic
A silicone elastic grips the hair directly rather than sliding against a fabric sleeve, and it disappears once the length is coiled over it. On a low updo the base is visible under the cap band, so an invisible tie is worth the small extra effort of removing it later.

11. Topsy Tail
Splitting the hair above the elastic and flipping the tail through the gap pulls the base tight against the head. It also hides the elastic and removes the small bulge that a plain ponytail leaves right where the band lands.
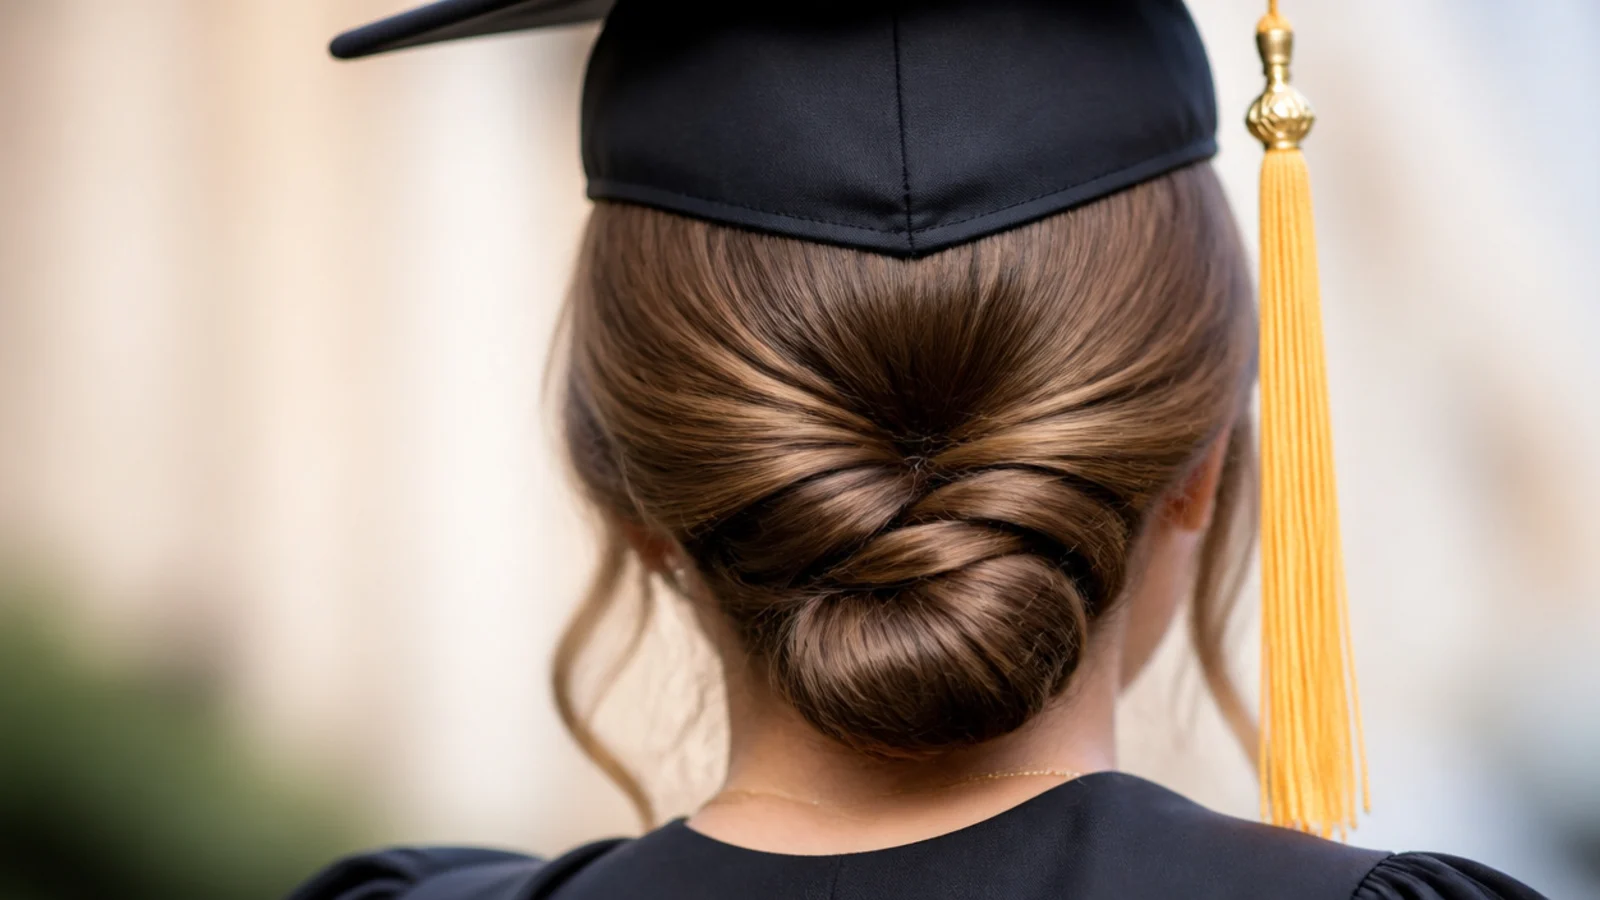
12. Rope Twist
Twist two sections individually in one direction, then wrap them around each other in the opposite direction. The two tensions fight each other, so the rope cannot unwind — which is what keeps it neat for four hours where a single twist slowly relaxes.
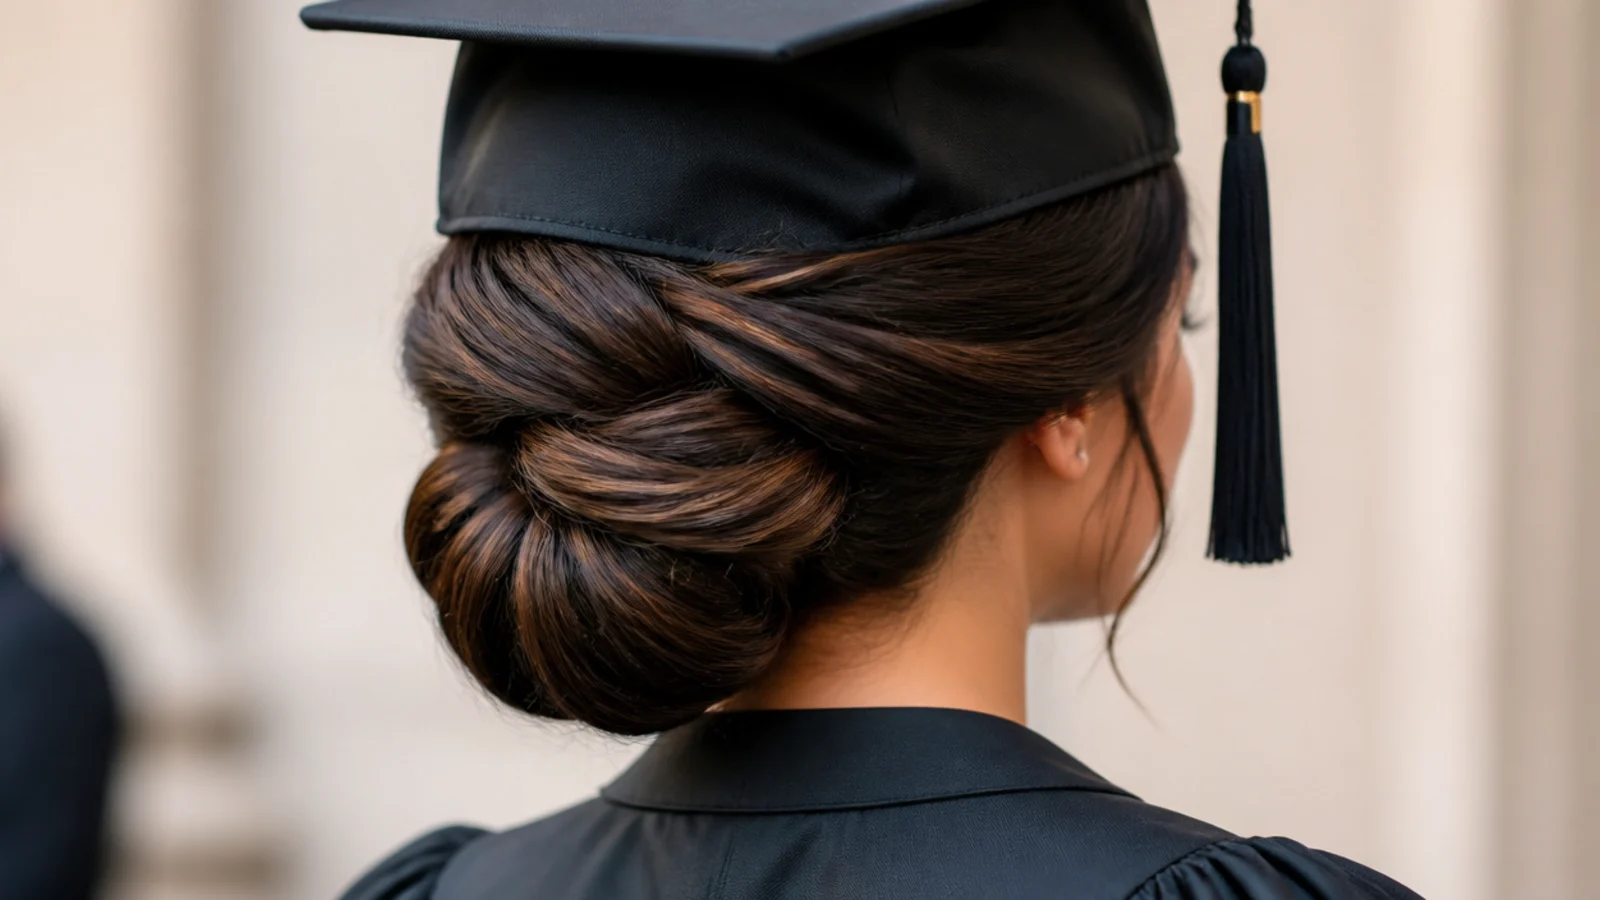
13. Flat Chignon
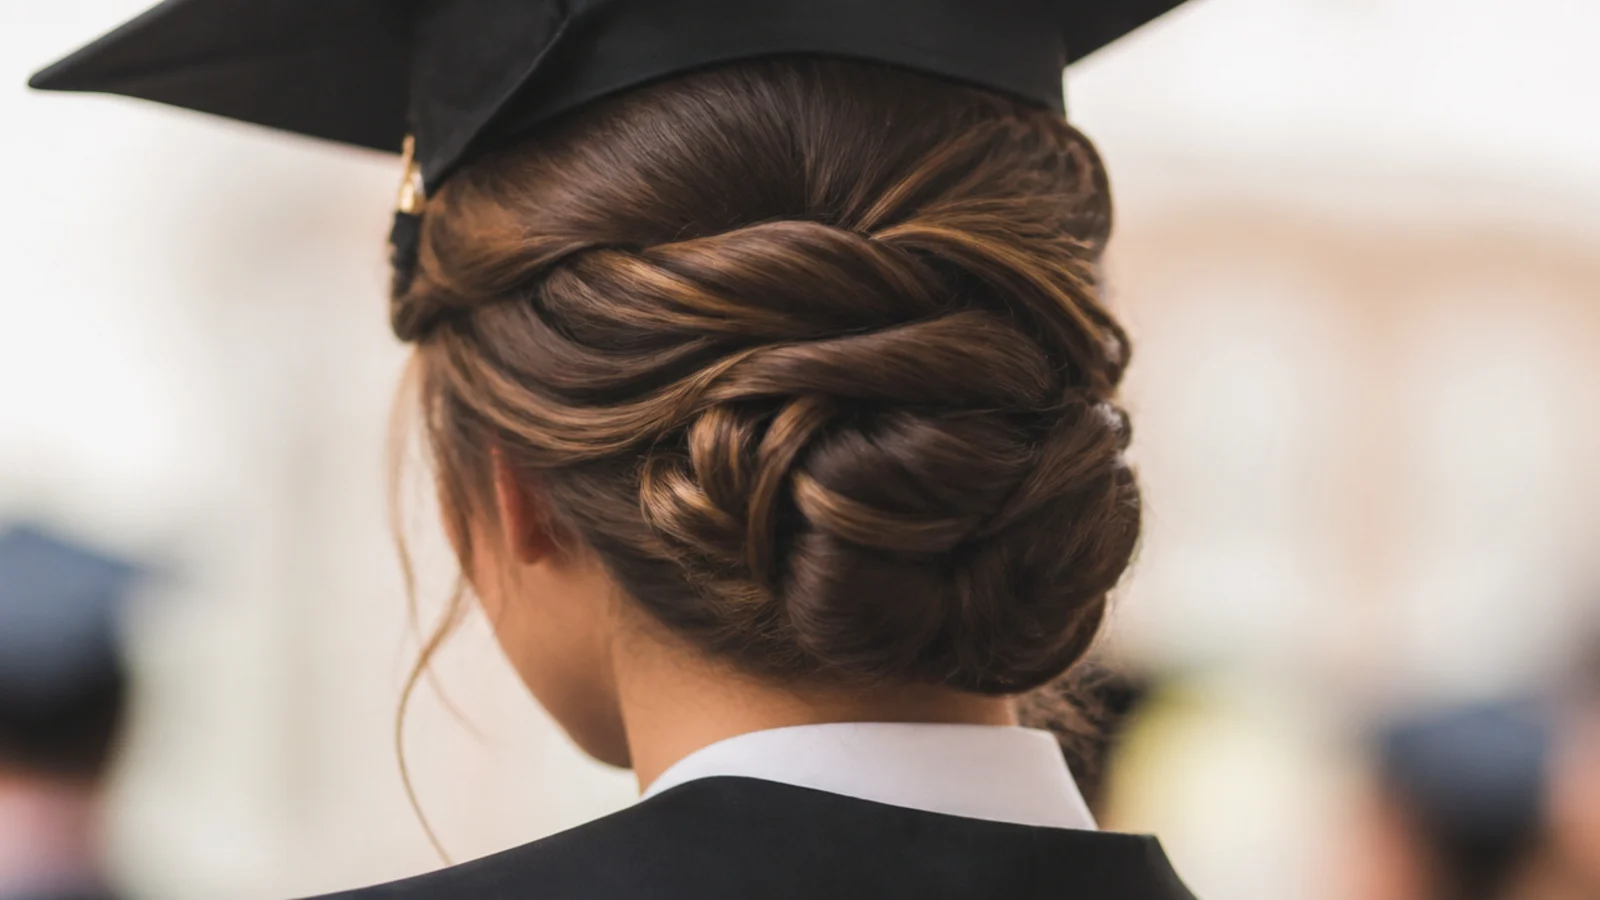
Coil the rope flat against the nape rather than stacking it outwards. Depth is the only dimension the cap objects to, so a wide shallow disc and a compact ball hold the same hair with completely different consequences for the fit.
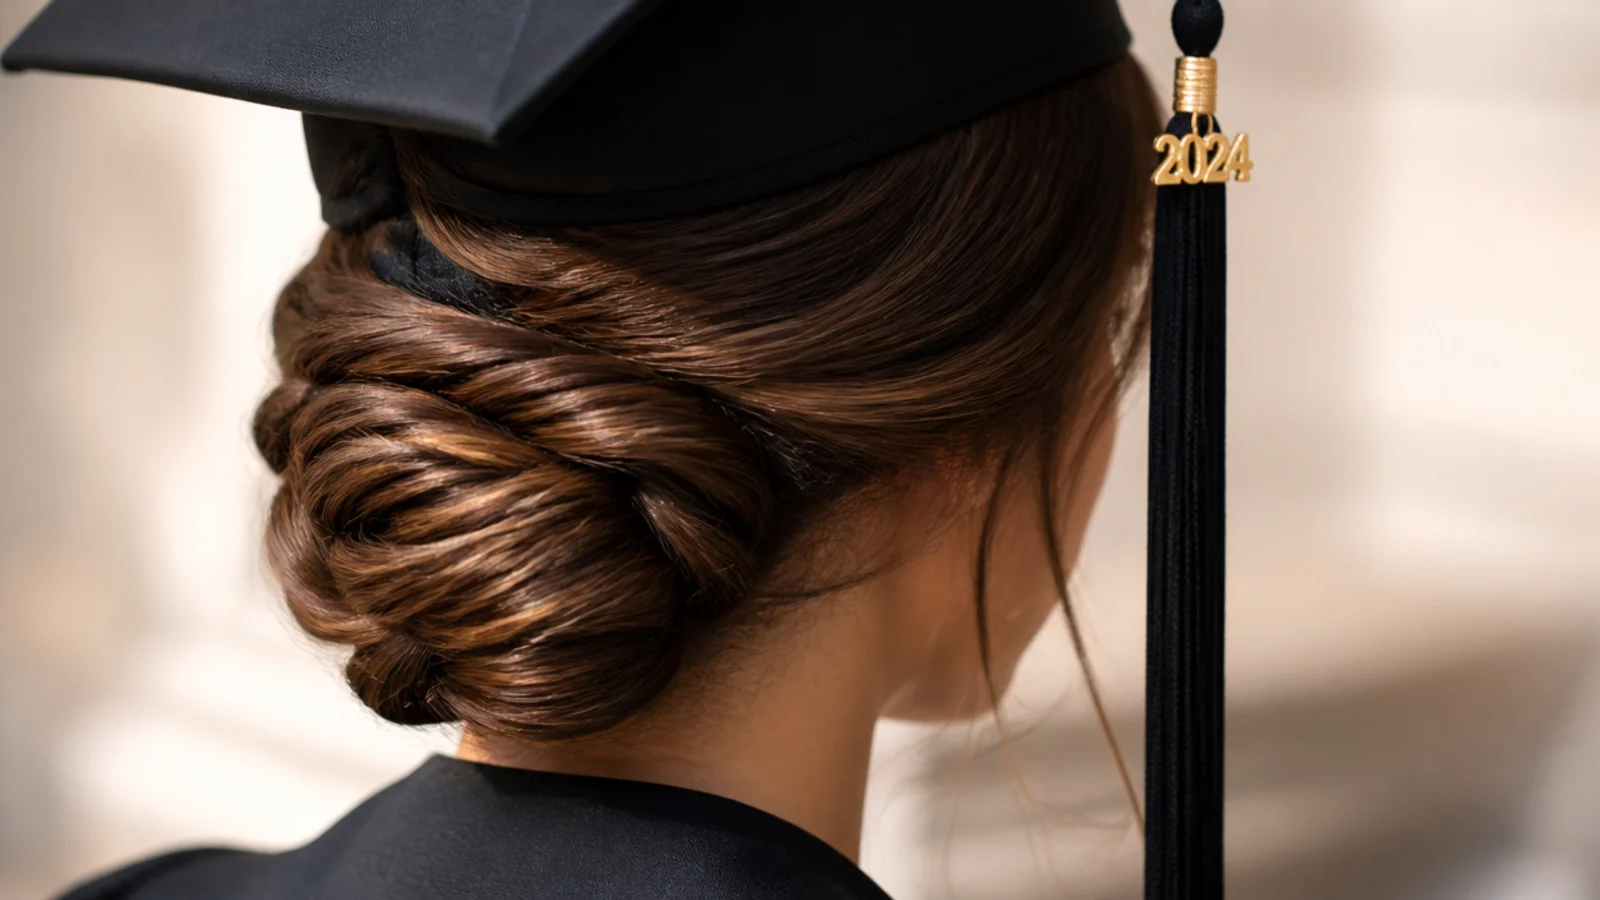
14. U Pins
A U pin passes through the coil and back down into the base without clamping anything, so it sets position rather than squeezing. Use them to hold the shape while the bobby pins do the actual gripping.

15. Crossed Bobby Pins
Push one pin in at forty five degrees and the next one across it in the opposite direction. Two opposing angles lock rotation both ways, while a single pin only resists one direction and slowly swivels itself out.

16. Face Framing
Release the clipped front pieces last, once the back is fully locked. Shape them with a warm iron and let them cool before you touch them, because a curl sets as it cools rather than while the heat is on it.
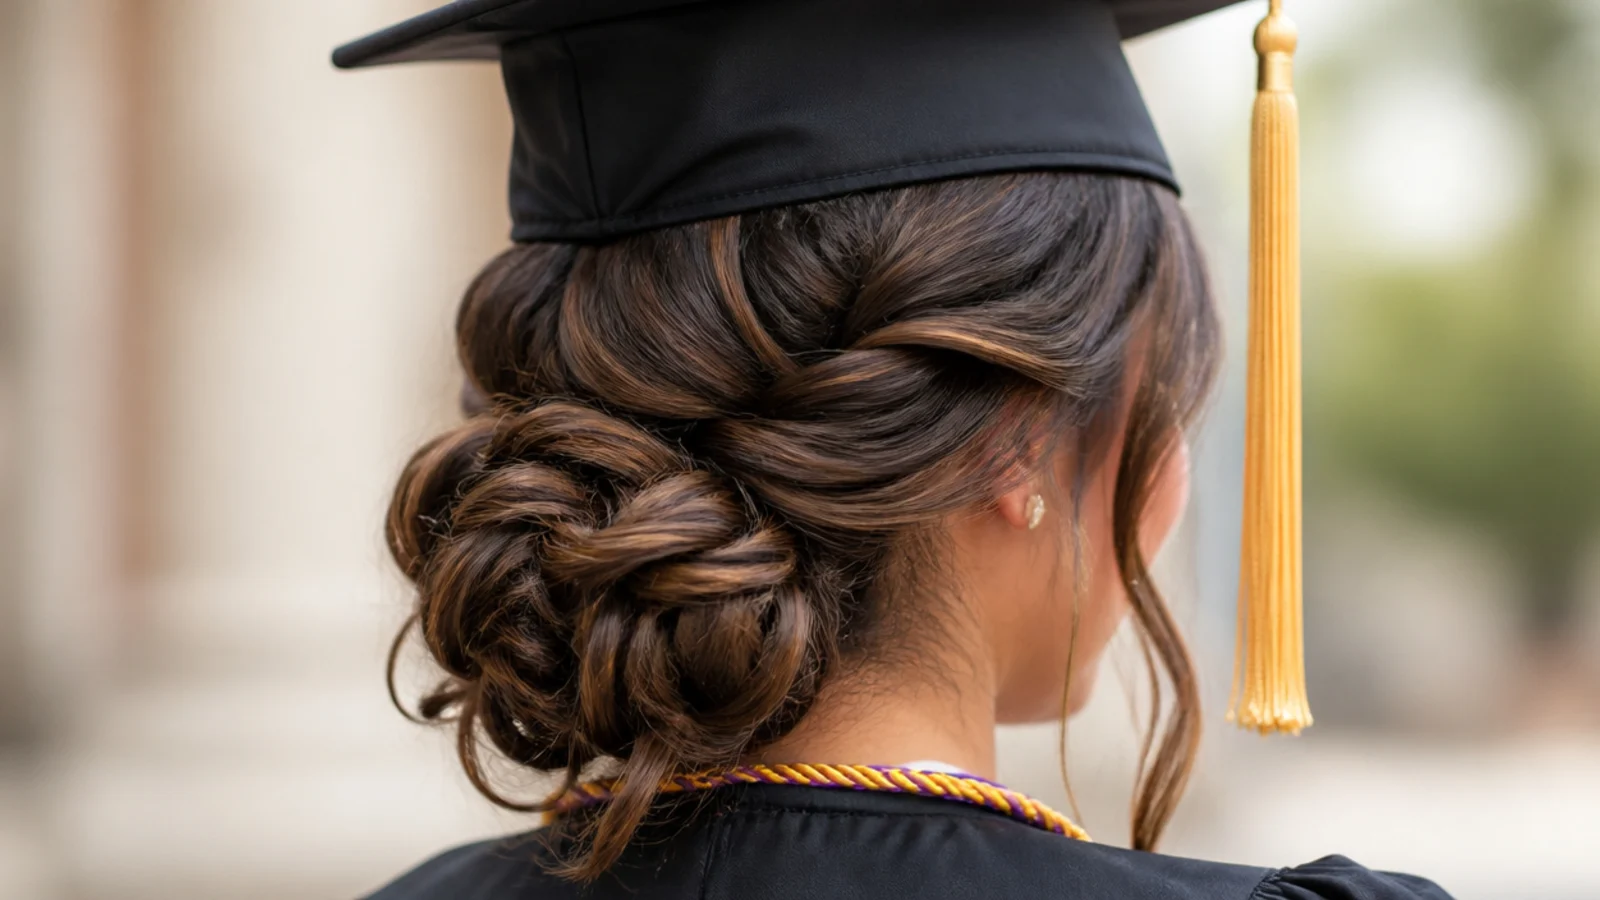
17. Flexible Hairspray
Flexible hold dries to a film that bends and returns, which is exactly what a style knocked by a cap needs. Firm hold dries to a rigid film that fractures at the first impact and leaves a section unsupported.

18. Pin the Cap
Cross two bobby pins through the inner band of the cap and into the chignon itself. Anchoring into a solid coil rather than into loose hair stops the board rotating, which is what a gust of wind actually does to a mortarboard.

19. Touch Up Kit
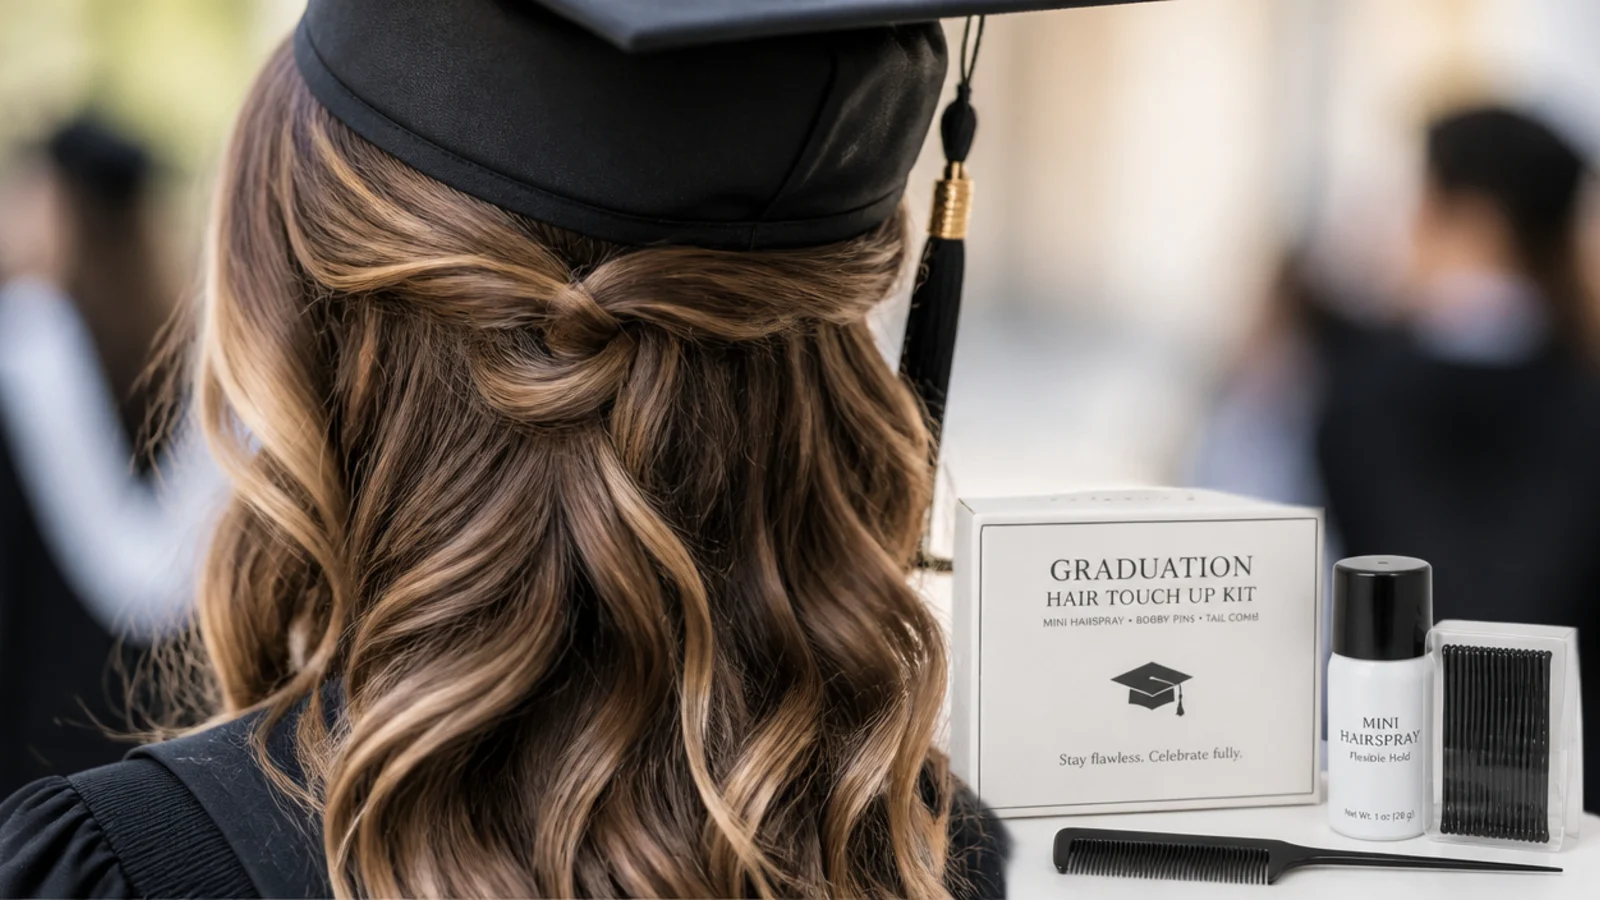
Six bobby pins, a mini spray and a small mirror. The gap between the ceremony and the photographs is when everything is repaired, and a pin you do not have is a shape you cannot rebuild.
20. Cap Off Reveal
Take the cap pins out before the cap, or you drag the board across the finished shape. Then release two front pieces, and the ceremony updo becomes the photograph updo without touching the back at all.
How to Build the Graduation Updo
Step 1. Prep the Day Before
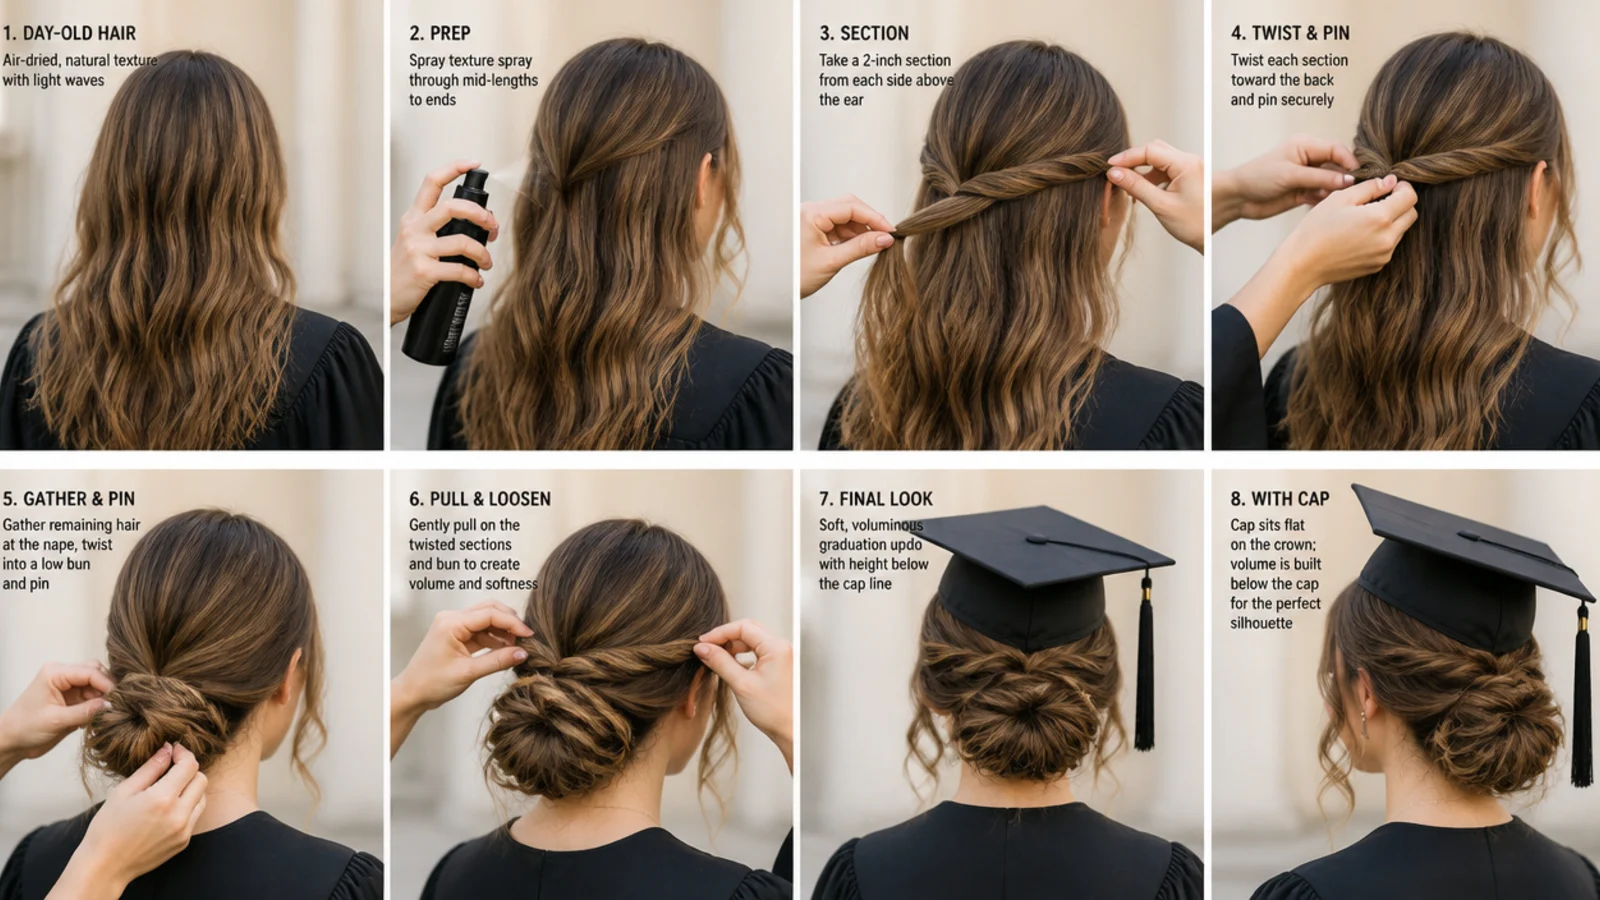
Wash and dry the night before, and do the practice run at least a few days earlier. Overnight sebum coats the cuticle and gives every pin something to bite, which is why day old hair holds an updo that freshly washed hair drops.
Step 2. Measure the Cap Line
Put the cap on first and trace the bottom edge of the band with a finger, noting where it crosses the back of your skull. Everything from here is built below that line, so the measurement is the design brief rather than a check at the end.
Step 3. Build Volume
Mist texture spray through the mid lengths, clip the front pieces forward, then backcomb the crown at the root and smooth only the surface layer over it. The tangle underneath is what pins grip, and the smoothed layer is what shows.

Step 4. Low Ponytail
Gather everything except the front pieces at or below the occipital bone and tie with a clear elastic. Flip the tail through the gap above the band to pull the base flat, which removes the bulge that would otherwise sit under the cap.

Step 5. Rope Twist
Split the tail in two, twist each half in the same direction, then wrap the two around each other the opposite way. The opposing tensions lock, so the rope holds its own structure and the coil that follows will not slacken.
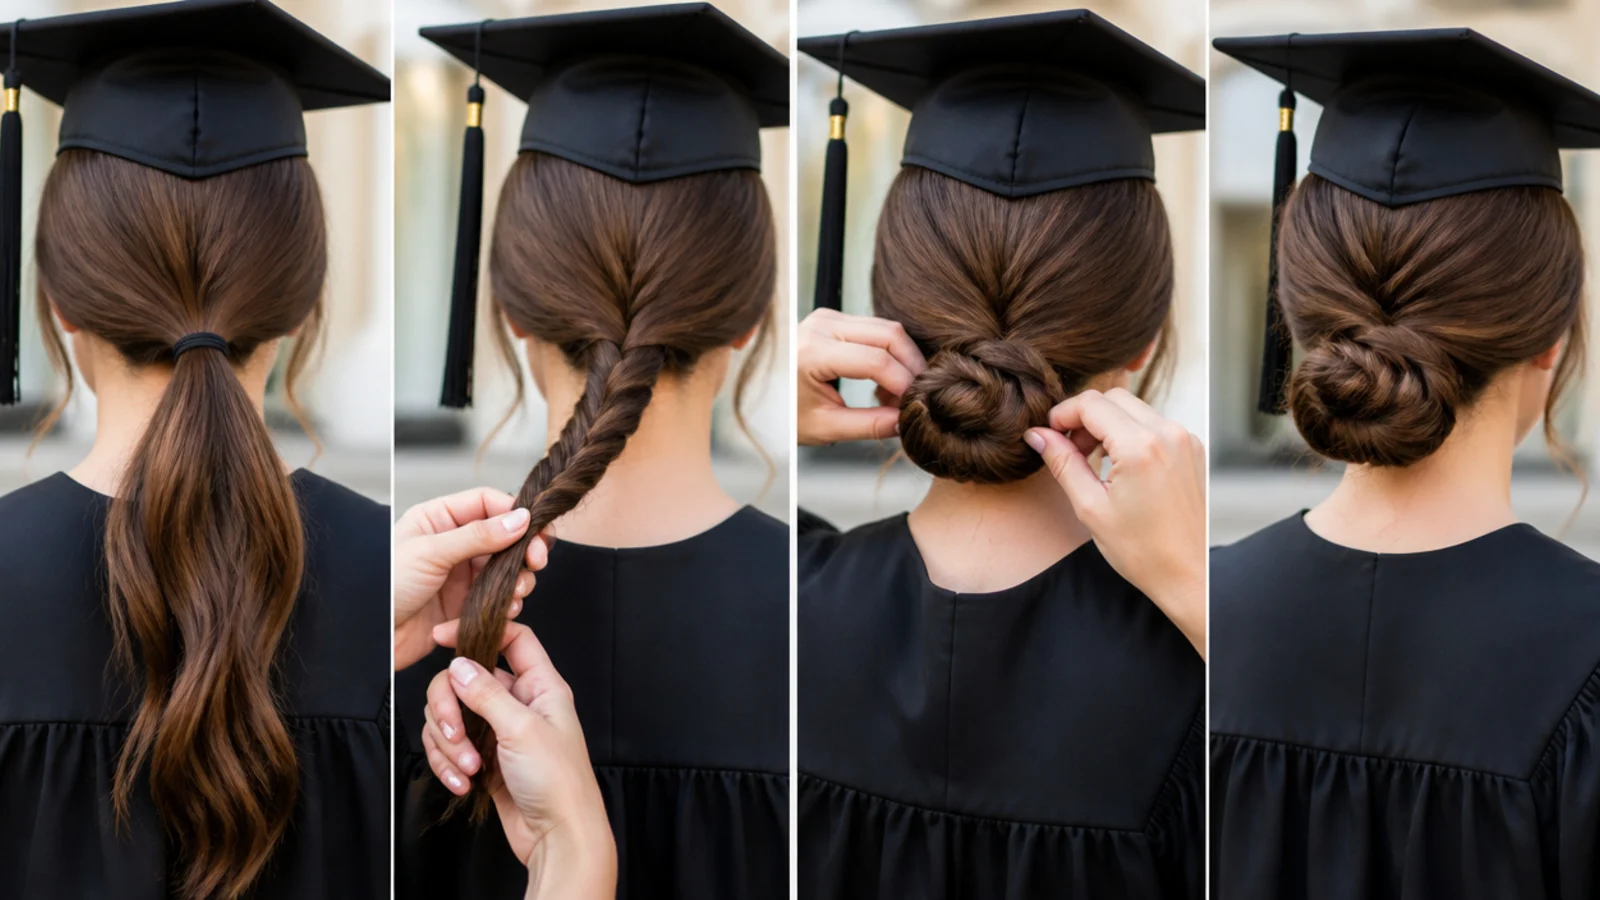
Step 6. Coil the Chignon
Wind the rope flat around the base rather than stacking it outwards, keeping the disc wide and shallow. Depth is the dimension the cap cannot accommodate, and a flat coil also survives being pressed against a chair back for two hours.

Step 7. Pin the Anchor
Set U pins through the coil into the backcombed base to fix the position, then cross bobby pins in pairs around the perimeter to stop rotation. Six to ten pins total, every one of them crossed by another at an opposing angle.
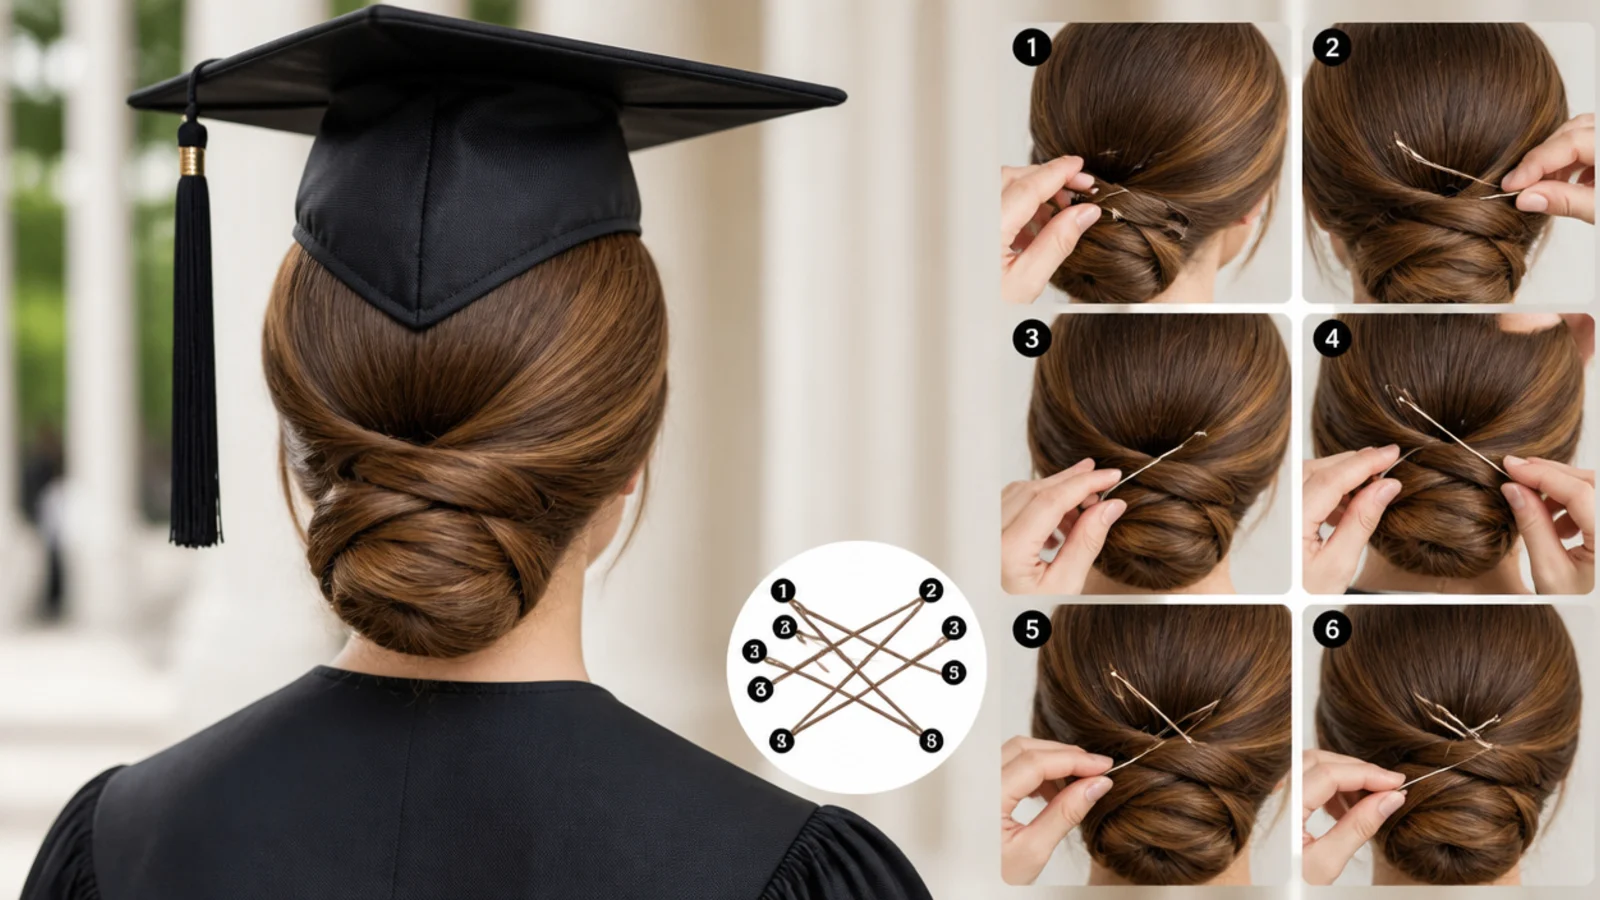
Step 8. Fit the Cap
Lower the cap straight down rather than sliding it on from the front, set the front edge a finger above the brows, and let the back settle onto the bone. Then cross two pins through the inner band into the chignon and mist once with flexible spray.

Final Thoughts
The order matters more than the technique. Measure the cap line before you touch the hair, build volume at the root and gather below the bone, then coil flat and pin in crossed pairs. Every one of those choices is about keeping depth out of the space the band needs.
The rest is preparation. Wash the night before so the strands have grip, rehearse once so you know the timing, and carry six spare pins for the window between the ceremony and the photographs. More in Occasion Hair. See also the graduation updo version and the vs down version.
Frequently asked questions
Related posts
See all posts
15 Graduation Hair Ideas for the Updo Versus Down Decision
Read more
15 Straight Hair Wedding Looks to Save
Read more
20 Gorgeous Prom Looks for Straight Hair
Read more