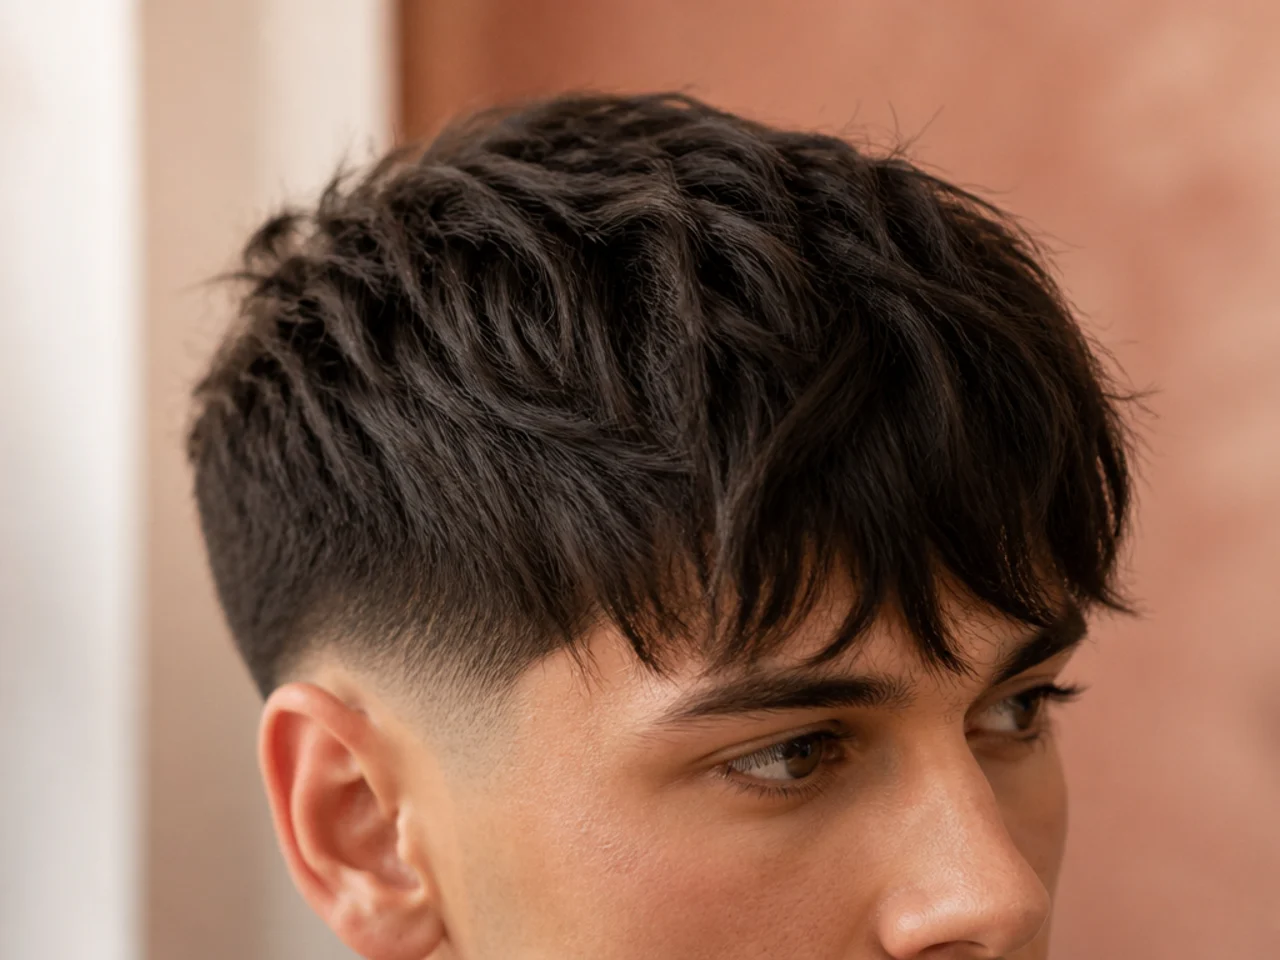
20 Fringe Haircut Ideas for Men I Saved
Twenty saved fringe photographs, sorted by the one thing the image never shows. Almost every saved fringe is a styled fringe, and what you are actually looking at is a blow-dry that took eight minutes on somebody else's texture.
In this article · 27
- How to Read a Saved Fringe Photo
- How to Choose Yours
- The 20 Saved Fringe Ideas
- 1. The Soft Textured Fringe
- 2. The Blunt Editorial Fringe
- 3. Fringe With a Low Taper
- 4. Fringe With a Skin Fade
- 5. The Comma Fringe
- 6. The Curtain Fringe
- 7. The Micro Fringe
- 8. The Curly Fringe
- 9. The Wavy Beach Fringe
- 10. The Two-Block Fringe
- 11. Fringe Over a Beard
- 12. The Disconnected Fringe
- 13. Fringe With a Hard Part
- 14. The Piecey Crop
- 15. The Long Side-Swept Fringe
- 16. Fringe on a Receding Hairline
- 17. The Burst Fade Fringe
- 18. The Week-Four Fringe
- 19. The Side-Profile Shot
- 20. The One You Saved Three Times
- Styling and Upkeep
- Mistakes to Avoid
- FAQ
- Final Thoughts
I have a folder of fringe photographs going back years, and going through it properly taught me more than any of the haircuts did.
Almost every saved fringe is a styled fringe. What you are looking at is not a cut, it is a cut plus eight minutes of blow-drying, photographed at week one under good light.
The photo never shows the three things that matter. The texture underneath it, the time it took that morning, and how many days ago it was cut.
How to Read a Saved Fringe Photo
Find the texture first. Straight, wavy and curly hair produce three different fringes from one identical cut.
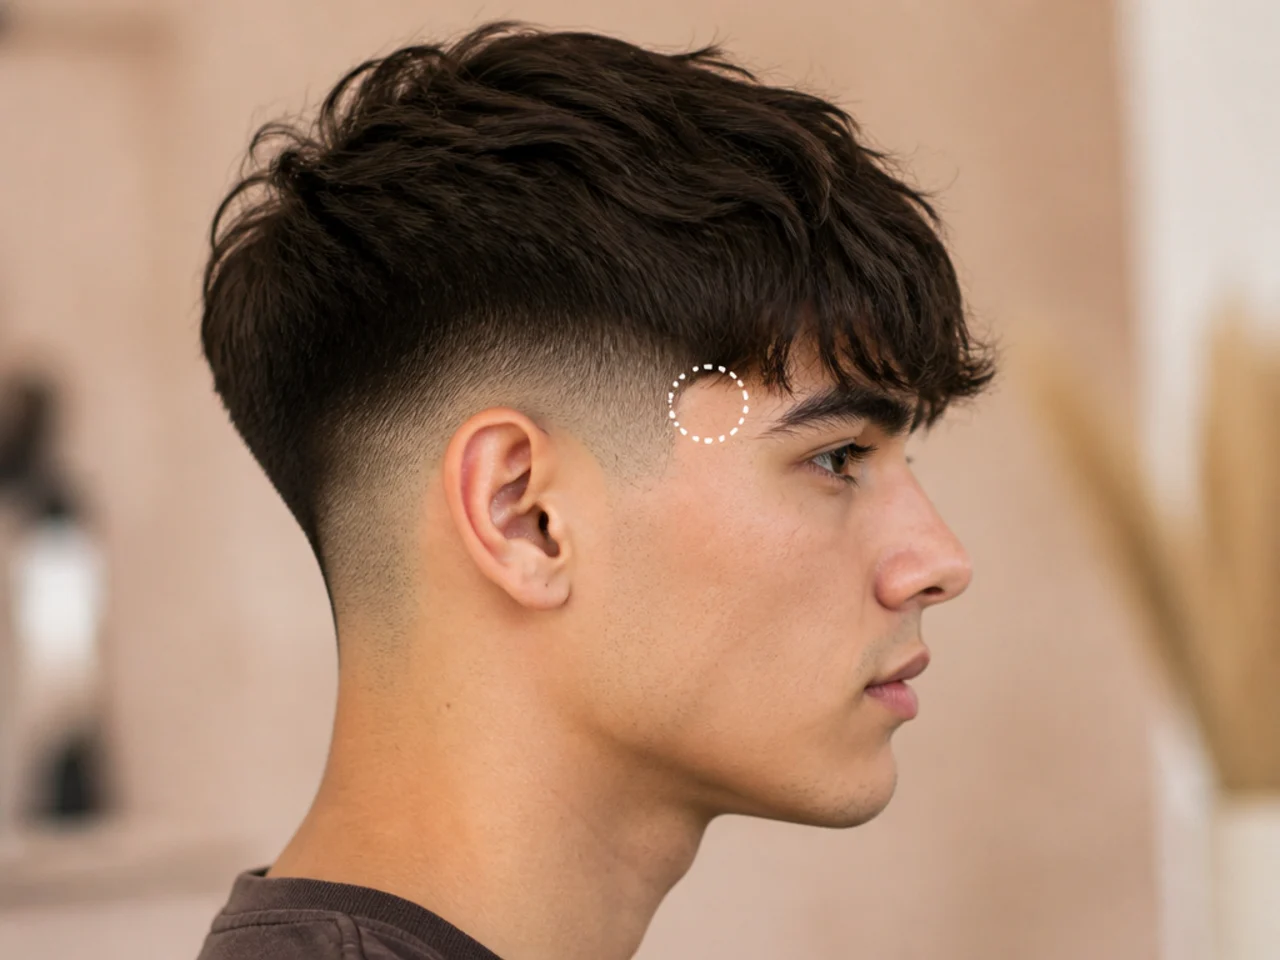
Look for the temple corner. Rounded or square is the detail that separates a fringe from a bowl.
Check the sides for skin. Bare scalp means a fortnightly appointment, a #1 left on means monthly.
Assume it is week one. Almost every photograph worth saving was taken the day the cut happened.
How to Choose Yours
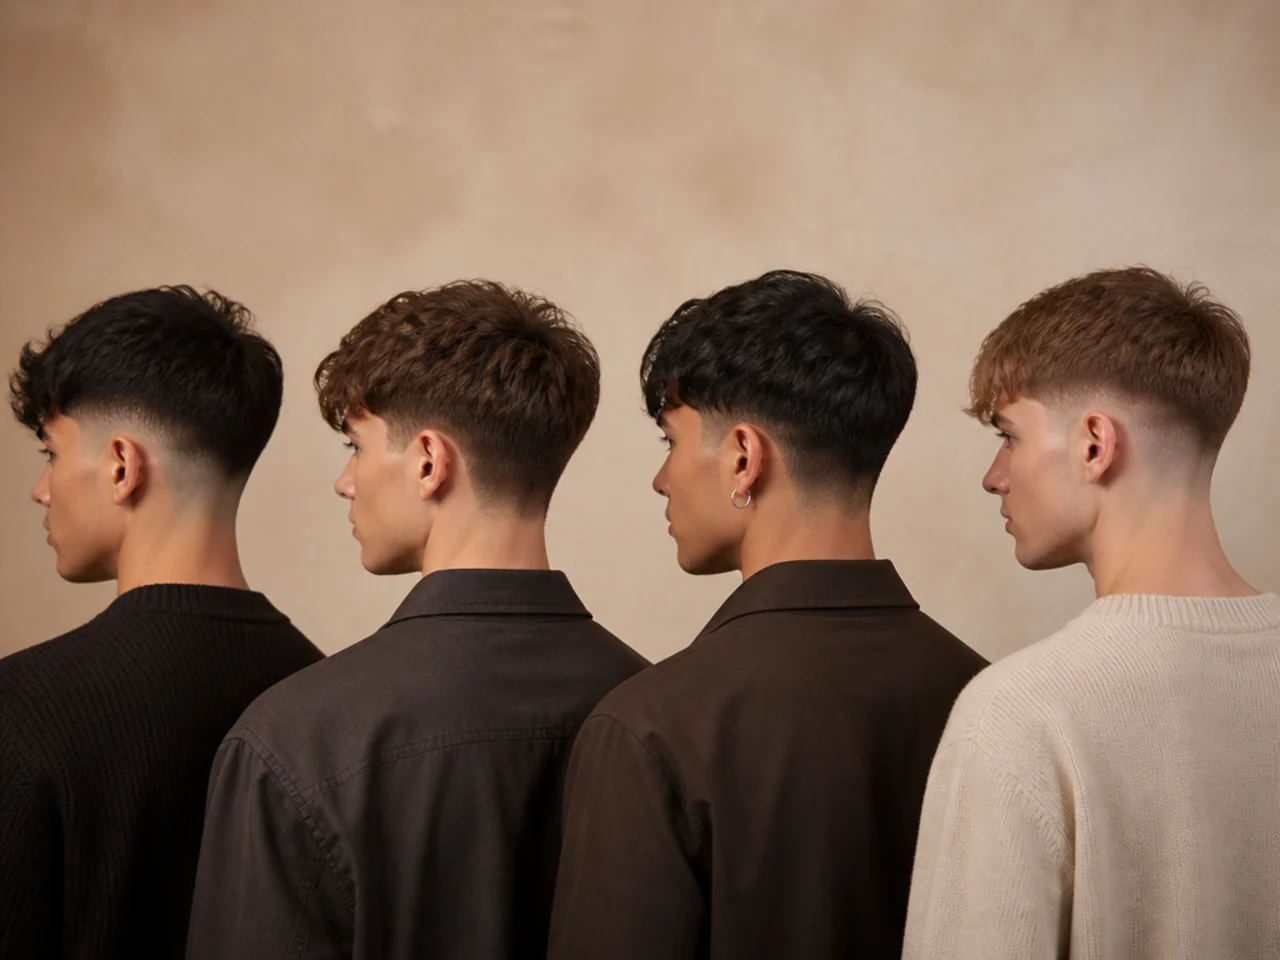
Save three photos of the same idea, not one. Different angles reveal what a single shot hides.
Prefer photos with a visible side profile. The front view tells your barber almost nothing about the shape.
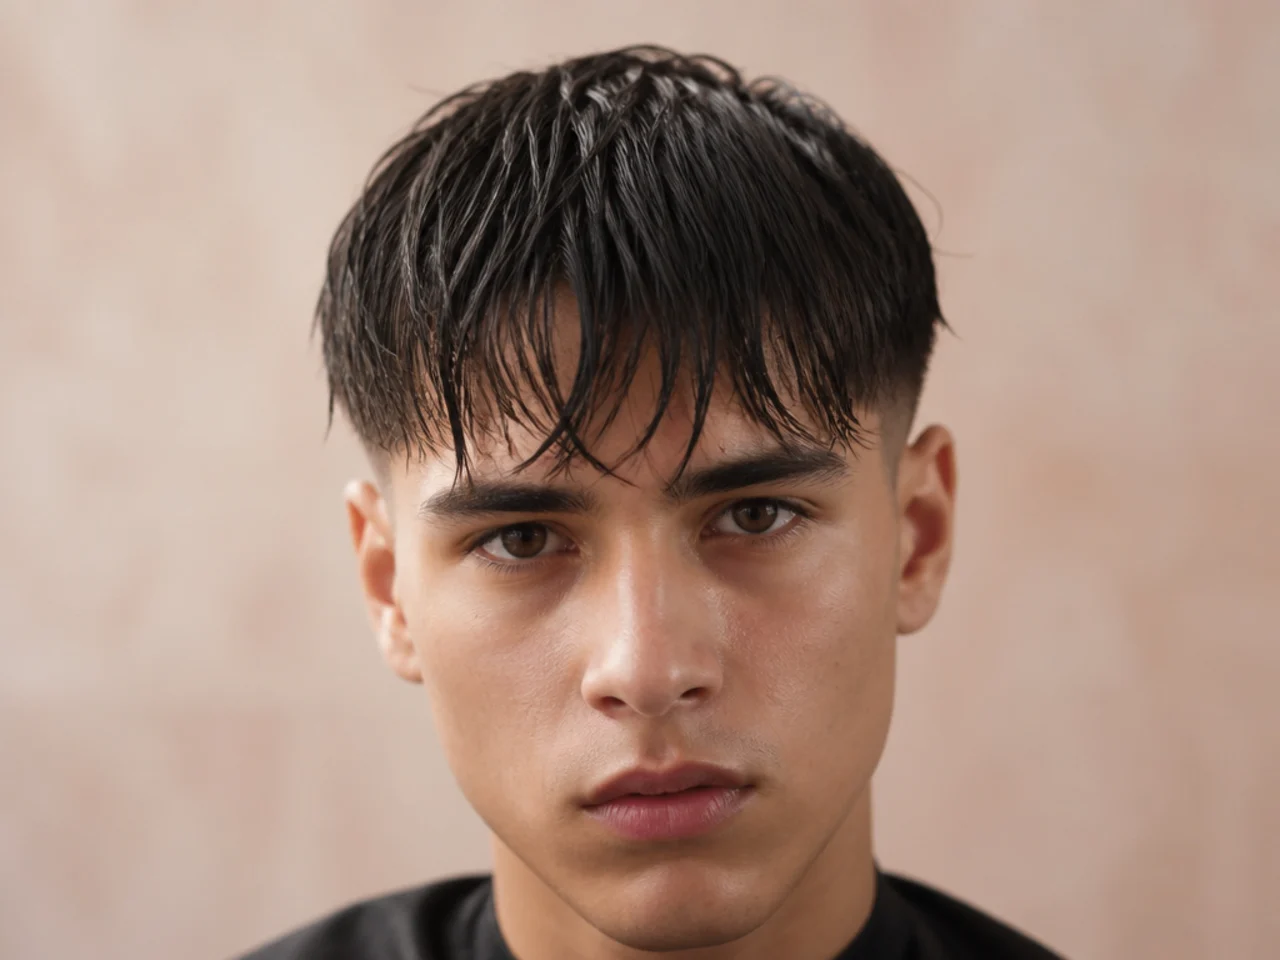
Discard anything with wet-looking hair. Wet hair is at its maximum length and never reappears.
Pick for your texture, not your face. Texture decides whether a fringe sits flat or lifts, and no amount of product overrules it.
The 20 Saved Fringe Ideas
1. The Soft Textured Fringe
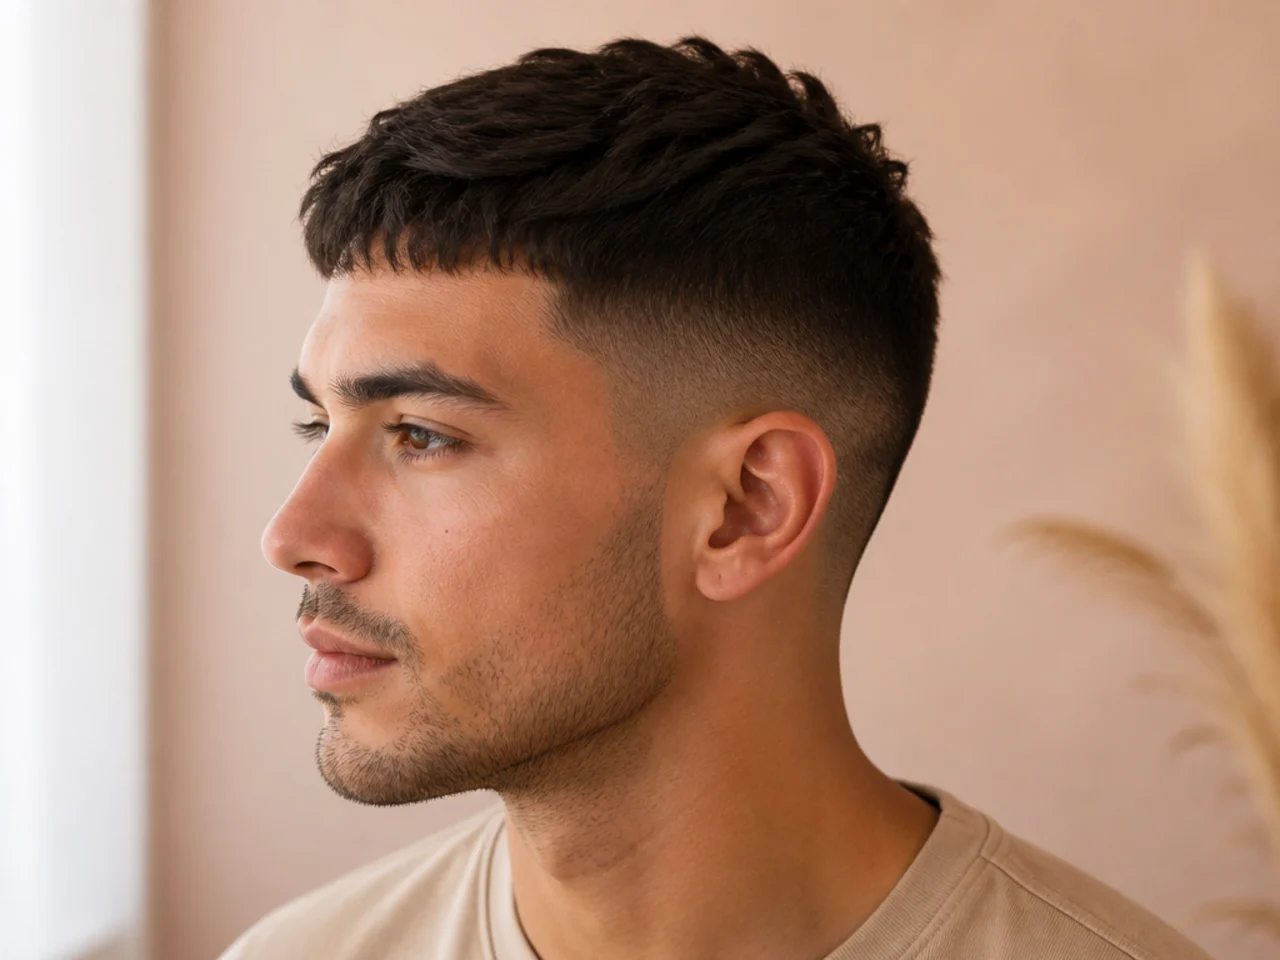
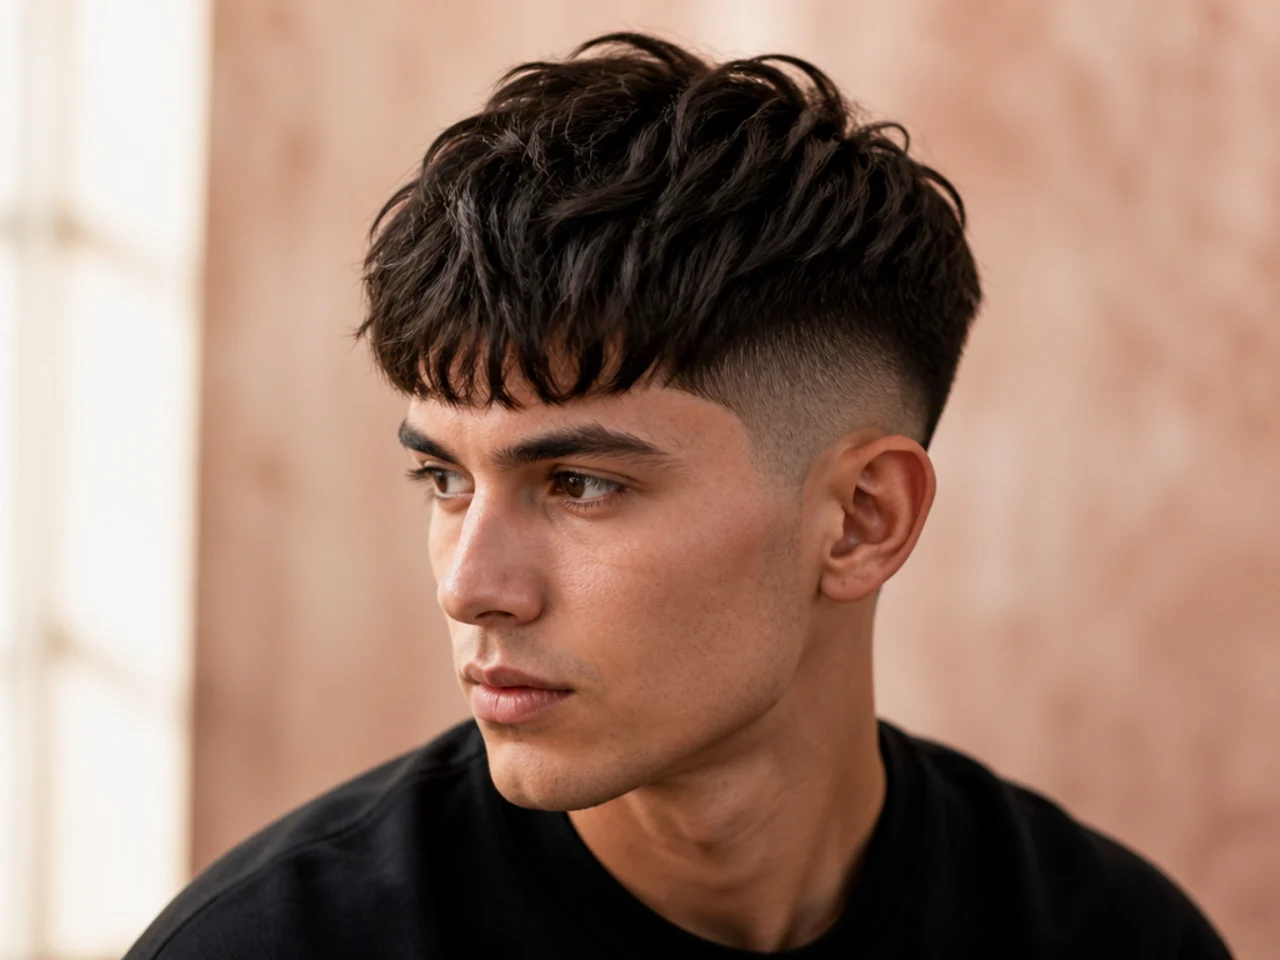
The most-saved fringe there is, and the most gettable. Graded weight and a broken front edge mean it does not depend on styling, which is why it survives outside the photograph.
2. The Blunt Editorial Fringe
Saved constantly and worn rarely. The straight line across the brow is at its best for about ten days, and every photo of it is from day one.
3. Fringe With a Low Taper
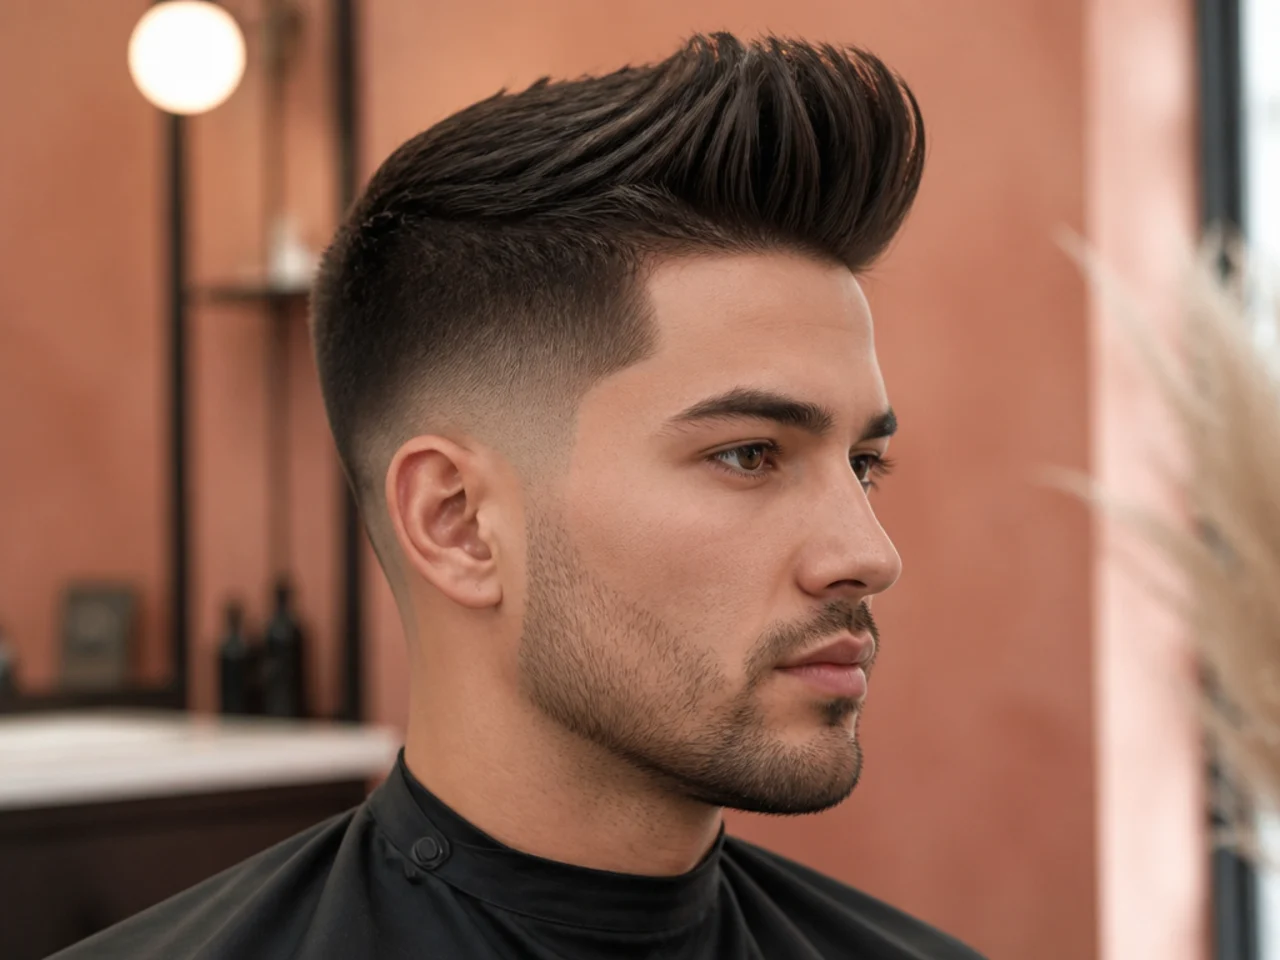
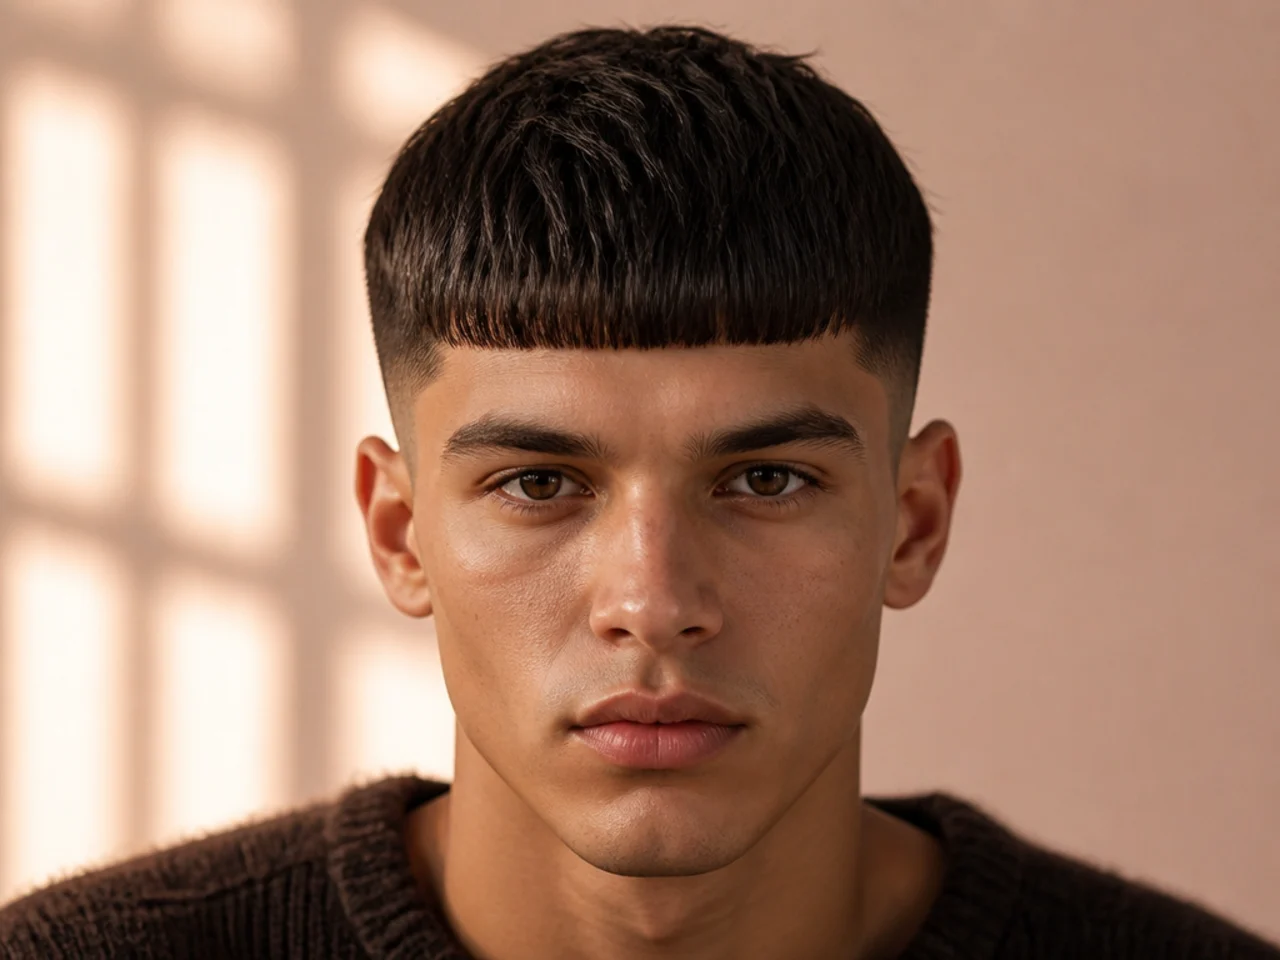
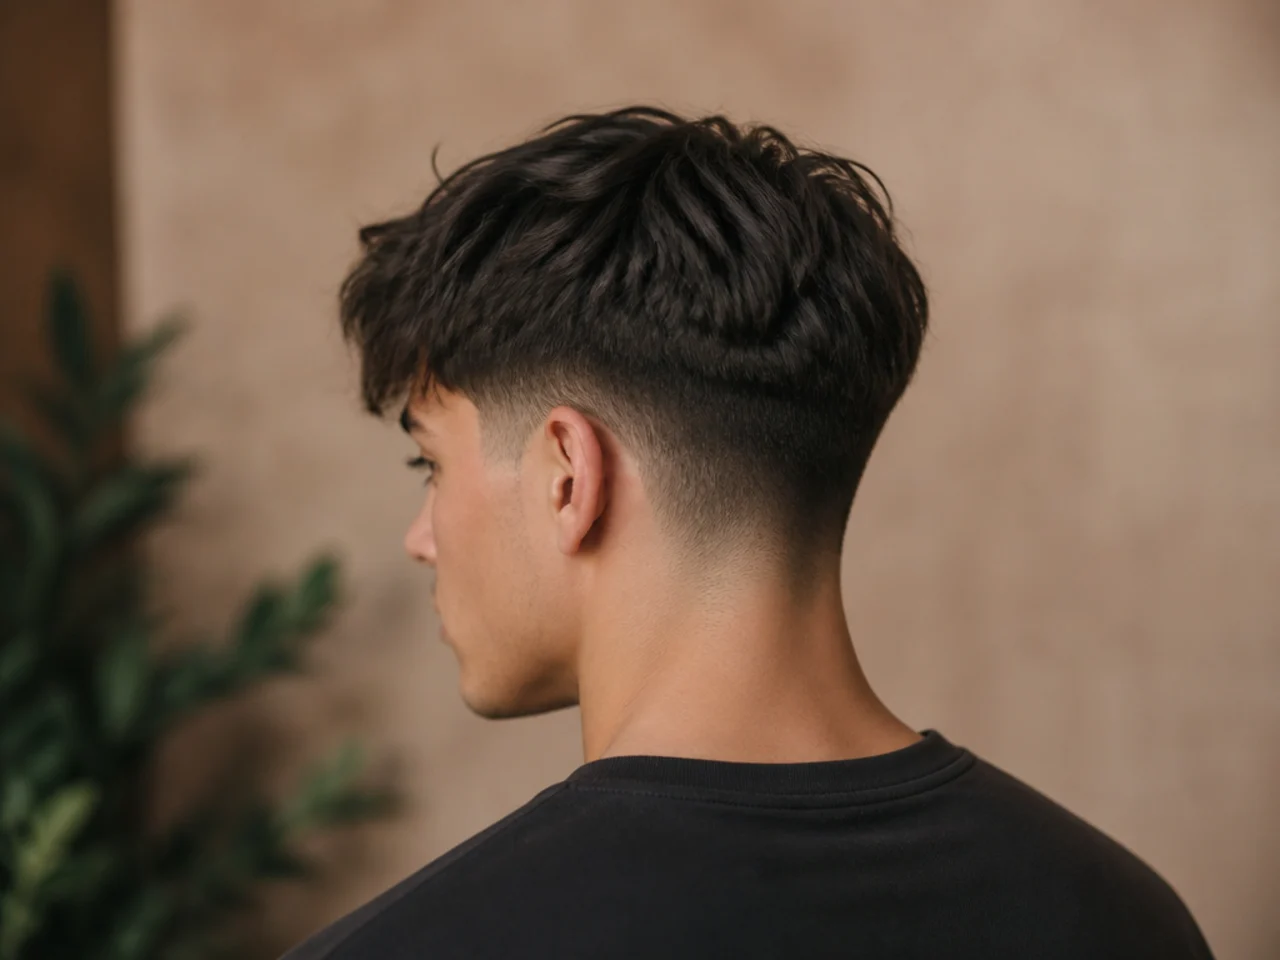
The version worth saving if you book monthly. The taper leaves a #1 at the neckline and holds three to four weeks, so the photo and the fourth week look like the same haircut.
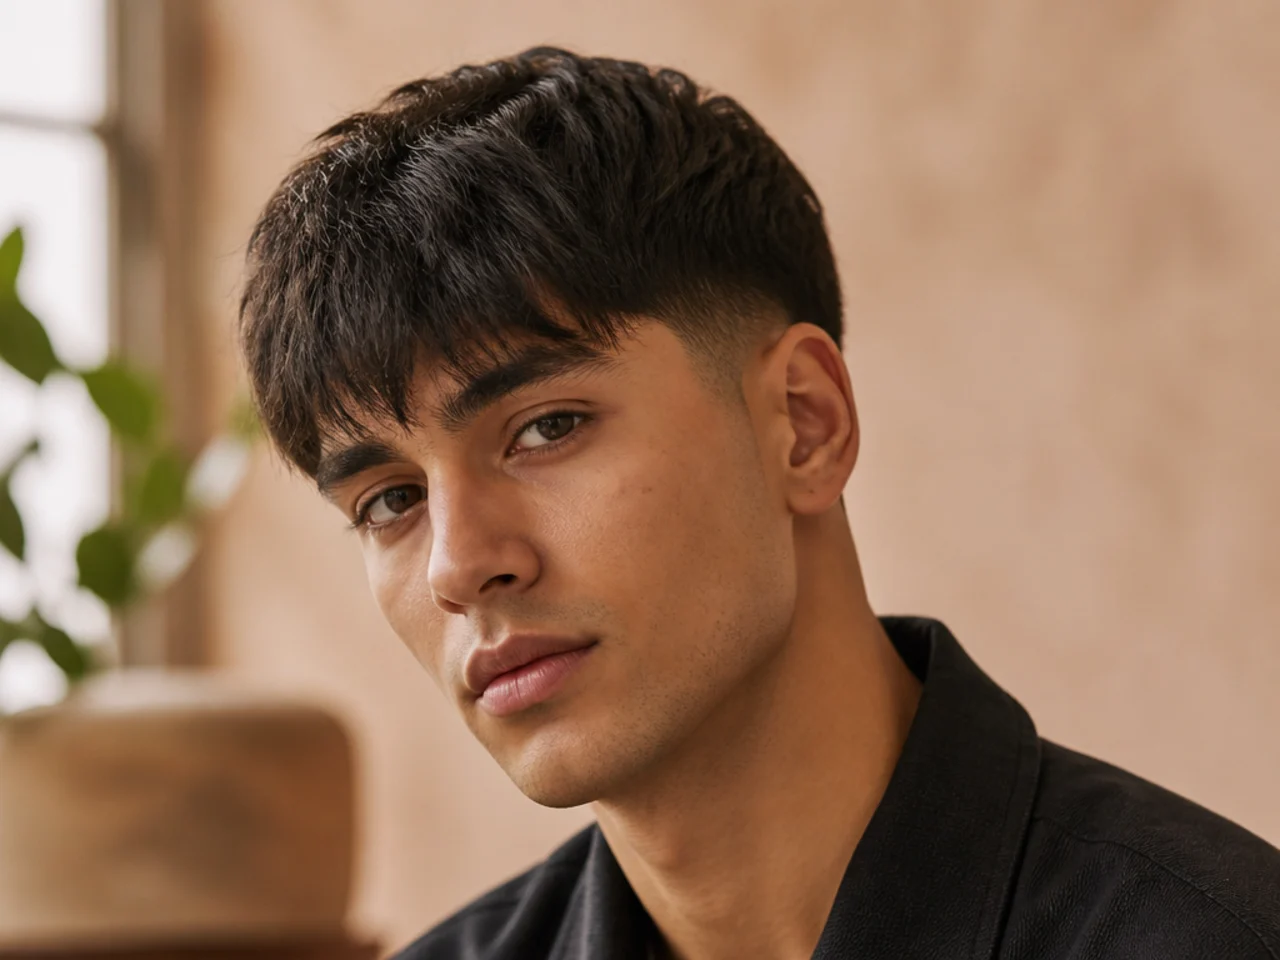
4. Fringe With a Skin Fade
Photographs better than anything else here and lasts the least time. The skin blurs within a fortnight, so this is a saved image with a hidden schedule attached.
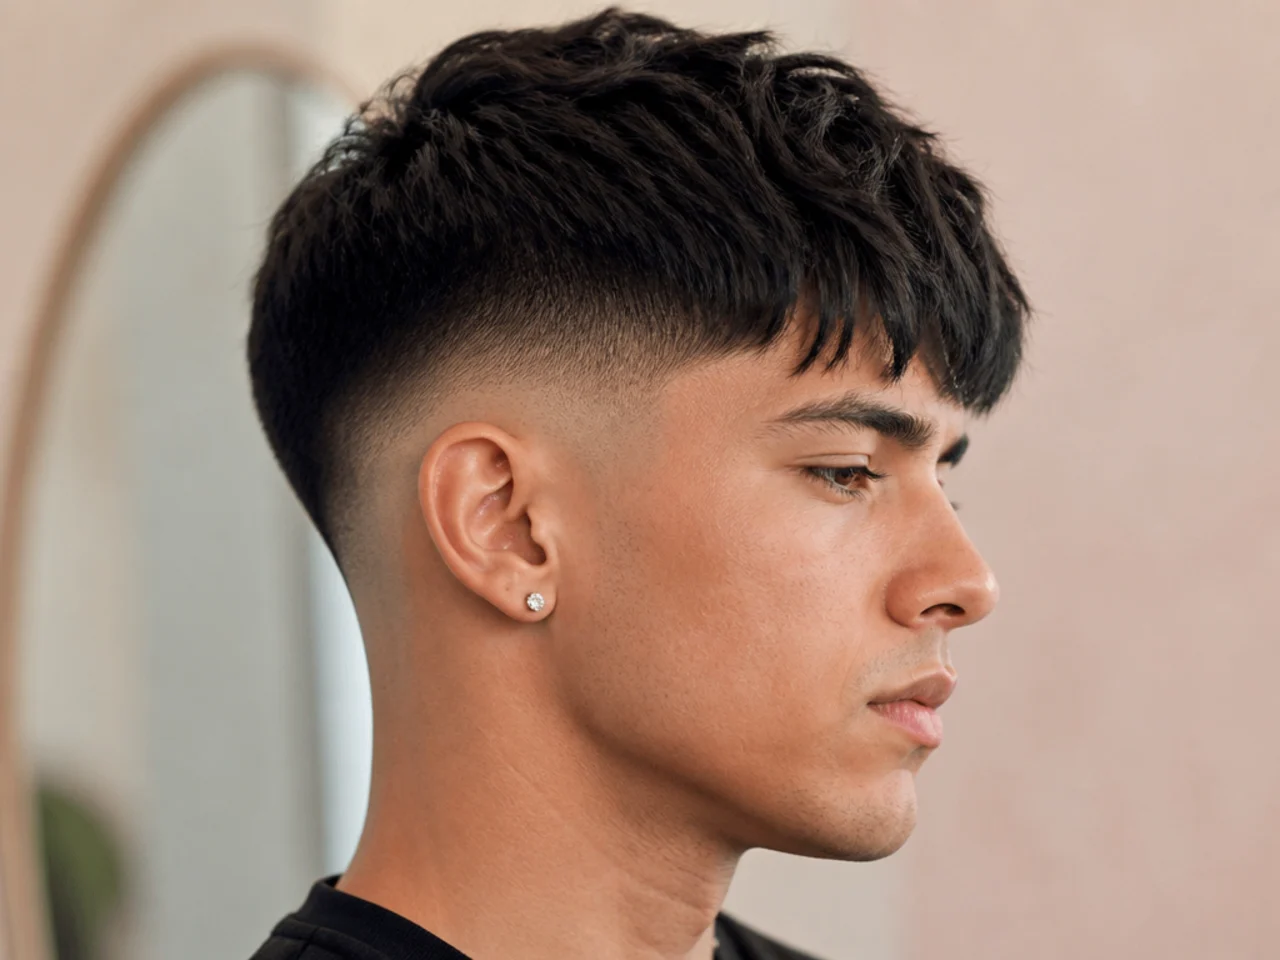
5. The Comma Fringe
Almost always a perm rather than a cut. The inward curve at the ends is set chemically or with a round brush, so asking for the length alone will not produce it. The comma haircut is what the photograph is actually showing you.
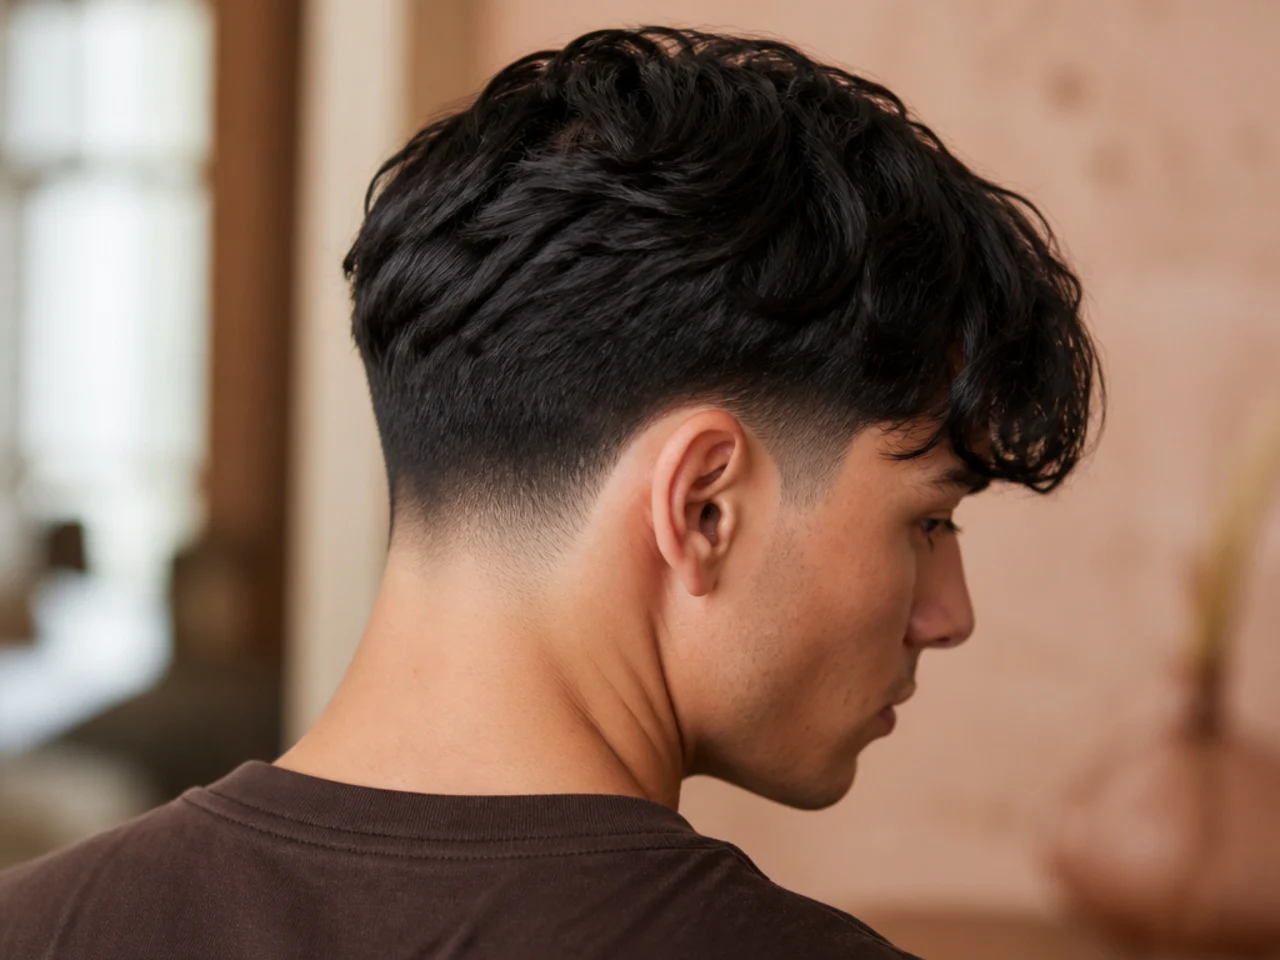
6. The Curtain Fringe
Needs length past the cheekbone before the two halves hang properly. Saved at the finished stage, it hides a three-month grow-out that looks like nothing in particular. A curtain fade is what most barbers offer to keep the sides tidy while you wait.
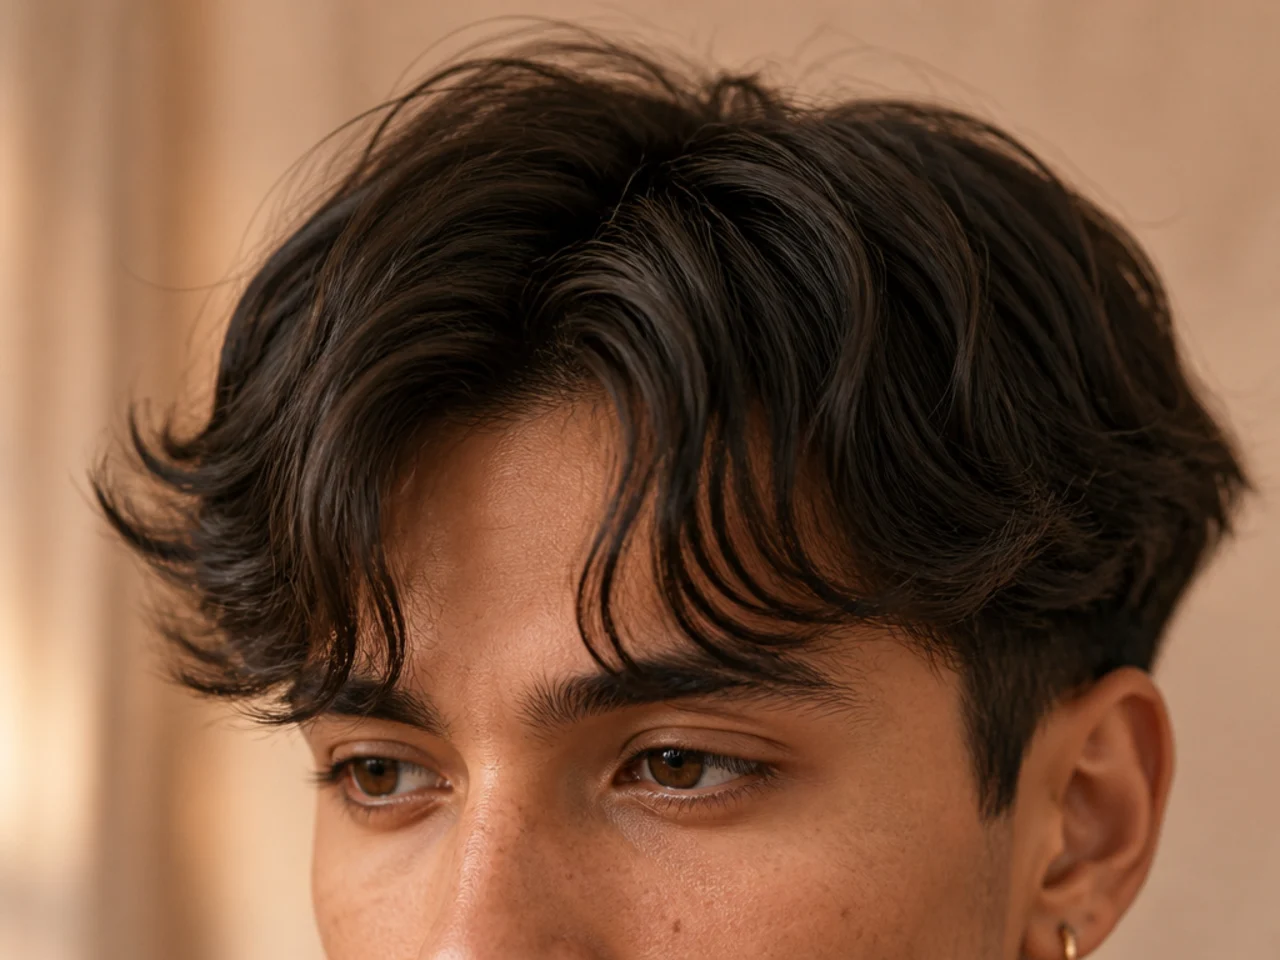
7. The Micro Fringe
Cut well above the brow, and the one saved photo that is genuinely low effort. Too short to fall, so it stands on its own root direction with no product.
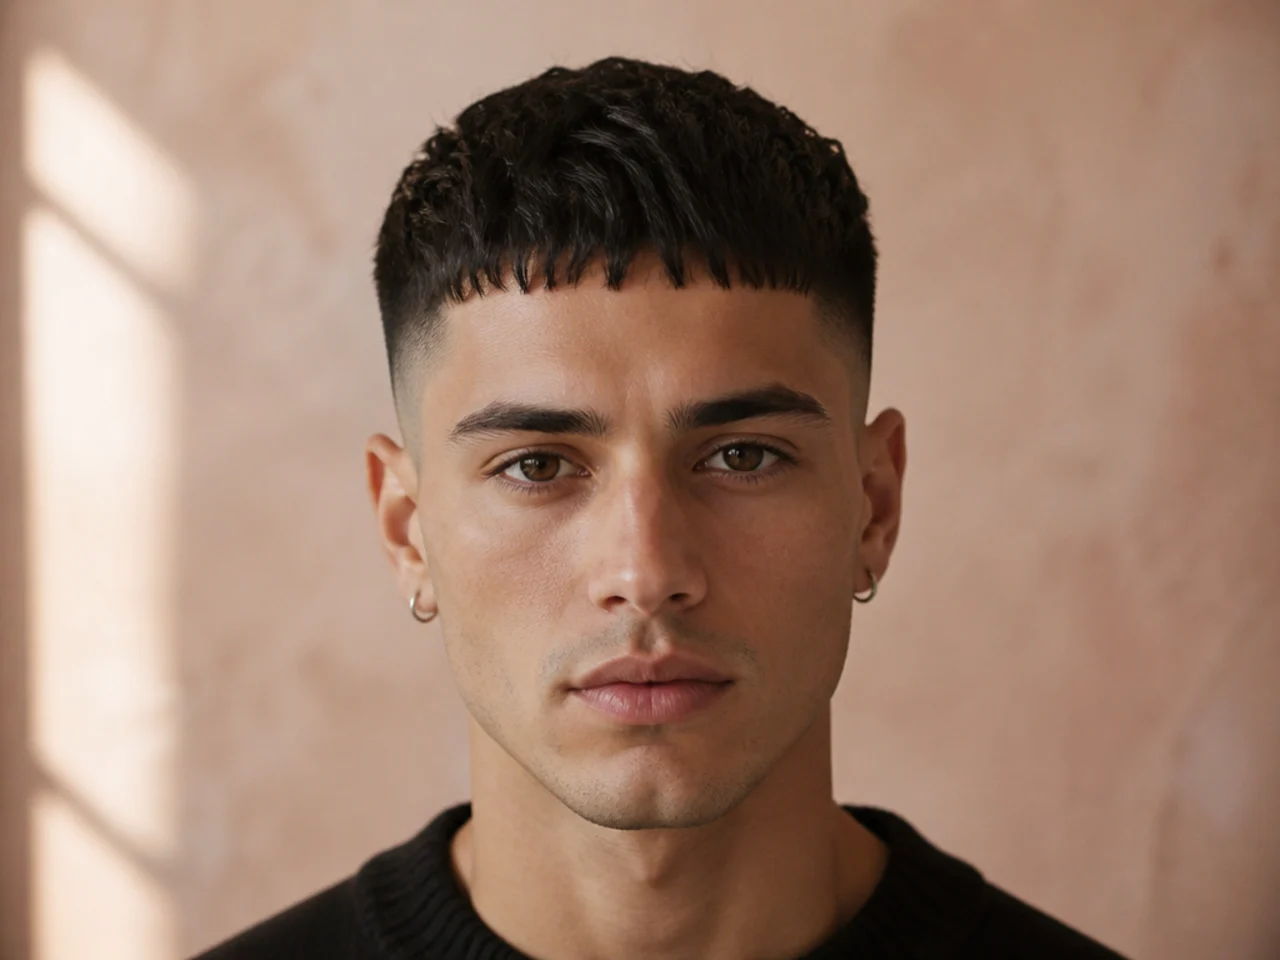
8. The Curly Fringe
Read this one carefully, because curl loses around a third of its length drying. If the photo shows a curl at brow level, the cut was made well below it.
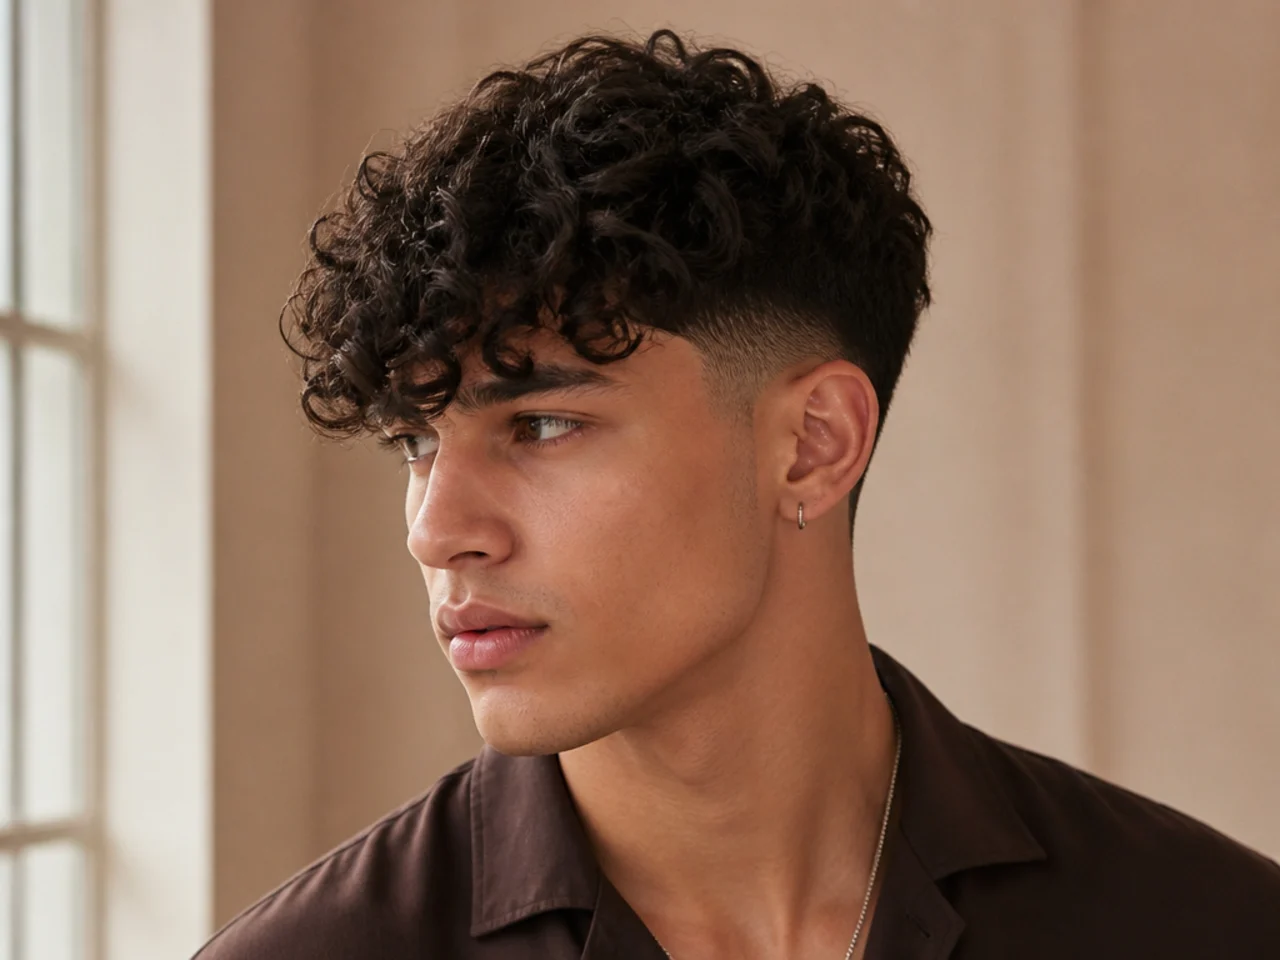
9. The Wavy Beach Fringe
Salt spray, air-dried, no heat. It is one of the few saved fringes where the styling really is as casual as it looks, provided your wave is genuine.
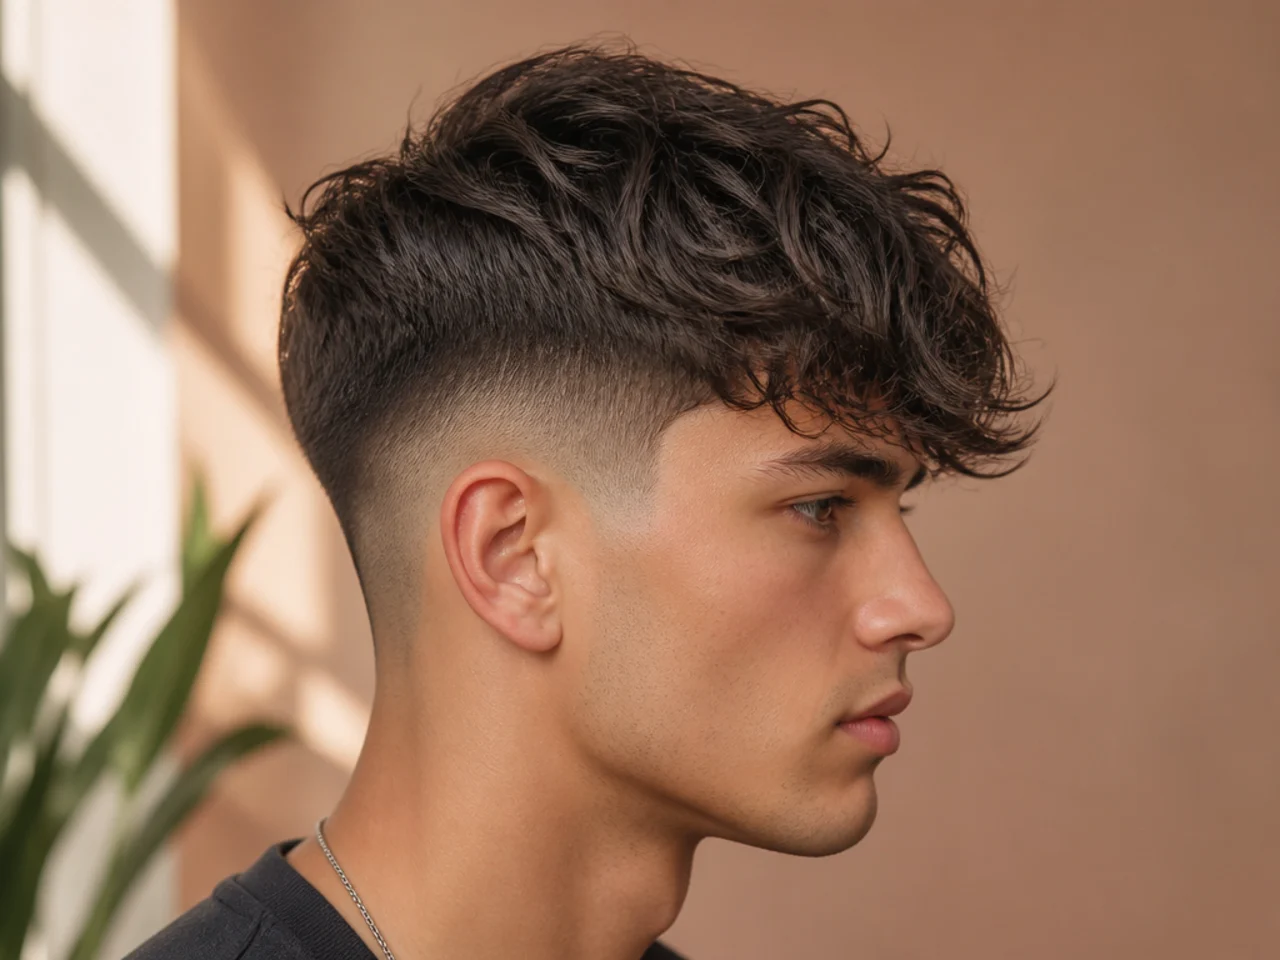
10. The Two-Block Fringe
The sides are a step rather than a gradient, which is a different service from a fade. Saving a two-block and asking for a fade gets you a shape that will not hold the same fringe. Name it as a Korean two-block and the step gets cut the way the photo shows.
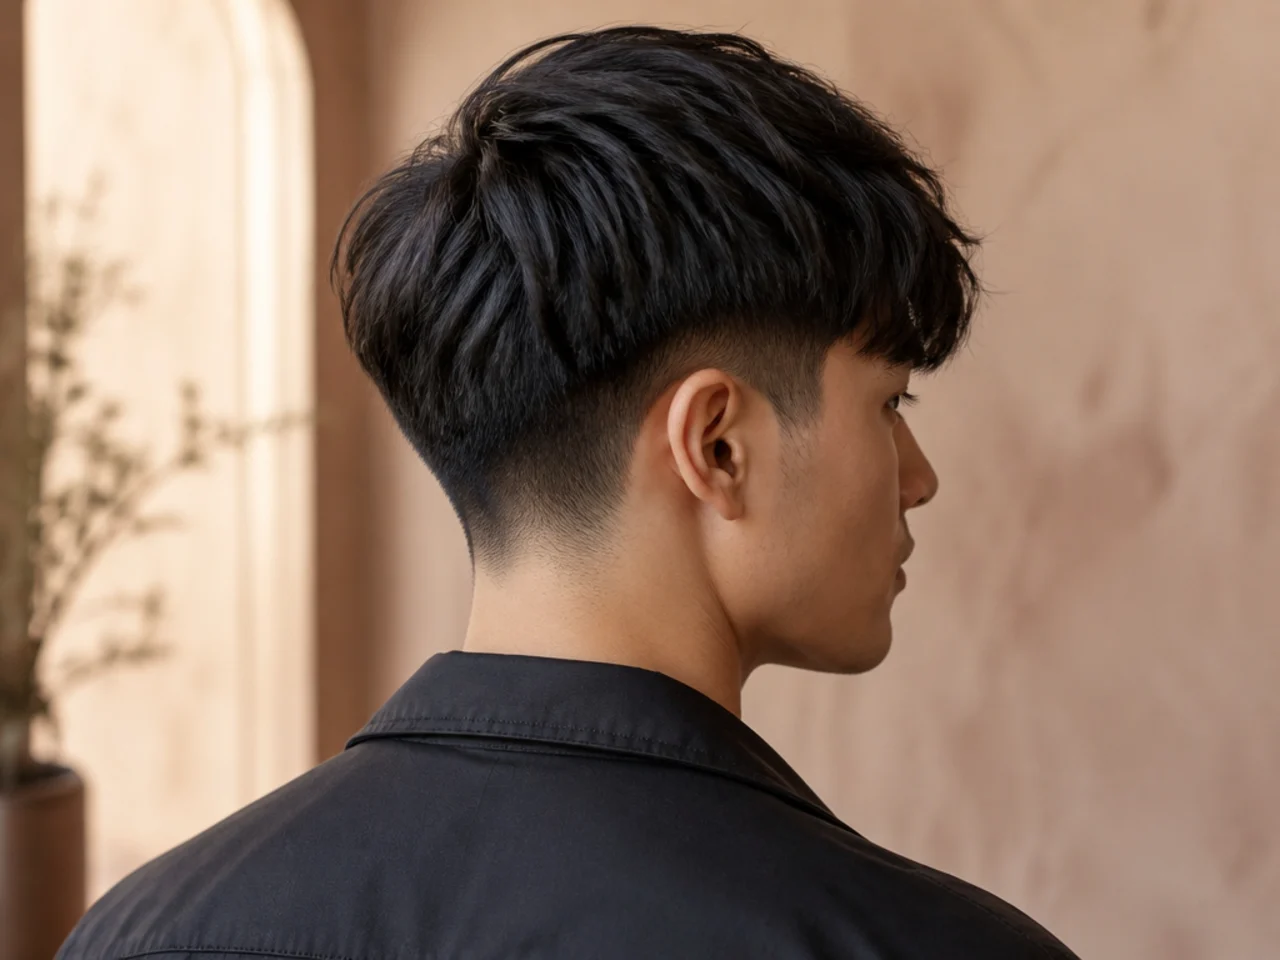
11. Fringe Over a Beard
The proportion is the point. Weight at the jaw and weight at the front balance each other, which is why this pairing photographs well from every angle.
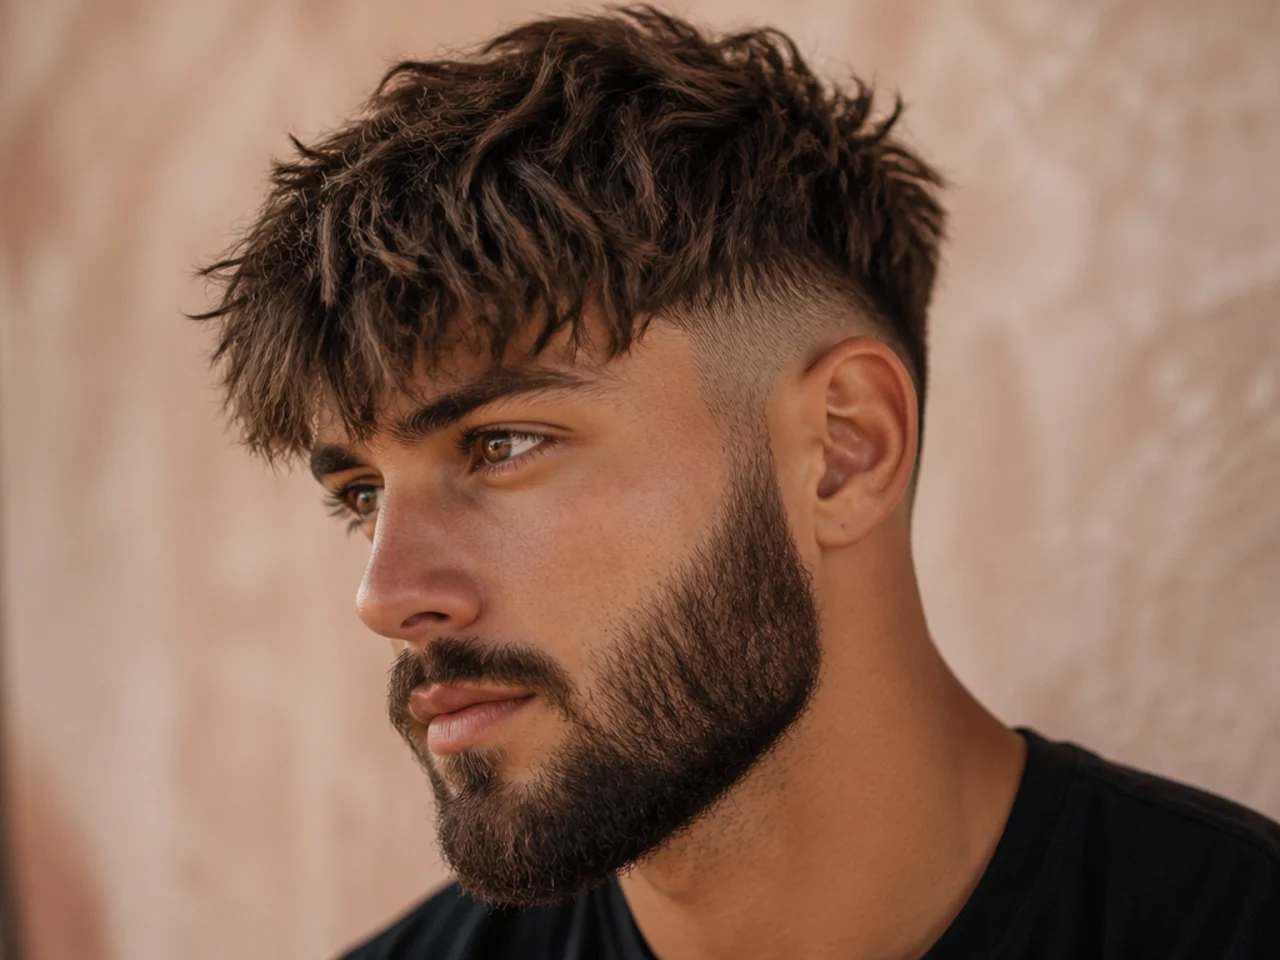
12. The Disconnected Fringe
Worth saving as a reference for what not to ask for. The hard step between top and sides dates a haircut faster than any length or product choice.
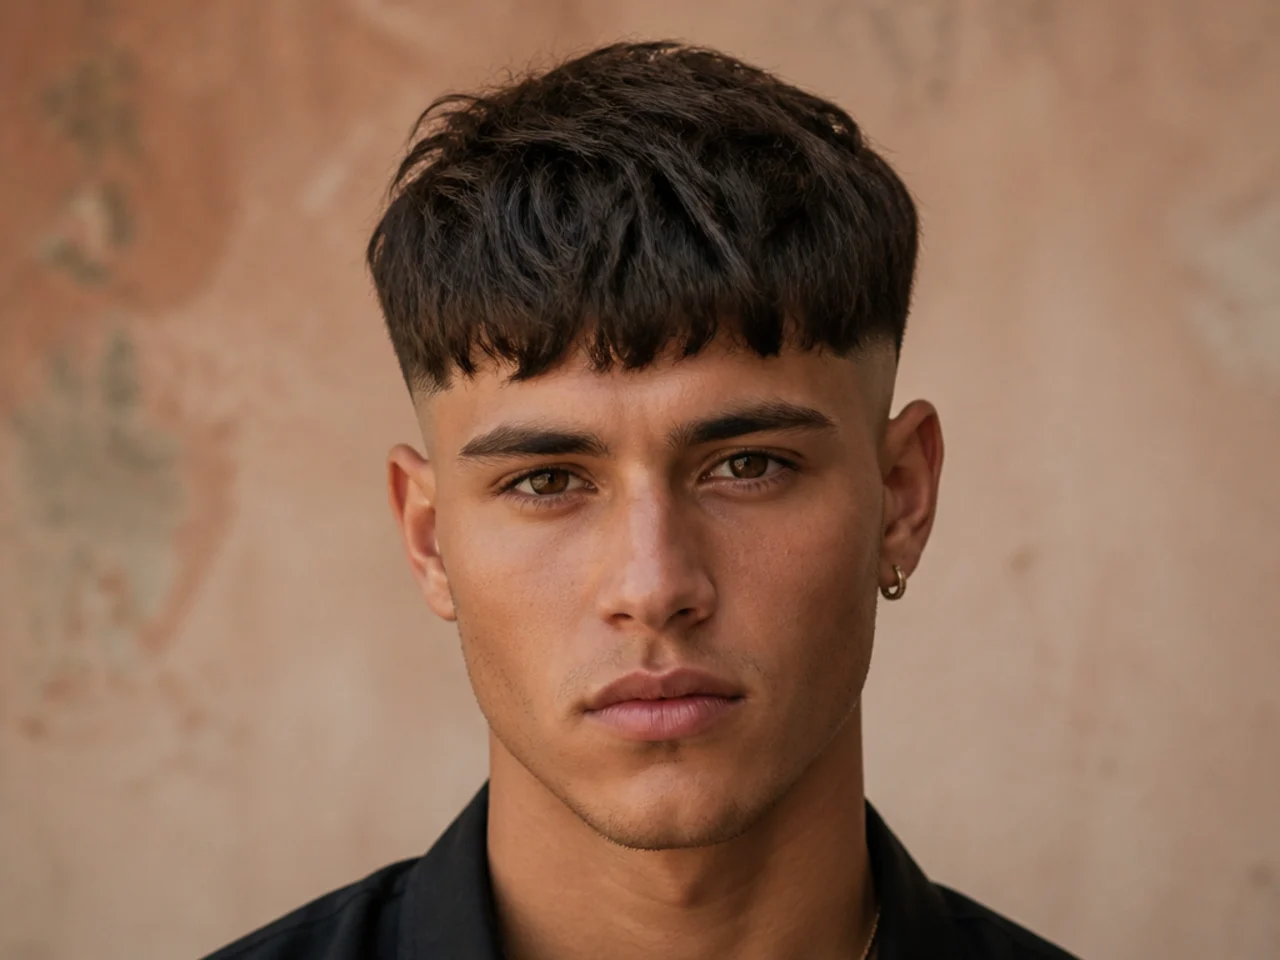
13. Fringe With a Hard Part
The shaved line survives about a week before the regrowth shows as stubble. Saved images of it are always day-one images. The channel is barely two millimetres deep and hair adds about that much every week, so it fills in before the fade blurs.
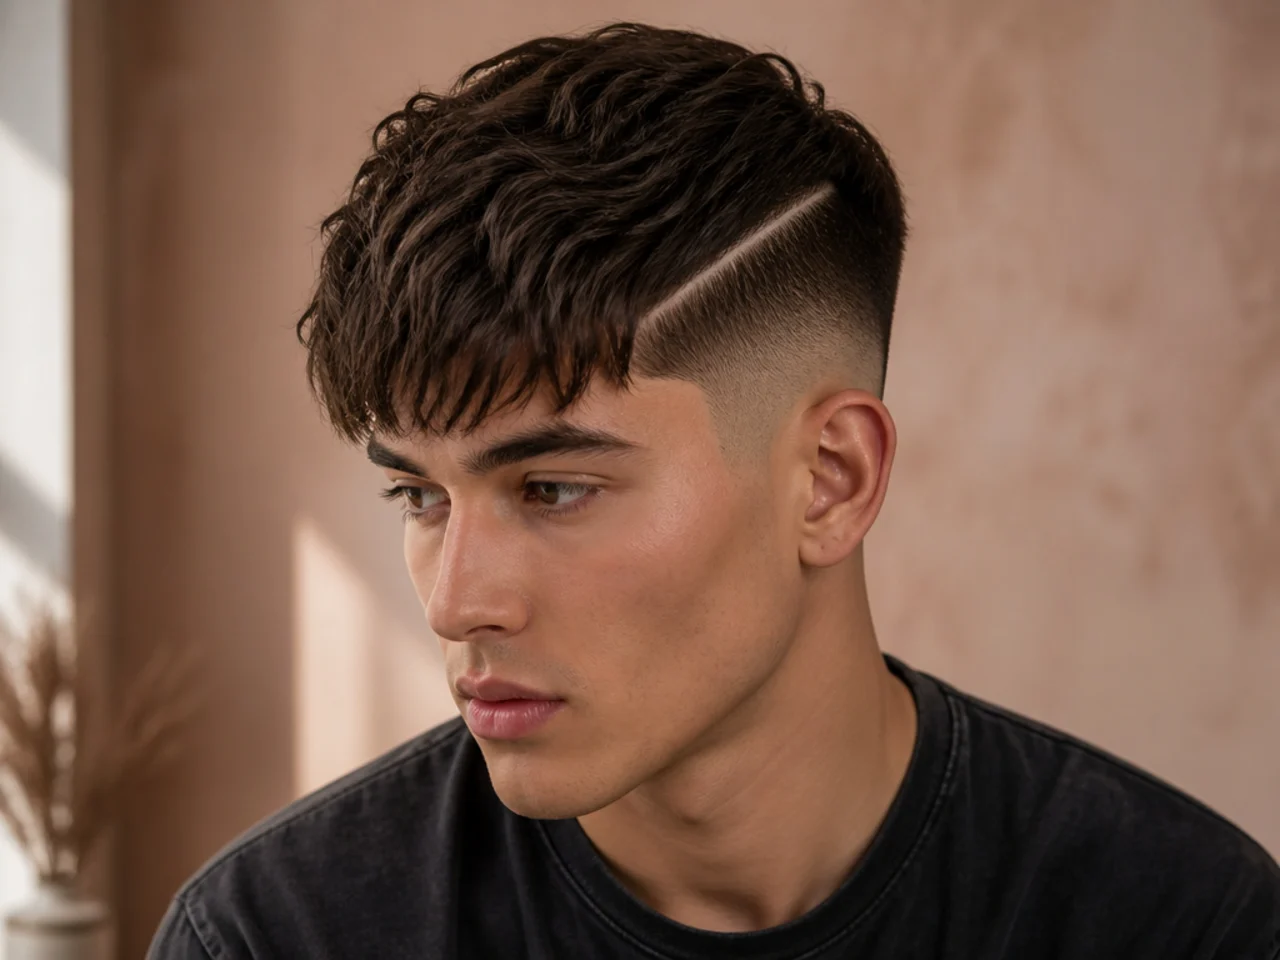
14. The Piecey Crop
Separation created with matte clay pinched through the tips, not with the cut alone. Ninety seconds of work, which makes it one of the honest photos in the folder.
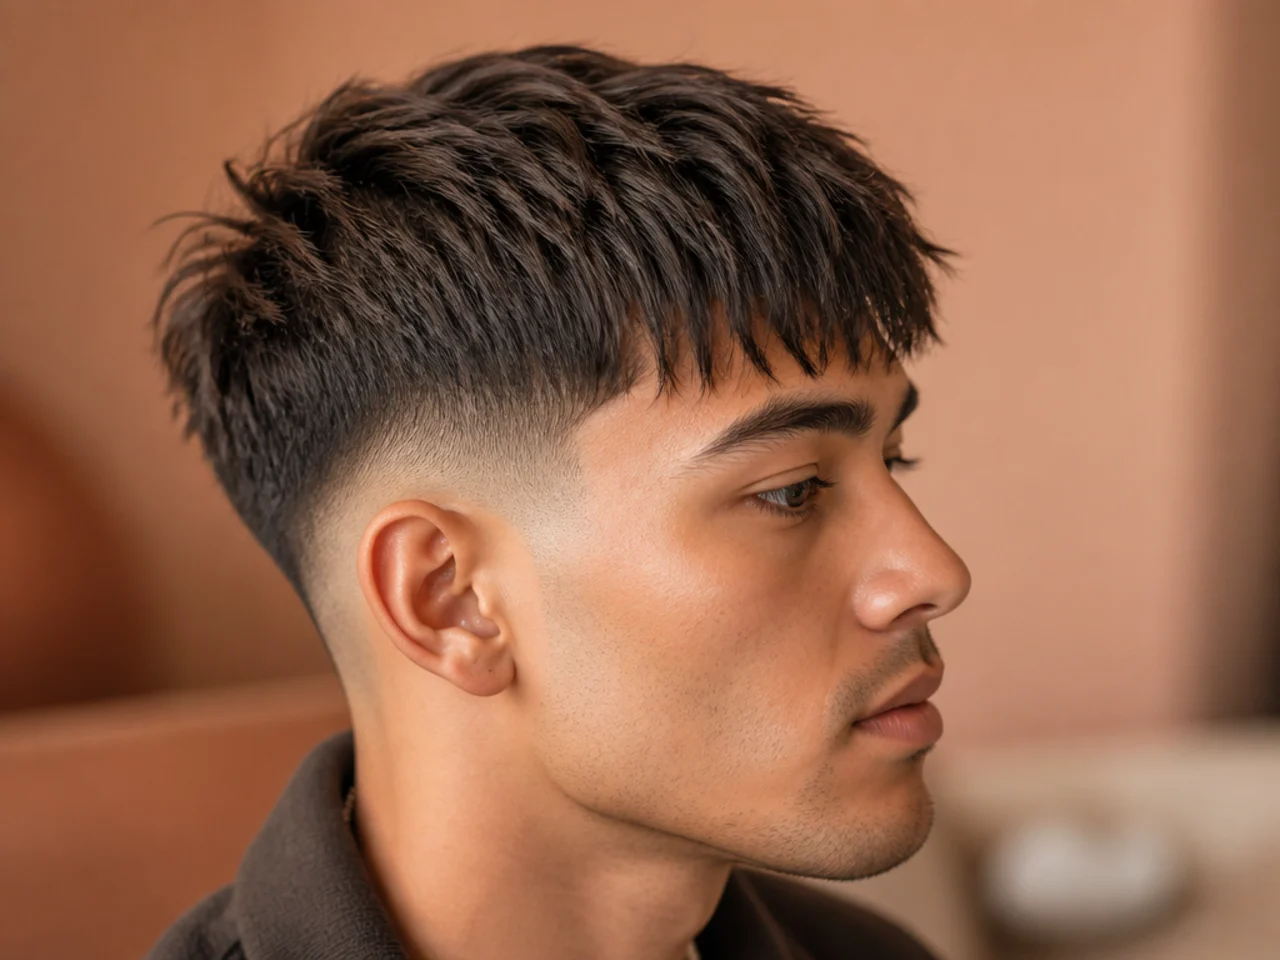
15. The Long Side-Swept Fringe
Covers the most forehead of anything here, because a diagonal travels further than a vertical. It needs product every single morning to stay on its diagonal.
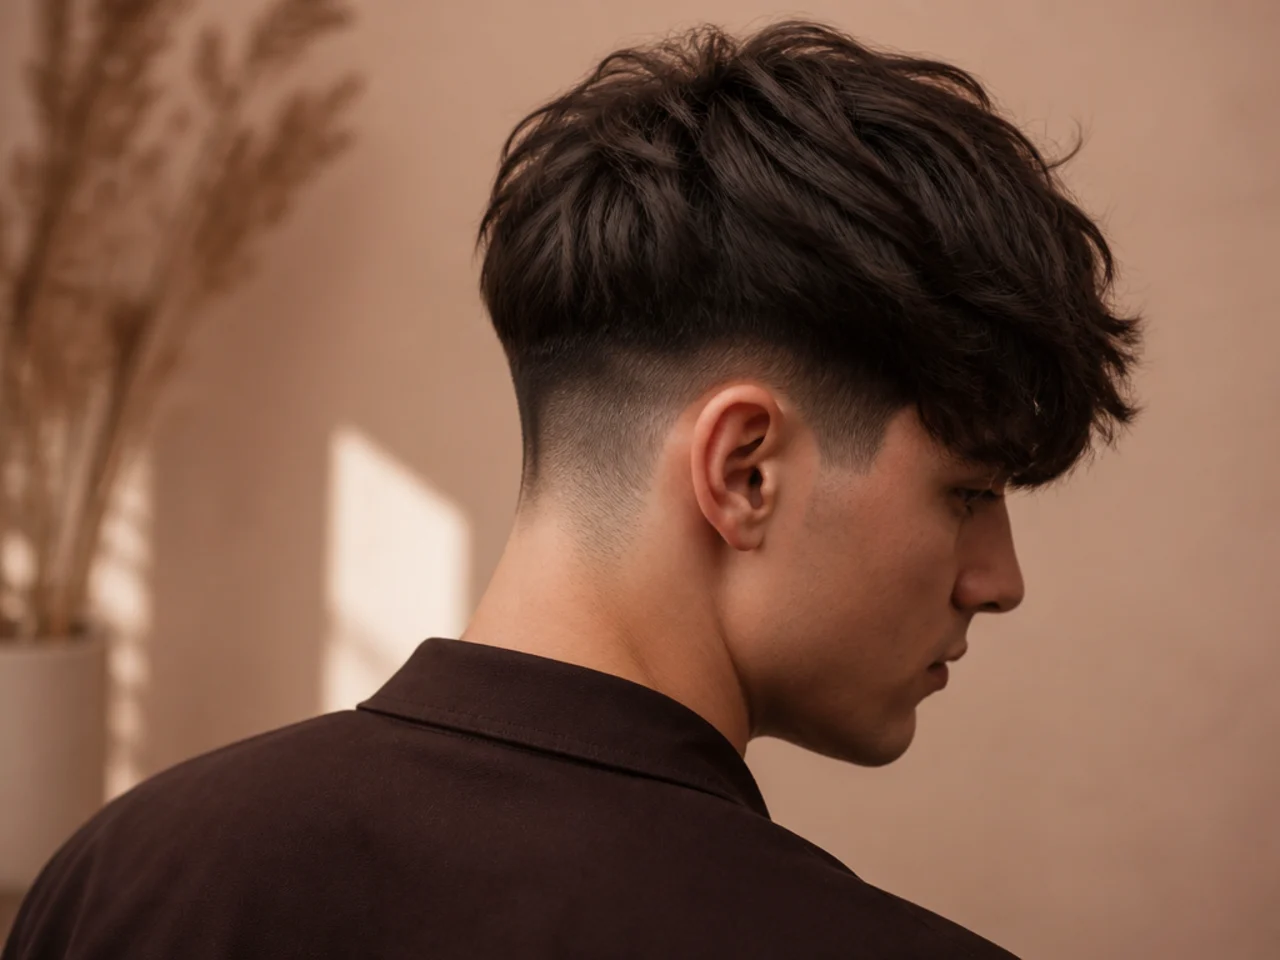
16. Fringe on a Receding Hairline
Look at where the weight sits — high on the top with short sides. That arrangement reduces the contrast that draws the eye to a recession, and it is the reason the photo works.
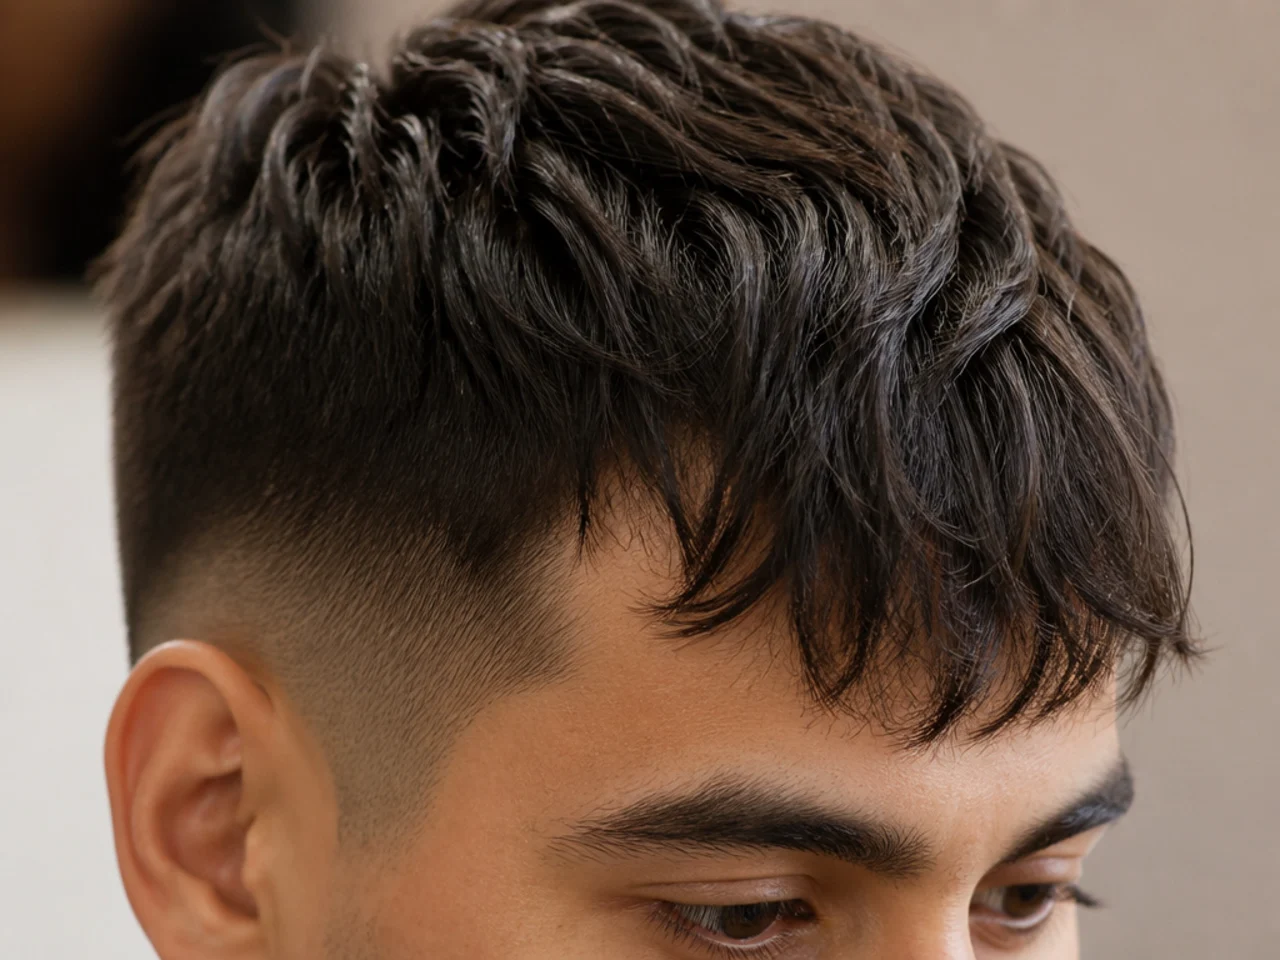
17. The Burst Fade Fringe
The fade arcs around the ear and leaves the back weight alone, pushing the silhouette forward. It is a more specific ask than most people realise from the photo.
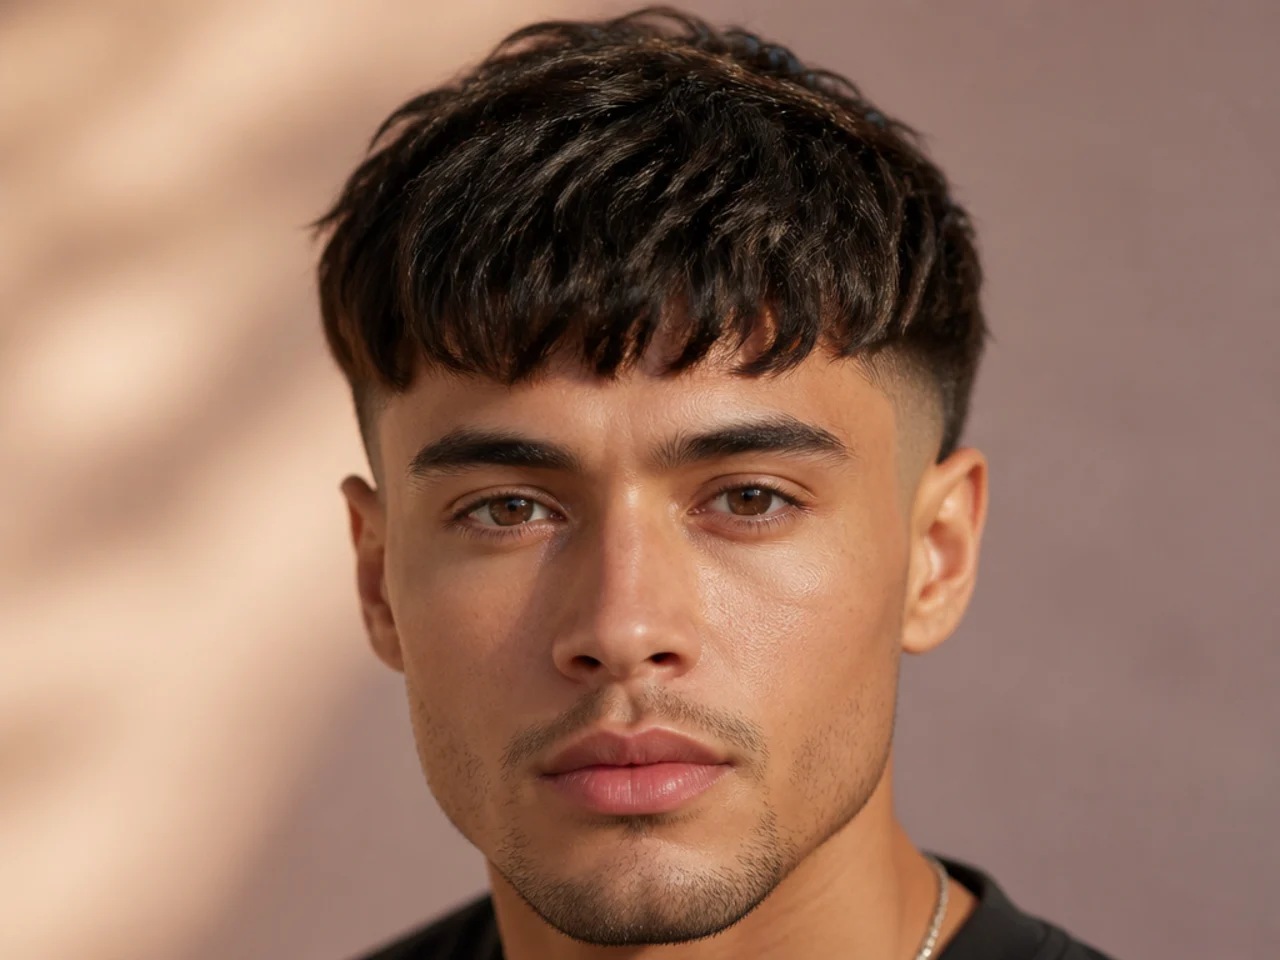
18. The Week-Four Fringe
Rare in a saved folder and the most useful image in mine. It shows what the cut becomes rather than what it was, which is what you are actually buying.
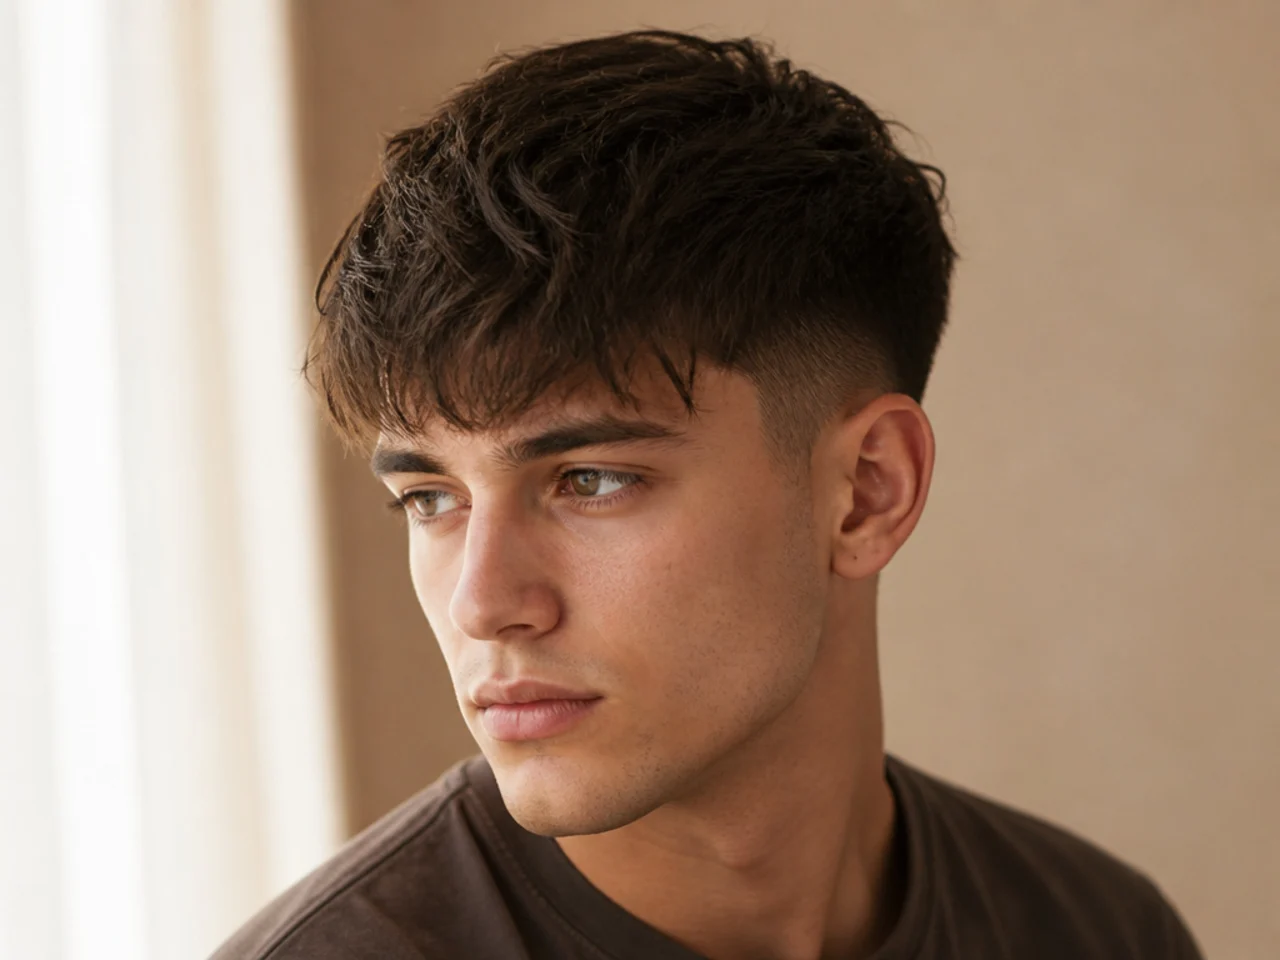
19. The Side-Profile Shot
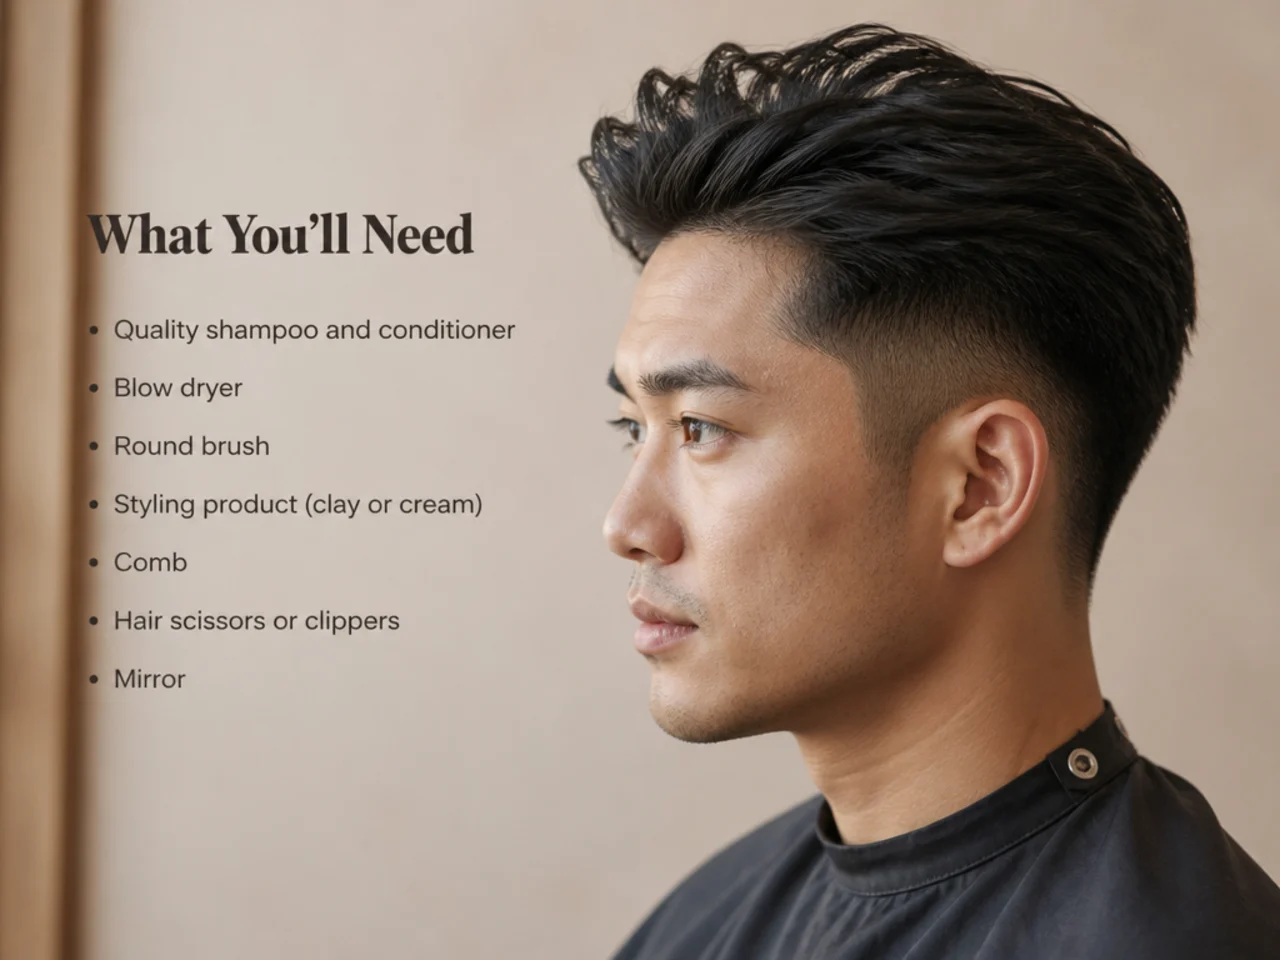
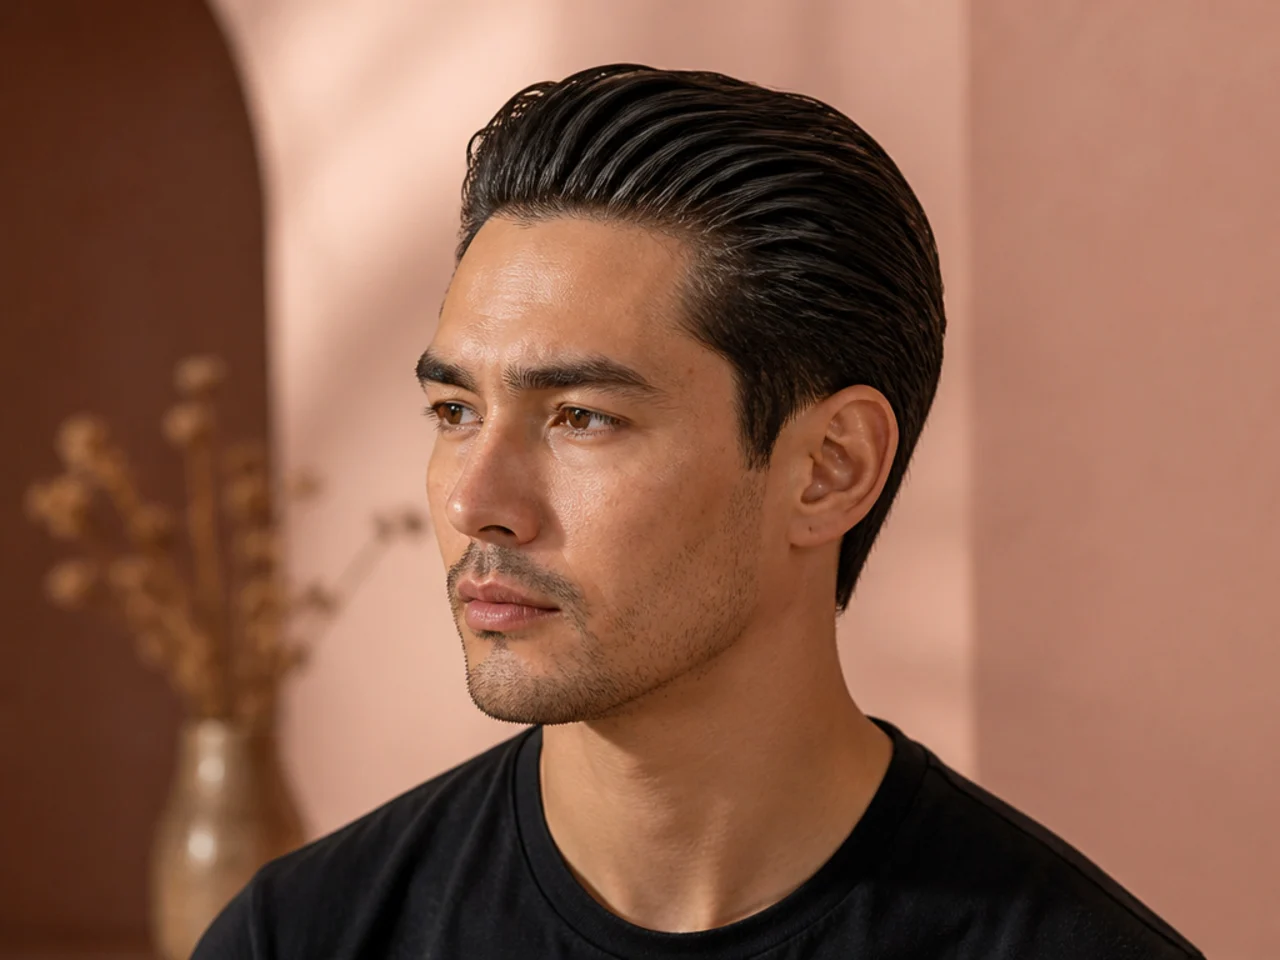
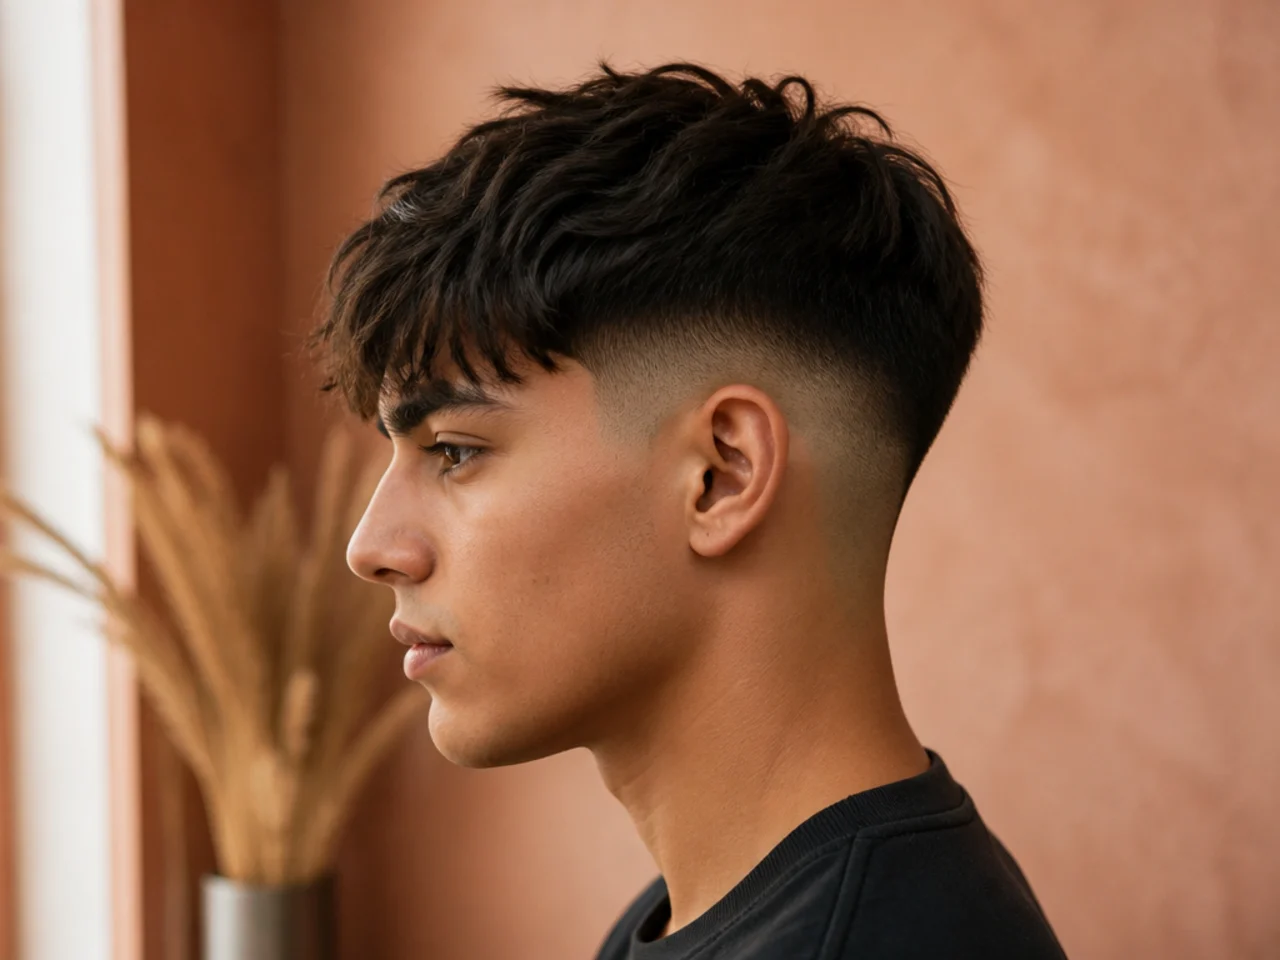
Not a style, a photograph type. A profile shows the temple corner, the fade height and the length behind the fringe, and it is worth more to a barber than five front views.
20. The One You Saved Three Times
If the same shape appears repeatedly in your folder, that is your answer. Everything else in there is a style you admire rather than a haircut you want.
Styling and Upkeep
Recreate the photo once before committing. Wet the fringe, style it forward and see how close you get.
Match the product finish, not just the shape. Matte and shine produce completely different photographs of one cut.
Take your own week-one photo. It becomes the reference for every appointment after.
Save a week-three photo too. It is the only honest record of how the cut ages.
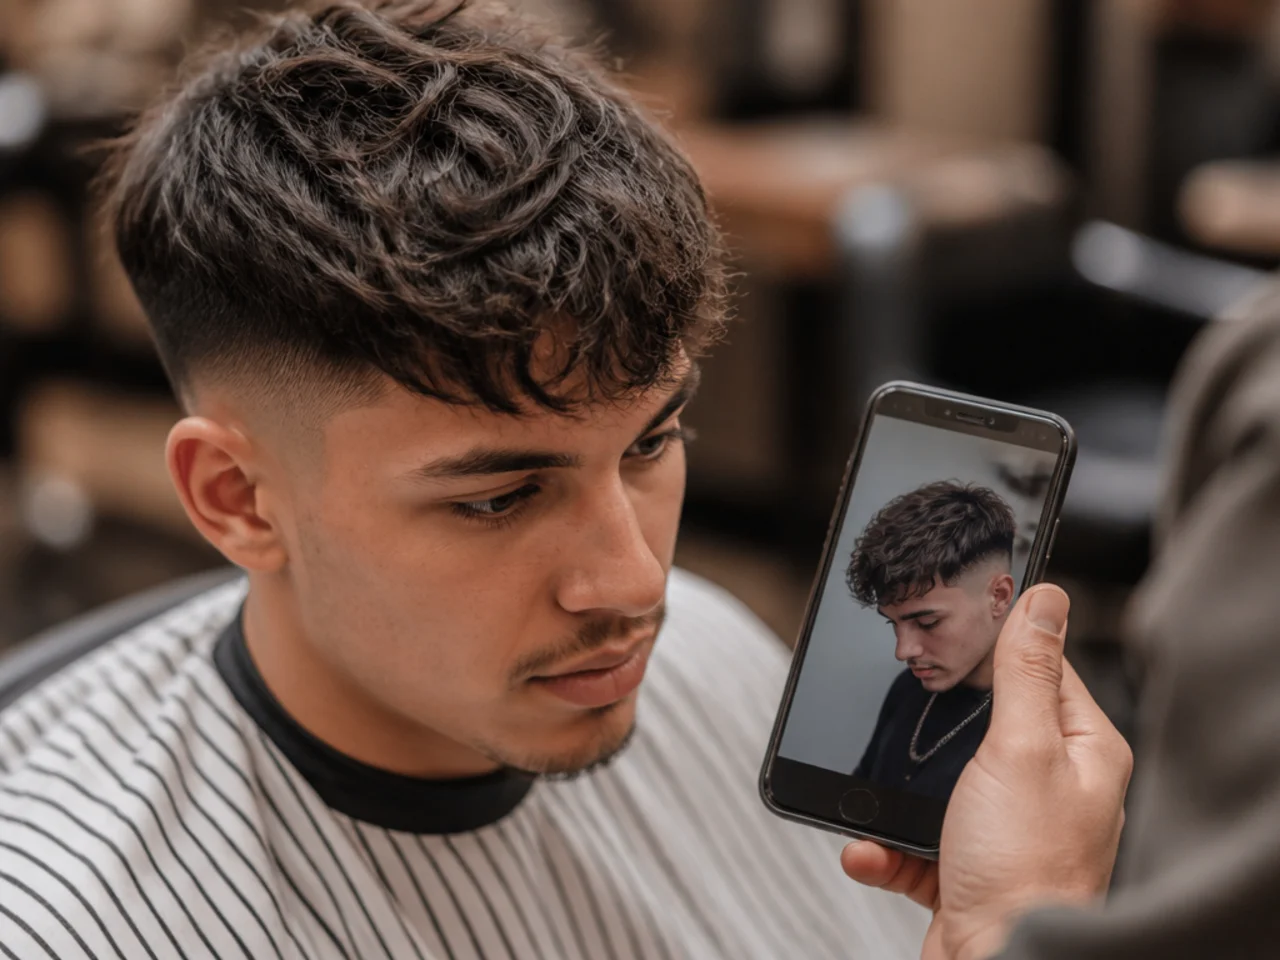
Show the barber the corner, not the whole head. Specific beats aspirational every time.
Mistakes to Avoid
Saving one photo and expecting it to be a brief. One angle hides more than it shows.
Ignoring the texture in the picture. It is doing most of the work you are attributing to the cut.
Copying a wet-hair image. Wet is the longest hair will ever look.
Assuming the sides are a fade. Half of them are two-blocks, which behave differently as they grow.
Bringing a photo without knowing your booking rhythm. The picture cannot tell you whether you can maintain it.
FAQ
Why does it never look the same on me? Different texture, professional blow-dry, week-one photo.
What should I show the barber? The side profile, and the corner where the fringe meets the temple.
How do I spot a high-maintenance photo? A blunt edge plus bare skin at the sides.
Final Thoughts
Go through your own folder and throw out everything that only exists at week one on somebody else's hair. What remains will usually be two or three variations of the same shape, and that shape is the haircut you should be booking.
For the full range of the cut see fringe haircuts for men, and for the version most of these photos are actually showing see the textured fringe. More in Men's Haircuts.