20 Curly Hair Sketch Ideas and How to Draw Every Curl Type
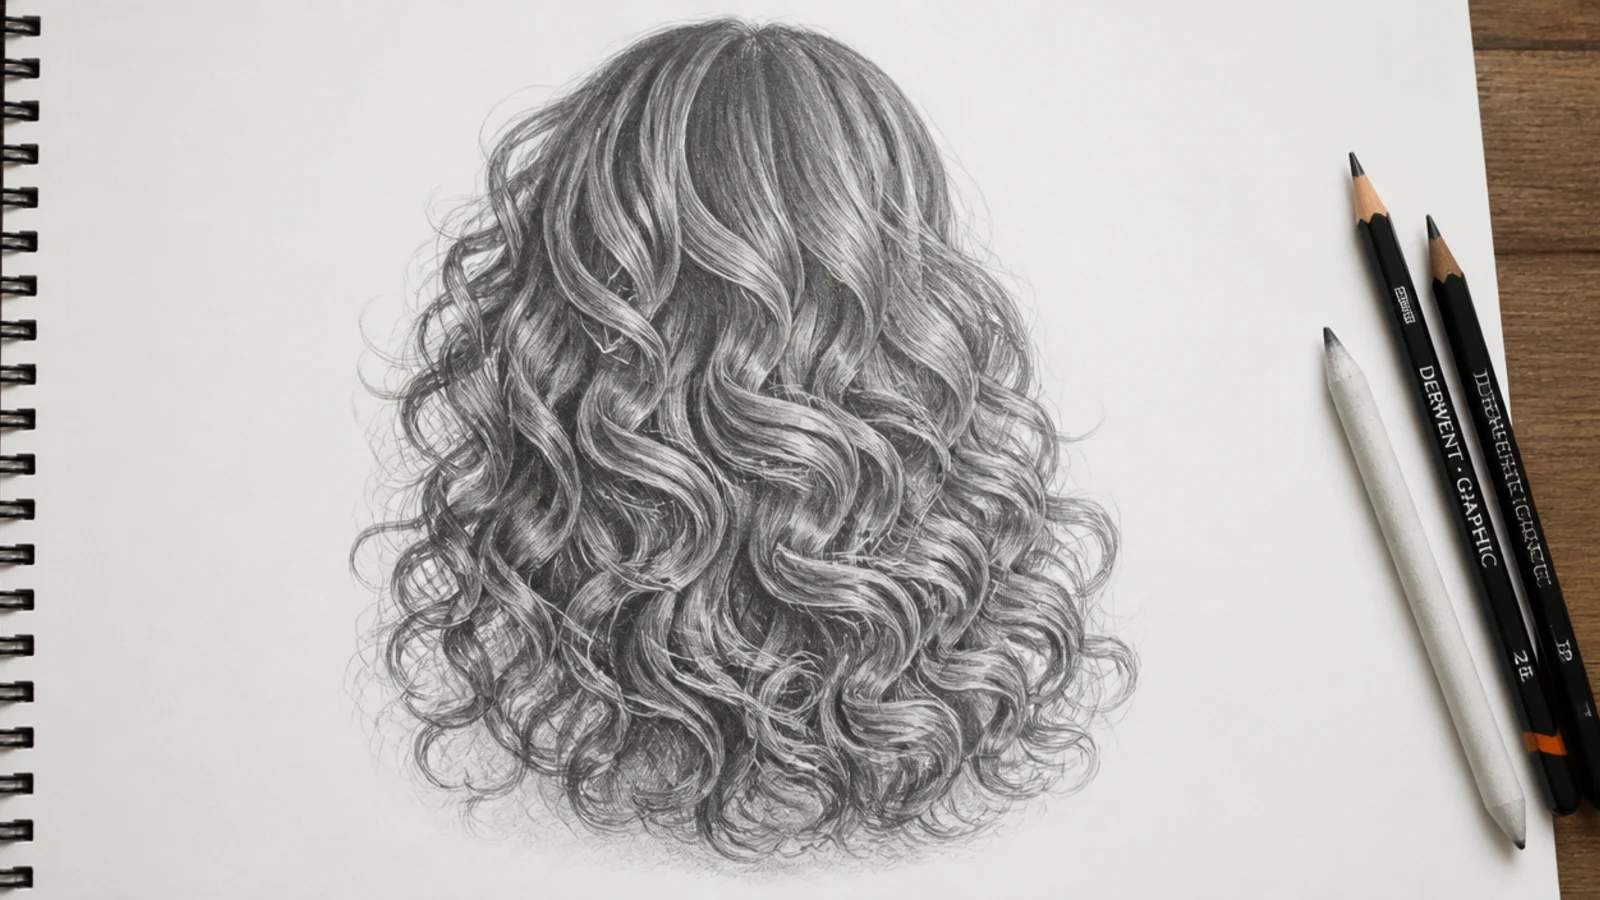
Twenty curly hair sketches built on one idea. A curl is a ribbon travelling through space, not a spiral drawn flat on the page, and once you draw the two faces of that ribbon separately the whole texture stops looking like wire.
In this article · 28
- Pencils Paper and Tools
- Starting the Silhouette
- The Zigzag Guideline Method
- Shading Curls as Ribbons
- Using References
- Common Mistakes and Fixes
- The 20 Curly Hair Sketches
- 1. Type 2A Beach Waves
- 2. Type 2B Wavy Lob
- 3. Type 2C Deep S Wave
- 4. Type 3A Loose Spirals
- 5. Type 3B Ringlets
- 6. Type 3C Corkscrews
- 7. Type 4A Coily Afro
- 8. Type 4B Zigzag Coils
- 9. Type 4C Sponge Coils
- 10. Curly Half Up Bun
- 11. Curly Ponytail From Behind
- 12. Wind Blown Curls
- 13. Wet Look Curls
- 14. Curly Bob
- 15. Curly Curtain Bangs
- 16. Male Curly Top
- 17. Curls on a Dark Background
- 18. Blonde Curls
- 19. Silver Curls
- 20. Monoline Curls
- Final Thoughts
Curly hair goes wrong in pencil for one reason, and it is not the number of curls.
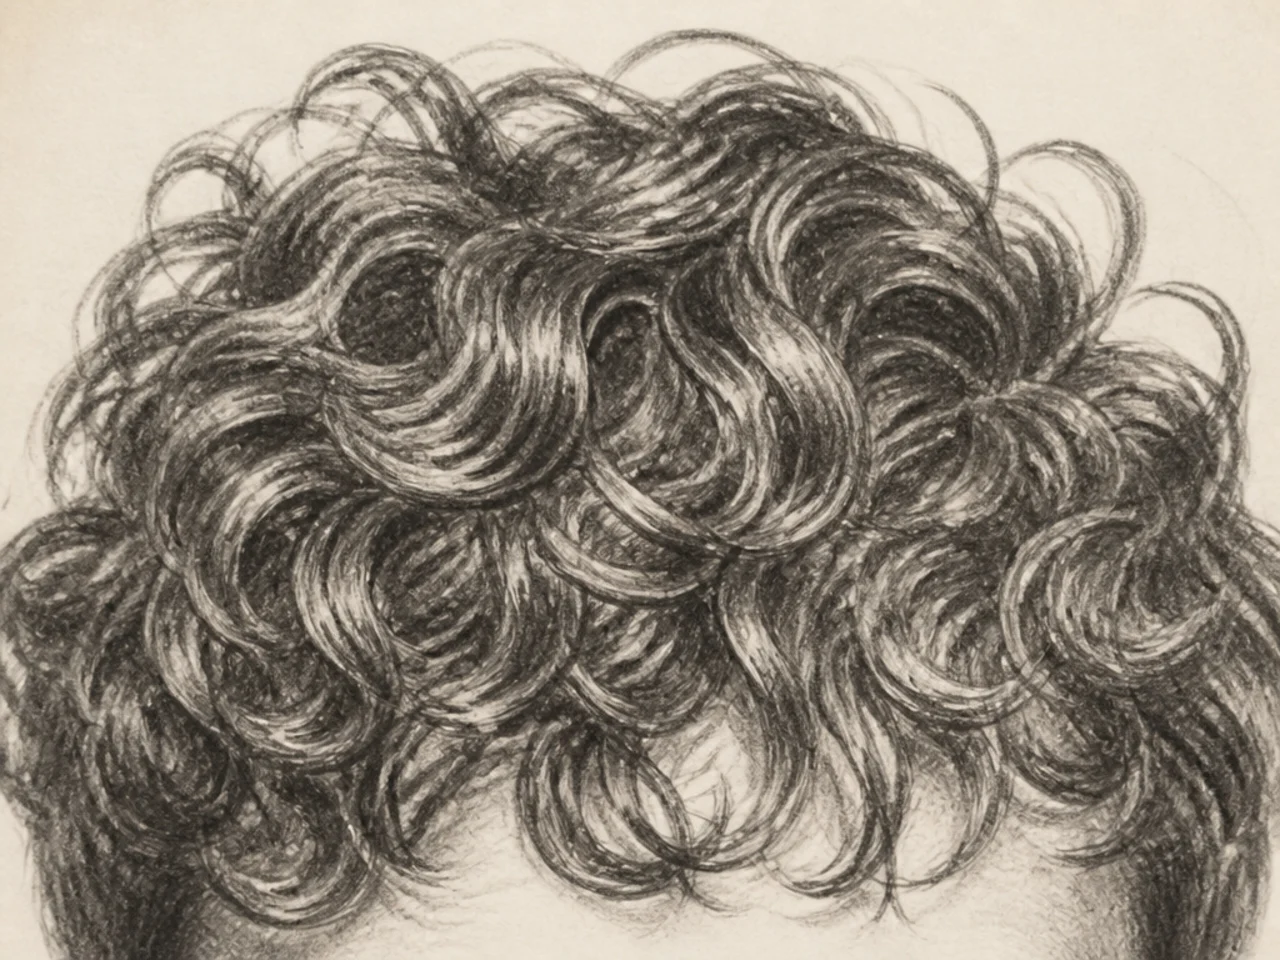
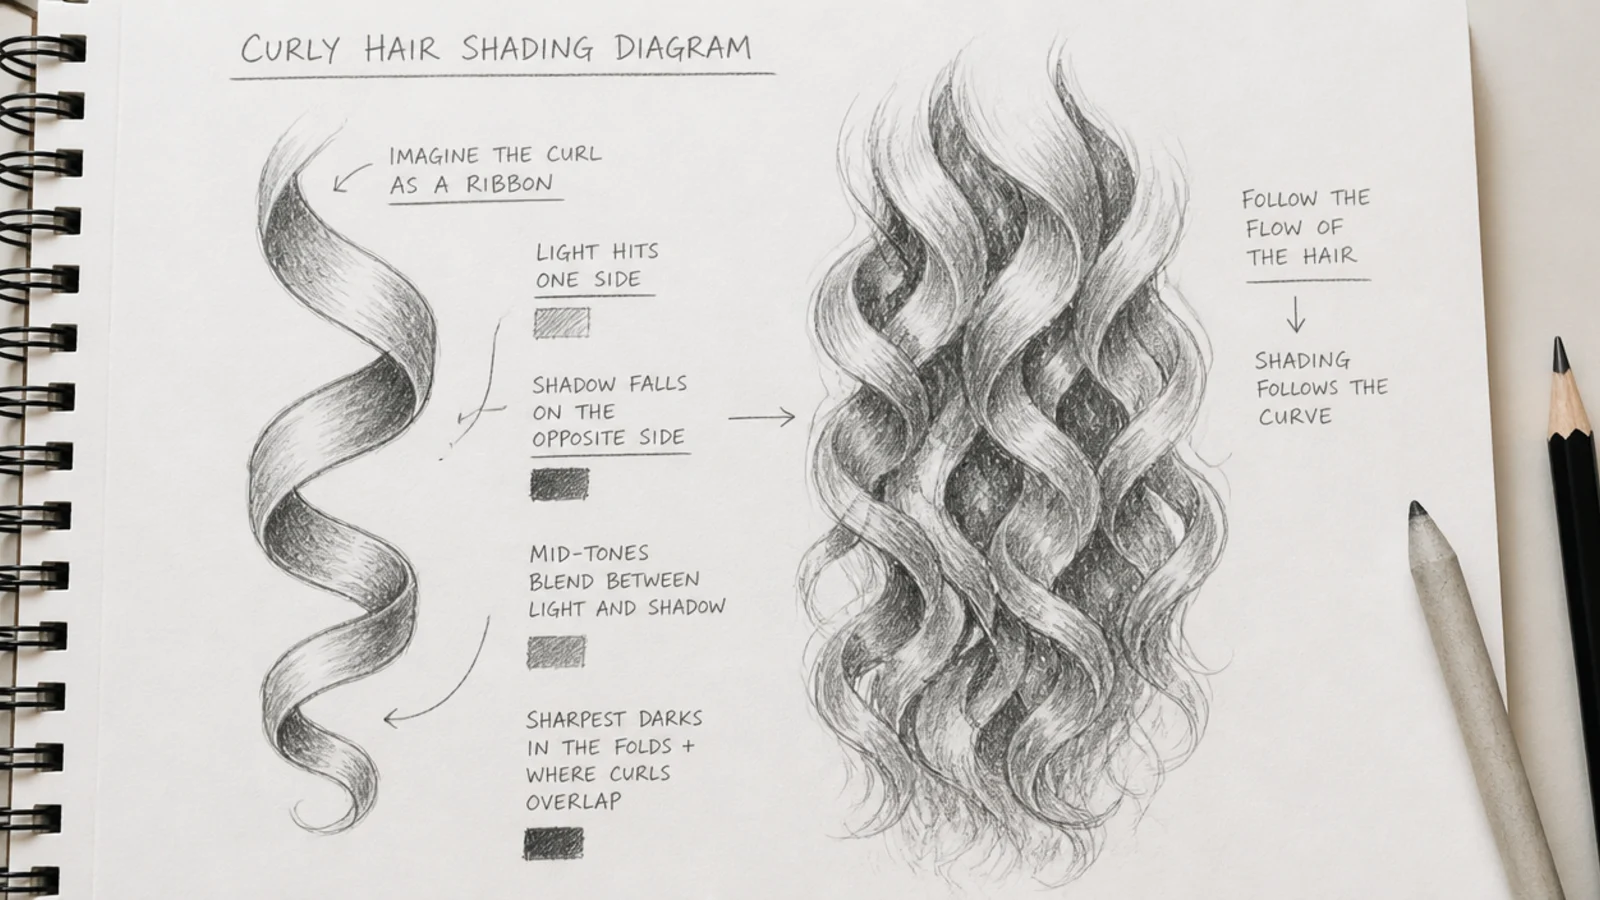
A curl is a ribbon, not a line. It turns through space showing its outer face, its edge and its inner face in turn, and those three states are three different values.
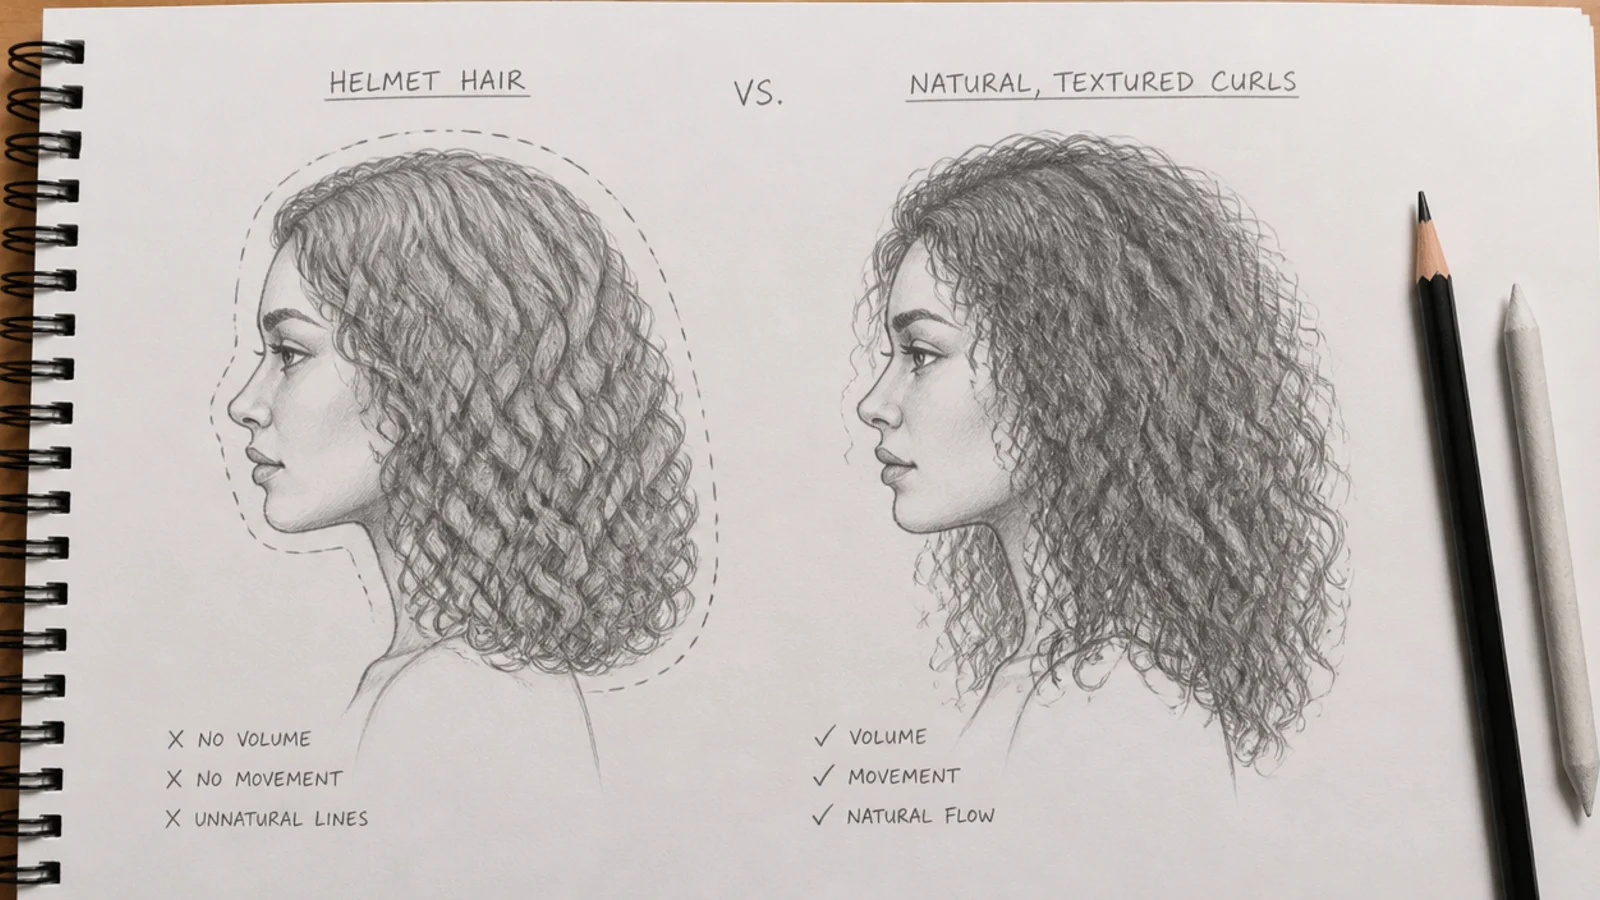
The silhouette identifies the curl type, not the interior. An outline of the right irregularity reads as 3B from across a room, while a hundred carefully drawn spirals inside a smooth outline never will.
Pencils Paper and Tools
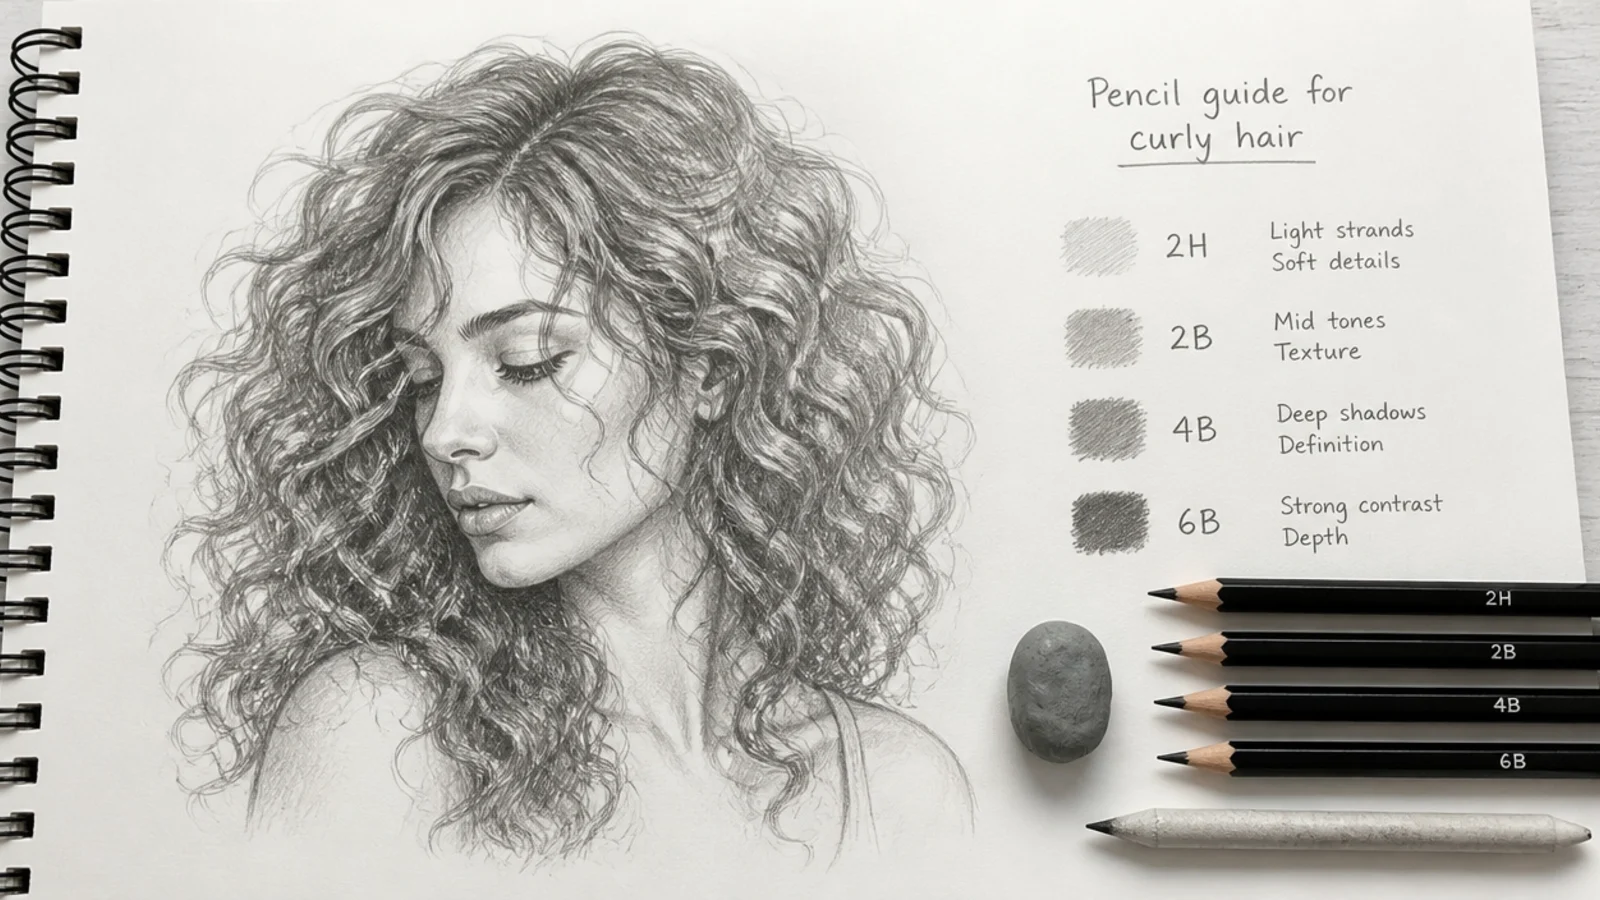
HB for the guidelines. The zigzag spines that every curl is built on have to disappear later, so keep them faint enough to lift with a kneaded eraser.
2B to 4B for the mass. Soft grades lay an even mid tone quickly, which is what the interior of a curly head mostly is.
A 6B for the gaps. The darkest values in a curly drawing sit between the curls rather than on them, and those gaps are what make the front curls come forward.
A kneaded eraser with a point. Highlights on curls are small and broken, so they are lifted out one at a time rather than drawn around.
Smooth paper and a sharp point. A ribbon edge has to stay crisp along its whole turn, and a toothy surface breaks that edge into dots halfway round.
Starting the Silhouette
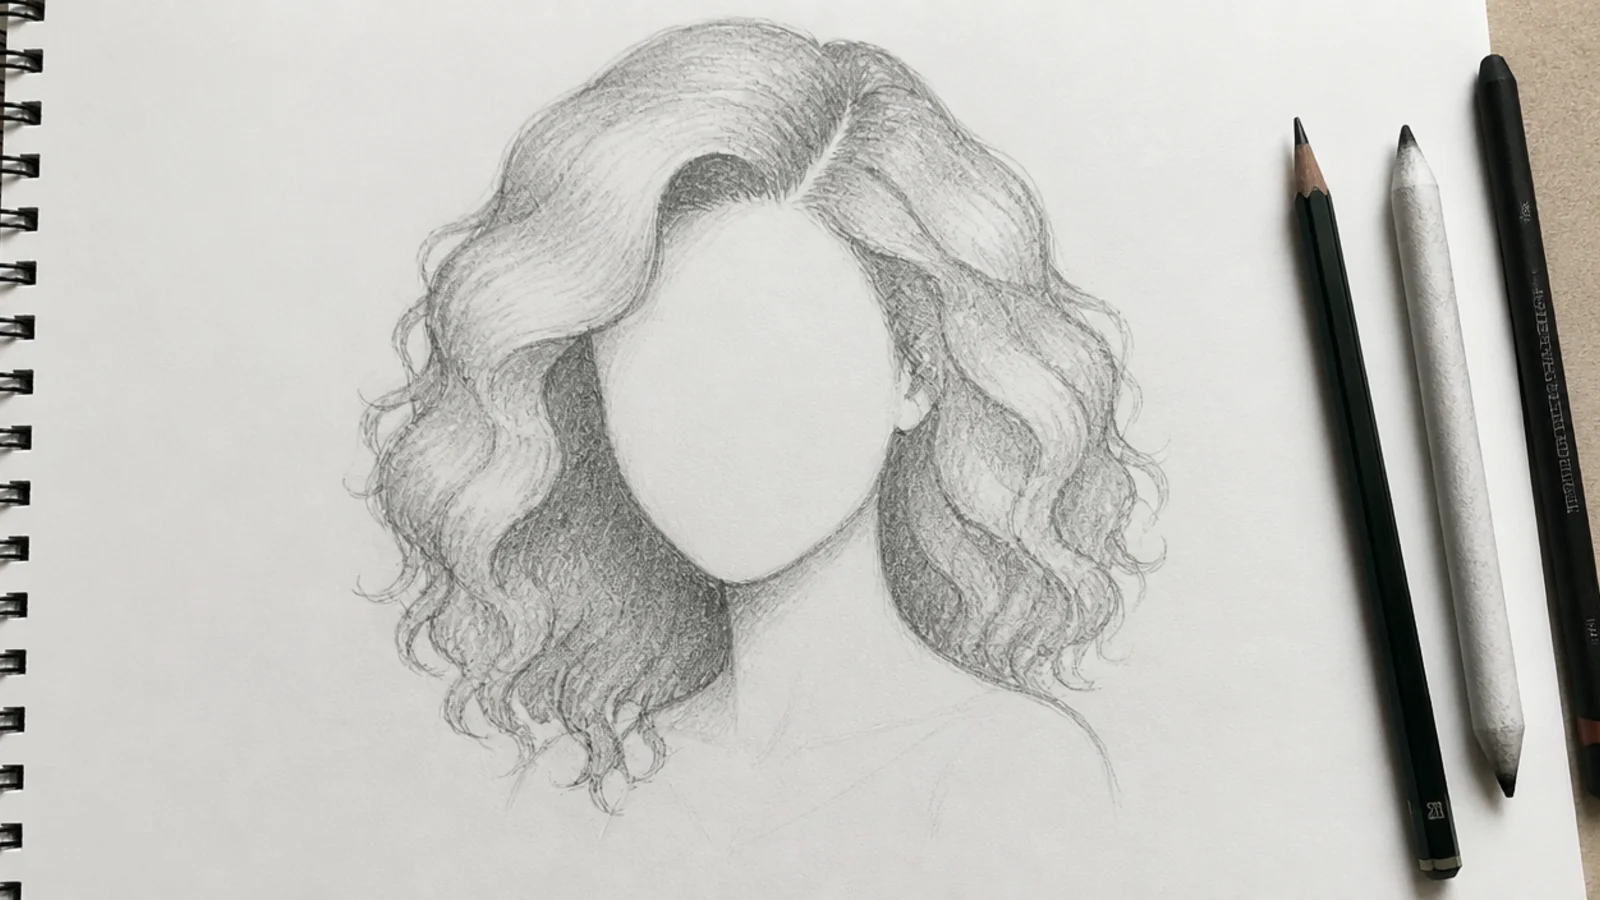
Leave a large gap. Curly hair sits much further off the scalp than straight hair, and a tight pattern can add a third of the head width all the way round.
Make the outline irregular on purpose. Bumps of different sizes at different intervals. A compass-smooth arc reads as a hat regardless of what is drawn inside it.
Find the widest point and place it deliberately. In a curly bob it usually lands near the cheekbone, and where you put it changes the whole face shape the drawing implies.
Block the mass before any curl. One outline, one flat tone, then carve into it. Building a head out of individual curls produces a shape nobody planned.
The Zigzag Guideline Method
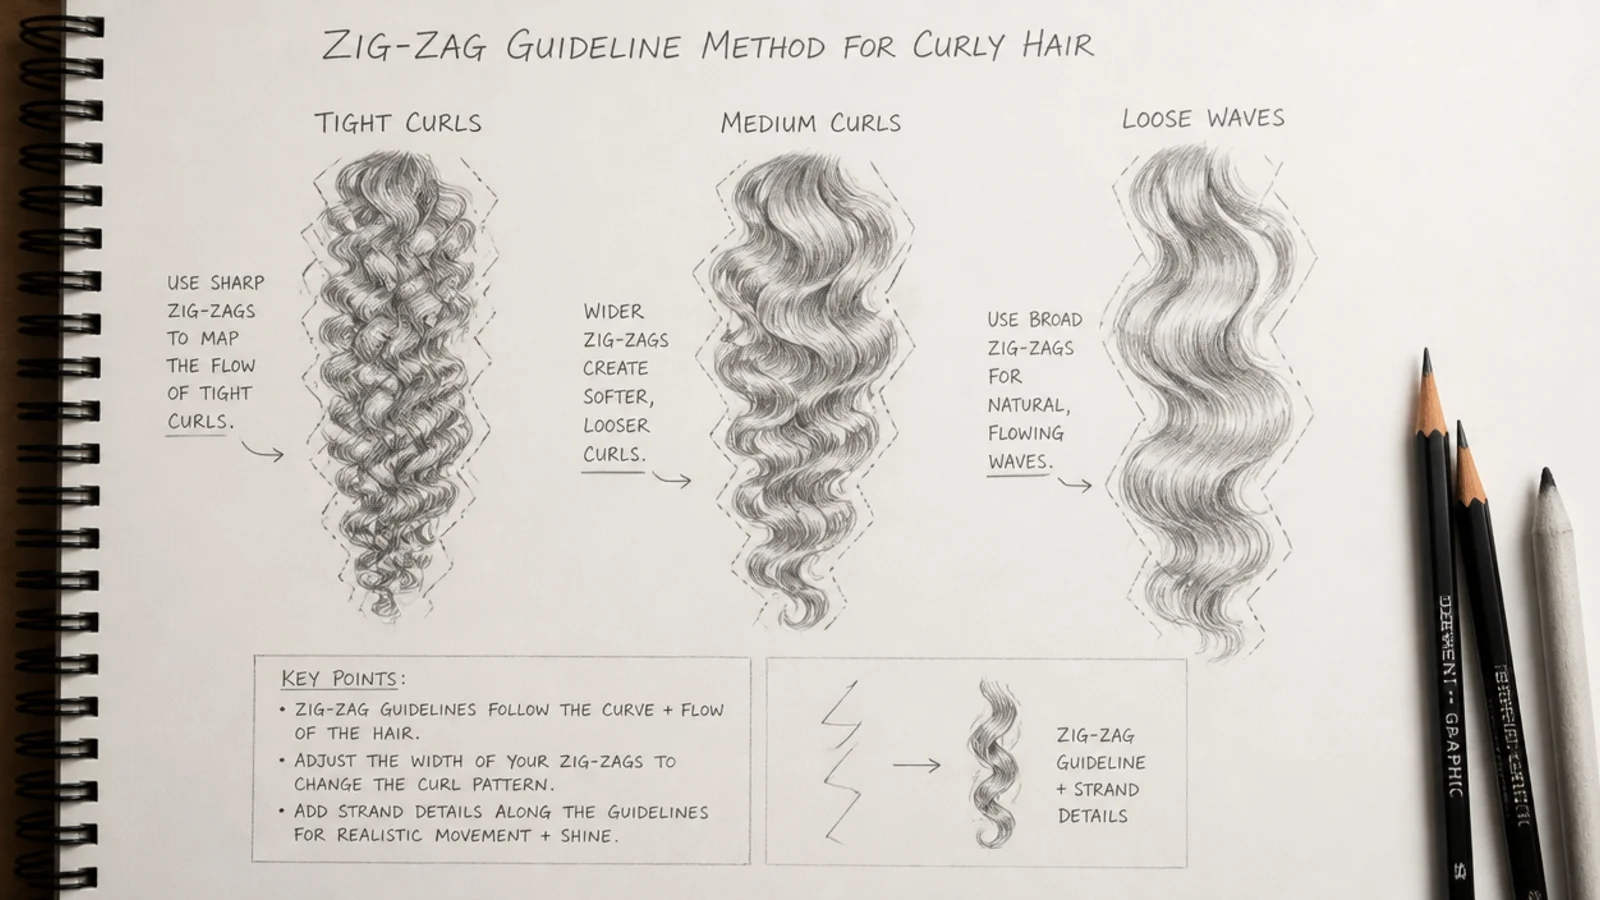
Draw the spine first. A light zigzag running down the path a section takes, before any width is added.
Each corner is a face change. Where the zigzag turns, the ribbon flips from showing its outer surface to showing its inner one, which tells you exactly where the value has to jump.
Wavelength and amplitude set the type. Long and shallow gives a beach wave; short and deep gives a corkscrew. Changing those two numbers is the entire difference between a 2A drawing and a 3C one.
Keep the spine consistent within a head. The most common failure in a curly sketch is curls of random sizes, and a guideline drawn at one wavelength prevents it before it starts.
Shading Curls as Ribbons
Outer face light, inner face dark. The inside of a turn faces away from the light and is partly shadowed by the curl itself, so it is almost always the darker of the two.
The edge is a hard thin line. Where the ribbon turns side on it collapses to almost no width, and drawing that pinch is what convinces the eye the shape has thickness.
Highlights are short and broken. A curly surface is dozens of small curved mirrors, so it produces a dotted trail of highlights along the crown rather than the single band a straight head gives.
Darkest between, not on. Push the 6B into the gaps where one curl passes behind another, and leave the curls themselves in the mid range. That is where the depth comes from.
Using References
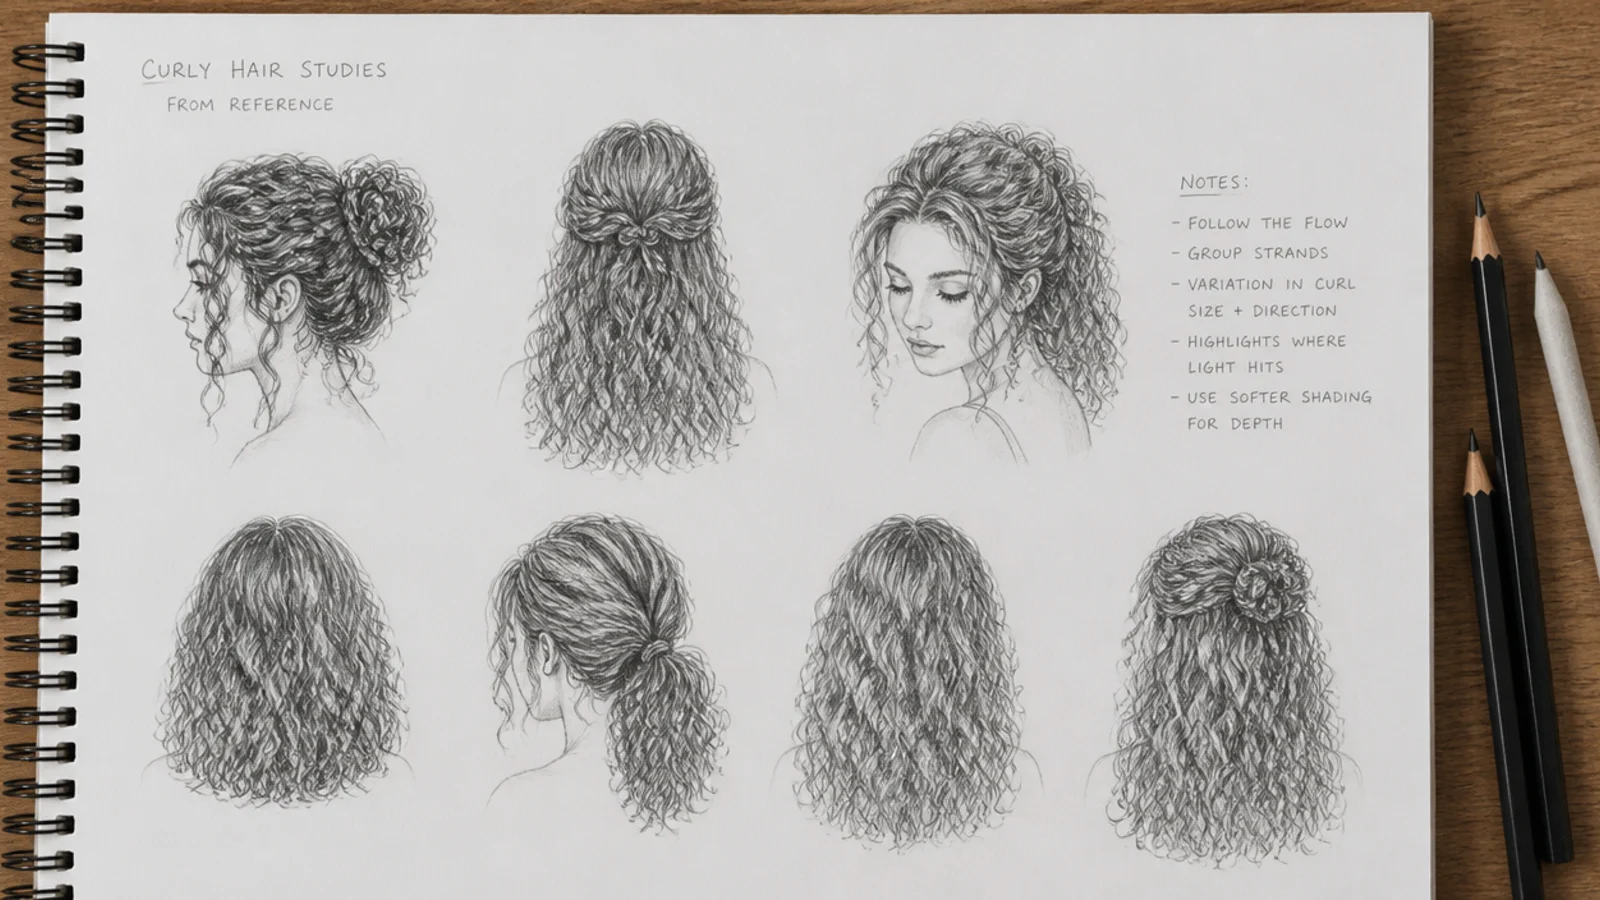
Look at how curls clump. They never sit as isolated spirals — they gather into groups of similar width, and the group is the unit worth drawing.
Squint at the photograph first. Squinting removes the curls and leaves the mass, which is the shape you should be blocking in before any detail.
Then zoom in on one curl. Draw it large enough to see the face change, so you know what you are abbreviating when you shrink it back down.
Draw the same section at three sizes. Palm size, thumbnail and postage stamp. What survives at the smallest size is what actually communicates curl.
Common Mistakes and Fixes
Spirals drawn as flat loops. The telephone cord effect. Fix it by shading the inner face darker on every turn.
Every curl the same diameter. Real hair varies across a head, and a uniform pattern reads as a wig. Change the diameter slightly near the face and at the nape.
A smooth outline. The single fastest fix in this whole article is to go around the silhouette and break it with bumps of unequal size.
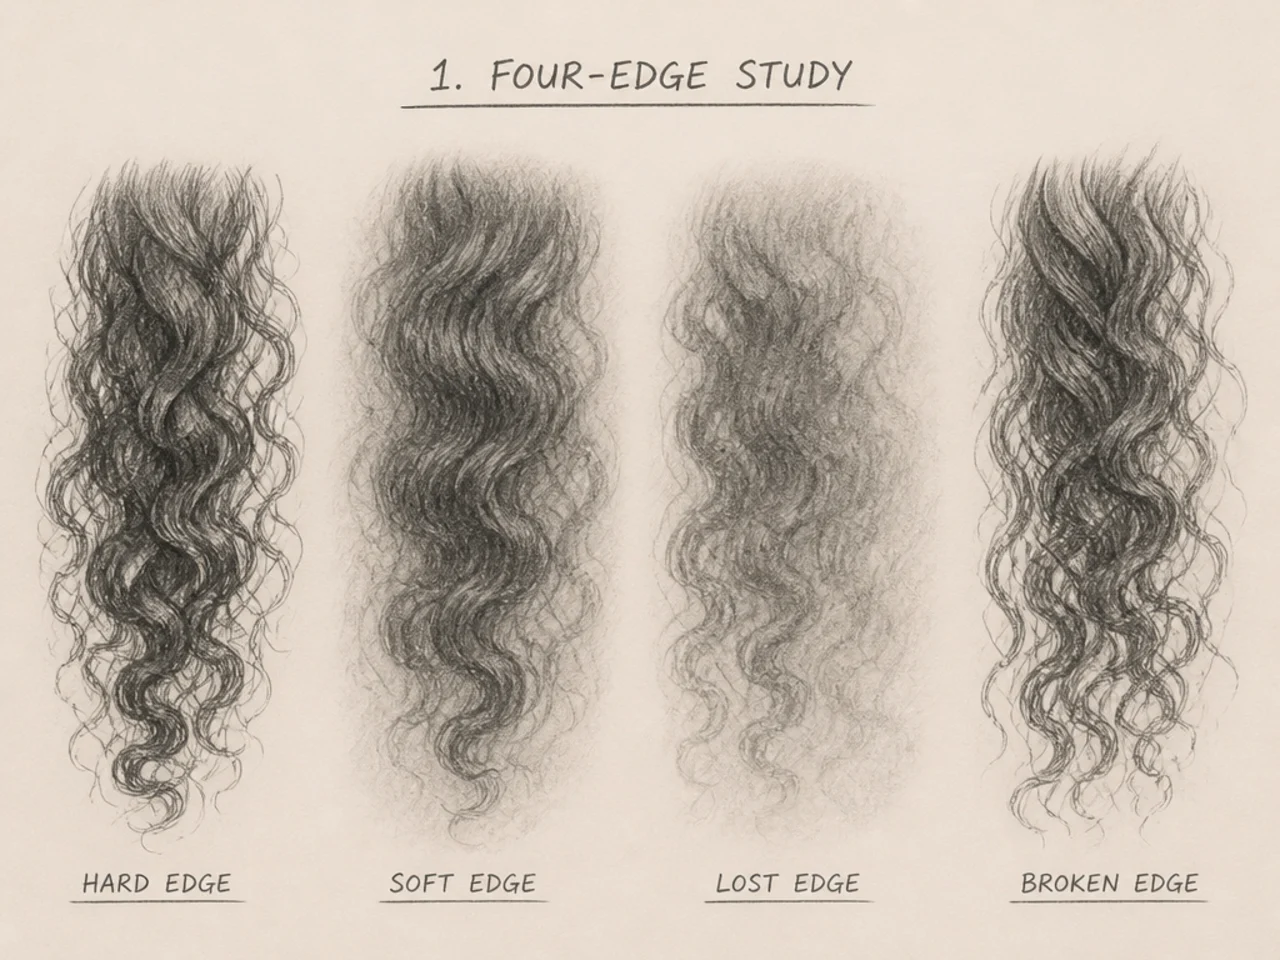
Uniform detail across the mass. Resolve six to ten curls and let the rest sit as tone, since depth comes from some things being sharp and others not.
No dark anywhere. Curly hair has deep gaps in it, and a drawing that never goes past mid grey stays flat however many curls it contains.
The 20 Curly Hair Sketches
1. Type 2A Beach Waves
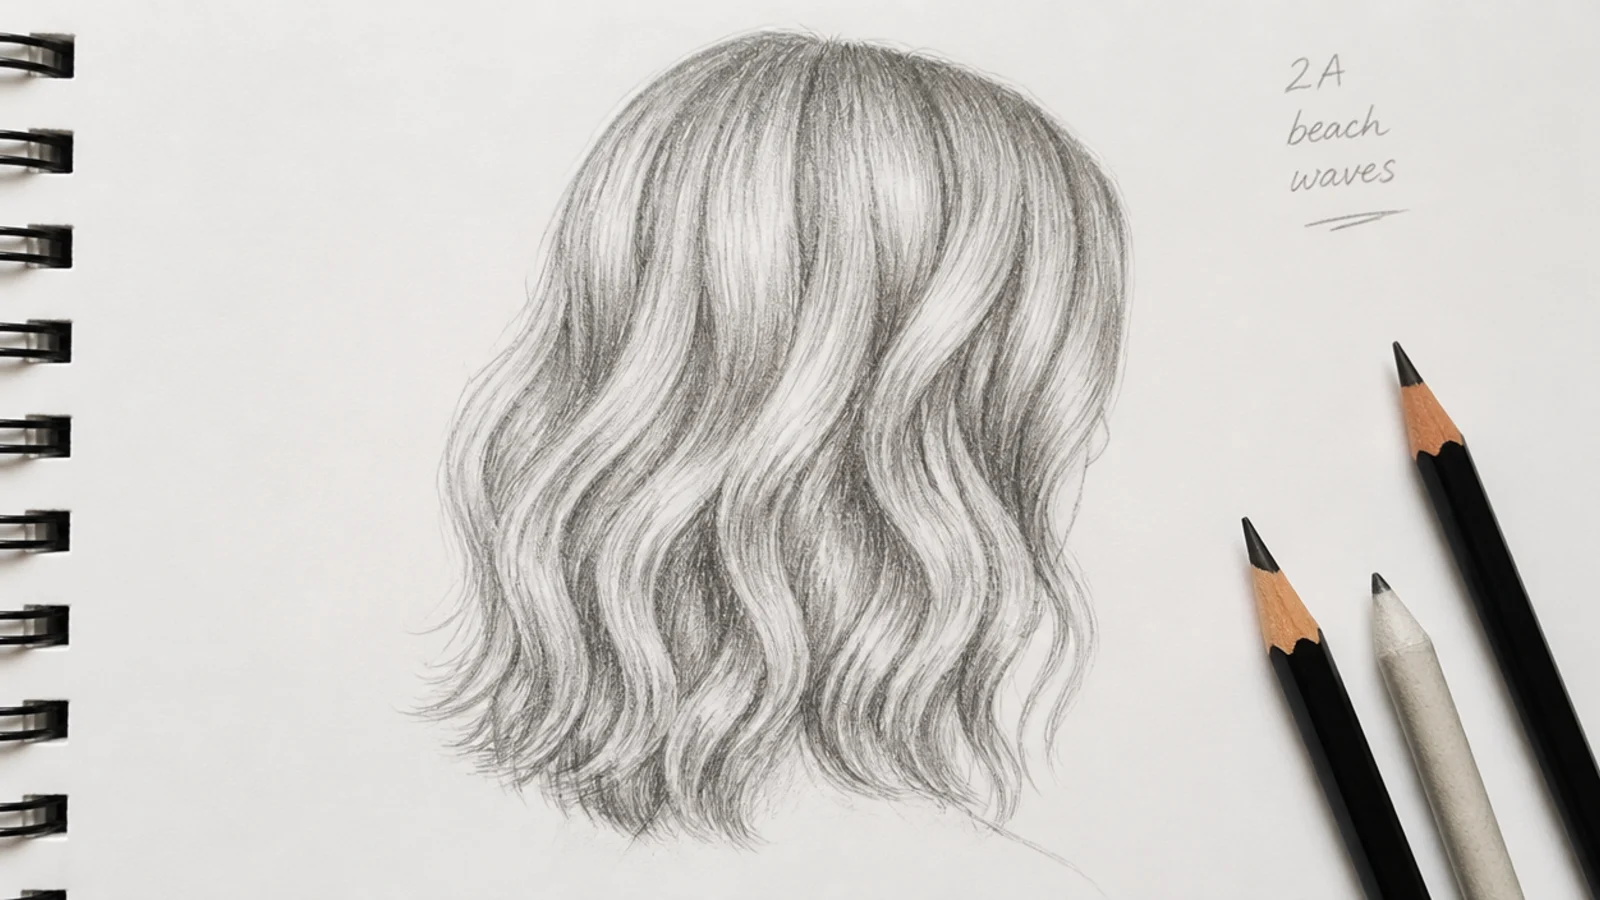
The wavelength is long and the amplitude shallow, so the spine looks more like a lazy S than a coil and the ends stay close to straight. Drawing the bend too tight jumps the hair two whole categories, which is why this type is usually drawn as a 2C by accident.
2. Type 2B Wavy Lob
The wave begins around the eye line rather than at the root, so the top of the head stays comparatively flat and the shape widens lower down. A lob perimeter adds weight to the ends, which stretches the last turn and keeps the silhouette heavier at the jaw.
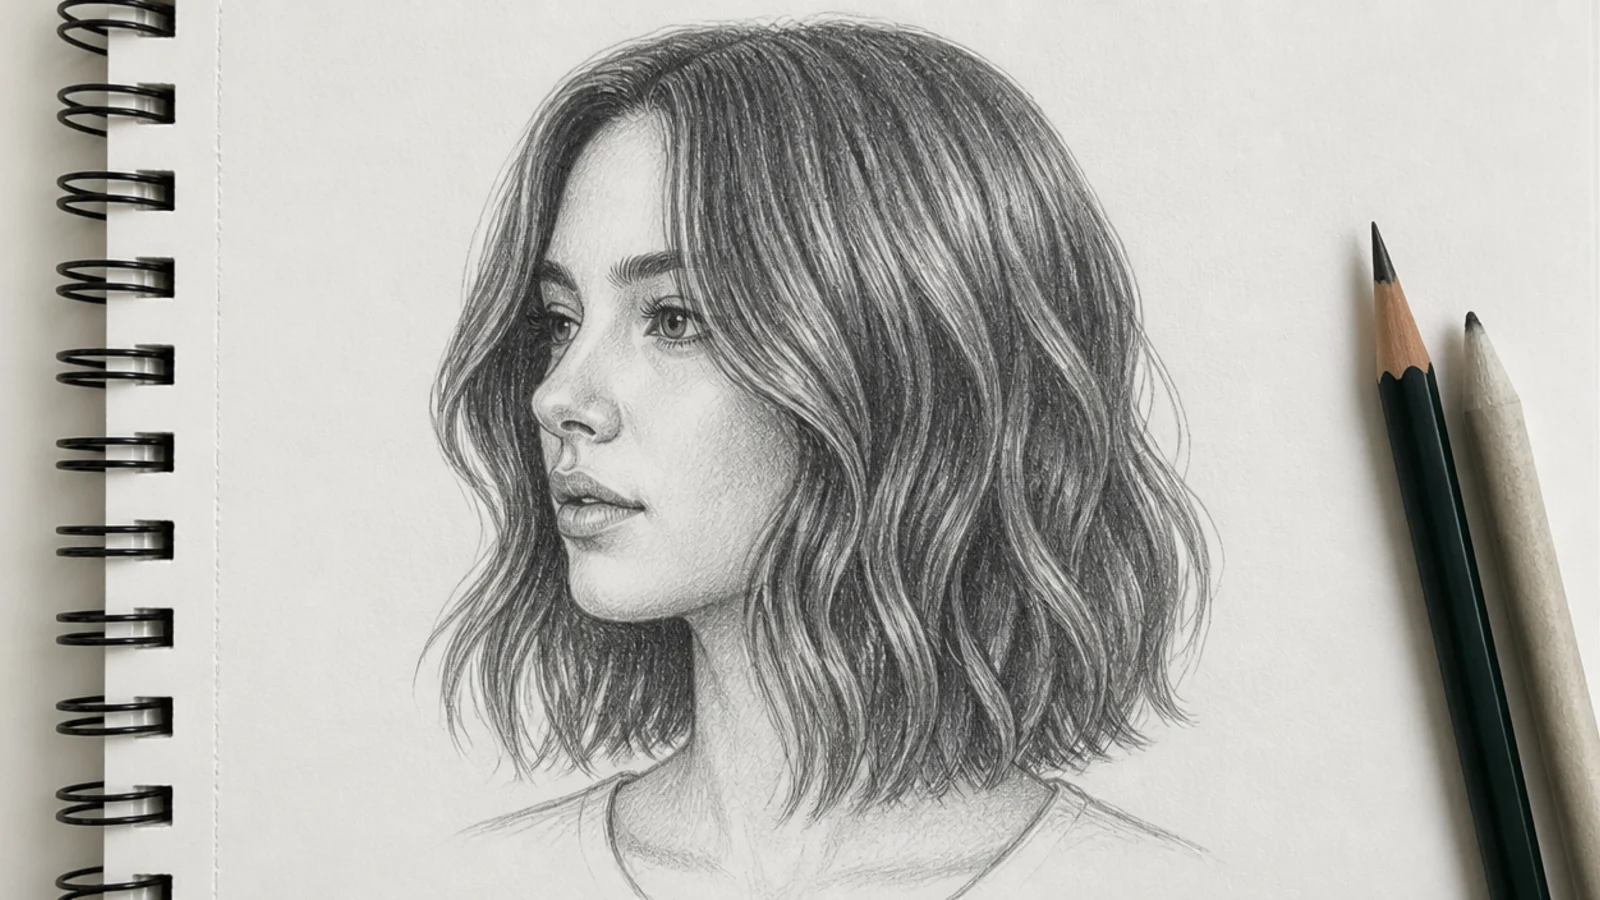
3. Type 2C Deep S Wave
The amplitude increases and the first bend moves up towards the root, and this is the first type where a section clearly shows a front and a back face. From here onwards line work alone stops working and the ribbon shading has to start.
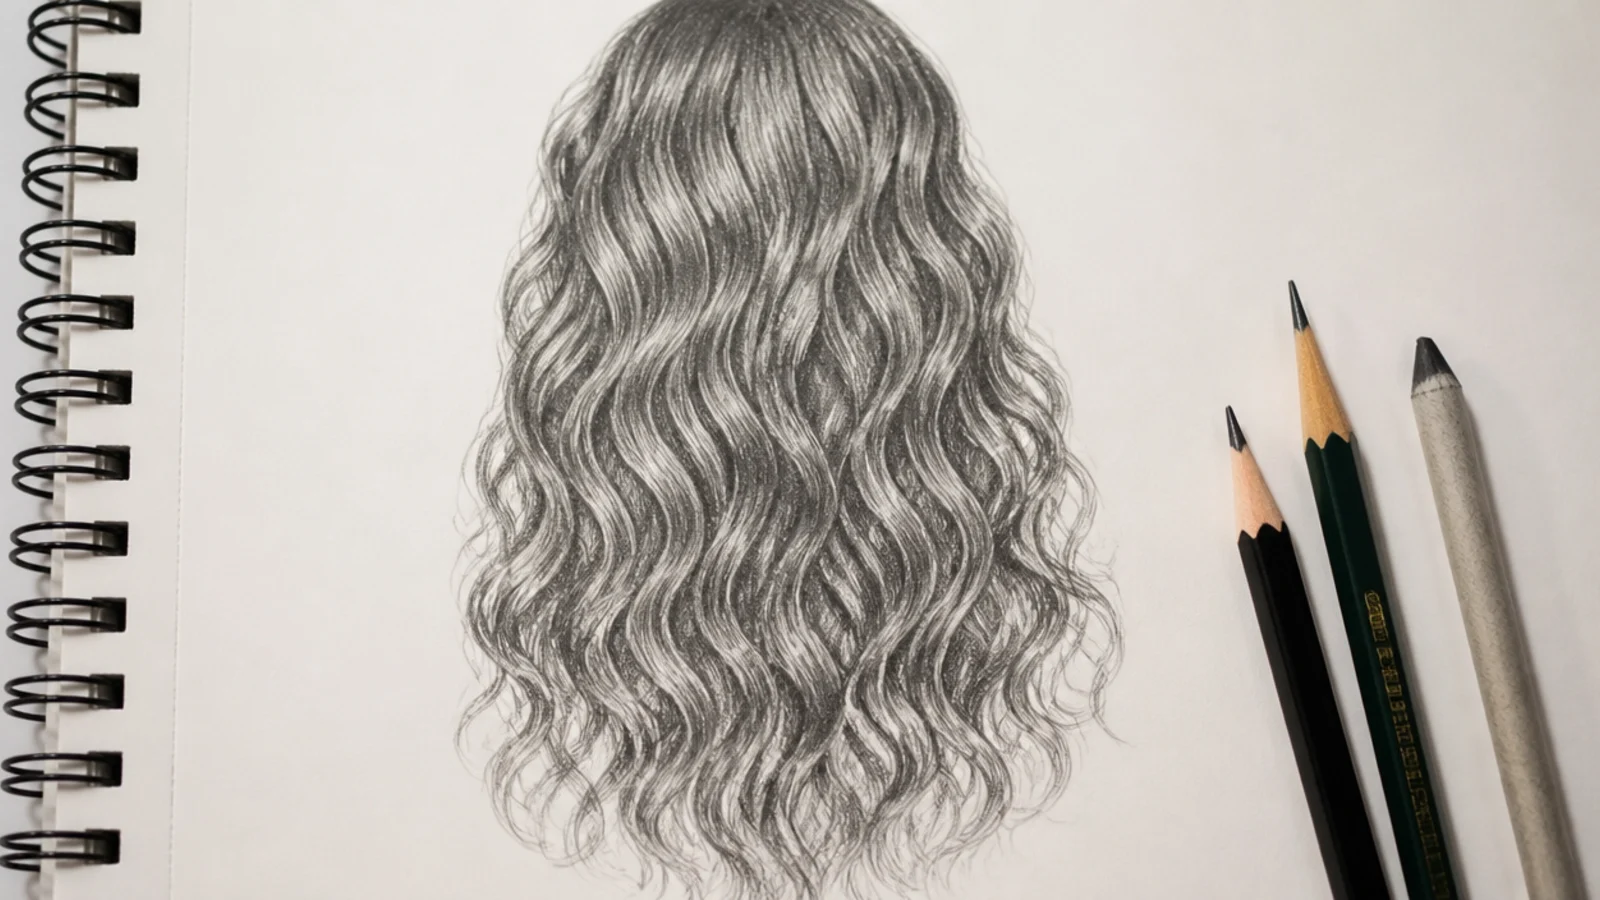
4. Type 3A Loose Spirals
The spine stops being a wave and becomes a helix, so each curl is drawn as a stack of ellipses that narrow as the coil turns away from you. The diameter is roughly that of a marker pen, and holding one diameter across the head is what makes the pattern read as a type.
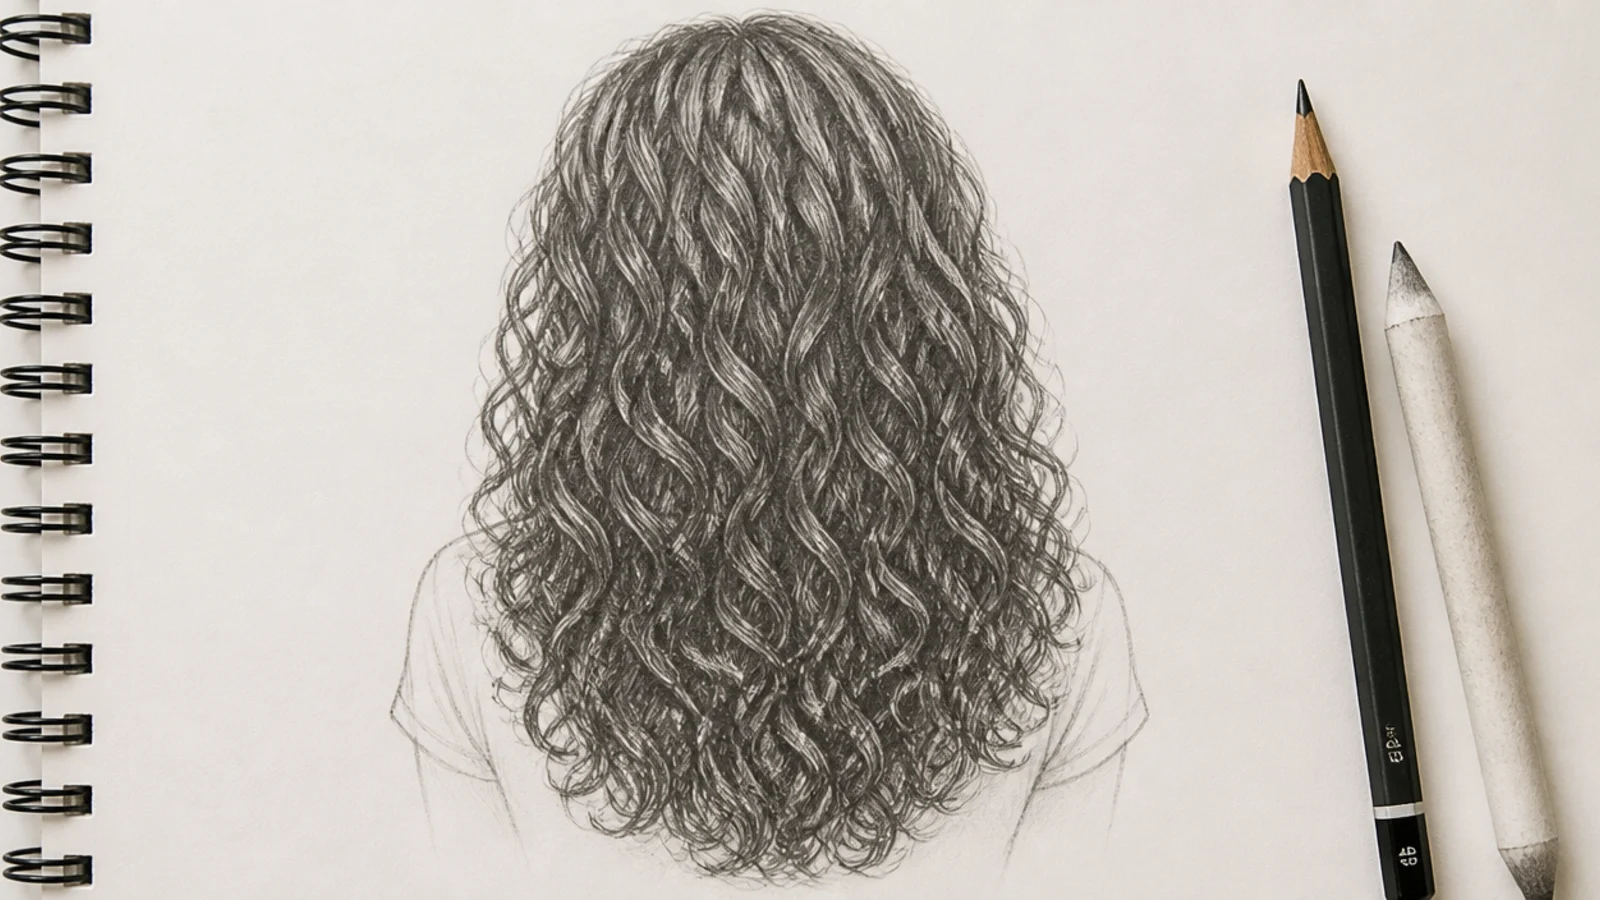
5. Type 3B Ringlets
A tighter diameter means more turns packed into the same length of hair, so the mass gains height and width instead of length. Draw the hair shorter than you think it should be and let the volume expand sideways, which is how ringlets actually behave.
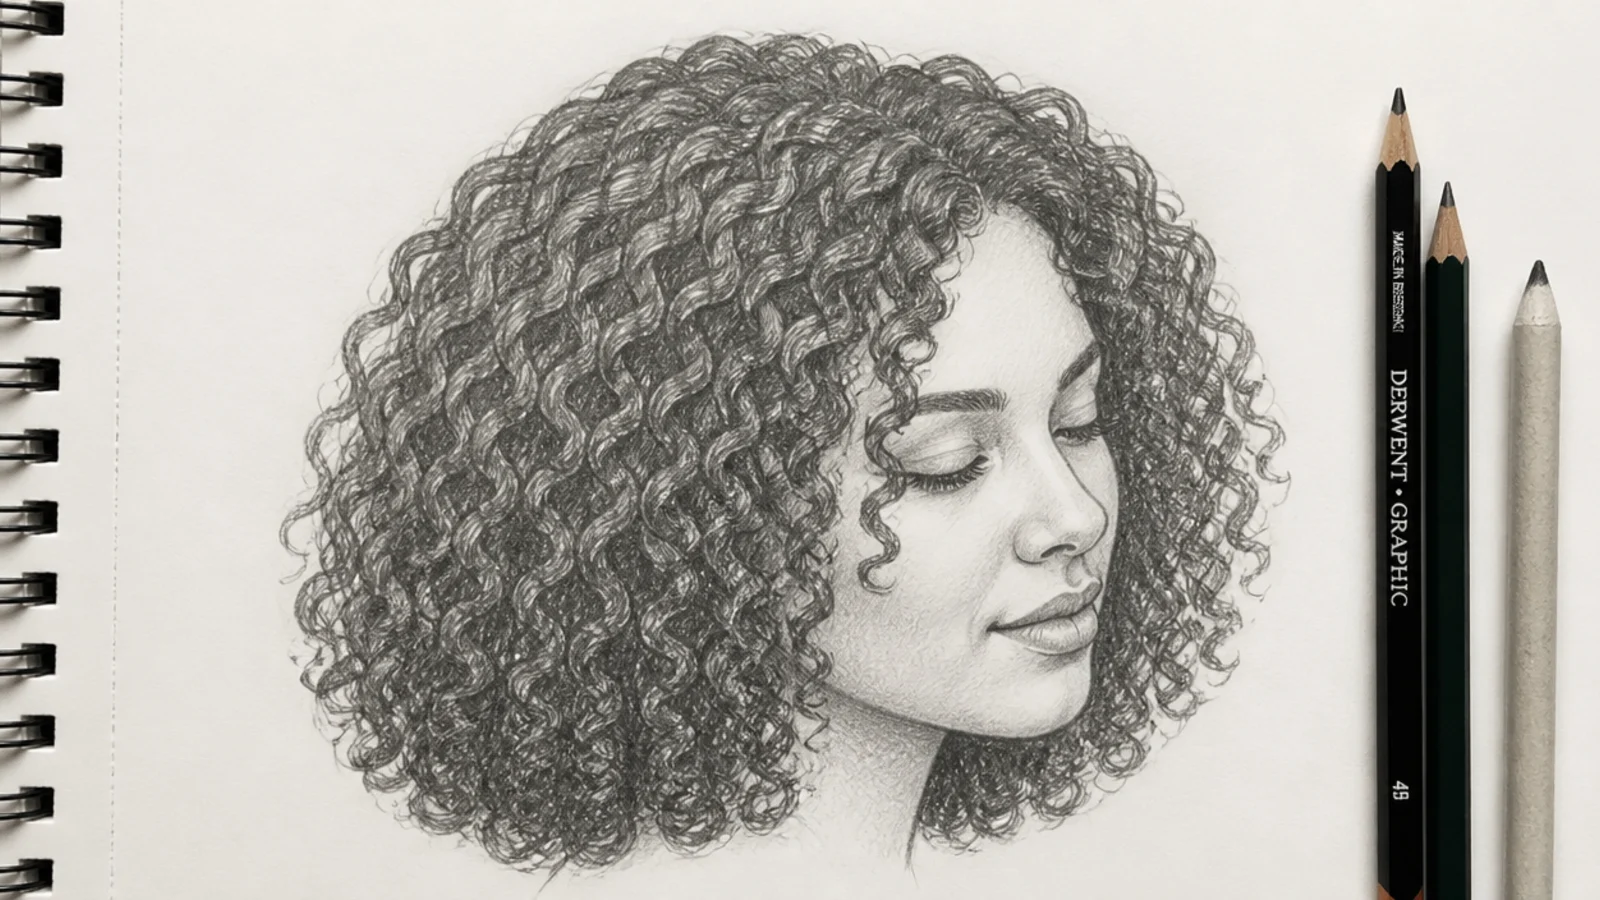
6. Type 3C Corkscrews
At pencil diameter the coils pack densely enough that individual curls stop reading, and the silhouette becomes a fine bumpy edge instead. Draw only the outermost coils in full and let the interior fall away into tone, or the drawing turns into a texture swatch.
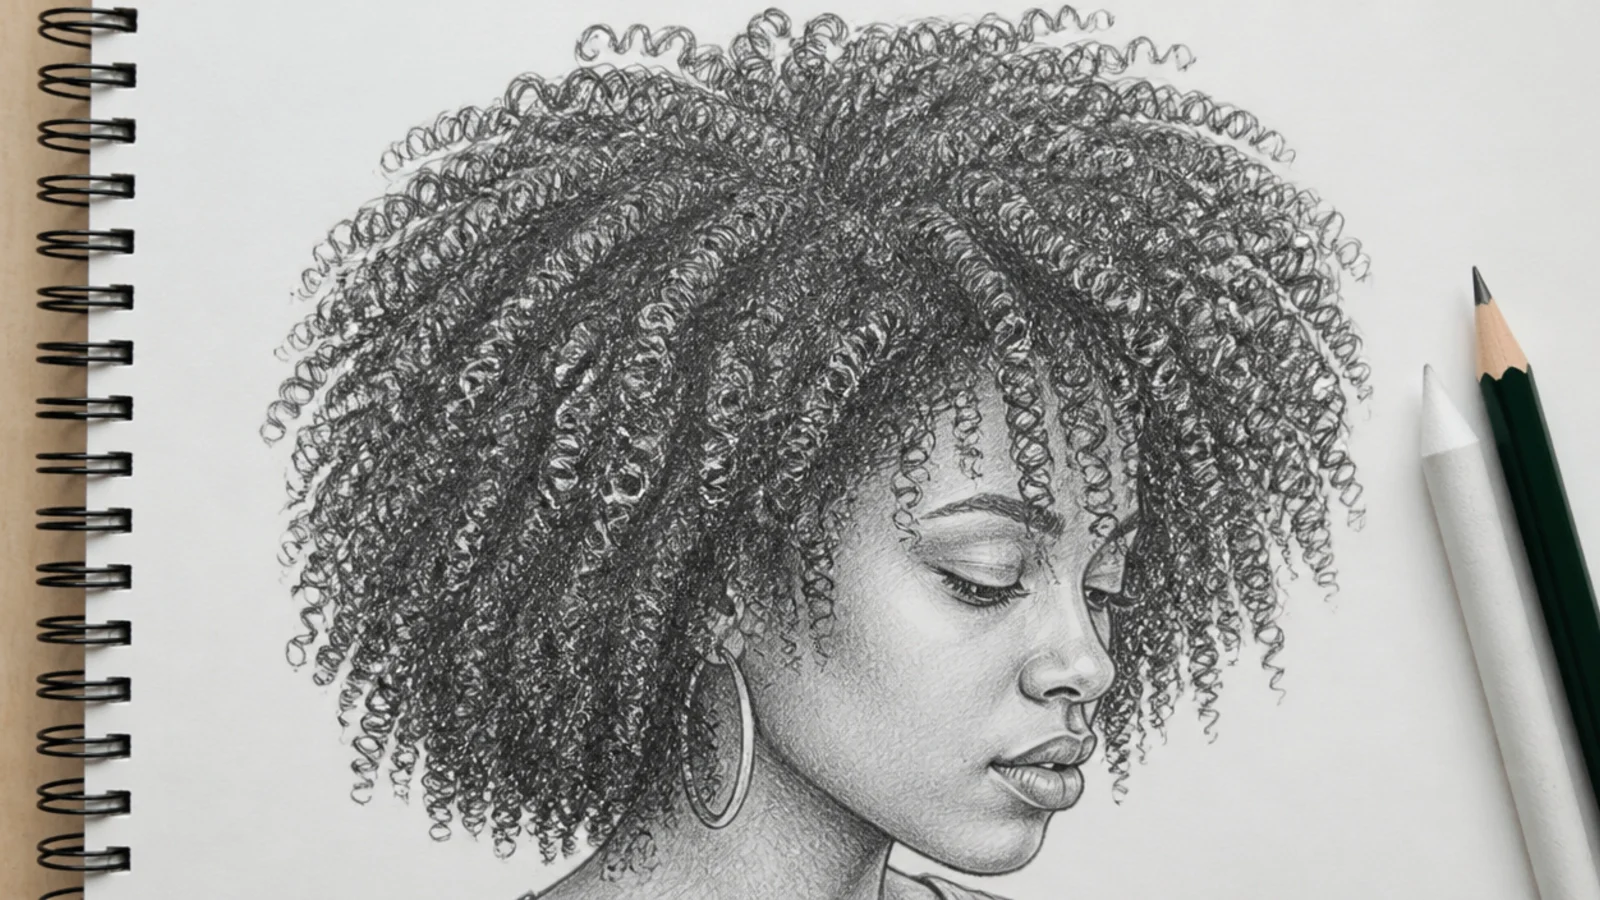
7. Type 4A Coily Afro
The pattern is small and defined, so the mass behaves like a solid form and needs shading as a sphere rather than as a collection of strands. Keep the interior a controlled mid tone and put nearly all the texture on the perimeter, where the light catches individual coils.
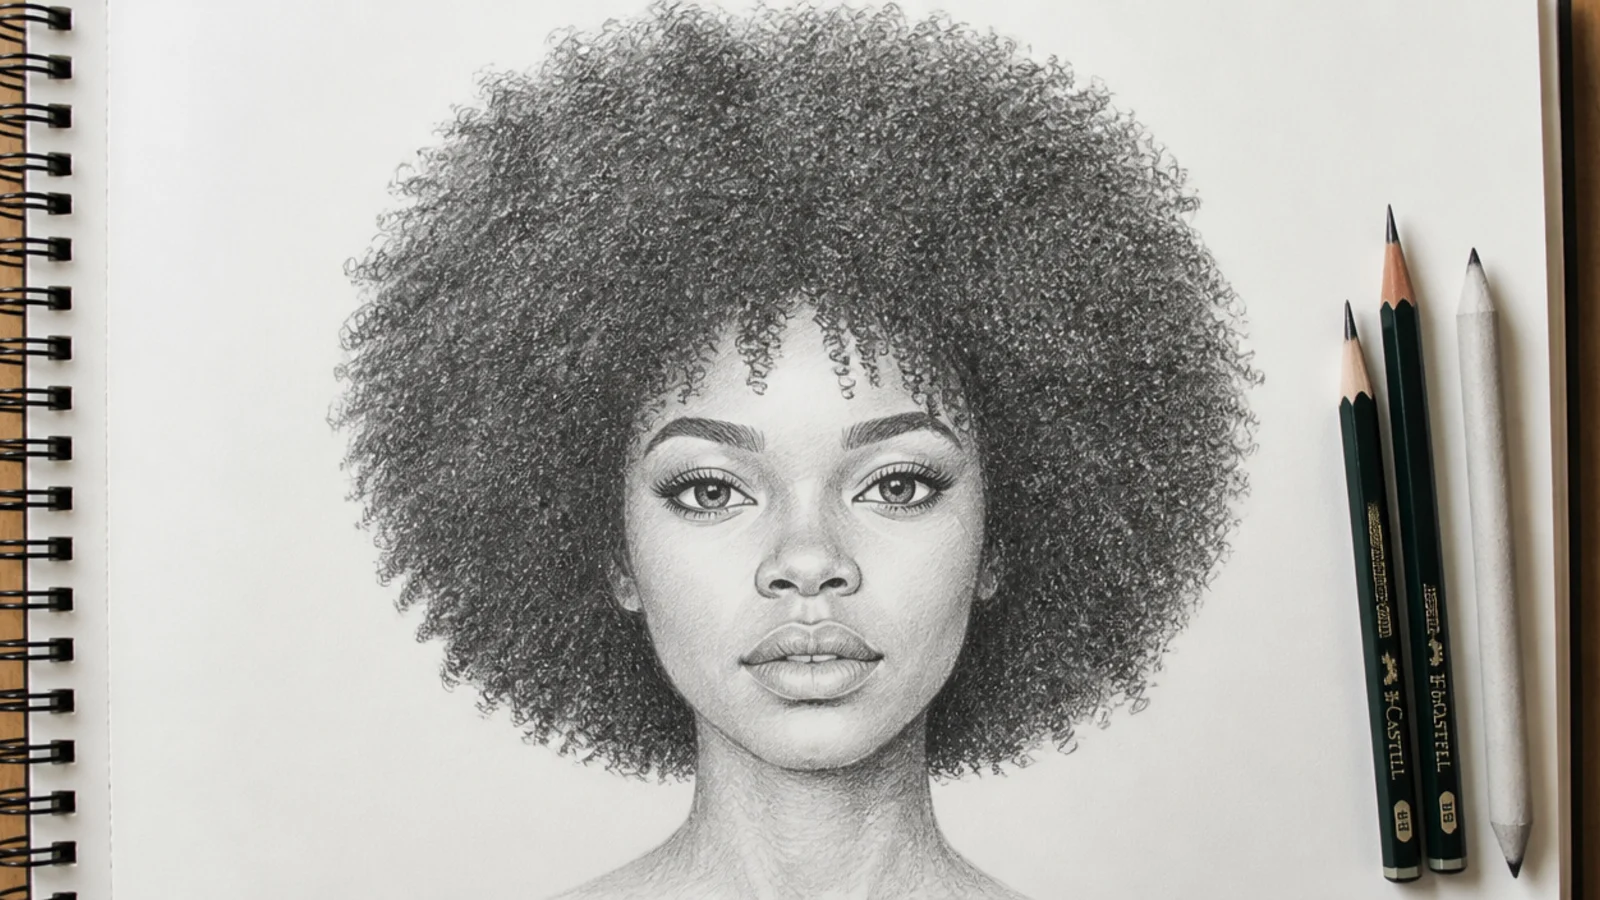
8. Type 4B Zigzag Coils
This pattern bends at angles rather than curving, so it is drawn with short straight segments and hard corners. Rendering it with smooth curves turns it into a 4A, and the sharpness of those corners is the only thing distinguishing the two on paper.
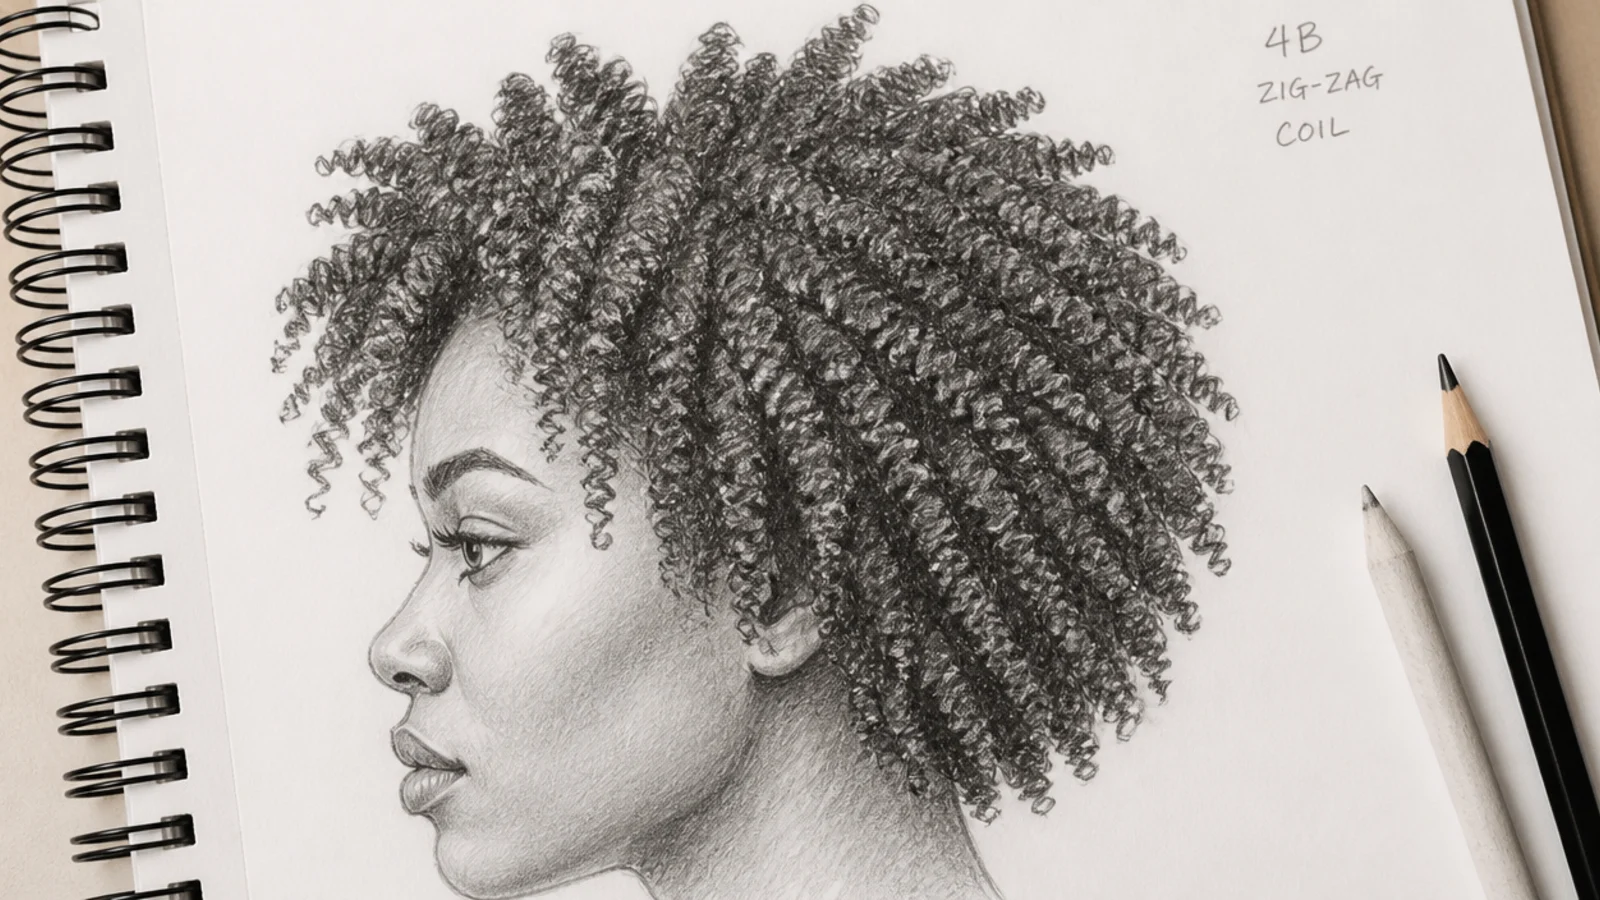
9. Type 4C Sponge Coils
The tightest pattern shows the least definition, so almost nothing can be resolved and the drawing rests on the outline and the value structure. Keep the darks genuinely dark between clumps, because with no visible coil shapes the separation between clumps is all the depth you have.
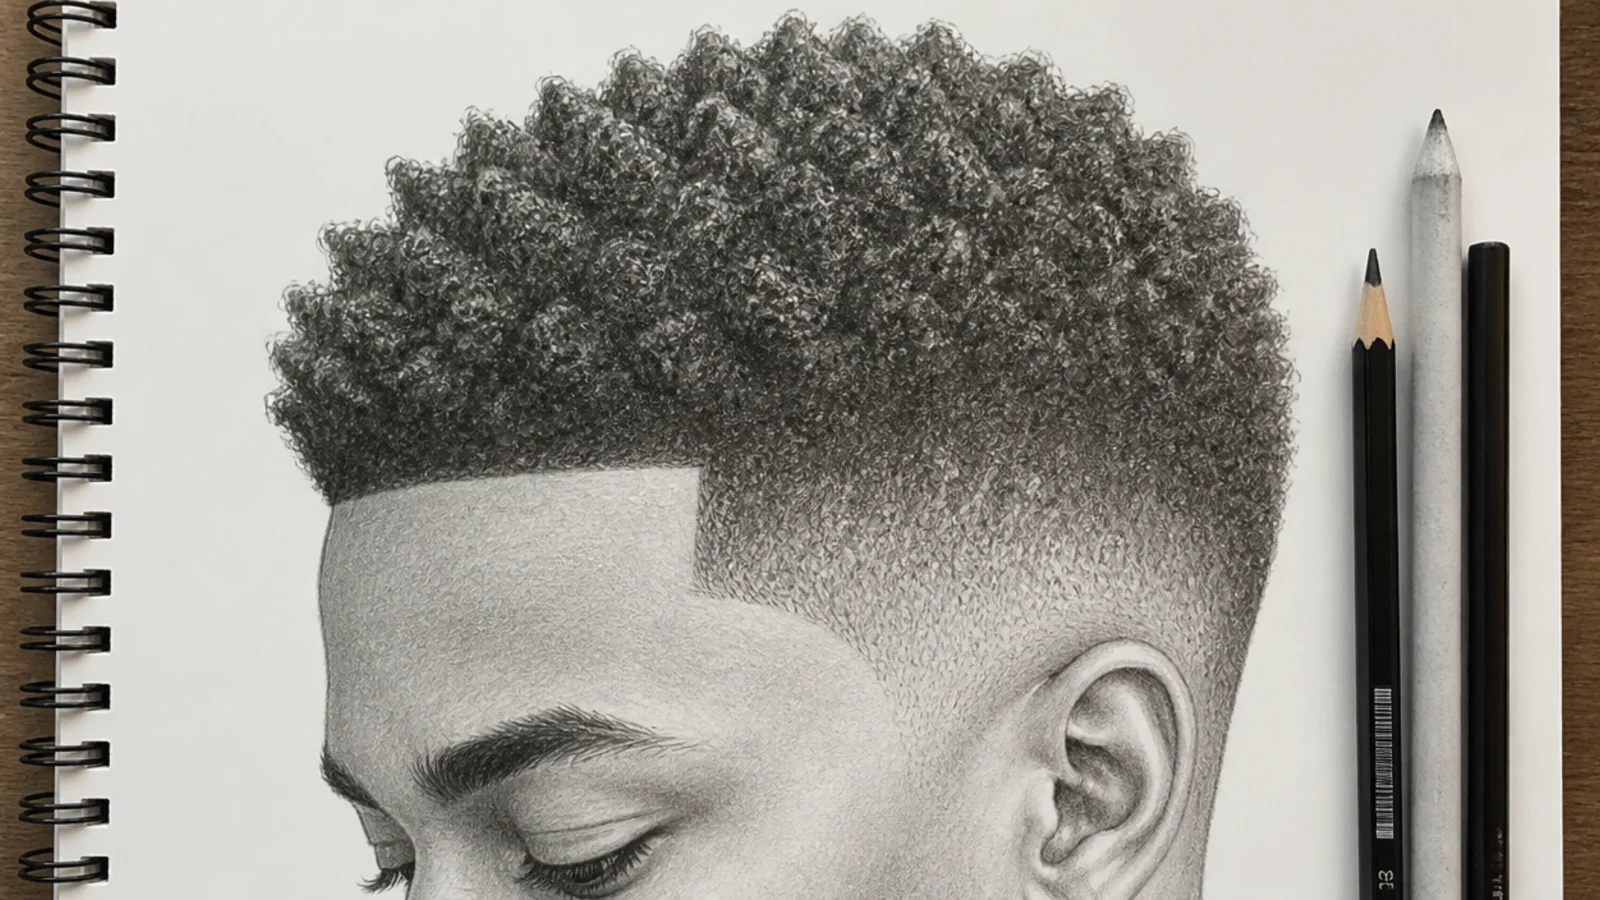
10. Curly Half Up Bun
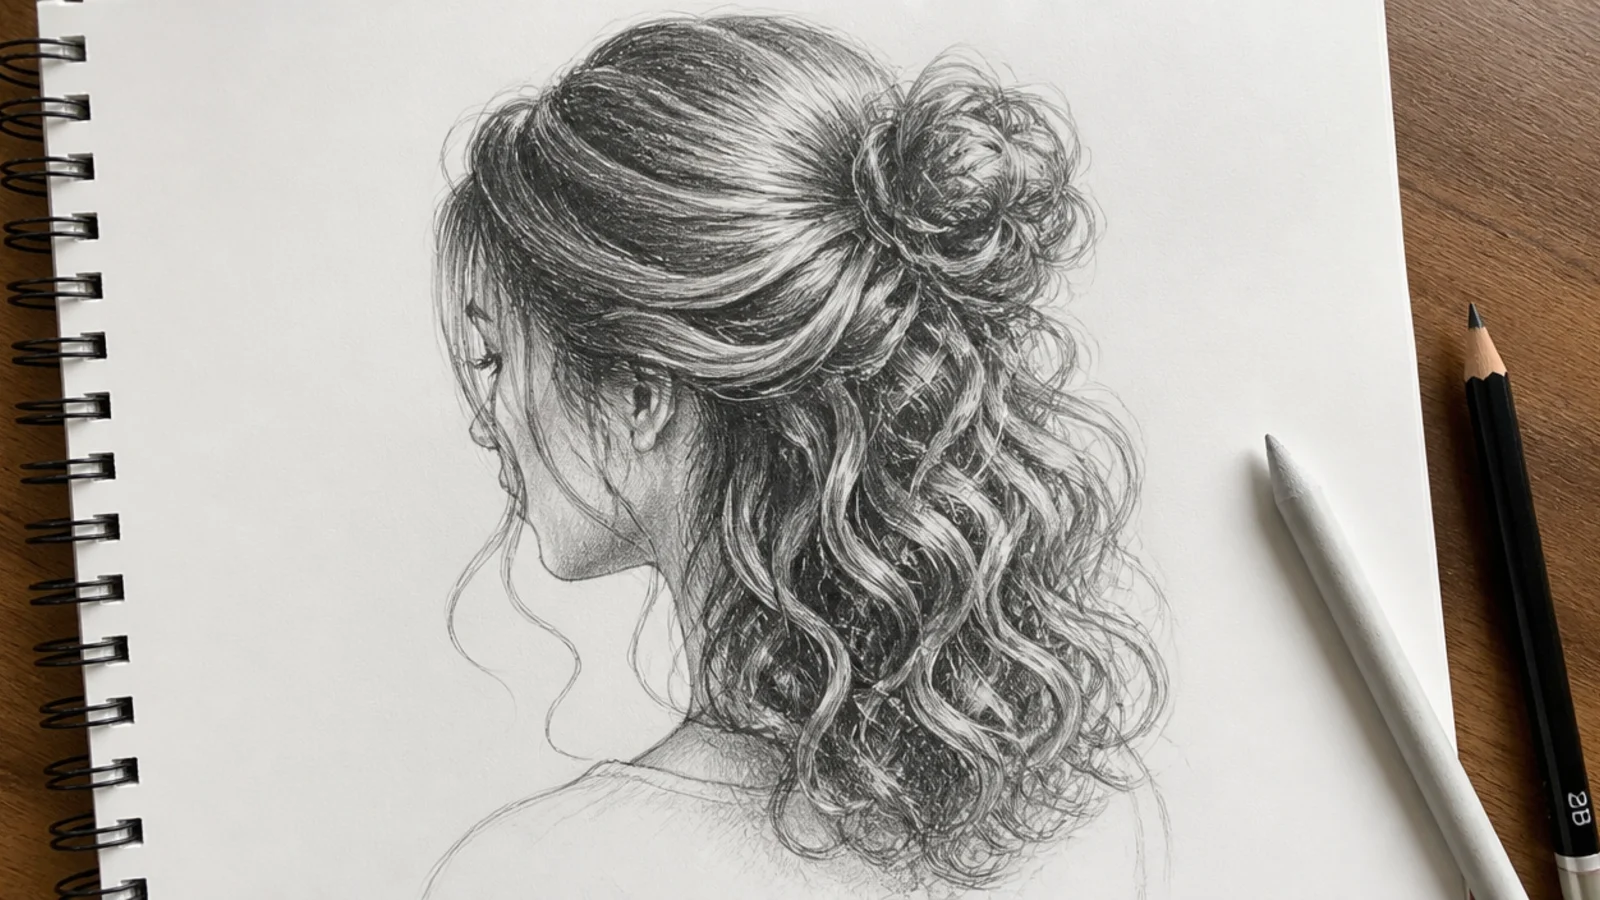
Tension flattens a curl pattern, so the gathered top section reads as smooth and stretched while the hair below the tie springs back to full pattern. Drawing that change of texture at the elastic is what makes the style read as tied rather than as curls with a bun floating above them.
11. Curly Ponytail From Behind
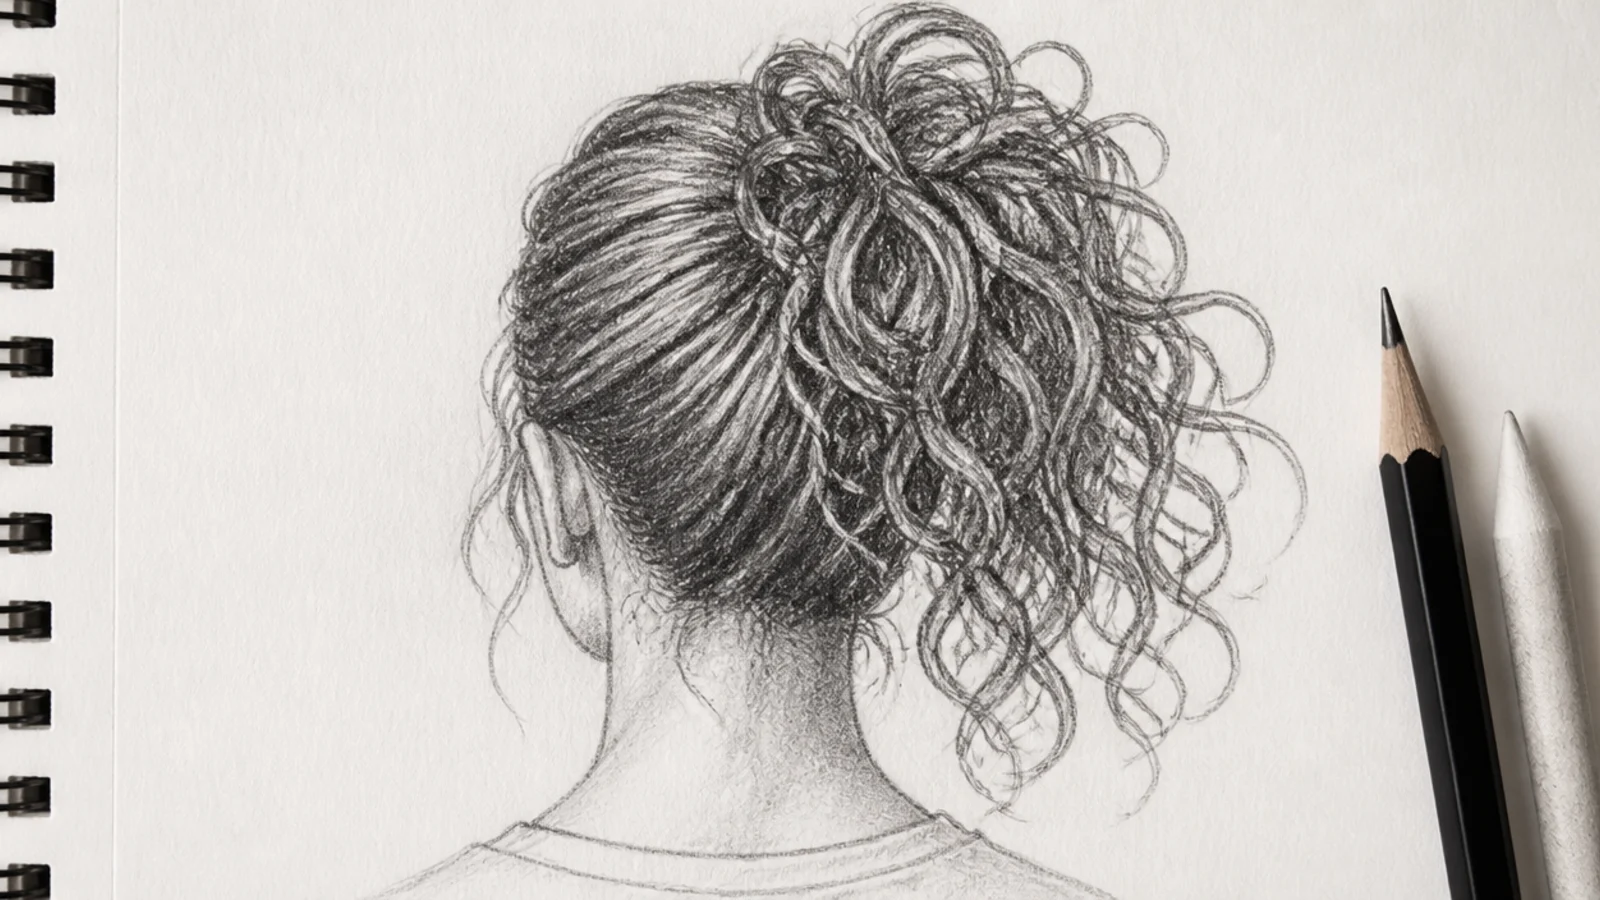
Everything converges on the tie under tension, so the pattern stretches out near the root and recovers below the band. The fan of curls behind the tie ends up wider than the head itself, and drawing it narrower is what makes a curly ponytail look like a straight one.
12. Wind Blown Curls
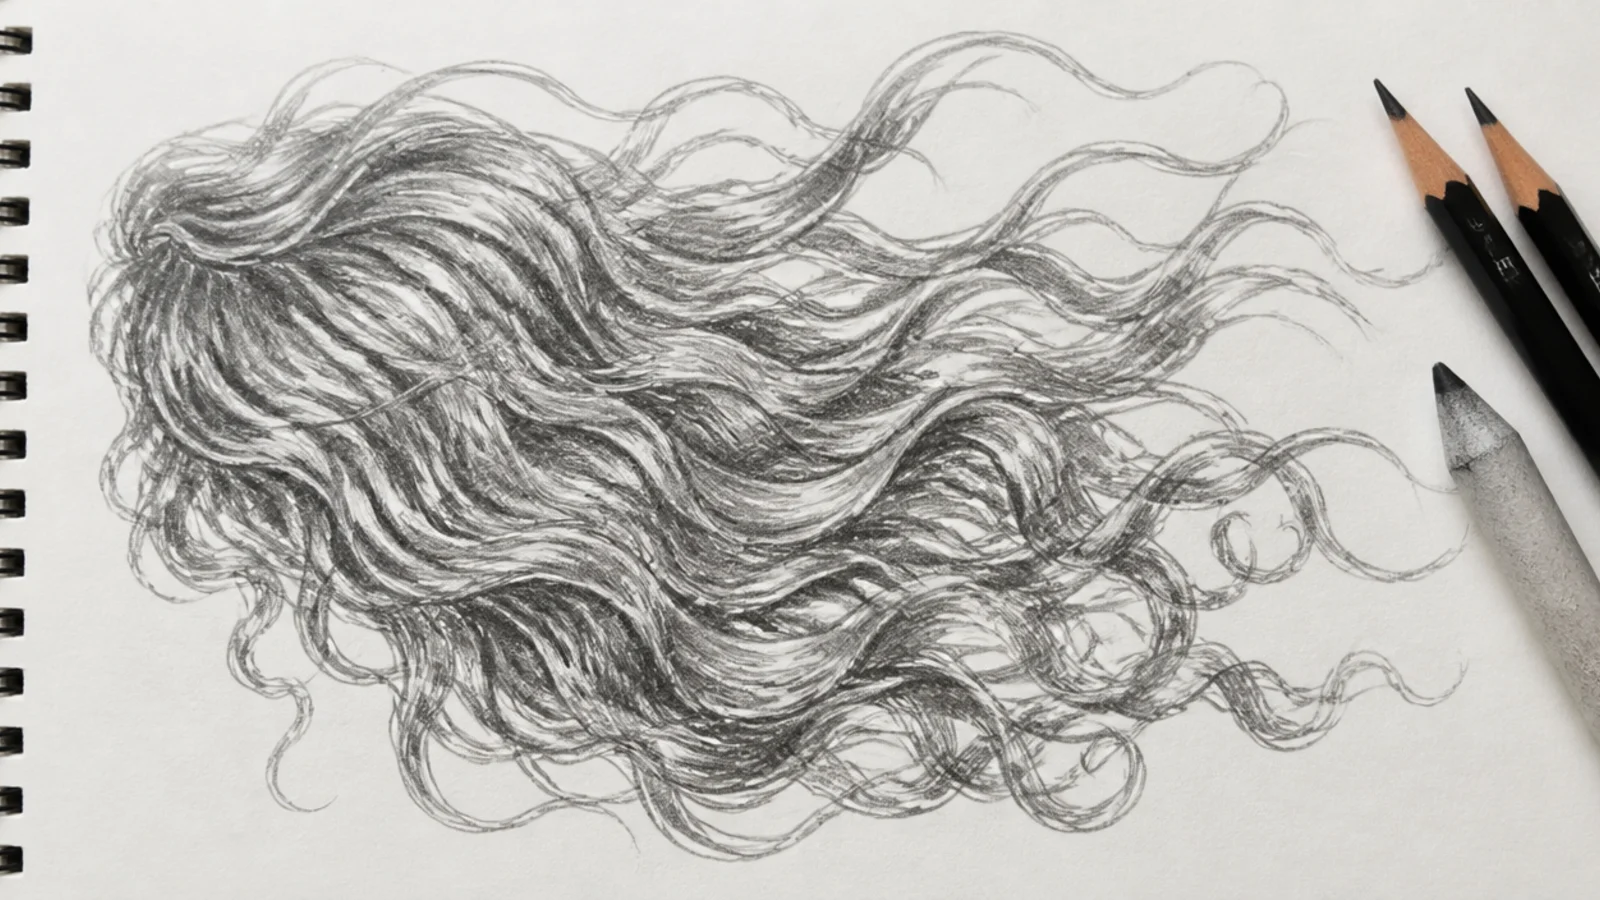
Wind separates clumps rather than straightening them, so each curl keeps its diameter while the groups pull apart and gaps open up through the mass. Give every clump one shared direction with a small spread, and let the silhouette get holes in it.
13. Wet Look Curls
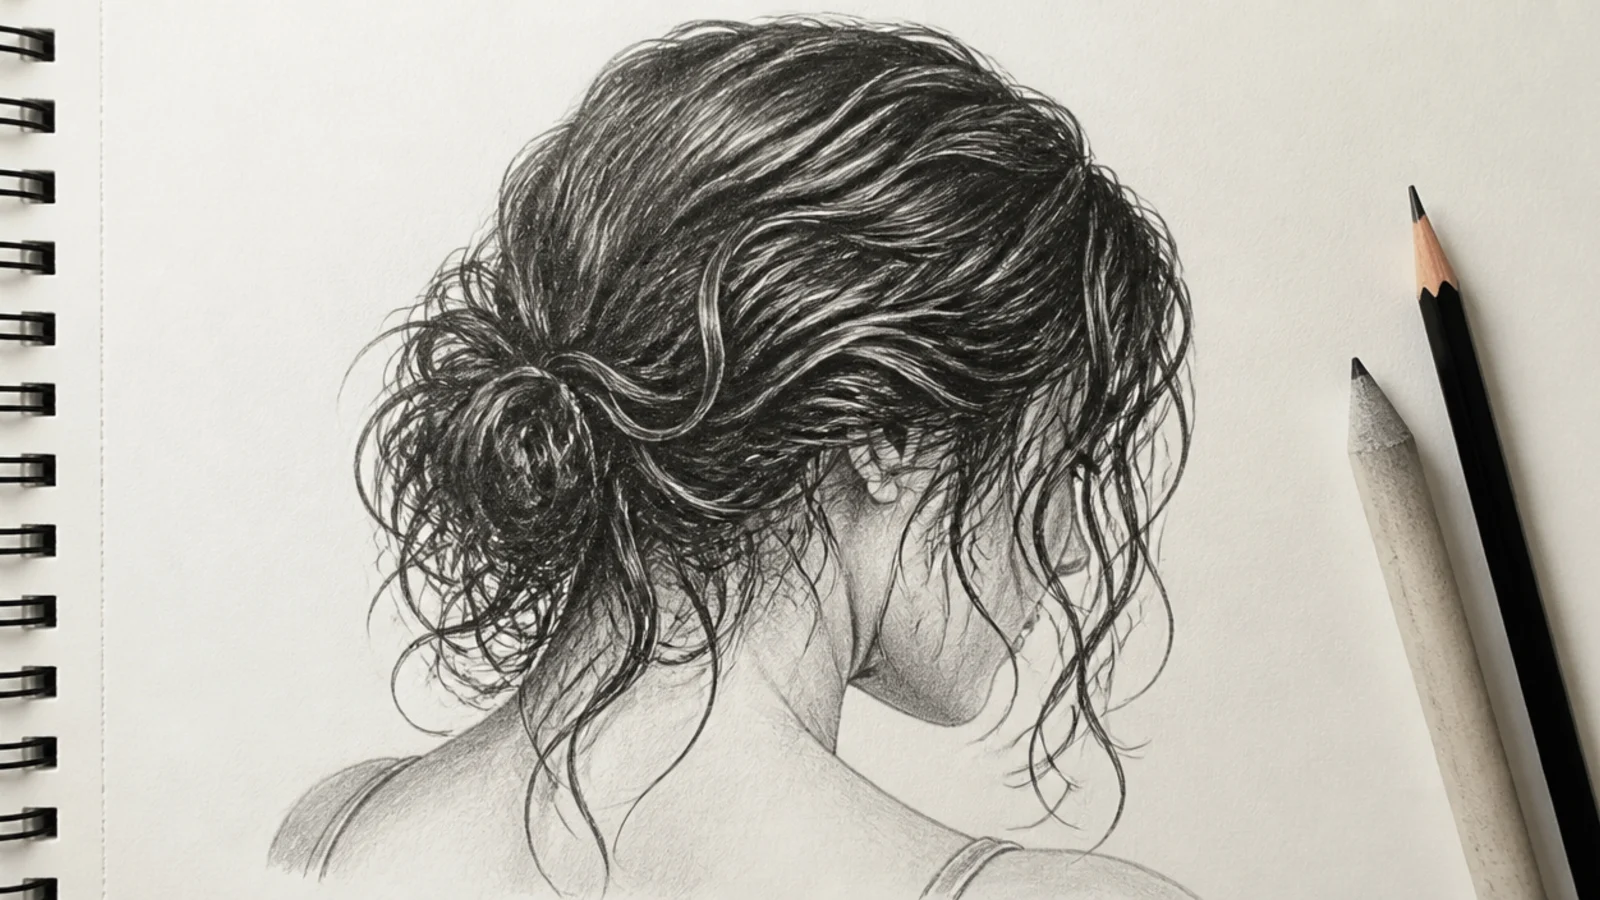
Water adds weight, so the pattern elongates, neighbouring curls merge into fewer heavier clumps and the whole silhouette moves in towards the skull. Replace the broken highlight trail with small hard bright points, since a wet surface reflects sharp specks rather than a soft sheen.
14. Curly Bob
Removing length removes weight, so the pattern springs upward and the shape gains height as it loses inches. The perimeter is a zone rather than a line, and the widest point usually lands near the cheekbone, which is why placement of that width decides how the face reads.
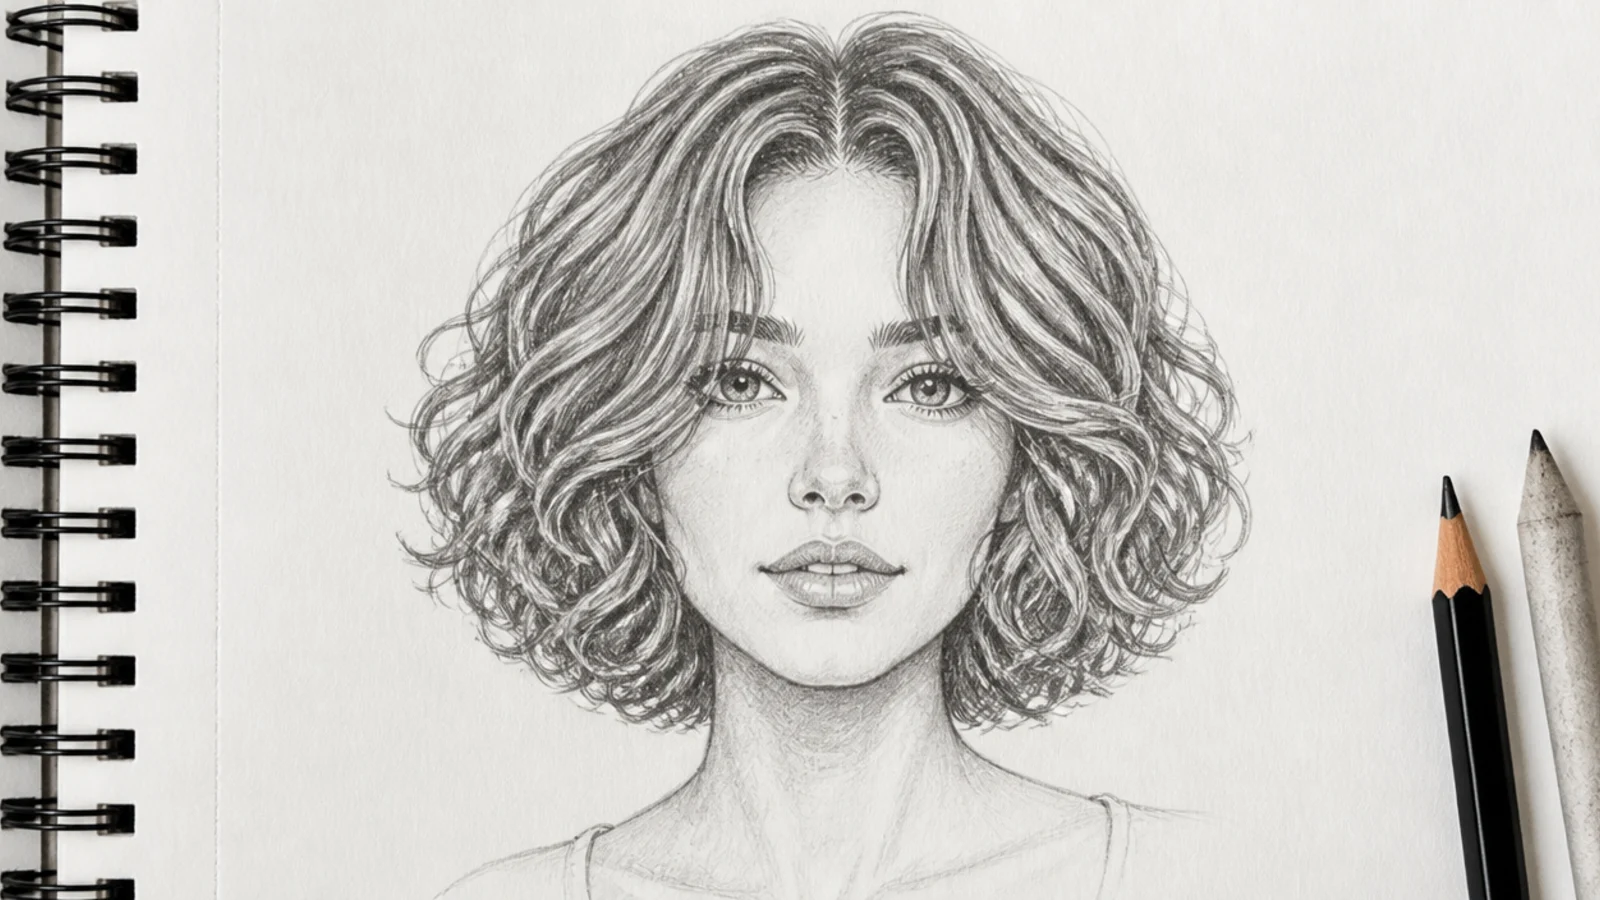
15. Curly Curtain Bangs
Two panels split at the centre and arc back towards the temples, and on curly hair each panel is much shorter when dry than the drawn length suggests. Keep the split narrow at the top and let the curls open outwards, so the forehead shows as a wedge rather than a gap.
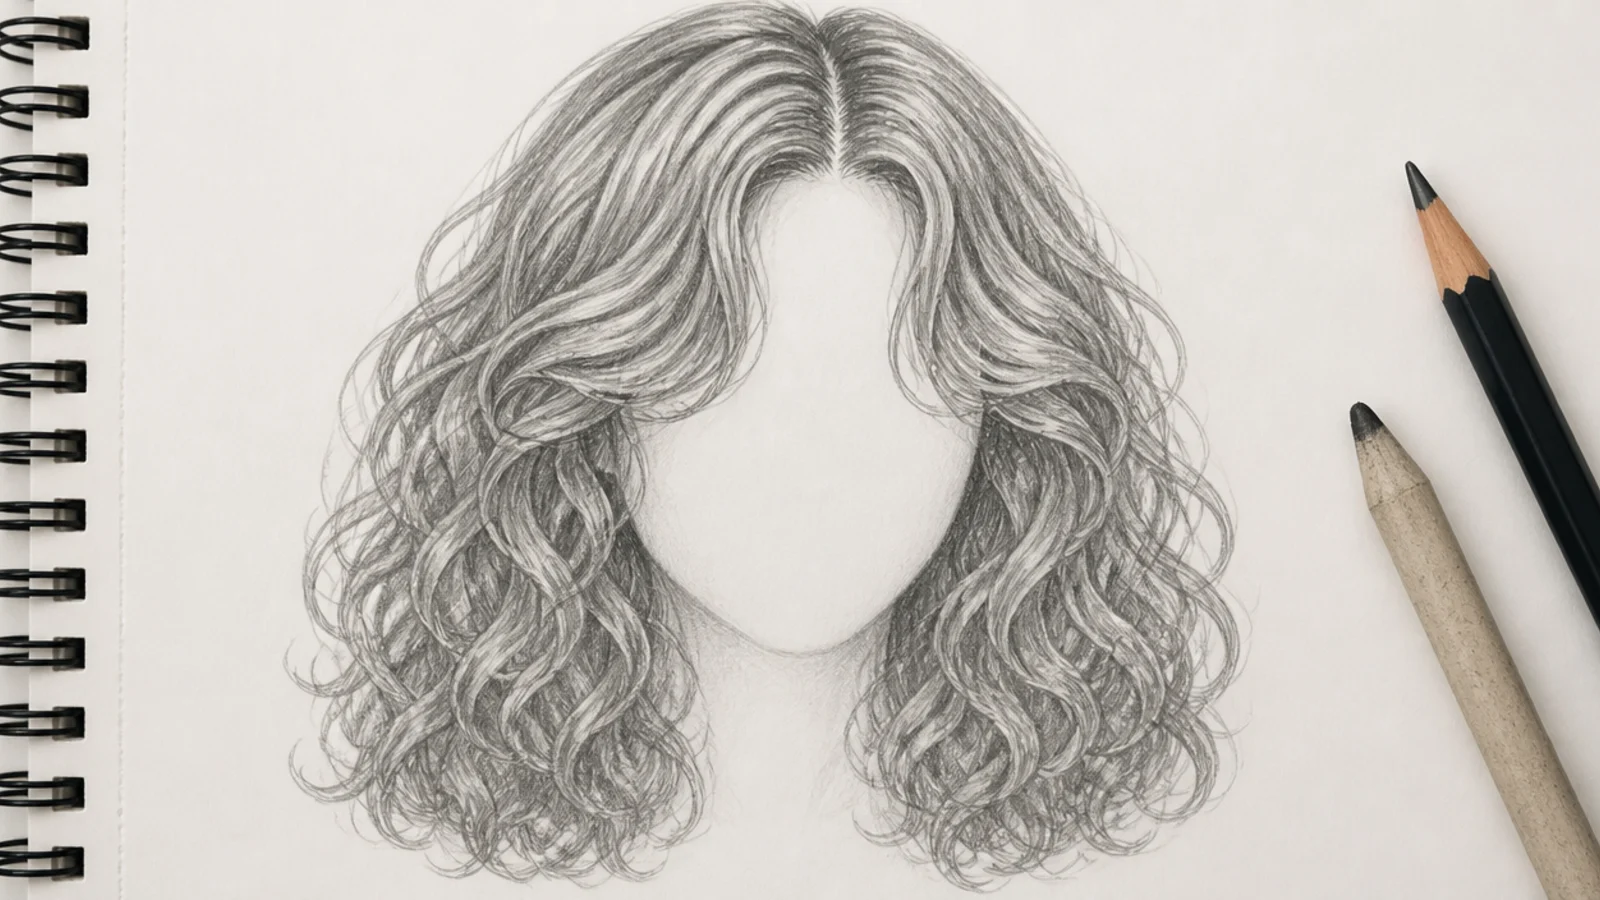
16. Male Curly Top
Short sides turn the curl mass into a separate object sitting on the skull, and the boundary between the two is a hard edge rather than a blend. Keep the sides as flat even tone so the bumpy outline of the top has something smooth to contrast against.
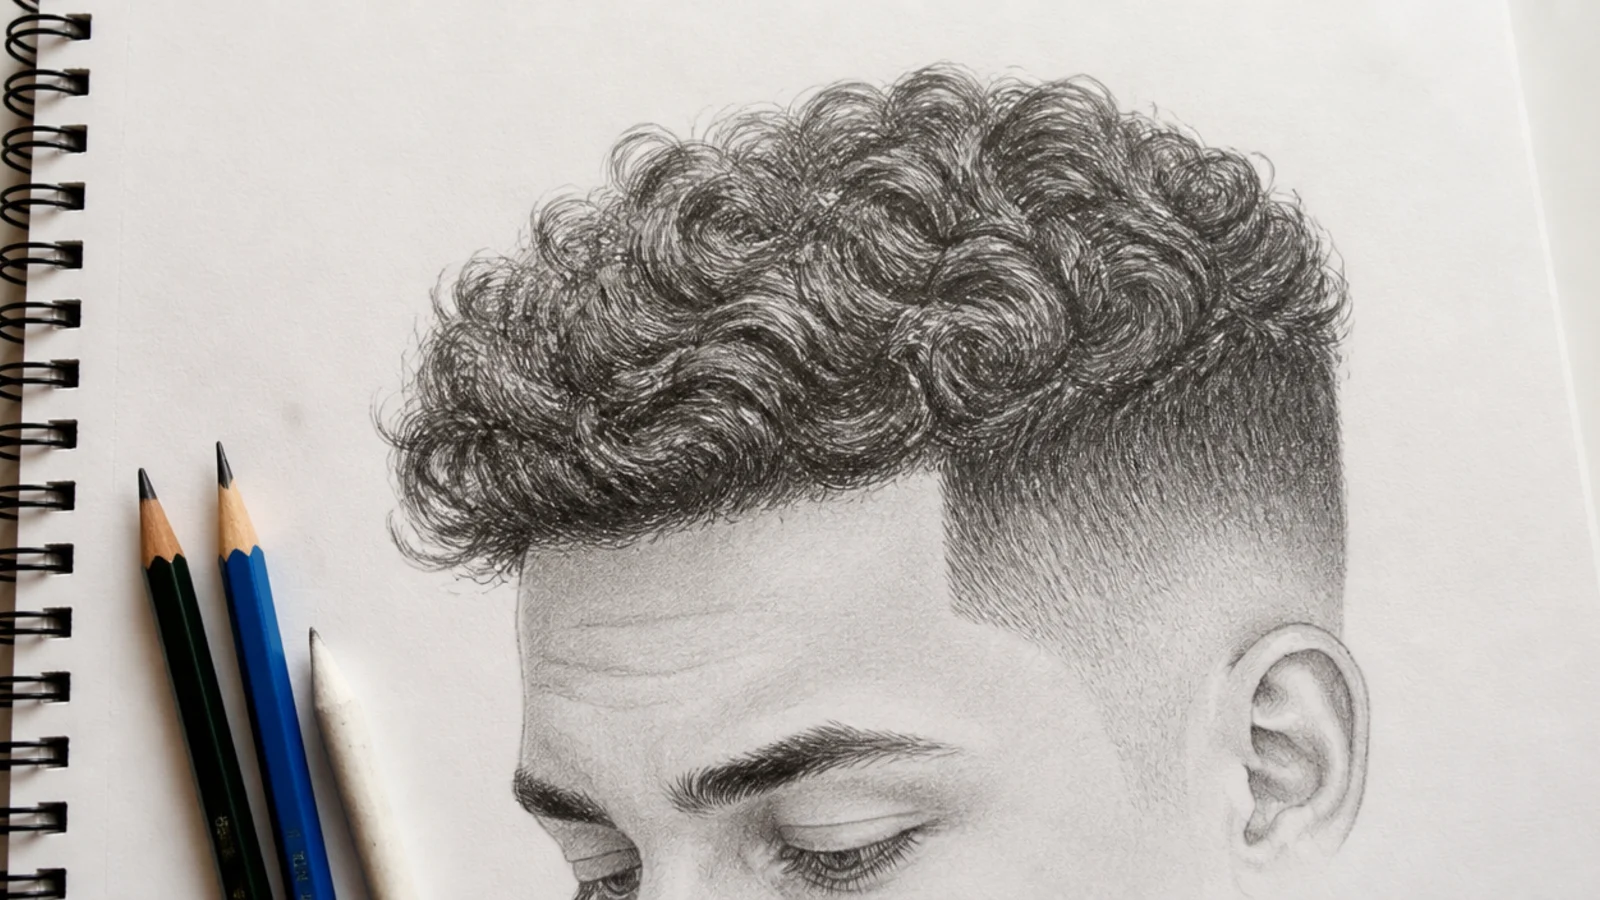
17. Curls on a Dark Background
Filling the background flips the whole approach, because the hair is now lifted out of a dark field rather than drawn onto white paper. Run a rim of light along the outer edge of the mass, which separates the silhouette instantly and does the work a hundred interior lines cannot.
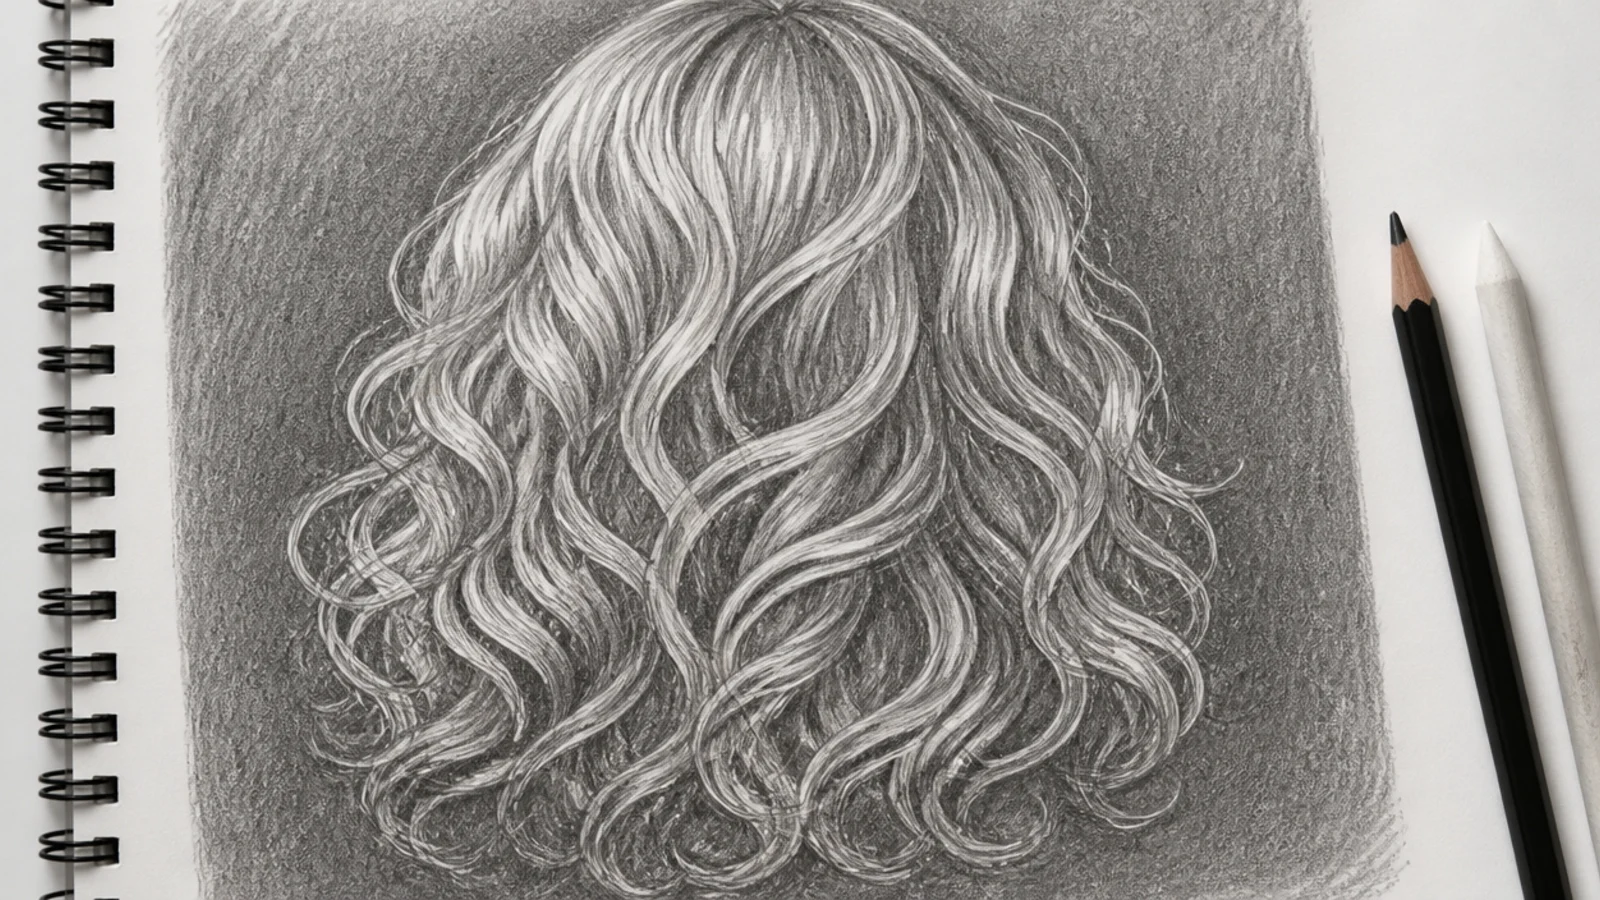
18. Blonde Curls
Pale hair in graphite is mostly untouched paper, so the form has to come from the gaps rather than from the strands. Keep the curls themselves close to white and push real darkness into the spaces between them, or the whole head settles into an even grey.
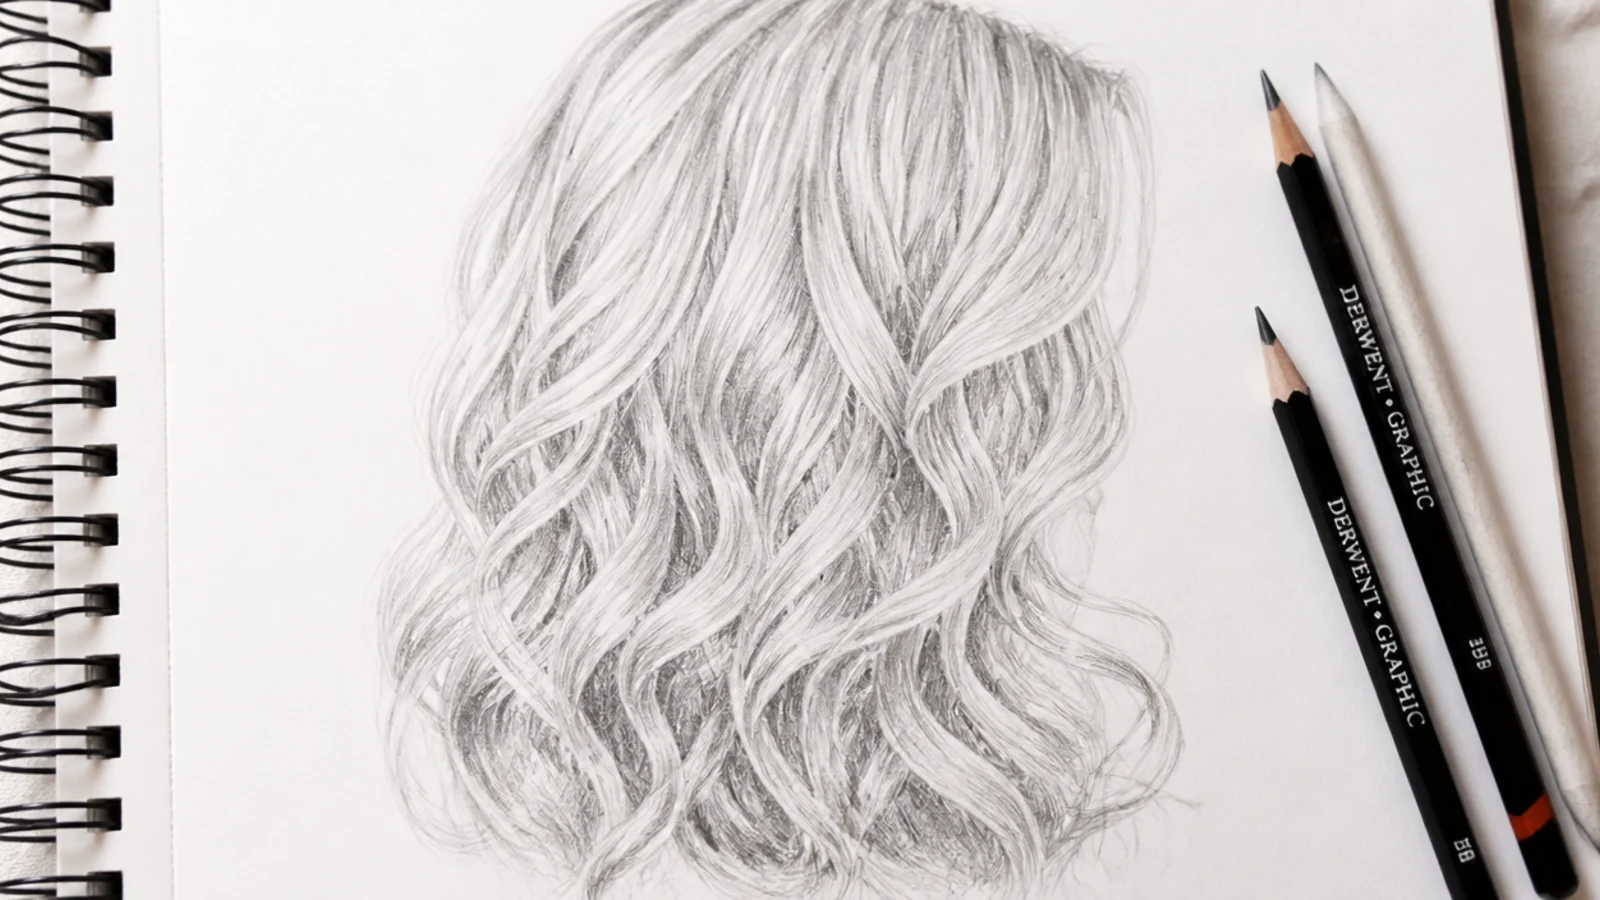
19. Silver Curls
Silver reads through contrast rather than tone, meaning near-white highlights sitting directly against dark shadow with very little mid grey in between. Widen the highlight on each curl and keep its edges crisp, since a soft blended highlight turns silver back into ordinary brown.
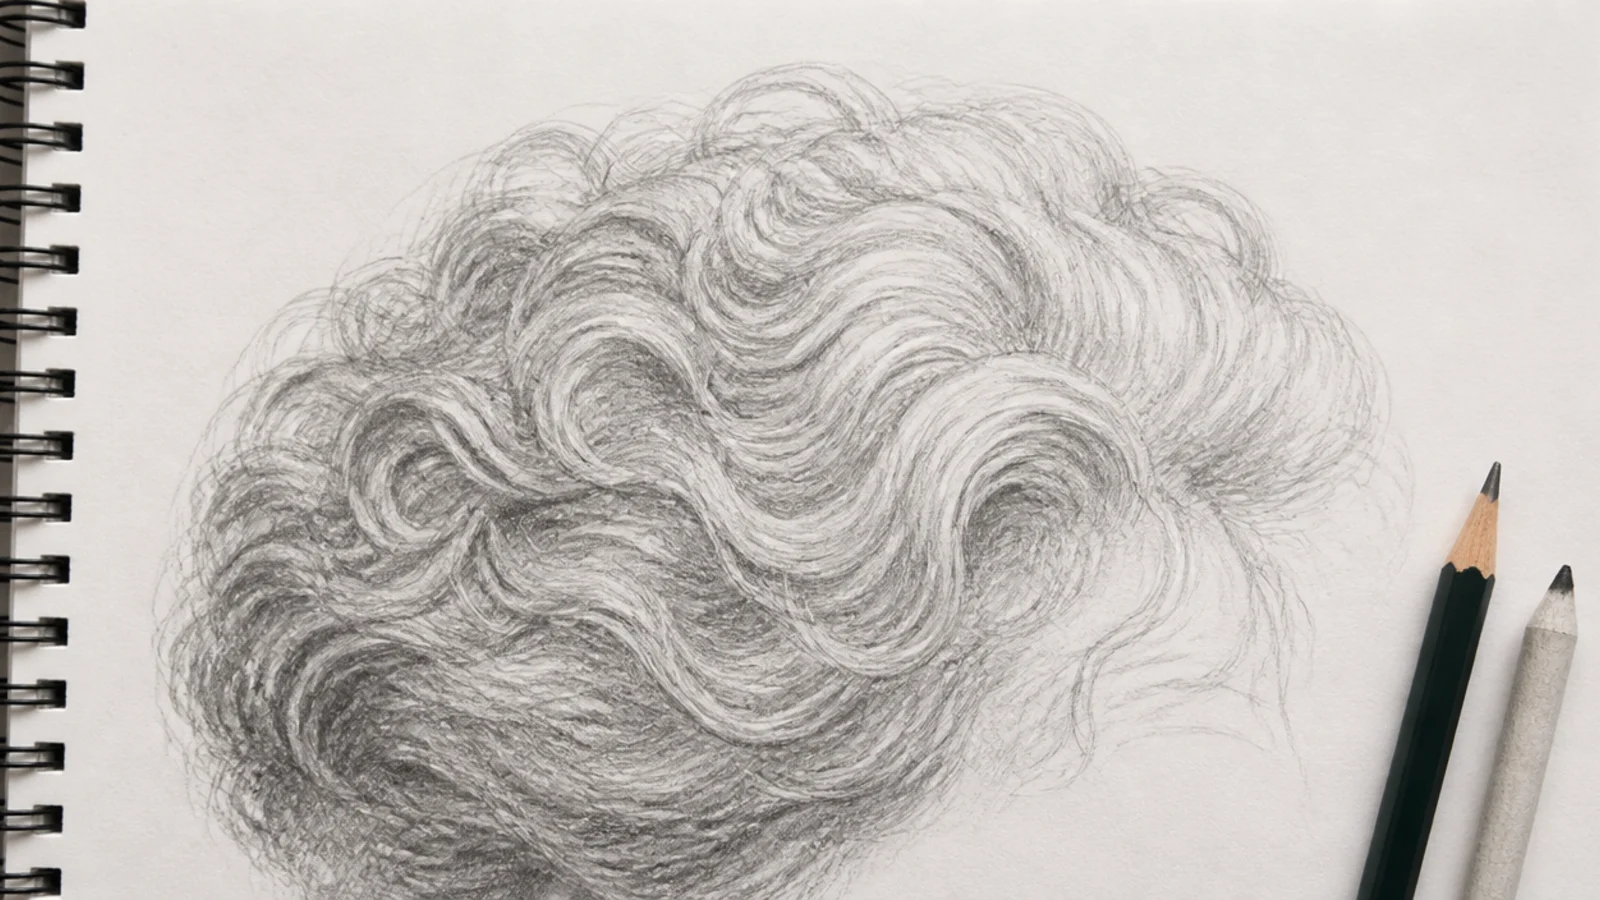
20. Monoline Curls
With one line weight and no shading available, spacing has to do the job value normally does — lines bunched together read as shadow and lines spread apart read as light. It is the strictest exercise here, and it teaches curl direction faster than any amount of rendering.
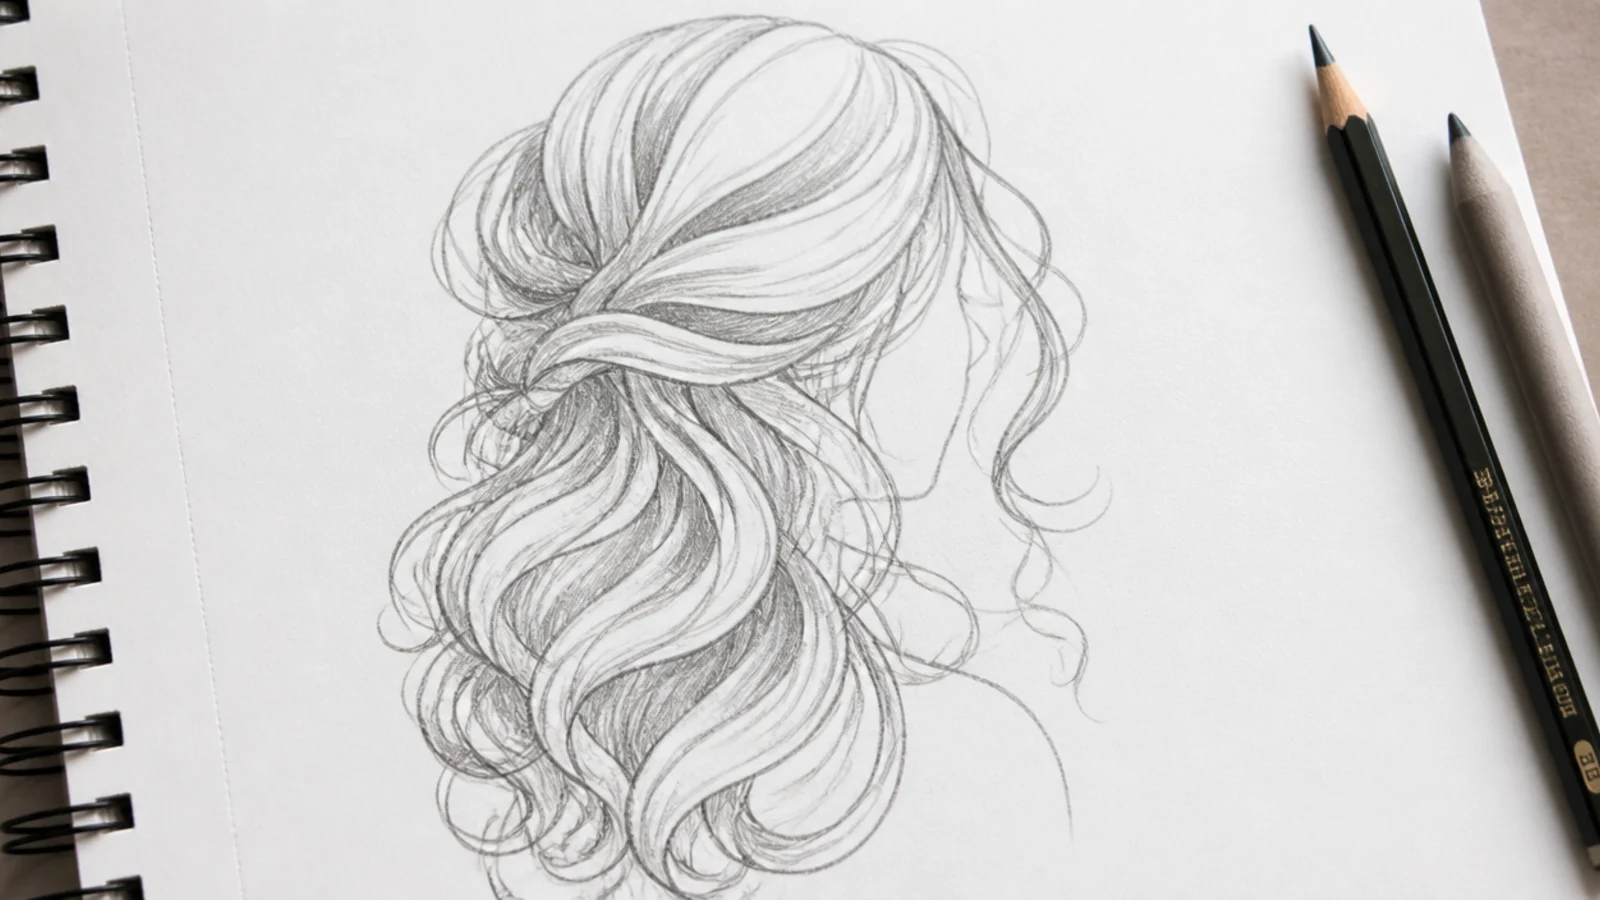
Final Thoughts
Two habits fix most curly hair drawings. Build every section on a light zigzag spine before adding width, so the pattern stays consistent across the head, and shade the inner face of each turn darker than the outer one, so each curl reads as a ribbon with thickness. Everything else on this page is a variation on those two moves applied at different diameters.
Then resist finishing. Six to ten resolved curls with the rest left as tone will always look more like hair than forty evenly rendered ones, because the eye reads a mass with a few sharp details as depth and a uniformly detailed mass as pattern. For the step by step version see the how to version, and for finished examples to work from, the drawing version. More in Hair Drawing.