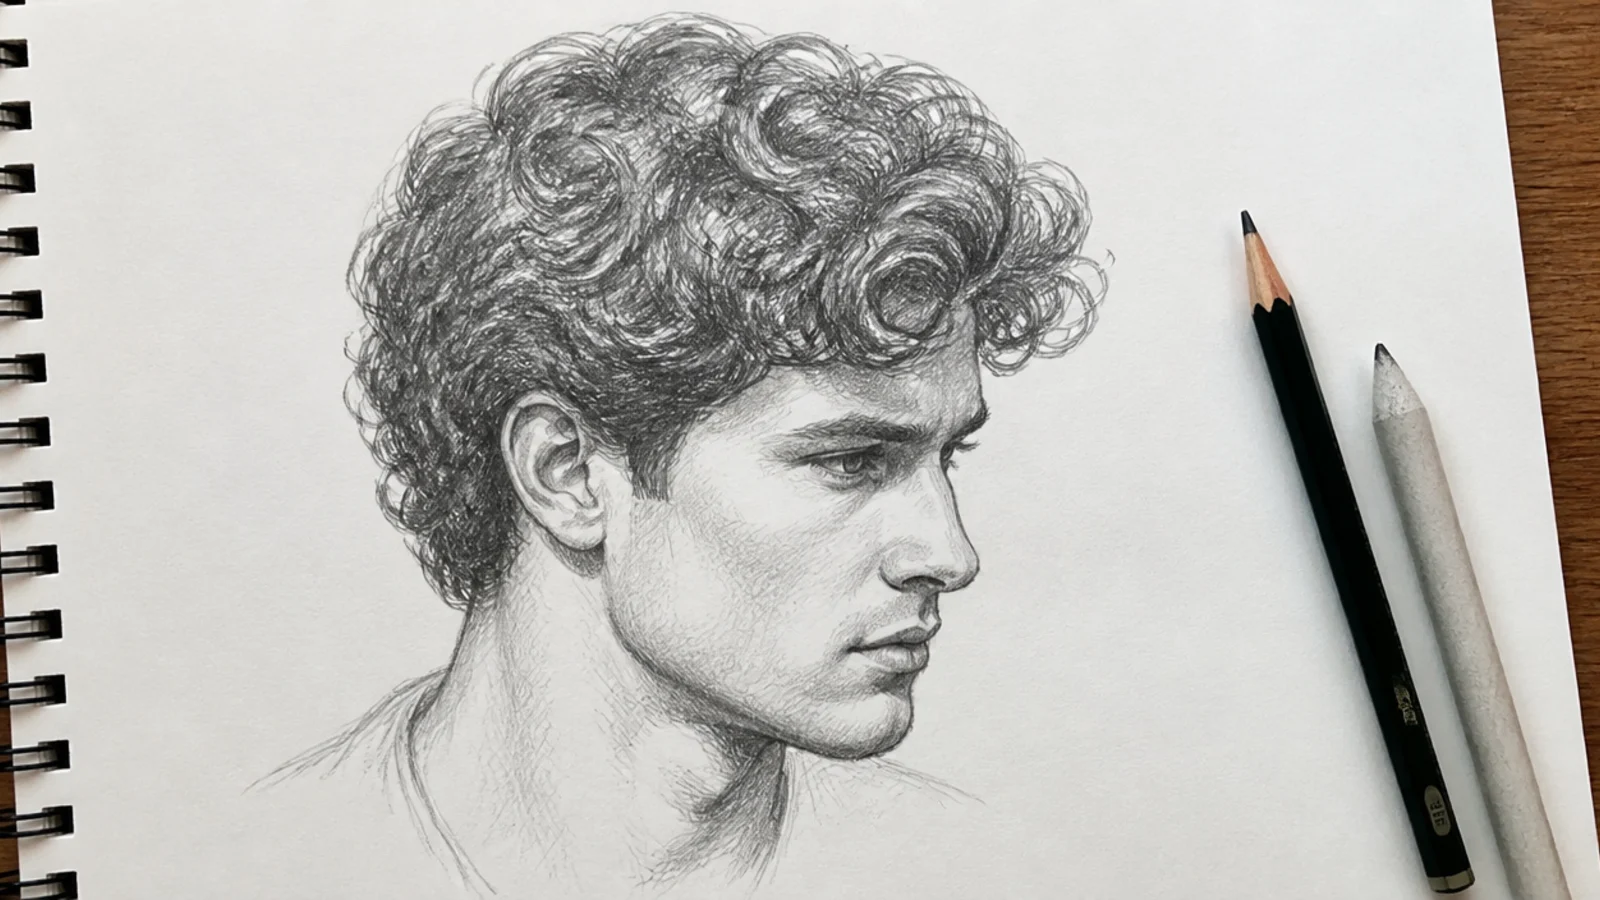
15 Curly Hair Sketch Male Ideas to Draw
Fifteen male curly hair references and the reason most of these sketches fail — the curls are drawn as outlined spirals when they are a mass with a texture, and the hairline is doing more work than any curl on the page.
In this article · 23
- Pencils Paper and Tools
- Curl Types From 2A to 4C
- Silhouette Before Strands
- The Male Hairline and Edge
- Shading Volume With Pencil Grades
- Common Mistakes With Curly Hair
- The 15 Curly Hair Sketch Ideas
- 1. 4C High Top Fade
- 2. 3A Curly Fringe
- 3. 3B Curls in Three Quarter View
- 4. Curly Undercut
- 5. Round Afro From the Front
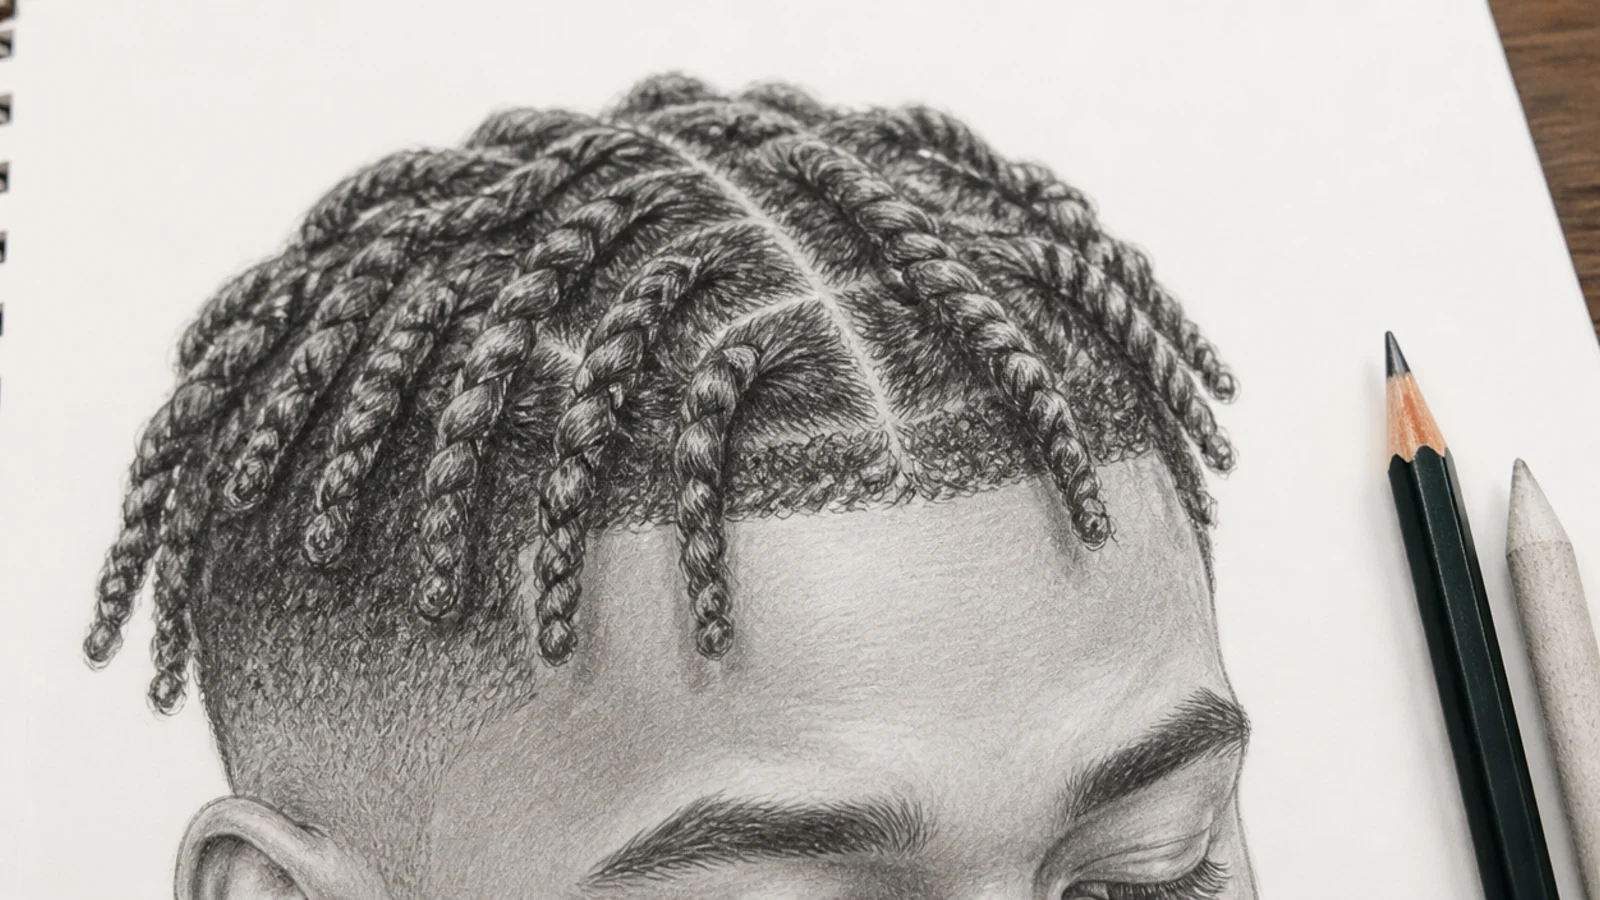
- 6. Two Strand Twists
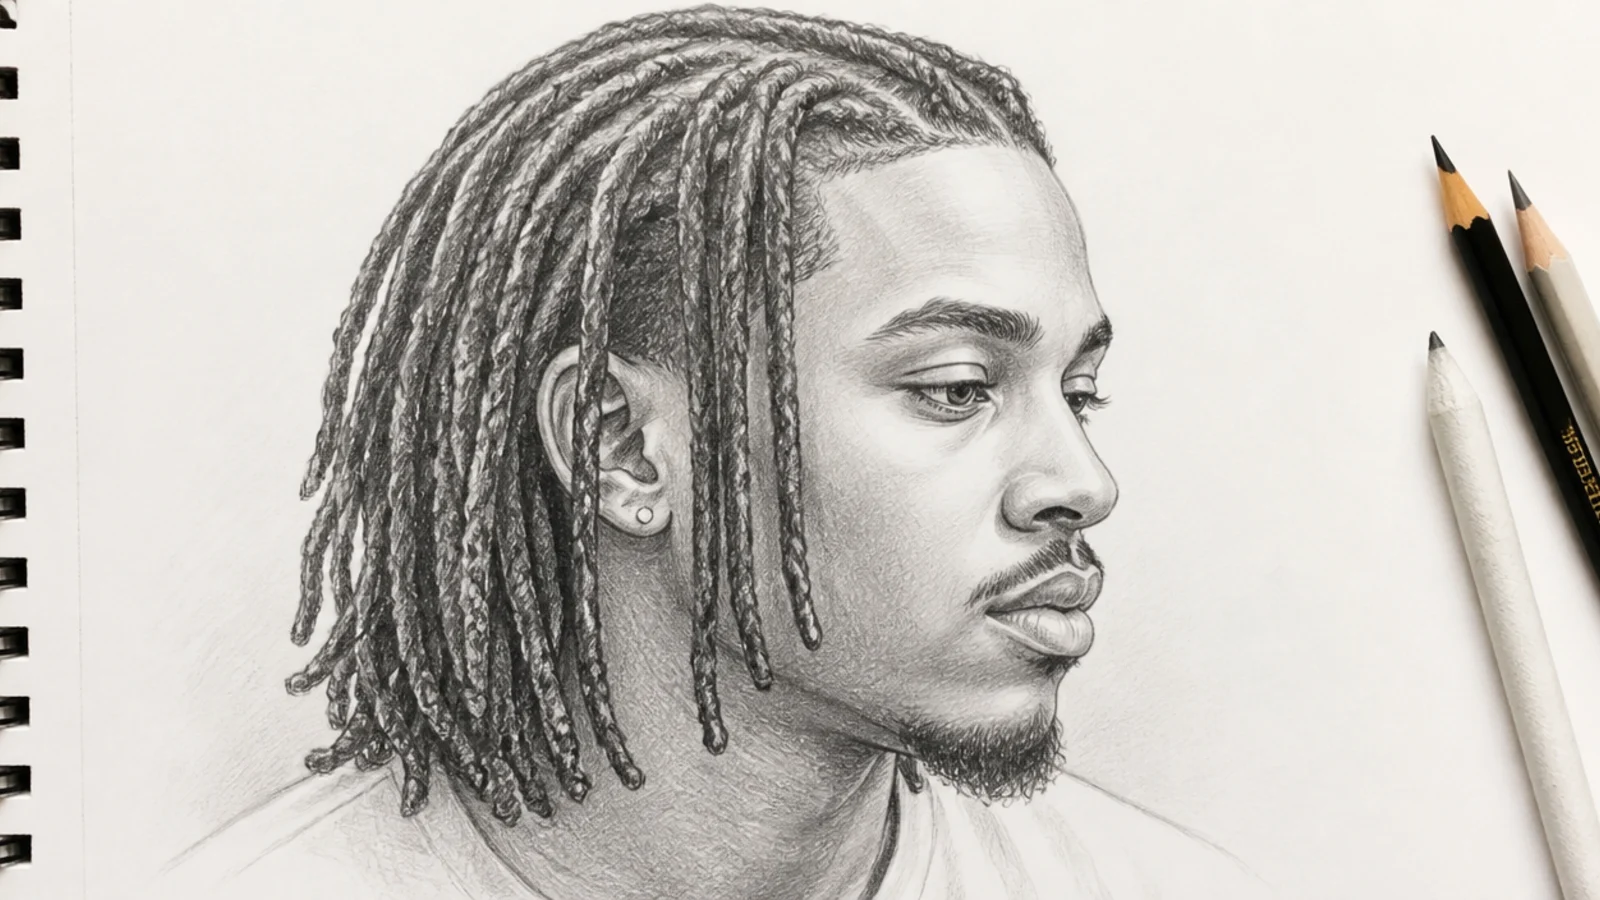
- 7. Locs Behind the Ear
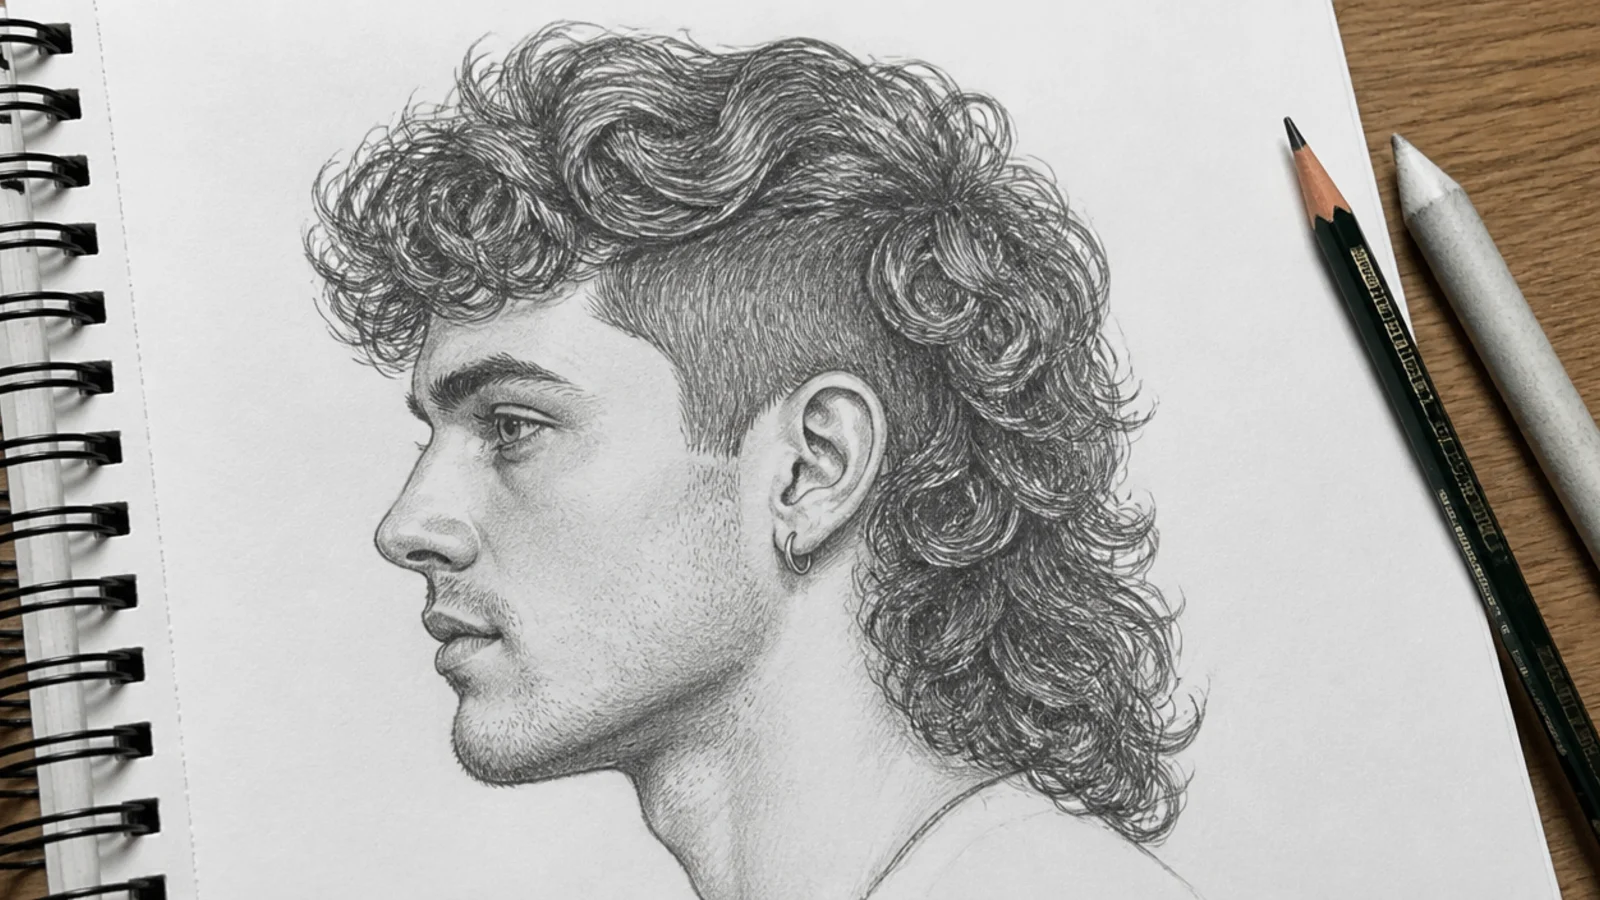
- 8. Curly Mullet
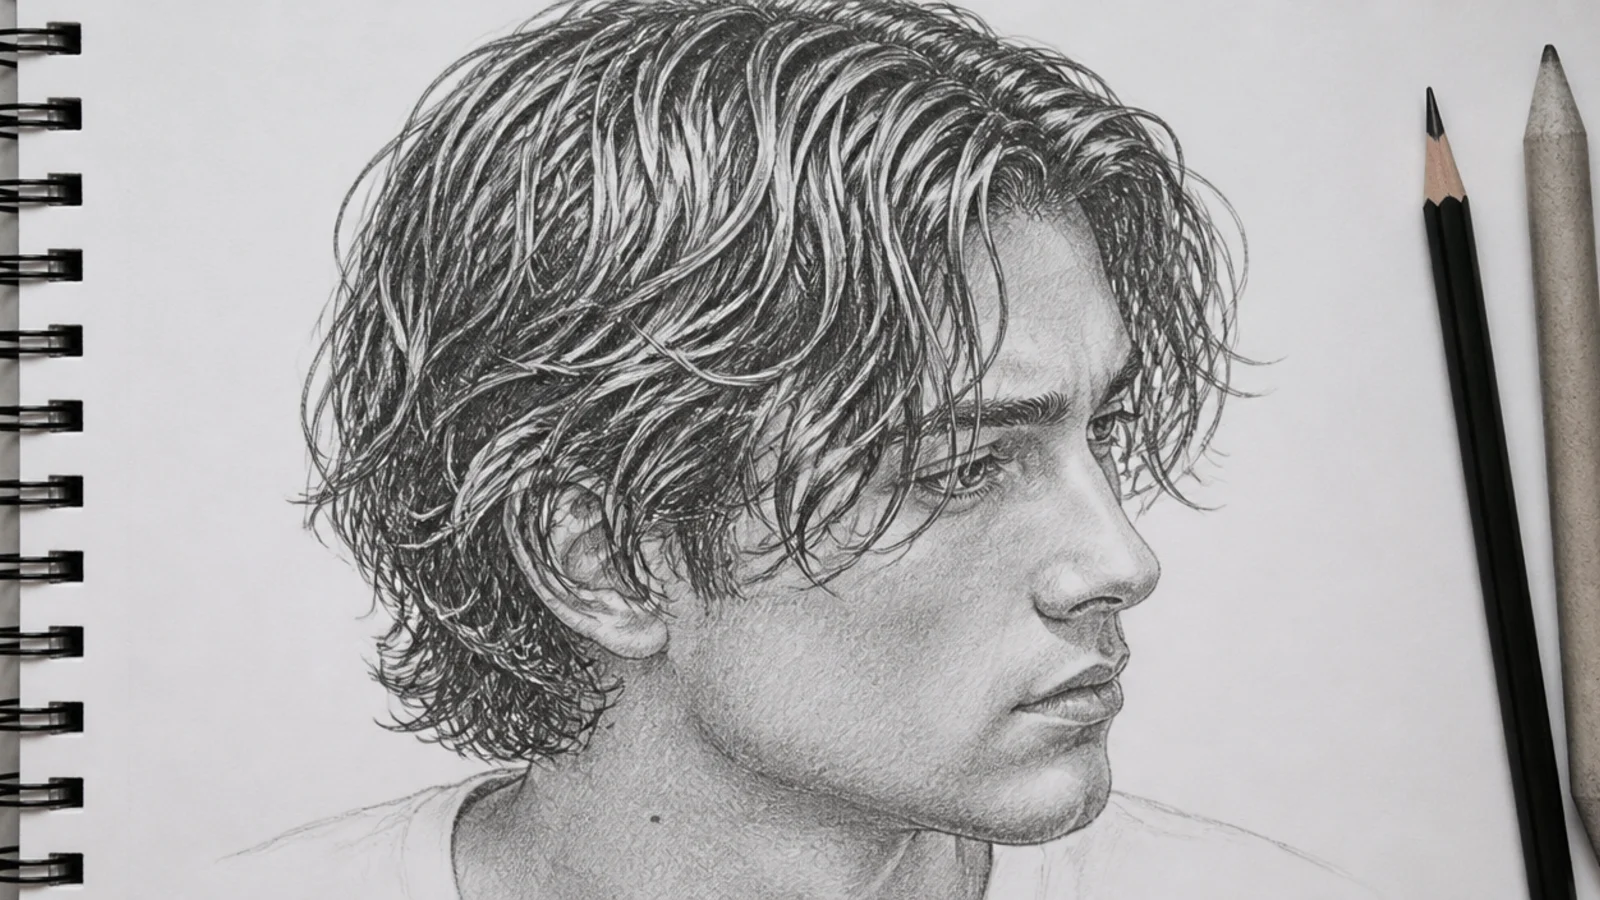
- 9. Wet Surfer Waves
- 10. Curly Man Bun
- 11. Salt and Pepper Curls
- 12. Sponge Curls With a Lineup
- 13. Wind Blown Profile
- 14. Curly Taper Fade
- 15. Back View Coils
- Final Thoughts
Most male curly sketches fail at the hairline rather than at the curls, and the artist spends the next hour fixing the wrong thing.
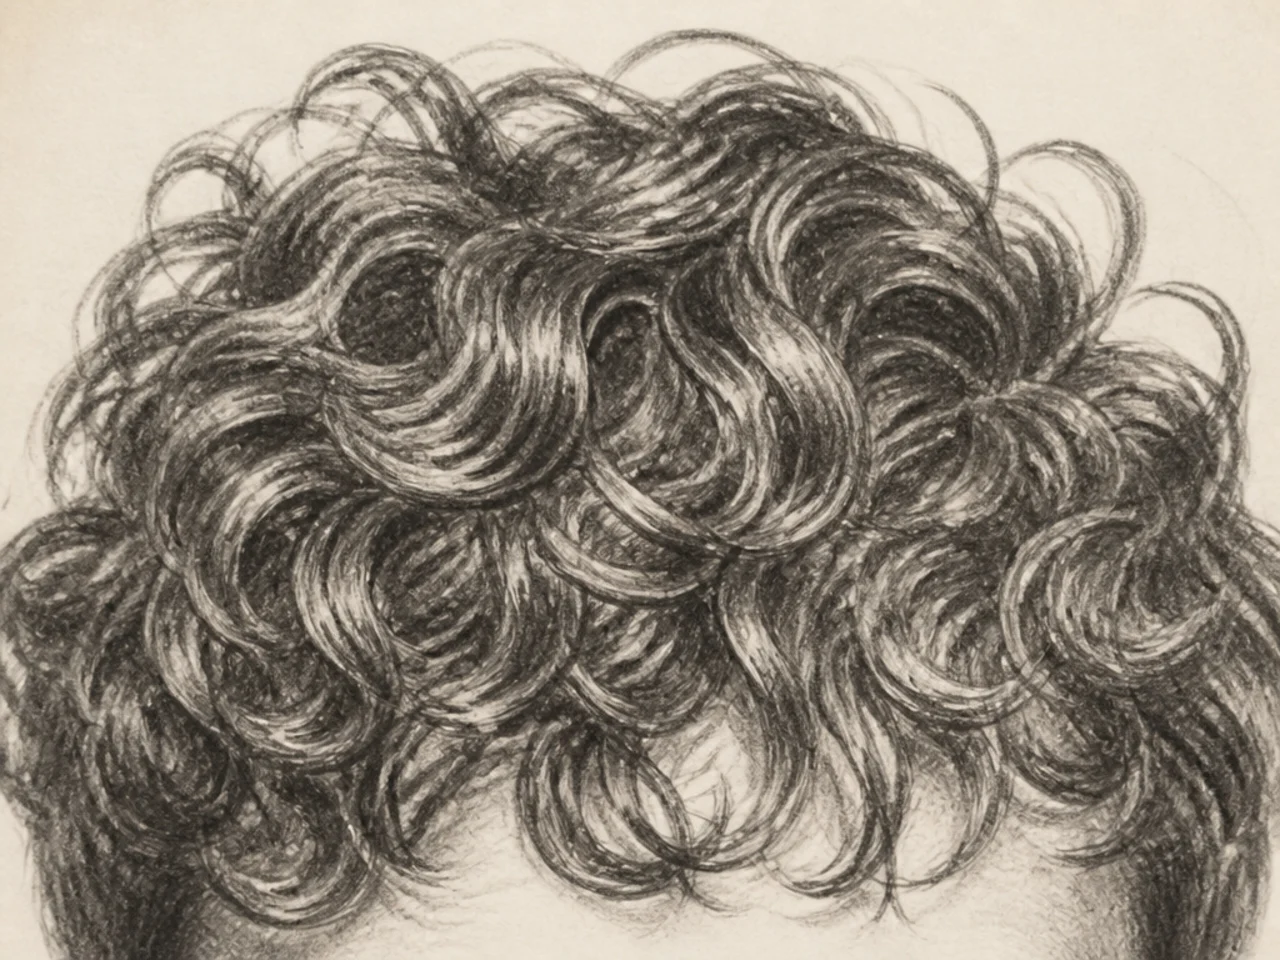
Curls are a mass with a texture, not a pile of drawn spirals. A curl is a cylinder turning through space, so its edges are value changes. Outline every one and you get wire.
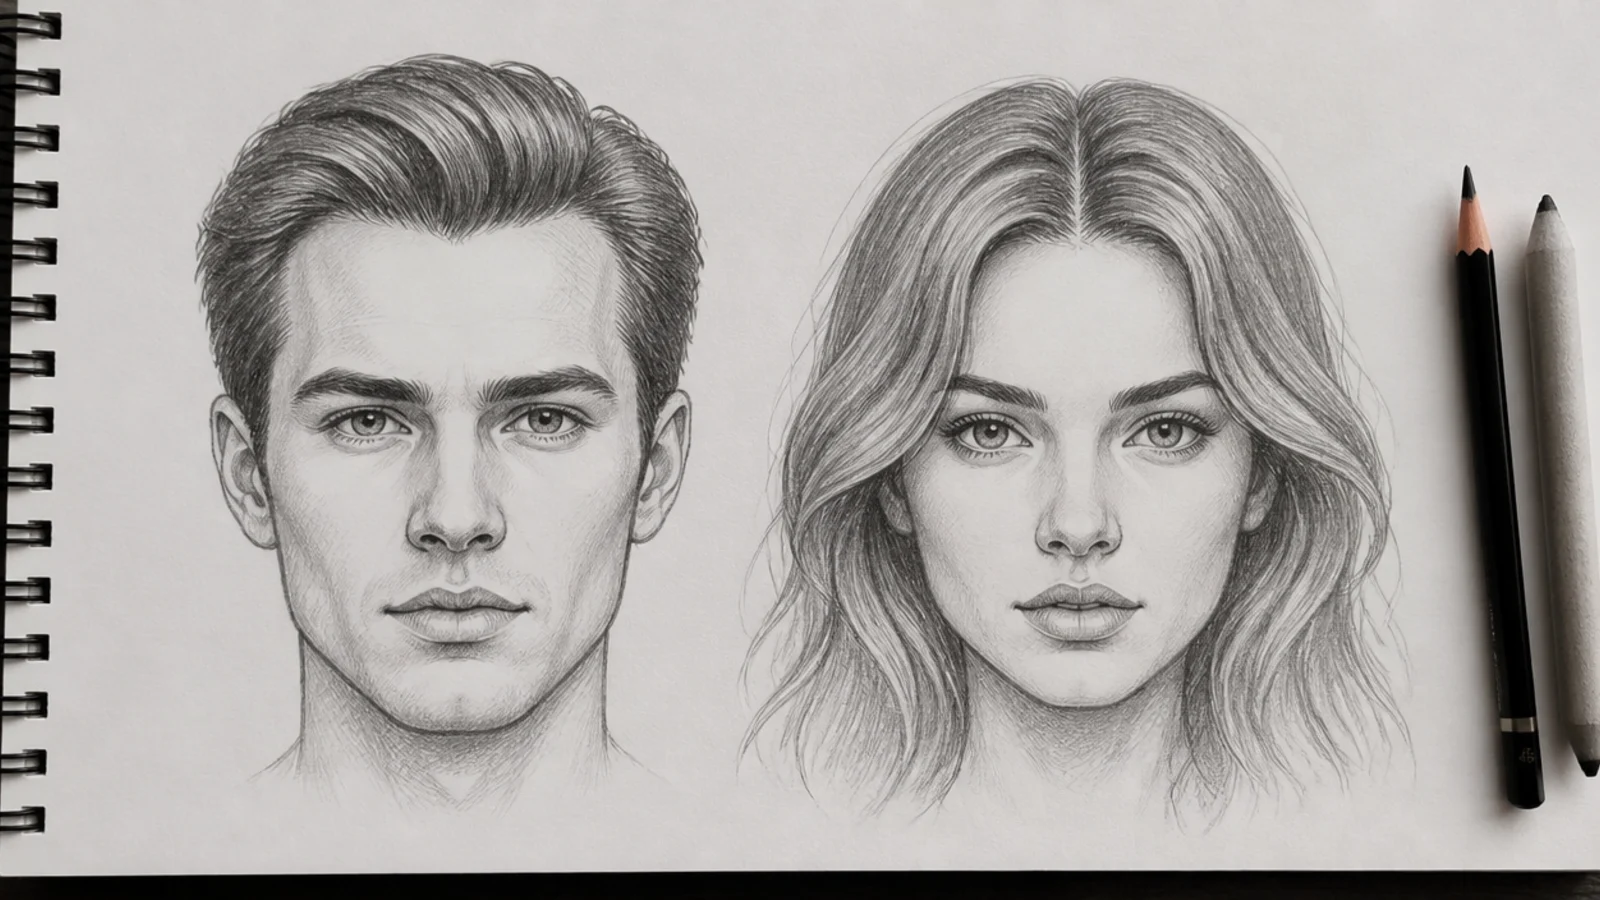
The hairline and the edge tell the viewer this is a cut. Temple recession, a squared forehead corner, a defined perimeter at the ear. The curl pattern above that line is the same on everyone.
Pencils Paper and Tools
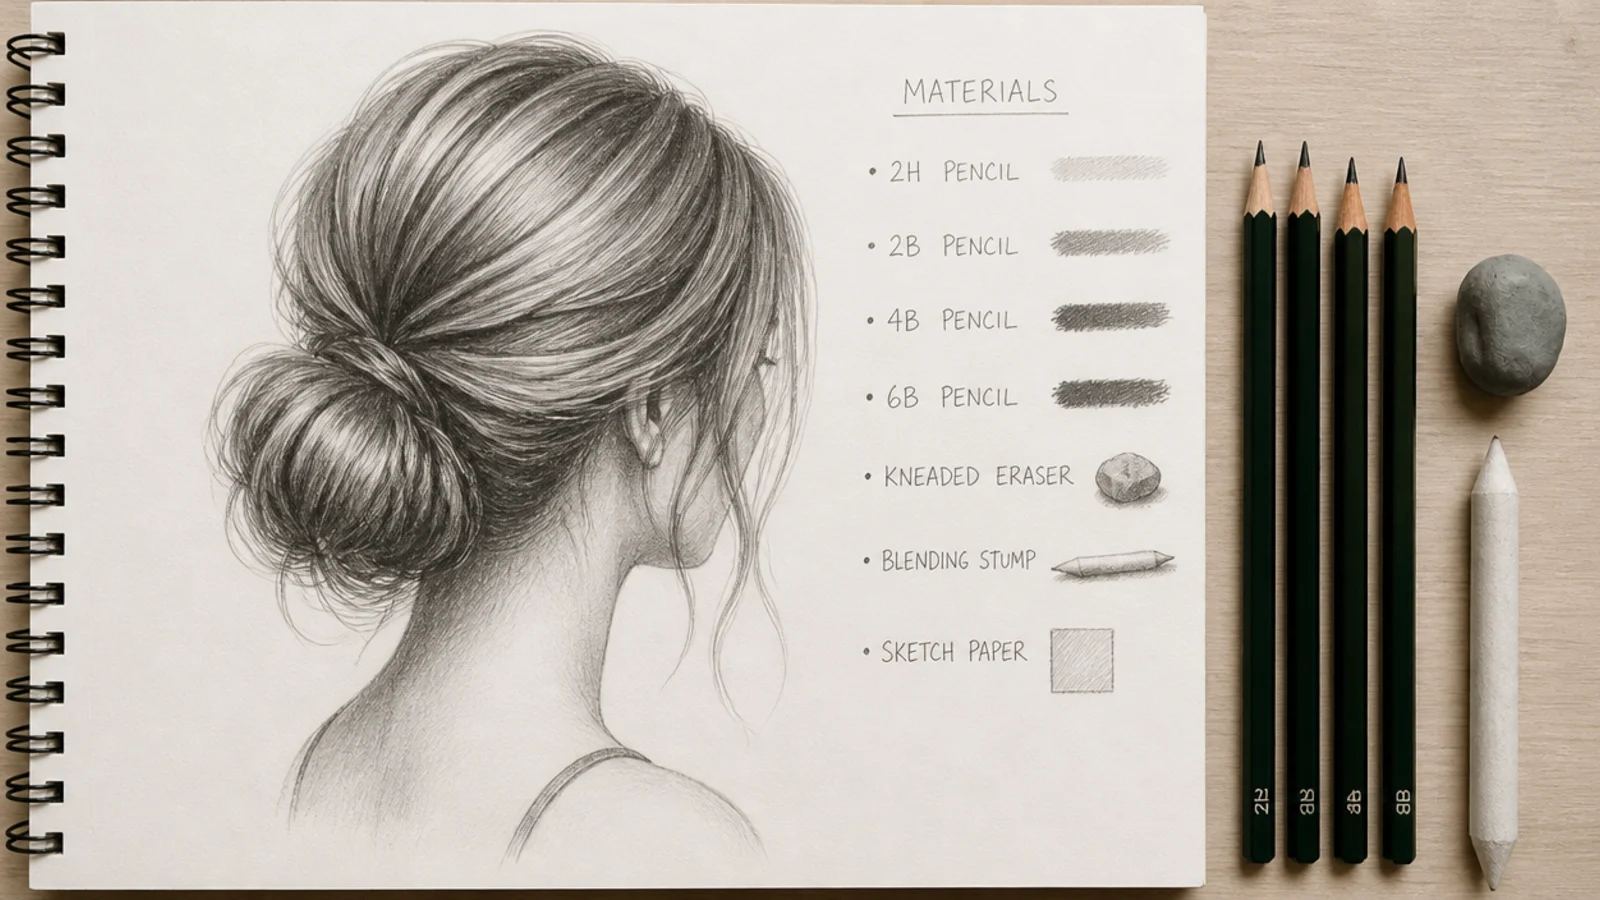
Three grades cover almost everything. A 2H for the layout you intend to erase, a 2B for the body of the hair, and a 6B for the dark cores between clumps. Everything in between is pressure.
A kneaded eraser is a drawing tool, not a correction tool. Curls are lit in small broken highlights, and lifting graphite back out is faster and more convincing than trying to draw around them.
Paper with a light tooth holds the mid tone. Smooth paper takes a dark core beautifully and refuses to hold an even mid grey, which is exactly the value a curl mass lives in.
A blending stump for the skull, not for the hair. Blend the underlying shadow of the head, then put the curl texture on top of it. Blending the texture itself is how a curl mass turns into smoke.
Curl Types From 2A to 4C
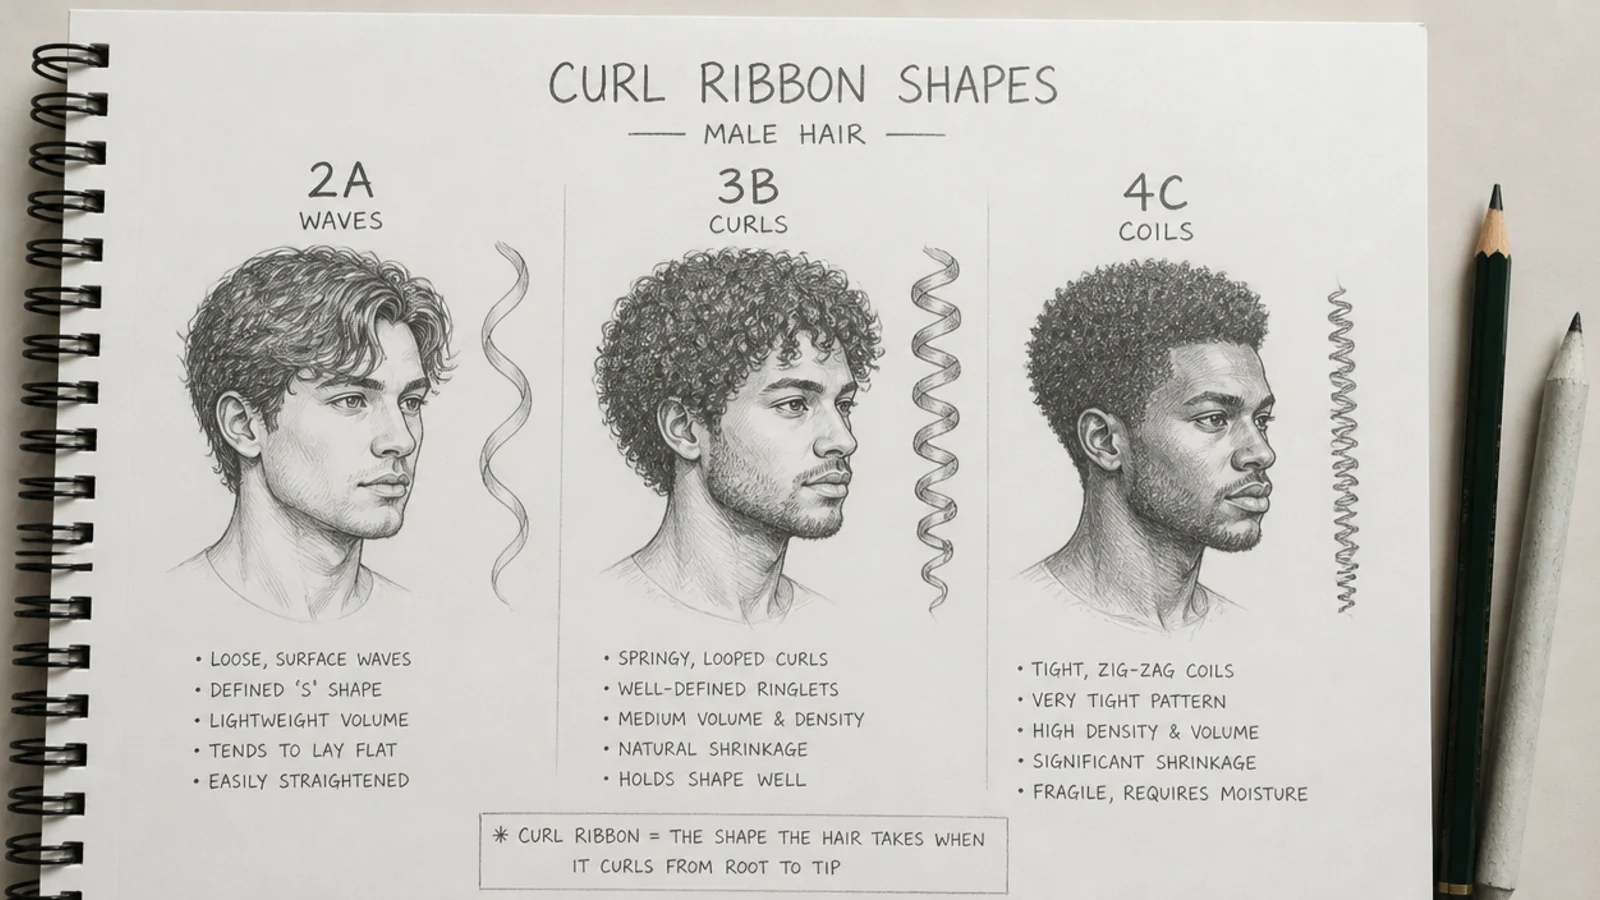
Type 2 is a wave, and it bends in one plane. The strand makes an S along its length without ever closing into a loop, which is why waves show more continuous highlight than anything tighter.
Type 3 is a ringlet, and it closes. Diameters run from roughly a marker down to a pencil. This is the only range where drawing individual curls is genuinely correct, because they are large enough for the eye to resolve one at a time.
Type 4 is a coil, and it reads as texture rather than shape. The loops are small enough that a viewer sees a surface, so you shade the mass and define only the silhouette.
Curl diameter sets how dark the mass reads. A tighter loop hides more of each strand behind itself and traps more shadow inside the clump, which is why the same head of hair goes darker as the pattern tightens.
Silhouette Before Strands
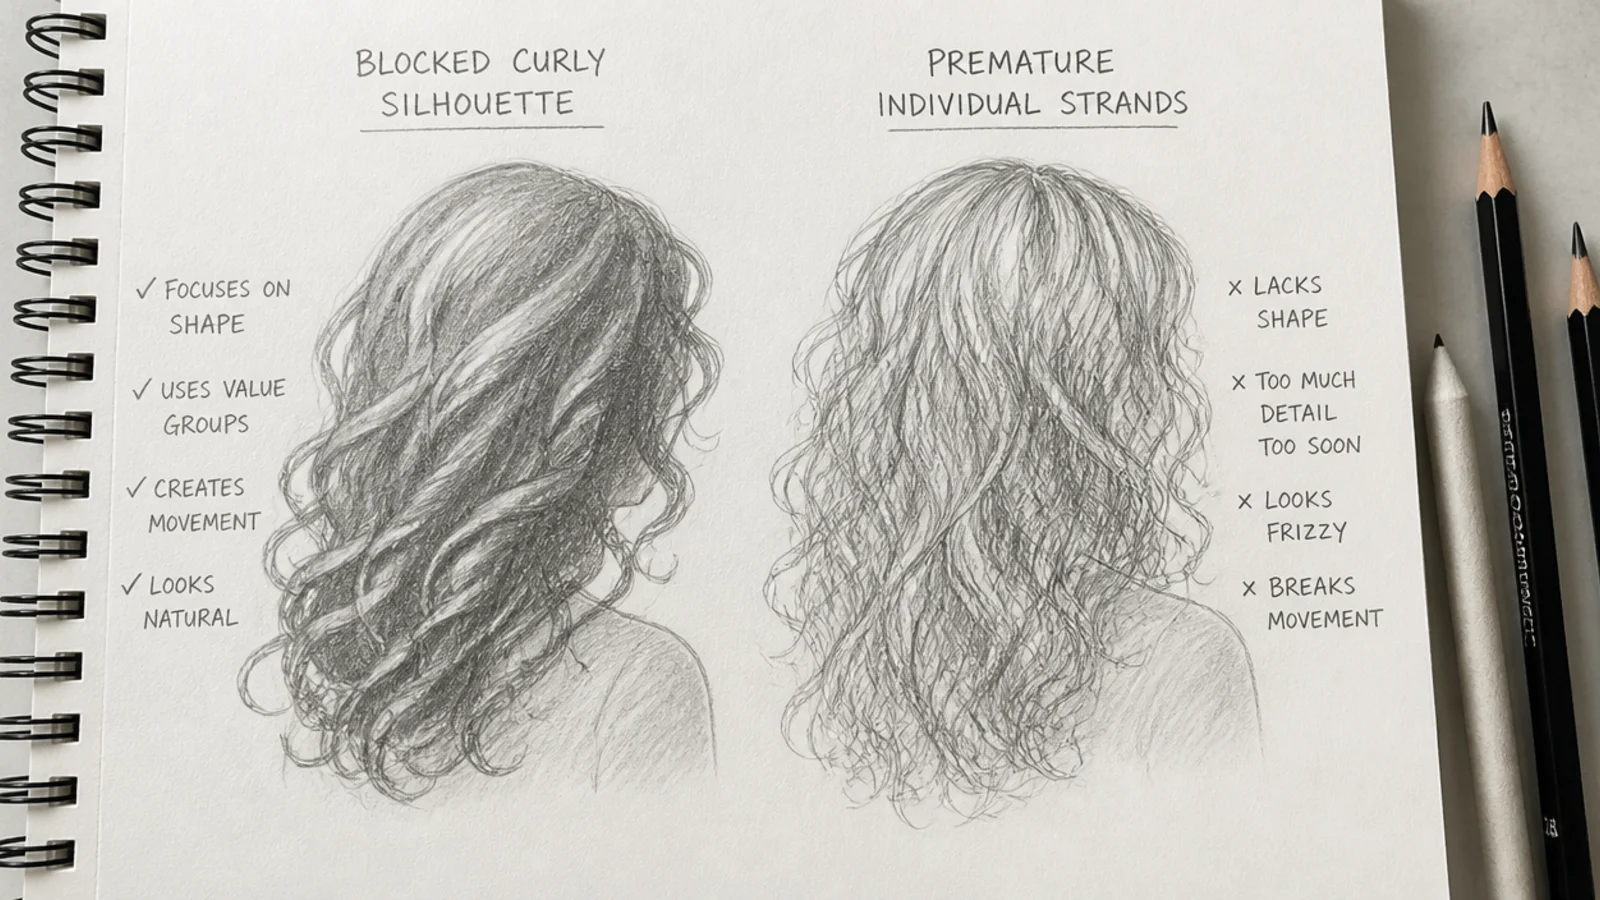
Block the outer shape before anything else. Curly hair grows outward from the skull, so the drawn silhouette sits well outside the skull line. Draw the head first and the hair inside it and the result is permanently flat.
Judge the shape squinting. At a squint the whole mass becomes one grey shape, which is the only reliable way to see whether the silhouette is lopsided before you have committed detail to it.
Break the outline in three or four places only. A silhouette with escaping coils everywhere reads as noise. A few deliberate breaks read as hair.
The parting is a shape, not a line. Hair has thickness, so the scalp shows as a narrow wedge with two banks of hair rising from it rather than a drawn stroke.
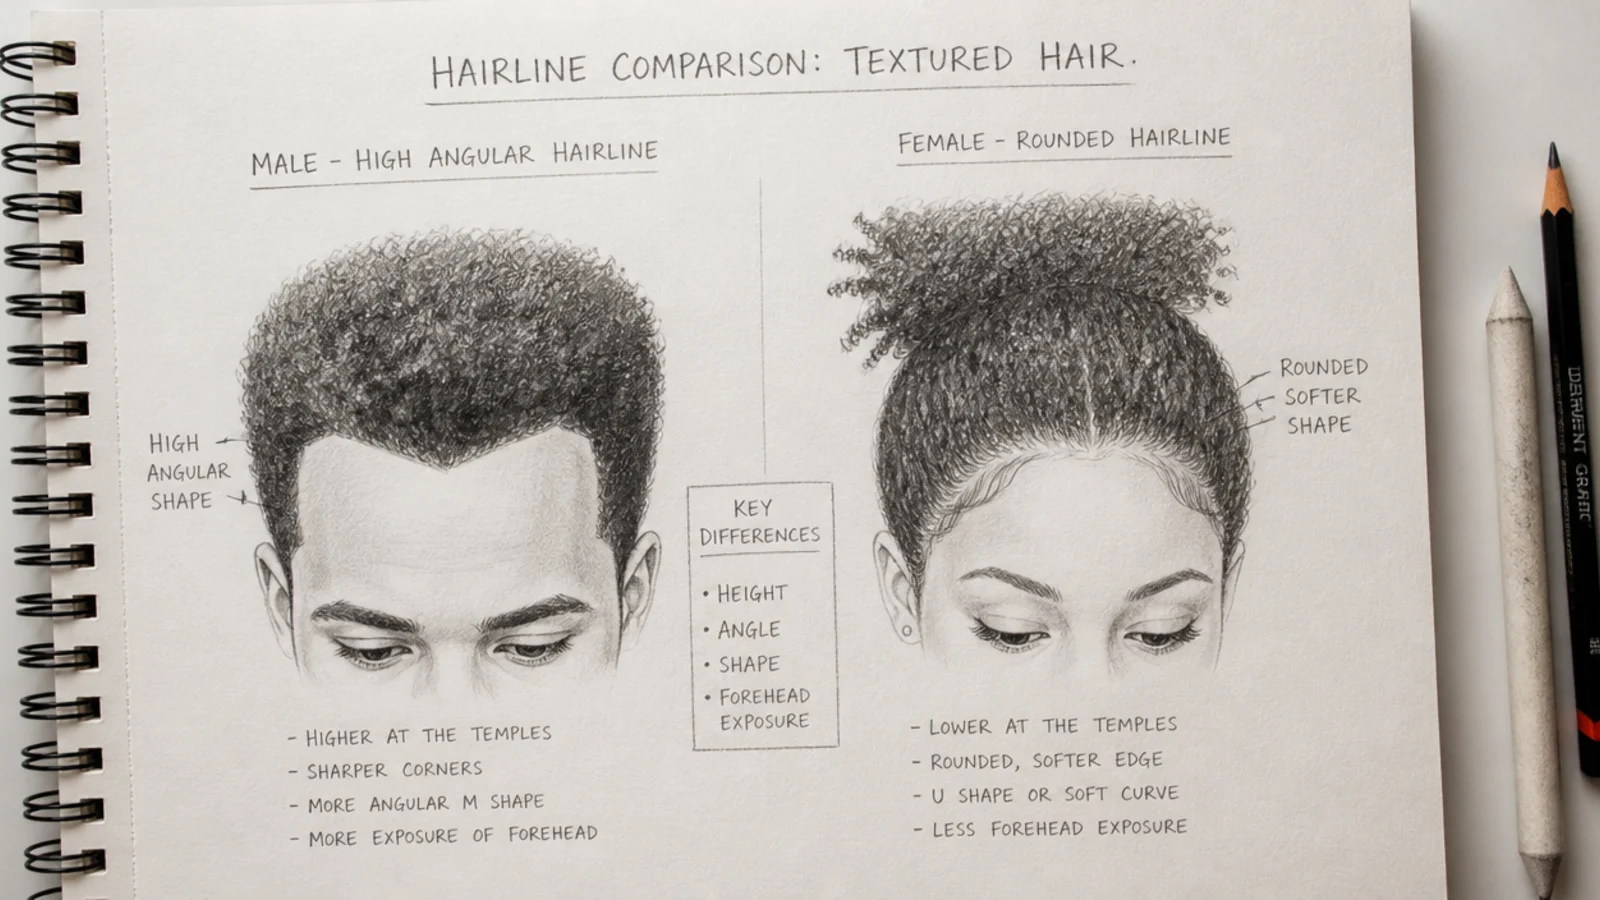
The Male Hairline and Edge
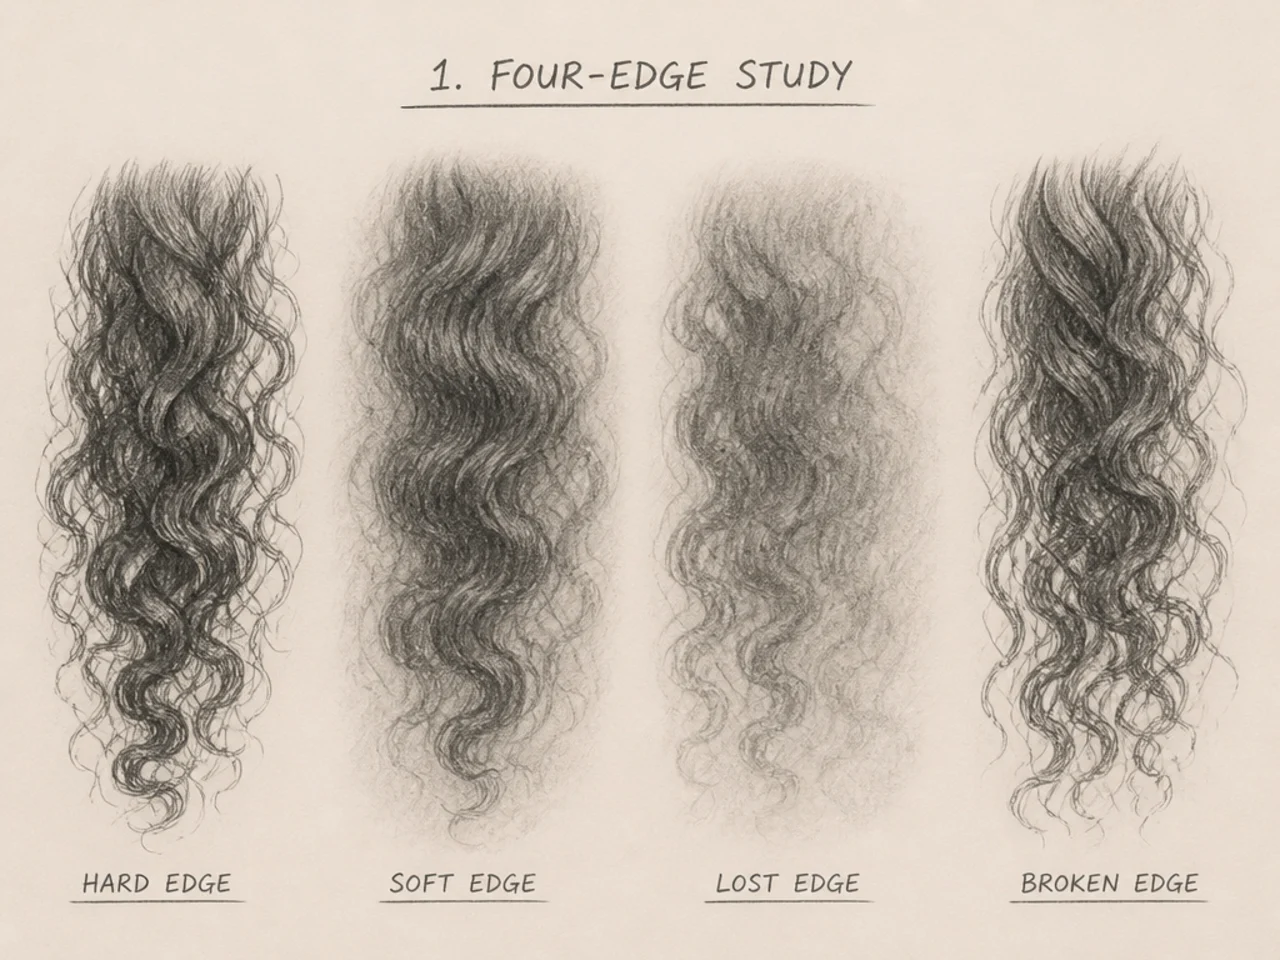
A hairline is a gradient, not an edge. Fine short hairs thin out over roughly a centimetre, so drawing a hard boundary at the forehead gives every portrait a wig.
Unless a barber has cut one. A lineup replaces that gradient with a deliberate hard corner at the temple, and reproducing it is the fastest way to make a sketch read as a current cut.
Temple recession is the single most male-reading feature. The two notches above the outer eyebrow change the shape of the forehead, and they exist long before any hair loss does.
The perimeter around the ear finishes the story. A defined line there says the hair is maintained. A soft fade of loose hairs says it is growing out. Both are correct and they are different drawings.
Shading Volume With Pencil Grades
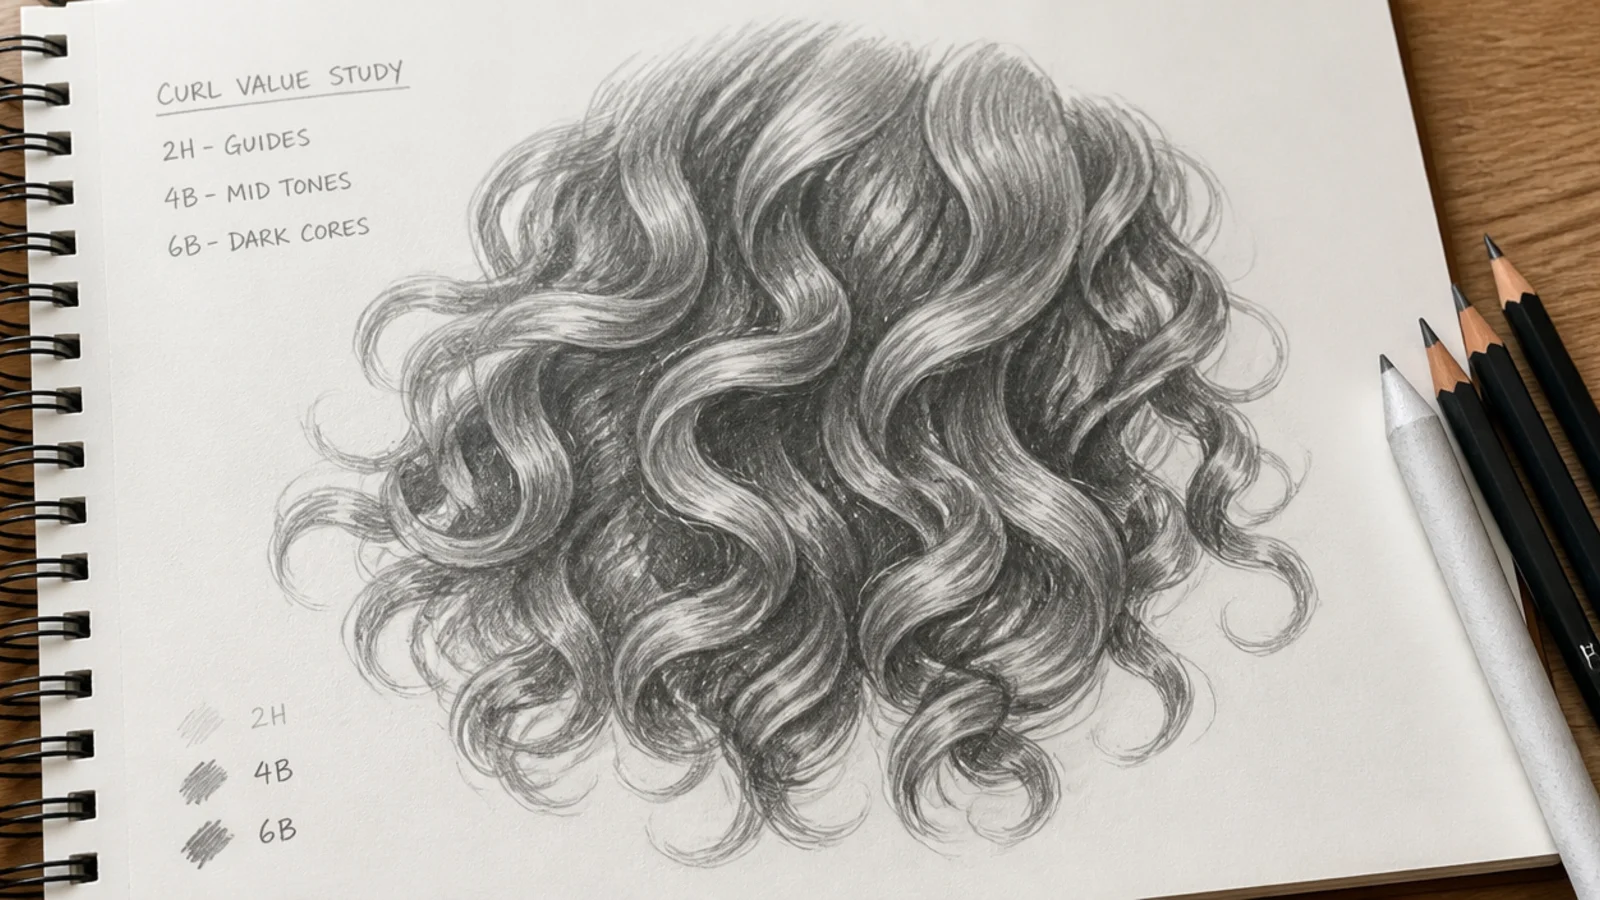
Volume comes from range within one clump. A clump needs a dark core, a mid body and a lifted highlight. Three values inside a single shape read as round; one flat tone reads as a sticker.
The darkest values are between clumps, not on them. Light cannot reach into the gap where two clumps meet, so that is where the 6B goes, in short marks rather than long ones.
Highlights follow the skull, not the strands. The bright band wraps around the curve of the head across many clumps, which is what tells the viewer there is a sphere underneath all that texture.
Leave the deepest shadow unblended. A blended core loses its edge against the mid tone, and that edge is what separates one clump from the next.
Common Mistakes With Curly Hair
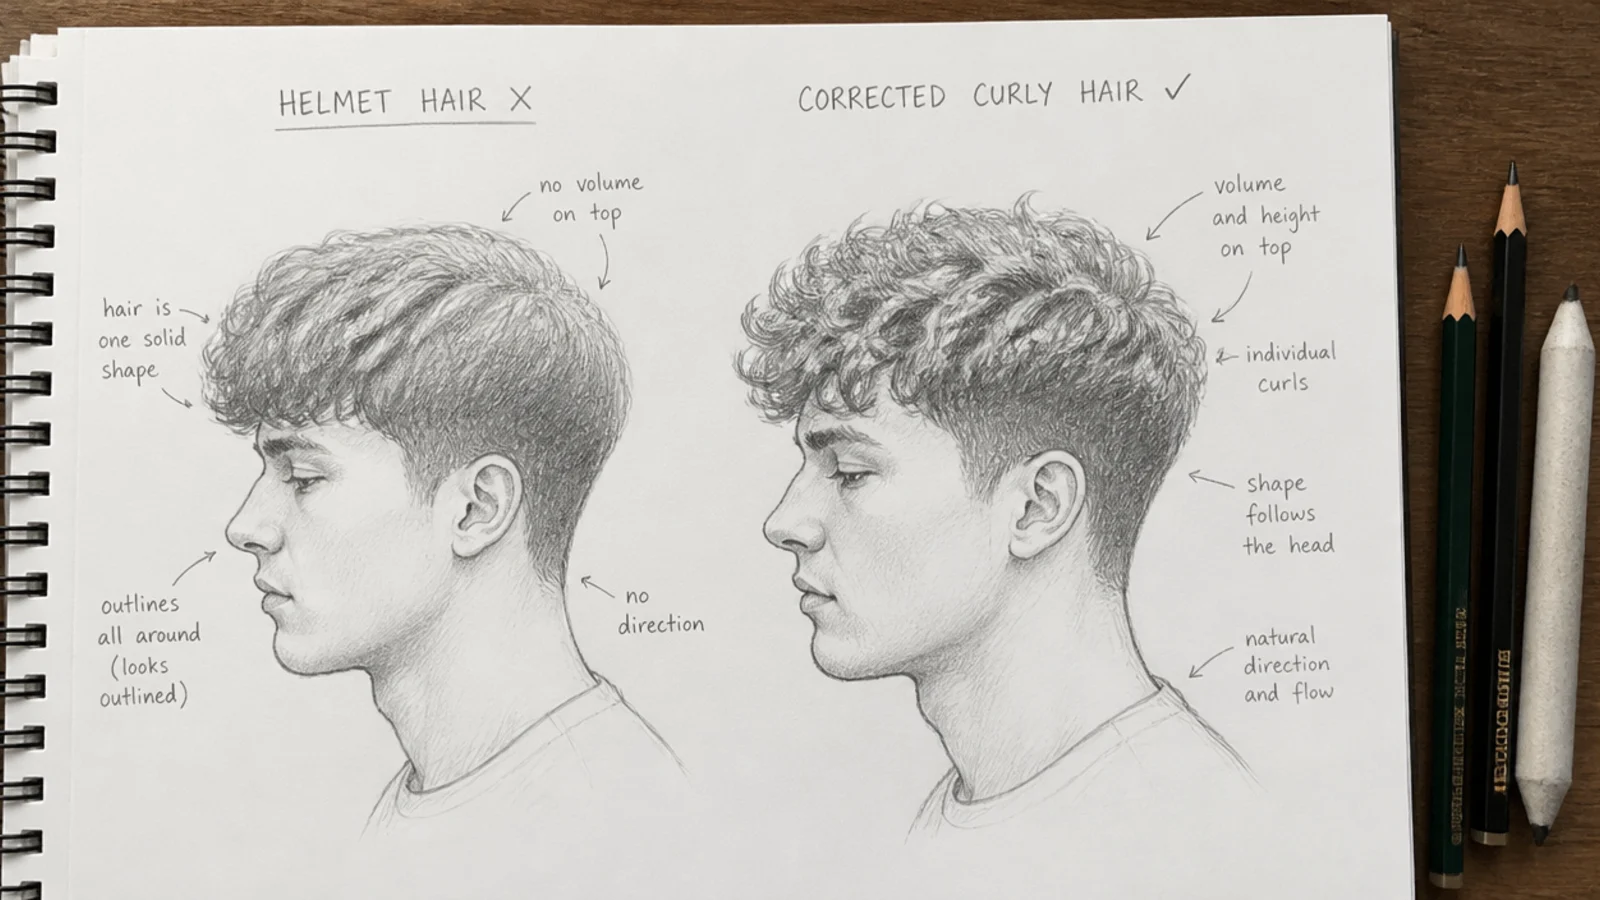
Outlining every curl. It gives every curl equal weight, so nothing is detail and nothing is mass.
Uniform curl size across the whole head. Real curls vary, and they tighten at the nape and loosen at the crown where the weight pulls.
A single white band straight across the head. The highlight is broken by every clump it crosses. An unbroken band reads as plastic.
Symmetry. Both sides drawn the same makes the head look pressed flat. One side always carries more mass than the other.
Detail before silhouette. Rendering a beautiful clump inside a wrong shape means erasing the beautiful clump.
The 15 Curly Hair Sketch Ideas
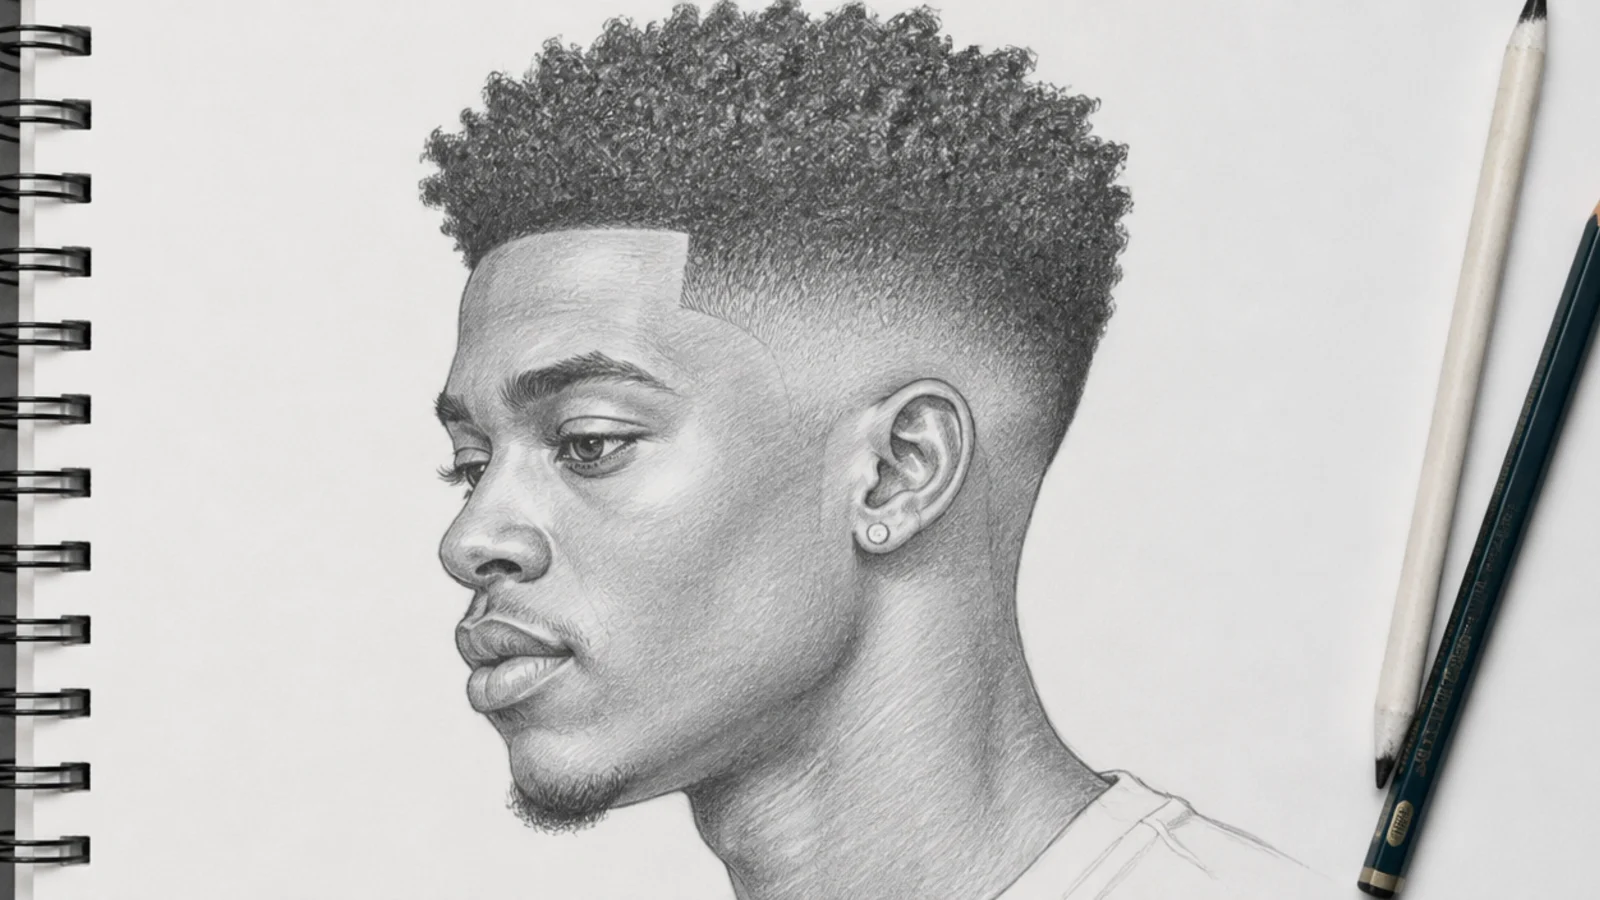
1. 4C High Top Fade
The value jump between the faded sides and the coil mass on top is the entire drawing, so keep the sides close to bare paper and let the top carry your darkest cores. Draw the top as one solid silhouette with a flat plane and softened corners, then break only the outline with a few coils so it reads as hair rather than a hat.
2. 3A Curly Fringe
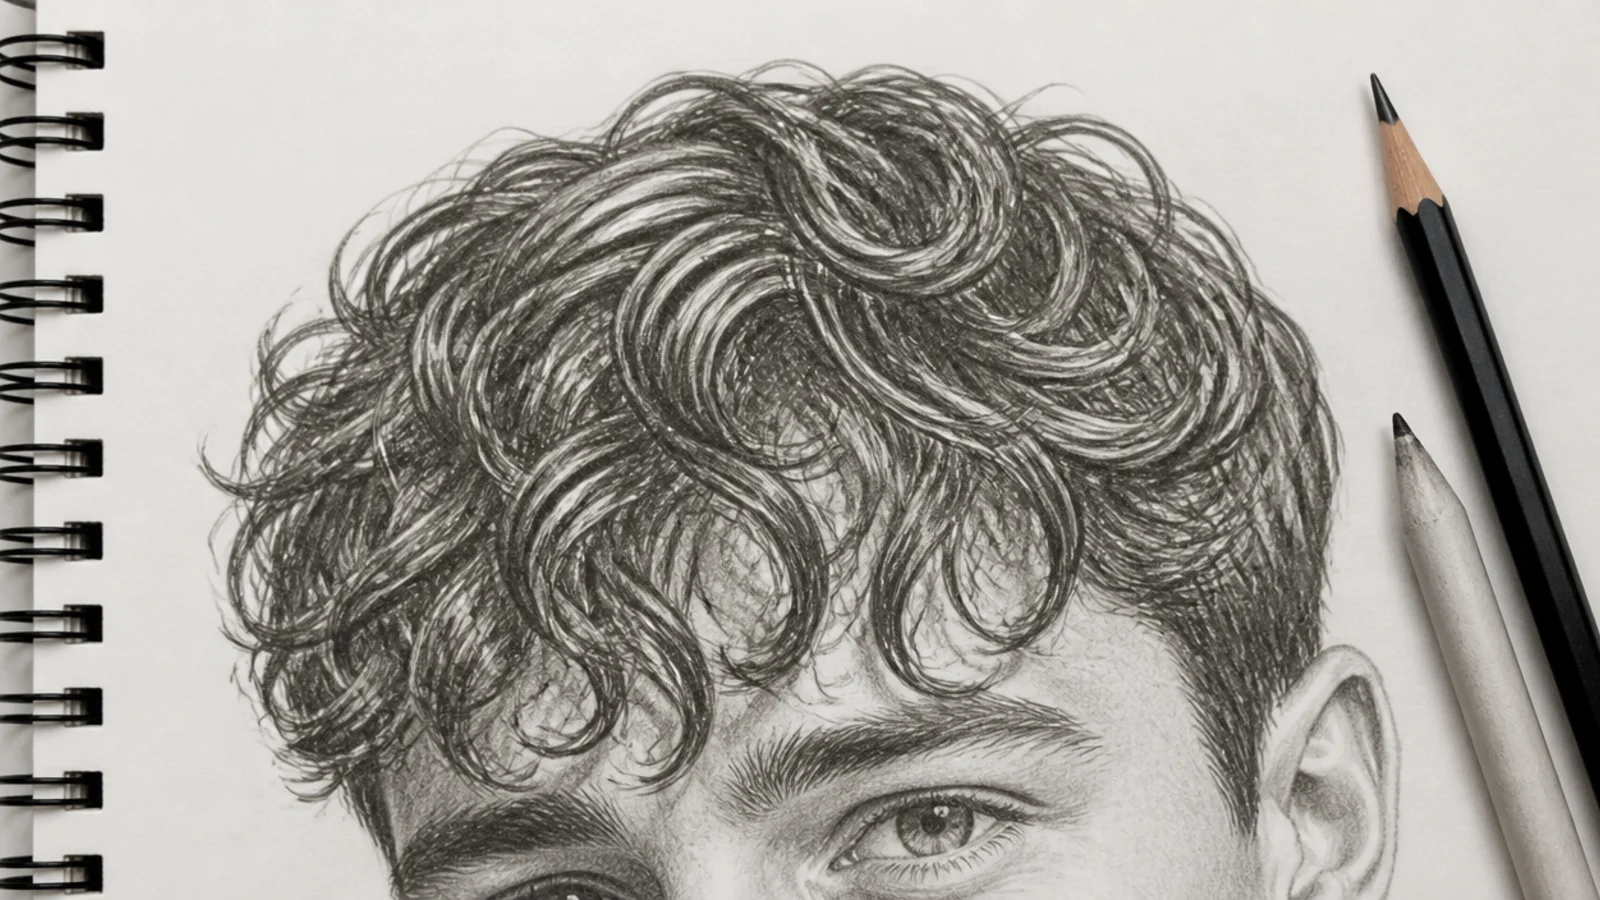
3A ringlets are wide enough for the eye to resolve one at a time, so a fringe is the one place where drawing separate curls is correct. Each ringlet is a cylinder seen end on, which means the far side of the loop has to be darker than the near side or it collapses into a written letter.
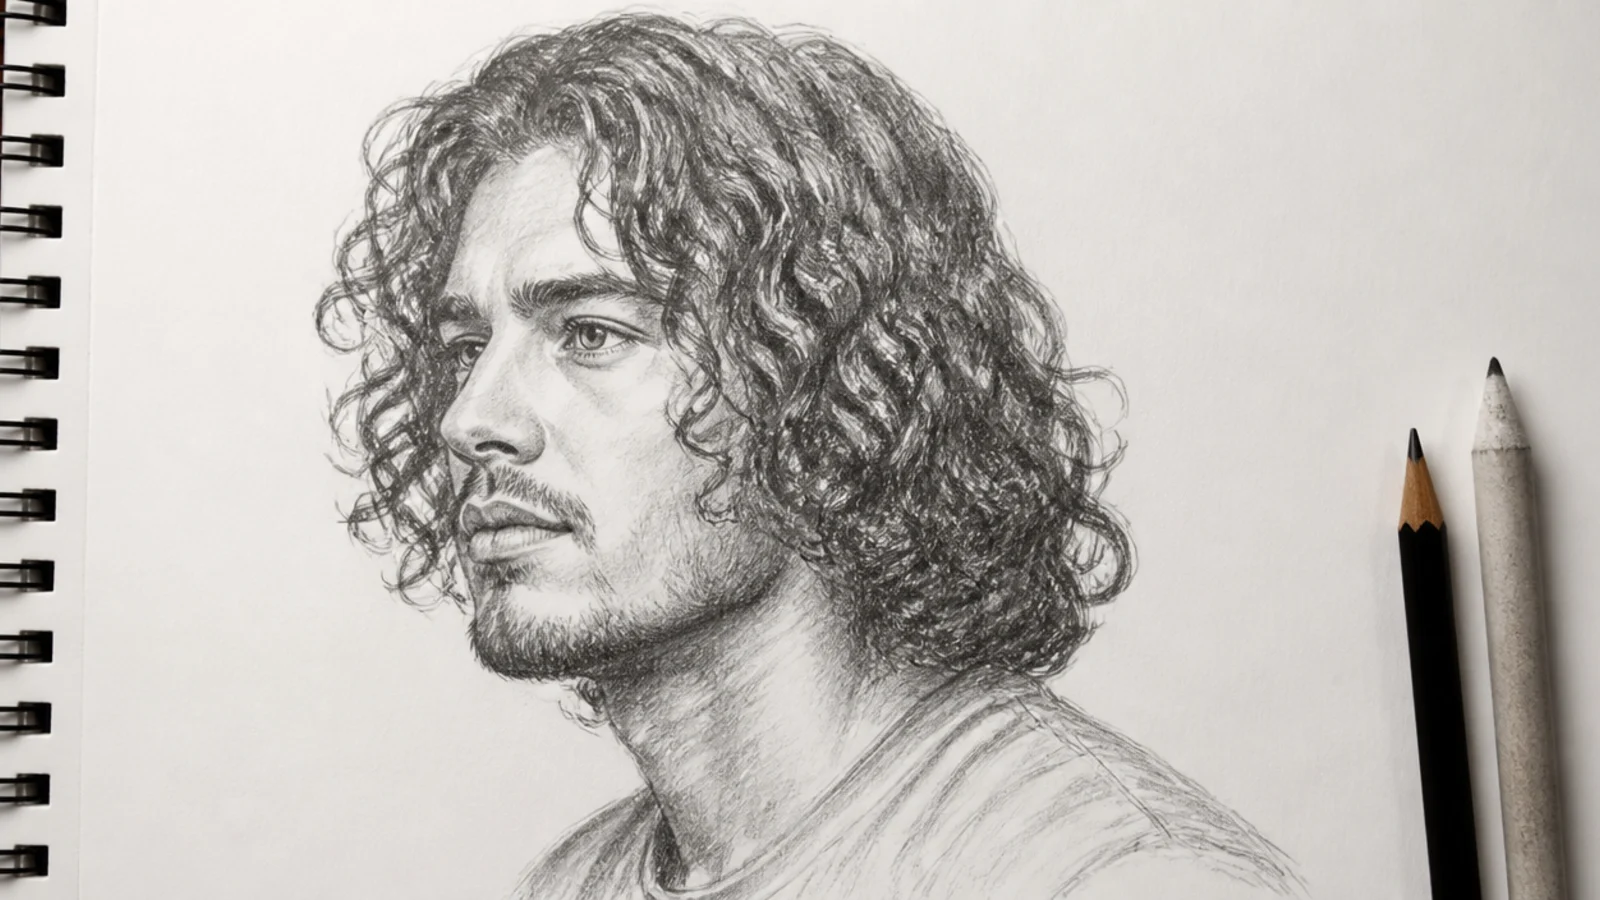
3. 3B Curls in Three Quarter View
Turning the head moves the crown swirl off centre and shows less mass on the far side than the near one. Draw the parting as a curve that wraps around the skull rather than a straight line, because a straight parting on a turned head is the fastest way to flatten a portrait.
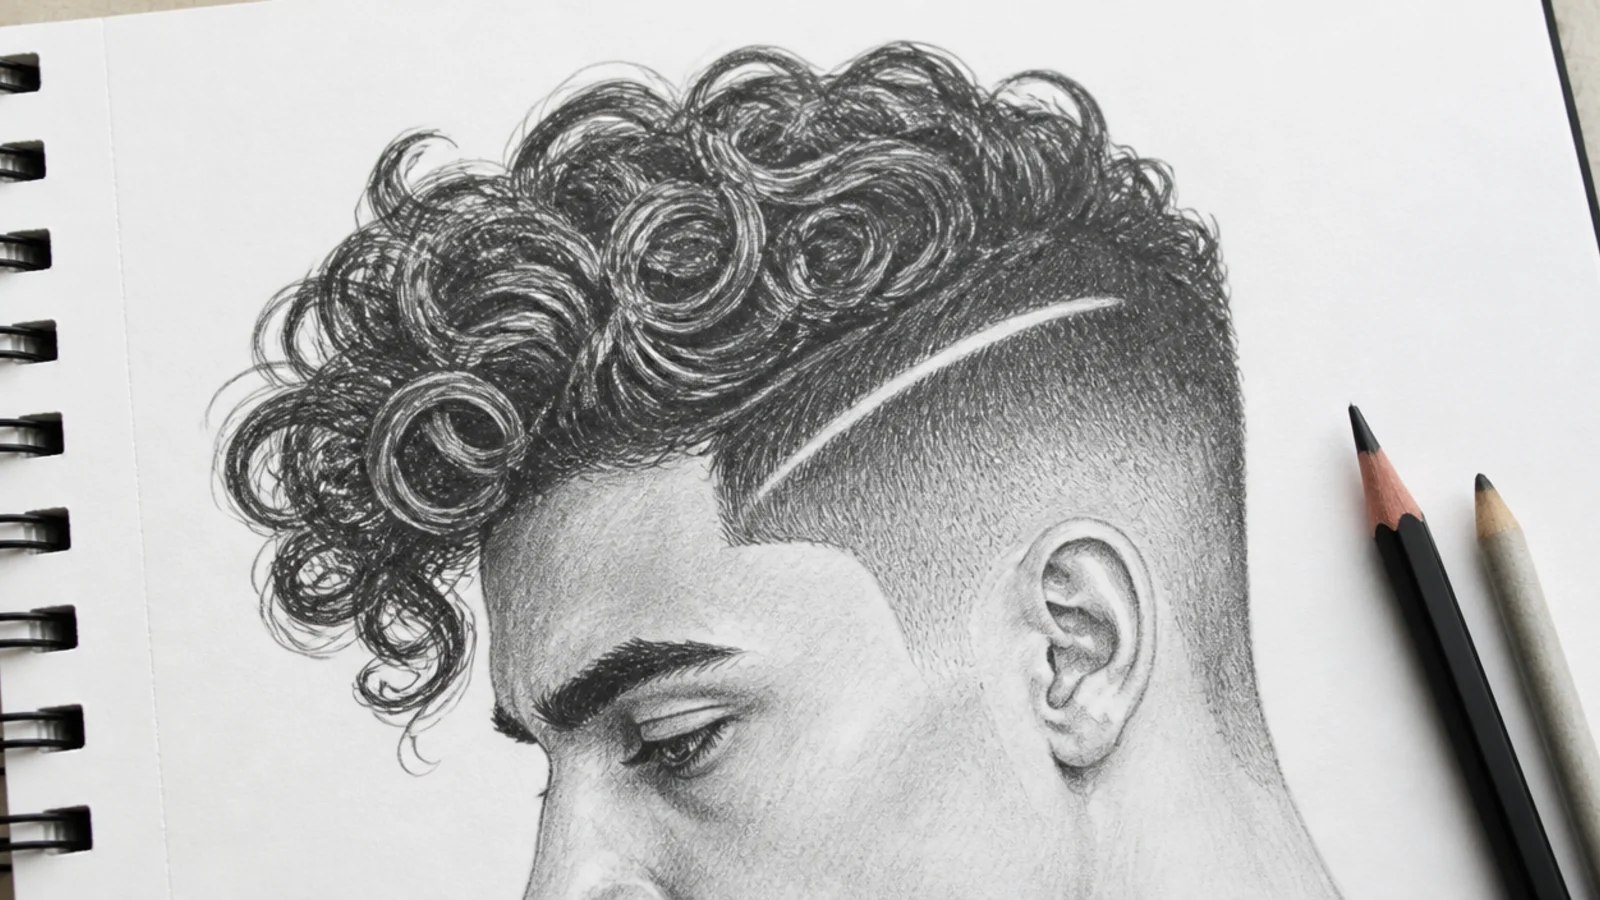
4. Curly Undercut
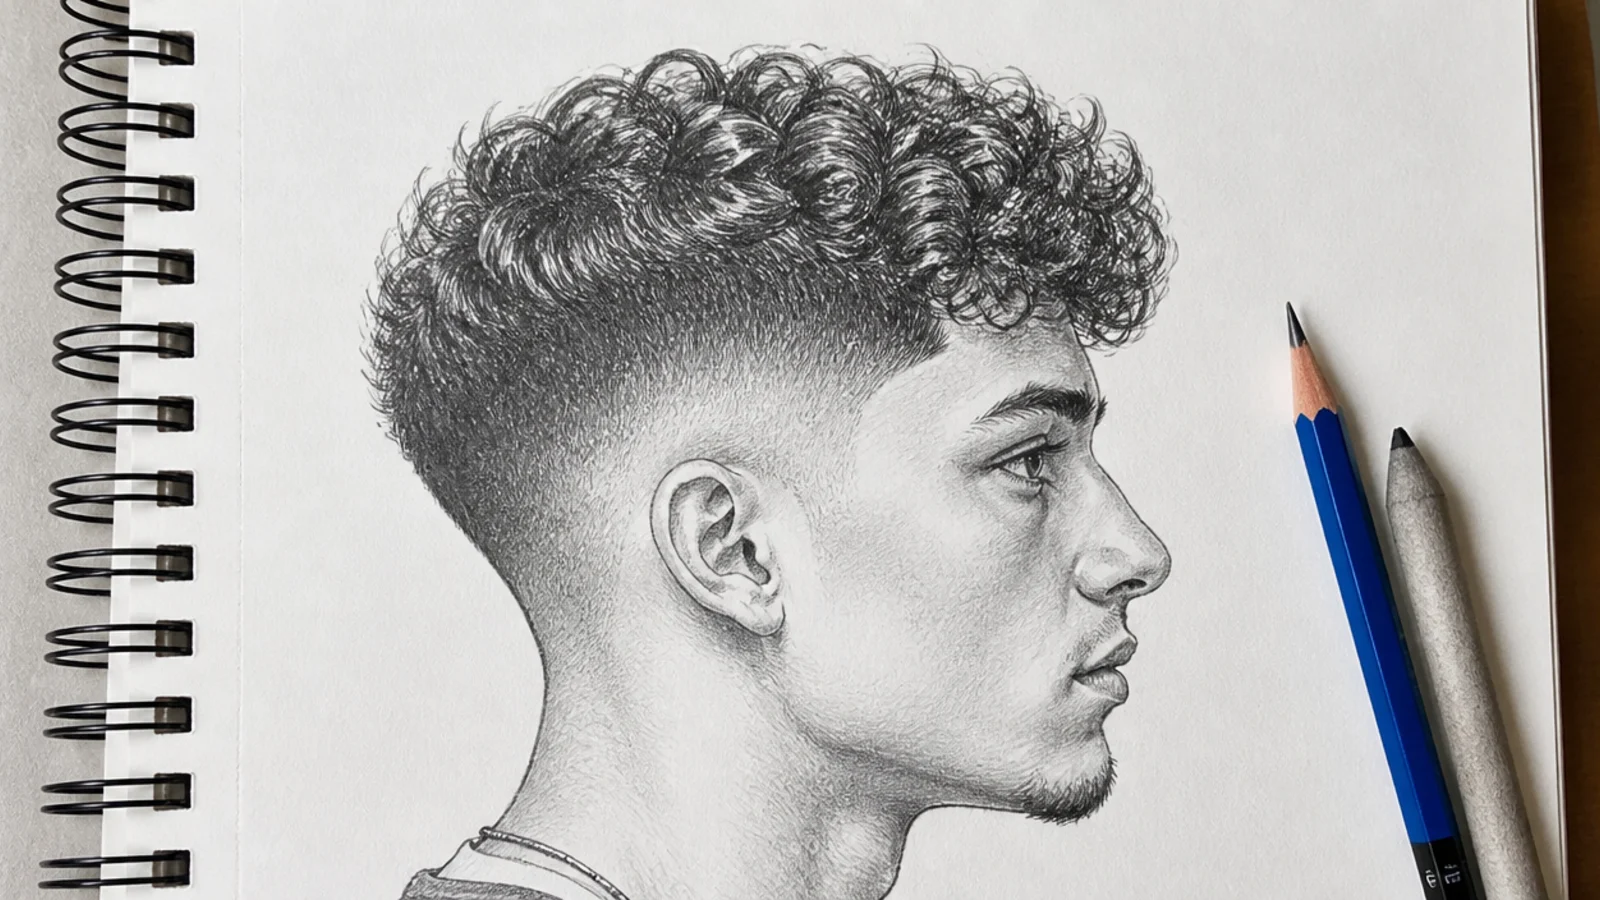
An undercut is a hard boundary with no gradient at all, unlike a fade, so the line where the short side meets the curls stays crisp and unblended. That one hard edge is what sells the cut, and softening it turns the drawing into an overgrown taper by accident.
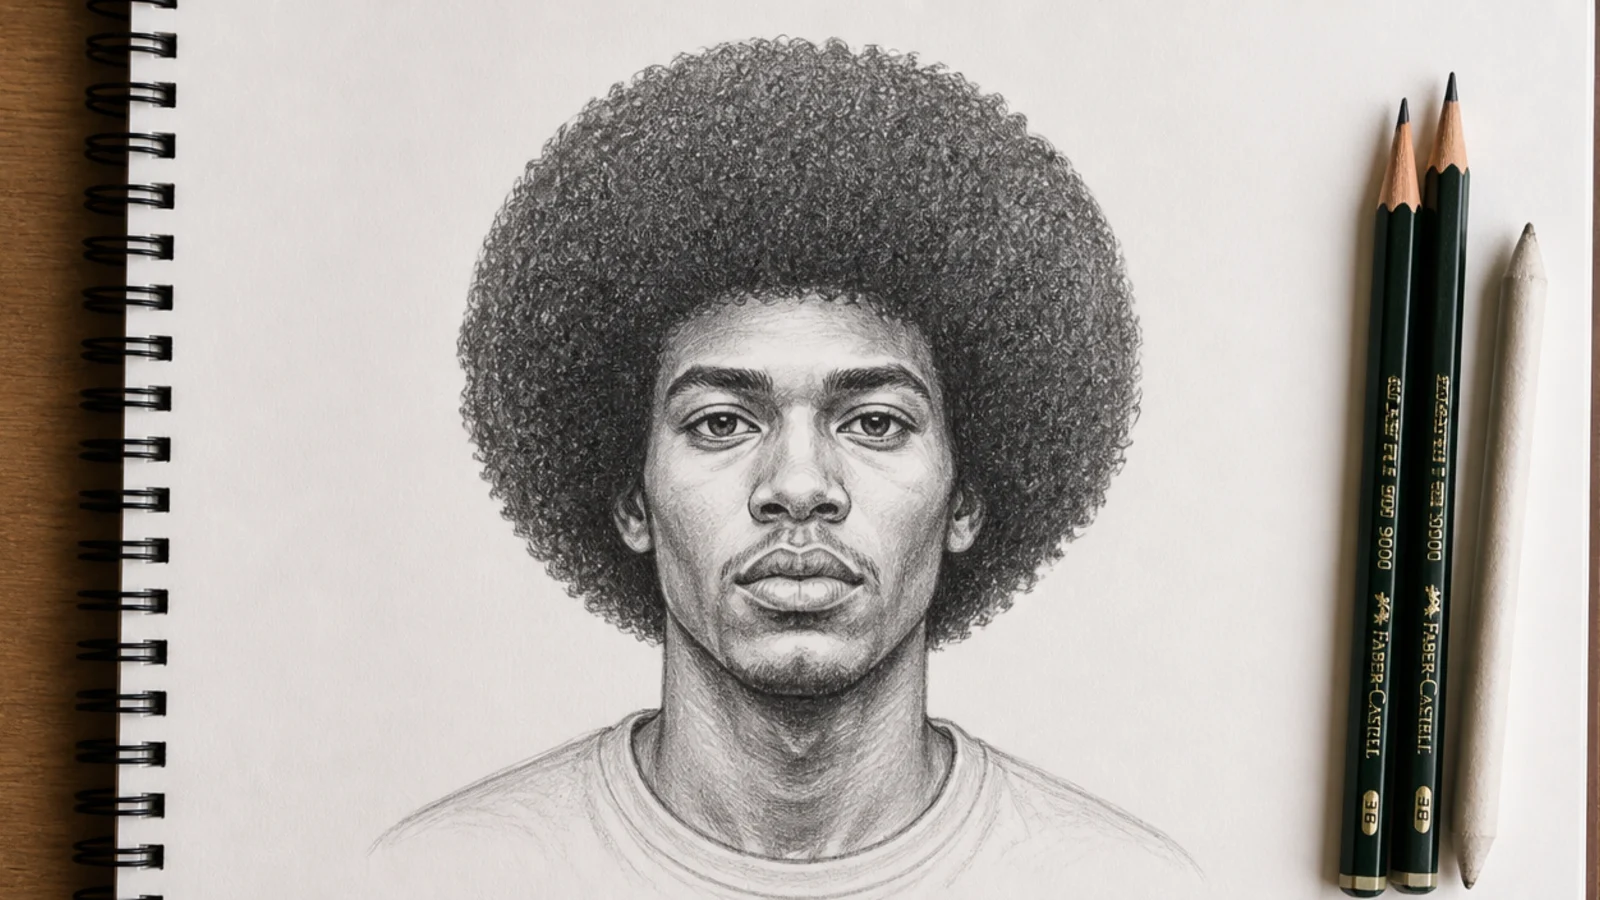
5. Round Afro From the Front
From the front the shape is close to a circle, which is exactly the trap. Flatten it slightly at the temples and let the outline break into small coils, since a mathematically smooth circle reads as a helmet no matter how carefully the interior is shaded.
6. Two Strand Twists
A twist is two ropes crossing at a regular interval, so the drawing is a repeating chevron rather than a spiral. Keep the interval even down the length and let it compress slightly toward the root, because that is where the tension was applied and the pattern is tightest.
7. Locs Behind the Ear
Locs are cylinders, so each takes a dark edge, a mid body and a thin highlight running its length. The ear pushes them outward, and the two or three that pass behind it should be interrupted by the ear rather than drawn over it, which is the detail that puts them in space.
8. Curly Mullet
The shape is a silhouette problem before it is a texture problem — short and tight at the front and sides, then a sudden lengthening at the back. Draw the disconnection in profile and let the back mass hang past the neckline, because a mullet that blends smoothly is just a long layered cut.
9. Wet Surfer Waves
Wet hair clumps into fewer, larger pieces and sits closer to the skull, so pull the outer silhouette in noticeably from where you would draw it dry. The highlights become small hard points rather than a soft band, and that change is the most reliable signal in the whole drawing that hair is wet.
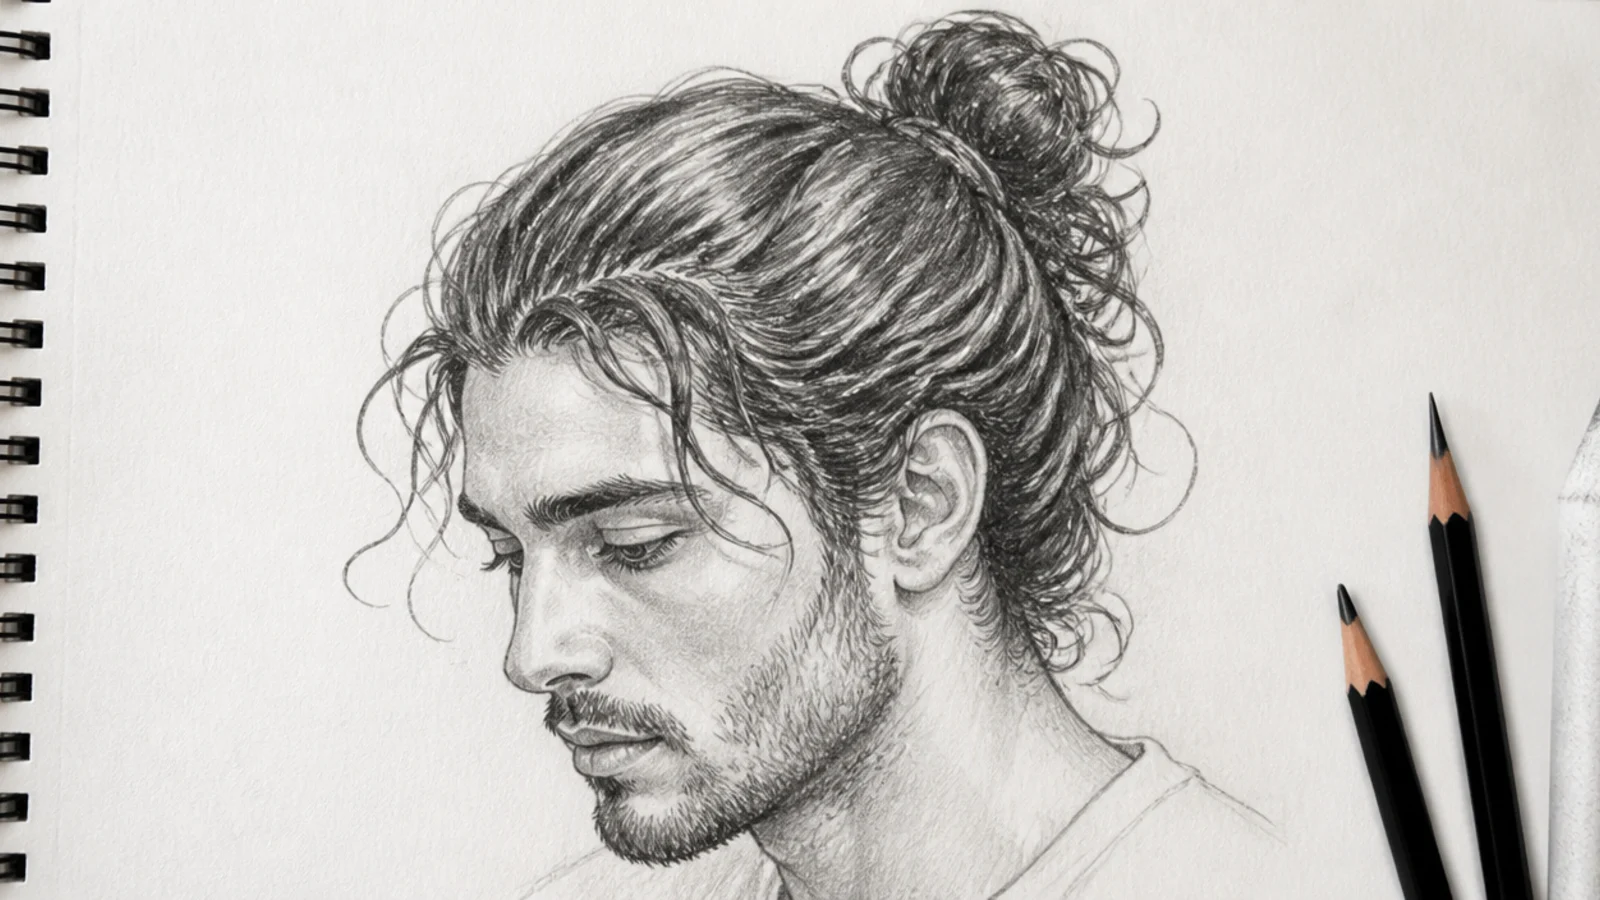
10. Curly Man Bun
Gathered curls fight the tie, so the bun is a loose irregular ball with coils escaping rather than a smooth sphere. Draw the tension lines running from the hairline back to the tie and let the pattern straighten as it approaches, since pull removes some of the curl before the hair is bound.
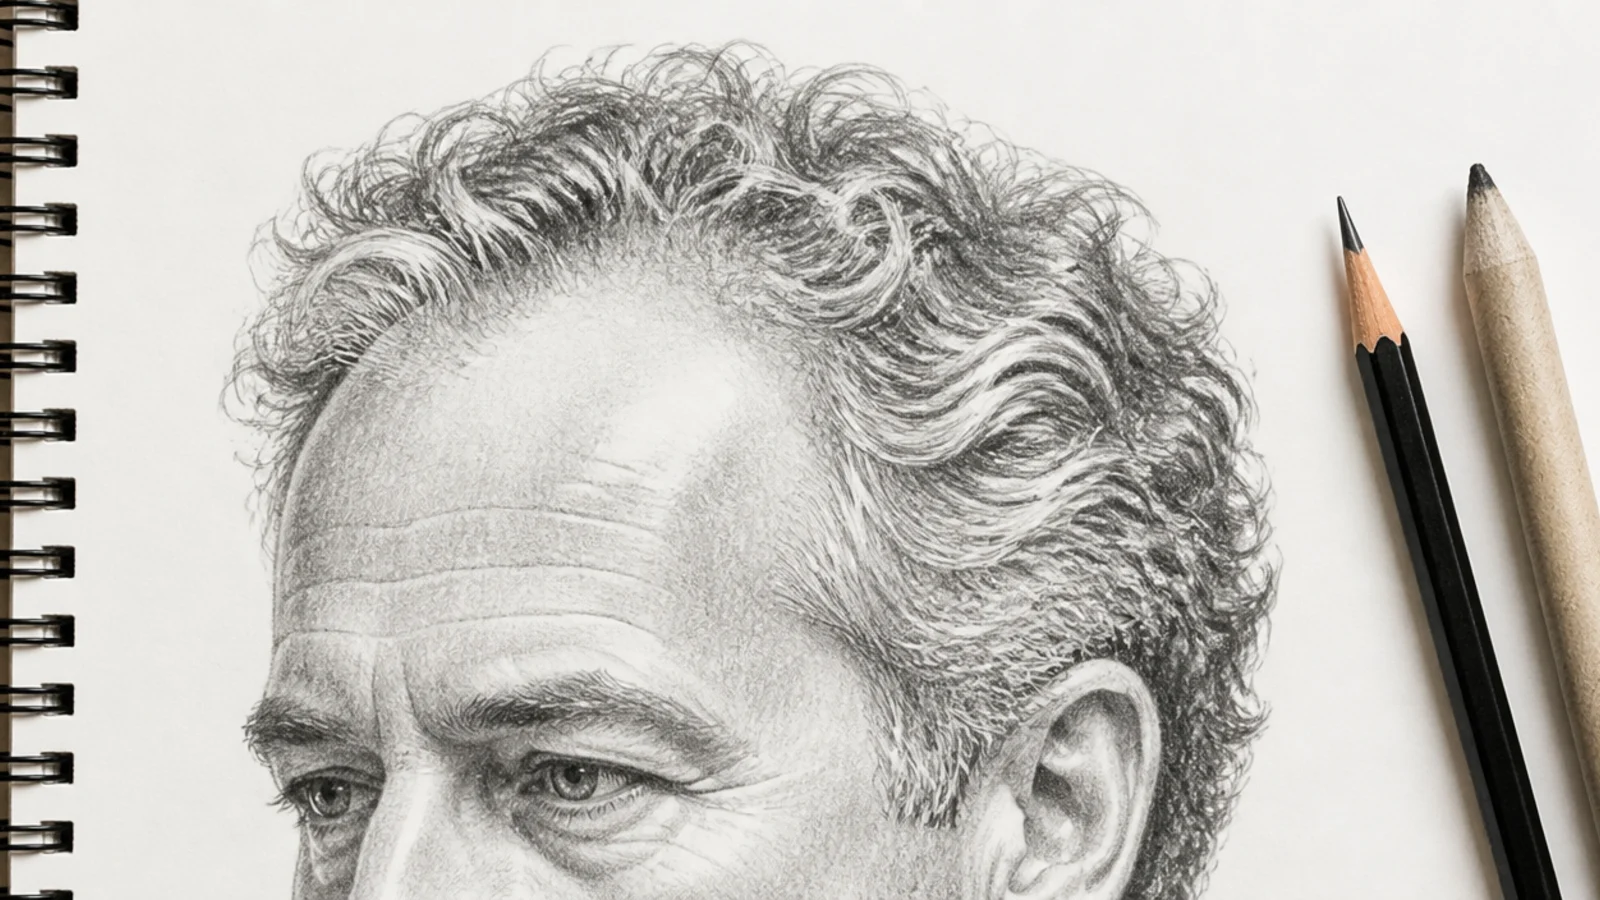
11. Salt and Pepper Curls
Grey is drawn by removing tone rather than adding it, so lay the mid value first and lift it back out at the temples with a kneaded eraser. Keep the dark cores between clumps intact while you do it, because a head lightened evenly loses every trace of its volume.
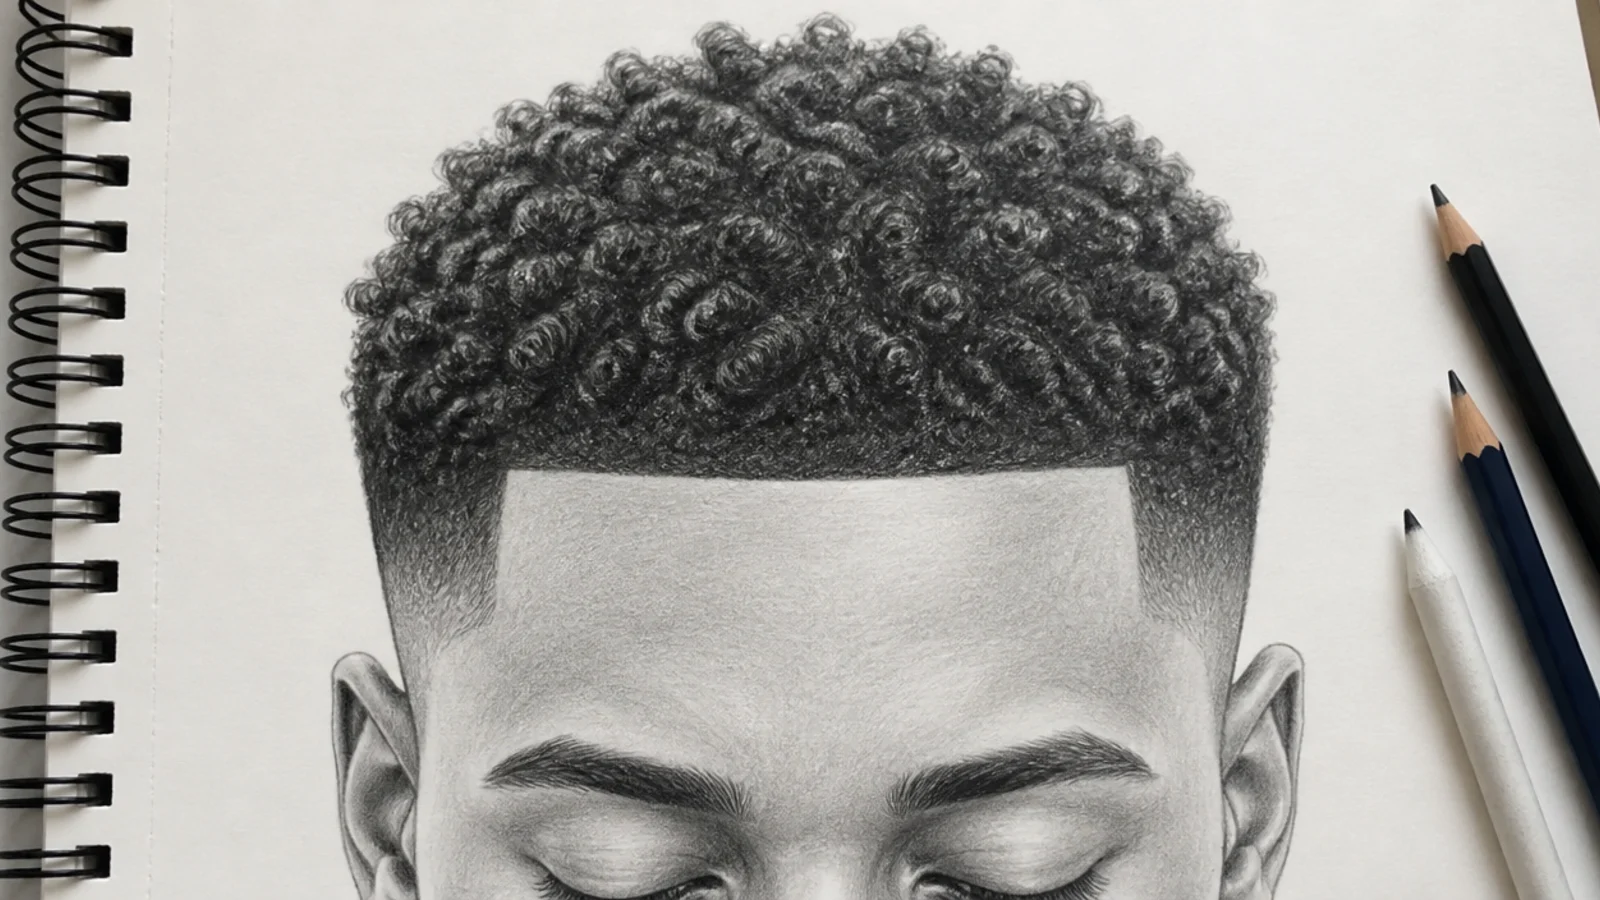
12. Sponge Curls With a Lineup
Sponge curls are near identical small coils, so the pattern is regular and the drawing risks looking mechanical. Vary the size slightly, let the light strike only the top plane of the mass, then cut the lineup in as a hard right angle at the temple to contrast against all that repetition.
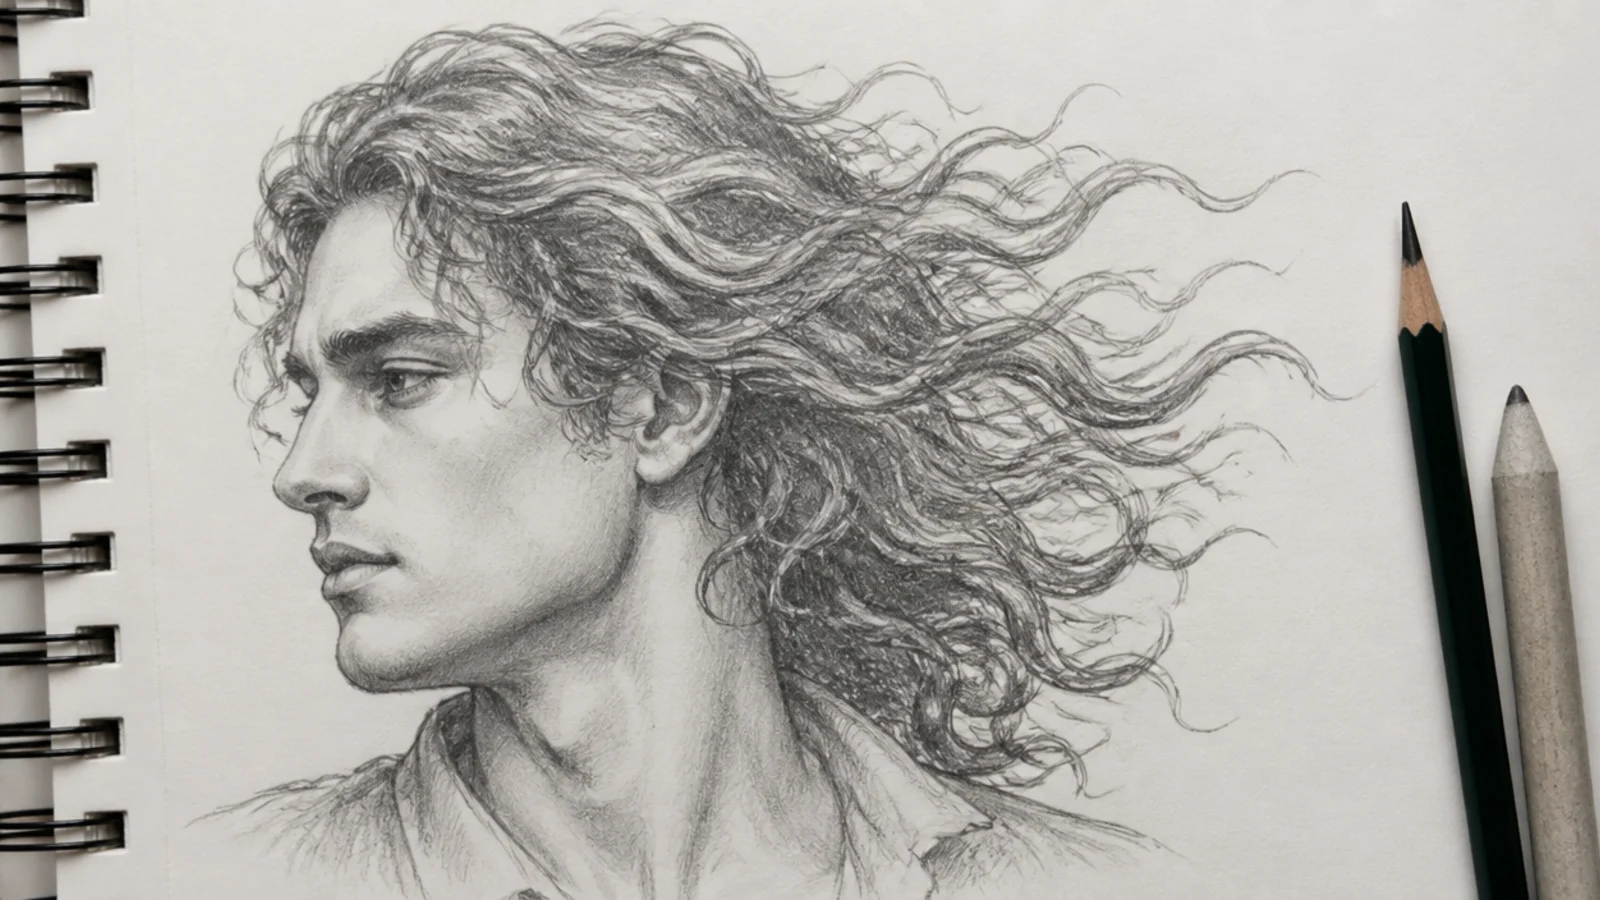
13. Wind Blown Profile
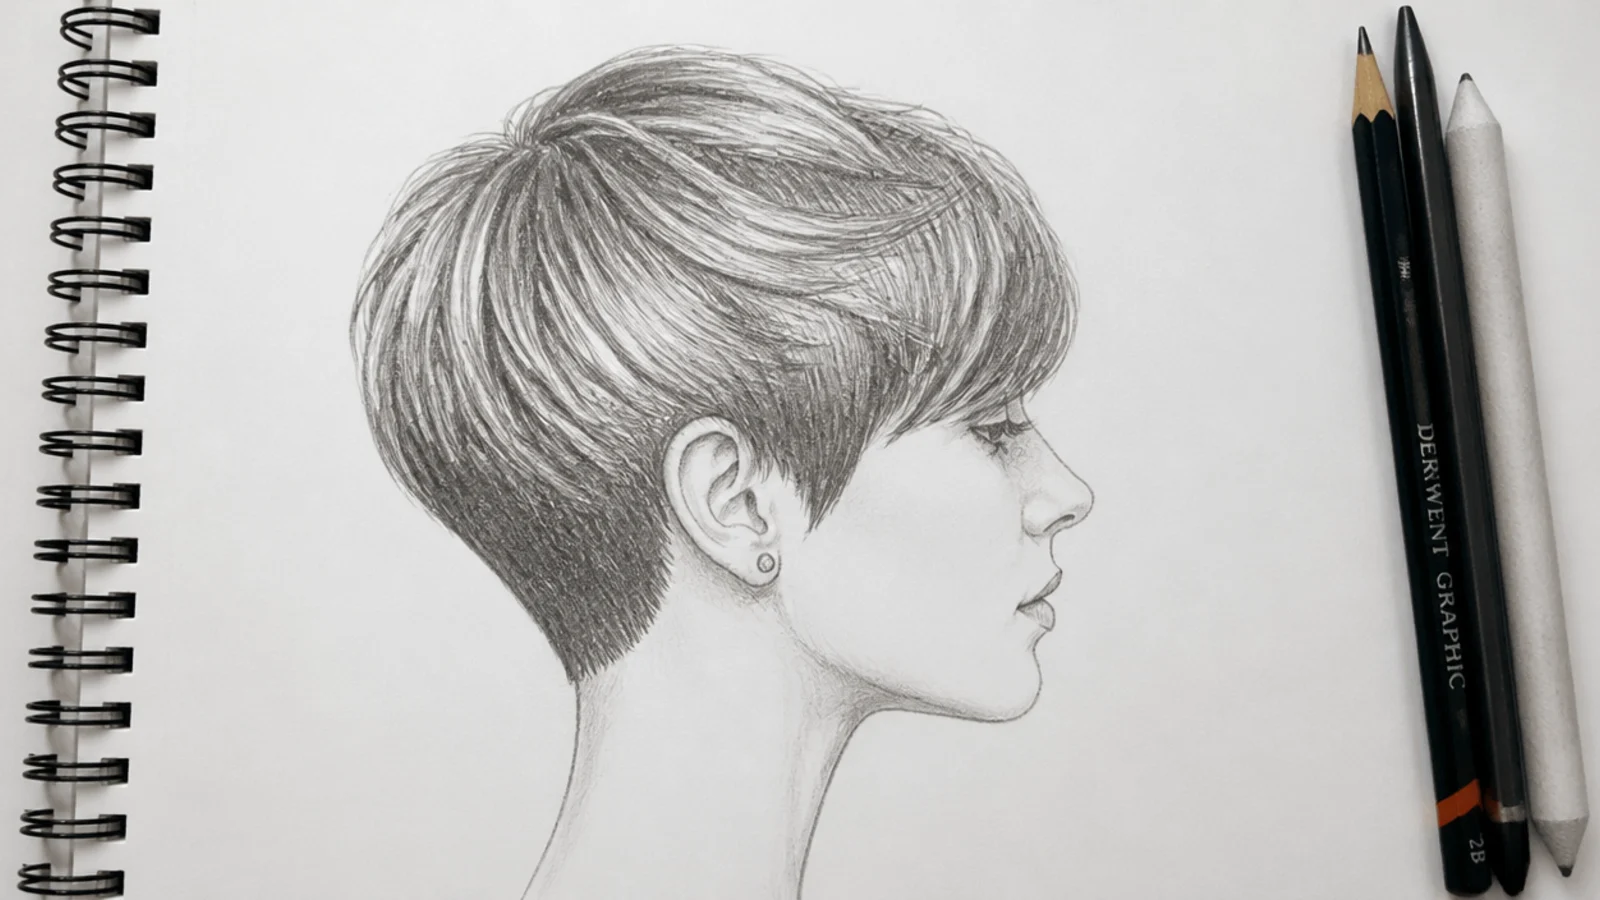
In profile the mass runs off the back of the skull, and wind stretches the clumps into long teardrops all pointing the same way. Keep the roots tight and attached at the forehead, because hair moves from the ends inward and roots that lift read as a wig sliding off.
14. Curly Taper Fade
A taper leaves length all the way down rather than going to skin, so its lightest point is still a mid grey and never bare paper. Grade the value in three or four visible steps from the curls to the neckline and blend only the boundaries between them, which is what a taper actually looks like.
15. Back View Coils
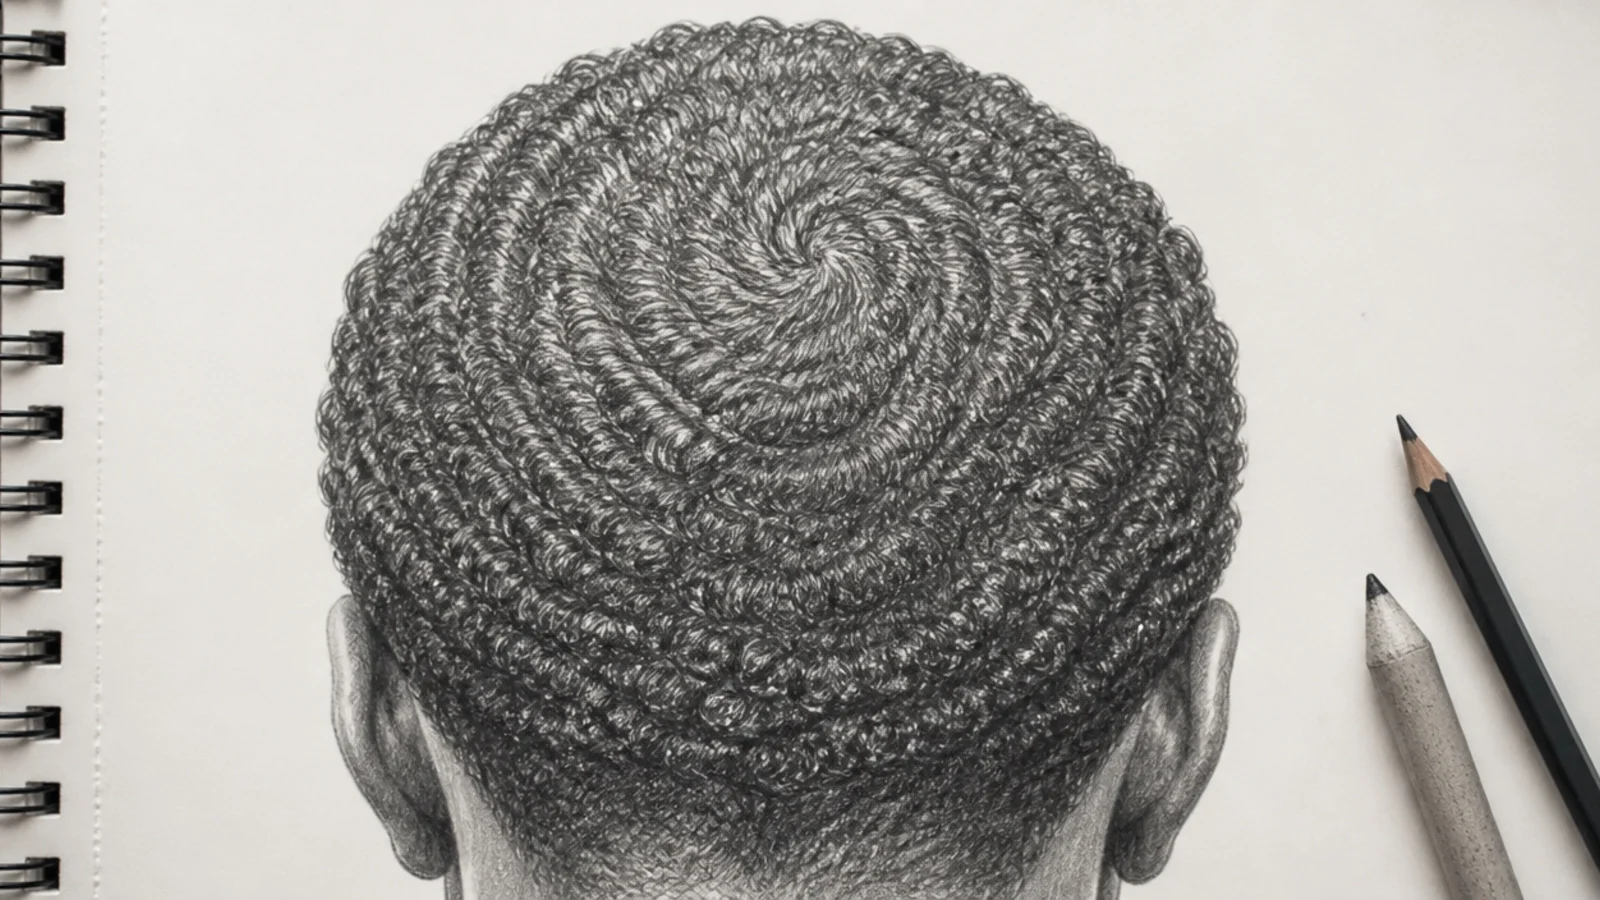
From behind, the crown swirl is the only landmark you have, and every coil should orient outward from it. Miss that spiral and the back of a head becomes a textured rectangle, so place the swirl slightly above the centre of the skull and let the pattern radiate from there.
Final Thoughts
Draw the silhouette, find the crown, shade the mass in three values, and only then decide which six curls deserve an edge. That order fixes more male curly sketches than any amount of extra rendering, because the two things that most often go wrong — the outer shape and the hairline — are both settled before a single curl is drawn.
For a wider set of male references see 20 male curly hair drawing ideas, and for the drawing order itself see 15 ways to sketch curly hair easily. More in Hair Drawing.