20 Steps To Cut A Short Butterfly Haircut At Home
A butterfly cut is two lengths on one head, and at home it goes wrong in one place: the short wing. Cut it wet, cut it blunt, or cut it level and you get a grown out fringe rather than a wing. These twenty steps go in this order.
In this article · 27
- What a Butterfly Cut Actually Is
- Choosing Your Wing Length
- The 20 Steps
- 1. Cut It Dry
- 2. Detangle From the Ends Upward
- 3. Set Up a Second Mirror
- 4. Use Proper Hair Shears
- 5. Find the Natural Part First
- 6. Divide the Hair Into Four Quadrants
- 7. Set the Back Perimeter Length
- 8. Check the Perimeter Against Both Shoulders
- 9. Match the Sides to the Back
- 10. Clip the Perimeter Away
- 11. Lift a Horseshoe Section at the Crown
- 12. Decide the Wing Length at the Cheekbone
- 13. Point Cut the Wing Instead of Blunt Cutting
- 14. Angle the Wing Down Toward the Jaw
- 15. Mirror the Wing on the Other Side
- 16. Elevate the Crown to Ninety Degrees
- 17. Connect the Crown Layer Into the Wing
- 18. Cross Check With Vertical Sections
- 19. Soften Any Corners That Remain
- 20. Blow the Wing Away From the Face
- Styling and Upkeep
- Mistakes to Avoid
- FAQ
- Final Thoughts
A short butterfly haircut fails in exactly one place at home, and it is the wing: cut it wet, cut it blunt or cut it level and you have made a grown out fringe.
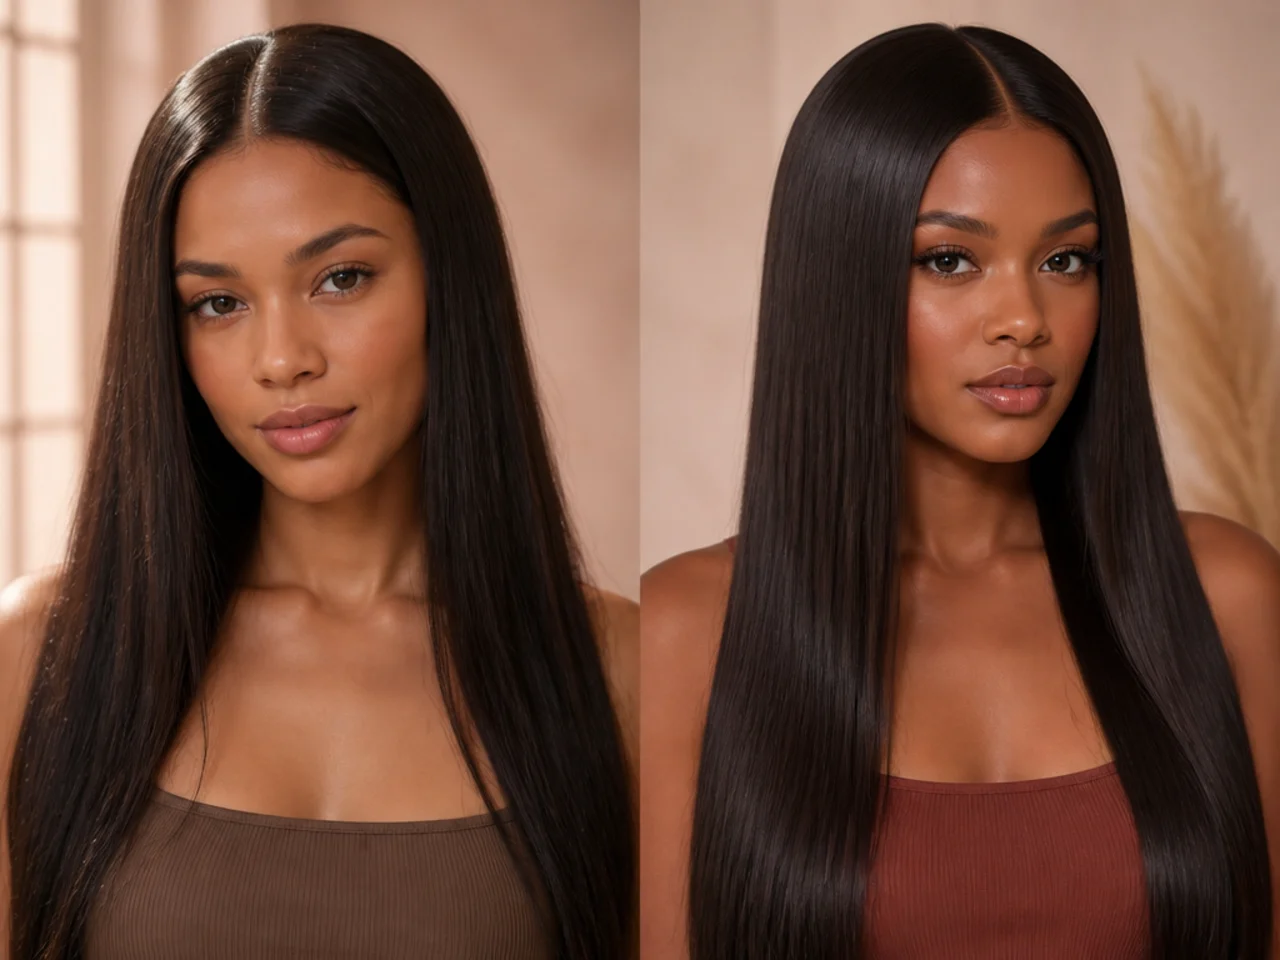
Two lengths, one head. A long perimeter you never touch, plus a short face framing layer sitting on top of it.
The contrast is the cut. If both lengths end up close together there is nothing to see, which is why the perimeter is cut first and then clipped completely out of the way.
What a Butterfly Cut Actually Is
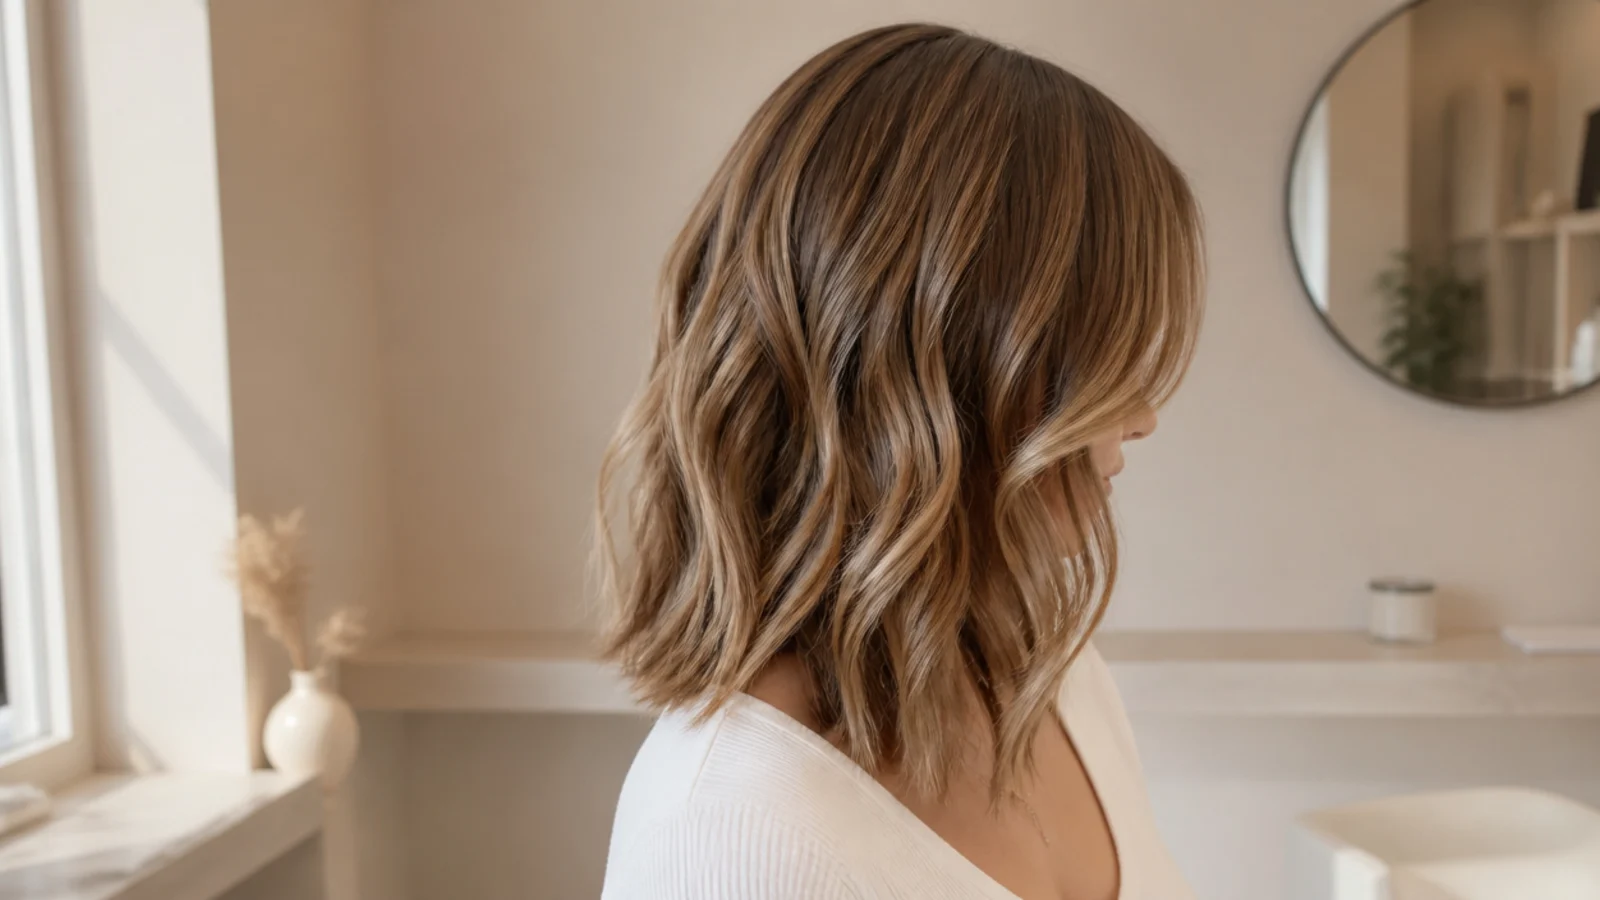
Two distinct layer families. A long perimeter and a short crown to cheekbone section, with a deliberate gap between them rather than a smooth ladder of layers.
The wing is a separate cut. It is measured from the face, not from the length below it, and it has its own guide.
The perimeter stays whole. Every centimetre you take off the baseline reduces the contrast that makes the shape legible.
It only appears when dried outward. Dried flat against the head the wing looks like a mistake. Dried away from the face it opens into the shape the cut is named for.
Choosing Your Wing Length
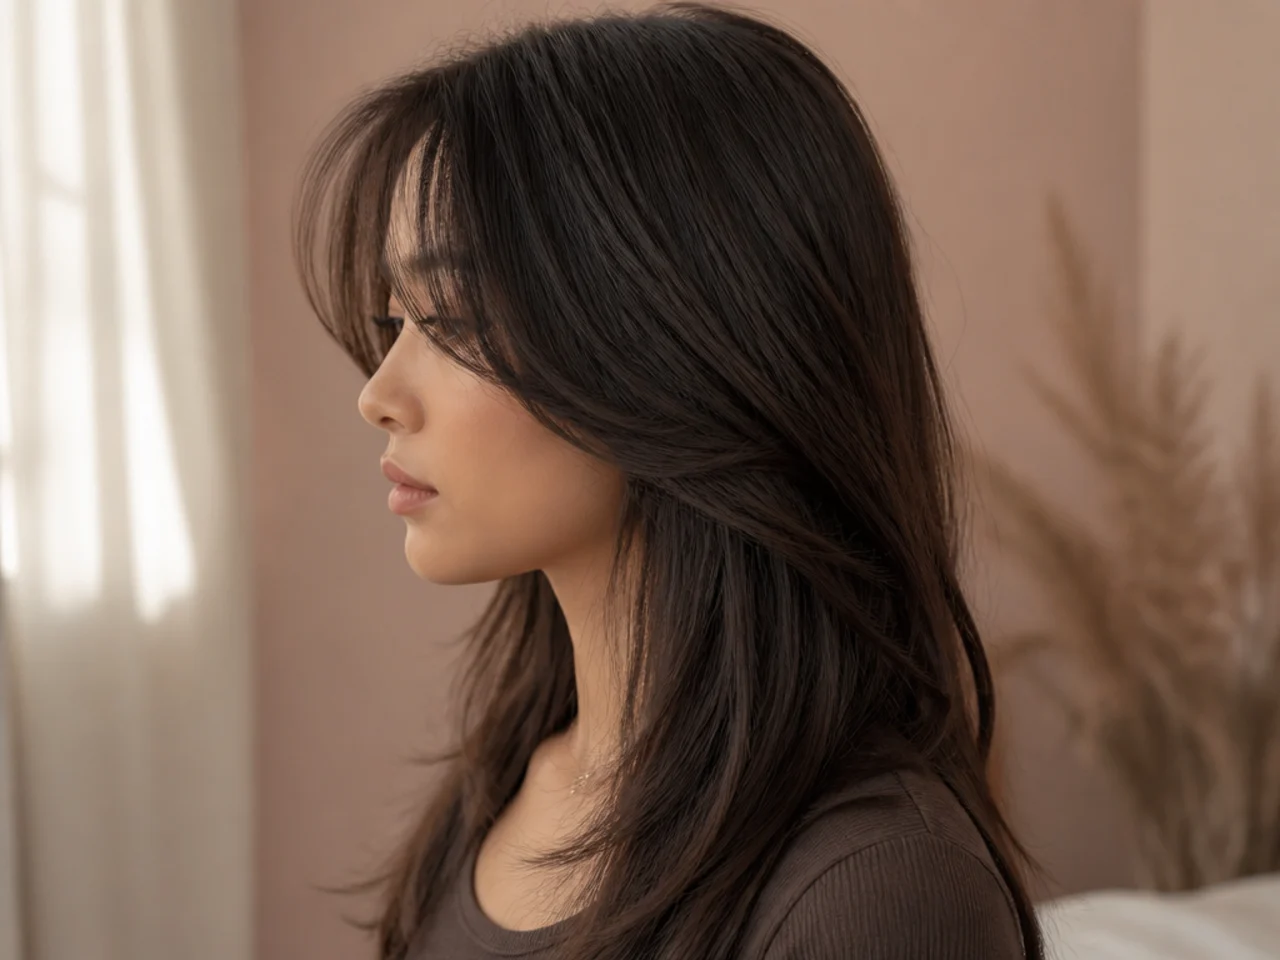
Cheekbone is the short version. Maximum flick, maximum contrast, and nothing left to tuck behind an ear when you want it out of the way.
Chin is the safe version. Still clearly shorter than the perimeter, still long enough to pull back into a ponytail with the rest.
Measure dry and in natural fall. Hair held under tension sits lower than hair released. Comb the piece down, let go, and mark where it actually lands.
Add length for spring. Wavy hair recoils once it is cut, and coiled hair recoils far more, so on either texture set the guide one to two centimetres below your target.

The 20 Steps
1. Cut It Dry
Wet hair stretches under the weight of the water it holds and contracts as it dries. A wing measured at the cheekbone while wet lands a centimetre or two higher on wavy hair, and there is no way to put that back.
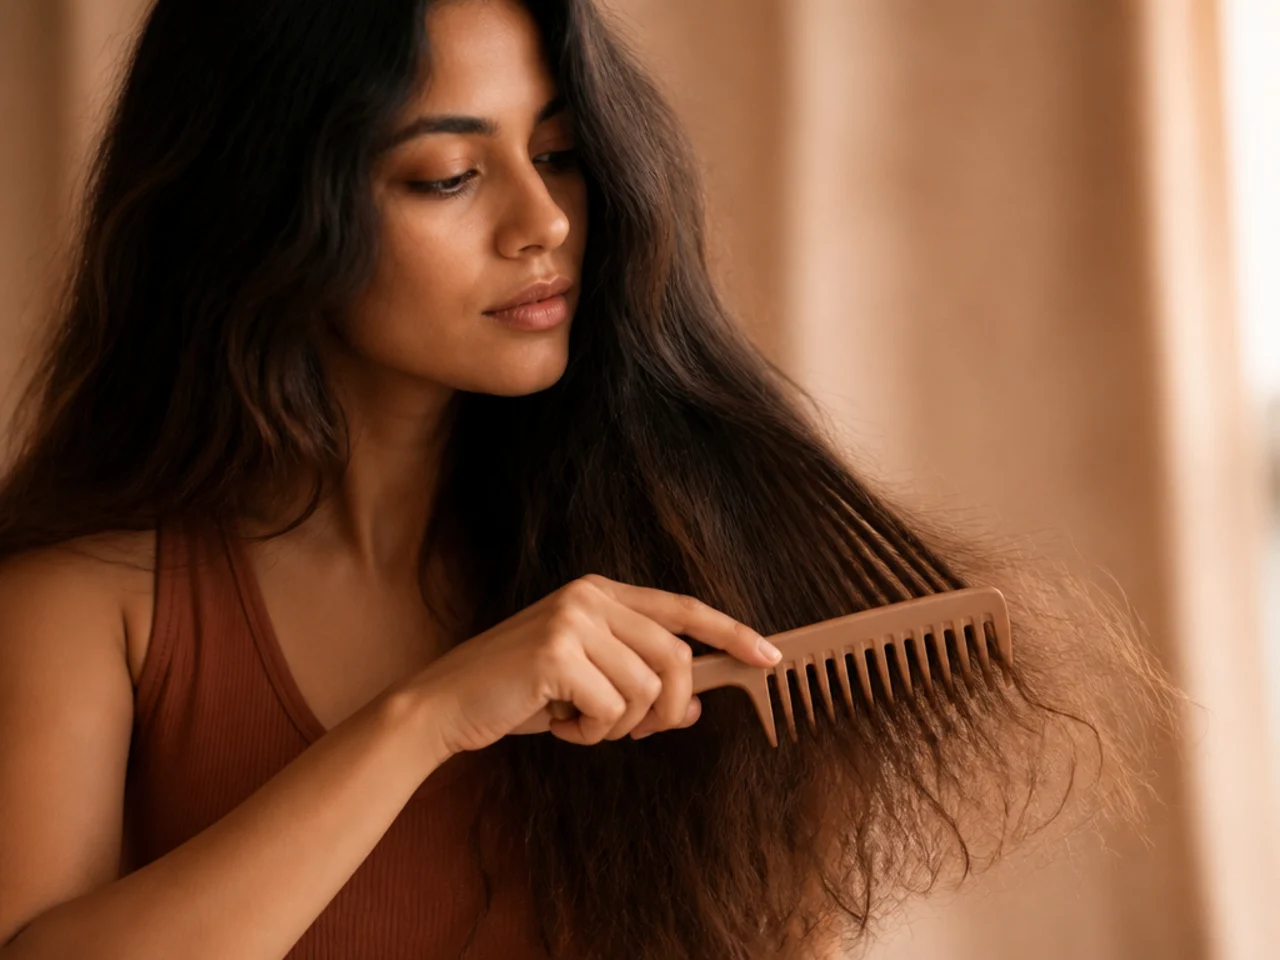
2. Detangle From the Ends Upward
Work in short passes starting at the ends and moving up the length. Combing from the roots down drives every tangle into a ball that sits somewhere along the section, and the hair above that ball is under different tension from the hair beside it, so the cut lands uneven.
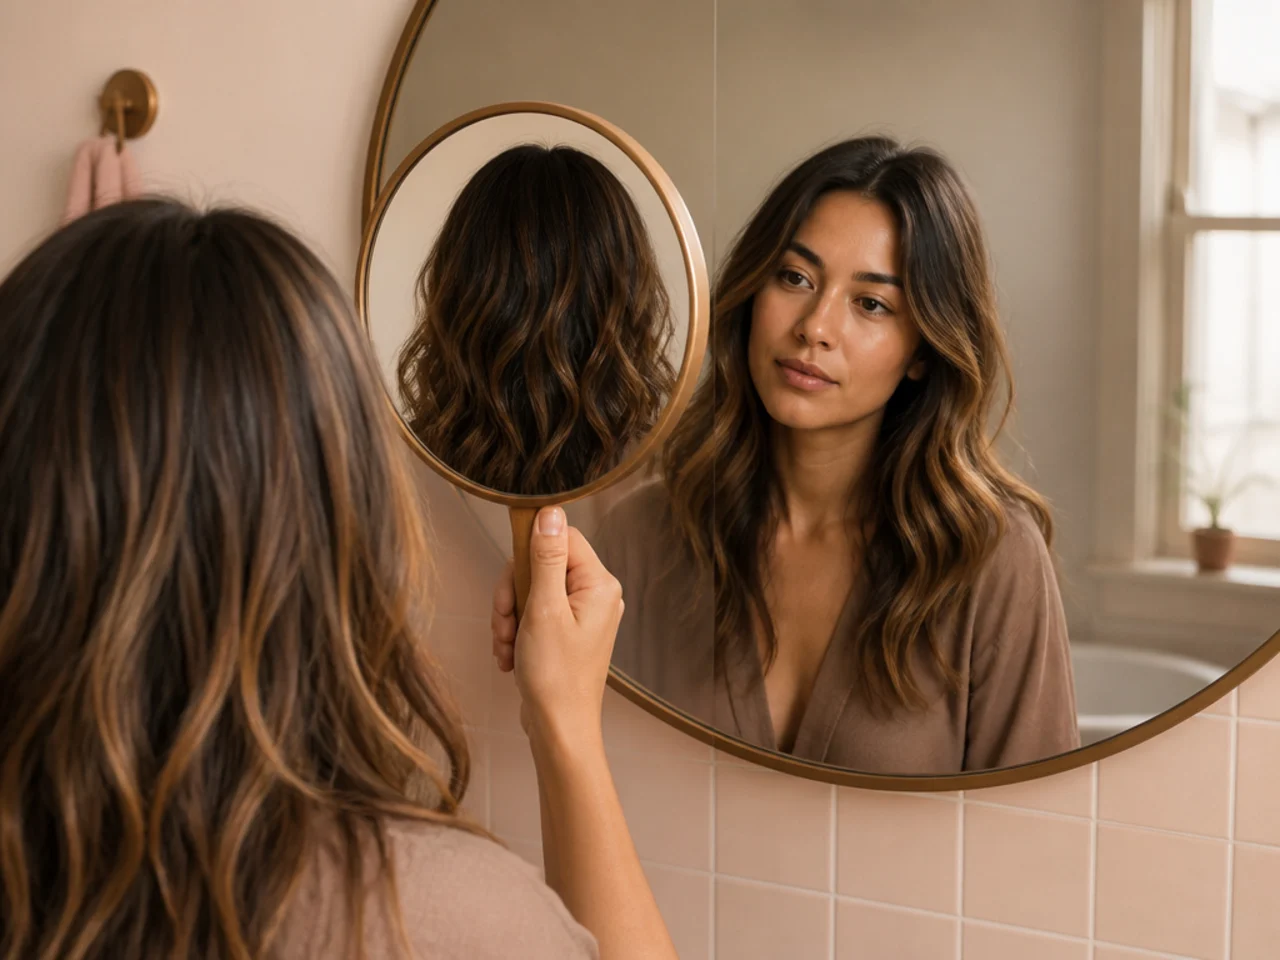
3. Set Up a Second Mirror
Prop a hand mirror so you can see the back of your own head in the wall mirror. Cutting the back perimeter blind is how one side finishes longer, and you will not notice until the hair is dry and hanging naturally.
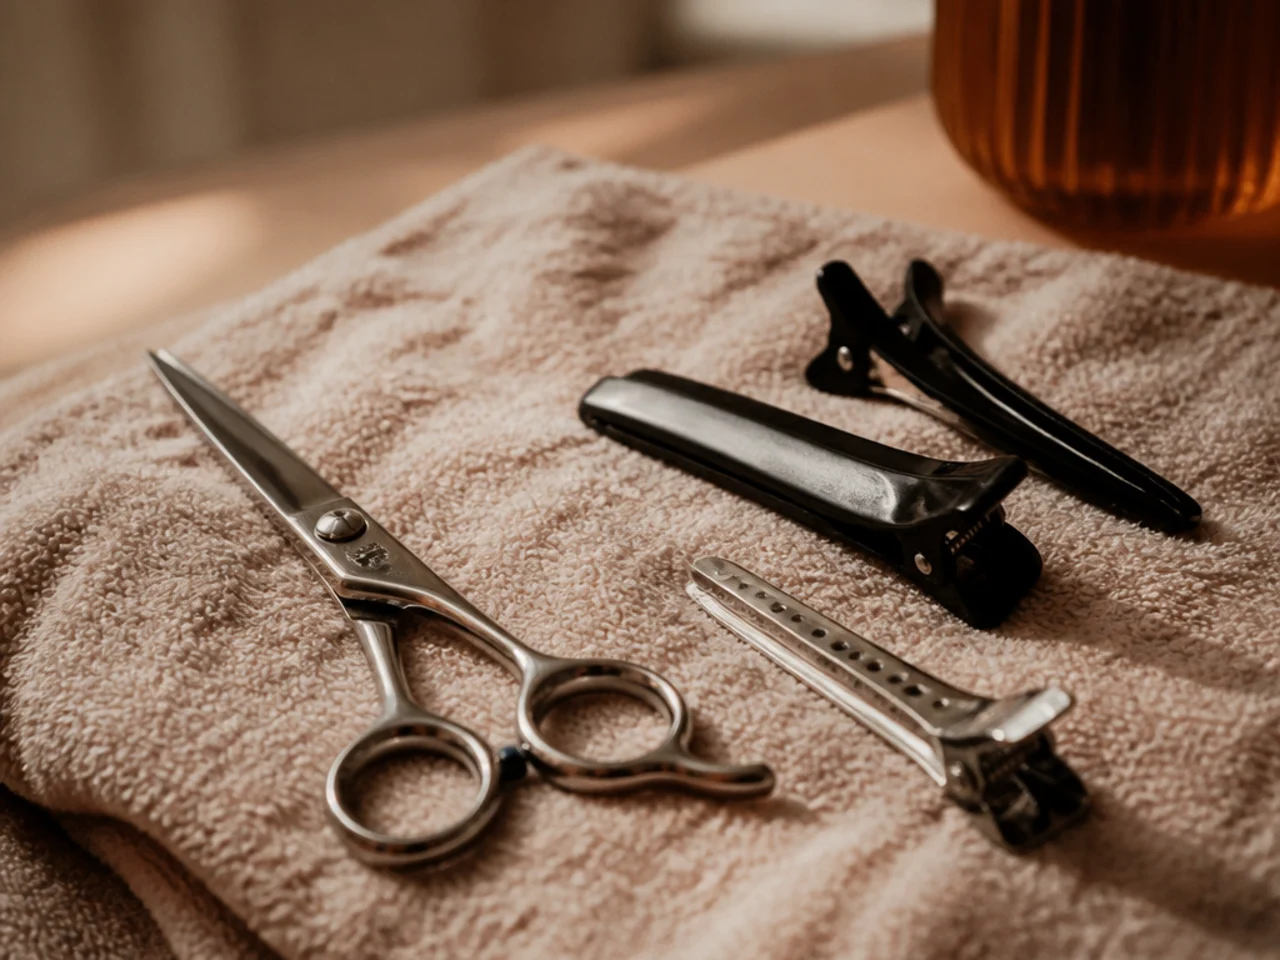
4. Use Proper Hair Shears
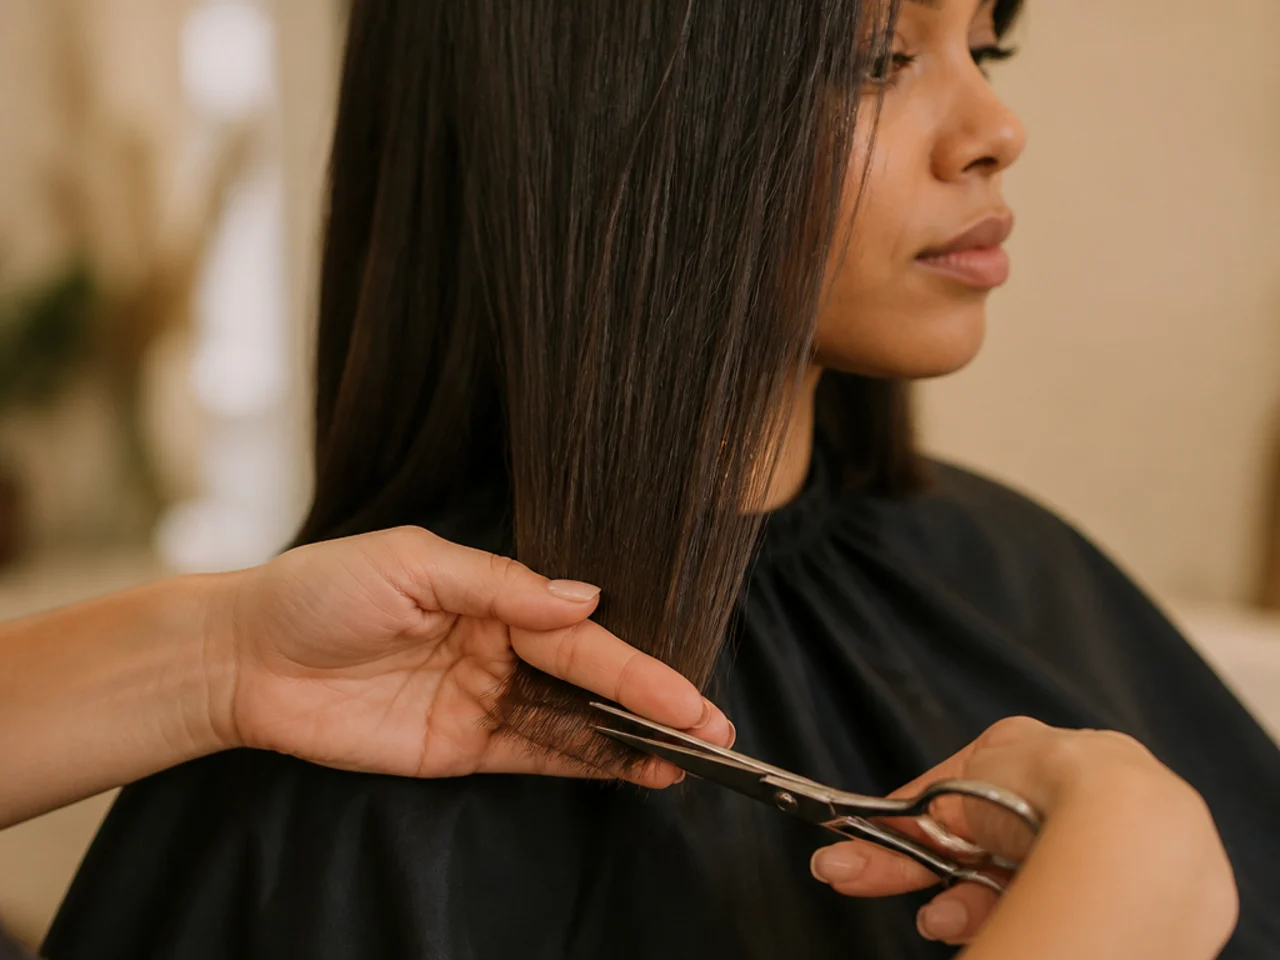
Hair shears are ground to a fine convex edge that slices the fibre cleanly. Kitchen and craft scissors have a blunt bevel that crushes the hair between the blades, and a crushed end splits within days no matter how neatly you cut the line.
5. Find the Natural Part First
Push all the hair back off the forehead and let it fall on its own. The wing has to be symmetrical about the part you actually wear, because a wing built around a part you combed in for the haircut sits crooked the moment it goes back to normal.

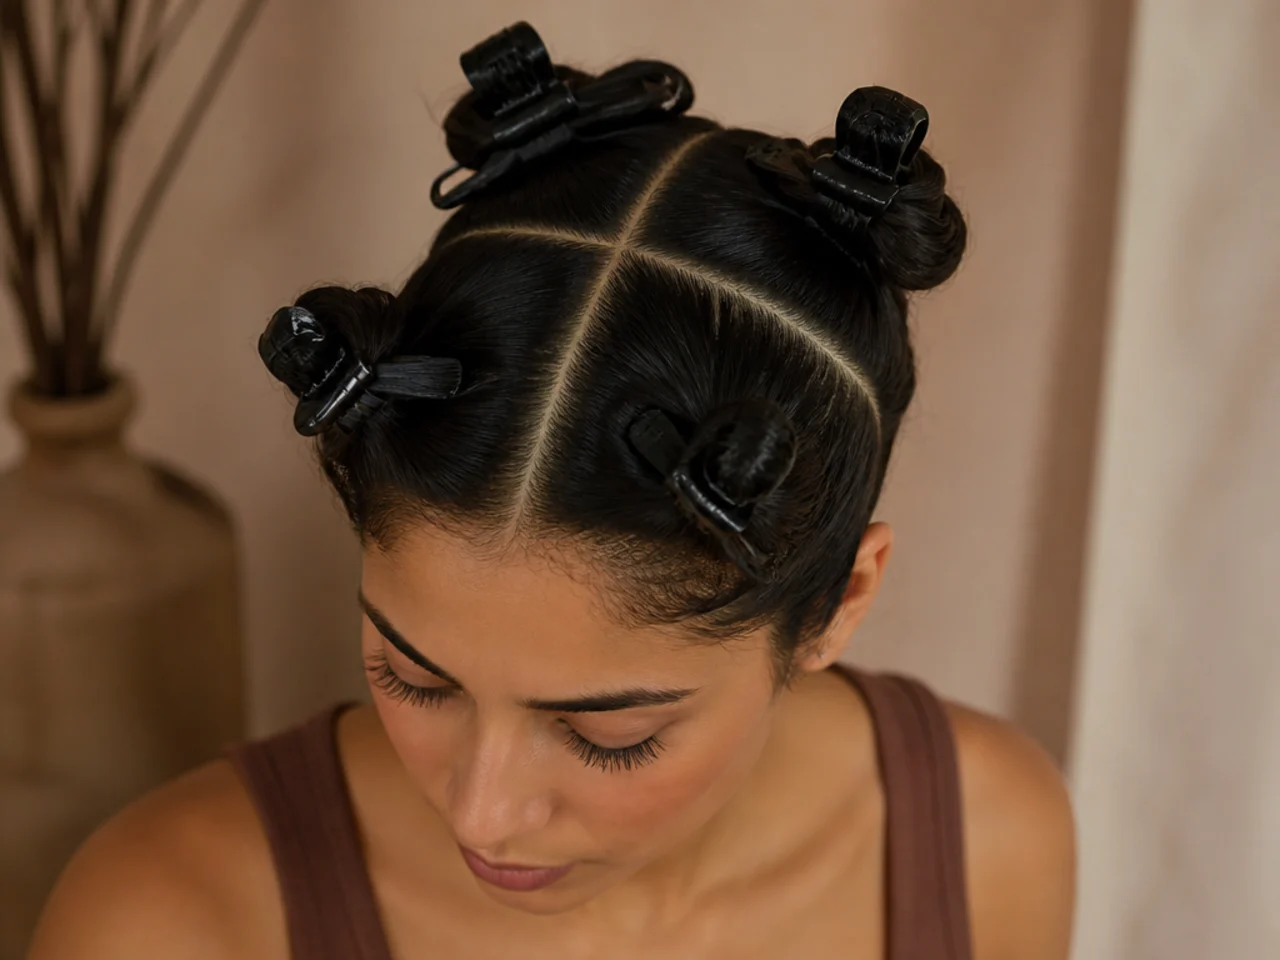
6. Divide the Hair Into Four Quadrants
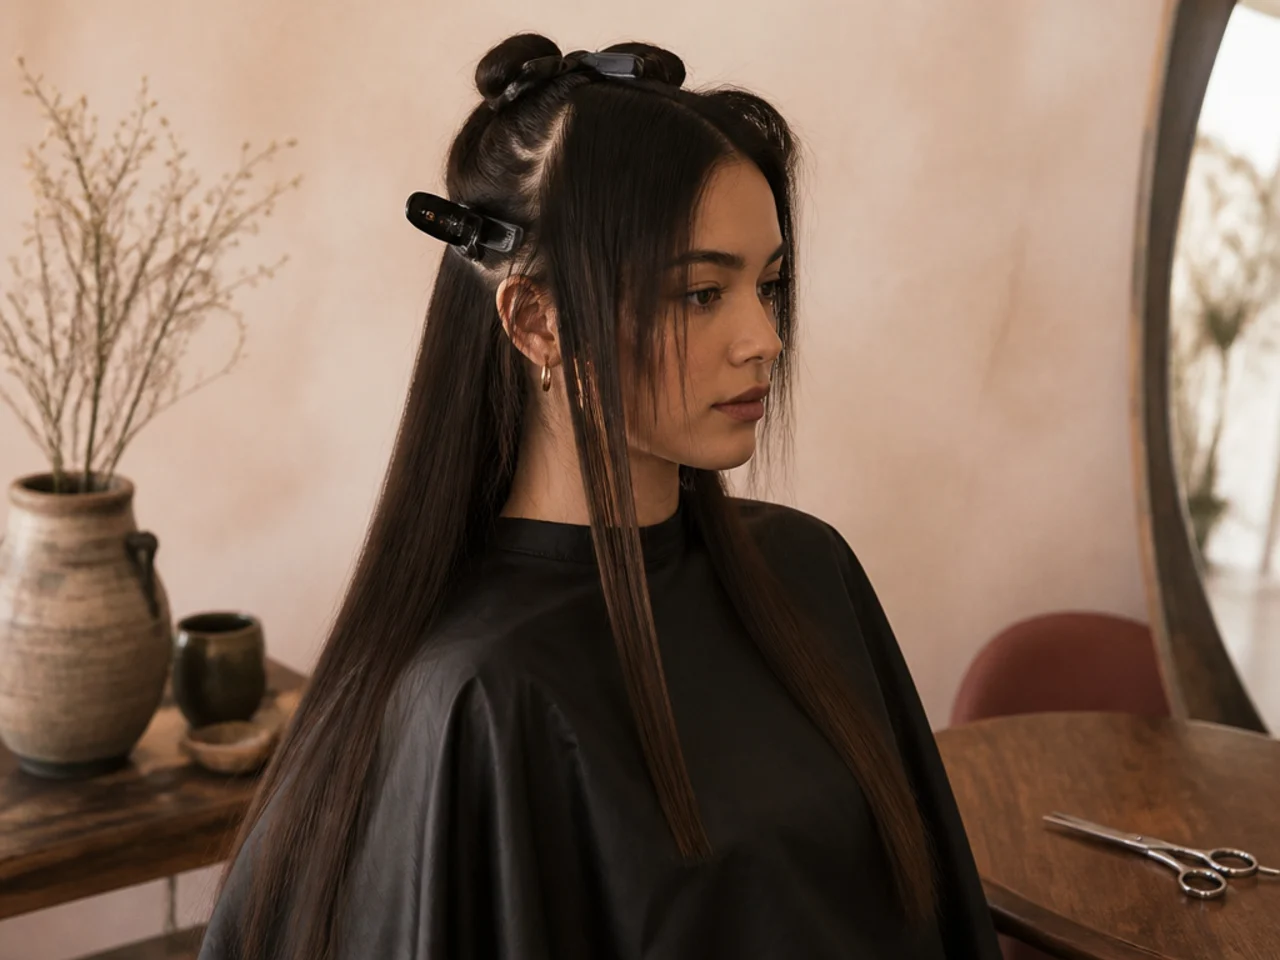
Part down the centre to the nape, then across from ear to ear over the crown. Four clipped sections keep the tension consistent from one to the next, and consistent tension is the only thing that makes two sides of a head match.
7. Set the Back Perimeter Length
Take a thin horizontal strip at the nape and cut your baseline. Everything after this is measured against it, so a rushed baseline is an error you copy into every remaining section rather than one you correct later.
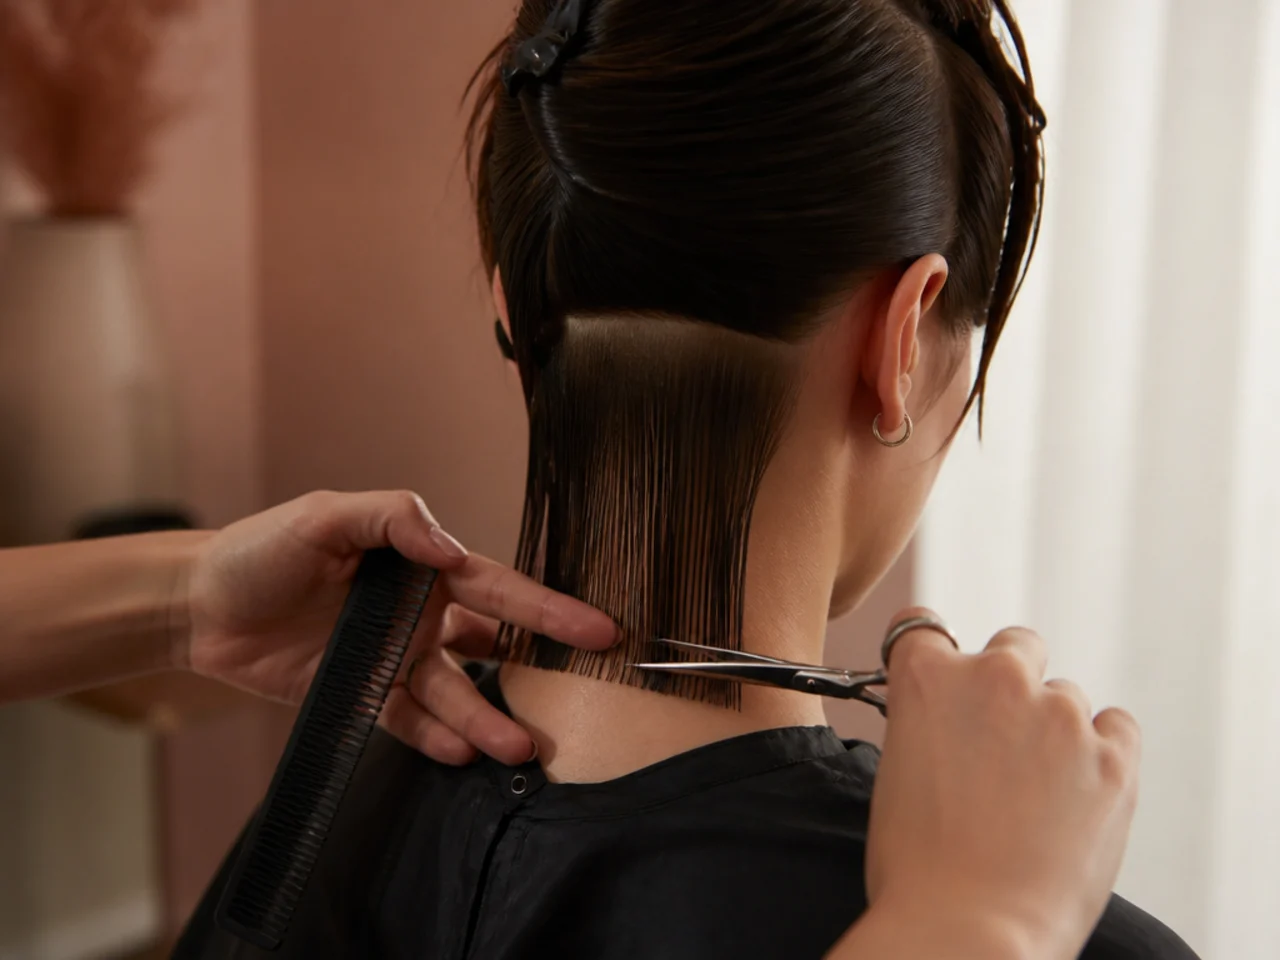
8. Check the Perimeter Against Both Shoulders
Pull one strand from each side forward and hold them together under the chin. A tilted head during the cut is the usual reason one side finishes lower, and comparing at the centre is the only way to see it before you build layers on top.
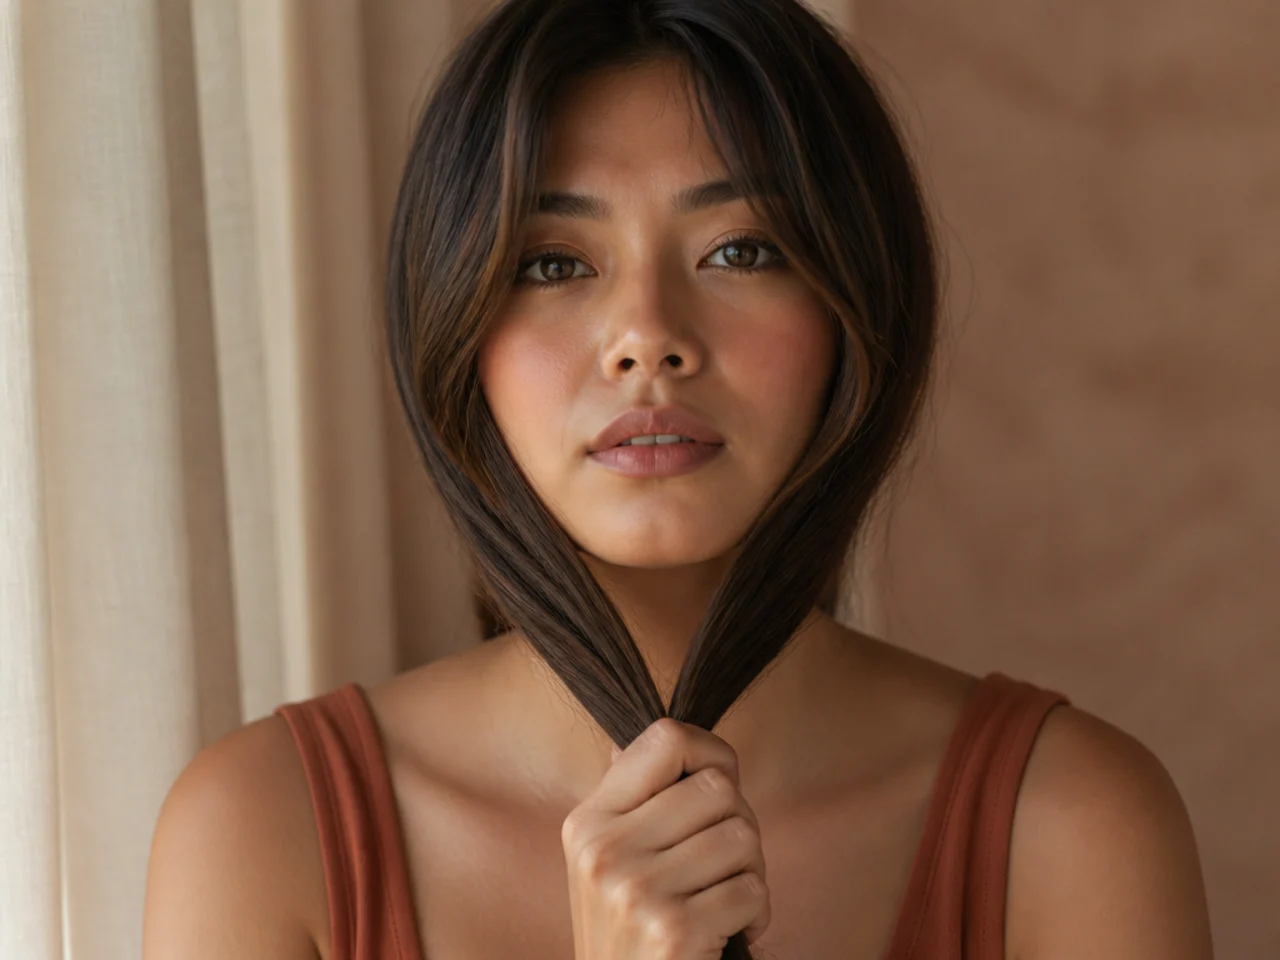
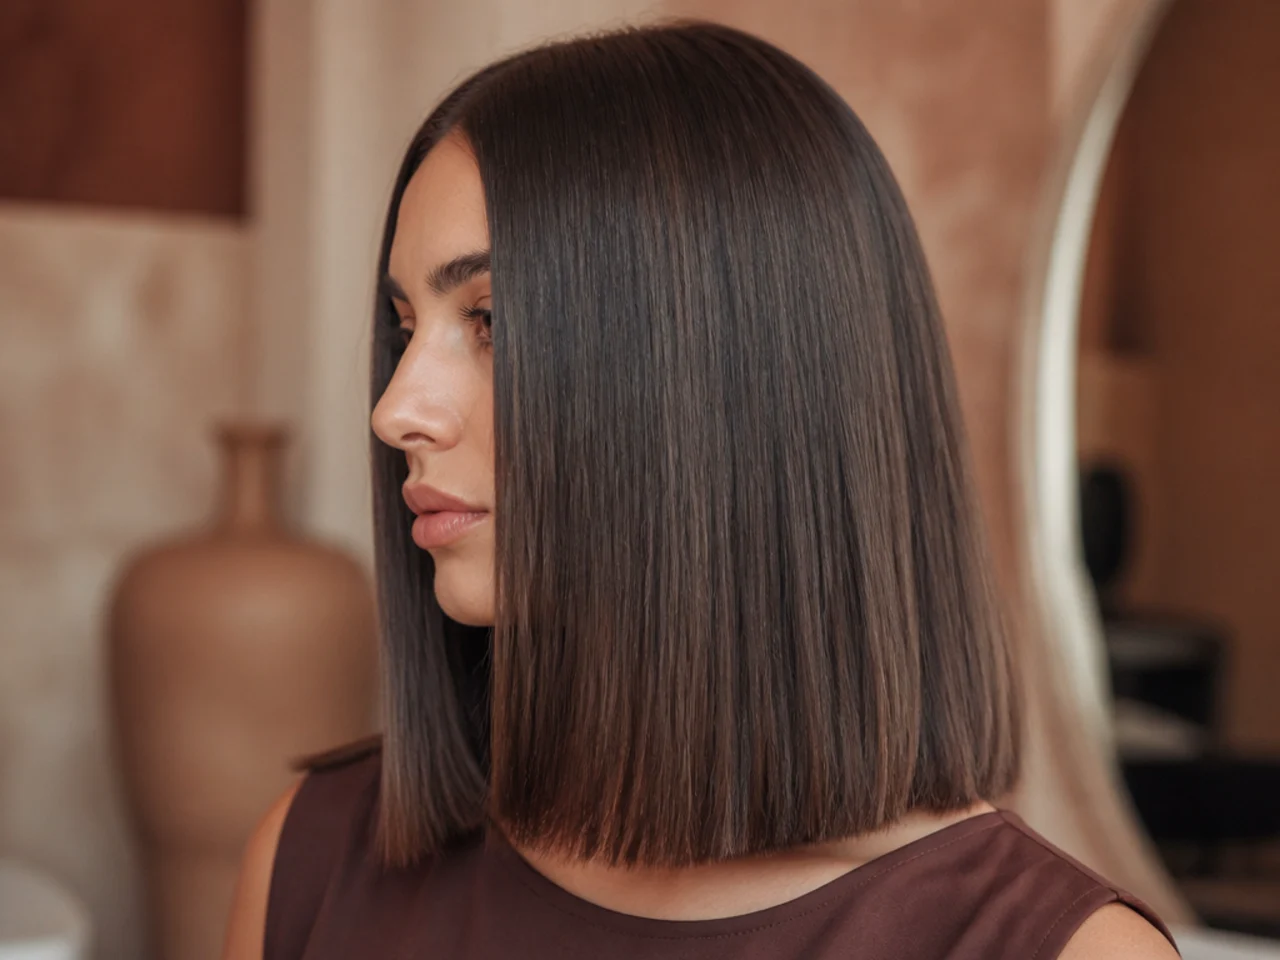
9. Match the Sides to the Back
Release each side section, comb it down with the head level, and cut to meet the back baseline. Tilting the head toward the side you are cutting shortens that side by the amount you tilted, and the error only appears when you straighten up.
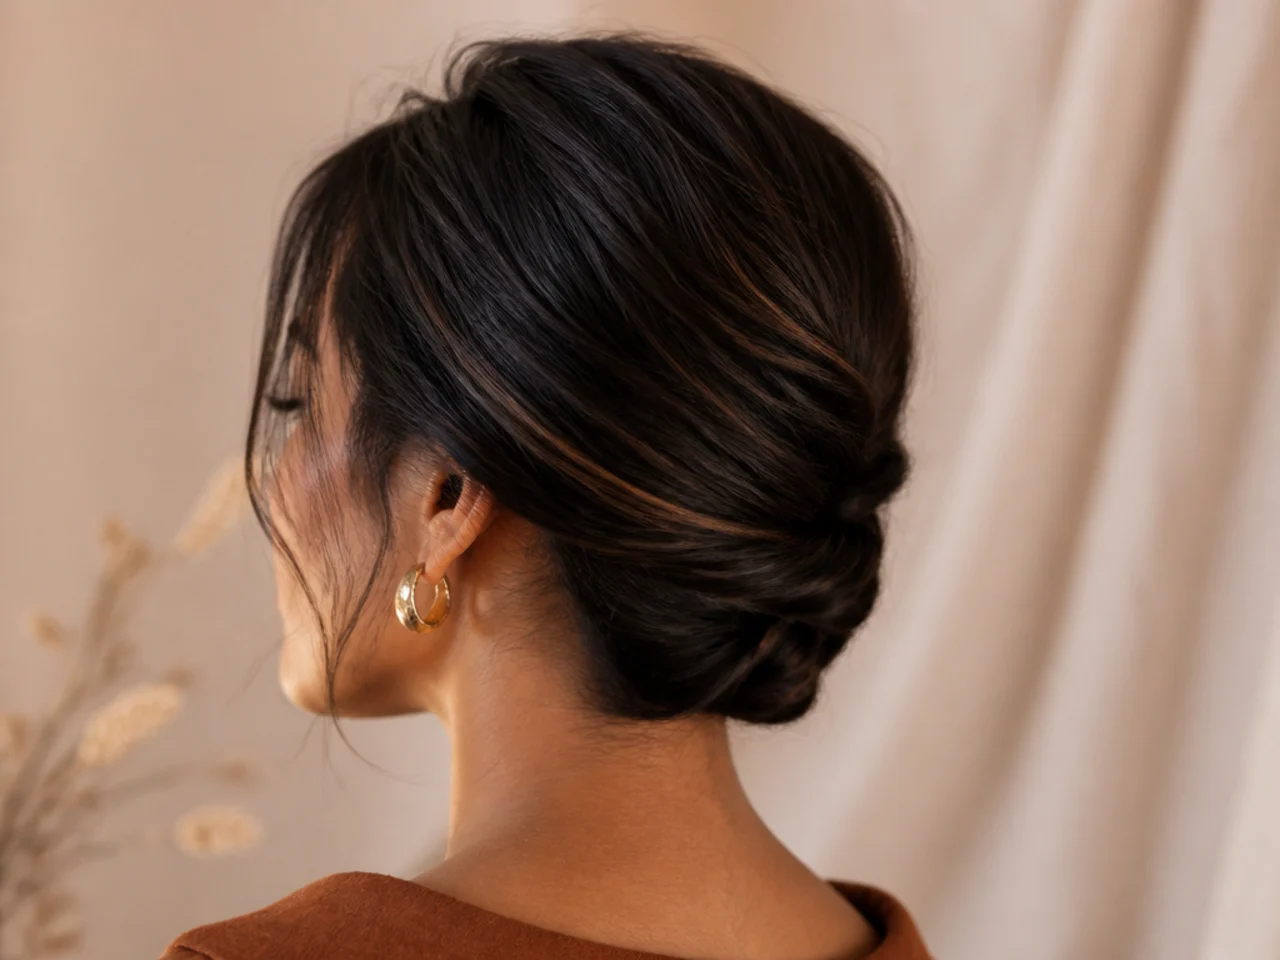
10. Clip the Perimeter Away
Twist the finished perimeter and pin it low and flat. If any of it strays into the wing sections it gets cut short, and the length you lose is exactly the length the contrast depends on.
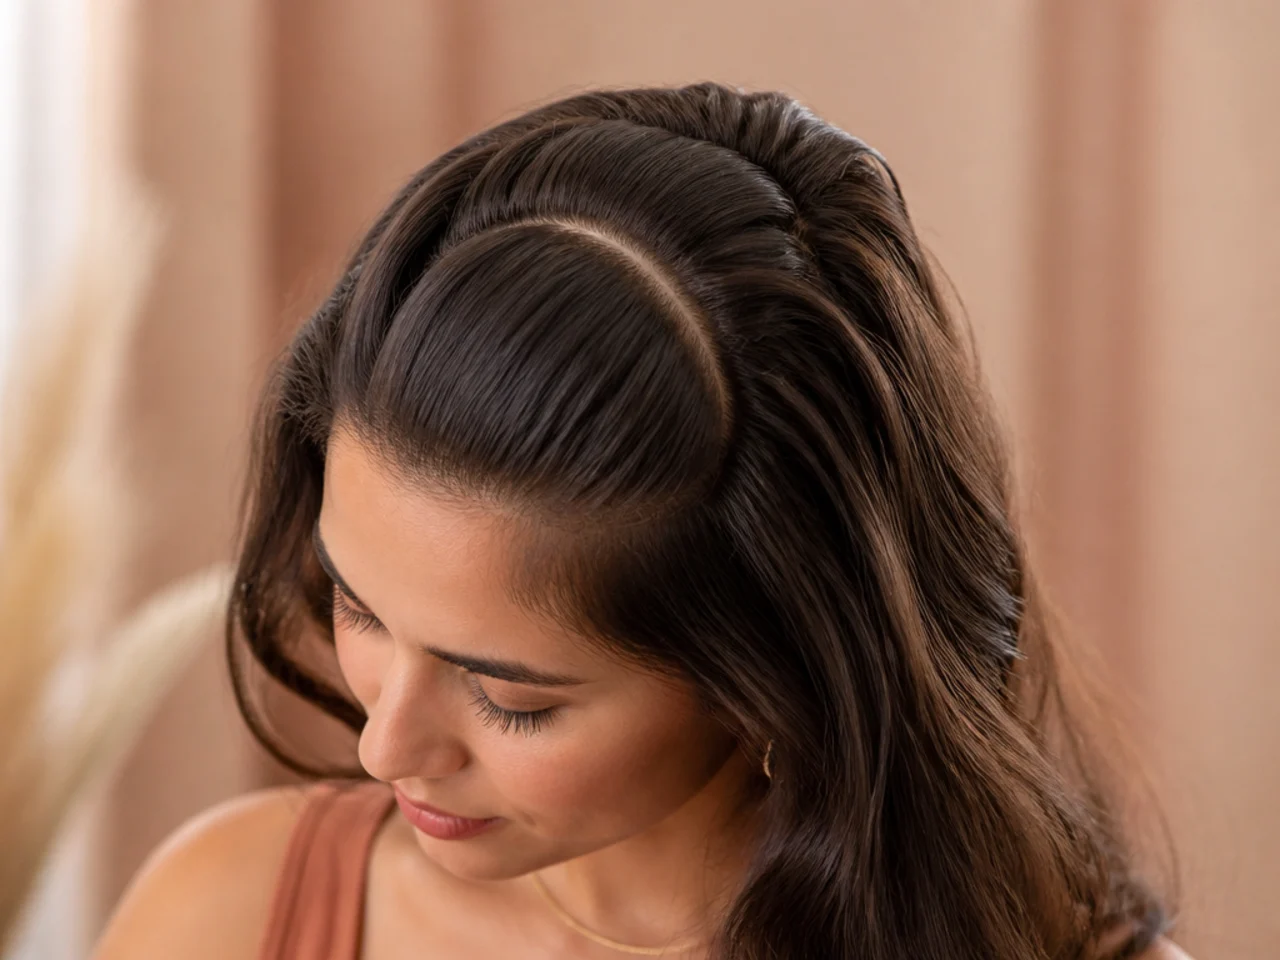
11. Lift a Horseshoe Section at the Crown
Part from the front hairline back to the crown, curving down above each ear. Everything inside that horseshoe becomes the wing, and anything outside it stays long, so the shape of this parting decides where the two lengths meet.
12. Decide the Wing Length at the Cheekbone
Hold the front piece flat against the face and mark the shortest point. This one measurement sets the whole cut, and cutting it before you have looked at it against your own face is how the wing ends up somewhere you did not choose.

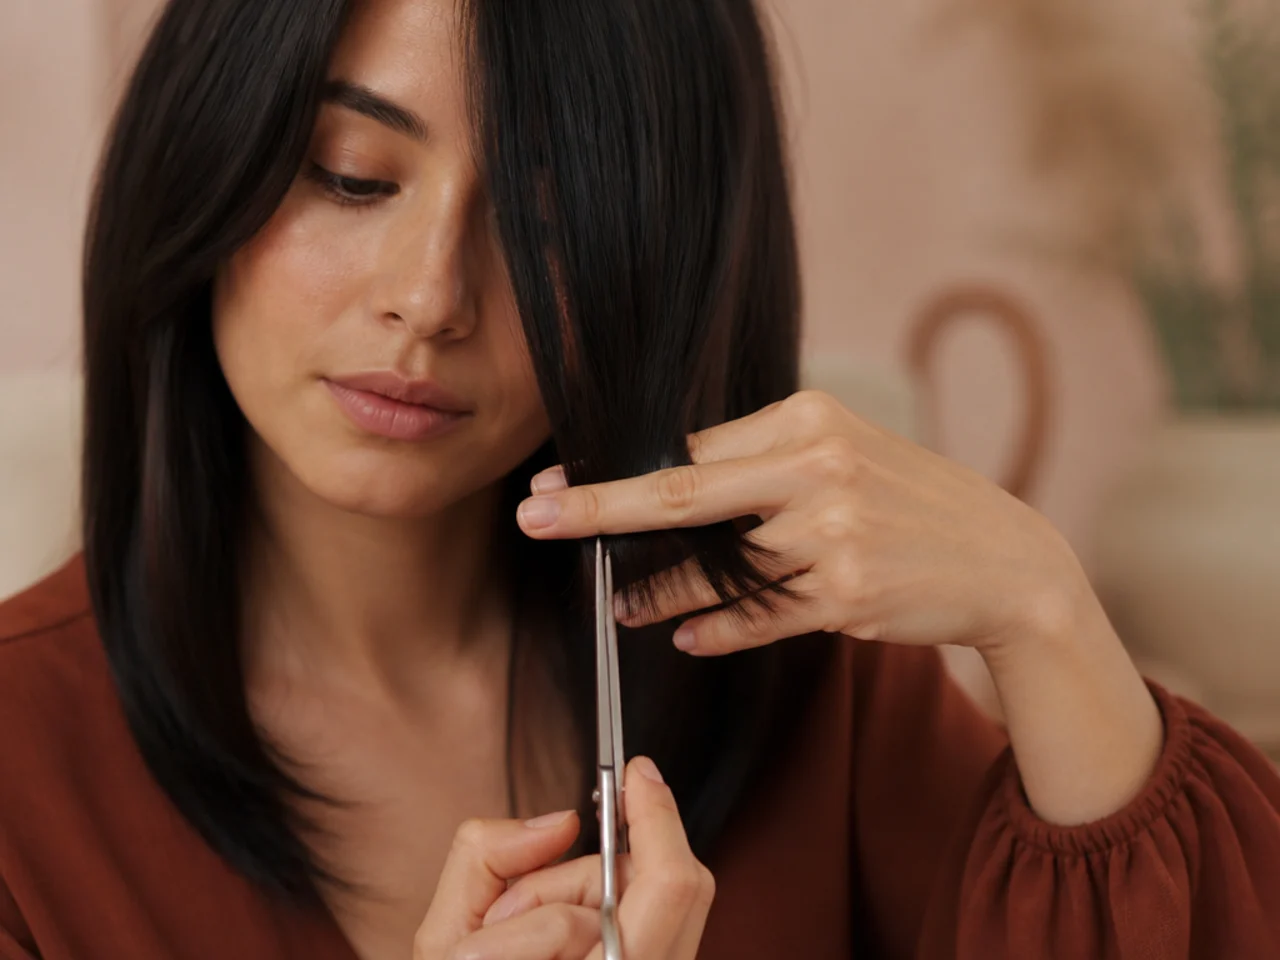
13. Point Cut the Wing Instead of Blunt Cutting
Turn the shears vertical and cut small notches into the ends rather than straight across. A blunt line across the cheekbone reads as a fringe with a hard edge; notching removes hair at staggered depths so the end of the section blurs into what is behind it.
14. Angle the Wing Down Toward the Jaw
The wing is a slope, not a level line. Run it from the shortest point at the front down toward the jaw as you move back, because that slope is what merges the short layer into the long one instead of leaving a visible step.

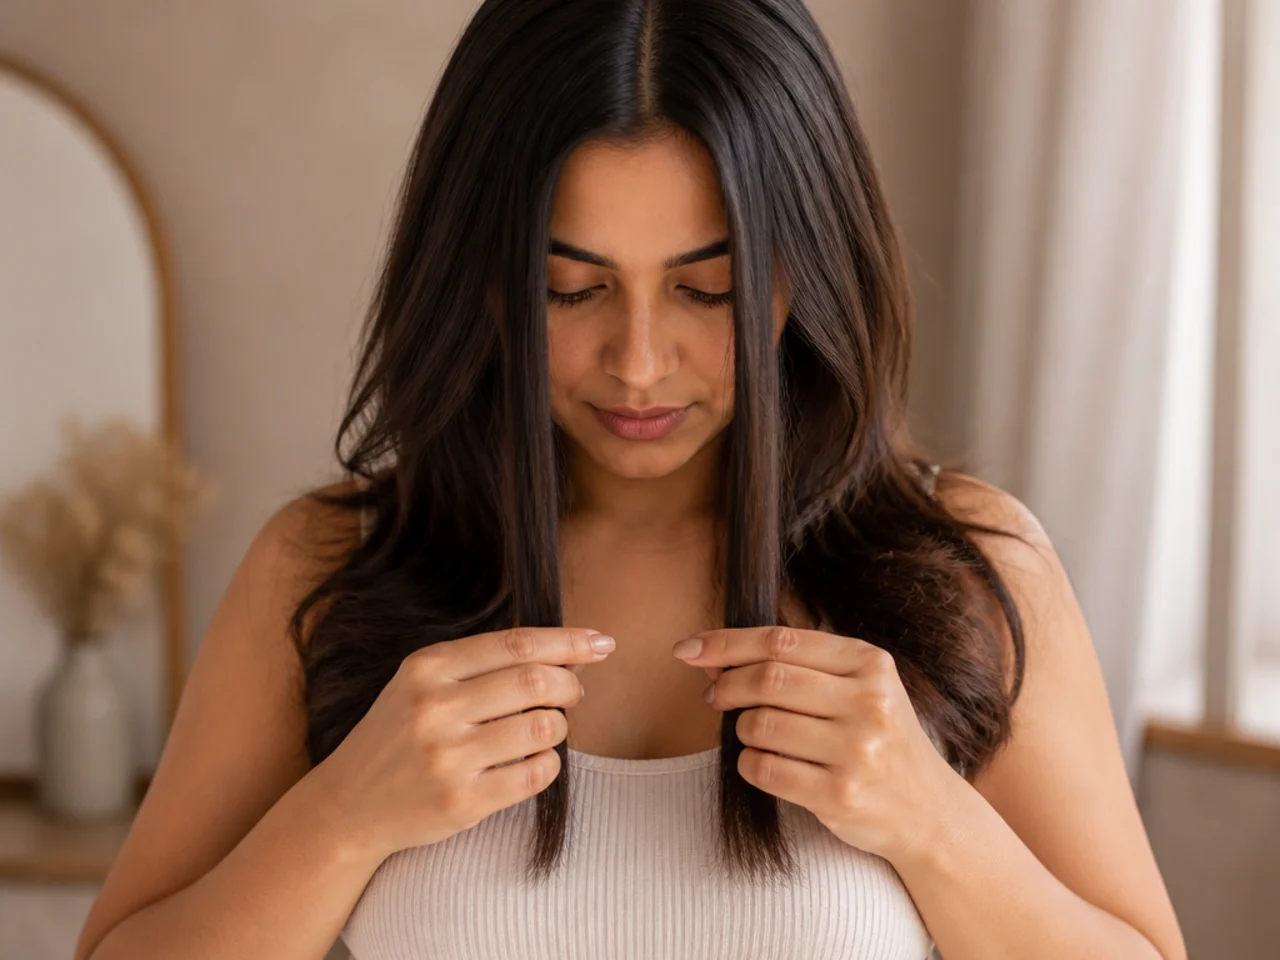
15. Mirror the Wing on the Other Side
Take a section of the same width, comb both front pieces to the centre and hold them together. Two wings cut independently almost never match; held side by side, a difference of half a centimetre is obvious immediately.
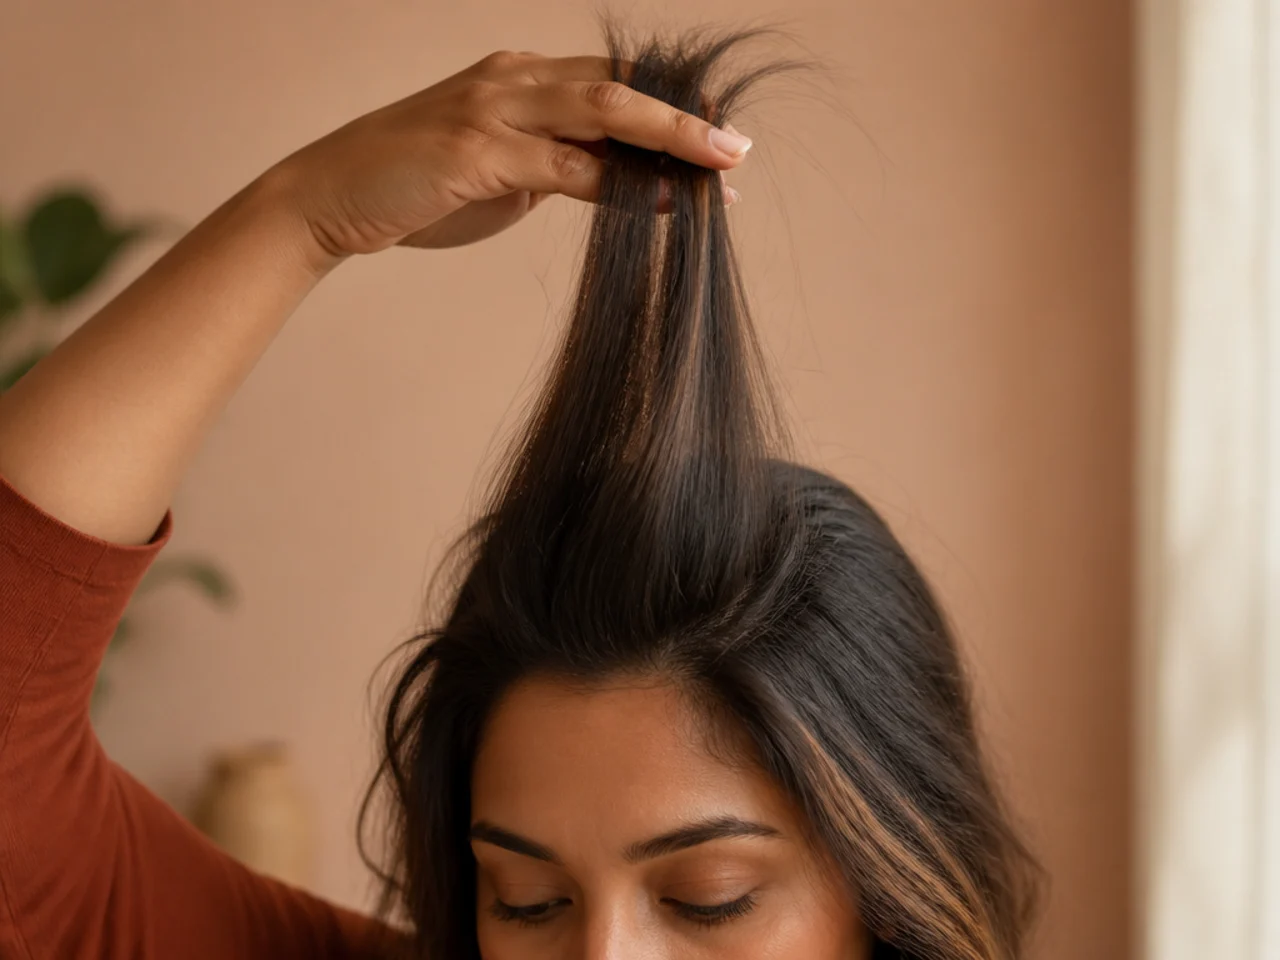
16. Elevate the Crown to Ninety Degrees
Hold each crown section straight out from the scalp before you cut. Hair held at ninety degrees produces layers of even length across a curved head, while hair dropped toward the floor keeps its length and simply gets a longer edge.
17. Connect the Crown Layer Into the Wing
Work forward using the previous section as your guide, taking a little of it into each new one. Dropping the guide means each section is cut from nothing, and the crown ends up sitting on top of the wing as a separate shelf.
18. Cross Check With Vertical Sections
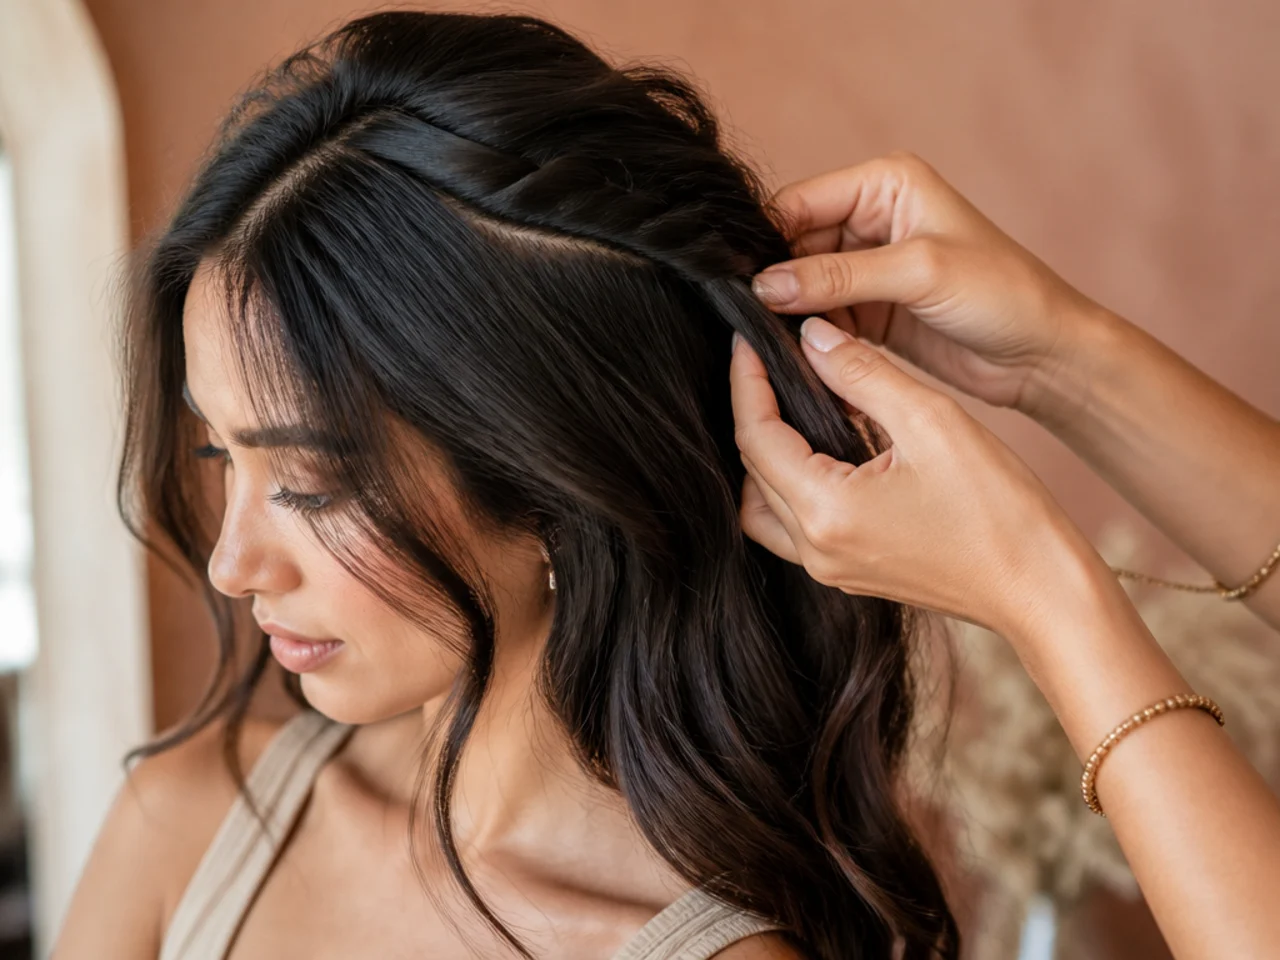
You cut in horizontal strips, so check in vertical ones. Turning the section ninety degrees shows you the ends side by side rather than end on, and every corner and long piece you missed becomes visible in one pass.
19. Soften Any Corners That Remain
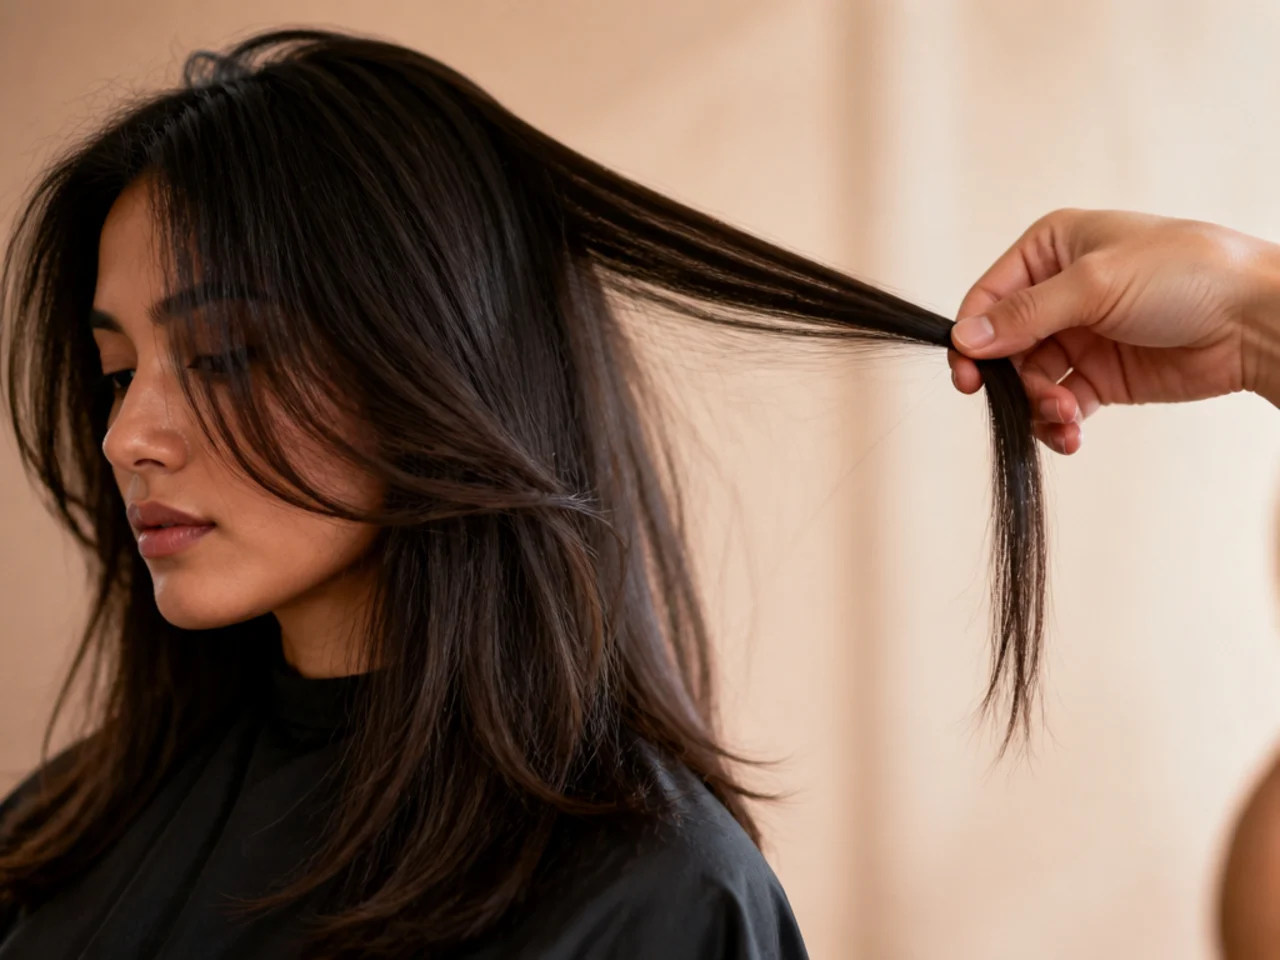
Where a section ends in a visible block, slide the half open shears down the last two centimetres or notch into it. A corner is just a concentration of ends at one length, and removing a few of them at staggered depths makes the rest read as a curve.
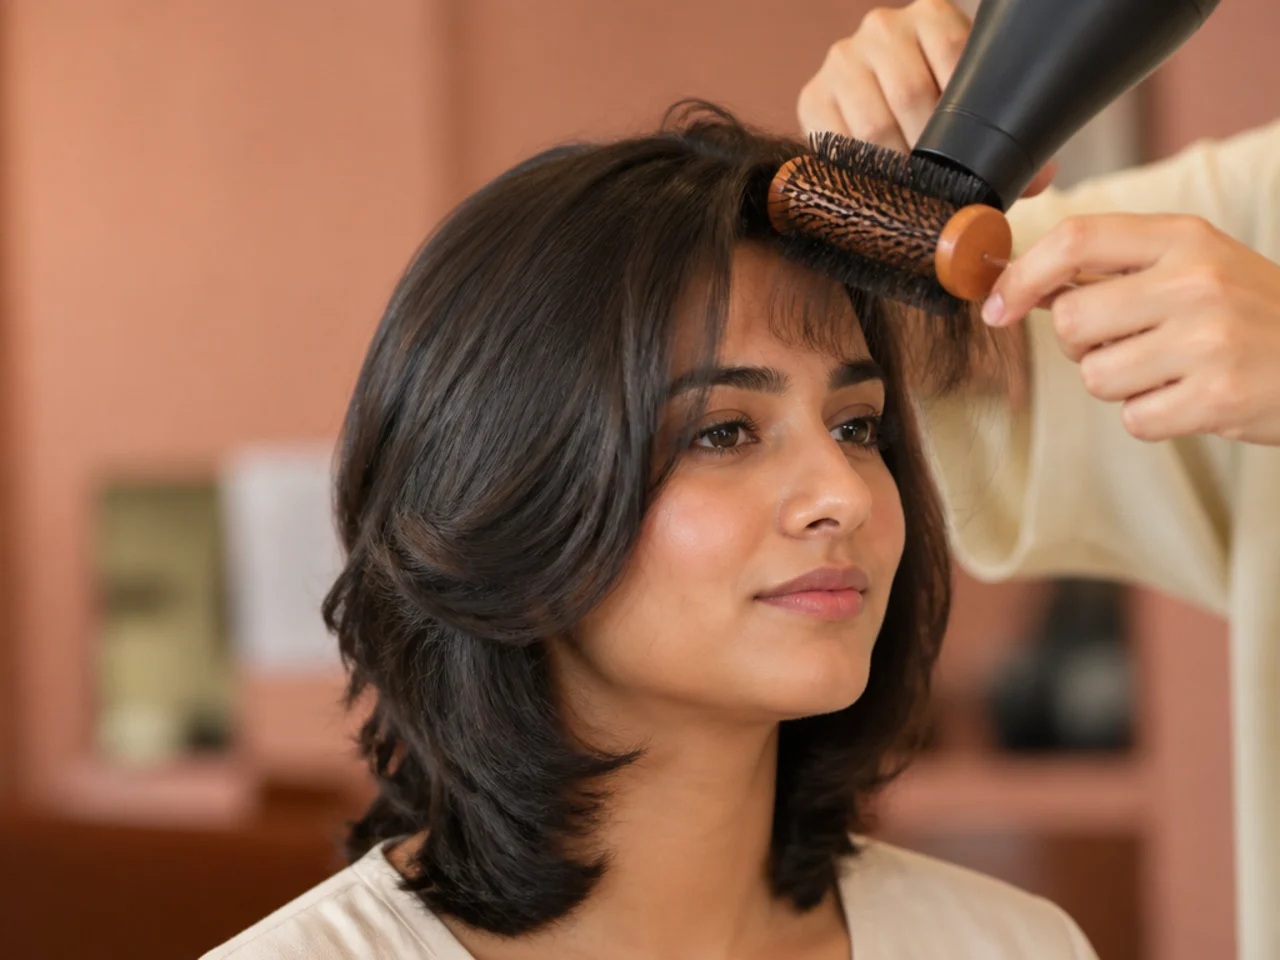
20. Blow the Wing Away From the Face
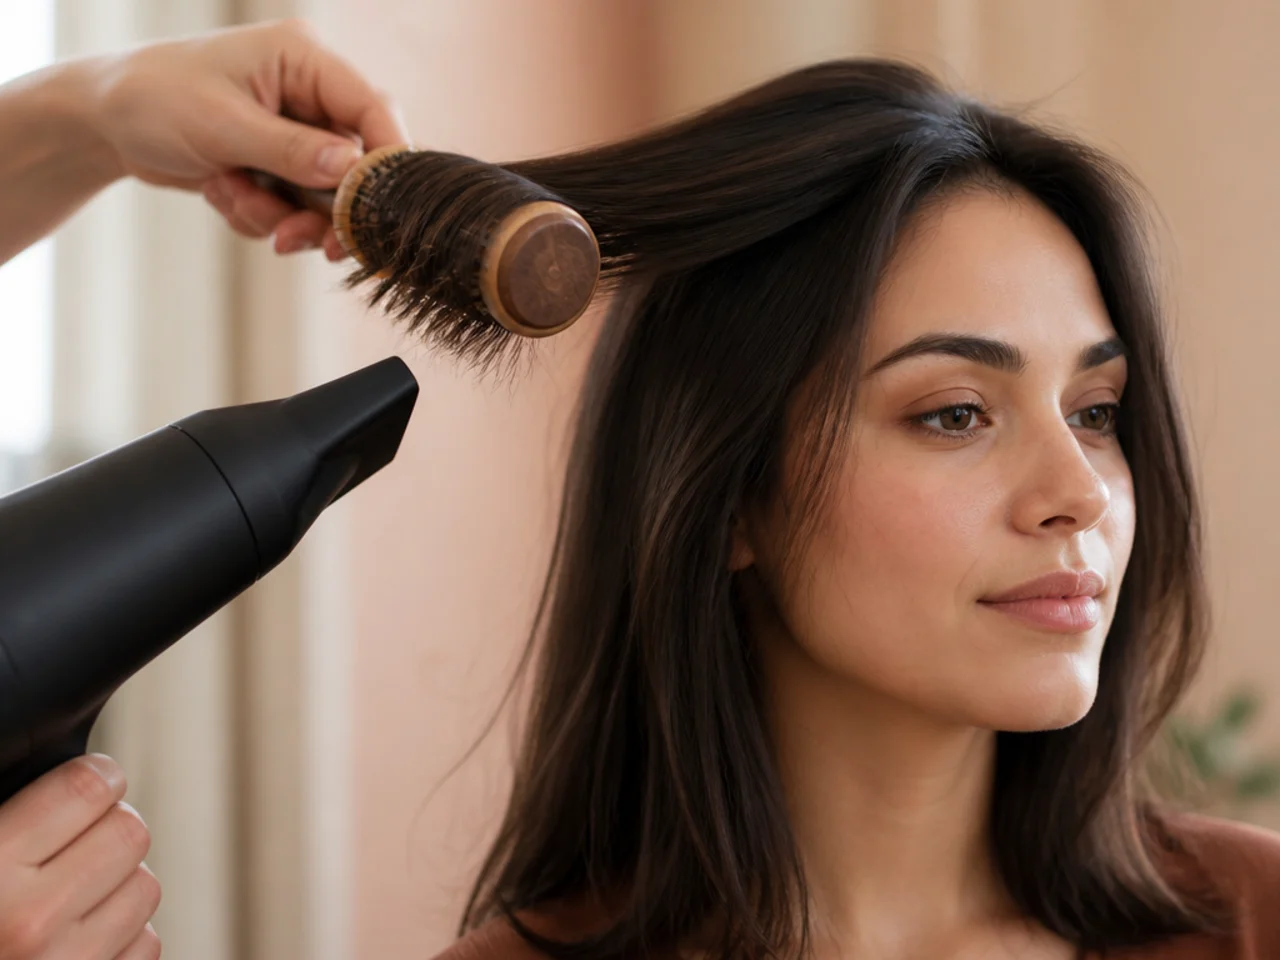
Round brush the front sections outward and hold the heat until they cool. The wing only opens into a wing when it is dried in that direction; dried flat against the head, the same cut reads as an unexplained short layer.
Styling and Upkeep
Dry the wing before the rest. It sets in whichever direction it dries first, and once it has cooled flat you have to wet it again to move it.
Use the cold shot on the front pieces. Hair holds the shape it cools in, so a blast of cold at the end fixes the outward bend that heat alone will not.
Trim the wing before the perimeter. The wing grows into the length and the contrast disappears from the top down, not from the bottom up.
Expect a trim every eight to ten weeks. Hair grows around a centimetre a month, which is enough to move a cheekbone wing to the jaw in two months.
Leave the perimeter alone as long as you can. Every trim there closes the gap between the two lengths, and the gap is the cut.
Mistakes to Avoid
Cutting it wet. The hair is stretched, and everything you measure lands short once it dries and recoils.
Cutting the wing level. A level line has an edge. A slope down toward the jaw is what makes it disappear into the length.
Taking the perimeter shorter to balance a short wing. That removes the contrast rather than correcting it. Live with the wing and let it grow.
Cutting both sides separately without comparing. Two sides cut in isolation match by luck. Comb them to the centre and hold them together.
Thinning the wing with texturising shears. Those remove hair from the middle of the section as well as the end, and on a short face framing piece that produces frizzy short regrowth standing up at the part.

FAQ
Wet or dry? Dry. Wet hair is stretched and lands shorter once it dries.
How short is the wing? Between the cheekbone and the chin, cut on a slope toward the jaw.
How often does it need trimming? The wing every eight to ten weeks; the perimeter far less often.

Final Thoughts
The perimeter is a straight line anyone can cut. The wing is the cut, and it needs three things right: dry hair, a slope rather than a level line, and both sides checked against each other before you put the shears down.
For the full shape and where it came from see the butterfly haircut guide. See also butterfly haircut for short hair. More in Womens Hairstyles.