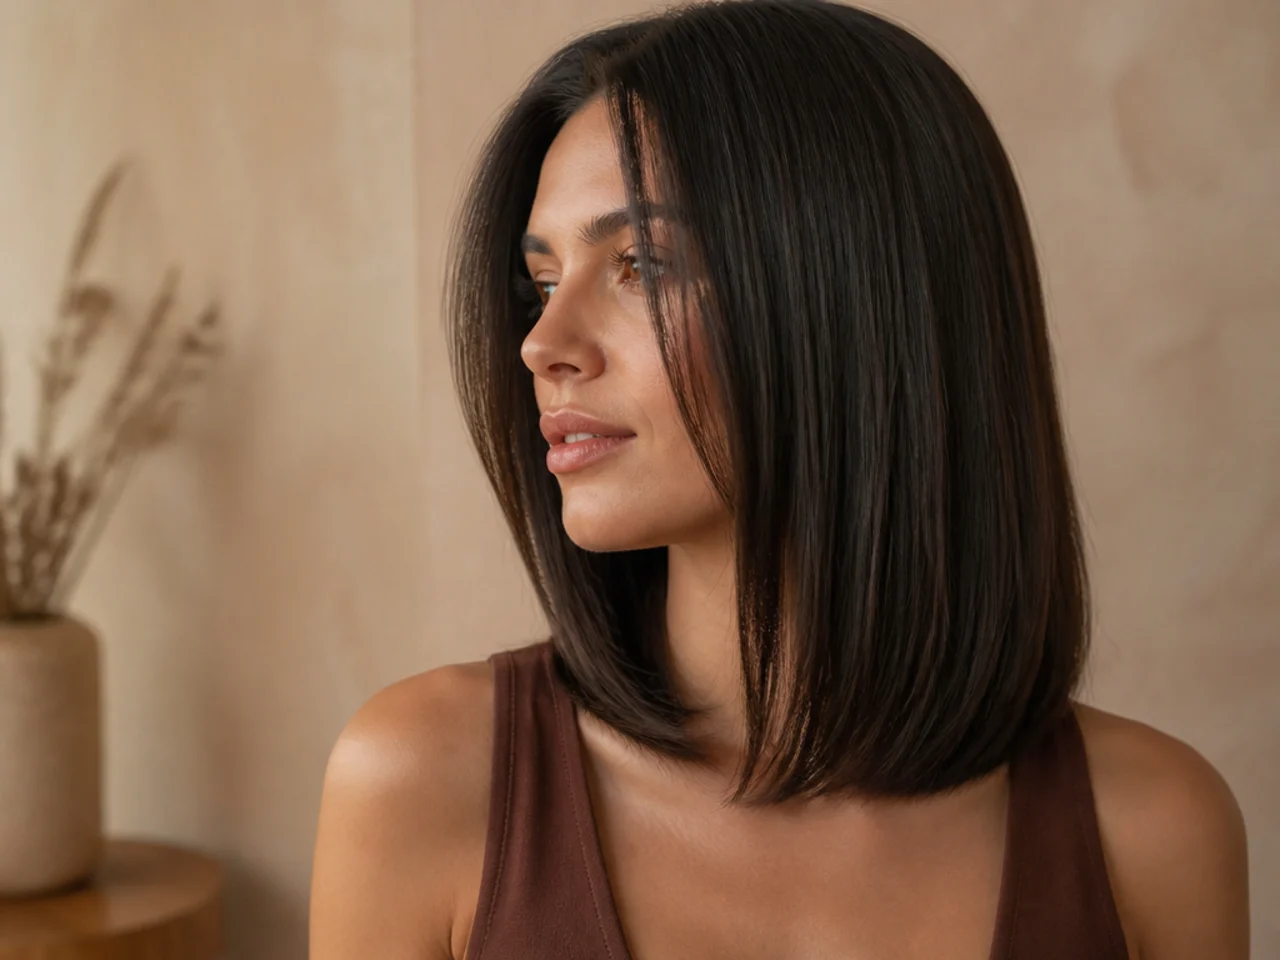
25 Butterfly Haircuts For Short Straight Hair
A butterfly cut is two lengths worn at once, and on short hair the two run out of room to sit apart. Straight hair then shows the join exactly as it was cut. Twenty five versions, and where the short layer has to land for the shape to read at all.
In this article · 32
- What a Butterfly Cut Does on Short Hair
- Choosing Your Two Lengths
- The 25 Butterfly Haircuts
- 1. Chin Length Butterfly Cut
- 2. Collarbone Butterfly Cut
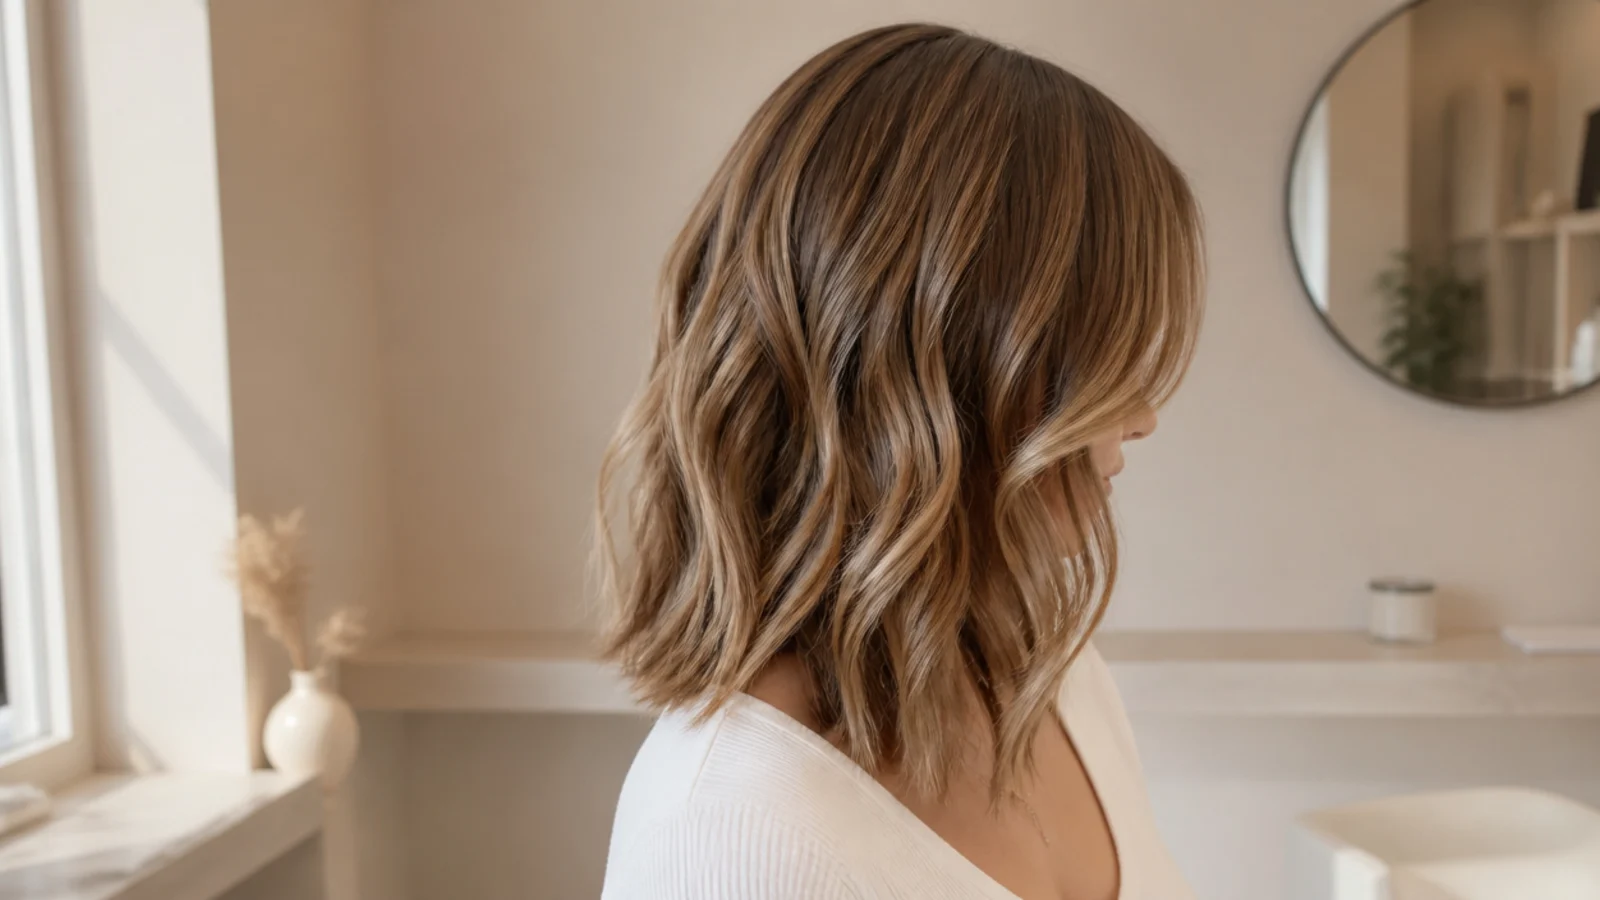
- 3. Butterfly Bob
- 4. Butterfly Lob
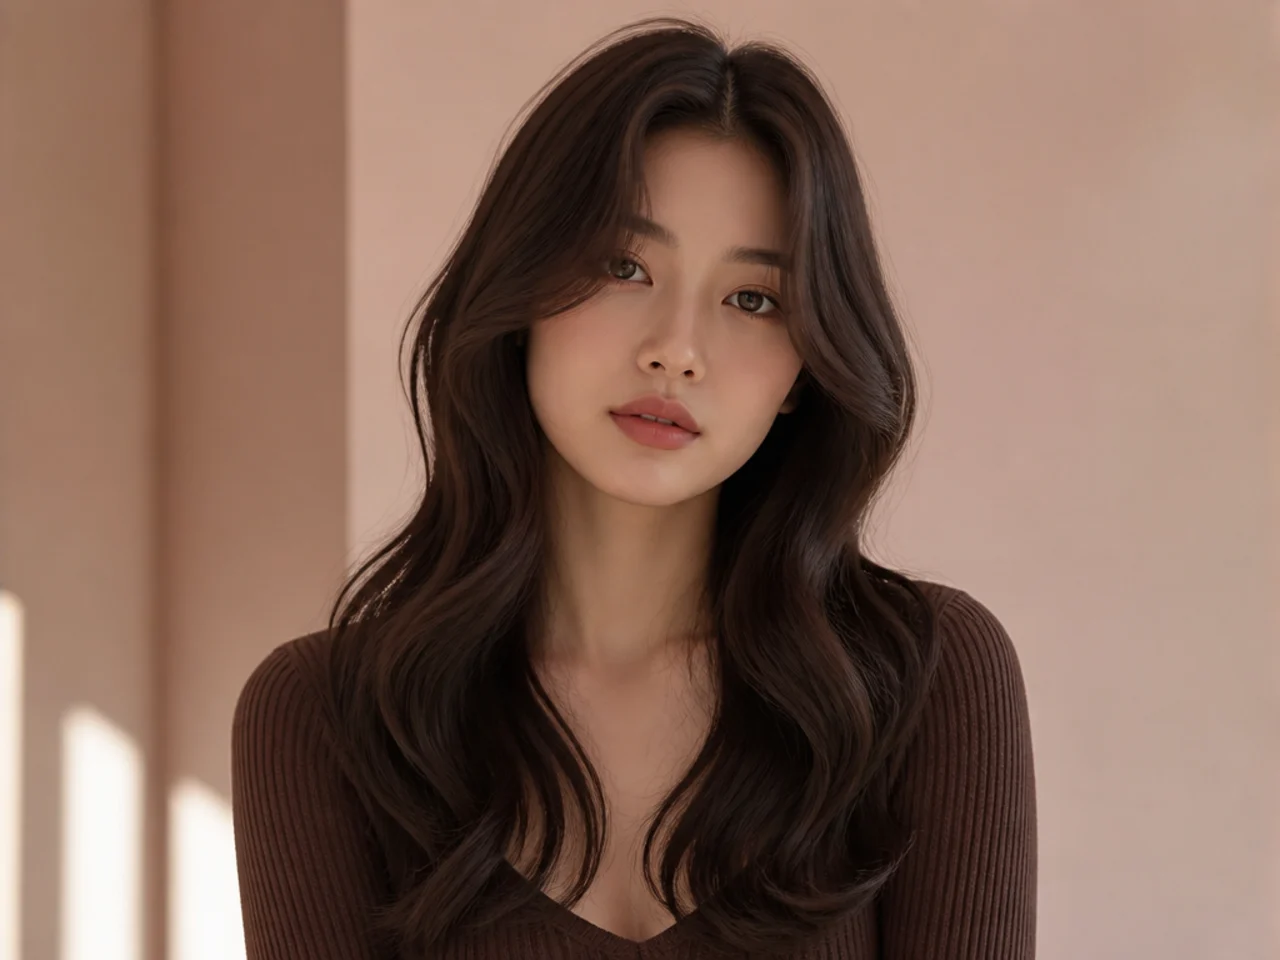
- 5. Butterfly Cut With Curtain Bangs
- 6. Butterfly Cut With a Blunt Fringe
- 7. Butterfly Cut With Face Framing at the Cheekbone
- 8. Butterfly Cut With a Blunt Perimeter
- 9. Butterfly Cut With Invisible Layers
- 10. Butterfly Cut on Fine Straight Hair
- 11. Butterfly Cut on Thick Straight Hair
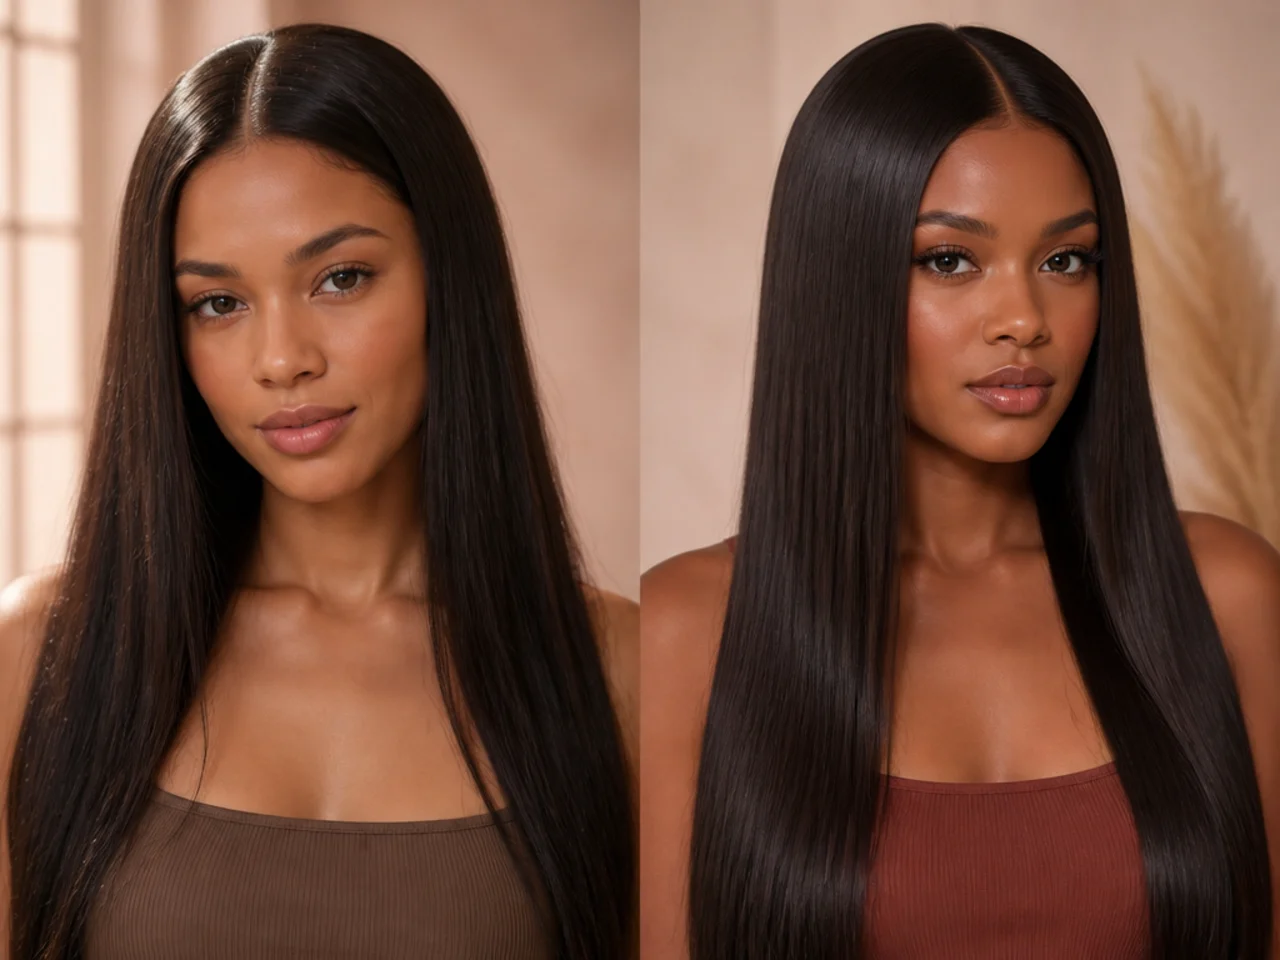
- 12. Butterfly Cut With a Middle Part
- 13. Butterfly Cut With a Deep Side Part
- 14. Butterfly Cut With Flicked Ends
- 15. Butterfly Cut With a Rounded Outline
- 16. A Line Butterfly Cut
- 17. Butterfly Cut With a Stacked Back
- 18. Butterfly Cut With a Money Piece
- 19. Butterfly Cut With Balayage
- 20. Butterfly Cut With a Root Shadow
- 21. Butterfly Shag
- 22. Butterfly Cut With Wolf Layering
- 23. Flat Ironed Butterfly Cut
- 24. Butterfly Cut Tucked Behind the Ears
- 25. Butterfly Cut at Ten Weeks
- Styling and Upkeep
- Mistakes to Avoid
- FAQ
- Final Thoughts
A butterfly cut on short hair fails when the two lengths sit too close together, and on straight hair the failure is visible from across a room.
It is two lengths, not many. A short face framing layer and a long perimeter, with enough distance between them that the eye reads two planes rather than one graduated shape.
Three inches of separation is the floor. Closer than that and the short layer simply blends into the length below it, which leaves an ordinary layered bob with extra weight removed.
What a Butterfly Cut Does on Short Hair
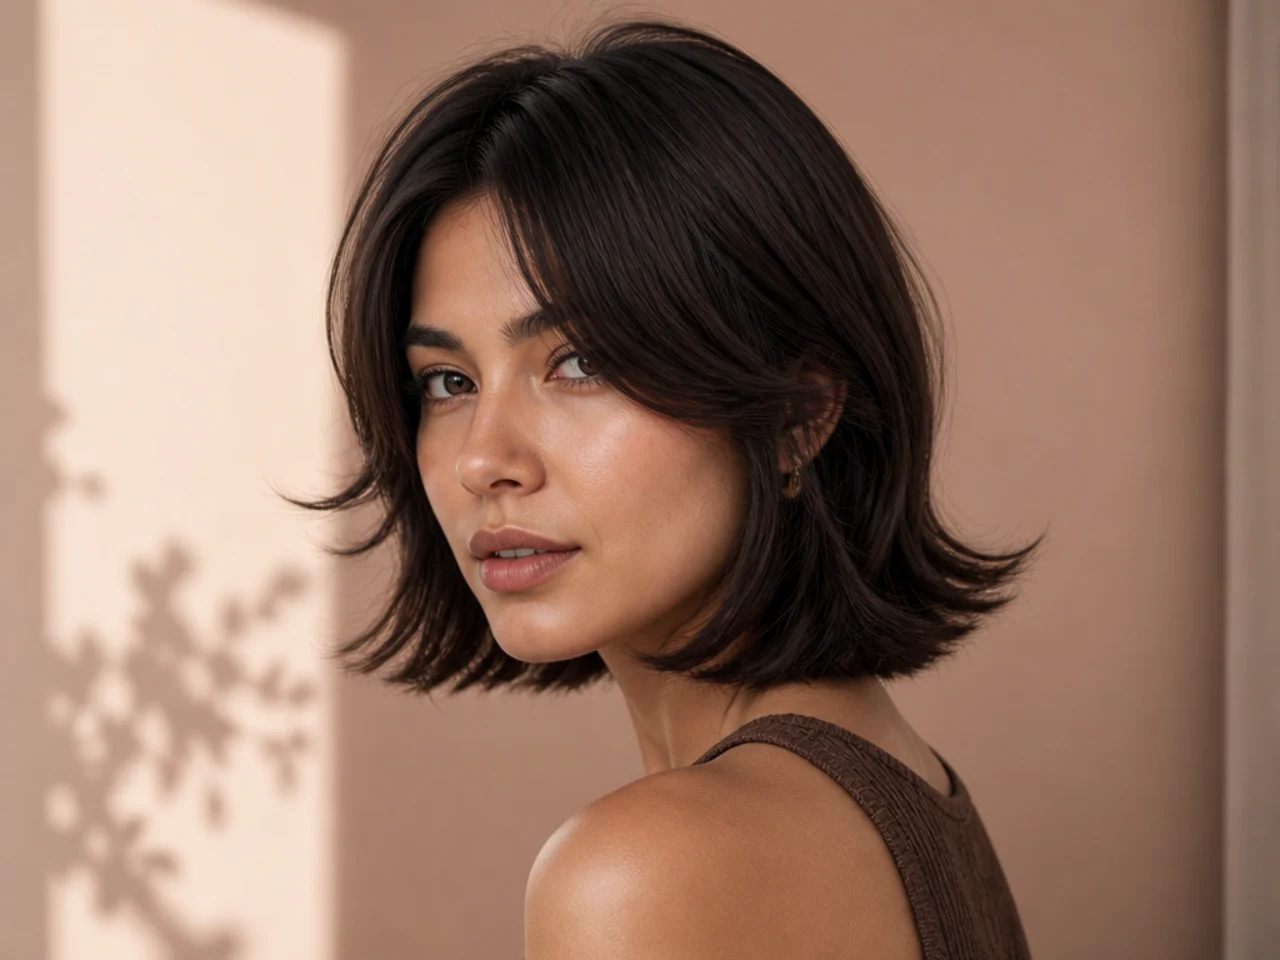
The short layer is the whole effect. It sits forward of the ear, bends away from the cheek, and reads as a separate piece against the flat perimeter behind it.
The perimeter has to stay blunt. A solid outline gives the short layer something to sit against. Soften the outline and both lengths taper to nothing, and the contrast that carried the shape disappears.
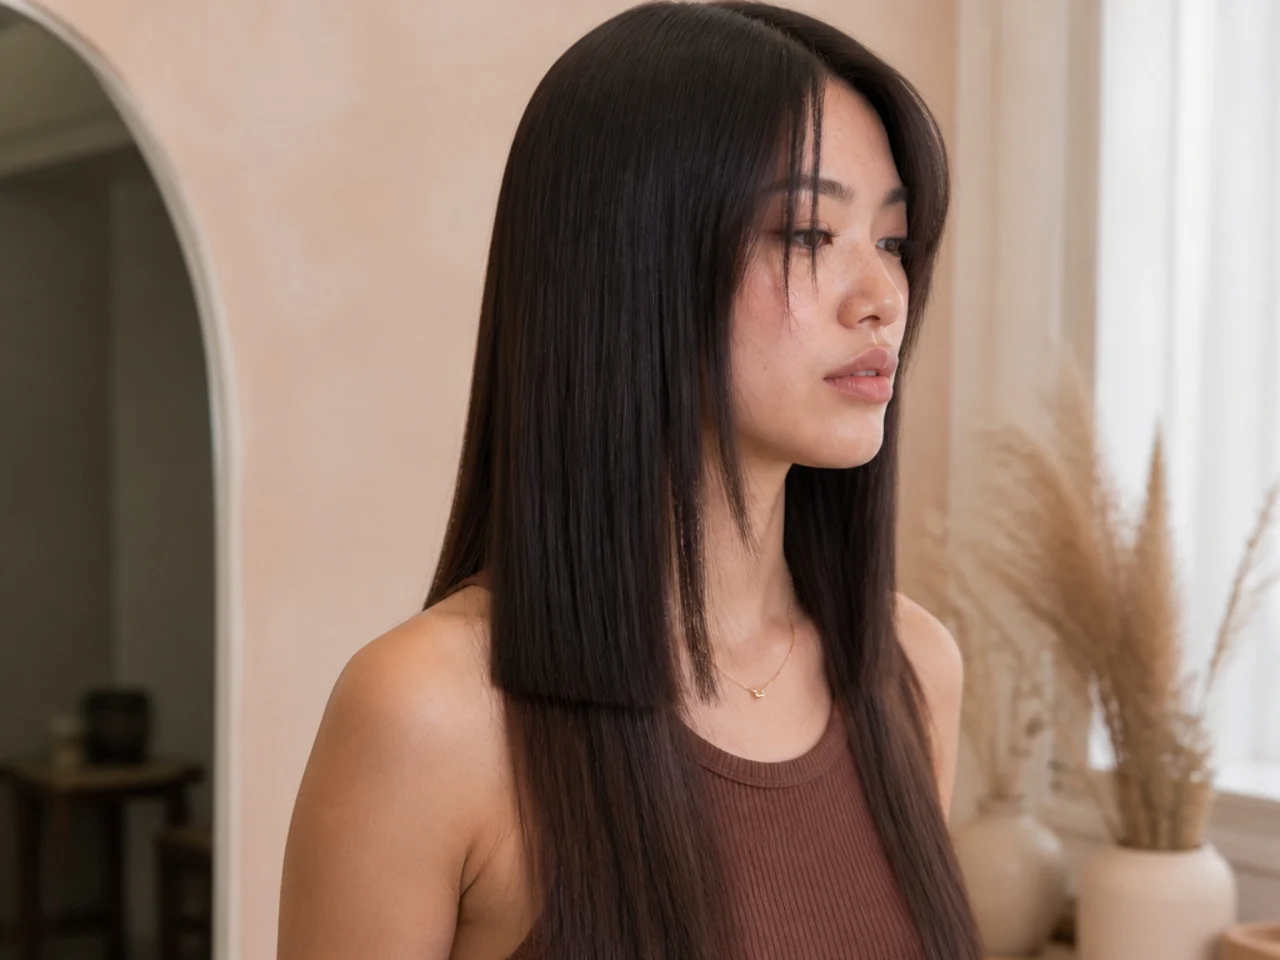
Straight hair displays the join. A straight strand hangs in a single line with no bend to scatter light, so the step between the two lengths registers as a step rather than as movement.
Short hair compresses the whole design. With a collarbone perimeter there are only a few inches to spend, so the short layer usually lands at the cheekbone rather than the chin.
Choosing Your Two Lengths
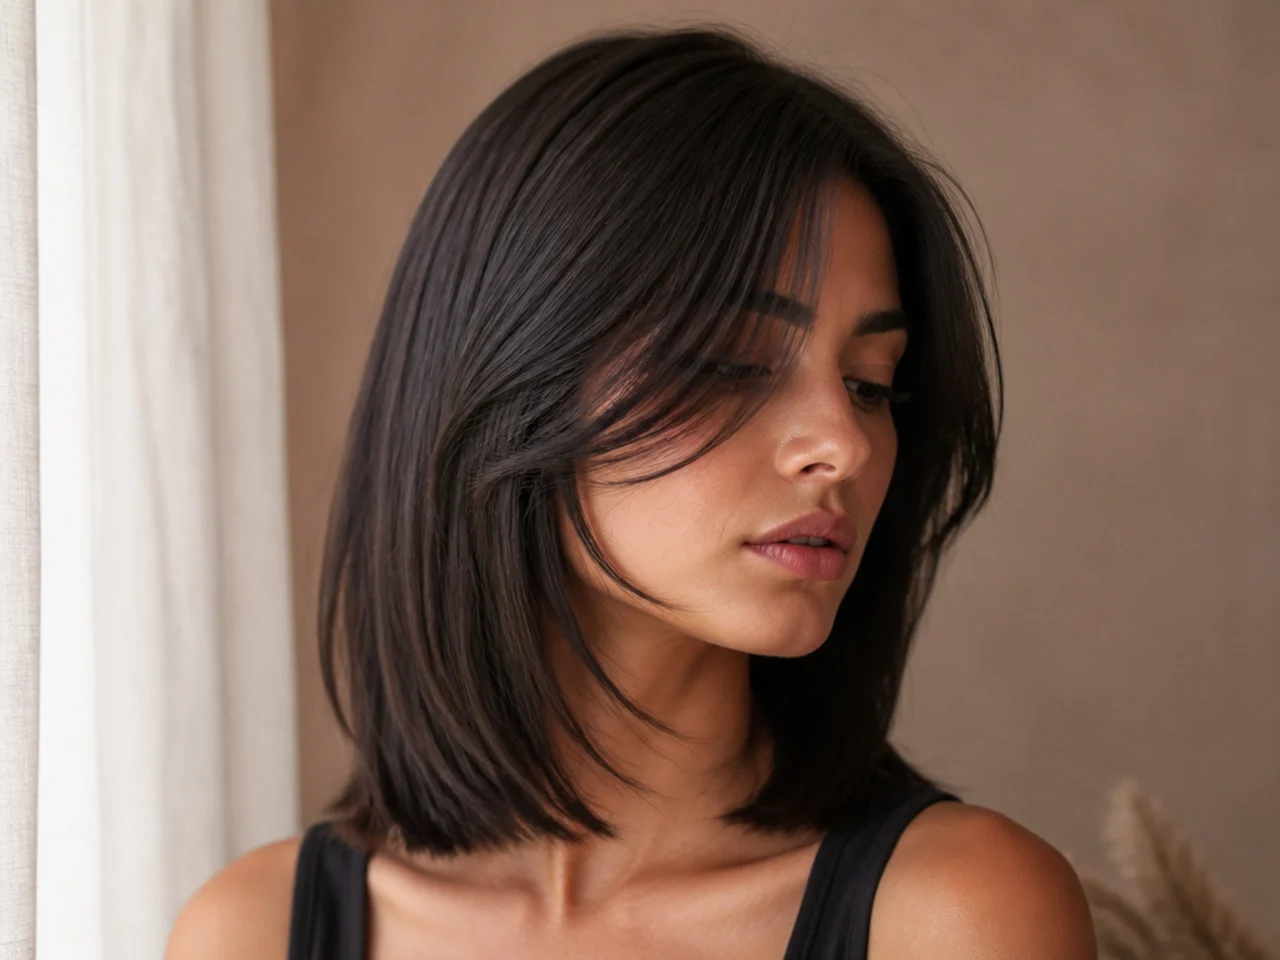
Set the perimeter first. It is the length everything else is measured against, and it is the one that decides whether the cut is a bob, a lob or something on the shoulders.
Put the short layer at the cheekbone on anything above the collarbone. Any lower and it runs into the perimeter, and the two lengths stop reading separately.
Ask for the join graduated, not stepped. On straight hair the two lengths need a few connecting cuts between them or the shorter one sits on the longer one like a lid.
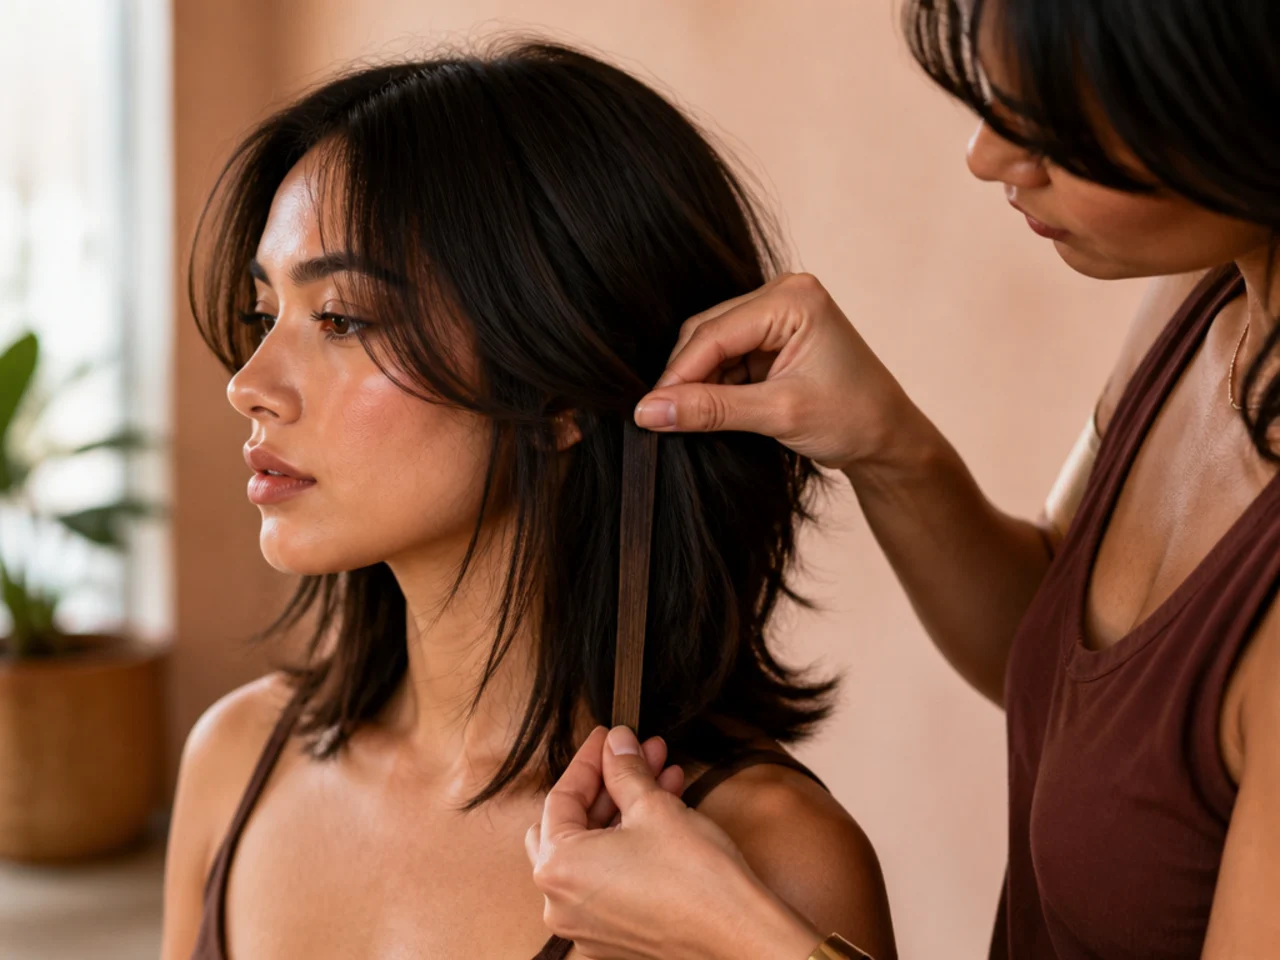
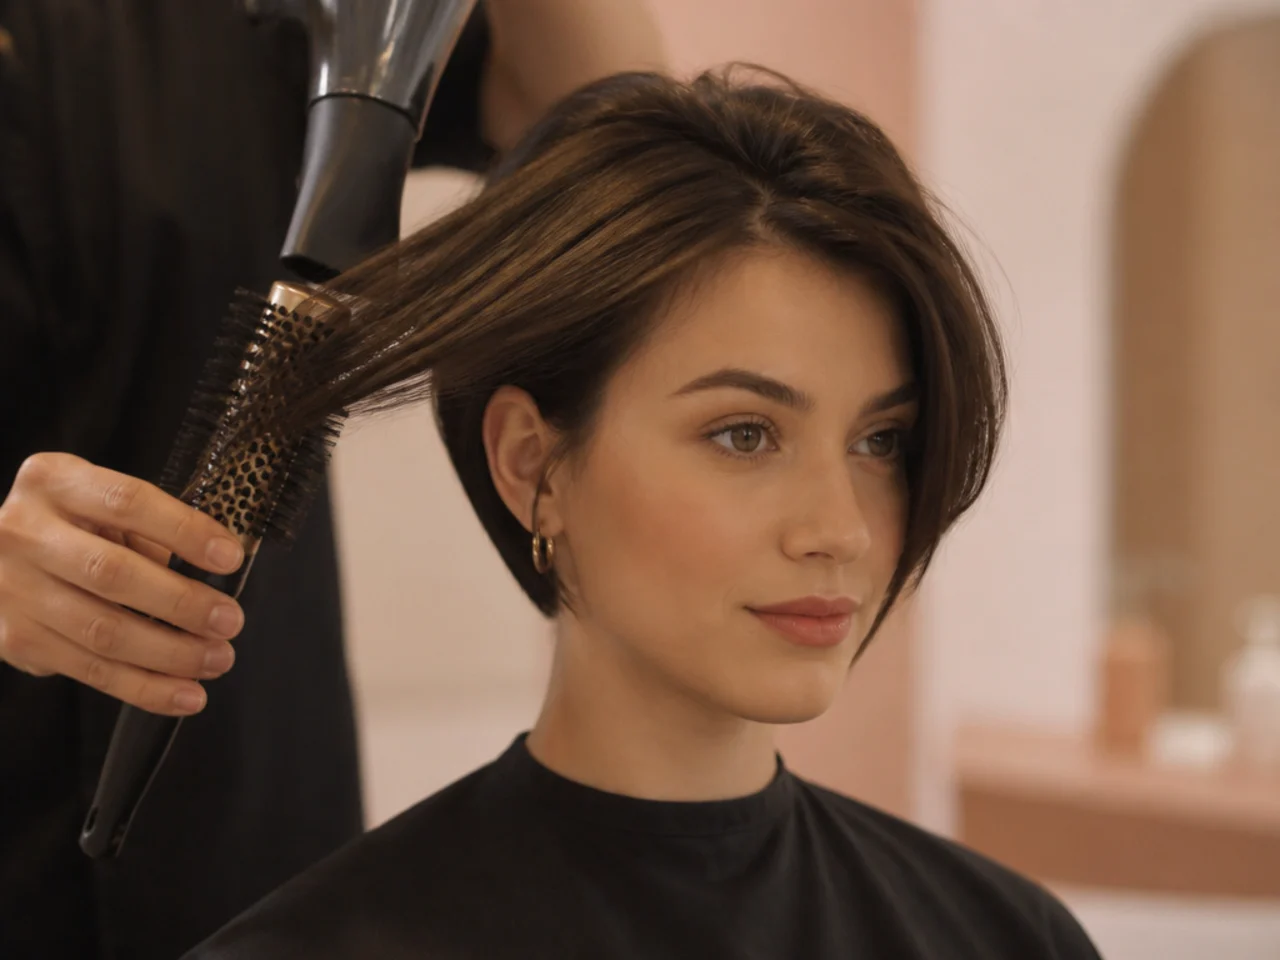
Commit to a round brush before choosing the shape. The bend at the end of the short layer is set with heat and cooling. Without it, straight hair leaves that layer lying flat against the face.
The 25 Butterfly Haircuts
1. Chin Length Butterfly Cut
The short layer finishes at the jaw with the perimeter a few inches below it. Chin length is the point where the layer still folds under the jaw as the head turns, and that fold is what stops the shape looking flat in profile.
2. Collarbone Butterfly Cut
The perimeter set on the collarbone and the short layer at the cheekbone. Hair resting on the collarbone is pushed slightly outward by the contact, so the bottom of the shape gains width without anything being cut into it.
3. Butterfly Bob
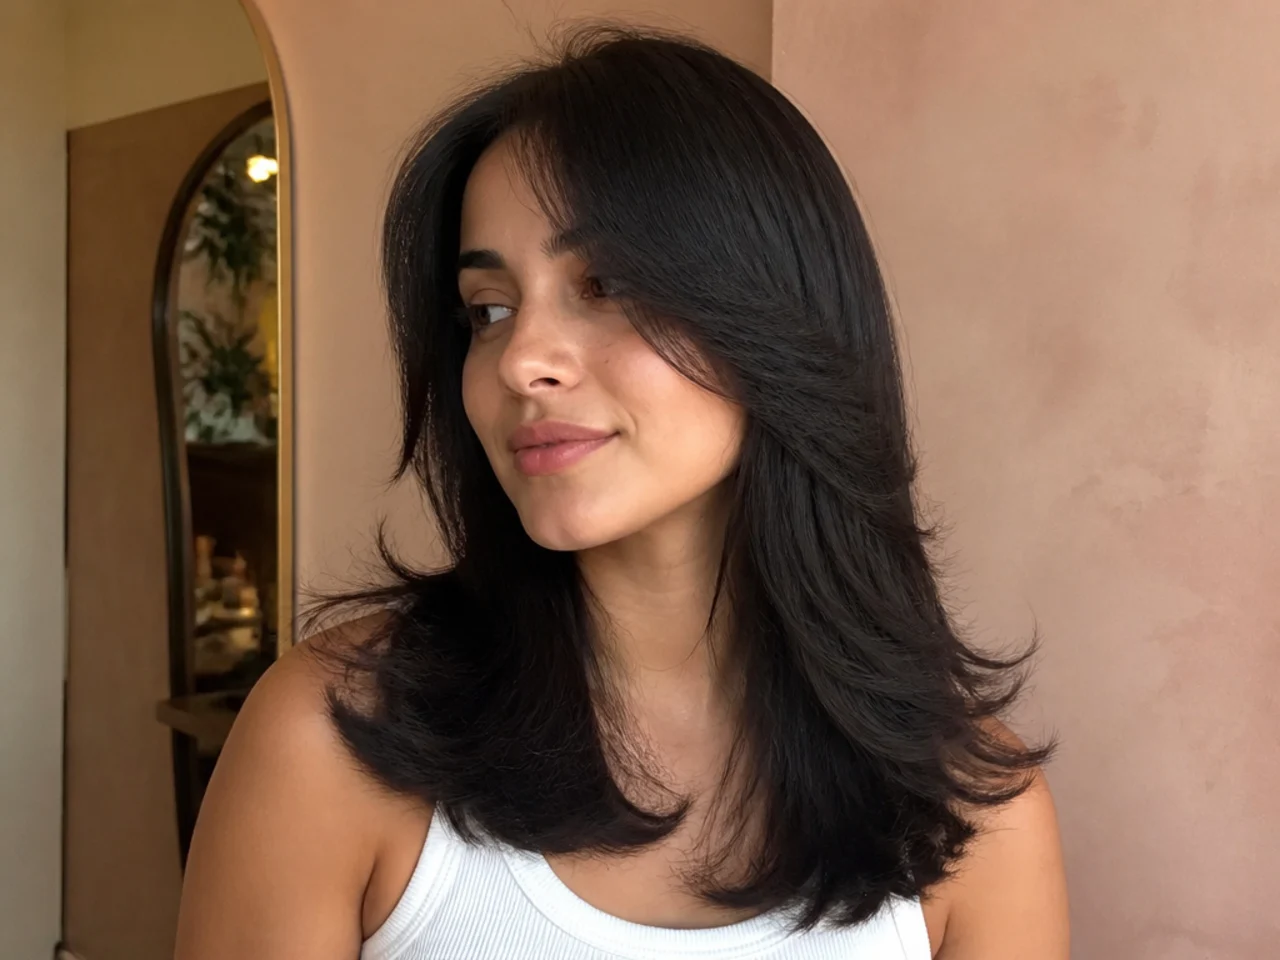
The shortest version that still holds two lengths. The perimeter sits at the jaw and the face framing layer at the cheekbone, which is exactly three inches of separation and the minimum the shape survives on.
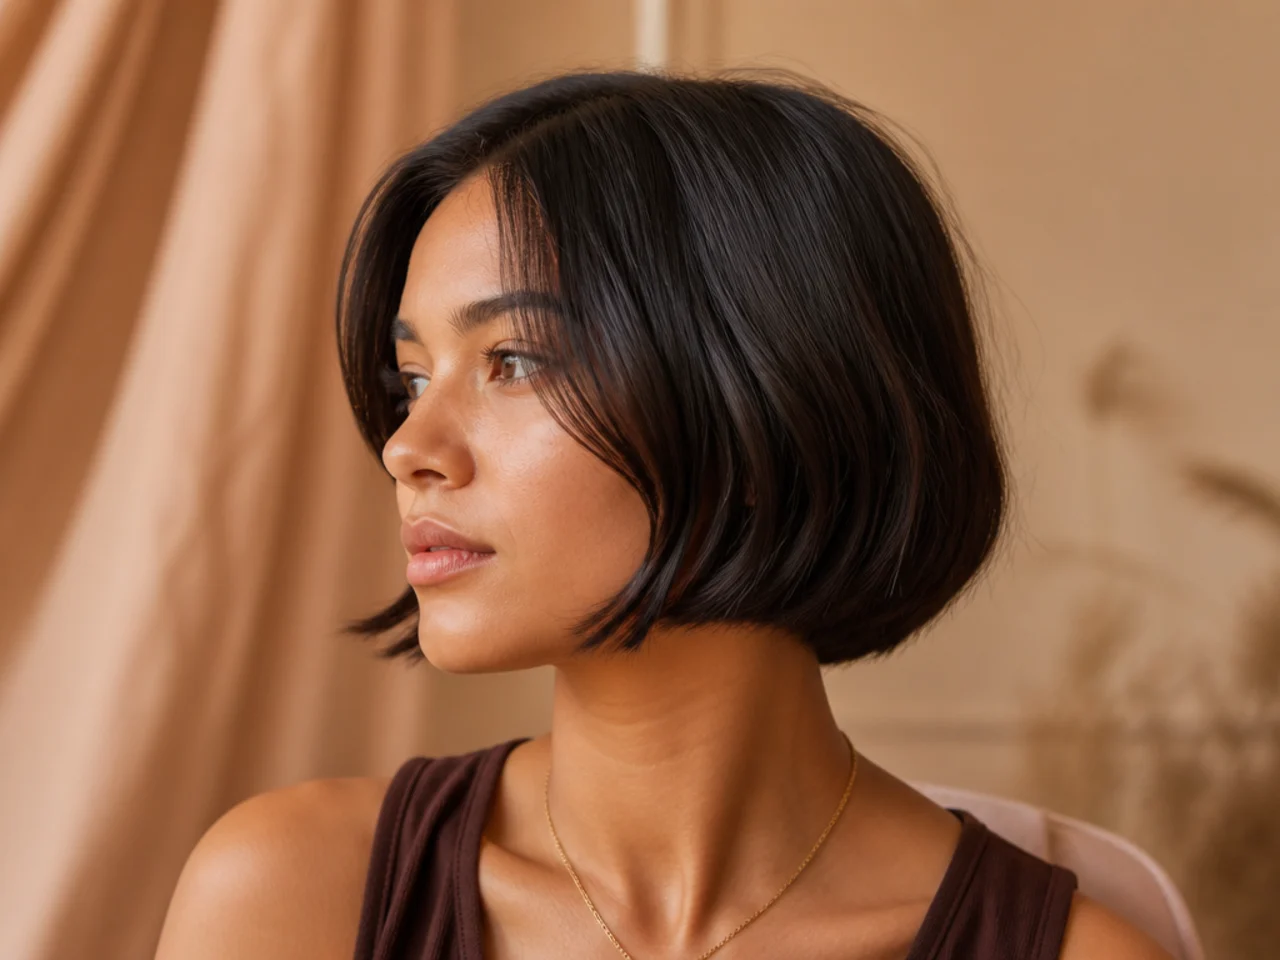
4. Butterfly Lob
A longer bob gives the design room to breathe. The extra two inches let the short layer sit at the chin instead of the cheekbone, which is a softer position because it lands on the widest part of the face rather than above it.
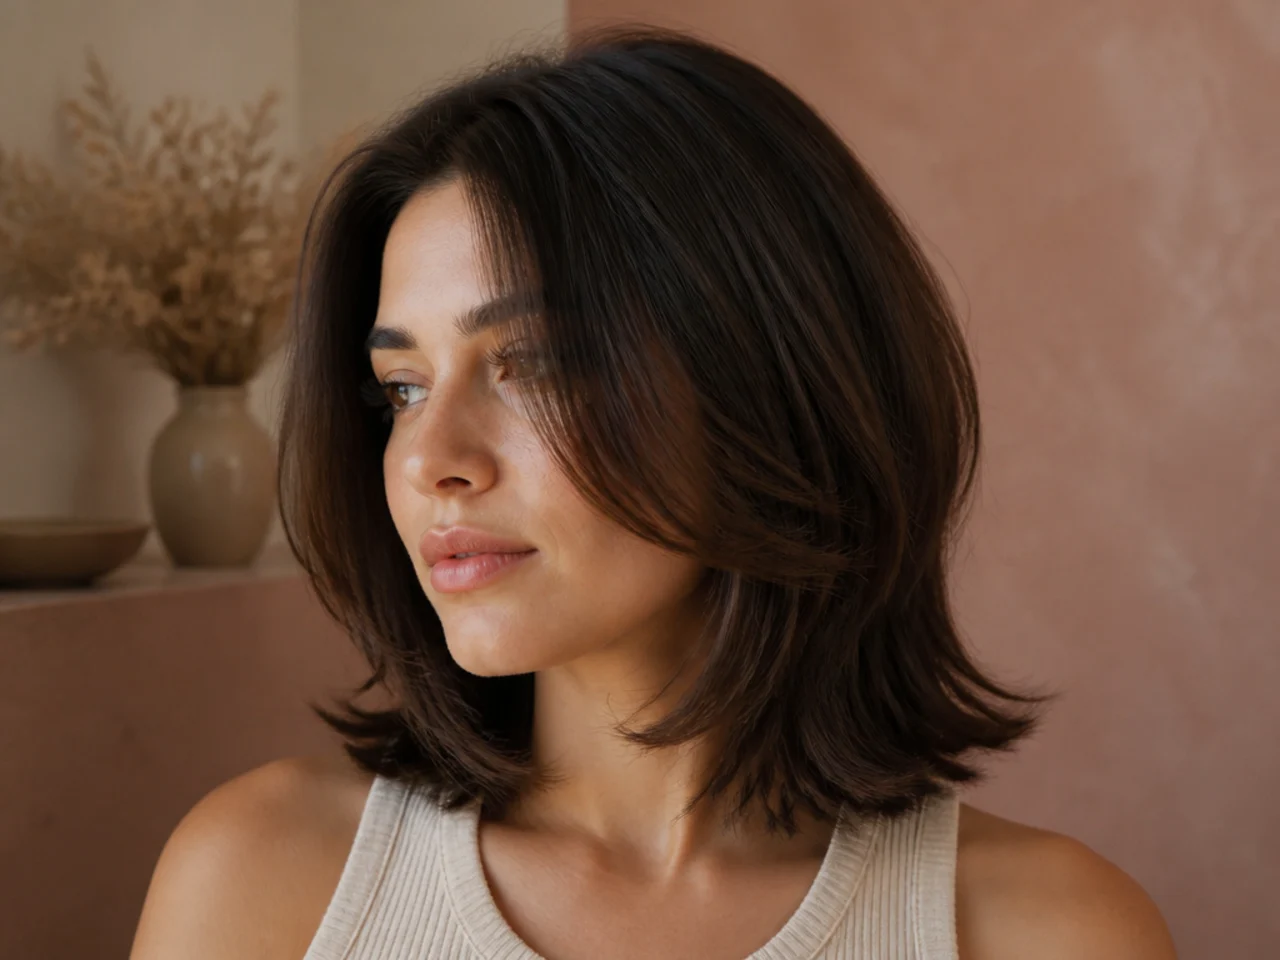
5. Butterfly Cut With Curtain Bangs
A centre parted fringe cut on a diagonal from the brow outward. It continues the same downward angle the face framing layer uses, so the fringe and the short layer read as one line rather than two separate ideas.
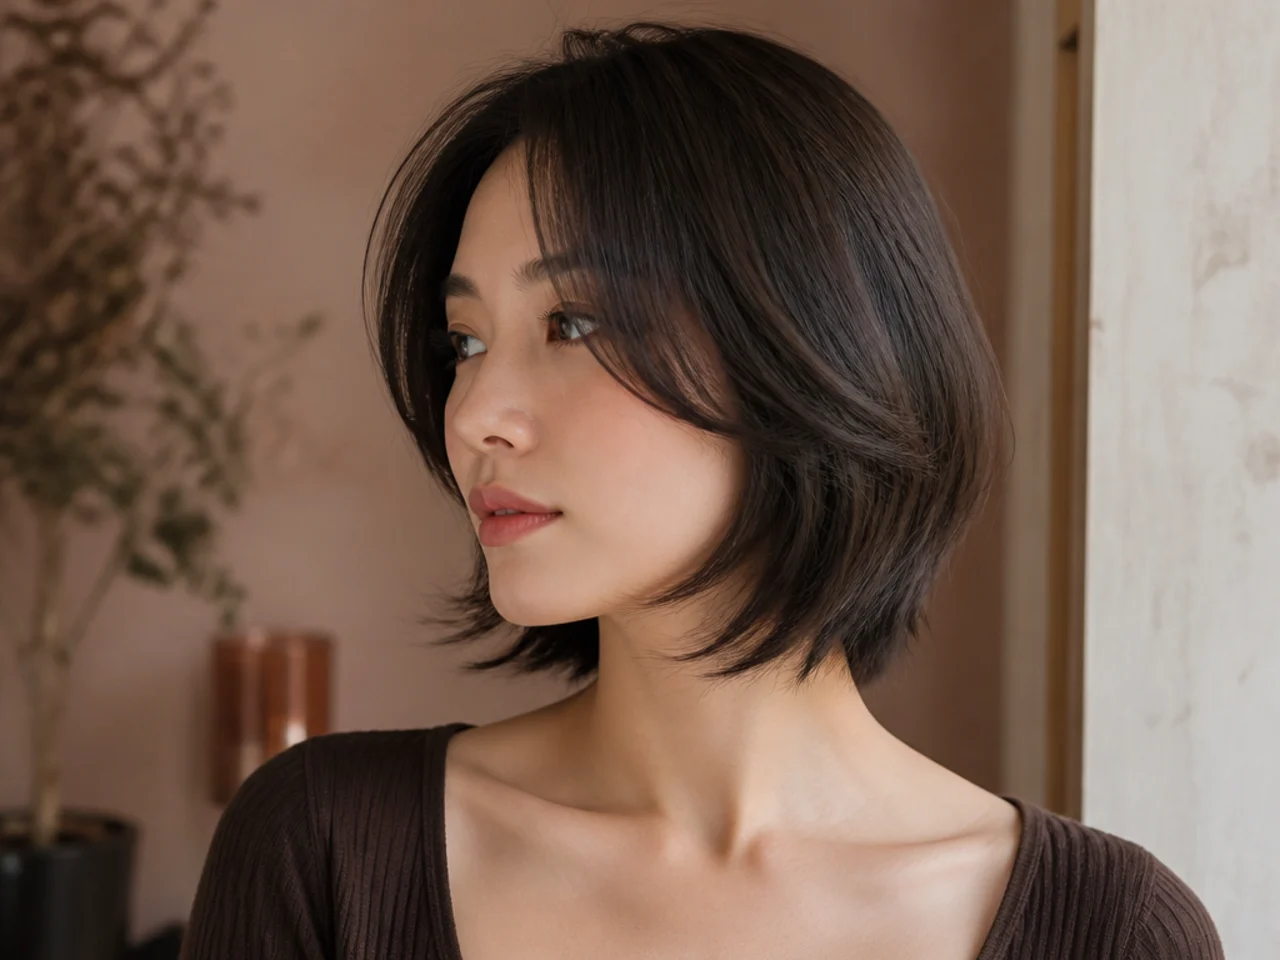
6. Butterfly Cut With a Blunt Fringe
A straight fringe across the brow above a two length cut. The fringe adds a third horizontal, so the perimeter has to stay very clean or the head reads as a stack of lines rather than a shape.
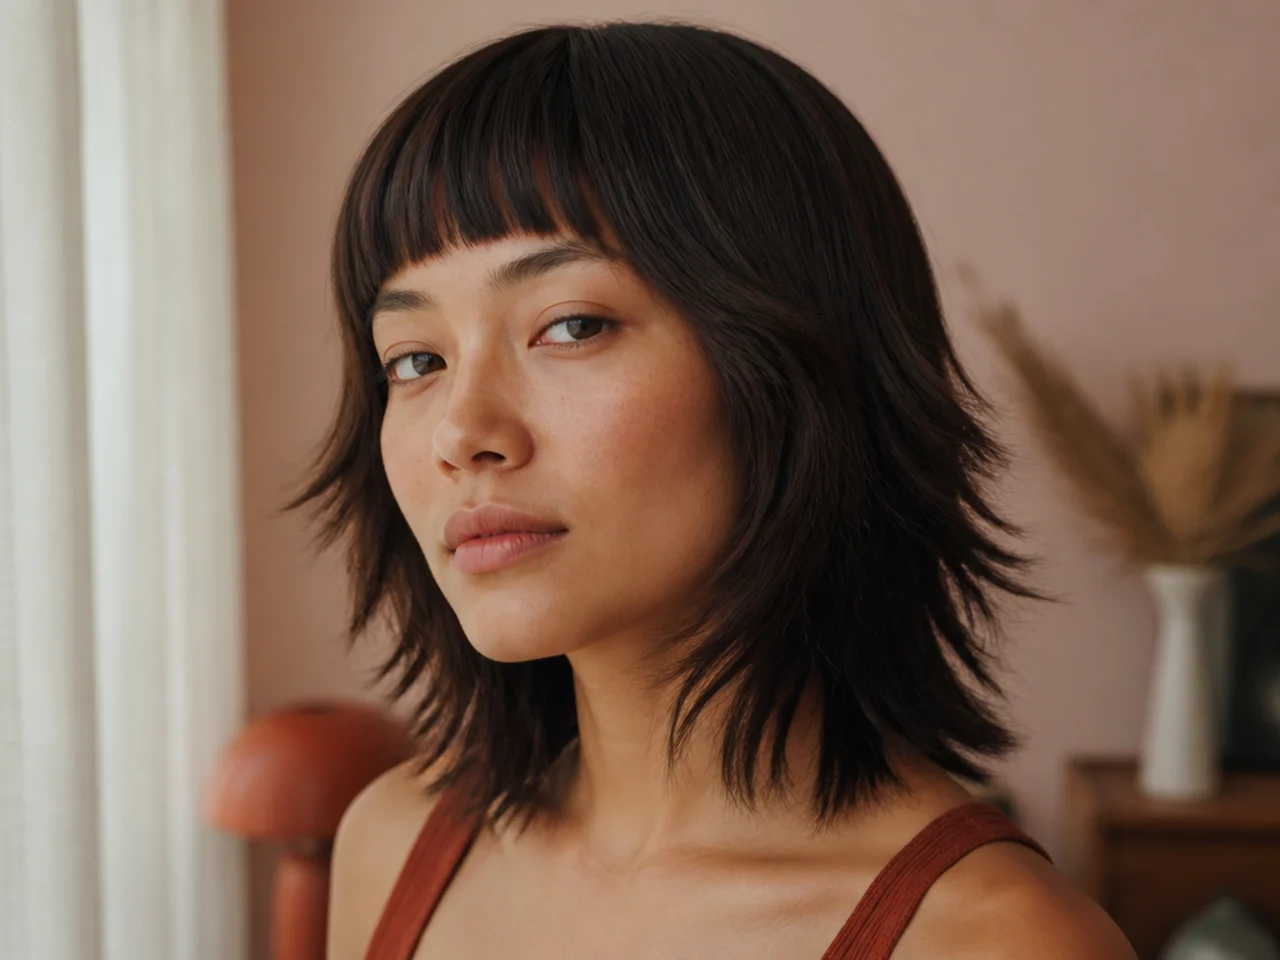
7. Butterfly Cut With Face Framing at the Cheekbone
The short layer set high, level with the top of the cheekbone. High placement means more of the length below gets propped up by it, which is where the width at the sides comes from on hair too short to build volume any other way.
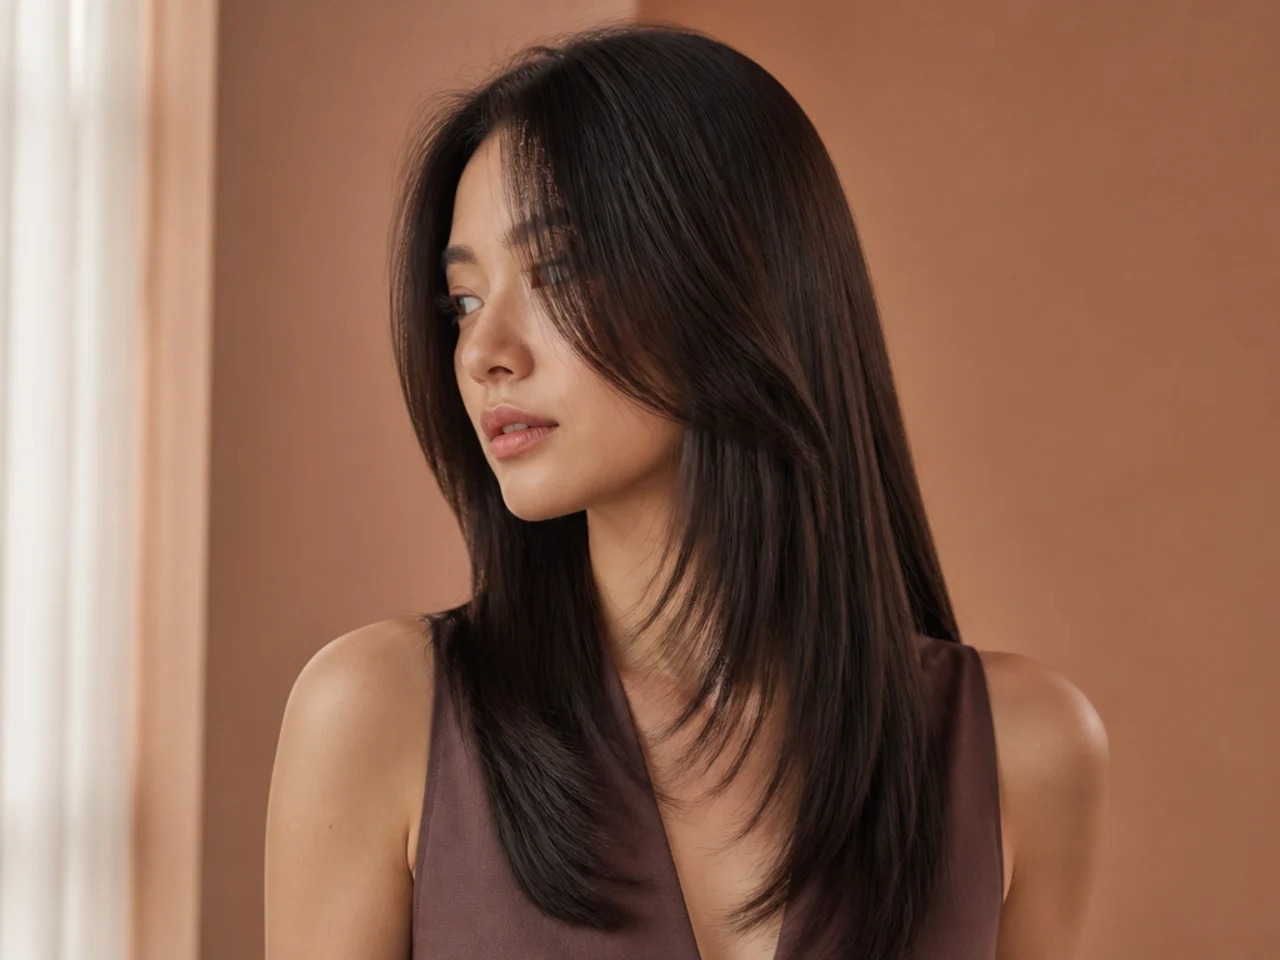
8. Butterfly Cut With a Blunt Perimeter
The bottom edge cut in a straight line. Every strand in the outline ends at the same point, so the ends stack against each other and give the short layer a solid plane to contrast with rather than a fading one.
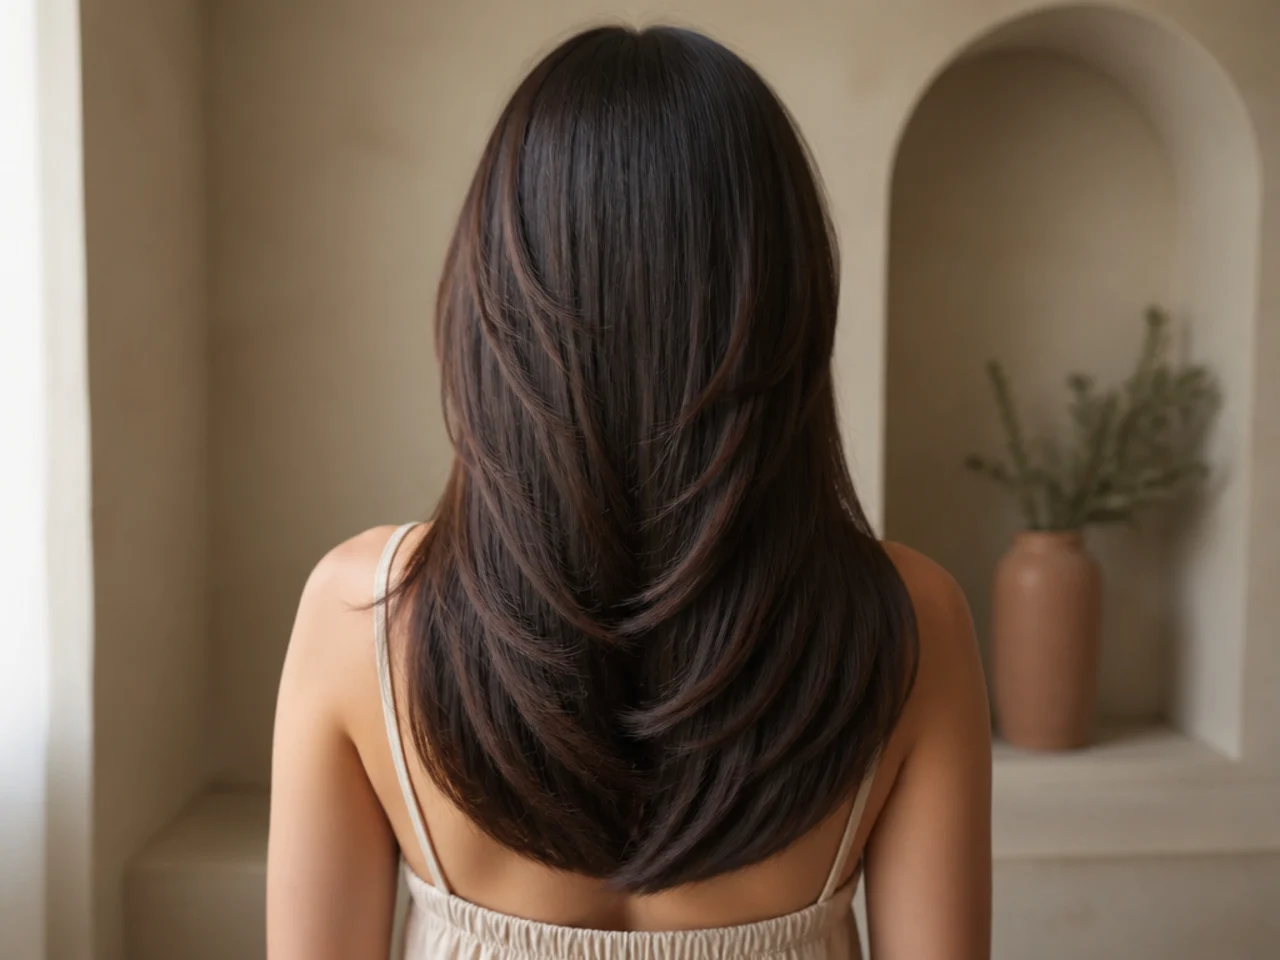
9. Butterfly Cut With Invisible Layers
The connecting layers cut into the interior only, so the outer surface stays one length. The short front layer still reads clearly and everything behind it looks solid, which suits anyone who dislikes visible steps.
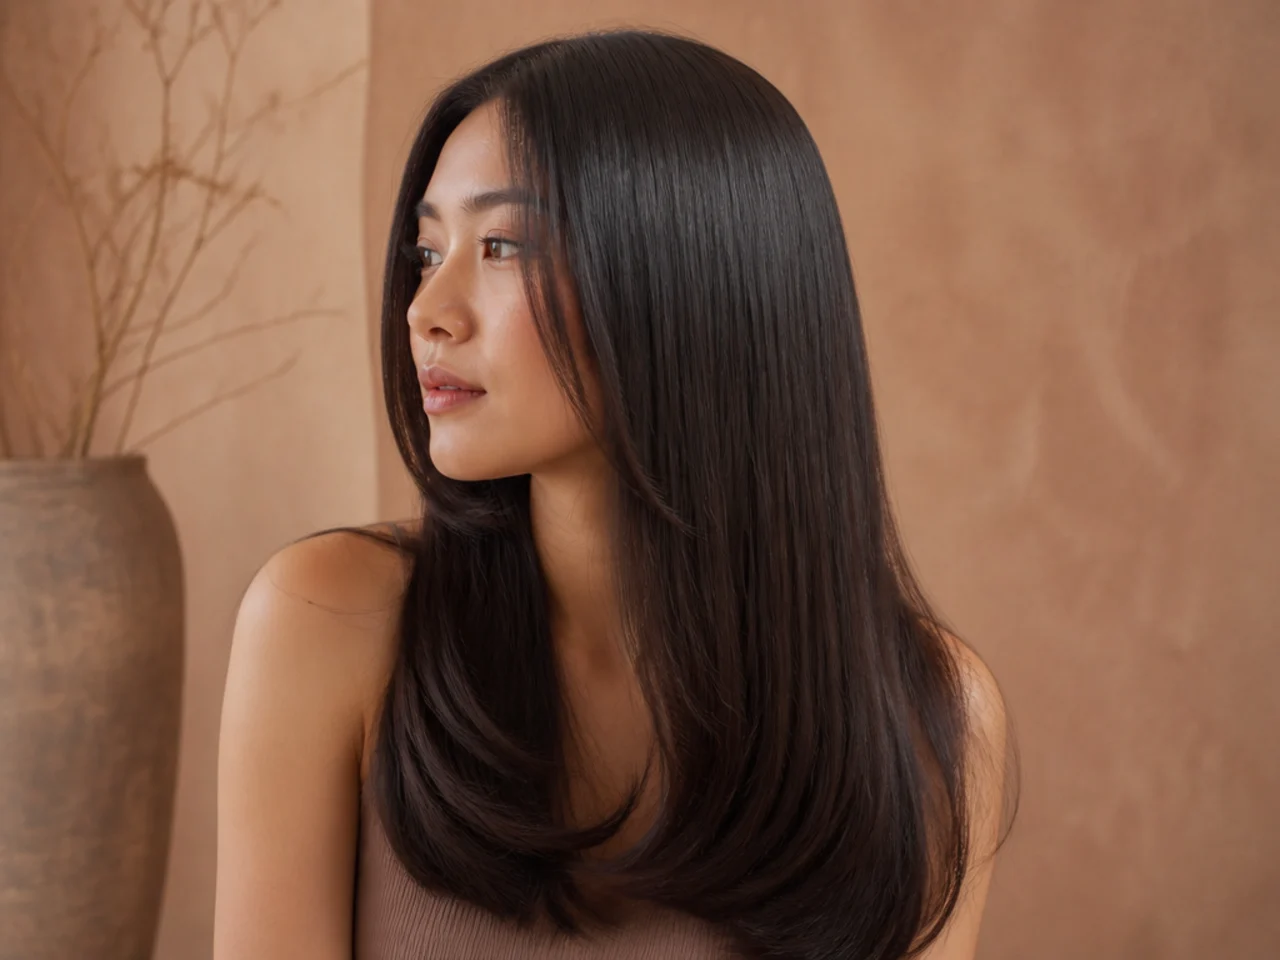
10. Butterfly Cut on Fine Straight Hair
Keep the perimeter blunt and the number of connecting layers low. Each connecting cut removes a strand from the outline, and on fine hair the outline is the only part of the cut producing apparent thickness.
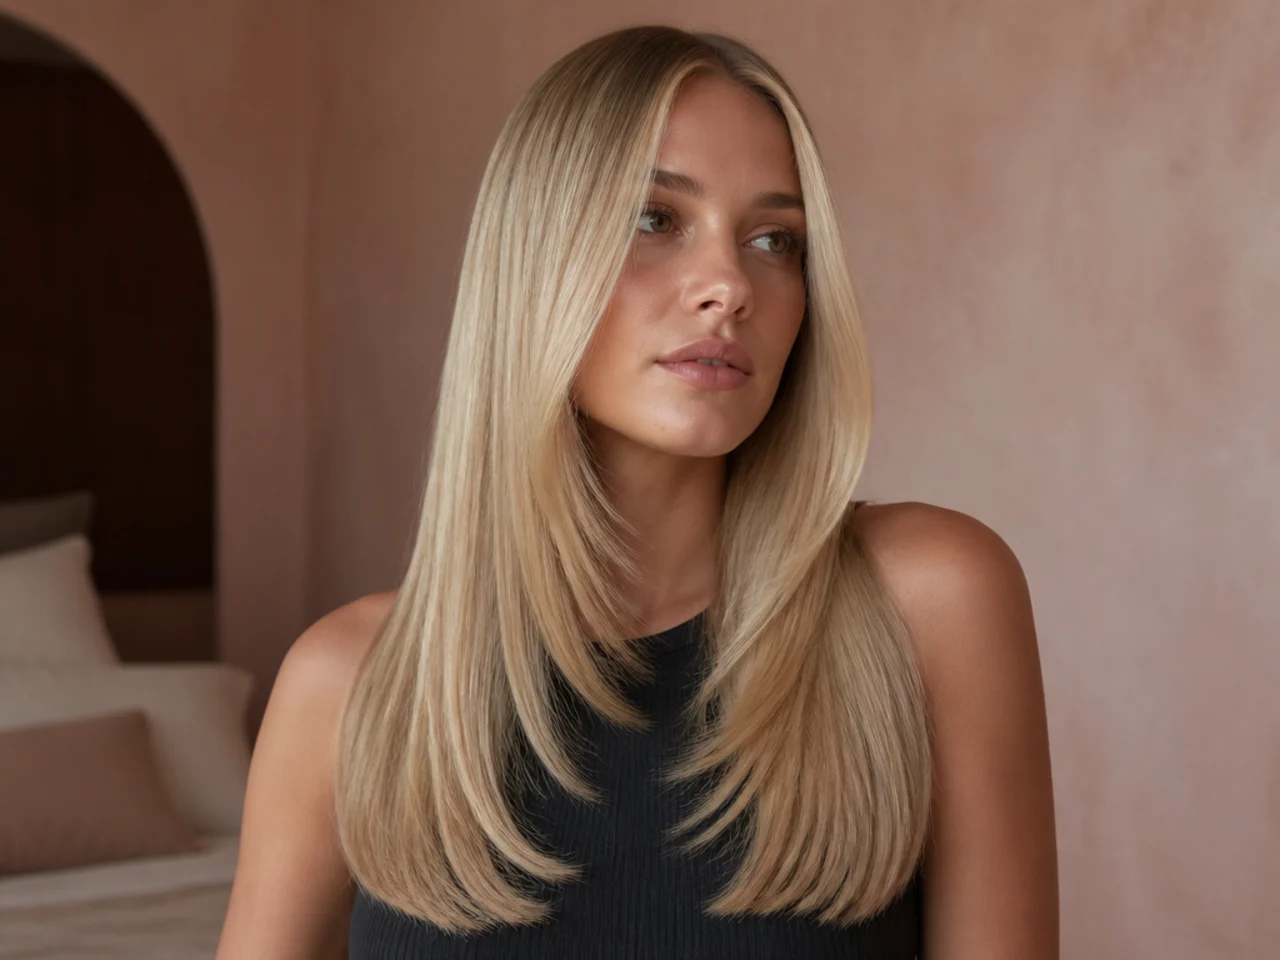
11. Butterfly Cut on Thick Straight Hair
Thick straight hair builds width at the mid lengths because the mass has nowhere to go. Ask for weight removed from underneath the sections so the surface line stays intact and only the bulk behind it comes out.
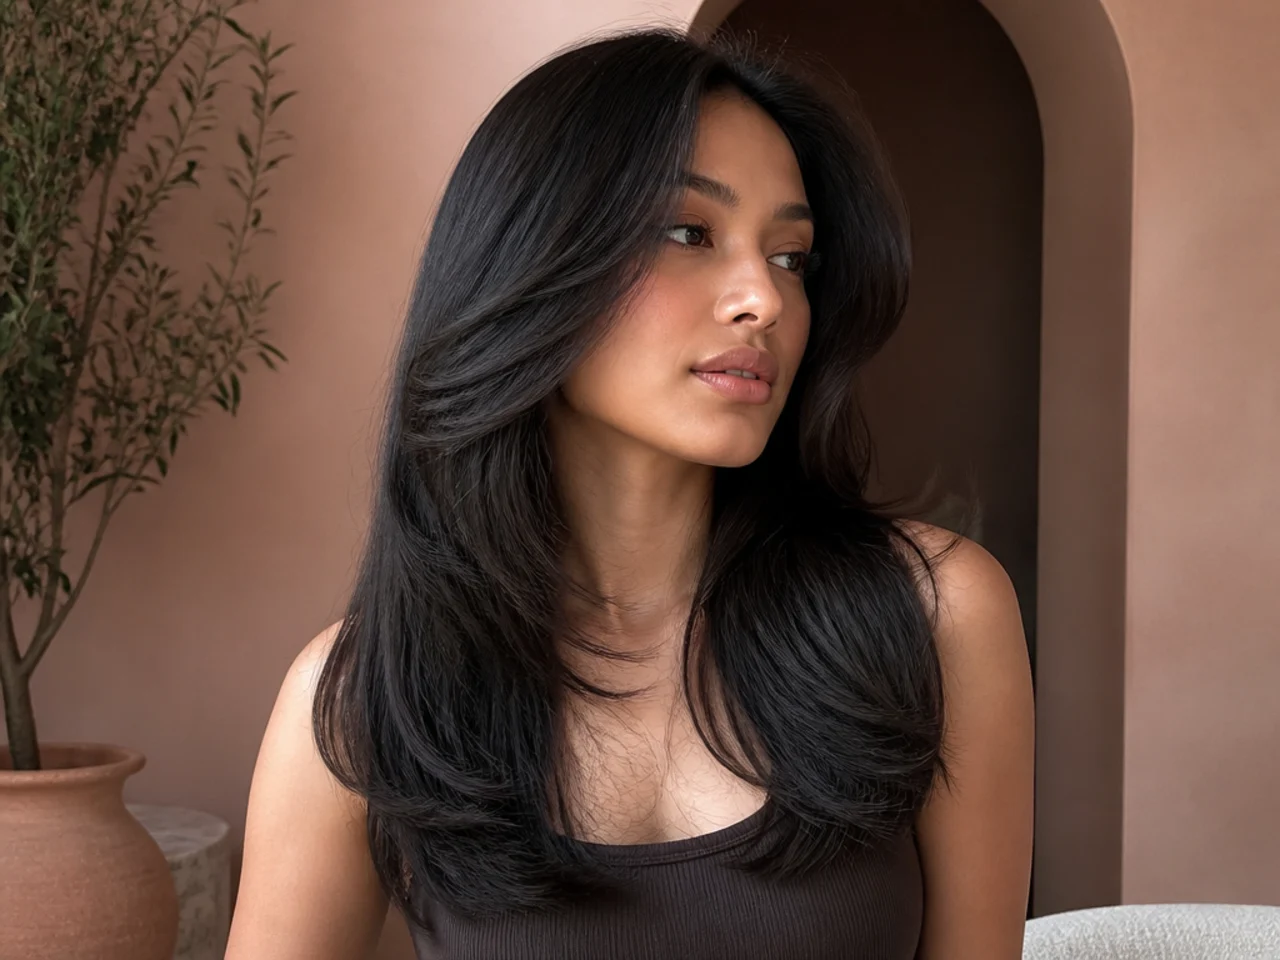
12. Butterfly Cut With a Middle Part
Splitting the front evenly sends both short layers forward at the same angle. It also makes any asymmetry obvious, so the two sides need checking against each other at the end of the cut rather than at the start.
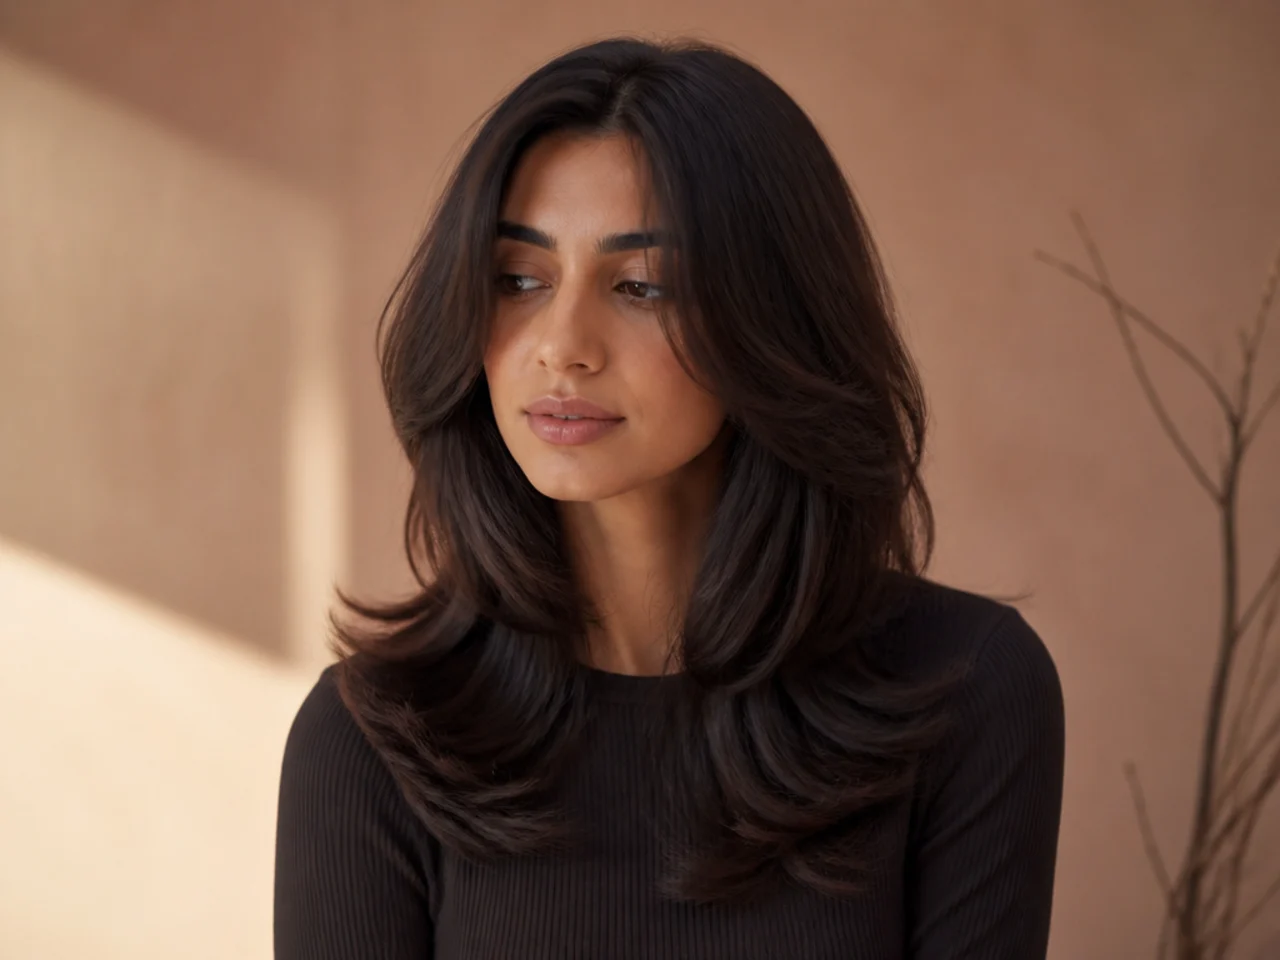
13. Butterfly Cut With a Deep Side Part
The parting moved two inches across so one side carries more hair. The heavier side hangs and the lighter side lifts, which builds asymmetry into the finish without cutting the two sides to different lengths.
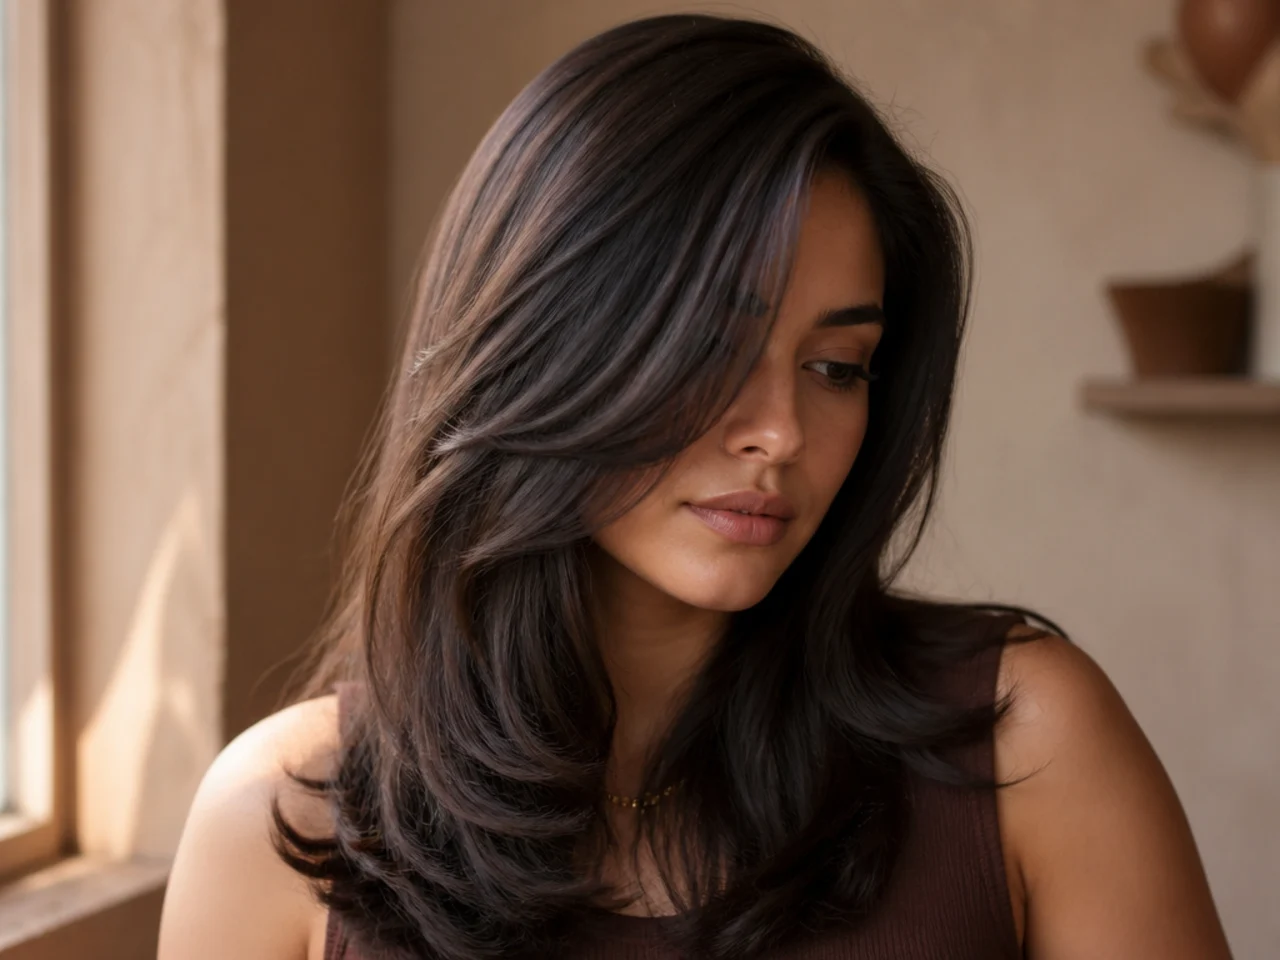
14. Butterfly Cut With Flicked Ends
The short layer dried outward over a round brush and left to cool in position. The bend forms as the section cools rather than while it is hot, so releasing the brush early leaves a straight layer and a wasted ten minutes.

15. Butterfly Cut With a Rounded Outline
The perimeter cut shorter at the back and longer at the front so the outline curves toward the face. A curve keeps the eye moving along the edge, where a straight horizontal stops it at the ends.
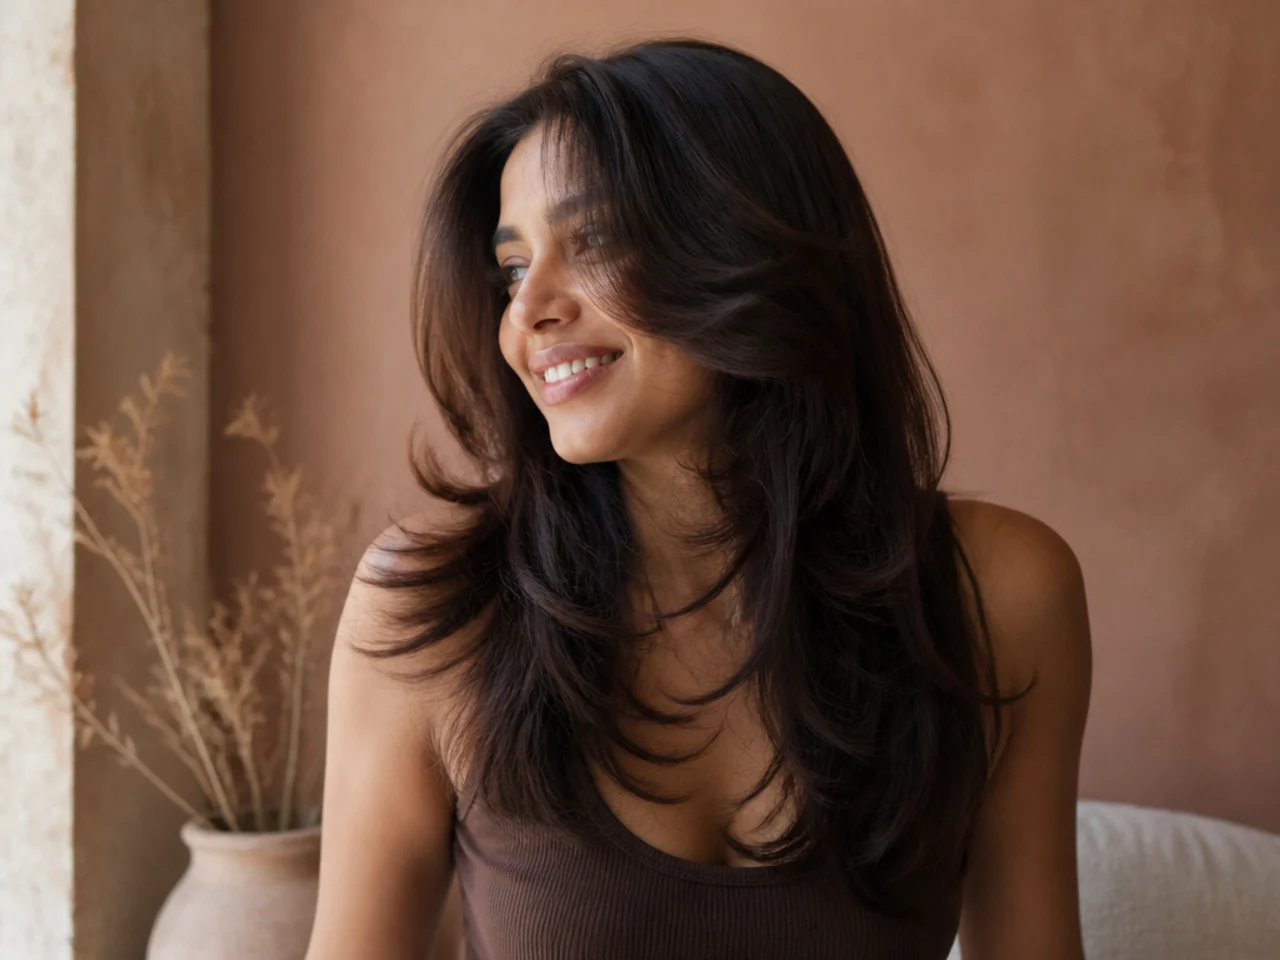
16. A Line Butterfly Cut
A steeper version of the same idea, with the front several inches longer than the back. The angle pulls length forward past the jaw, which gives the short layer more room to sit above without meeting it.
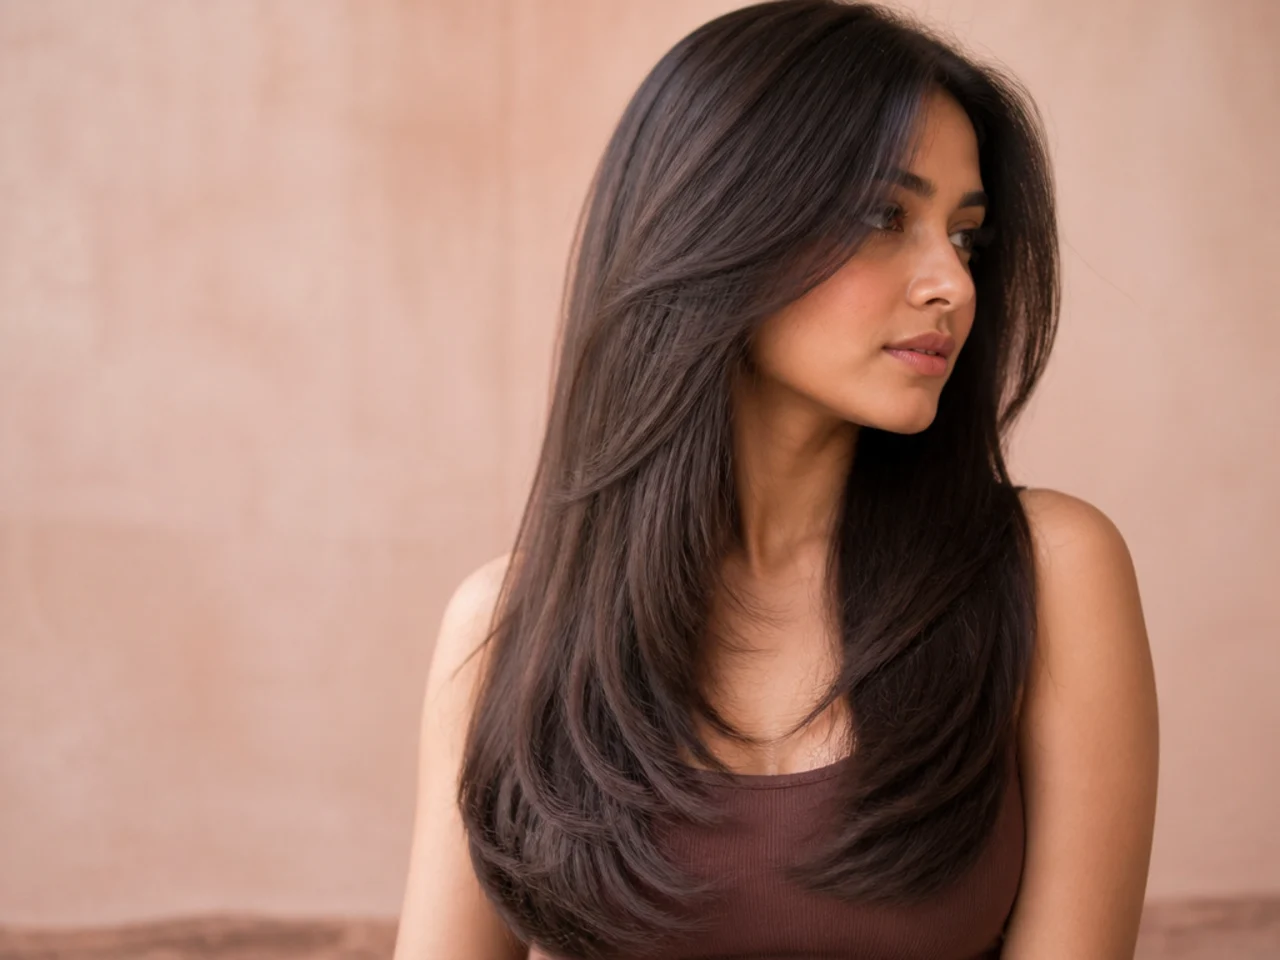
17. Butterfly Cut With a Stacked Back
Short graduated layers built up at the back of the head. Stacking pushes the section above outward and creates a shelf of support, which is how short straight hair gains height without being lifted at the root.
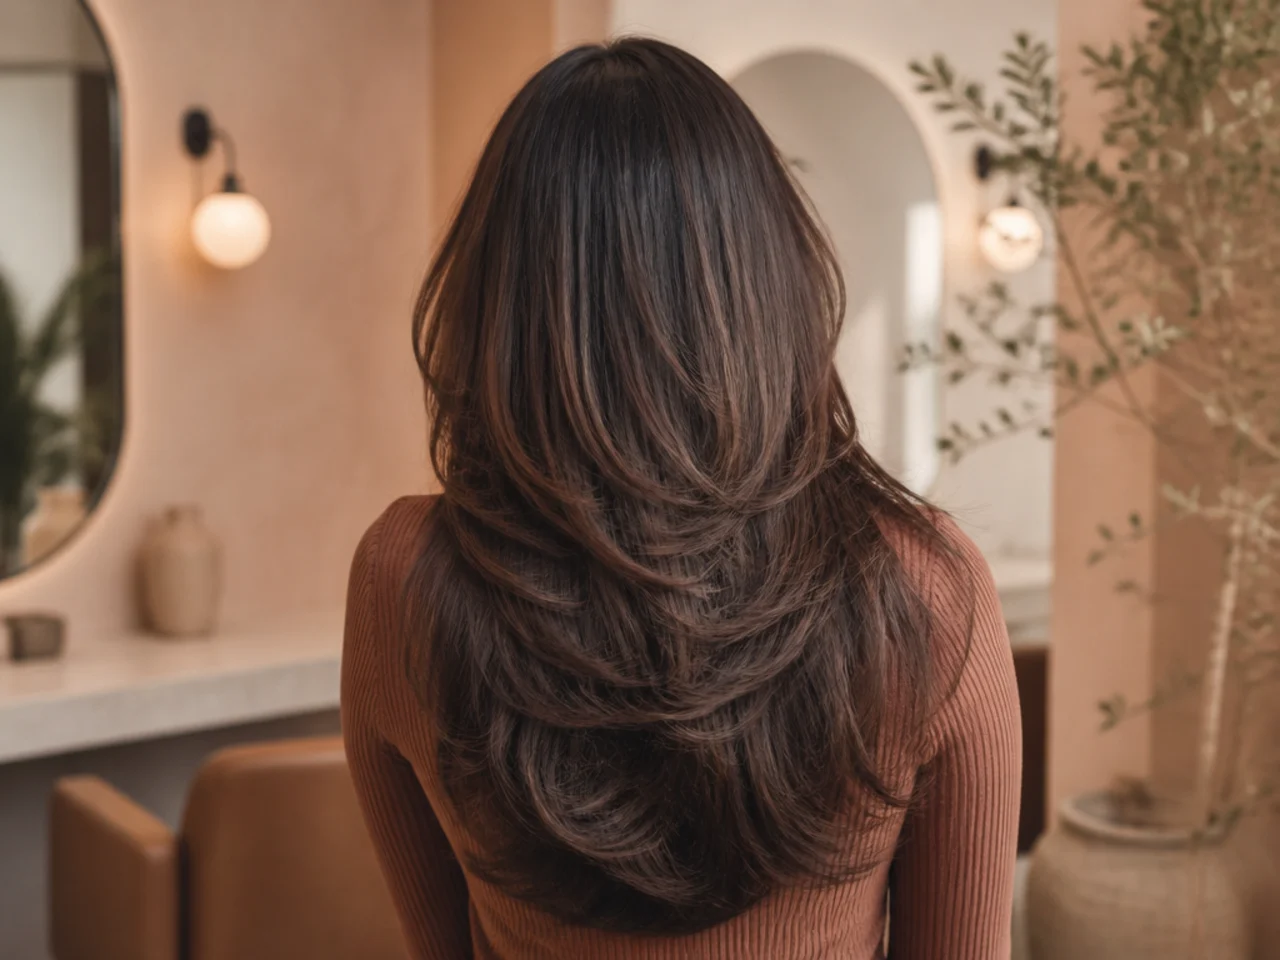
18. Butterfly Cut With a Money Piece
The two front sections lightened several shades. Lightening roughens the cuticle, so those strands catch on each other rather than sliding, and the short layer sits fuller as well as brighter against the darker length behind it.
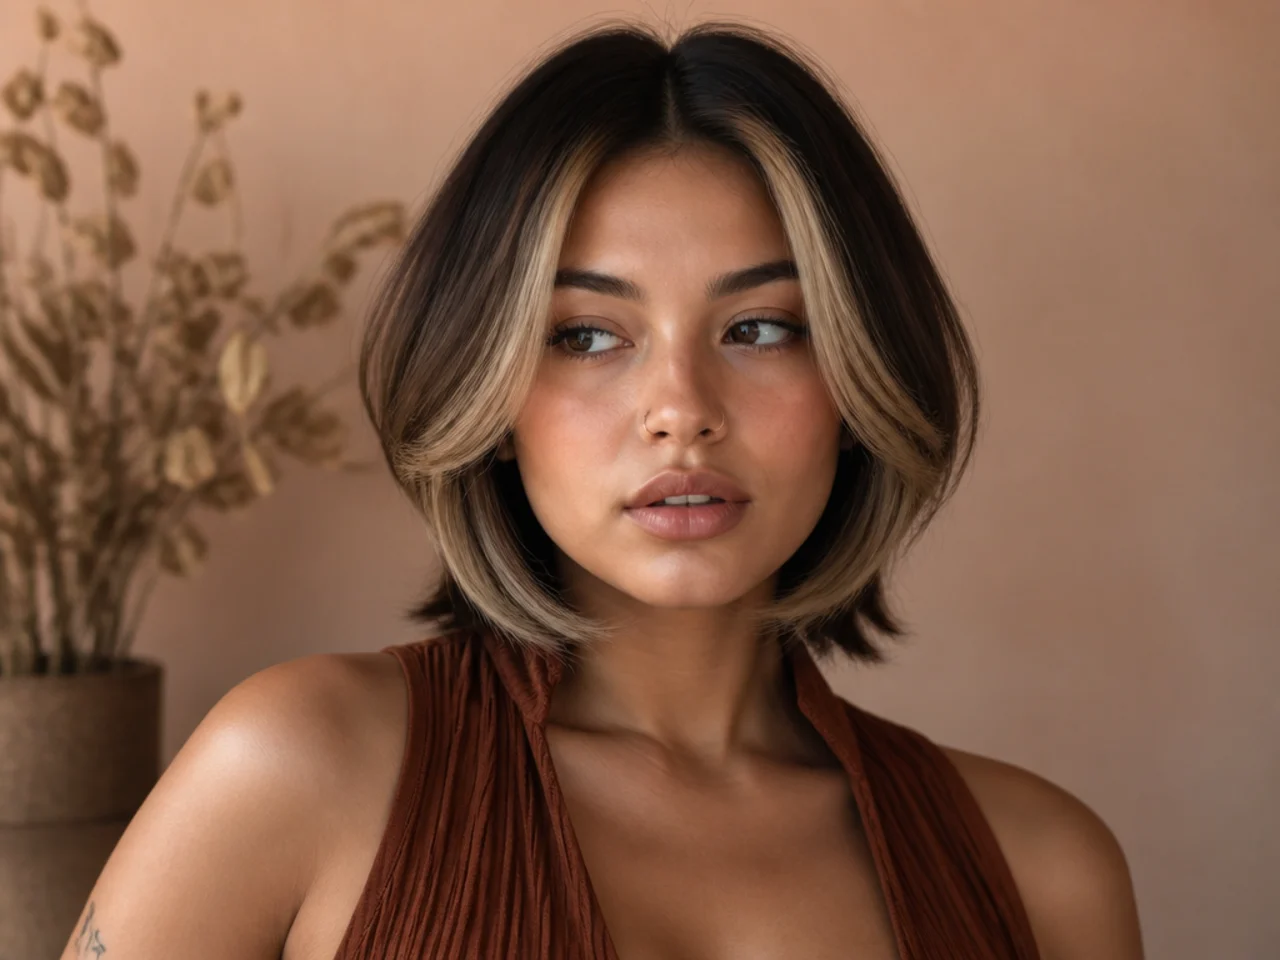
19. Butterfly Cut With Balayage
Lightening painted down the surface so the brightest hair sits on the outer plane. A two length cut already gives light two surfaces to hit, and putting the lighter tone on the front one exaggerates the separation.

20. Butterfly Cut With a Root Shadow
Roots kept a shade or two darker than the lengths. On straight hair the parting is a clean visible line, and reducing the contrast between hair and scalp along it stops that line reading as a gap.
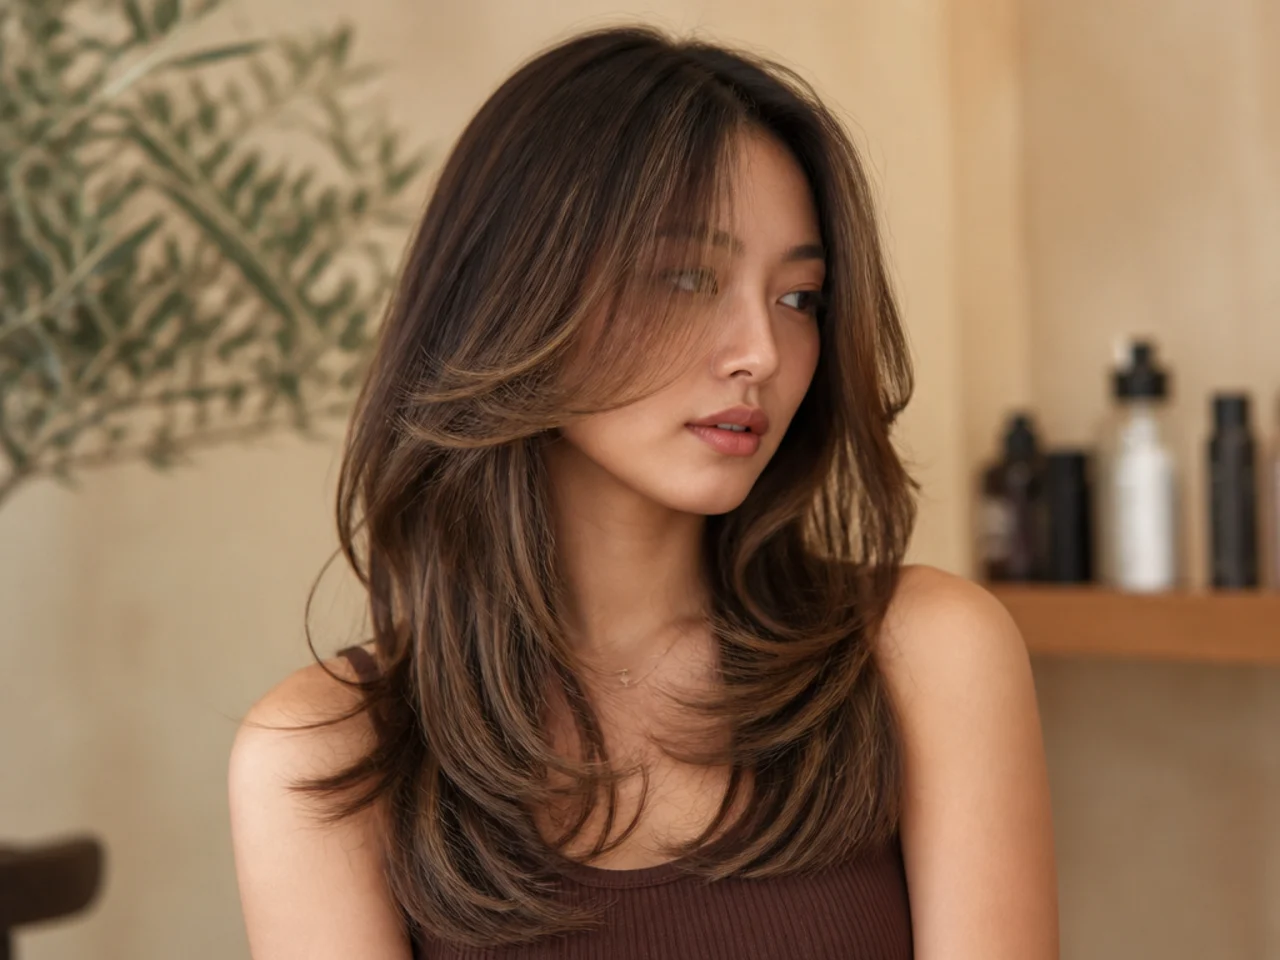
21. Butterfly Shag
The two lengths kept, with extra layering added through the crown. It borrows lift from the shag while keeping the butterfly's separation, and it costs more perimeter density than any other version here.
22. Butterfly Cut With Wolf Layering
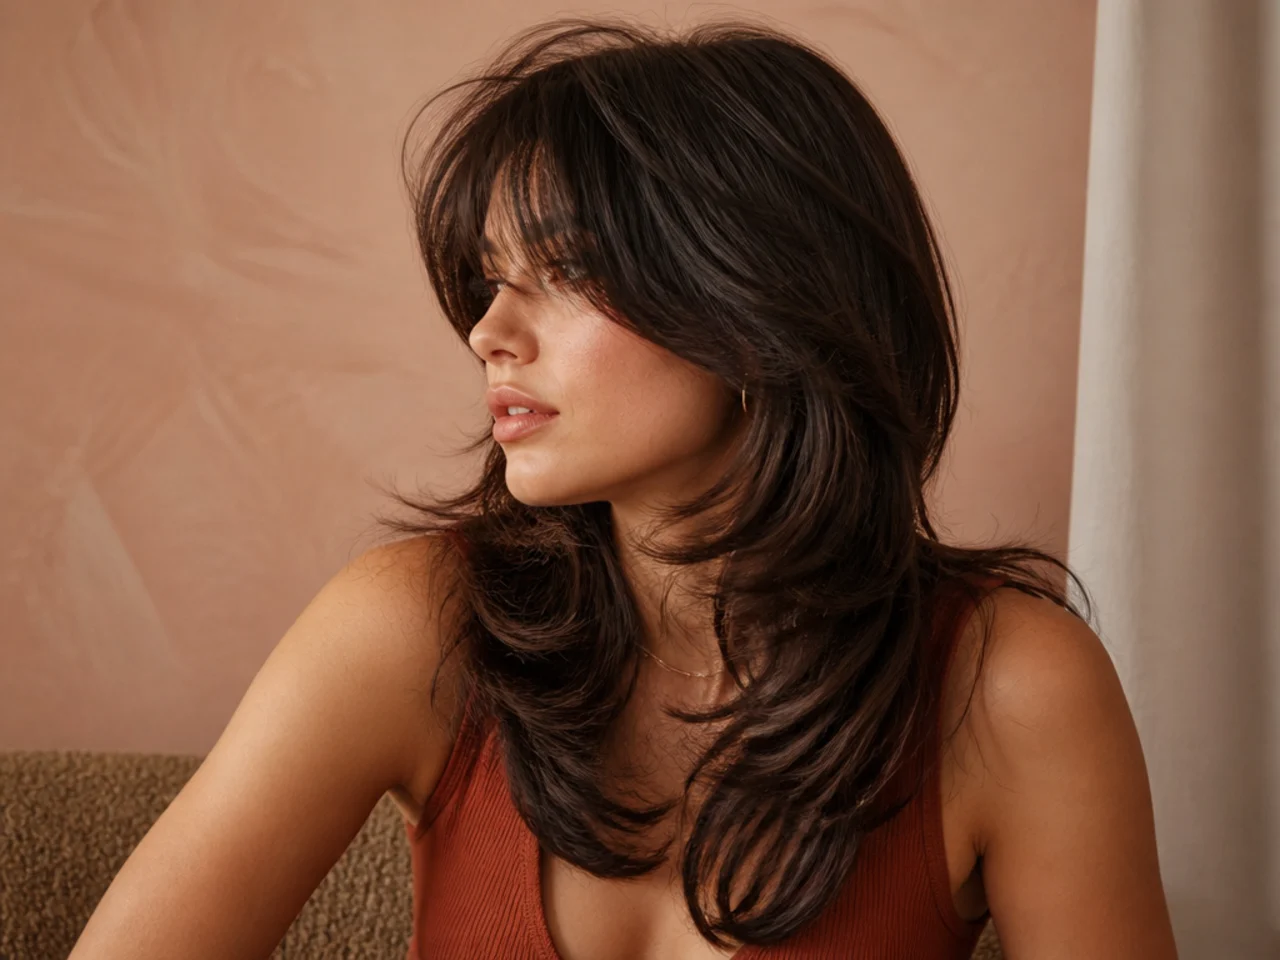
Crown layers cut short enough to stand on their own stiffness above a long blunt outline. It suits straight hair that refuses to hold a curl, because the volume comes from the cut rather than from a bend that has to be reset every morning.

23. Flat Ironed Butterfly Cut
The same cut worn completely straight with no bend anywhere. The two lengths do all the work, so this finish only holds up if the join was graduated properly — an ironed step has nothing to hide behind.
24. Butterfly Cut Tucked Behind the Ears
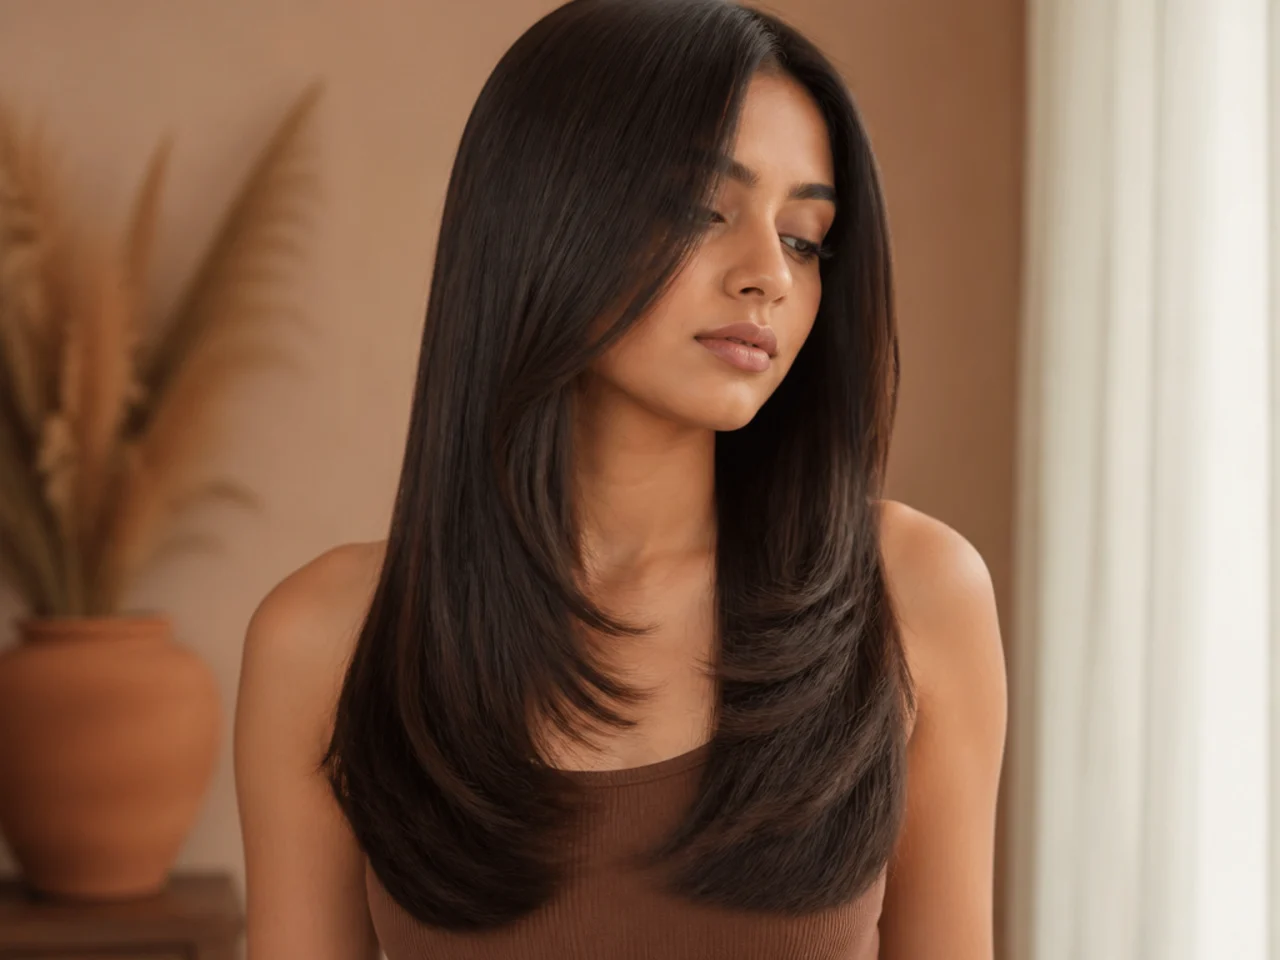
Tucking the perimeter back leaves the short layer in front of the ear, which is the only position where the two lengths are visible at once from the front. It is the quickest way to make the cut read as a butterfly rather than a bob.
25. Butterfly Cut at Ten Weeks
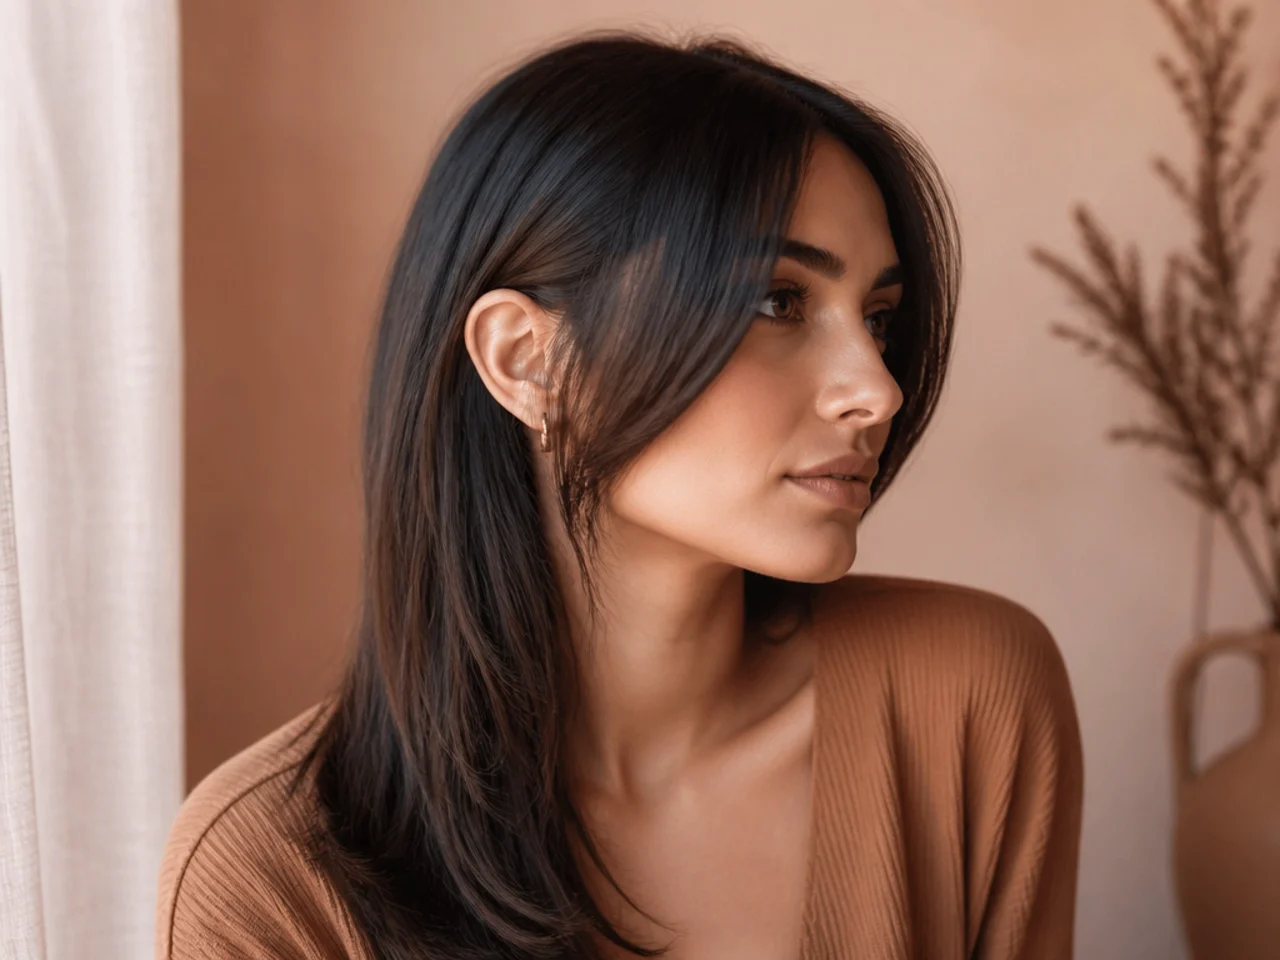
Two and a half months on, the short layer has added about an inch and a quarter and the gap between the lengths has narrowed. Trim the short layer alone and the separation returns without losing any perimeter.
Styling and Upkeep
Dry the short layer first, and dry it forward. It sets the direction before the section has a chance to dry flat against the cheek.
Cool the section on the brush. The bend forms as the hair cools, which means the brush stays in until the section is no longer warm to the touch.
Keep heavy product off the front. Weight drags the short layer straight down and removes the only thing separating it from the length underneath.
Trim the short layer between full cuts. It is the shorter of the two lengths, so it loses the separation first while the perimeter is still fine.
Check the two sides against each other in a mirror. A centre part makes any difference in the face framing length obvious from the front.
Mistakes to Avoid
Putting the two lengths within three inches of each other. They merge, and what is left is a layered bob with no contrast in it.
Softening the perimeter. The outline is what the short layer contrasts against, so tapering it removes the effect at both ends.
Leaving the join unstepped on straight hair. With no connecting cuts the short layer sits on the long one like a lid, and straight hair shows it plainly.
Cutting the face framing layer below the jaw on a bob. There is not enough length left underneath for it to sit apart from.
Judging the cut wet. Straight hair drops as it dries and the two lengths look far closer together while they are still damp.
FAQ
Does it work on short hair? Yes, with at least three inches between the two lengths.
Where does the short layer go? Cheekbone on a bob, chin on a lob.
Why does the step show? Straight hair has no bend to scatter light along the join.
Final Thoughts
The butterfly cut is a contrast trick, and contrast needs distance. On short straight hair the distance has to be created deliberately, because there are only a few inches to spend and nothing in the texture to blur a bad join.
Set the perimeter, put the short layer at least three inches above it, and ask for the join graduated. For the full length version of the shape see the butterfly haircut, and for what straight hair does with other cuts see straight hair hairstyles. More in Womens Hairstyles.