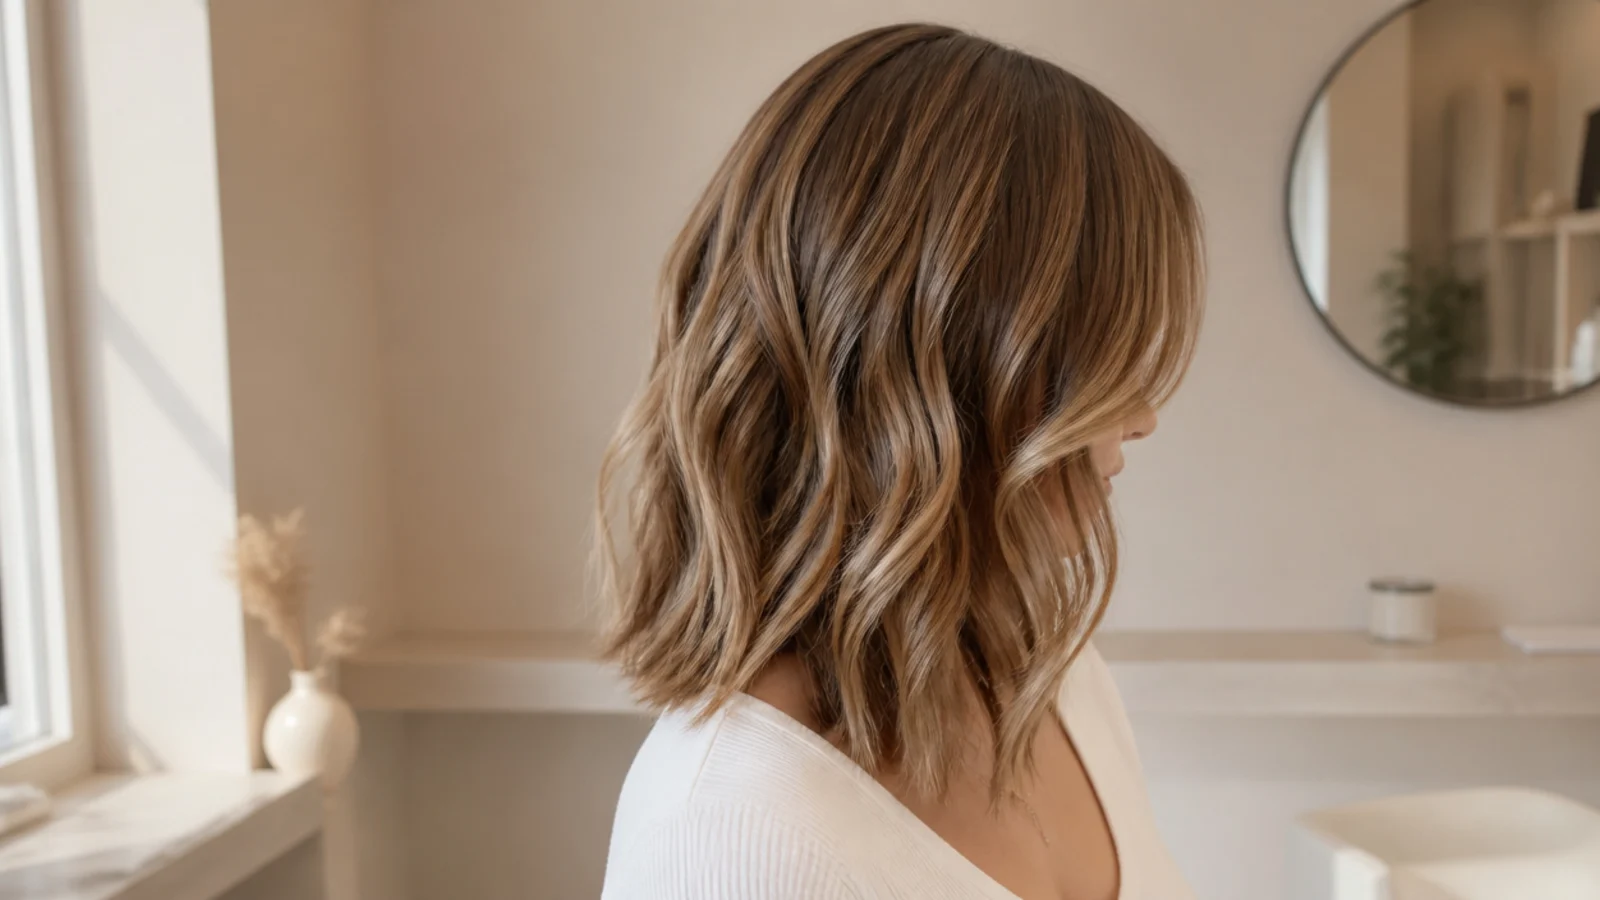
15 Simple Steps To Style A Short Butterfly Cut
Fifteen steps for styling a short butterfly cut, in the order that actually works. The short layer and the perimeter go in opposite directions, so they have to be dried separately, and doing them together is why most attempts end up as a bob.
In this article · 22
- What the Styling Has to Achieve
- Choosing Your Tools
- The 15 Steps
- 1. Start From Damp Hair Not Wet
- 2. Set the Part Before Anything Else
- 3. Work Heat Protectant Through the Mid Lengths
- 4. Add Mousse at the Roots Only
- 5. Rough Dry to Eighty Percent
- 6. Clip the Short Layer Out of the Way
- 7. Dry the Under Layer Smooth and Flat
- 8. Turn the Perimeter Ends Under
- 9. Drop the Short Layer Down
- 10. Round Brush the Front Away From the Face
- 11. Hold the Brush Until the Section Cools
- 12. Bend the Remaining Front Pieces With a Wand
- 13. Let Everything Cool Before You Touch It
- 14. Break the Shape Up With Your Fingers
- 15. Finish With Flexible Hold Spray From a Distance
- Styling and Upkeep
- Mistakes to Avoid
- FAQ
- Final Thoughts
Most short butterfly cuts are styled in one pass, and one pass is exactly why they come out looking like a bob.
The two layers go in opposite directions. The perimeter turns under and the short layer turns out, which is the whole shape. Dry them together and both do the same thing.
Order matters more than tools. Bottom section first, short layer last, and the front sections dried away from the face rather than towards it.
What the Styling Has to Achieve
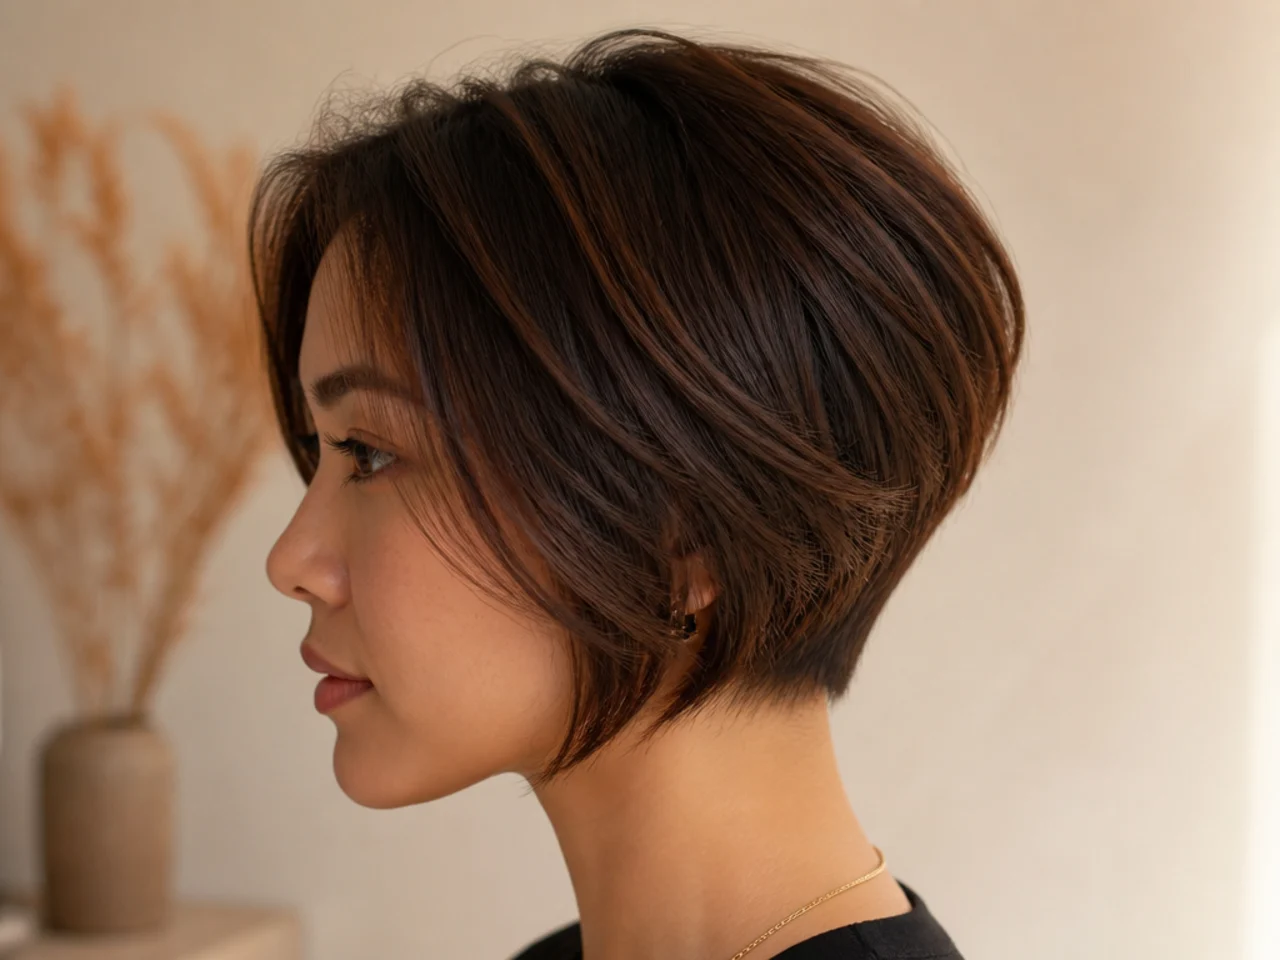
Separation between the two lengths. If you cannot see where the short layer ends, the cut is not styled yet, whatever else you did to it.
Root lift at the crown only. The volume belongs high on the head. Lift at the sides widens the outline at the jaw, which is the one place a short cut cannot afford it.
An outward bend in the last two inches. Bending the whole section makes a curl. Bending only the ends makes the wing.
A smooth perimeter to contrast against. The moving layer only reads as movement if the hair beneath it is flat.
Choosing Your Tools
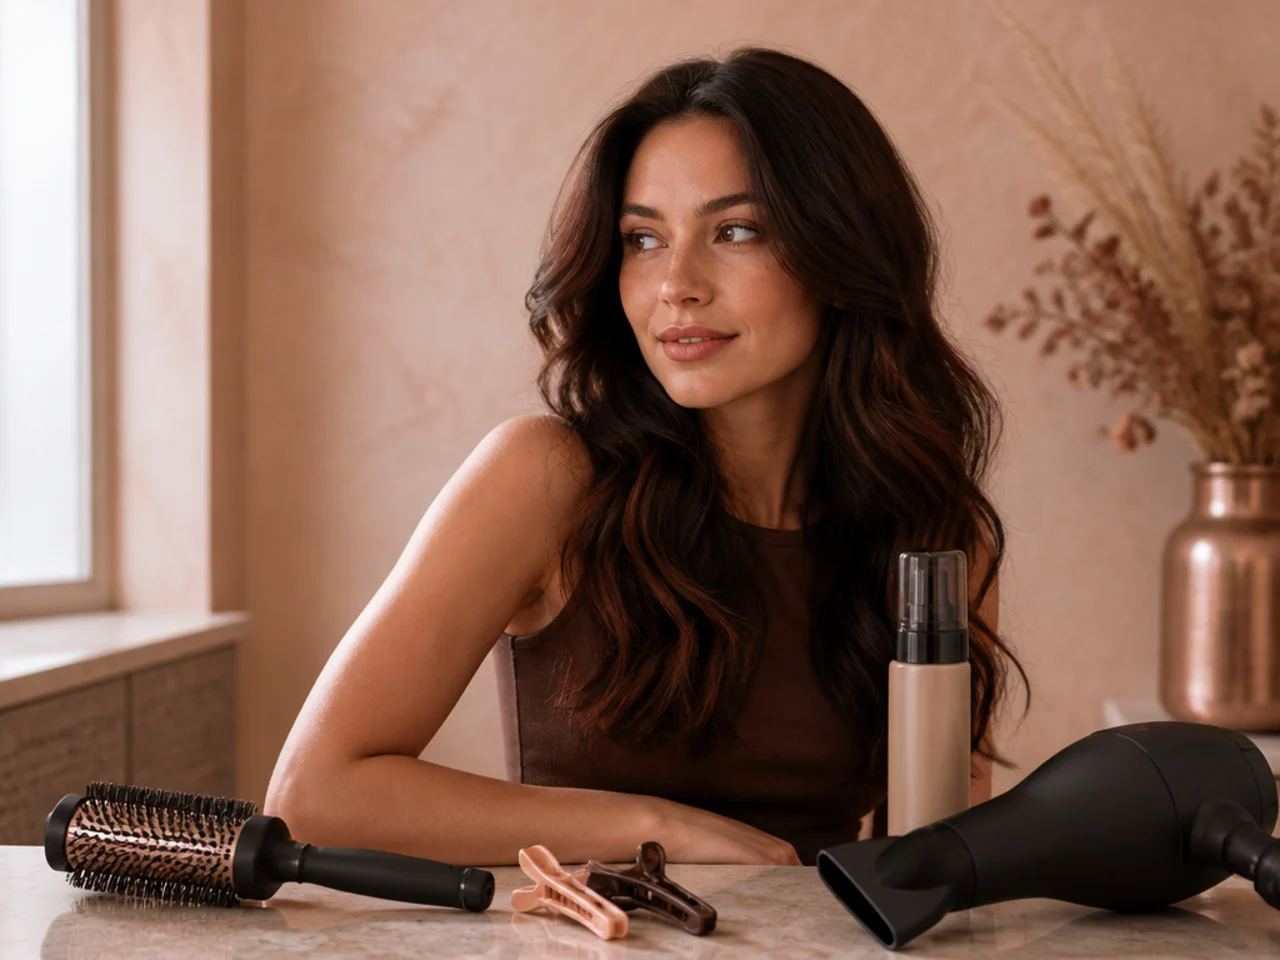
A large round brush, fifty millimetres or wider. A small barrel puts a tight curl in a short layer, and a tight curl in a short layer is a flick you cannot undo without rewetting.
A dryer with a nozzle. Without one the air spreads over the whole head and lifts the cuticle everywhere, which is what makes a blow dry look fuzzy rather than smooth.
Mousse rather than cream. Cream weighs the short layer down, and weight is the one thing the wing cannot survive.
Sectioning clips that hold flat. Claw clips leave a dent in the crown that shows up exactly where you wanted lift.
The 15 Steps
1. Start From Damp Hair Not Wet
Squeeze the water out with a towel until the hair is damp rather than dripping, roughly seventy percent dry. Soaking hair cannot hold tension on a brush, so every section slips and the root lift never happens.
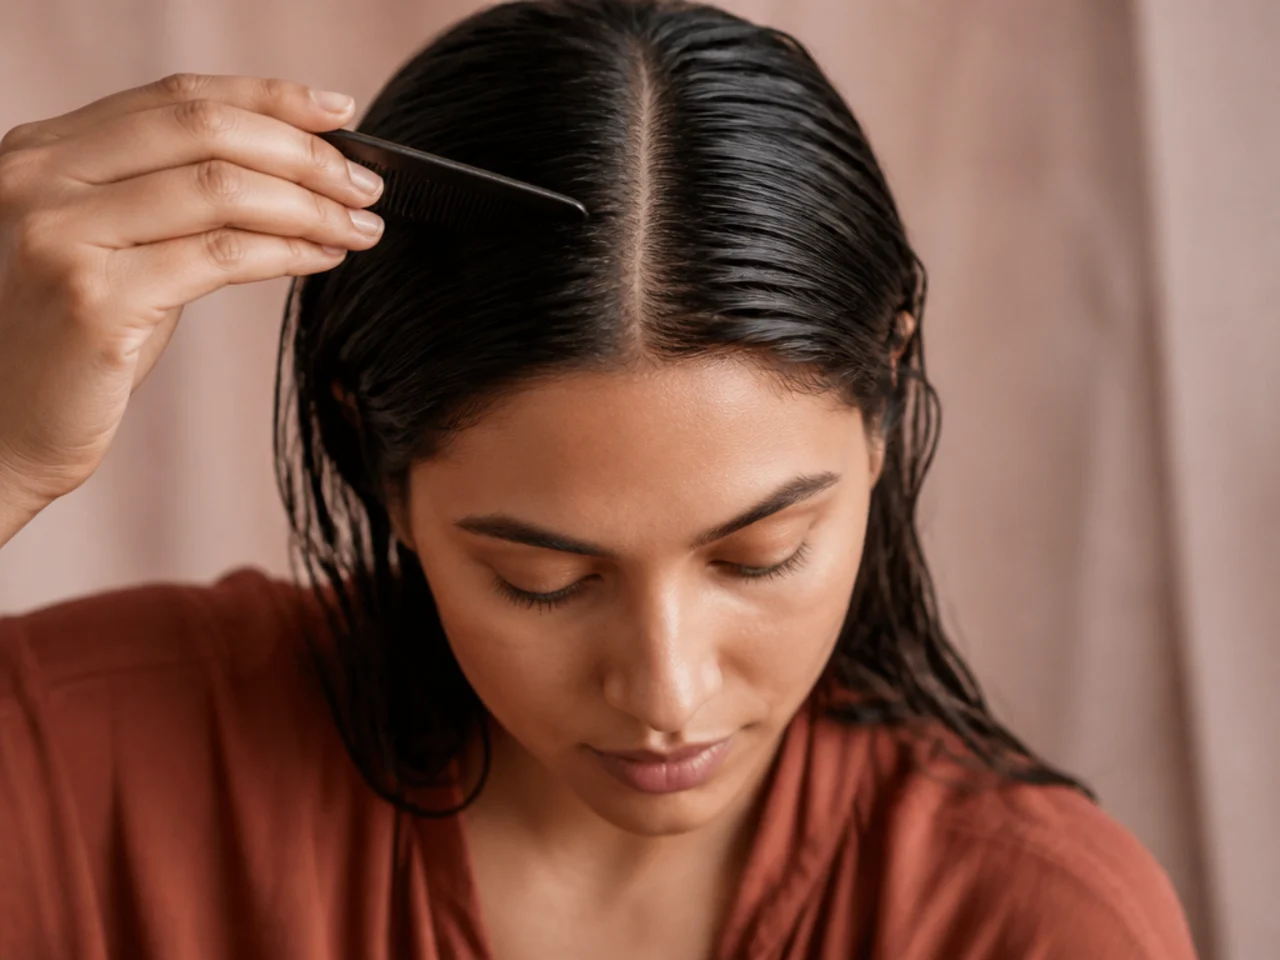
2. Set the Part Before Anything Else
Comb the parting in while the hair is still wet and leave it there. Hair dries into whatever direction it set in, so moving the part later means the roots at the crown are pointing the wrong way and will not lie down.
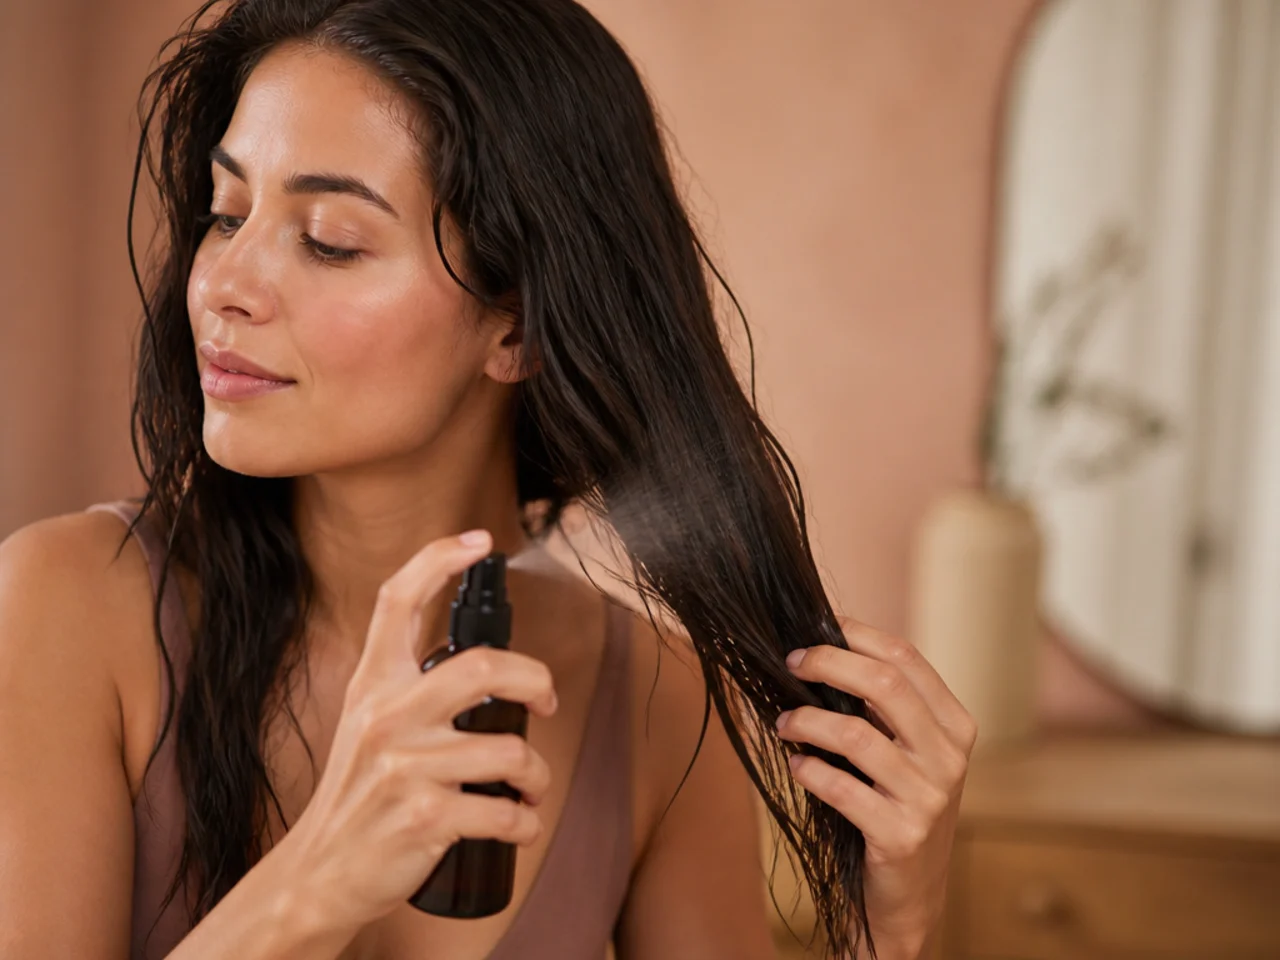
3. Work Heat Protectant Through the Mid Lengths
Spray from the ears down and comb through, keeping it off the roots. Applied at the scalp it coats the root area and stops it lifting, and applied nowhere the ends take the full heat of a round brush pass and go dry within a few weeks.
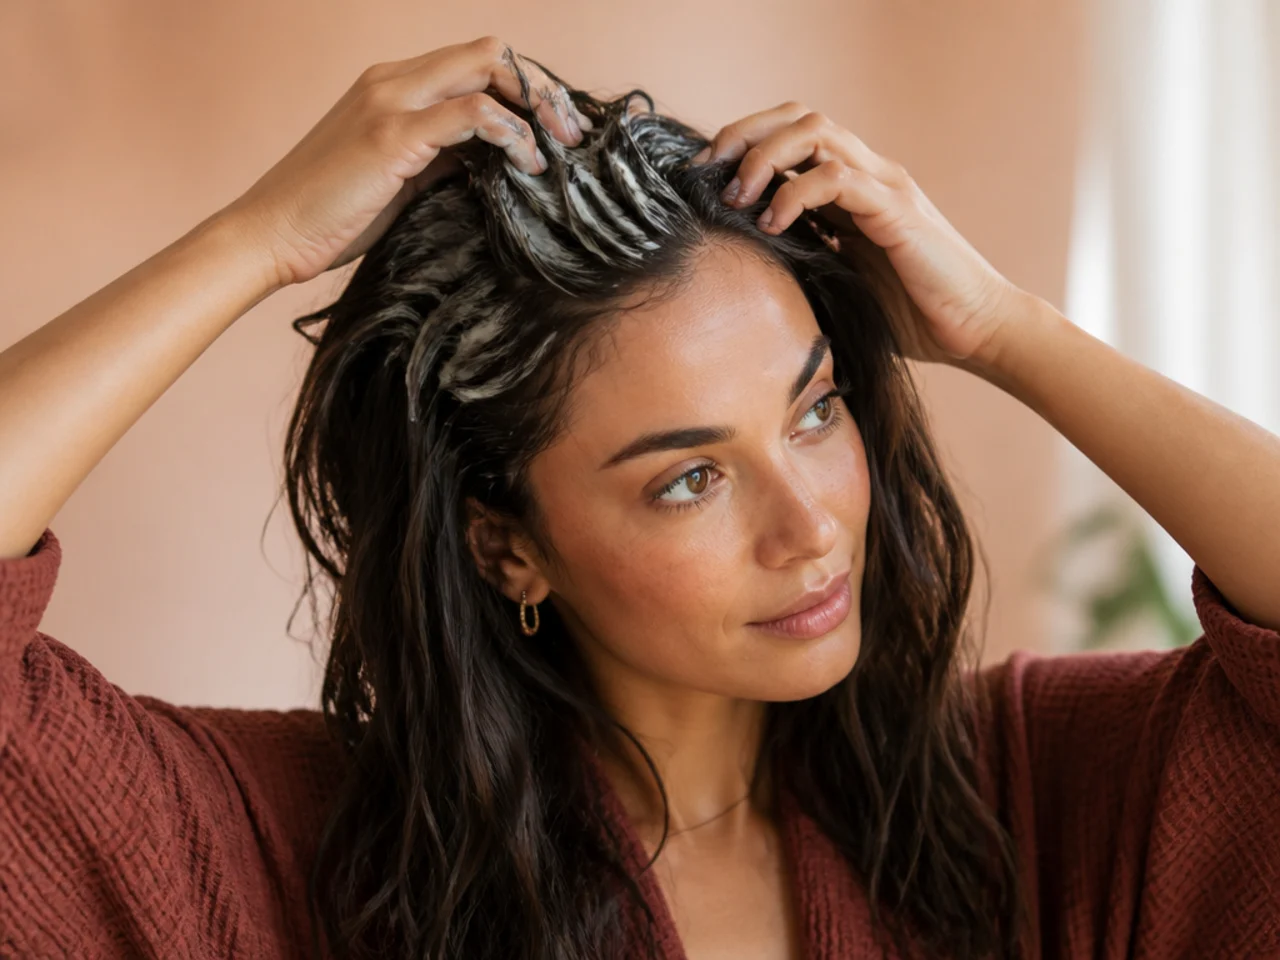
4. Add Mousse at the Roots Only
A golf ball of mousse worked into the crown roots with the fingertips. Mousse dries to a light film that props the hair off the scalp, but taken through the lengths that same film stiffens the short layer and the bend goes brittle instead of soft.
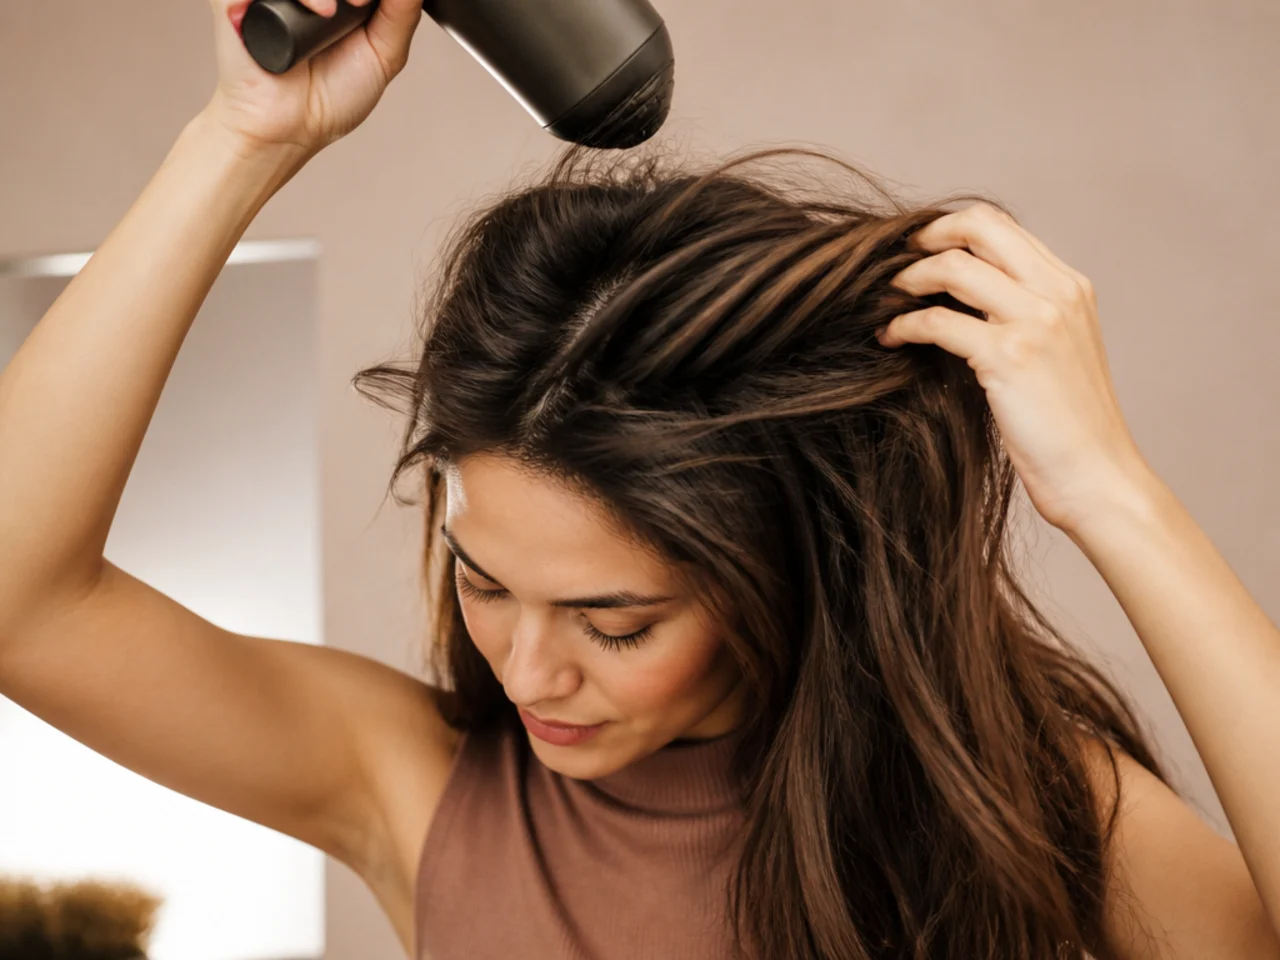
5. Rough Dry to Eighty Percent
Dry with your fingers only, head tipped forward, until the hair is barely damp. Starting brushwork on wetter hair means you are still drying when the section should already be setting, and the section cools on the brush before it is dry enough to hold anything.
6. Clip the Short Layer Out of the Way
Take everything above a line from ear to ear and clip it flat on top of the head. Leave it down and the round brush picks up both lengths at once, which drags the short layer into the perimeter and erases the separation the cut was built for.
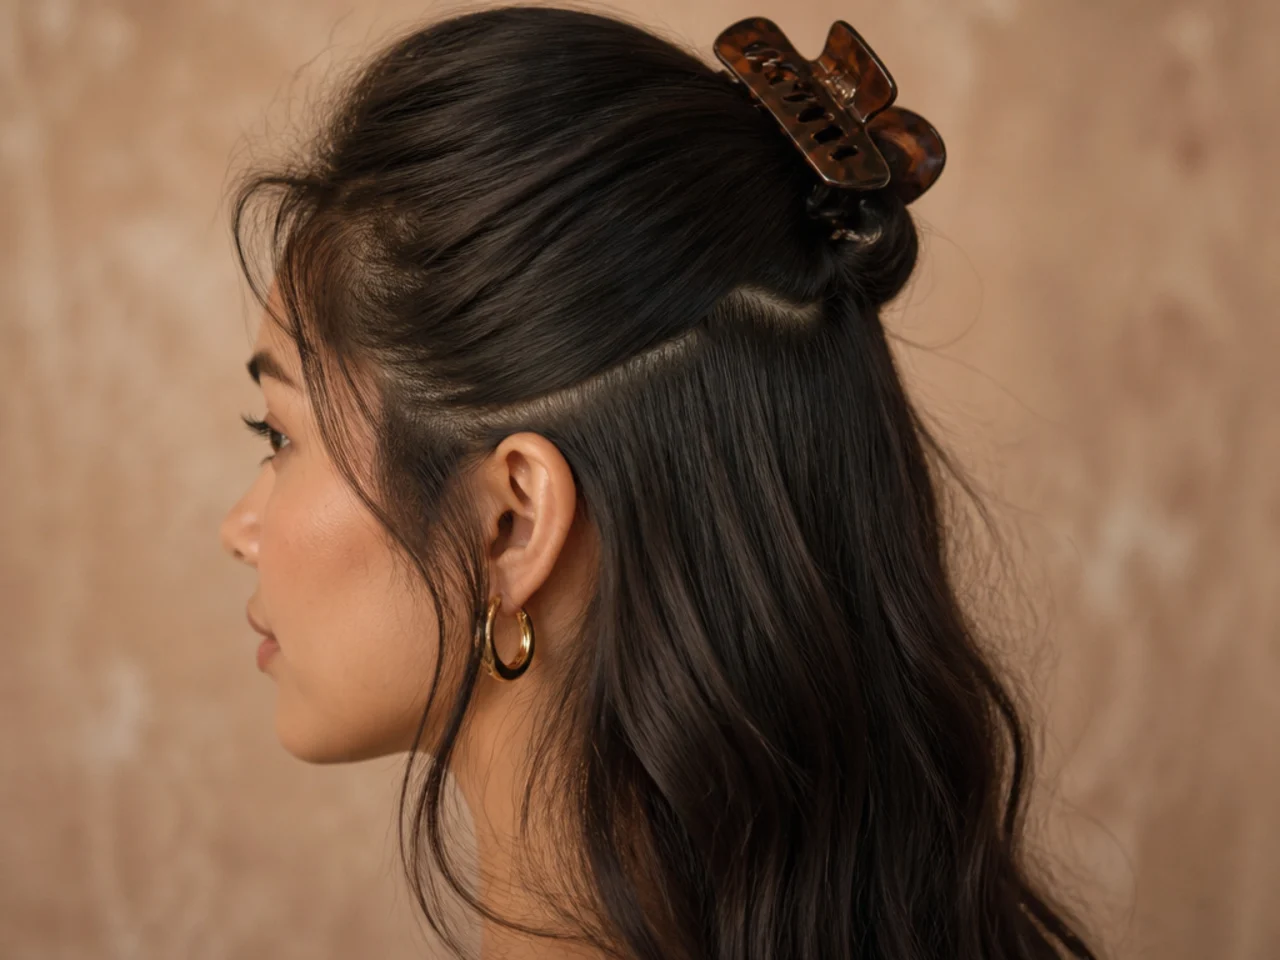
7. Dry the Under Layer Smooth and Flat
Brush the bottom section straight down with the nozzle following the brush from root to end. Angle the air upward instead and the cuticle lifts against the direction of growth, which is the difference between shiny hair and frizzy hair.
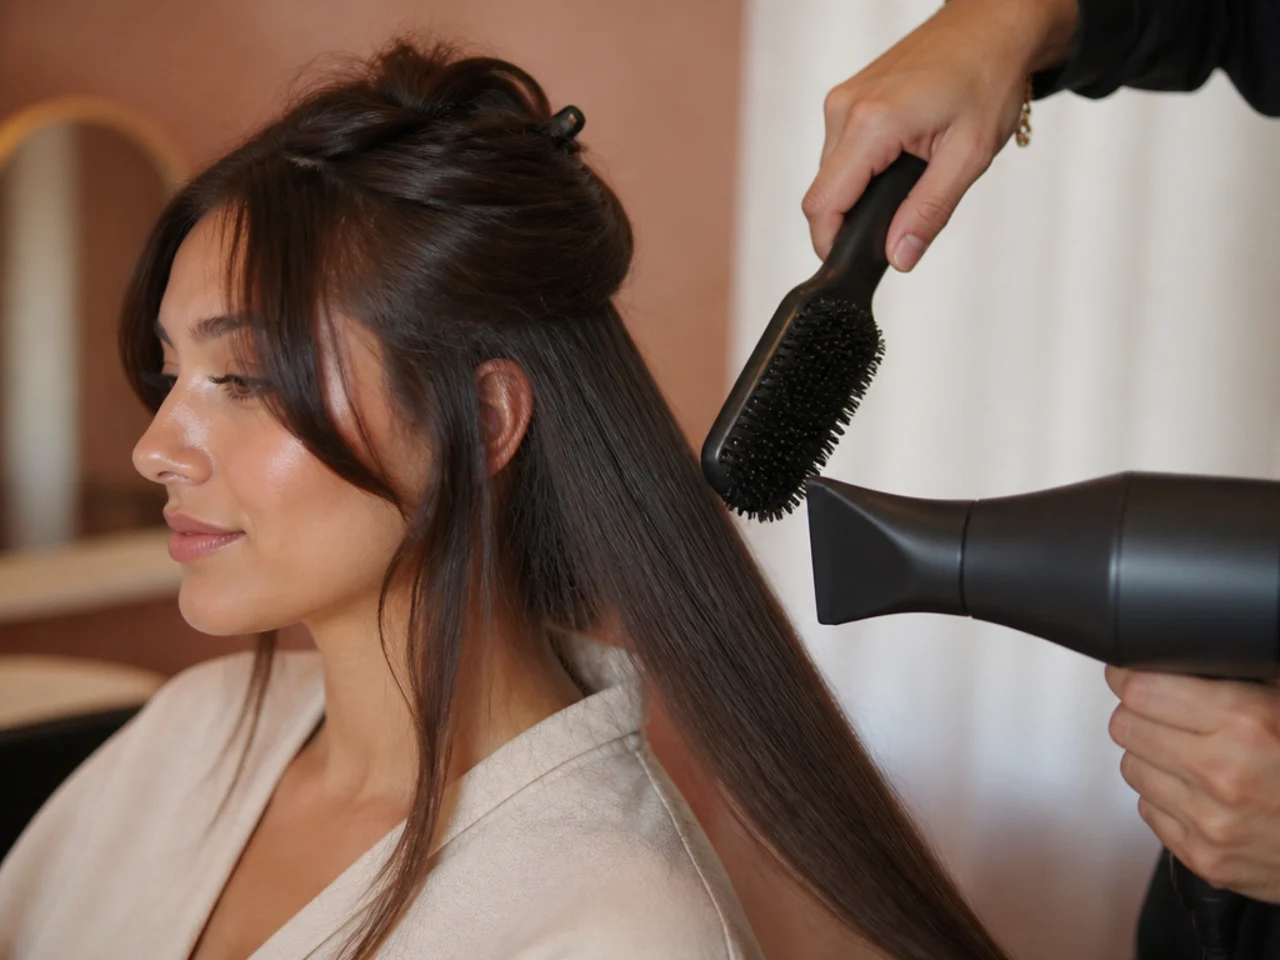
8. Turn the Perimeter Ends Under
On the last pass, roll the brush inward as the ends leave the barrel. Skip this and the perimeter dries dead straight, so there is nothing for the outward bend above it to contrast against and the two layers read as one blunt length.

9. Drop the Short Layer Down
Unclip the top section and split it down the parting. Working it as one block means the two sides get different amounts of tension, and the wings end up at different heights on either side of the face.
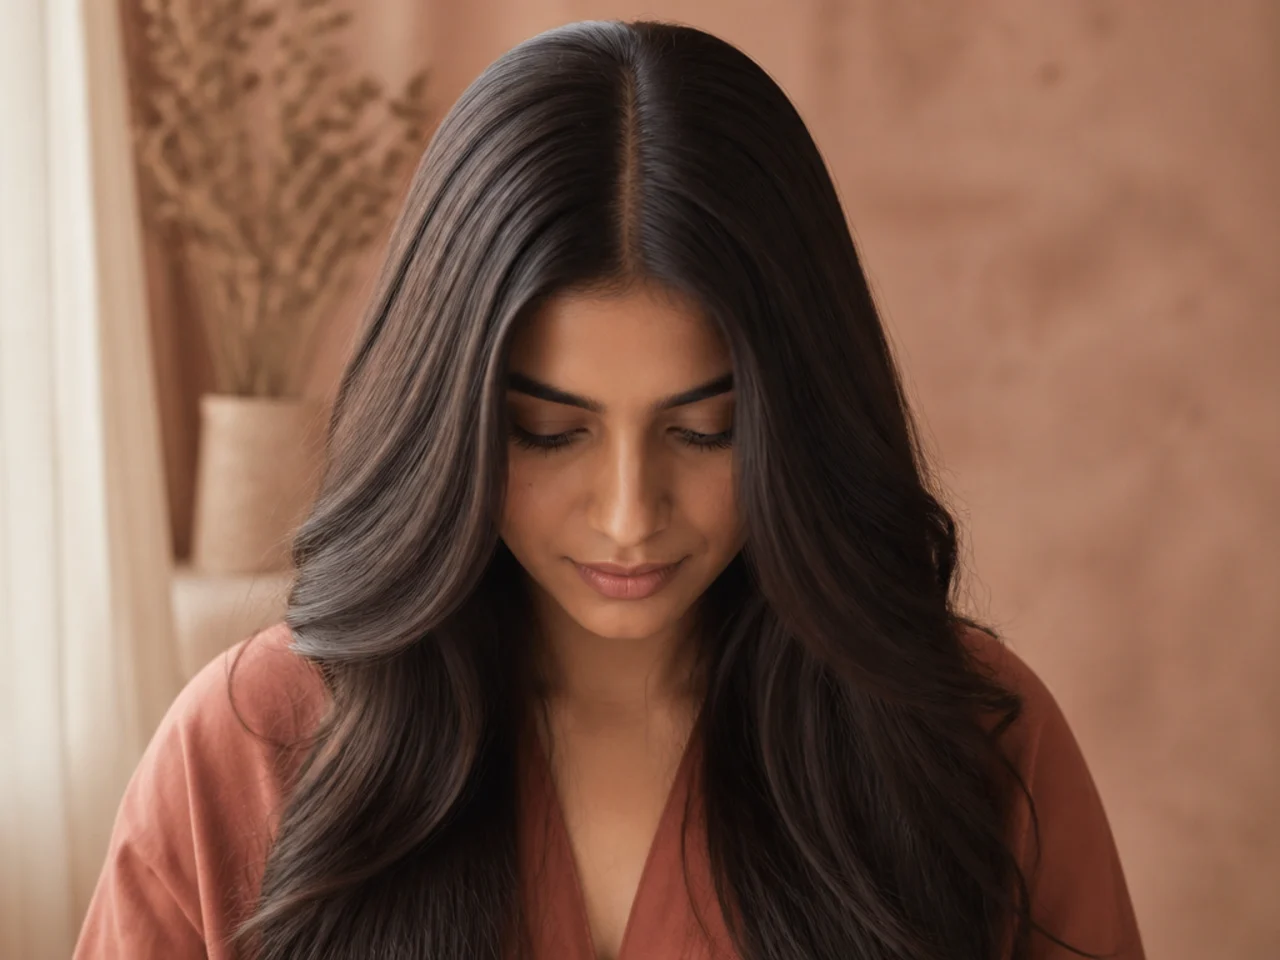
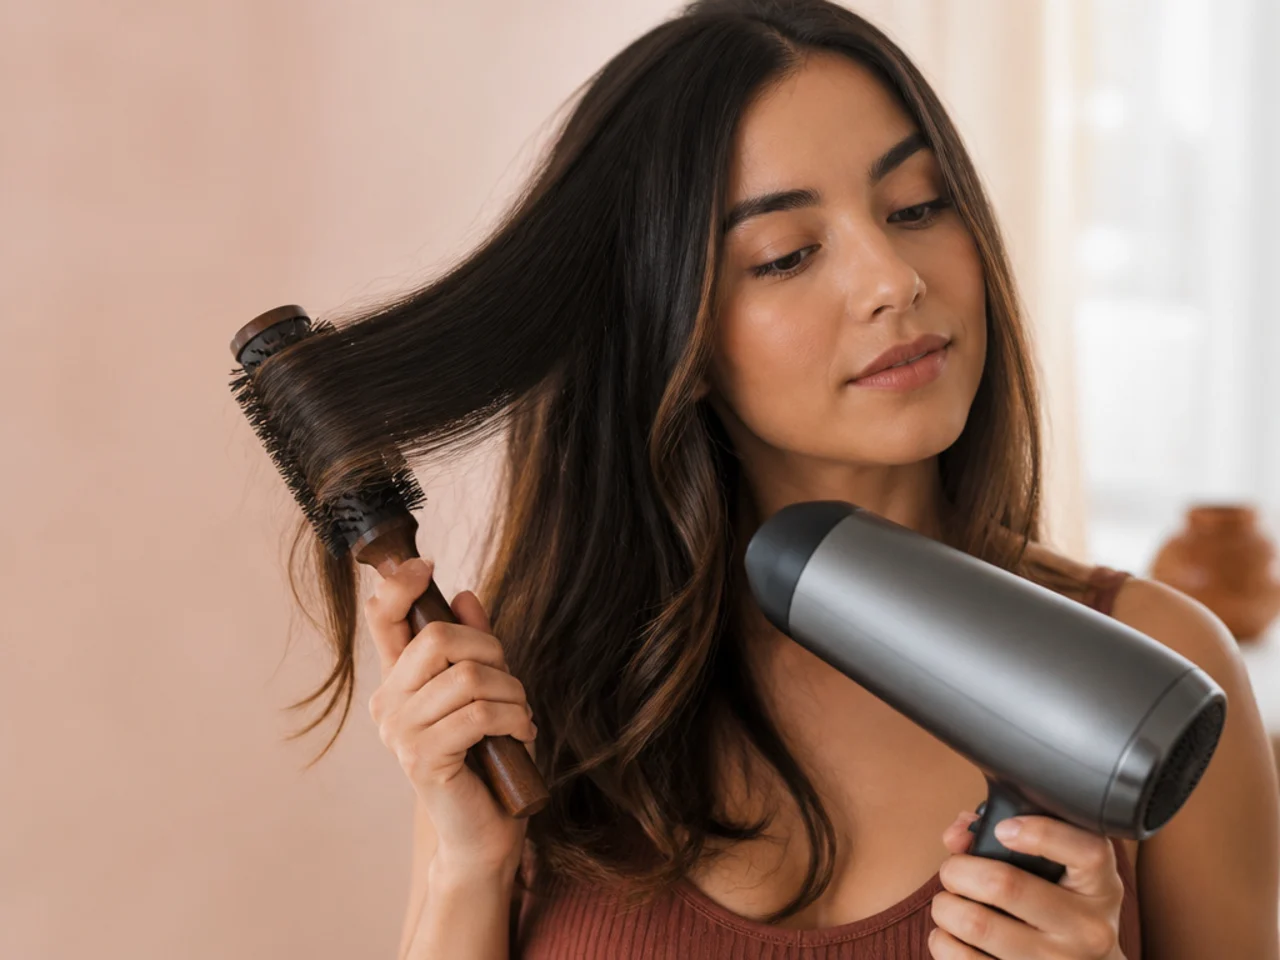
10. Round Brush the Front Away From the Face
Take the front section, roll the brush under and back, and pull it out towards the mirror rather than down. Rolled towards the face instead, the section dries in the same direction it grows and falls flat over the cheek within an hour.
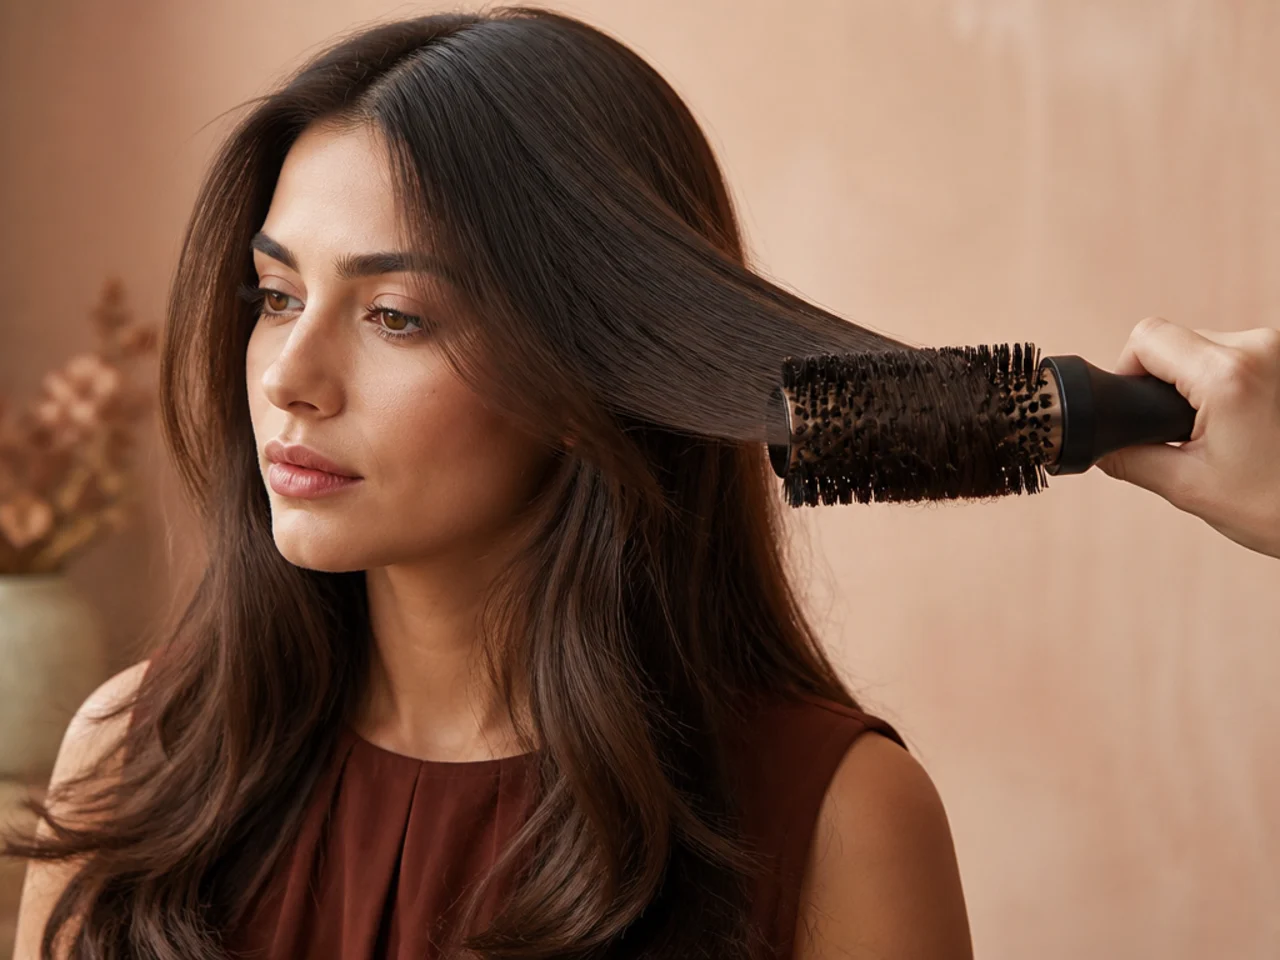
11. Hold the Brush Until the Section Cools
Keep the section wrapped and hit it with the cold shot for five seconds before releasing. Hair sets as it drops back to room temperature, so a section slid off the barrel while warm has no memory of the shape and drops out by lunchtime.
12. Bend the Remaining Front Pieces With a Wand
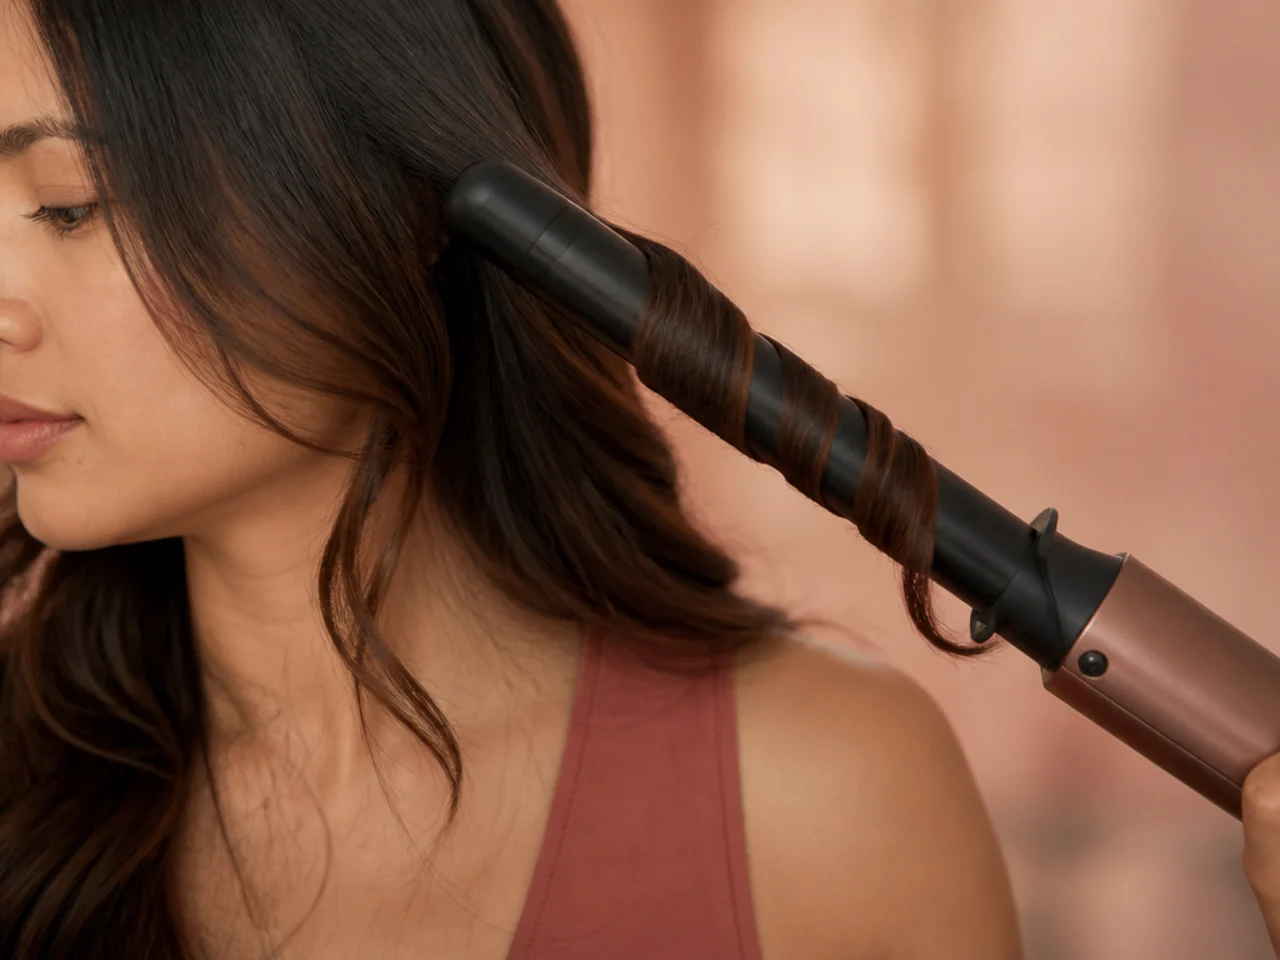
Anything the brush missed gets a single outward bend in the last two inches on a wide wand. Wrapping the full length instead turns the short layer into a ringlet, which sits at a completely different scale from the brushed sections beside it.
13. Let Everything Cool Before You Touch It
Stand still for two minutes with your hands down. Combing or shaking hair while it is still warm resets every bend you just made, and there is no way to put them back without heat.
14. Break the Shape Up With Your Fingers
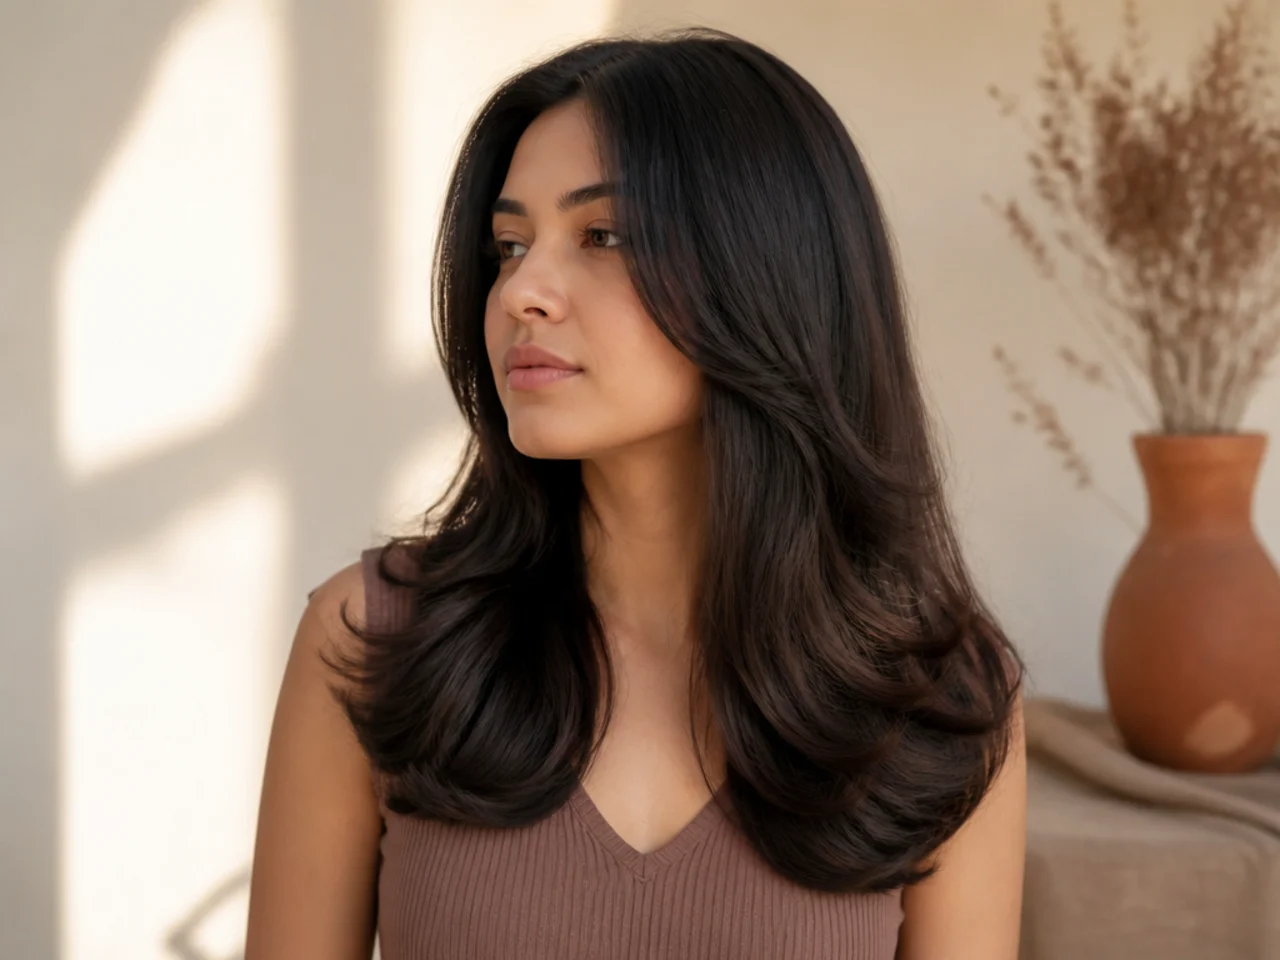
Rake through the mid lengths once, from underneath, and stop. A brush through a finished blow dry joins the two layers back into one smooth mass and undoes the separation entirely.
15. Finish With Flexible Hold Spray From a Distance
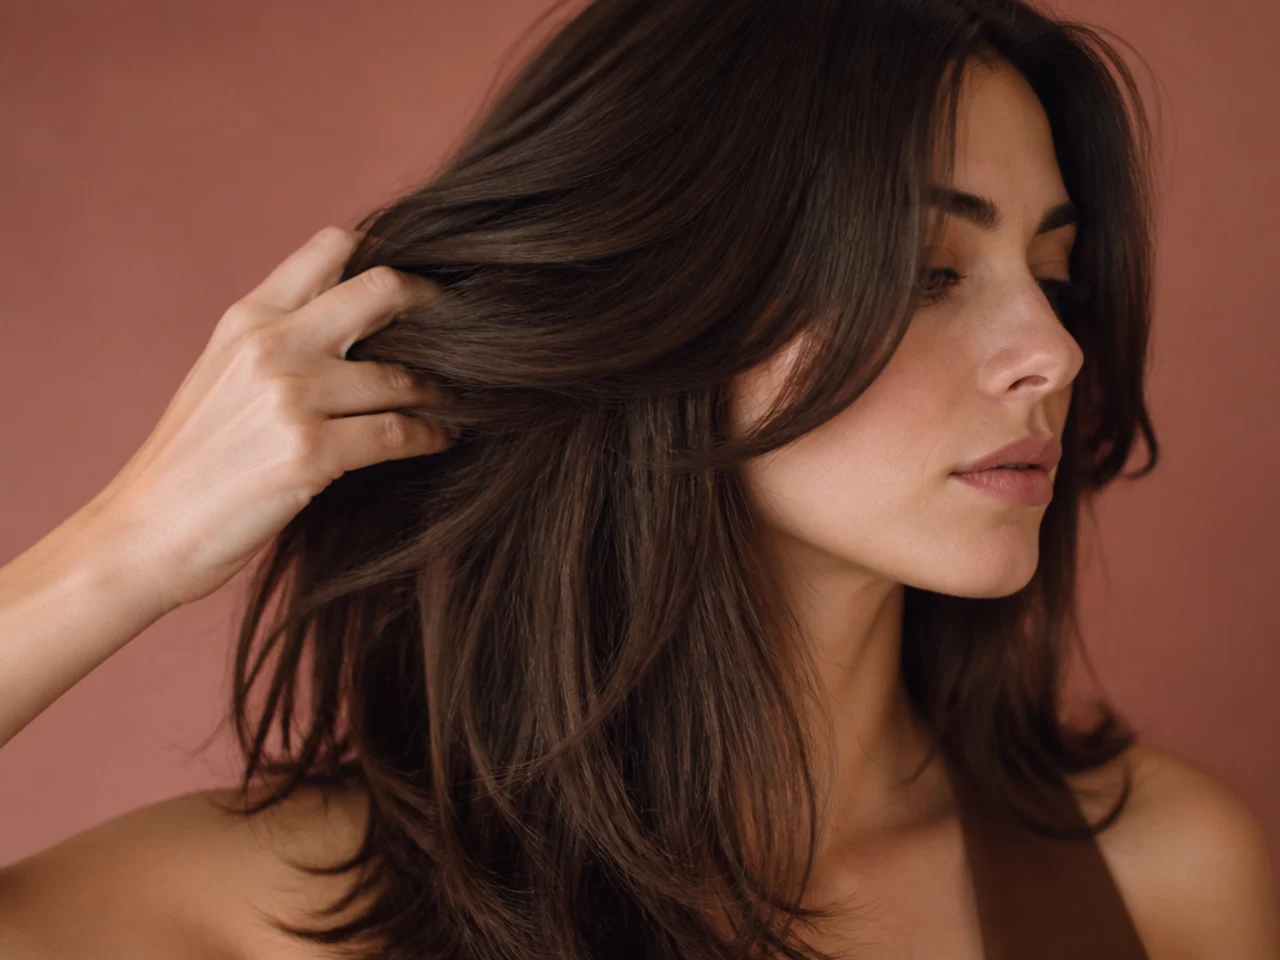
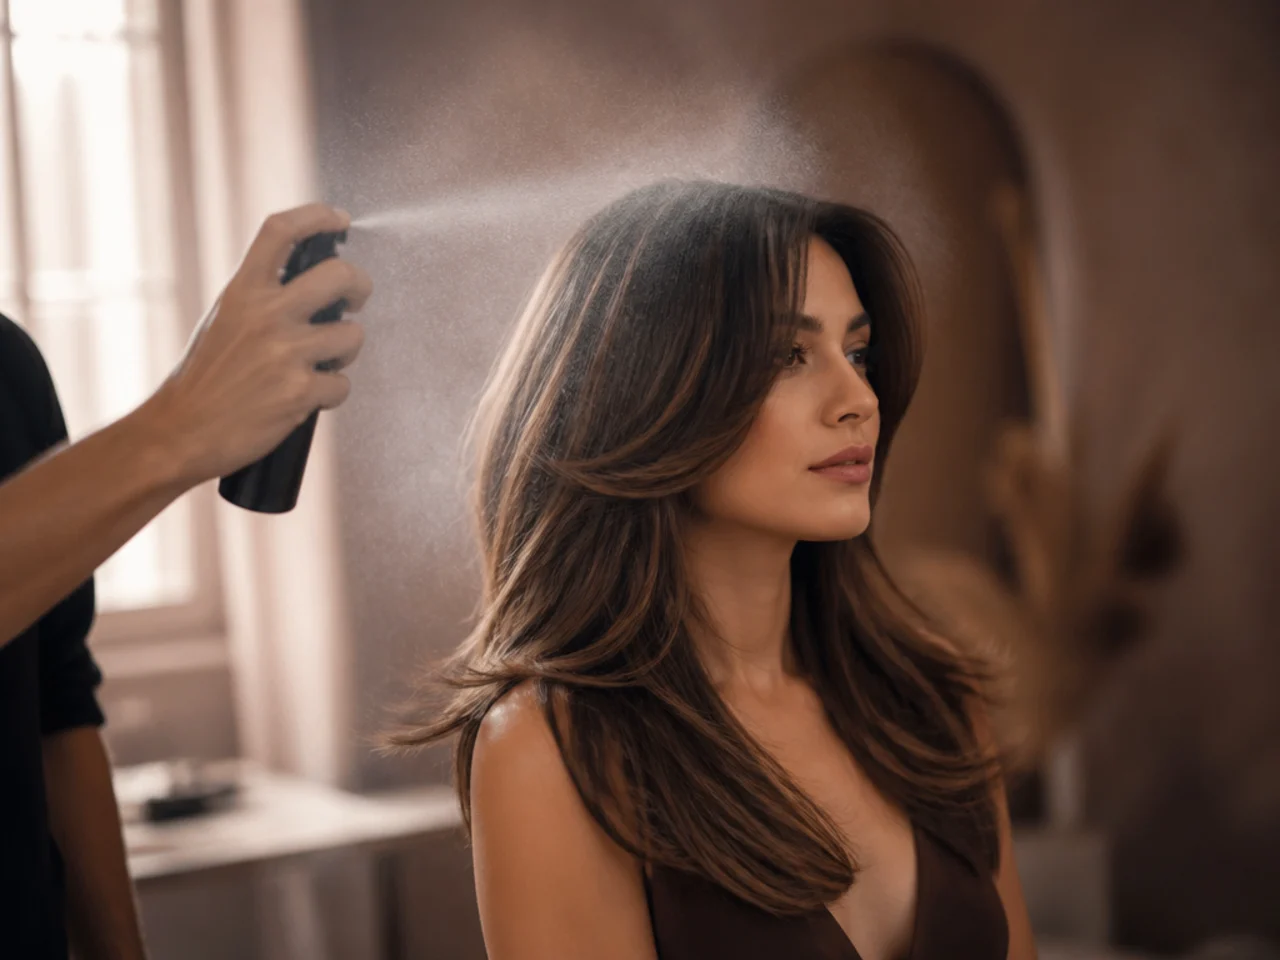
Hold the can about thirty centimetres away and mist across the shape rather than into it. Sprayed close, the propellant lands wet in one spot and the short layer sticks together into a single plate that no longer moves.
Styling and Upkeep
Refresh the front sections only. They are the ones that drop. Redoing the whole head every morning wears the ends out for no visible gain.
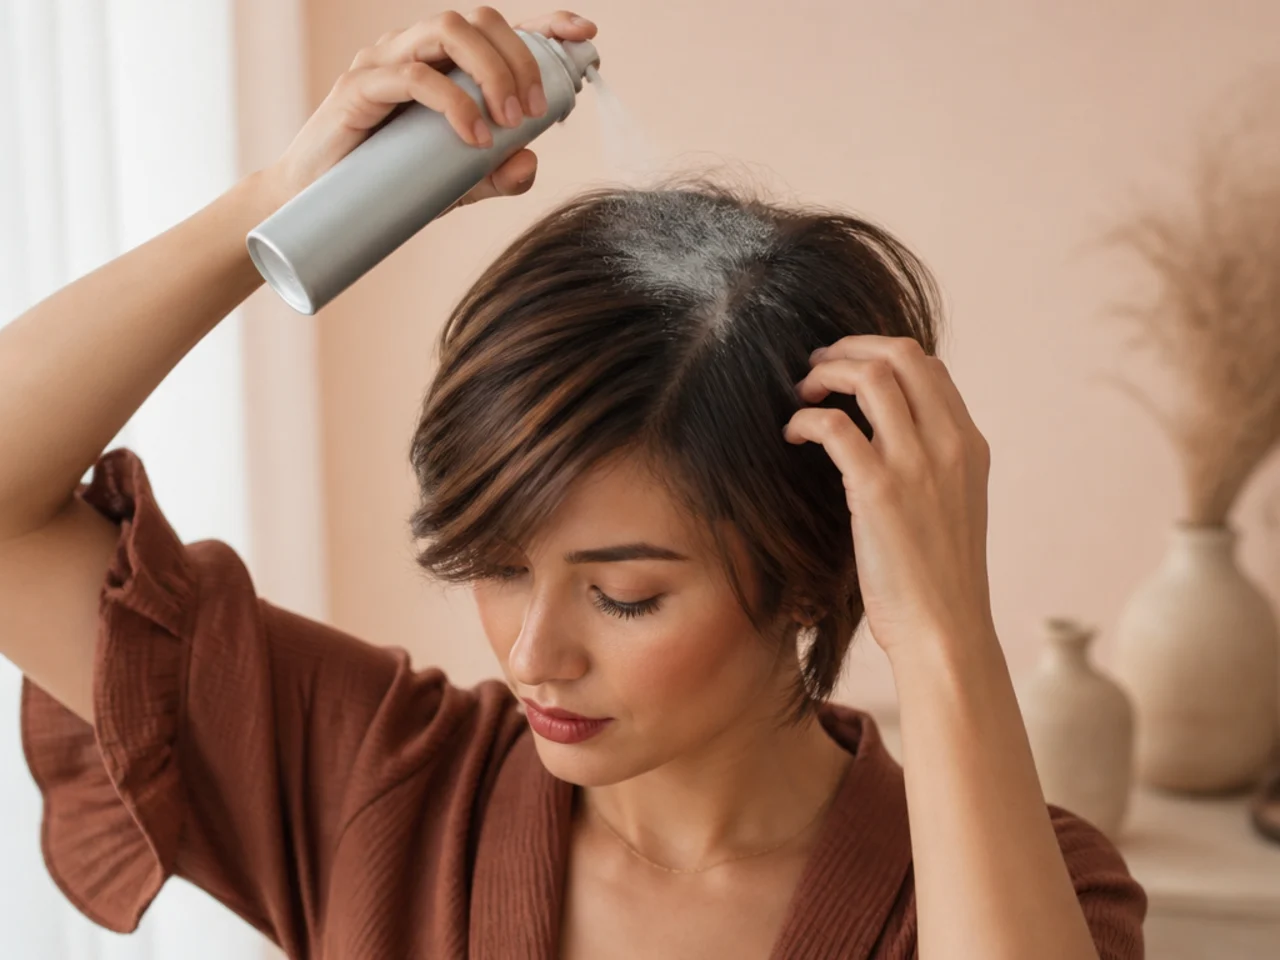
Dry shampoo at the crown, not the sides. Root lift is what fades first, and dry shampoo through the lengths dulls the shine the perimeter depends on.
Sleep with the hair up and loose. A high loose bun keeps the crown roots off the pillow, which is what flattens the lift overnight.
Wash less often than the cut suggests. Second day hair holds a bend better because the natural oils give the short layer something to grip.
Reheat with the same tool you set it with. A wand cannot rescue a brushed bend and a brush cannot rescue a wand curl, because the two make different shapes.
Mistakes to Avoid
Drying both layers together. The single most common error, and it turns a two length cut back into a one length one.
Using a small round brush. A narrow barrel puts a full curl into a short section, and a curl at the jaw widens the face.
Applying product to the short layer. It is the lightest hair on your head and the first to be weighed down.
Brushing the finished style. It merges the layers. Fingers only, once, from underneath.
Releasing the brush while the hair is warm. The bend has not set yet, so it lasts about twenty minutes.
FAQ
Why does it look like a bob? Both layers were dried the same direction.
Do I need an iron? No. A wide round brush sets a better bend.
How do I make it last? Cool each section on the brush before releasing.

Final Thoughts
The whole routine reduces to one instruction: dry the bottom section under, then dry the top section out. Everything else is refinement. If you only have five minutes, clip the top away, smooth the perimeter, and bend the two front pieces away from your face.
For the shape the styling is built on see the butterfly haircut guide, and for a different take on the same round brush technique see how to style a Korean haircut. More in Womens Hairstyles.