
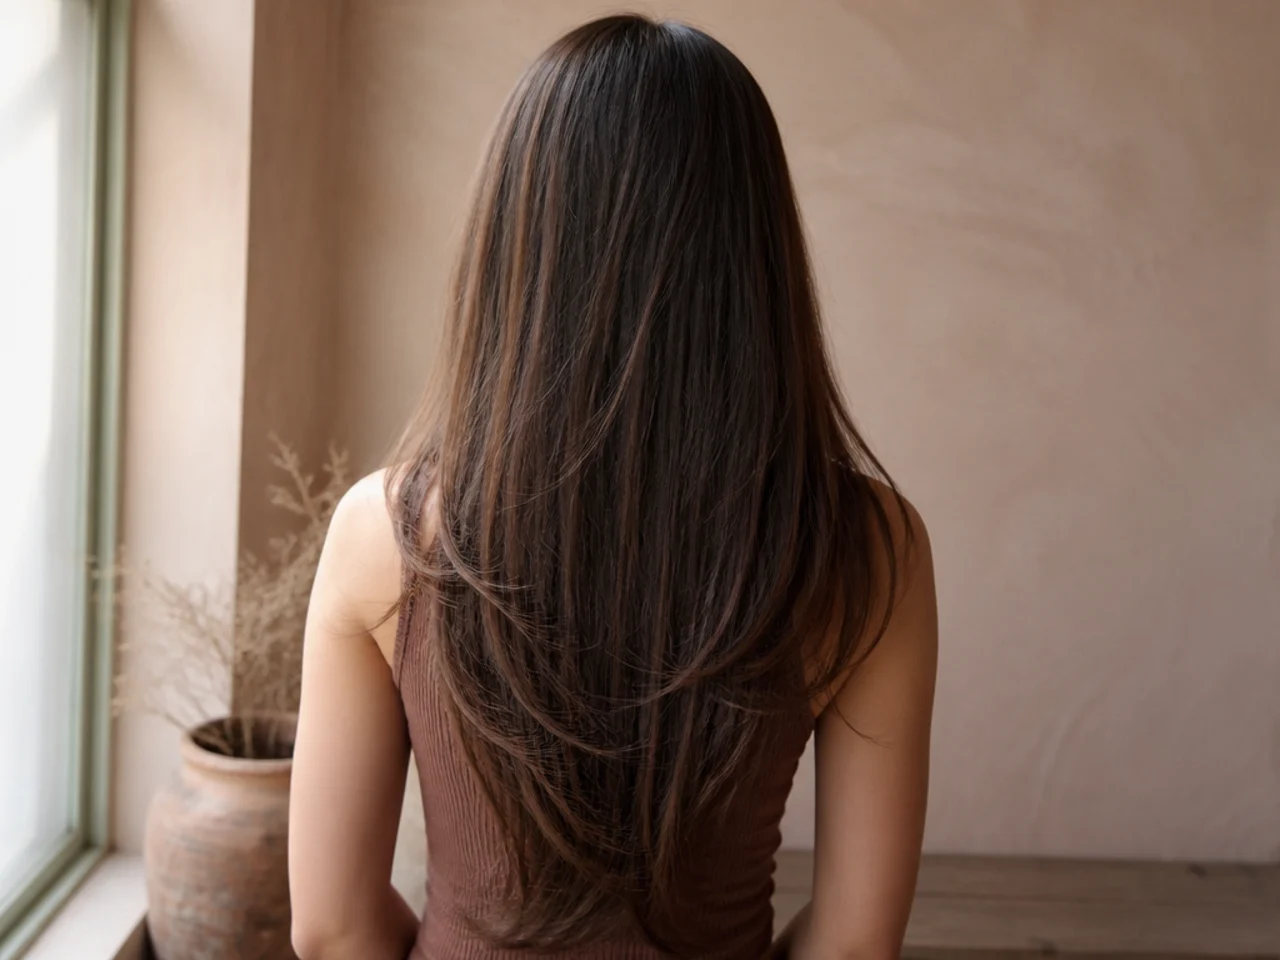
25 Dreamy Wolf Cut Ideas For Long Fine Hair
Twenty five long wolf cut ideas built for fine hair, and the one measurement that decides whether it works — where the shortest layer lands. Start it too high and the ends run out of weight, which is what makes a fine wolf cut go stringy.
In this article · 32
- What a Wolf Cut Does on Fine Hair
- How to Choose Your Layer Height
- The 25 Long Wolf Cut Ideas
- 1. Soft Crown Layers
- 2. Curtain Bangs With Long Layers
- 3. Invisible Layering
- 4. Blunt Hem Wolf Cut
- 5. Face Framing Wolf Cut
- 6. Waist Length Wolf Cut
- 7. Low Layer Start
- 8. Textured Ends Only
- 9. Wispy Bang Wolf Cut
- 10. Shag Leaning Wolf Cut
- 11. Mullet Leaning Wolf Cut
- 12. Chin Length Shortest Layer
- 13. Straight Fine Hair Wolf Cut
- 14. Wavy Fine Hair Wolf Cut
- 15. Root Lifted Wolf Cut
- 16. Half Up Wolf Cut
- 17. Middle Part Wolf Cut
- 18. Deep Side Part Wolf Cut
- 19. Grown Out Wolf Cut
- 20. Money Piece Wolf Cut
- 21. Dry Cut Wolf Cut
- 22. Ghost Layer Wolf Cut
- 23. Butterfly Leaning Wolf Cut
- 24. Bottleneck Bang Wolf Cut
- 25. Wolf Cut Without Thinning Shears
- Styling and Upkeep
- Mistakes to Avoid
- FAQ
- Final Thoughts
Fine hair does not fail a wolf cut because the cut is wrong for it, but because the shortest layer started too high and left the ends with nothing to hold onto.
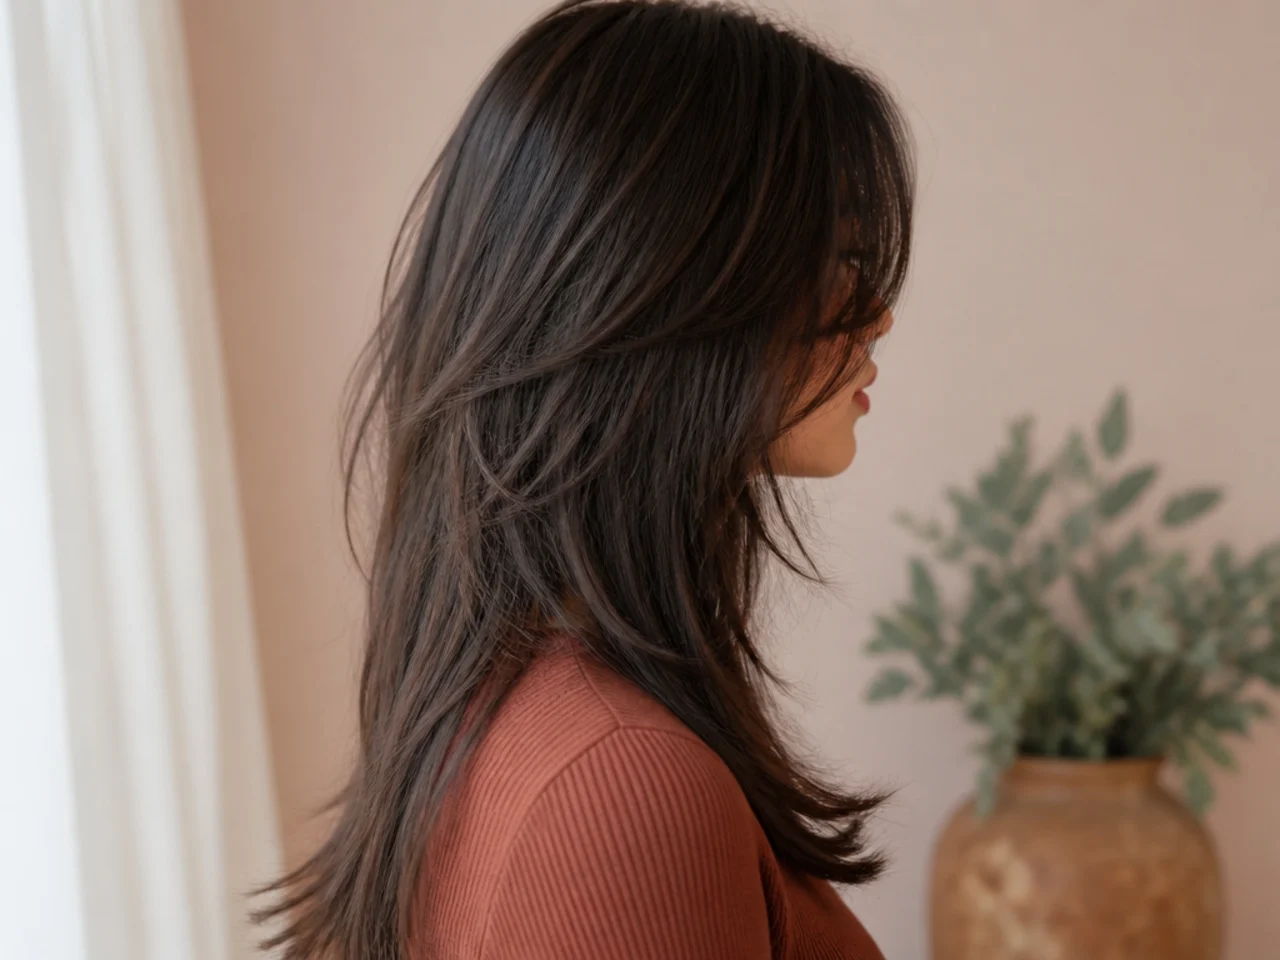
A wolf cut is short crown layers sitting over long lengths. The short pieces rest on the long ones and prop them up, and that stacking is where every bit of the volume comes from.
Fine hair has a weight budget. Each layer spends some of it, so the shortest layer has to start low enough that the ends still finish with a visible hem.
What a Wolf Cut Does on Fine Hair
Volume comes from stacking, not from removing. Short pieces physically hold up the ones underneath. Nothing about the cut adds density, so any technique that removes hair works against the effect.
The shortest layer sets the entire cut. Everything else follows from it. On fine hair it belongs at the collarbone or lower, not at the cheekbone where thicker heads can carry it.
Fine hair shows the ends first. A perimeter that has lost too much weight goes see through in daylight before anything else in the cut looks wrong.
It sits between a shag and a mullet. A shag layers evenly through the whole head, a mullet concentrates length at the back, and a wolf cut keeps the shag layering but weights the back like a mullet.
How to Choose Your Layer Height
Pick the height by your density, not by the photograph. The photographs that circulate are cut on thick hair, where the shortest layer can start high because there is hair left underneath it.
Collarbone is the safe starting point. It leaves roughly a hand span of unlayered length below, which is enough perimeter for the hem to stay solid.
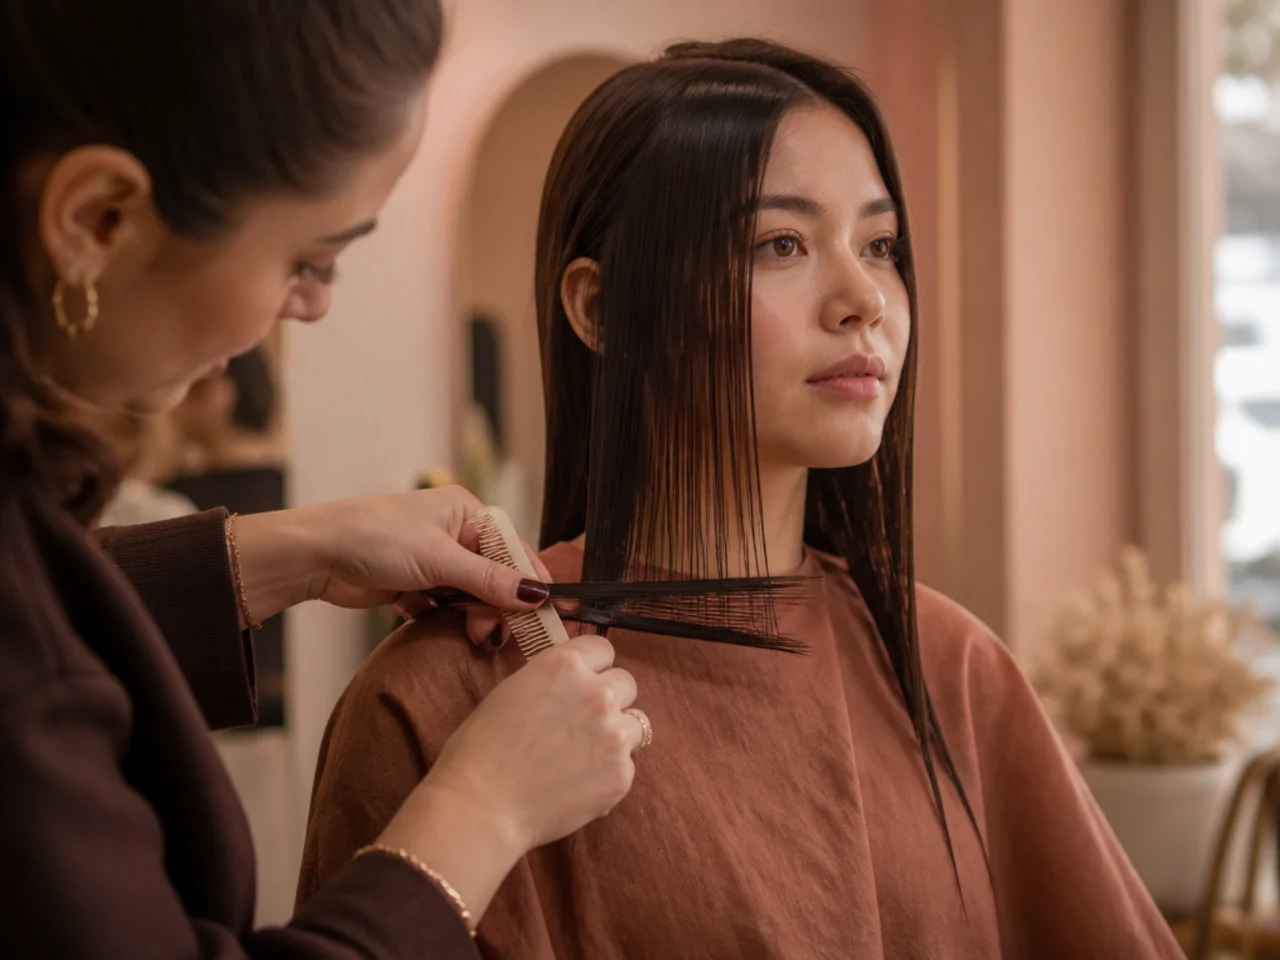
Ask for the layers to be cut dry. Wet fine hair hangs about a centimetre longer than it sits dry, so a wet cut lands the shortest layer higher than intended.
Decide the fringe separately. Curtain bangs and the crown layers are two decisions, and combining them into one instruction is how people end up with a shorter fringe than they asked for.
The 25 Long Wolf Cut Ideas
1. Soft Crown Layers
The crown layers cut long and blended rather than short and stepped. Fine hair holds a soft layer better than a hard one because there is not enough density to disguise the step where two lengths meet, so a graduated join reads as fullness instead of as a shelf.
2. Curtain Bangs With Long Layers
The fringe splits at the centre and sweeps to each side, joining the face framing layers on the way down. Because the join is continuous, the fringe grows into the layers rather than reaching an awkward length, which is the main reason curtain bangs suit people who cannot commit to a fringe.
3. Invisible Layering
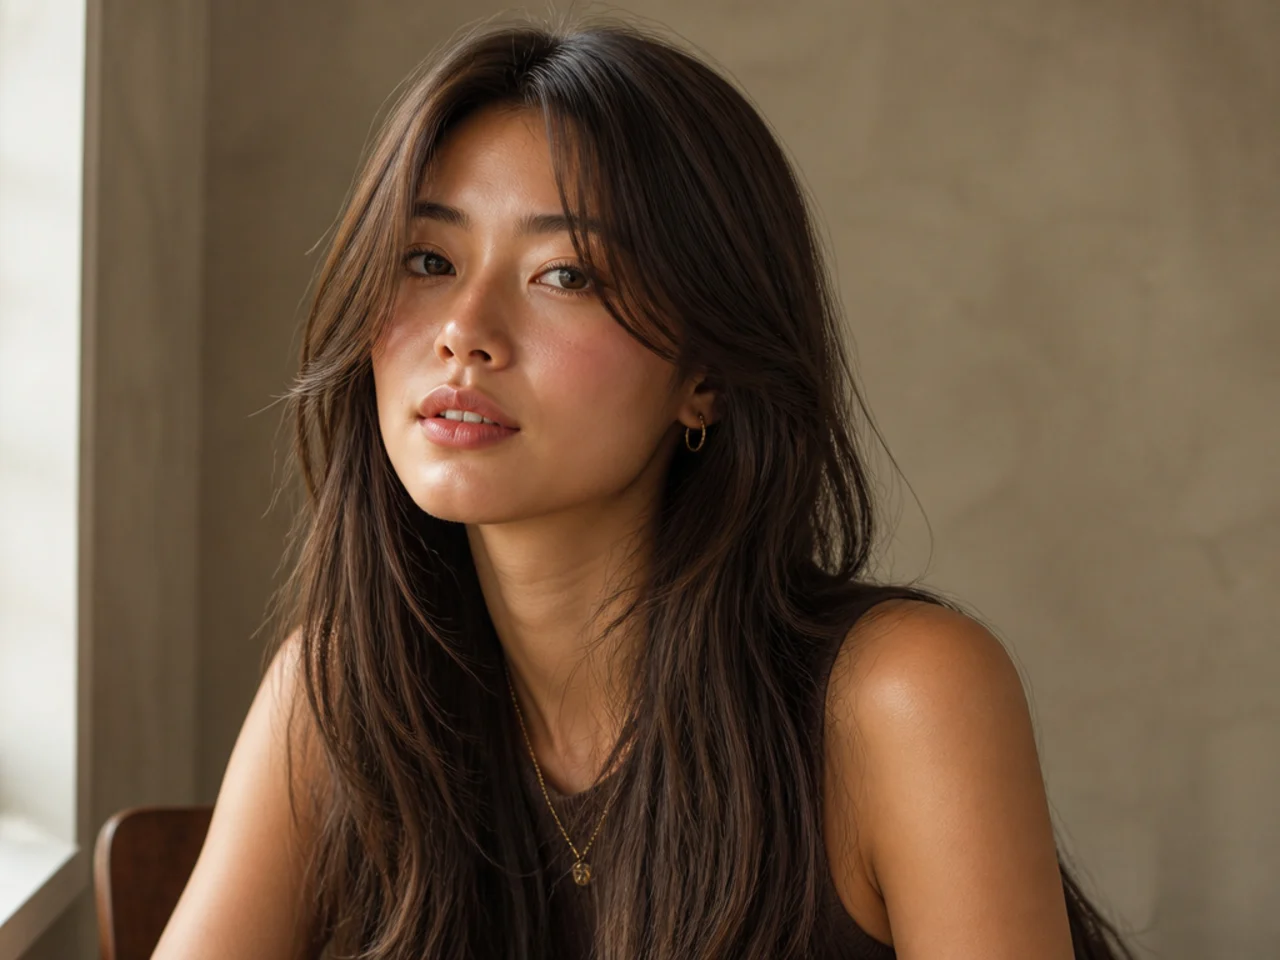
Internal layers cut inside the section with the perimeter left untouched. The removed weight sits where nobody sees it, so the ends keep their full thickness while the mid lengths gain movement. On fine hair this is the version that survives a bad hair day.
4. Blunt Hem Wolf Cut
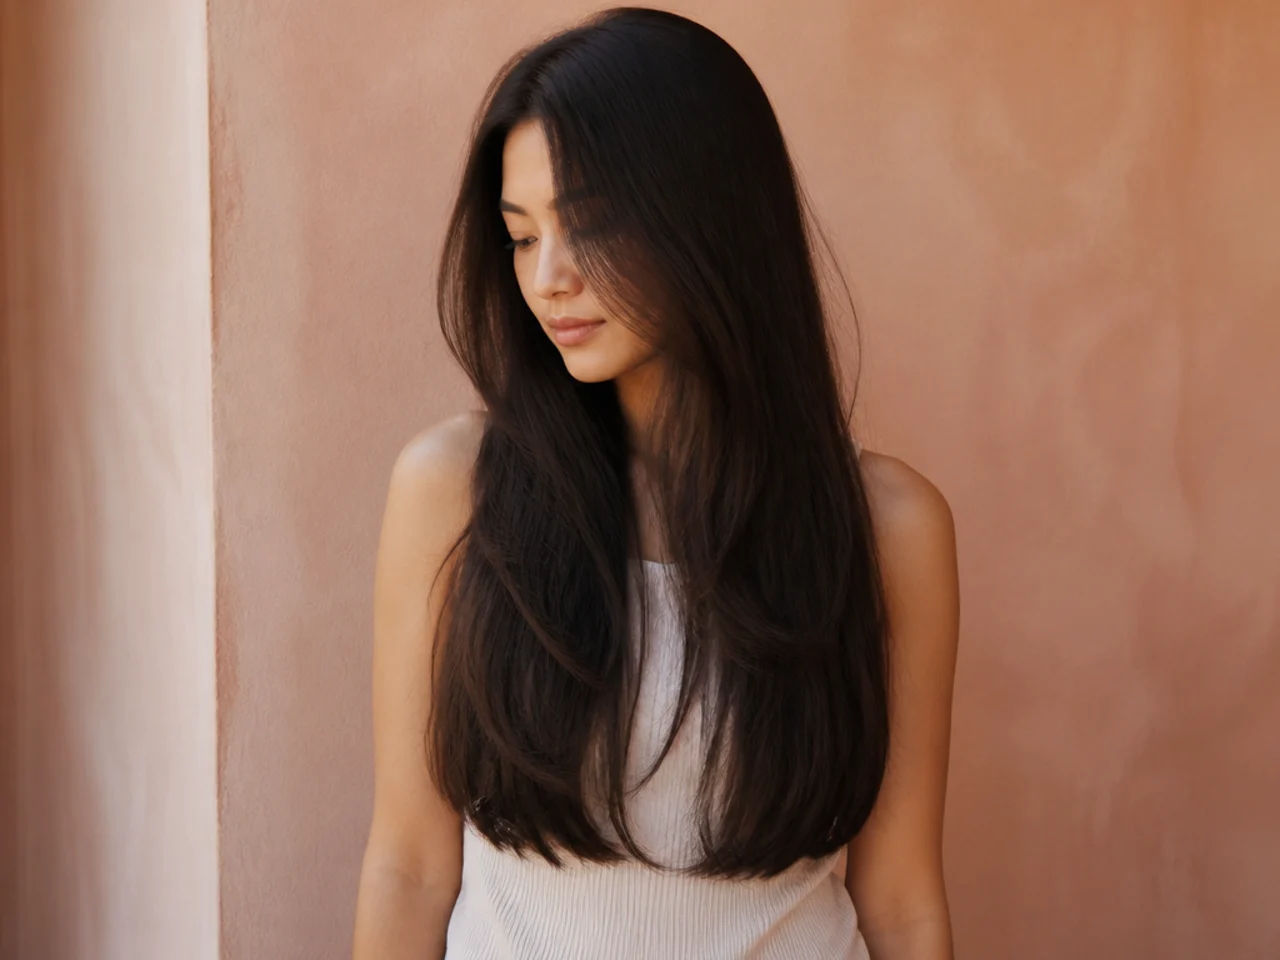
Layers through the top, then a straight line cut across the very bottom. The blunt edge gathers every strand into one visual line, which reads as more hair than the same amount cut into a soft point. It is the cheapest density illusion available on fine hair.

5. Face Framing Wolf Cut
The shortest pieces limited to the two sections either side of the face, with the back left long. Almost no weight leaves the bulk of the hair, so the cut costs nothing in density and still gets the movement around the face that the style is recognised by.
6. Waist Length Wolf Cut
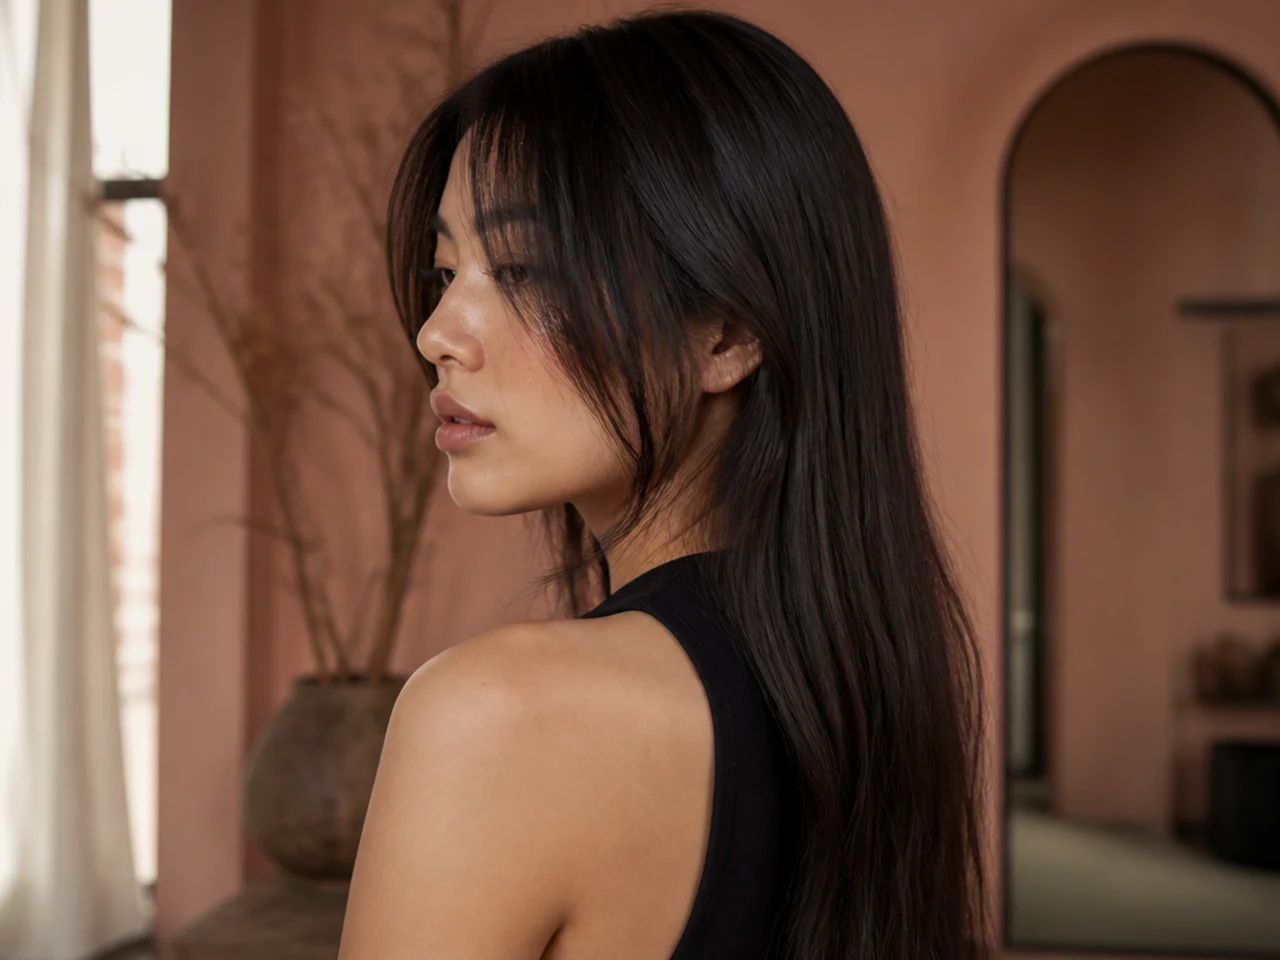
The full length kept to the waist with layering confined to the top third. The longer the hair, the more weight sits below the layers to anchor them, so a waist length wolf cut is easier on fine hair than a collarbone one.

7. Low Layer Start
The shortest layer placed below the collarbone instead of at the cheekbone. The gap between longest and shortest narrows, which softens the shape but leaves a much denser perimeter. This is the version to ask for if a previous wolf cut went thin at the ends.
8. Textured Ends Only
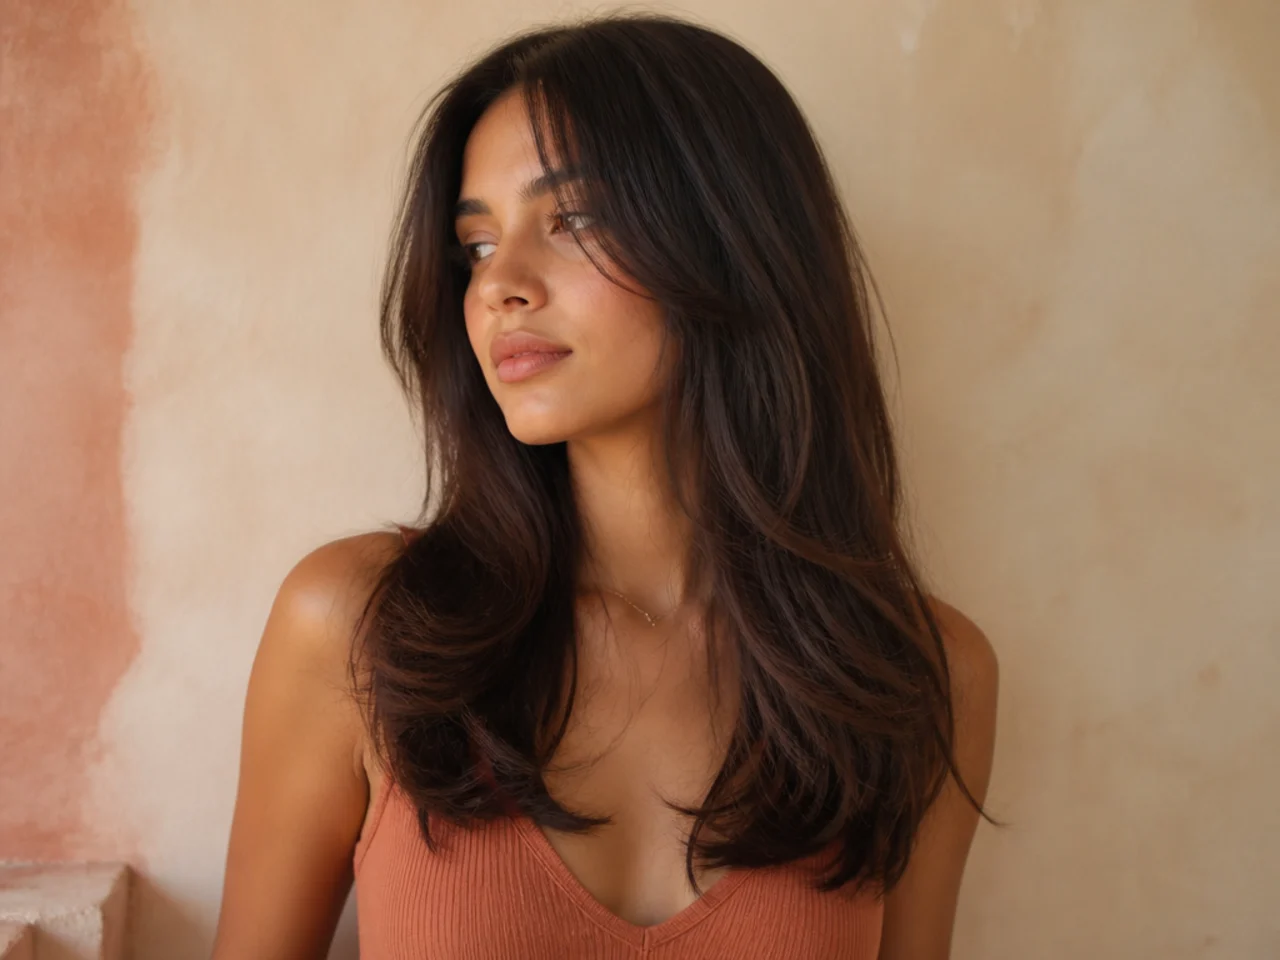
The whole length left one weight with only the last few centimetres point cut. The texture reads as a wolf cut from the front while the internal density stays intact, which suits hair that is fine and also flat.
9. Wispy Bang Wolf Cut
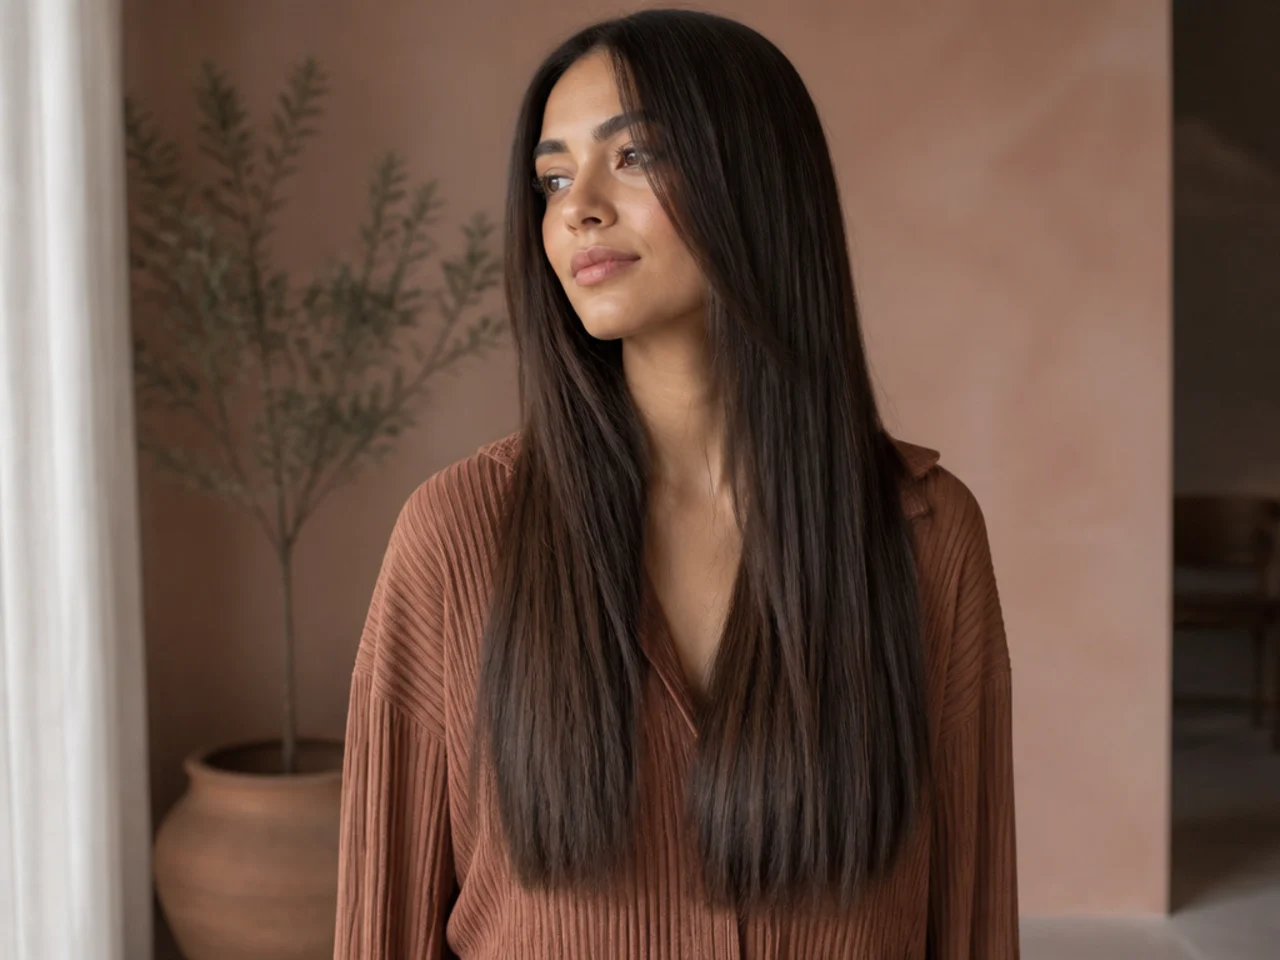
A thin fringe taken from a shallow triangle at the front hairline. Because the section is shallow, most of the hair stays behind the fringe where it still contributes to the shape, and fine hair cannot spare a deep fringe section without thinning the crown behind it.

10. Shag Leaning Wolf Cut
More even layering through the whole head and less weight held at the back. The shape gets rounder and the volume spreads out rather than concentrating at the crown, which is a better use of limited density than piling it into one spot.

11. Mullet Leaning Wolf Cut
Shorter through the sides and crown with the back kept long and heavy. The weight at the back gives the fine ends somewhere to gather, and the contrast against the shorter sides does the work that density would otherwise have to do.

12. Chin Length Shortest Layer
The top layer cut to the jaw with everything below it long. This is the highest a fine head should go, and it only works where the hair is fine but dense, because a sparse head loses the perimeter to feed a layer this short.

13. Straight Fine Hair Wolf Cut
Straight strands fall in a single line with no bend to hold them apart, so every layer edge is visible and the volume collapses within hours. Ask for the layers to be cut with a slide rather than blunt, so no single line reads as an edge.

14. Wavy Fine Hair Wolf Cut
The bend in a wave holds each strand off the one below it, which is free volume the cut does not have to create. Wavy fine hair is the easiest texture for this cut and needs the least product to hold the shape.

15. Root Lifted Wolf Cut
The layers are only half the volume. Lifting the root at the crown raises the whole stack by a centimetre, and on fine hair that centimetre changes the silhouette more than any amount of extra layering would.

16. Half Up Wolf Cut
The crown layers tied up and the long lengths left down. Tying the short pieces away removes the stack, so the length underneath reads as one solid weight, which is useful on days when the layers have gone flat.
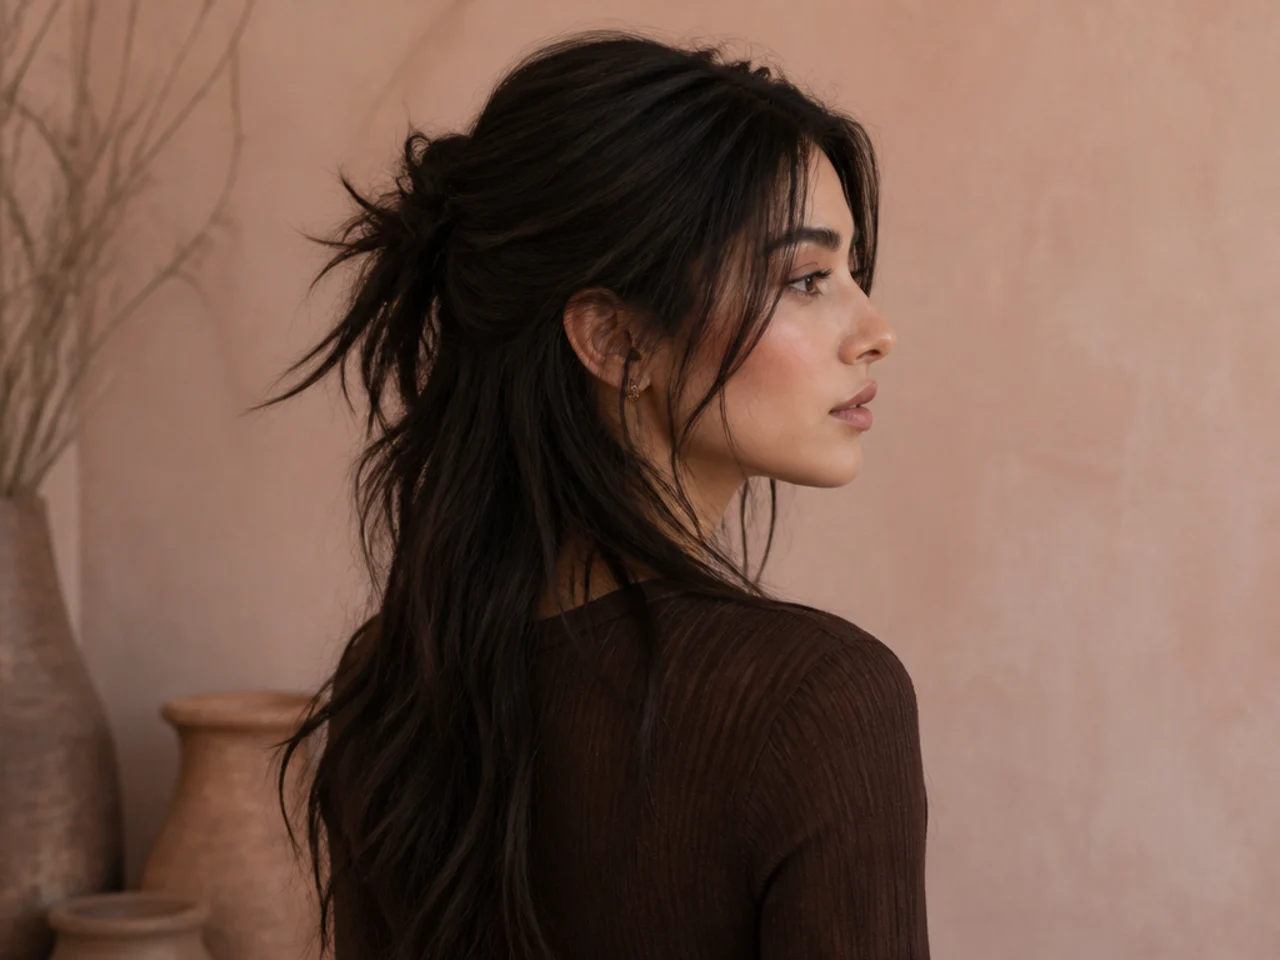
17. Middle Part Wolf Cut
The parting splits the crown layers into two equal halves that fall either side of the face. Symmetry costs volume, because neither side gets the extra height a deep part creates by pushing hair across the head.

18. Deep Side Part Wolf Cut
Moving the parting three centimetres off centre pushes a whole section of hair over the head, and it arrives at the other side with lift already built in. This is the single fastest way to add height to a fine wolf cut, and it costs nothing.

19. Grown Out Wolf Cut
Ten weeks in, the crown layers have gained a couple of centimetres and sit closer to the lengths, so the stack flattens and the shape softens into a long shag. Most people prefer weeks four to eight, which is worth knowing before booking.

20. Money Piece Wolf Cut
Two lightened sections at the front hairline. Lighter hair reflects more light and reads as fuller, so placing the brightest pieces on the shortest layers makes the top of the stack look thicker than it is.
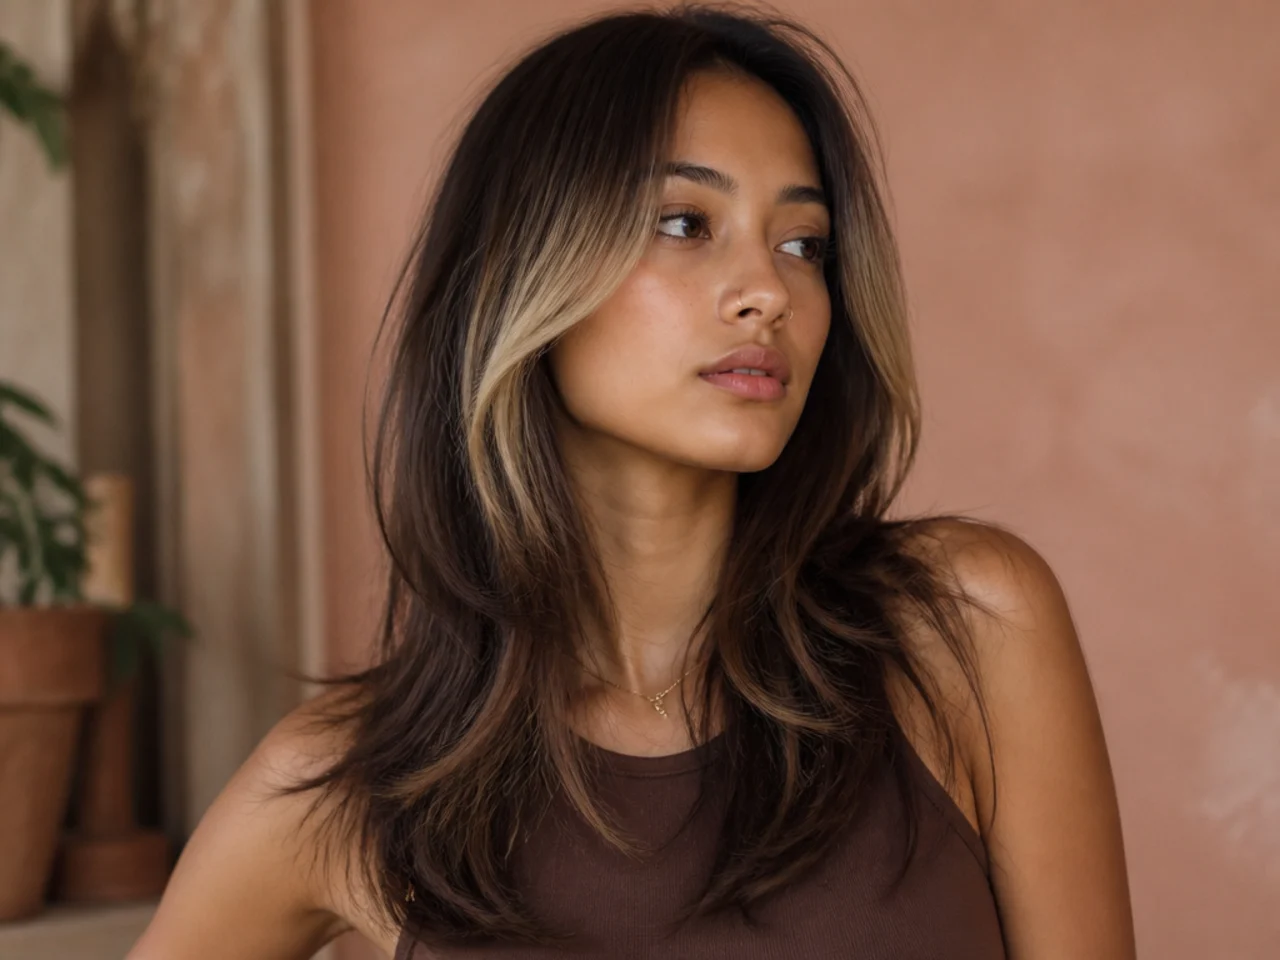
21. Dry Cut Wolf Cut
Cut dry from start to finish. Wet fine hair stretches and hangs about a centimetre lower than it sits, so a wet cut places every layer higher than intended once it dries. Cutting dry also shows where the hair actually falls around a cowlick.
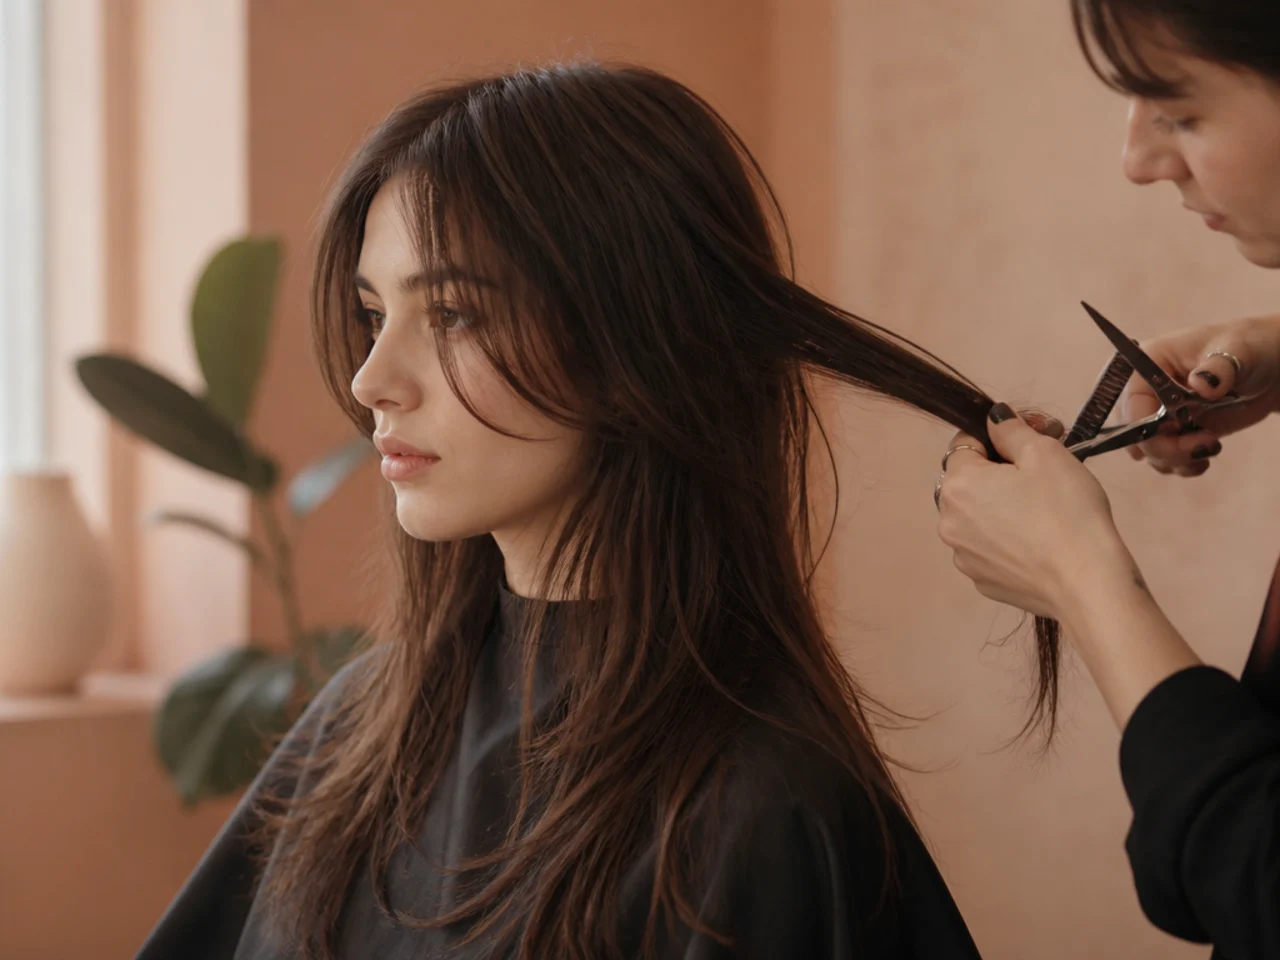
22. Ghost Layer Wolf Cut
One short layer hidden underneath a longer top section. The short piece props the long one up from beneath while staying invisible, so the outline stays heavy and the volume still arrives.

23. Butterfly Leaning Wolf Cut
Only two lengths, a long face framing layer and the full length, with nothing in between. The gap is what gives the illusion of volume, and it removes far less weight than a fully layered wolf cut does.

24. Bottleneck Bang Wolf Cut
A fringe that is narrow and closed at the top and widens sharply at the cheekbone. The narrow section covers the part of the forehead that reads as height, while the wide section joins the layers, so it flatters a long face without a heavy blunt fringe.
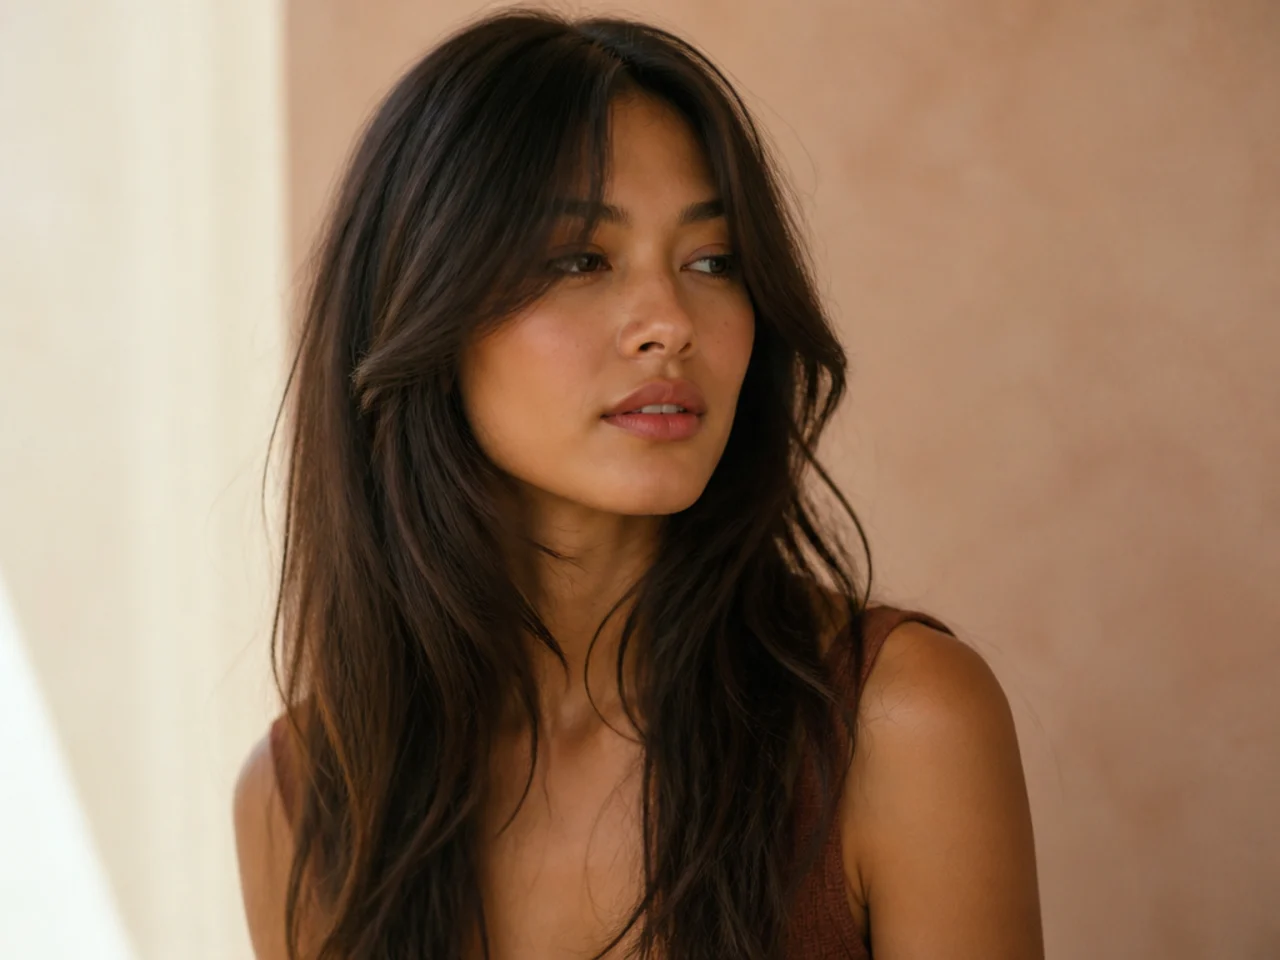
25. Wolf Cut Without Thinning Shears
Point cutting removes the tips of strands, while thinning shears cut random strands short in the middle of the section. Those cut ends spring up through the surface as flyaways, and on fine hair there is not enough hair over them to hide it.

Styling and Upkeep
Put product at the root, not the ends. The stack needs lifting from underneath. Product on fine ends only weighs down the part of the cut you were trying to keep full.
Rough dry upside down before styling. Drying against the natural fall sets a bend at the root that survives the rest of the styling.
Trim the fringe on its own schedule. Four to six weeks for the fringe, ten to twelve for the cut.
Skip conditioner above the ears. Conditioner on the crown layers flattens exactly the section the cut depends on for height.
Photograph the cut at week two. That is when the shape has settled and the layers still sit where they were cut, so it is the reference worth bringing back.
Mistakes to Avoid
Starting the shortest layer at the cheekbone. It is the length in the photographs, and those photographs are cut on thick hair with density left underneath.
Letting thinning shears near the mid lengths. They cut strands short inside the section and those ends stick out through the surface for months.
Cutting it wet. Fine hair hangs a centimetre lower wet, so every layer lands higher than planned once it dries.
Asking for a wolf cut on hair above the collarbone. There is not enough distance between longest and shortest for the two lengths to read as separate.
Layering the perimeter as well as the interior. Once the hem loses its line, the cut goes see through at the bottom and no styling brings it back.

FAQ
Where should the shortest layer sit? At the collarbone or below on fine hair.
Wet or dry cut? Dry, so the layers land where you can see them.
How often? Ten to twelve weeks, with a separate fringe trim at four to six.

Final Thoughts
The layer height is the whole conversation. Say "shortest layer at the collarbone, cut dry, no thinning shears" and you have described a cut that a fine head can actually carry, which is more useful than bringing in a photograph of the same style cut on twice the density.
For the softer, less stepped version of the shape see the Korean wolf cut, and for what happens when the same layering goes above the shoulders see the short wolf cut. More in Mullet and Wolf Cut.



