20 Side Swept Bangs With Layers to Try
Twenty side swept bangs with layers, and the join that decides whether it works — the long end of the fringe has to meet the first layer at a matching angle, or there is a visible step between them.
In this article · 27
- What Makes Layers Work with a Side Sweep
- How to Choose Yours
- The 20 Ideas
- 1. Connected Cheekbone Sweep into Long Layers
- 2. Jaw-Length Sweep into Face-Framing Layers
- 3. Short Sweep with Long Layers
- 4. Sweep with a Butterfly Layer
- 5. Sweep with Curtain-Style Layers Behind
- 6. Sweep with a Layered Lob
- 7. Sweep with a Layered Bob
- 8. Sweep with Long Waist-Length Layers
- 9. Sweep with Minimal Layers
- 10. Sweep with Heavy Internal Layers
- 11. Sweep with Layers on Straight Hair
- 12. Sweep with Layers on Wavy Hair
- 13. Sweep with Layers on Curly Hair
- 14. Sweep with Layers on Thick Hair
- 15. Sweep with Layers on Fine Hair
- 16. Sweep with Highlights Along the Connected Line
- 17. Sweep with Layers Worn Tucked
- 18. Sweep with Layers in a Half-Up
- 19. Sweep with Layers Grown Out Six Weeks
- 20. A Visible Step Between Fringe and Layers
- Styling and Upkeep
- Mistakes to Avoid
- FAQ
- Final Thoughts
Most complaints about side swept bangs looking "stuck on" are not about the fringe at all. They are about the join.
The long end of the fringe has to meet the first layer at a matching angle. When it does, the two read as one continuous line travelling down the side of the face. When it does not, there is a step where the fringe stops and the haircut starts, and it is visible from across a room.
What Makes Layers Work with a Side Sweep
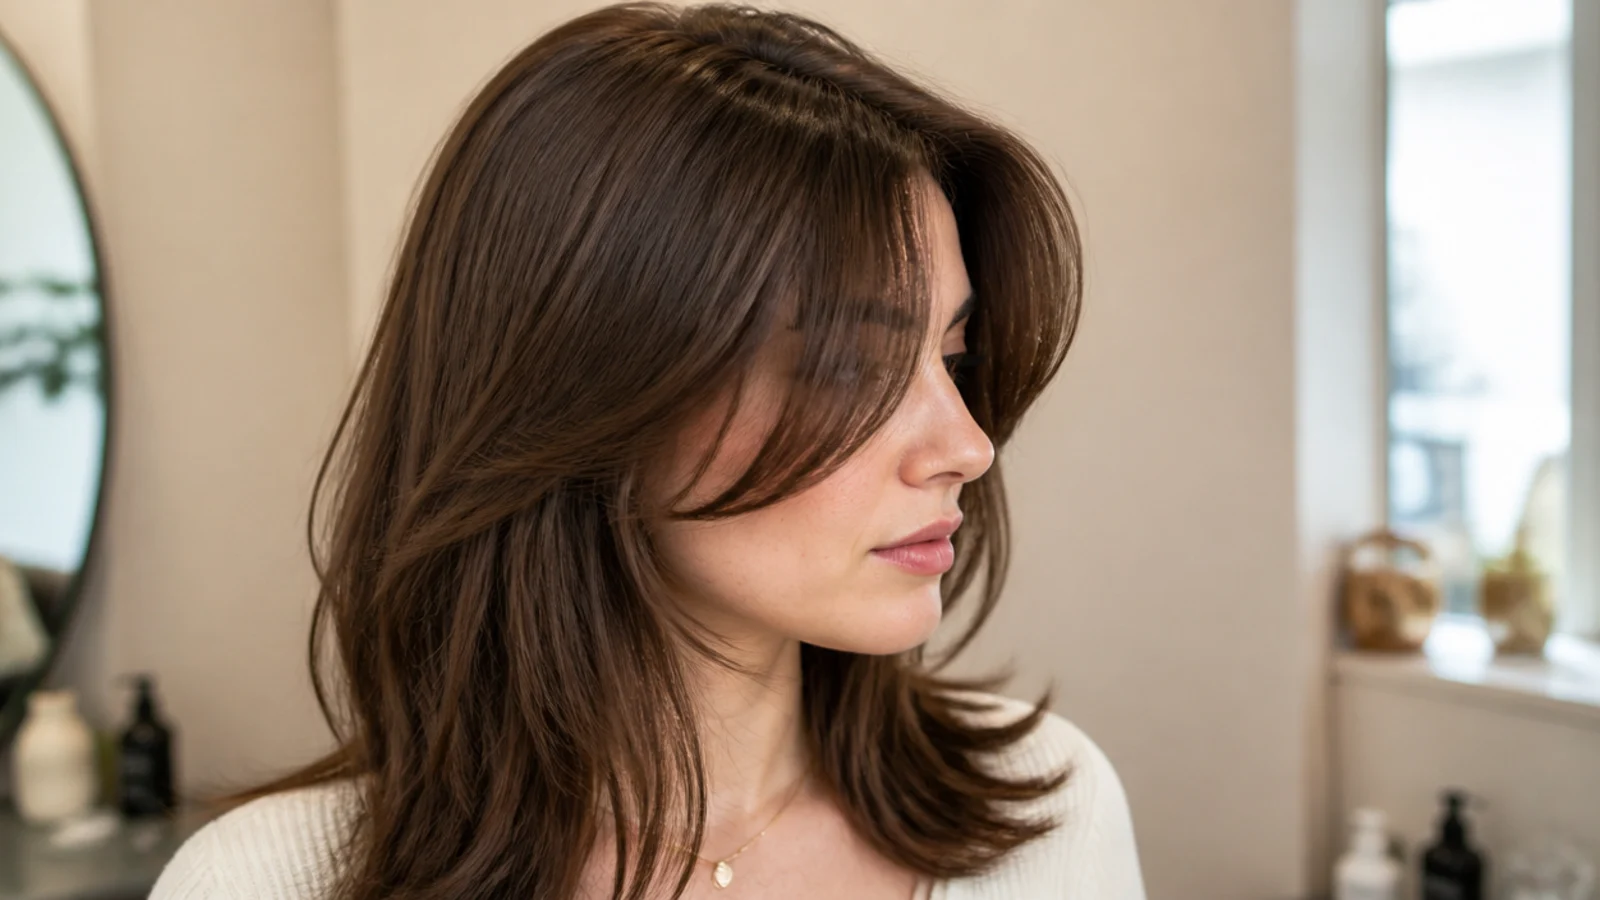
One line, not two. The fringe and the first face-framing layer should be a single continuous diagonal, cut as one operation.
The join is at the long end. That is the only place the two shapes meet, so it is the only place the angle has to agree.
A step means they were cut separately. Almost always because the layers were cut to a standard length rather than to where the fringe finishes.
Layers give a long fringe somewhere to go. Past the cheekbone a fringe needs to blend, or it hangs as an isolated panel of hair.
How to Choose Yours
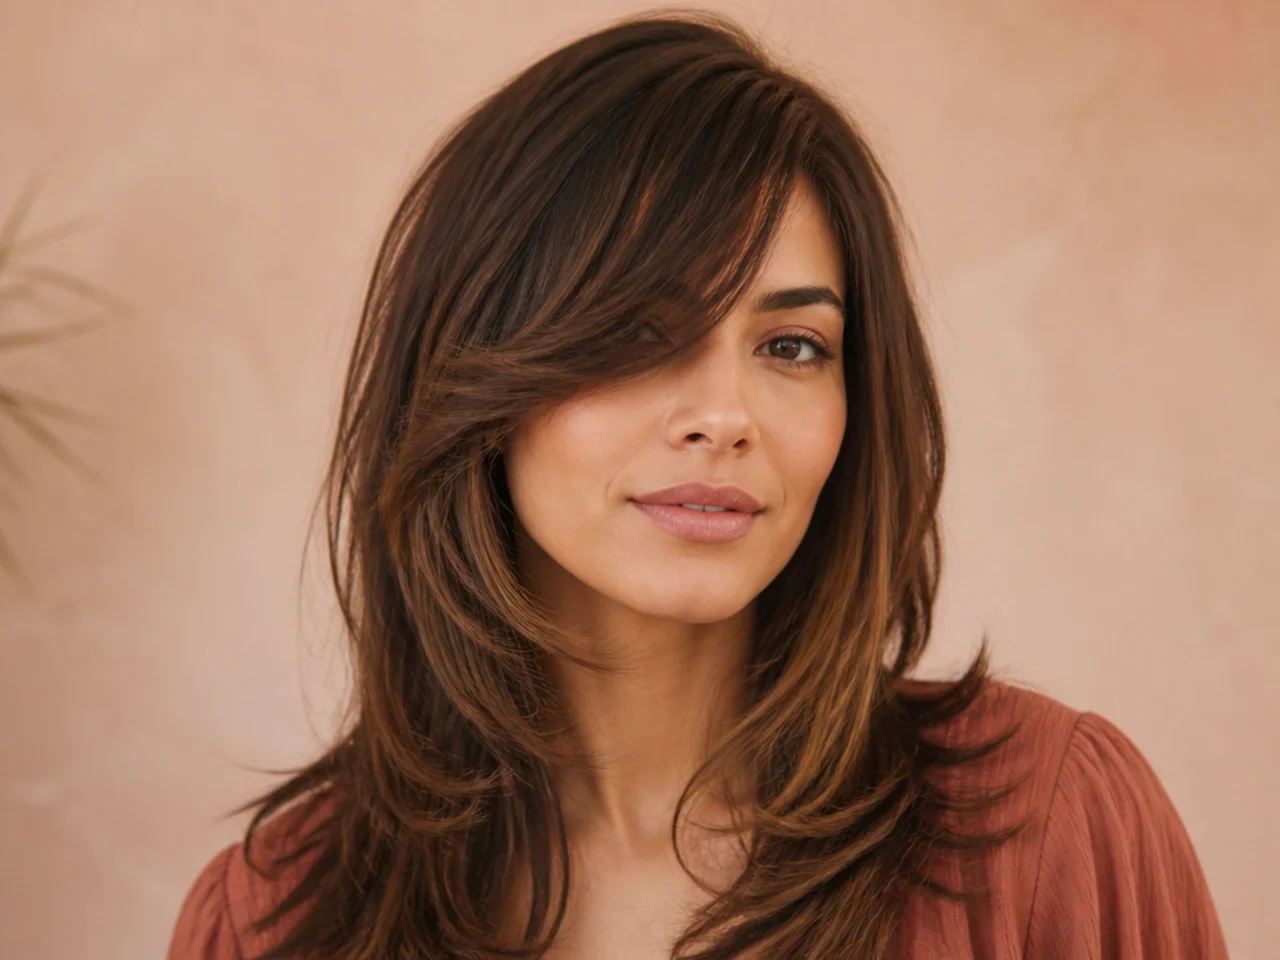
Ask for the fringe and first layer as one line. The most useful sentence you can say at this appointment.
Have the fringe cut first, layers second. The layers should be cut to meet it, not the other way round.
Start the layers where the fringe ends. Give the position as a landmark on your face rather than a length.
Keep the rest of the layers long. Short layers through the body pull attention away from the line you just built.
The 20 Ideas
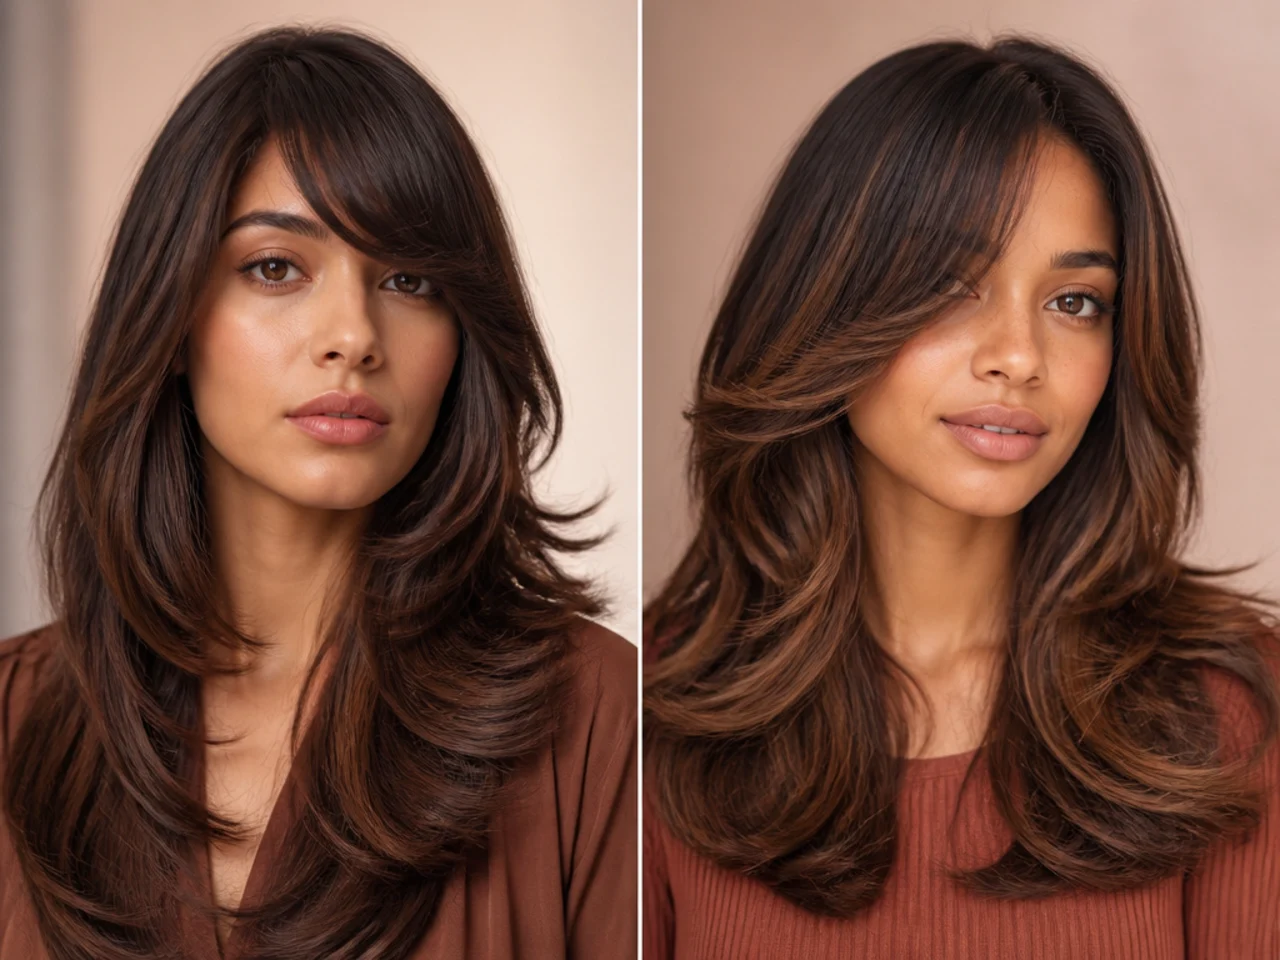
1. Connected Cheekbone Sweep into Long Layers
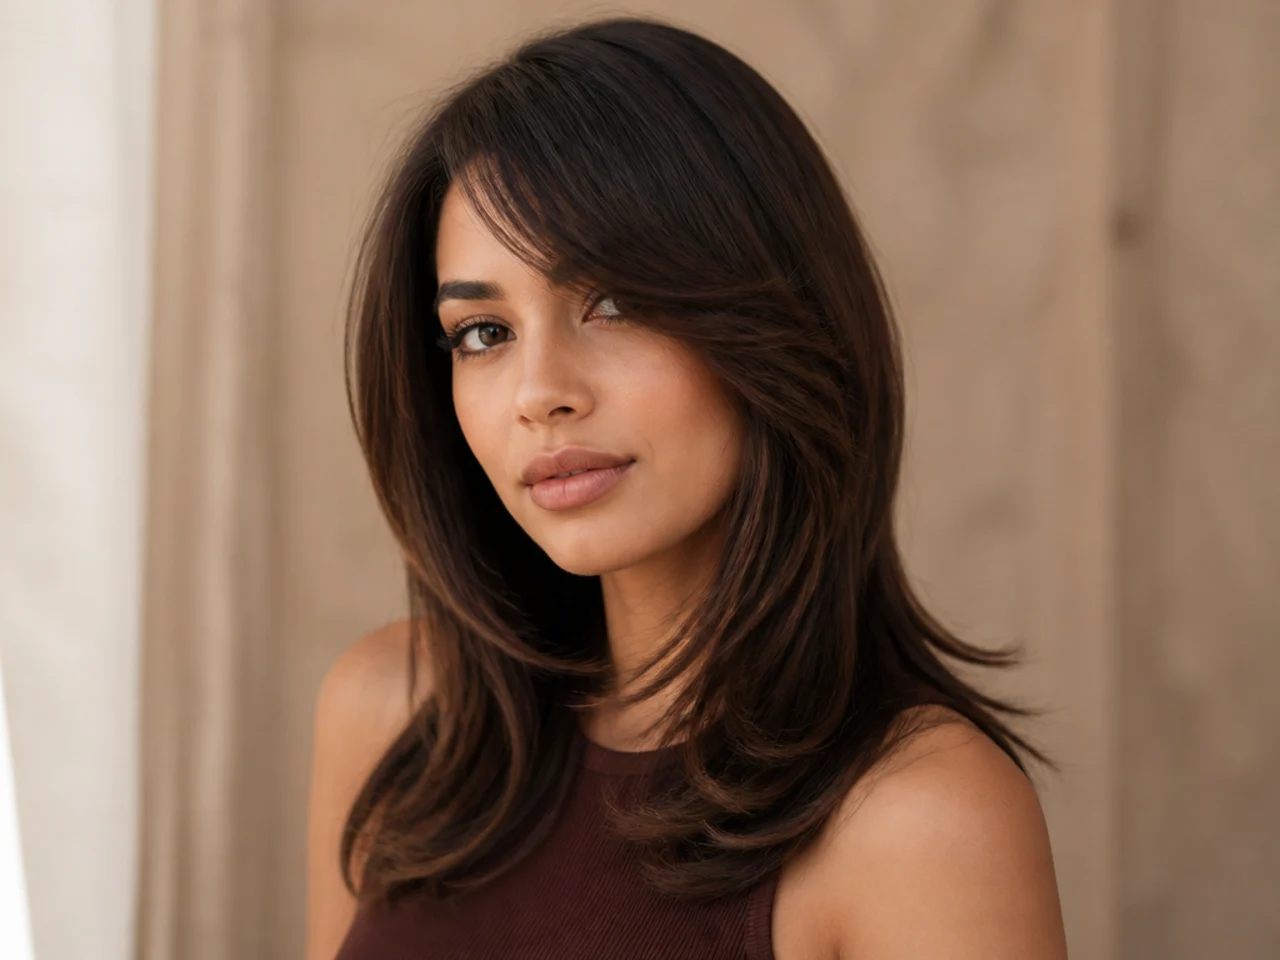
The benchmark. One line from temple to collarbone. A connected fringe has somewhere to blend into, which is the difference between a fringe in the haircut and a fringe on top of it.
2. Jaw-Length Sweep into Face-Framing Layers
The join sitting lower, and the line running further. A lower join means a longer continuous diagonal, which reads as one deliberate line rather than two cuts.
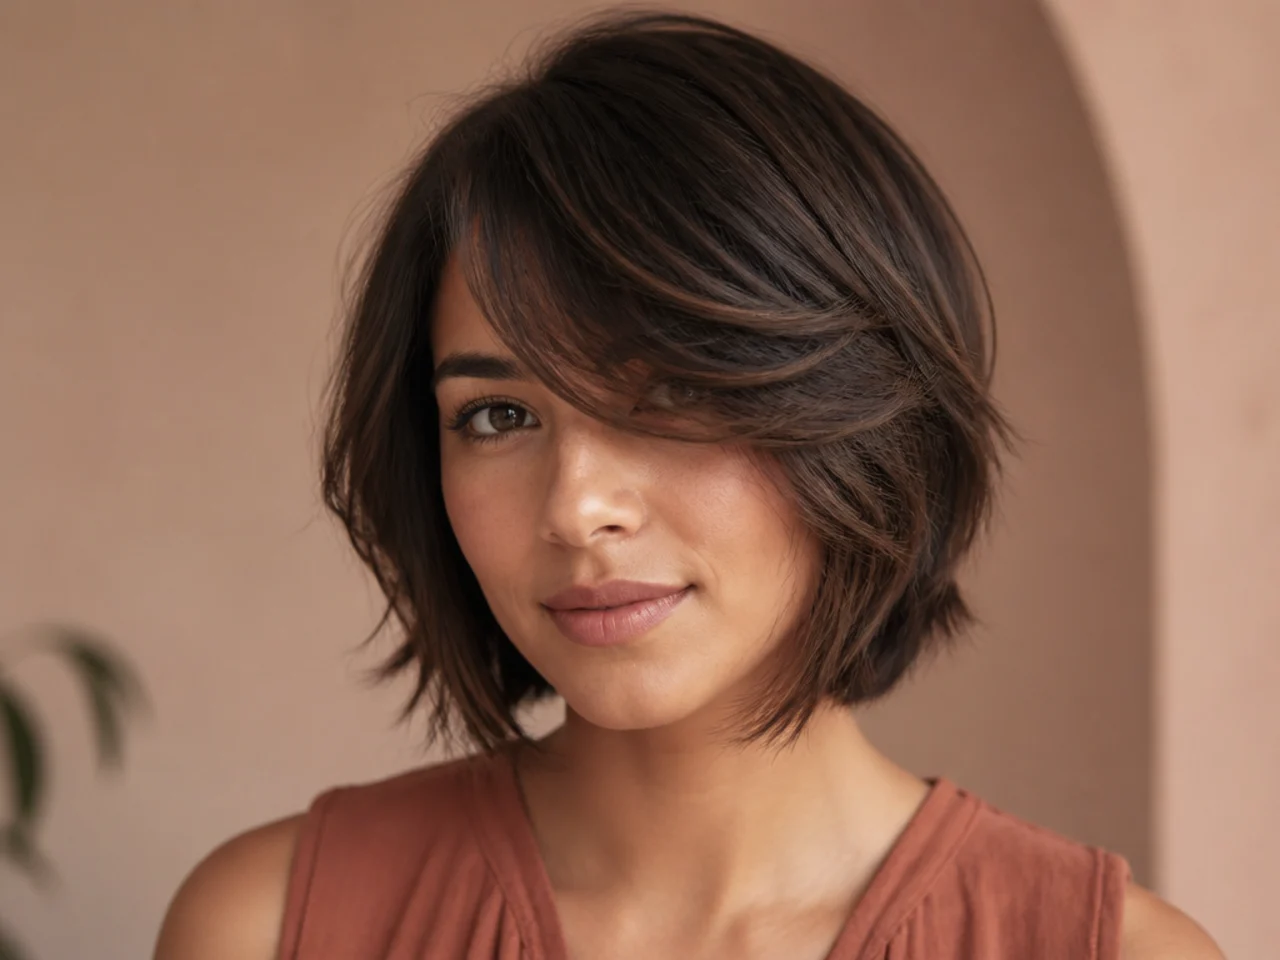
3. Short Sweep with Long Layers
A big gap between fringe and first layer, deliberately disconnected. Disconnection is a valid choice — it just needs to be obvious enough to read as intentional rather than as a missed join.

4. Sweep with a Butterfly Layer
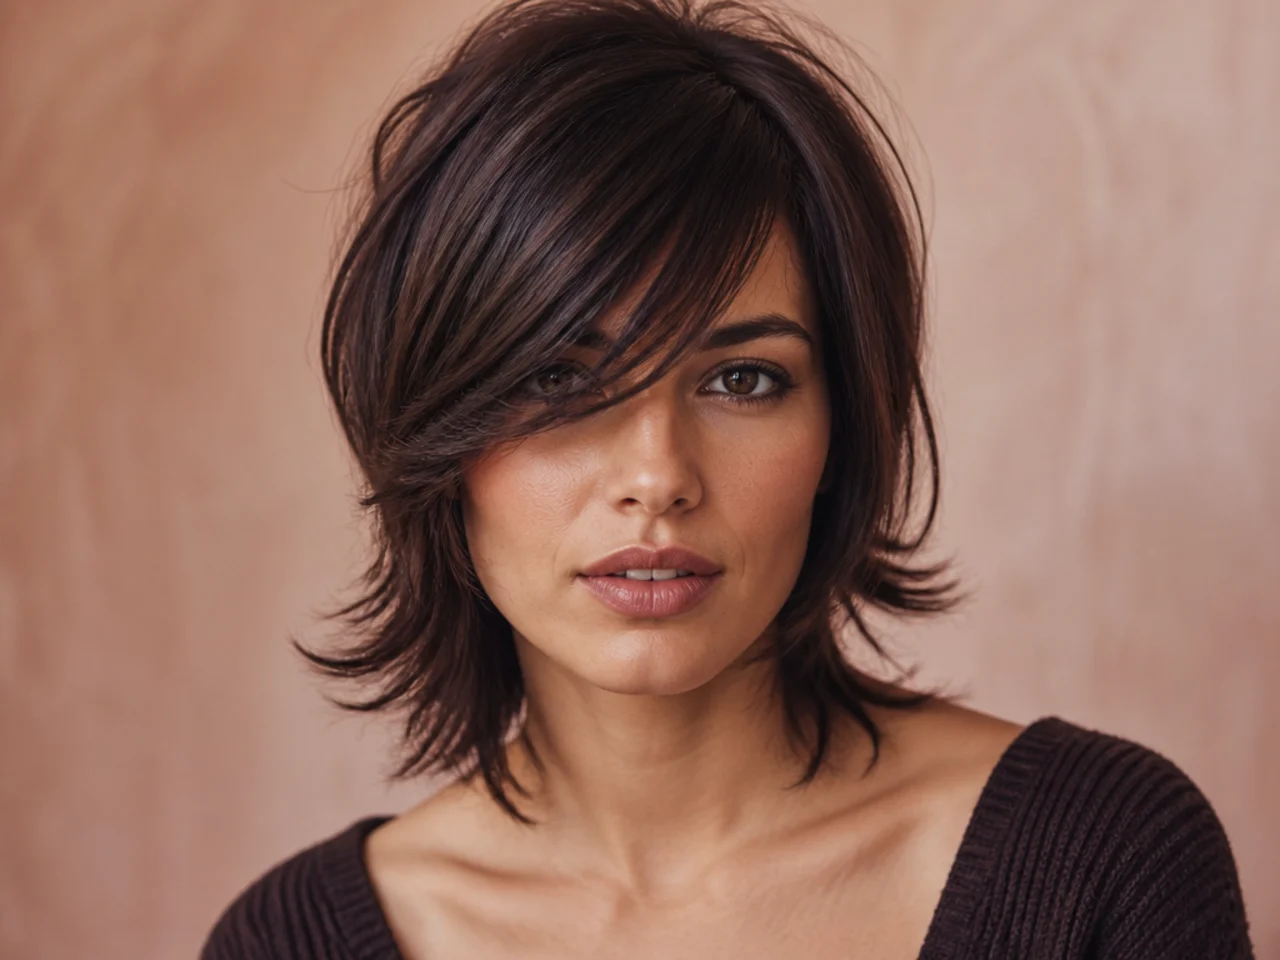
The shortest layer sitting at the jaw, connecting upward to the fringe. The butterfly shape works precisely because the shortest layer meets the fringe, so nothing sits orphaned.
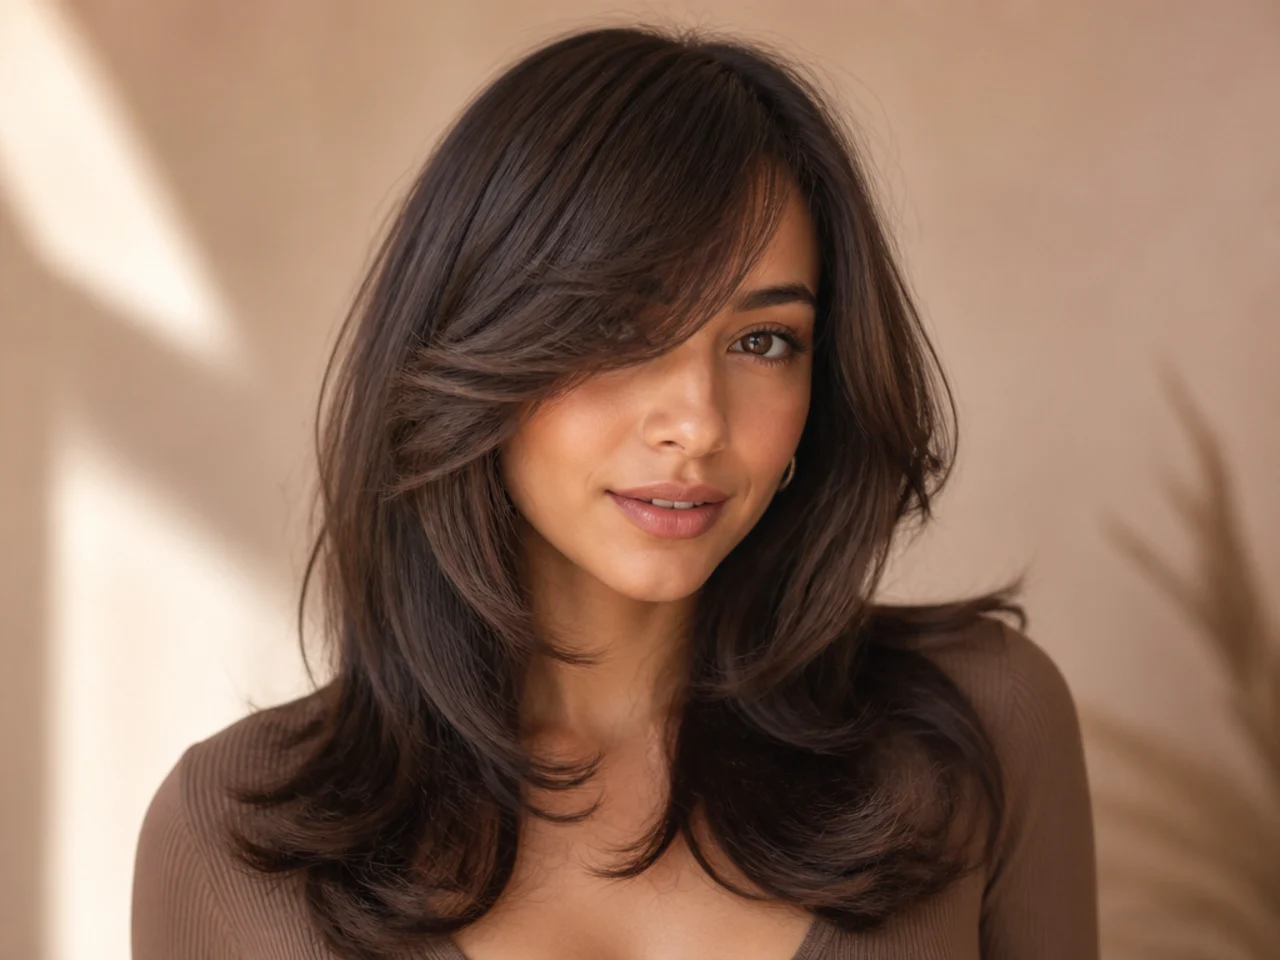
5. Sweep with Curtain-Style Layers Behind
Symmetrical framing behind an asymmetric front. The contrast is deliberate, though it only works if the fringe is clearly asymmetric rather than nearly symmetrical.

6. Sweep with a Layered Lob
Collarbone length, layered, with the fringe reading as part of it. A lob has enough length for the join to happen well below eye level, where it is least visible.
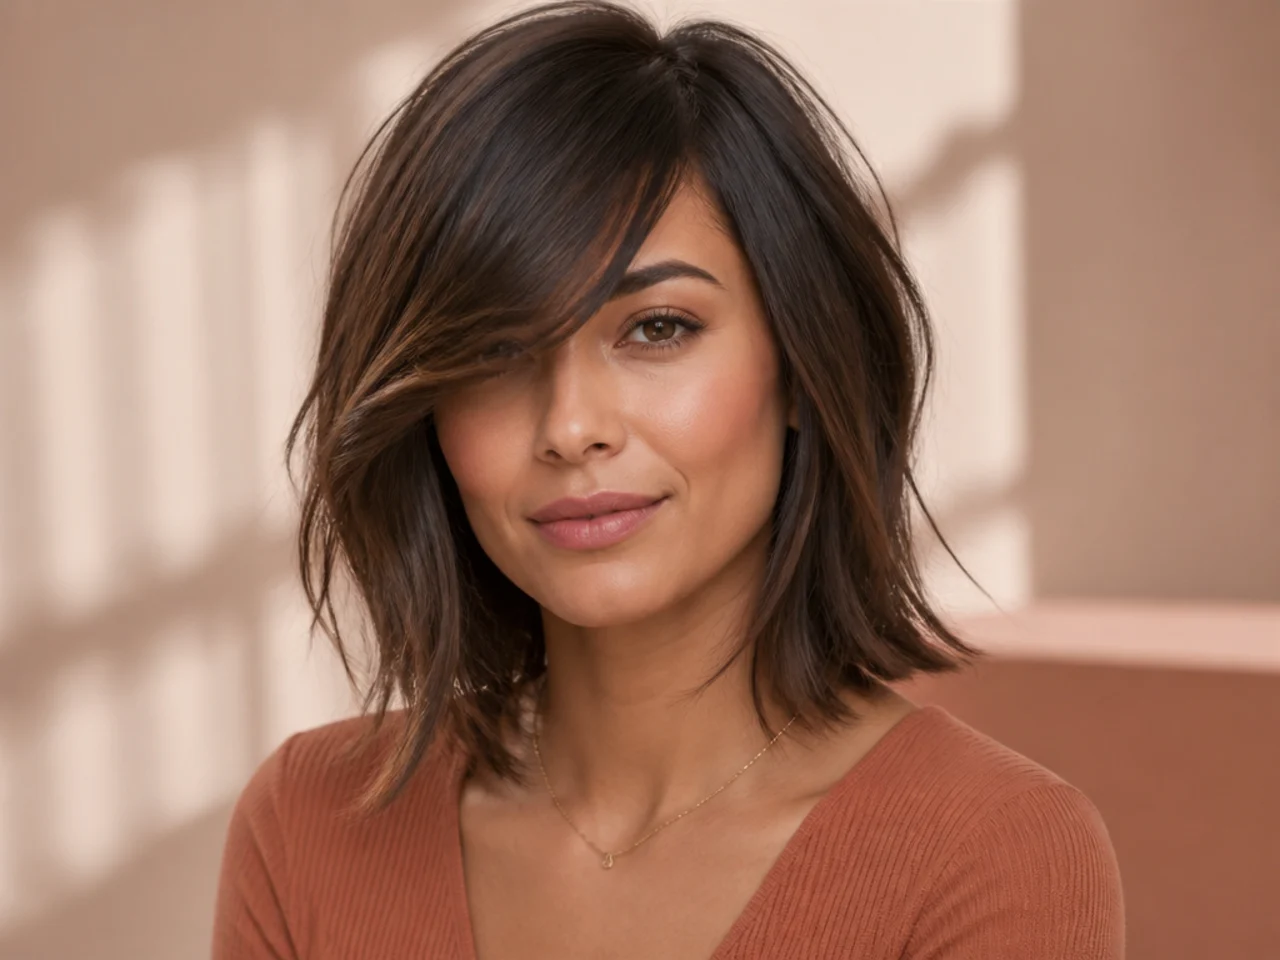
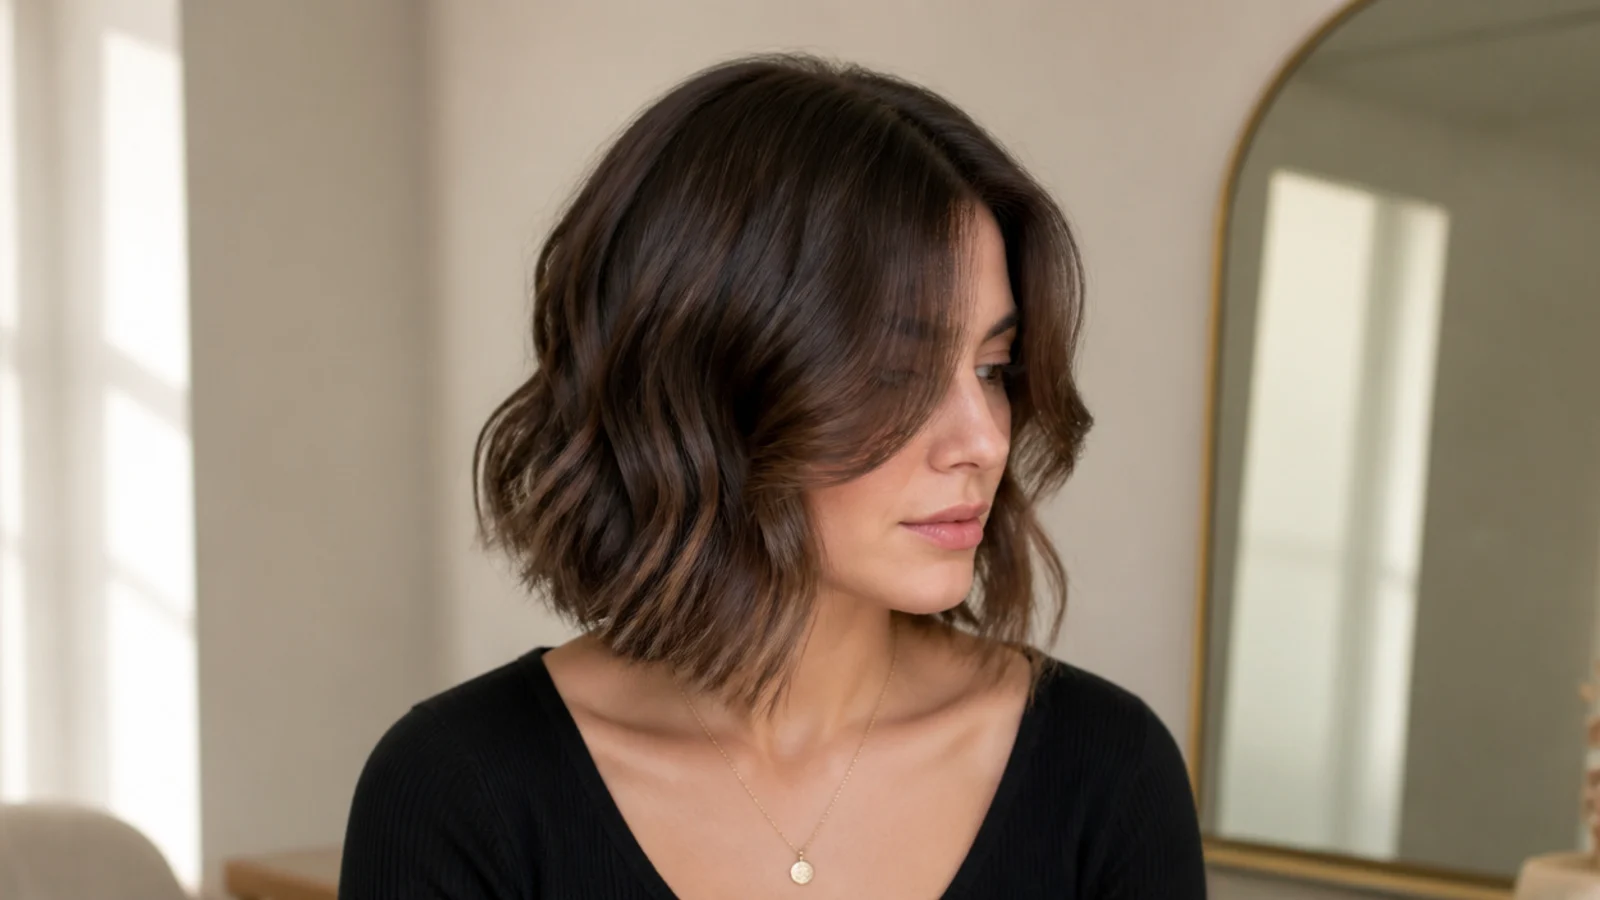
7. Sweep with a Layered Bob
Short and connected. The join is very visible at this length. With less length there is less distance for the join to hide in, so the connection has to be precise.

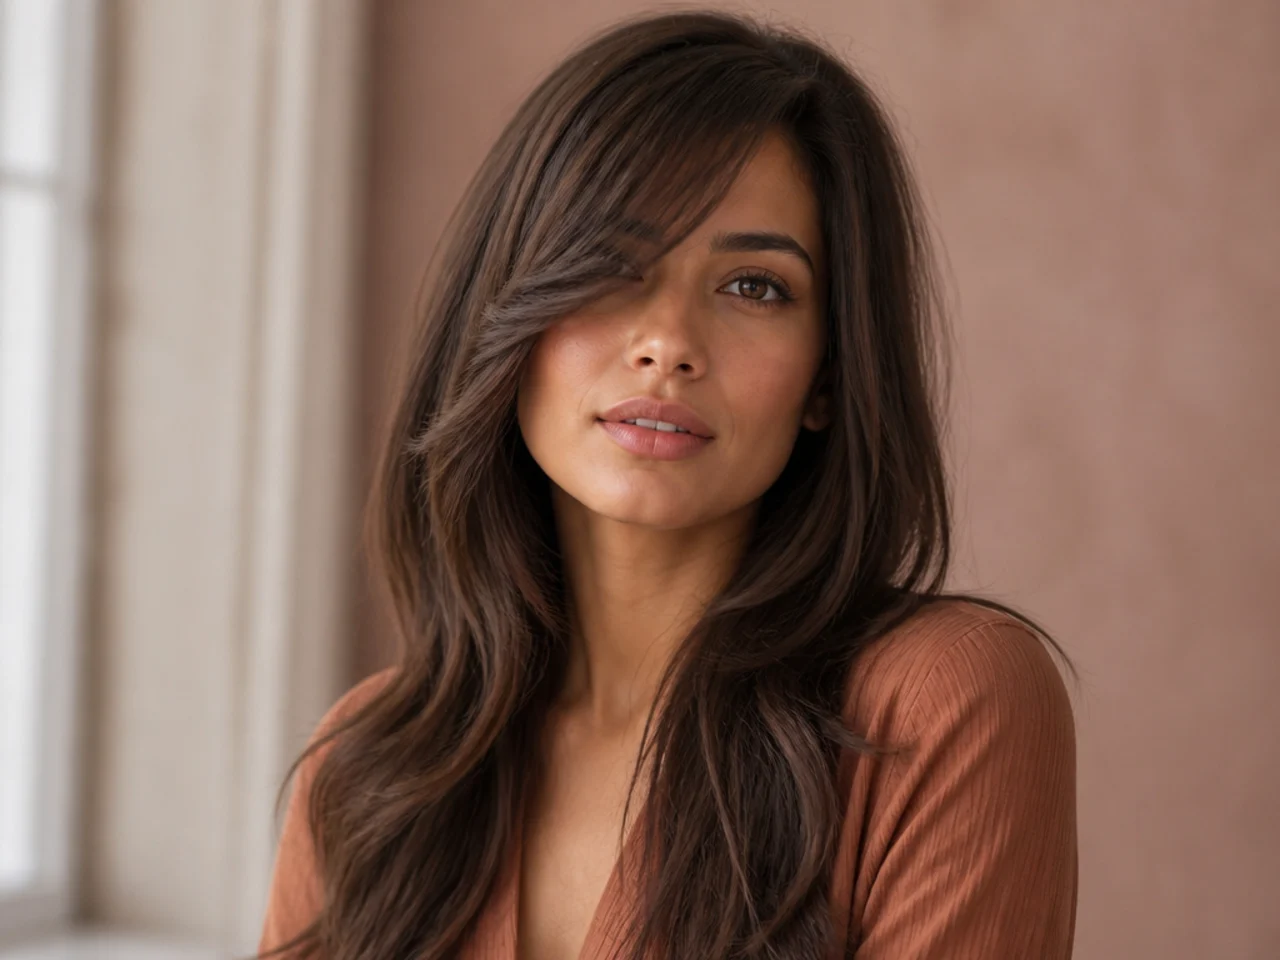
8. Sweep with Long Waist-Length Layers
The longest possible run of the same line. Length gives the diagonal room to travel gradually, which makes an imperfect join far harder to spot.
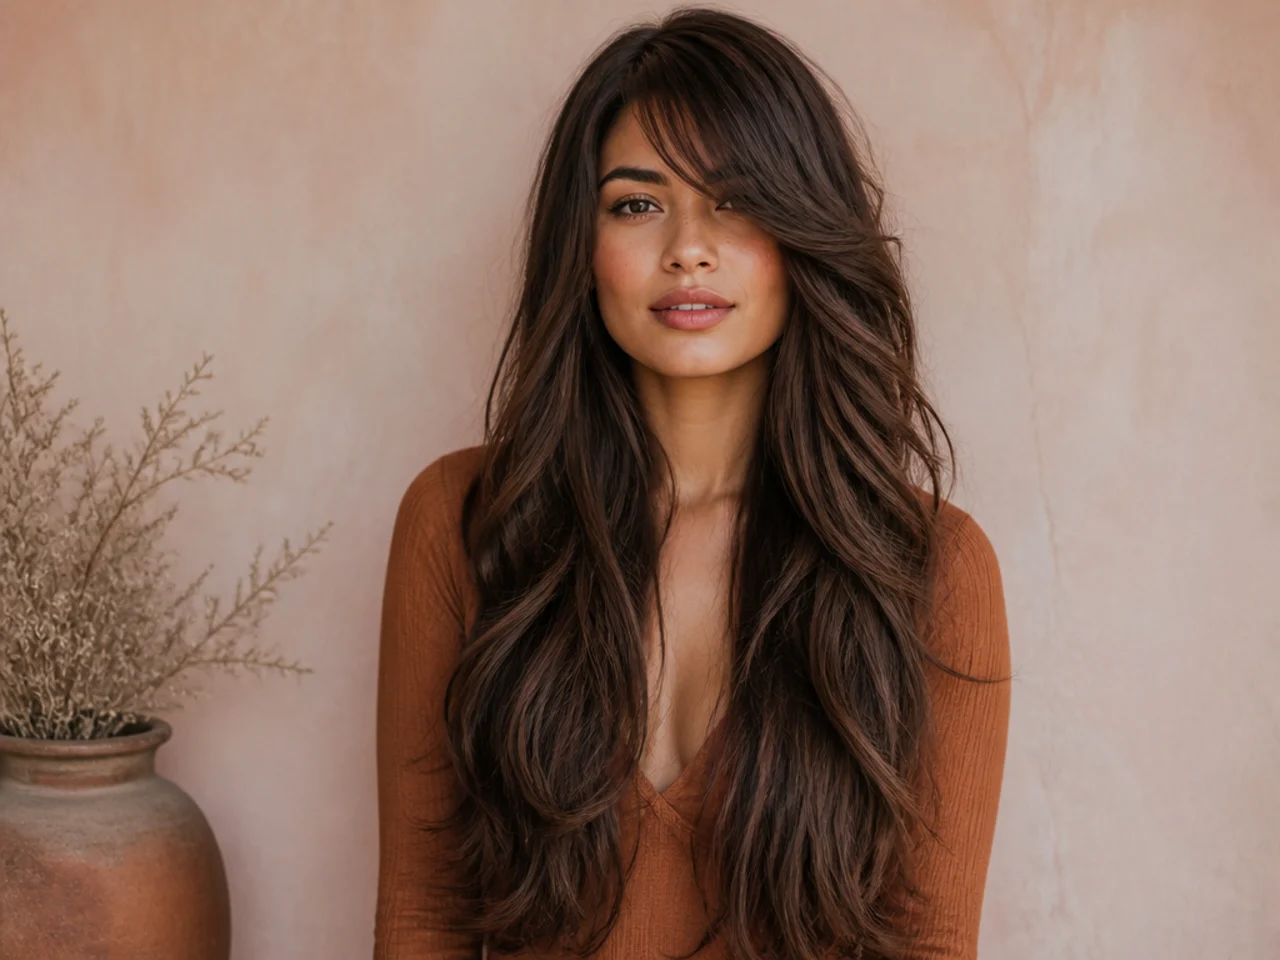
9. Sweep with Minimal Layers
Two or three long layers only, keeping density. Fewer layers means the fringe joins into a solid edge rather than into progressively thinner sections.

10. Sweep with Heavy Internal Layers
Weight removed inside, outline kept intact. Internal removal changes how the hair behaves without changing where the line sits, which is what keeps the join clean.
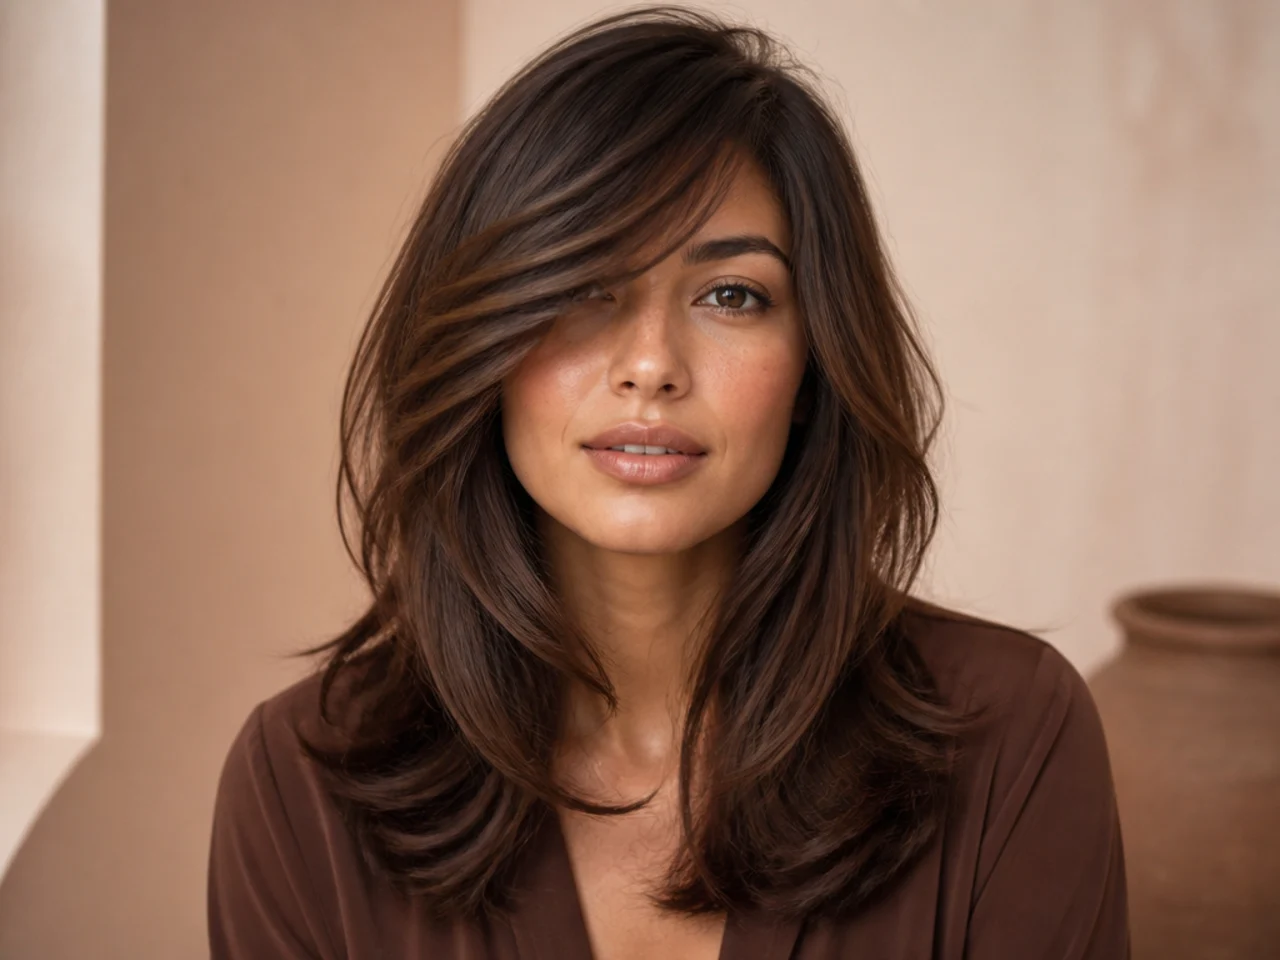
11. Sweep with Layers on Straight Hair
Where the join shows most, and precision matters most. Straight hair reflects light evenly along its length, so any step in the line shows as a break in the reflection.
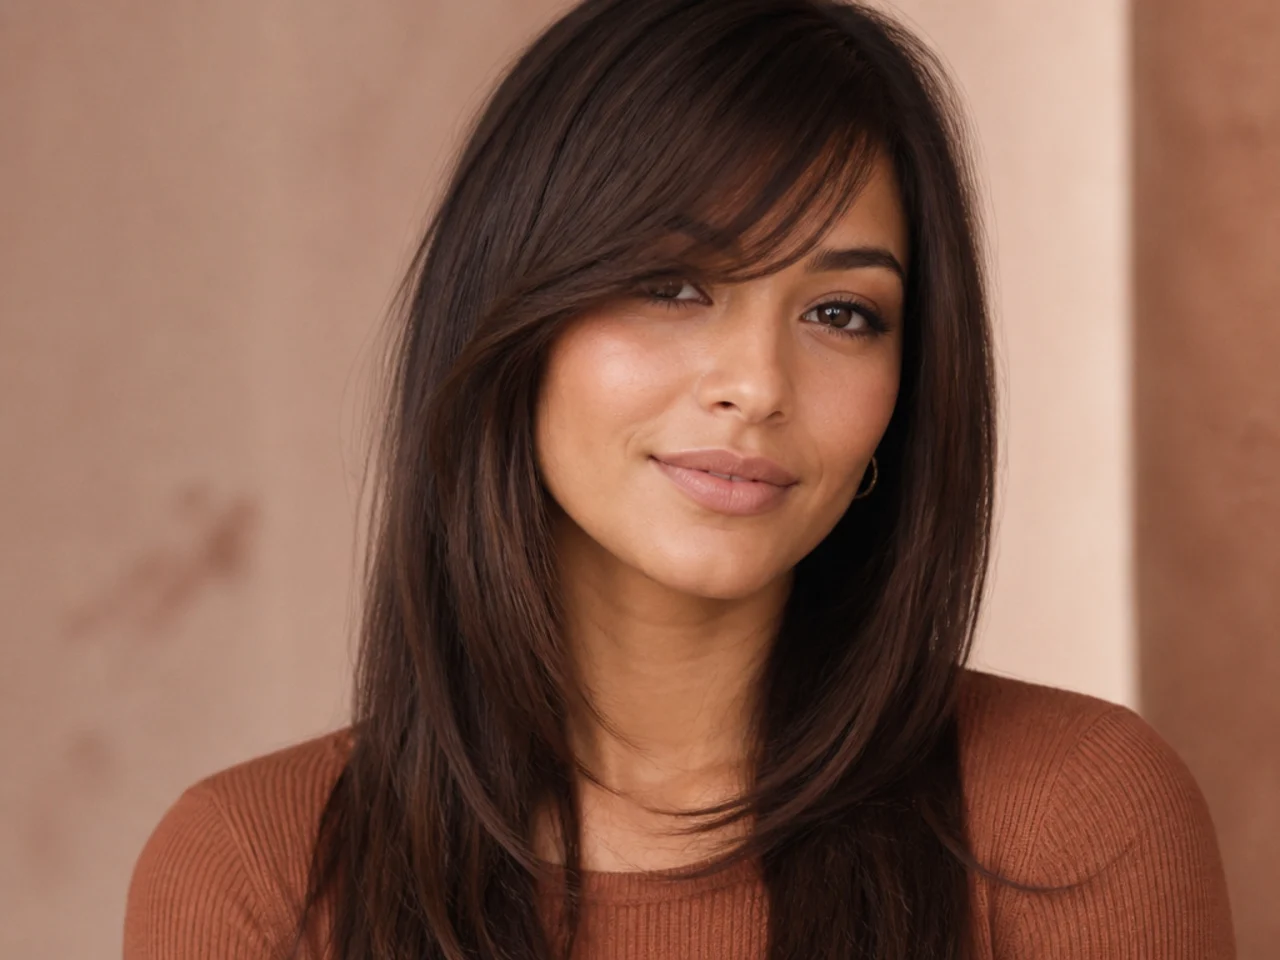
12. Sweep with Layers on Wavy Hair
Texture forgiving a slightly imperfect join. A wave interrupts the line naturally, which hides the millimetre or two a straight head would expose.
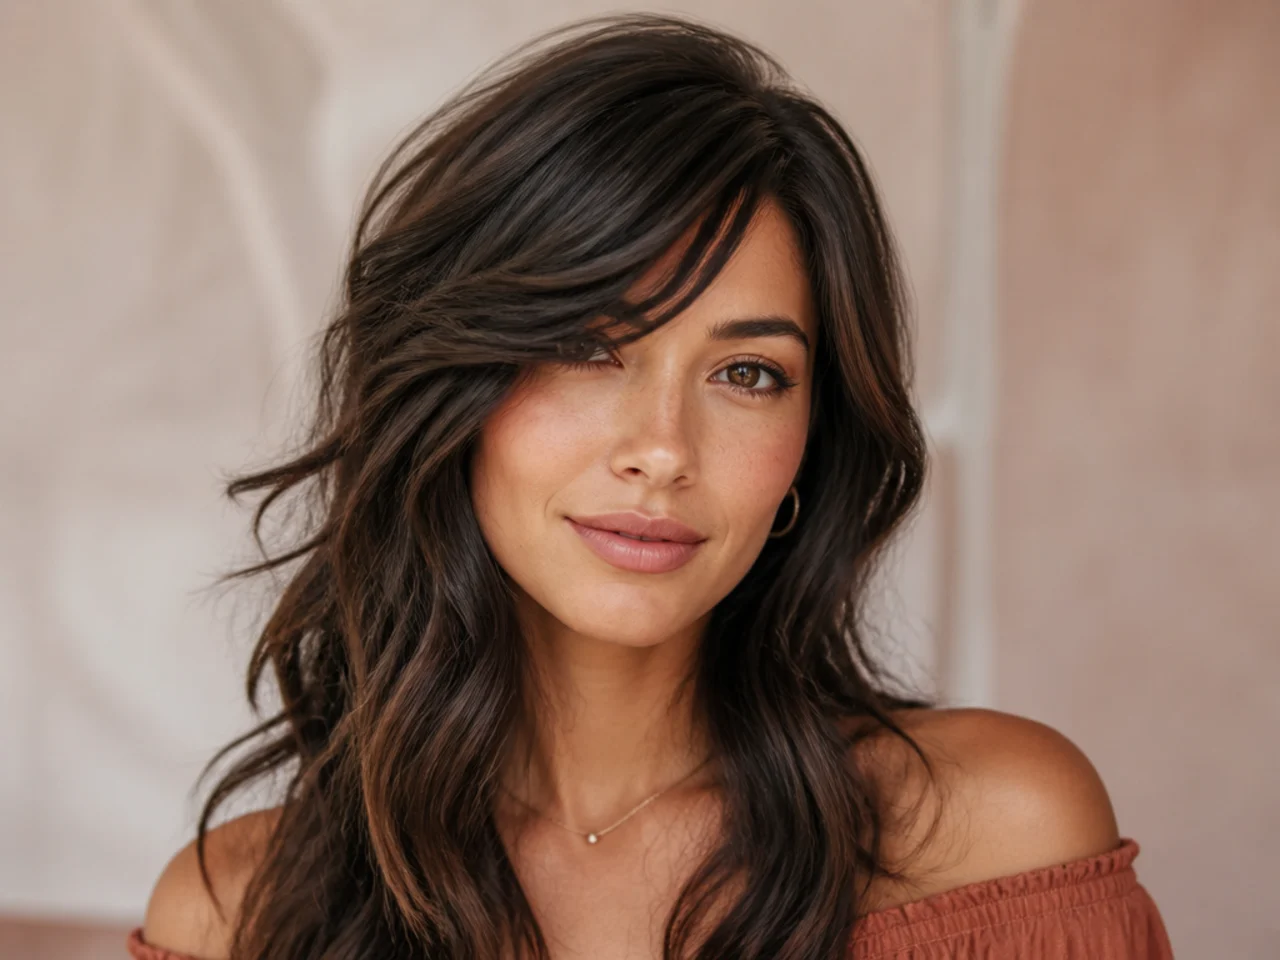
13. Sweep with Layers on Curly Hair
Cut dry, with the join judged in its natural state. Curly hair shrinks as it dries, so a join cut wet lands in a completely different place once the pattern returns.
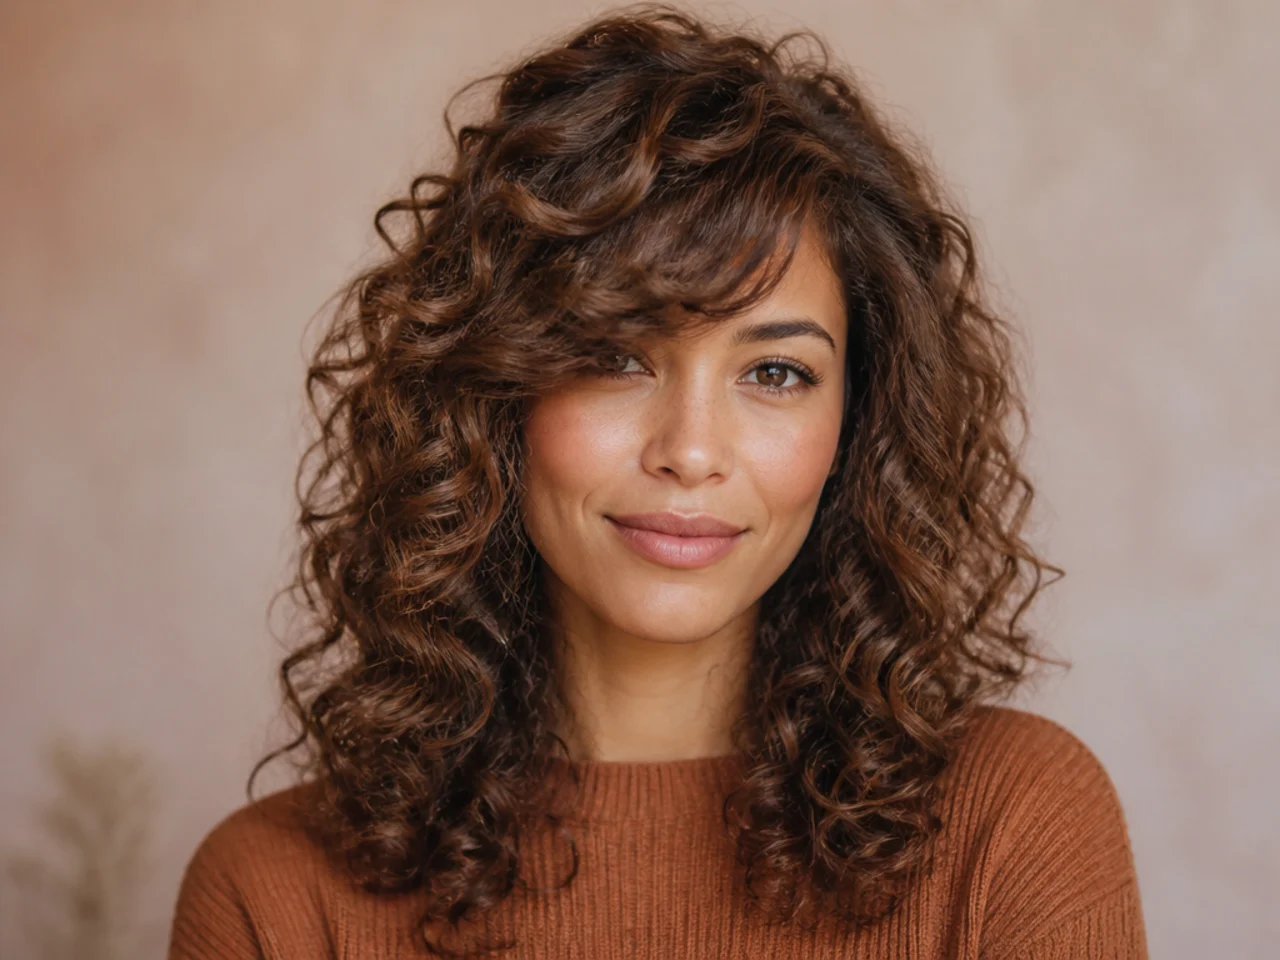
14. Sweep with Layers on Thick Hair
Internal weight removed so the connected line stays clean. Thick hair builds a wedge at the join unless weight comes out from underneath rather than off the ends.

15. Sweep with Layers on Fine Hair
Few layers, all long, so density is not spread thin. Every extra layer divides a fine head into smaller amounts of hair, which is the opposite of what the join needs.

16. Sweep with Highlights Along the Connected Line
Colour tracing the whole diagonal, fringe and layers together. Running colour along the join is the clearest way to show the line is continuous rather than two cuts.
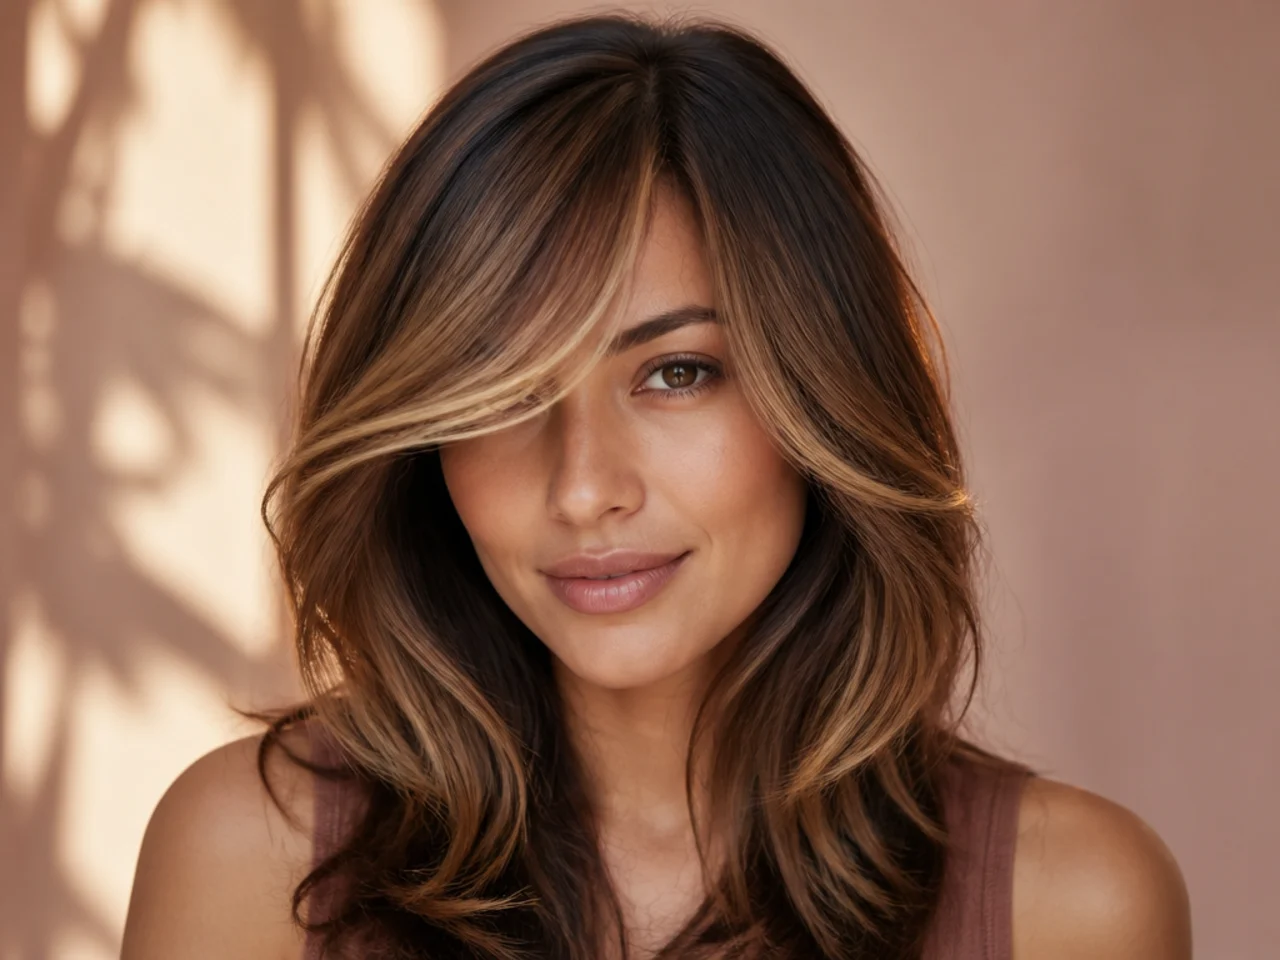
17. Sweep with Layers Worn Tucked
One side tucked, showing the join clearly. Tucking exposes the connection, so it is worth checking how a tuck looks before leaving the salon.
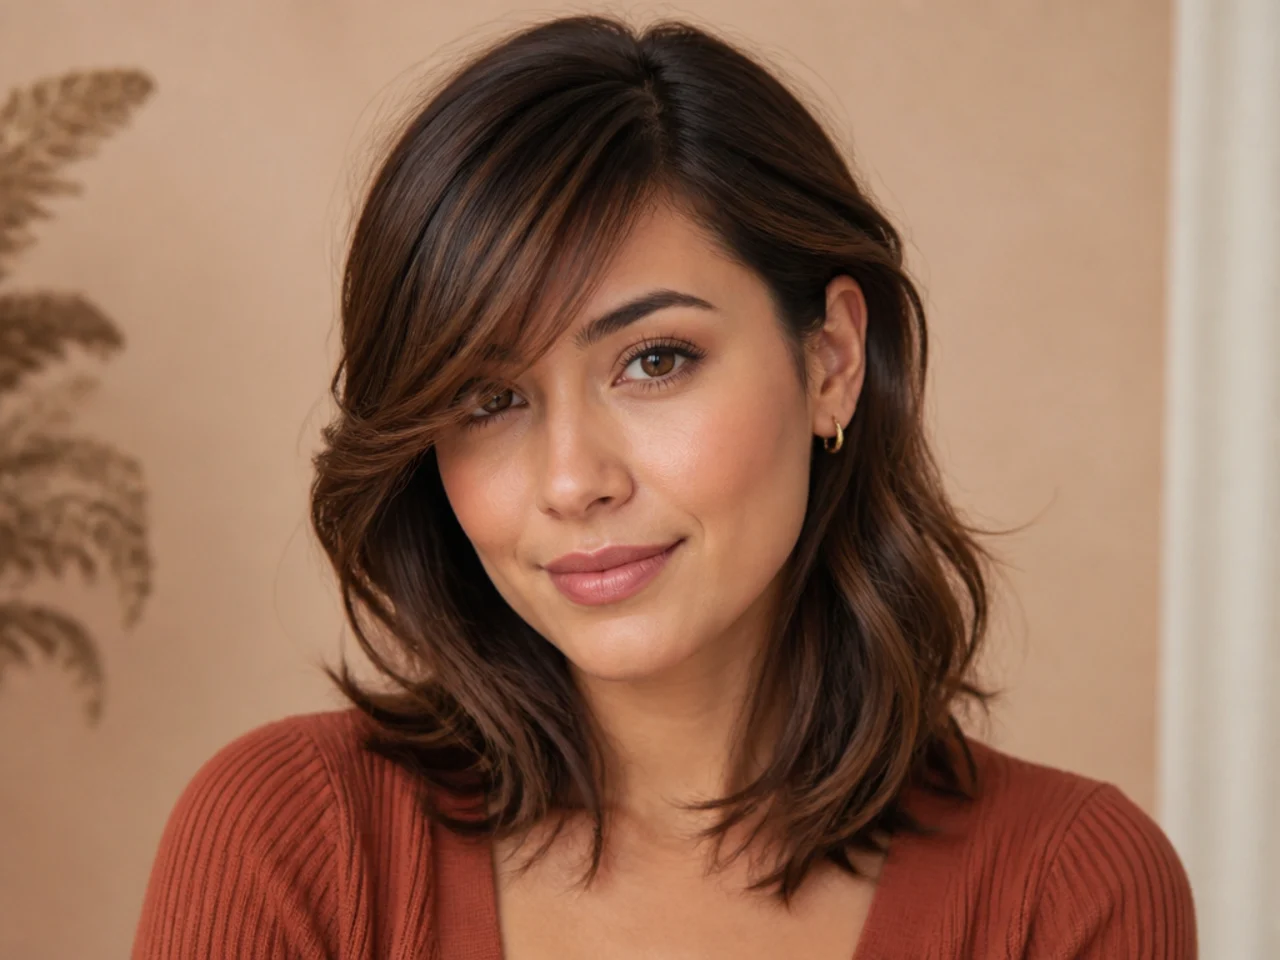
18. Sweep with Layers in a Half-Up
The connected line framing a gathered back. With everything gathered the connected diagonal is the only shape left, which is when a good join earns itself.

19. Sweep with Layers Grown Out Six Weeks
Where a good join still reads as one line. A connected cut grows out as one length; a disconnected one develops a visible step within a fortnight.

20. A Visible Step Between Fringe and Layers
Two cuts that never met. The failure this page is about. The fringe sits on top of the haircut rather than in it, and no amount of styling hides a step in the outline.
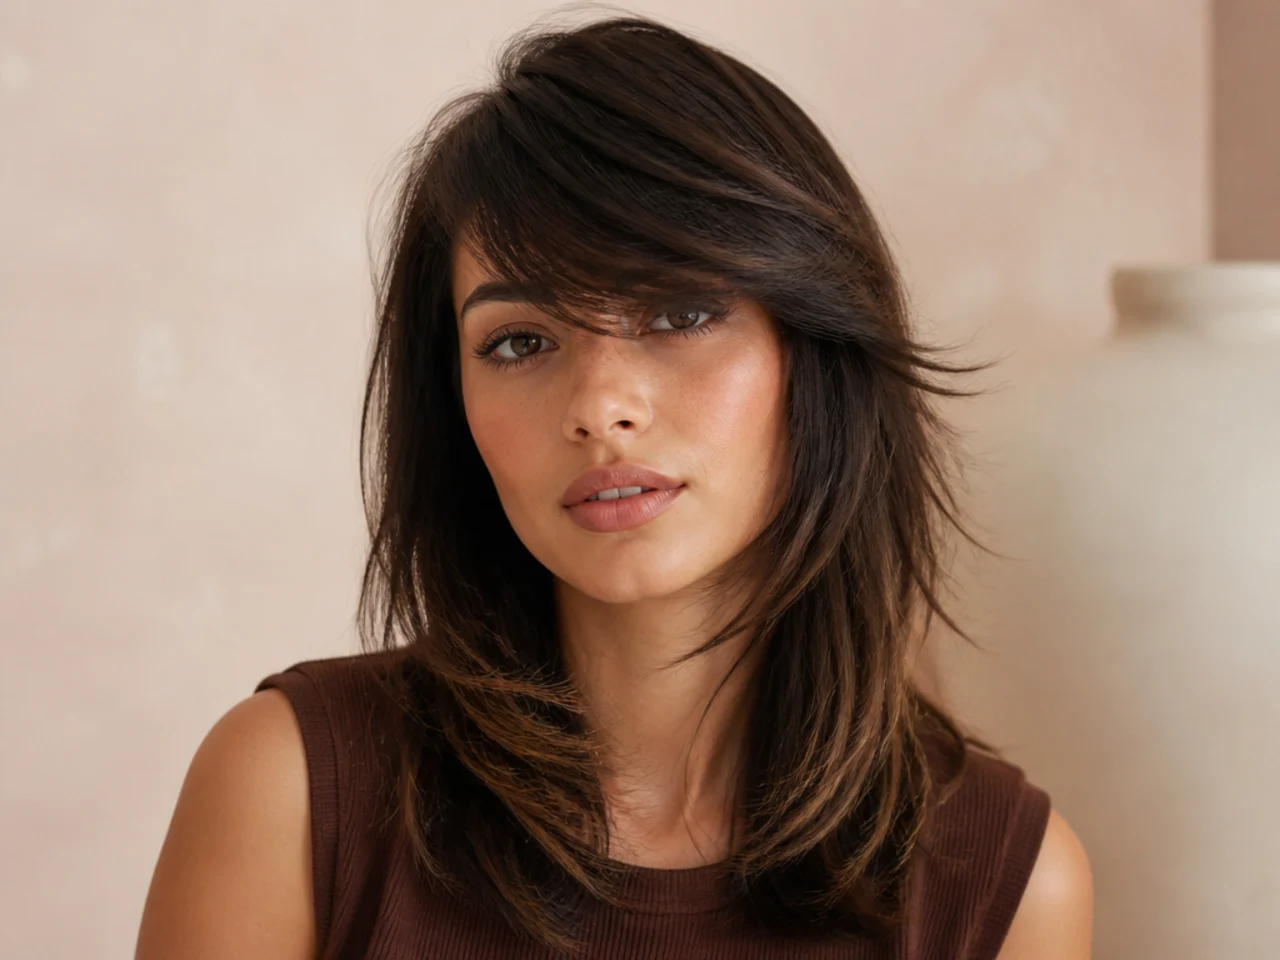
Styling and Upkeep
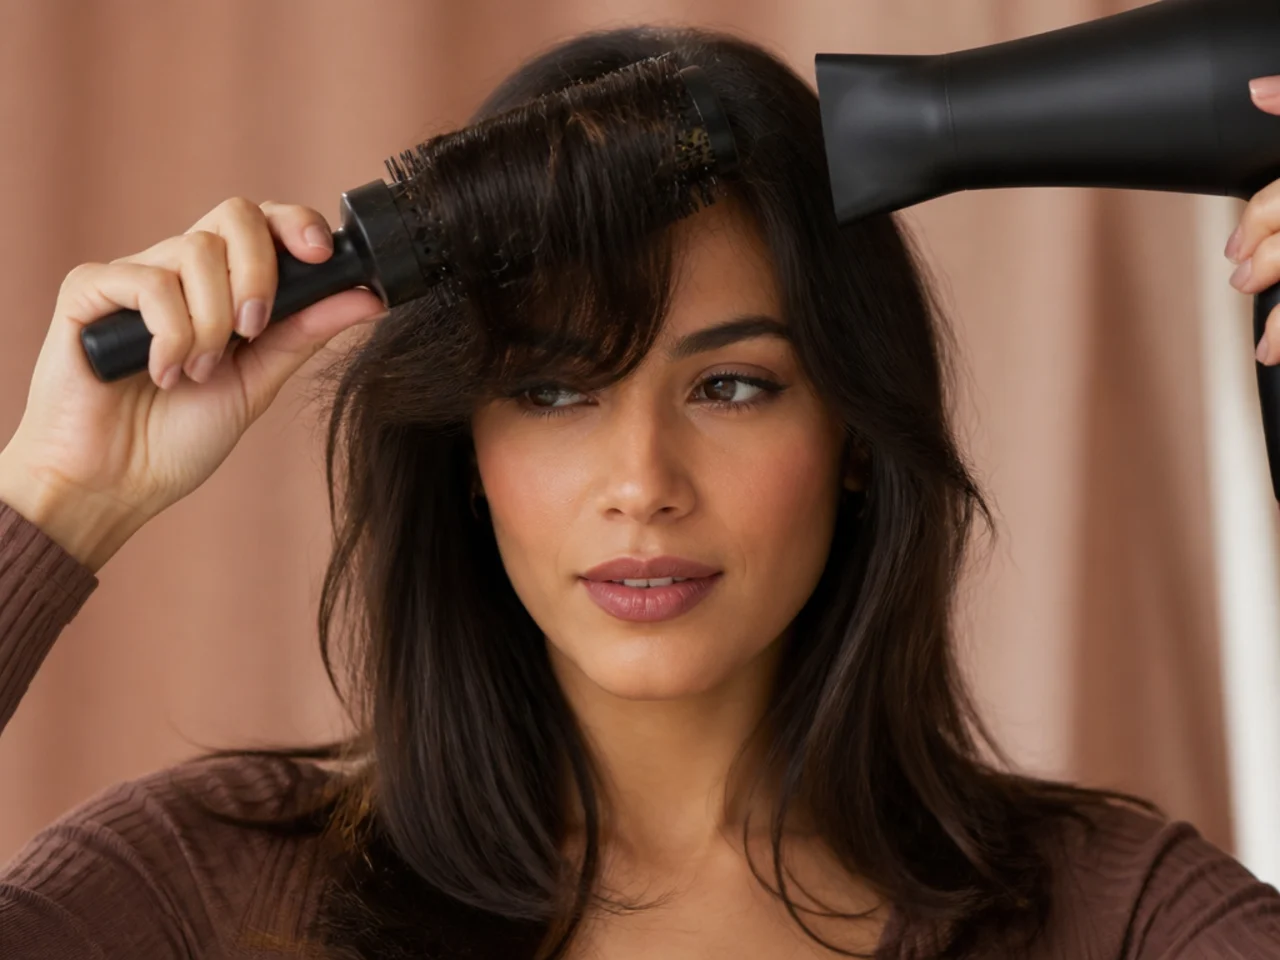
Dry the fringe and first layer together. Same brush, same direction, one continuous movement. It reinforces the line the cut created.
Trim the fringe more often than the layers. The fringe grows into the wrong place first; the layers can wait.
Ask for the join to be re-matched at every trim. Trimming only the fringe pulls it away from the layer it was cut to meet.
Avoid short layers at the cheek. They interrupt the line at exactly the point it should be clearest.
Keep the same stylist if you can. The join is easier to maintain than to rebuild.
Mistakes to Avoid
Cutting layers to a standard length. They should be cut to where the fringe finishes.
Cutting layers before the fringe. The fringe sets the line; the layers follow it.
Trimming only the fringe for months. The join drifts apart.
Short layers at cheek height. They break the line where it matters.
Asking for "layers and bangs" as two things. Ask for one continuous line.
FAQ
Should they be connected? Almost always — a matched angle at the join is what stops the fringe looking stuck on.
Where should the first layer start? Where the fringe finishes, at the same angle.
Can layers be added later? Yes, provided they are cut to meet the existing fringe.
Final Thoughts
Ask for one continuous line rather than for bangs and layers. It is the same amount of cutting, it costs nothing extra, and it is the entire difference between a fringe that belongs to your haircut and one that is sitting on top of it.
For the grow-out of that line see 15 grown out side swept bangs ideas, and for the cut itself see 25 cute side swept bangs ideas. More in Bangs & Fringe.