
25 Simple Mullet Drawing Ideas For Sketch Practice
Twenty five sketch exercises for drawing a mullet, and the one thing that decides whether the drawing reads — the step has to land where the skull curves back in, level with the top of the ear. Placed higher it becomes a bowl cut no amount of shading will rescue.
In this article · 32
- What Makes a Drawing Read as a Mullet
- Choosing a View and a Medium
- The 25 Mullet Drawing Ideas
- 1. Side Profile Silhouette
- 2. Back View Outline
- 3. Three Quarter View
- 4. Front View
- 5. Blocking In With Two Shapes
- 6. Finding the Occipital Step
- 7. Negative Space Around the Ear
- 8. The Hairline Construction Line
- 9. Straight Hair Mullet
- 10. Wavy Hair Mullet
- 11. Curly Hair Mullet
- 12. Coily Hair Mullet
- 13. A Faded Side in Graphite
- 14. Cross Hatching the Nape
- 15. Single Weight Ink Line
- 16. Varying Line Weight
- 17. Three Value Study
- 18. Highlight Band on the Tail
- 19. Mullet in Motion
- 20. Wind From Behind
- 21. Cartoon Mullet
- 22. Realistic Graphite Mullet
- 23. A Mullet With a Fringe
- 24. Mullet and Wolf Cut Study
- 25. Thirty Second Gesture Sketch
- Styling and Upkeep
- Mistakes to Avoid
- FAQ
- Final Thoughts
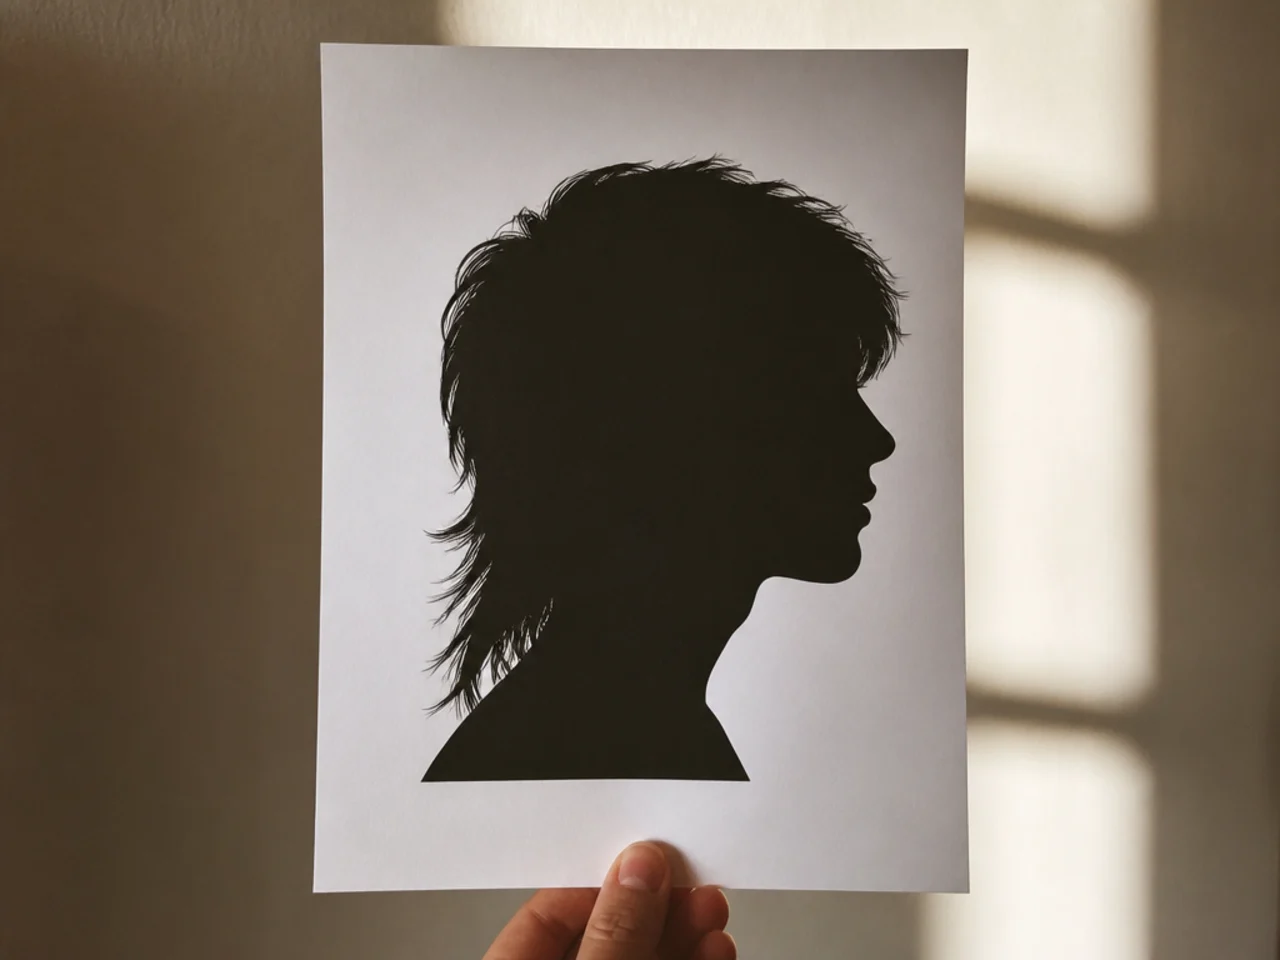
Most failed mullet drawings are failed silhouettes, and the fix happens before a single strand is rendered.
The outline carries the cut. Fill your drawing in solid black — if it does not read as a mullet at that point, no interior detail will save it.
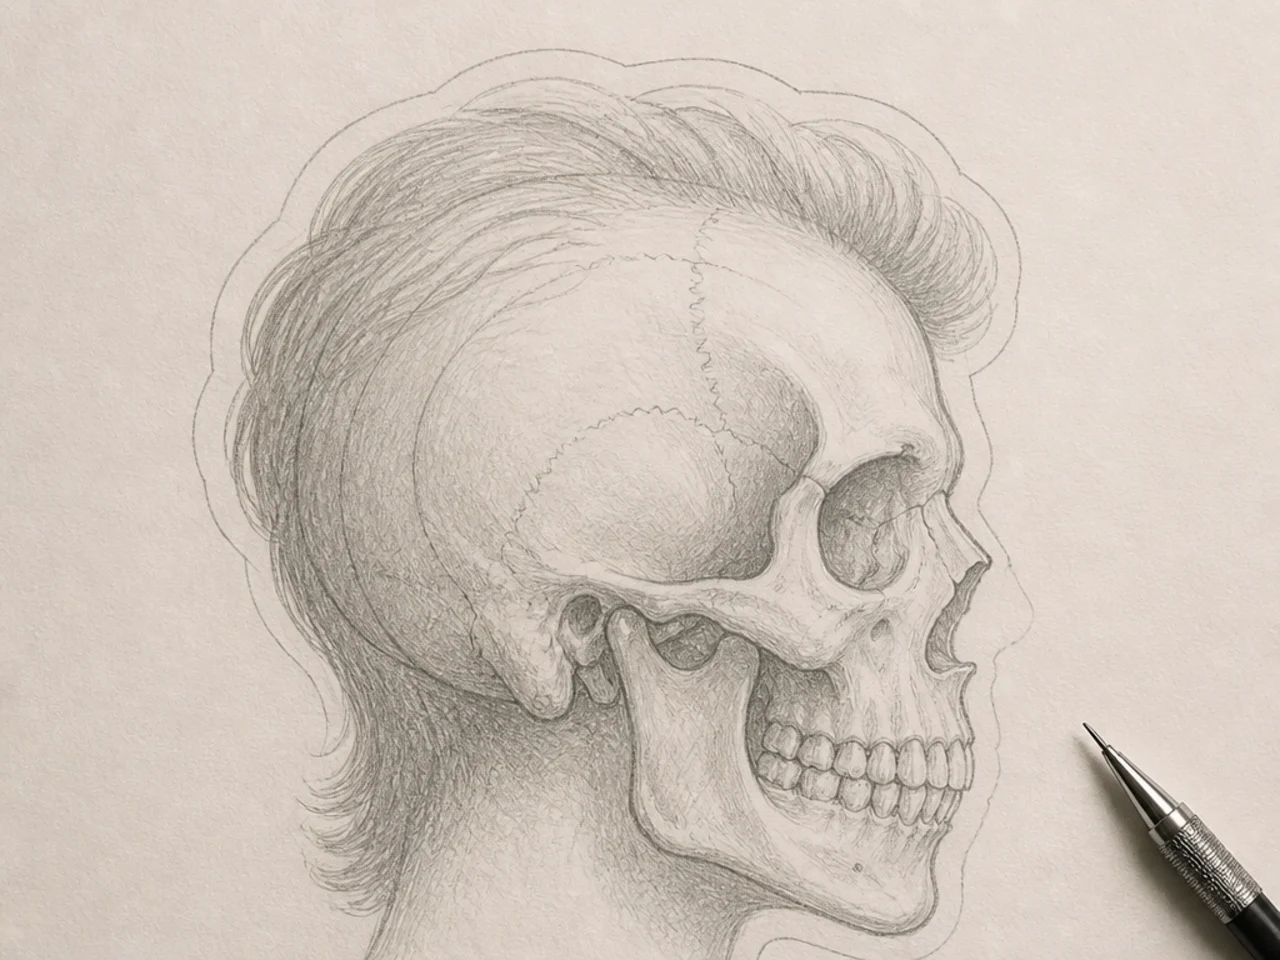
The step lands where the skull turns in. Level with the top of the ear at the back. Higher than that and the short section becomes a cap.
What Makes a Drawing Read as a Mullet
Two lengths and a boundary. Short at the front and sides, long at the back, and a visible edge between them. Remove the edge and you have drawn a shag.
The ear is the landmark. Everything is measured off it, because the ear is the one feature that does not move between head shapes.
Hair sits outside the skull line. Its outer edge is offset from the cranium by its own thickness, which is what stops it looking painted on.
Texture is value, not line. Curl, wave and coil all read as changes in density and shadow long before any individual strand is visible.
Choosing a View and a Medium
Side profile teaches the shape. It is the only view where both lengths and the step are visible at once, which makes it the right place to start.
Three quarter teaches the volume. You have to solve how the tail wraps around the back of the head, and that is where the form is actually learned.
Graphite gives you value cheaply. Tone can be laid, lifted and rebuilt, so mistakes in the fade gradient cost nothing.
Ink forces the silhouette. With no tone available the shape has to do all the work, which is why ink exposes a weak outline immediately.
The 25 Mullet Drawing Ideas
1. Side Profile Silhouette
Fill the whole shape solid, no interior lines at all. This strips away everything except the outline, which is where a mullet is either legible or not, and it takes under a minute to find out.
2. Back View Outline
From behind, the mullet is a narrow column of length between two short sides. Drawing this view teaches you how much narrower the tail is than the head it hangs from, which is the proportion most sketches get wrong.
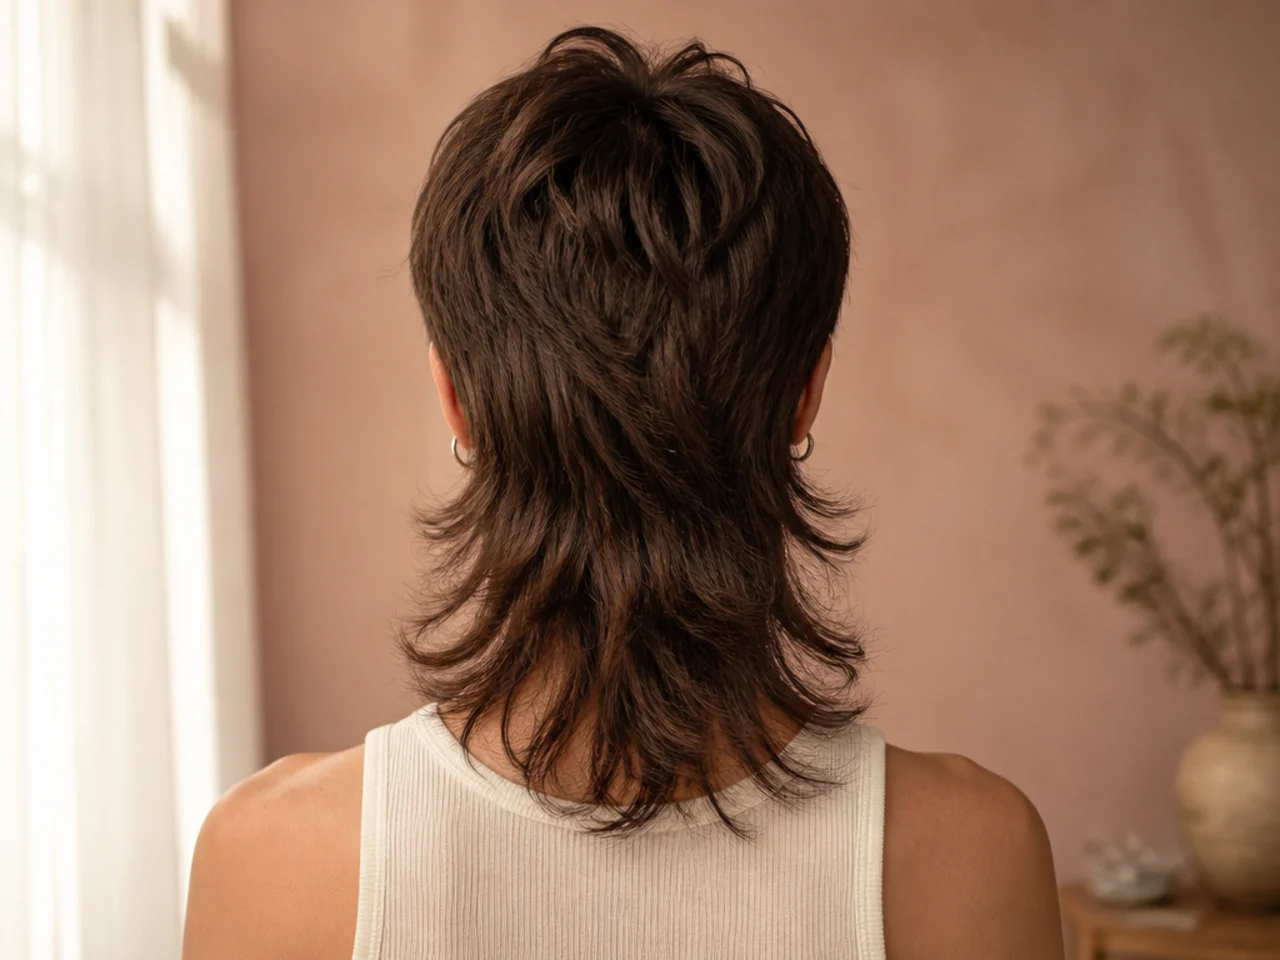
3. Three Quarter View
The tail has to wrap around the far side of the skull and partly disappear. Solving that overlap is what turns a flat shape into a head, and it is the reason this view is worth more practice than the profile.
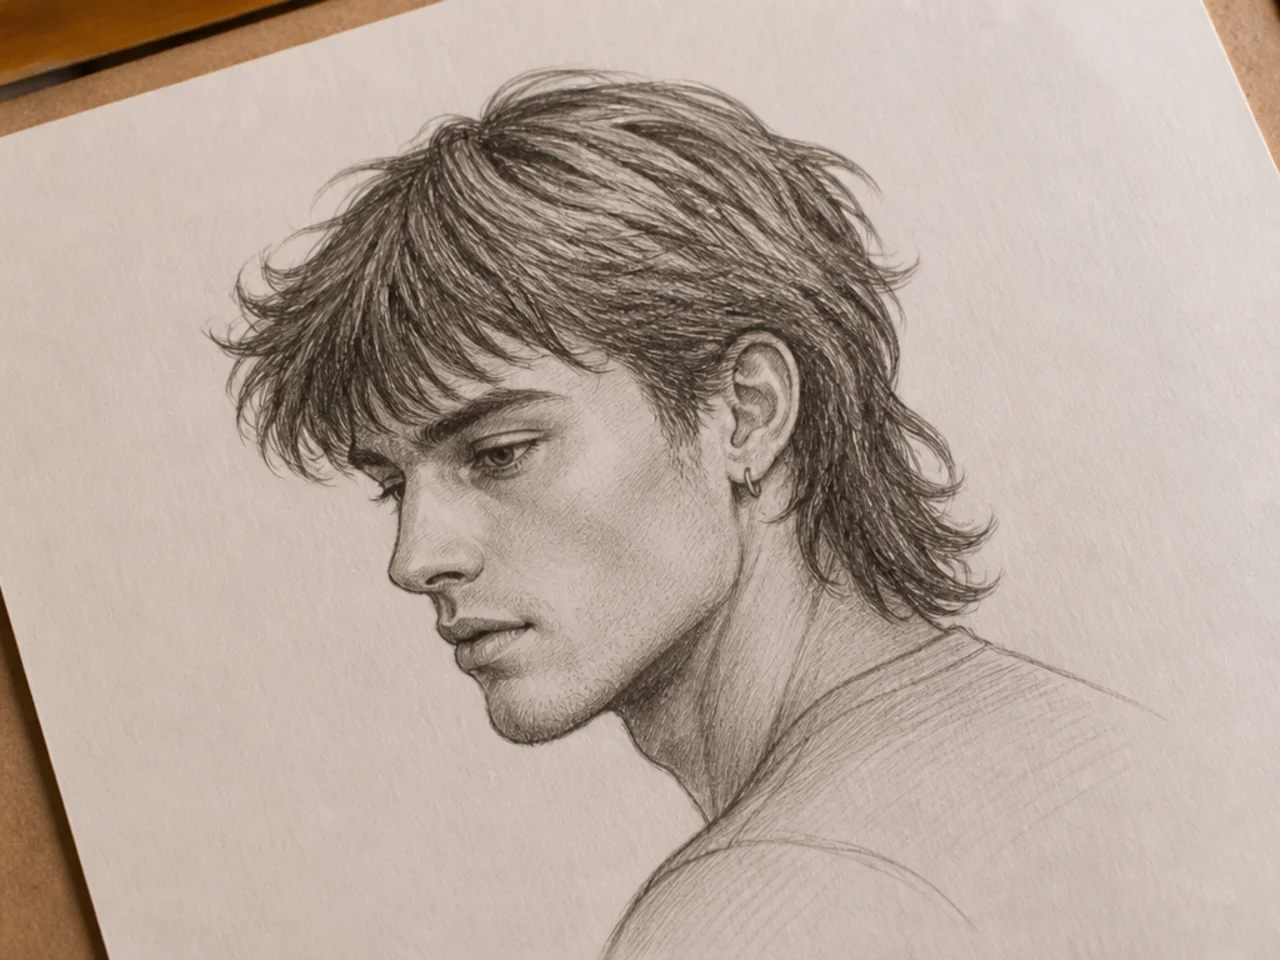
4. Front View
From the front a mullet almost hides, showing only a fringe and short sides. Drawing it teaches restraint — a few strands escaping past the neck are all the evidence the viewer needs.

5. Blocking In With Two Shapes
Draw the cut as one small shape for the short section and one long shape for the tail, nothing else. Working this coarsely forces the proportion decision to happen first, while it is still cheap to change.
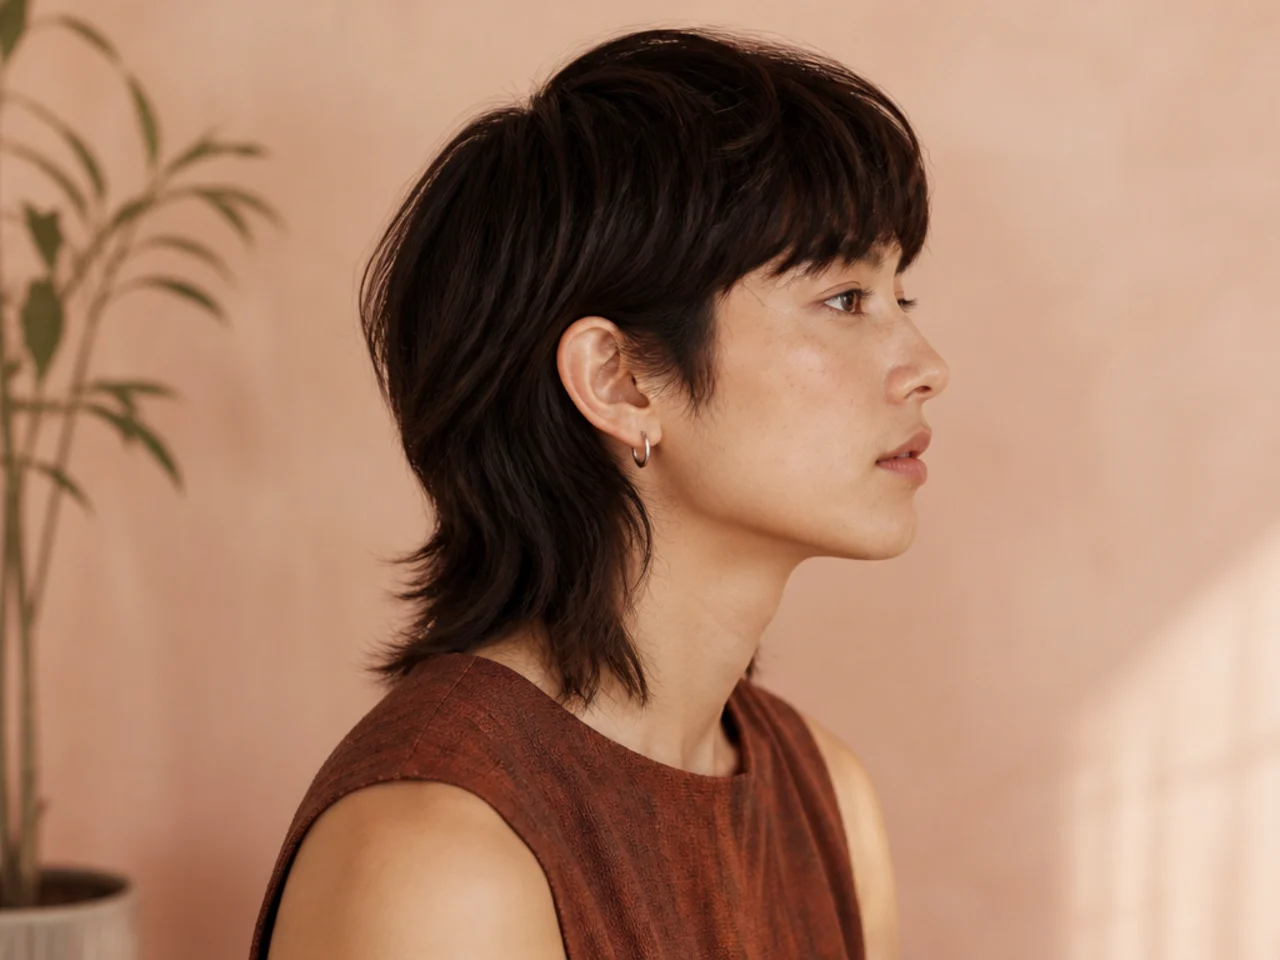
6. Finding the Occipital Step
Mark the point where the back of the skull curves inward, then place the step there. Drawn above that point the short section reads as a cap; drawn below it the cut loses its disconnection entirely.
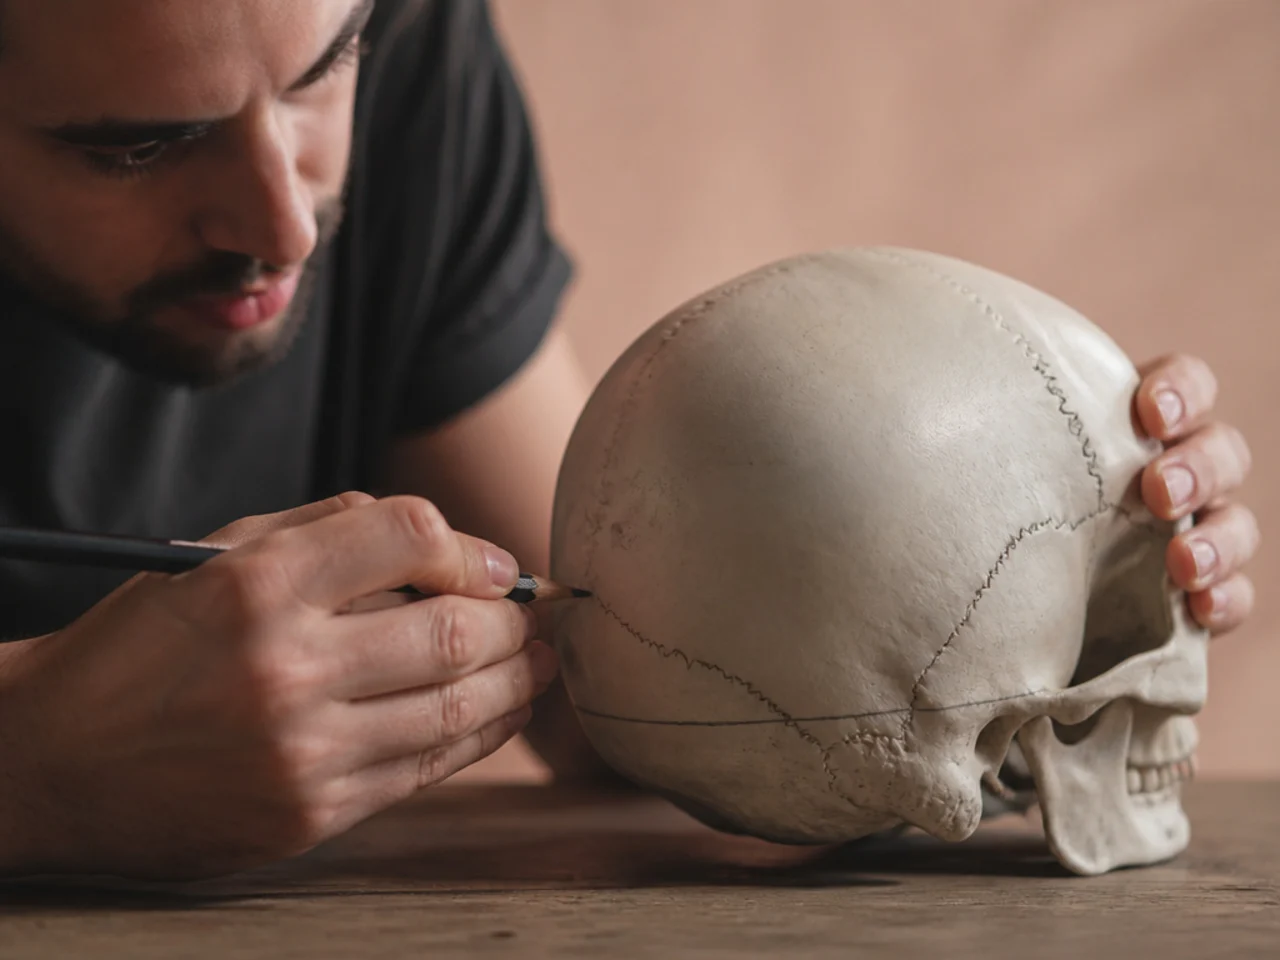
7. Negative Space Around the Ear
Draw the gap between the short hair and the ear rather than the hair itself. Negative space is easier to judge accurately than a positive shape, and on a mullet that gap is the clearest identifier in the whole drawing.
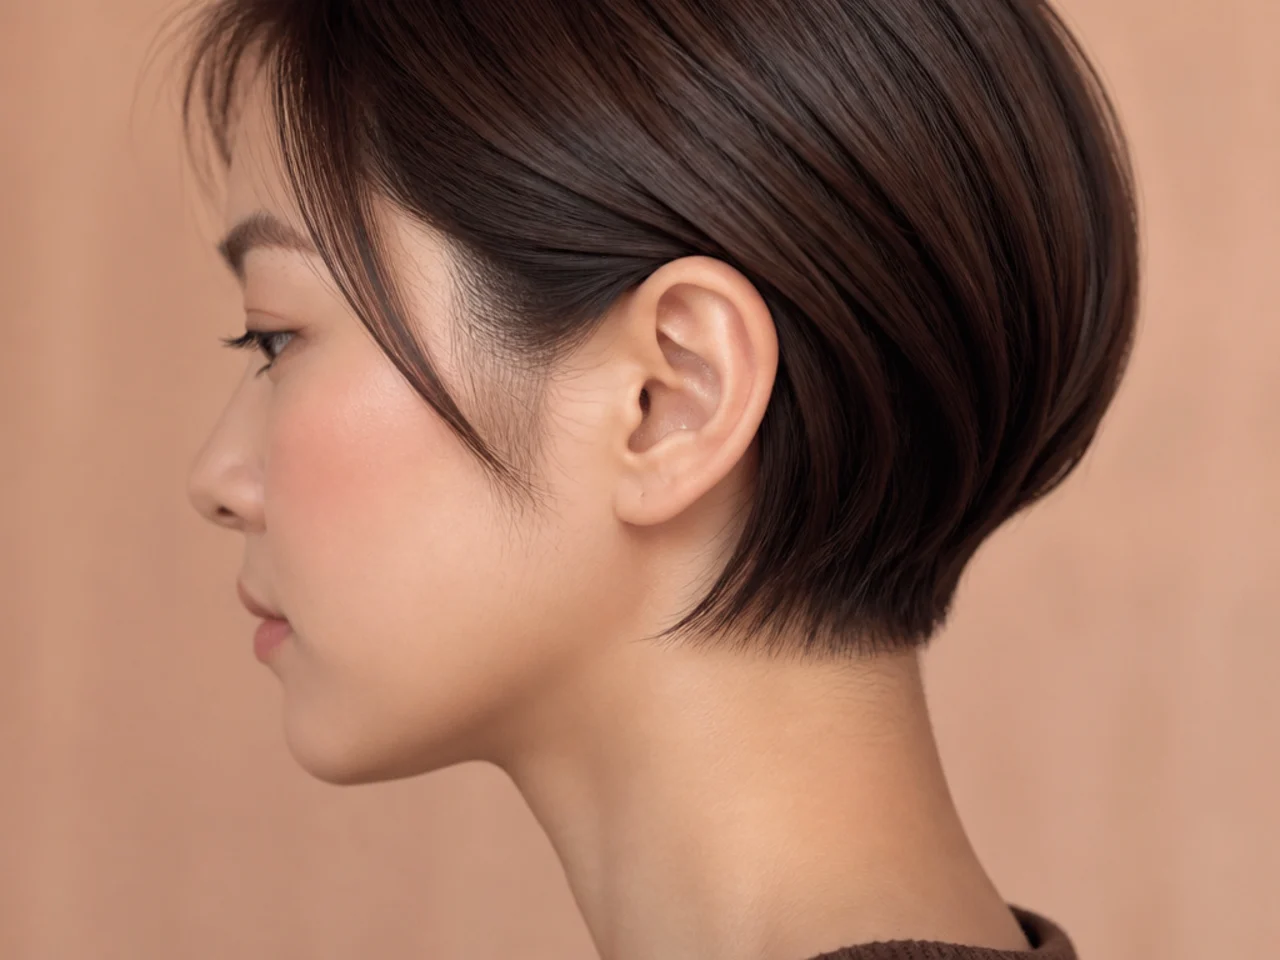
8. The Hairline Construction Line
Lay in the cranium, then draw the hairline as a separate curve offset outside it. That offset is the thickness of the hair, and skipping it is the single most common reason a hair drawing looks stuck to the skull.
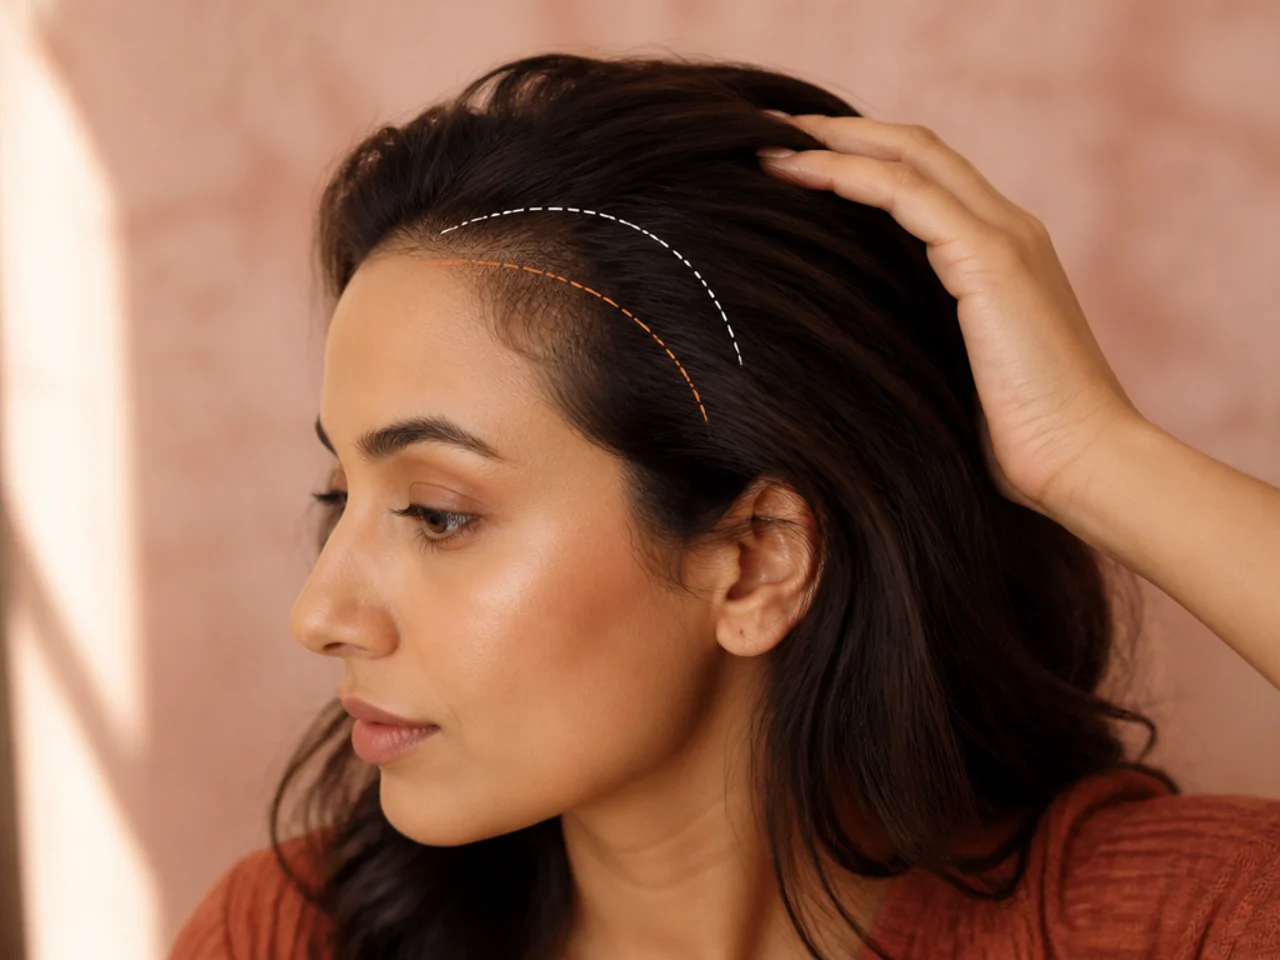
9. Straight Hair Mullet
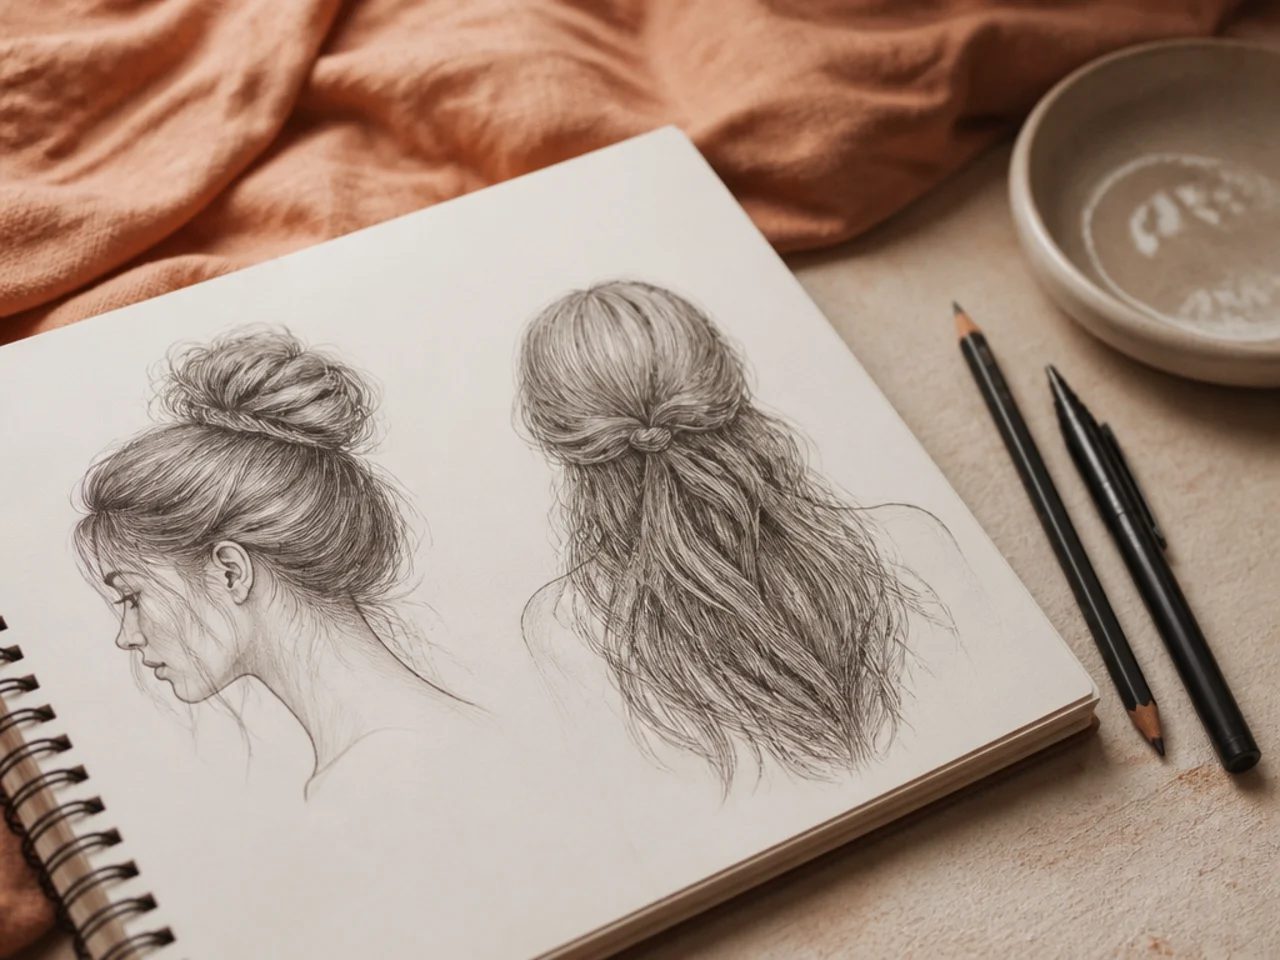
Long parallel strokes running with the growth direction. The trap is that evenly spaced parallels flatten the form, so vary the gaps and let some strokes bunch together where the tail turns away from the light.
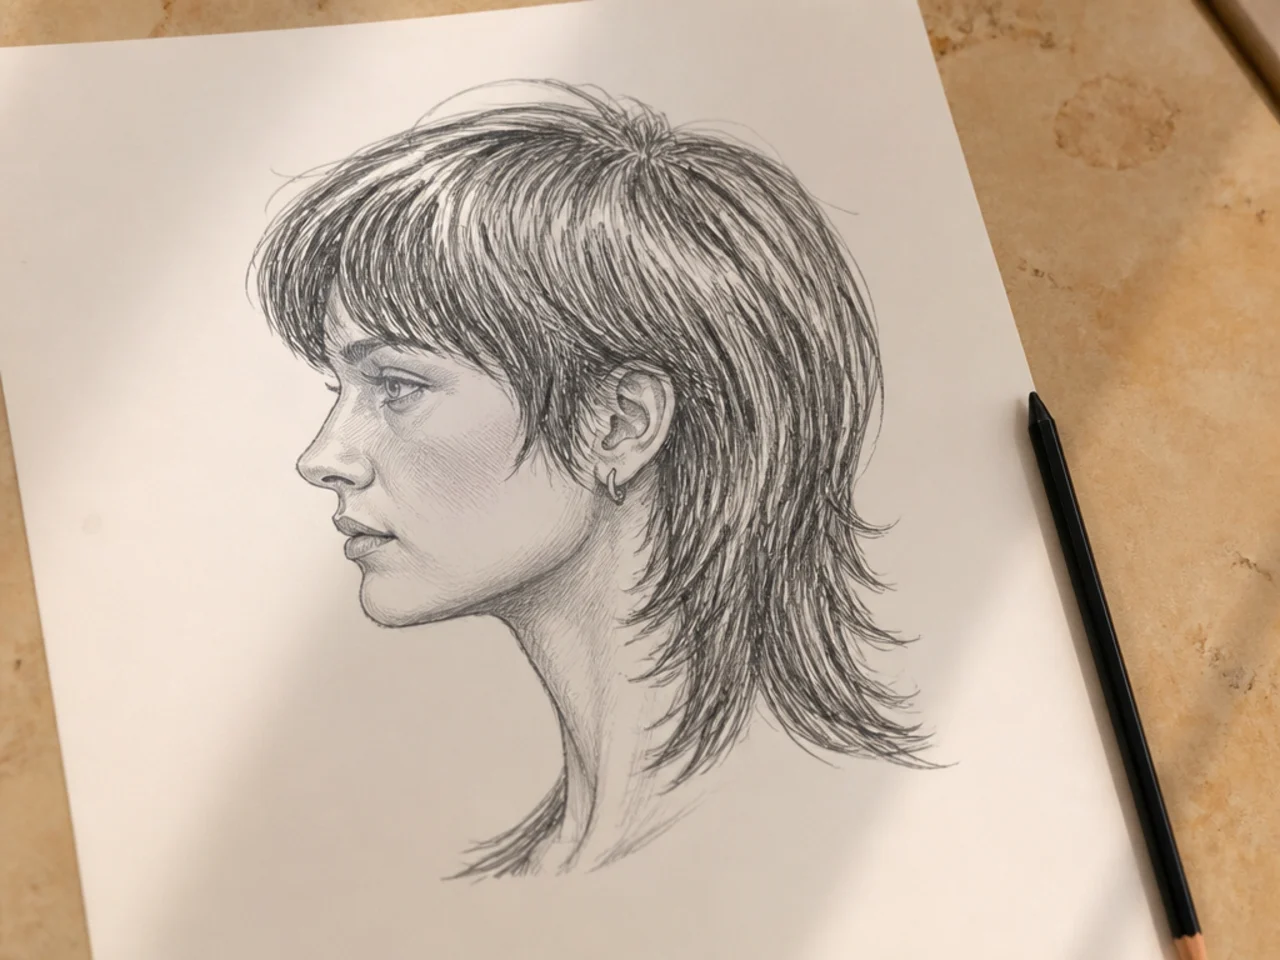
10. Wavy Hair Mullet
Put the S bend into the silhouette edge before touching the interior. Interior waves that do not match the outline read as noise, because the viewer checks the edge first and the inside afterwards.

11. Curly Hair Mullet
Draw clumps with a lit side and a shadow side, not individual spirals. A spiral drawn in outline reads as a wire; a clump with tone inside it reads as hair with mass behind it.
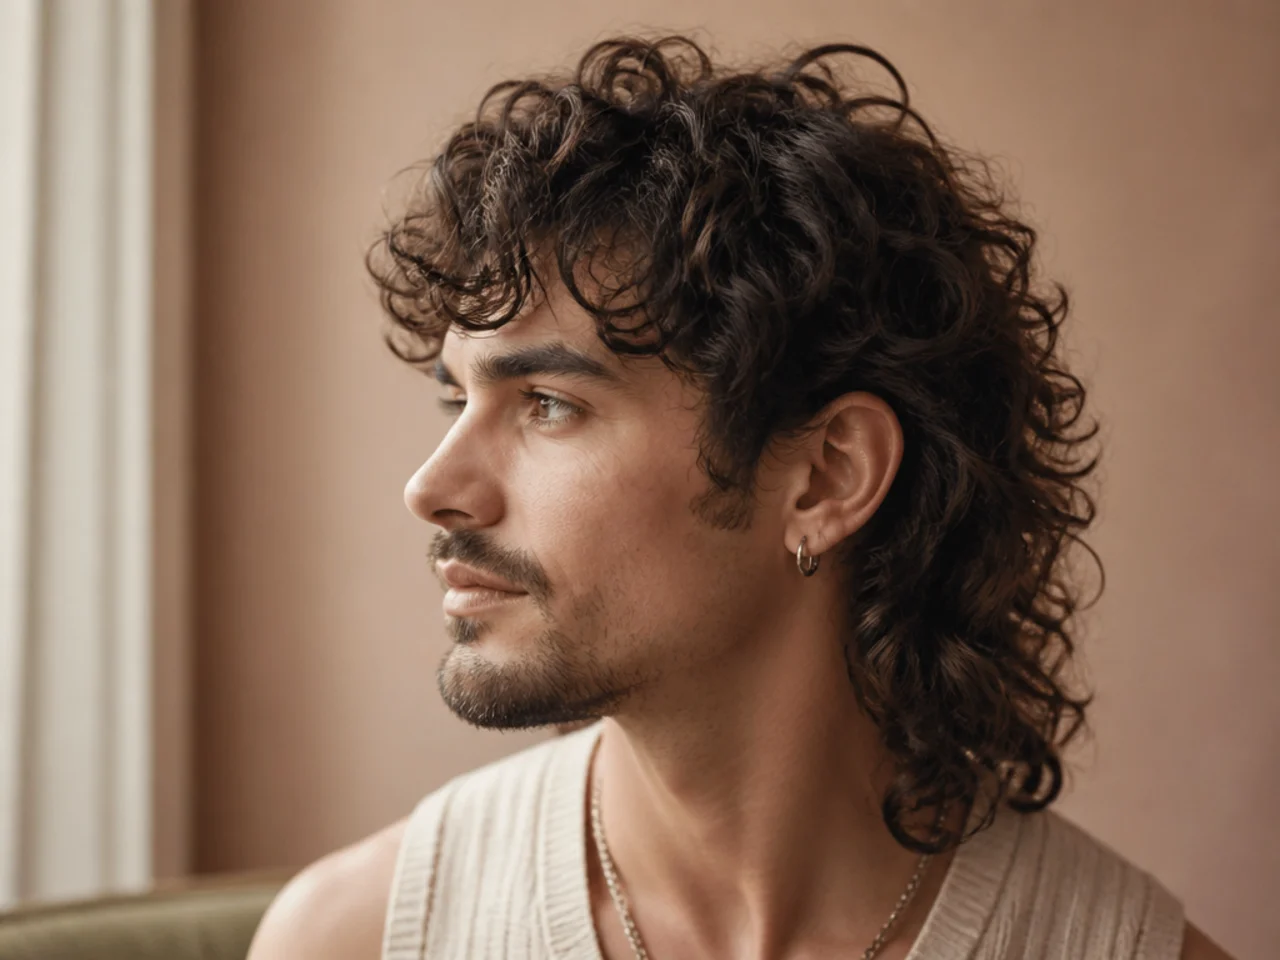
12. Coily Hair Mullet
Coils are finer than a pencil point can resolve, so render them as changes in tone density instead. Build the shape with an even mid tone and cut the silhouette crisply — the edge does the describing here.
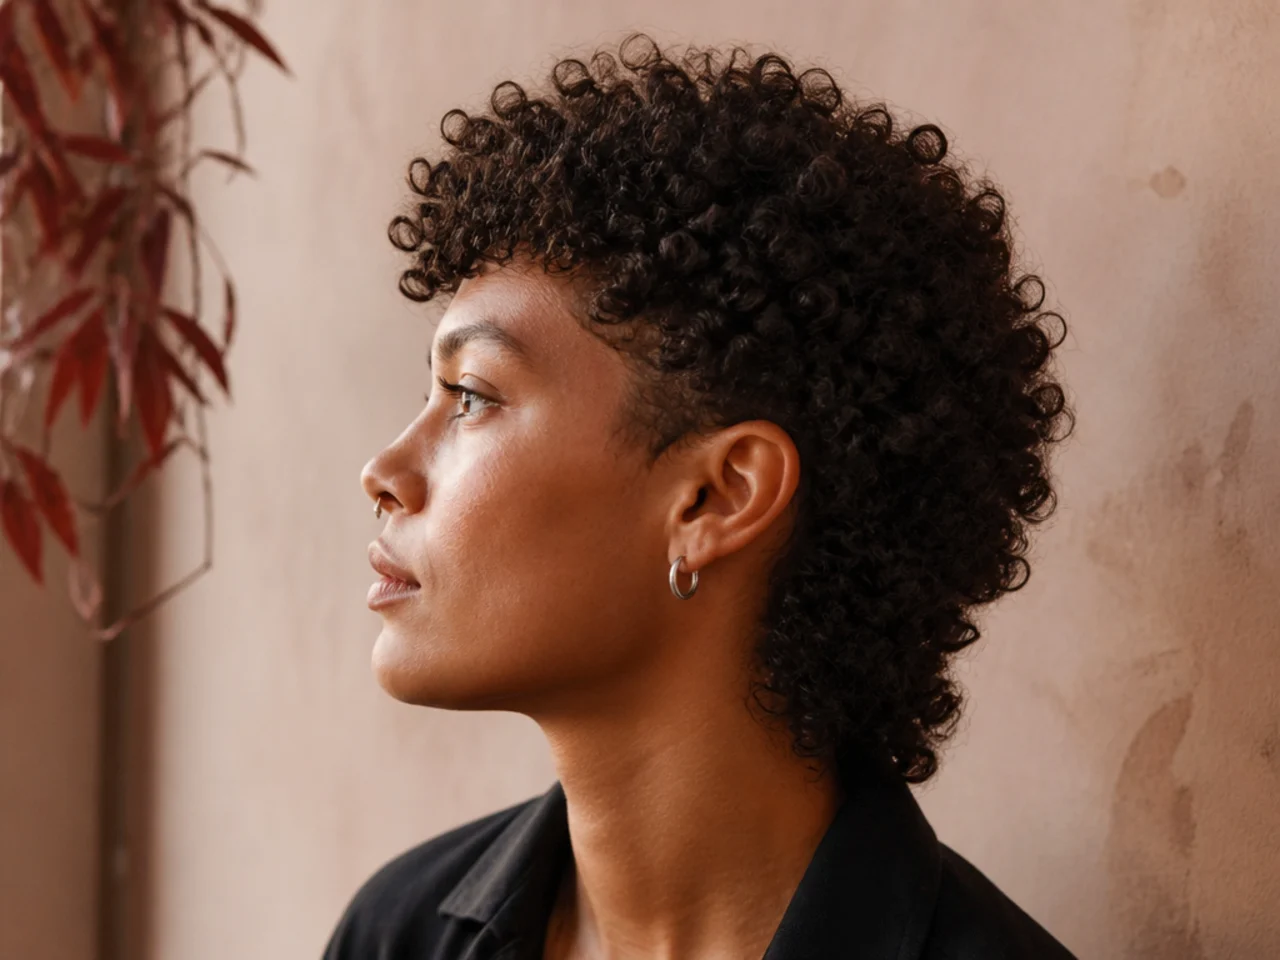
13. A Faded Side in Graphite
Lay a mid tone across the side, then lift the gradient out with a kneaded eraser rather than adding more graphite. Lifting produces a smoother transition because you are removing material evenly instead of stacking strokes.
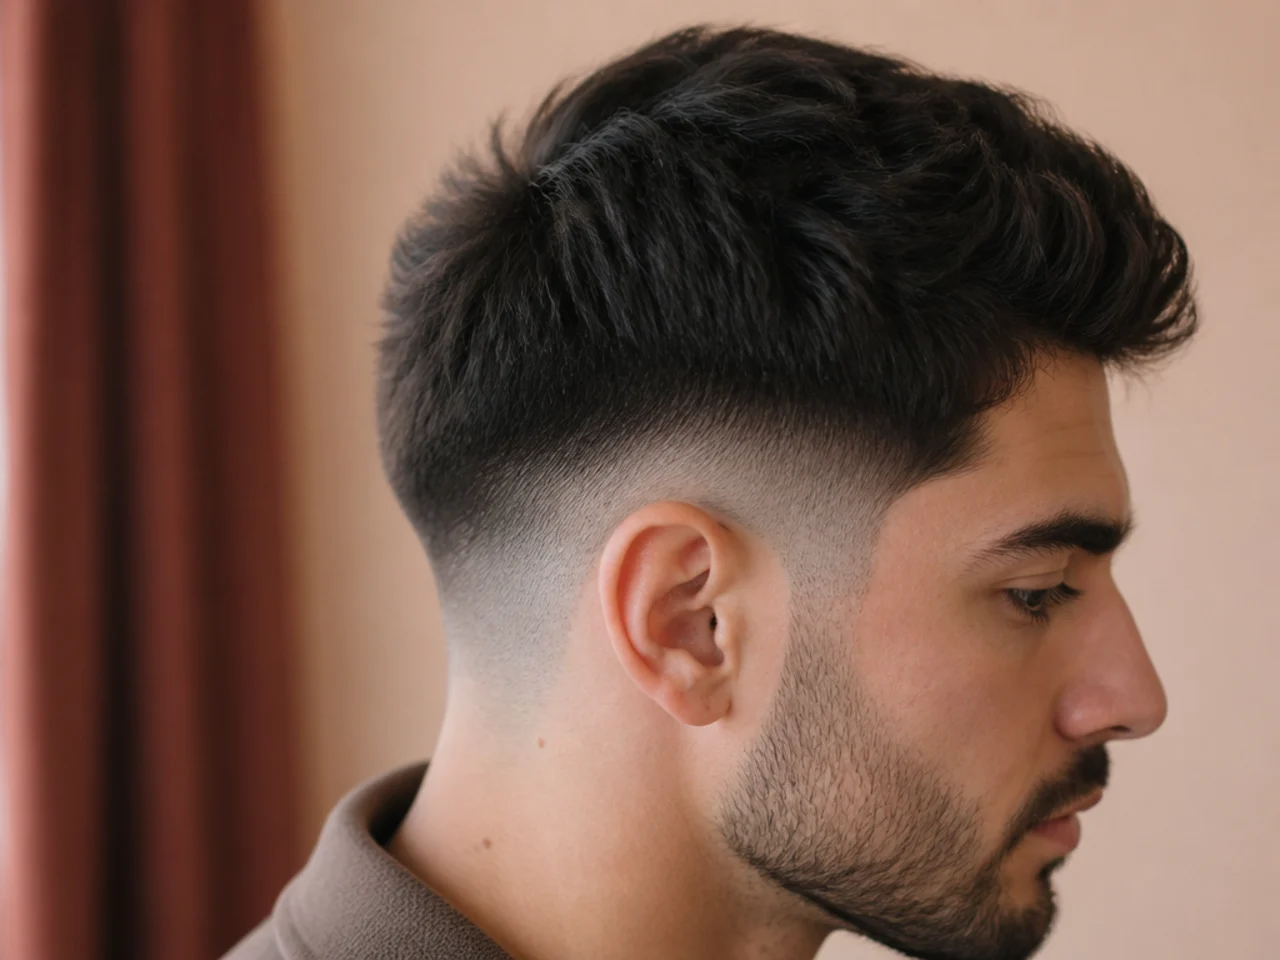
14. Cross Hatching the Nape
The nape is an inward curve, so it sits in shadow almost always. Run the hatching along that curve rather than across it, and the strokes describe the form instead of just darkening it.
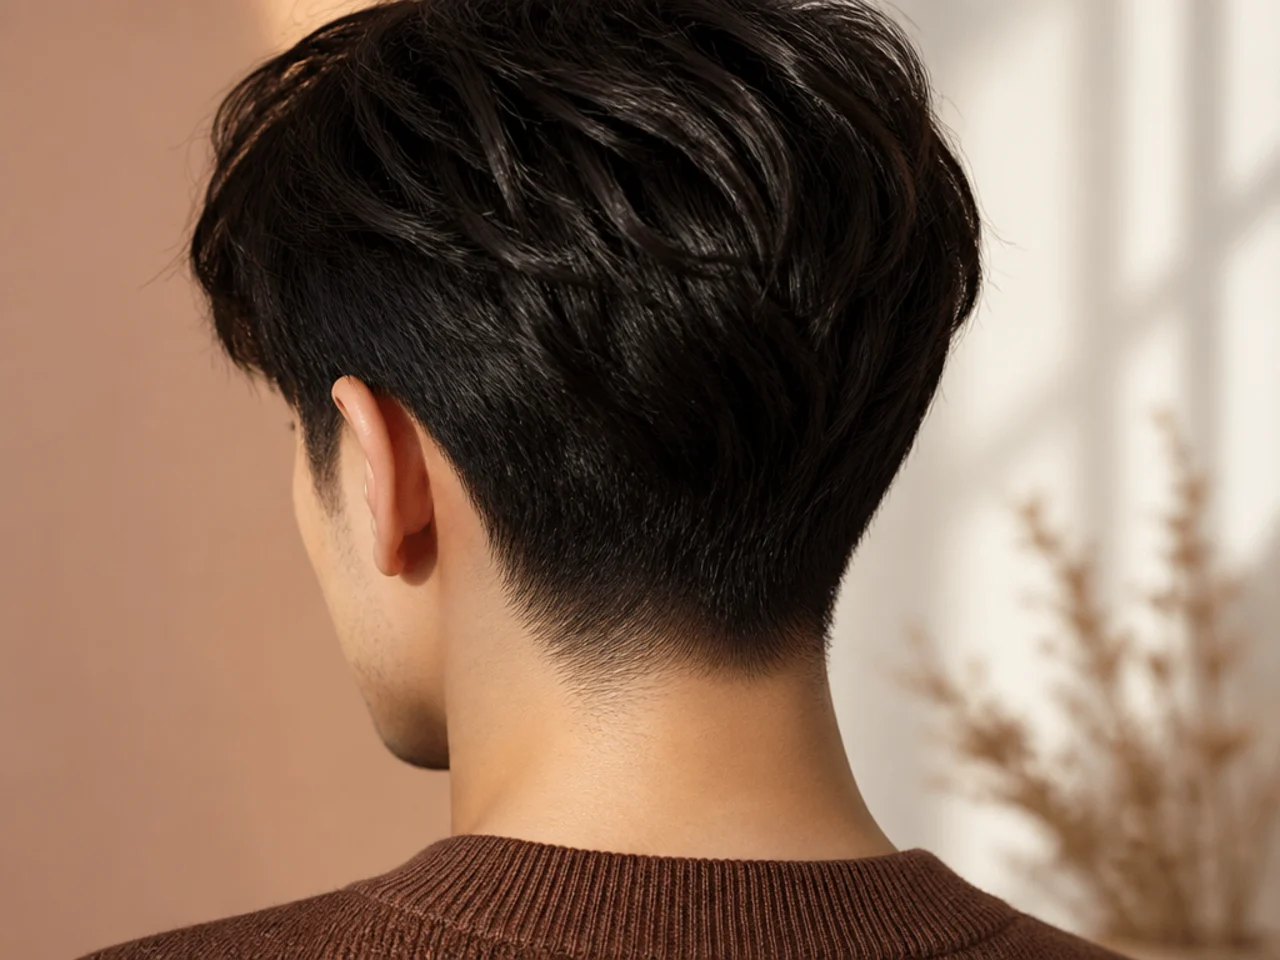
15. Single Weight Ink Line
One pen, one line thickness, no shading. With every tonal option removed the shape must carry the drawing, so the step usually needs exaggerating past what a photograph shows.
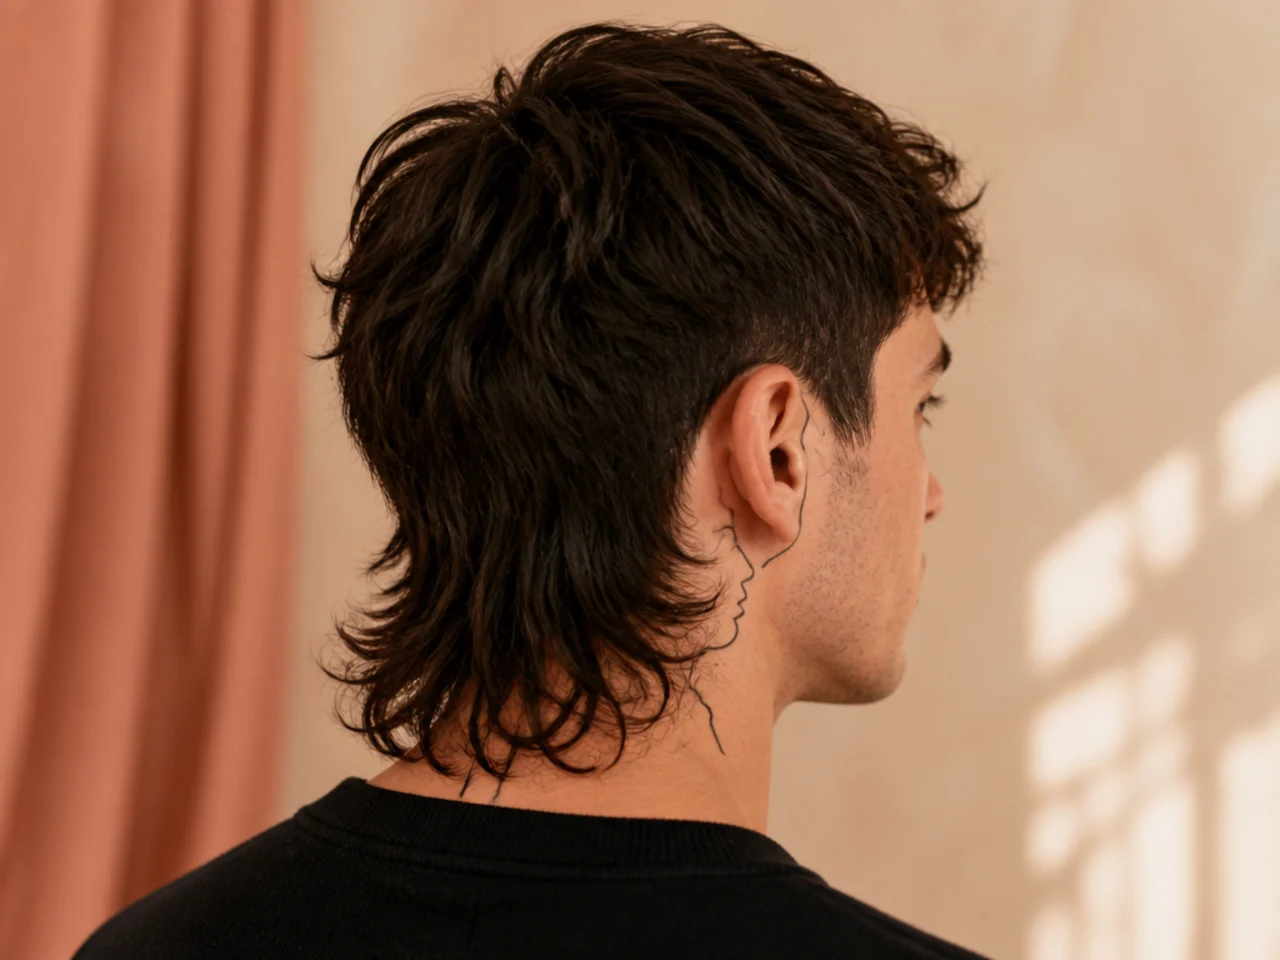
16. Varying Line Weight
Thicken the line where the form turns away from the light — under the tail, beneath the fringe, along the nape. Weight variation supplies depth information without a single mark of shading.

17. Three Value Study
Light, mid and dark only, with no blending between them. The restriction forces you to group the tail as one mass, which is how a viewer actually perceives it and how a drawing stops looking fussy.

18. Highlight Band on the Tail
The band of light on hair follows the curve of the skull, so it runs as a ring across the tail rather than a stripe down it. Drawing it vertically is the error that makes hair look like plastic.
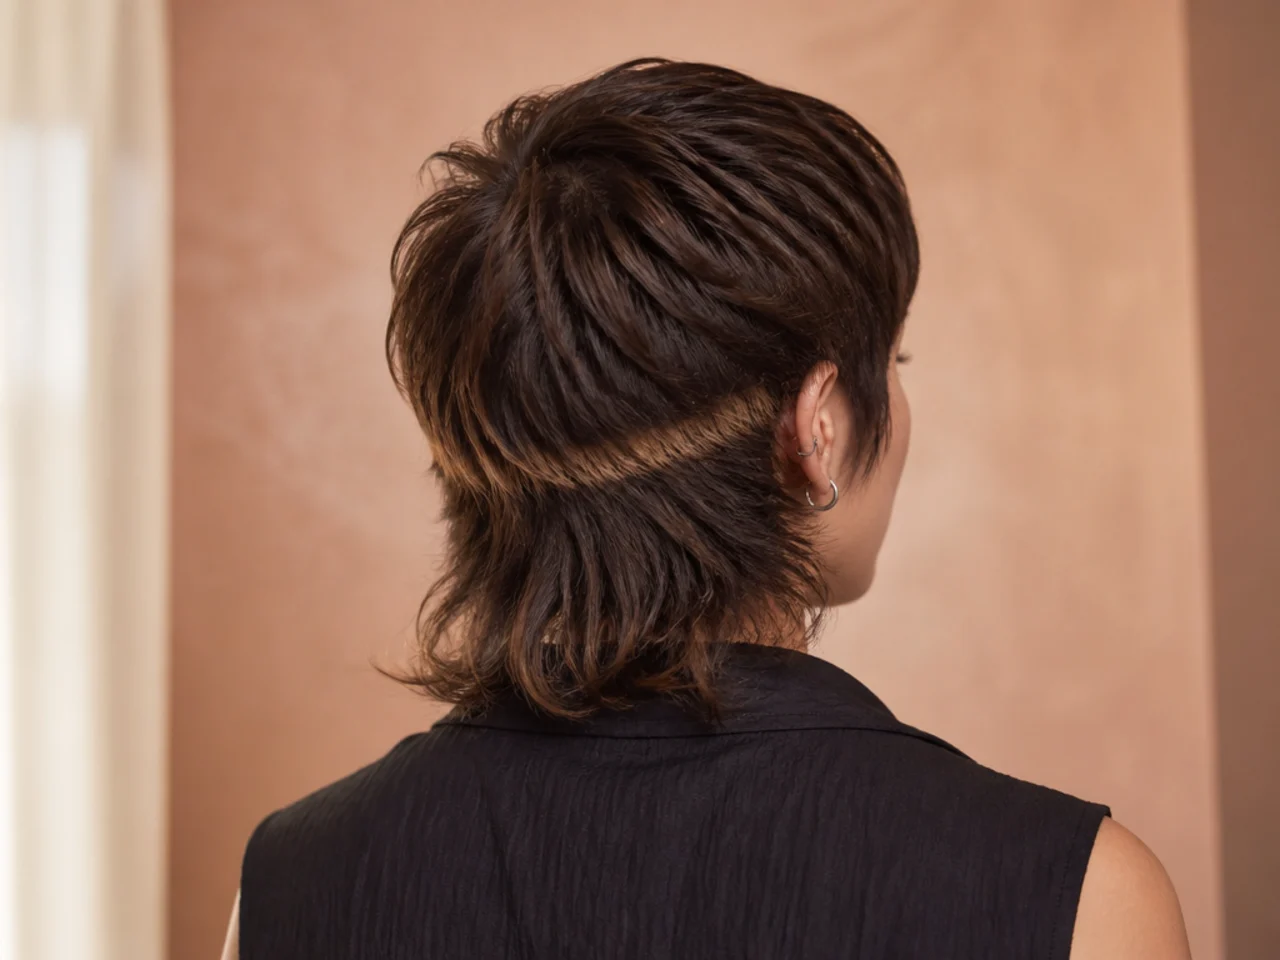
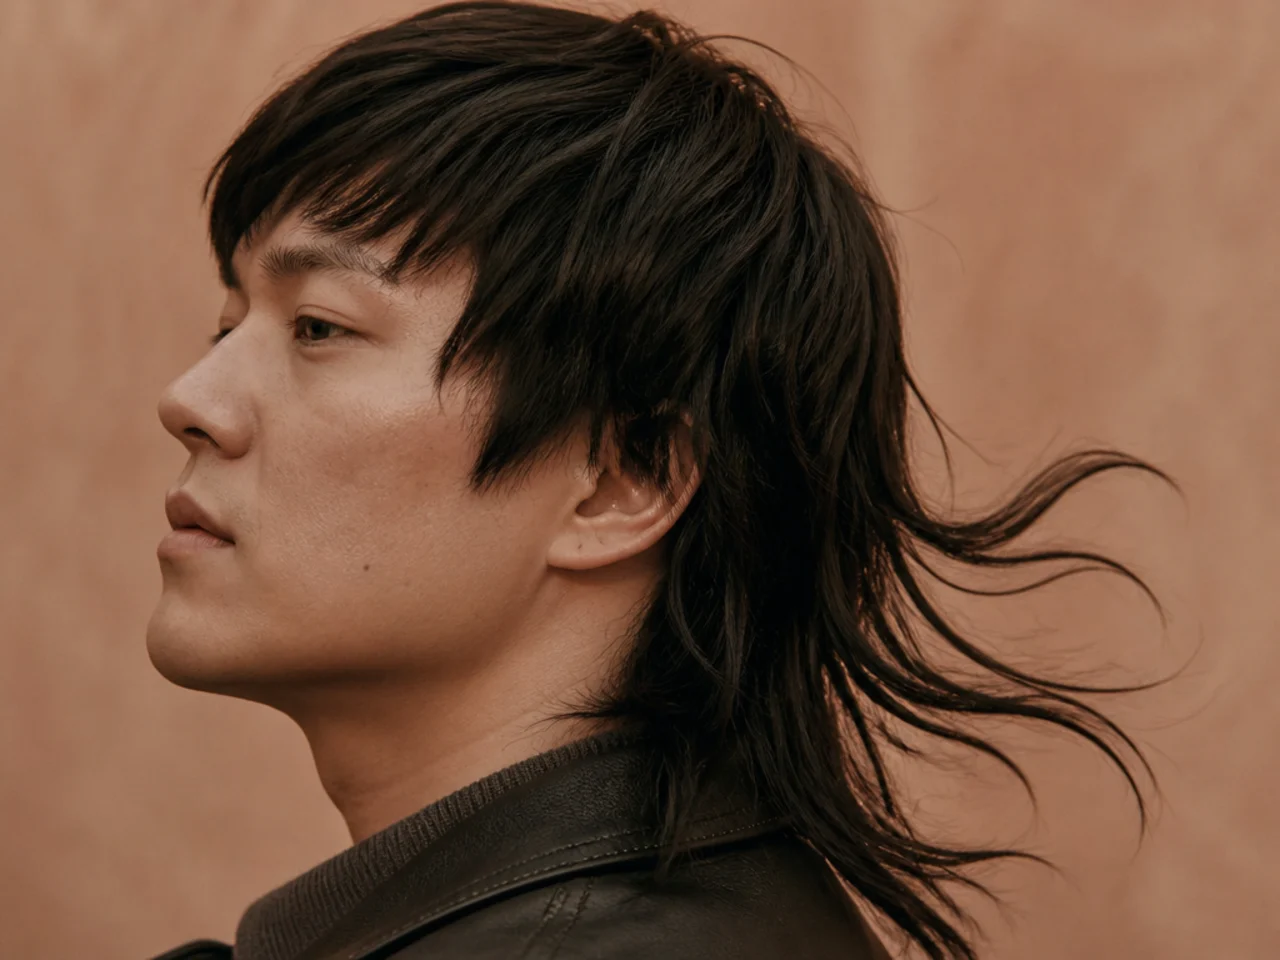
19. Mullet in Motion
Hair lags behind the head that carries it, so the tail trails opposite to the direction of travel. Get that lag right and a static drawing reads as movement without any speed lines at all.
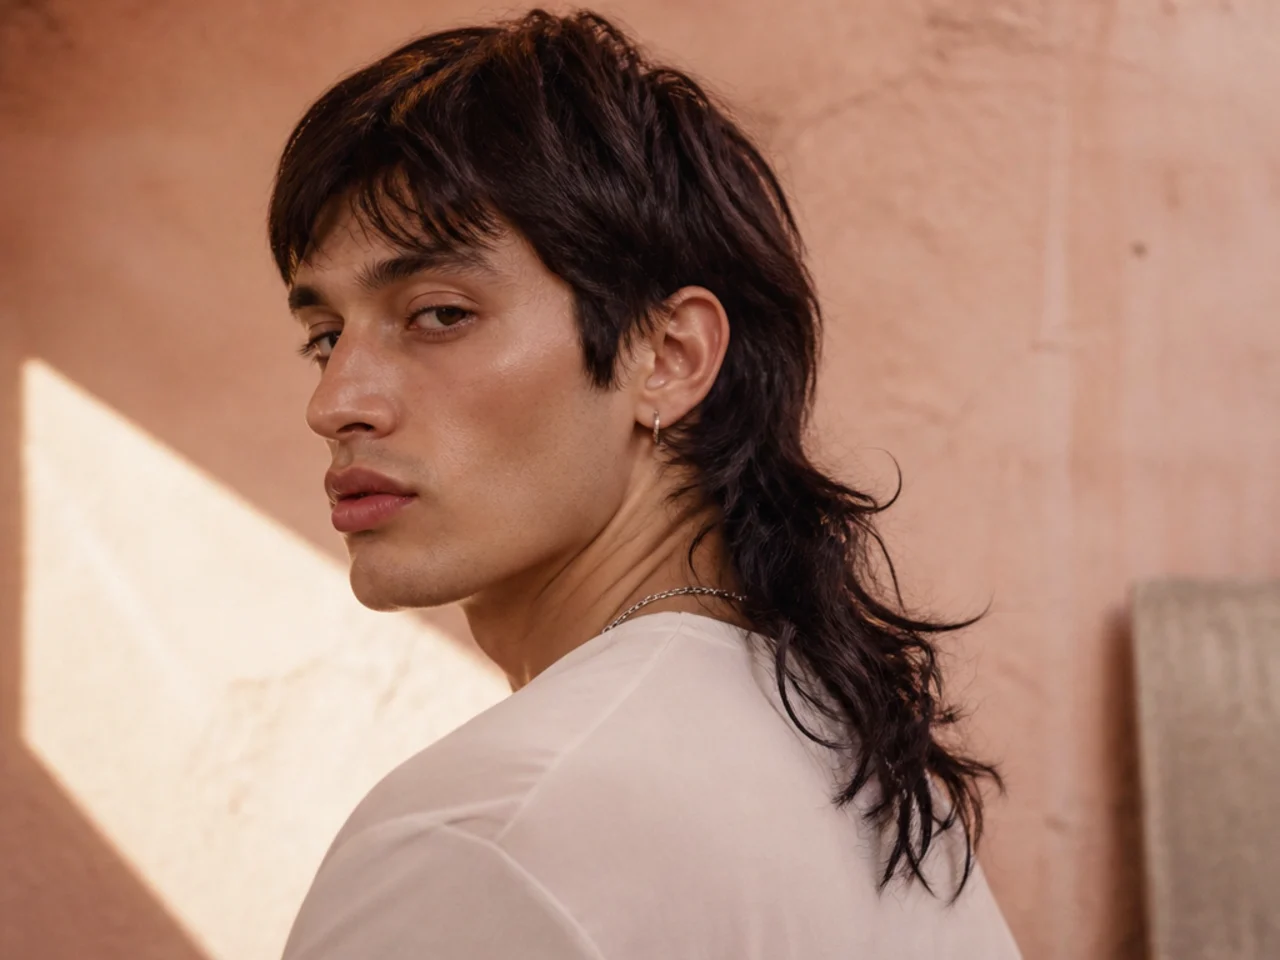
20. Wind From Behind
Wind separates the tail into distinct clumps while the short sides barely move, because short hair has too little leverage to lift. That difference in response is what sells the wind.
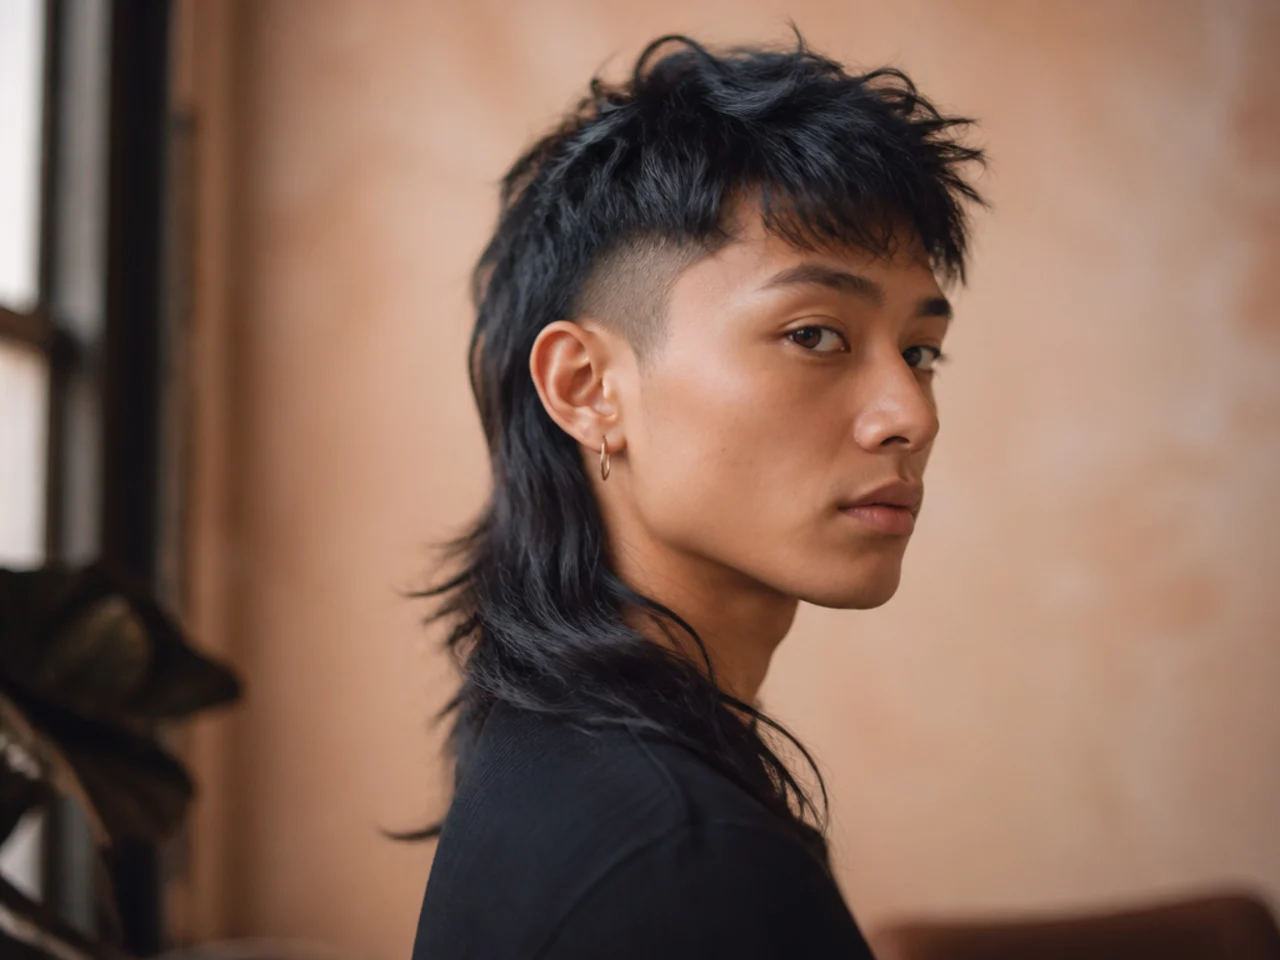
21. Cartoon Mullet
Push the ratio hard: sides shorter than realistic, tail longer. Caricature works by amplifying the one feature that identifies the subject, and on a mullet that feature is the difference between the two lengths.
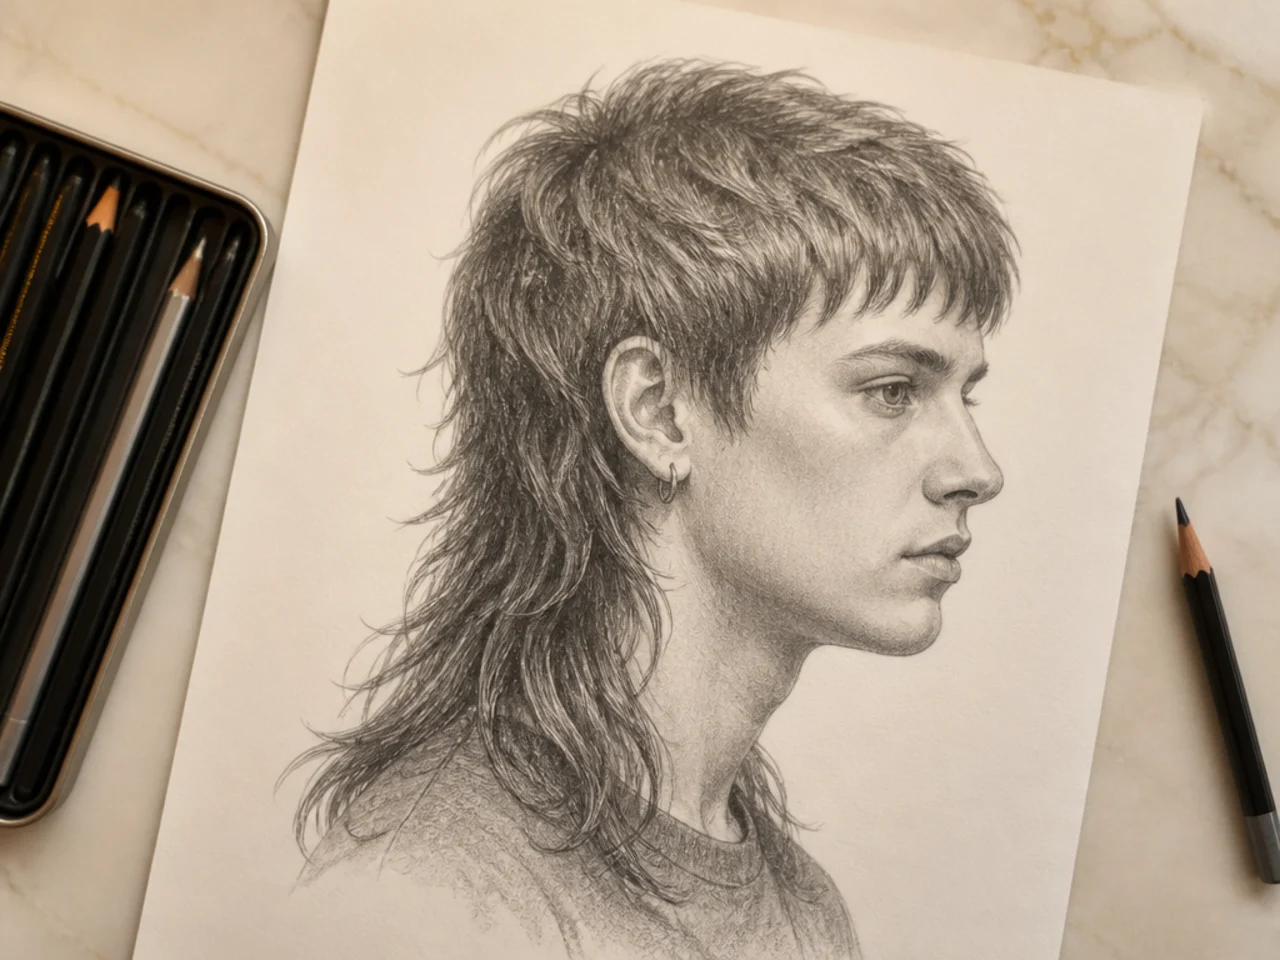
22. Realistic Graphite Mullet
Build tone first, lift the highlight band second, and draw individual strands last and sparingly. Strands added early get buried under the shading and have to be redrawn anyway.
23. A Mullet With a Fringe
A fringe lowers the visual mass at the front, which counterbalances the weight of the tail. Without it a drawn head reads as though it is leaning backward, and the fringe is the cheapest correction available.

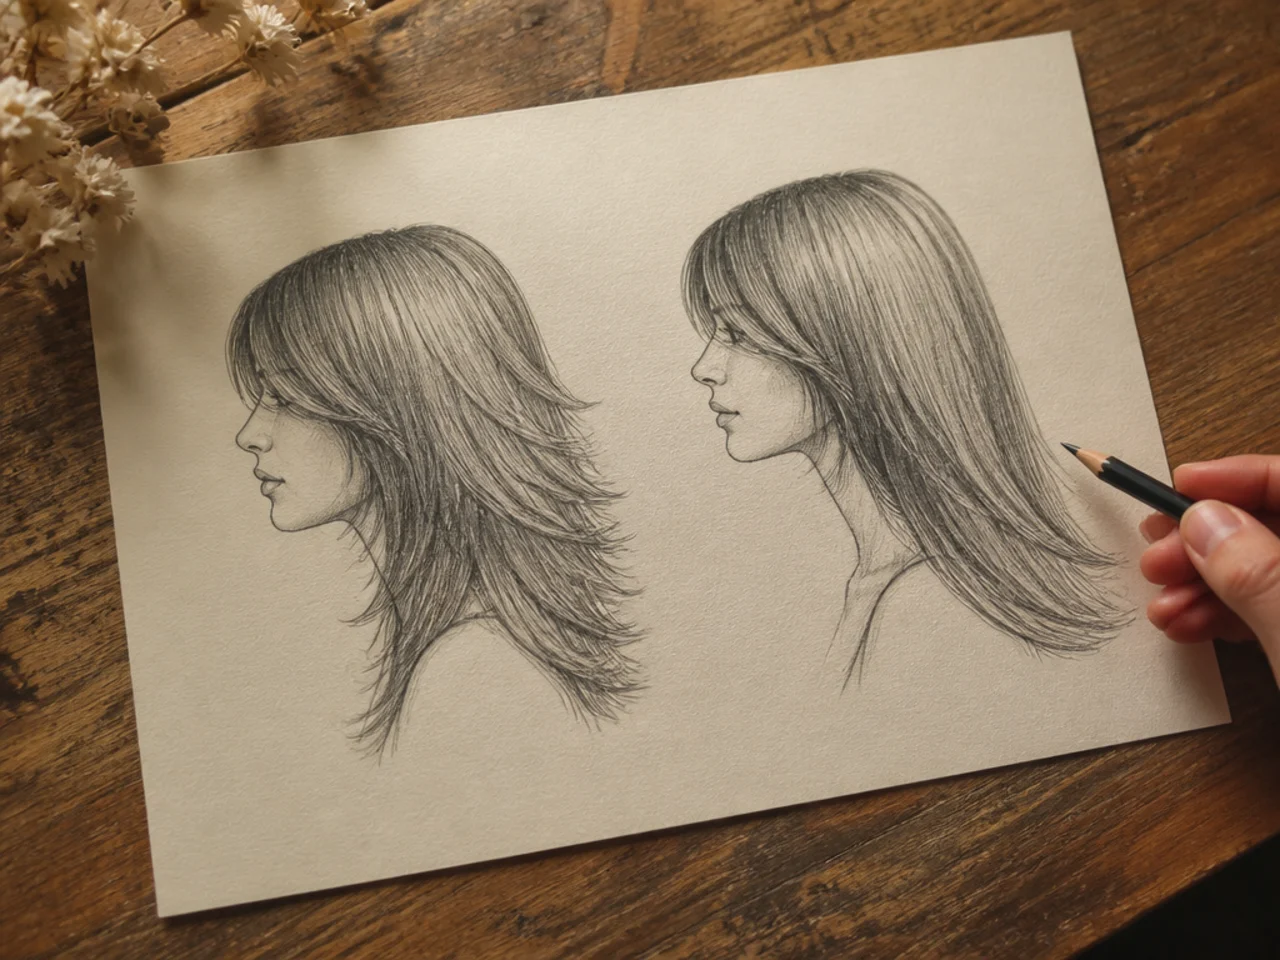
24. Mullet and Wolf Cut Study
Draw both on the same page at the same length. One has a step and one has a slope, and putting them side by side makes the distinction visible in a way that studying either alone never does.
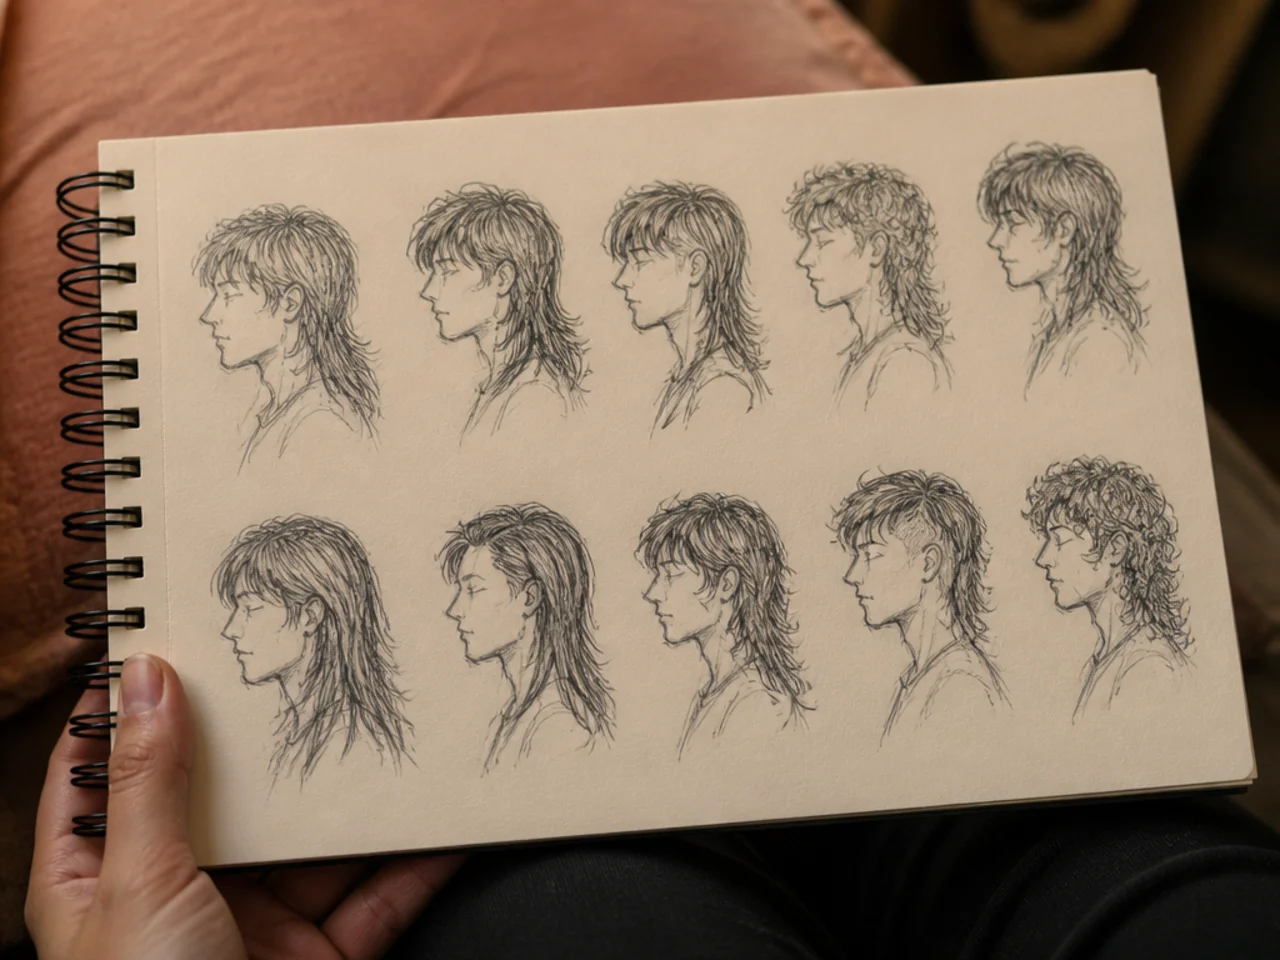
25. Thirty Second Gesture Sketch
Outline only, timed, repeated ten times across one page. Speed removes the option of fussing with detail, so all the practice goes into the proportion that actually identifies the cut.
Styling and Upkeep
Work from reference for the skull, not the hair. Hair sits on a solid form, and the form is what makes it convincing.
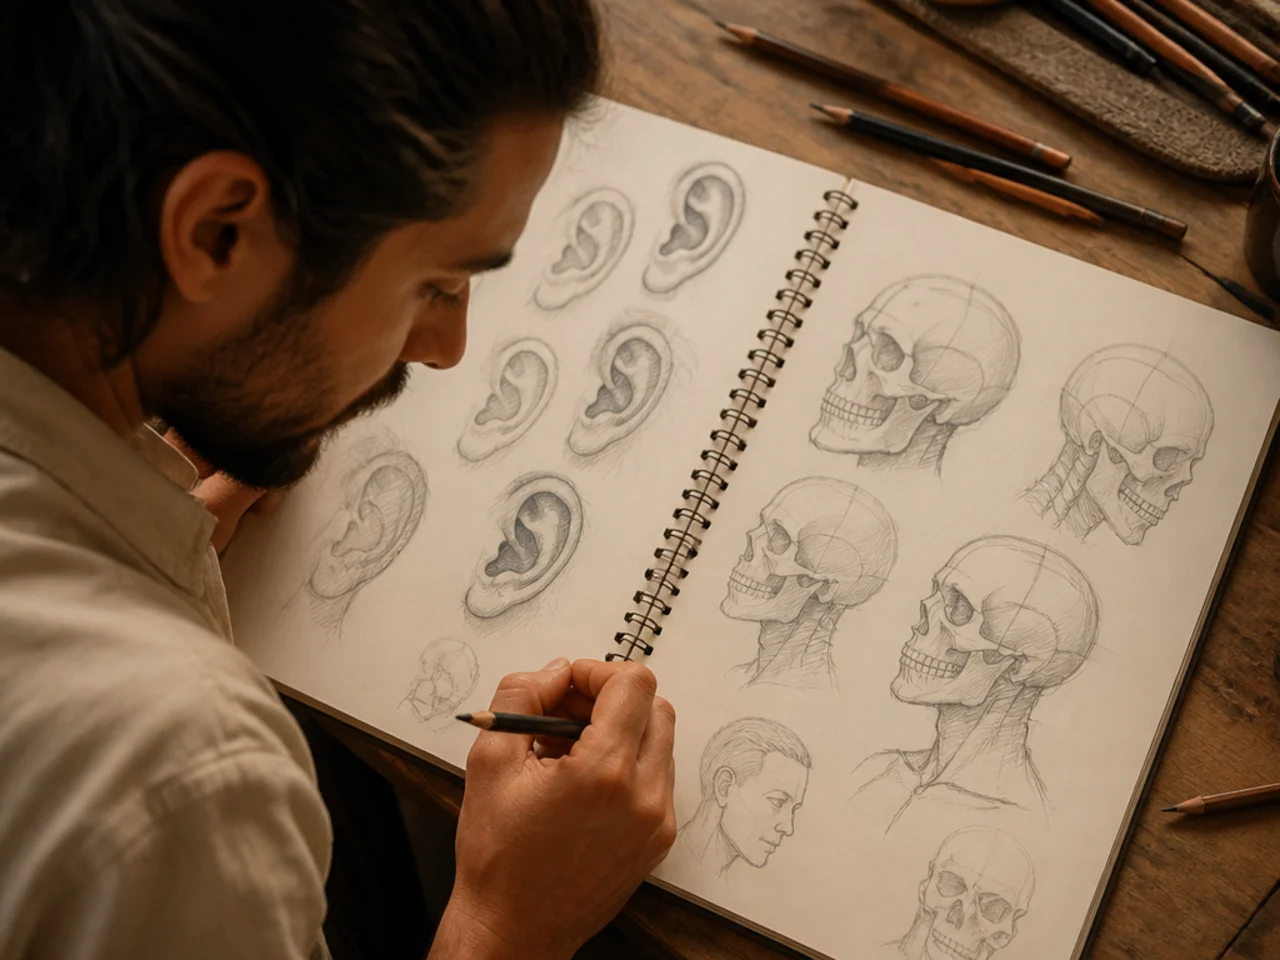
Keep a sheet of ear studies. Every measurement in the cut is taken off the ear, so a badly drawn one throws the whole proportion.
Sketch the silhouette before the detail, every time. Detail added to a wrong outline is time spent decorating a mistake.
Fill your shape in black to test it. Ten seconds, and it catches errors that an hour of rendering would hide rather than fix.
Draw the same head with three different textures. It separates the shape you are learning from the surface you are rendering.
Mistakes to Avoid
Putting the step too high. It stops being a mullet and becomes a bowl cut, and no shading will undo it.
Drawing the hairline on the skull line. Hair has thickness. Without the offset it reads as paint rather than as hair.
Rendering strands instead of clumps. Thousands of parallel lines flatten the form; a few dark gaps between masses build it.
A vertical highlight stripe. Light wraps around the skull, so the band is horizontal. A vertical one turns hair into plastic.
Starting in ink. Ink cannot be lifted, and a proportion error found halfway through costs the whole drawing.
FAQ
Where does the step go? Level with the top of the ear, at the back of the skull.
Strands or clumps? Clumps, with a lit side and a shadow side.
Why does it look flat? The hairline was drawn on the skull outline, with no offset.
Final Thoughts
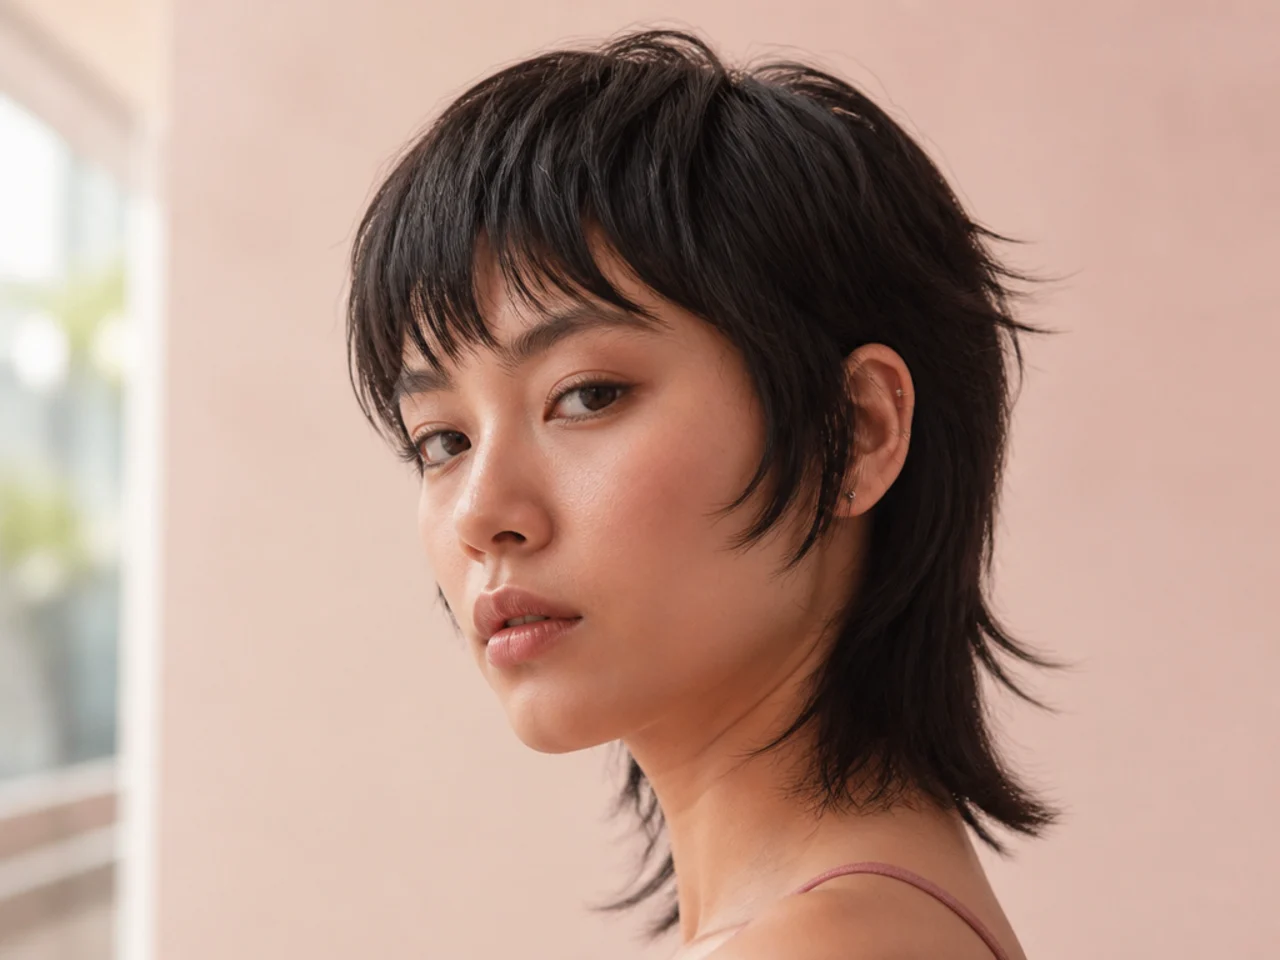
Everything on this page comes down to one test: black out the silhouette and see whether the cut is still recognisable. If it is, the rendering is a matter of patience. If it is not, more rendering makes the problem more expensive rather than less.
More on the shape you are drawing, and the family of cuts it belongs to, in Mullet and Wolf Cut. See also mullet hair and mullet haircut.



