25 Mermaid Braid Ideas From Classic to Boho
Twenty five mermaid braids and the definition most tutorials skip. The braid itself is an ordinary fishtail — what makes it a mermaid braid is the size of the pieces and the widening you do after the elastic goes on.
In this article · 33
- What Is a Mermaid Braid
- By Length and Thickness
- Fine and Slippery Hair
- Pancaking Technique
- Waves Accessories and Boho Finishes
- Making It Last
- The 25 Mermaid Braid Ideas
- 1. Classic Down the Back
- 2. Past the Waist
- 3. Side Swept
- 4. Half Up
- 5. Boho Face Framing
- 6. Waterfall Crown
- 7. Dutch and Raised
- 8. Fine Hair With Texture
- 9. Curly and Natural
- 10. Loose Curls
- 11. Clear Elastic Finish
- 12. Crown Halo
- 13. Low Bun
- 14. Double Pigtails
- 15. Braided Ponytail
- 16. Ribbon Woven Through
- 17. Shell and Pearl Pins
- 18. Wedding Flowers
- 19. Messy Everyday
- 20. Sleek and Glossy
- 21. Deep Side Part
- 22. Beachy Salt Spray
- 23. Built for Prom Hold
- 24. Overnight Waves
- 25. Extensions for Length
- Final Thoughts
Two people can follow the same mermaid braid tutorial and end up with completely different things, because the tutorial usually leaves out the part that defines the style.
The braid is an ordinary fishtail. Split the hair in two, cross a thin piece from the outer edge of one half into the other, alternate. There is no secret plait.
The mermaid part is scale and width. Very small pieces, so there are many crossings, and then the braid is pulled open loop by loop after it is tied.
What Is a Mermaid Braid
Two halves rather than three strands. A plait moves three sections in rotation. A fishtail moves one thin piece at a time from the outside of one half to the inside of the other.
One piece per pass builds the V. Because only a single strand crosses each time, the surface pattern is a column of fine V shapes instead of a rope.
Piece size sets the density. Quarter inch pieces give roughly four times the crossings of one inch pieces down the same length, and it is crossing count that makes hair read as scales.
Width is applied last. Every fishtail leaves your hands narrower than the section you gathered, because interlacing packs hair tighter. The braid becomes a mermaid braid when you open it back out.
It is worked at low tension. Nothing is pulled tight against the scalp, which is why it is comfortable for a full day and gentle on a fragile hairline.

By Length and Thickness
Chin to shoulder. Start the braid at the crown to buy distance, and take the smallest pieces your fingers will hold. Short and fine reads as deliberate, short and chunky does not.
Shoulder to mid back. The easiest range by some distance. Enough length for the pattern to build, light enough that the anchor never complains.
Waist and beyond. Weight rather than length becomes the problem. Tie the top section before the first crossover so the braid hangs from a band and not from individual strands.
Thick hair. Braid a smaller section than instinct suggests. A full head of thick hair at this piece size takes twenty minutes and finishes too heavy to widen.
Fine hair. Take more pieces rather than bigger ones, and spend your effort on the pancaking, where all the width on a fine head comes from.
Fine and Slippery Hair
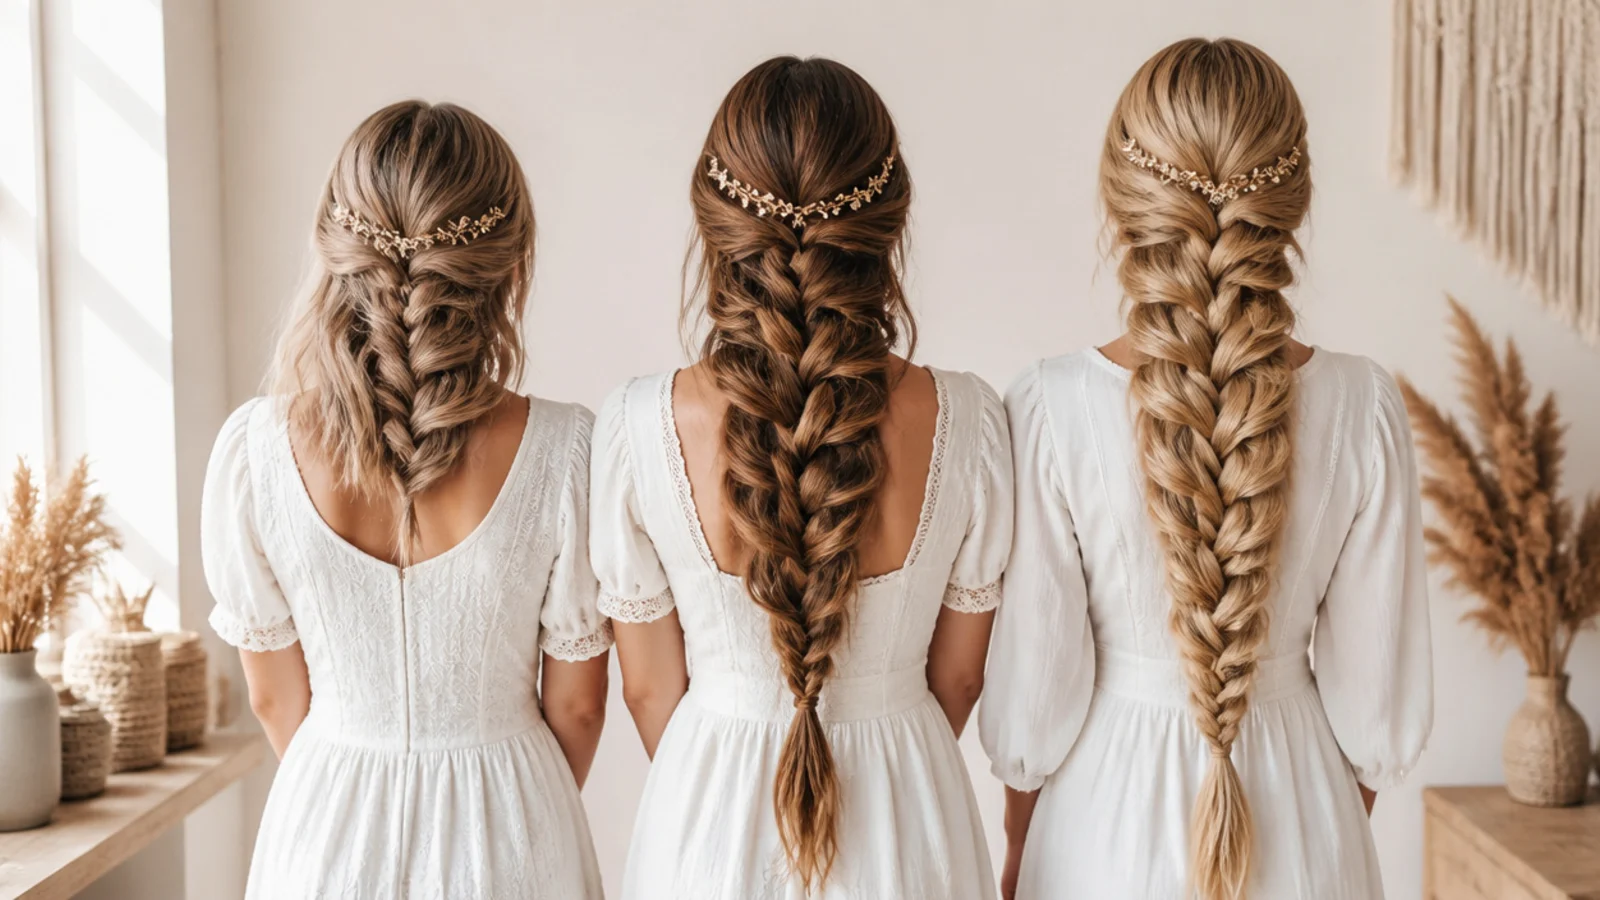
This is a friction problem. A smooth cuticle slides across its neighbour, so sections separate as you braid and the widened loops close after you finish.
Second day hair beats any product. Sebum coats the strand and raises grip along its whole length, which no spray does quite as evenly.
Texture spray is the shortcut. A light salt or polymer mist through the mid lengths gets you most of the way there in ten seconds.
Backcomb the first inch. Lift at the root gives the braid a base to sit on and hides the scalp that widened crossings would otherwise expose.
Tie the top as well as the bottom. Fine hair unravels upwards from the first crossing as readily as it slips at the last one.
Pancaking Technique
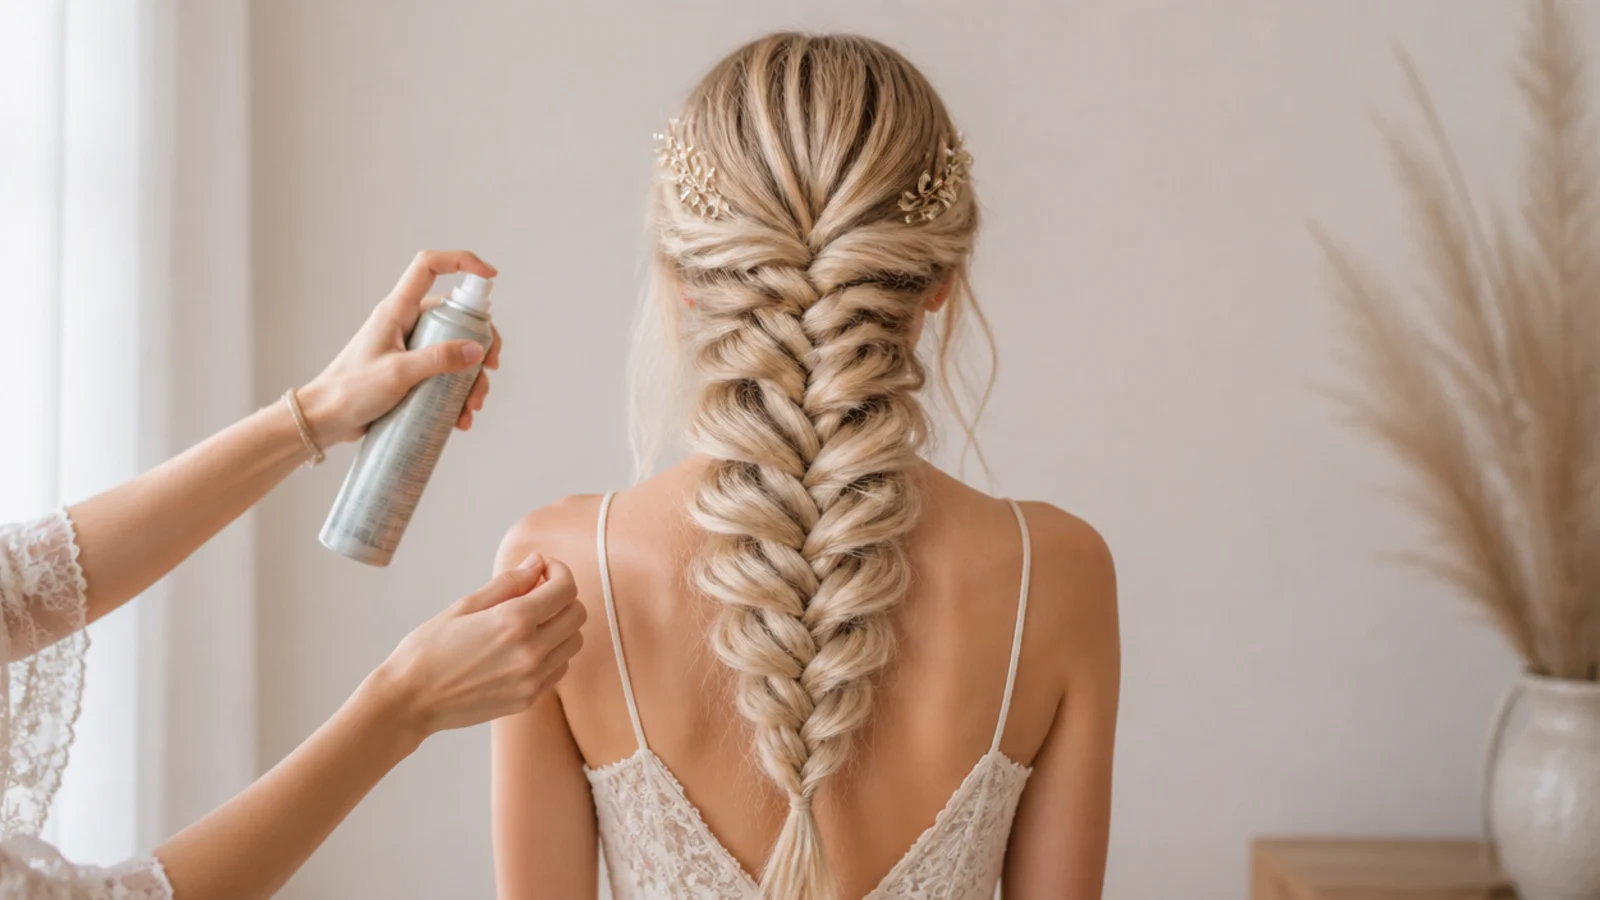
Anchor the elastic. Hold the bottom of the braid still, or pulling only stretches it lengthways and you trade an inch of length for no width at all.
Pull the outer edge of one loop. The braid holds together because tension sits in the centre crossings, and the outer edge of a loop carries none of it.
Work from the tie upwards. Opening a loop borrows slack from the braid above it, so moving upwards feeds that slack into hair you have not touched. Moving downwards pulls the crown apart.
Take the middle widest. A braid tapers as hair runs out, so exaggerating the centre gives the leaf shaped silhouette rather than a straight sided band.
Stop before the crossings gap. The moment you can see through the braid, the pattern stops reading as texture and starts reading as a mistake.

Waves Accessories and Boho Finishes
Wave before you braid. A bent strand catches on its neighbours where a straight one slides past, so waving is what physically holds the loops open. It is a structural step disguised as a styling one.
Lay ribbon in with a half. Added before the first crossover it travels through every crossing and surfaces down the length. Tied on afterwards it is just a bow.
Set pins into the loops. Pancaking opens gaps that hold a pin with no grip required, and pins placed mid length also take weight off the elastic.
Scatter rather than space. Evenly placed decoration reads as a ruled line down the back, which is the opposite of the effect.
Release face framing pieces first. Anything pulled out after tying comes from the braid and leaves a hole in the pattern.

Making It Last
Start on unwashed hair. Everything about a pancaked braid depends on friction, and shampoo removes exactly what supplies it.
Retug, do not rebraid. A braid that has gone narrow has closed rather than unravelled, and half a minute on the outer loops resets it.
Leave the crown alone. Mid day collapse almost always begins at the top, where the braid carries the most load.
Flexible spray, not firm. A rigid shell cracks visibly the first time the braid moves against a collar, where a soft one moves with it.
Cut the elastic out. The tie sits at the narrowest point of the braid over the oldest hair on your head, and dragging a band across it is where breakage happens.

The 25 Mermaid Braid Ideas
1. Classic Down the Back
All the hair gathered at the nape and fishtailed straight down the spine, which shows the full run of crossings without a curve to interrupt them. It is the version that most rewards even piece sizes, because nothing about the placement distracts from the pattern.
2. Past the Waist
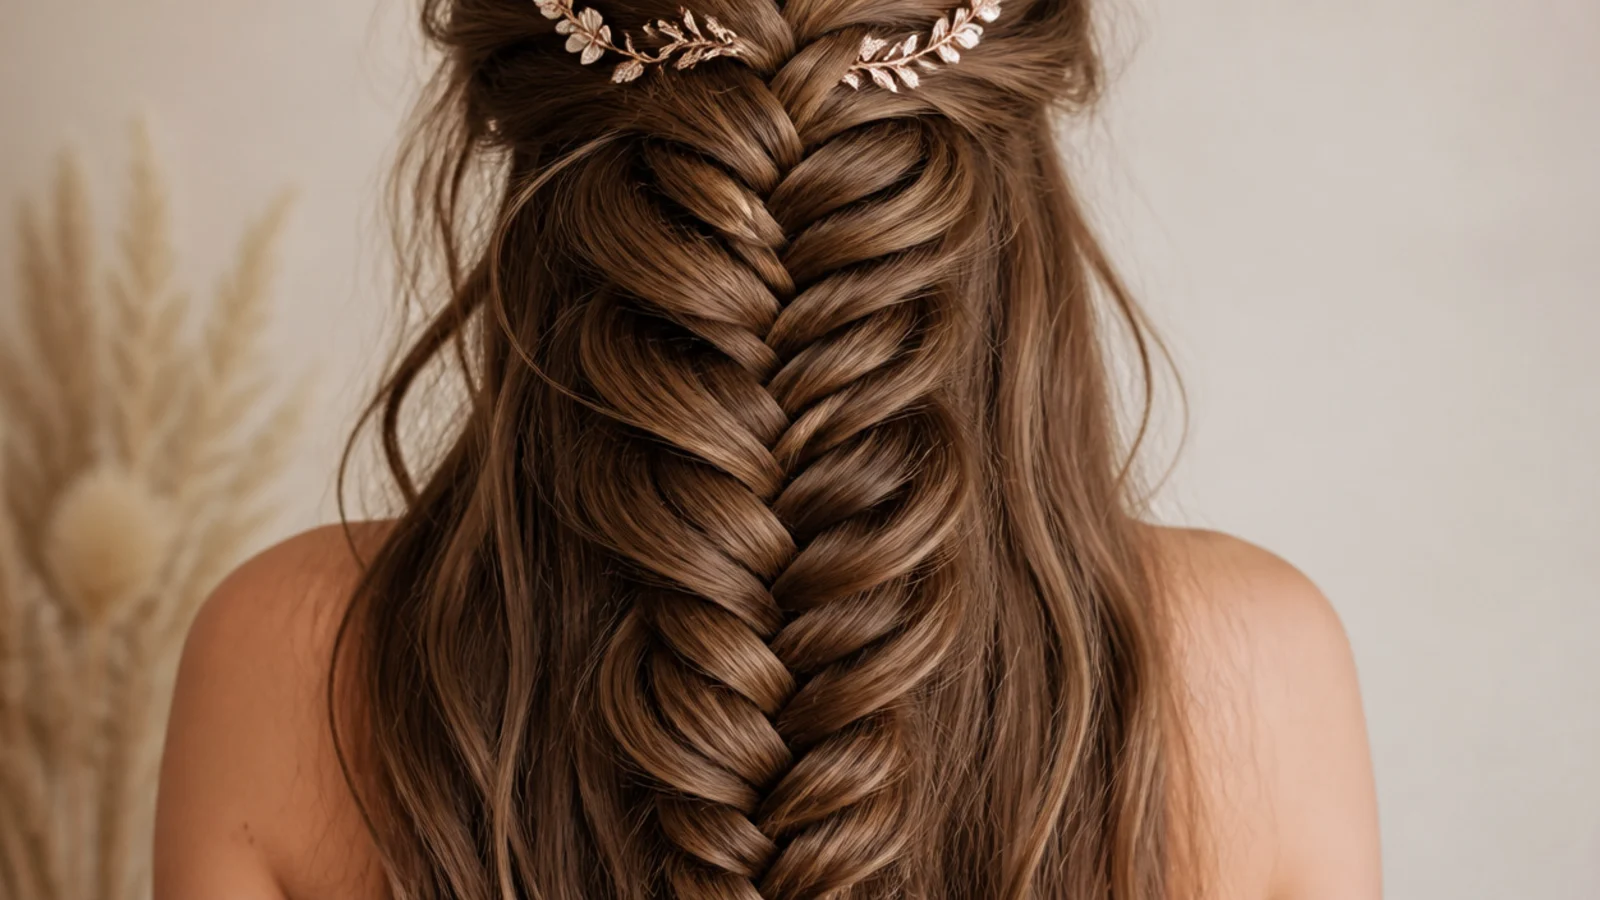
At this length the braid has enough crossings to read as fabric rather than as a plait, and enough weight to pull all day. Tie the gathered section with a clear elastic before you start so the load hangs from a band instead of from the roots.
3. Side Swept
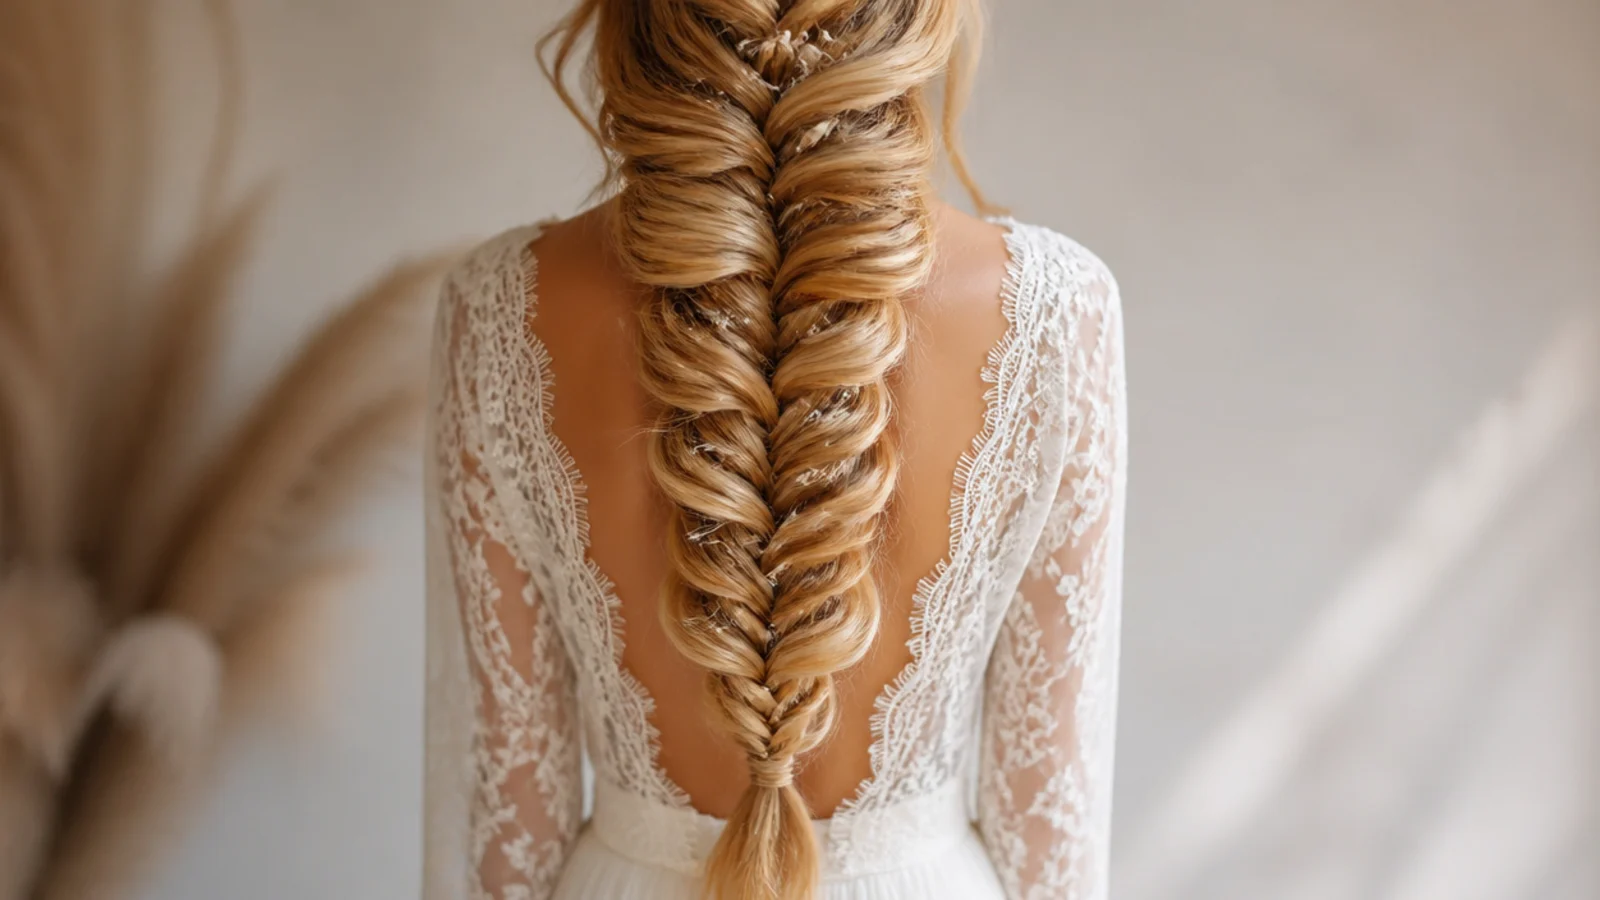
Bringing everything over one shoulder puts the braid where your own hands can see it, which removes most of the difficulty of braiding your own hair. It also keeps the braid off a collar, and collar friction is what closes widened loops fastest.
4. Half Up
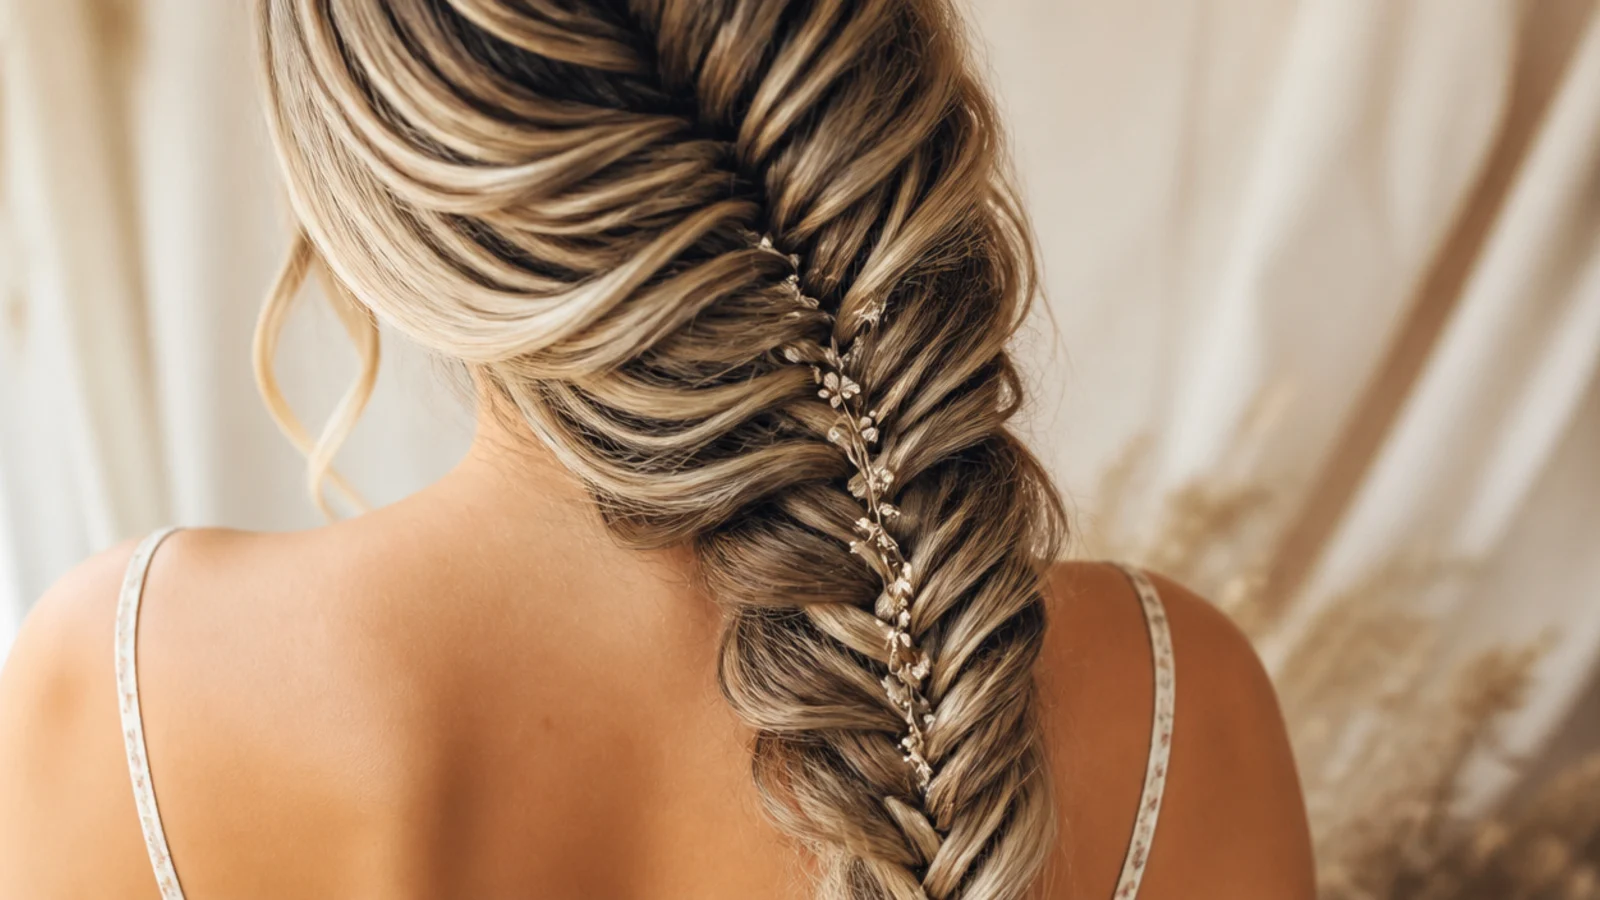
Only the crown section is braided, so the plait lies over loose length rather than containing it. That gap between braid and hair is what gives the layered effect, and it also halves the weight the anchor has to carry.

5. Boho Face Framing
Two fine pieces are left down at the temples before the braid starts, which keeps the braid tension even along its length. Released afterwards they would come out of the braid itself and leave a visible gap exactly where the eye lands first.

6. Waterfall Crown
Strands are dropped out of the braid at every pass, so it travels sideways across the head while the length falls through it. The braid carries no weight in this form, which is why it needs pinning at both ends rather than an elastic.
7. Dutch and Raised
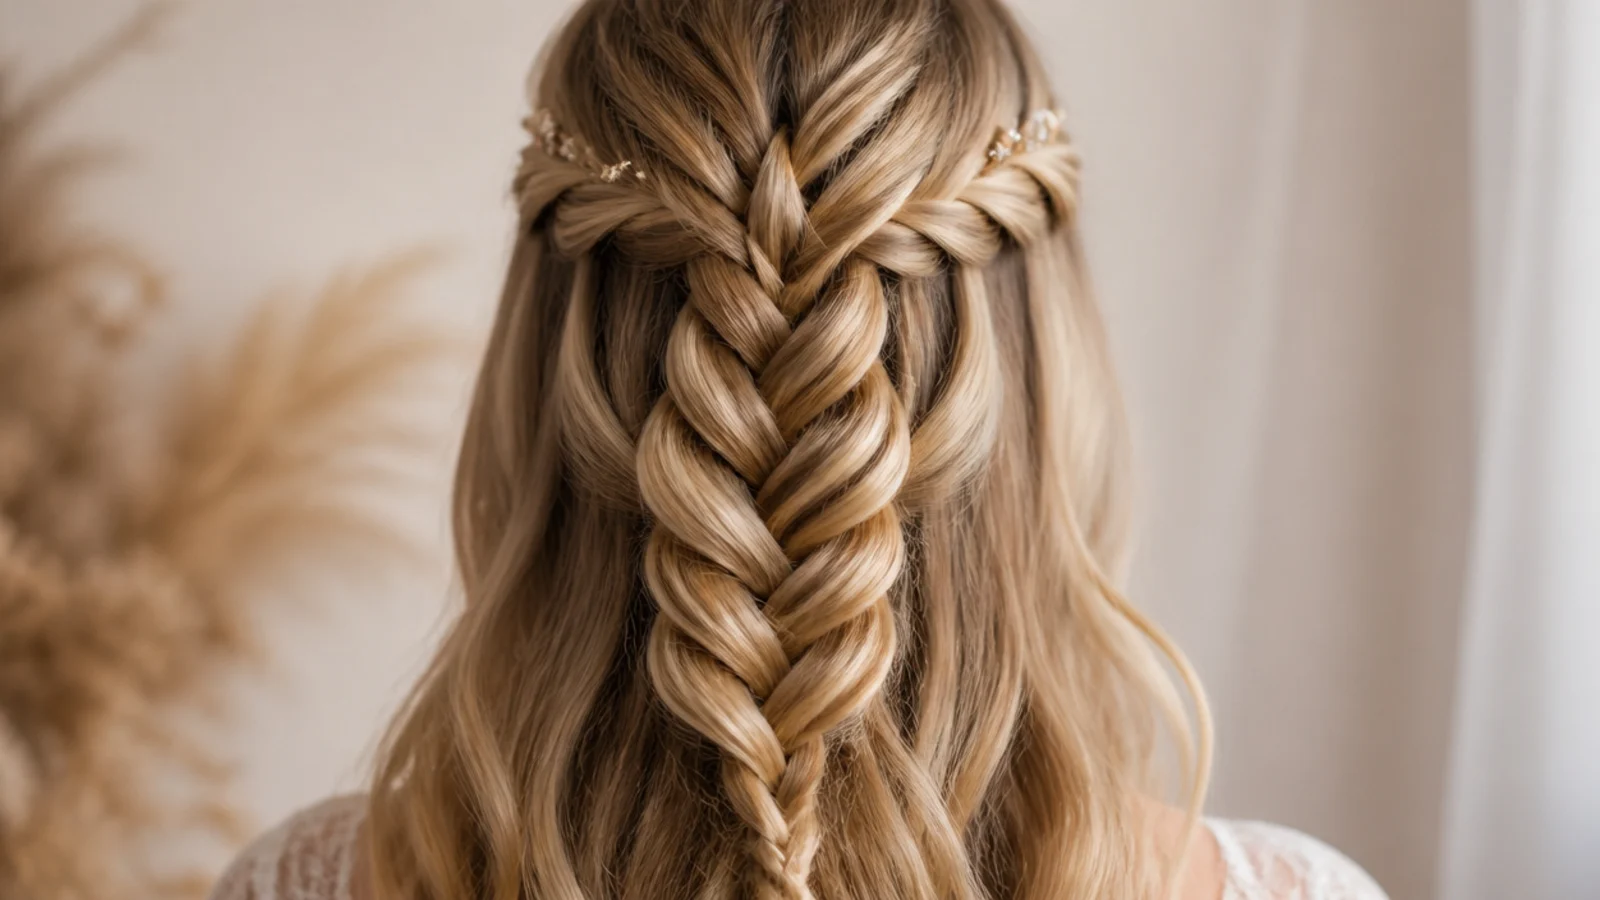
Crossing each piece under the opposite half instead of over it pushes the braid up onto the surface of the hair. Standing proud, it casts a shadow along its own edge, so the crossings read from across a room rather than only up close.
8. Fine Hair With Texture
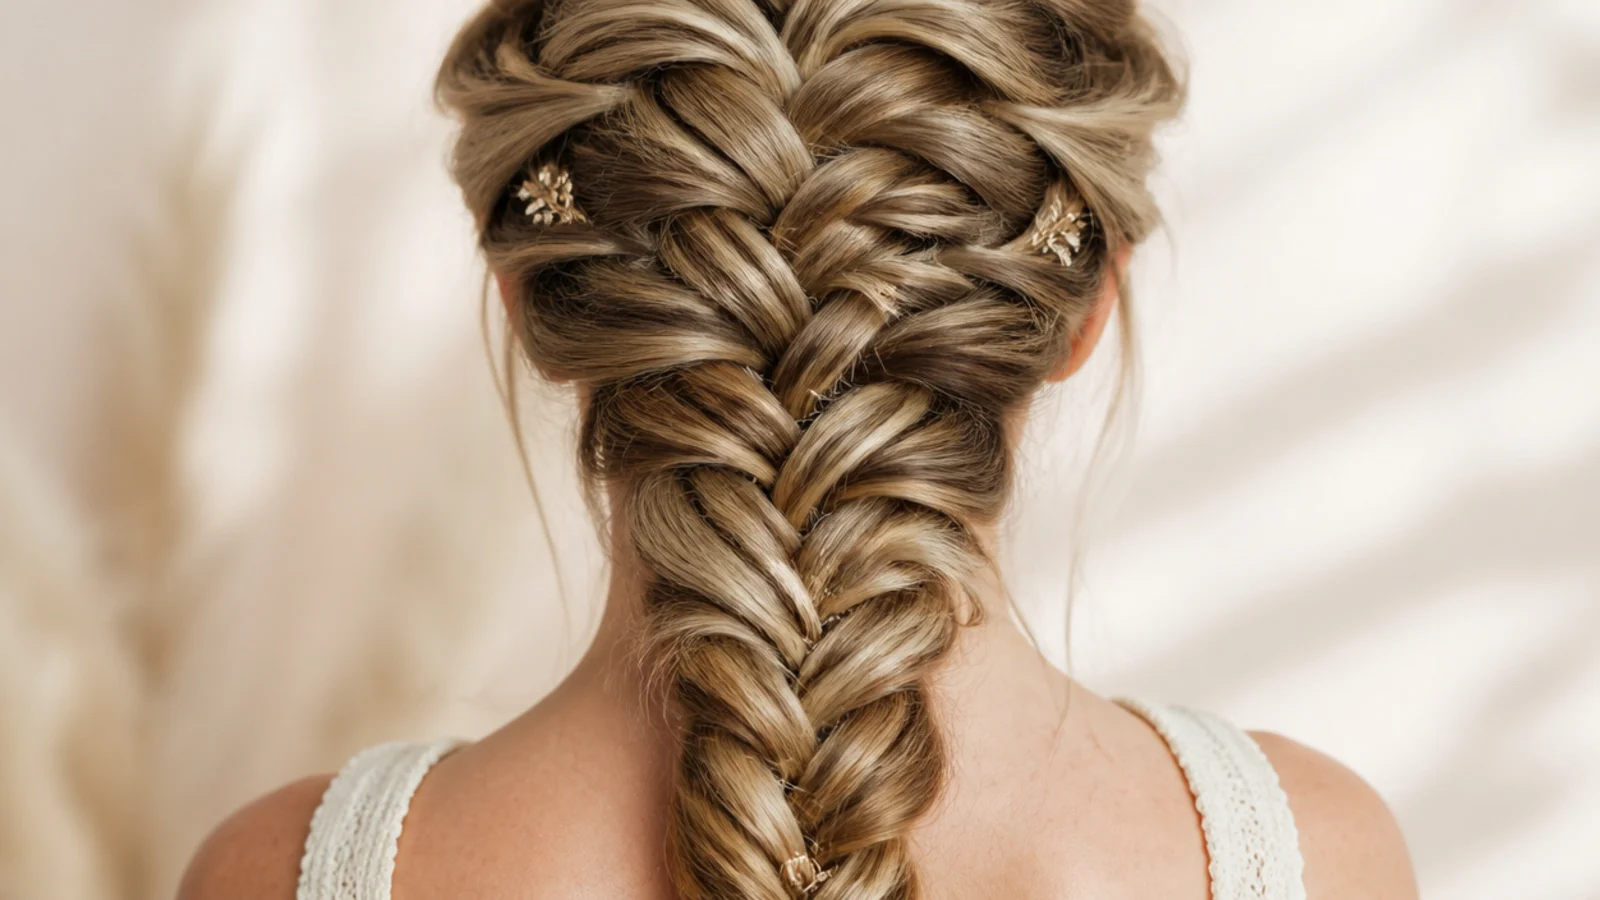
Texture spray through the mid lengths roughens the cuticle so the pieces stop sliding while you work. On fine hair that grip is the whole game, because the braid is narrow by nature and every bit of width has to be pulled out and then held there.

9. Curly and Natural
Coils grip one another, so the braid holds with no product and rarely slips. Take wider pieces than you would on straight hair and stretch each section as you cross it, because a tight curl pattern hides fine crossings entirely.

10. Loose Curls
Curling the length first and brushing the ringlets out leaves one continuous S bend, which gives friction without bulk. A defined ringlet fights the braid because it wants to sit as a unit and lumps up in the crossing.
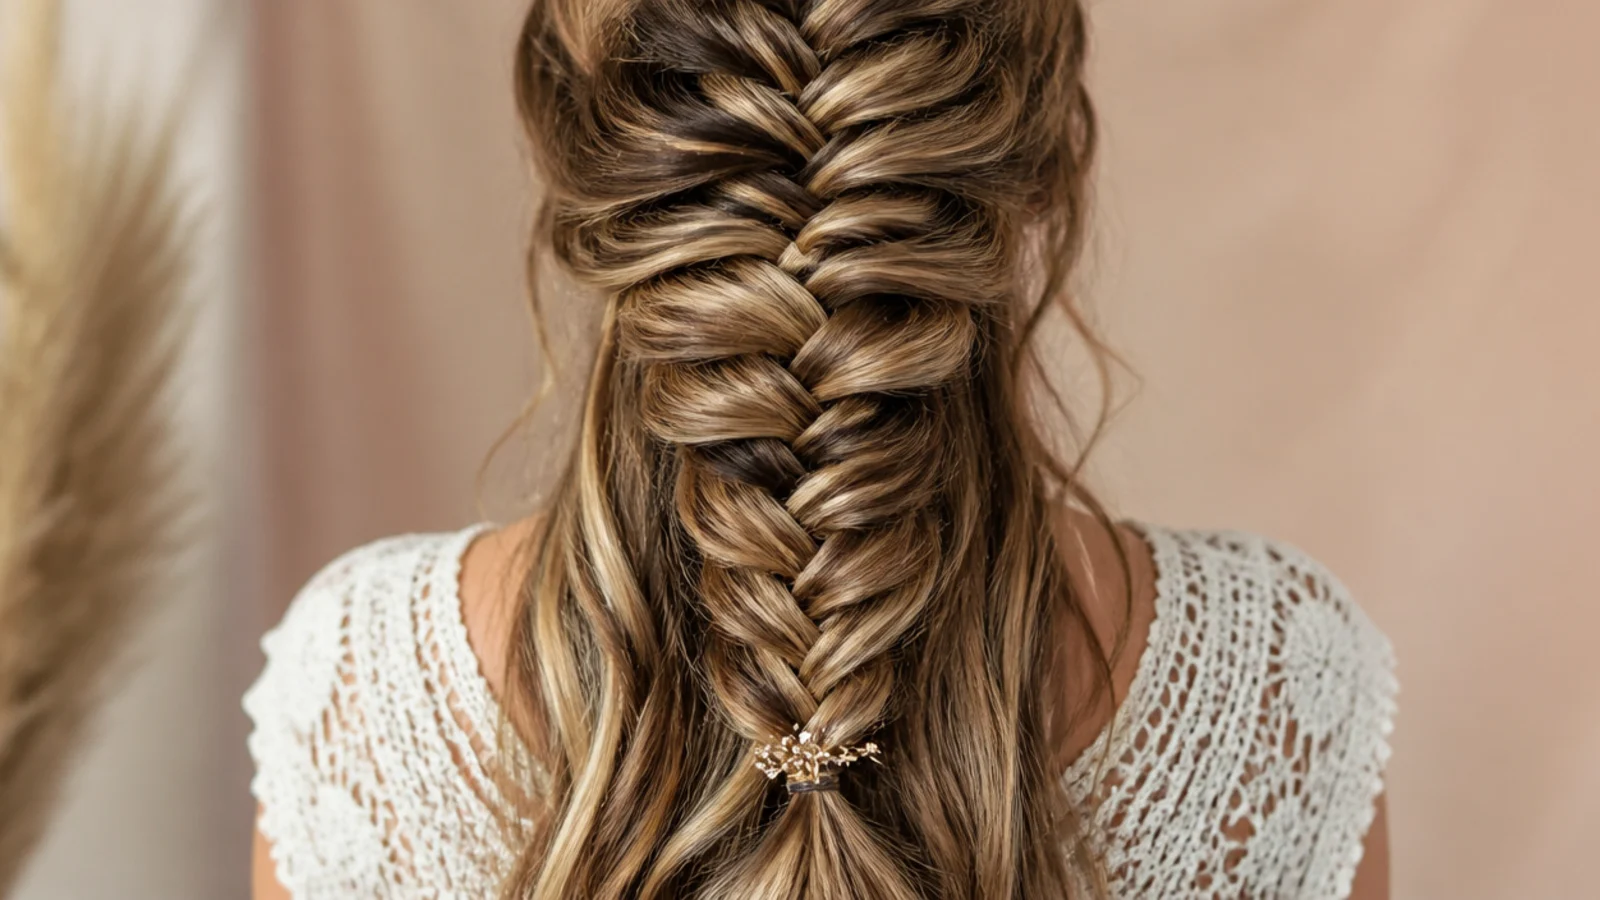
11. Clear Elastic Finish
A silicone band vanishes against every hair colour, so the braid appears to run out into loose hair rather than stopping at a marker. It also grips smooth hair better than fabric, which matters most at the tie where the braid is thinnest.

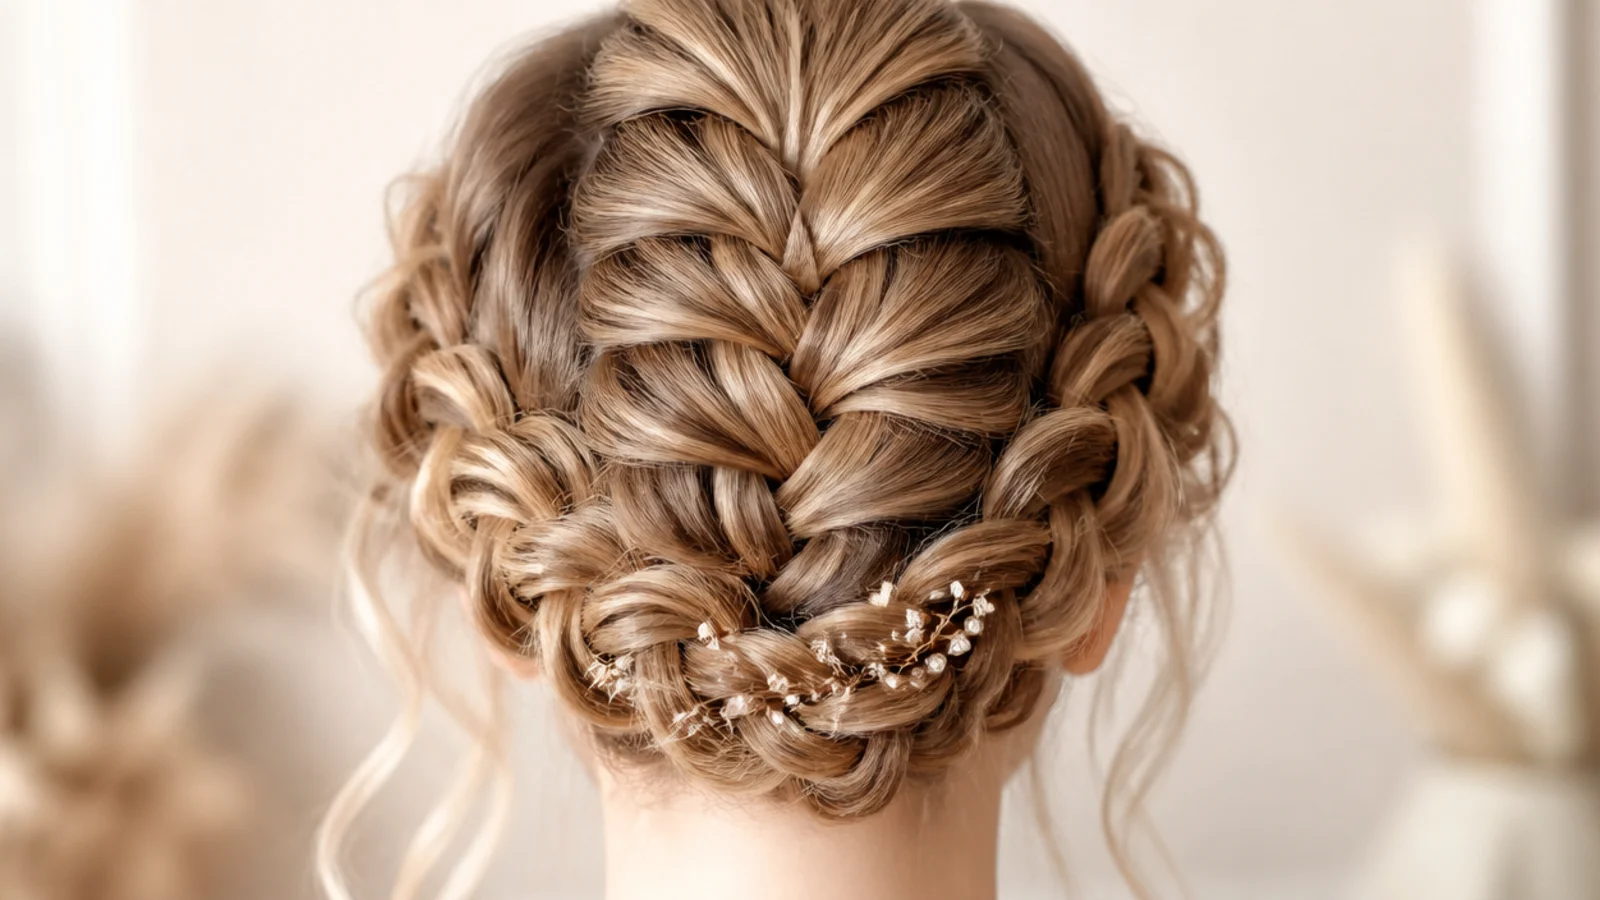
12. Crown Halo
The braid runs around the head rather than down it, so it becomes a band across the widest point with everything below falling loose. Cross the pins as you anchor it, because a horizontal braid pulls sideways and a straight pin has nothing to hold against.
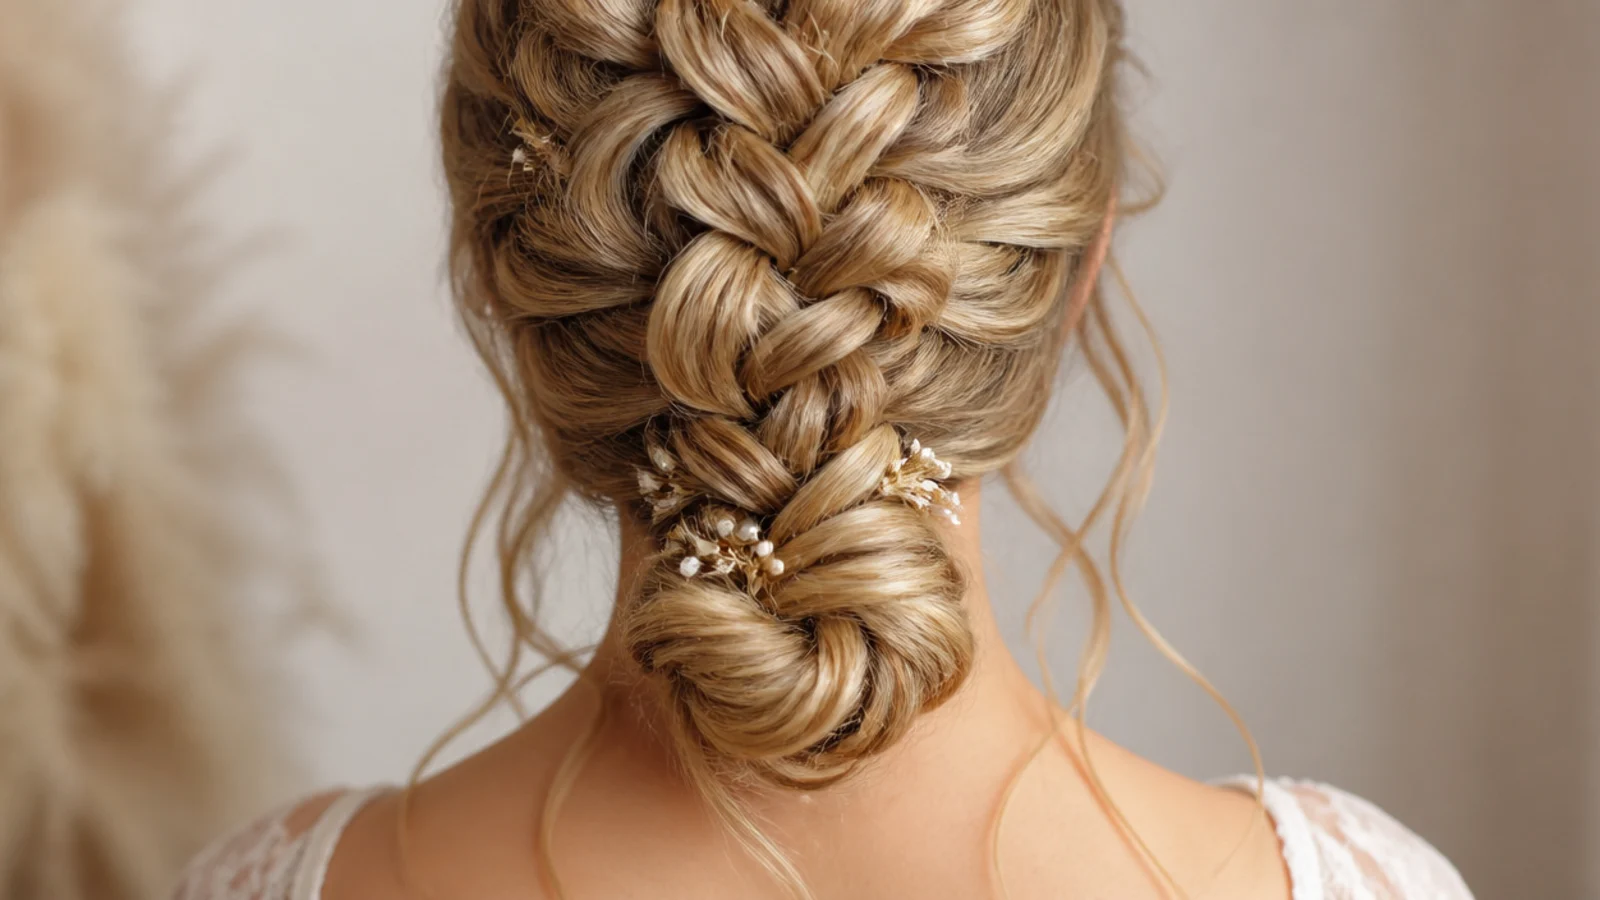
13. Low Bun
Braiding first and coiling second builds the bun out of a rope that already carries a pattern. Every wrap shows crossings on its outer face, which is texture a plain twisted knot cannot produce at any size.
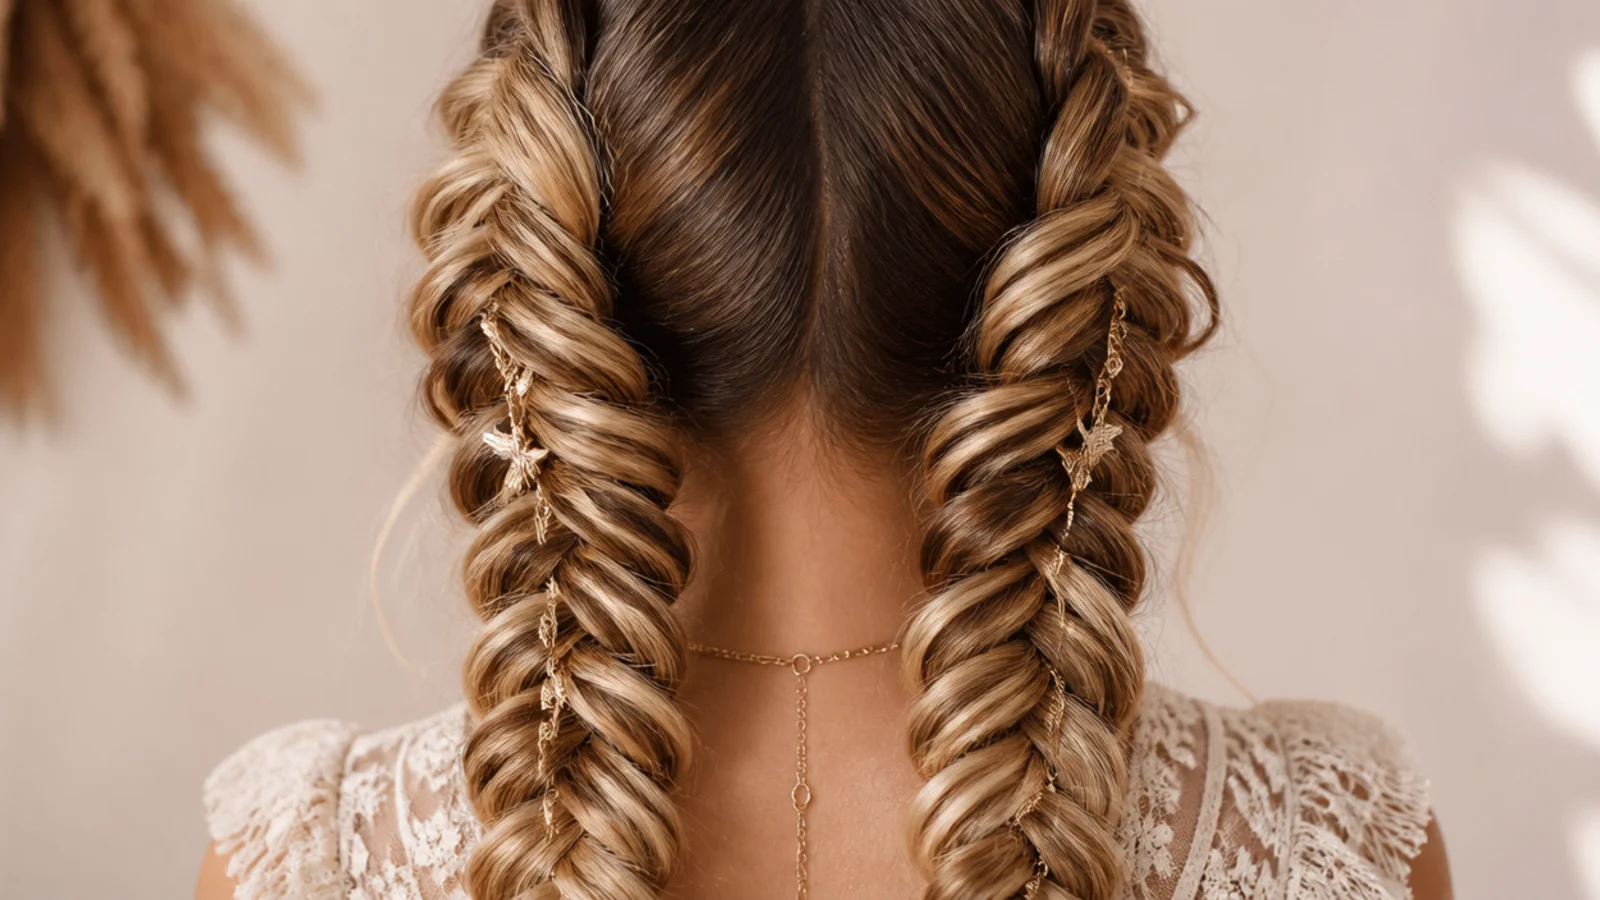
14. Double Pigtails
Two braids split the total hair in half, so each section is narrower and each crossing finer. The result is a denser pattern than one braid of the same overall volume, and the weight sits on two anchors instead of one.
15. Braided Ponytail
Gathering into an elastic first and braiding below it means the ponytail carries all the weight and the braid only contains the length. That also lets you place the braid high on the head without the crown taking any of the load.
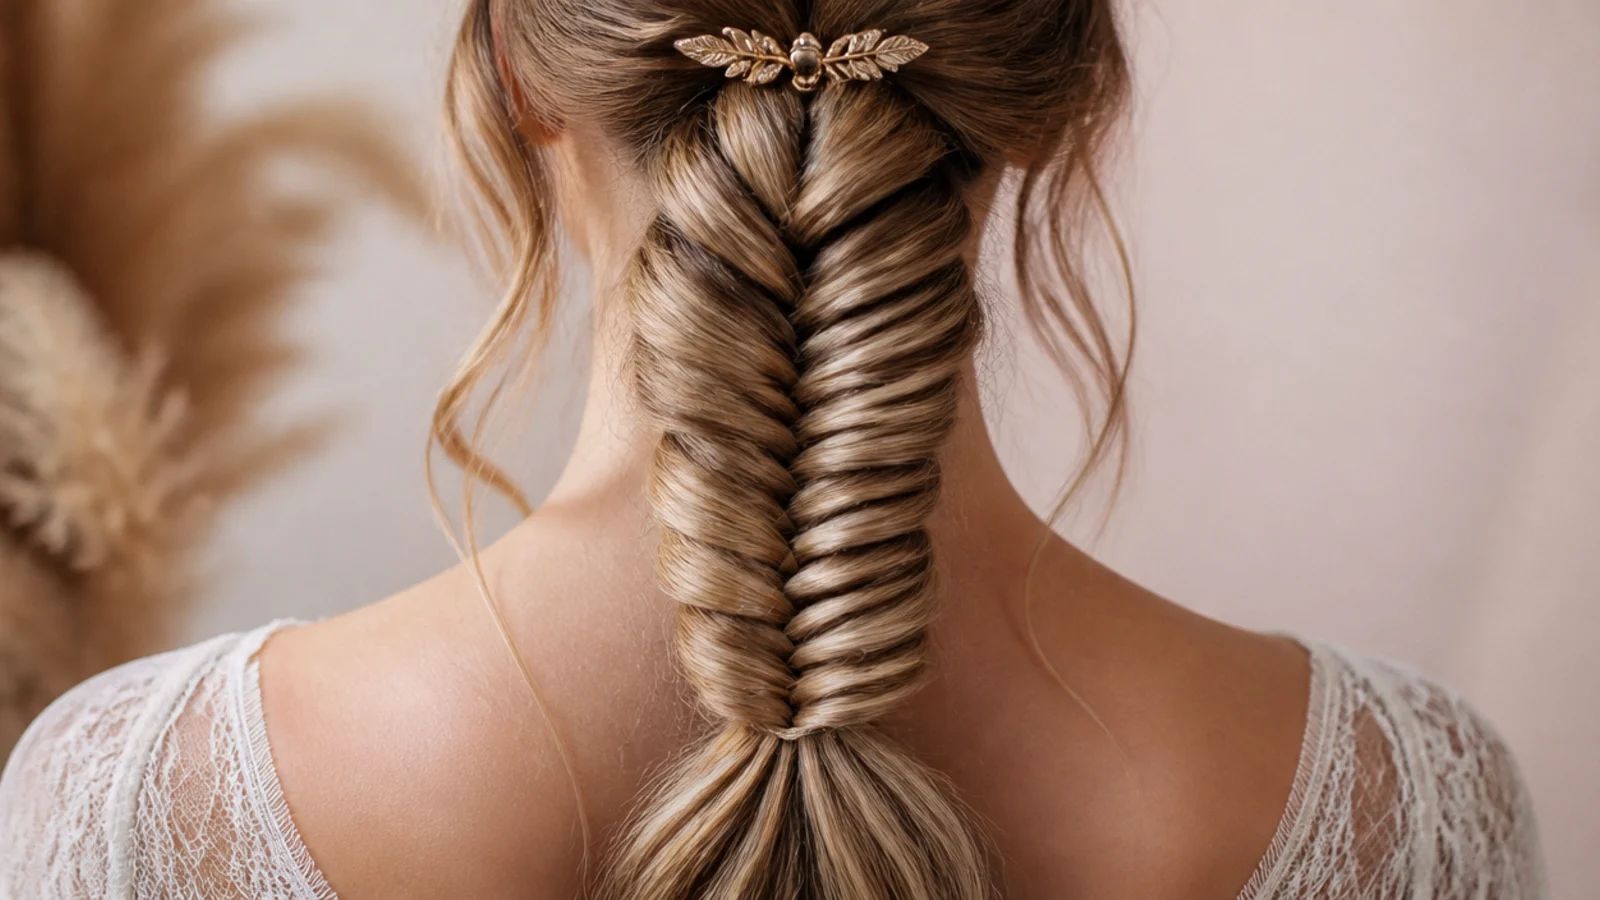
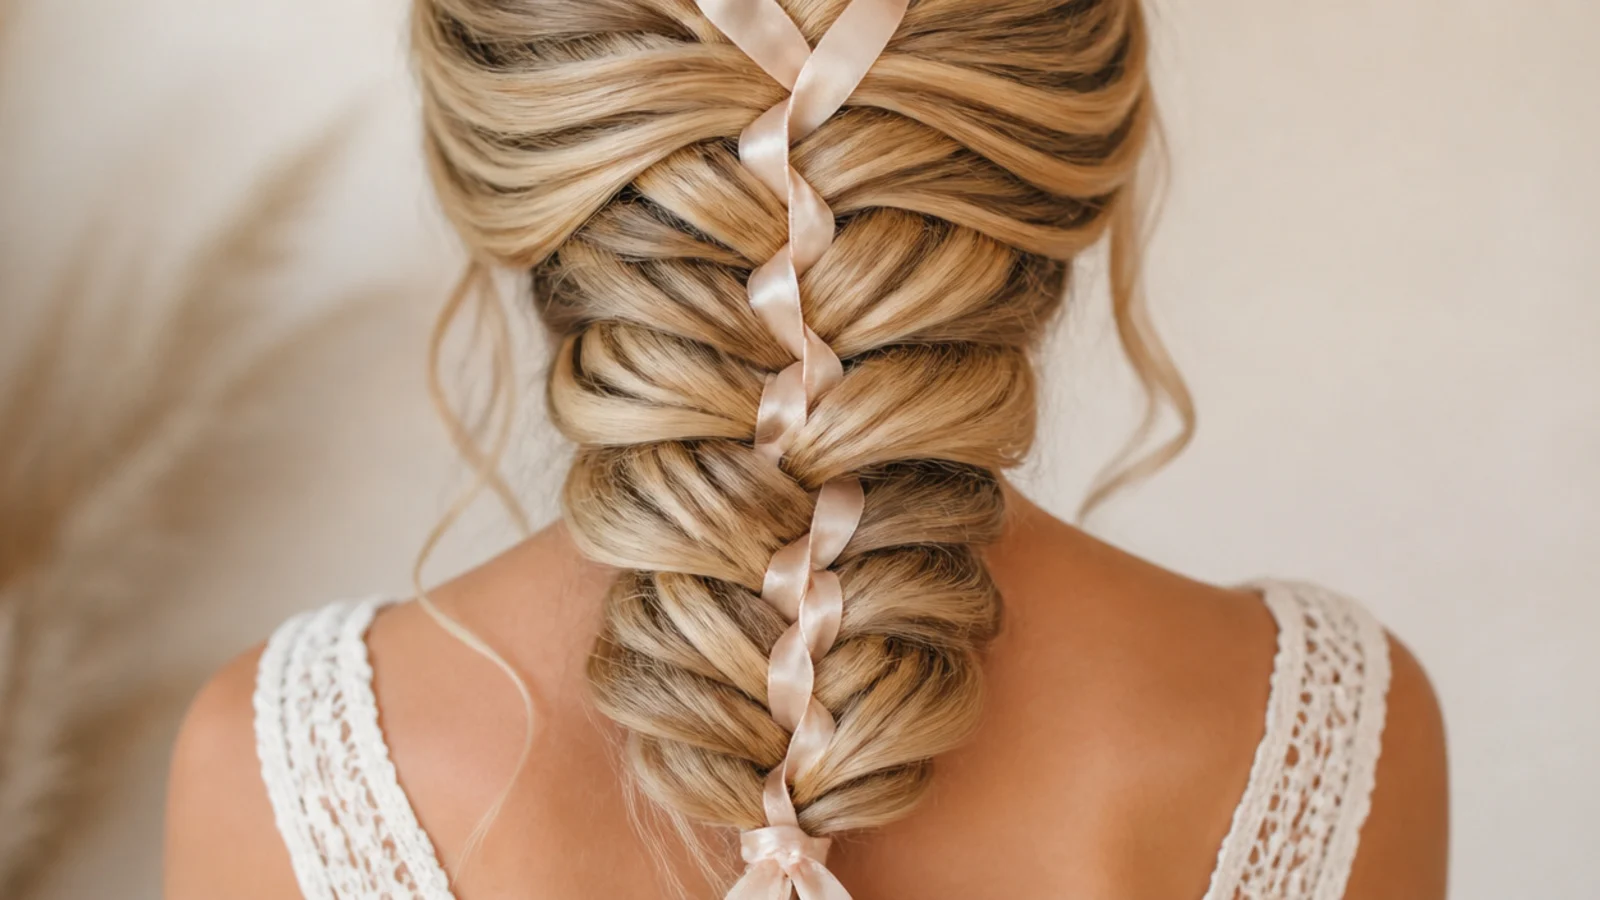
16. Ribbon Woven Through
Laid in with one of the halves at the start, a ribbon passes through every crossing and surfaces at intervals down the braid. Fabric also raises the friction between sections, so a ribboned braid holds its width longer than the same braid without one.
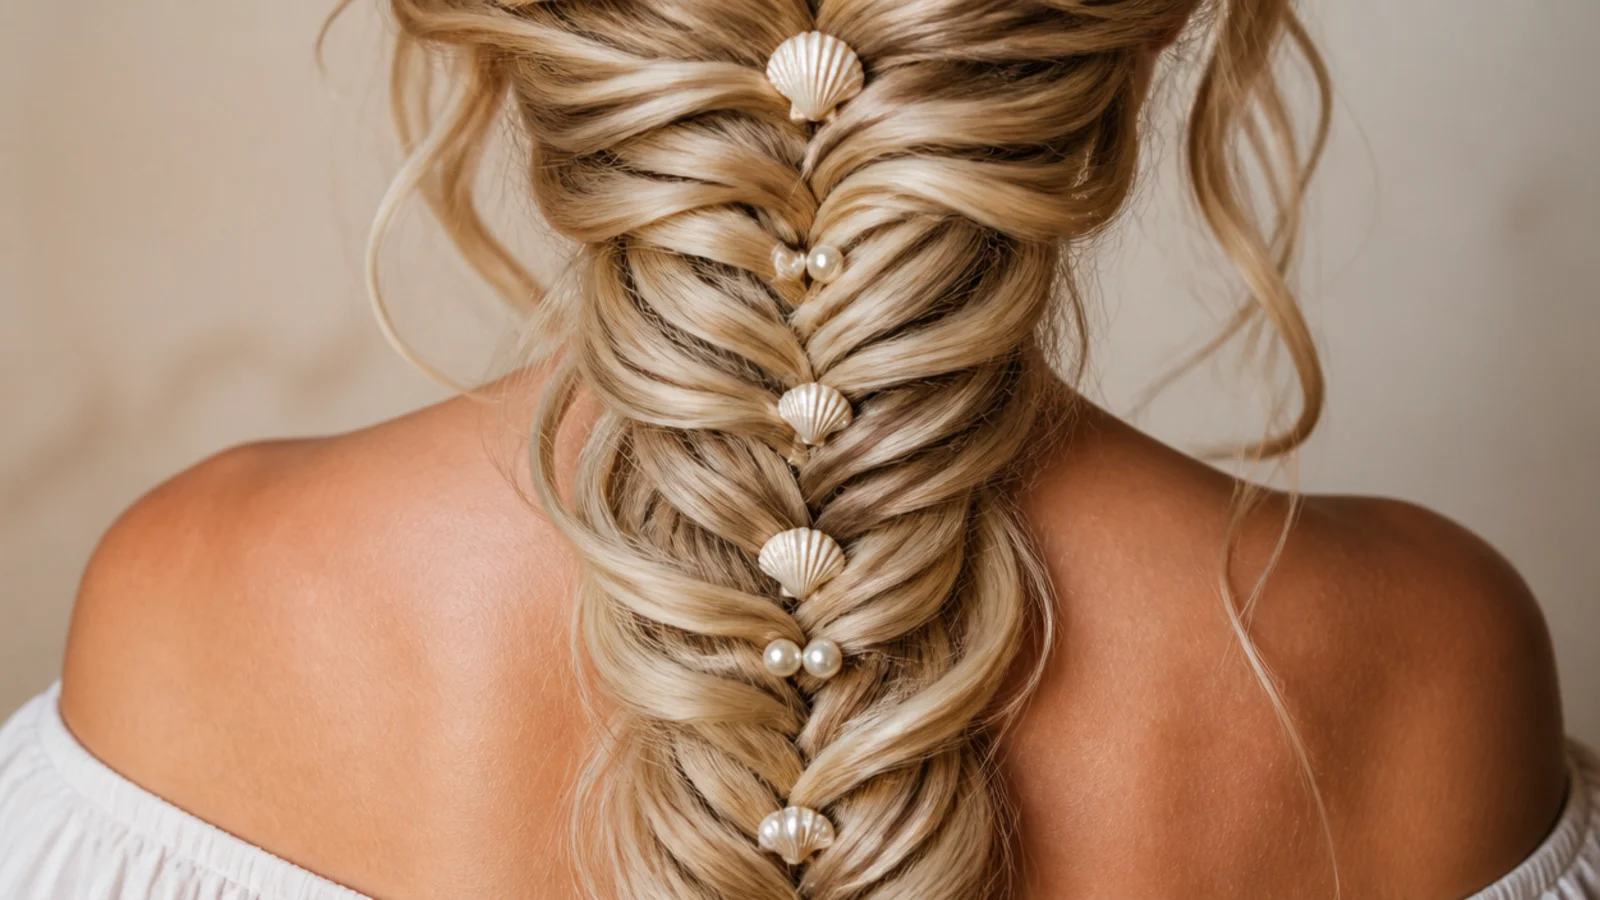
17. Shell and Pearl Pins
Pins pushed into the loops that pancaking opened sit in place without needing grip of their own. Space them unevenly, because pins at regular intervals read as a ruled line where scattered ones read as decoration caught in the hair.
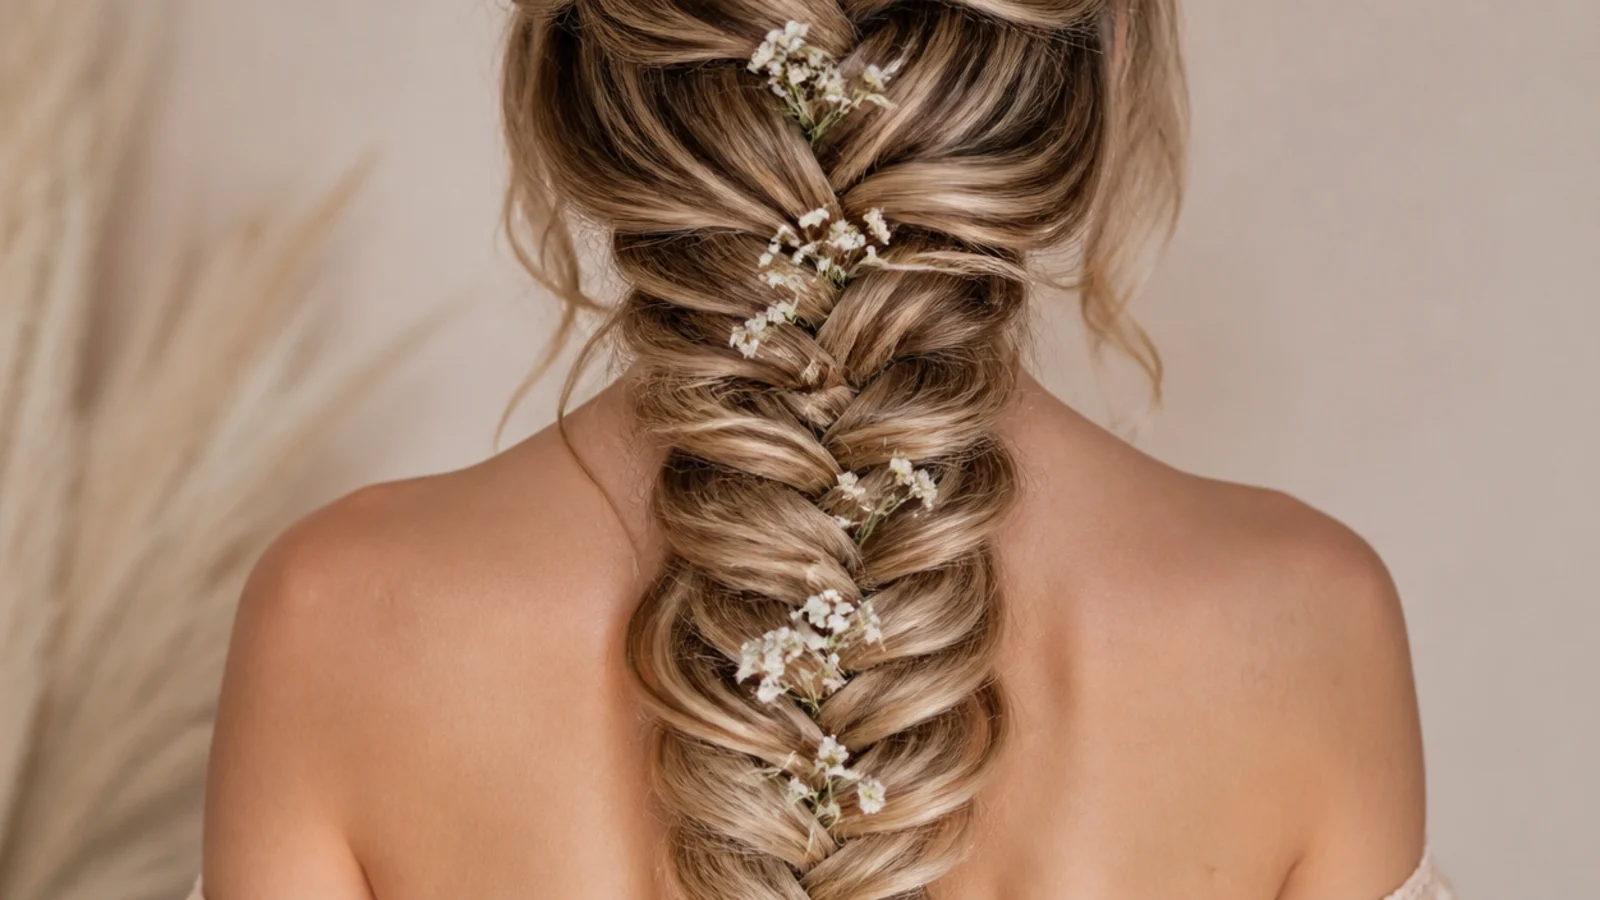
18. Wedding Flowers
Stems are pushed into the braid from underneath so the flower head rests in a loop rather than being tied on top. Anchored that way they follow the braid's curve, and nothing has to be wrapped around the braid to keep them there.
19. Messy Everyday
Deliberately uneven pieces and an unfinished tie, worked on second day hair. It survives because the irregularity is already built in, so anything that shifts through the day looks like part of the plan rather than like a collapse.

20. Sleek and Glossy
Smoothed with a serum before braiding so the crossings sit as one flat surface. Gloss reflects a narrow bright line along each loop, and that highlight is what makes a tidy braid read as sharp rather than simply neat.
21. Deep Side Part
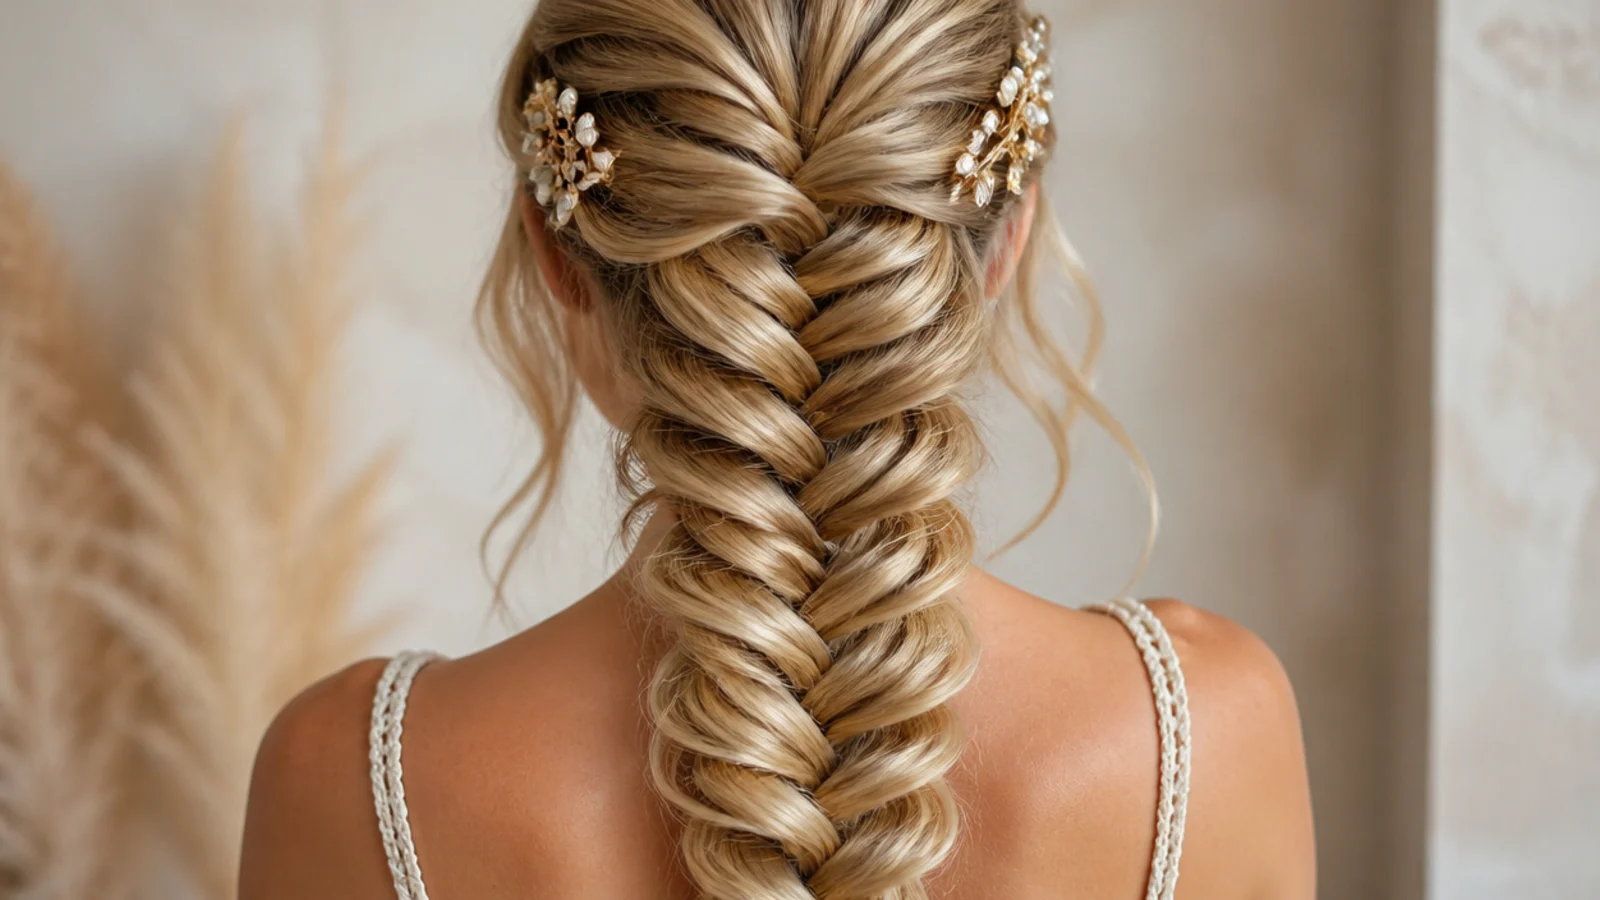
Parting well off centre loads one half with more hair, so the braid starts asymmetrically and travels diagonally before it straightens out. The heavier sweep also covers one temple, softening the hairline without a separate face framing piece.
22. Beachy Salt Spray
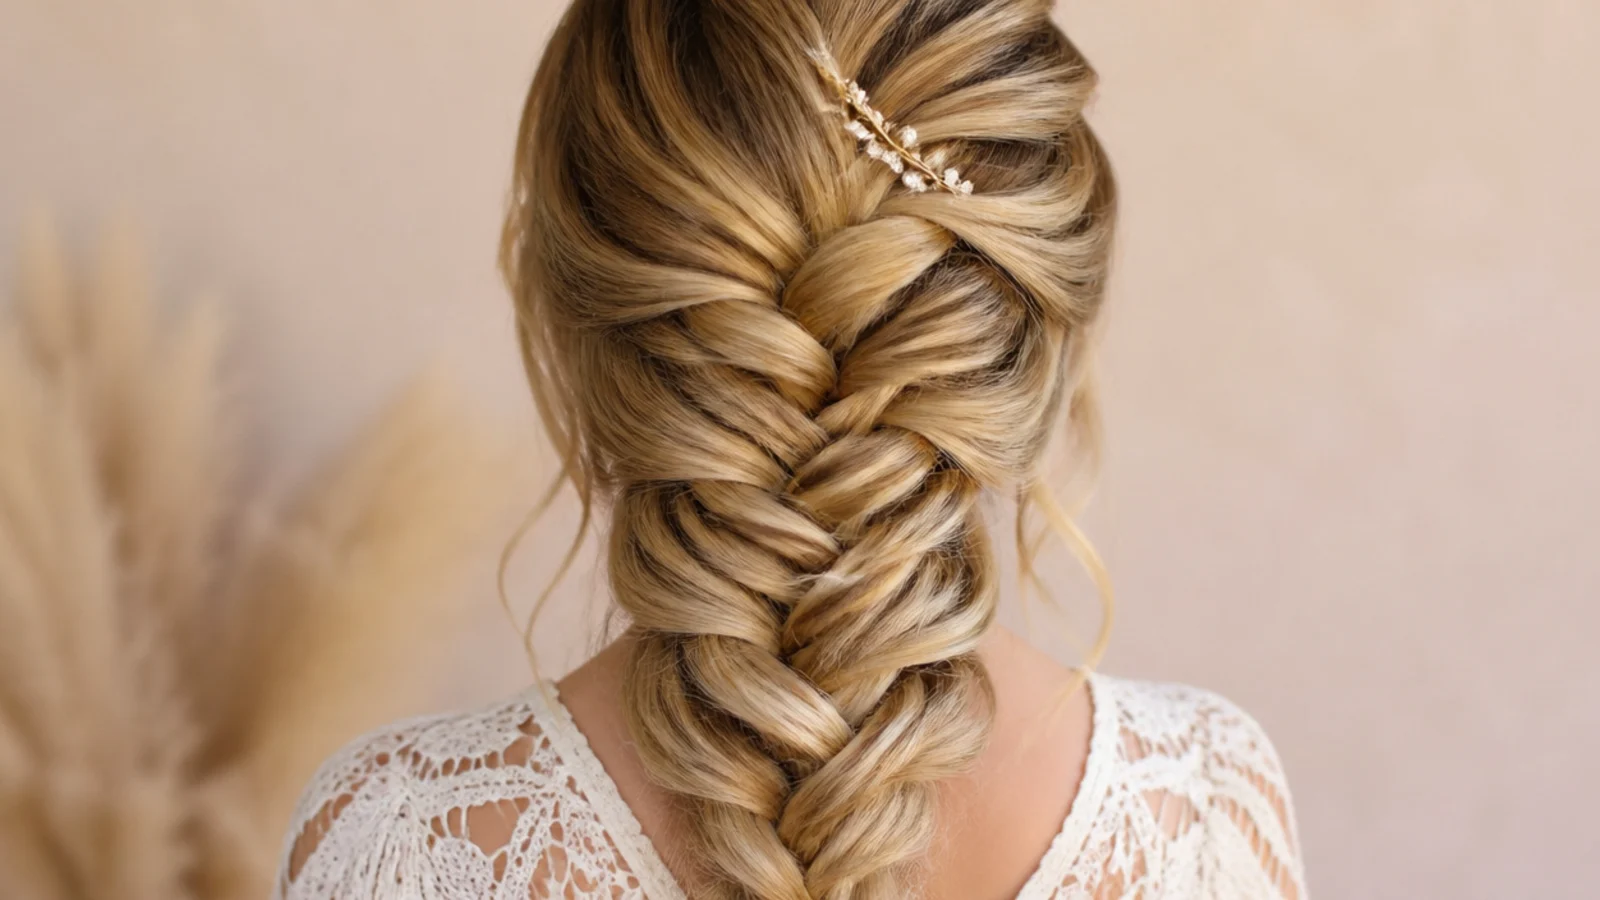
Salt swells the outer layer of the strand and leaves it slightly rough, which is exactly the surface a pancaked braid needs. The trade is dryness, so keep it to the mid lengths and stay off the ends, which are already the driest hair you have.

23. Built for Prom Hold
Braided on second day hair, pancaked in two passes, pinned from underneath at two points and set with a flexible spray. Pins carry the load that an elastic alone would lose over six hours of dancing, which is when most long braids give up.
24. Overnight Waves
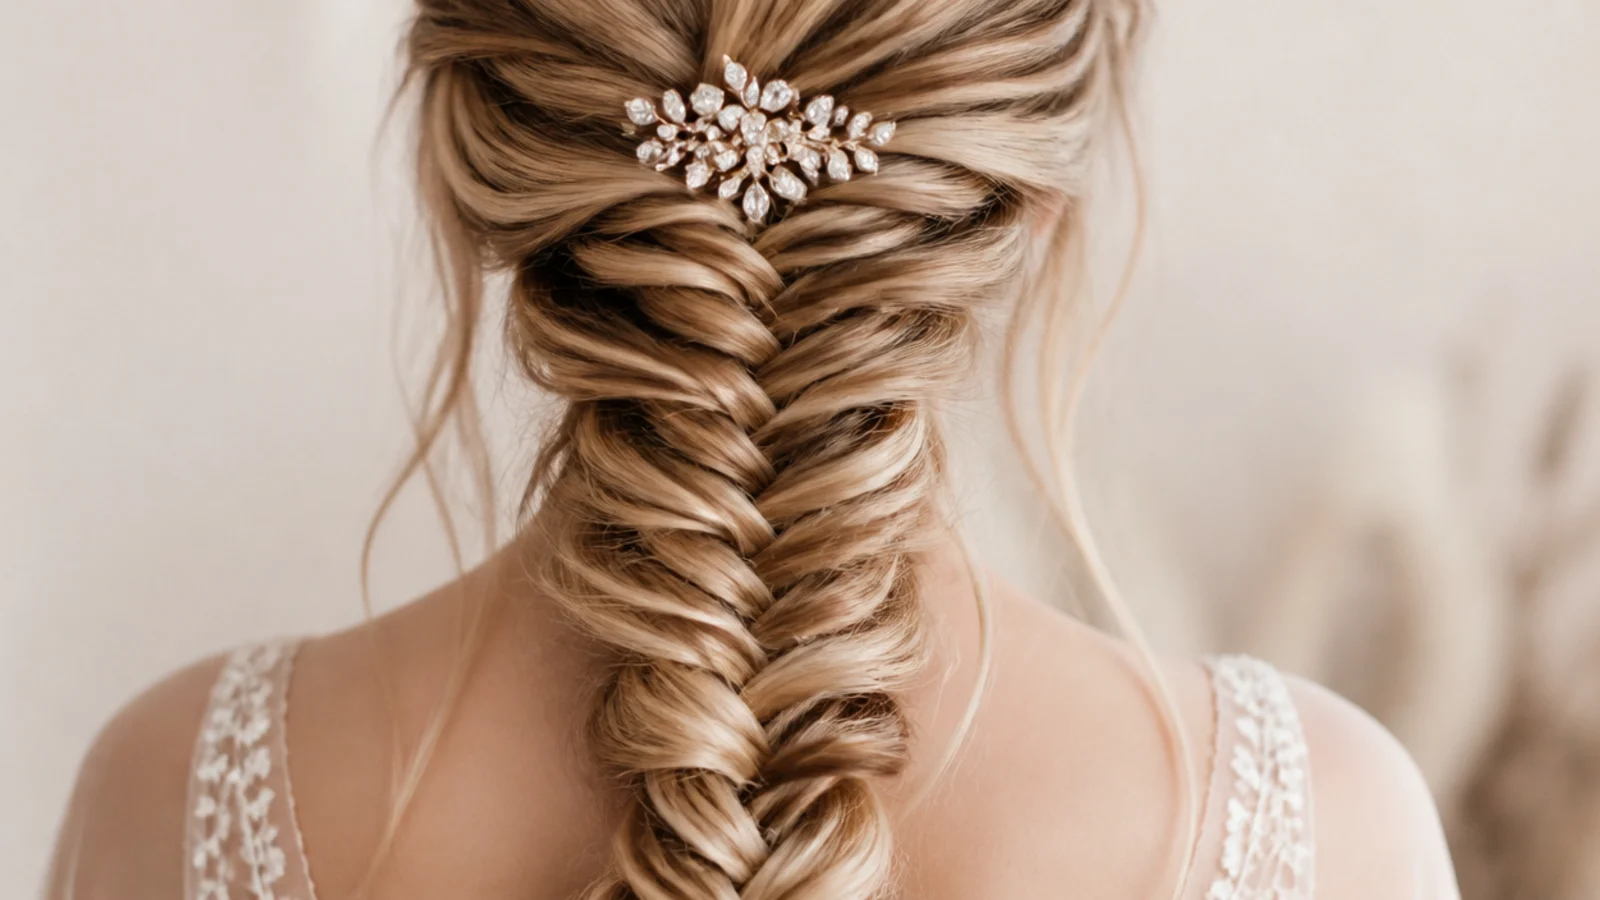
The braid doubles as a setting tool, because evenly spaced small crossings leave a fine consistent bend along the whole length. Braid at towel dry rather than soaking wet, and loosen the tie before bed so it does not crease the ends.

25. Extensions for Length
Clip in wefts add strands that reach the ends, which natural hair rarely does past the waist. That fills the taper from the inside, so the braid holds an even width down its length instead of narrowing to a point.
Final Thoughts
Once you accept that the braid comes out narrow, the whole style gets easier. Braid small, braid loose, tie two inches short of the ends, then hold the elastic and open the loops from the bottom upwards with the middle widest. Almost every disappointing mermaid braid is one of those five things done in the wrong order, and the most common is trying to widen a braid that has not been tied yet.
Everything else is friction. Unwashed hair, a wave through the length and a flexible spray at the end all do the same job, which is to stop the loops creeping back towards the centre while you get on with your day. More in Braids and Protective Styles. See also the blonde version and the boho version.
Frequently asked questions
Related posts
See all posts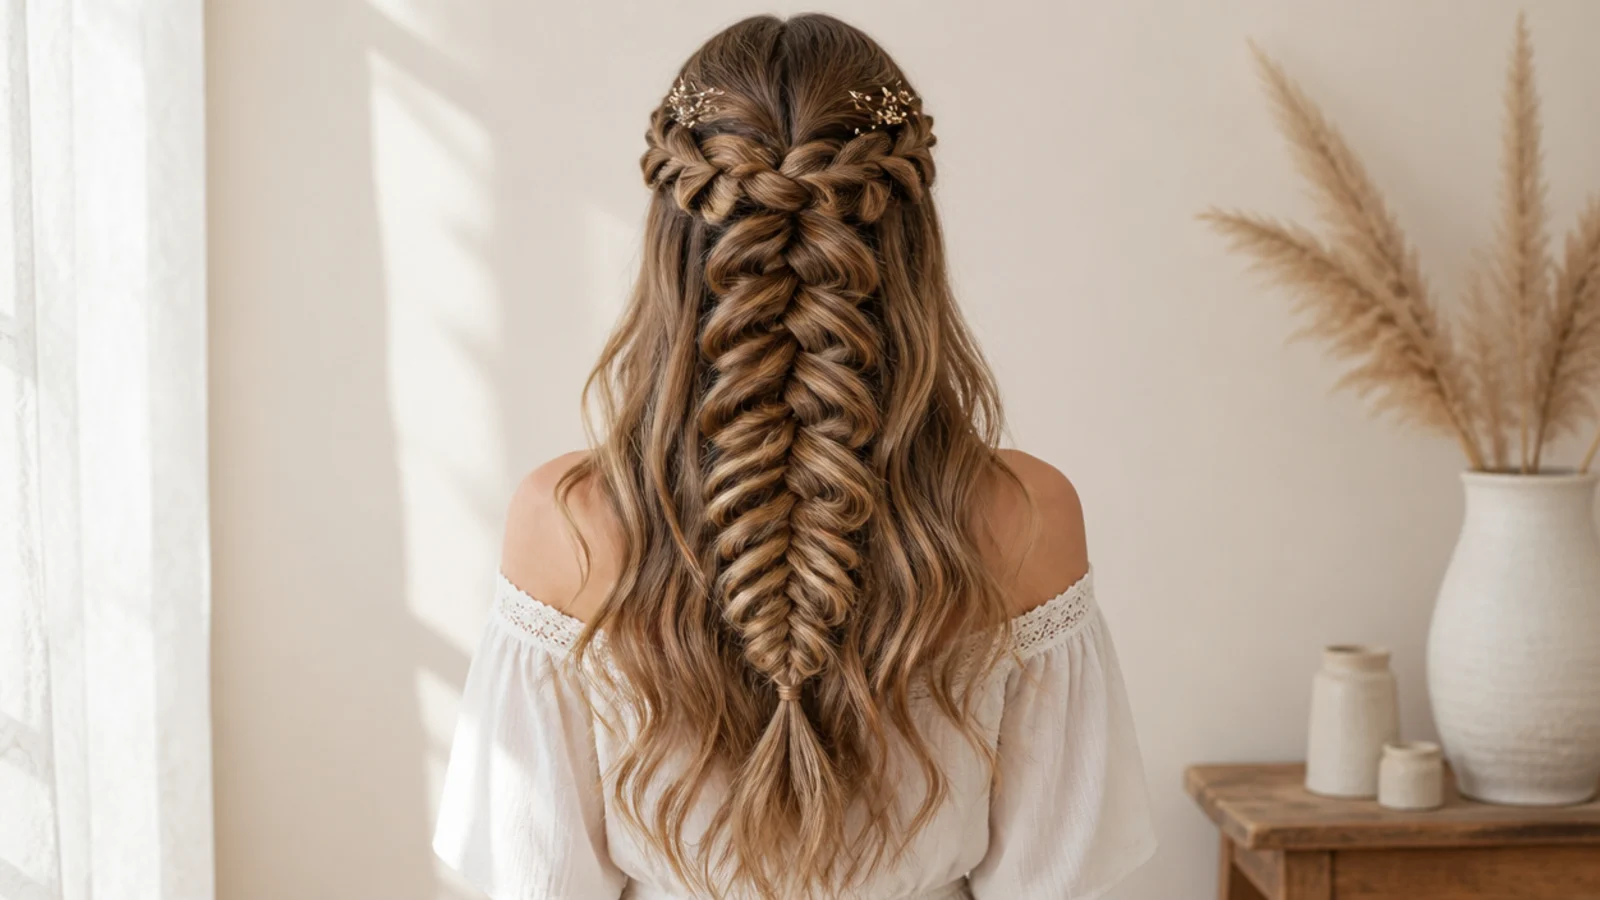
20 Waterfall Mermaid Braid Ideas That Hold
Read more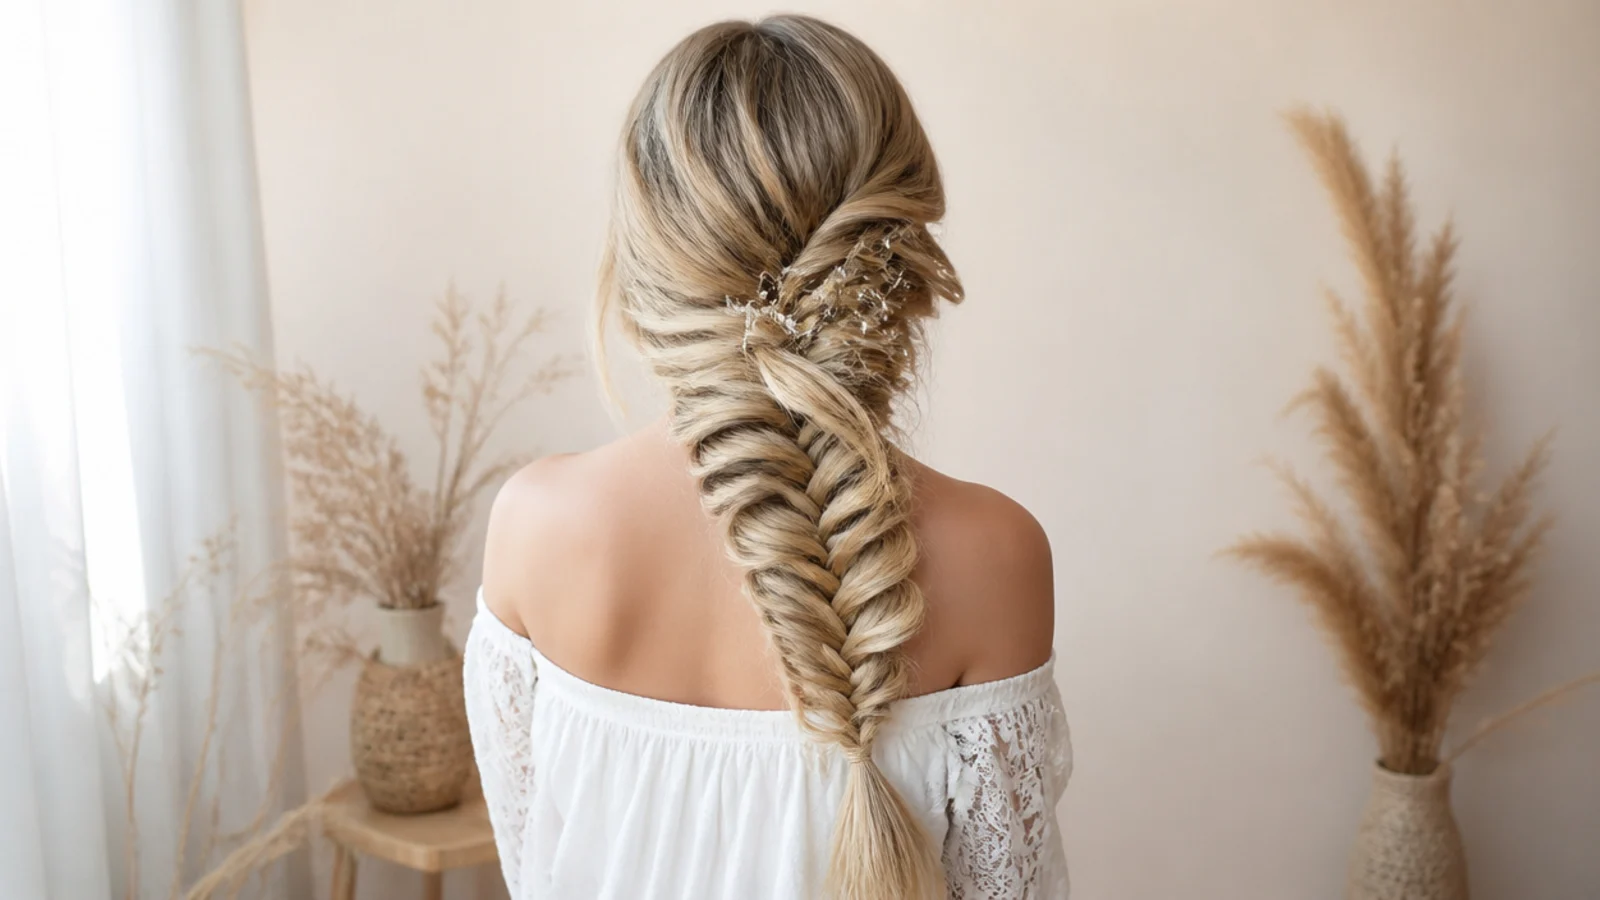
15 Side Mermaid Braid Ideas That Sit Right
Read more
20 Side Part Medium Knotless Braids I Saved
Read more