15 Mermaid Braids With Curls That Hold the Set
Fifteen mermaid braids with curls, and the conflict nobody names — a braid compresses a curl where it enters the crossing, so the decision is which sections get braided and which are left out to show the pattern.
In this article · 23
- What Is a Mermaid Braid With Curls
- Curl First and Braid Second
- By Length and Thickness
- Fine and Slippery Hair
- Pancaking Technique
- Making It Last
- The 15 Mermaid Braids With Curls
- 1. Curls Set First
- 2. Half Up With Curls Down
- 3. Side Braid on Fine Hair
- 4. Waist Length Barrel Curls
- 5. Boho Face Framing
- 6. Nape Curls Left Out
- 7. Second Day Curls
- 8. Heatless Overnight Set
- 9. Shoulder Length
- 10. Bridal Hollywood Wave
- 11. Beachy Salt Spray
- 12. Natural 3A and 3B Curls
- 13. Waterfall With Dropped Curls
- 14. Double Braids
- 15. Extensions in a Loose Wave
- Final Thoughts
Curls and braids want opposite things from the same hair, and a mermaid braid is where that argument becomes visible.
A crossing flattens a curl. The bend is pressed out where the piece passes through the braid, then springs back the moment it leaves.
So decide which sections show curl. Braid what you want held and leave loose what you want to see. The curl belongs below the braid, at the nape and around the face.
What Is a Mermaid Braid With Curls
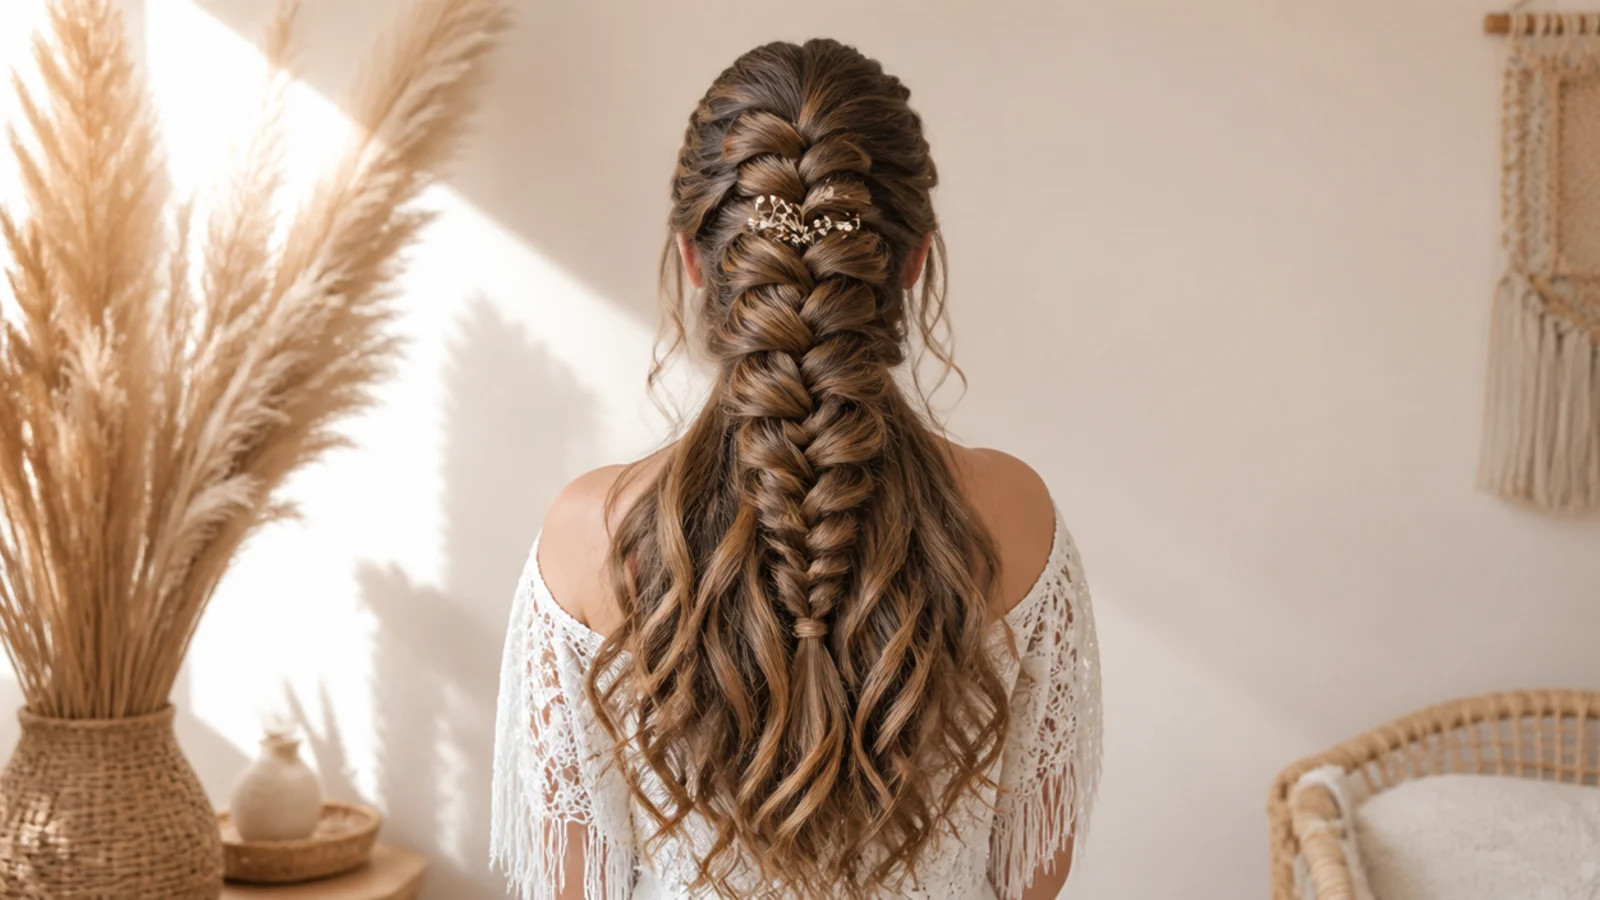
The braid is a fishtail. Two halves, with a thin piece crossed from the outer edge of one into the inner edge of the other, alternating all the way down.
The curls are a set underneath it. They are not braided in so much as braided over, which is why the loose length keeps its pattern while the plait stays flat.
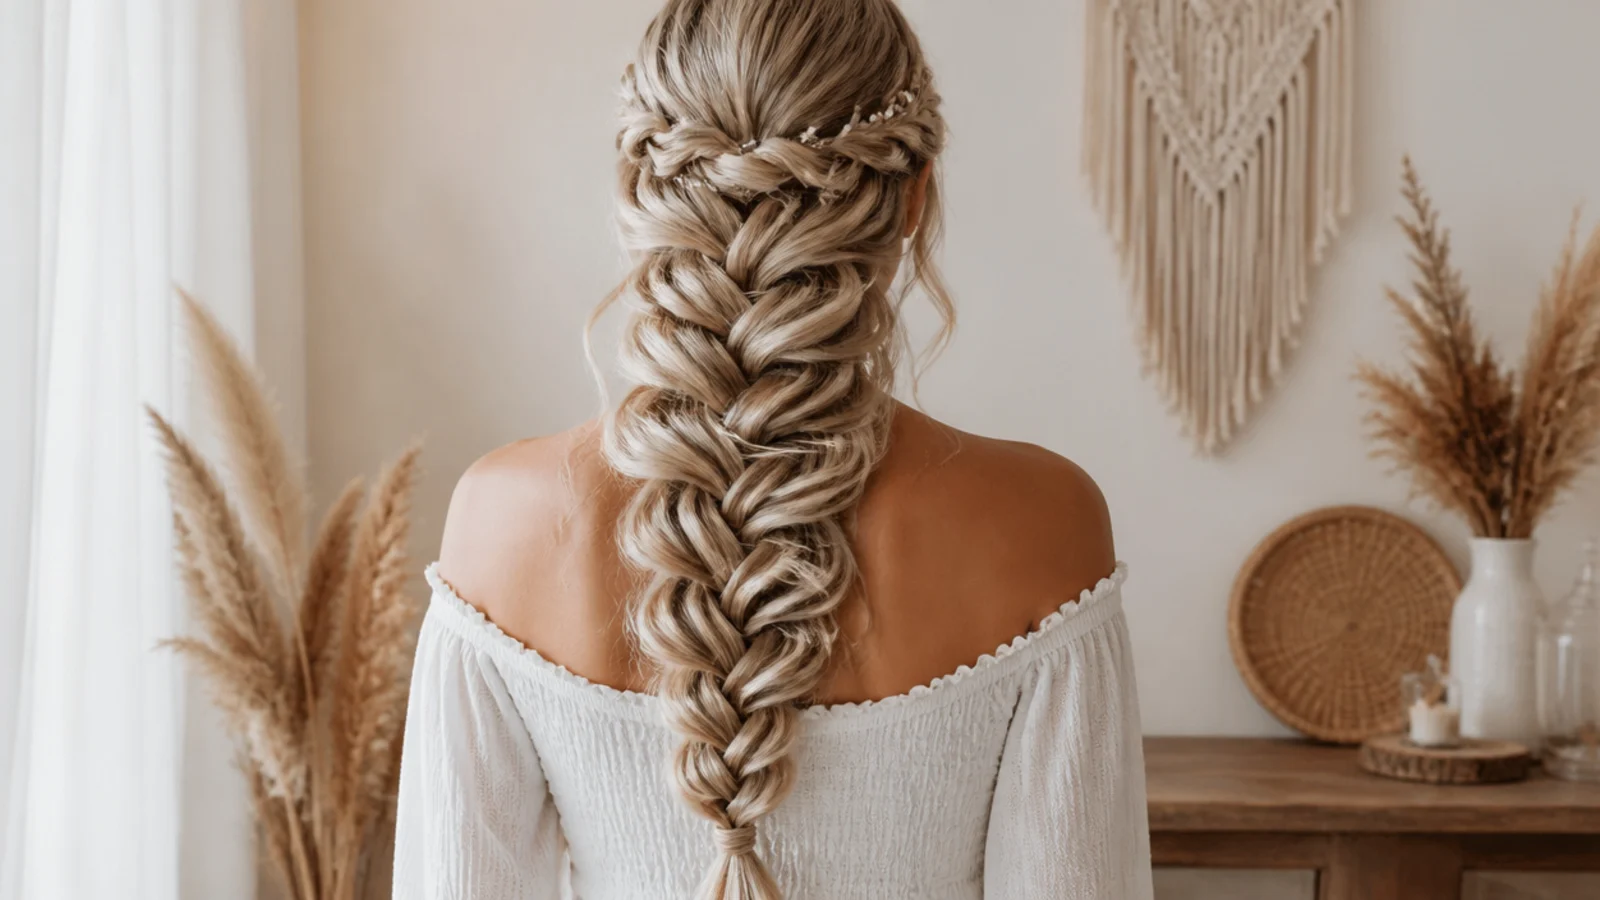
The braid is pancaked wide afterwards. Loops pulled sideways from the elastic upwards, which is what separates a mermaid braid from a plain fishtail.
Curl fills the loops. A curly braid looks wider than the same braid on straight hair, because the texture bulks out the openings you just made.
Which means you stop widening sooner. Over pancaking a curled braid pushes the curl through the crossings and reads as frizz rather than as scale.
Curl First and Braid Second
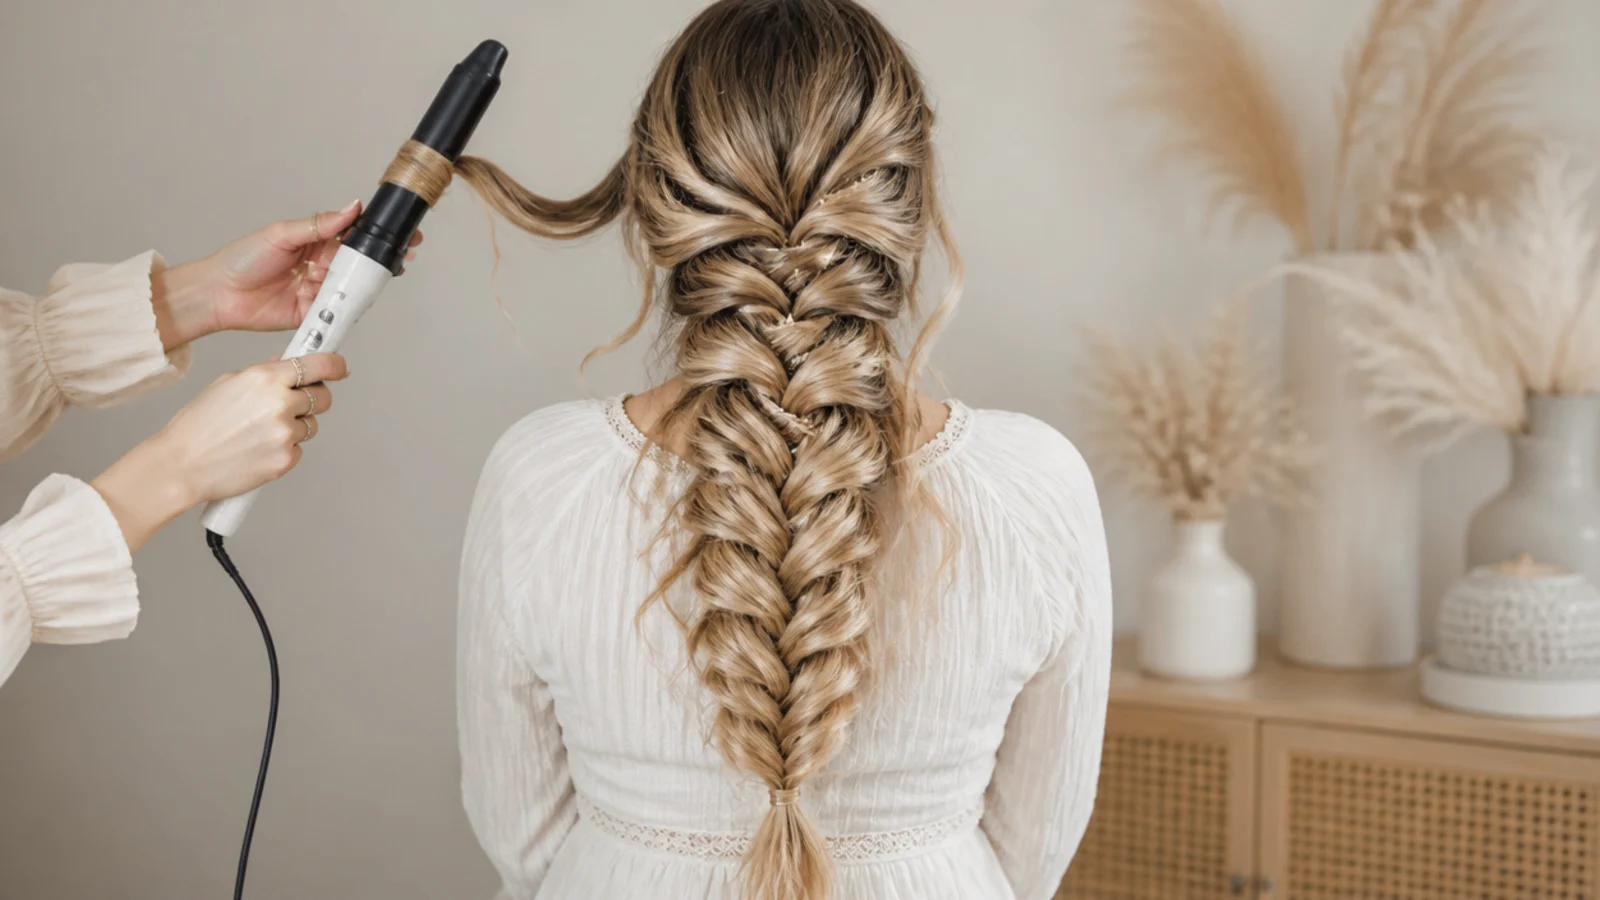
The iron cannot reach a braided section. Once hair is interlaced there is no way to wrap it round a barrel, so the set has to exist before the braid does.
Brush the set out before braiding. A defined ringlet sits as a single unit and lumps up in the crossing. Brushed down into one continuous S bend it keeps every bit of the friction and loses the bulk.
Curl away from the face on both sides. Curls turned the same way stack into a wave, while alternating directions separate and read as a set.
Wide barrel over narrow. A large soft bend gives the interlock a braid needs. A small tight one makes each piece a different thickness and the crossings go uneven.
Let it cool completely. Hair sets as it cools, and braiding warm curls presses them out before the bonds have finished reforming.
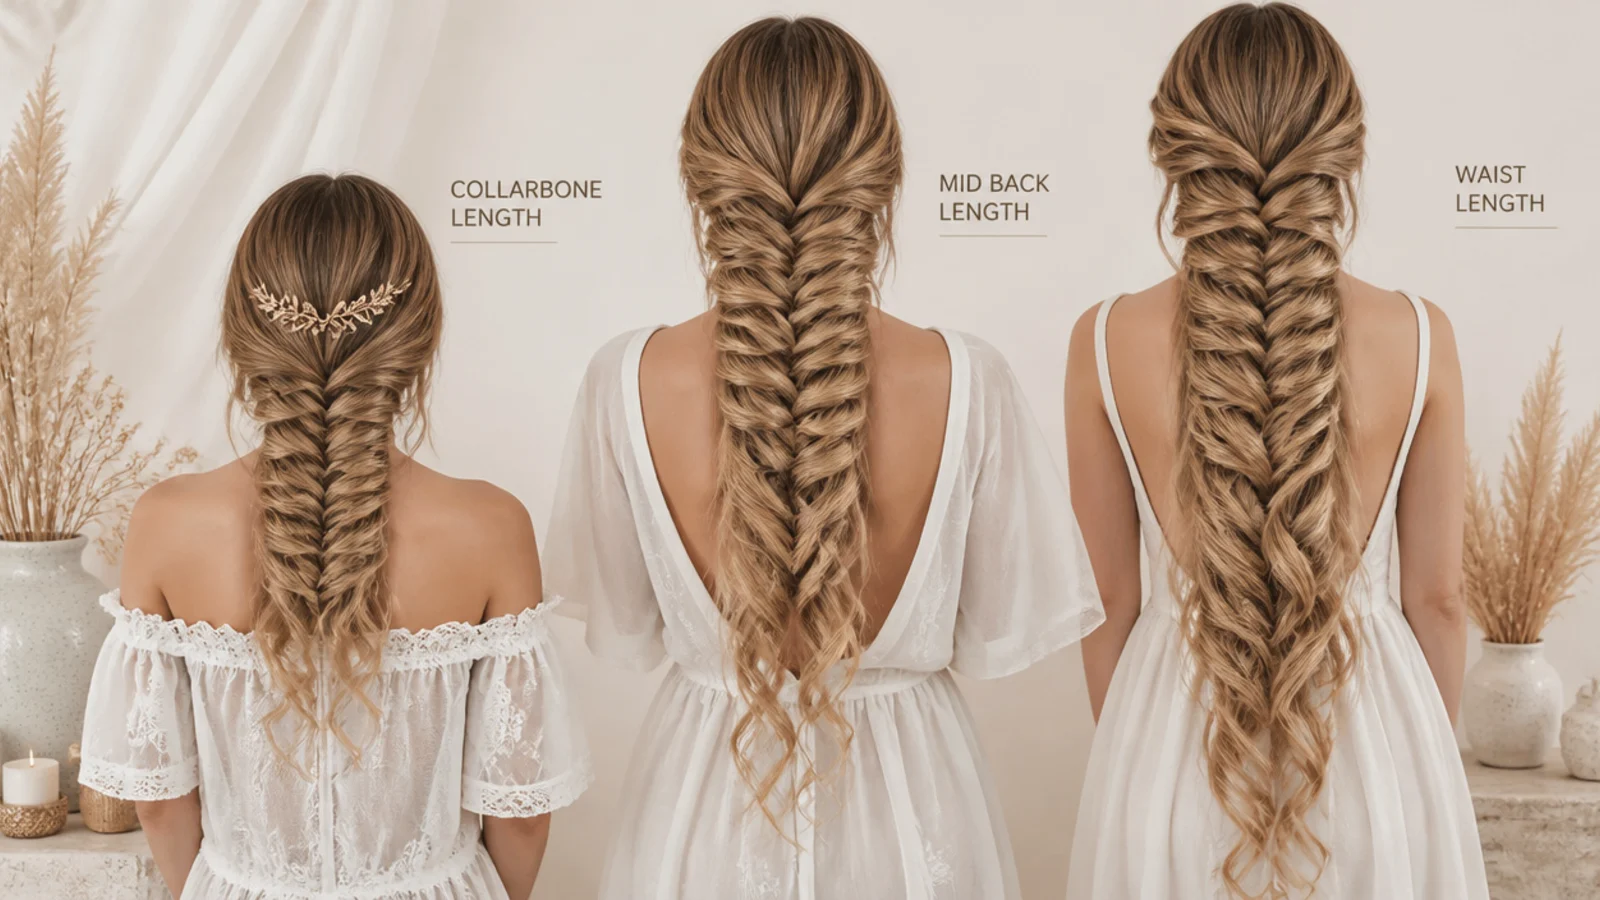
By Length and Thickness
Shoulder length. Curl only the bottom half and braid from the crown, so the curl has somewhere to show below a braid that has enough distance to build a pattern.
Mid back. The most flexible length. A braid down the centre with a full set underneath, and neither element crowds the other.
Waist and longer. Curl the mid lengths and leave the last few inches straighter, because a set at the very ends drops first and shows the drop most.
Thick hair. Braid a narrower section than instinct suggests. The curls already supply volume, and a thick braid on top of a full set reads as one solid mass.
Fine hair. Curl everything, braid a small section, and pancake hard. Here the set is doing the work the hair cannot.
Fine and Slippery Hair
Fine hair drops a curl fastest. Fewer and thinner strands mean less mass holding the reformed bonds in position, so the set relaxes within hours.
Set on smaller sections at a lower heat. More sections put more bends into the same amount of hair, which buys back the volume the fineness costs.
Braid on second day hair. Sebum raises the friction between pieces, so the braid holds its width and the curls hold their shape at the same time.
Skip conditioner on the mid lengths before a set. Slip is the enemy of both the curl and the braid, and fine hair needs very little of it.
Cool shot before you touch anything. Locking the bend while it cools is the single cheapest way to make a fine set last past lunchtime.
Pancaking Technique
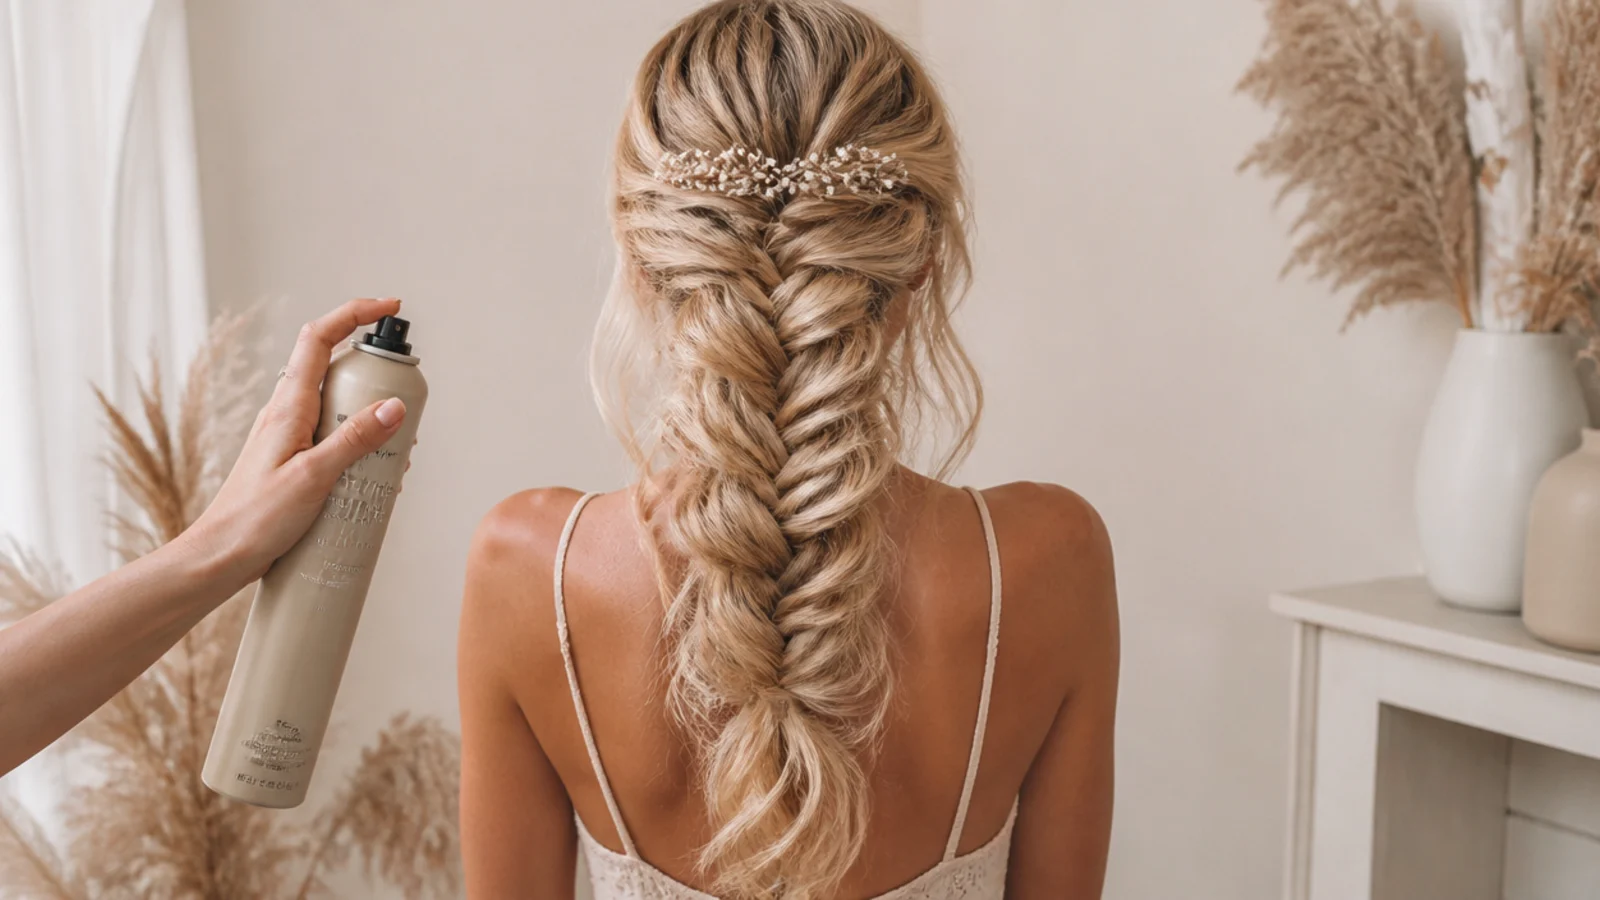
Hold the elastic first. With the bottom fixed the braid widens, and without it the braid simply stretches and you lose length for nothing.
Pull the outer edge of each loop. The crossings at the centre carry all the tension, so the outer edge can be drawn sideways without loosening anything.
Work upwards from the tie. Each loop borrows slack from above it, so going upwards feeds that slack forward instead of dragging the crown apart.
Go lighter than on straight hair. Curl already occupies the loops, so half the usual pull gives the same apparent width.
Judge it from a distance. Up close a curled braid always looks messier than it photographs, and correcting that at arm's length is how it ends up over widened.
Making It Last
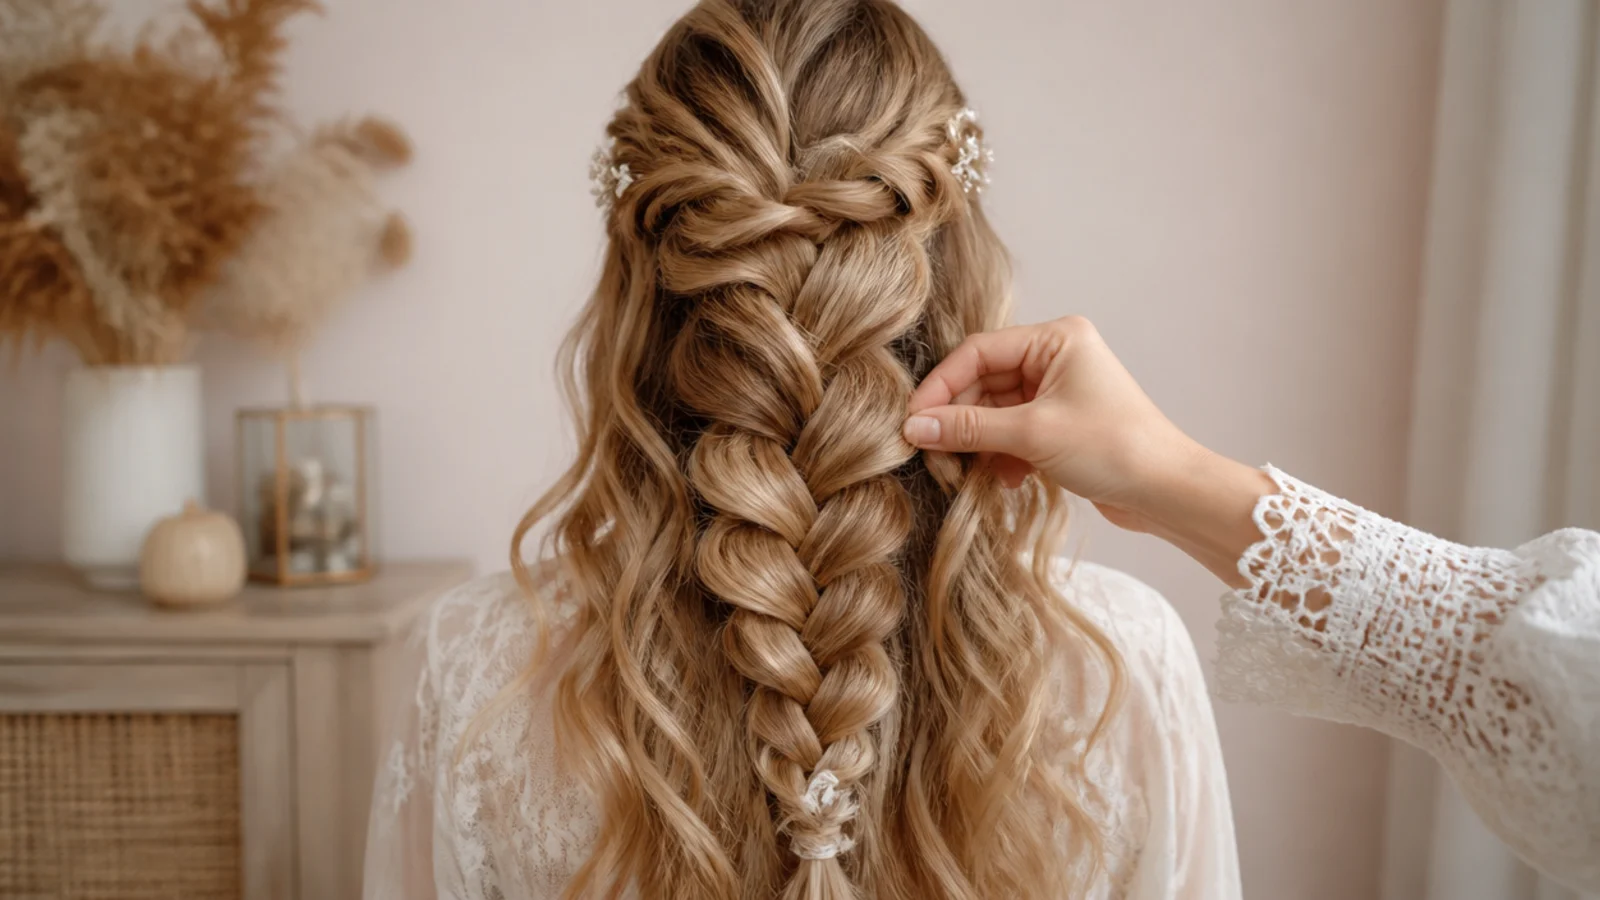
Braid on second day hair, set on first. The curl wants clean hair with grip, and the braid wants yesterday's oil. Setting the night before gives you both.
Pin the braid, do not tighten it. A pin pushed up from underneath takes weight off the elastic, where a tighter band only crushes the curls nearest the tie.
Refresh the curl, not the braid. A little water on the loose ends revives the bend, and the braid needs only a retug on the outer loops.
Keep hairspray off the loose curls. Product weight is what drops a set, so spray the braid and leave the length alone.
Sleep with the braid loose and the curls up. Gathering the loose length above the head keeps the pattern off the pillow while the braid, which is flat, takes no harm from lying on it.
The 15 Mermaid Braids With Curls
1. Curls Set First
The whole length is curled, cooled and brushed out, and only then is the braid worked over the top. Doing it in this order means the braid is laid onto hair that already has friction and shape, which is why it holds its width without any product at all.
2. Half Up With Curls Down
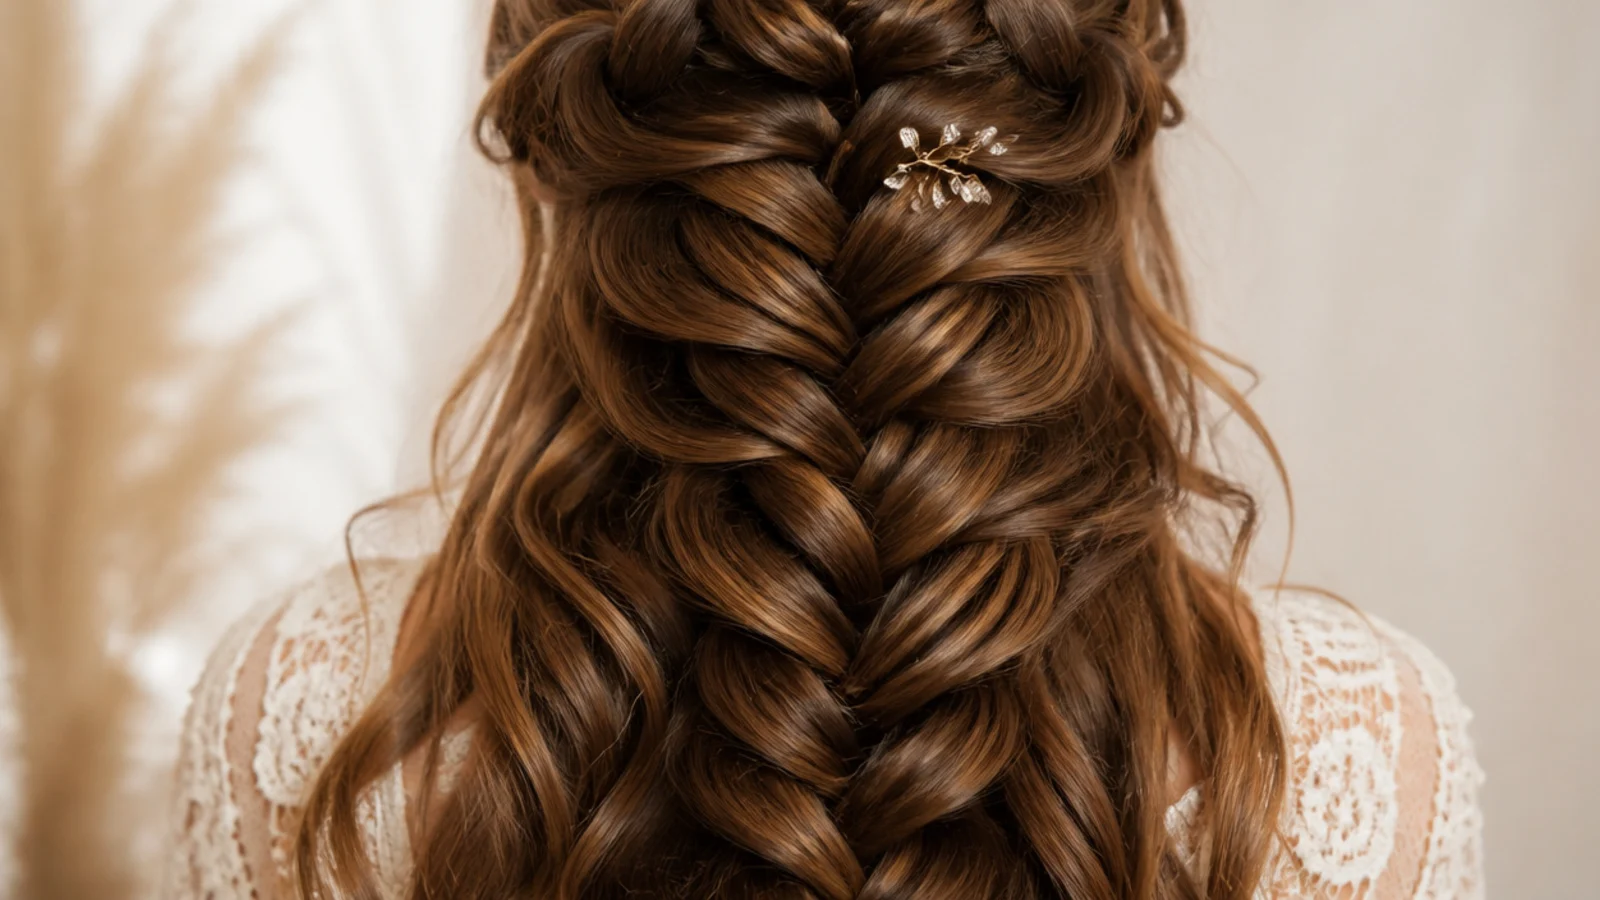
Only the crown section is braided, so the curls below are untouched by any crossing and keep their full pattern. It is the cleanest solution to the conflict between the two, because neither one is compromising for the other anywhere on the head.
3. Side Braid on Fine Hair
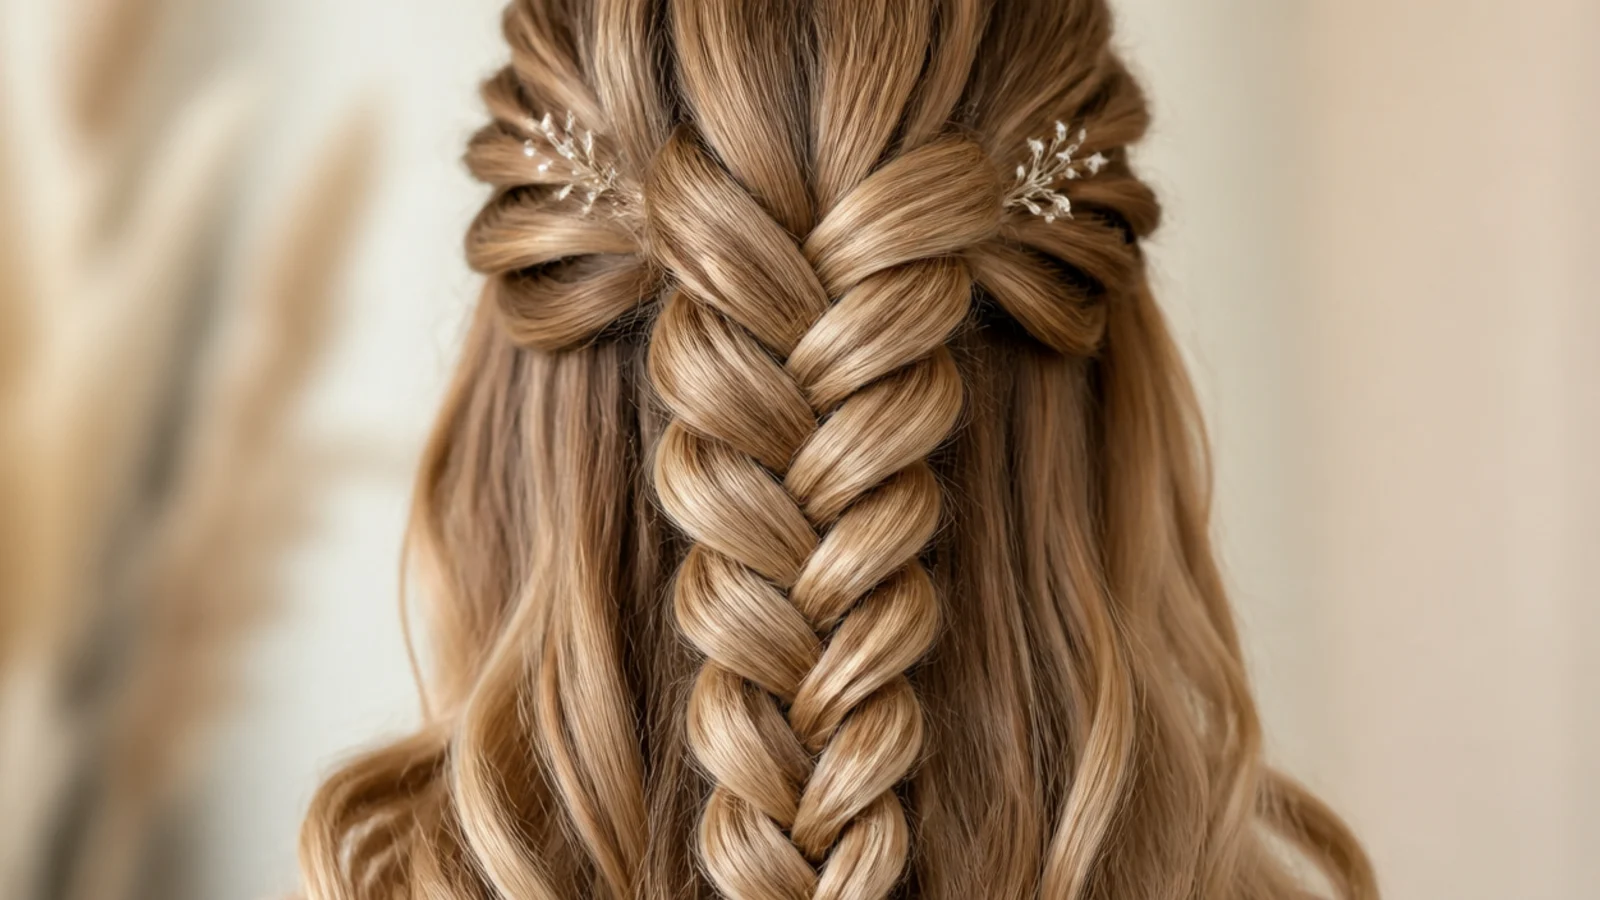
Sweeping everything to one shoulder puts the braid in front of your hands and gathers all the volume onto one side of the head. On fine hair that concentration matters, because the same amount of hair reads as considerably thicker when it is not spread across the whole back.
4. Waist Length Barrel Curls
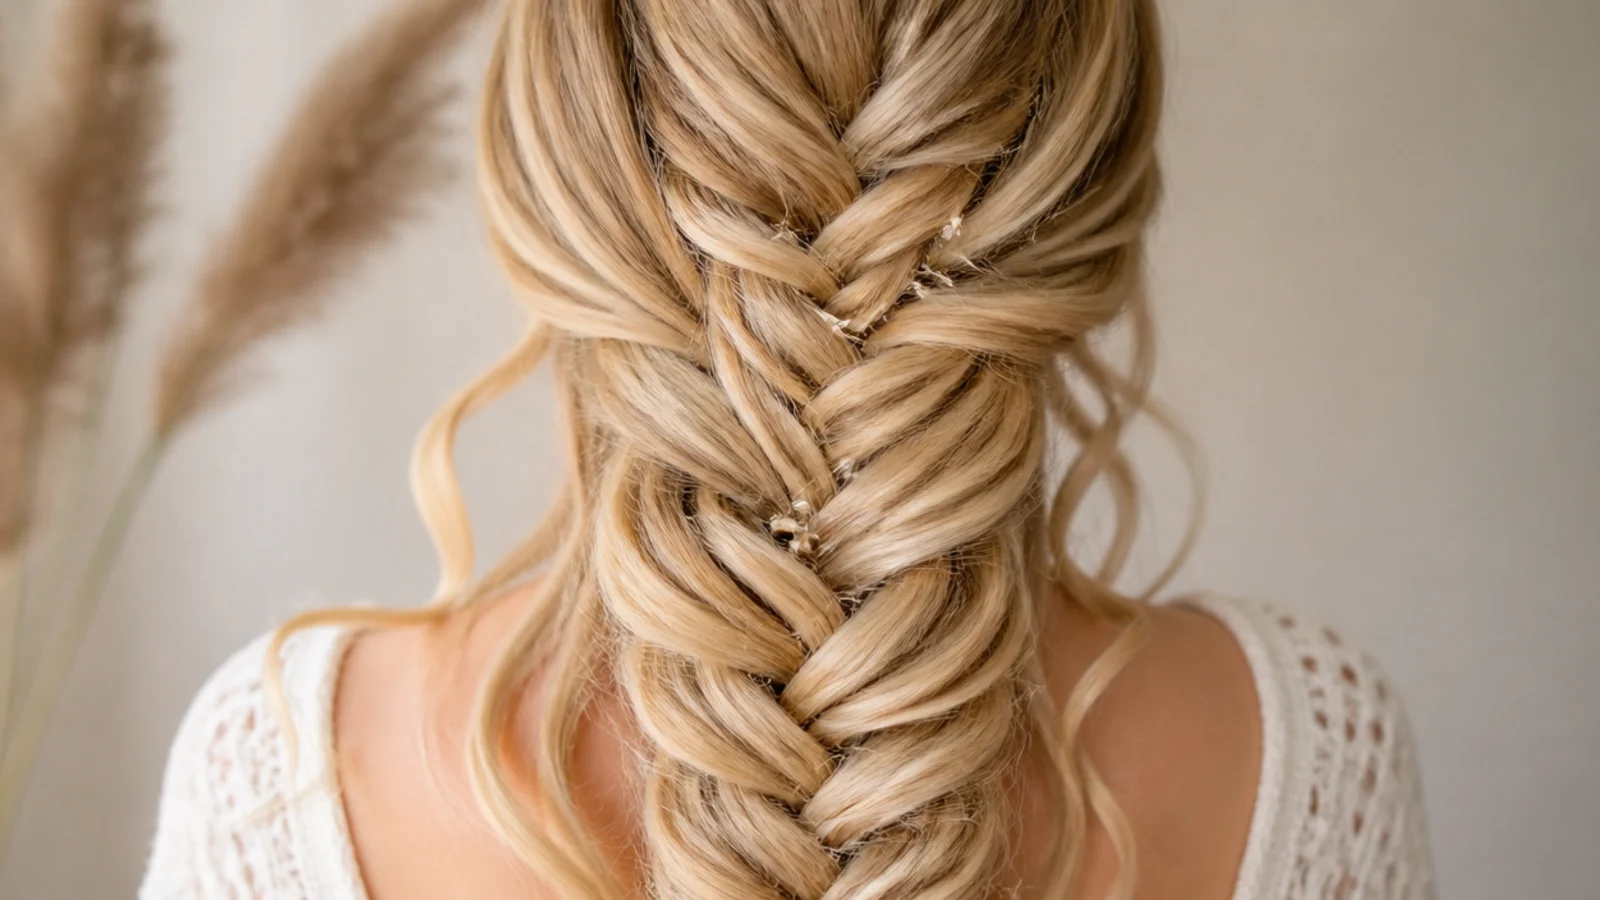
A wide barrel through very long hair gives a bend big enough to survive being braided over. Small curls at this length pull the hair up several inches and then drop under their own weight, whereas a barrel wave keeps the length and the shape together.
5. Boho Face Framing
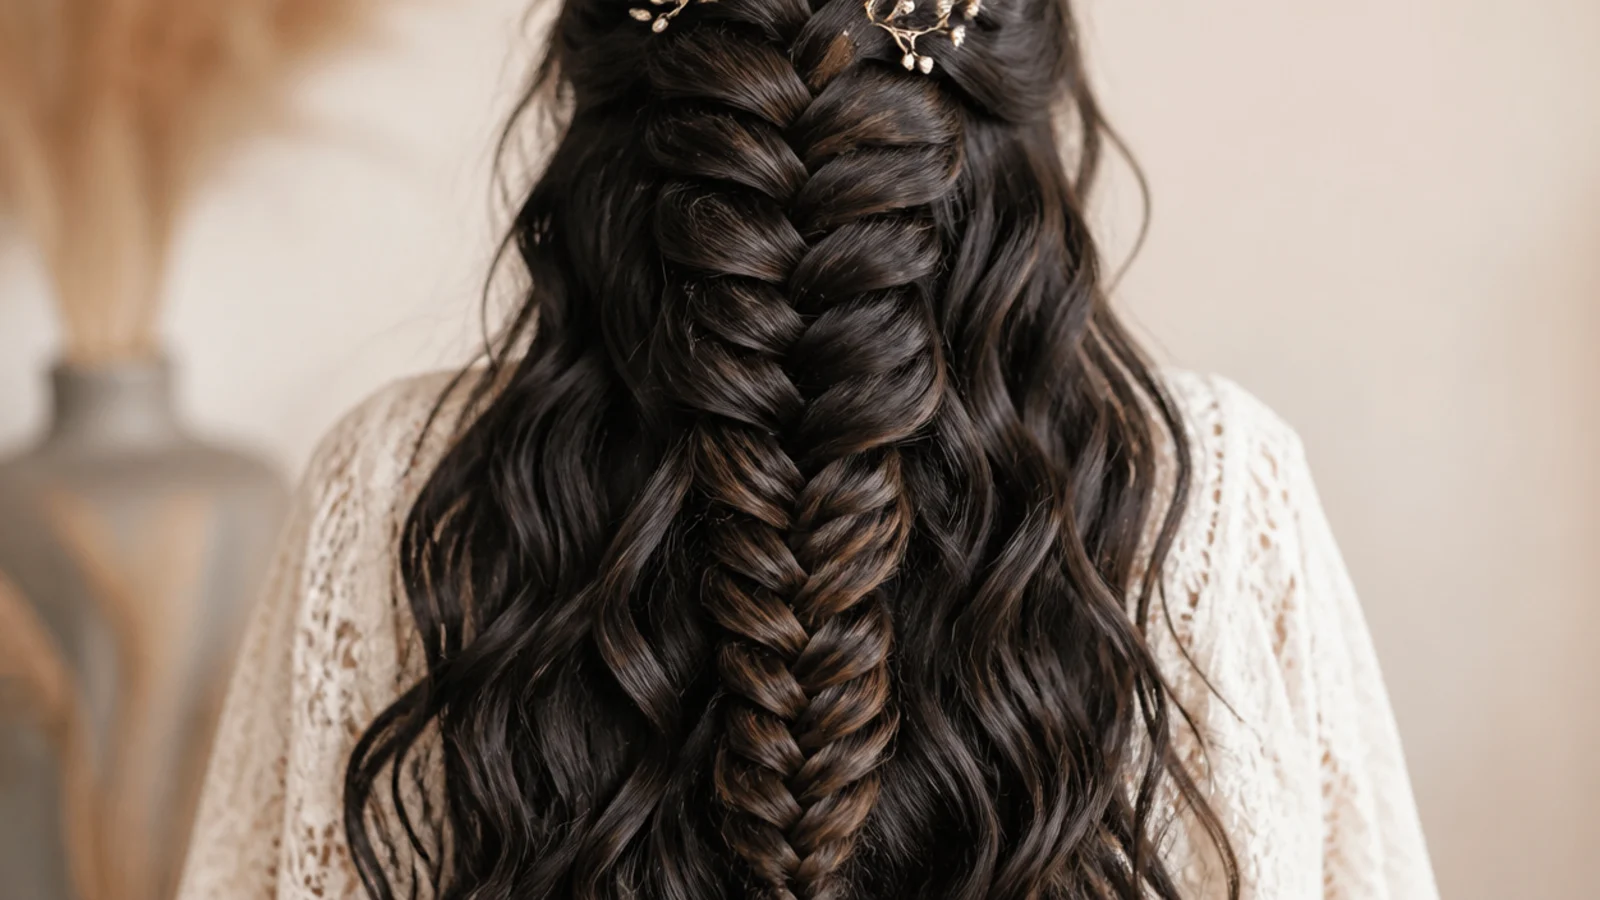
Two curled pieces are released at the temples before the first crossover, so the braid tension stays even and the curls at the front keep their full spring. Pulled out afterwards they would come from the braid itself and arrive already flattened by the crossing.
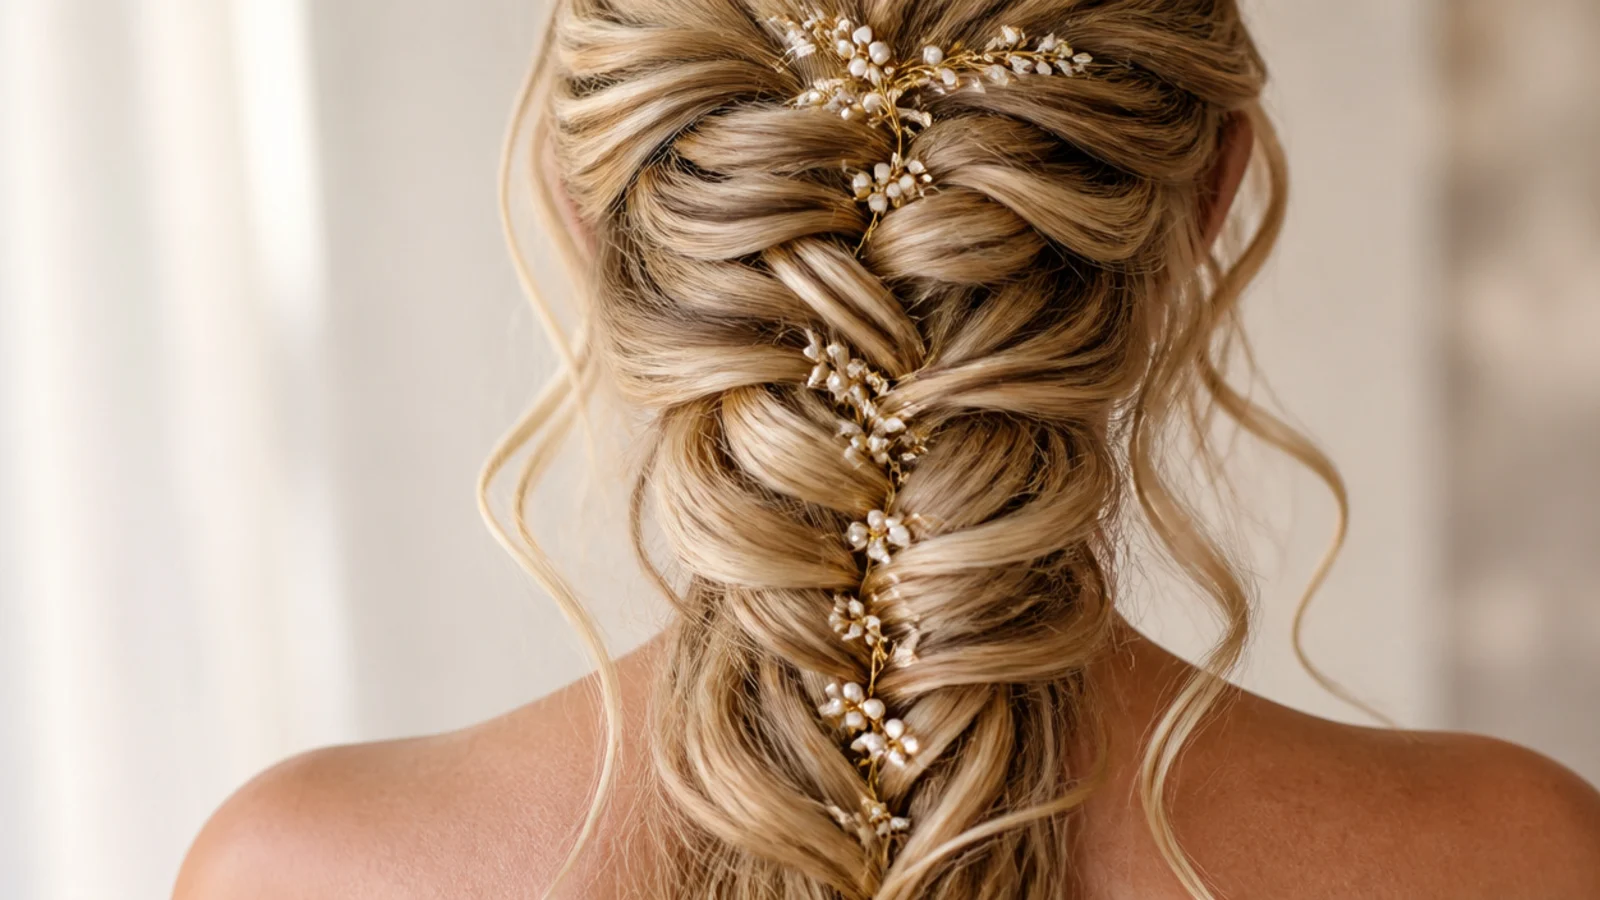
6. Nape Curls Left Out
The short hairs at the nape are left unbraided and allowed to curl, which turns the pieces that always escape into part of the design. Those hairs are too short to hold in a crossing anyway, so working with them costs nothing and removes a fault line.
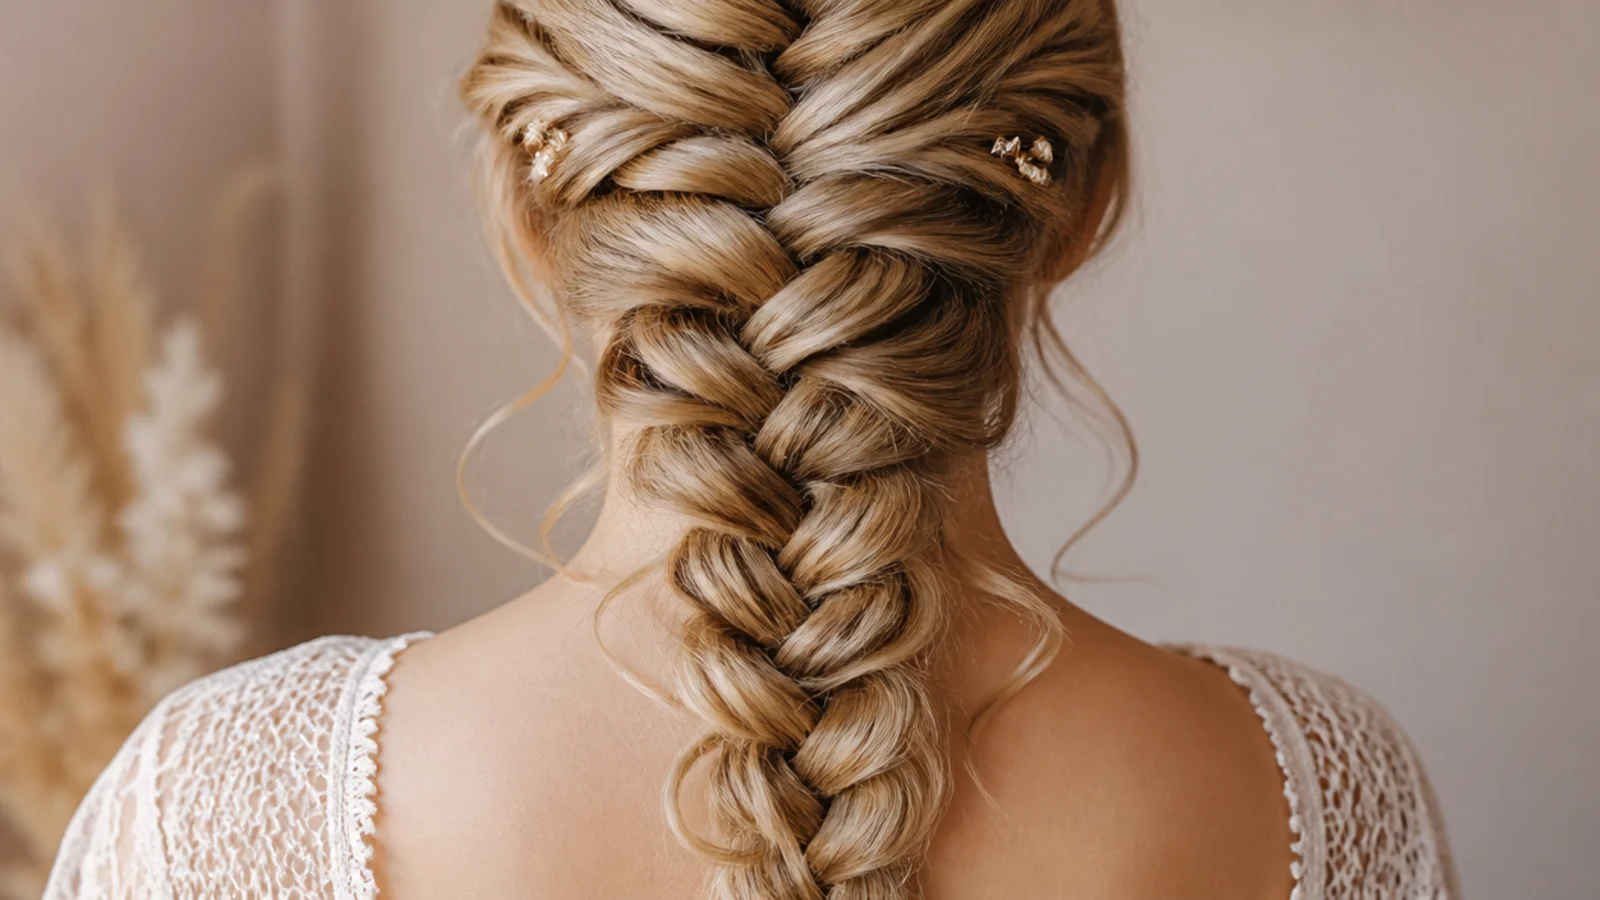
7. Second Day Curls
A curl that has relaxed overnight has lost some spring and gained friction, which is exactly the trade a braid wants. It sits into the crossings without lumping and holds the pancaked loops open far better than a set made an hour ago.
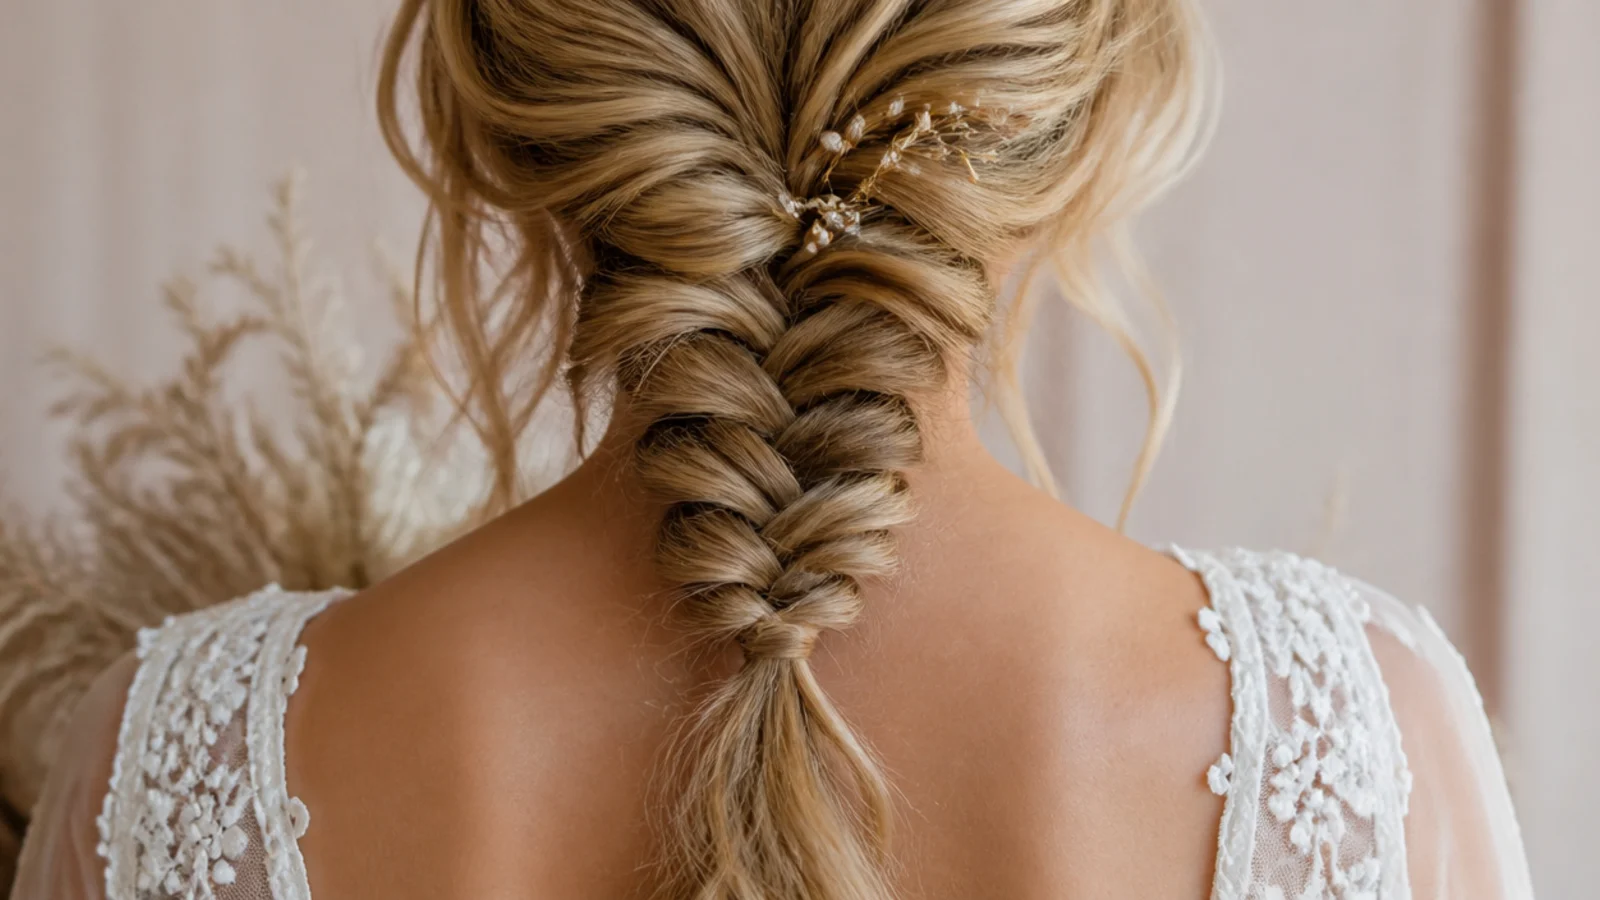
8. Heatless Overnight Set
Hair takes its shape as it dries, so braiding or wrapping at towel dry and sleeping on it produces a bend with no iron involved. Unravel it fully dry, brush it down, then work the mermaid braid over the top of the result.
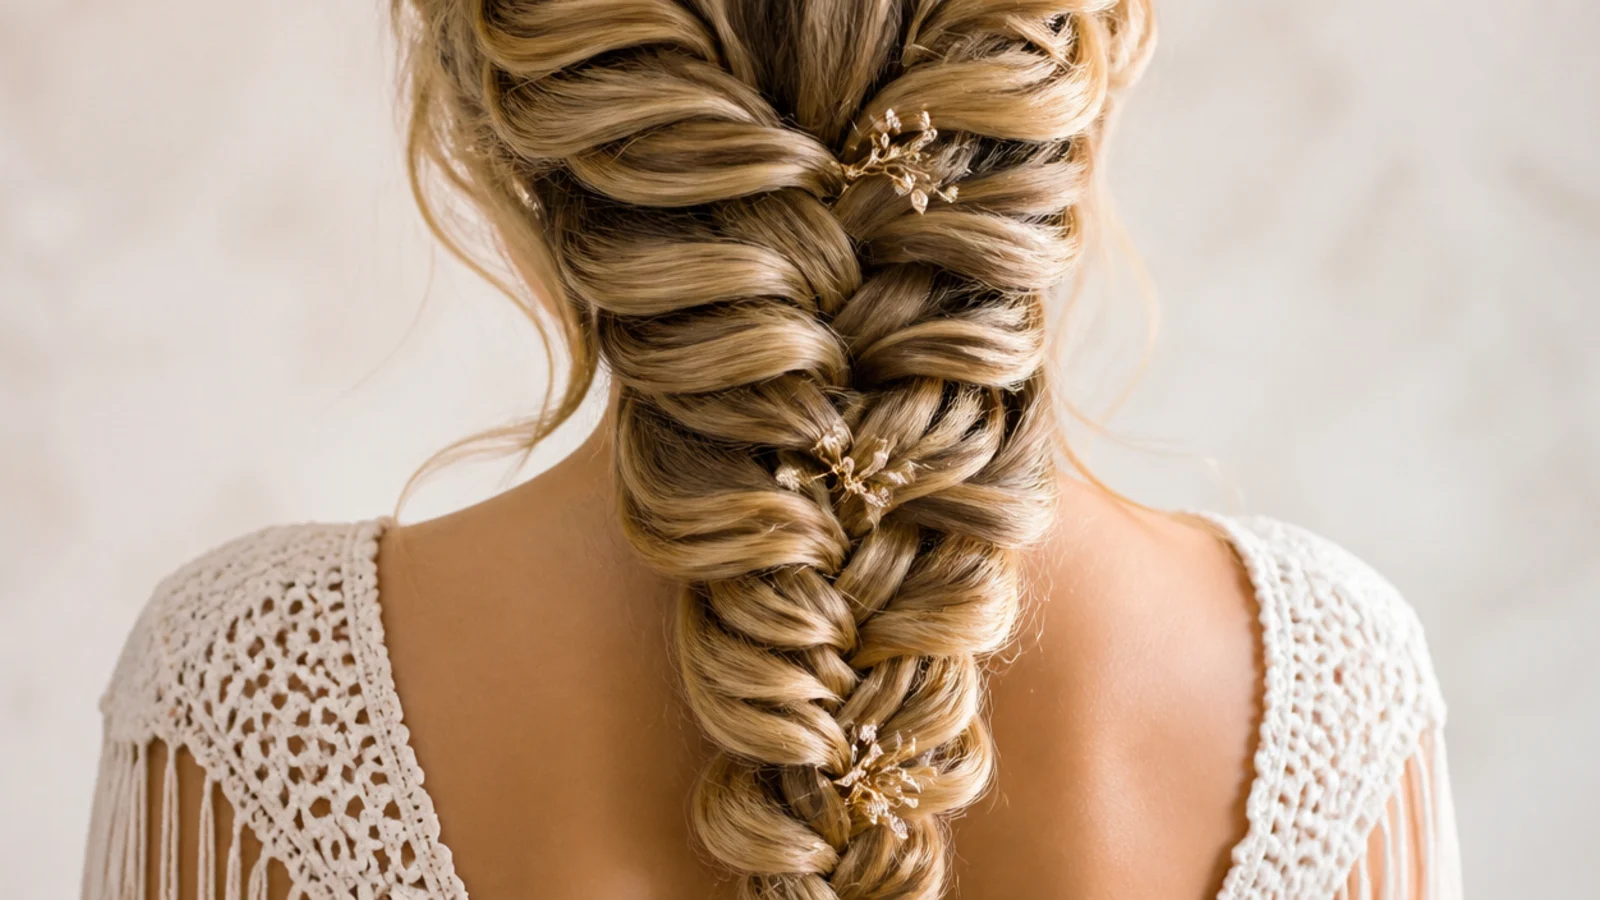
9. Shoulder Length
Curl only the lower half and start the braid high, so the plait has the distance it needs to build a pattern and the curl still has somewhere to show. Curling the roots at this length just lifts the whole shape and shortens it further.
10. Bridal Hollywood Wave
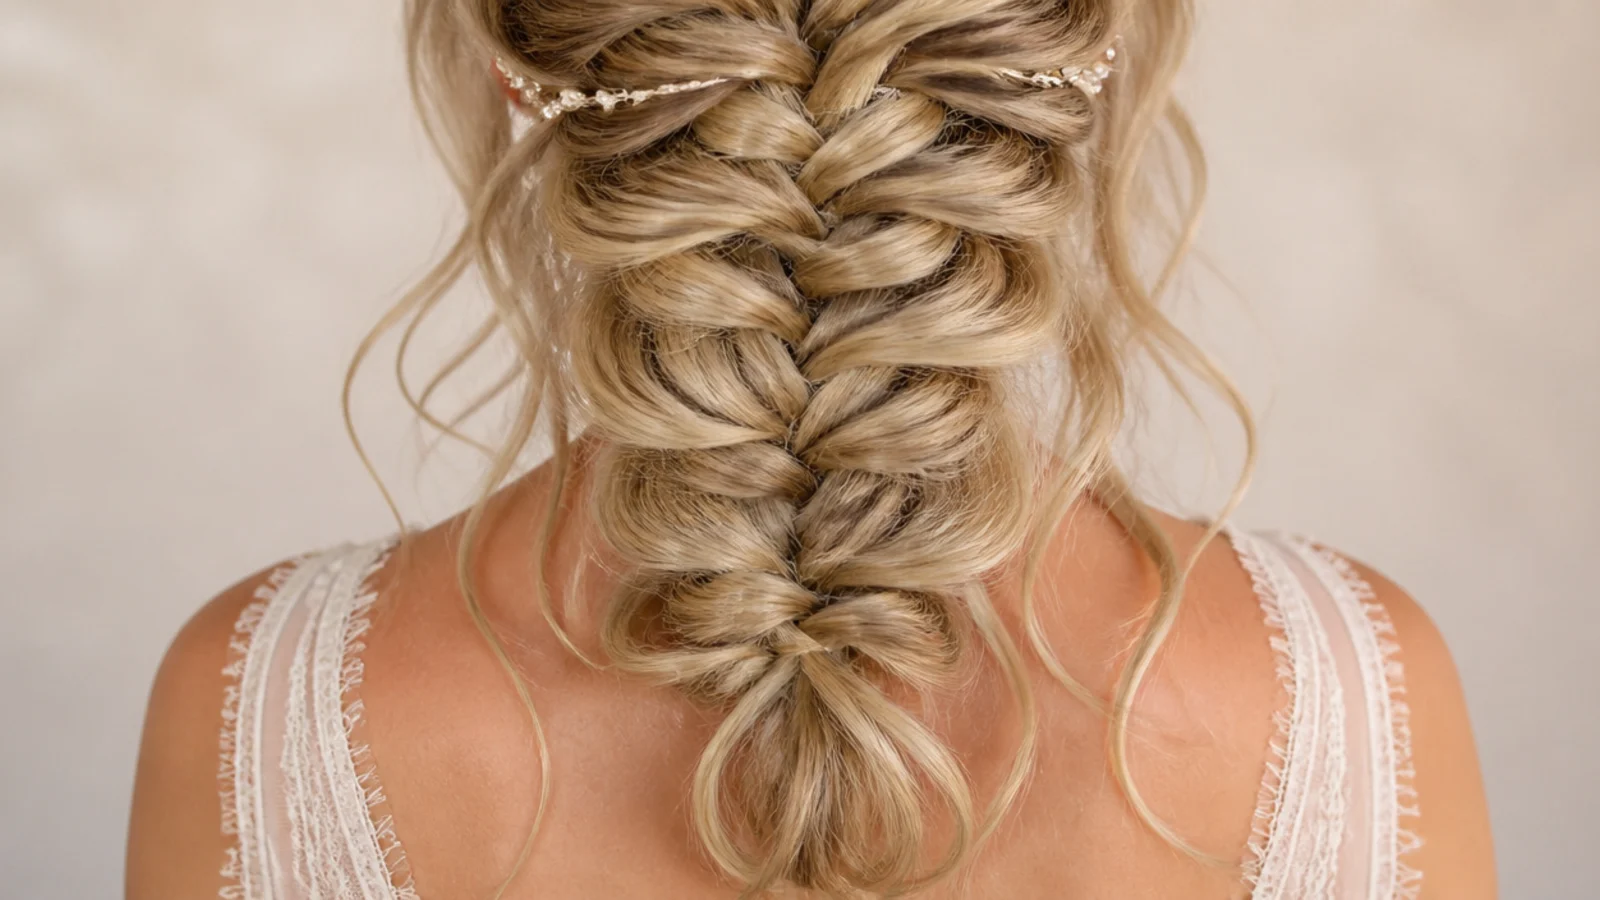
One direction, one barrel size, brushed into a single unbroken S along the whole length, with the braid holding one side back. The uniform direction is what makes it read as polished, because any alternating curl breaks the wave into separate sections.
11. Beachy Salt Spray
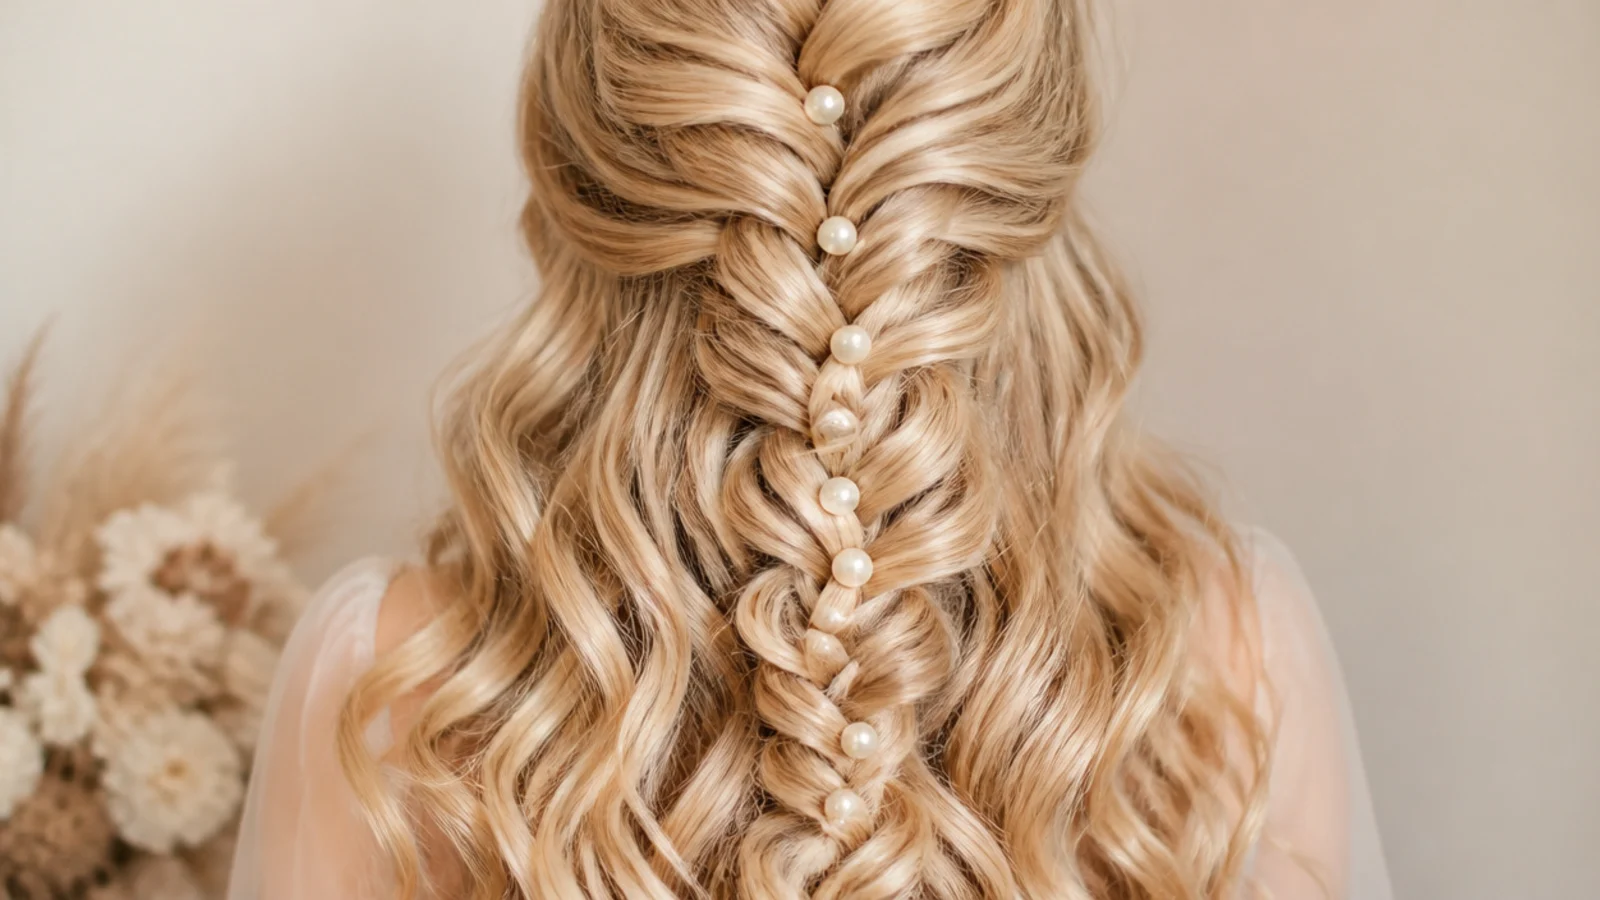
Salt swells the outer layer of the strand and leaves the surface slightly rough, which supplies grip for the braid and separation for the curl at once. Keep it on the mid lengths, since the ends are the driest hair you have and salt takes more moisture out of them.
12. Natural 3A and 3B Curls
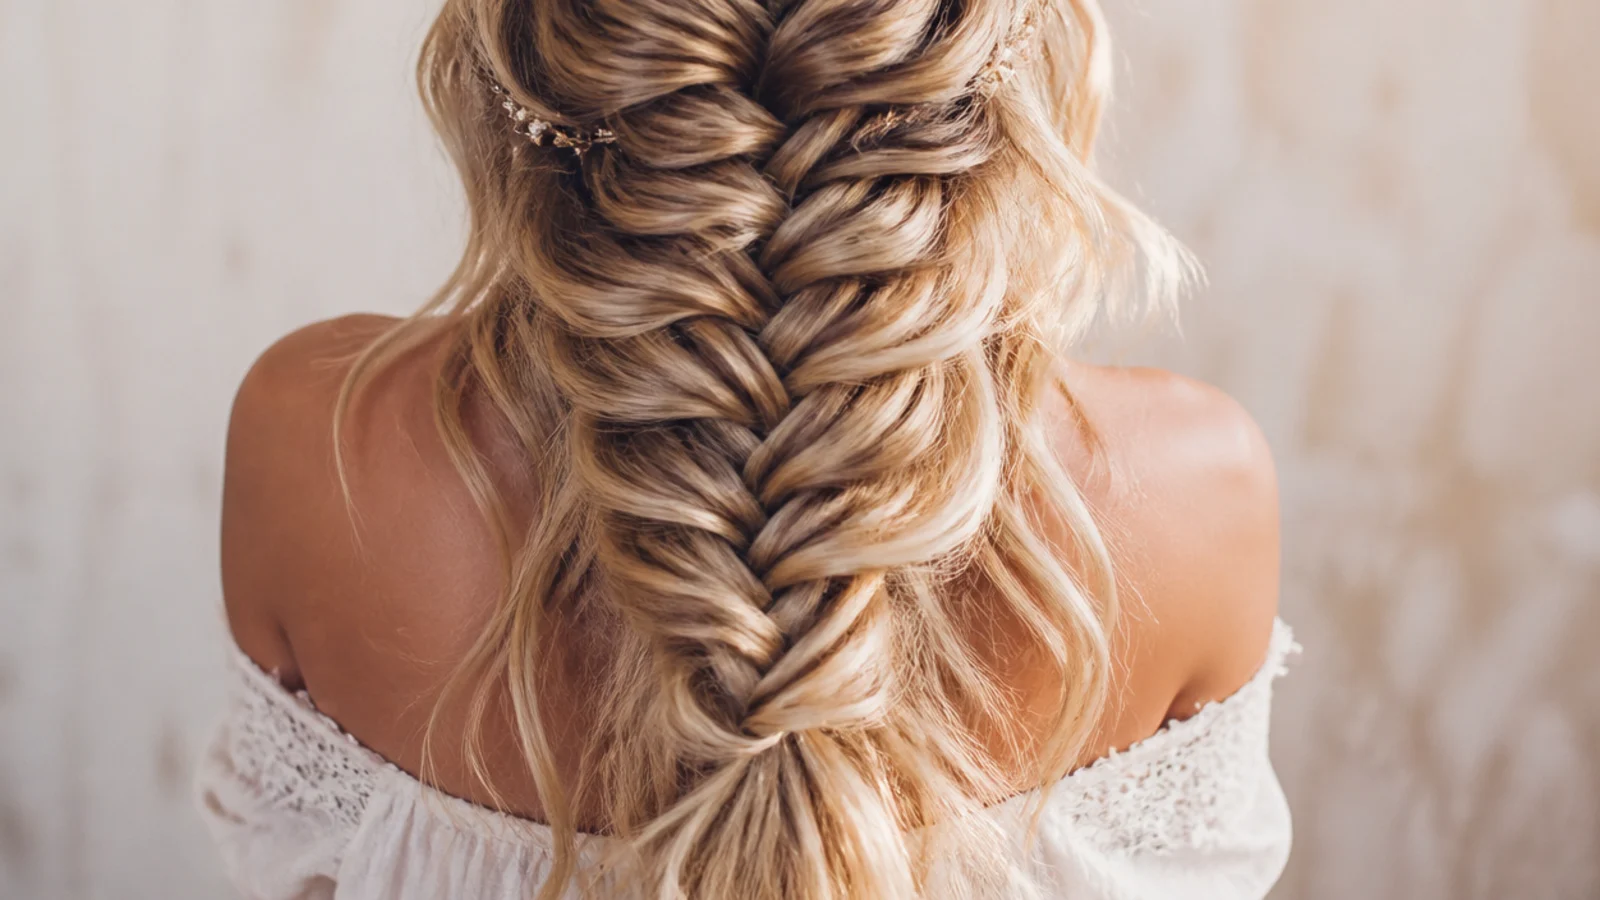
Natural curl needs no set at all, but the pattern hides fine crossings, so take wider pieces and stretch each one gently as it crosses. Coils also grip each other, which means this braid holds without product and rarely needs any retugging through the day.
13. Waterfall With Dropped Curls
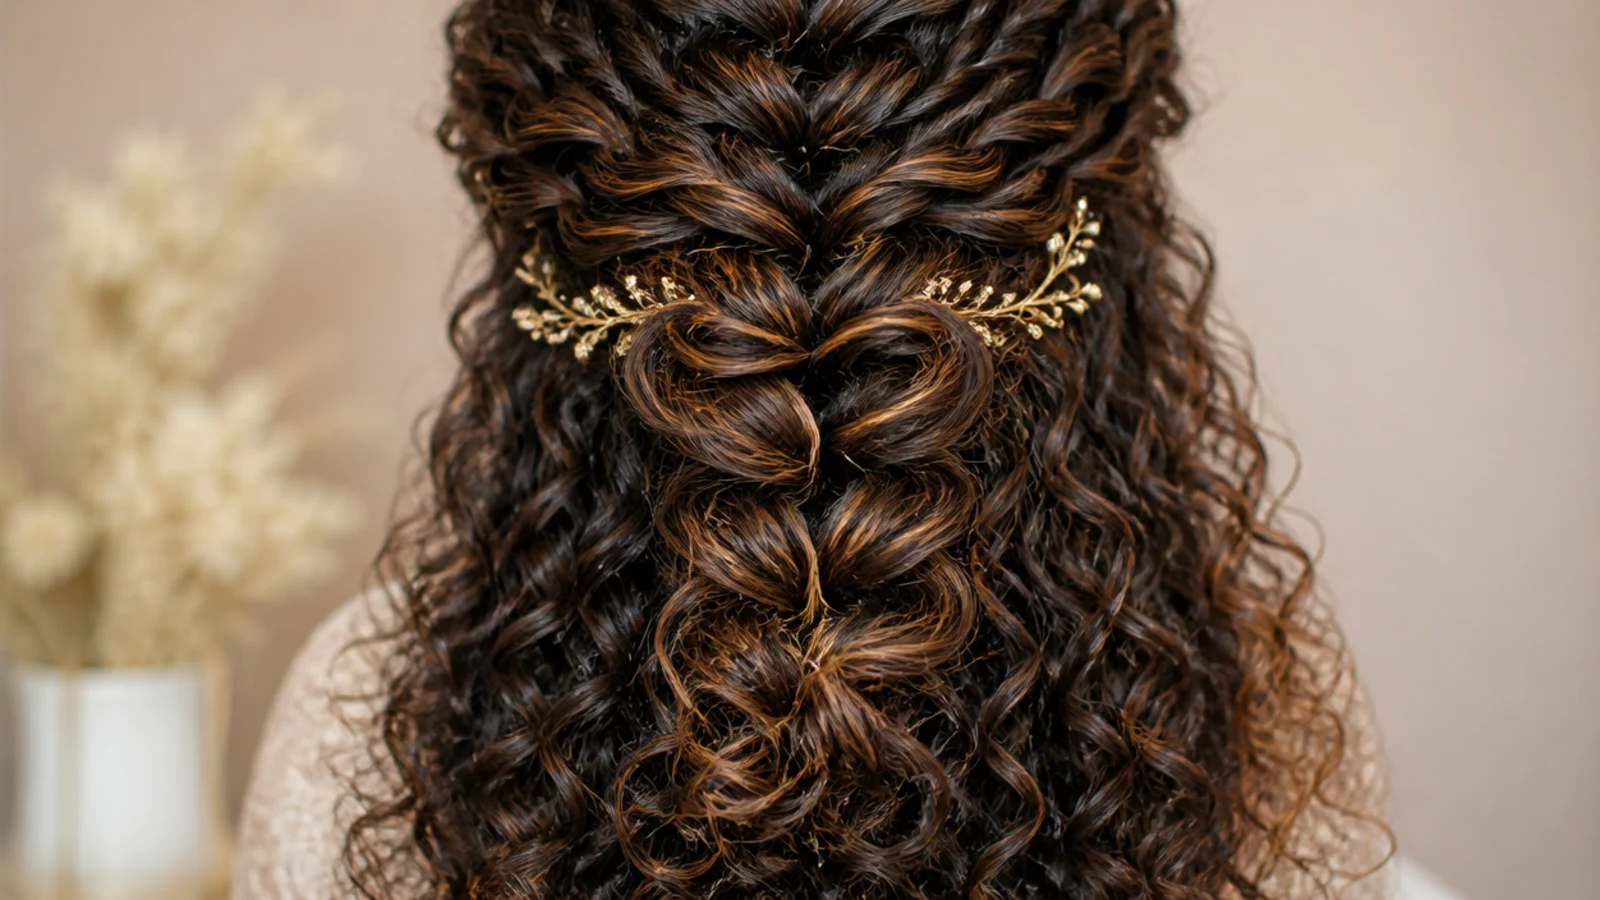
A strand is released at every pass and left to fall through the braid below, so the curls appear to come out of the plait rather than from behind it. Each dropped piece keeps its full shape because it spends only one crossing inside the braid.
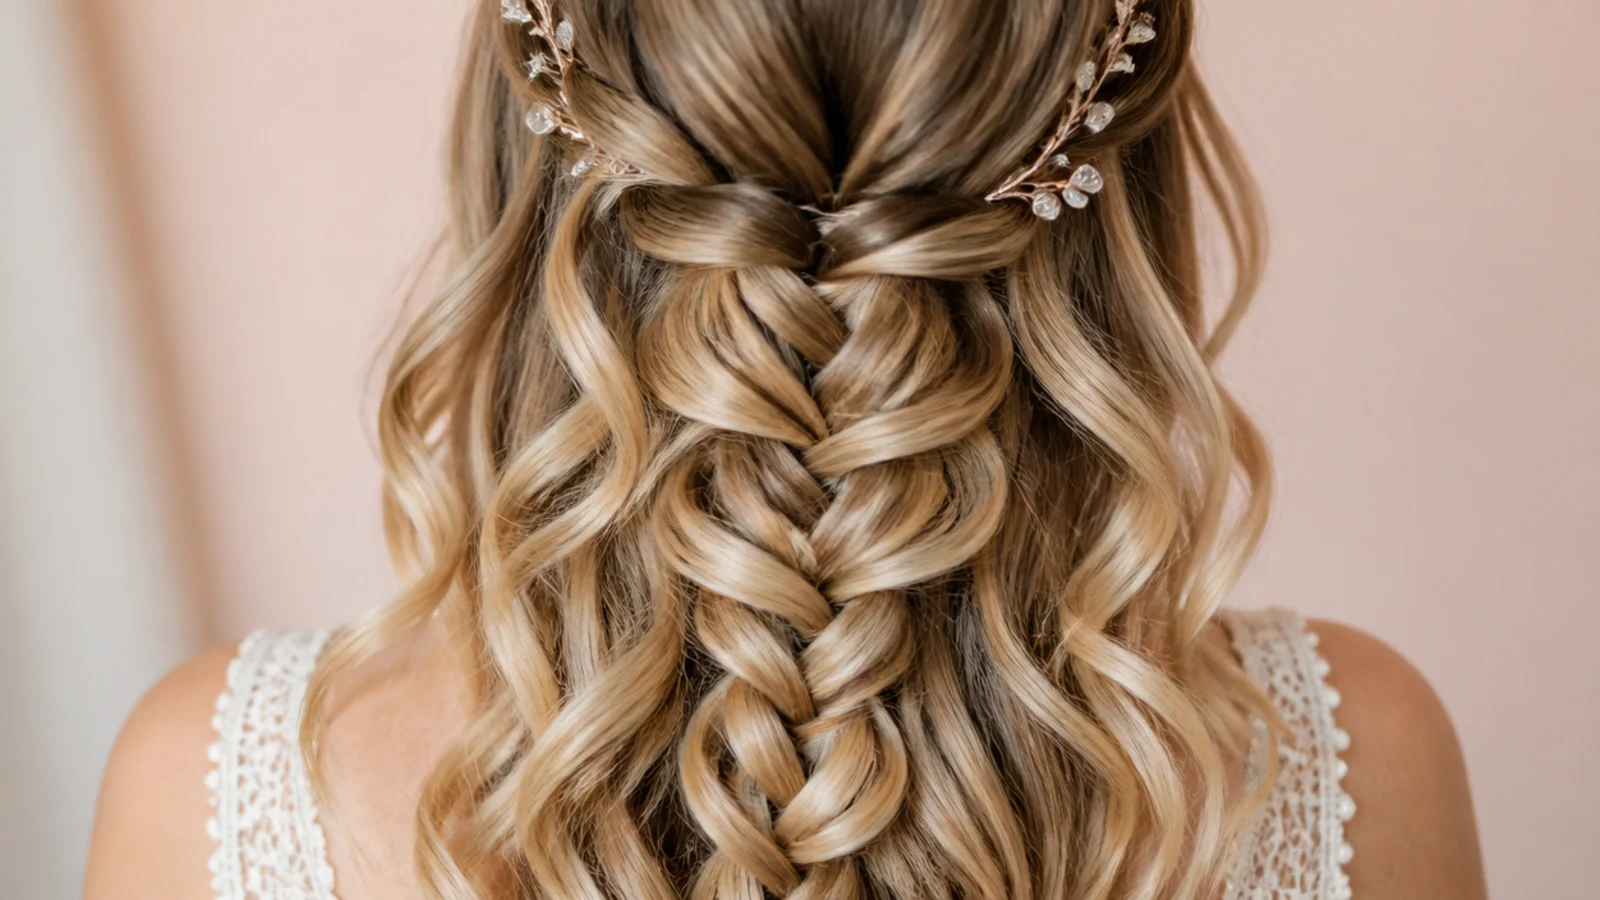
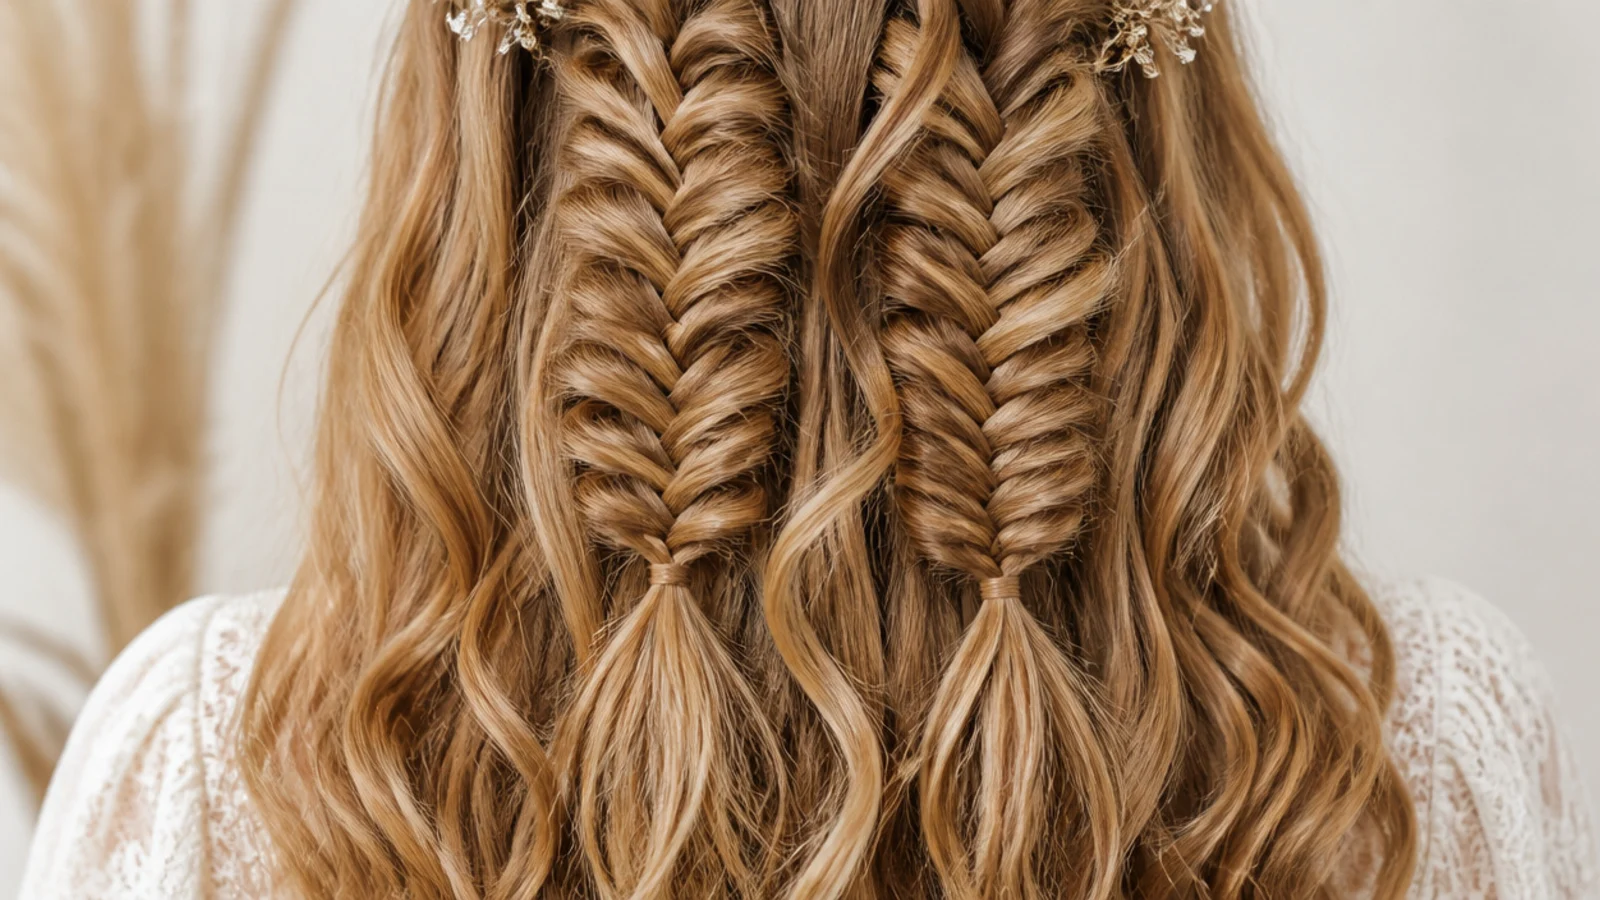
14. Double Braids
Two braids over a full set split the hair in half, so each section is narrower and each crossing finer. The curls between and below them stay visible from the front, which one central braid tends to hide behind its own width.
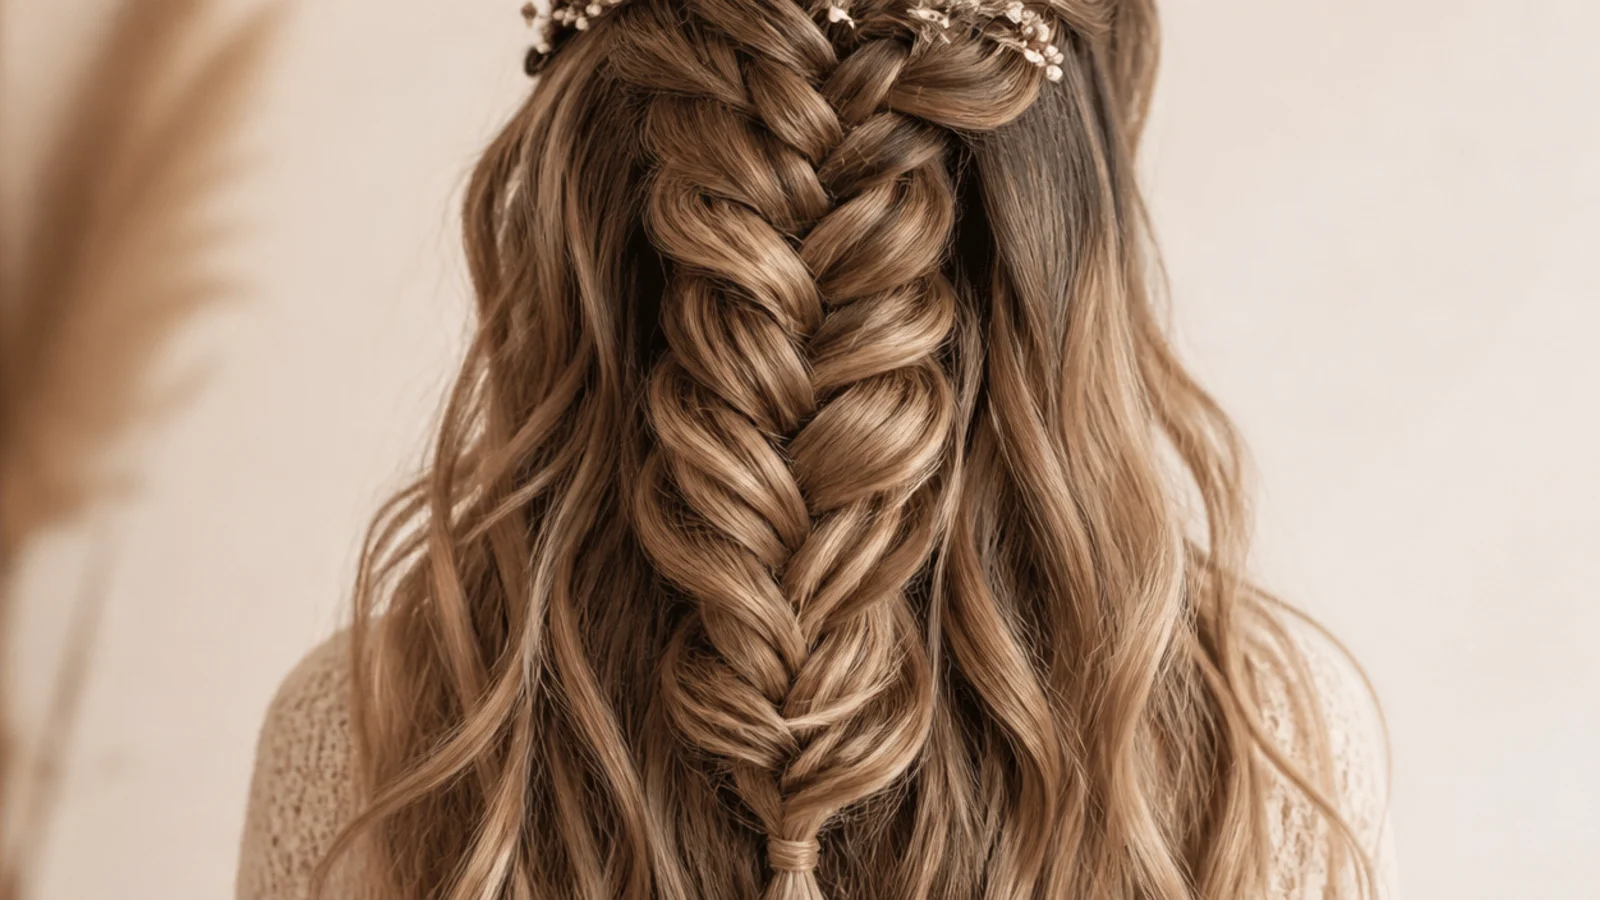
15. Extensions in a Loose Wave
Wefts clipped in below the parting add strands that reach the ends, which is where natural hair thins and a curl drops first. Waving the wefts with the rest of the hair before braiding blends the join, because a shared bend hides a difference in density.
Final Thoughts
Work in the right order and the two techniques stop competing. Curl the whole length, let it cool, brush the ringlets down into one soft bend, then braid only the section you want held and leave the rest to show its pattern. What ruins most attempts is trying to add curl to hair that is already braided, which flattens the crossings and reaches almost none of the hair inside them.
Then widen less than you think. Curl already fills the loops of a fishtail, so a curled braid reads wider than a straight one at half the pull, and going further pushes texture out through the crossings until the whole thing looks frizzy rather than open. For braided styles that build the curl in at the ends instead see 15 large knotless braids with curls and 15 medium knotless braids with curls. More in Braids and Protective Styles.
Frequently asked questions
Related posts
See all posts
20 Waterfall Mermaid Braid Ideas That Hold
Read more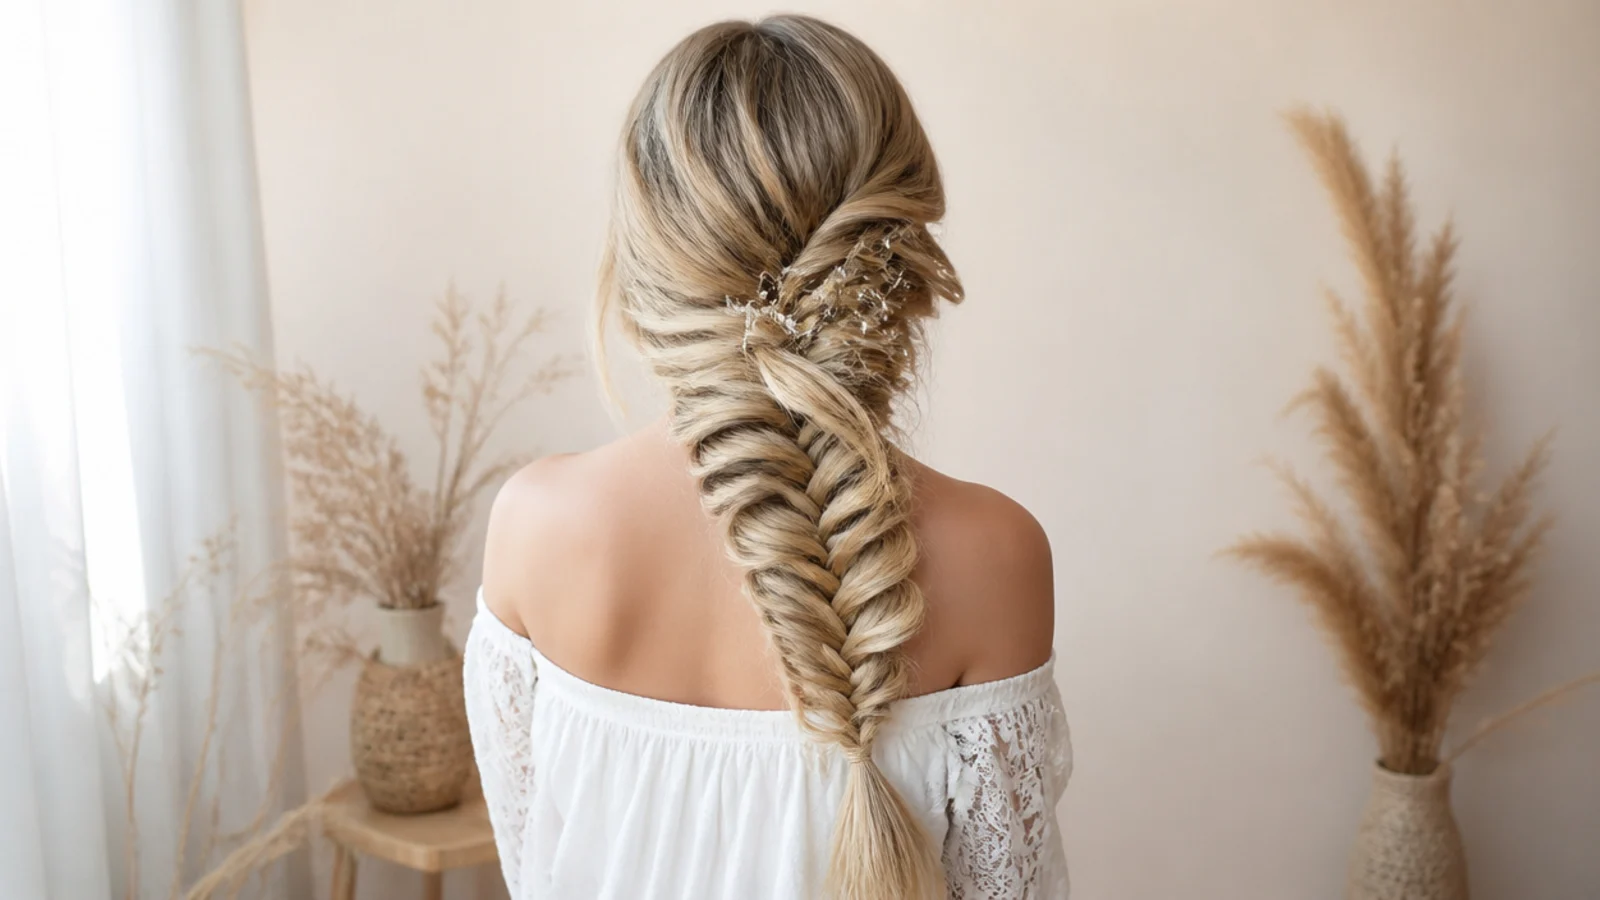
15 Side Mermaid Braid Ideas That Sit Right
Read more
20 Side Part Medium Knotless Braids I Saved
Read more