20 Mermaid Braids for Prom That Survive the Night
Twenty mermaid braids for prom, and the thing that decides whether yours lasts until midnight — the elastic holds one point and the pins hold the shape, so a braid built on the band alone is closing up by the second song.
In this article · 28
- What Is a Mermaid Braid for Prom
- By Length and Thickness
- Fine and Slippery Hair
- Pancaking Technique
- Waves Accessories and Boho Finishes
- Making It Last
- The 20 Prom Mermaid Braids
- 1. Classic Down the Back
- 2. Side Swept for a Strapless Dress
- 3. Half Up
- 4. Crown Braid
- 5. Waterfall
- 6. Low Braided Bun
- 7. Double Braids
- 8. Rhinestone Vine
- 9. Boho Tendrils
- 10. Fine Hair
- 11. Clip In Extensions
- 12. Curly and Natural
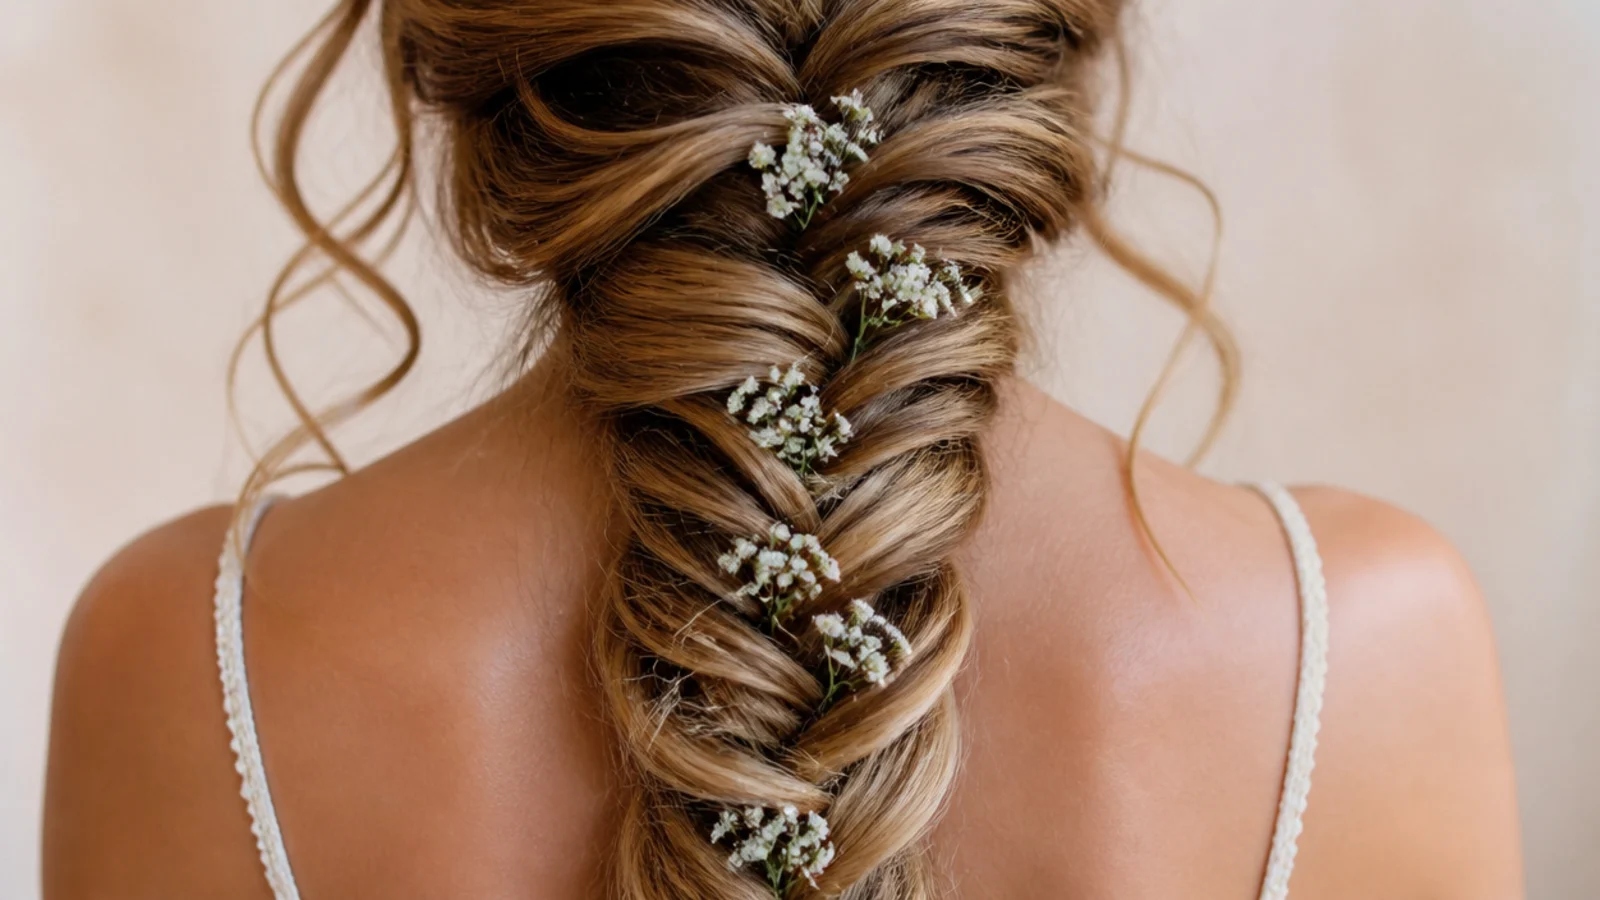
- 13. Baby Breath Sprigs
- 14. Ribbon Woven Through
- 15. Braided Ponytail
- 16. Deep Side Part
- 17. Tiara Headband
- 18. Balayage Two Tone
- 19. Messy After Party
- 20. Past the Waist
- Final Thoughts
A prom braid has to do something an everyday braid never does, which is look the same at midnight as it did in the driveway.
The elastic holds one point. It stops the braid unravelling at the bottom and does nothing at all about the width closing up above it.
The pins hold the shape. Two or three pushed into the underside spread the load along the braid, and that is what buys you six hours instead of one.
What Is a Mermaid Braid for Prom
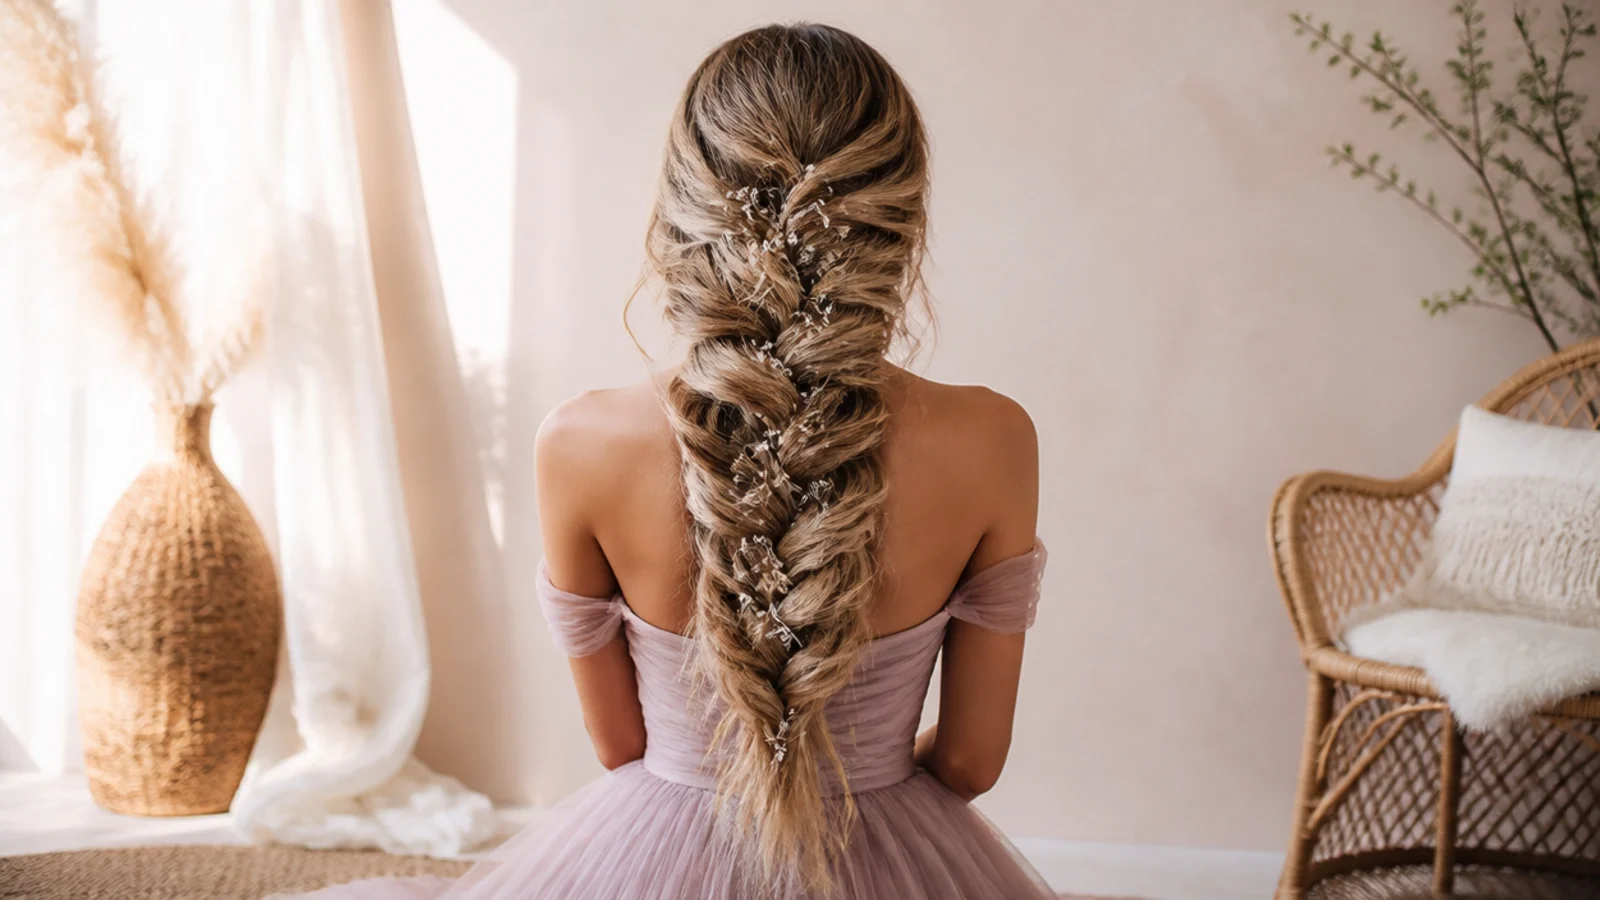
It is a fishtail worked small. Two halves, a thin piece crossed from the outer edge of one into the inner edge of the other, repeated all the way down.
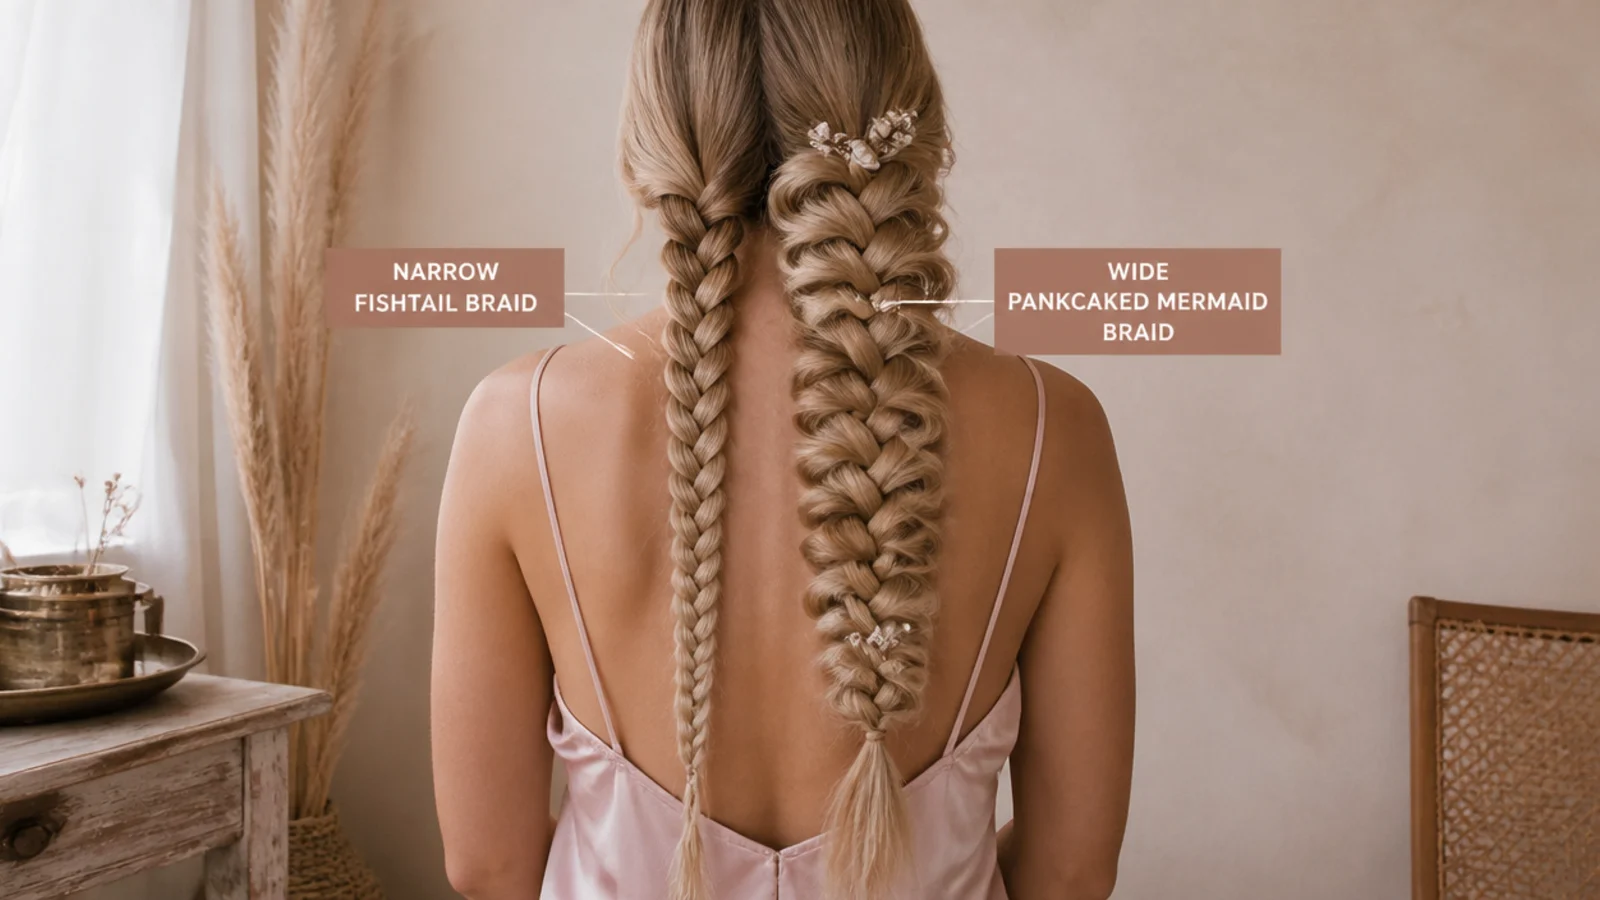
It is then pancaked wide. The loops are pulled sideways after the elastic is on, which is the step that turns a narrow plait into something that reads across a room.
Width is what photographs. A tight fishtail disappears at distance because the crossings are too fine for a camera to resolve. A widened one holds its pattern in every shot.
It sits low and soft. Unlike a formal updo it carries no structure at the crown, so it works with a tiara or a headband instead of competing with one.
It is worked at low tension. Nothing is pulled tight against the scalp, which matters when it has to be comfortable from six in the evening until well after midnight.
By Length and Thickness
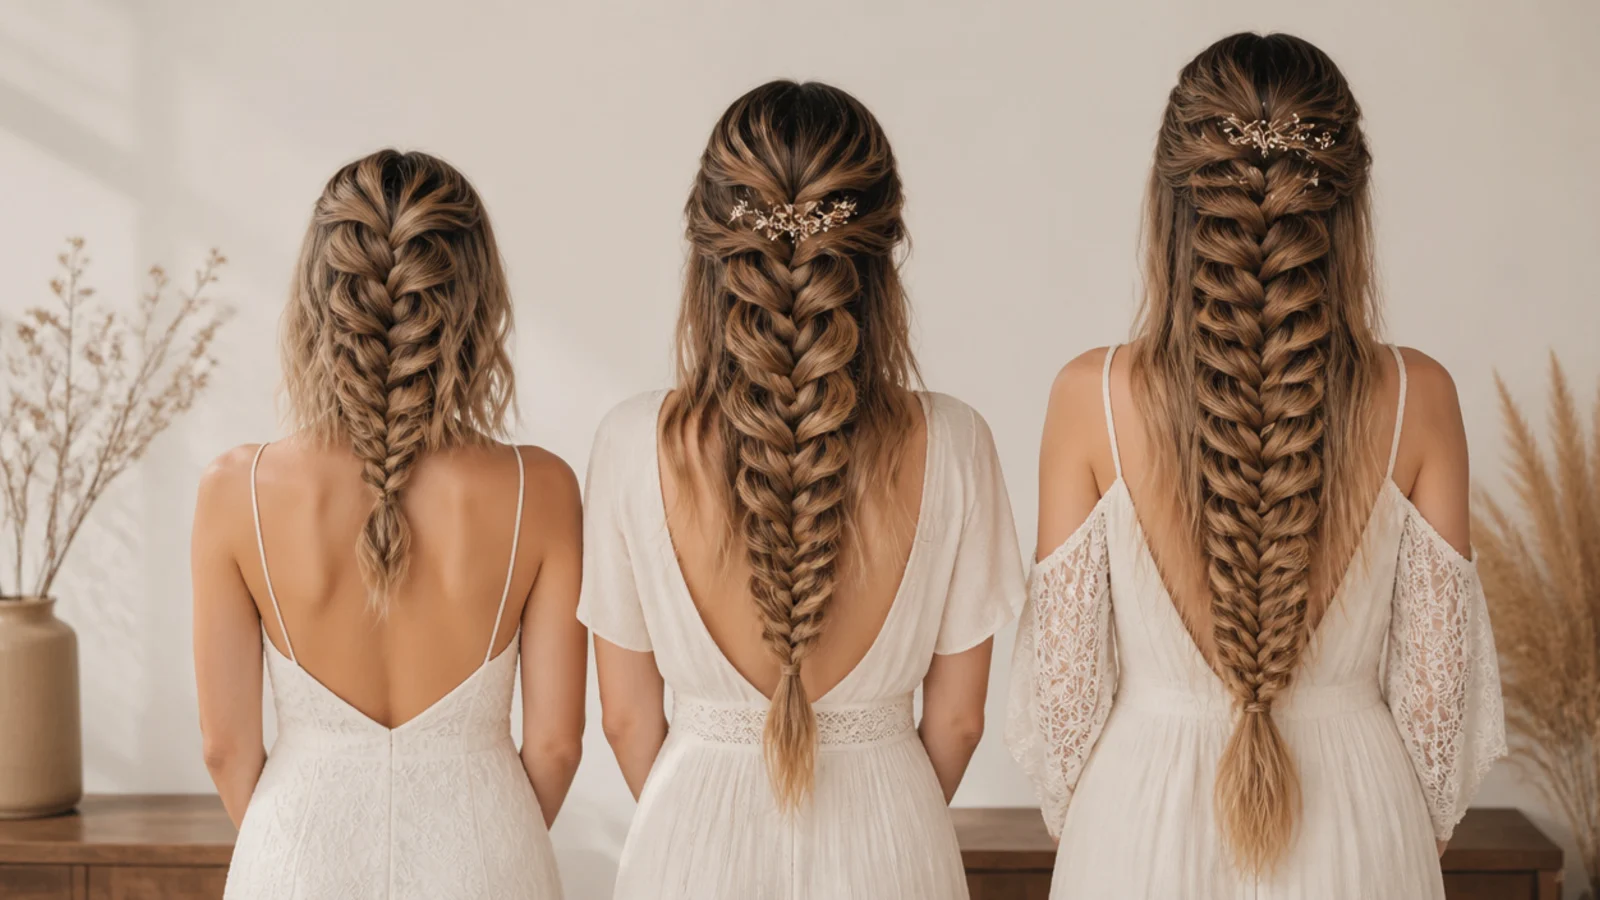
Shoulder length. Start the braid at the crown so it has distance to build a pattern, and finish it into a low knot rather than leaving a short tail.
Mid back. The easiest length for this. Enough crossings for the pattern, light enough to stay where you pin it all night.
Waist and beyond. Tie the gathered section before the first crossover so the weight hangs from a band, and pin the braid at one point mid length so it cannot swing against a dress all evening.
Thick hair. Braid a smaller section than instinct suggests, or the finished braid is too heavy to widen and drags the parting backwards over the first two hours.
Fine hair. Extensions or a smaller section braided high, then pancaked hard. Width on fine hair is bought with loops, not with volume.
Fine and Slippery Hair
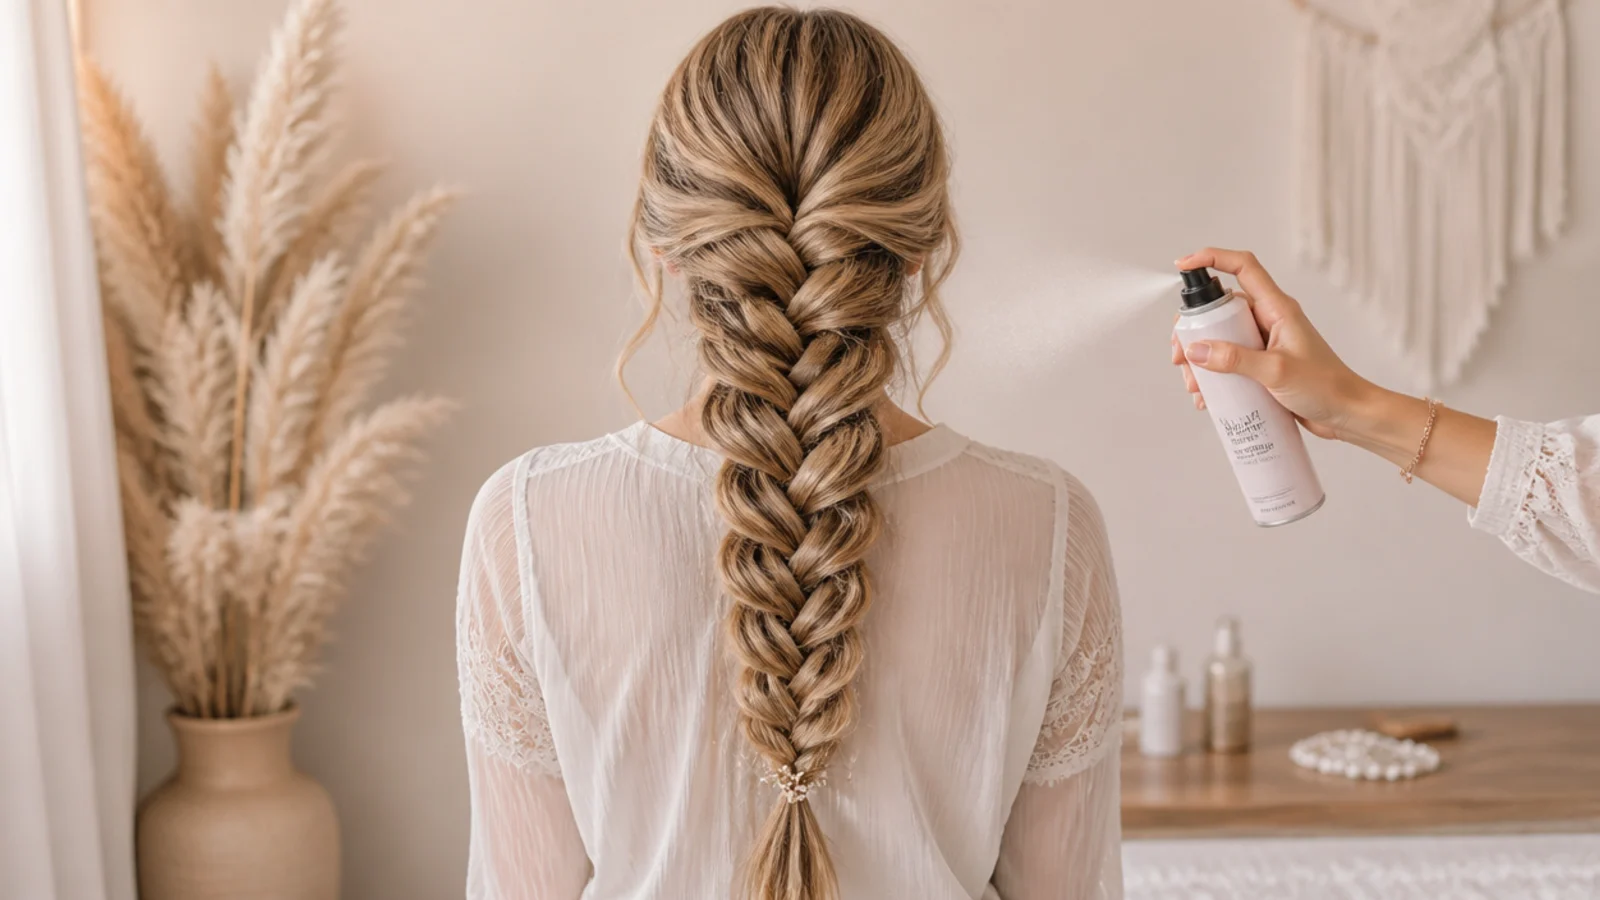
Grip is the whole problem. A smooth cuticle slides across its neighbour, so sections separate as you braid and the loops close after you finish.
Wash the night before. A day of sebum does more for hold than any product applied on the day, and it costs nothing.
Texture spray through the mid lengths. Salt or a light polymer roughens the surface where your fingers are working, which is where the grip is needed.
Braid tighter than you want it. Fine hair takes back slack on its own, so build in what you know it will reclaim.
Pin from underneath at two points. On fine hair the elastic alone will not hold six hours of movement, and hidden pins add no visible bulk.
Pancaking Technique
Hold the elastic. Anchor the bottom, or the braid stretches lengthways and you lose an inch of length for no width at all.
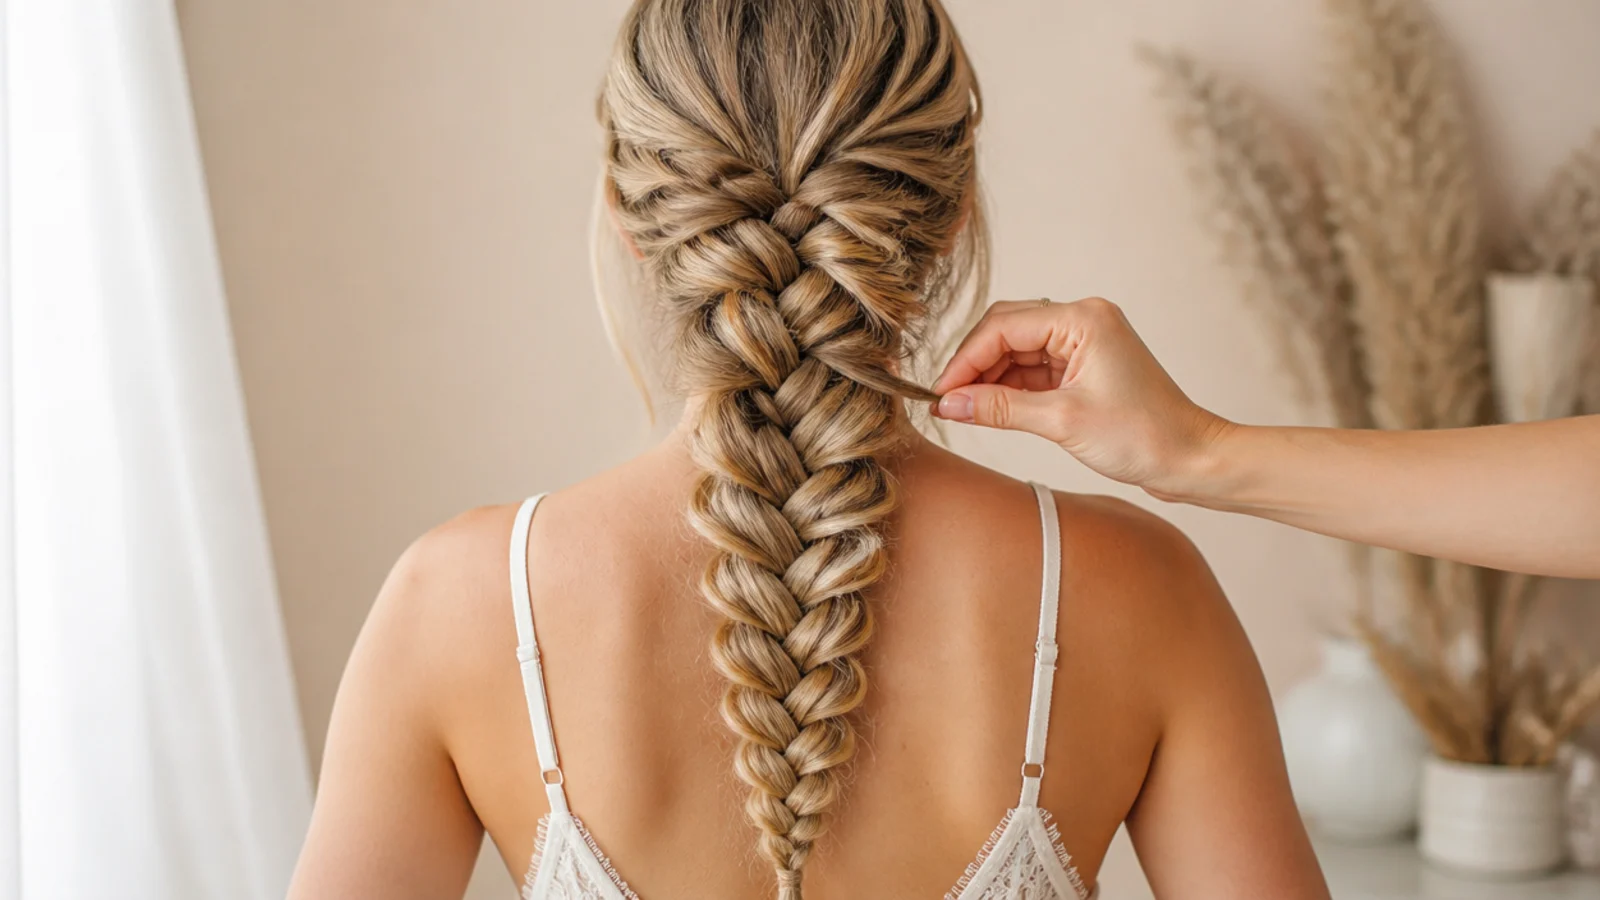
Pull the outer edge of one loop at a time. All the tension sits in the centre crossings, so the outer edge can be drawn sideways without loosening anything.
Work upwards from the tie. Each loop borrows slack from the braid above it, so travelling upwards feeds that slack into hair you have not opened yet.
Two passes, not one. Open everything roughly, then walk back up and correct the loops that lagged behind. One pass always leaves an uneven edge that shows in photographs.
Take the middle widest. The braid tapers as hair runs out, and exaggerating the centre gives the shape its name rather than a straight sided band.
Waves Accessories and Boho Finishes
Wave the length first. A bent strand catches on its neighbours where a straight one slides past, and that friction is what keeps the loops open through a night of dancing.
Keep the weight low. Anything heavy near the crown drags the parting backwards over a few hours. Rhinestones and vines belong along the braid, not at the roots.
Set decoration into the loops. Pancaking opens gaps that hold a pin without any grip of its own, and nothing has to be wrapped around the braid.
Ribbon goes in at the first crossover. Laid in with one half it surfaces down the whole length and adds friction. Tied on at the end it is a bow.
Release the face framing pieces before you braid. Anything pulled free at the end comes out of the braid and leaves a hole at the temple.
Making It Last
Do a full trial run a week before. Every head holds a set differently, and prom evening is the wrong time to learn that yours drops in an hour.
Braid on second day hair. Everything about a pancaked braid depends on friction, and shampoo removes exactly what supplies it.
Retug rather than rebraid. A braid that has narrowed has closed, not unravelled, and thirty seconds on the outer loops resets it in a bathroom mirror.
Flexible hold spray only. A rigid shell cracks the first time the braid moves against a dress, where a soft one moves with it.
Two spare pins and a clear elastic in a bag. That is the entire repair kit, and it fixes almost anything that goes wrong after ten o'clock.
The 20 Prom Mermaid Braids
1. Classic Down the Back
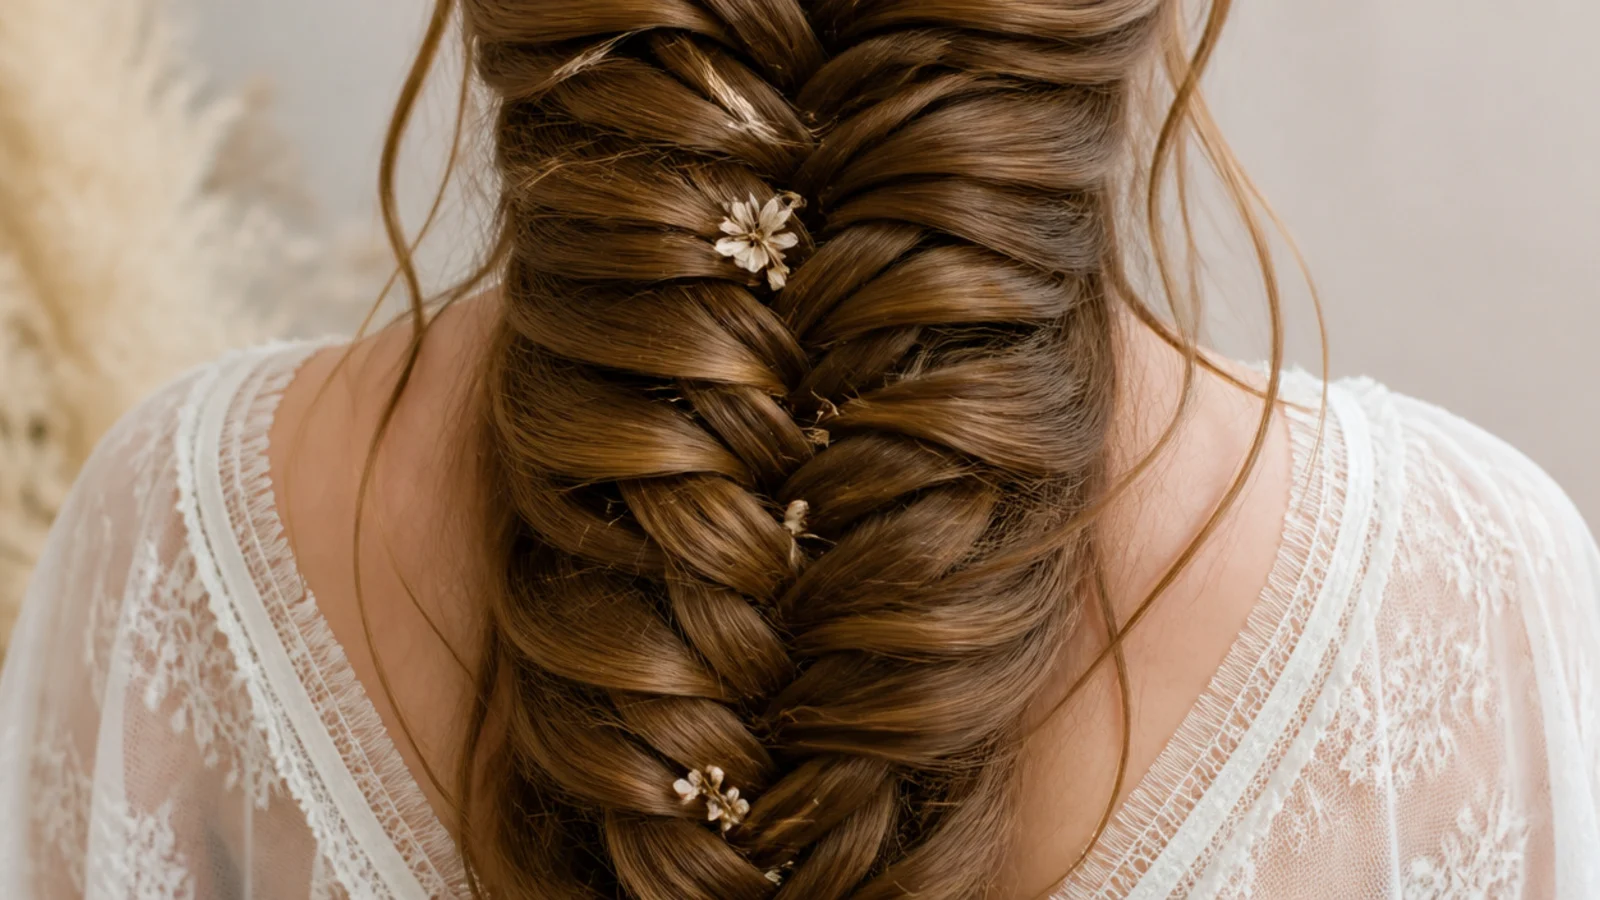
Everything gathered at the nape and fishtailed straight down the spine, which gives the longest uninterrupted run of crossings on the head. It photographs best from behind, so it suits a dress with a low back and rewards spending the extra minutes on even piece widths.
2. Side Swept for a Strapless Dress
A strapless neckline leaves the collarbones and shoulders bare, and a braid brought forward gives the eye a line to follow across that space. It also keeps the braid off the back of the dress, where a swinging plait catches on beading all night.
3. Half Up
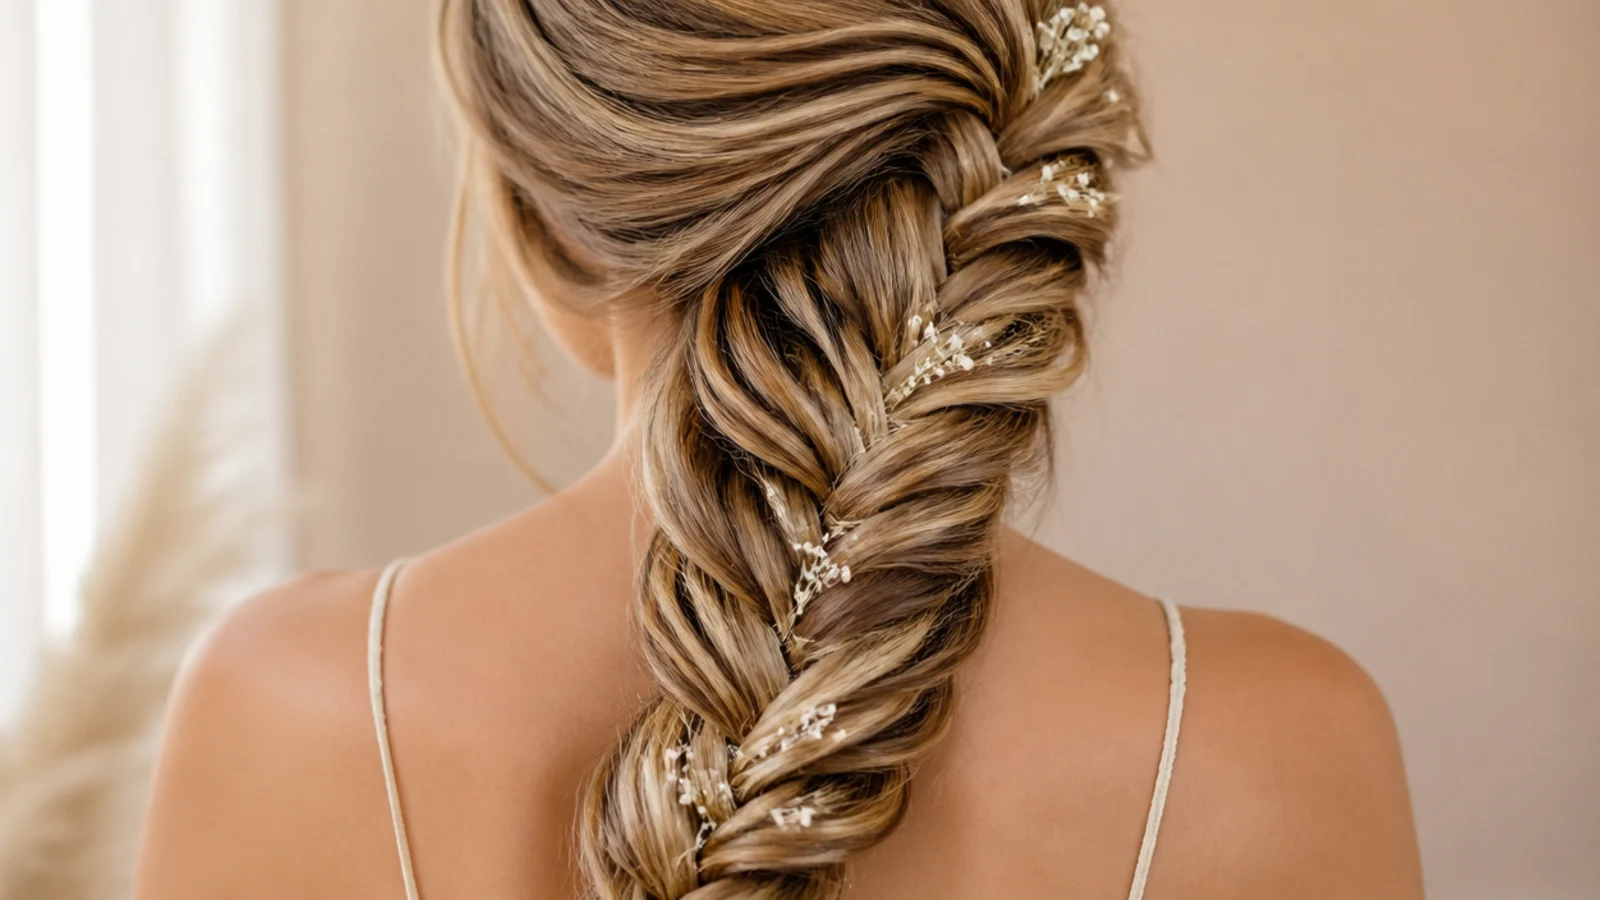
Only the crown section is braided, so the plait sits over loose length rather than containing it. Half the hair carries itself, which means half the weight hanging from the anchor and considerably less pull on the scalp by the end of the night.
4. Crown Braid
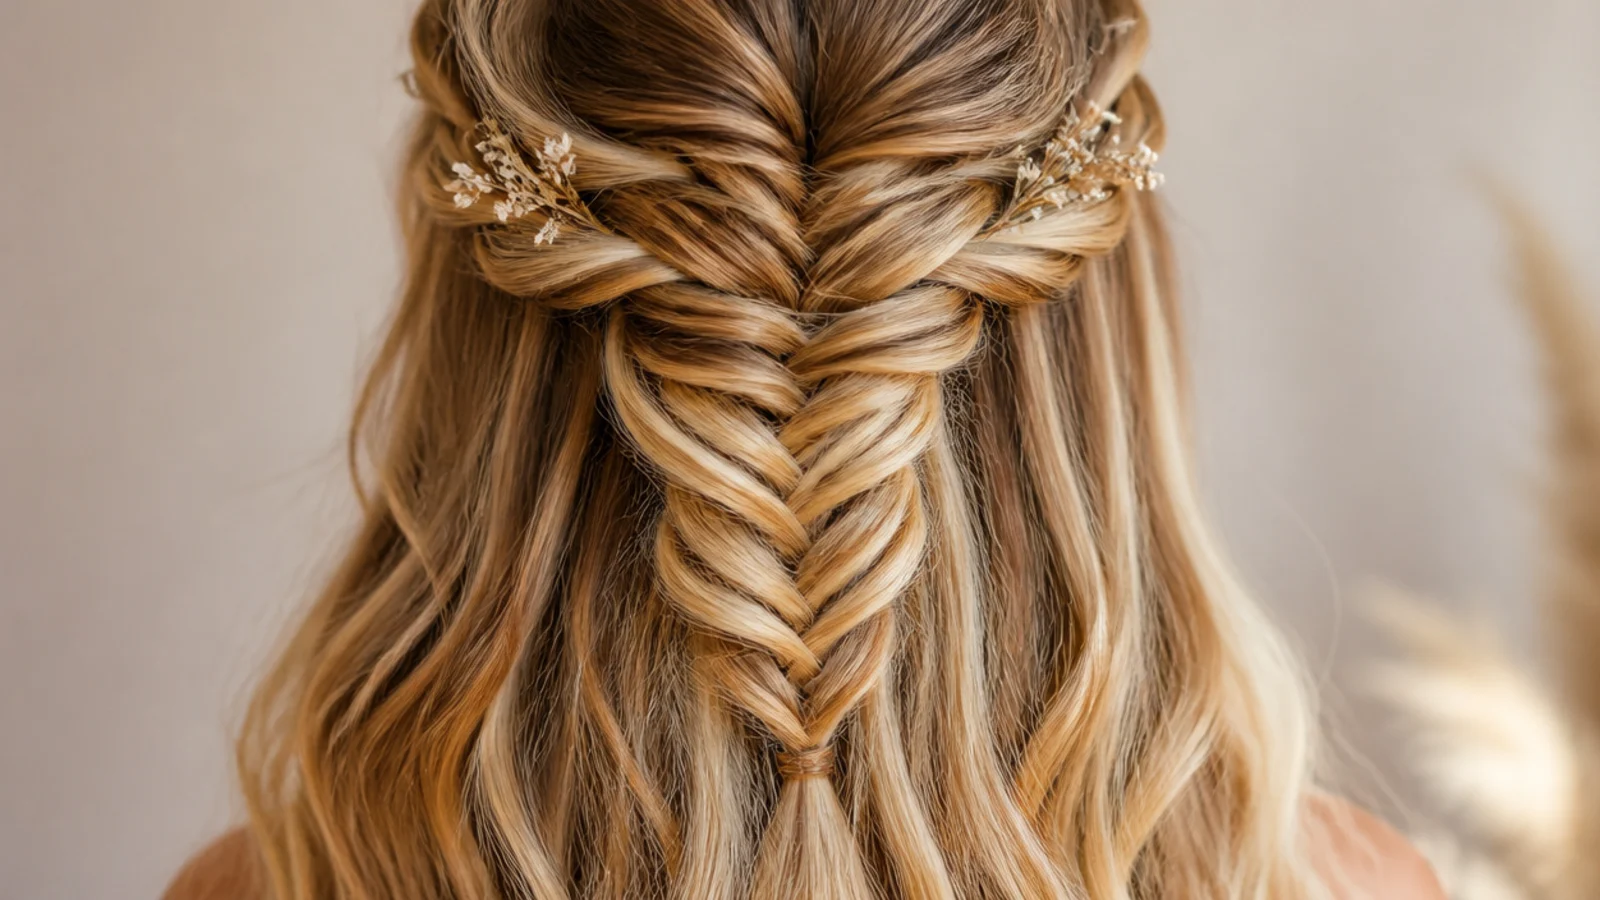
The braid runs around the head instead of down it, becoming a band across the widest point. Cross the pins as you anchor it, because a horizontal braid pulls sideways all evening and a straight pin has nothing to hold against.
5. Waterfall
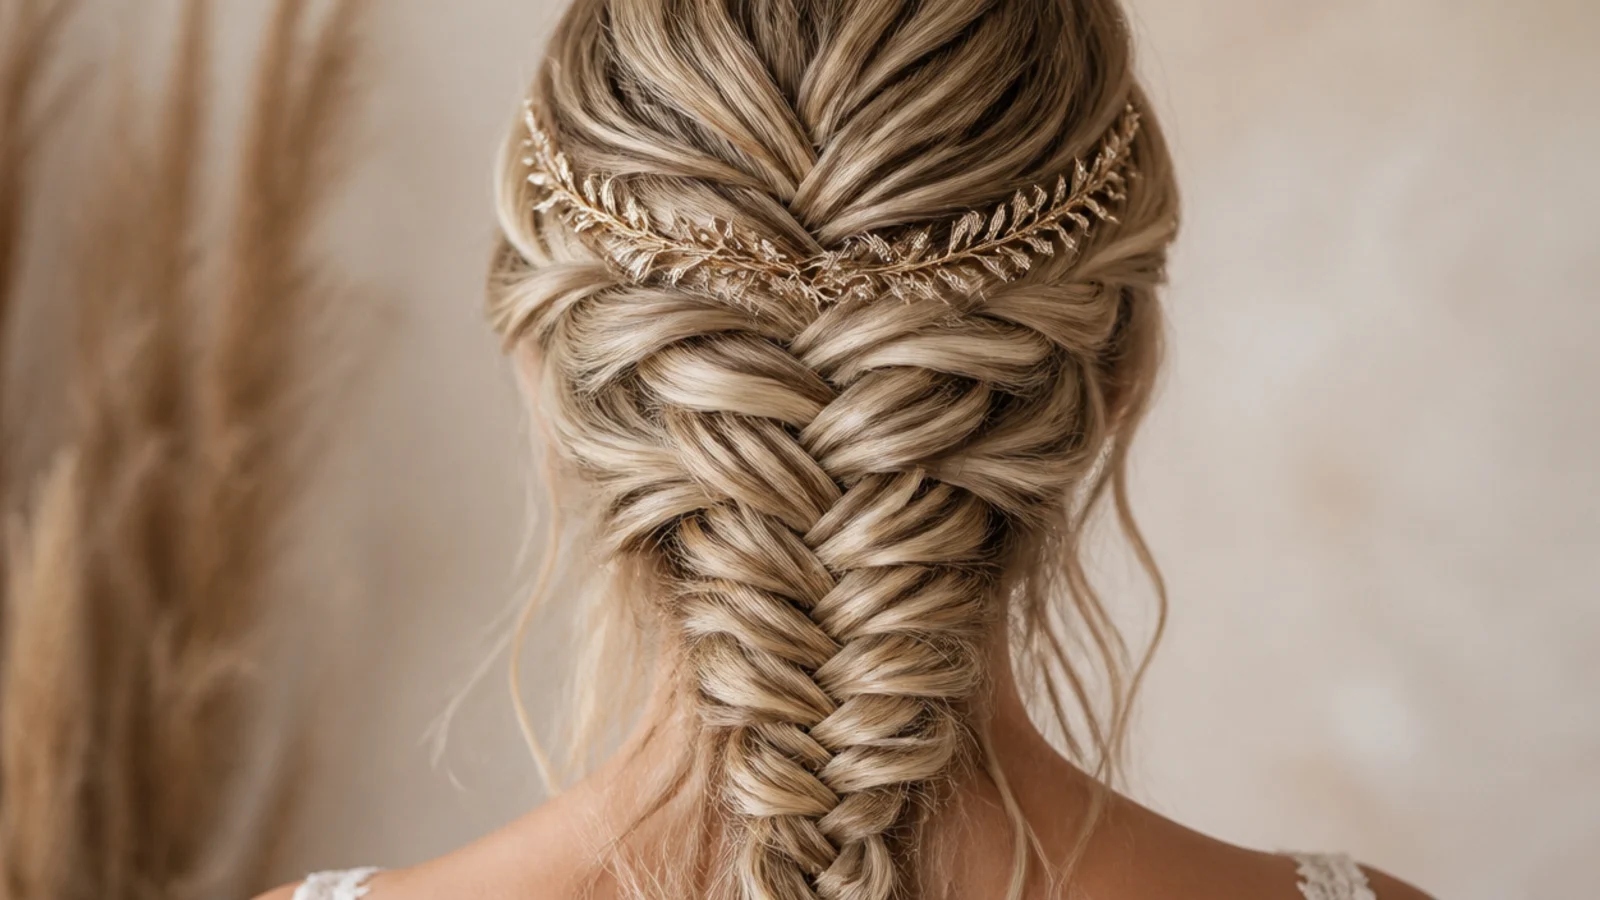
Strands are dropped from the braid at every pass and fall through the length below, so the braid travels sideways while the hair pours through it. It carries no weight in this form, which is why it needs pinning at both ends rather than an elastic.
6. Low Braided Bun
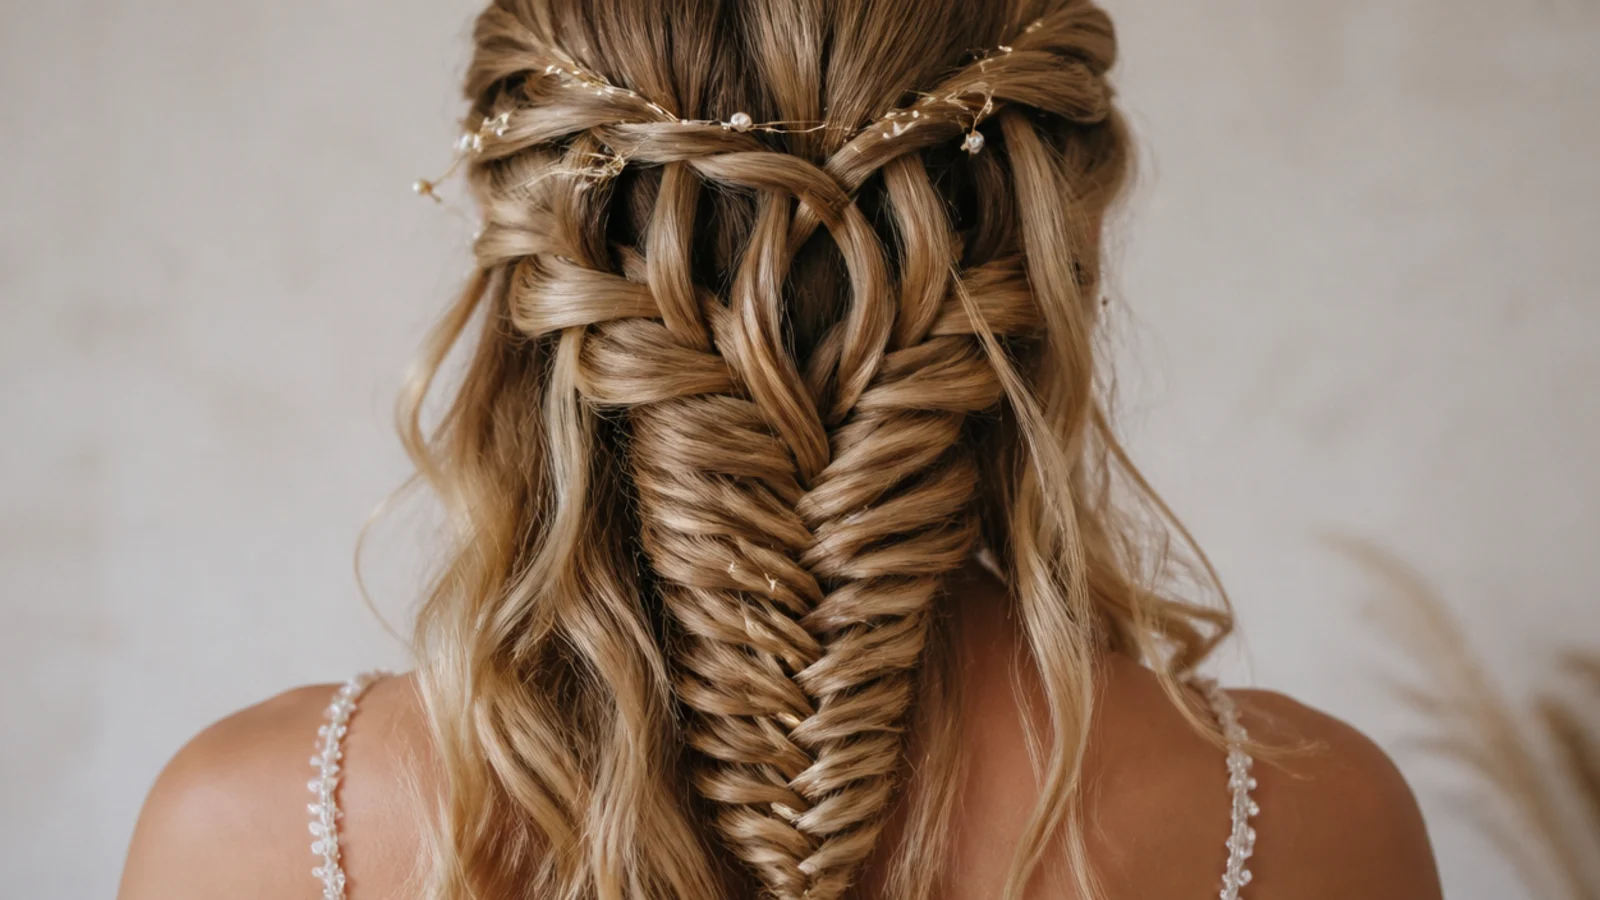
Braiding first and coiling second builds a knot out of a rope that already carries a pattern, so the crossings show on the outer face of every wrap. It also converts a swinging braid into a fixed weight resting on the neck, which is the most secure option of the night.
7. Double Braids
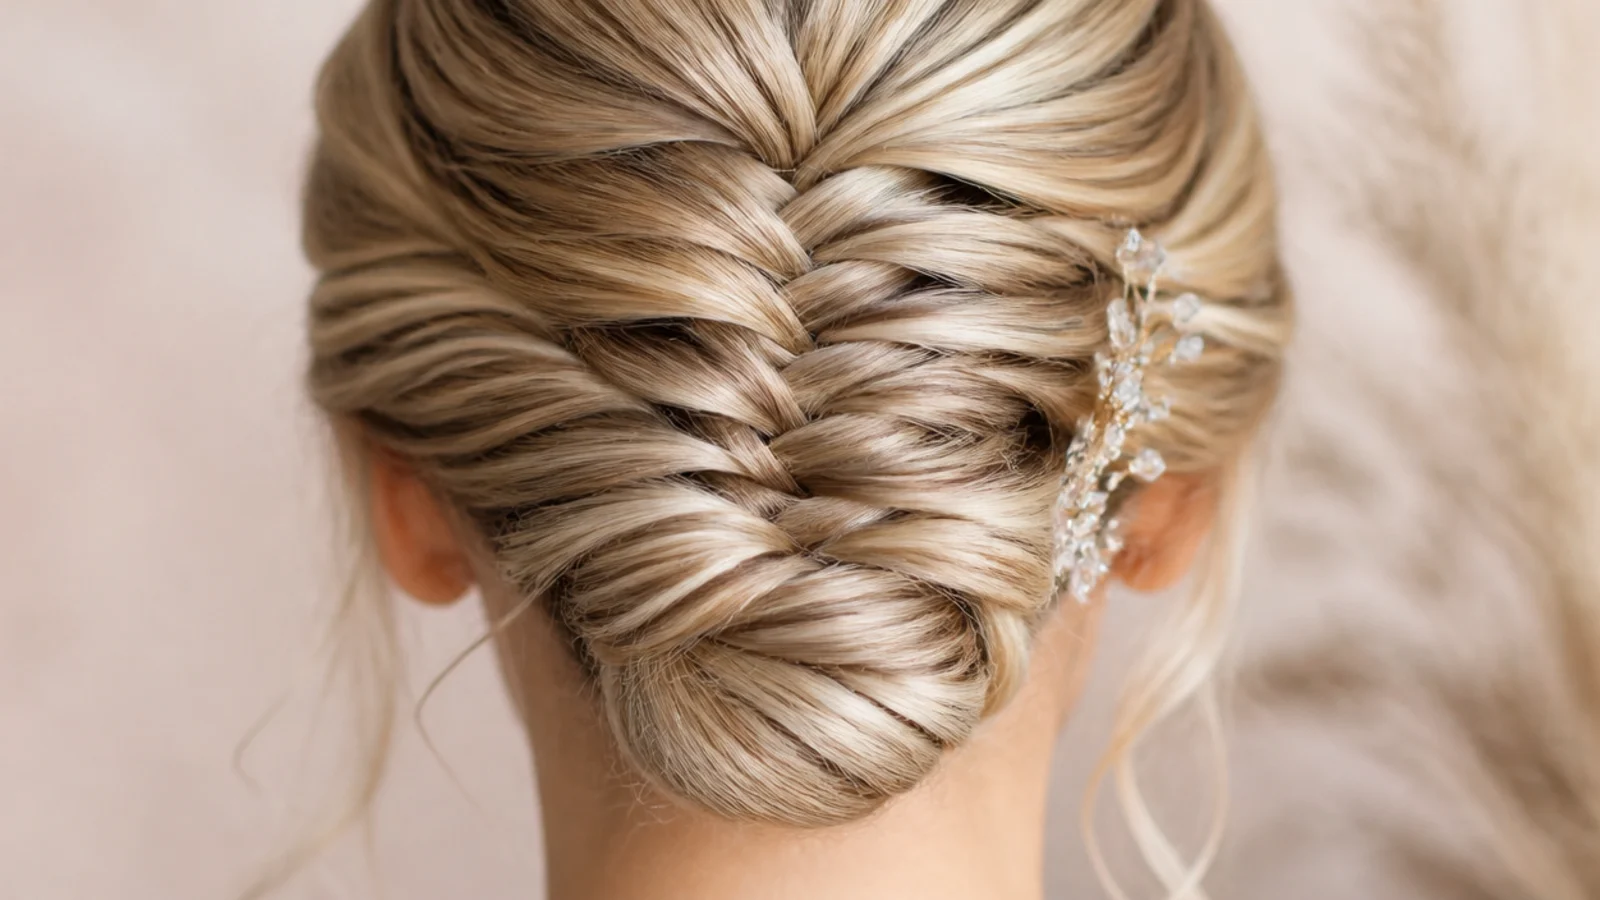
Two braids halve the hair in each section, so the crossings are finer and the pattern denser than one braid of the same volume. The weight also rests on two anchors instead of one, which is what keeps the scalp comfortable across a long evening.
8. Rhinestone Vine
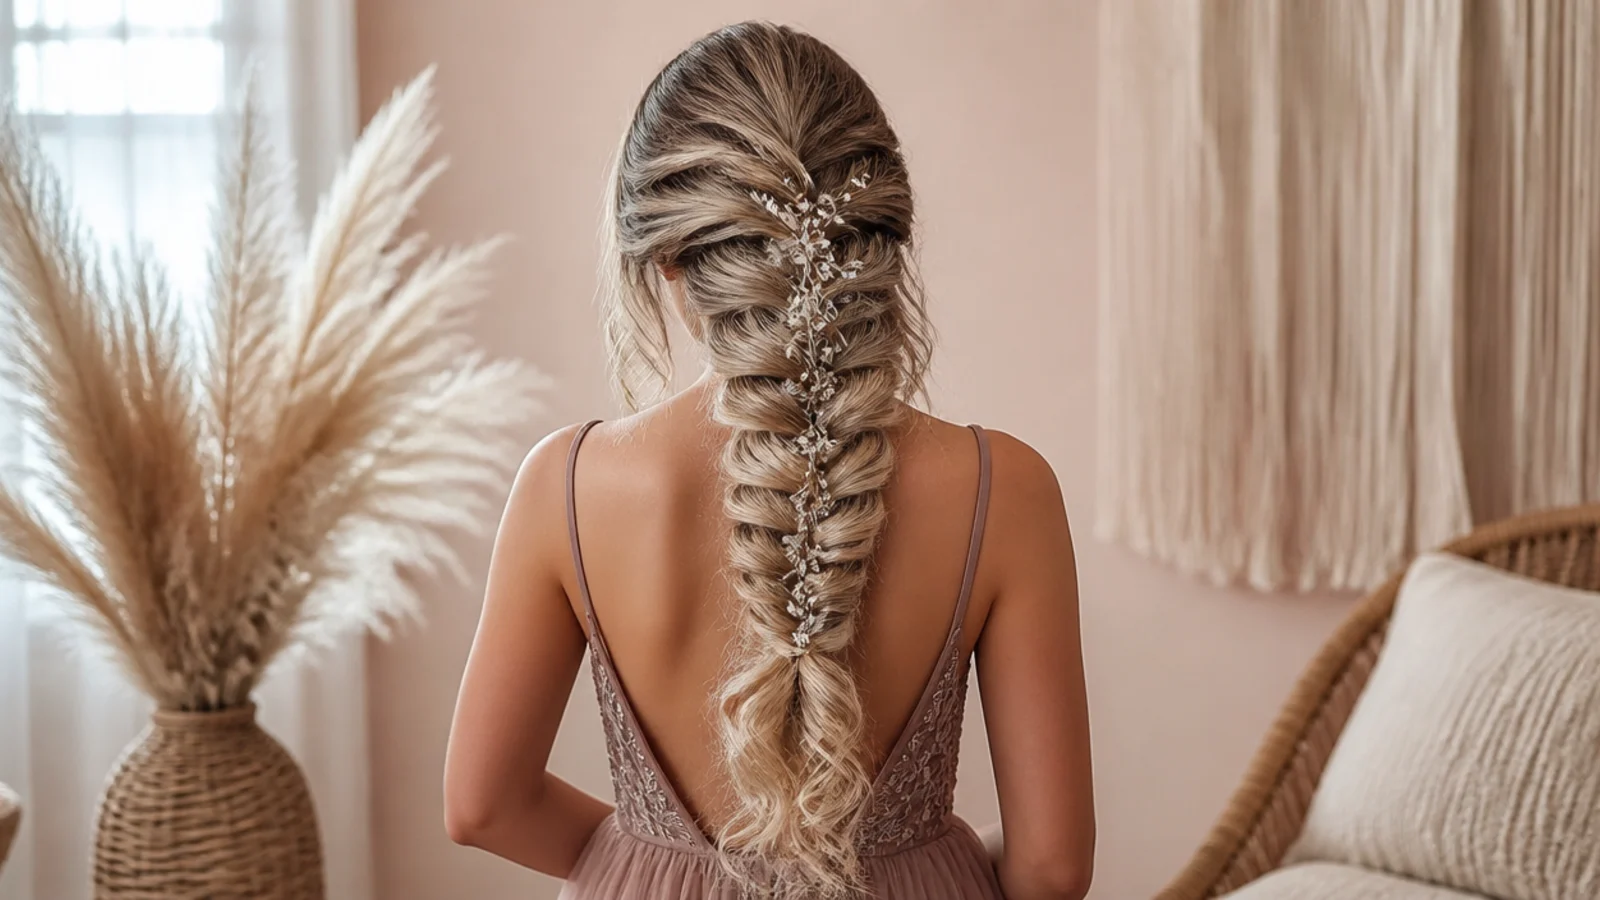
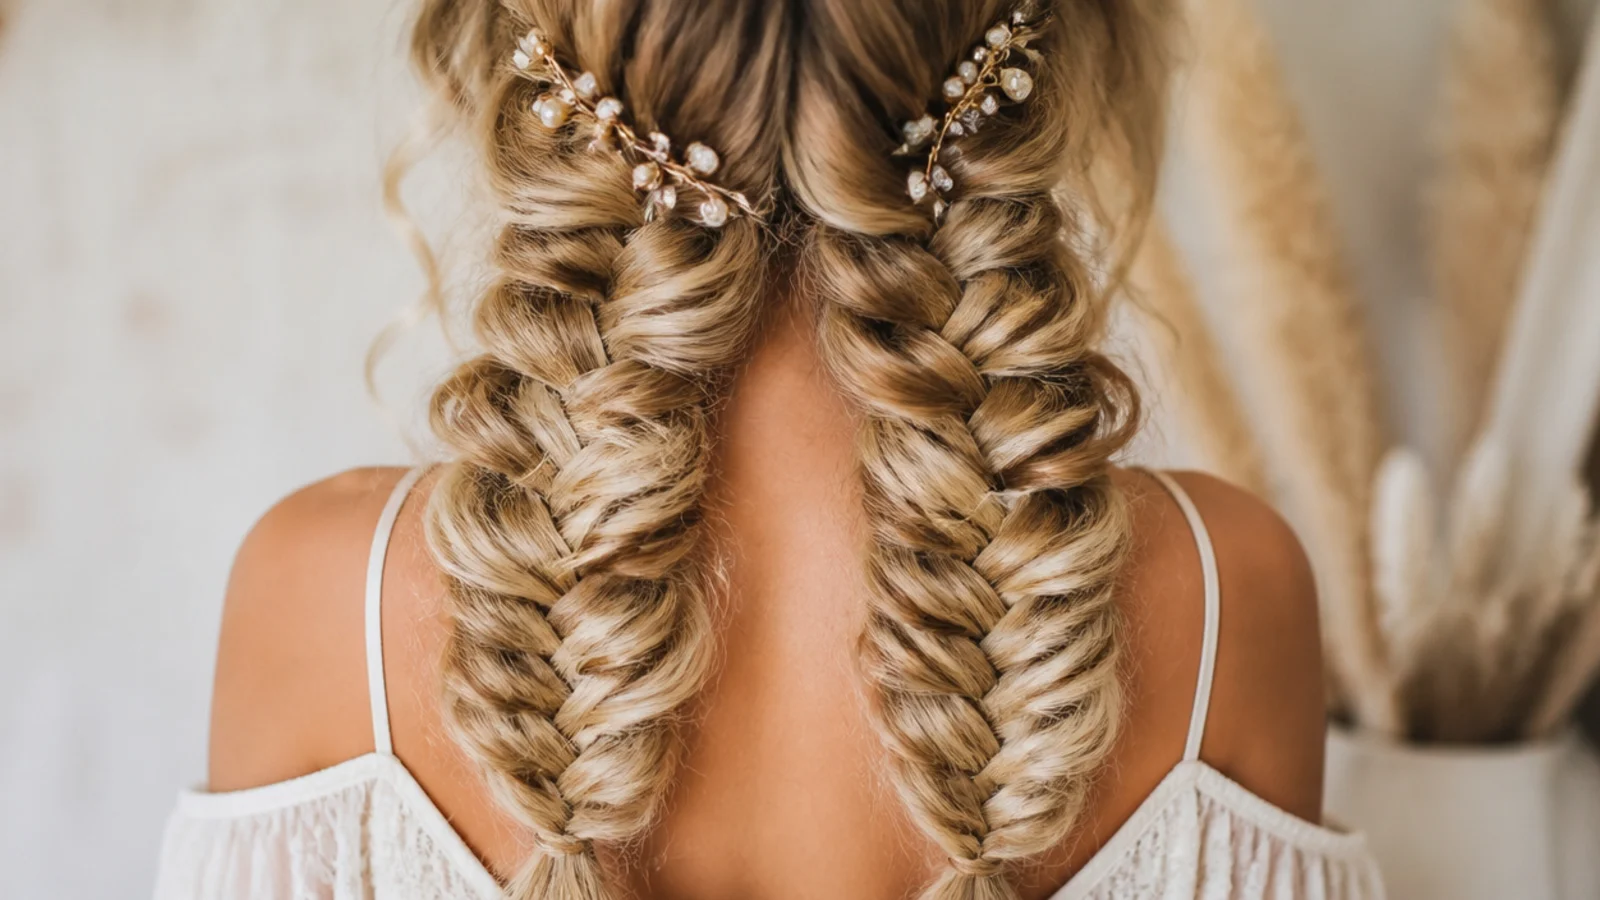
A flexible vine threaded through the open loops follows the braid instead of sitting on top of it, so it moves as one piece rather than shifting independently. Keep it below the crown, because stones are heavier than they look and weight at the parting drags it backwards.
9. Boho Tendrils
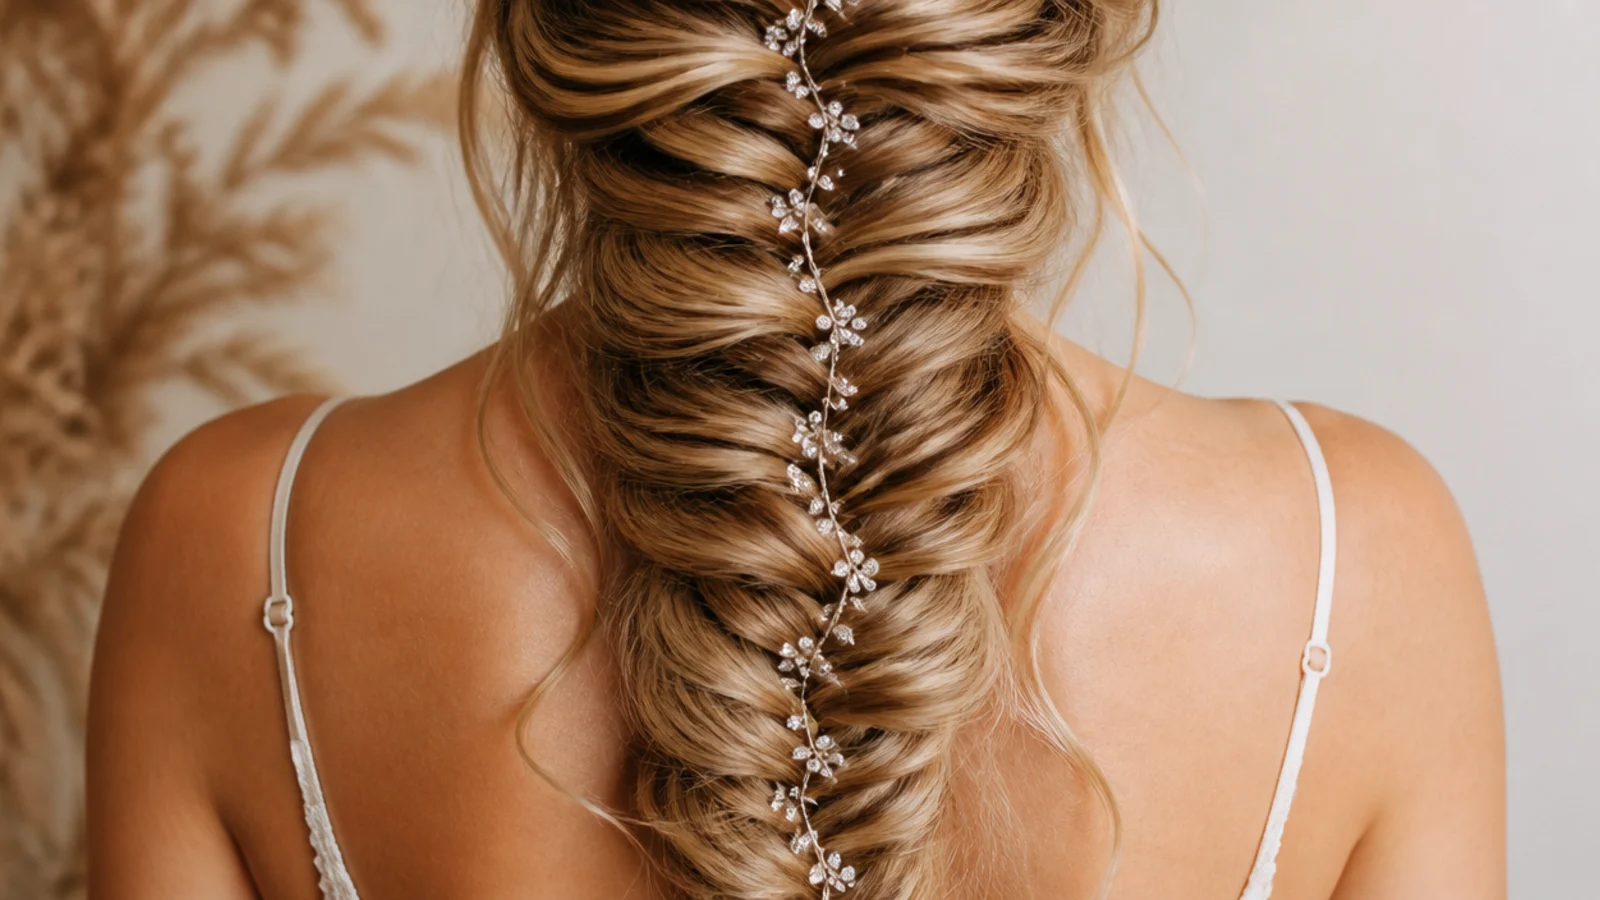
Two fine pieces are released at the temples before the first crossover, so the braid tension stays even from top to bottom. Curl them lightly and leave them alone, since anything pulled free later comes out of the braid and shows as a gap in the pattern.
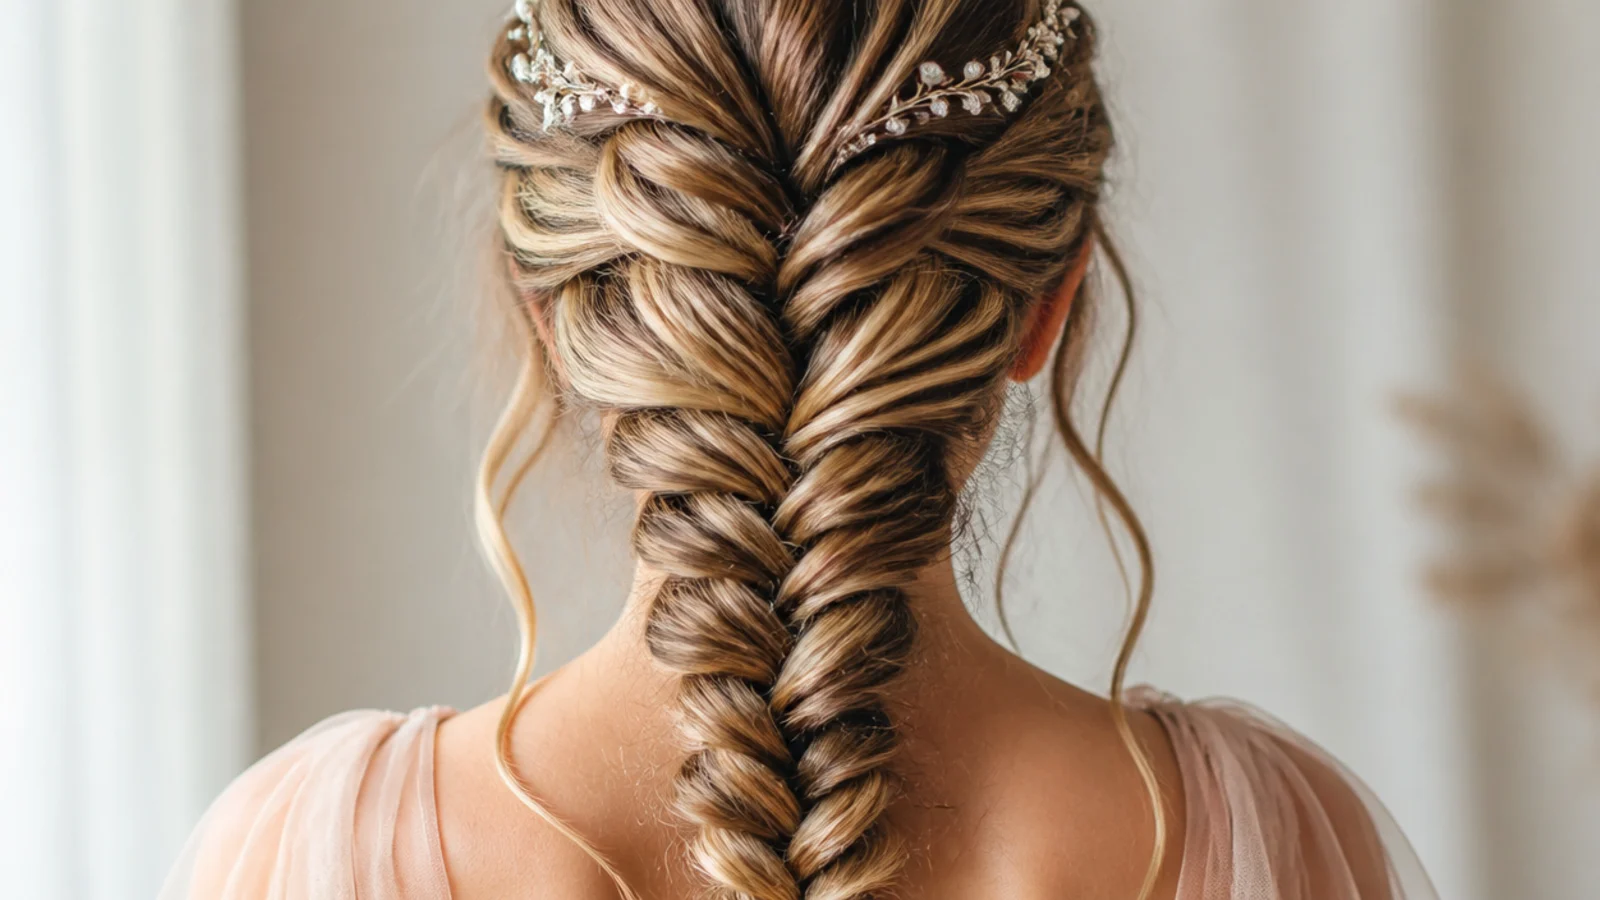
10. Fine Hair
Braid a smaller section higher on the head, then spend twice as long widening it. Fine hair produces thin crossings because each piece holds few strands, so every bit of the finished width has to be pulled out rather than braided in.
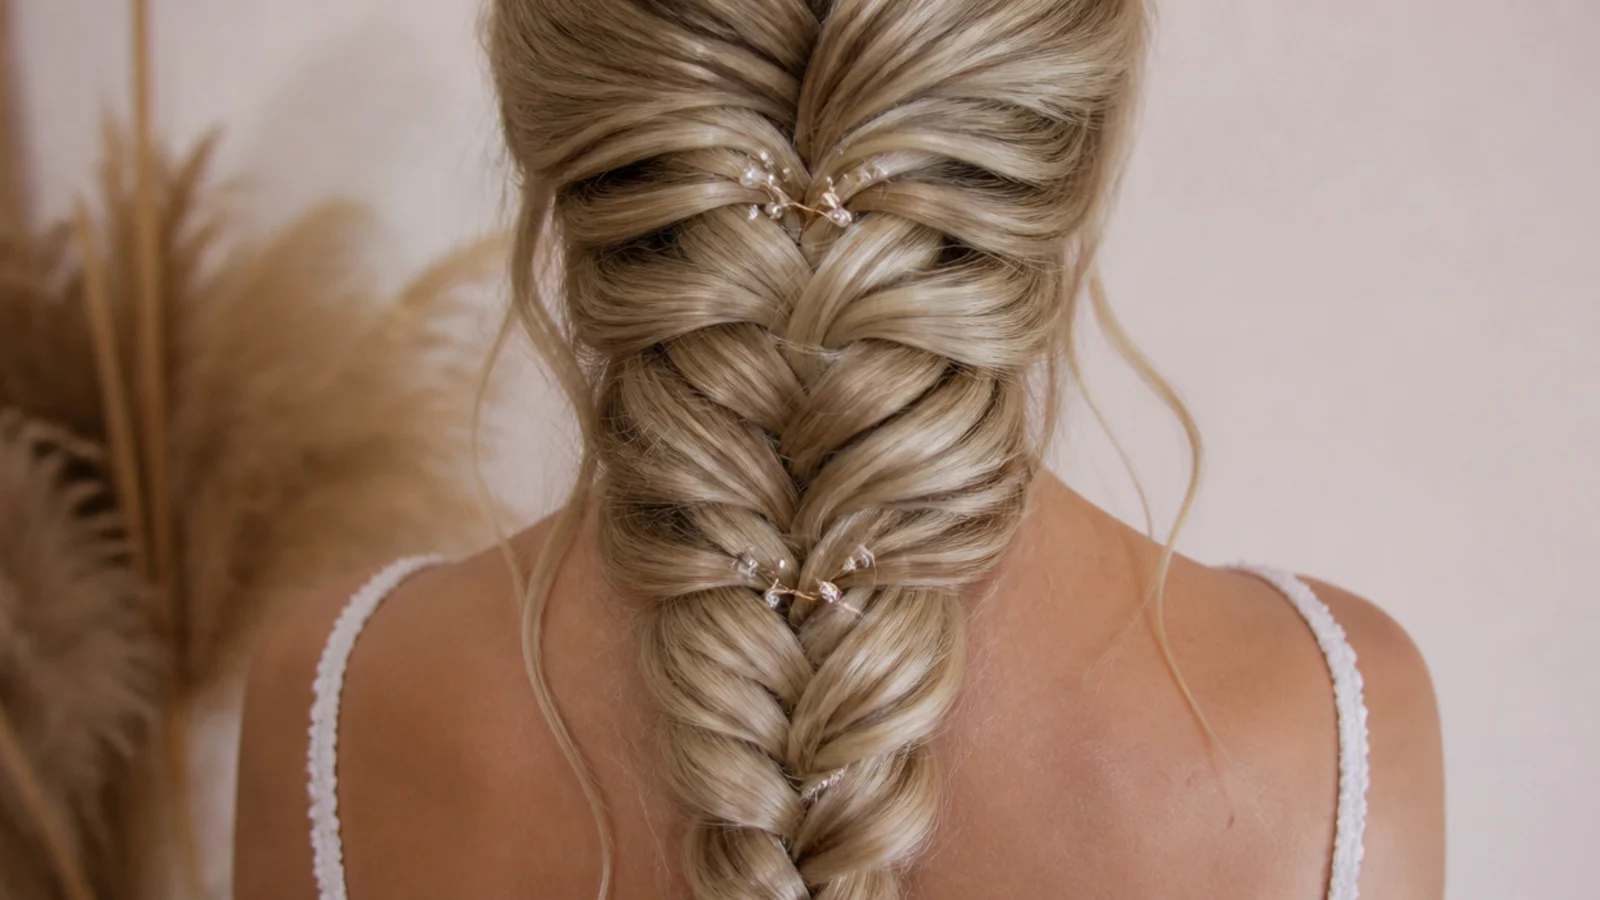
11. Clip In Extensions
Wefts clipped under the parting add strands that reach the ends, which is exactly where a braid runs out of hair and starts tapering. Put them in before you wave the hair, so the join is blended by a shared bend rather than showing as a change in density.
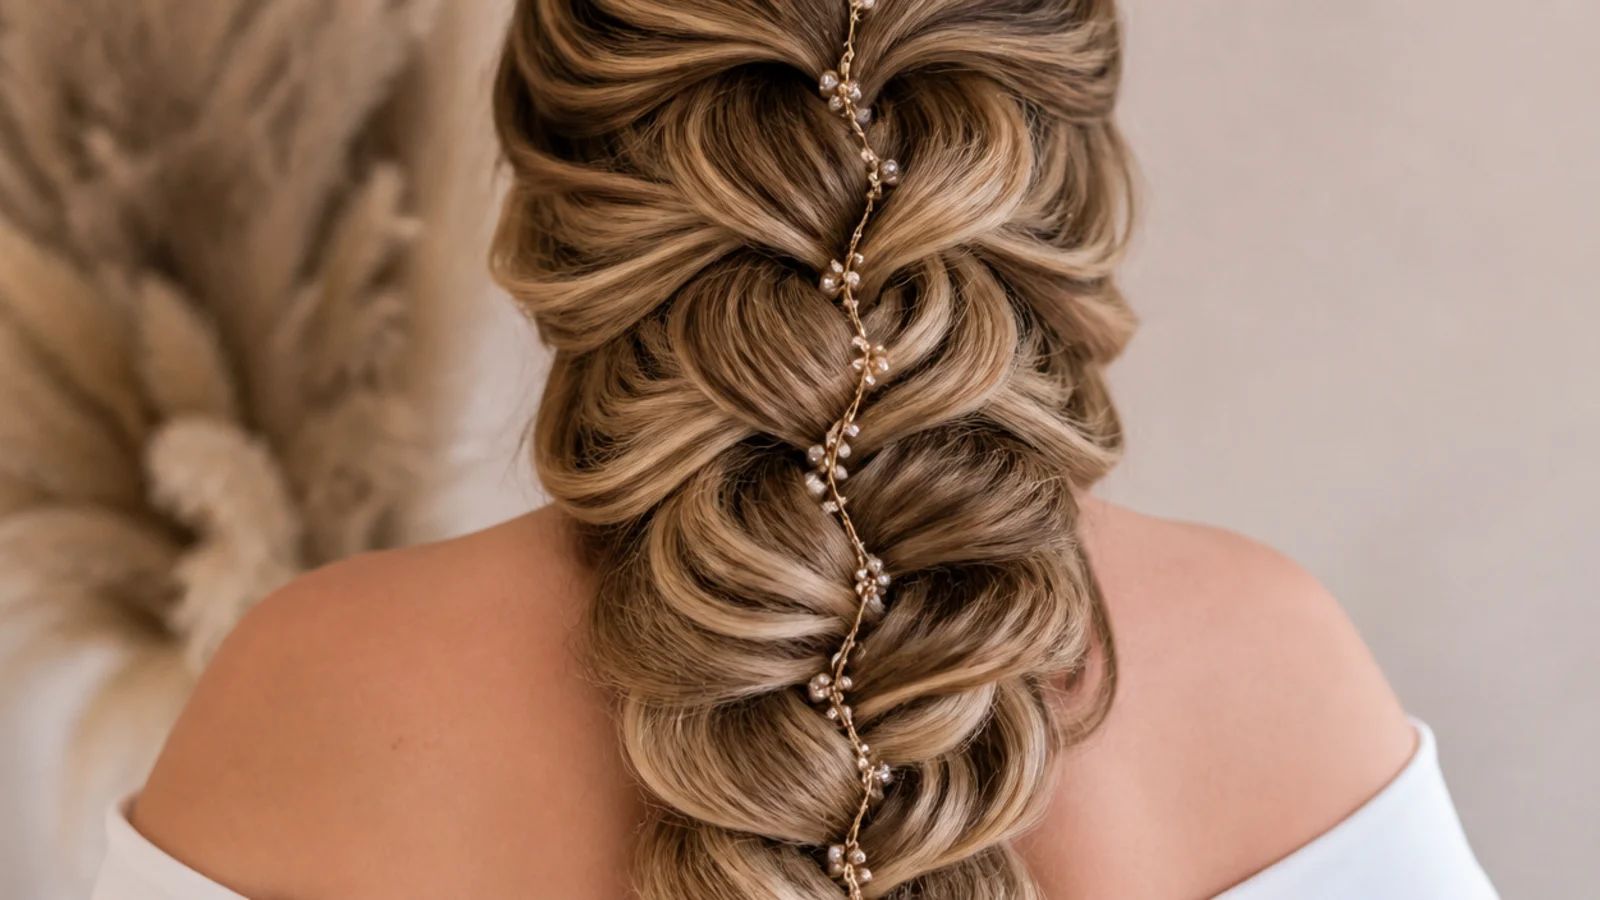
12. Curly and Natural
Coils grip each other, so this braid holds all night with no product and very little retugging. Take slightly wider pieces and stretch each section gently as you cross it, because a tight curl pattern swallows fine crossings and the braid disappears into its own texture.
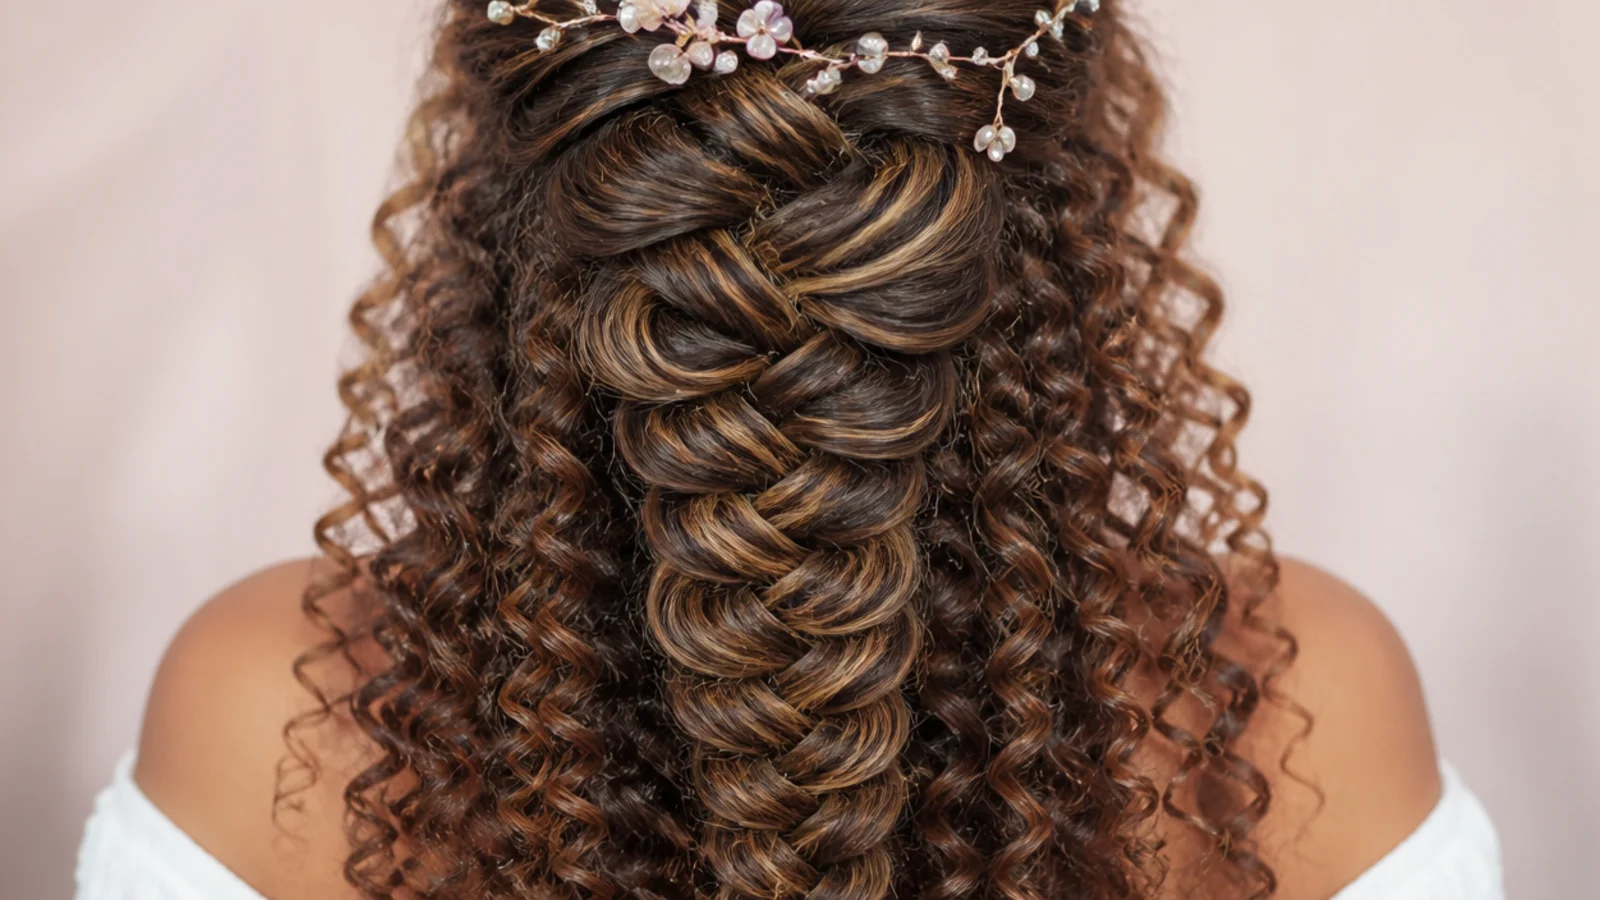
13. Baby Breath Sprigs
Small stems of baby's breath are pushed up into the loops from underneath so the flower heads rest in the openings the pancaking made. Nothing is tied on, so the sprigs follow the braid's curve and can be moved without disturbing a single crossing.
14. Ribbon Woven Through
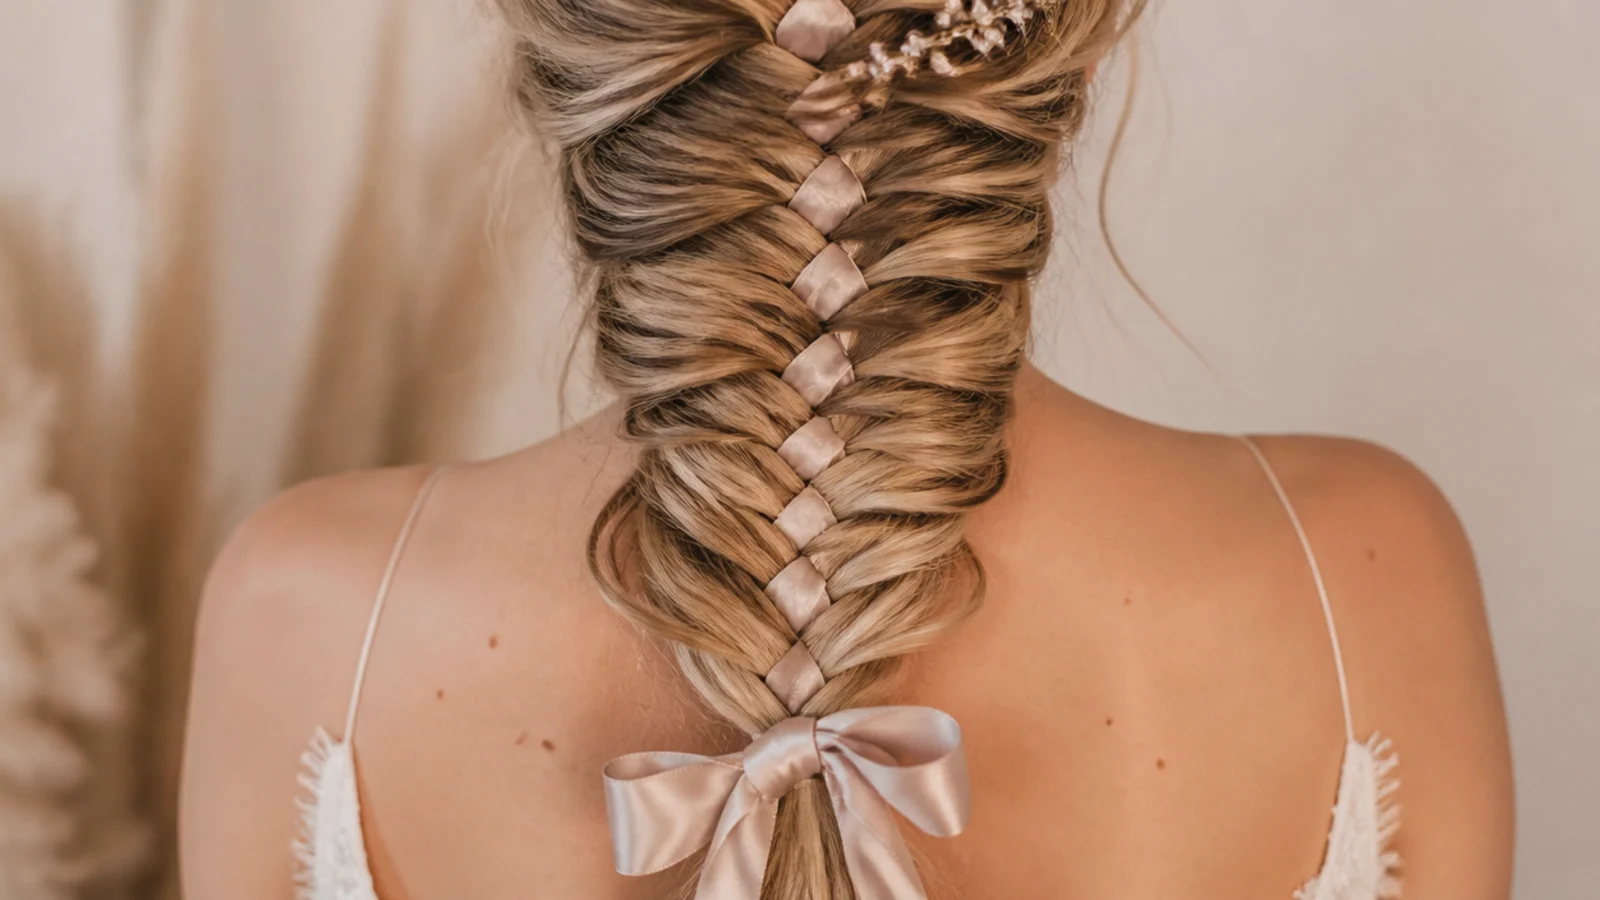
A ribbon added to one of the halves before the first crossover travels through every crossing and surfaces at intervals down the braid. Fabric raises the friction between sections too, which is why a ribboned braid holds its width later into the night than one without.
15. Braided Ponytail
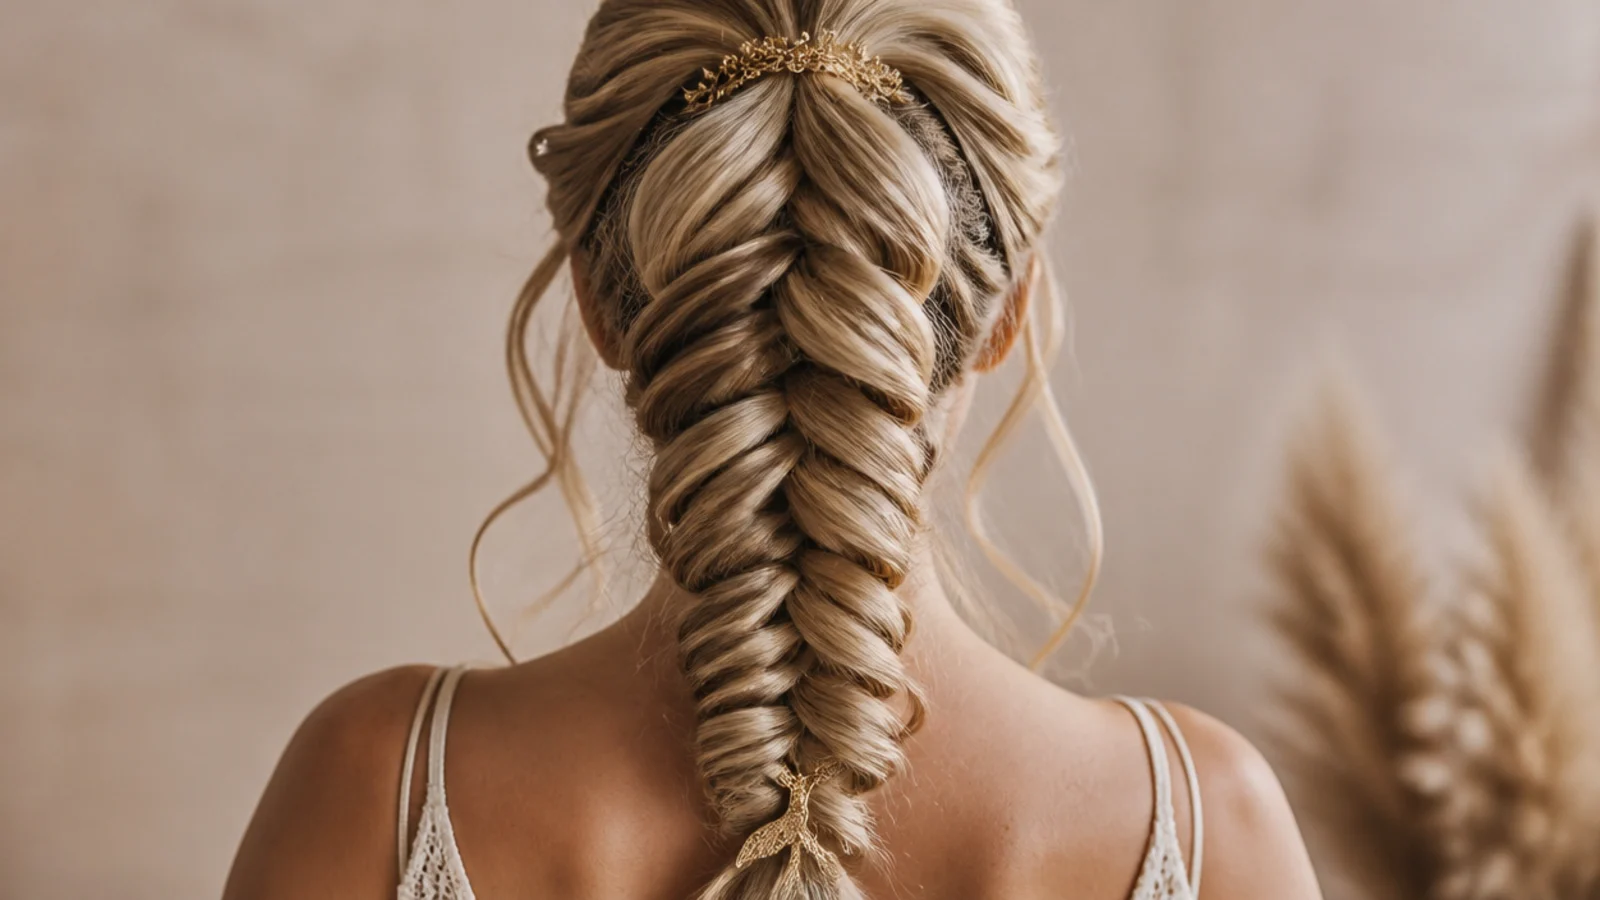
Gathering into an elastic first means the ponytail carries all the weight and the braid only contains the length. That lets you place the braid high without the crown taking any load, and a high placement is what keeps it clear of a high dress neckline.
16. Deep Side Part
Parting well off centre loads one half with more hair, so the braid begins asymmetrically and travels diagonally before it straightens. The heavier sweep covers one temple, which softens the hairline without needing a separate piece left out.
17. Tiara Headband
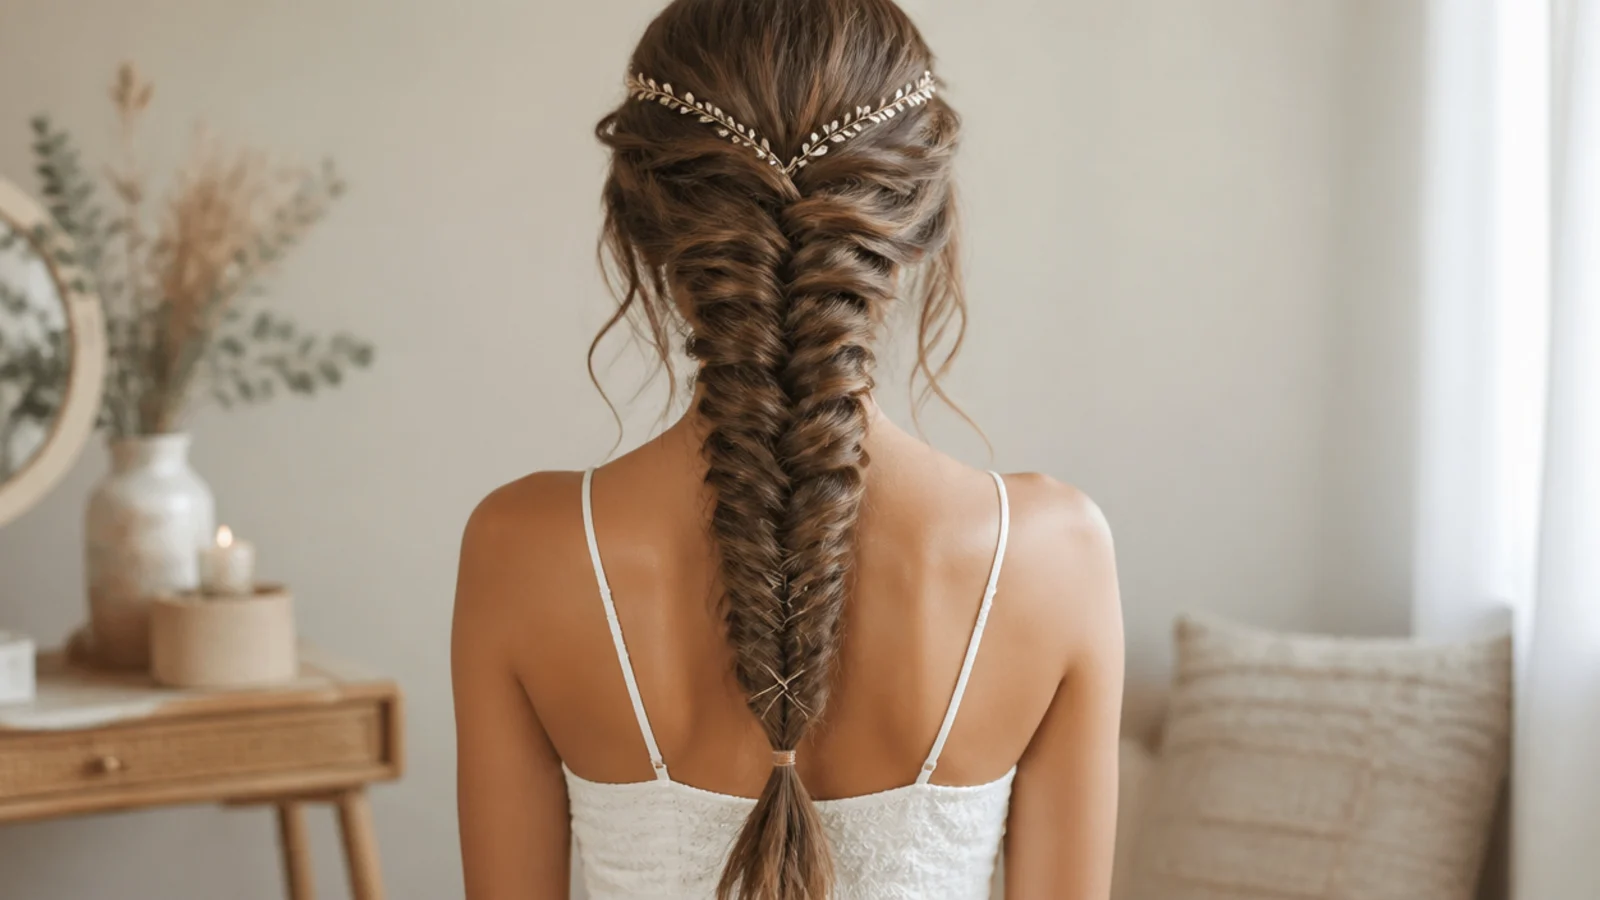
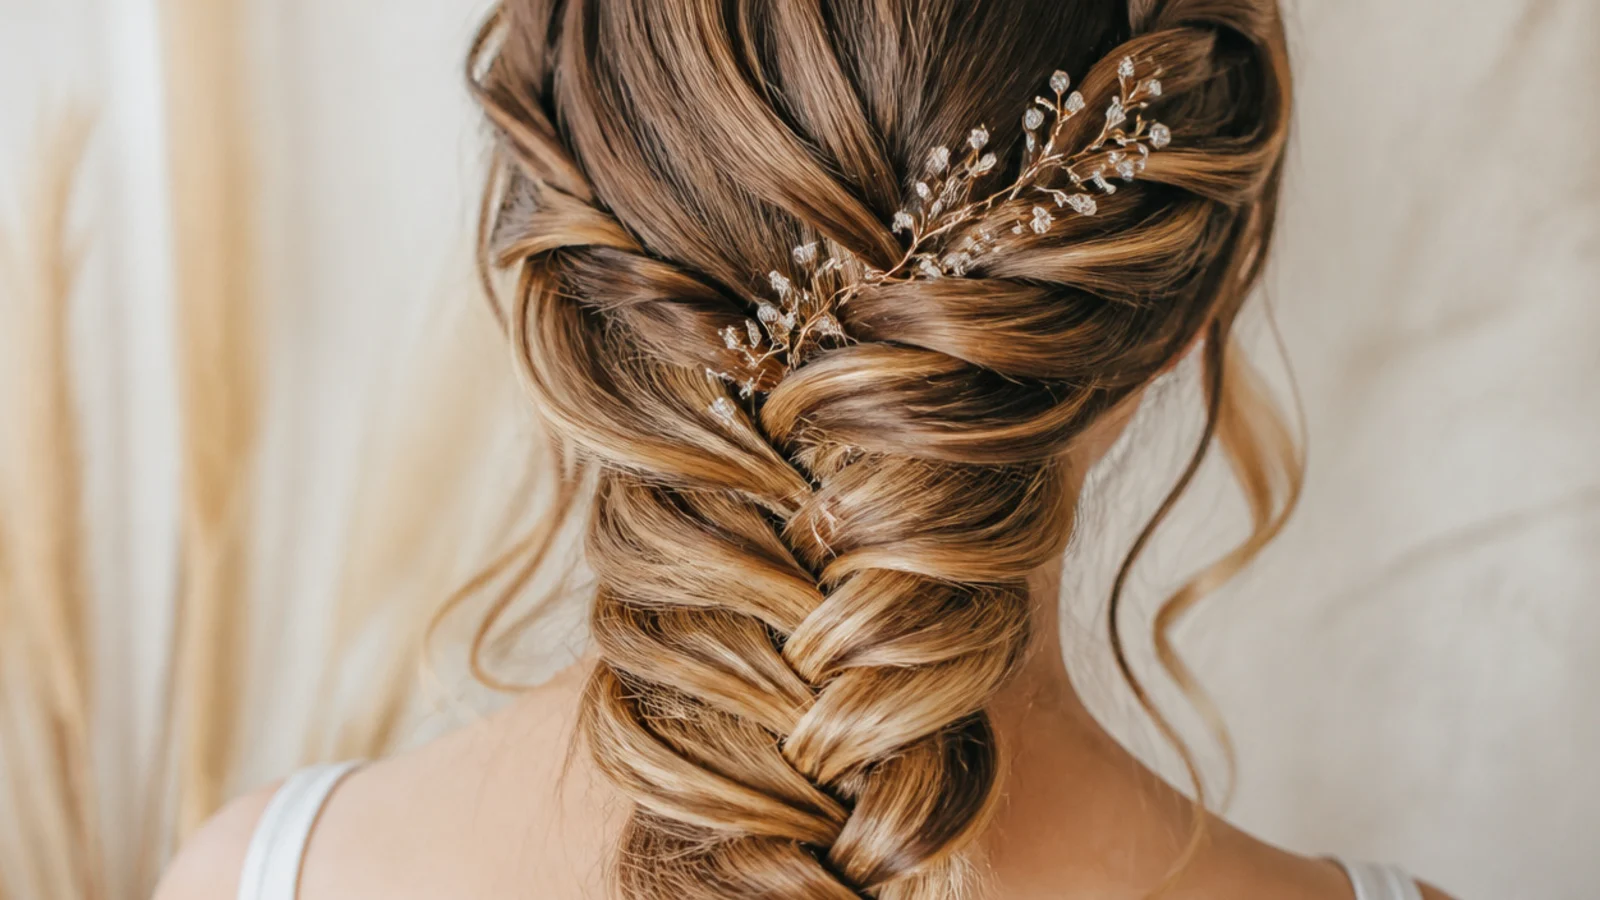
A mermaid braid carries no height at the crown, which is the reason it sits under a tiara where a structured updo fights one. Set the band first and braid afterwards, so the braid can be positioned to hide the ends of the comb.
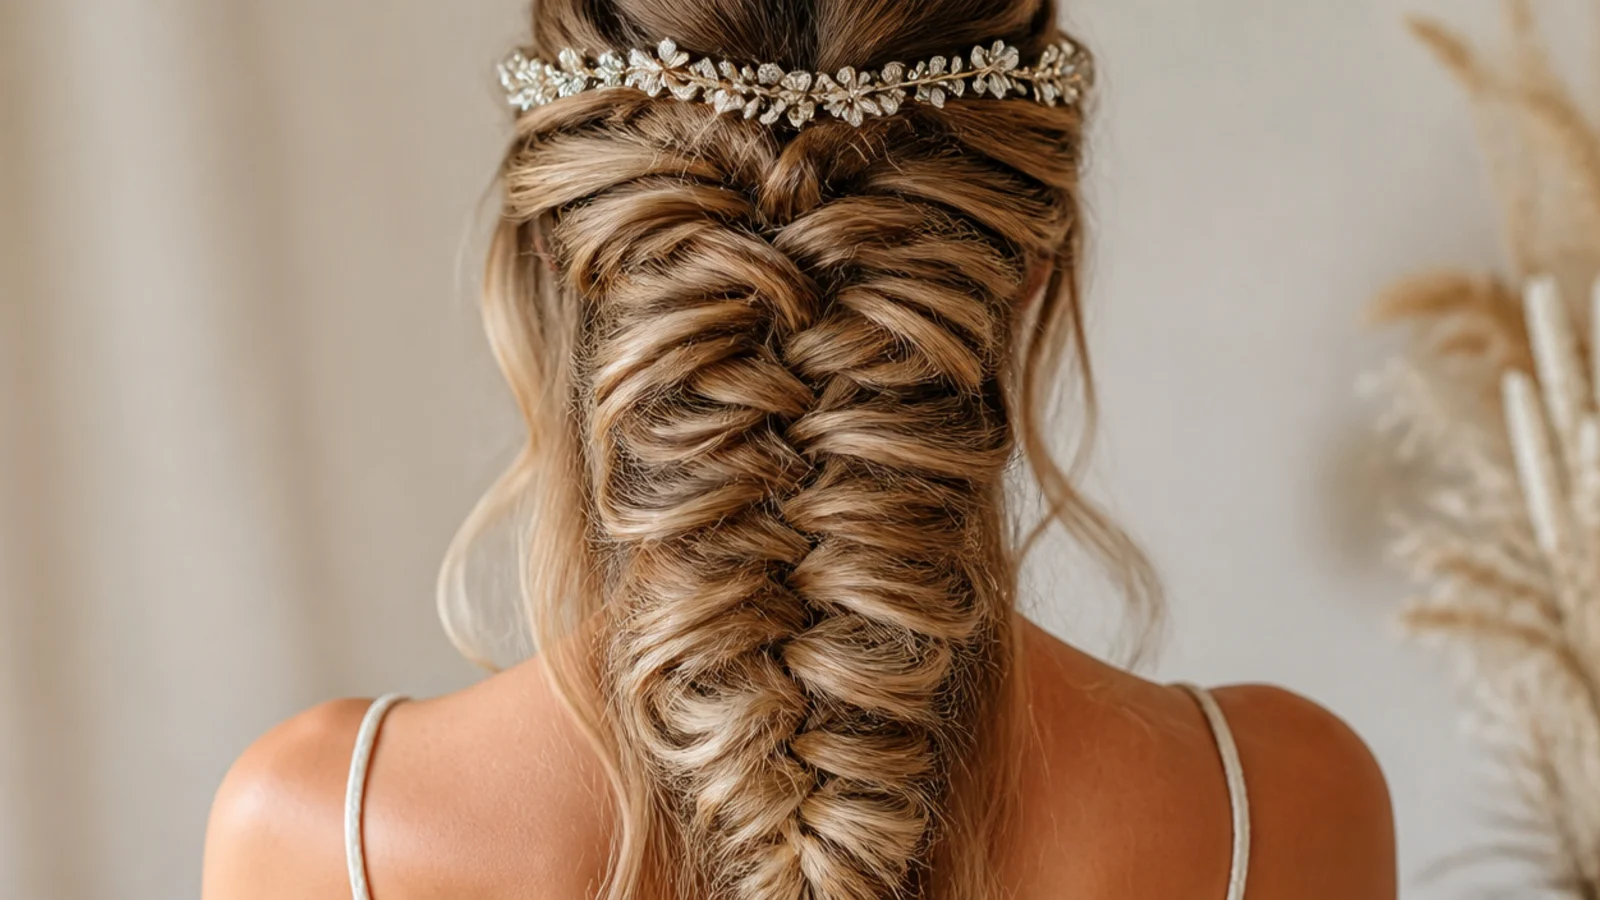
18. Balayage Two Tone
Painted lightness lands on the outer face of every loop, so the crossings are picked out in tone as well as in shadow. That matters under low evening light, where a braid in one flat shade has only shape to work with and loses most of its pattern.
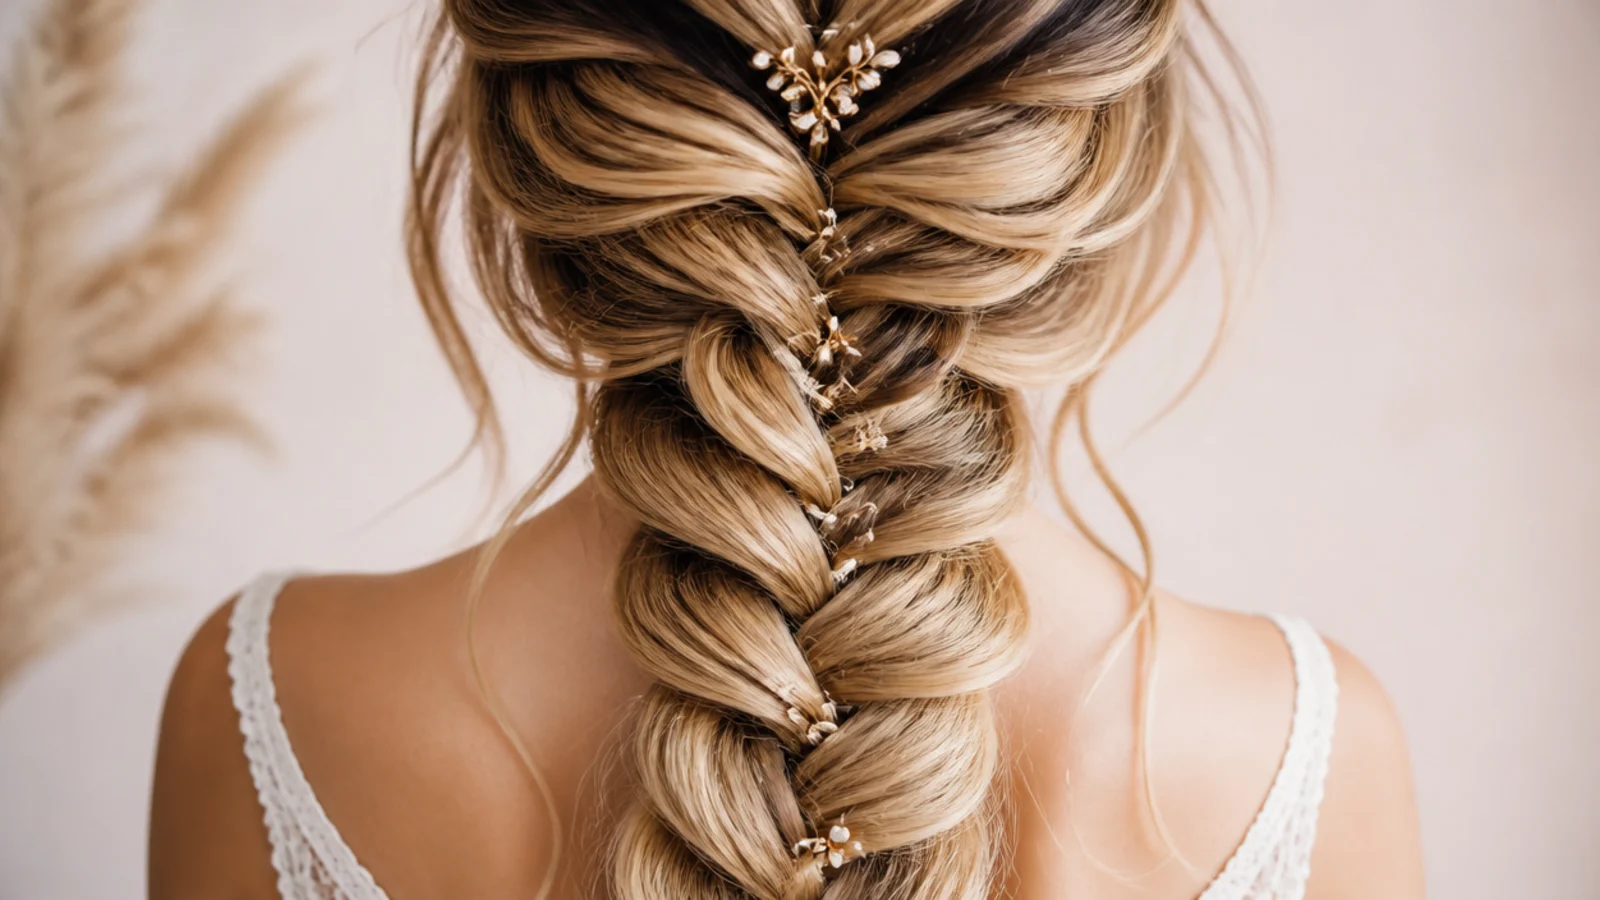
19. Messy After Party
The braid loosened deliberately, with pieces pulled around the face and the tie slipped down. It works because a pancaked braid has spare width built into it, so a braid that has moved reads as undone by choice rather than as one that failed.
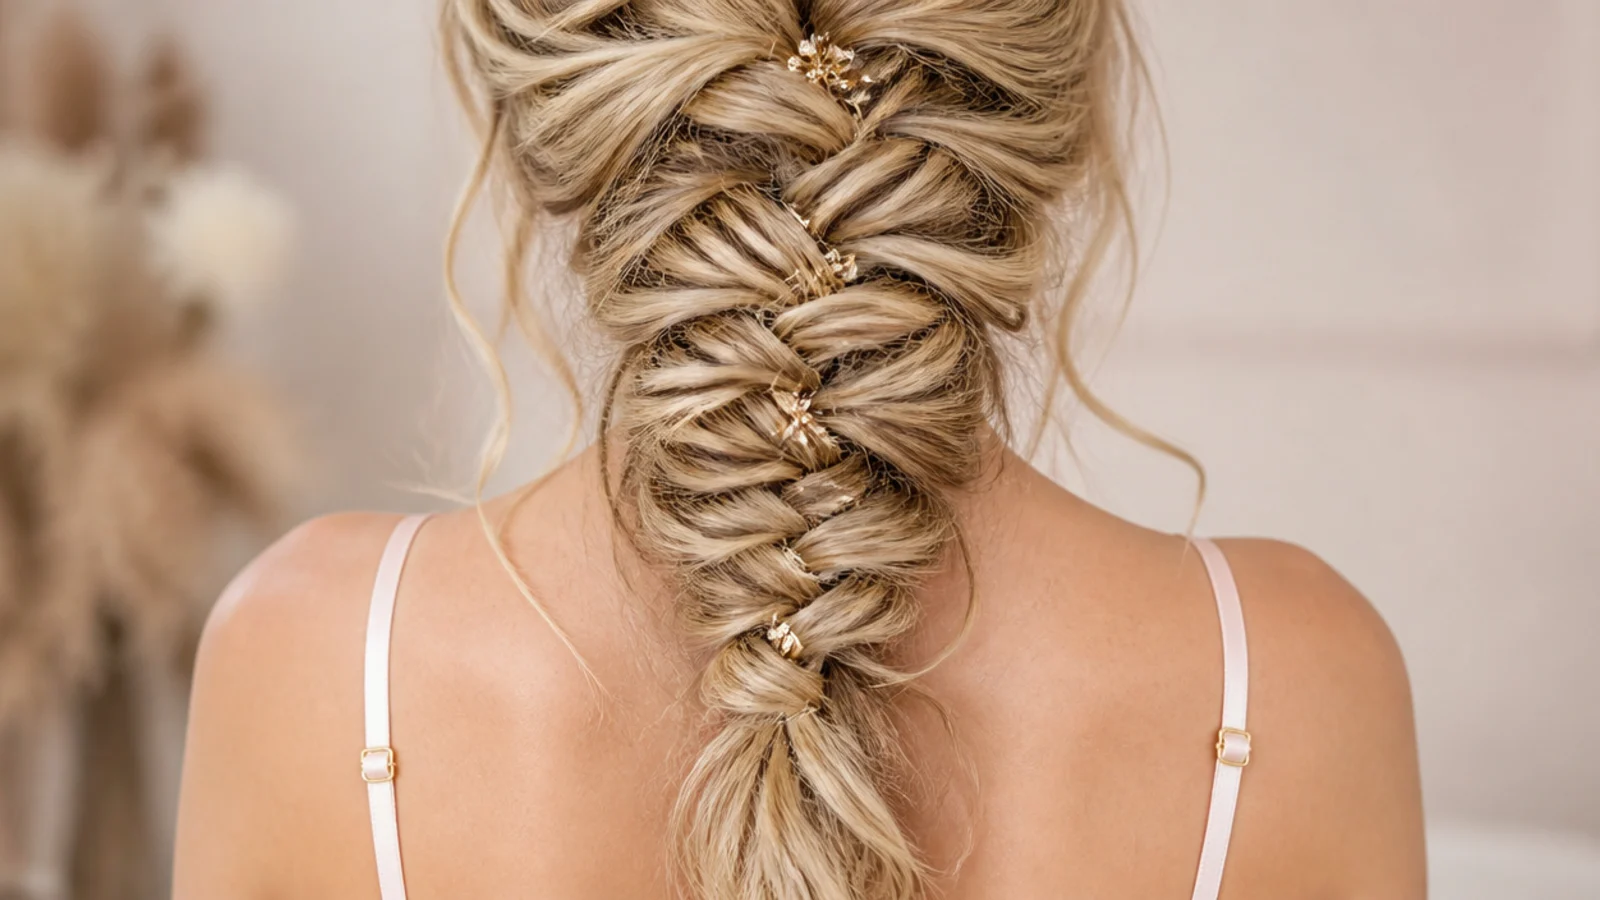
20. Past the Waist
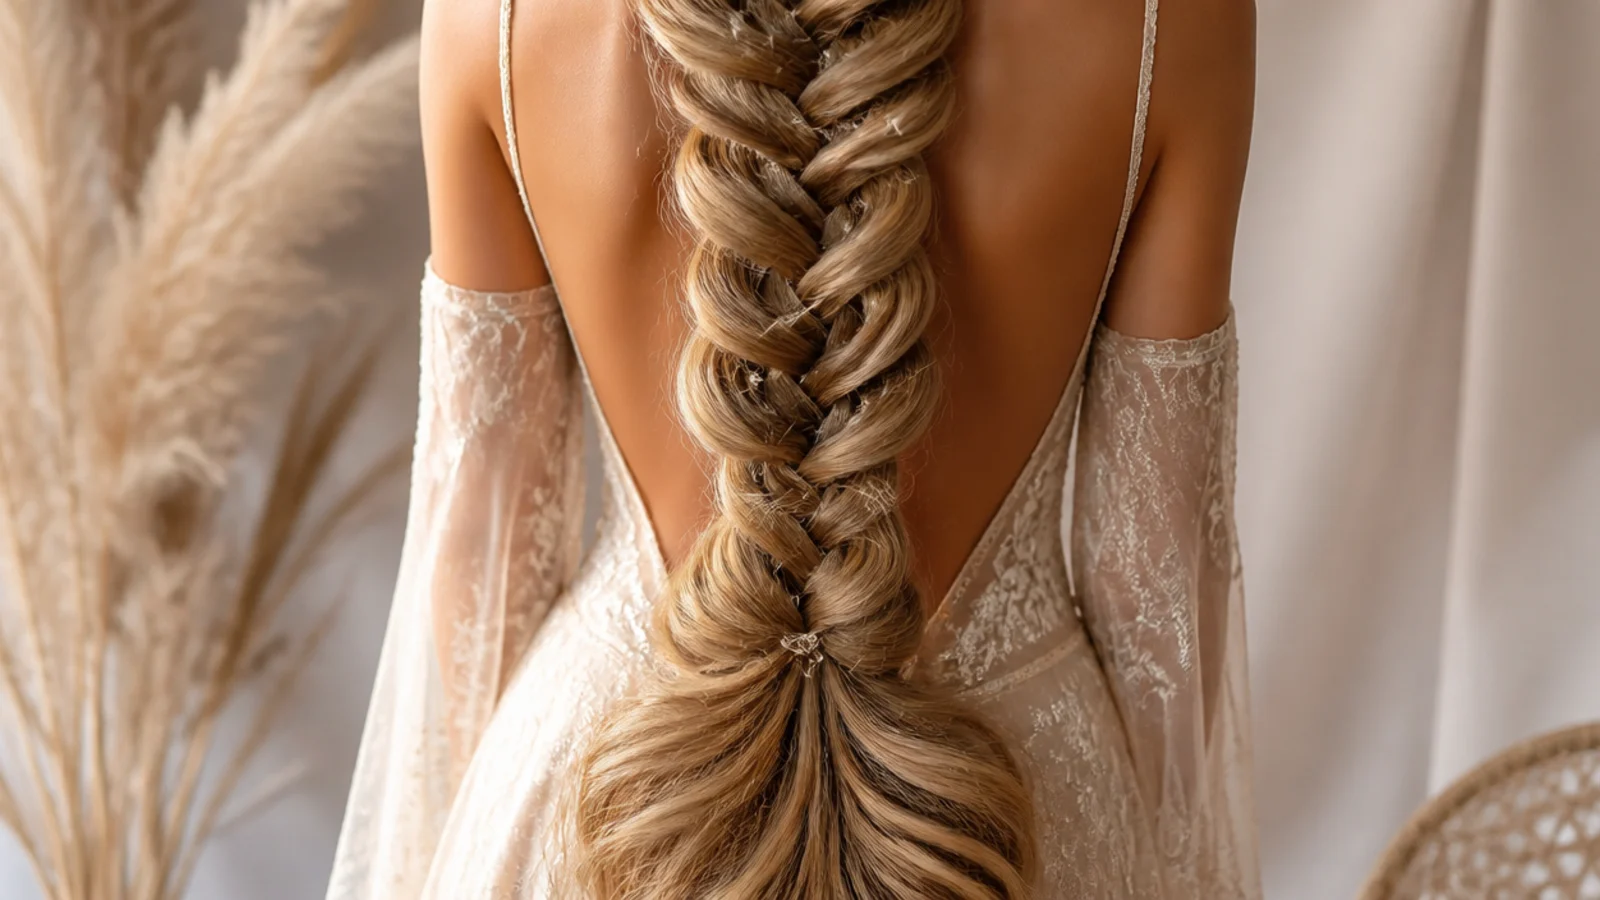
At this length the braid has enough crossings to read as fabric, and enough weight to pull on the roots all evening. Tie the gathered section before the first crossover and pin it once at mid length so it cannot swing against the back of a dress.
Final Thoughts
Build the braid for the last hour of the night rather than the first. That means second day hair, a wave through the length before you start, a braid worked loose in small pieces, and two passes of widening rather than one. Then pin it from underneath at two points, because the elastic only holds the bottom and everything that goes wrong at eleven o'clock goes wrong further up.
Do the whole thing once a week beforehand. A trial run tells you how fast your hair drops a set, whether the braid clears your neckline, and how long the widening actually takes, which is almost always longer than the braiding. Two spare pins and a clear elastic in a bag covers everything else. More in Braids and Protective Styles. See also the blonde version and the boho version.
Frequently asked questions
Related posts
See all posts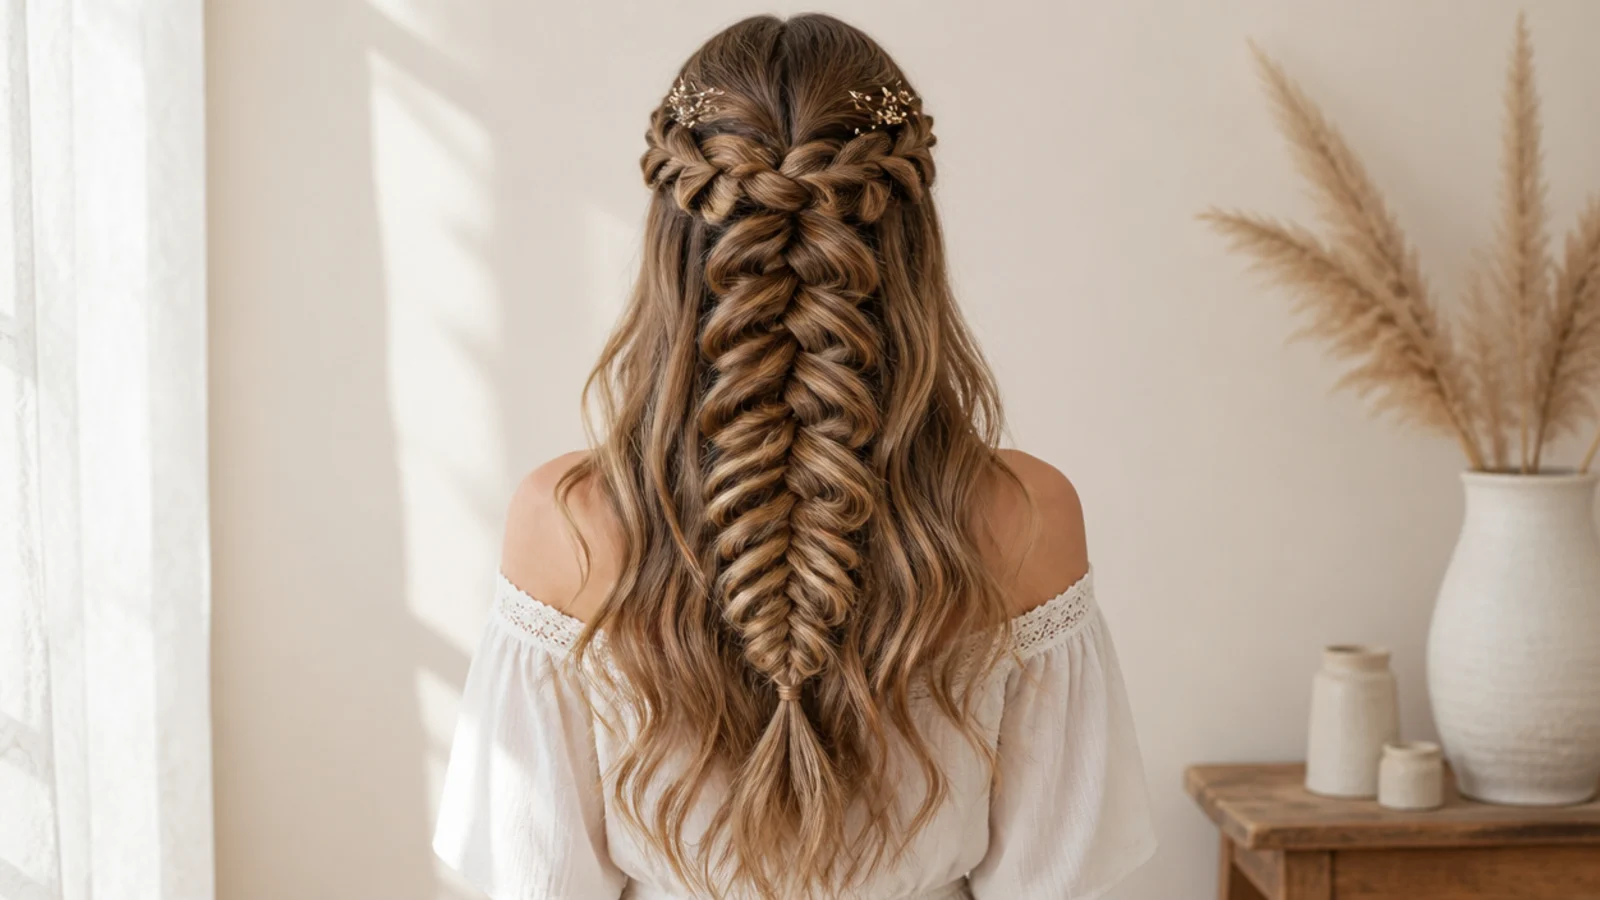
20 Waterfall Mermaid Braid Ideas That Hold
Read more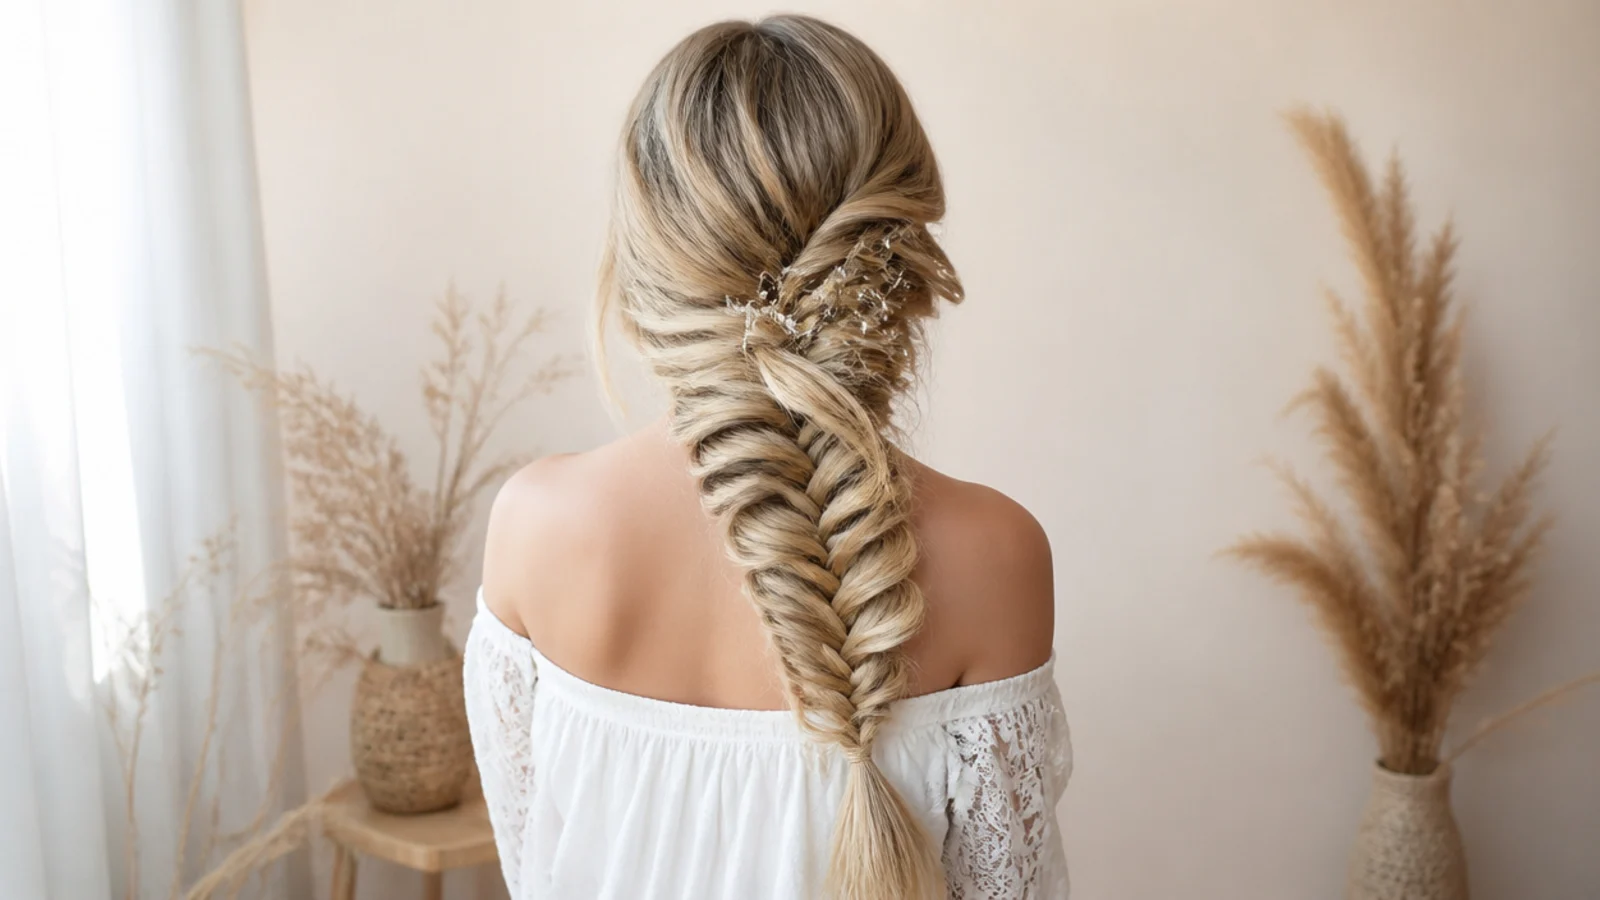
15 Side Mermaid Braid Ideas That Sit Right
Read more
20 Side Part Medium Knotless Braids I Saved
Read more